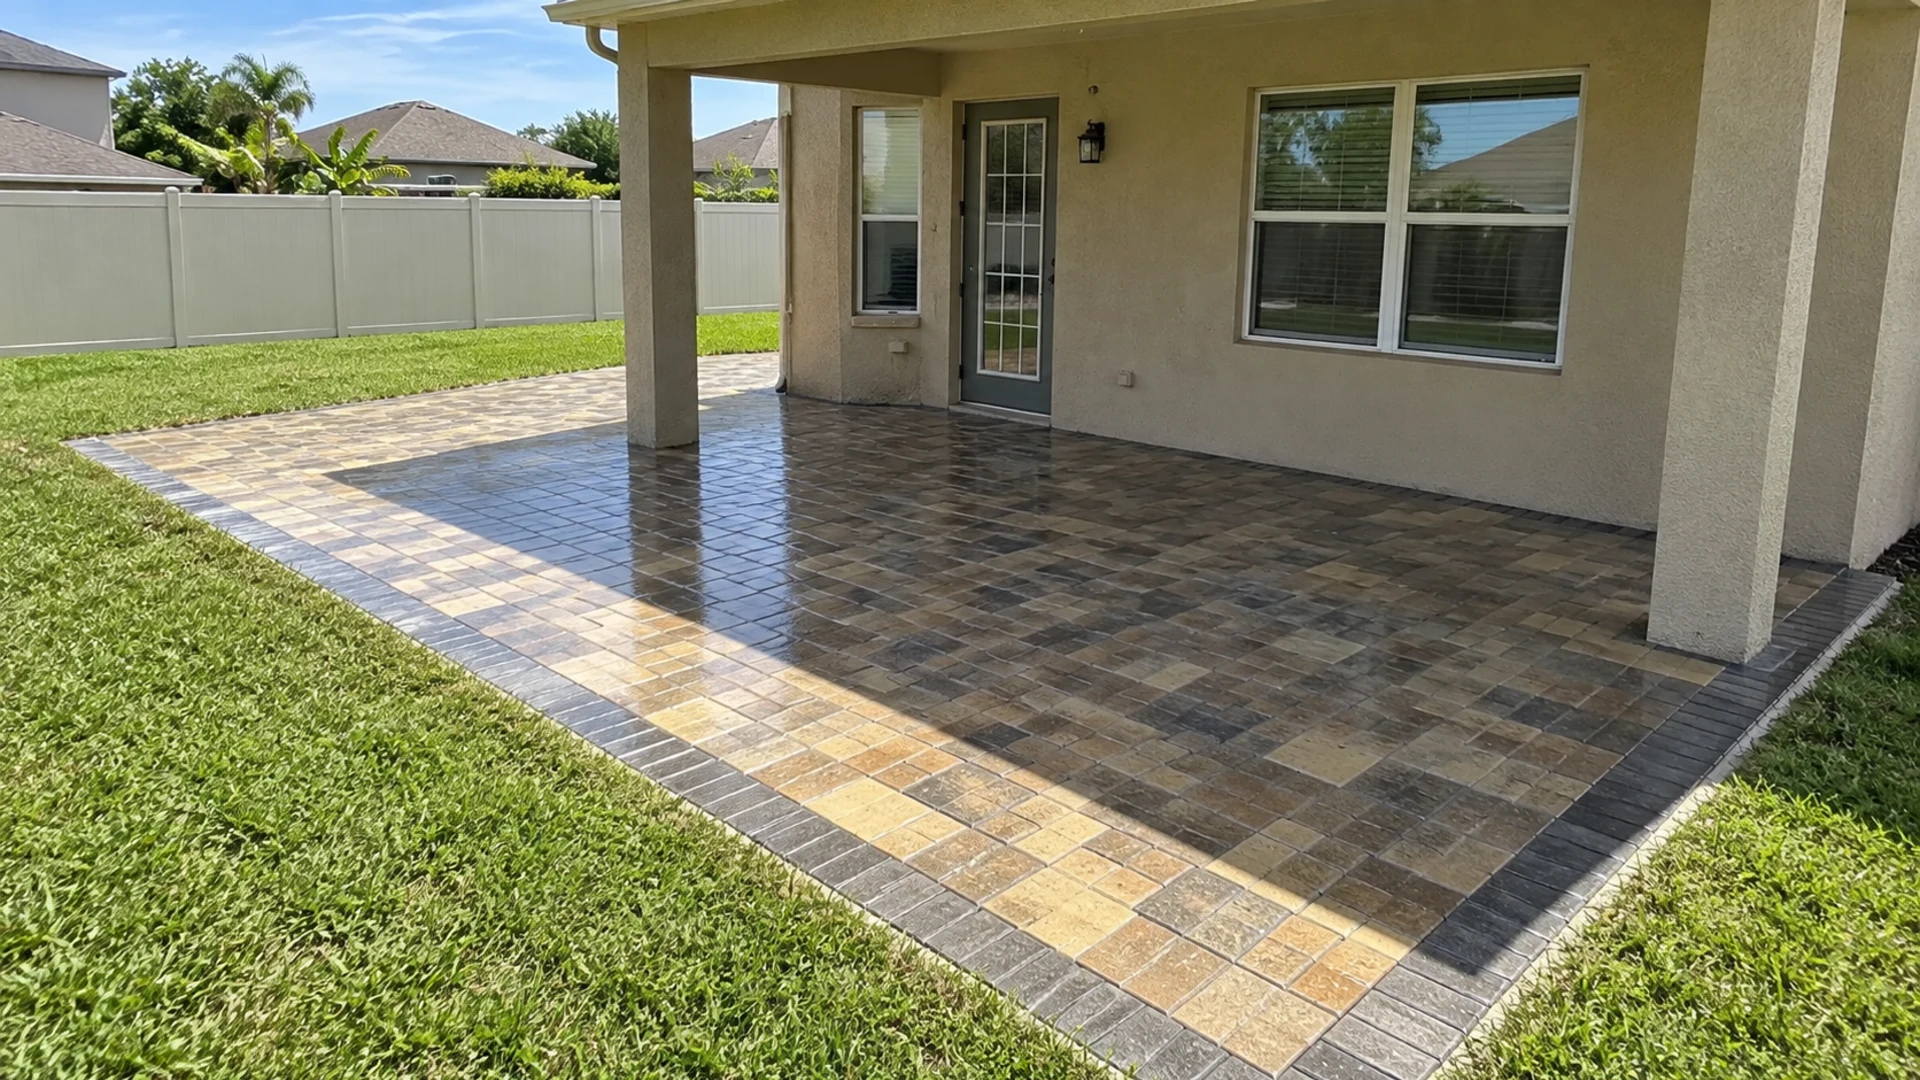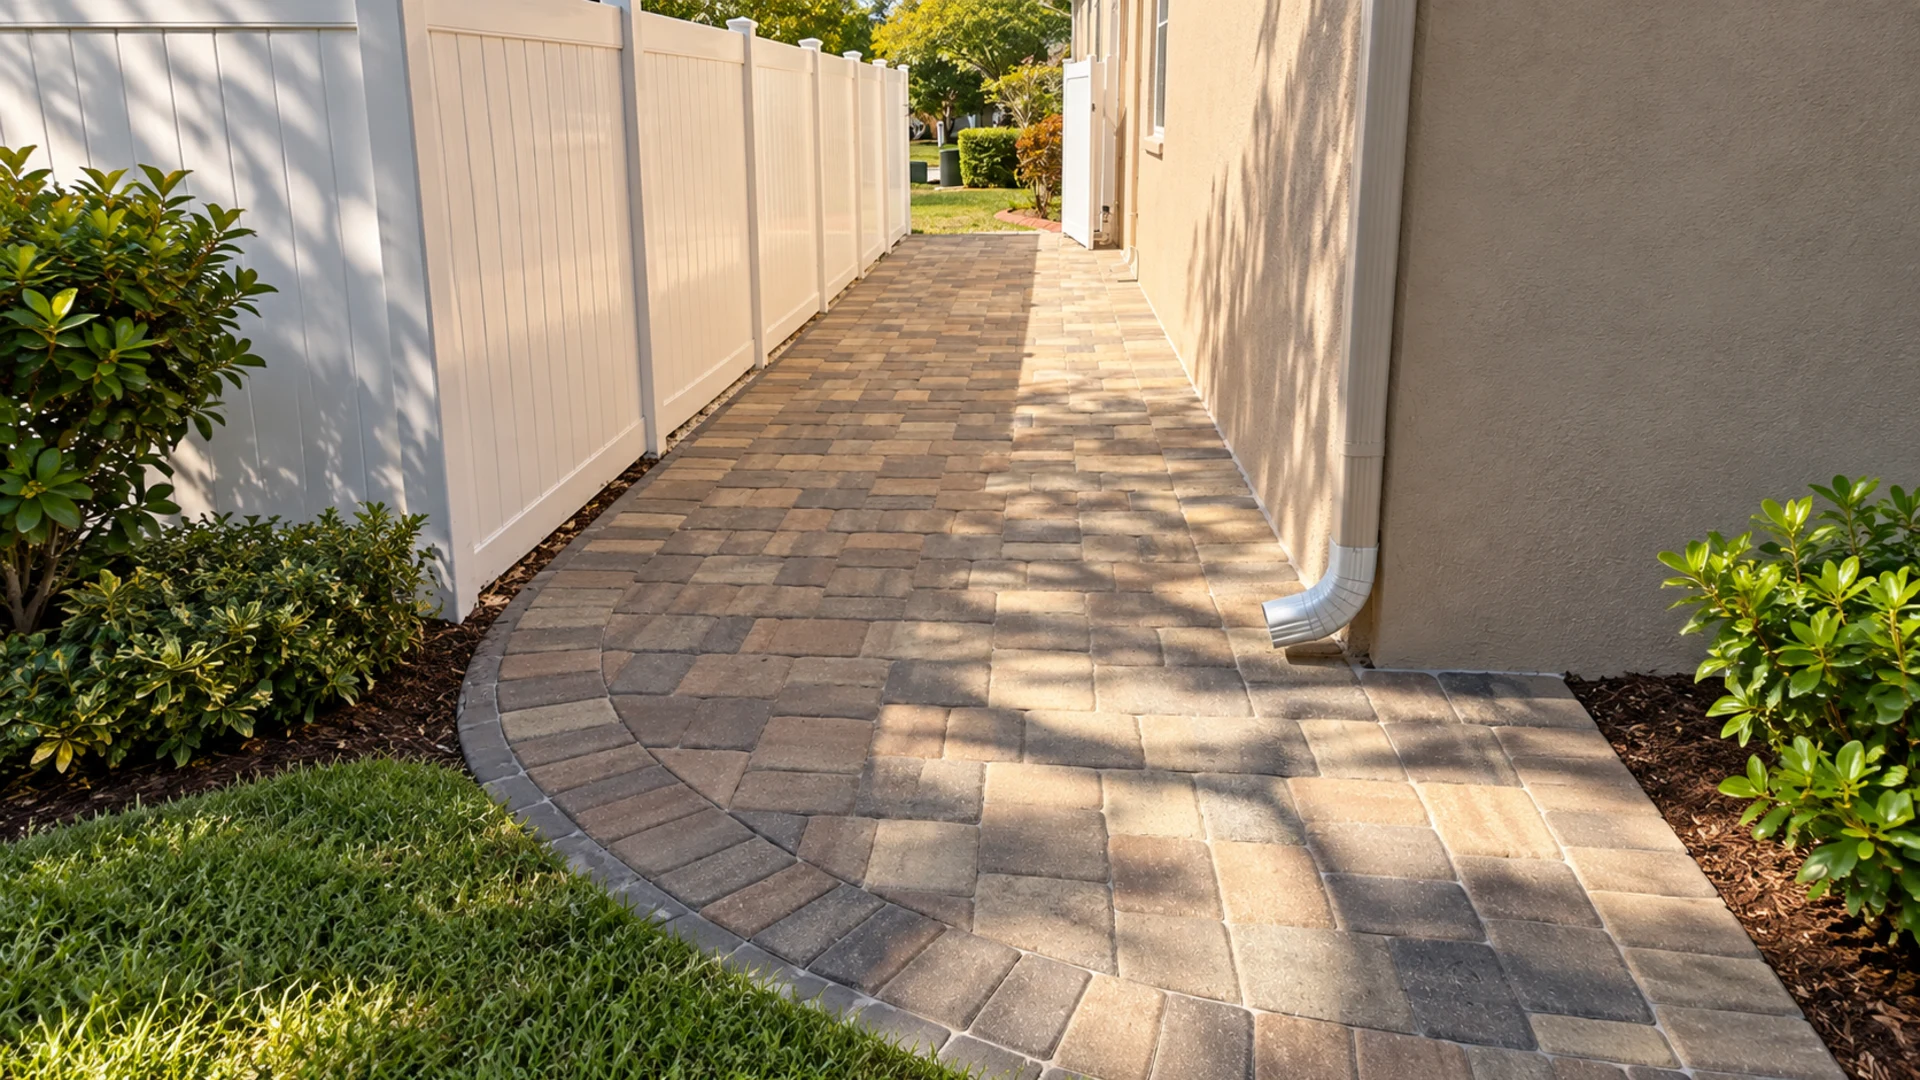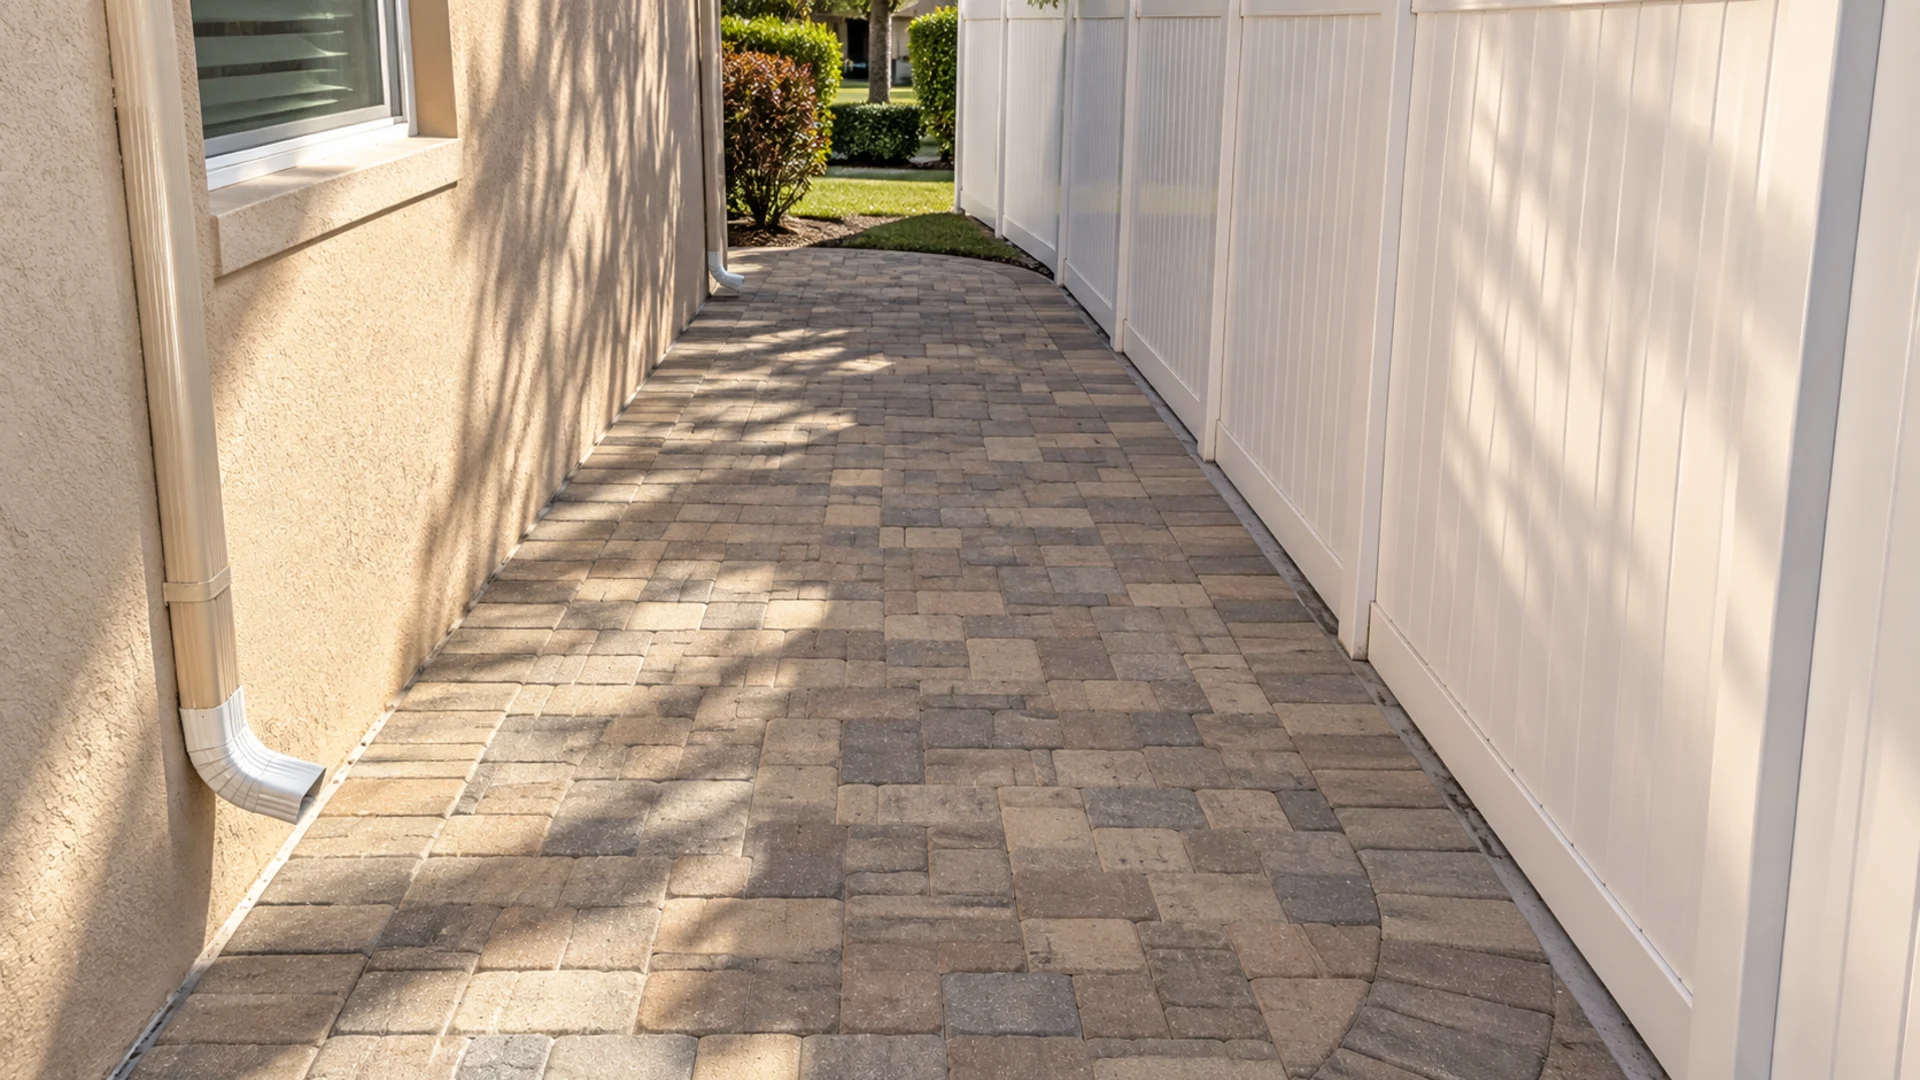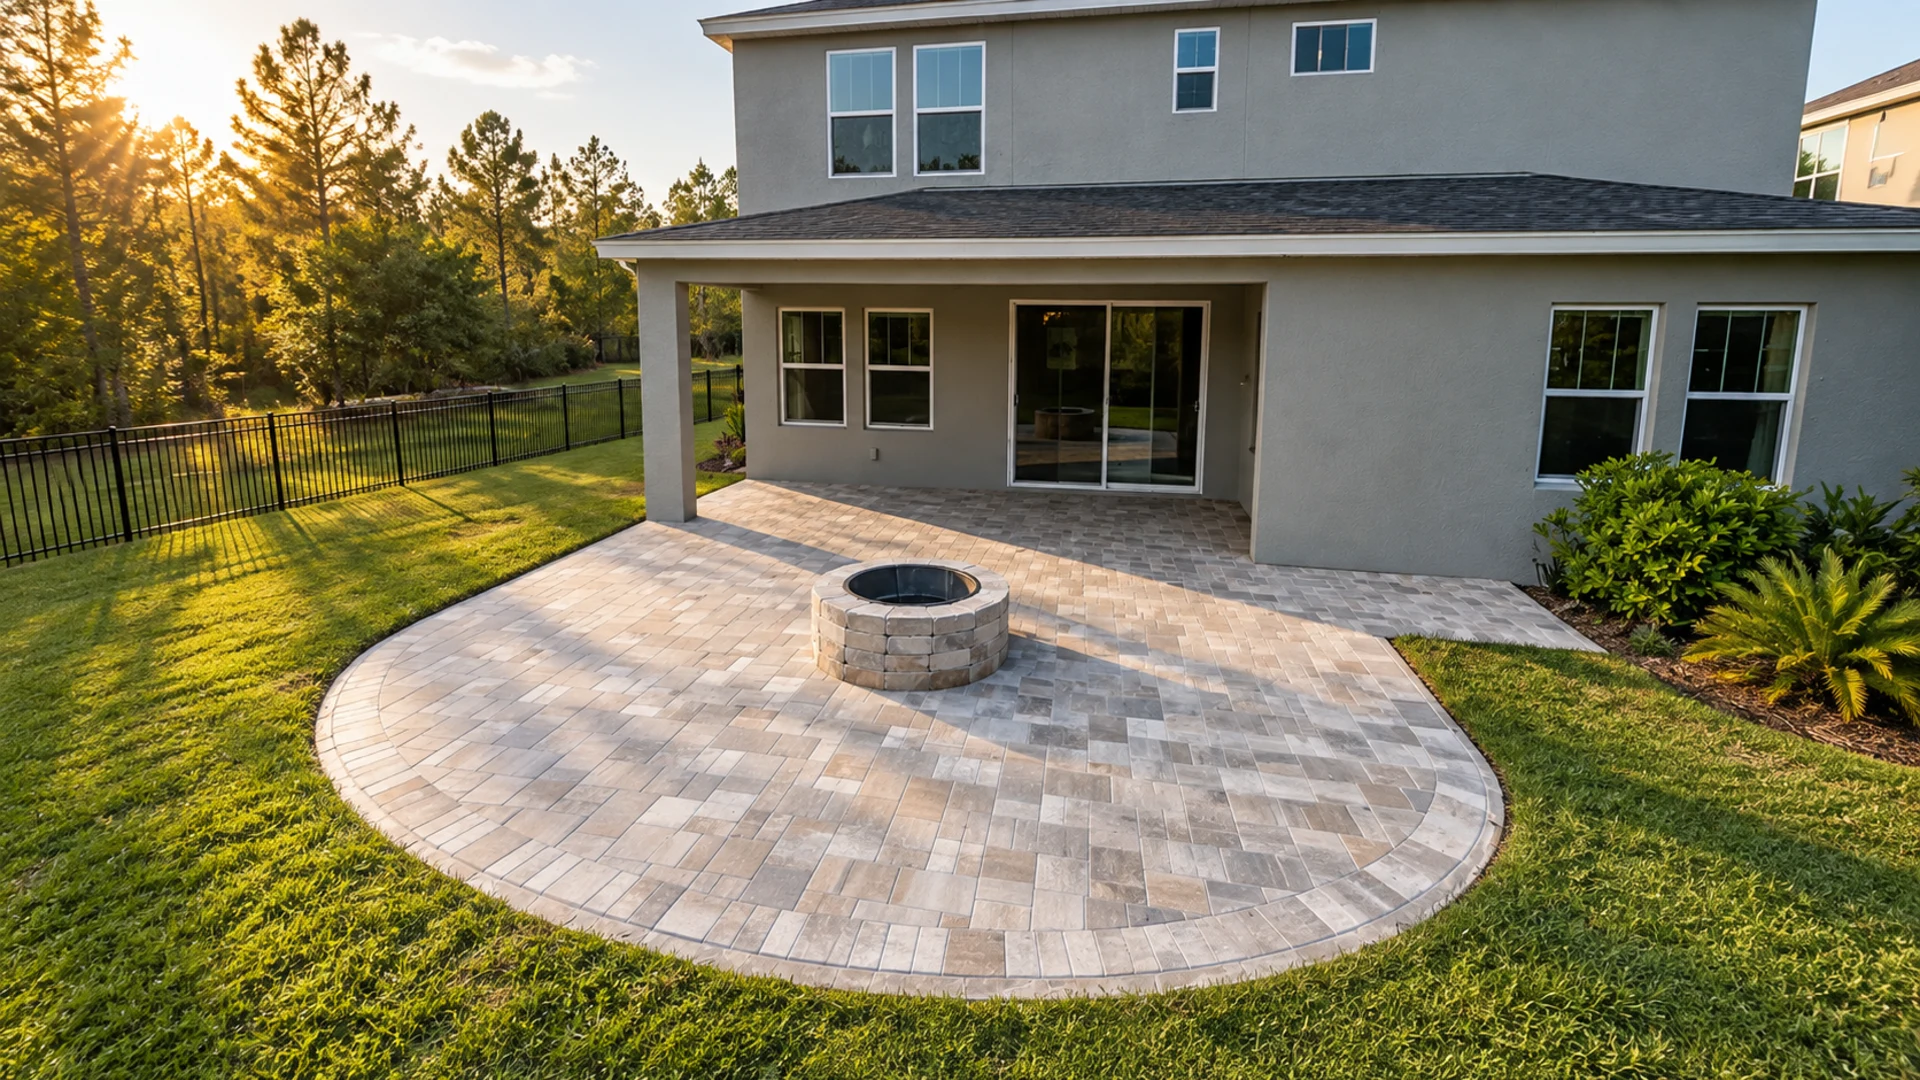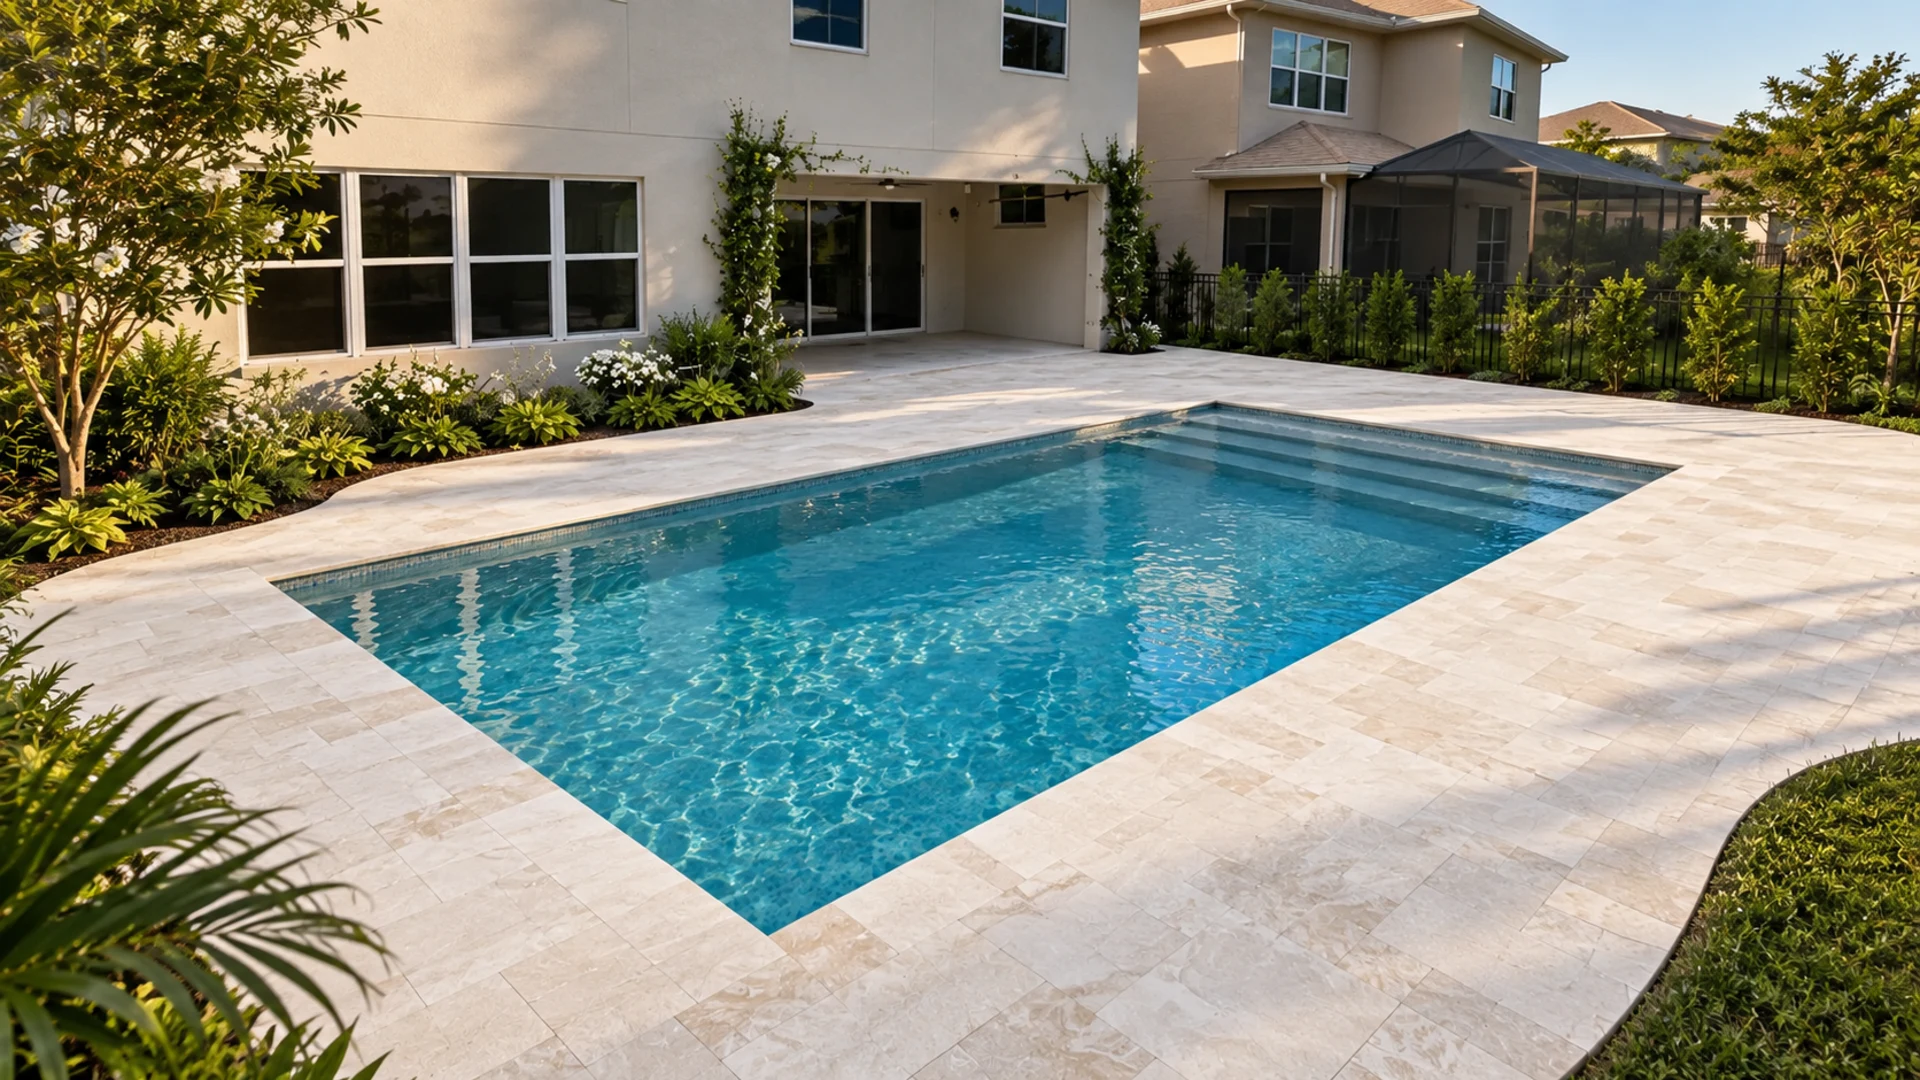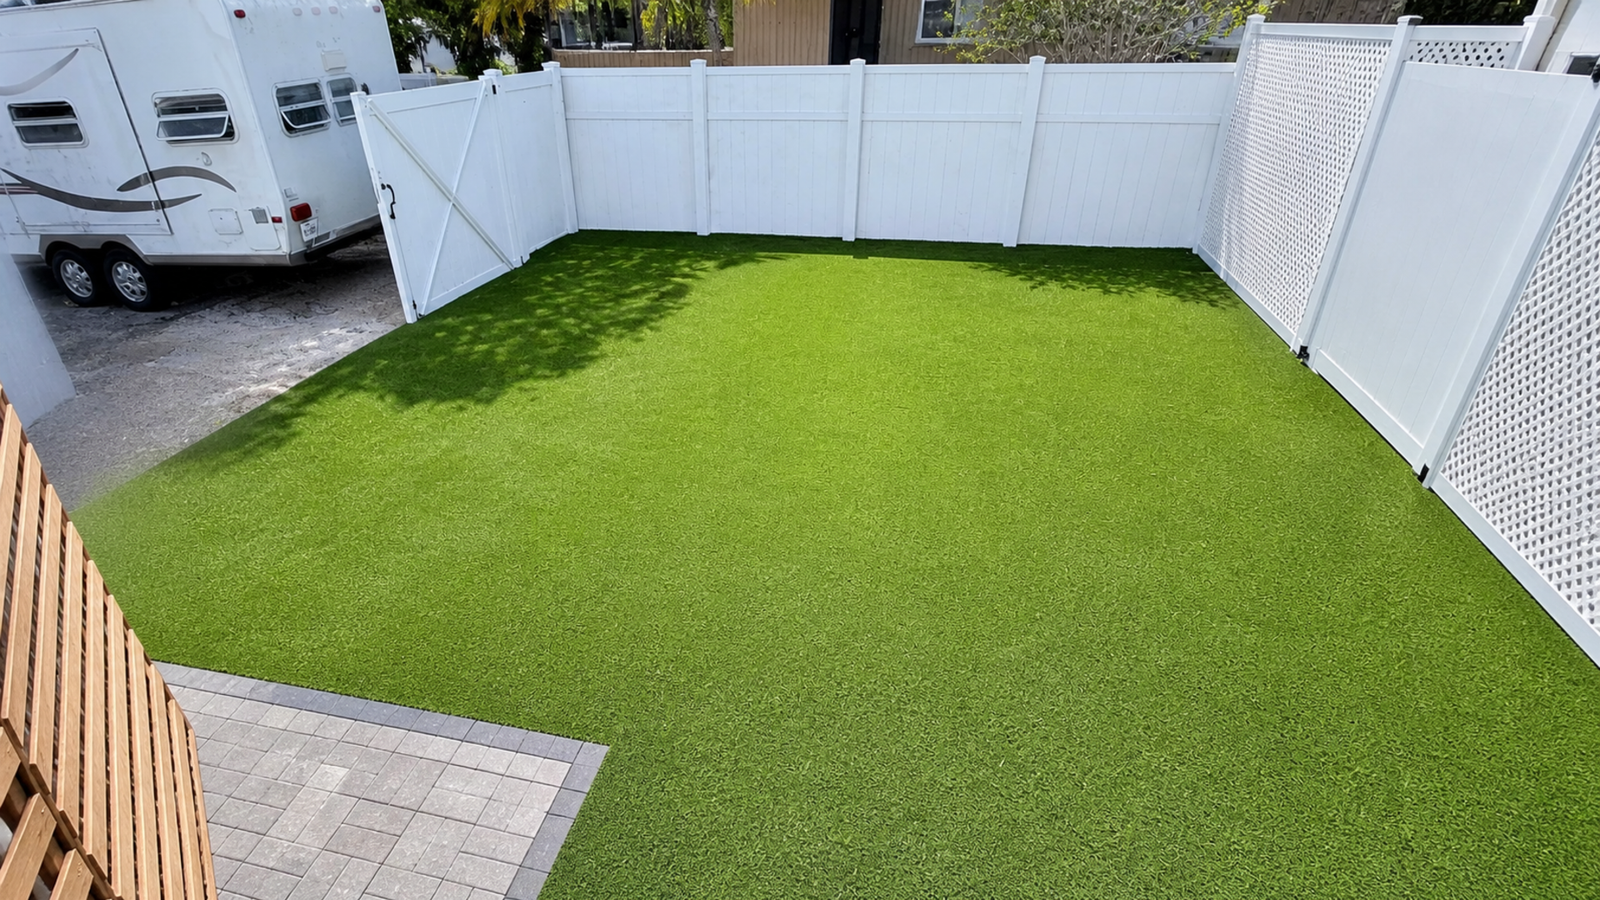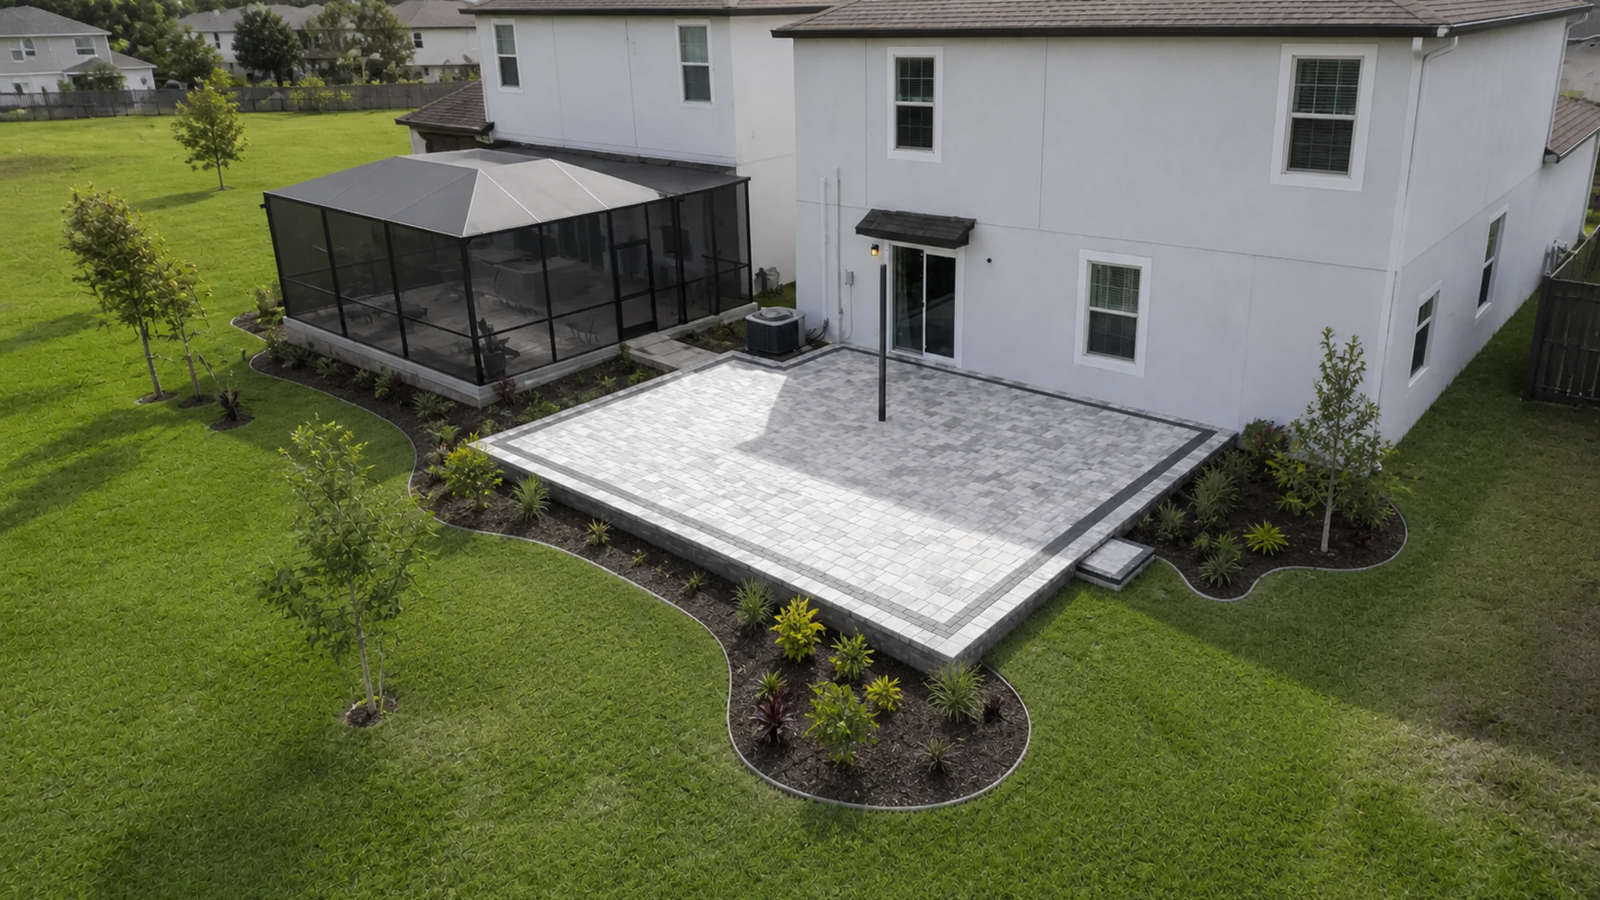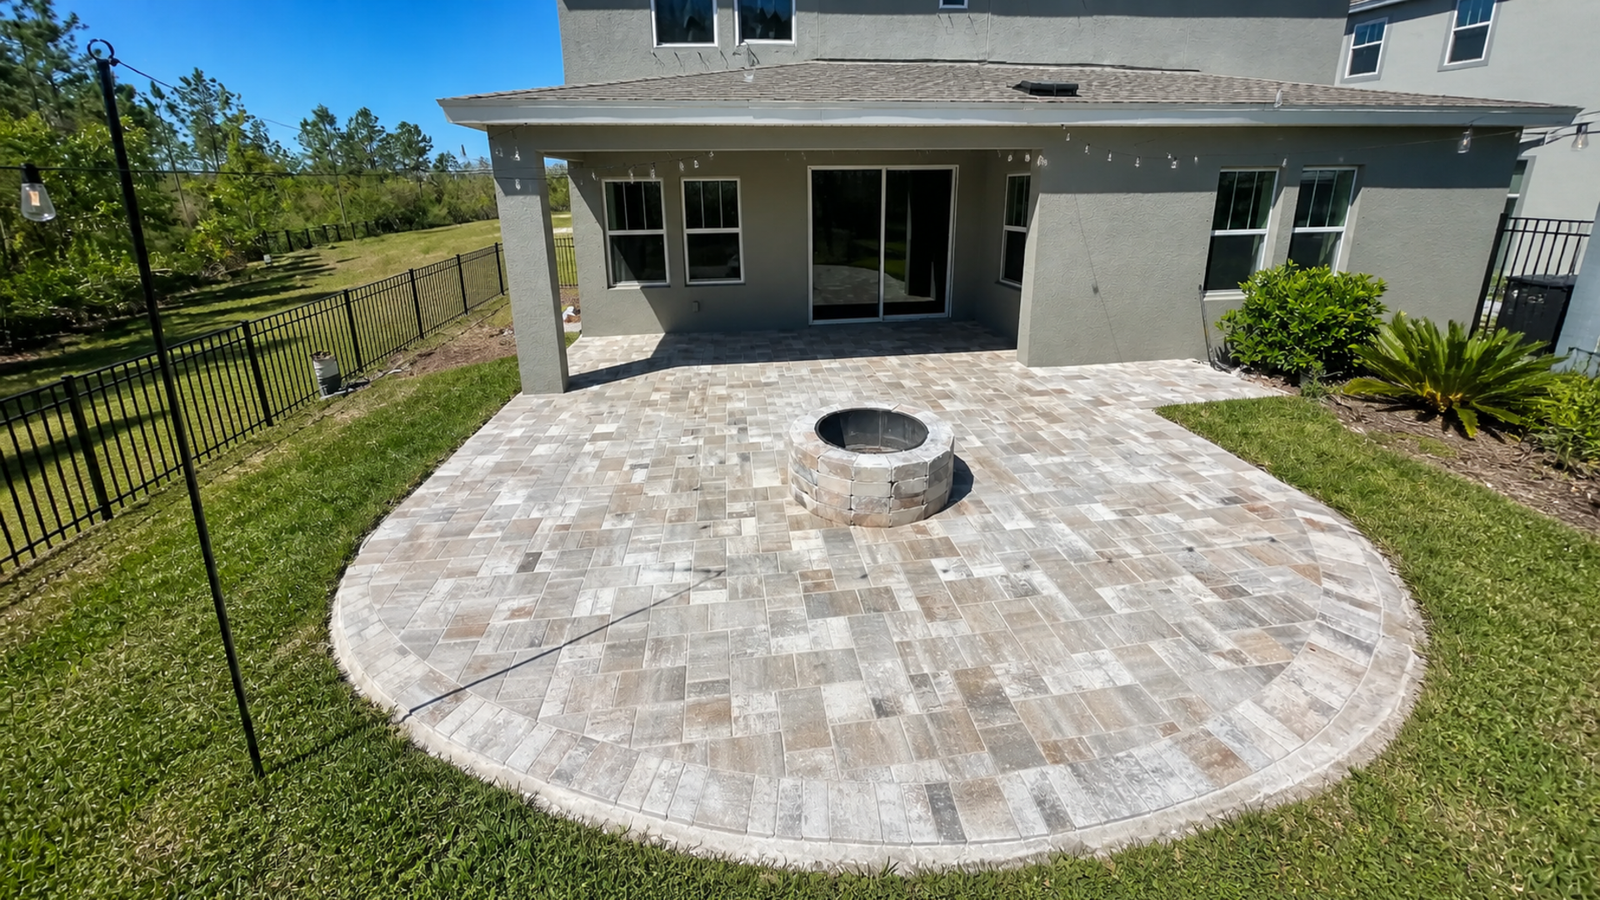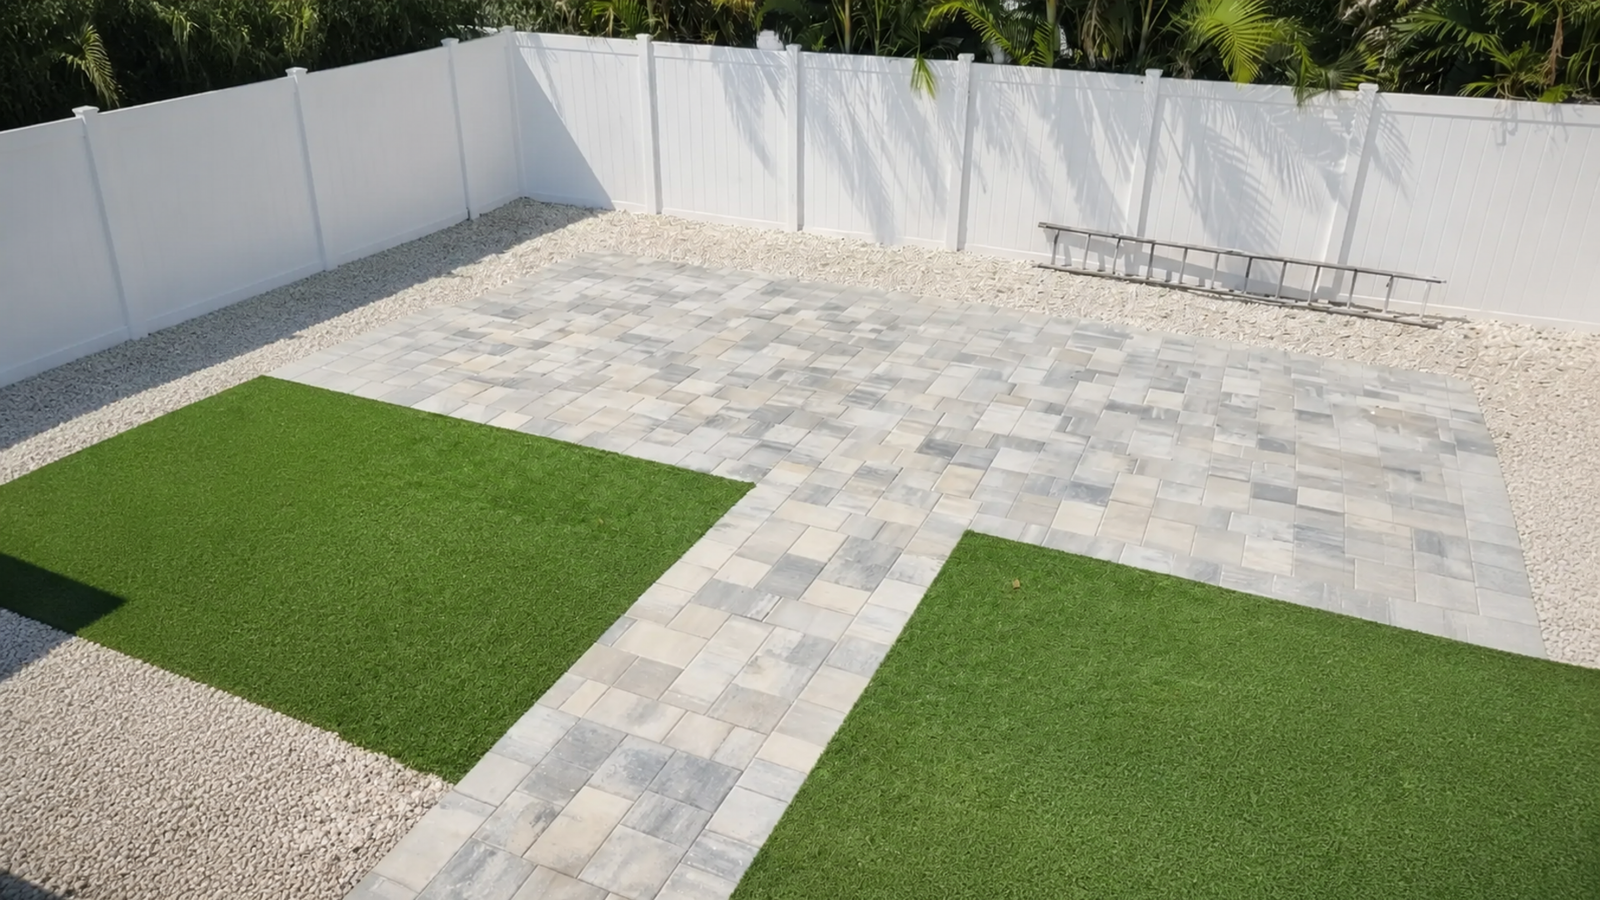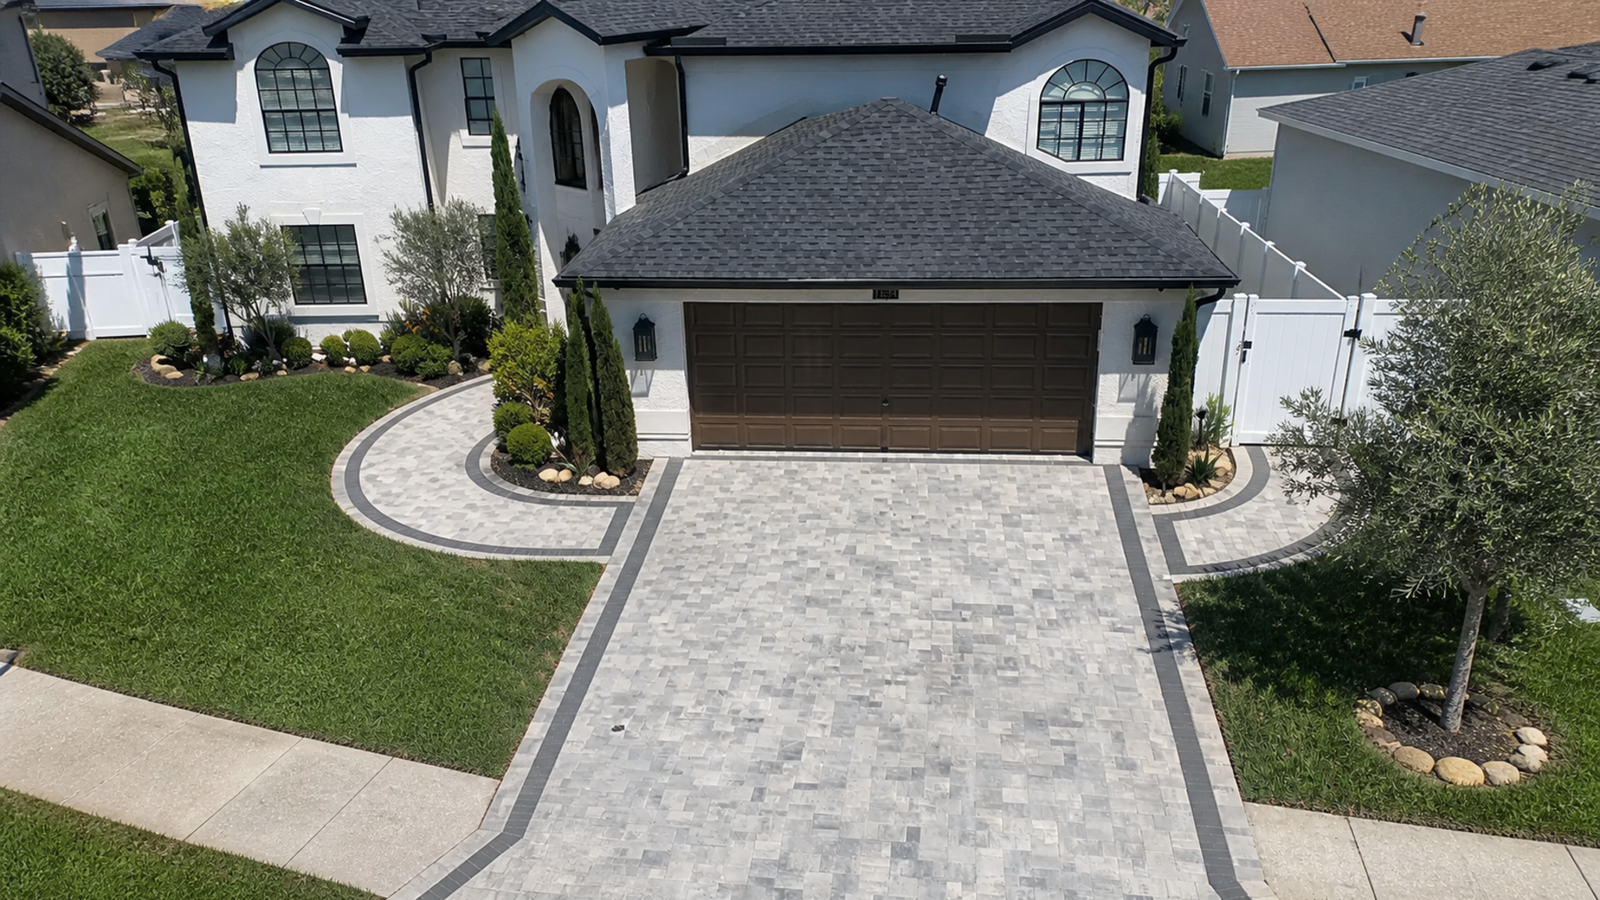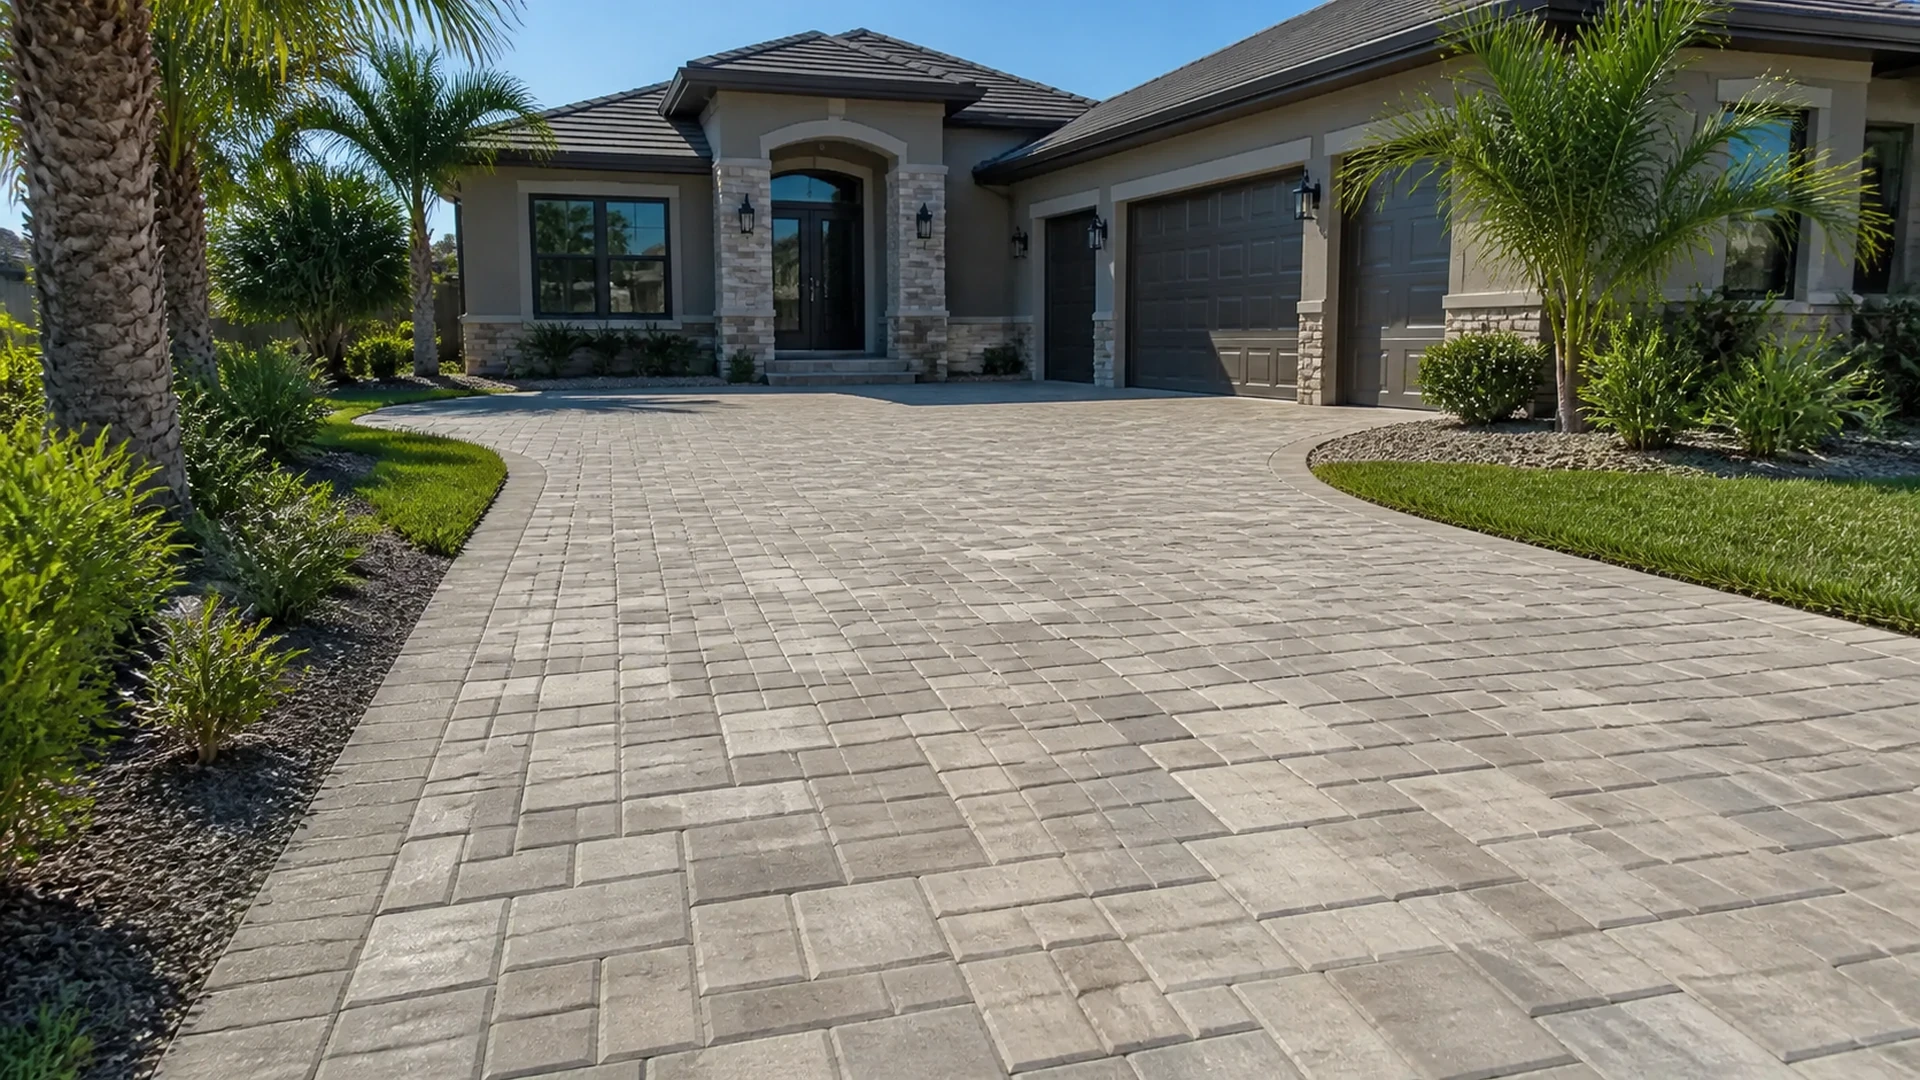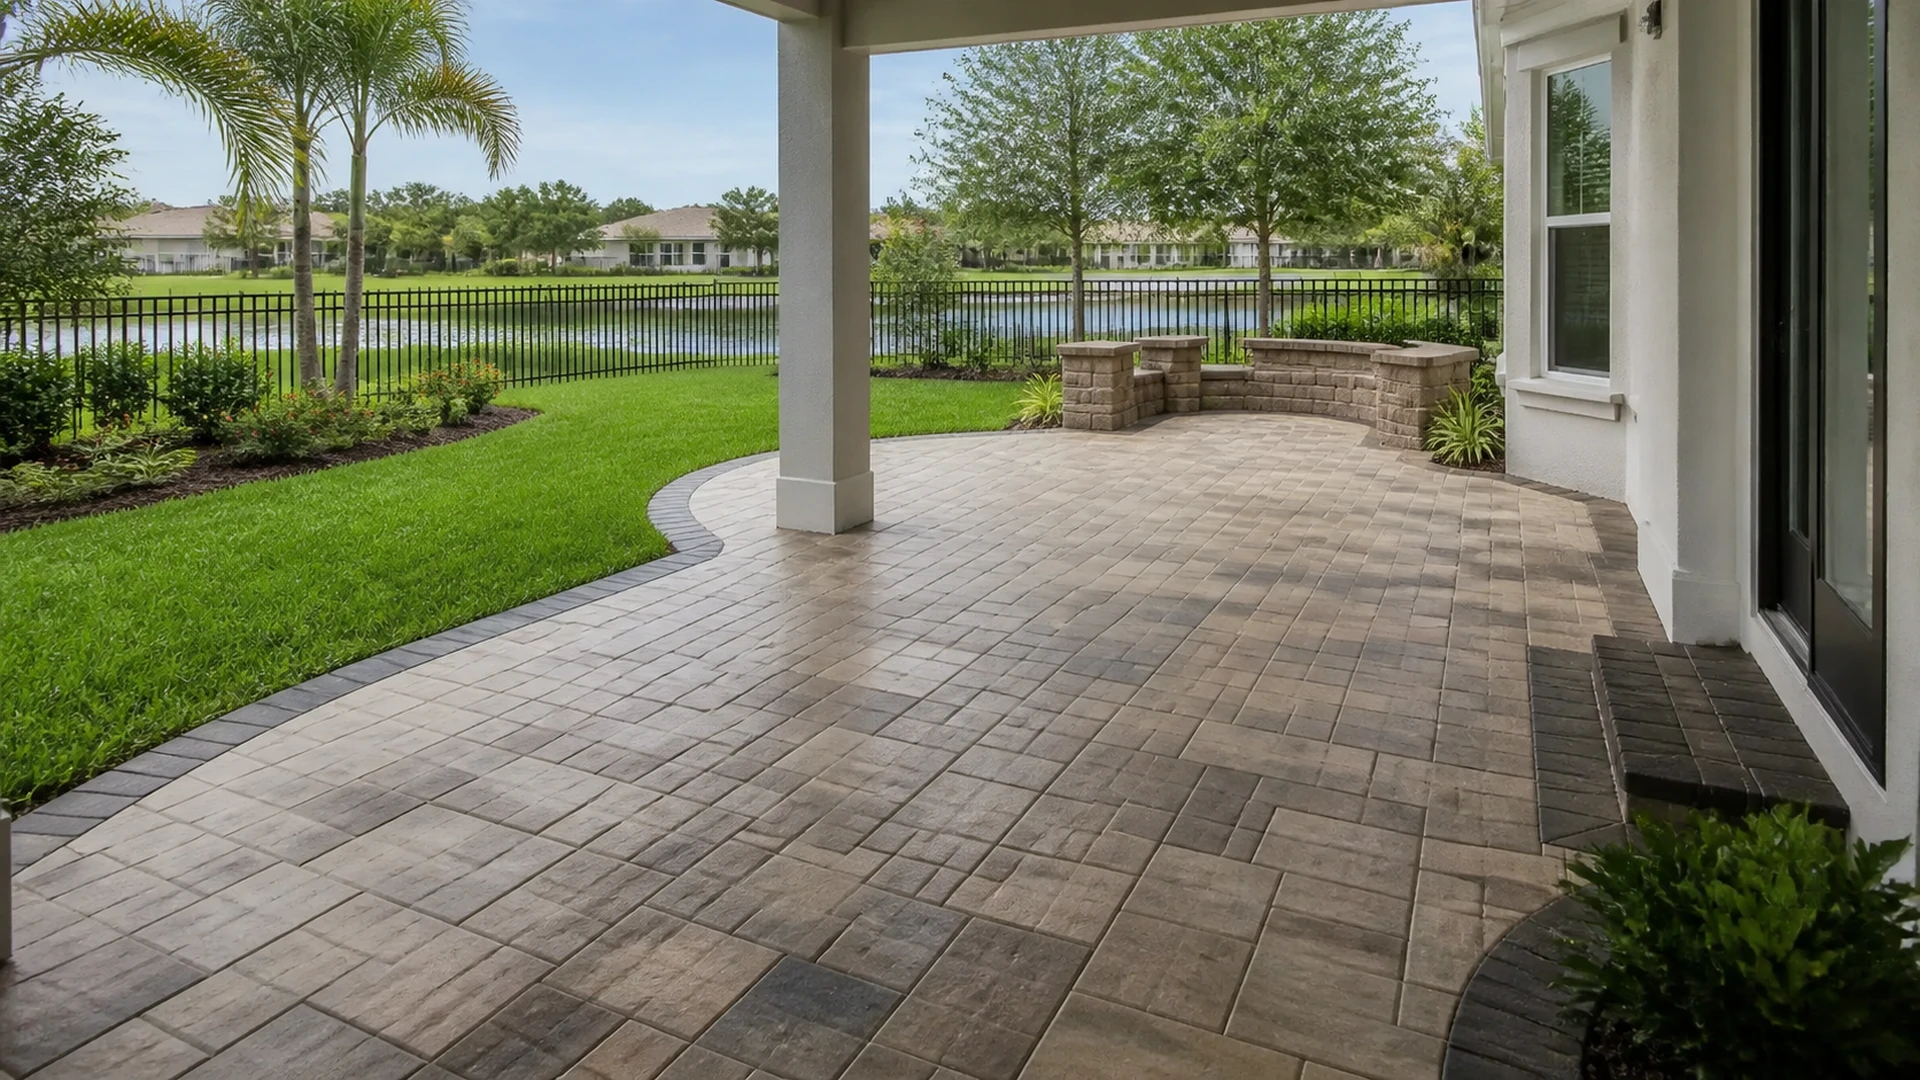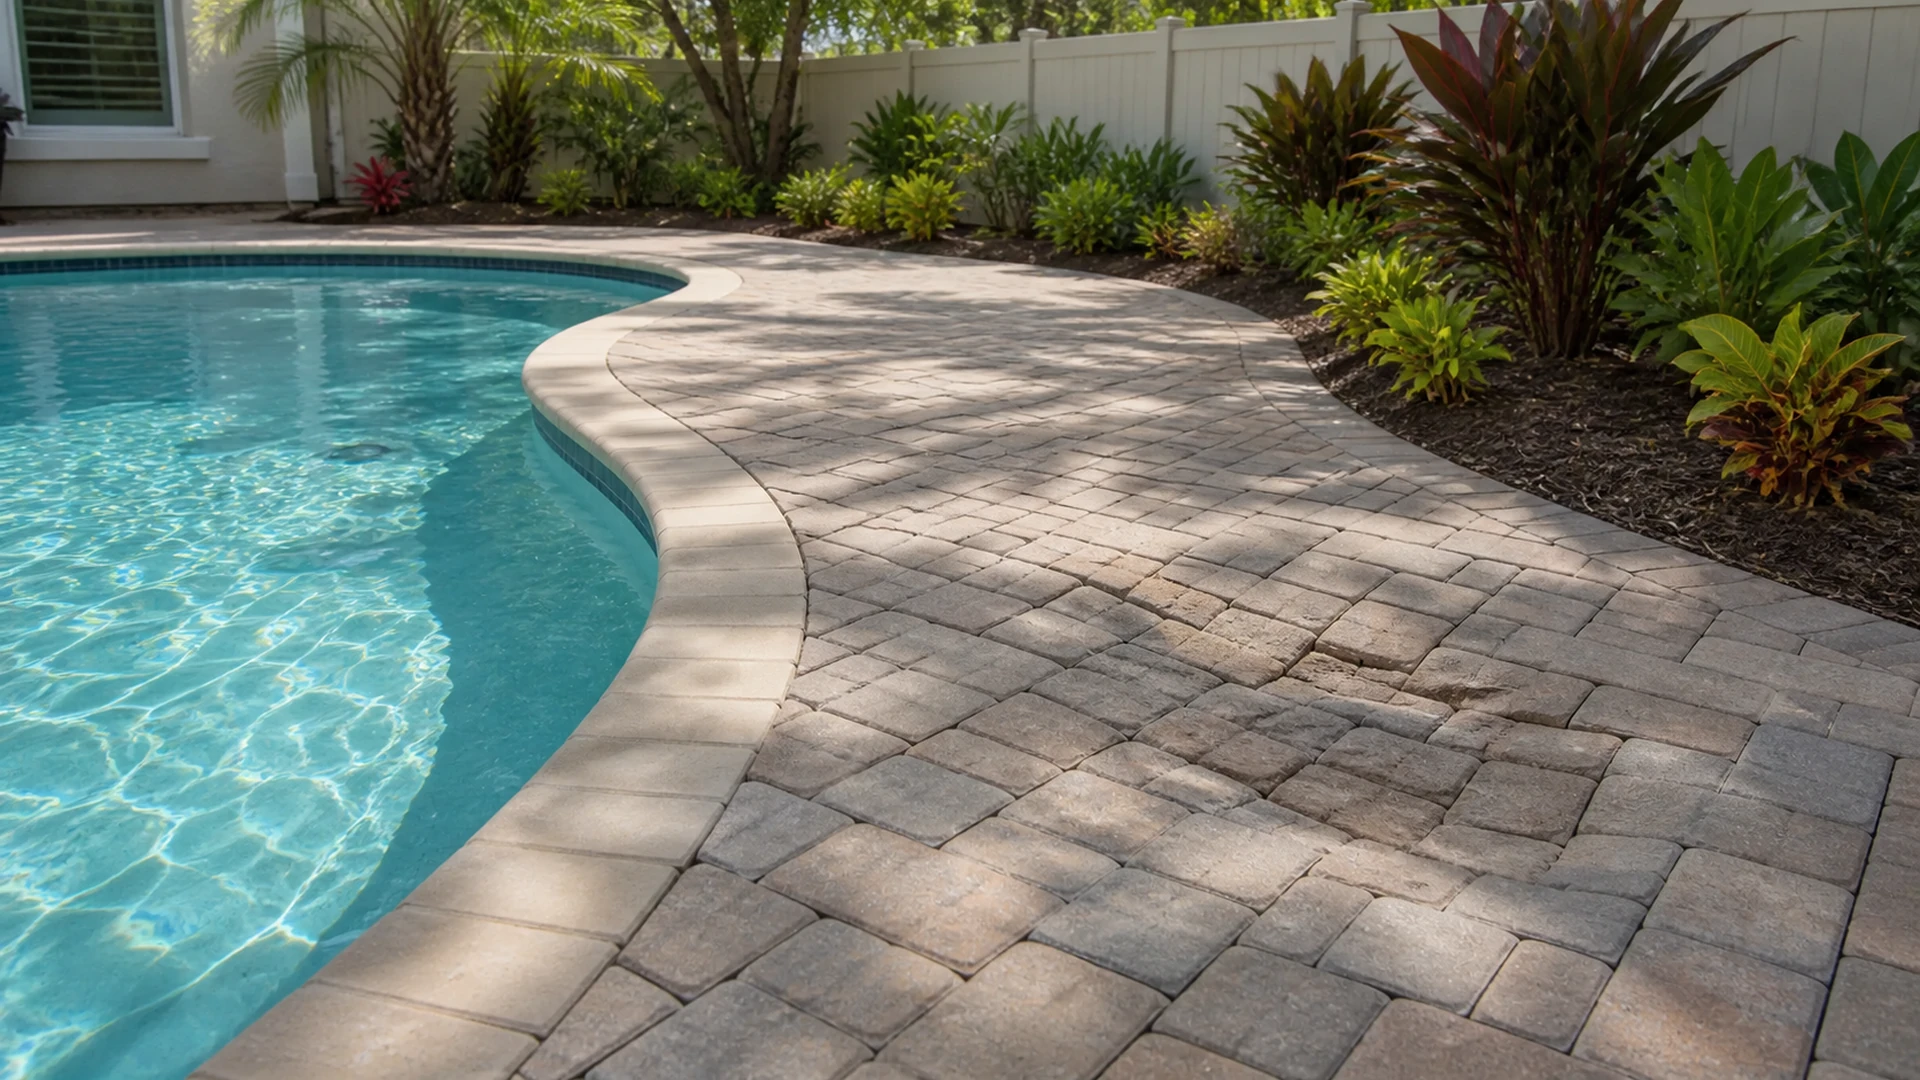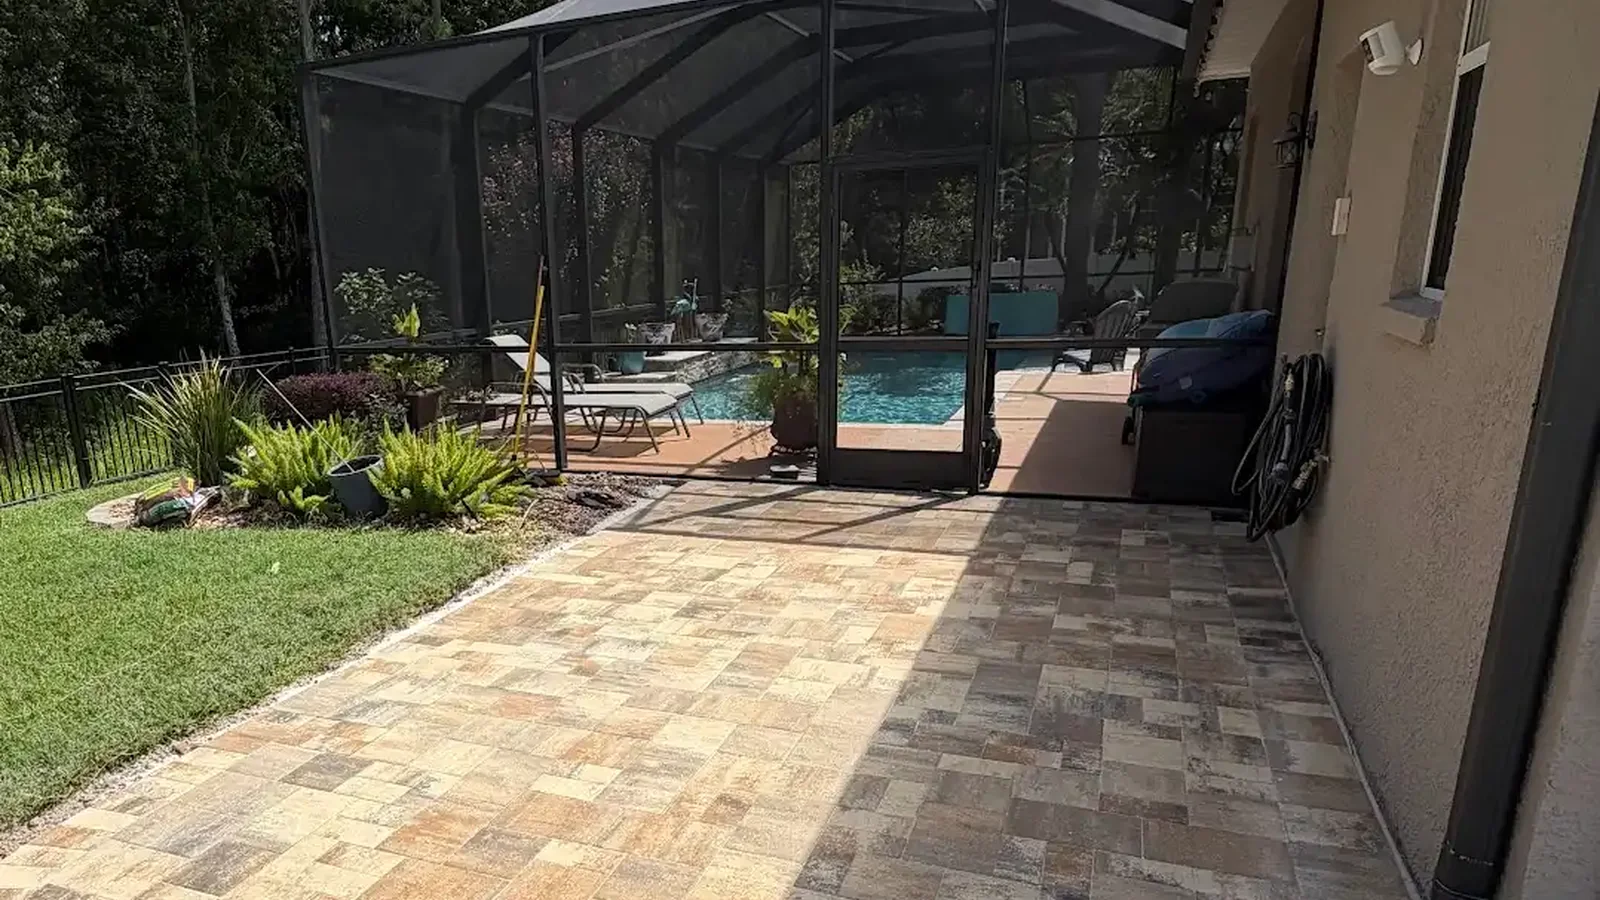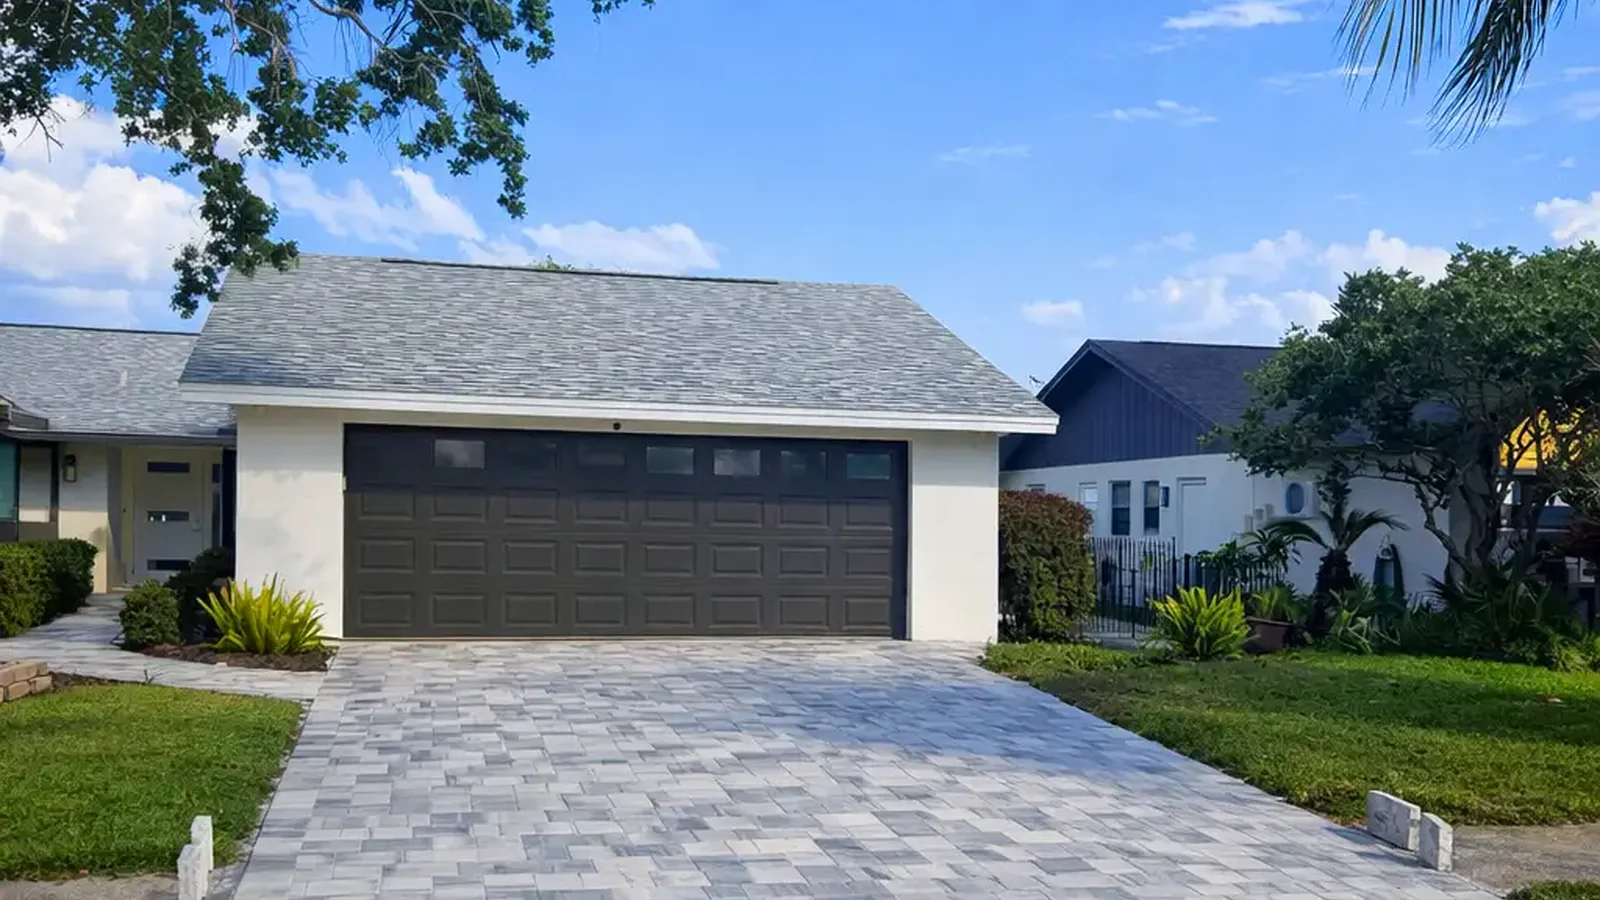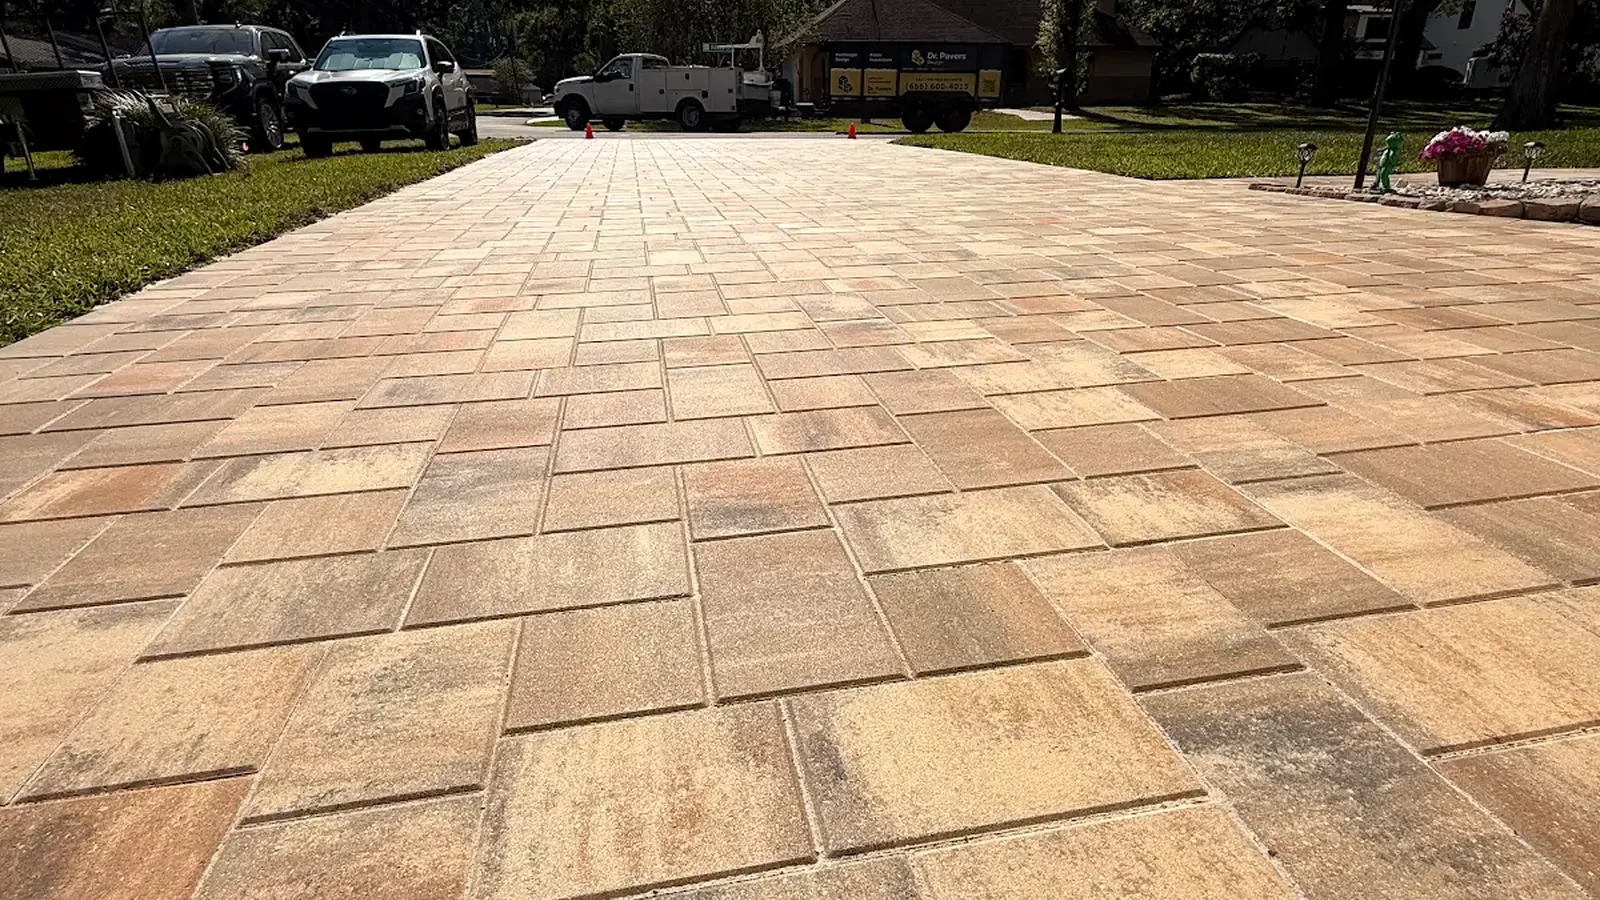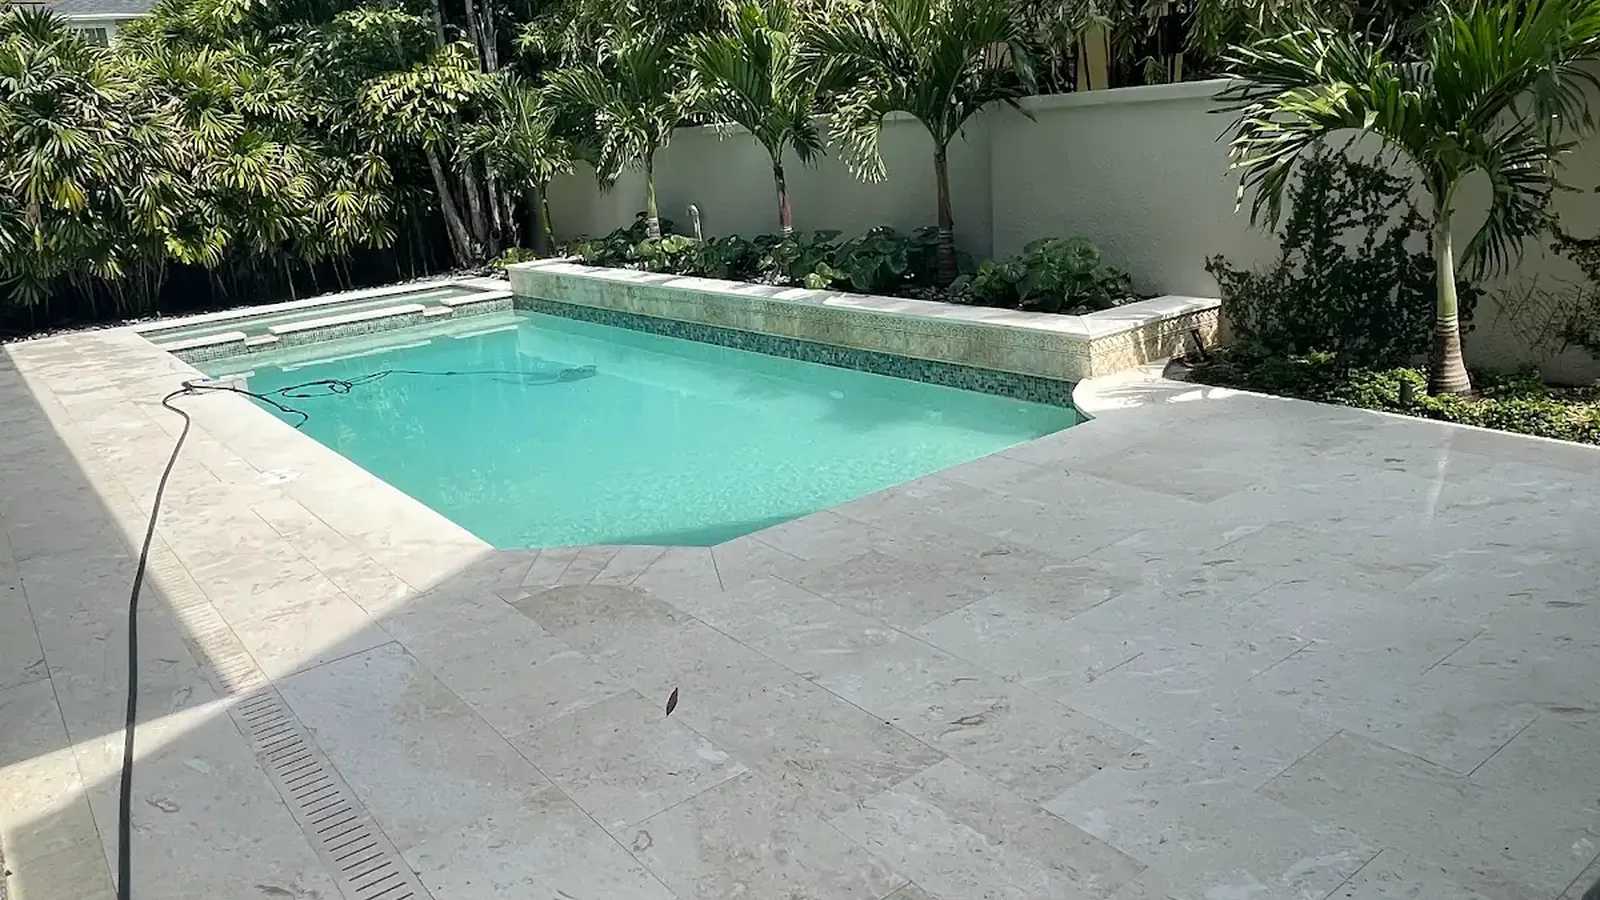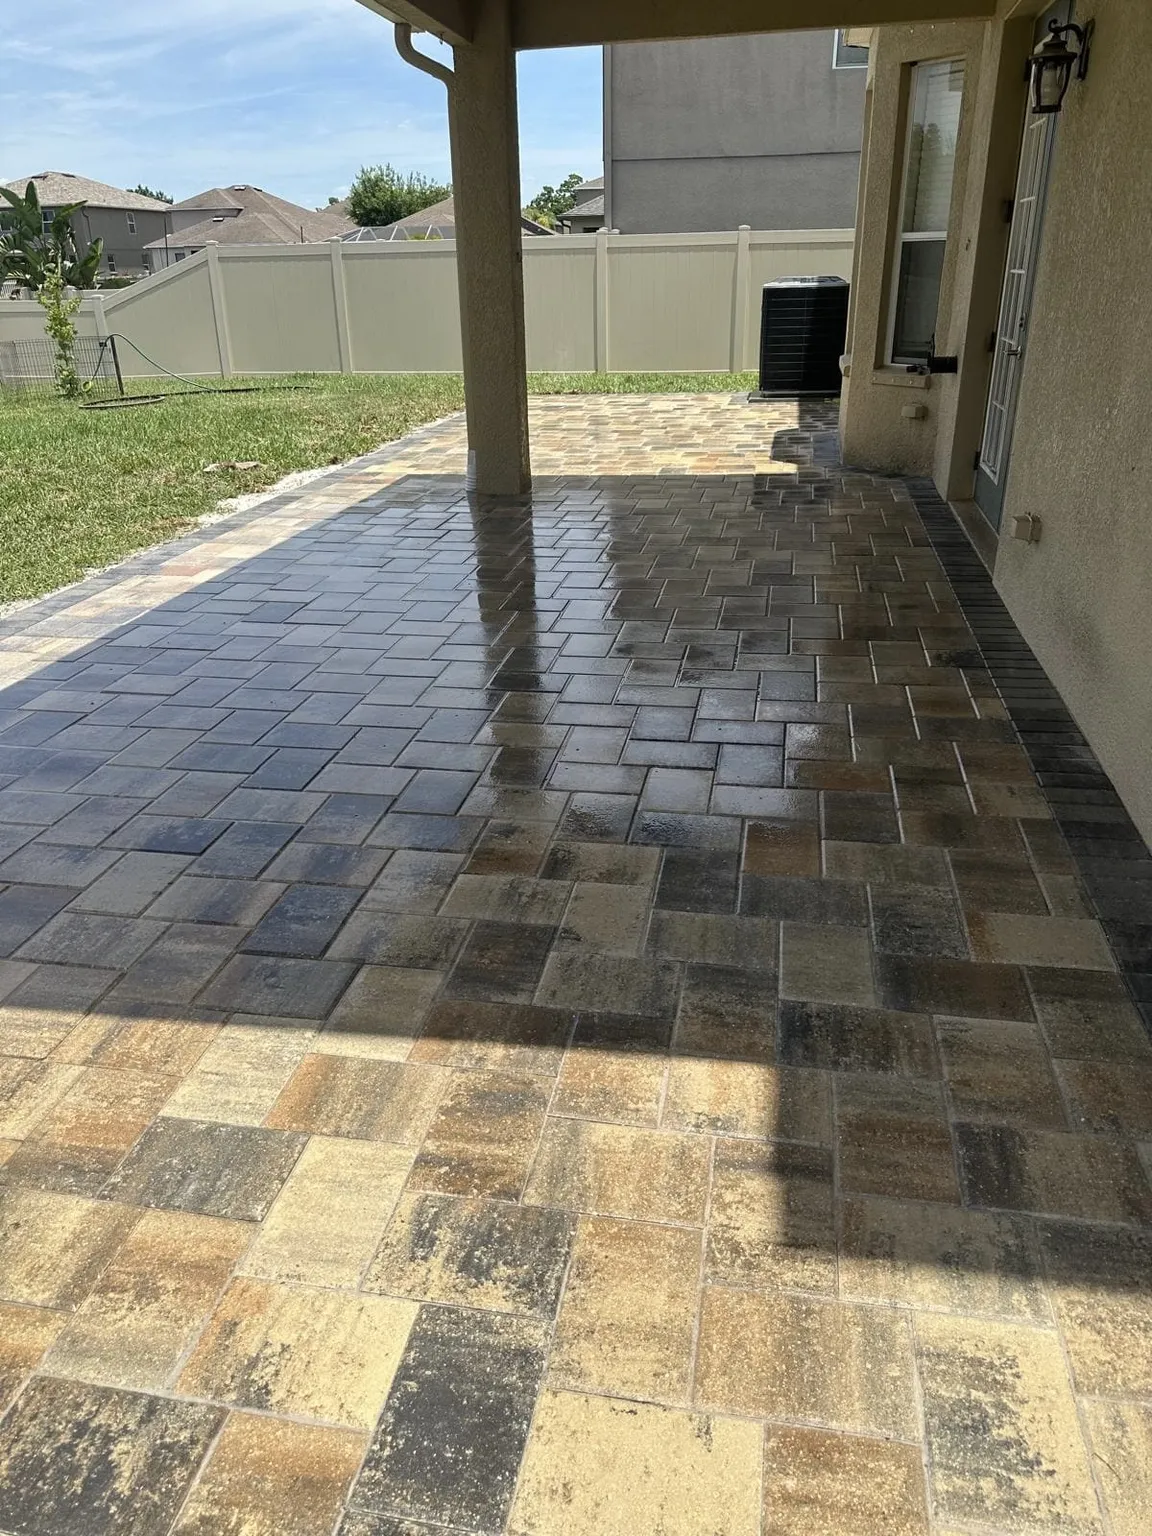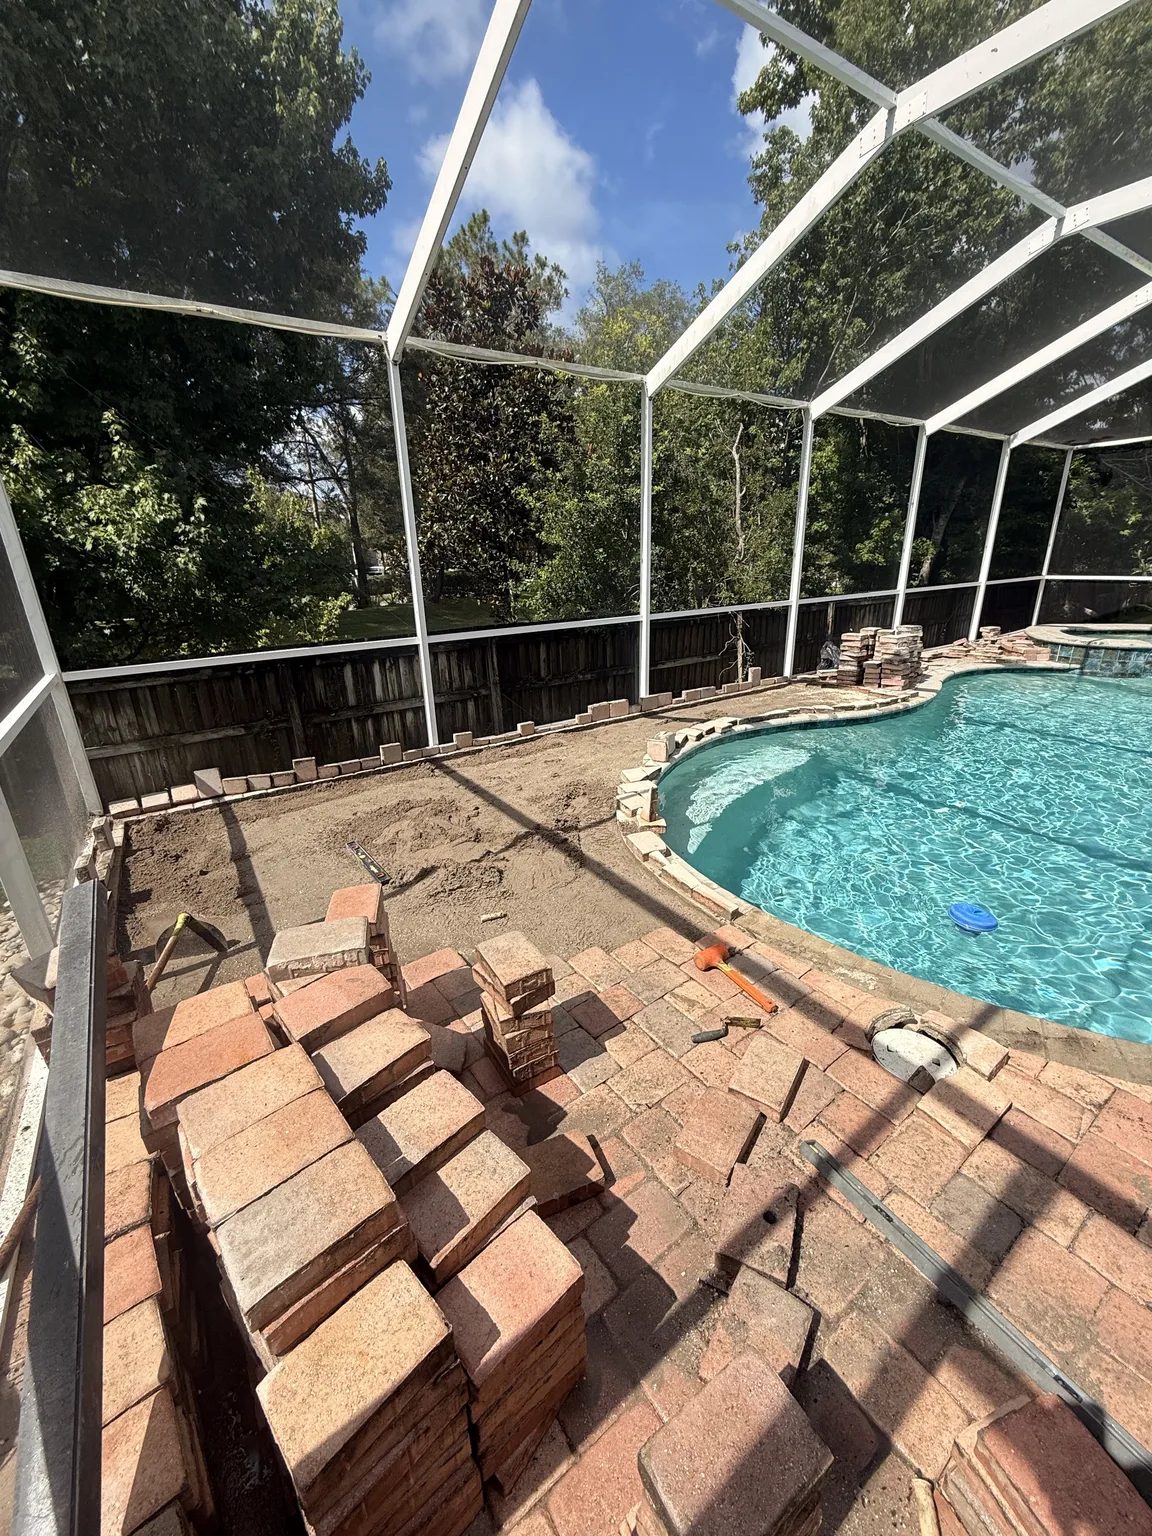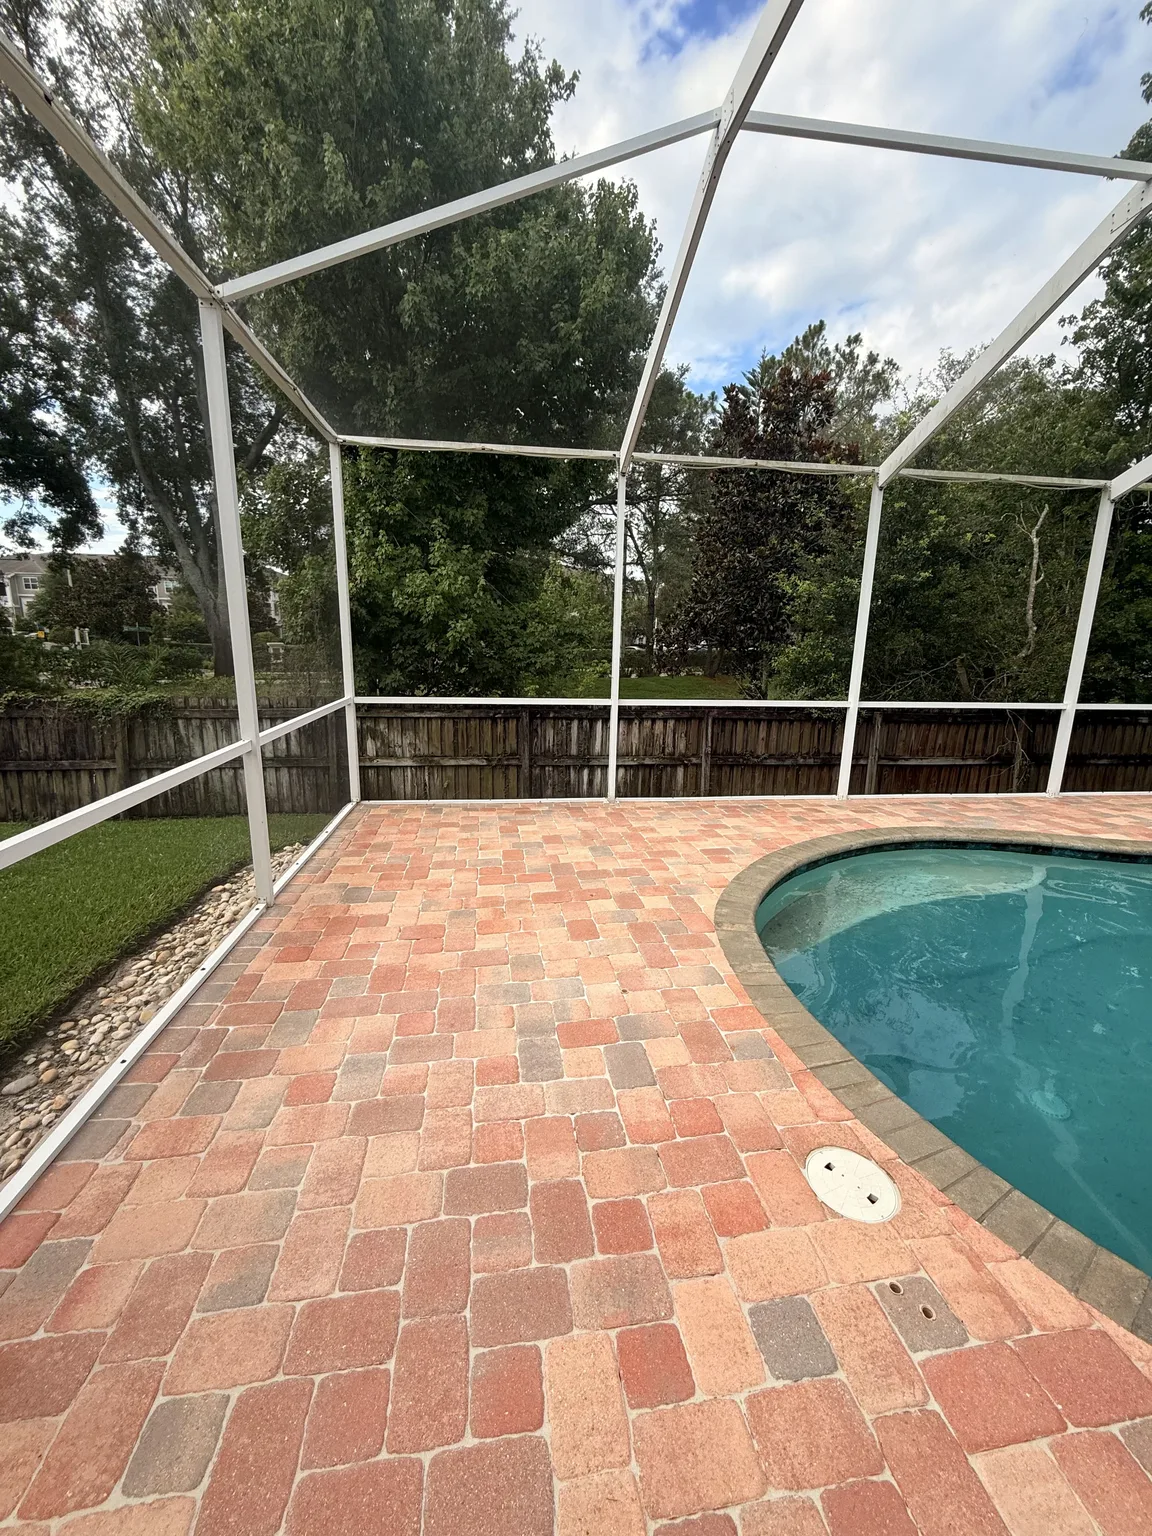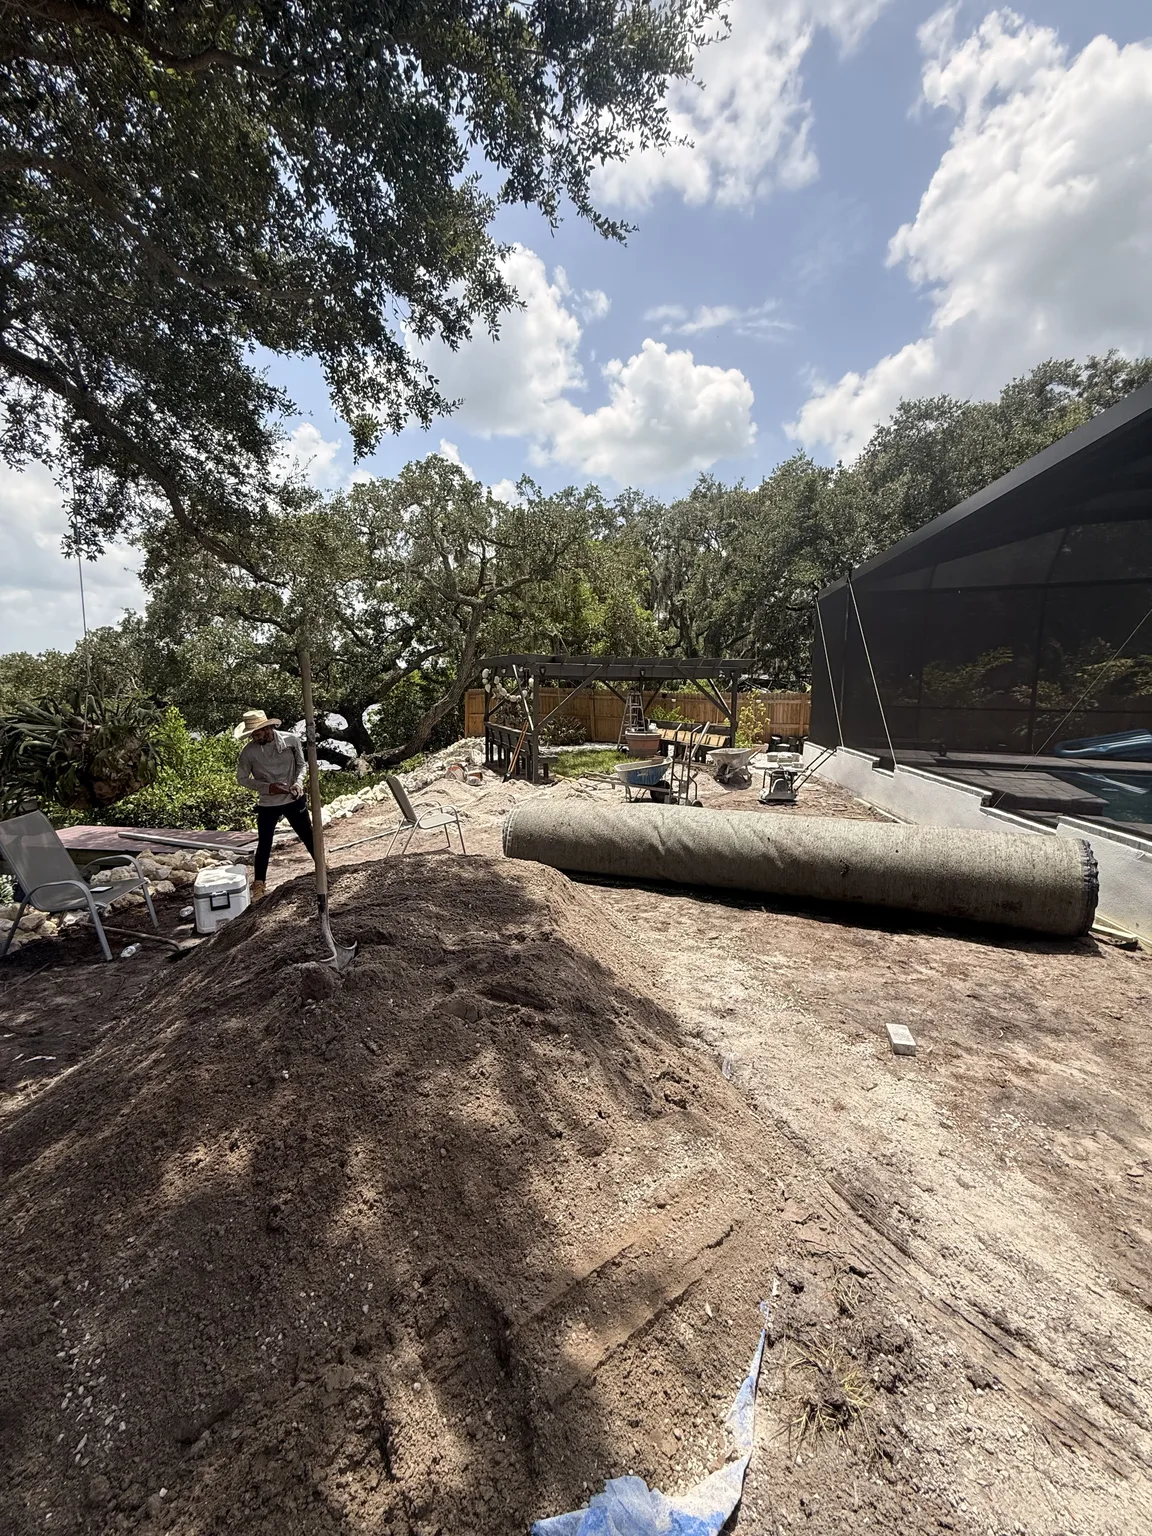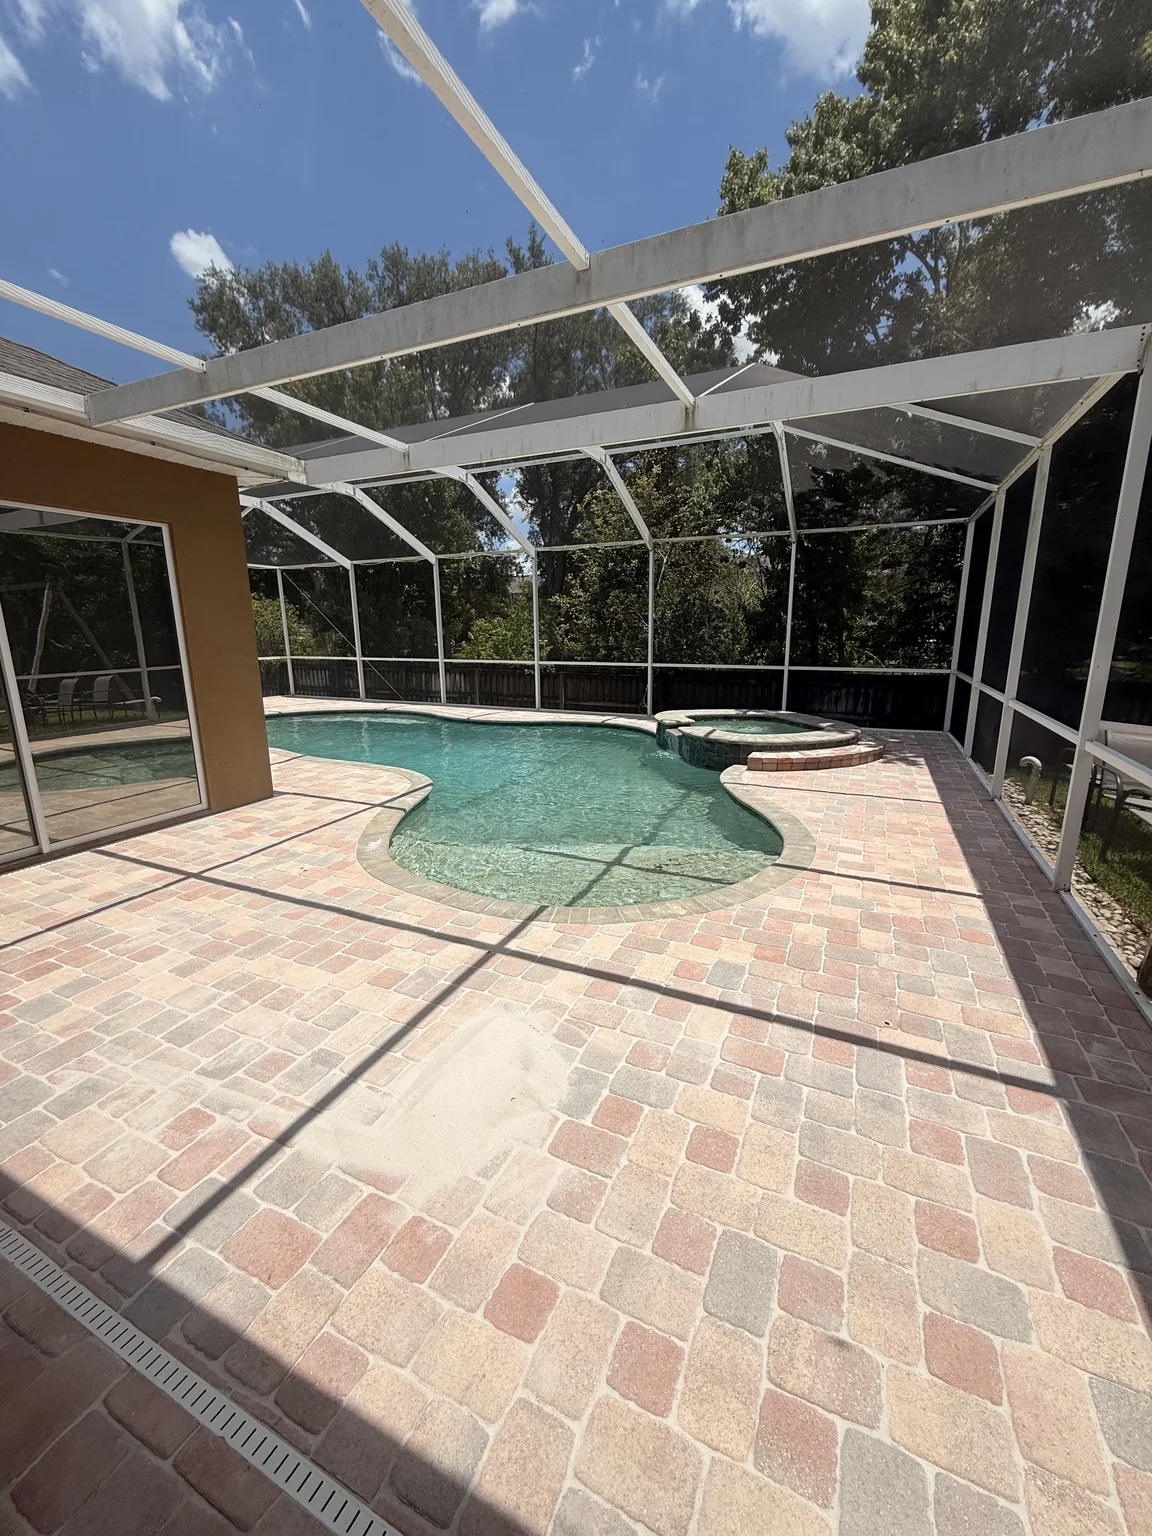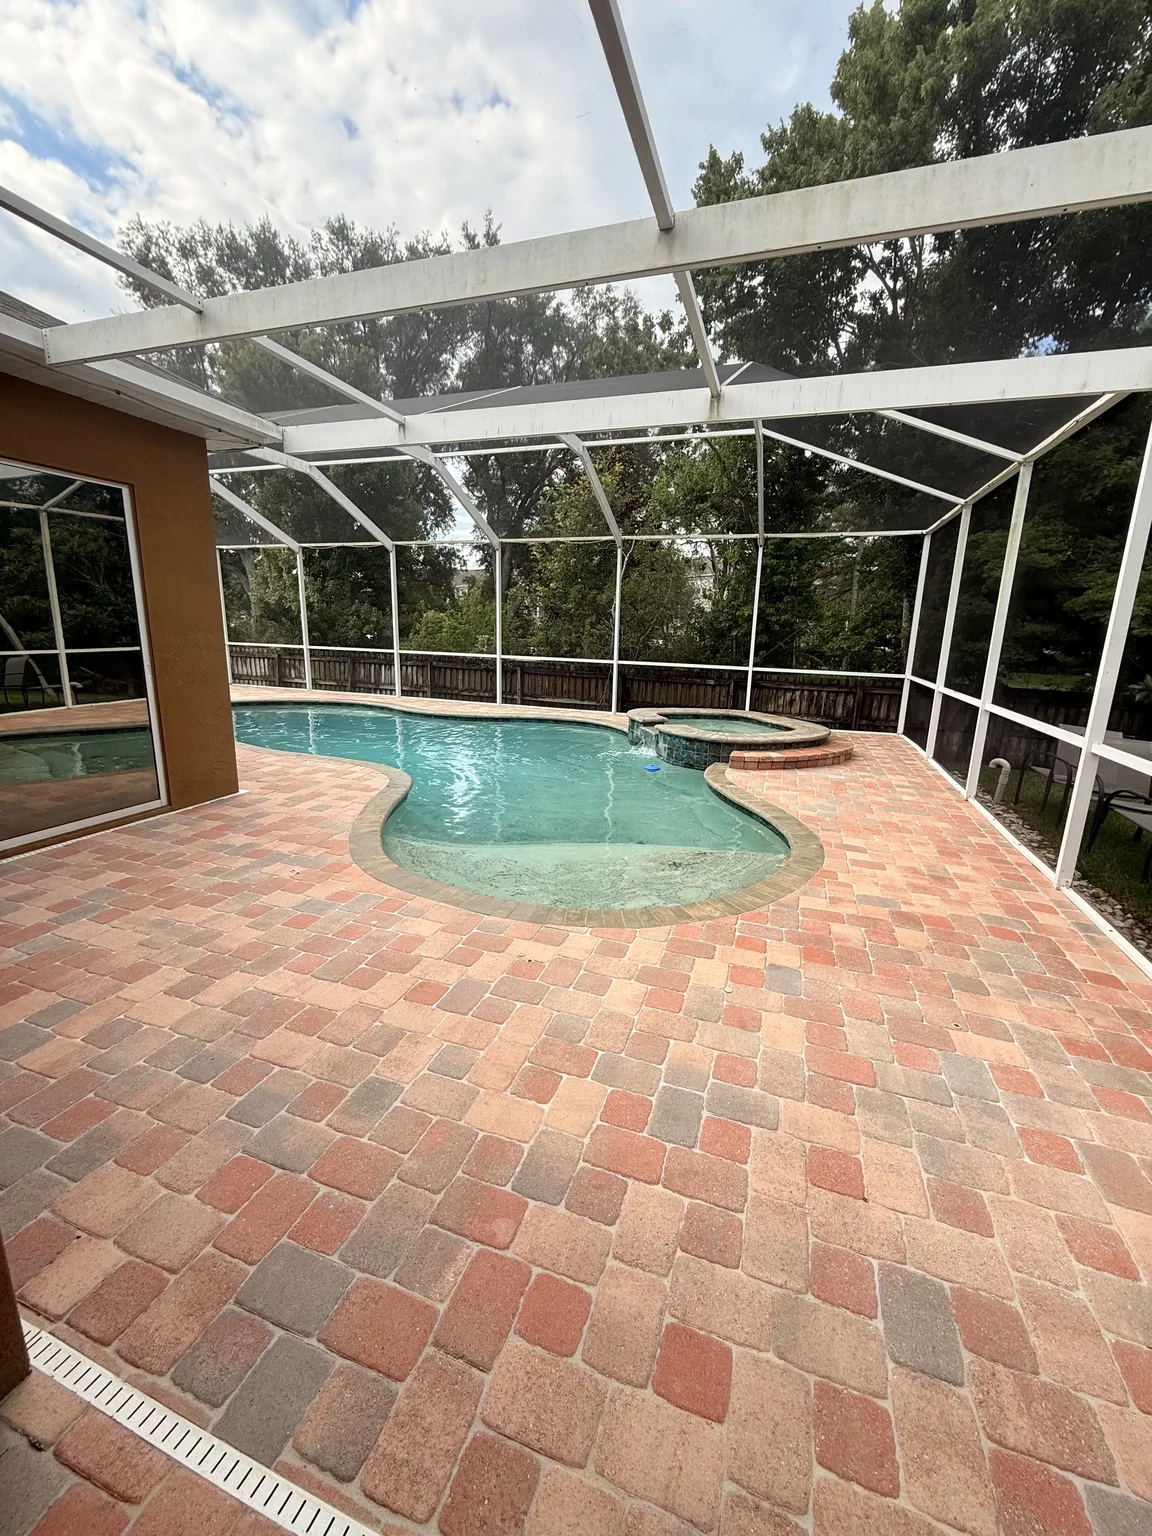
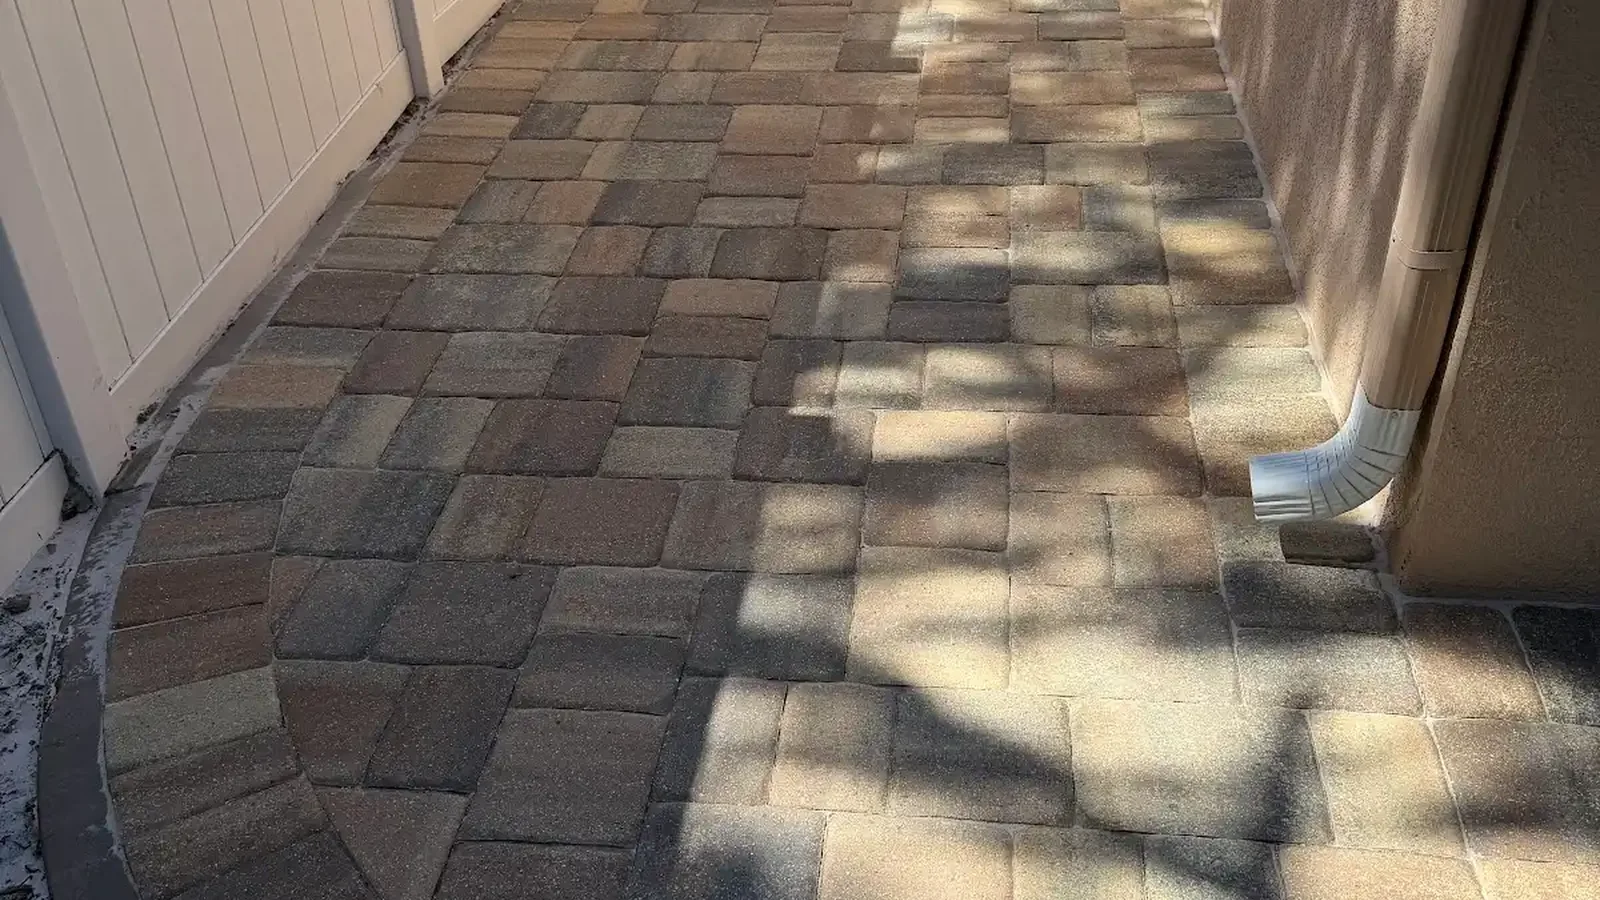
Weeds between pavers frustrate many Tampa Bay homeowners because they make a beautiful patio, driveway, or pool deck look neglected. However, most of that growth usually starts from seeds and organic debris that settle in the joints, not from roots pushing up through a solid base. When you understand where the plants really come from, you can target the right fixes instead of fighting the same weeds every few weeks. This guide walks through removal, joint cleaning, refilling, polymeric sand, edge growth, runoff, and safe products for Florida homes.
You will also see how local conditions in Riverview, Ruskin, Wesley Chapel, Land O’ Lakes, and coastal spots like Palm Harbor change your maintenance routine. While some tasks are easy DIY projects, others benefit from experienced eyes, especially around pool decks or settled driveways. Use this article as a practical roadmap, then decide what you want to handle and where a local paver specialist could help.
What Actually Causes Weeds Between Pavers?
Many people imagine tough roots forcing their way up from deep under the patio. In reality, that usually is not the main source of weeds between pavers on a well-built hardscape. Instead, tiny seeds blow in from nearby lawns, mulch beds, and trees, then settle into the joint sand where they can sprout.
In Tampa Bay, our warm temperatures and frequent showers create an ideal germination zone in those narrow gaps. As organic dust, pollen, and leaf particles collect, they hold even more moisture and nutrients. Therefore, a joint that once shed water and dried out quickly can slowly turn into a narrow planter strip.
How joint conditions invite plant growth
Loose or low joint sand gives seeds a place to land and stay put. Once they root, their small root systems can widen the gap and catch even more debris. Over time, that cycle makes it seem as if plants are pushing the pavers apart, when they largely grow in the material that has accumulated above the base.
Poor edge restraint and ponding water add to the problem. Water that lingers in joints in Town ‘N’ Country or Thonotosassa after heavy storms keeps them damp for days, speeding up growth. Sound installation still matters, but regular cleaning and refilling joints is just as important for long-term weed resistance.
When weeds really do signal a bigger base issue
Sometimes weeds align with settlement lines, dips, or heaved sections. In those cases, moisture collects in specific areas, and the base or bedding sand may be disturbed. That is when you should look more closely at the structure of the paver system, not just its surface growth.
If you see cracked borders, shifting patterns, or recurring ponding in the same places, a professional inspection can help. A paver contractor can lift a few units, check the bedding layer, and suggest repairs before you invest too much in surface-only weed control.
Quick Answer: How To Stop Weeds Between Pavers in Florida
If you want a direct plan, the basic answer is to clear growth, clean joints, restore sand, and manage moisture. First, remove existing weeds and roots carefully without loosening pavers. Second, clean the surface and joints so sand can work correctly again. Third, refill joints with appropriate sand, sometimes polymeric sand if conditions allow.
Finally, address surrounding conditions that keep joints constantly damp or full of debris. That means trimming overhanging plants, checking slopes on patios and walks, and watching how rainwater moves across your driveway or pool deck. When you handle both the joints and the nearby landscape, new weeds have far fewer chances to take hold.
Core steps to stop weeds between pavers for the long term
In most Tampa Bay yards, a practical long-term routine includes several linked tasks. You do not have to complete all of them in one day, but they work best together. Here is the basic path many homeowners follow.
- Manually remove visible weeds, including roots where possible.
- Blow or sweep off loose leaves, mulch, and soil from the paver surface.
- Use a cleaner made for concrete pavers and a gentle rinse to clear joints.
- Allow the area to dry fully, then sweep in fresh joint sand or polymeric sand.
- Monitor nearby beds, turf edges, and downspouts that keep feeding the joints.
This approach respects the paver system while targeting the real sources of weed pressure. It also fits busy schedules around Land O’ Lakes, Greater Carrollwood, and other growing communities where outdoor spaces see heavy use almost year-round.
Why one-time treatments rarely solve the issue
Spraying a chemical killer alone can make weeds look gone, but dead roots still hold debris and moisture. As they break down, they create looser, richer material where the next set of seeds can thrive. That is why combining physical removal, cleaning, and joint restoration usually makes more sense.
In addition, Florida’s winds and storms constantly deliver new seeds from lawns, vacant lots, and wooded areas. Since you cannot control the larger environment, focusing on the joints and nearby landscape gives you the most reliable and repeatable results.
Inspecting Your Paver Area Before You Fight Weeds
Before you jump into scrubbing and sanding, take ten minutes to inspect the entire paved area. Walk slowly around your patio, driveway, or pool deck and look for patterns in where weeds appear. This quick assessment will help you separate surface issues from deeper structural concerns.
In Ruskin and Seven Springs, for example, you might notice more weeds on the shaded, damp side of the patio than the sunny side. That immediately suggests moisture and debris issues more than base failure. Similarly, heavy weed bands close to planting beds usually reflect windblown seeds and mulch washing into joints.
Simple inspection checklist for homeowners
Look for dips, heaving, or rocking pavers as you walk on the surface. Check whether your feet step into small puddles after irrigation or rain, which would indicate low spots. Also, inspect the edge restraint or border row to see if any pavers have drifted outward.
Next, notice which joints have the thickest weed growth and whether sand is low or missing there. If sand sits well below the chamfer edge on many pavers, refilling will be important. Take a few photos of problem areas, since they can help if you later decide to ask a contractor for advice.
Deciding between DIY work and professional help
If the pavers feel solid and most issues look surface-level, many homeowners choose a DIY path. Regular cleaning, sensible use of paver-safe products, and careful sand replacement can drastically cut weed growth. However, if you see widespread settlement, trip hazards, or loose pool coping, it is wiser to call a professional.
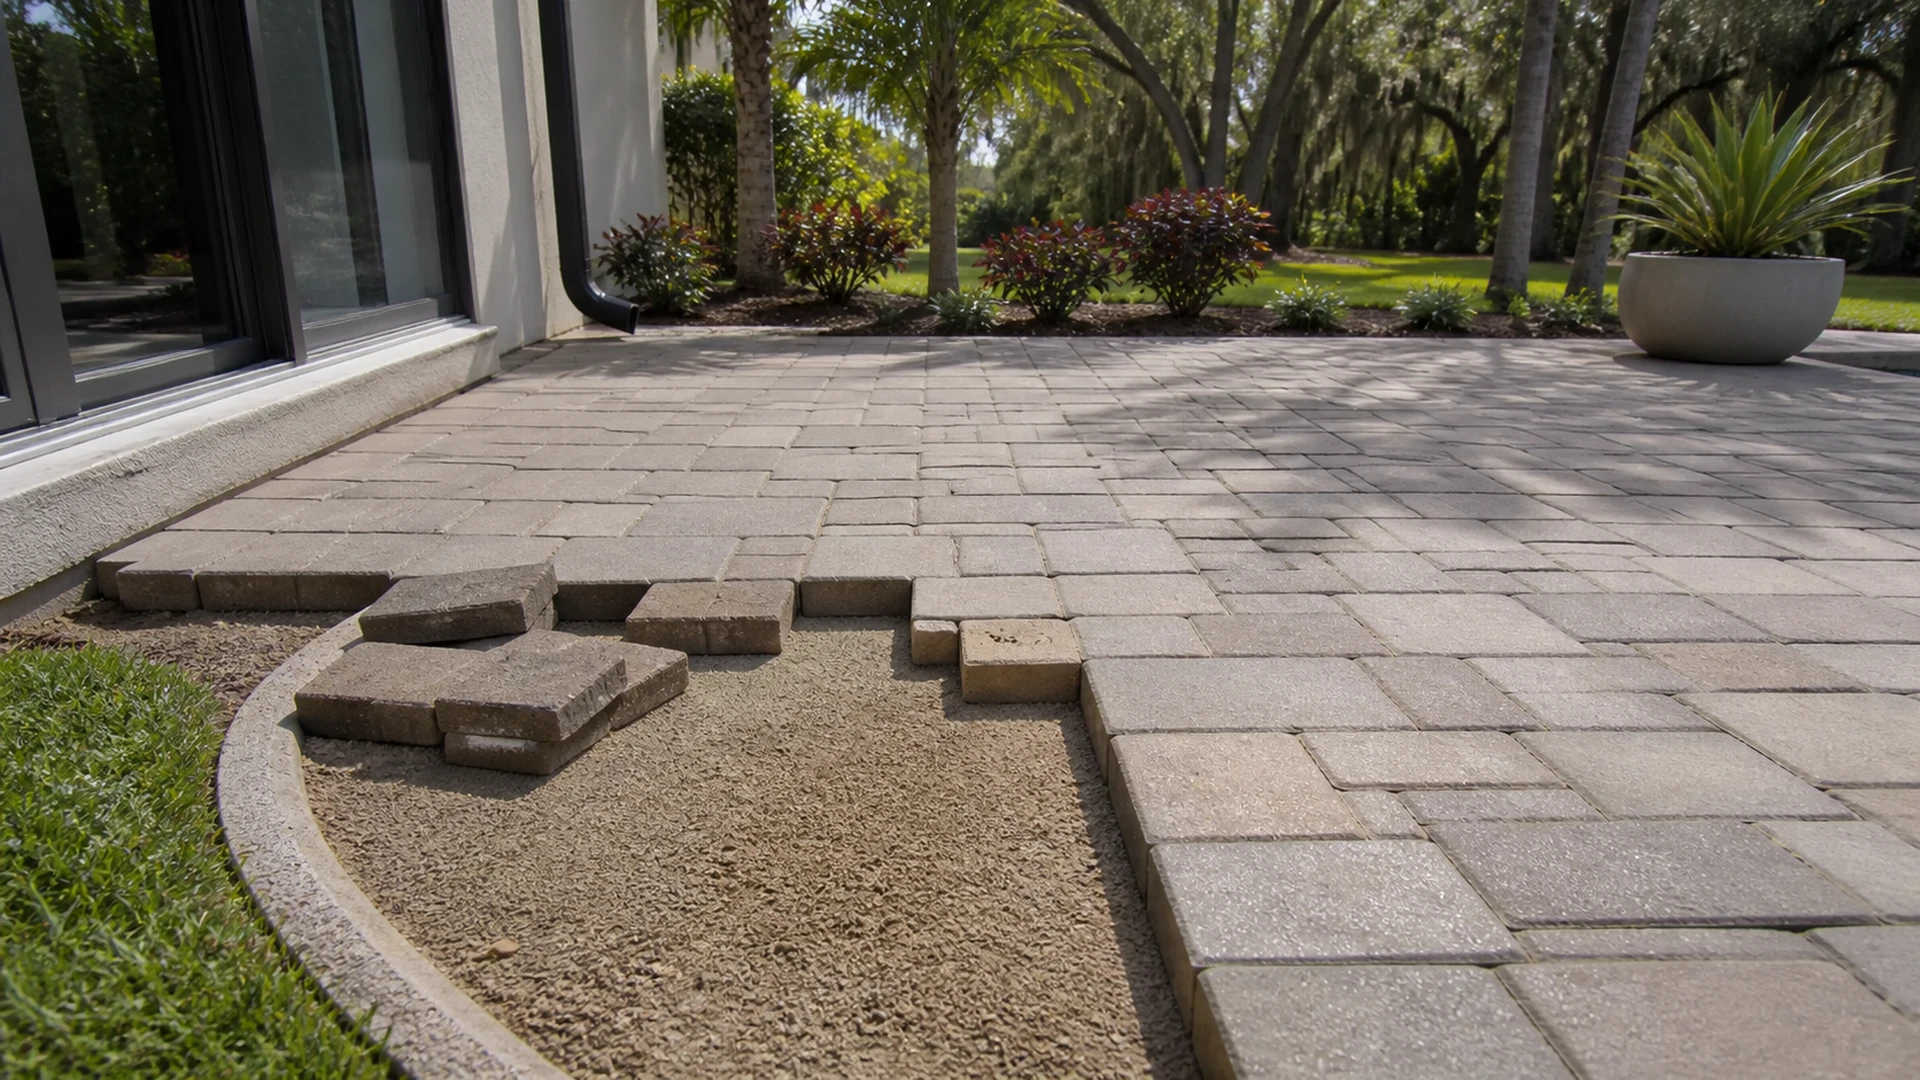
A local hardscape contractor who understands Florida soils can evaluate whether relaying or rebuilding sections is appropriate. For example, paver repair services in Tampa Bay often include lifting, regrading the bedding layer, and reinstalling pavers so the surface drains and sheds debris better. Getting that structure right reduces both weeds and long-term maintenance headaches.
Step-by-Step: Removing Growth and Cleaning Your Pavers
Once you know what you are dealing with, you can safely remove the existing vegetation. Start by pulling larger weeds by hand or with a narrow weeding tool, working gently to avoid chipping paver edges. Take care near joints with very little sand, because aggressive prying can loosen units.
In pool areas and around delicate landscaping, be especially cautious with any products you apply. Many homeowners near Palm Harbor and Town ‘N’ Country prefer manual removal in those zones to reduce chemical exposure. If you do use a spot treatment, always follow label directions and keep it away from water features and desirable plants.
Cleaning joints without harming the paver surface
After you pull the visible growth, blow or sweep away loose debris. Then, rinse and clean using cleaners formulated for concrete pavers, not generic harsh chemicals. CMHA notes that you should choose products made for pavers and treat tough stains before cleaning the whole surface, which you can read more about in their guidance on cleaning and sealing.
A pressure washer can be useful, but it also can blast out too much joint sand if used incorrectly. If you use one, keep the nozzle at a safer distance and a lower pressure setting, and avoid directing the stream straight into the joints. The goal is to rinse away organic material while leaving enough joint depth for new sand to lock in.
Drying time before you refill joints
After cleaning, let the pavers and joints dry thoroughly. In humid Tampa weather, that usually takes at least a full sunny day, and sometimes more in shady spots. Rushing this step can trap excess moisture in the joints, which works against both regular and polymeric sand.
Use this drying time to tidy surrounding beds, prune overhanging shrubs, and redirect any downspouts that discharge straight onto the paved area. Coming back to a dry, debris-free surface will make your joint refilling go faster and last longer.
Refilling Joints: Regular Sand vs. Polymeric Sand
Once the area is clean and dry, you need to refill the joints to reduce space for future weeds between pavers. Standard jointing sand and polymeric sand each have roles, and neither option is perfect for every project. Your choice should depend on the condition of the pavers, the joint width, and how water moves across the area.
Regular joint sand works well when the base is stable, the joints are narrow, and water drains off the surface efficiently. Polymeric sand can add extra joint stability in some conditions, but it must be installed in line with the manufacturer instructions and only where joints and slopes are suitable. Wrong application can cause haze, cracking, or poor performance.
Comparing joint sand options for Florida homes
Use this simple comparison table as a conversation starter, not a universal rule. Site specifics around Riverview or Wesley Chapel may still change the best choice for your hardscape.
| Joint material | Pros | Cons | Best suited for |
|---|---|---|---|
| Standard joint sand | Simple to install, easy to top off, budget-friendly | Can wash out faster in heavy runoff, needs more maintenance | Stable patios, walkways with good slope, low-pressure wash areas |
| Polymeric sand | Hardens when activated, can resist washout and reduce weed growth | Requires very clean, dry joints and careful activation; not ideal where water sits | Well-drained driveways, patios with proper slope, joints within product limits |
Regardless of which you choose, always sweep sand diagonally across the joints to fill them fully. Then compact lightly with a plate compactor or by tamping boards, if appropriate, and top off again so sand sits near the chamfer edge. Properly filled joints shed debris better and leave less void space for seeds to settle.
When sealing and joint stabilization make sense
Some homeowners consider adding a sealer that also stabilizes joint sand. CMHA explains that sealing and joint stabilization decisions depend on the specific project, including traffic, exposure, and existing condition. That means sealing every paver surface is not always necessary, but it can help in some cases.
If you do explore sealing, discuss slip resistance, expected maintenance, and how the product interacts with your chosen joint sand. Around pools and steep driveways, be cautious with any sealer that might change surface texture. A knowledgeable contractor can walk you through samples and small test areas before you commit to full application.
Florida Moisture, Edge Growth, and Runoff Considerations
Florida’s climate makes weed control different from cooler, drier regions. Afternoon storms, irrigation overspray, and high humidity keep joints damp for longer stretches, especially in shaded areas. That moisture fuels growth unless the surface and joints shed water efficiently.
In communities like Greater Carrollwood and Land O’ Lakes, mature trees often drop leaves and pollen that settle into paver joints. Along coastal areas, salt and fine sand can also accumulate around joints, which can trap even more debris. Simple changes in how water and debris move across your hardscape can significantly cut weed pressure.
Managing water on patios, walkways, and pool decks
Inspect how rain and irrigation water exit your patio or pool deck. You want water to move steadily off the surface rather than sitting in low spots or flowing constantly over certain edges. Slight adjustments to sprinkler heads or drip lines can keep joints from staying soaked.
If you notice that a corner of your paver driveway in Thonotosassa or Town ‘N’ Country always turns green or slimy, that may signal a localized grading or base concern. In those cases, consider having a paver professional check the area while they handle repairs or maintenance. Often, improving the bedding layer and slope in that section reduces both weeds and slippery buildup.
Controlling edge vegetation without harming hardscapes
Weeds and turf that creep from the edges do almost as much damage as those in the joints. They can dislodge border pavers and constantly drop seeds across the surface. Regular edging with a string trimmer is useful, but take care not to chip the paver sides.
Consider a narrow rock or mulch buffer between lawns and paver areas, especially along driveways and walkways. That simple strip can catch clippings and reduce the number of seeds that bounce directly into joints. Keep mulch levels low enough that they do not spill over during heavy storms.
Common Mistakes, Prevention Tips, and When To Call a Pro
Many weed problems around Tampa Bay persist because of a few repeat mistakes. Over-reliance on chemicals, rough power washing, and ignoring nearby landscape issues often undo good efforts. Recognizing these patterns helps you focus on smarter, preventive steps.
Prevention does not mean you will never see another sprout. However, it can shift your routine from constant crisis cleaning to quick touch-ups. This is especially helpful for busy homeowners in Riverview, Ruskin, and Wesley Chapel who want neat outdoor spaces without constant weekend work.
Frequent weed-control mistakes to avoid
One common mistake is blasting joints clean with a high-pressure nozzle and then never refilling them. That leaves wide, deep gaps where seeds and debris collect even faster. Another issue is using household chemicals not designed for concrete pavers, which can discolor the surface or harm nearby grass and plants.
Ignoring overgrown beds and tree canopies is another problem. Even perfectly filled joints will struggle if leaves, berries, and mulch rain down all year. A balanced approach trims nearby vegetation, keeps gutters and downspouts under control, and protects the hardscape at the same time.
When professional assessment makes sense
Consider calling a paver specialist if you see significant settlement, loose steps, or movement around a pool deck. Those conditions raise both safety and structural concerns that go beyond simple weed removal. A contractor can lift and reset pavers, adjust the bedding material, and improve the way the surface sheds water.
For larger patios, driveways, or community walkways, a professional may also complete joint replacement and cleaning more efficiently. They can match sand types, evaluate whether polymeric products are appropriate, and phase the work to minimize disruption. Reviewing maintenance guides, such as the ones at Dr Pavers Design, can help you prepare the right questions for that conversation.
FAQs About Stopping Weeds Between Pavers in Tampa Bay
Do weeds between pavers mean my patio or driveway was installed wrong?
Not necessarily. Even a well-installed paver system in Tampa Bay can develop weeds because seeds and debris constantly land in the joints. Warm temperatures, frequent rain, and irrigation all encourage those seeds to sprout.
However, if weeds appear mainly where pavers have settled, shifted, or hold water, there may be installation or base issues. In that situation, it is worth asking a qualified paver contractor to inspect the area while you discuss repair options and future maintenance.
Will polymeric sand completely stop weeds between pavers?
Polymeric sand can help reduce weed growth when it is installed correctly in suitable conditions, but it is not a guarantee. Florida’s climate and constant seed supply mean you may still see occasional sprouts, especially along edges or in spots that stay damp. The product works best when the base is stable, the surface drains well, and joints fall within the recommended size range.
Also, polymeric sand needs very clean, dry joints and proper activation with water. If any of those steps are rushed, the joints may not harden as intended. Because of these variables, many homeowners combine polymeric sand with regular sweeping, debris control, and periodic inspections rather than relying on it alone.
Are weed killers safe to use around paver pool decks and landscaping?
Weed-control products vary widely, so it is important to read and follow each label carefully. Around pools, ponds, and ornamental plantings, many homeowners choose spot treatments and manual removal instead of broad spraying. That approach limits the chance of chemicals drifting into water or damaging desirable plants.
If you decide to use a product near a pool deck in Palm Harbor, Seven Springs, or any Tampa Bay neighborhood, keep it away from open water and storm drains. Apply on calm days, avoid overspray, and consider shielding nearby plants. When in doubt, ask a licensed lawn-care professional or pest-control operator for product-specific guidance.
How often should I replace joint sand on my paver patio or driveway?
The right interval depends on traffic, climate exposure, and how water flows across your hardscape. In many Florida settings, homeowners check joints at least once or twice a year, often at the start of the dry season and after the heaviest storms. If you see sand sitting noticeably low or bare joints in multiple areas, it is time to top them off.
Driveways and high-traffic walkways in Land O’ Lakes, Wesley Chapel, and similar areas may need more frequent attention than sheltered patios. Meanwhile, surfaces with effective slopes and less runoff can go longer between refills. A brief seasonal inspection will quickly tell you which pattern fits your home.
Can I fix weed problems and sunken pavers at the same time?
Yes, and it often makes sense to address both during one project. When pavers sink or heave, they tend to collect water and debris, which increases weed growth. Lifting and resetting those areas lets you correct the bedding layer, improve slope, and rebuild joints so they resist future weeds better.
Because this work involves the base and overall pattern, most homeowners work with an experienced paver contractor rather than attempting complex relays alone. A site visit allows the contractor to examine soil conditions, existing materials, and how the surrounding landscape affects your hardscape. From there, they can propose a repair and maintenance plan tailored to your property.
If you would like help deciding the best way to tackle weeds between pavers, sunken joints, or loose borders, the team at Dr Pavers Design is available for a complimentary consultation. You can review recent projects, read homeowner testimonials, and explore their services and common FAQ topics before reaching out. Then connect in the way that works best for you: call +1 (656) 600-4015, text +1 (656) 600-4015, email drpavers@outlook.com, or use WhatsApp at this link.
When you are ready to protect your patio, driveway, or pool deck in Tampa Bay, including neighborhoods from Riverview and Ruskin to Palm Harbor and Seven Springs, you can also connect on social media or find the office quickly. Follow ongoing tips and see project photos on Instagram and Facebook, or open the location in Google Maps to plan a visit or confirm service coverage for your home.