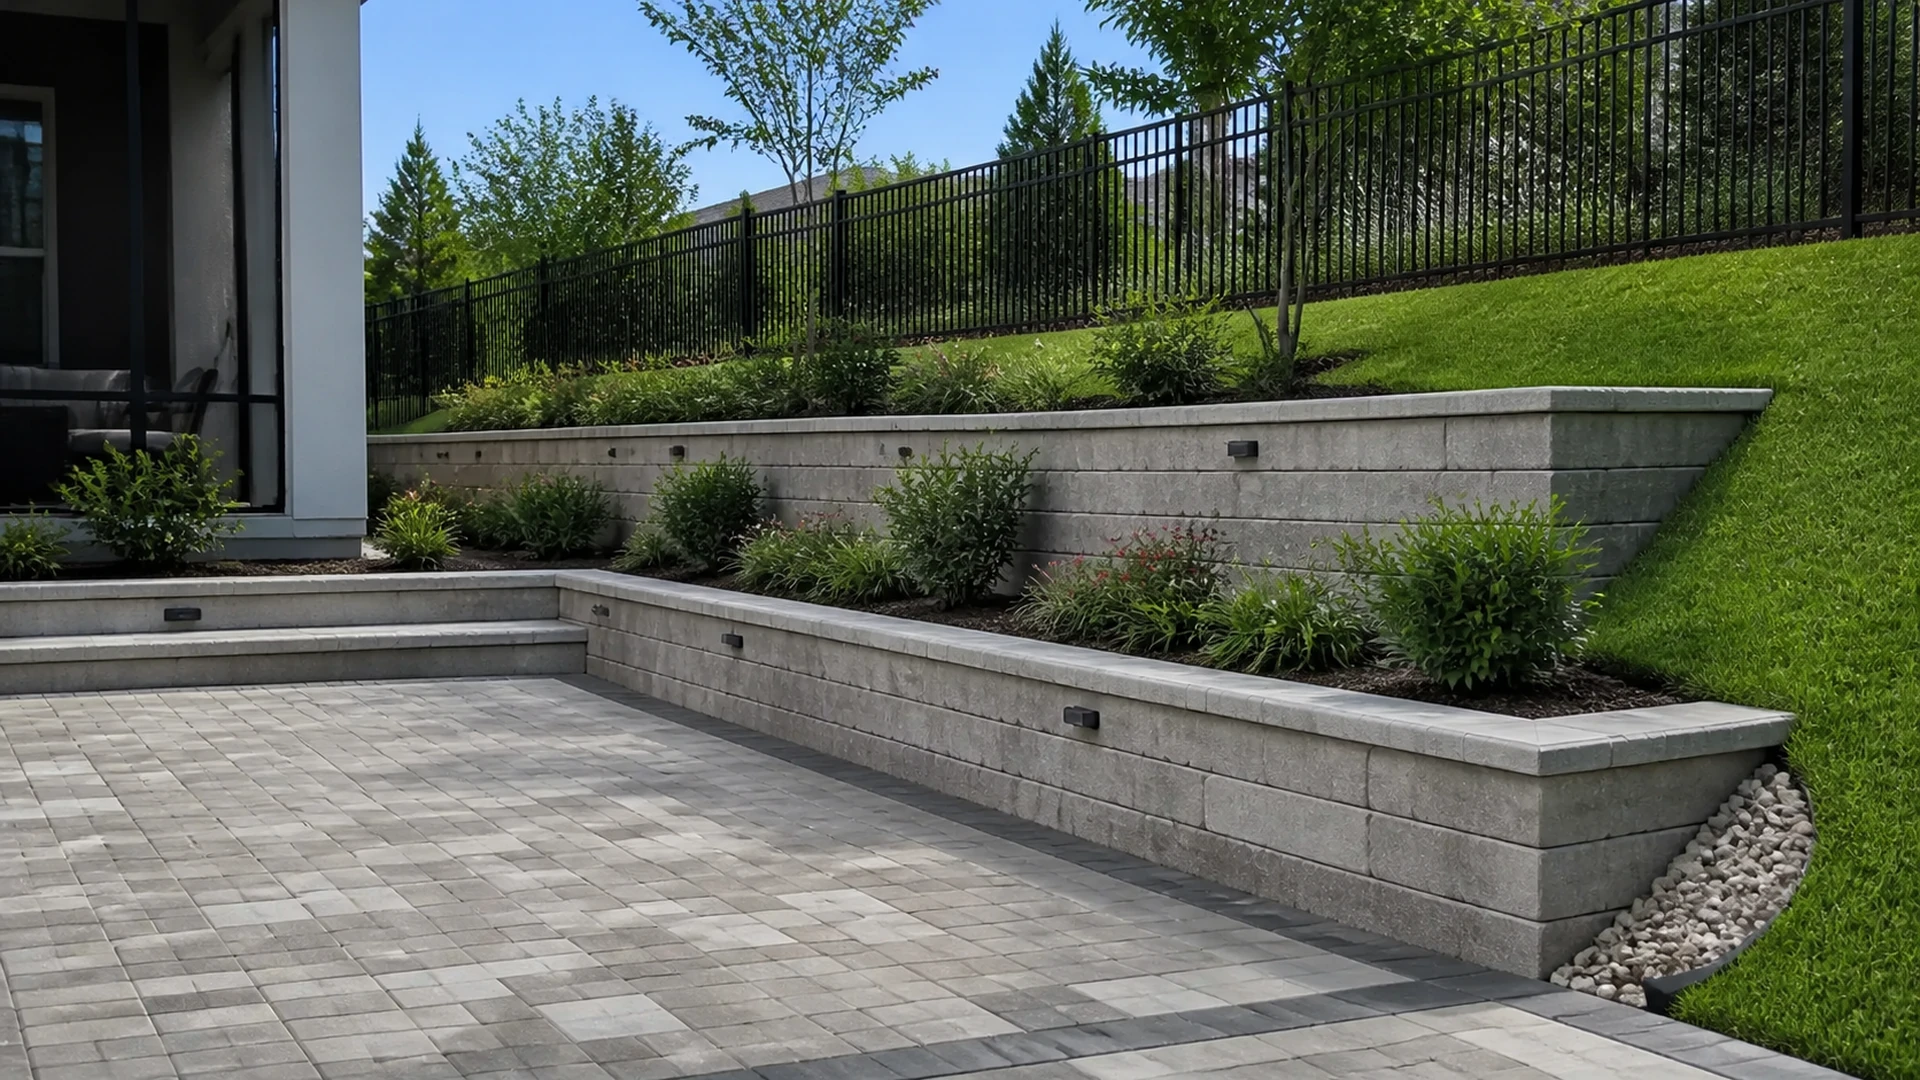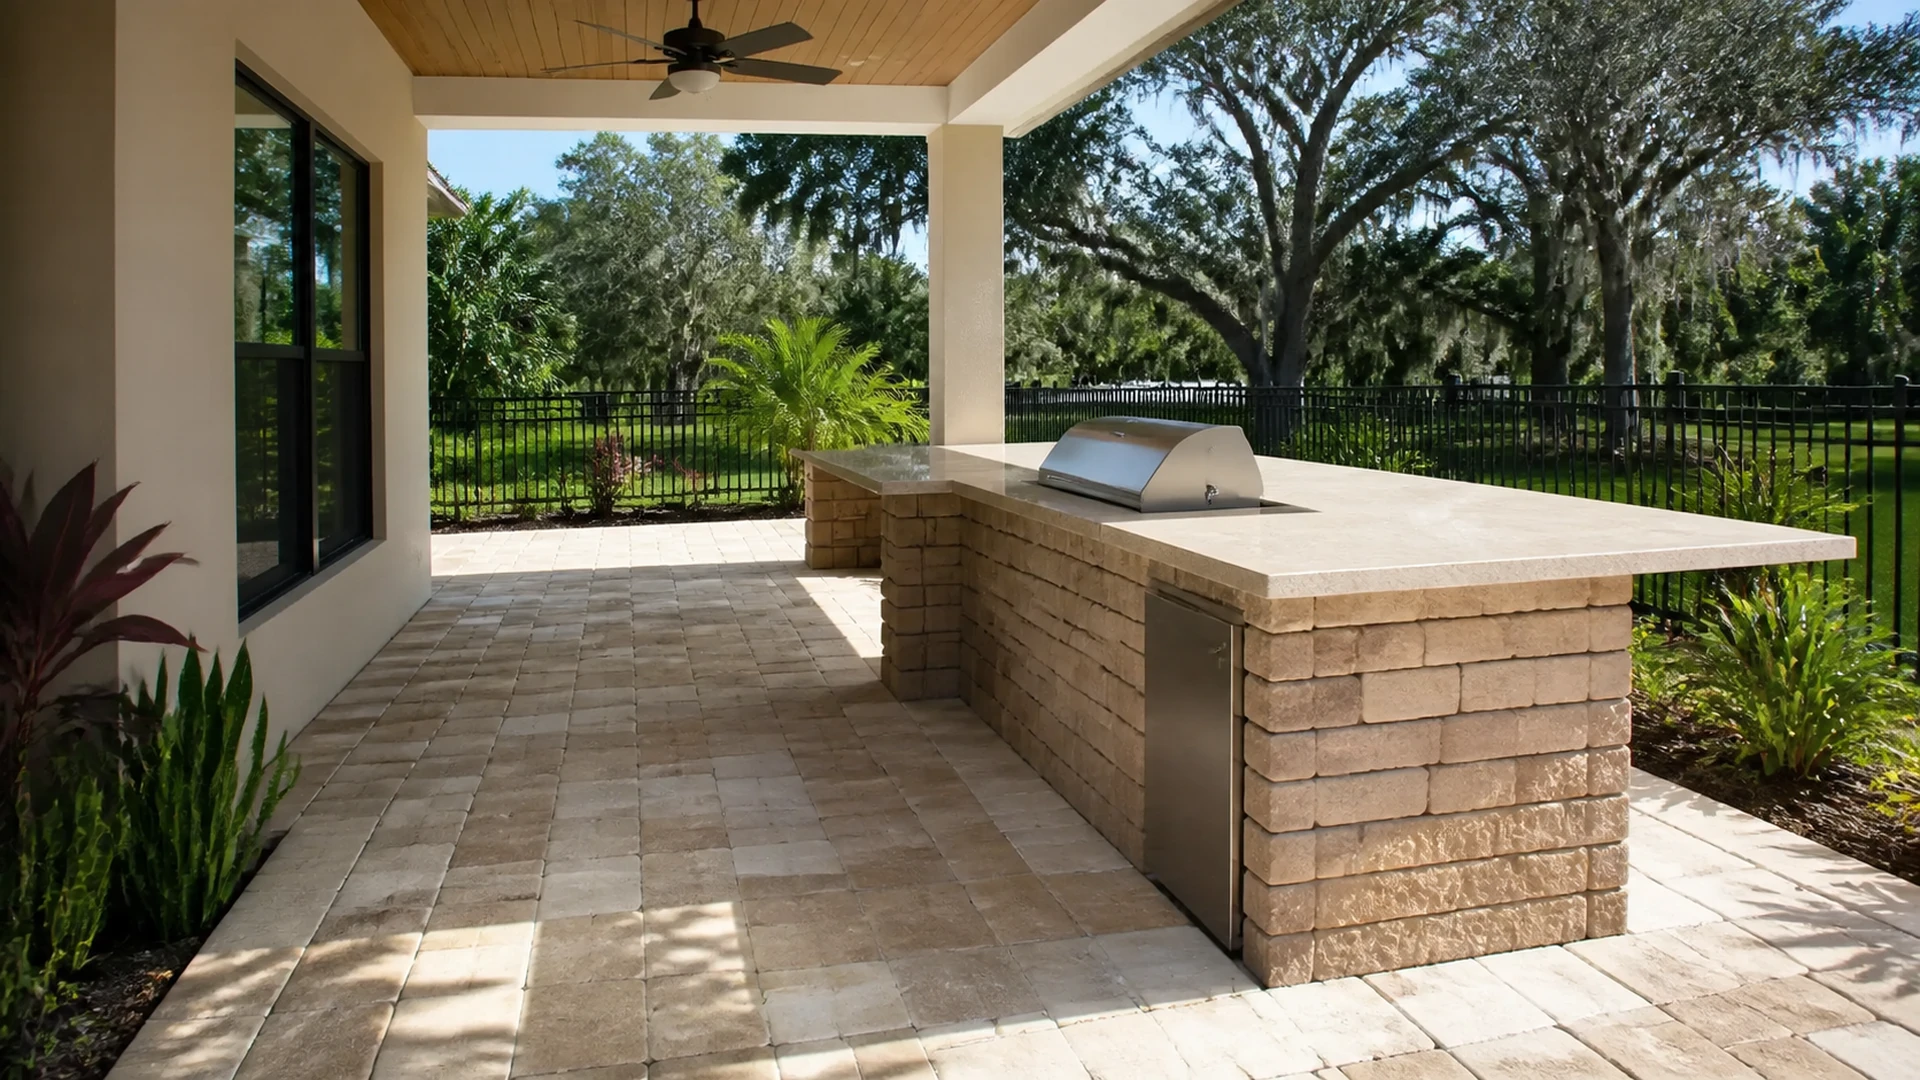

Retaining wall cap movement is worth documenting as soon as it appears, even when a capstone only looks slightly out of line. Caps are the visible top course of a wall, so they can reveal a loose unit, changing joint, shifting wall face, or soil issue nearby. They do not, by themselves, identify the cause. A clear record of what changed, where it changed, and what happened around it gives a qualified reviewer far better information than a quick repair request after the evidence has been disturbed.
For Tampa Bay homeowners, the useful question is not simply whether a cap is crooked. It is whether the condition is isolated, progressing, related to a corner or step, or accompanied by changes in the grade, paving, or drainage around the wall. Photograph the condition before moving loose material or filling an opening. Then compare it after major rain events or other meaningful changes, while keeping people away from any wall area that appears unstable.
What retaining wall cap movement can look like
A cap is often expected to form a continuous, even line, but its appearance needs to be separated from the wall below it. A single cap that rocks when lightly touched may be a loose cap. A visible gap between adjacent caps is an open joint. A run of caps that no longer follows a straight edge may indicate an alignment change. None of those descriptions automatically means the wall face has moved. They are observations, and accurate observations are the starting point for a useful review.
- Loose cap: one unit moves independently while the surrounding wall and caps appear stable.
- Open joint: the separation between cap units has widened, cracked, or lost material.
- Alignment change: several caps no longer follow the intended line, curve, or step layout.
- Wall-face change: blocks below the caps appear out of plumb, offset, rotated, or bowed.
- Soil loss: voids, washout, slumping, or missing material are visible at the top, behind, or in front of the wall.
These conditions can occur together, but they should not be blurred into one label. A cap can lose bond without a noticeable structural change in the blocks below. Conversely, resetting caps without looking at a bowing face can hide the most important visual clue. Keep the description literal: “two caps at the inside corner are separated” is more helpful than “the whole wall is failing” when the latter has not been established.
Build a record before appearance changes
Start with wide photographs that show the wall in relation to the yard, patio, driveway, fence, downspout, and nearby planting beds. Follow with medium views of each affected section and close views of joints or displaced caps. Take the same views from the same standing locations later. A phone photo is useful when it includes a stable reference such as a corner, post, step, or paving joint; avoid placing a ruler where it could suggest a measurement that is not level or repeatable.
Make a simple sketch of the wall and mark the affected run. Note whether the wall is straight, curved, terraced, or stepped, and identify the side that retains higher ground. Record the date, recent weather, visible water paths, irrigation activity, and any work performed nearby. If a cap is loose, do not pull it free merely to inspect underneath. The condition may be safer to assess in place, particularly if the cap is near a drop, a stair edge, or a location people use as a seat.
Give corners, curves, and steps their own photographs
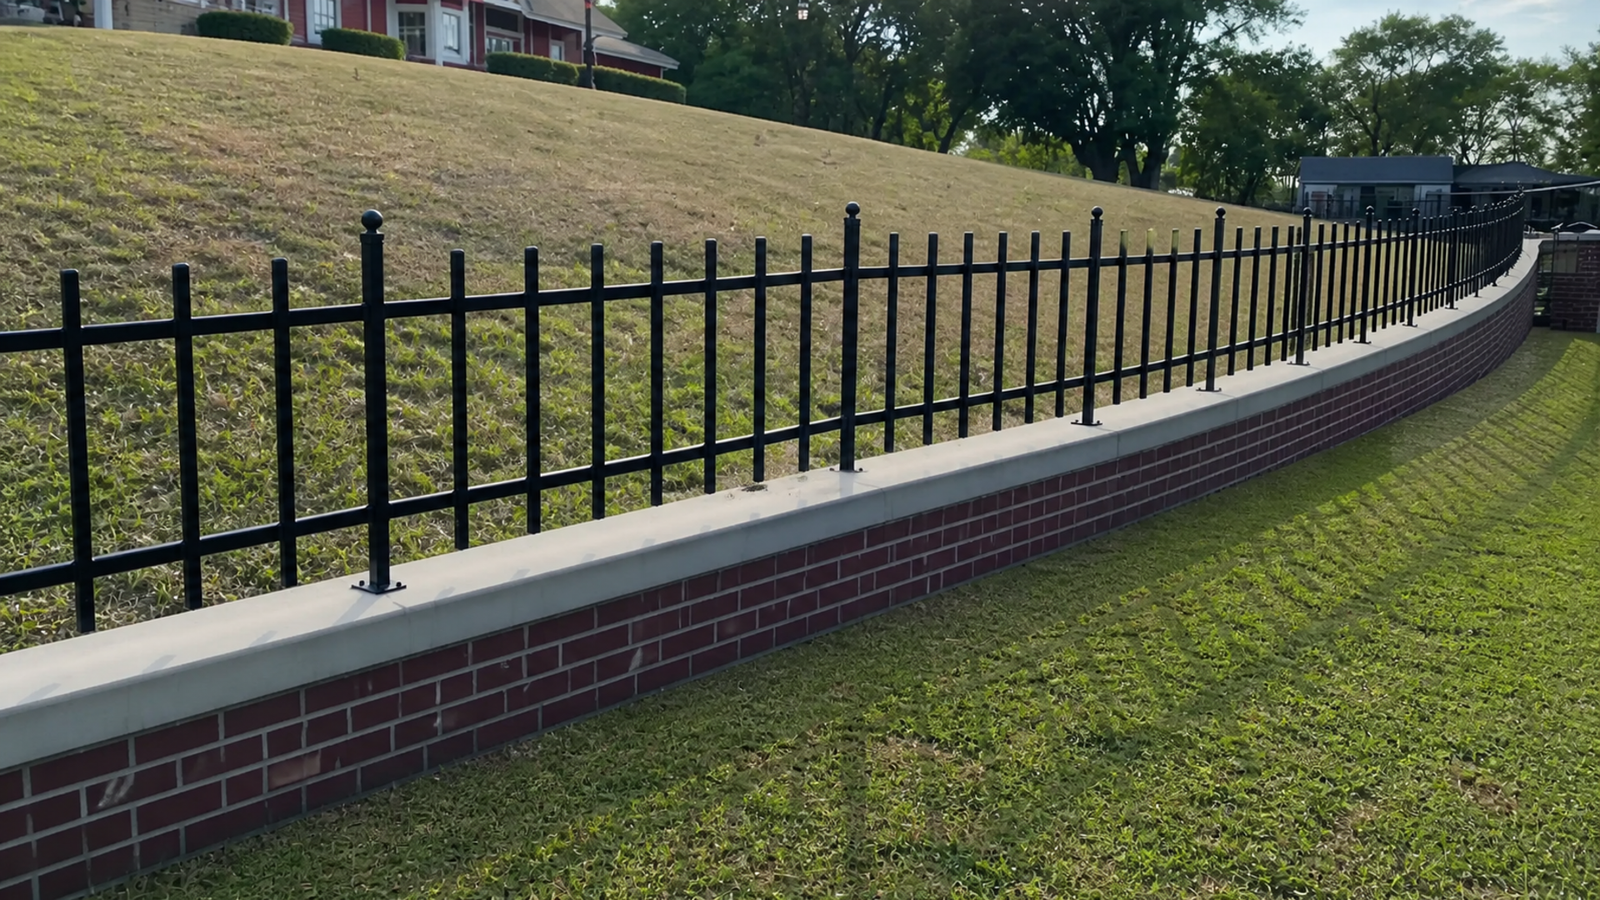
Geometry concentrates clues. At an outside corner, look for a cap that overhangs differently from its mate, a separating miter, or a vertical joint below that no longer reads consistently. At an inside corner, photograph both legs of the wall and the turn itself; soil and water can collect there differently than along an open run. A curved wall should be photographed along its arc, because a shifted cap can be easier to recognize against the intended curve than in a single close-up.
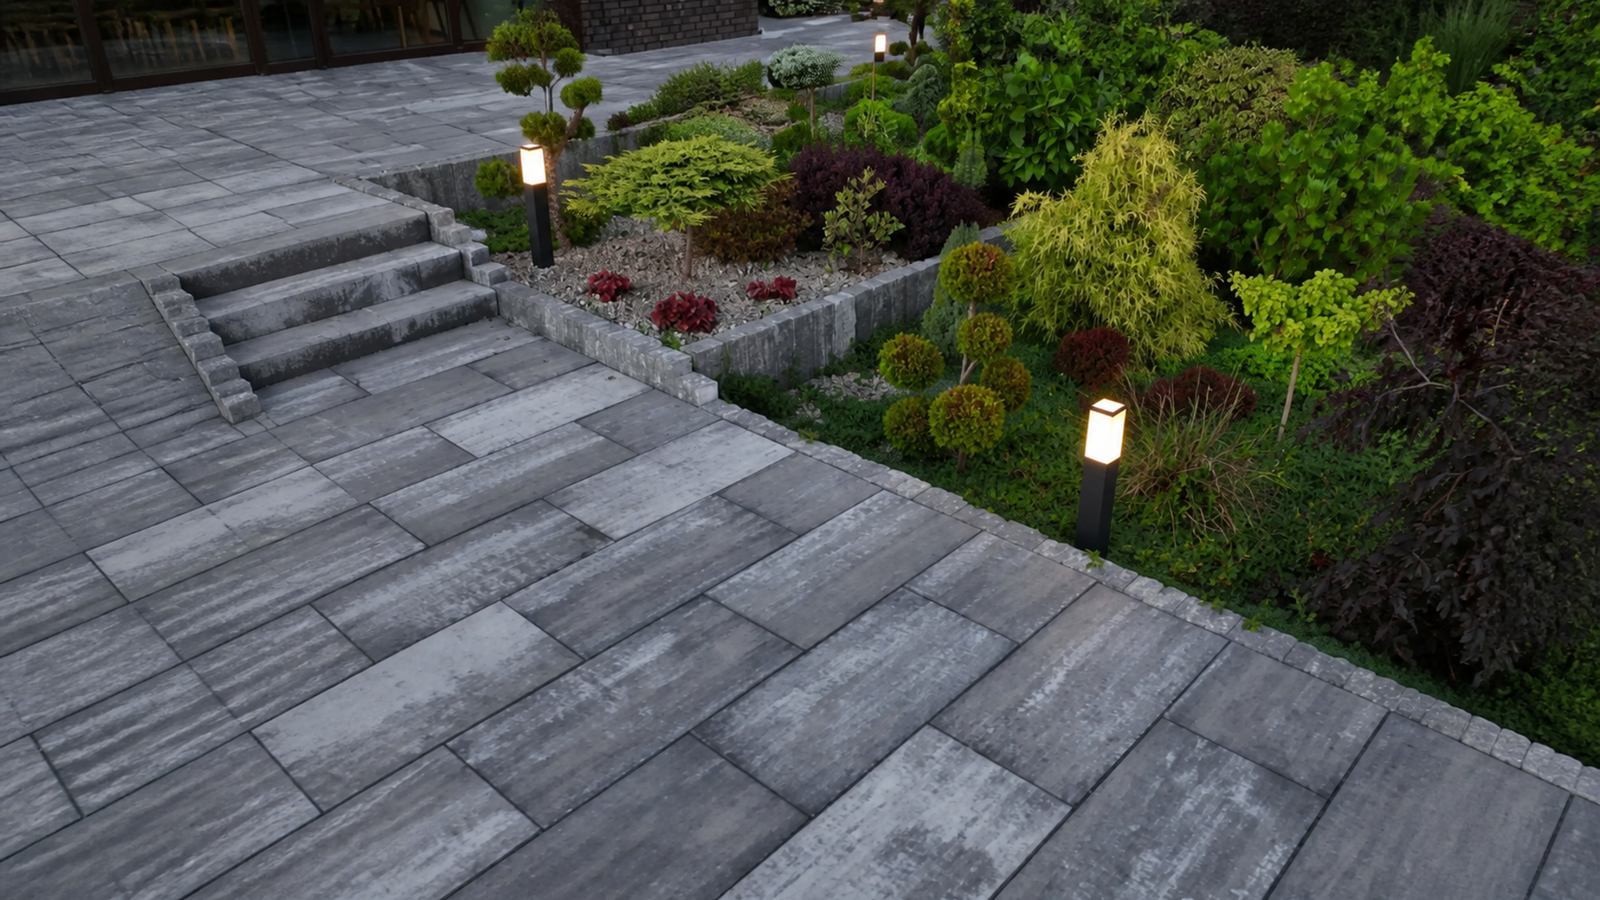
Steps deserve a separate record because the cap line, risers, and adjacent grade meet in a compact area. Note any new gap at a step, a tread that feels uneven, or a settling paver at the landing. Do not assume one caused the other. The value of the record is that it lets a reviewer consider their relationship without turning coincidence into a conclusion.
Read the ground around the wall without guessing at cause
Water matters to a retaining wall because it changes the questions that need answering above and below the wall. After a Florida downpour, look for a path that delivers runoff toward the retained area, water lingering at the top edge, or a discharge point that directs flow into a joint or corner. Also note whether water exits where it is expected to, whether sediment has appeared, and whether the soil surface has settled. Those are observations, not proof that drainage is the cause of movement.
Below the wall, check for erosion at the toe, wet patches that persist after surrounding ground dries, and changes where a paved surface meets the wall. Above it, inspect mulch beds, roof runoff routes, irrigation overspray, and slopes that may concentrate water. Tampa Bay heat and humidity can keep shaded areas damp longer, while intense rain can expose a flow path quickly. A review needs the actual site grading, wall construction, drainage details, and soil condition before assigning responsibility to any one of those factors.
Nearby pavers can provide context. A new low spot, opening at an edge restraint, or joint line that looks different beside the wall is worth marking on the sketch. Do not use a shifted paver to “prove” a wall problem, and do not use an apparently level patio to dismiss one. They may have separate support systems and histories. The relevant point is that simultaneous changes deserve to be seen together.
Why a cosmetic cap repair can be incomplete
Adhesive can be part of reinstalling an individual cap when the underlying condition supports that work, but adhesive alone does not realign a wall face, replace lost supporting material, correct a water path, or resolve an unstable base. A clean top surface can look reassuring while the questions underneath remain unanswered. That does not make every cap repair extensive; it means the scope should match what is actually observed.
Before authorizing a cosmetic repair, ask what will be inspected besides the cap. A useful answer distinguishes the cap bond from block alignment, joint condition, drainage outlets, grade, and nearby hardscape. It should also state what cannot be determined until the area is examined. The Concrete Masonry and Hardscapes Association is one industry resource homeowners can consult for general masonry and hardscape education; it is not a substitute for review of a particular wall.
A practical field checklist for a professional review
Bring the photo sequence and sketch to the conversation. Describe when the change was first noticed, whether it has changed after storms, and whether anyone has already moved, glued, or reset a cap. Point out utility features, irrigation heads, downspouts, gates, paving transitions, and landscape changes near the affected area. If there is a prior plan or installation record, provide it without assuming it reflects every current condition.
- Which caps, joints, corners, steps, or curves show a change?
- Does the wall face look consistent above and below the affected caps?
- Where does water approach, cross, leave, or collect around the wall?
- Are there visible voids, soil loss, settlement, or paving changes?
- What work is appropriate now, and what conditions require a broader evaluation?
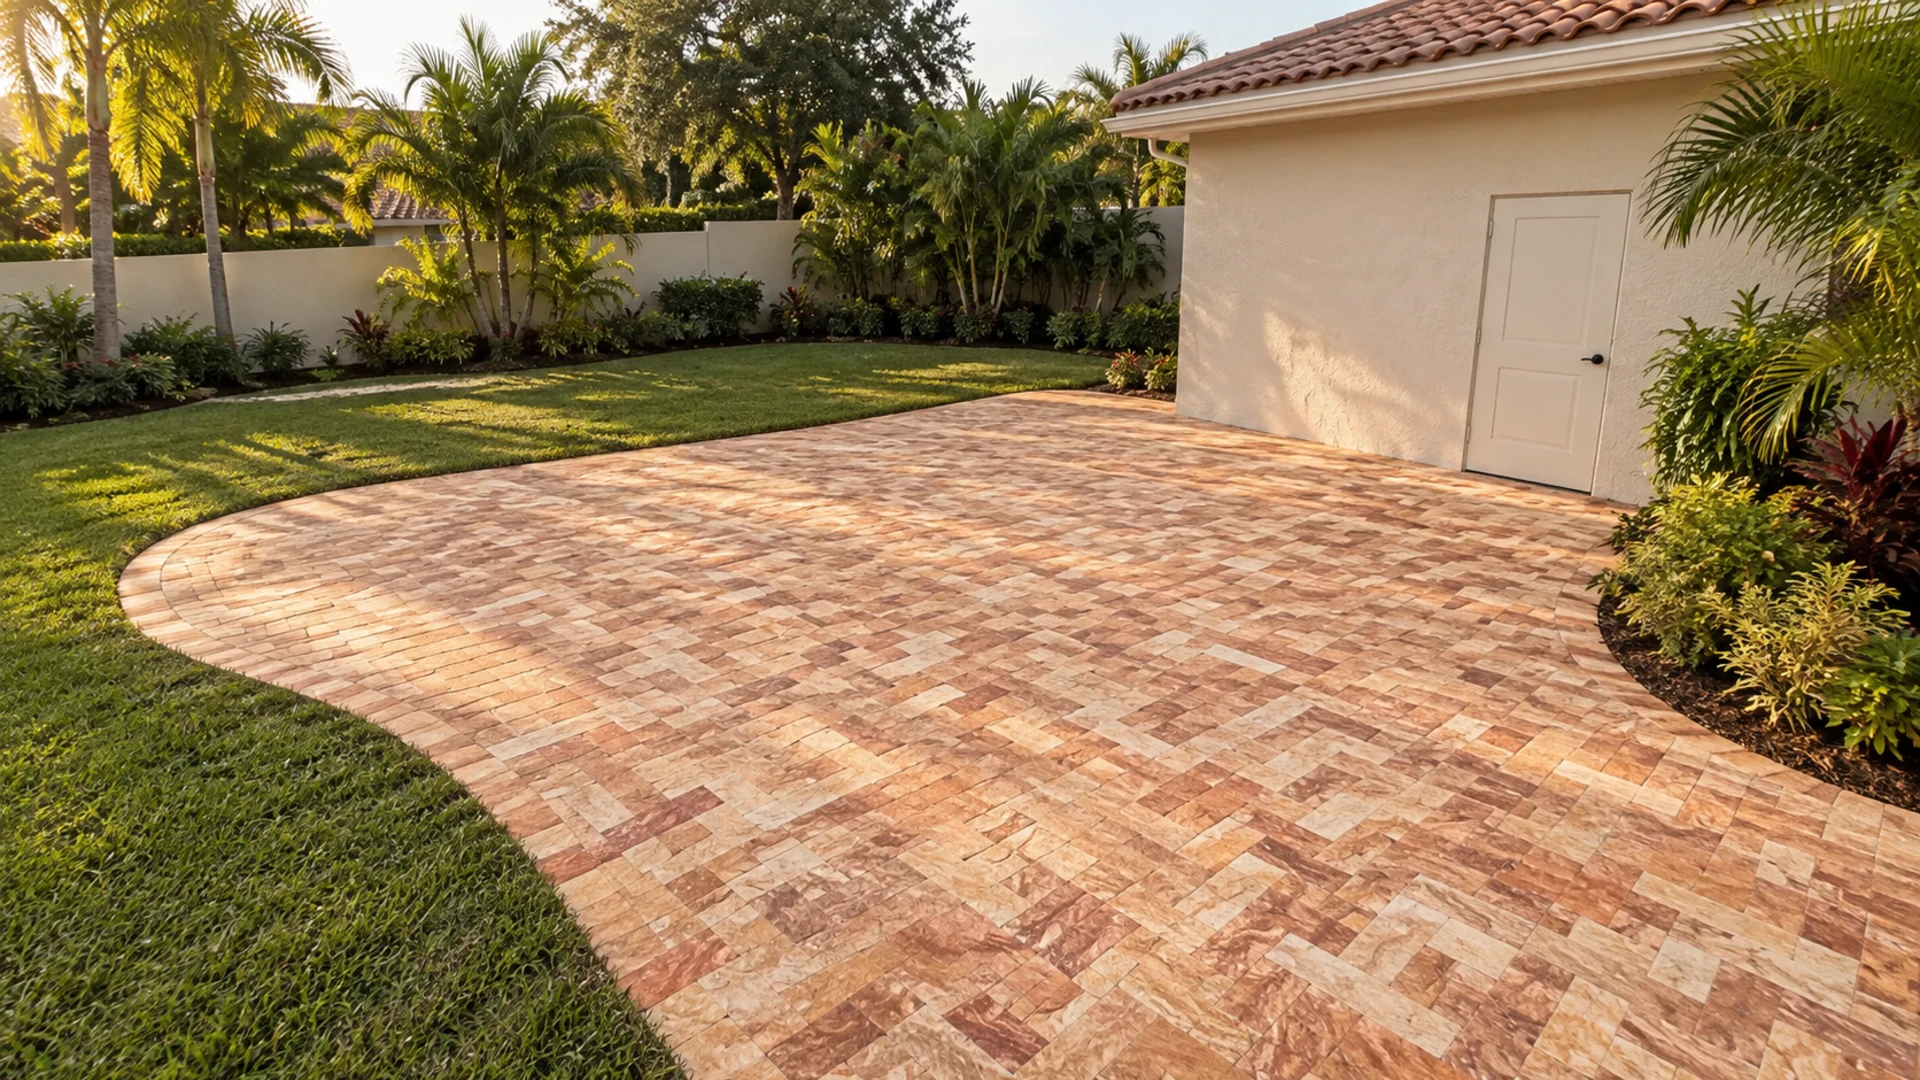
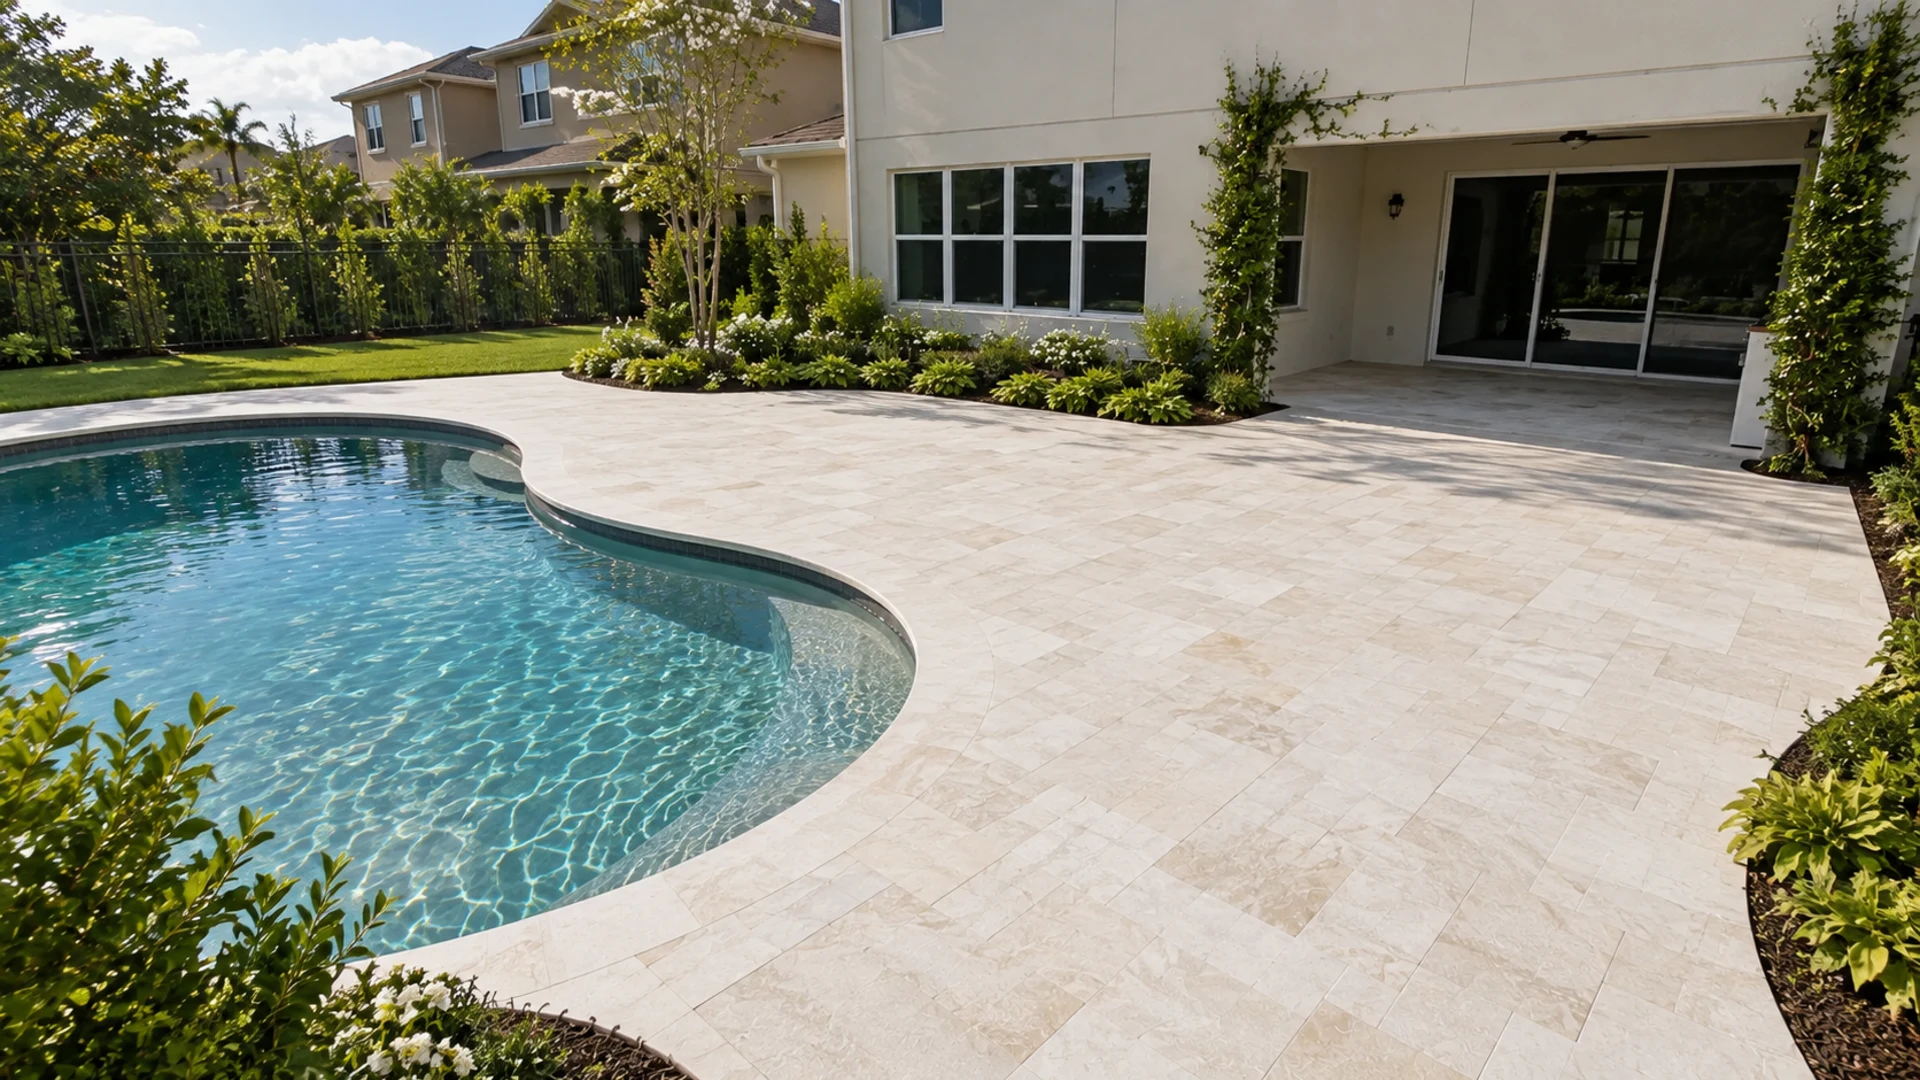
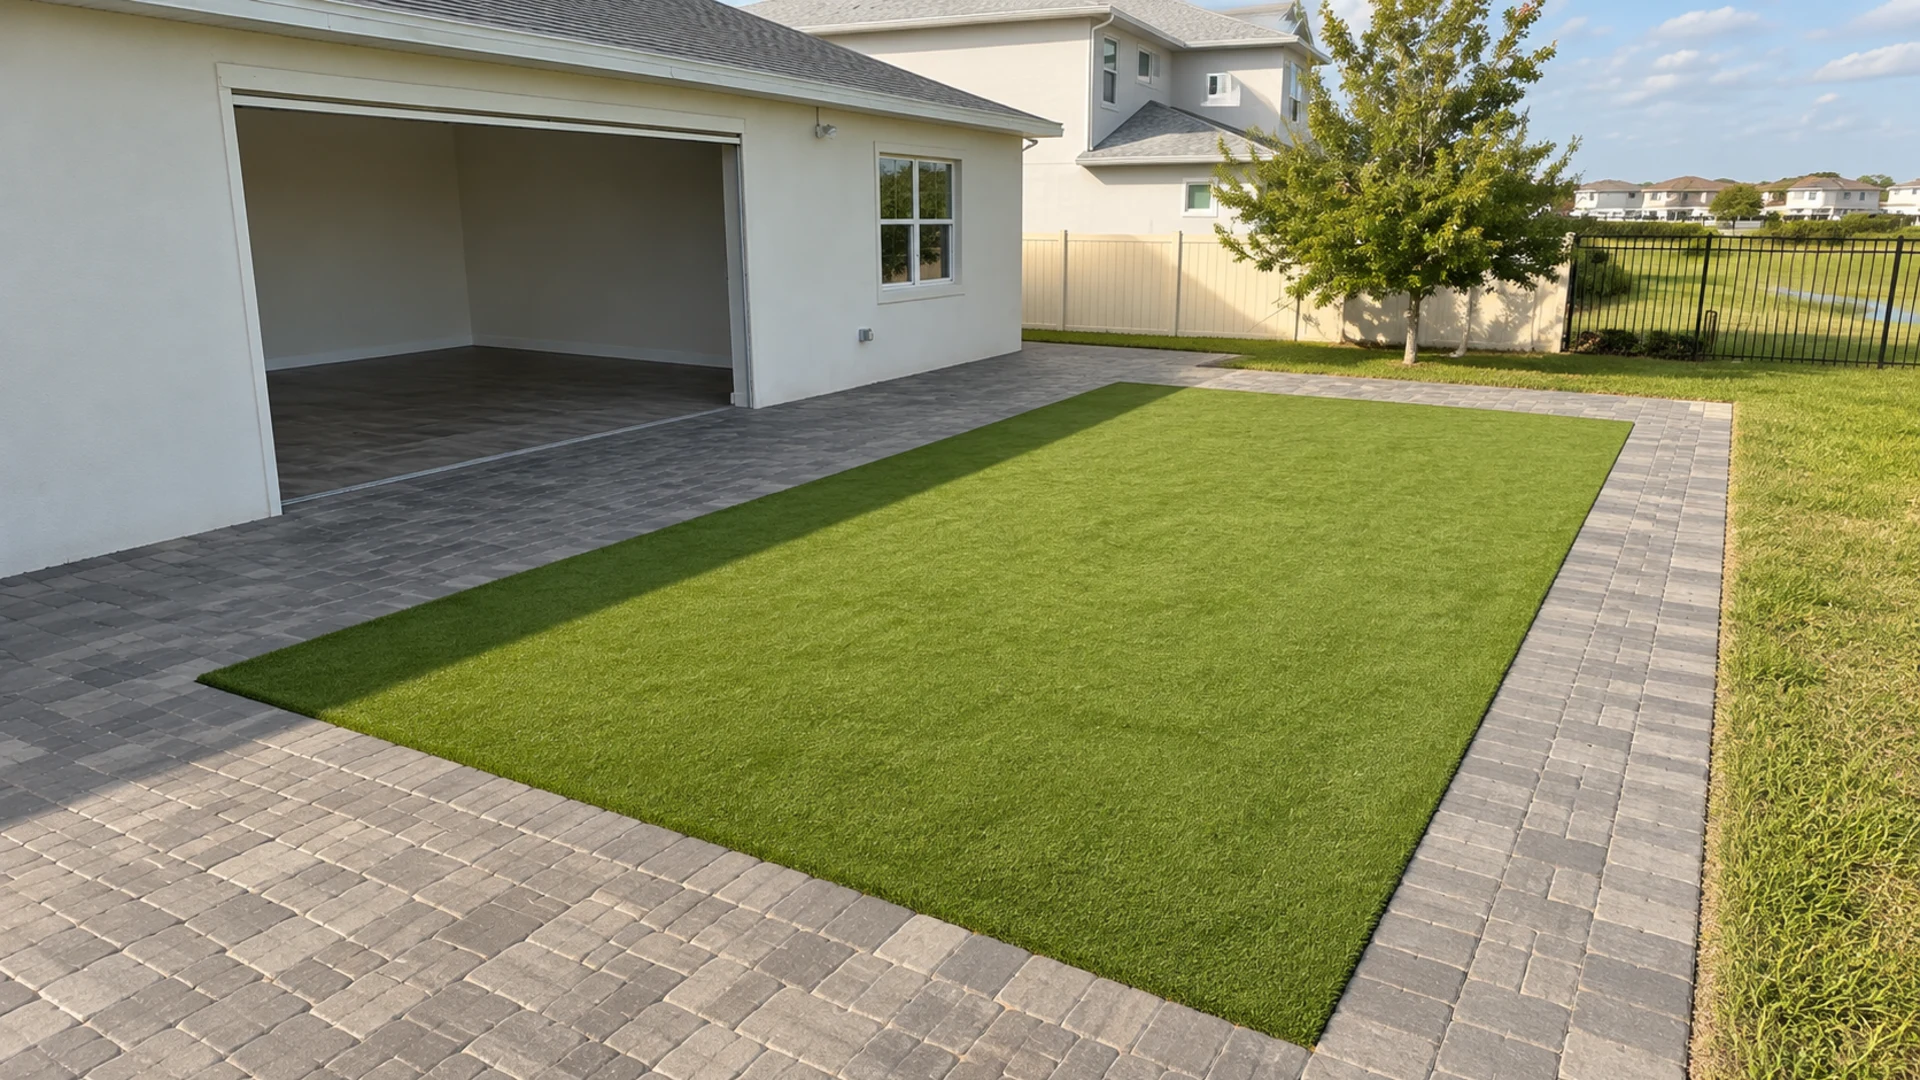
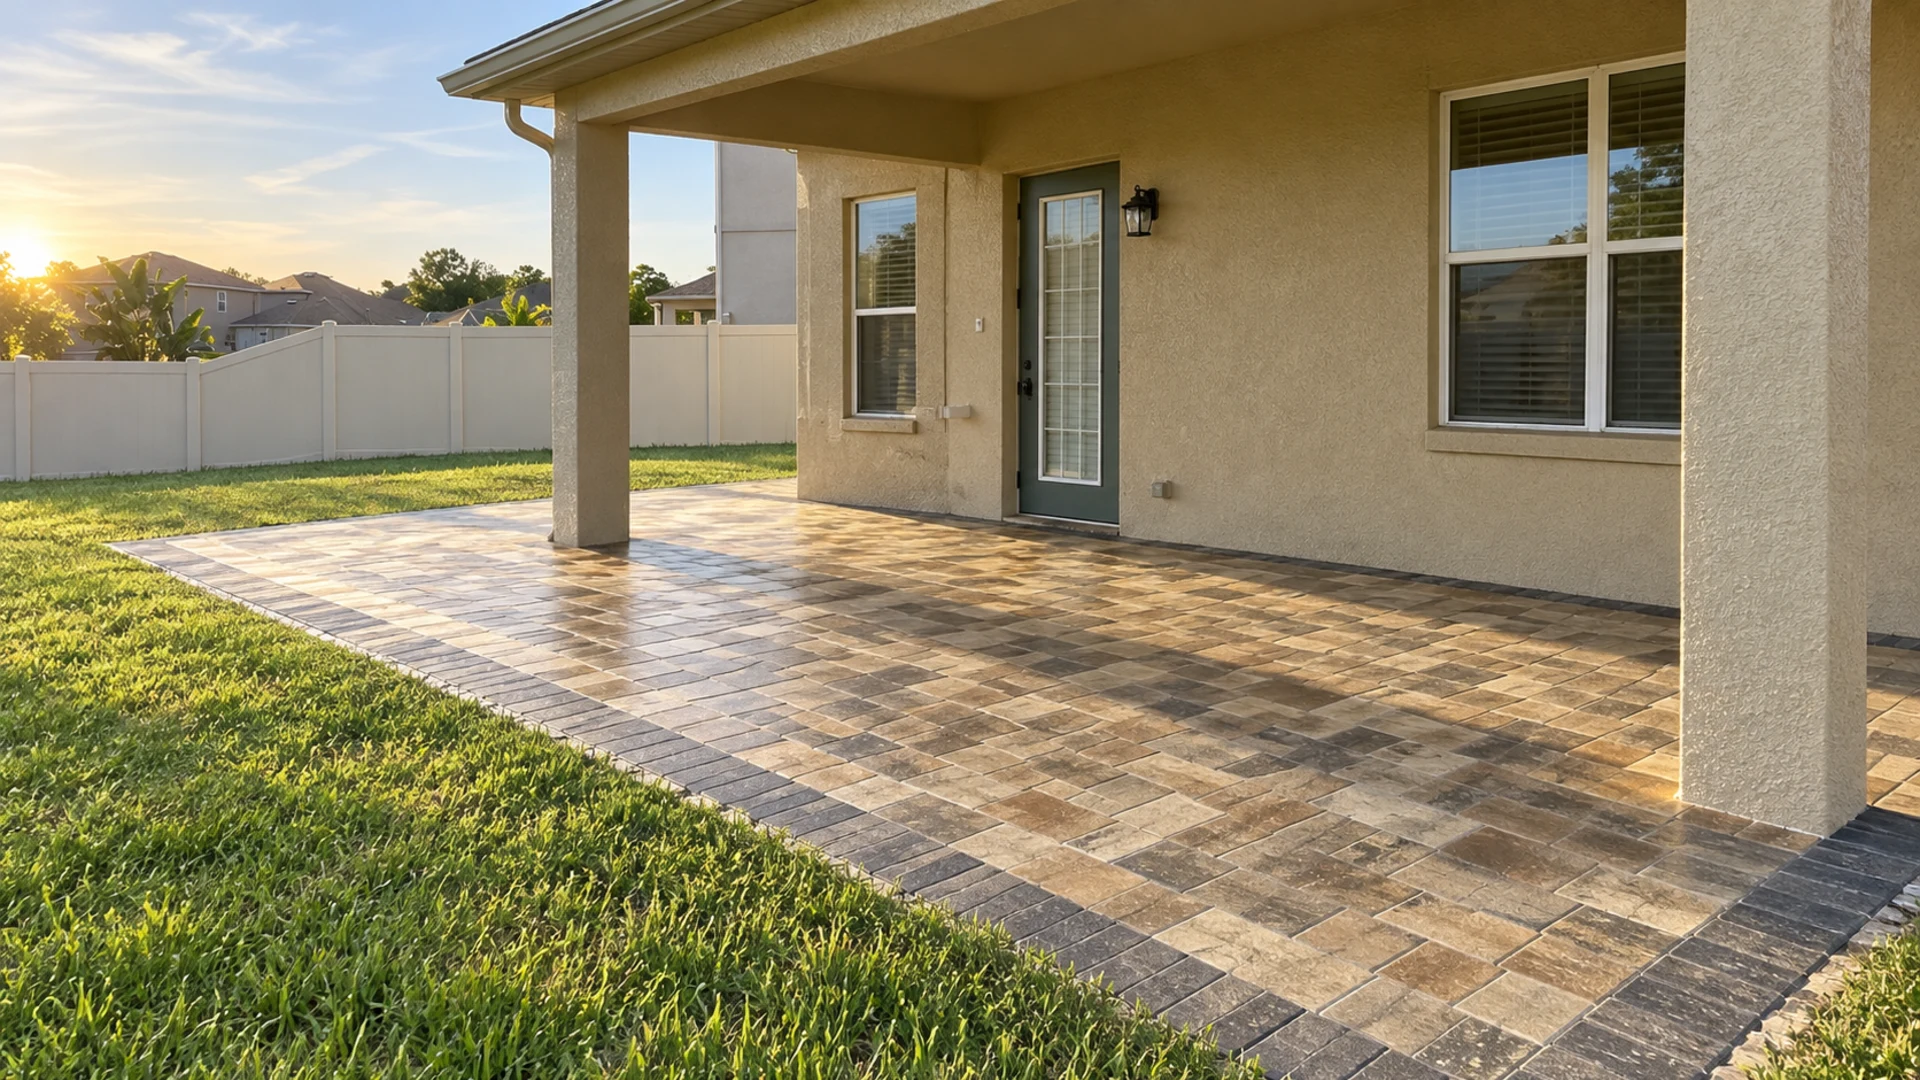
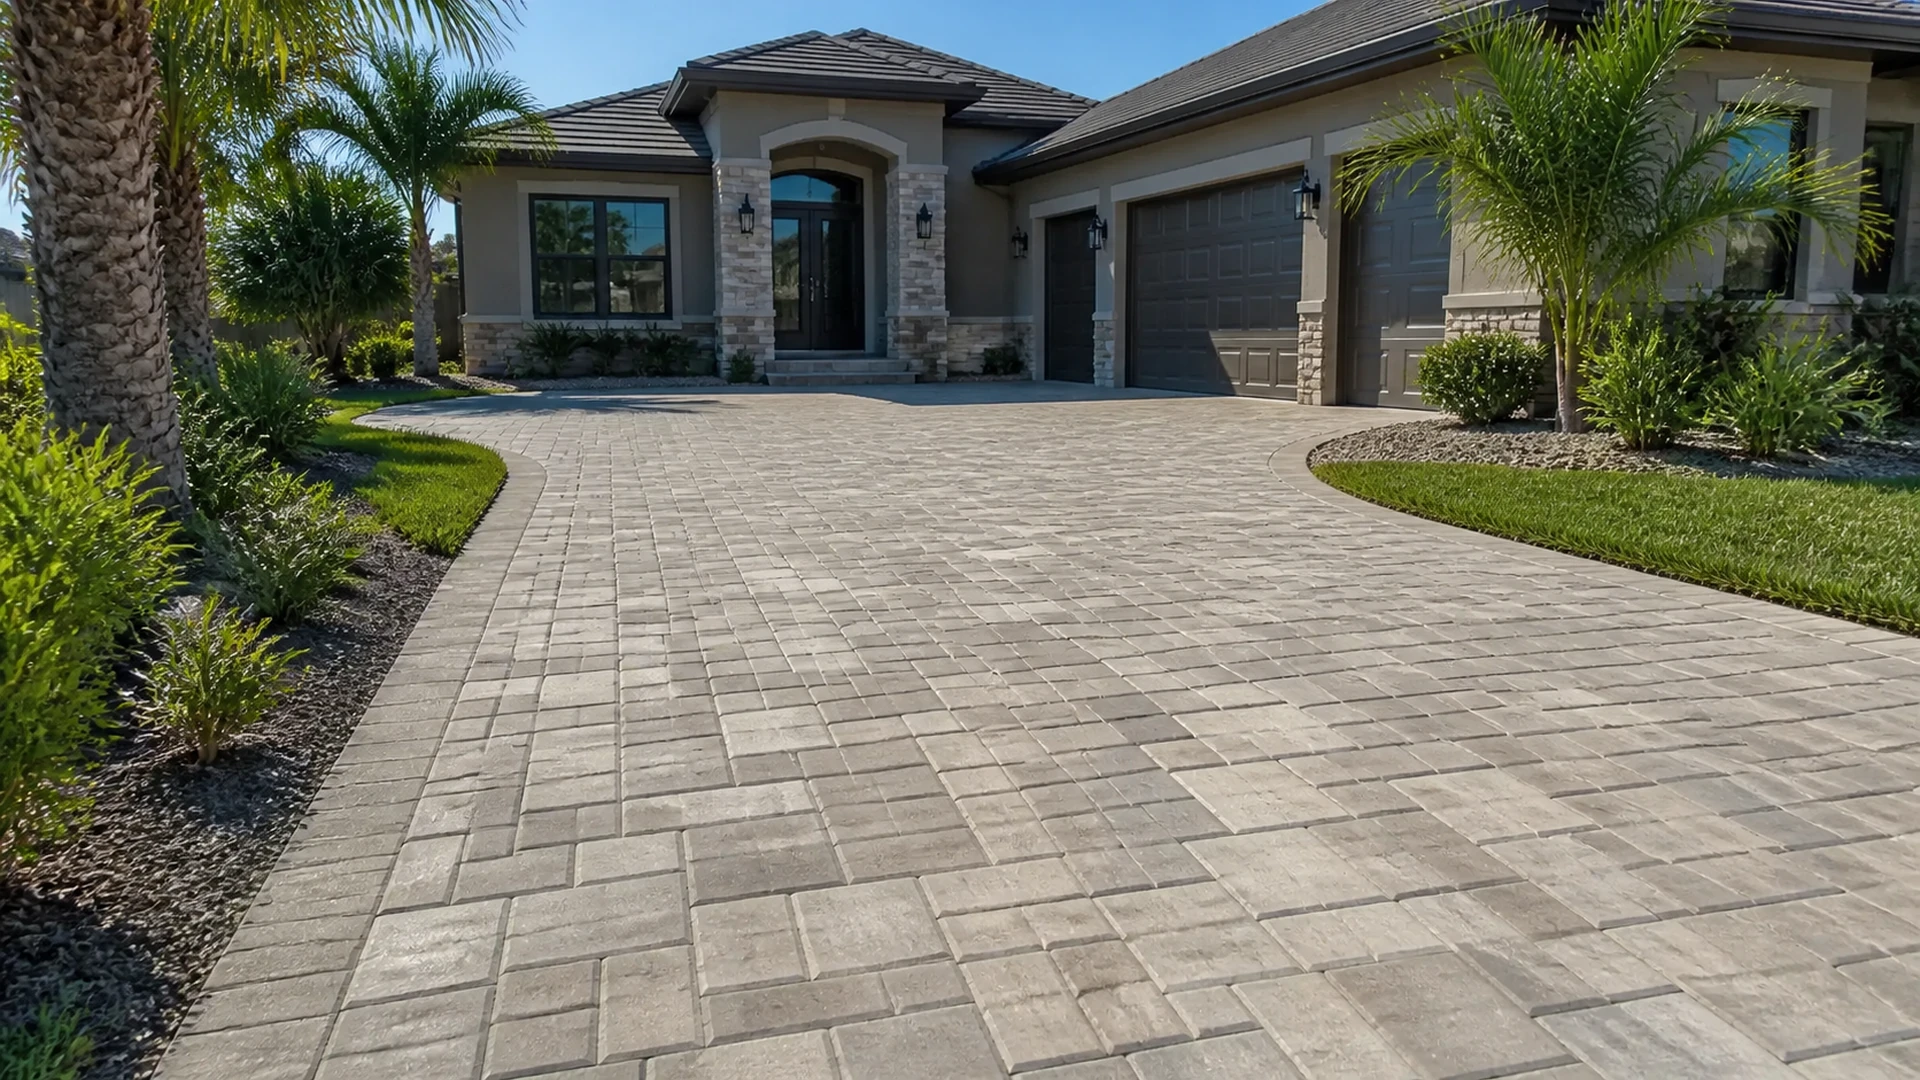
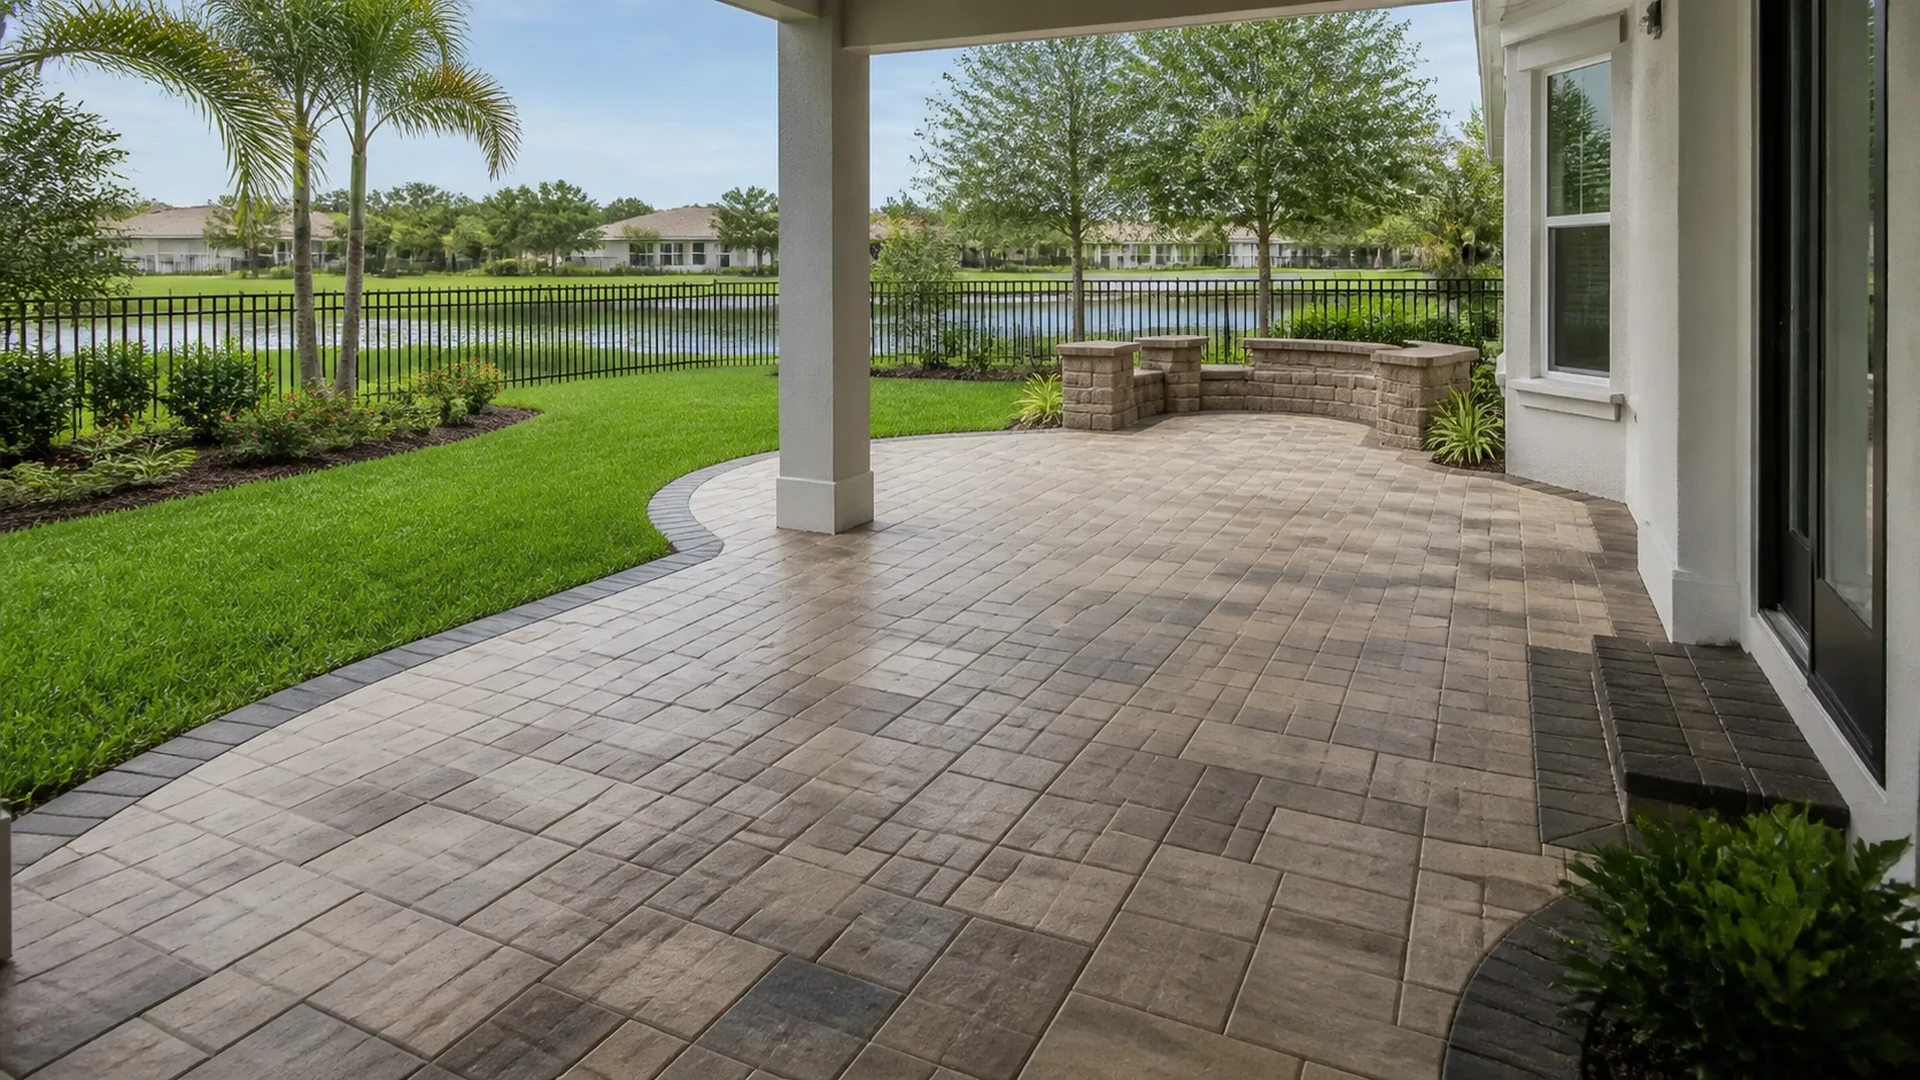
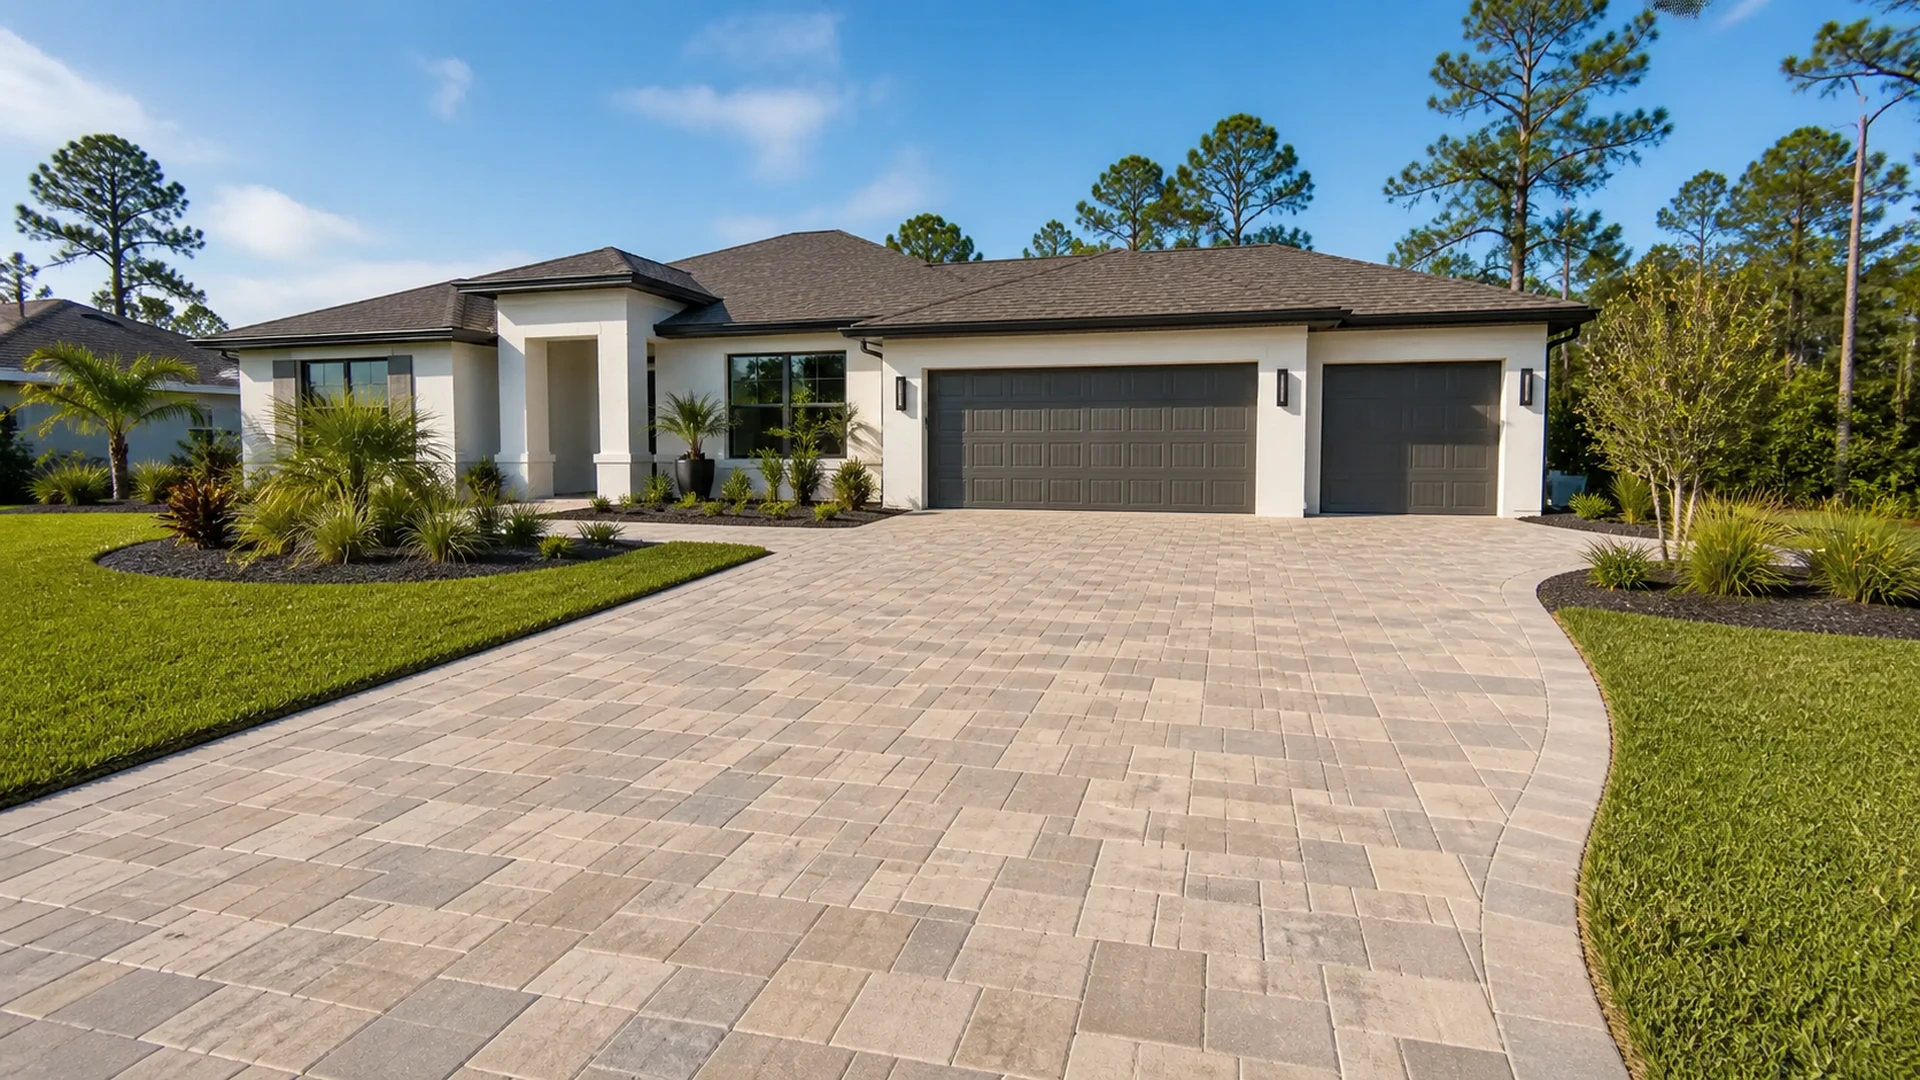
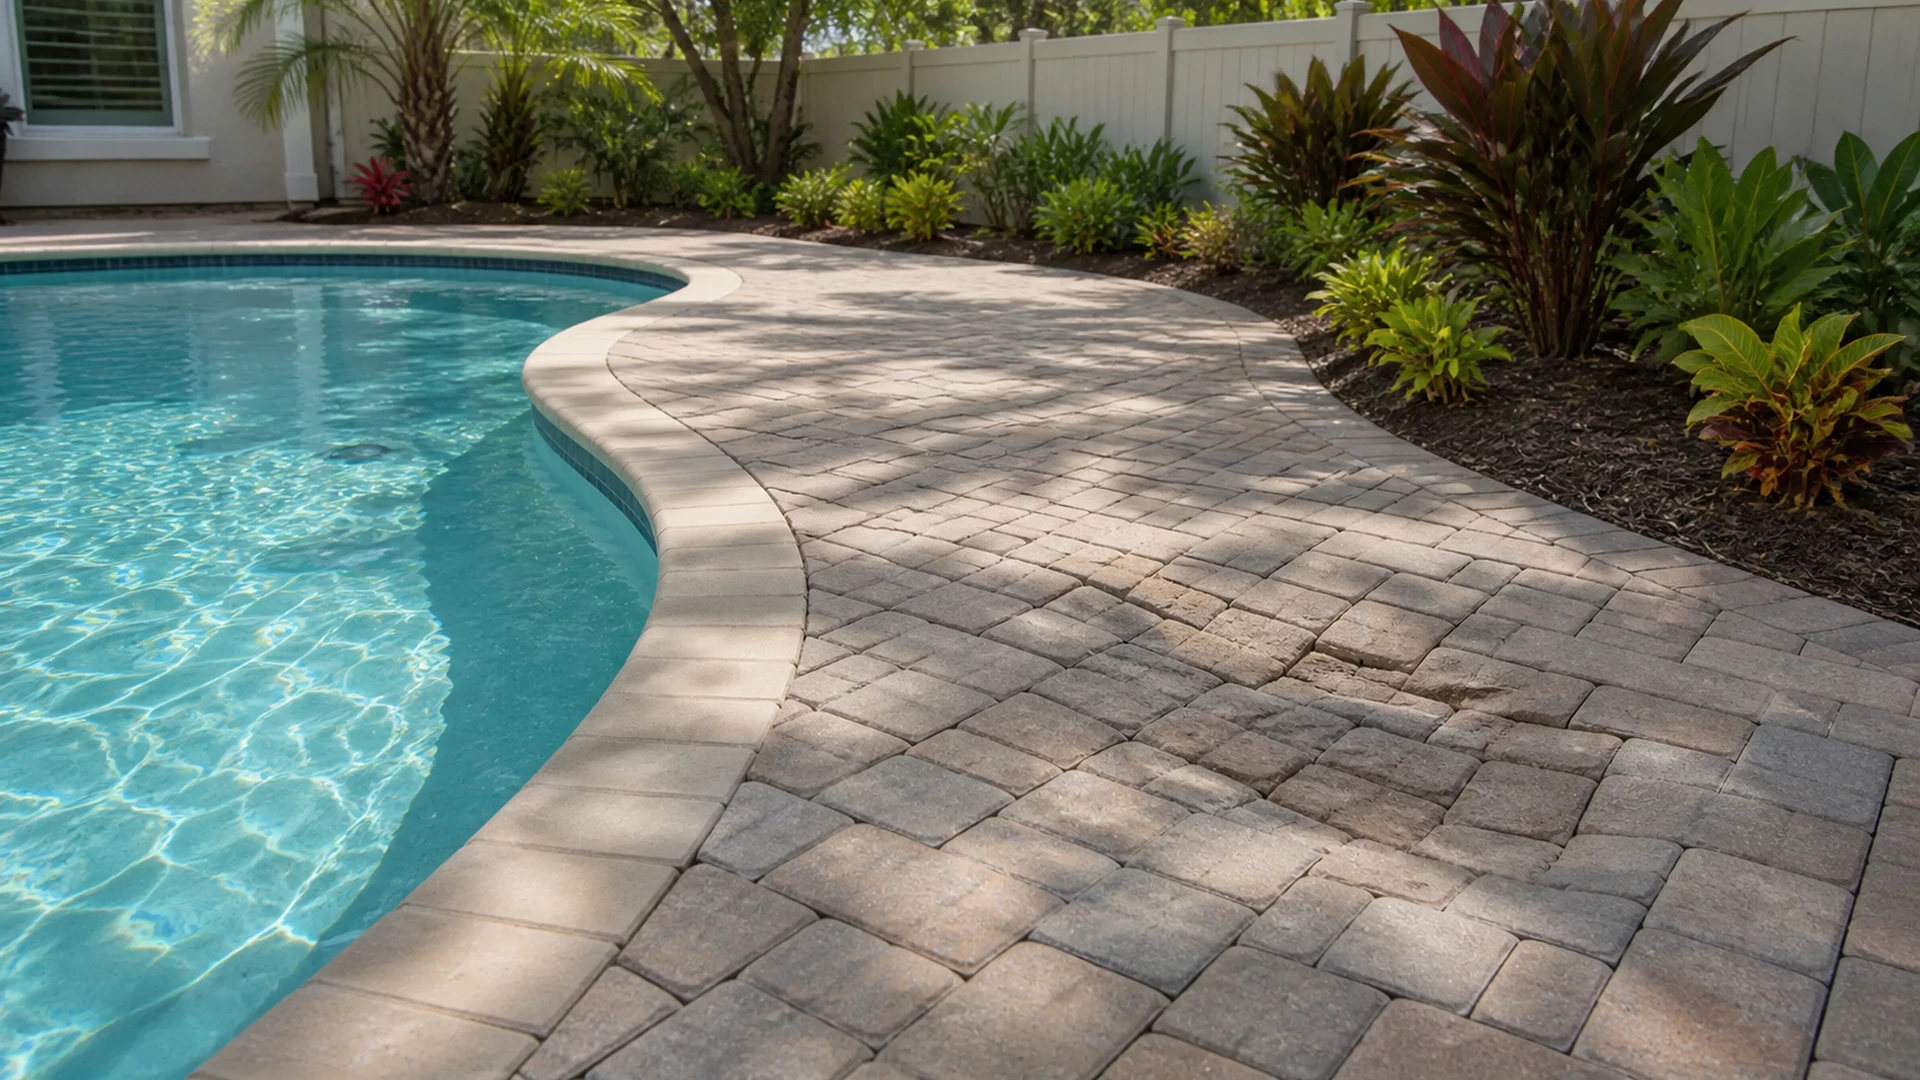
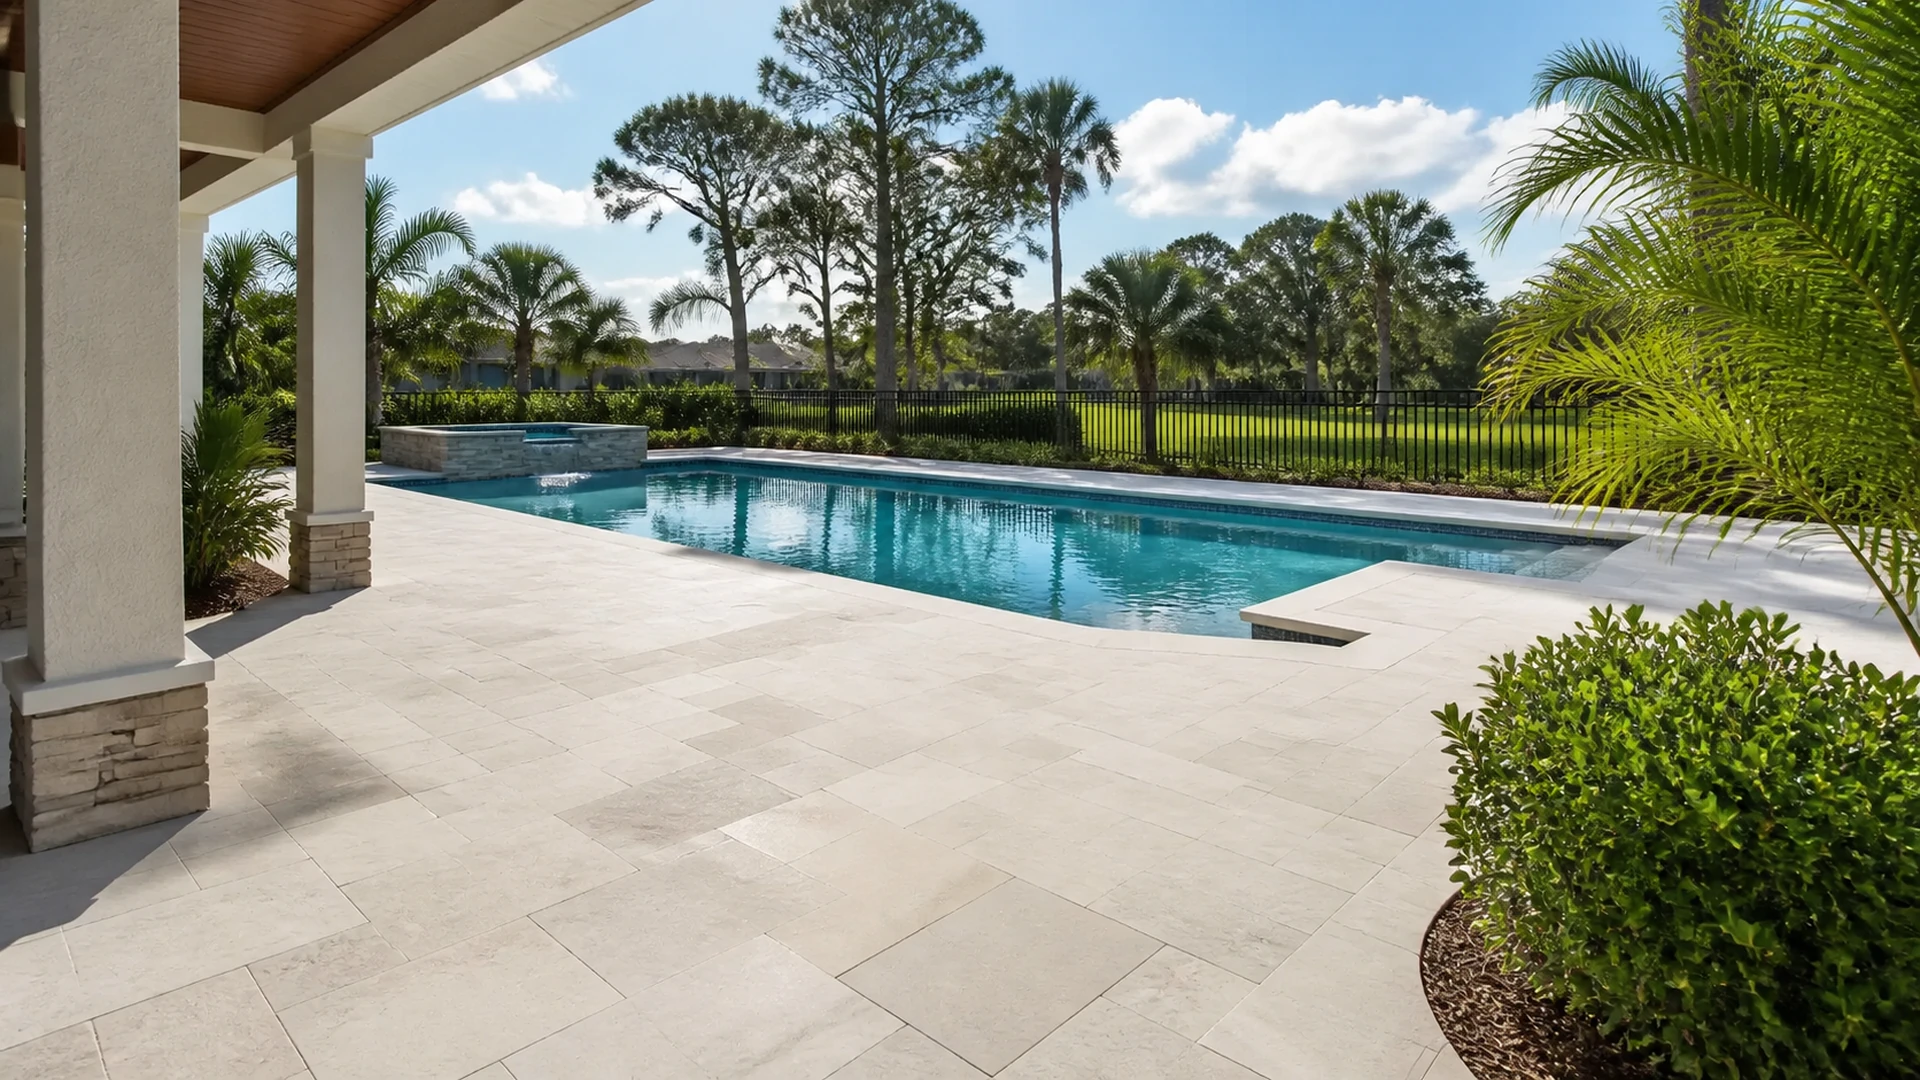
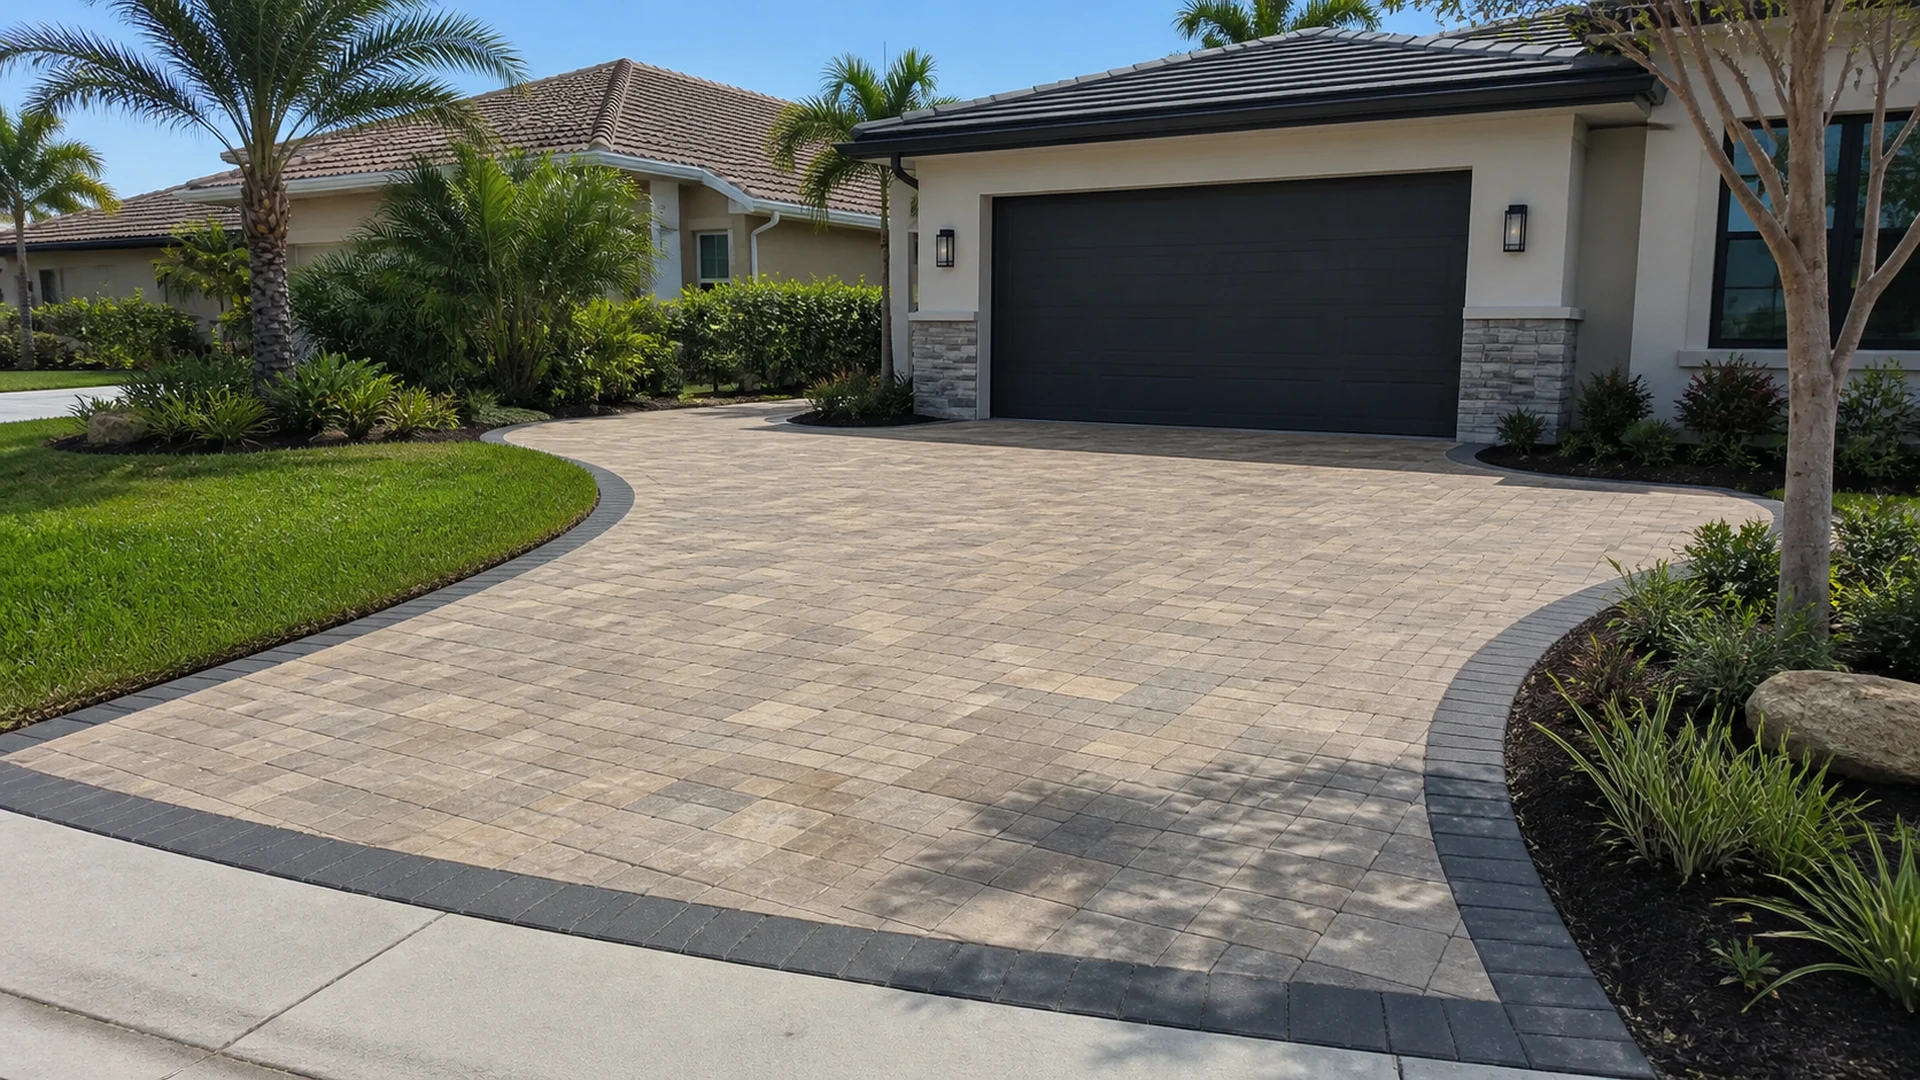
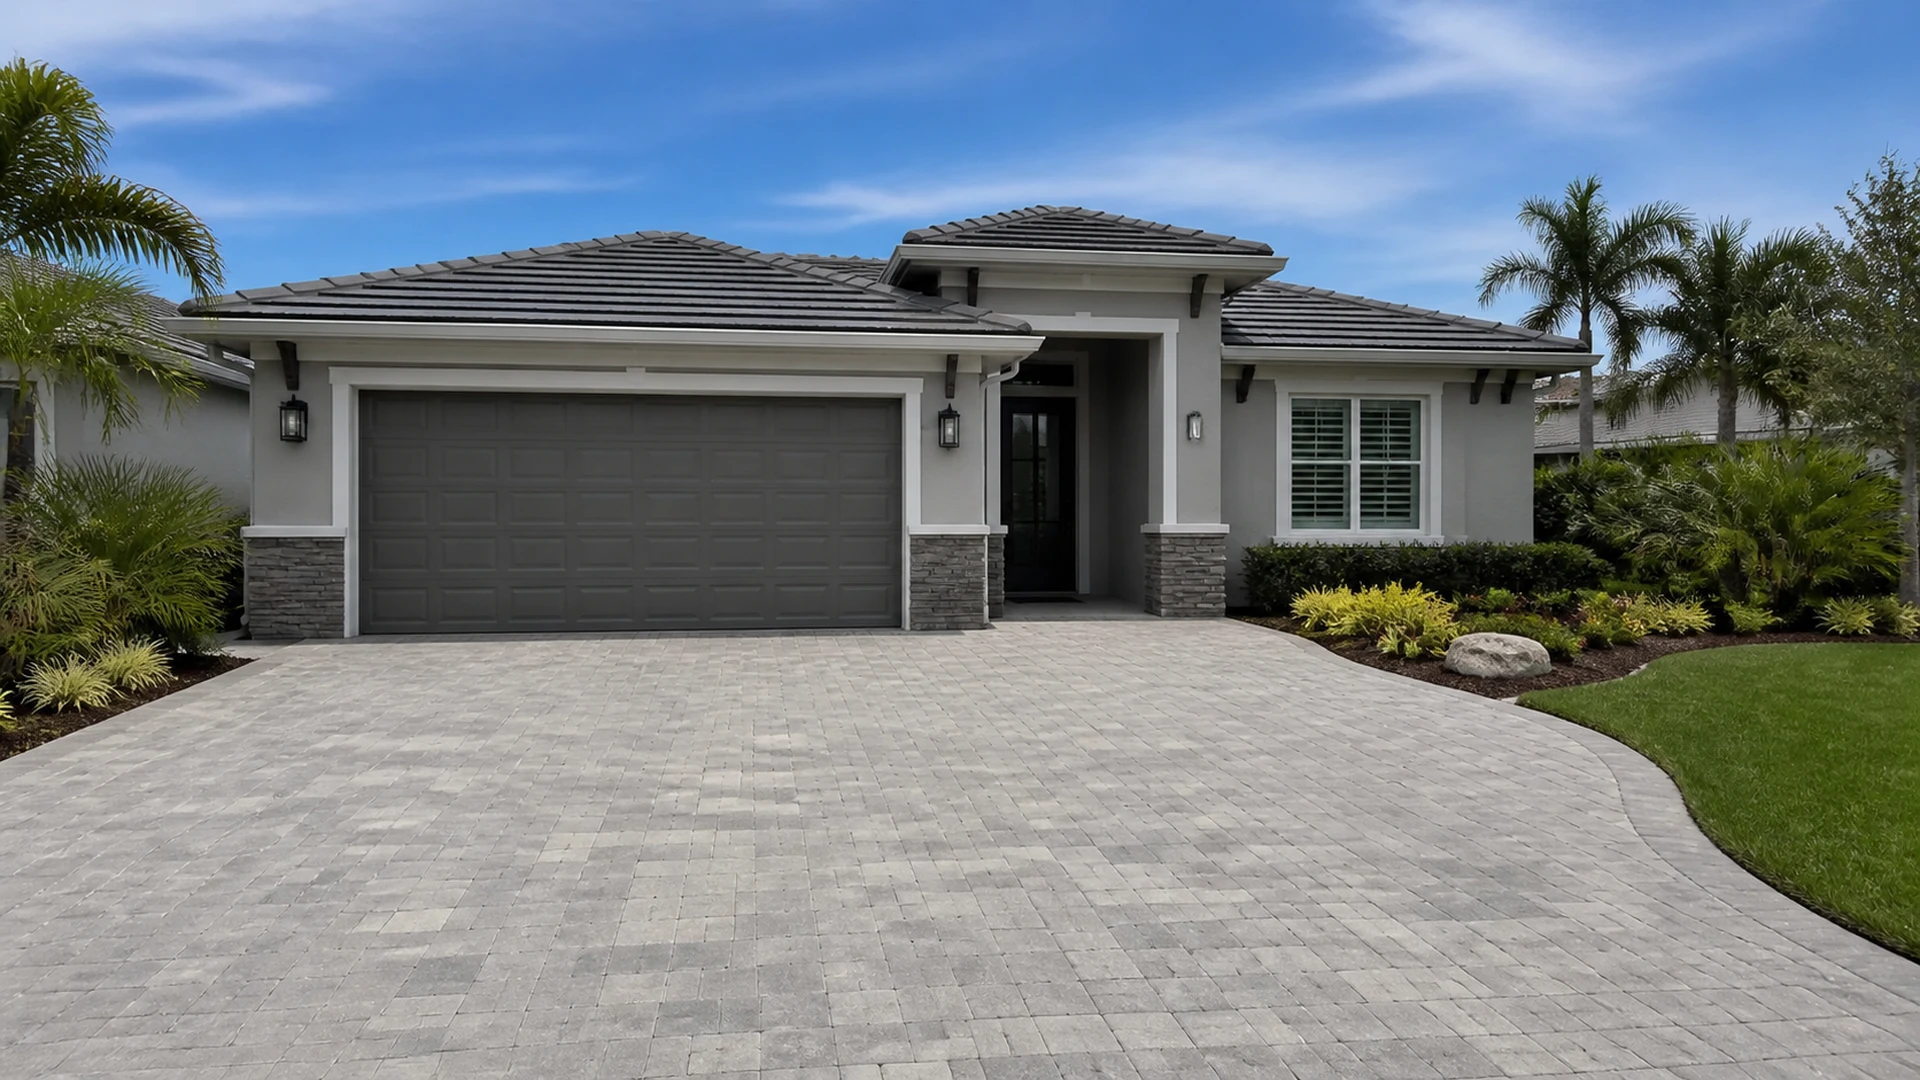
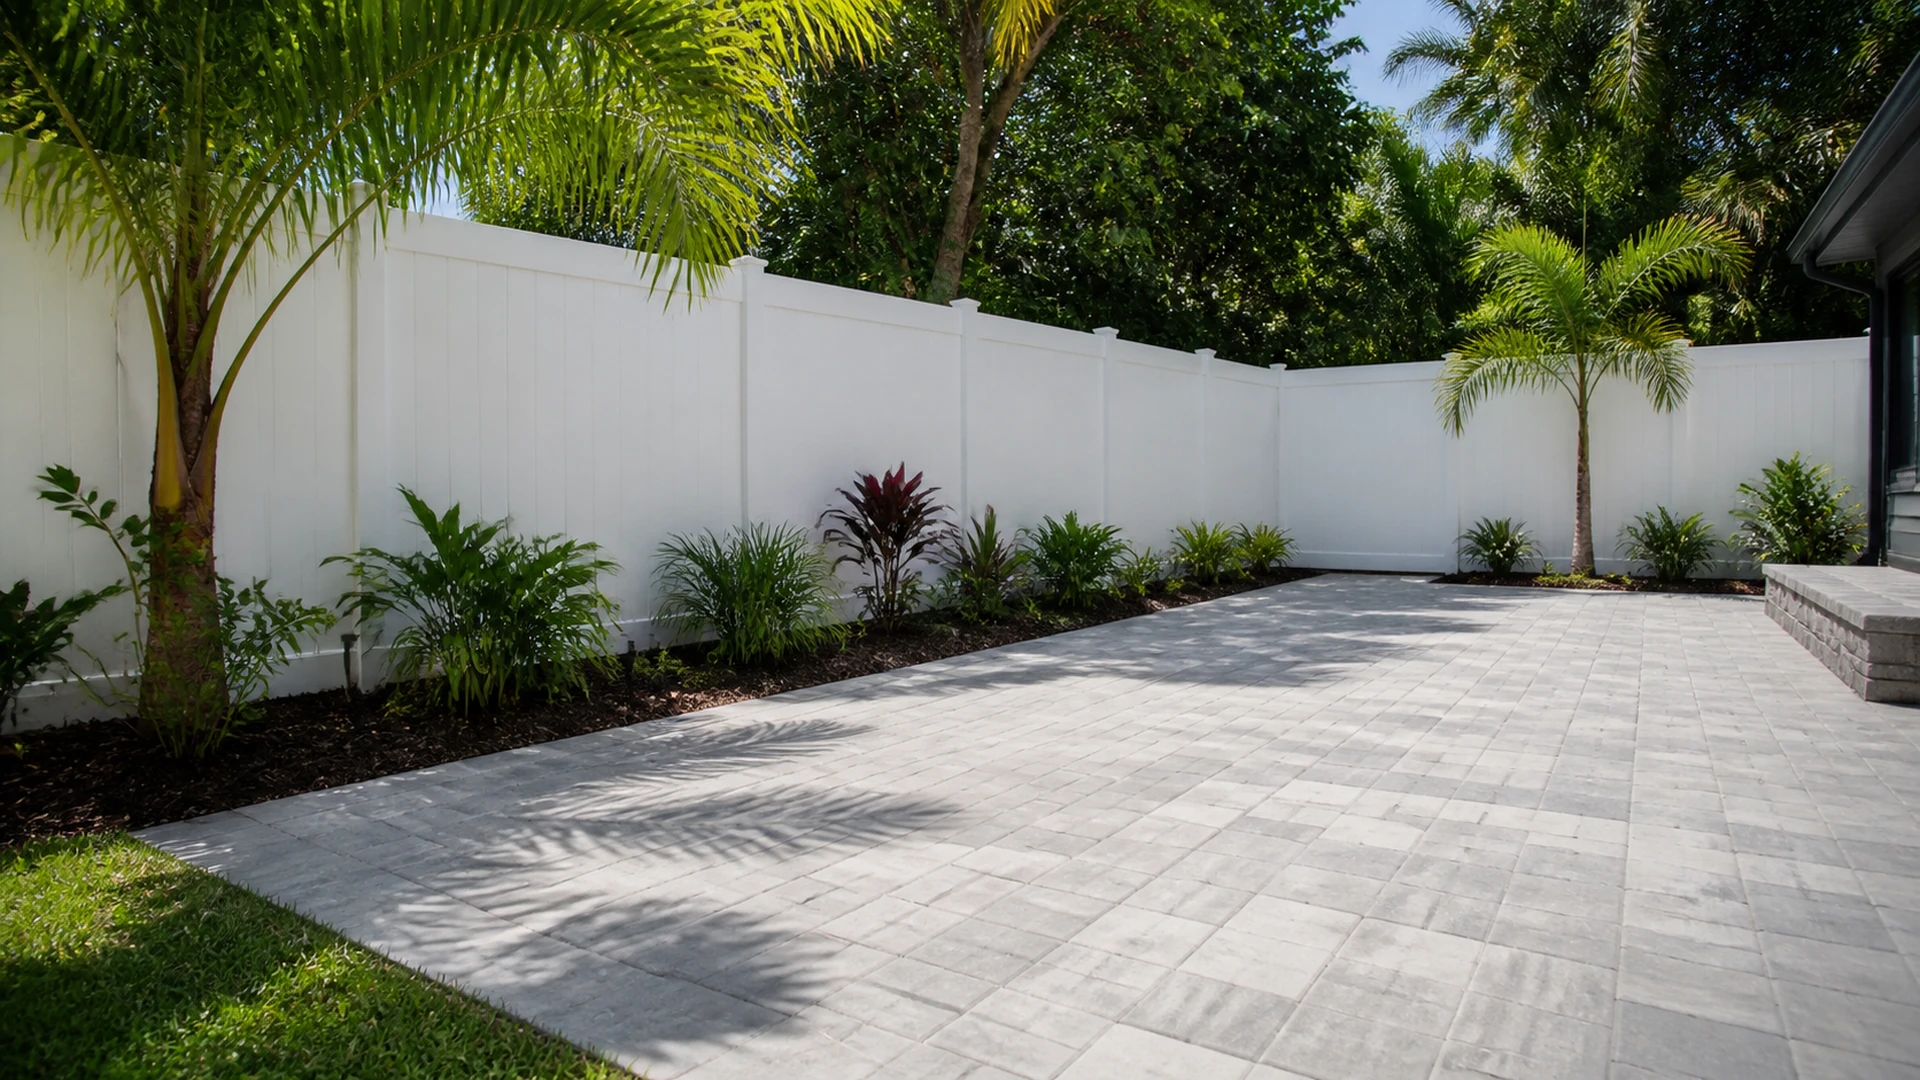
For examples of how hardscape and wall work can be discussed in context, see Dr Pavers Design project and service information. Photos and project pages can help frame a conversation, but the decisions for a wall with cap movement should come from the conditions at the property rather than a visual match to another site.
When to treat the condition as a safety issue
Restrict access and seek prompt professional guidance when caps or blocks are visibly loose near walking areas, the wall face appears to lean or bulge, soil is washing out, a step or landing has become unstable, or the wall supports a grade change where a fall could occur. Keep children, pets, and outdoor furniture away from the affected area. Do not climb, sit on, or stack materials against a questionable wall, and do not remove units from a stacked system to see what is behind them.
A lower, isolated cap with no other visible change may call for a measured inspection rather than panic. The point is to avoid treating visible displacement as harmless solely because the wall is still standing. The record you create can show whether the condition is stable, isolated, or changing, while a qualified on-site review can define the next step.
Questions homeowners often ask
Can one loose cap be reset immediately?
Sometimes an isolated cap can be addressed after the surrounding condition is checked. If joints are opening, blocks are out of line, or soil has moved, simply resetting the cap may conceal information needed to select the right repair scope.
Should I wait for another rainstorm to take photos?
Photograph the current condition now. Additional photos after significant rain can be useful if they can be taken safely, especially when they show runoff paths or new soil loss. Do not enter an unstable area to document it.
Does a crack in cap adhesive mean the wall is moving?
Not necessarily. The crack identifies a condition at the cap joint. The wall face, alignment, drainage context, and ground around it need to be considered before drawing a conclusion.
Document first, then choose a scope that fits the wall
It also helps to distinguish between a stable visual irregularity and an active change. Compare the current photos with older property photos only when the view and date are reasonably clear. An old image may show that a cap line was already irregular, but it may not show enough detail to establish whether the wall face or grade has changed. Treat it as one reference among several. Repeated current photos taken from the same positions are usually more reliable for showing a developing pattern.
Keep observations organized by location rather than by assumption. A note such as “north end, outside corner, upper cap joint open; no visible soil loss in photo” can be compared later with a new image. Add whether the area is sunny or shaded, planted or bare, and near a drainage outlet or paved edge. Those details may affect what a reviewer looks for. They should not be used to make a repair decision without seeing the wall and the surrounding ground in person.
Seasonal yard activity can complicate the record. New edging, a changed downspout extension, excavation for landscaping, or a recently adjusted irrigation head may be relevant to describe even if it seems unrelated. The same is true of a storm that left water or sediment in the area. The goal is a timeline that invites careful questions: what was present before, what changed, and what has remained consistent? A measured timeline is more useful than a list of suspected causes.
If an affected cap can safely be seen from above, photograph its overhang relative to adjacent caps rather than standing on the wall. From the lower side, include the vertical joints below it. These paired views help preserve the relationship between the decorative top course and the wall face. They also make a later reset easier to understand because the original position has not been lost to memory.
Retaining wall cap movement is most useful as an early warning to observe carefully, not a diagnosis to make from a single photo. A dated set of views, notes on water and grade, and attention to corners, steps, curves, and wall-face alignment preserve the details that matter. That approach makes it easier to distinguish a localized finish issue from a condition that deserves a more complete look, and it keeps a fast cosmetic fix from becoming the only question asked for the property at that time or later.
Finally, when you are ready to protect your property with a solid retaining wall, review the services, see completed projects, read testimonials, and check the FAQ before requesting a free consultation through the contact page. Follow Dr Pavers Design on Instagram and Facebook, or review the company on Google. Open Google Maps, send a WhatsApp message, call +1 (656) 600-4015, send a text message, or email drpavers@outlook.com for a free consultation anywhere in Tampa Bay.