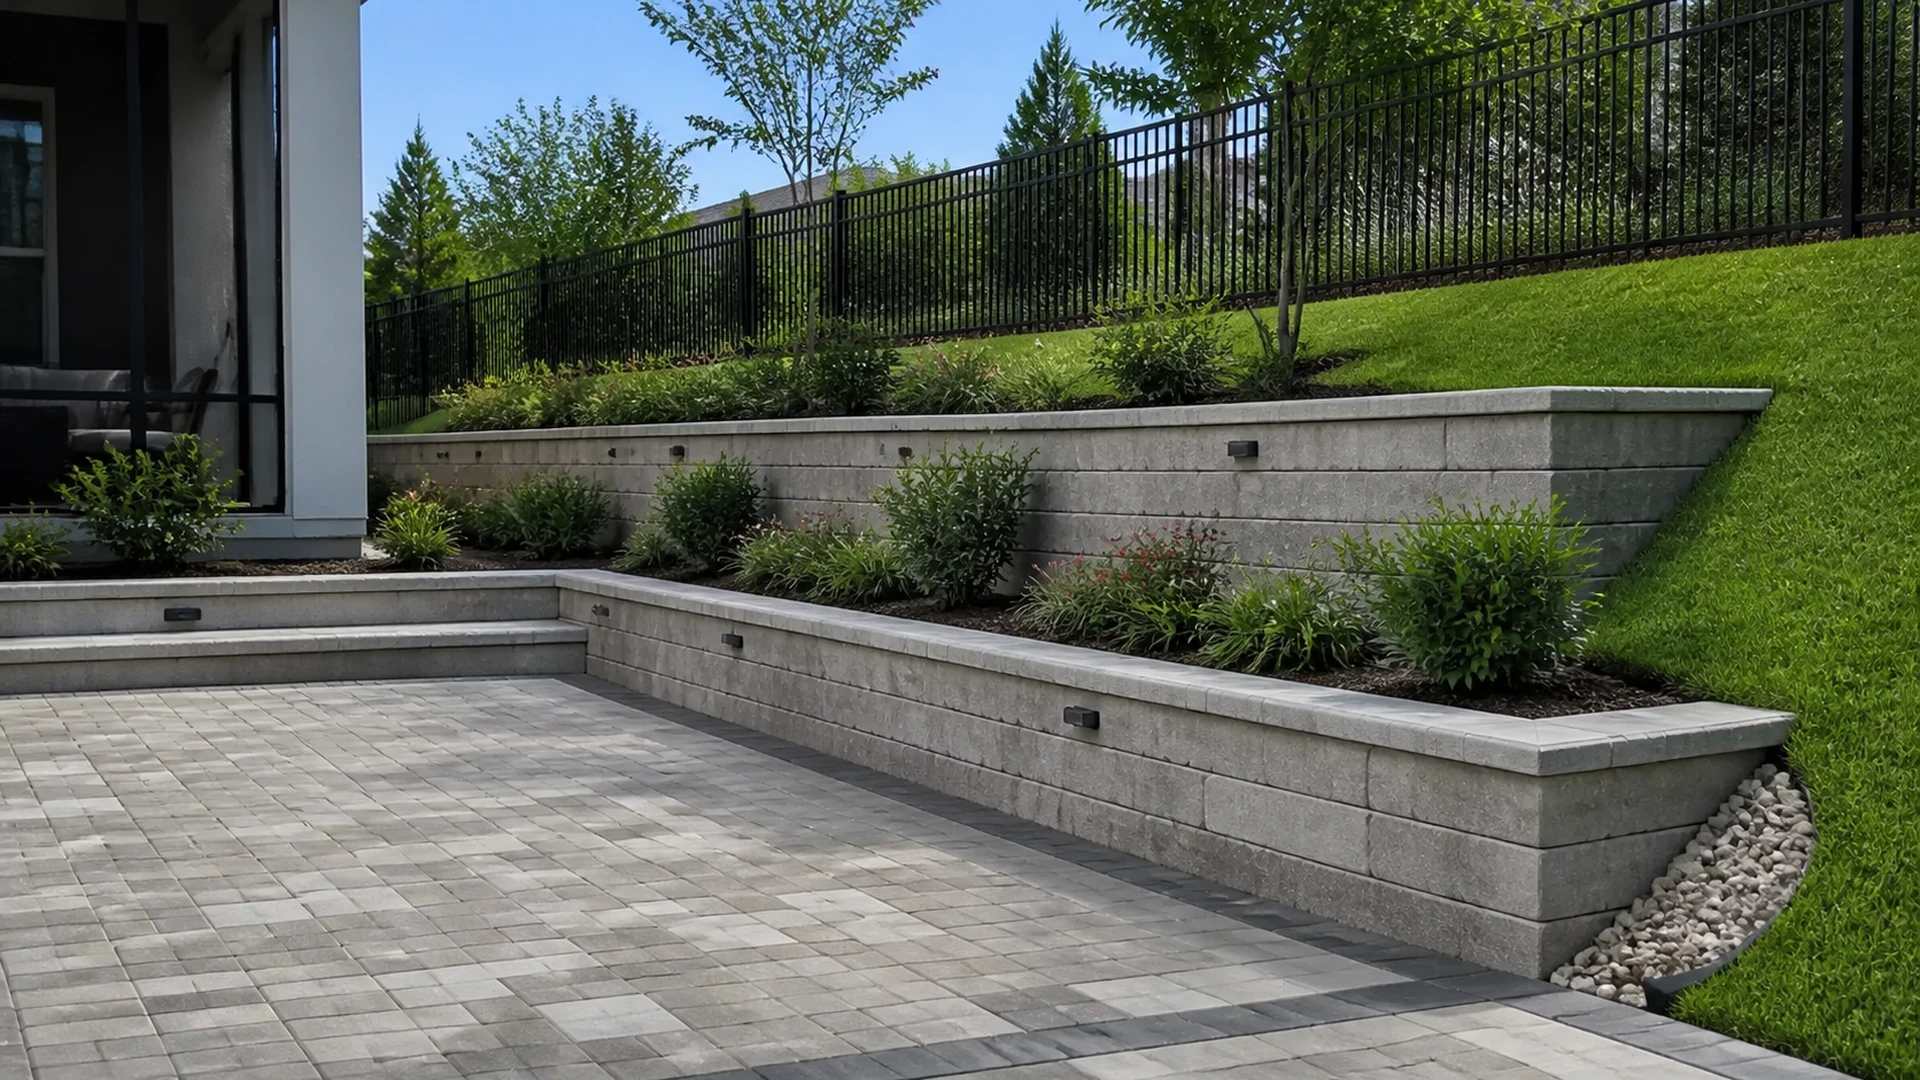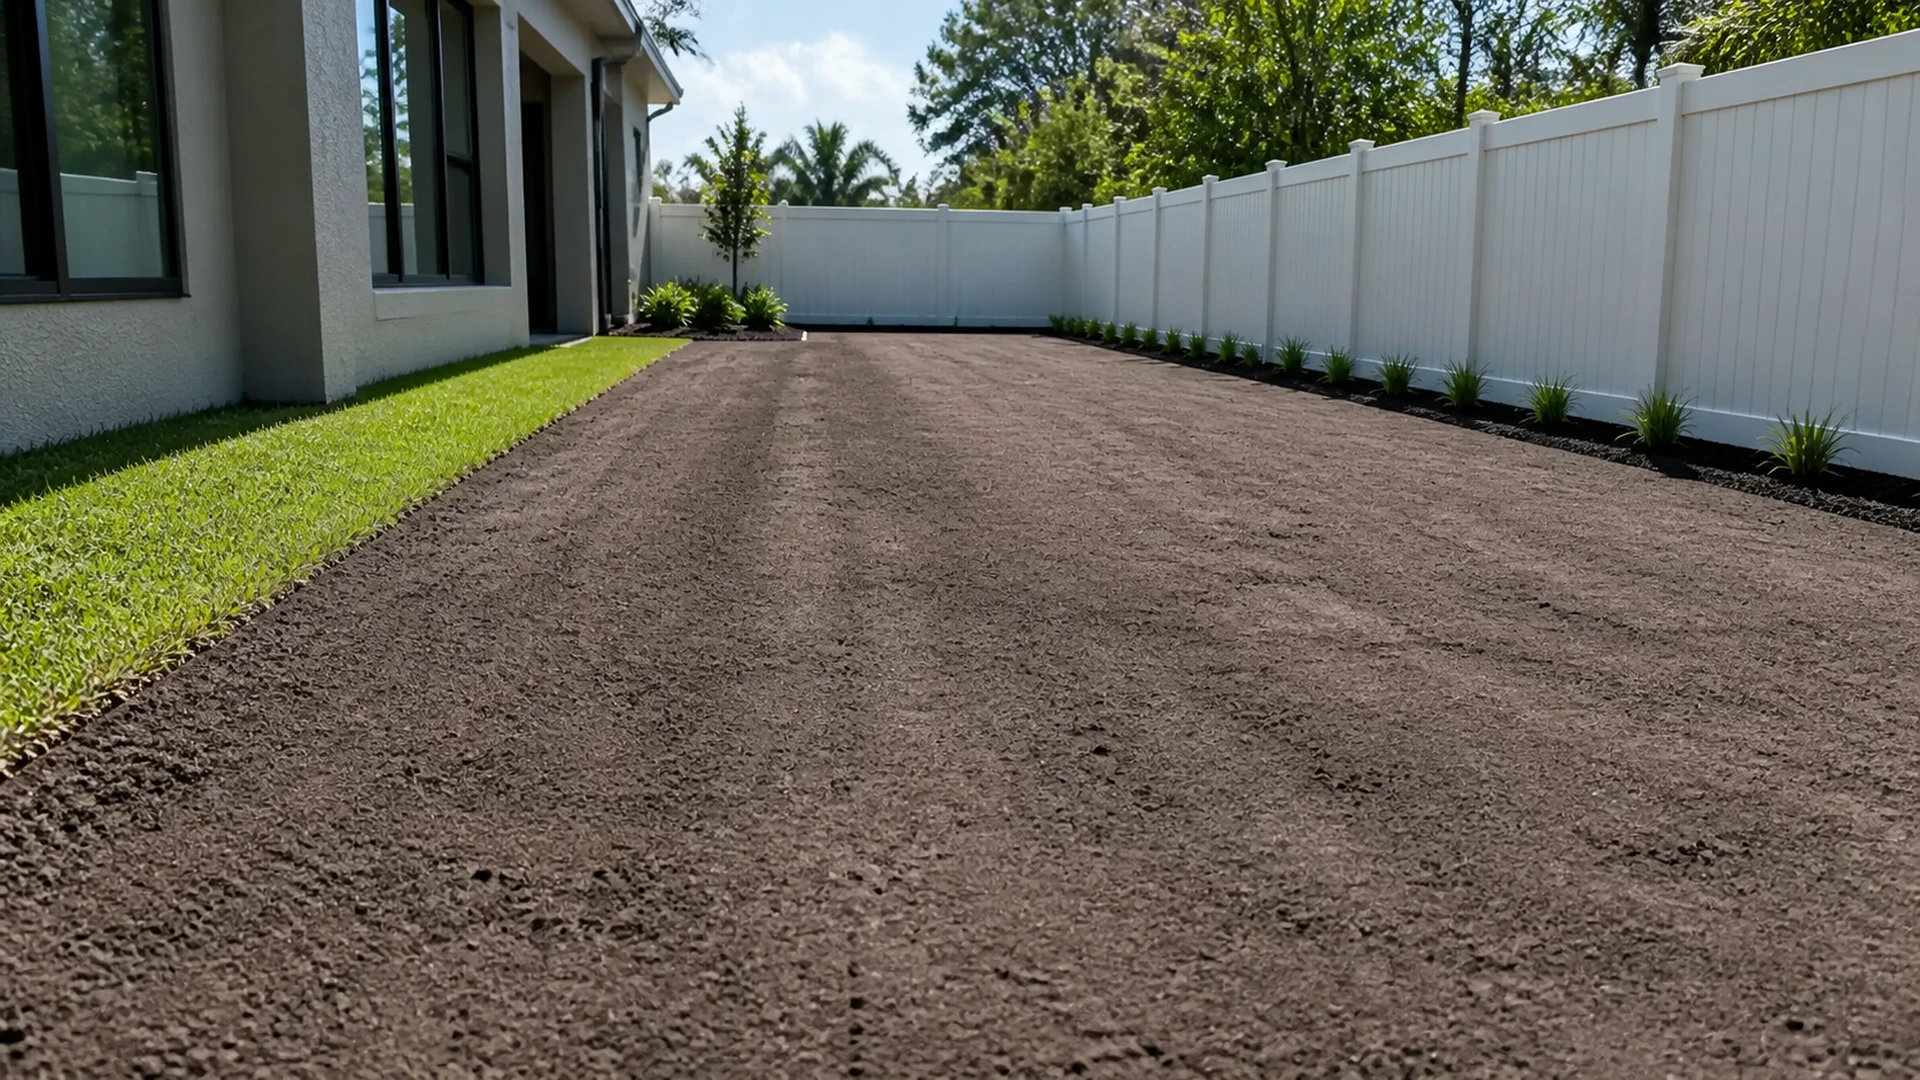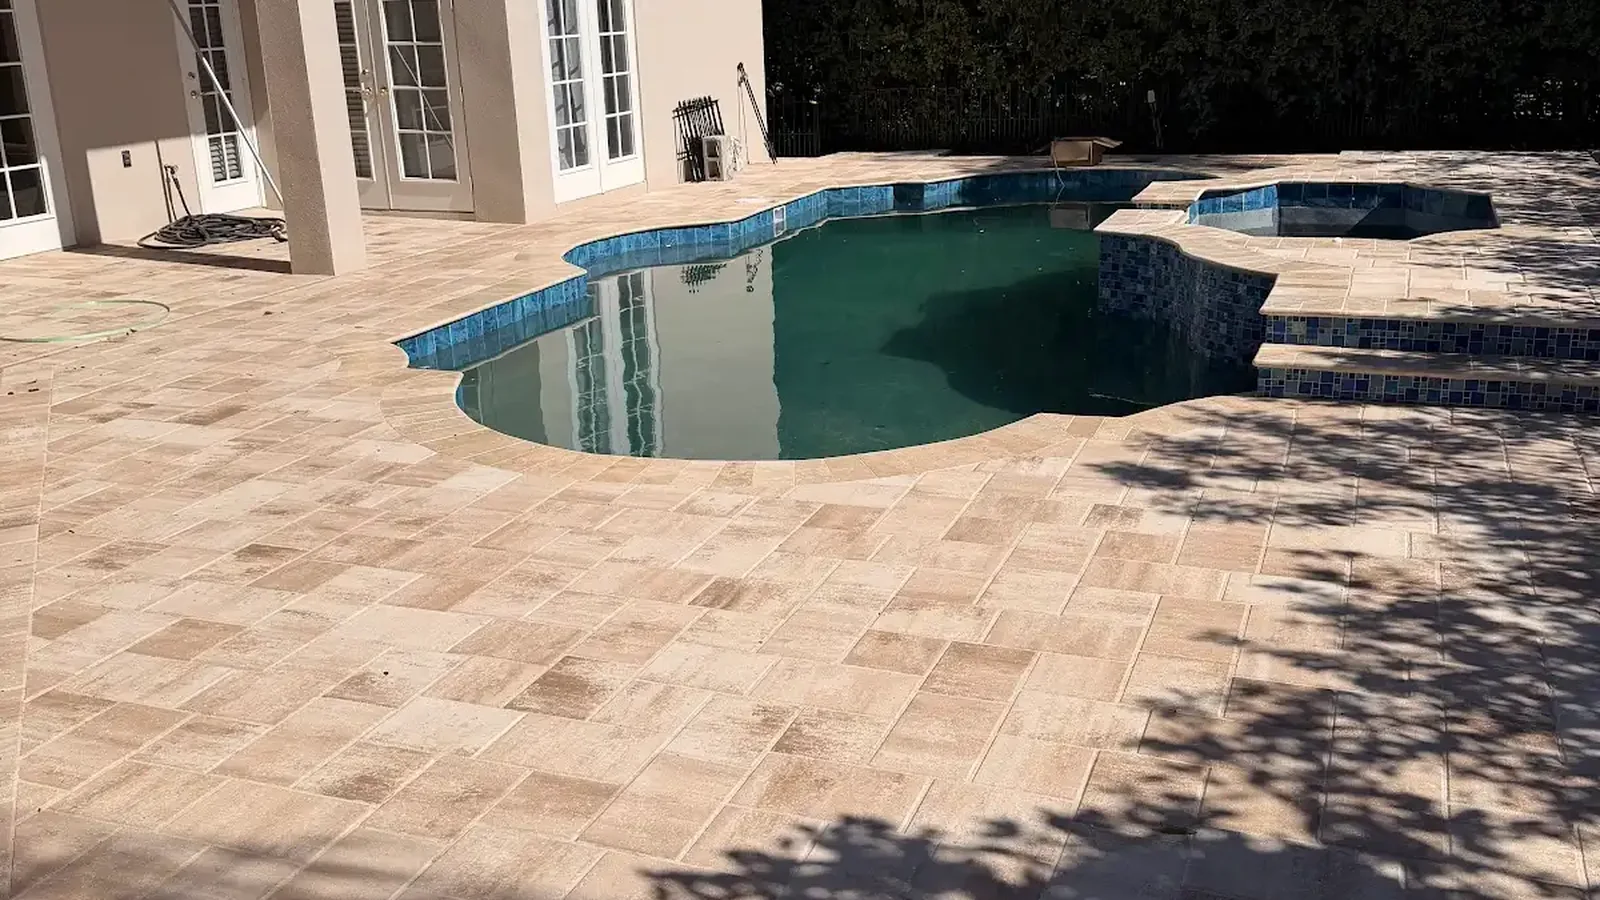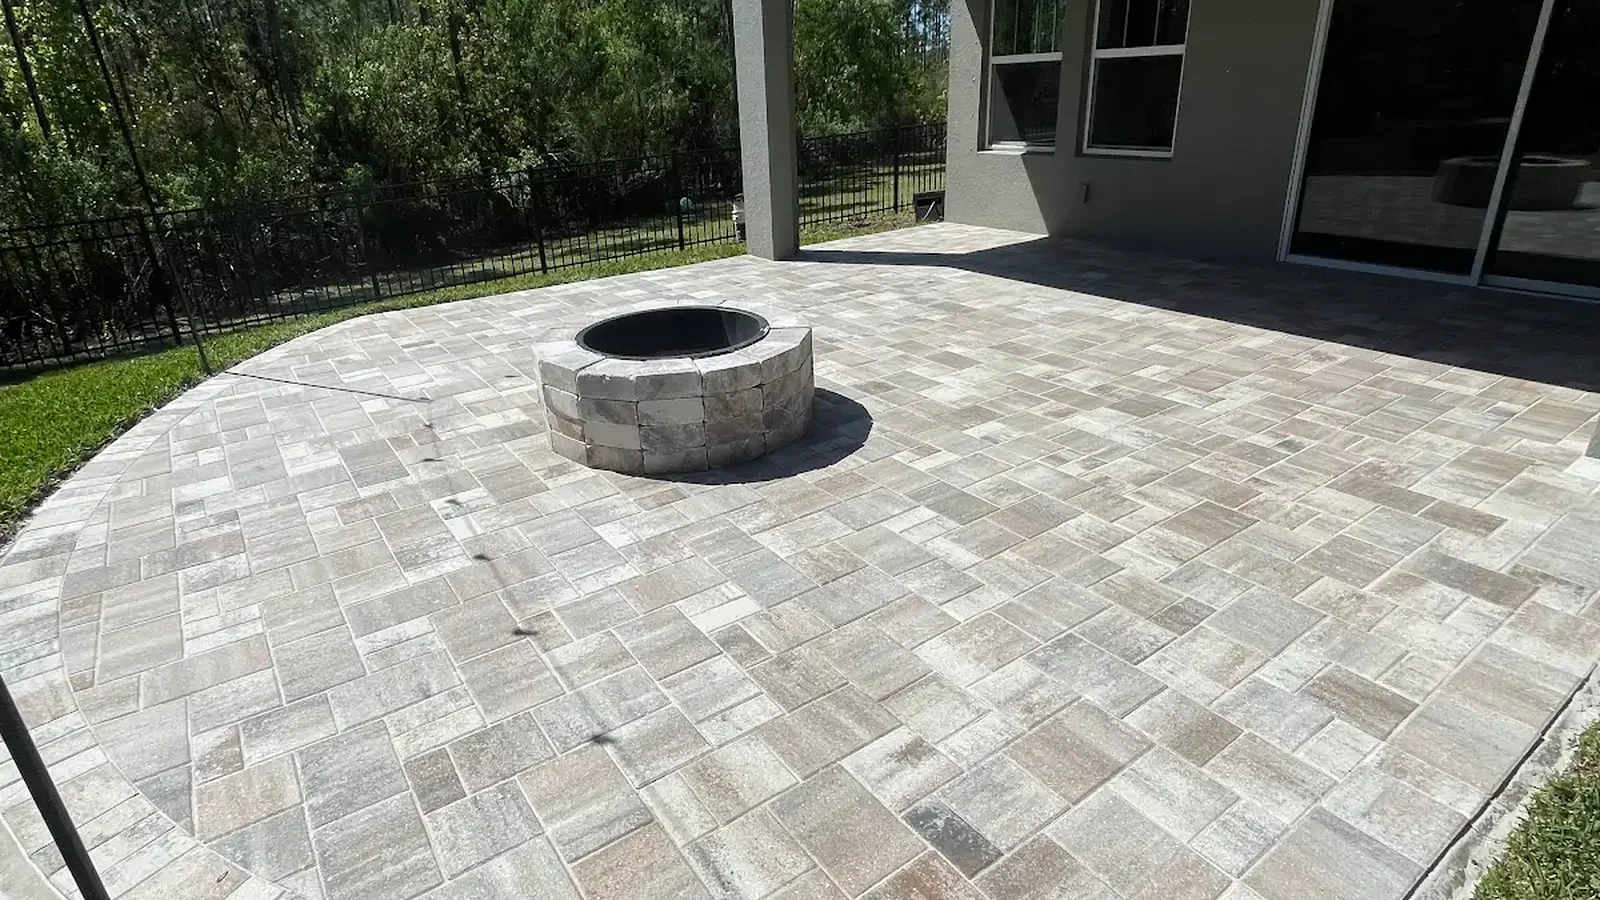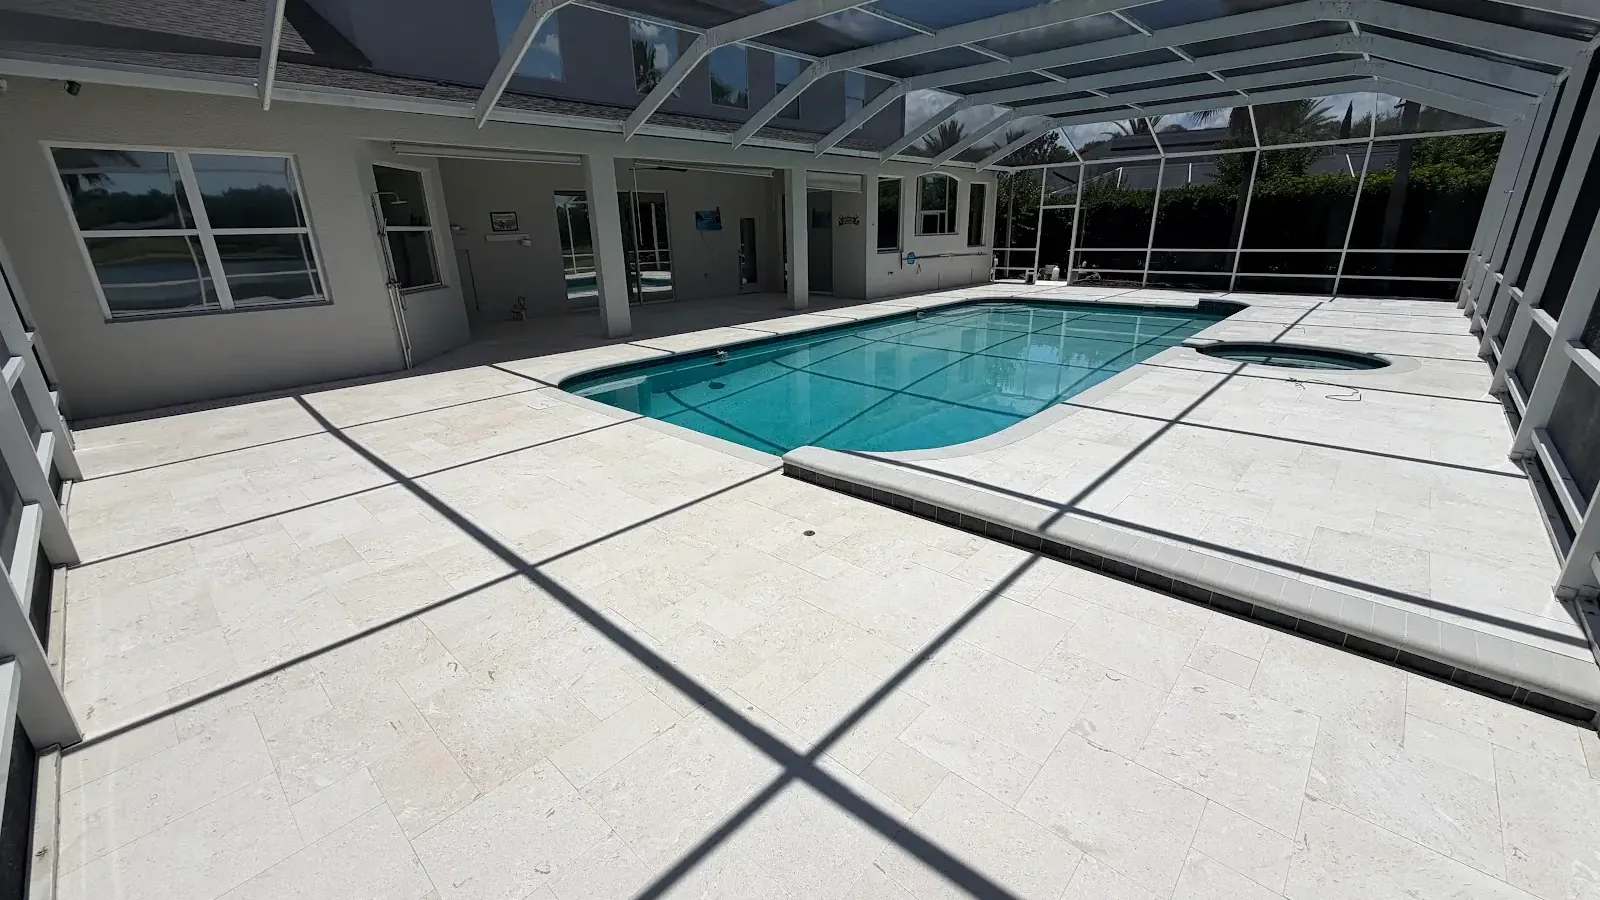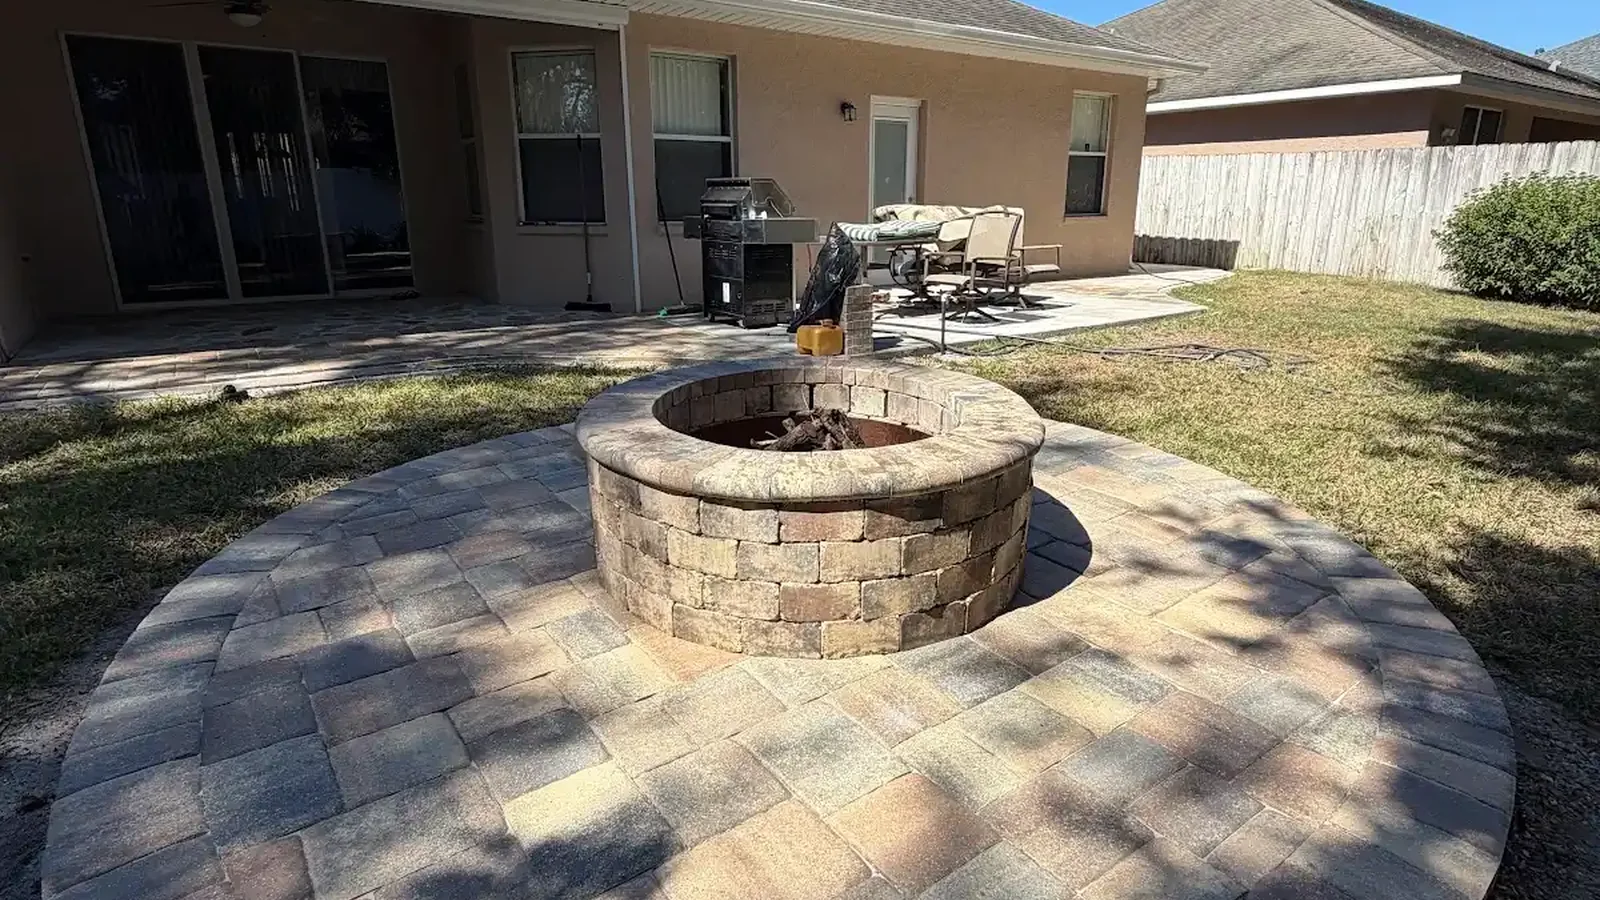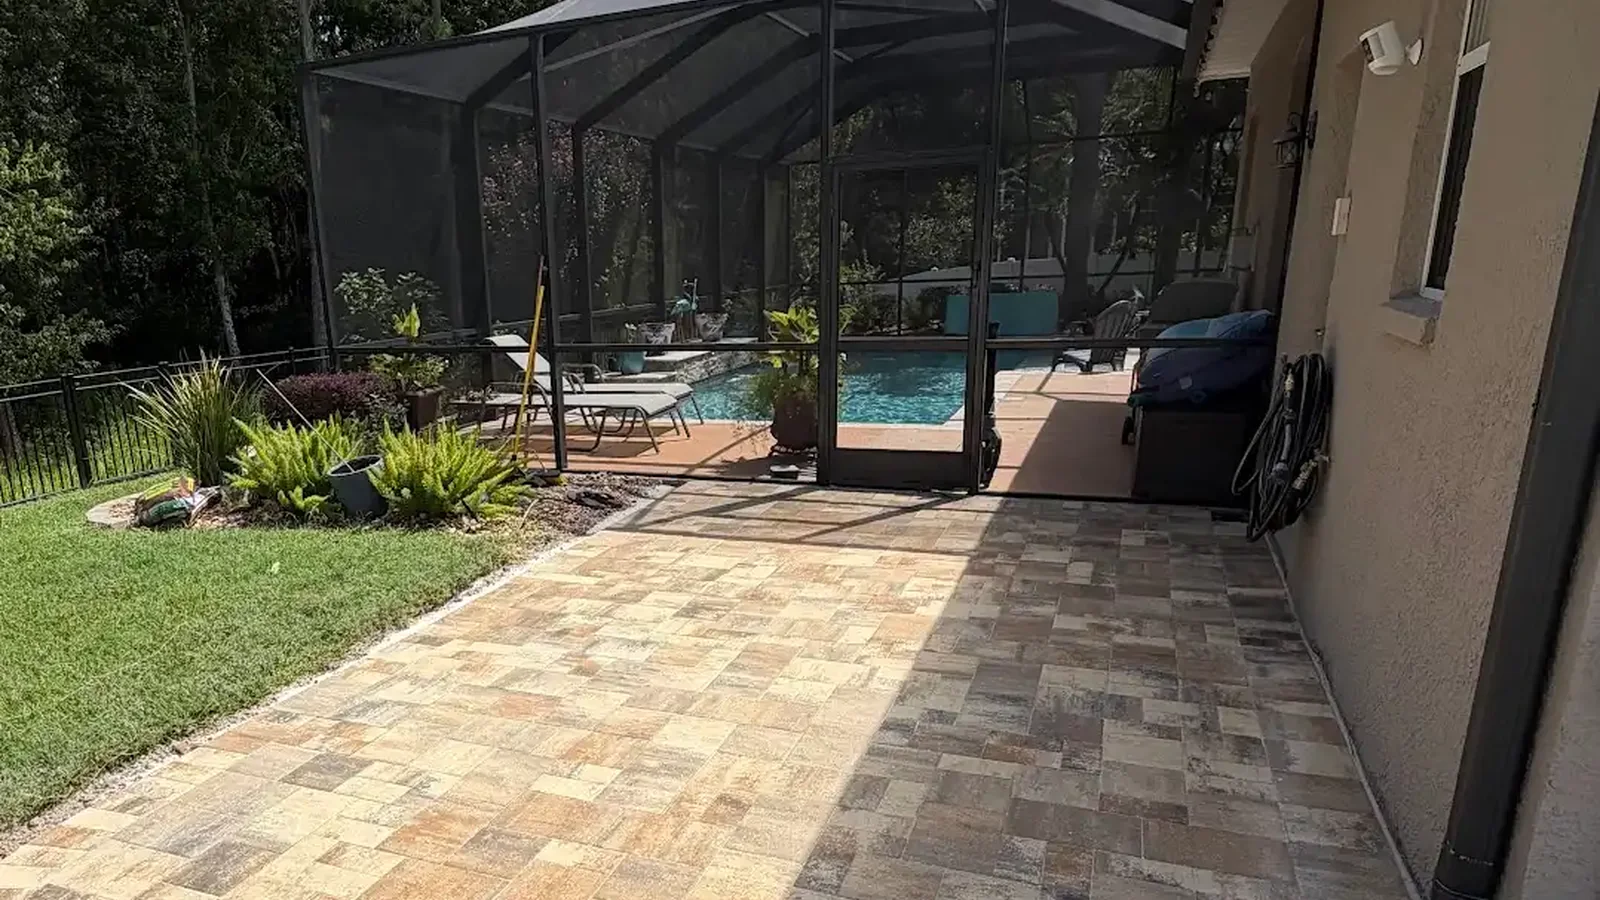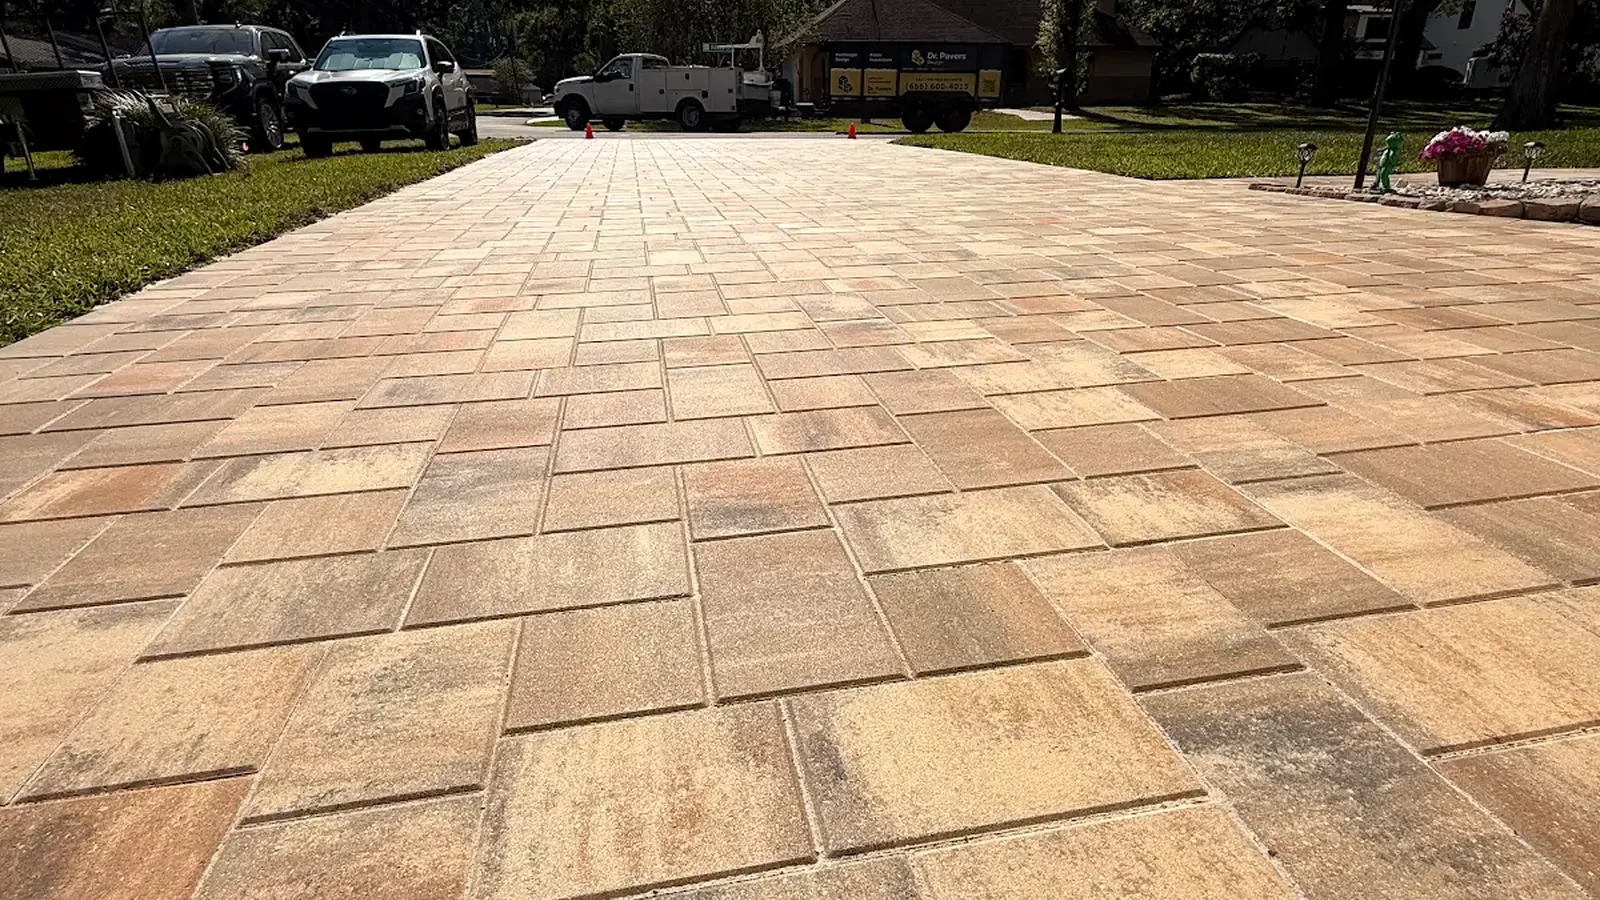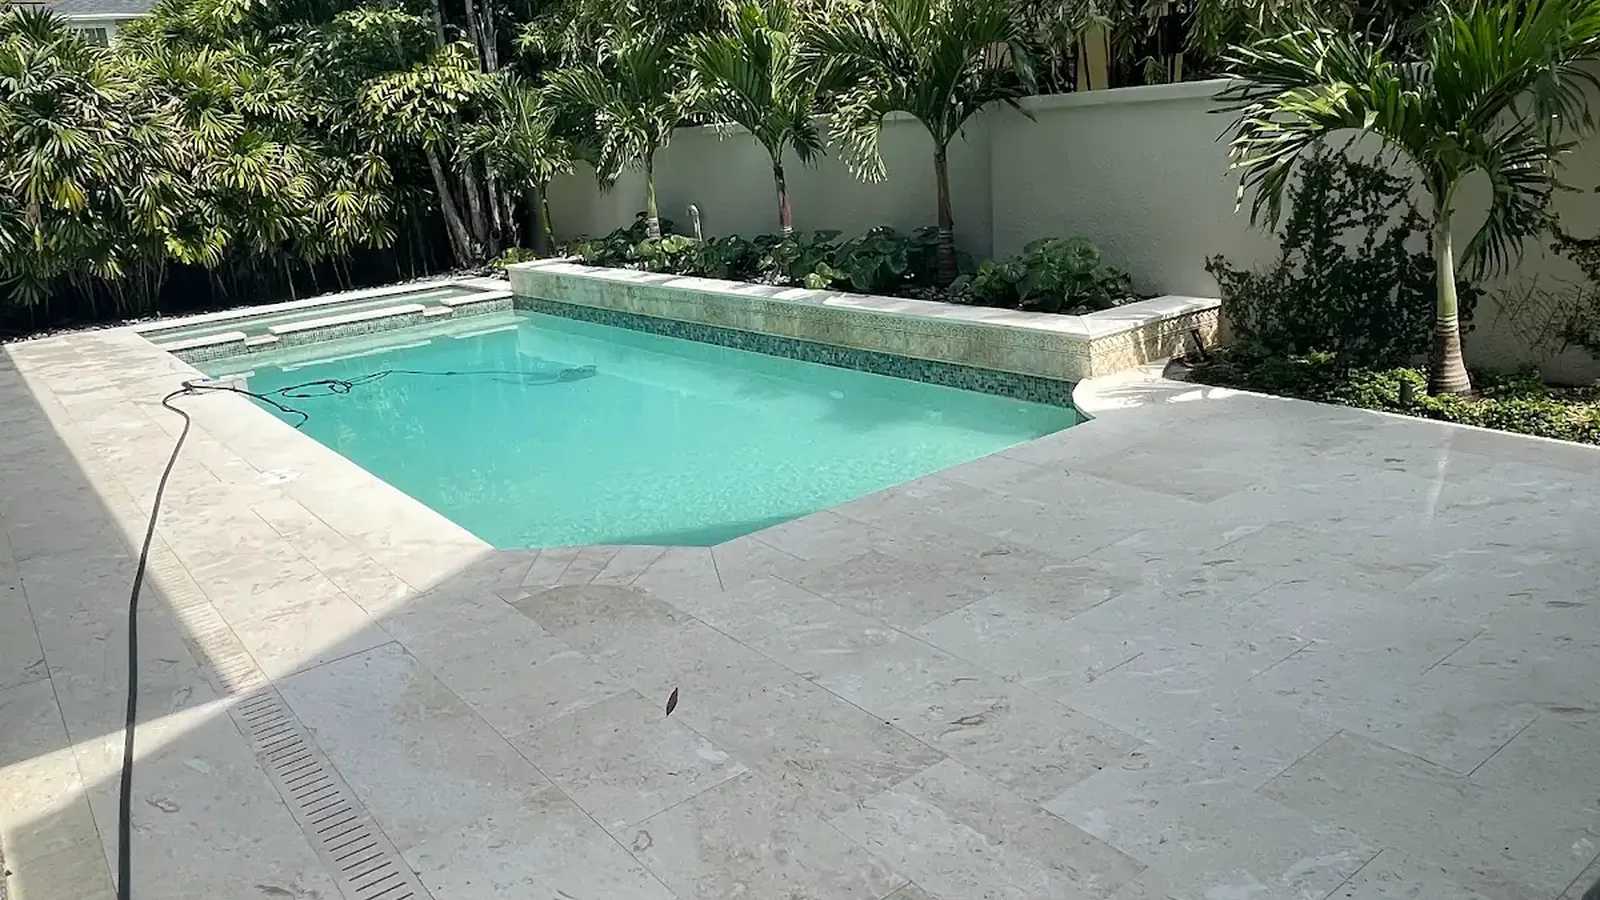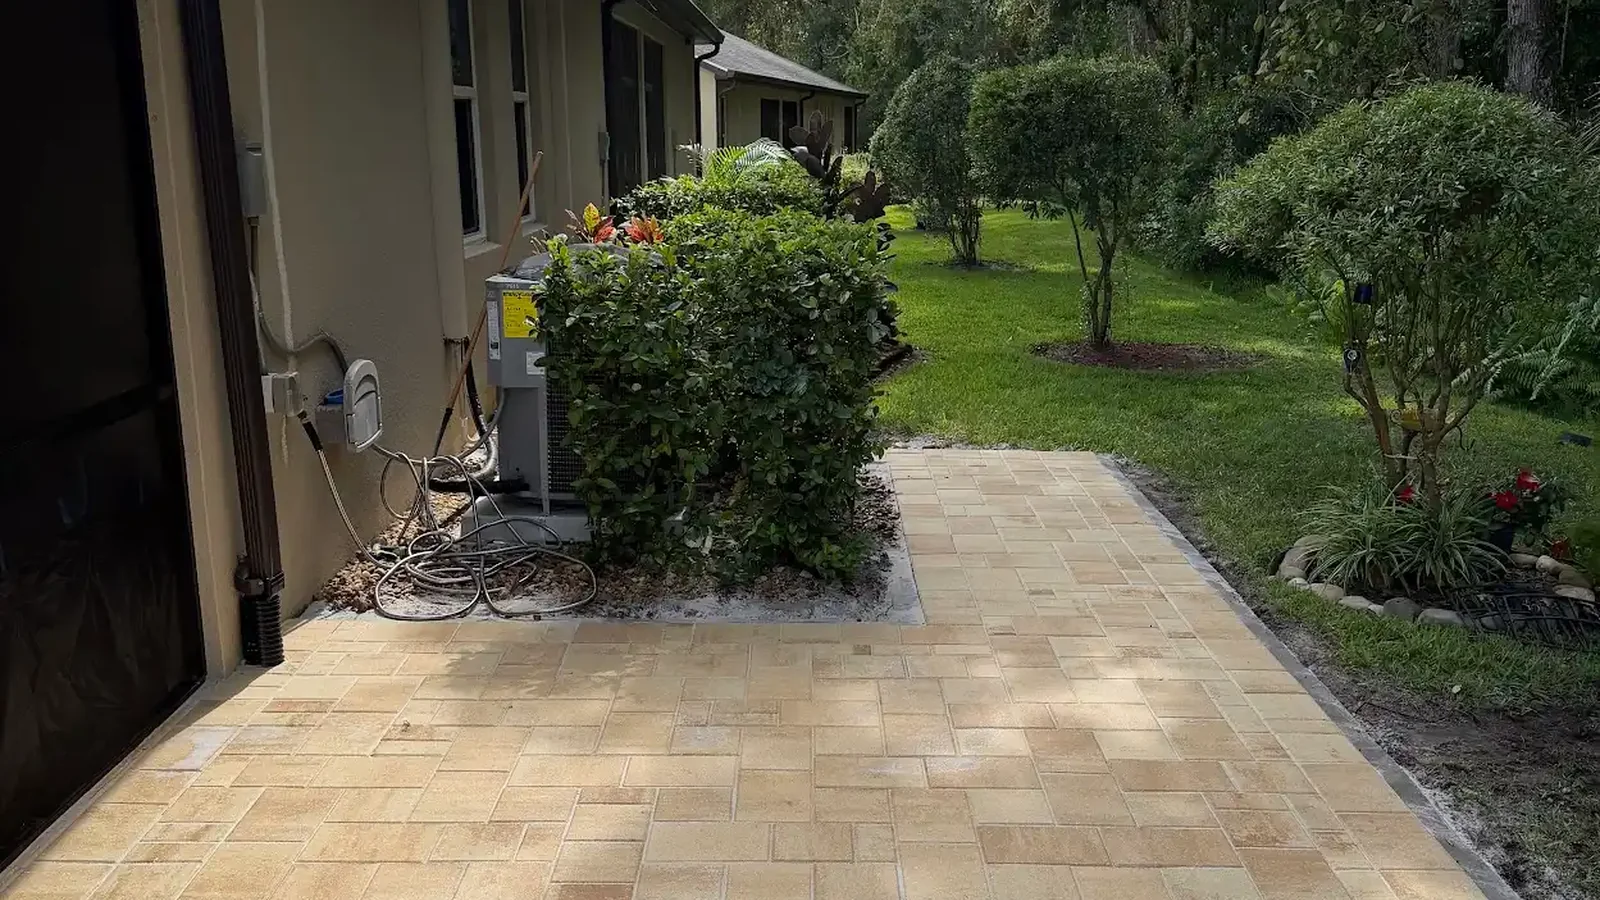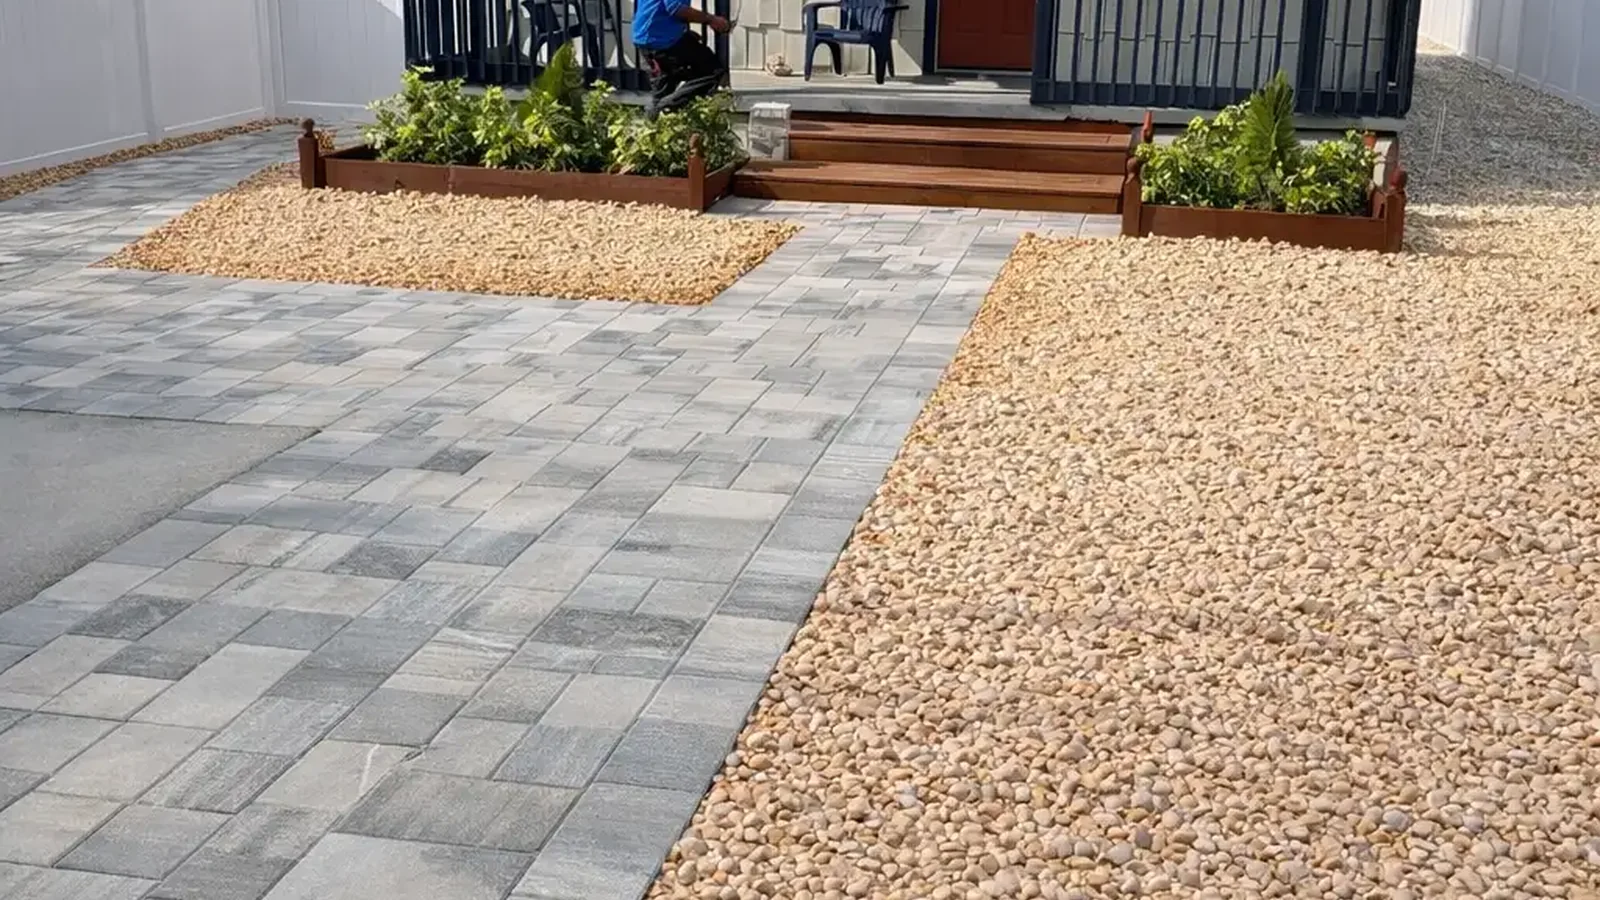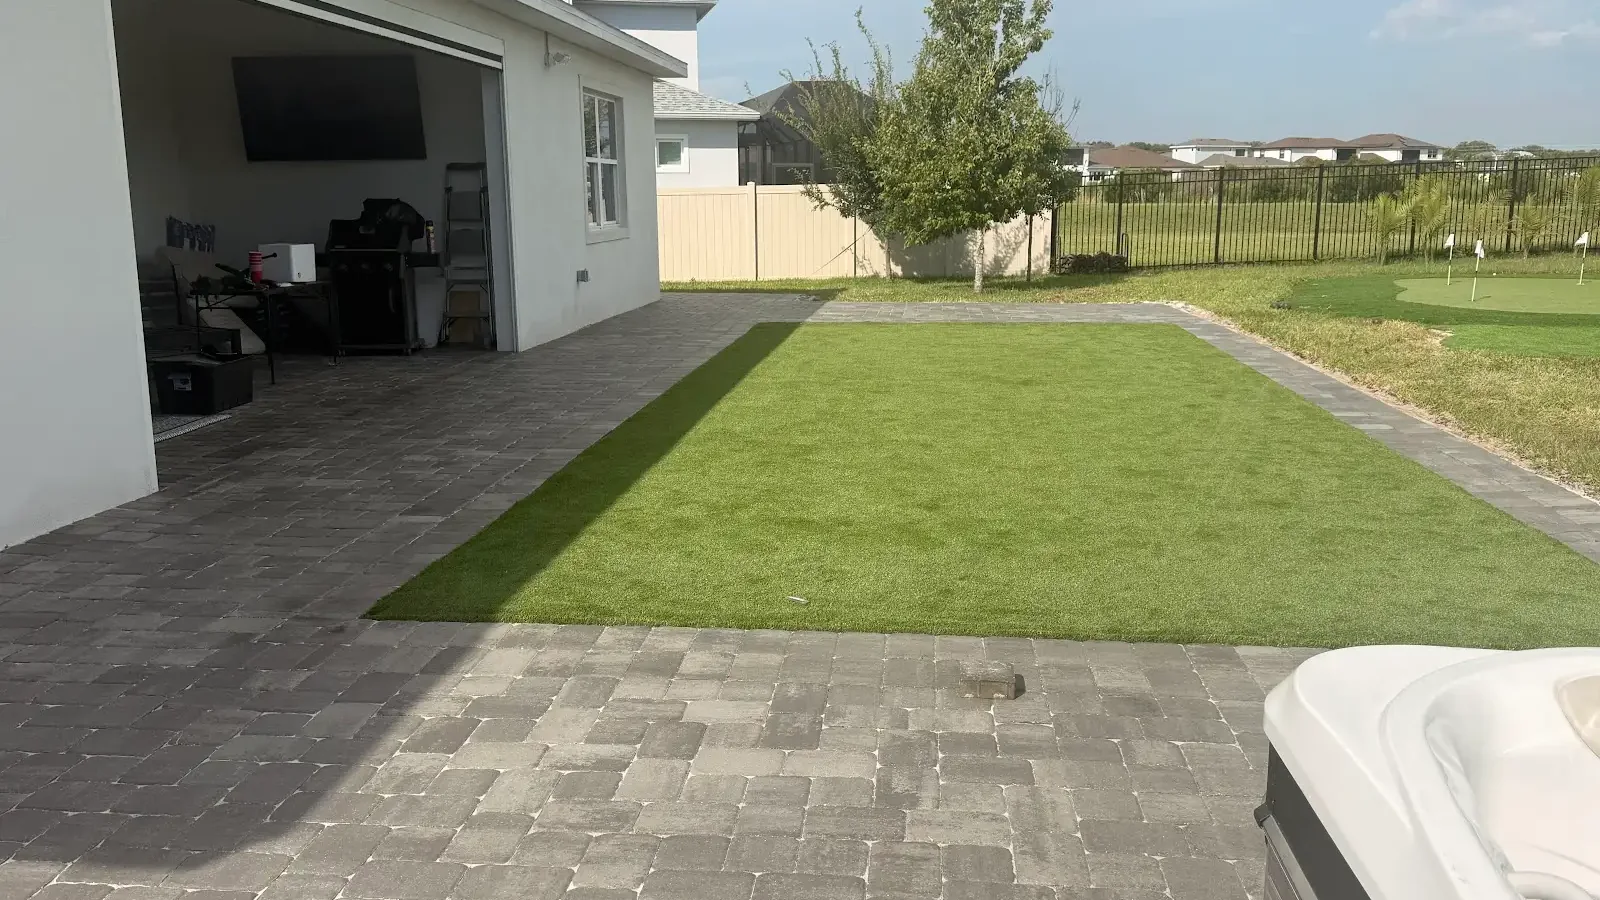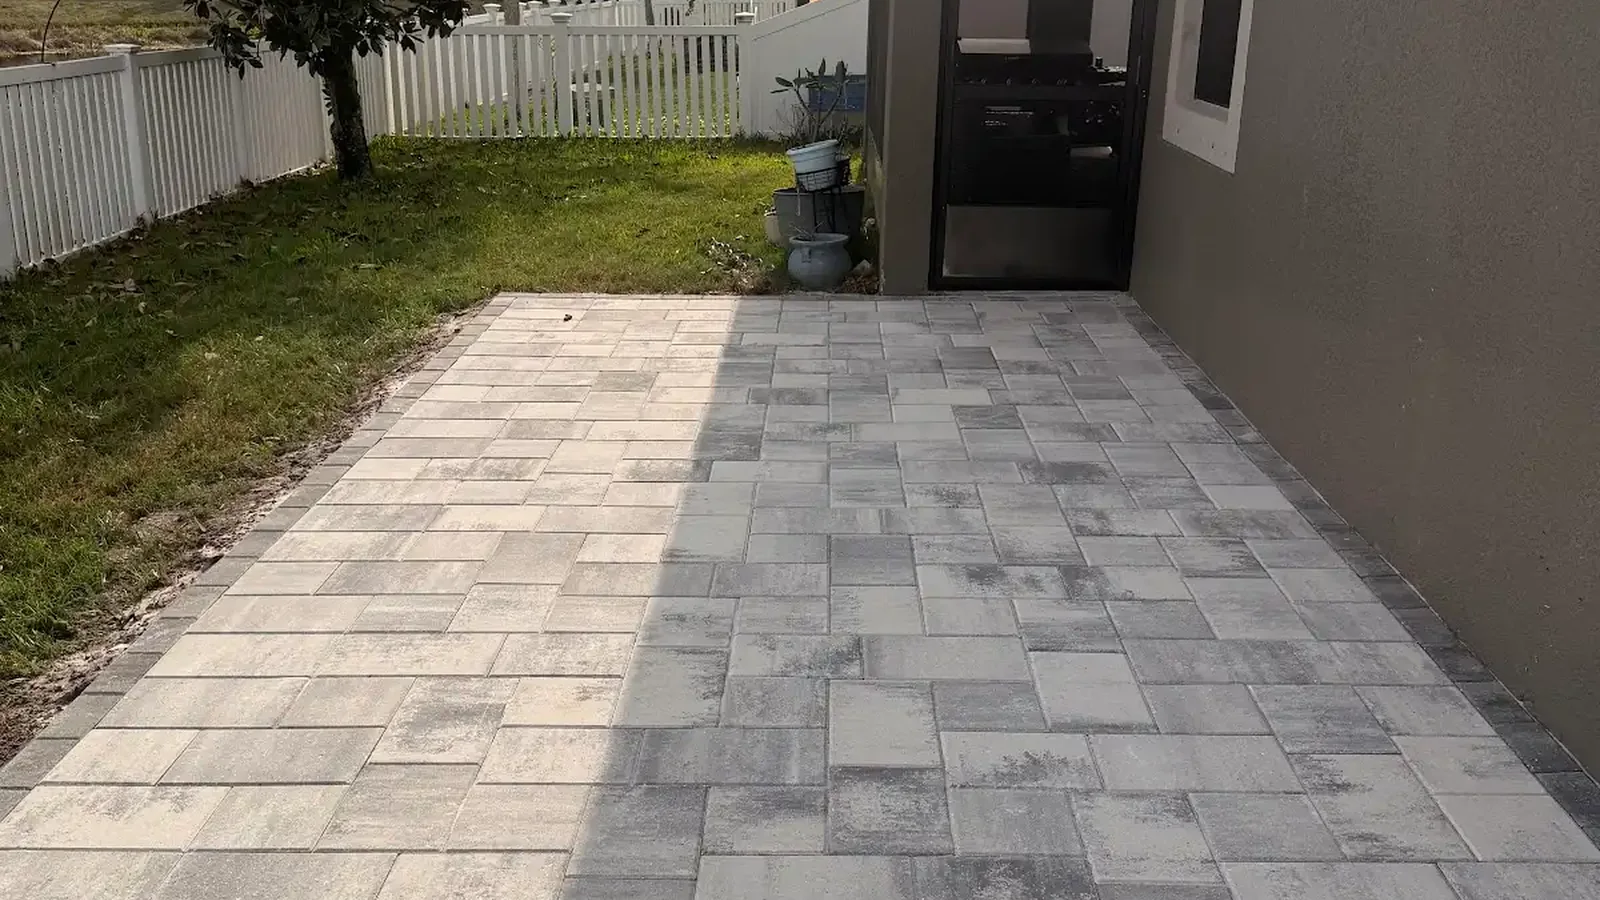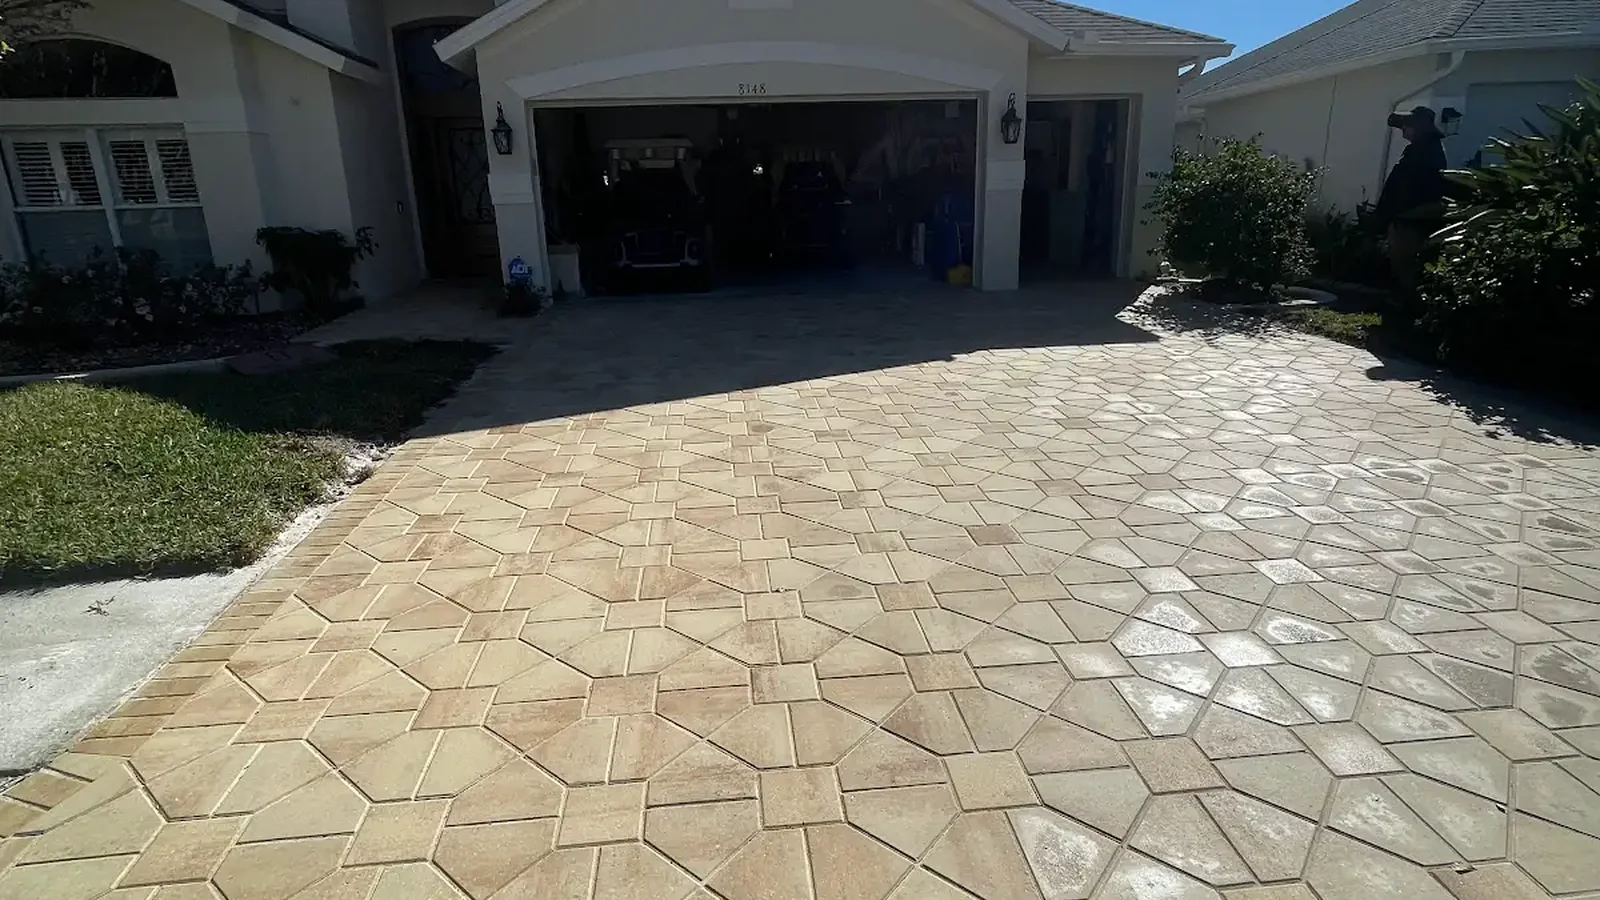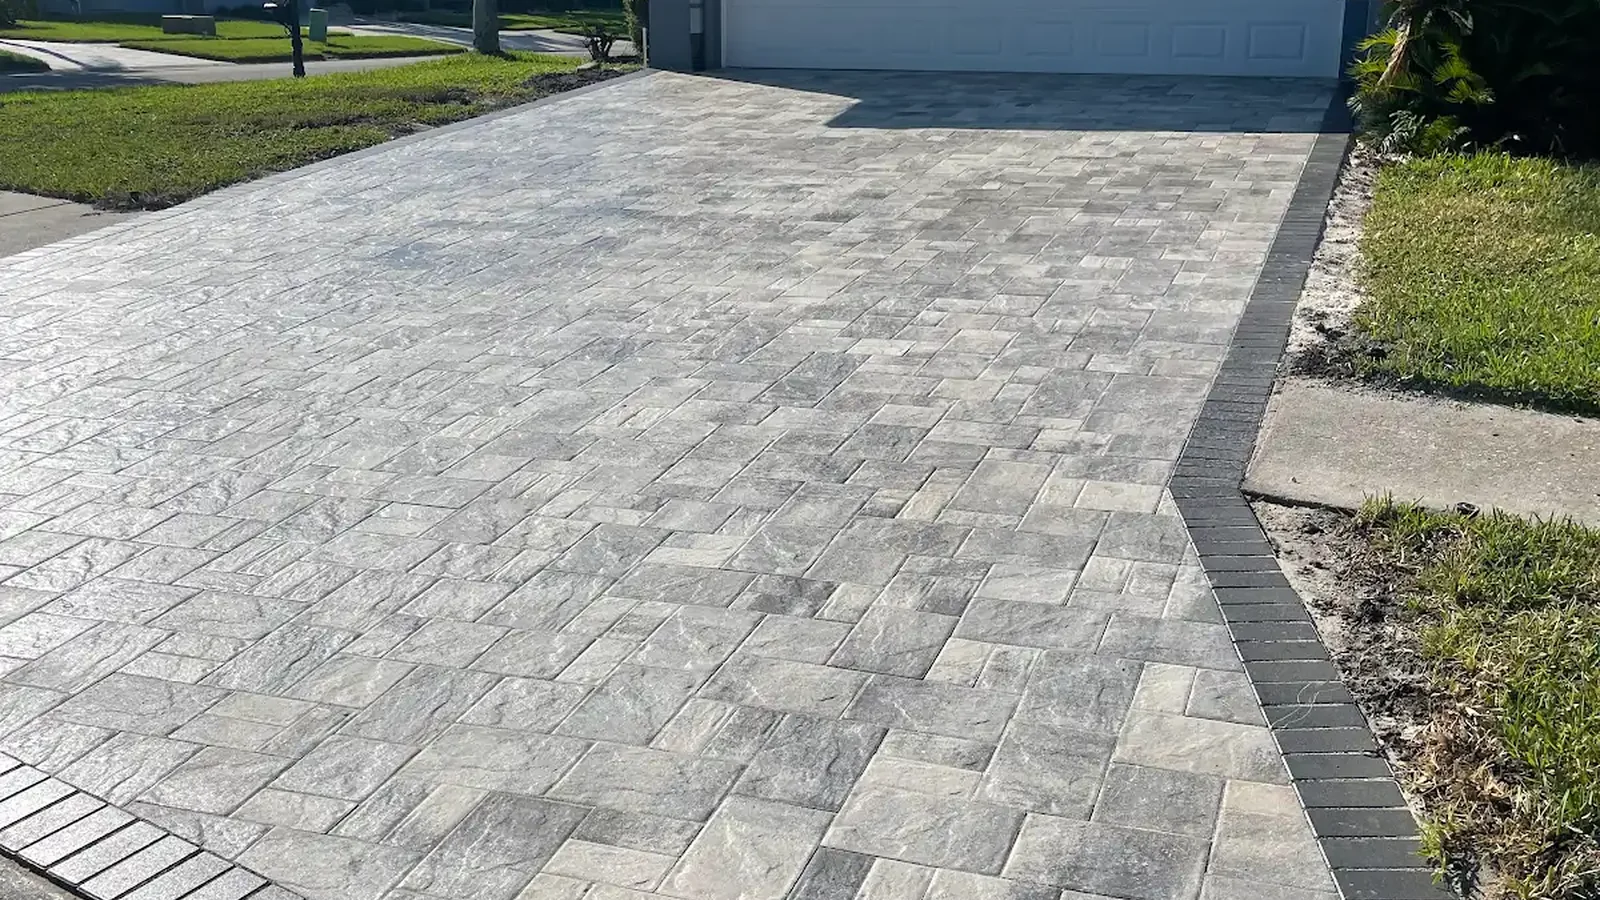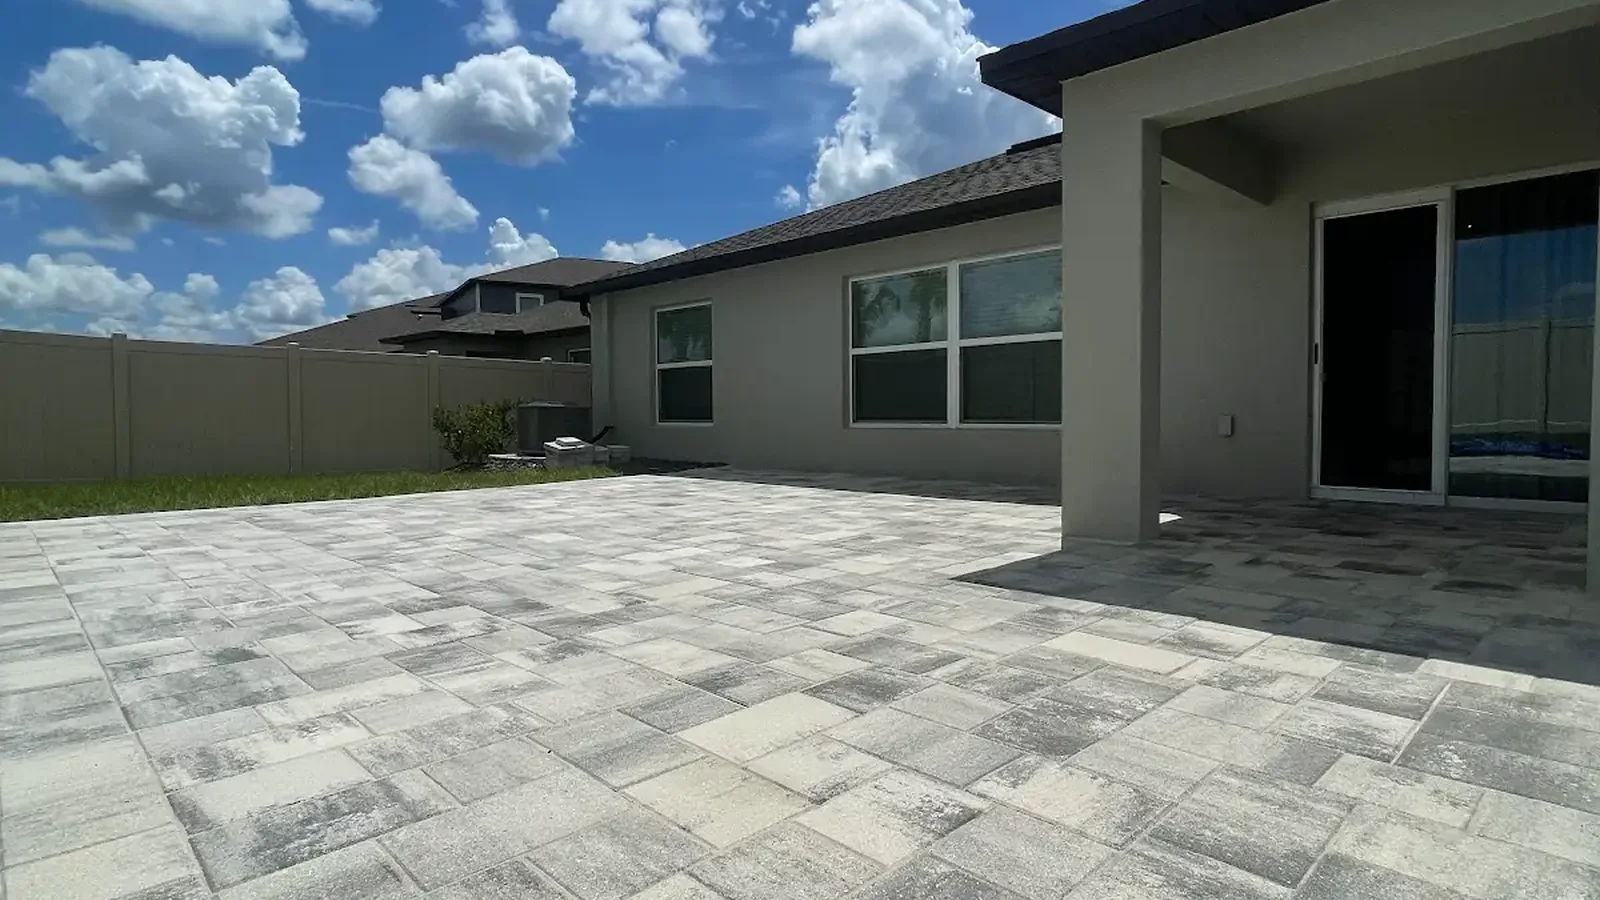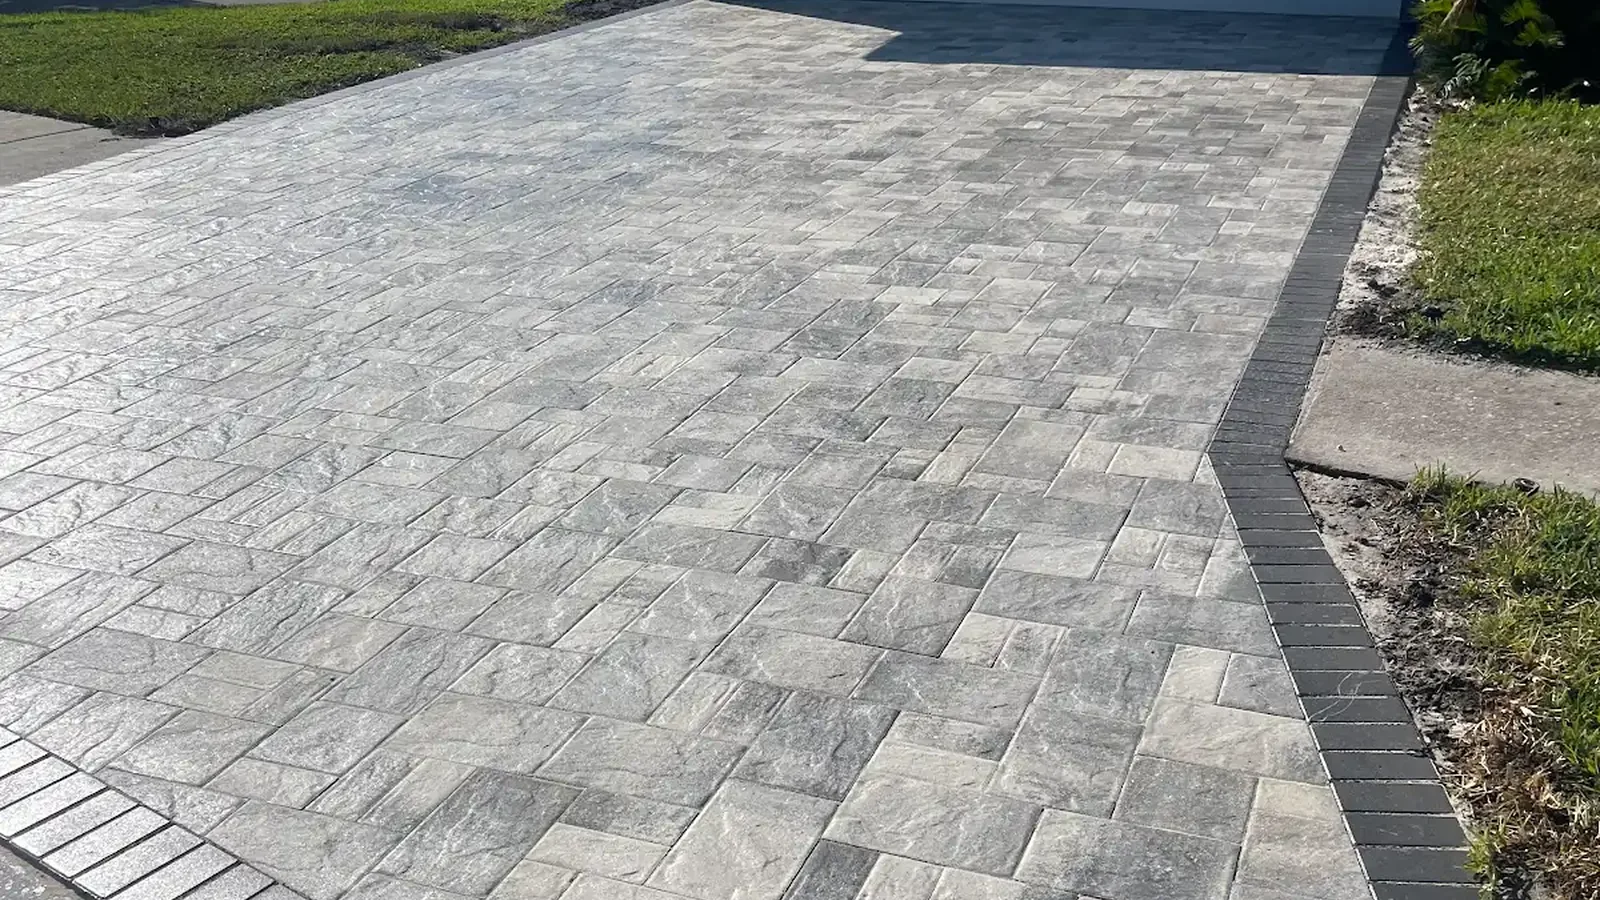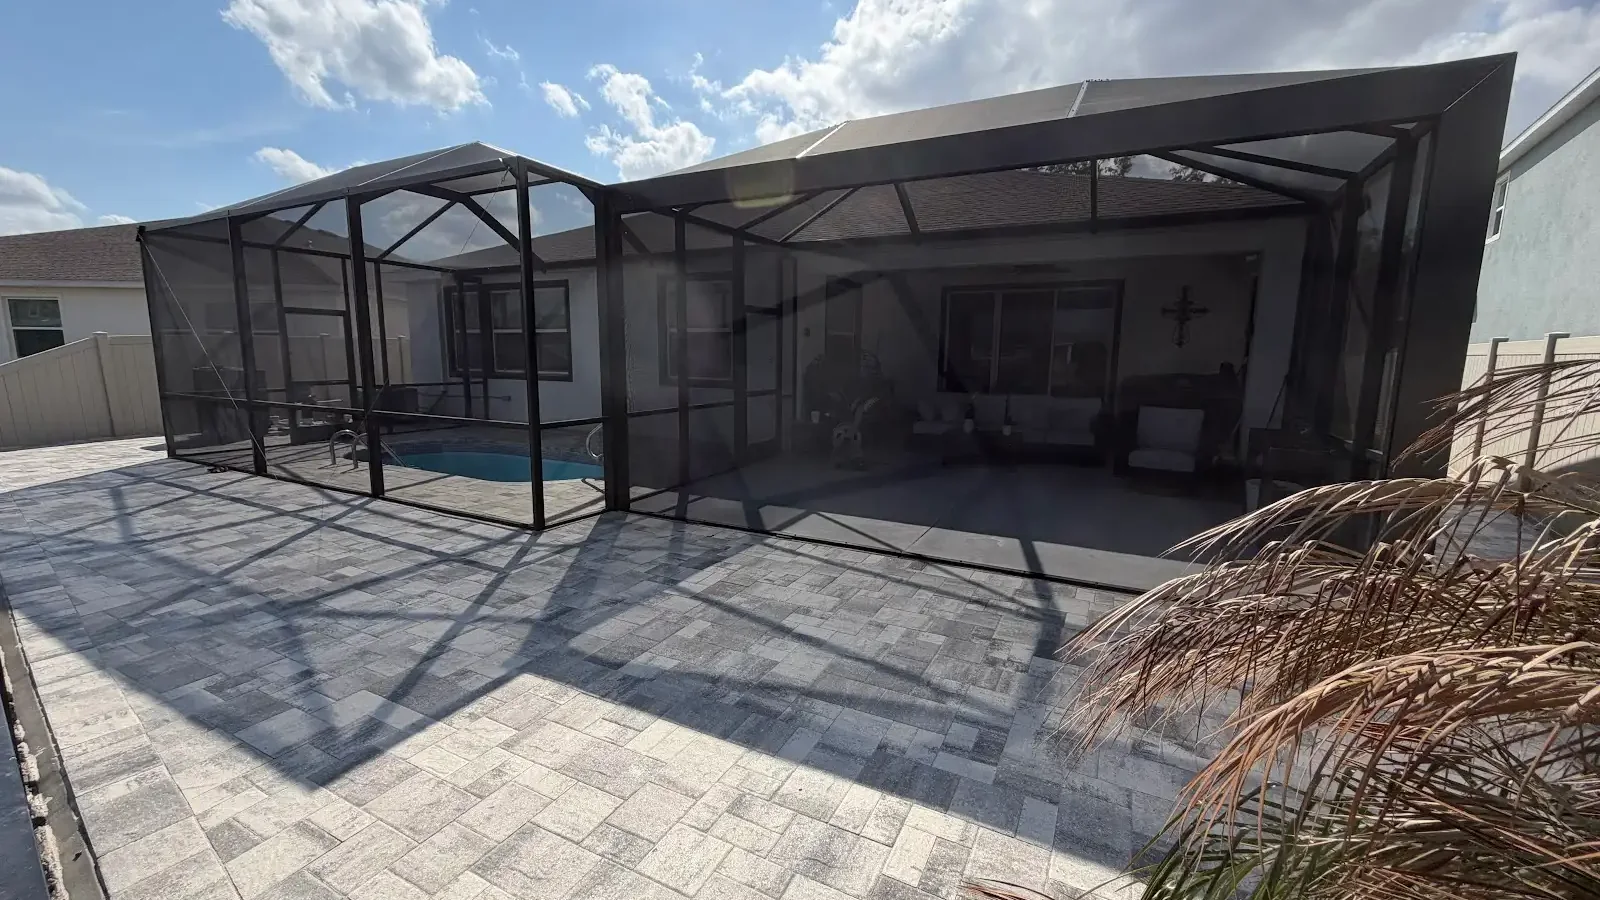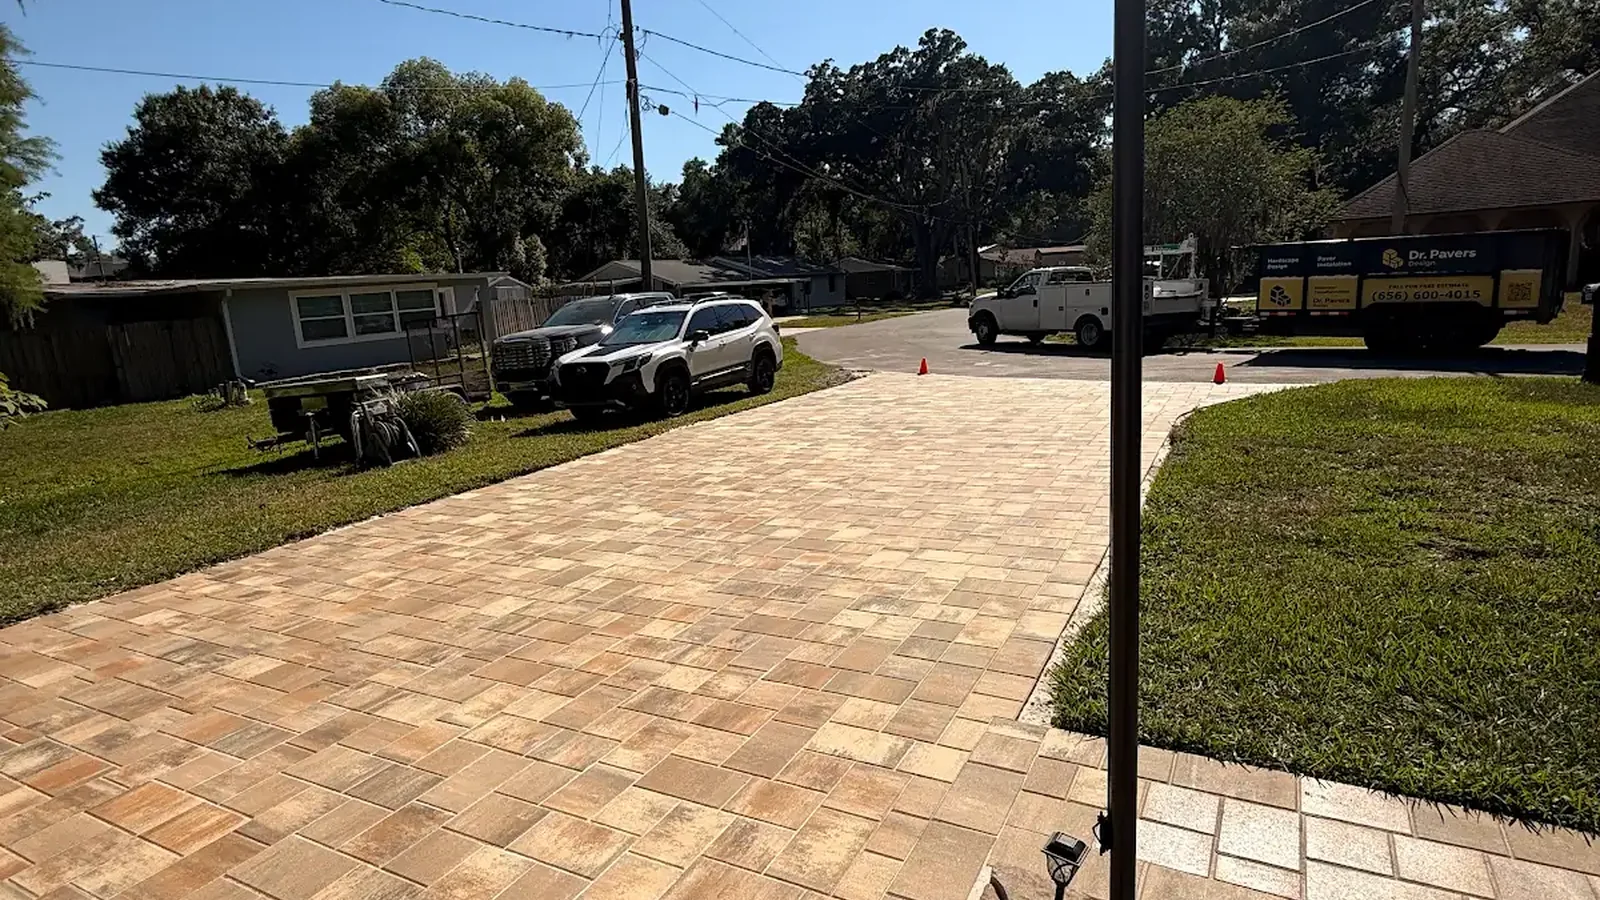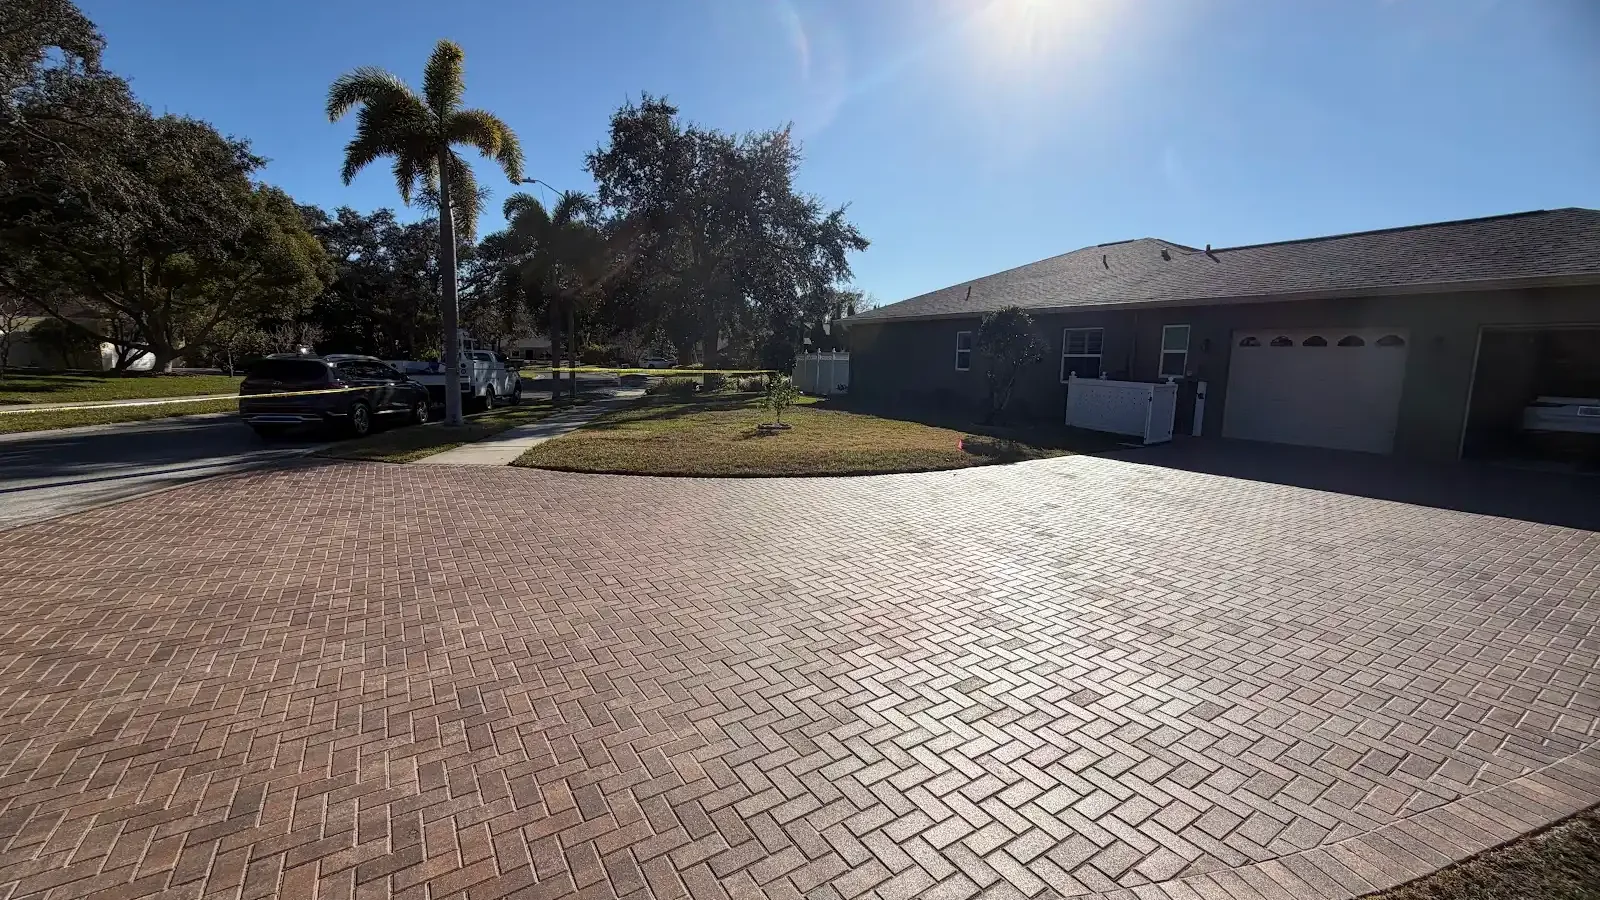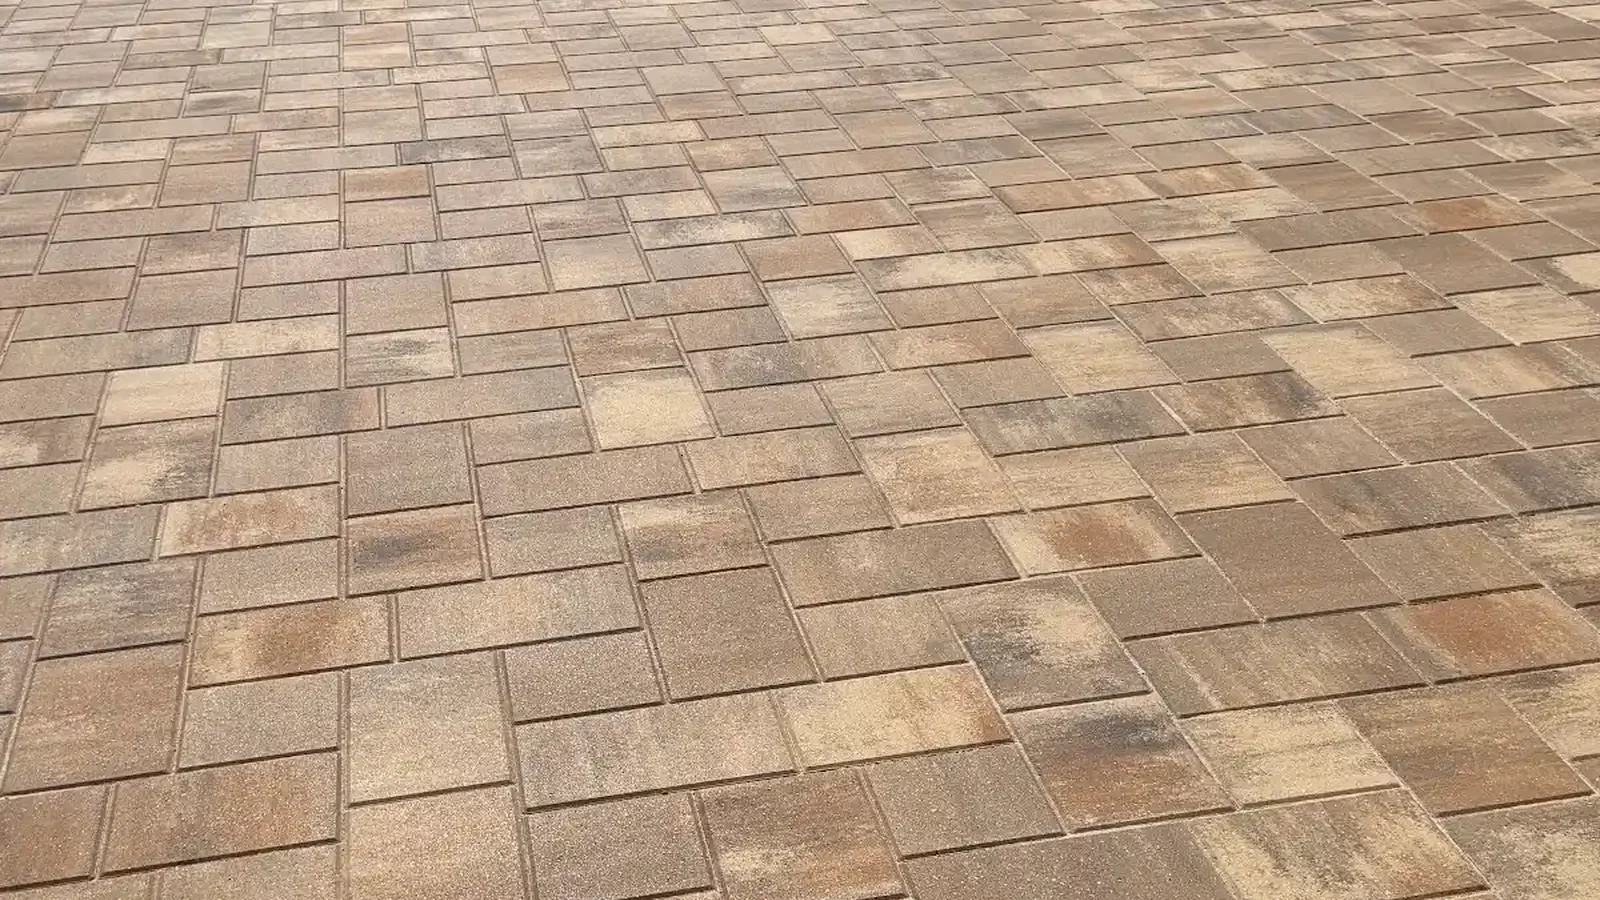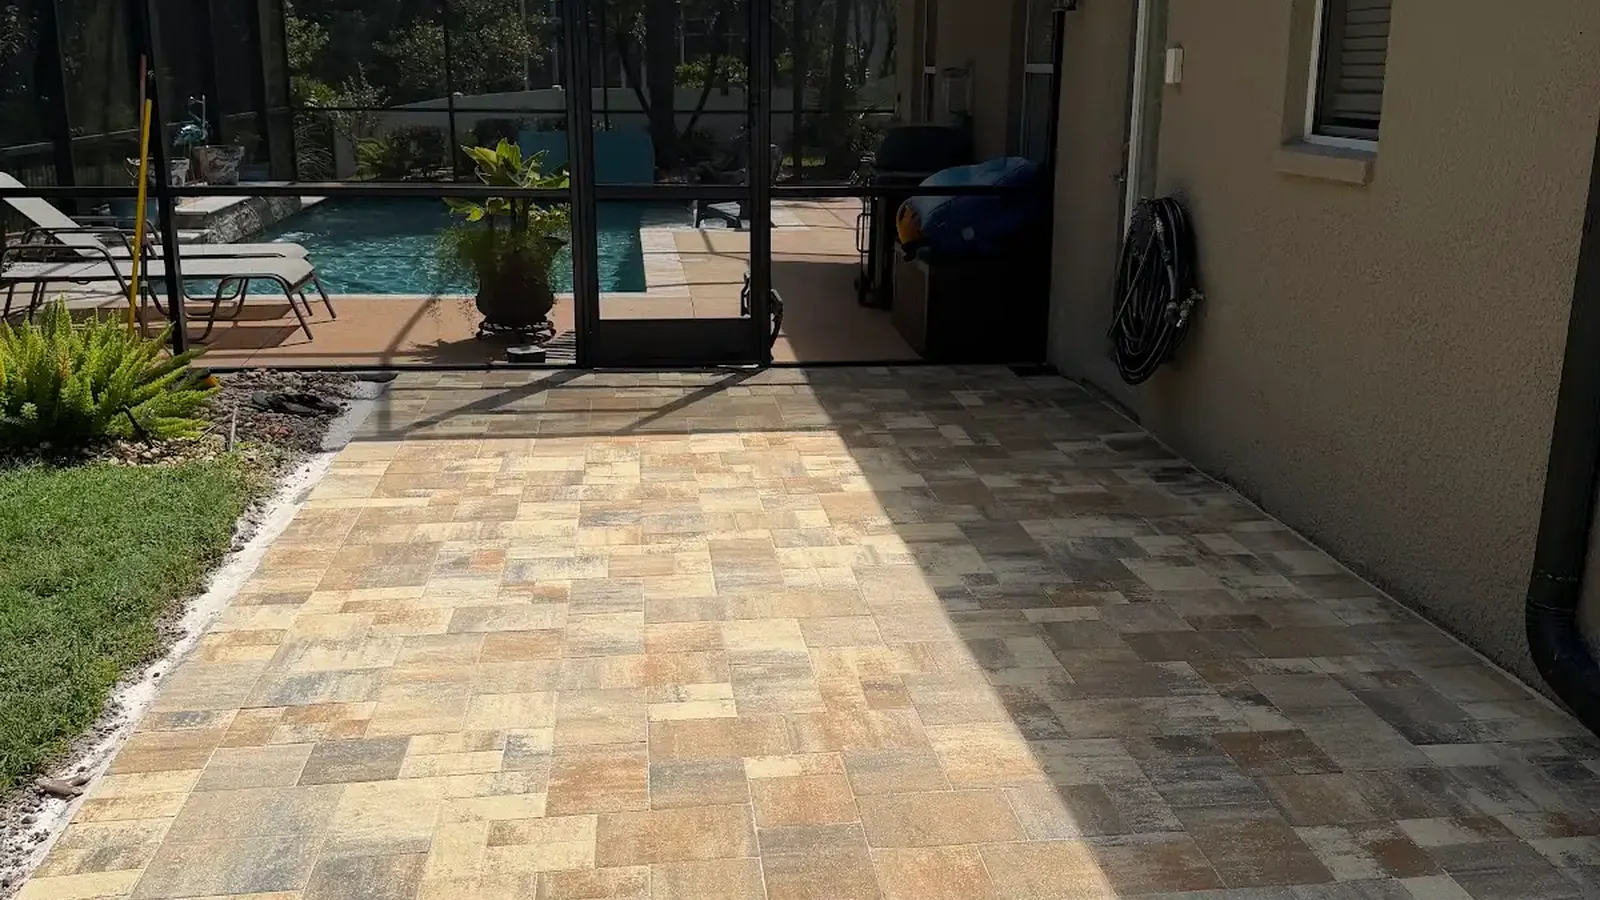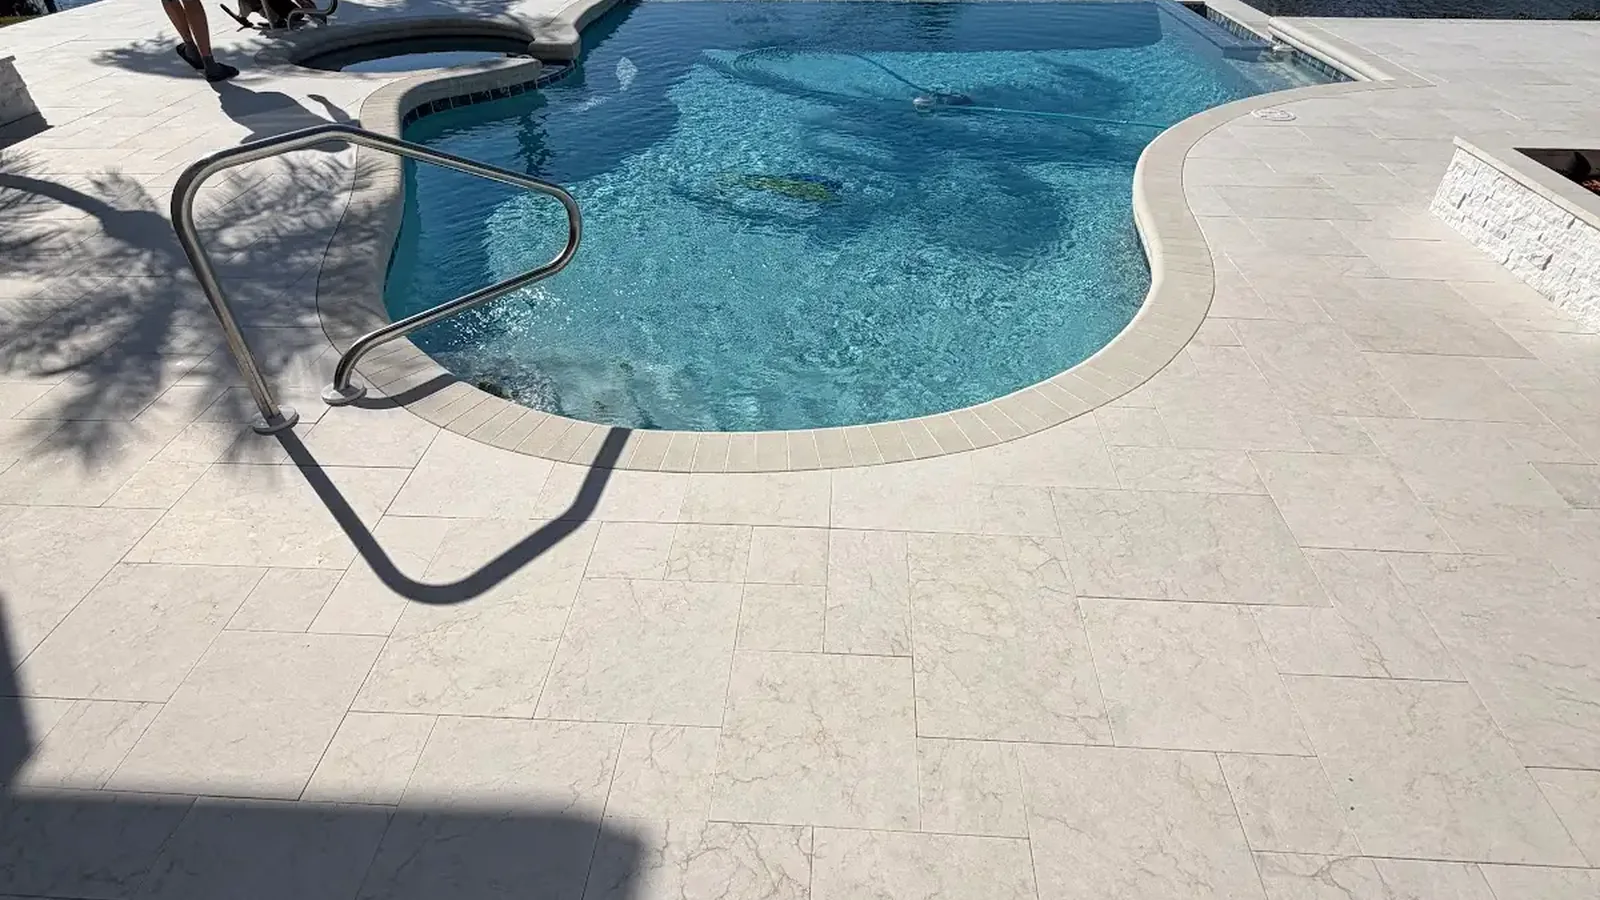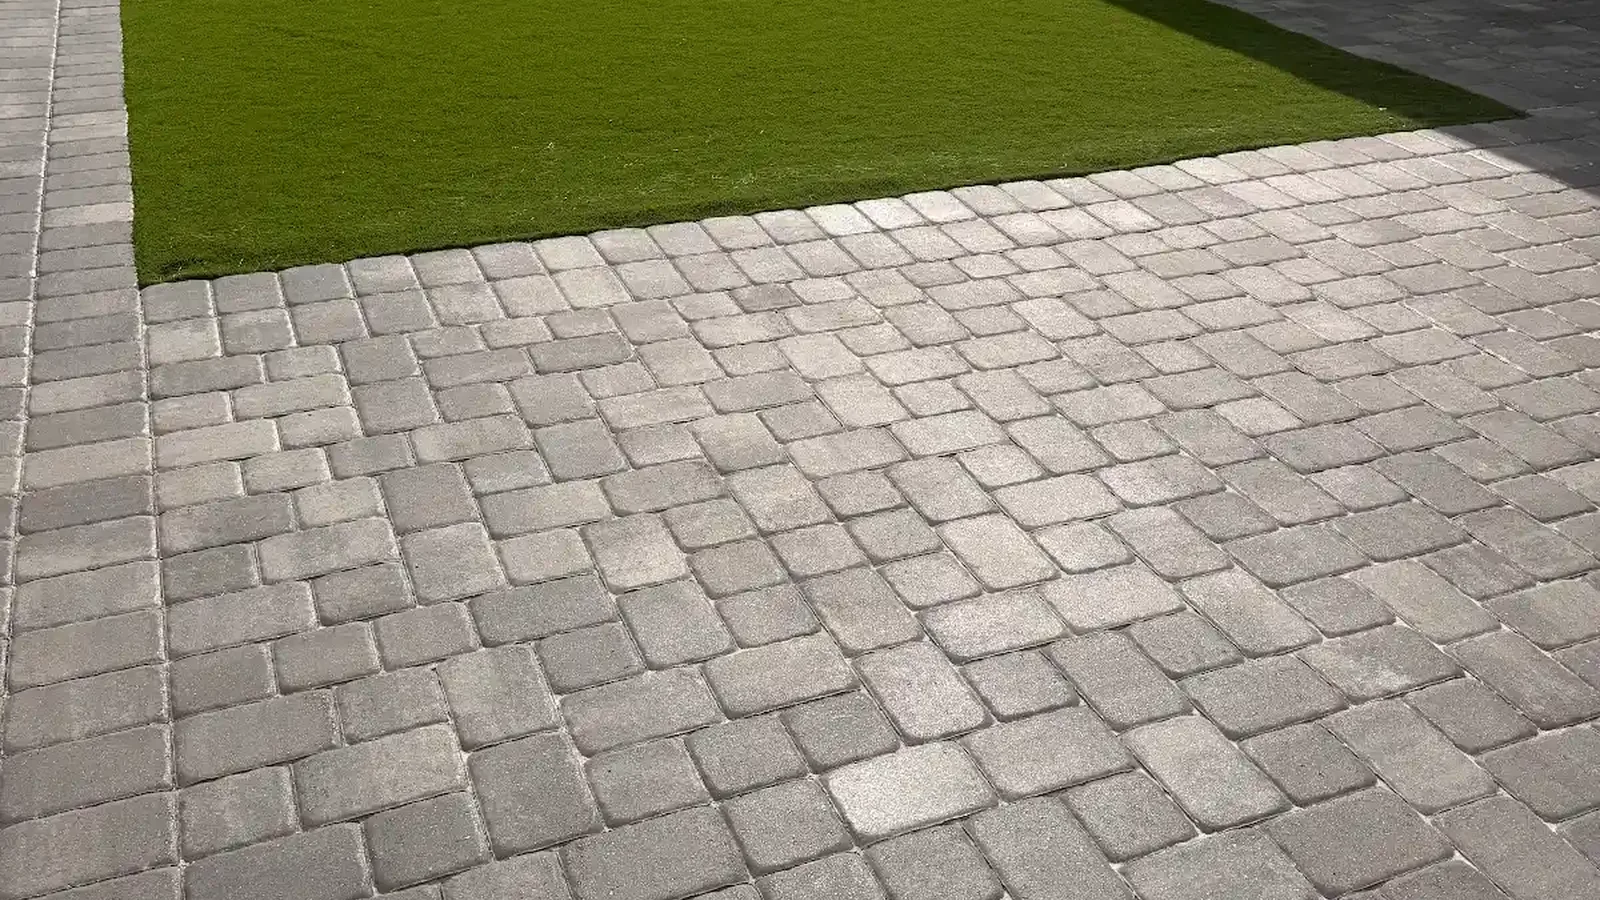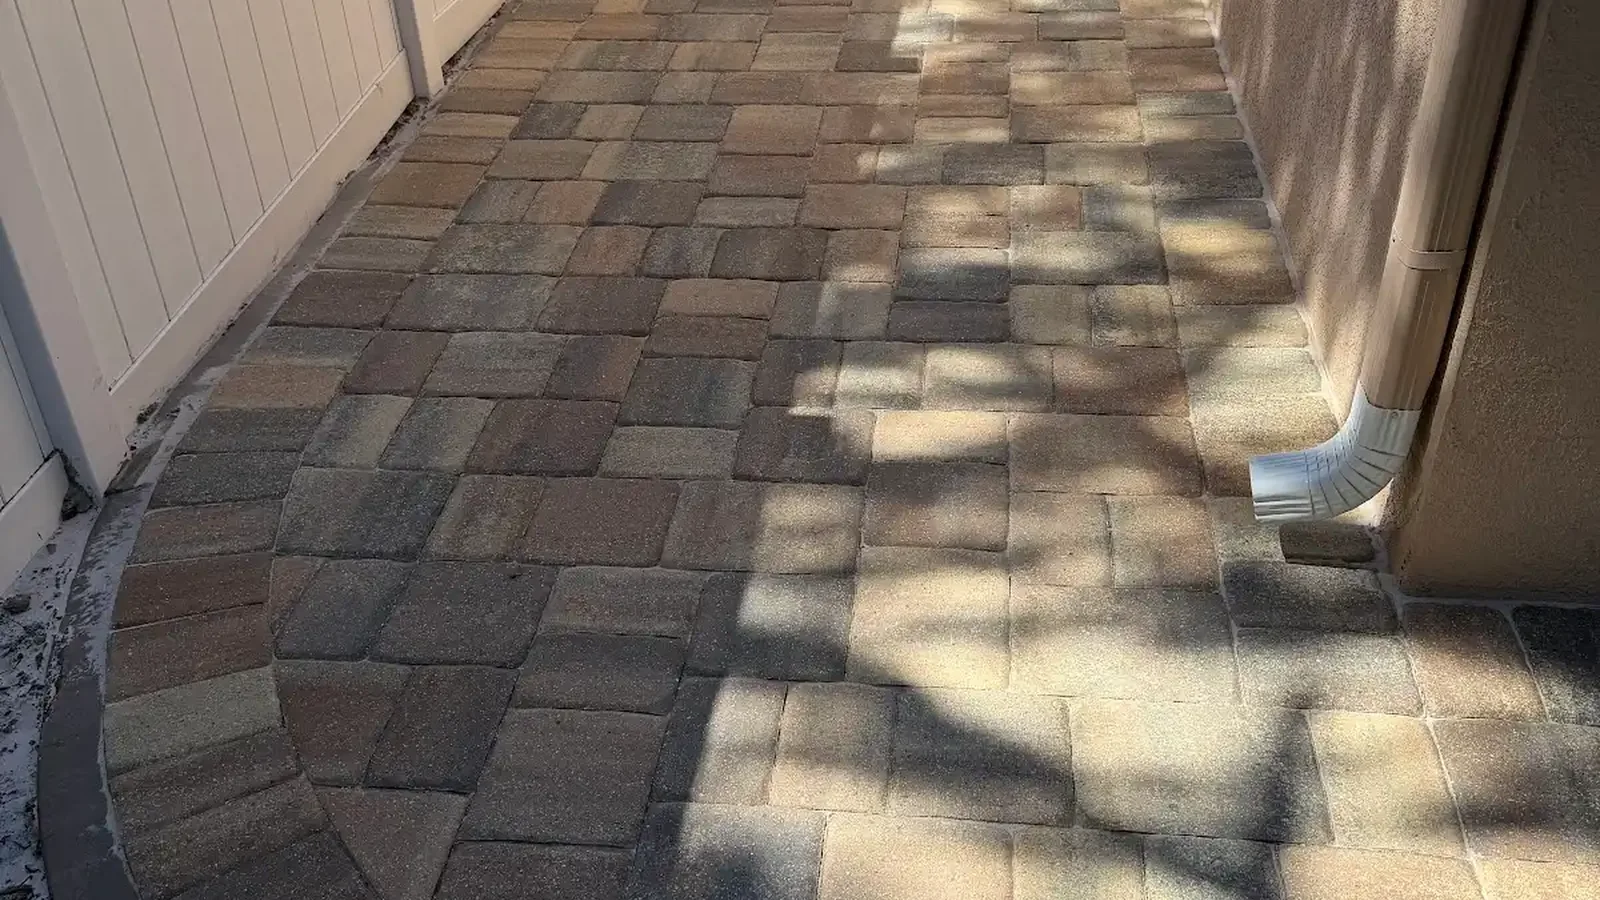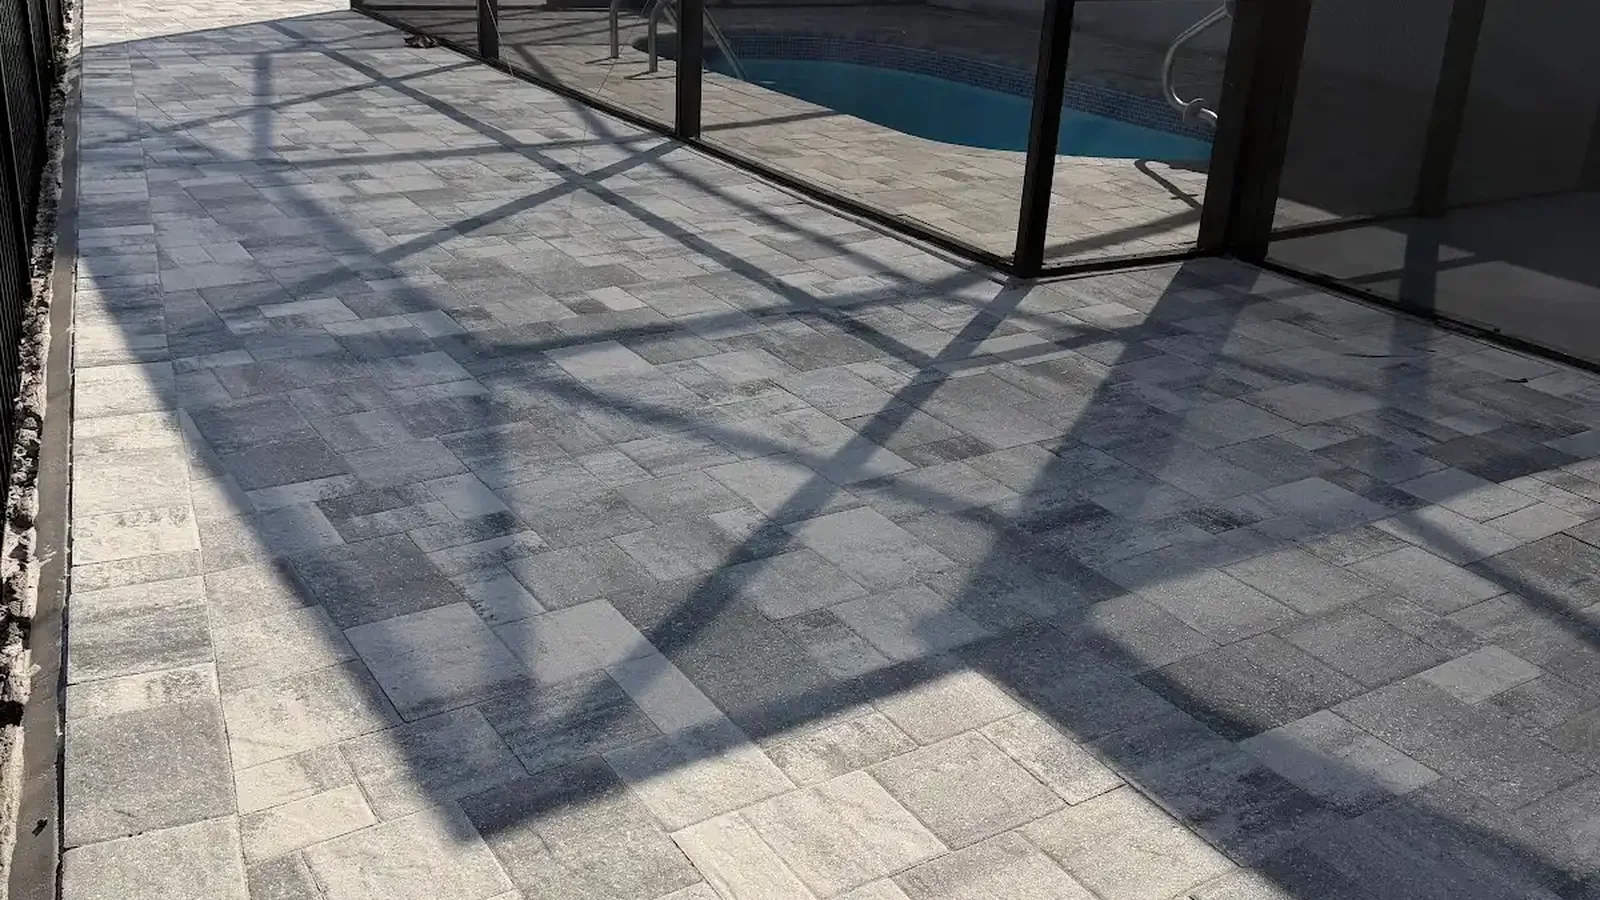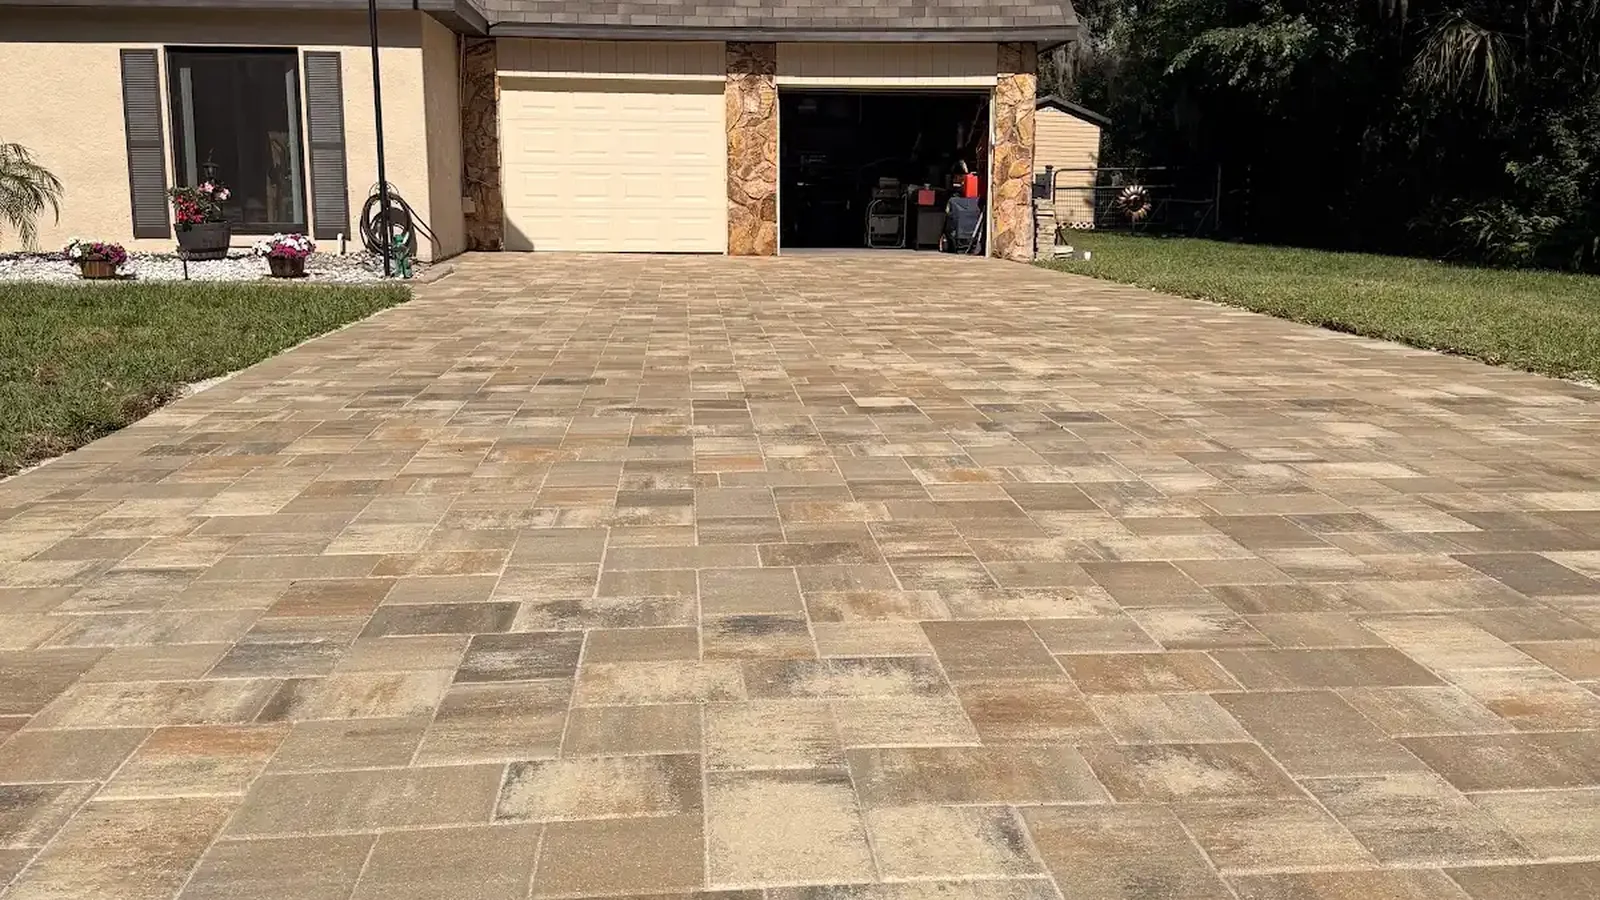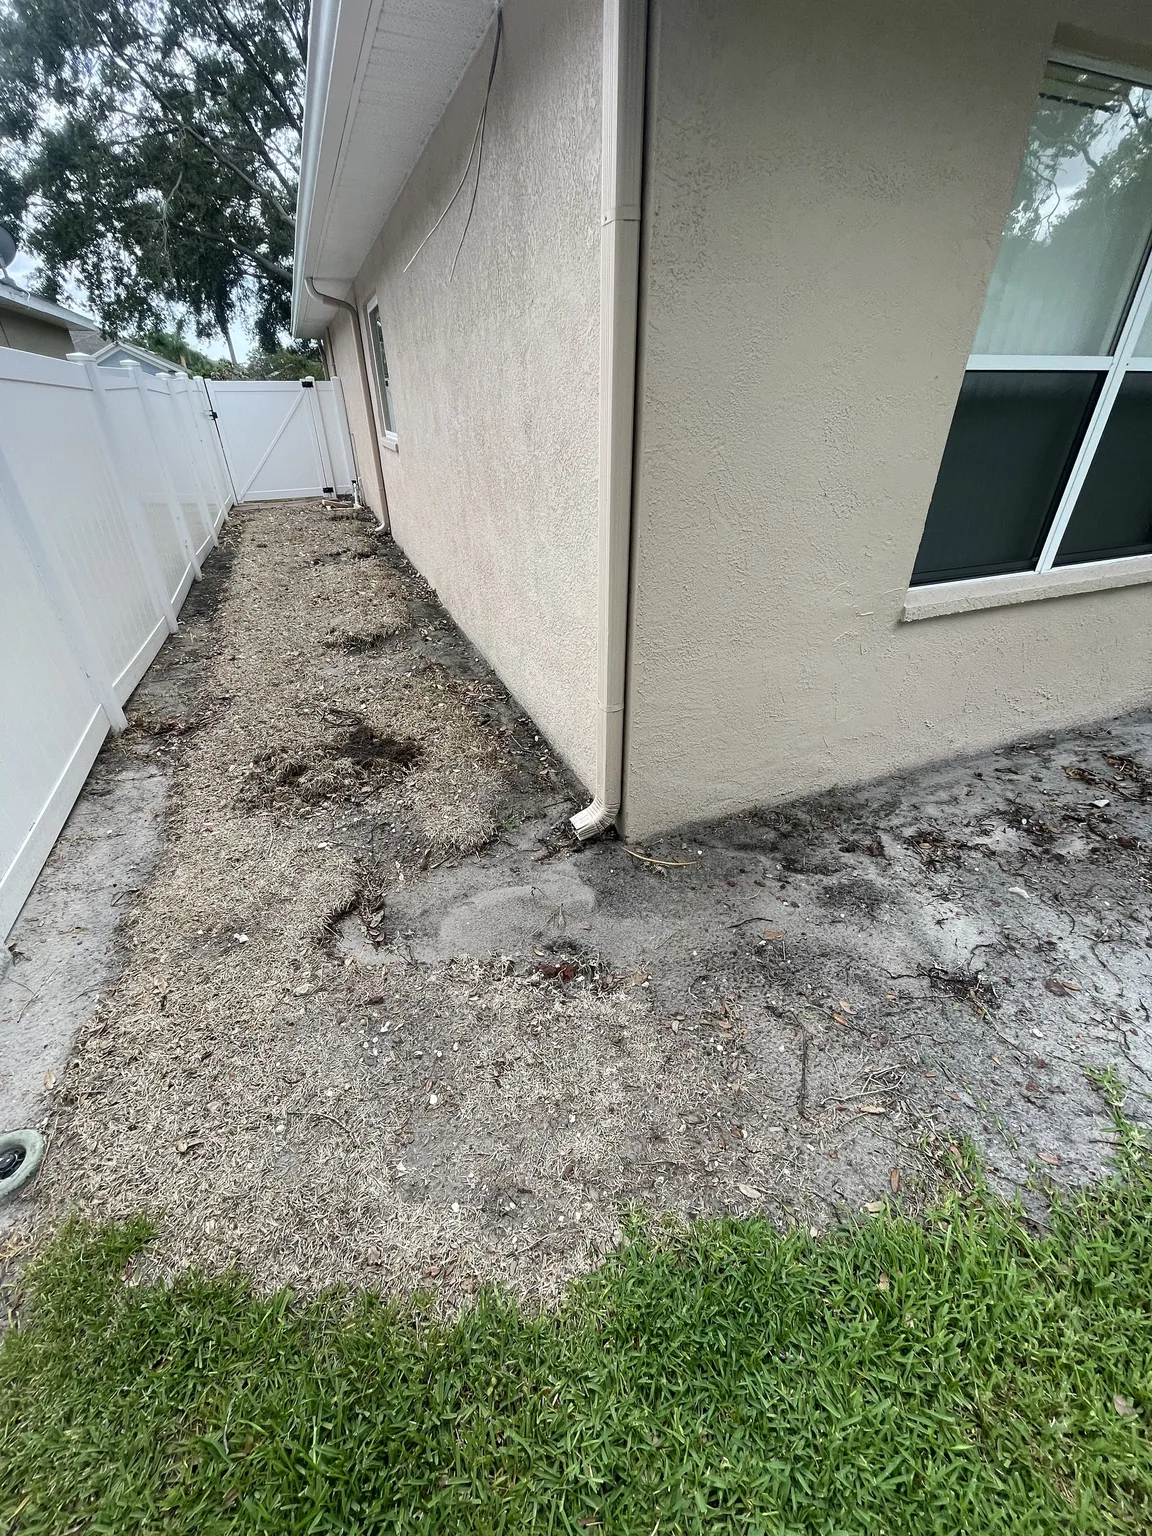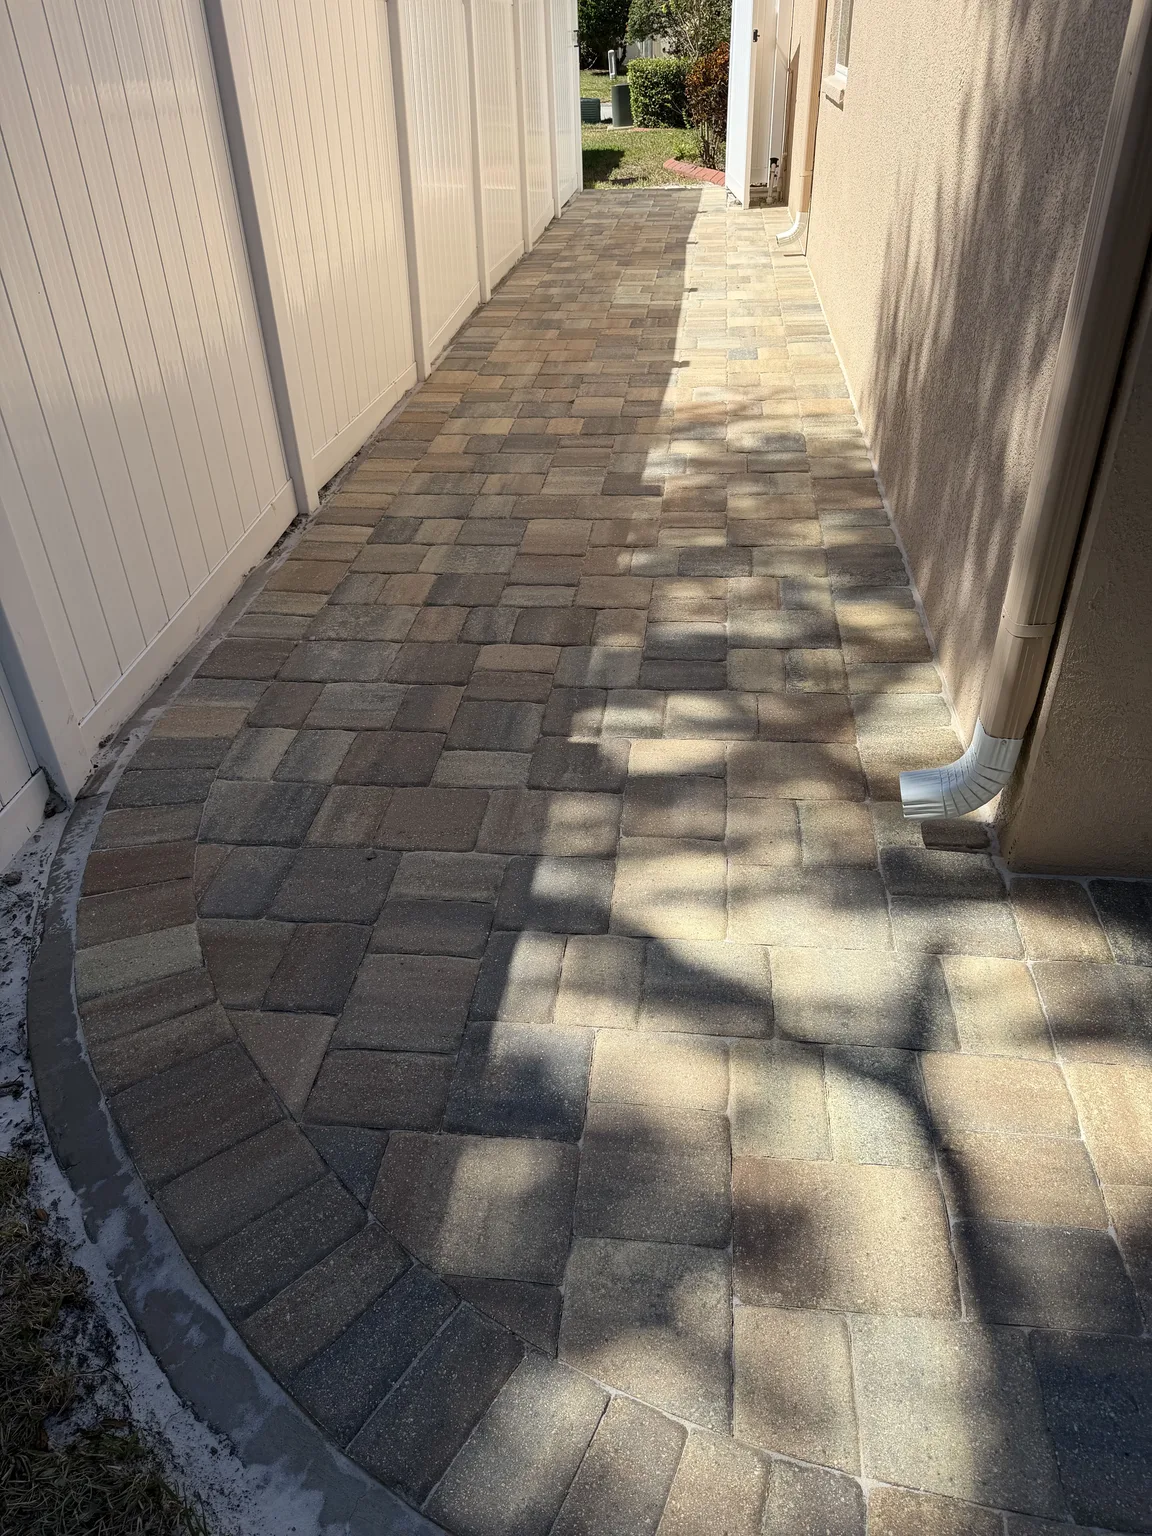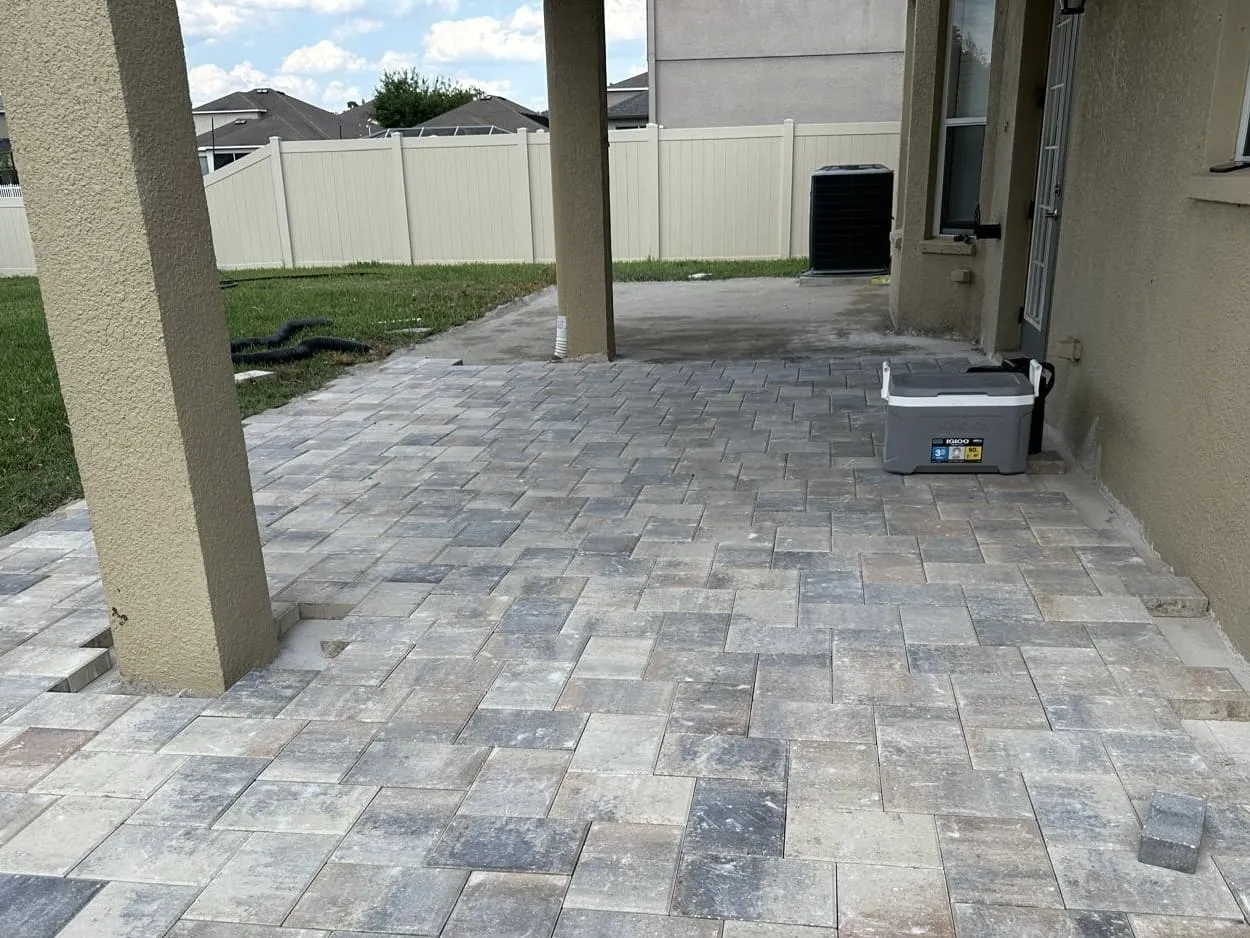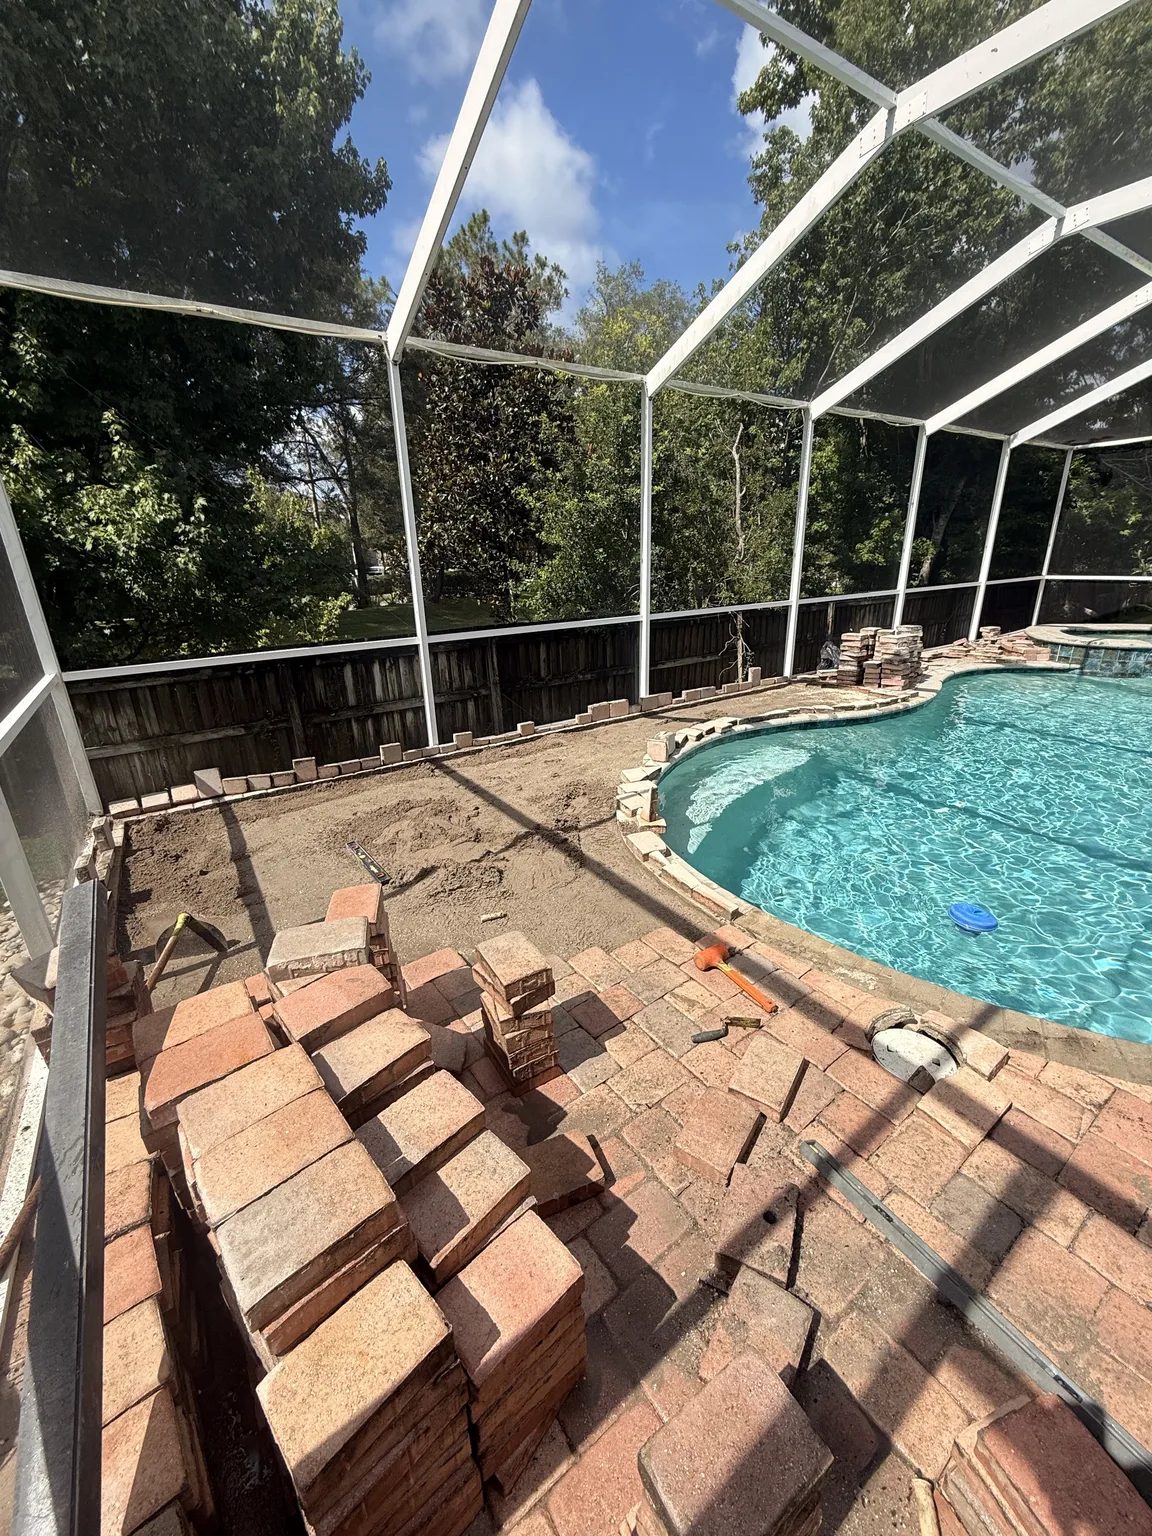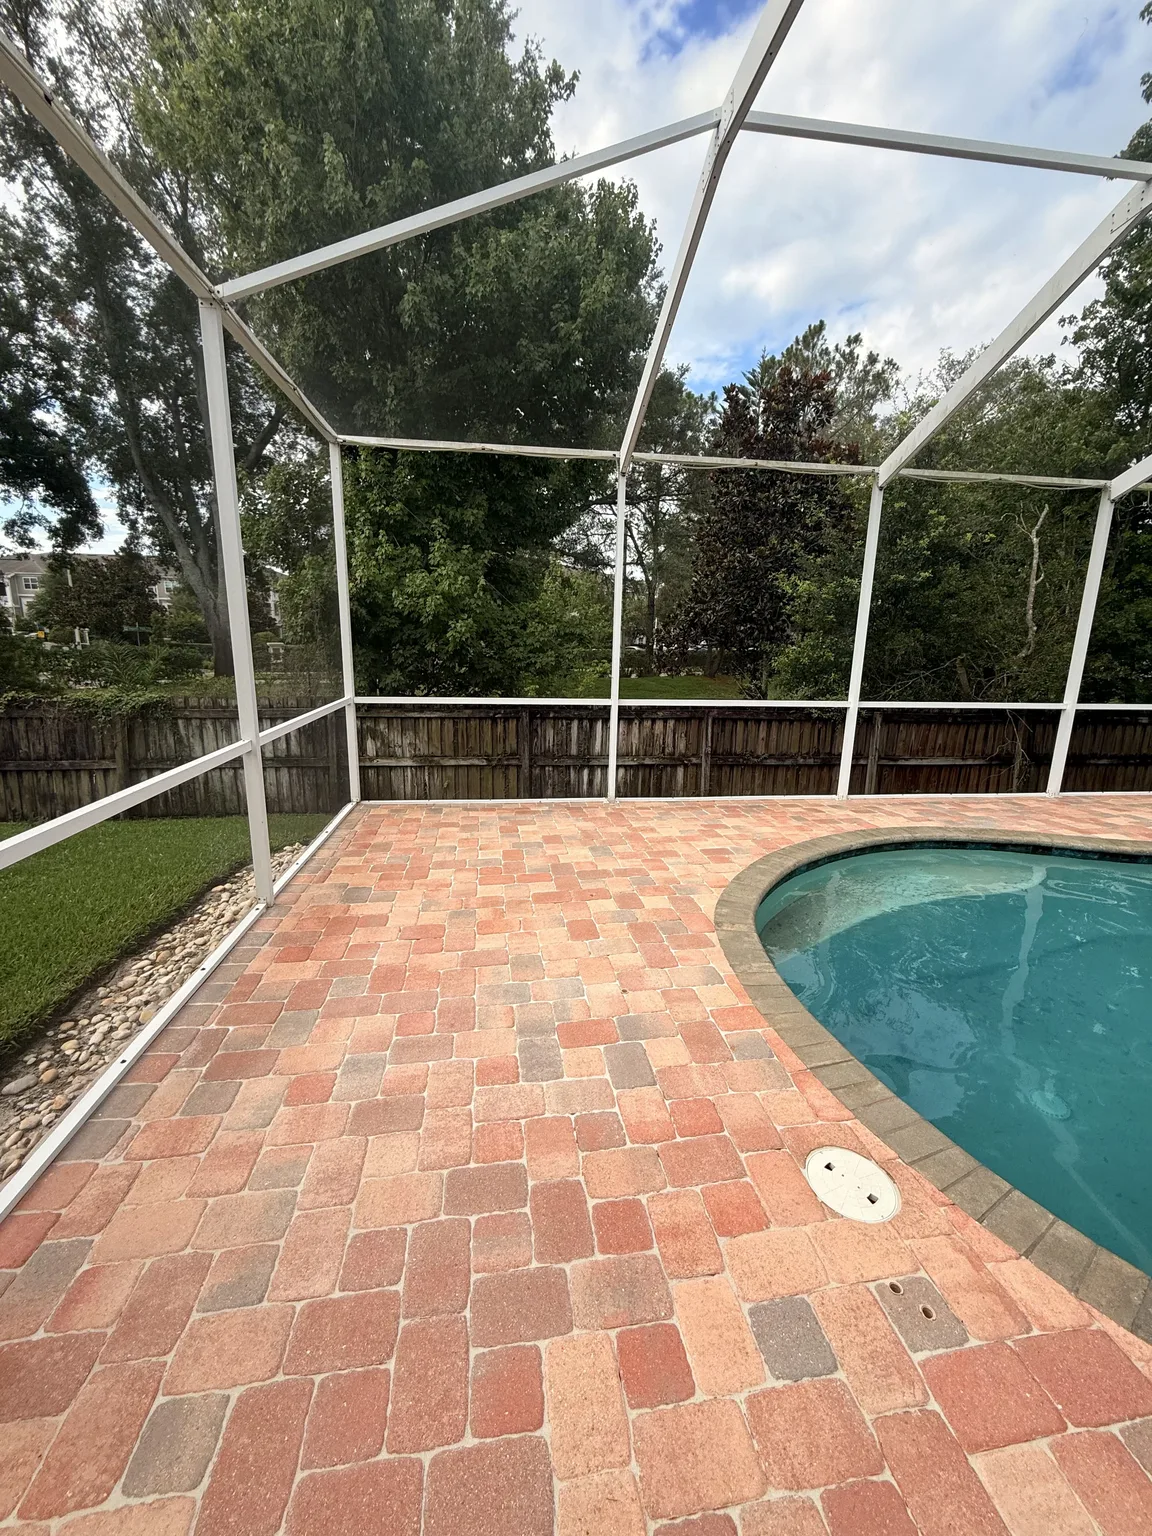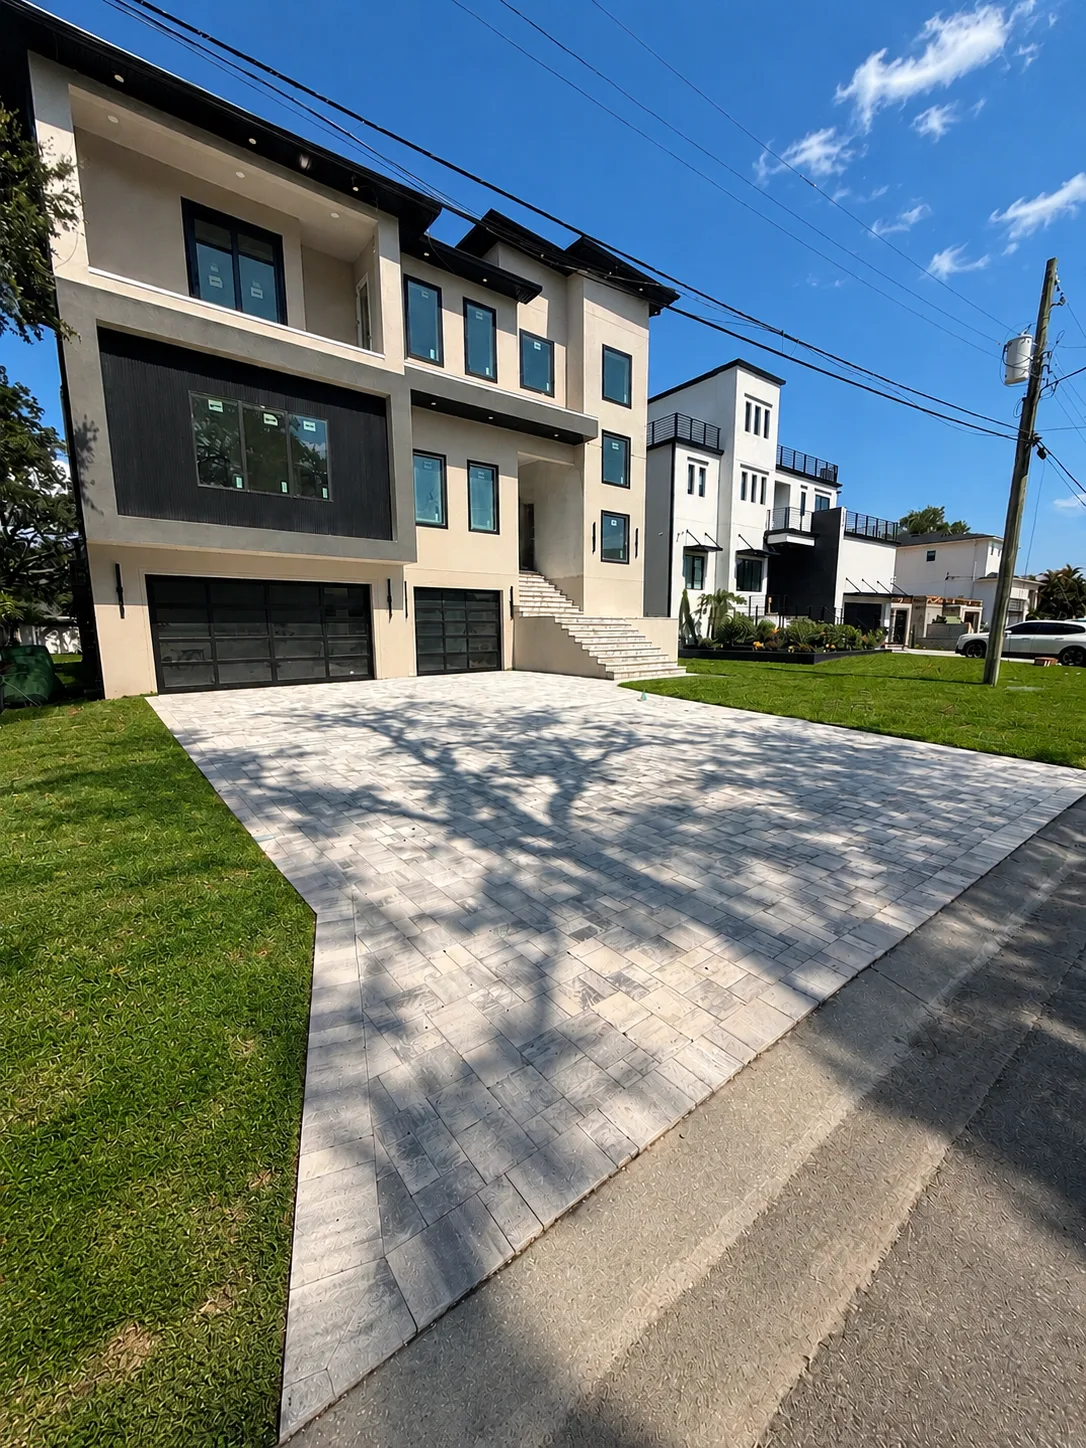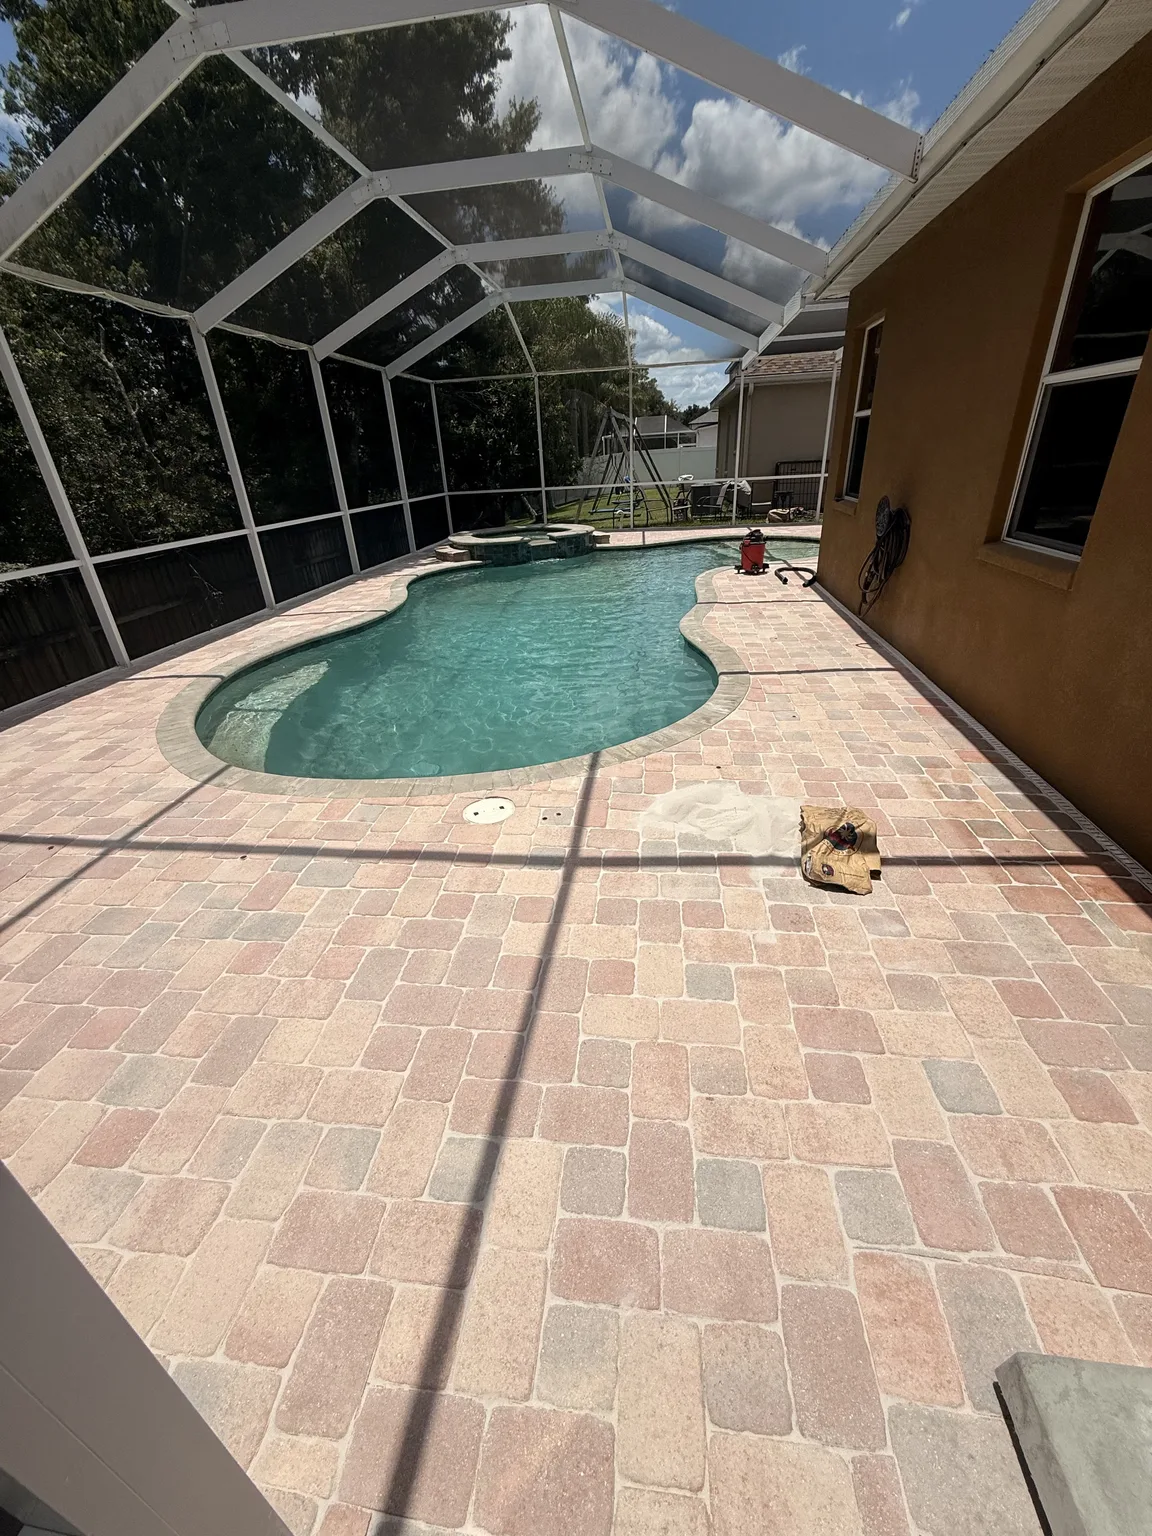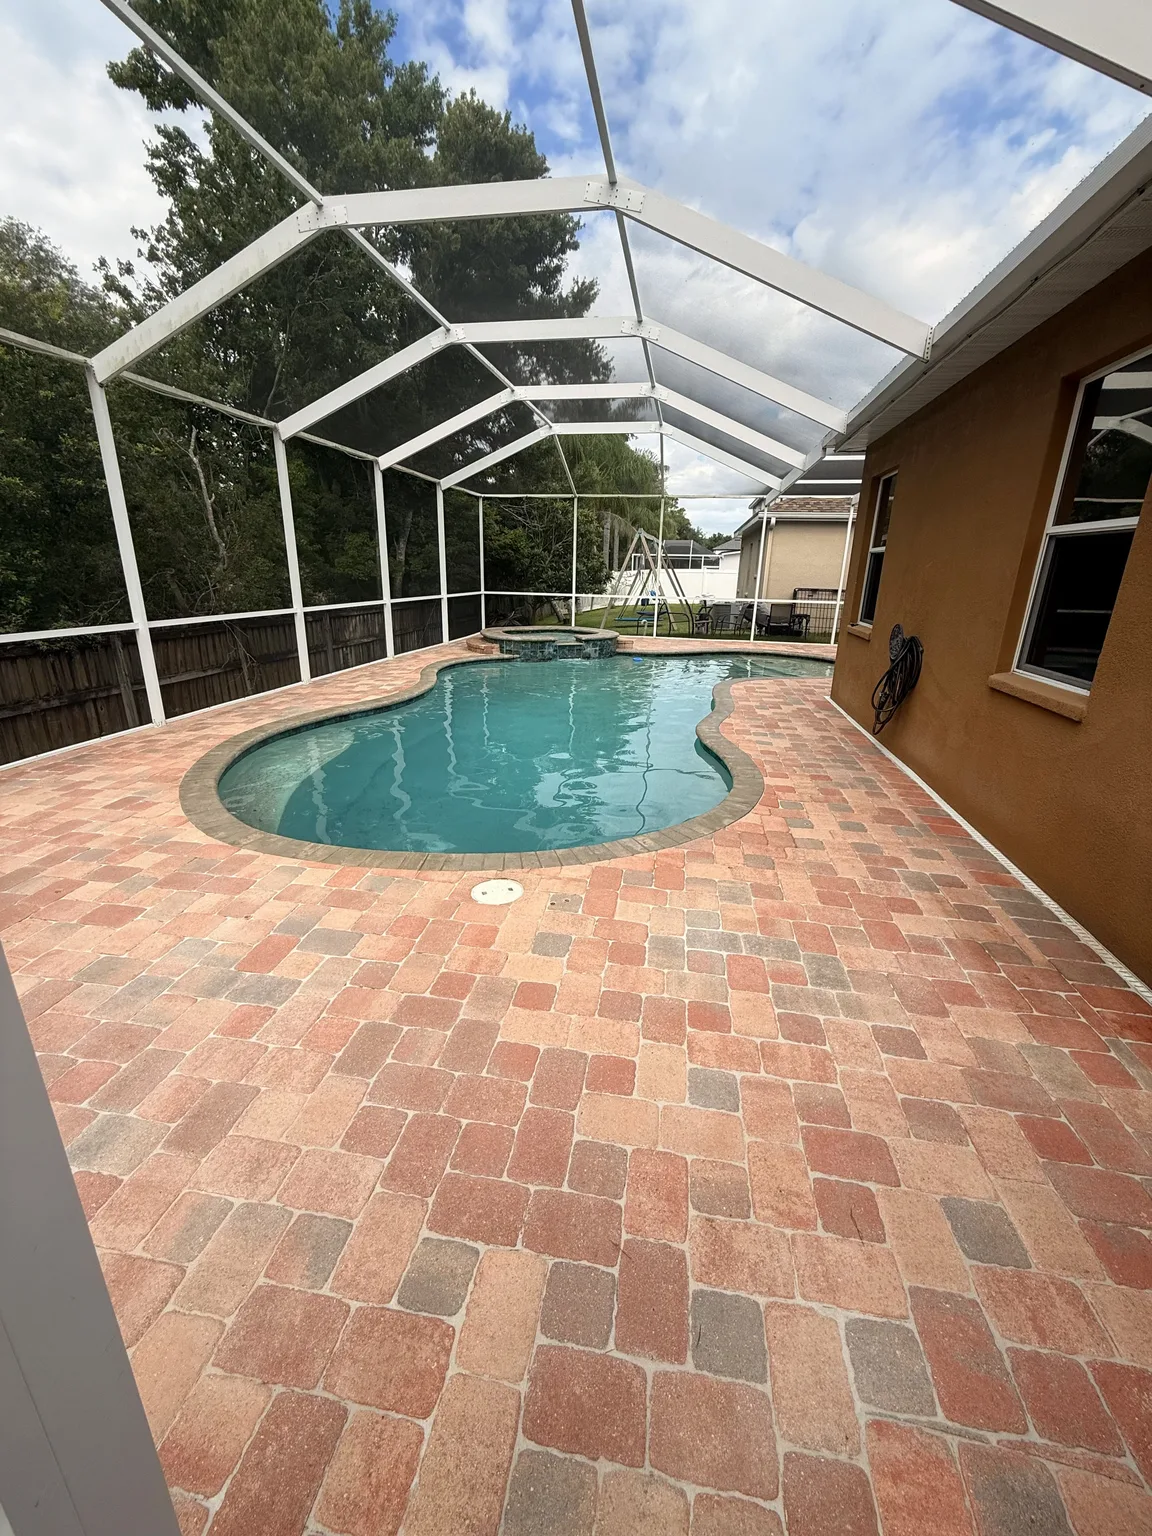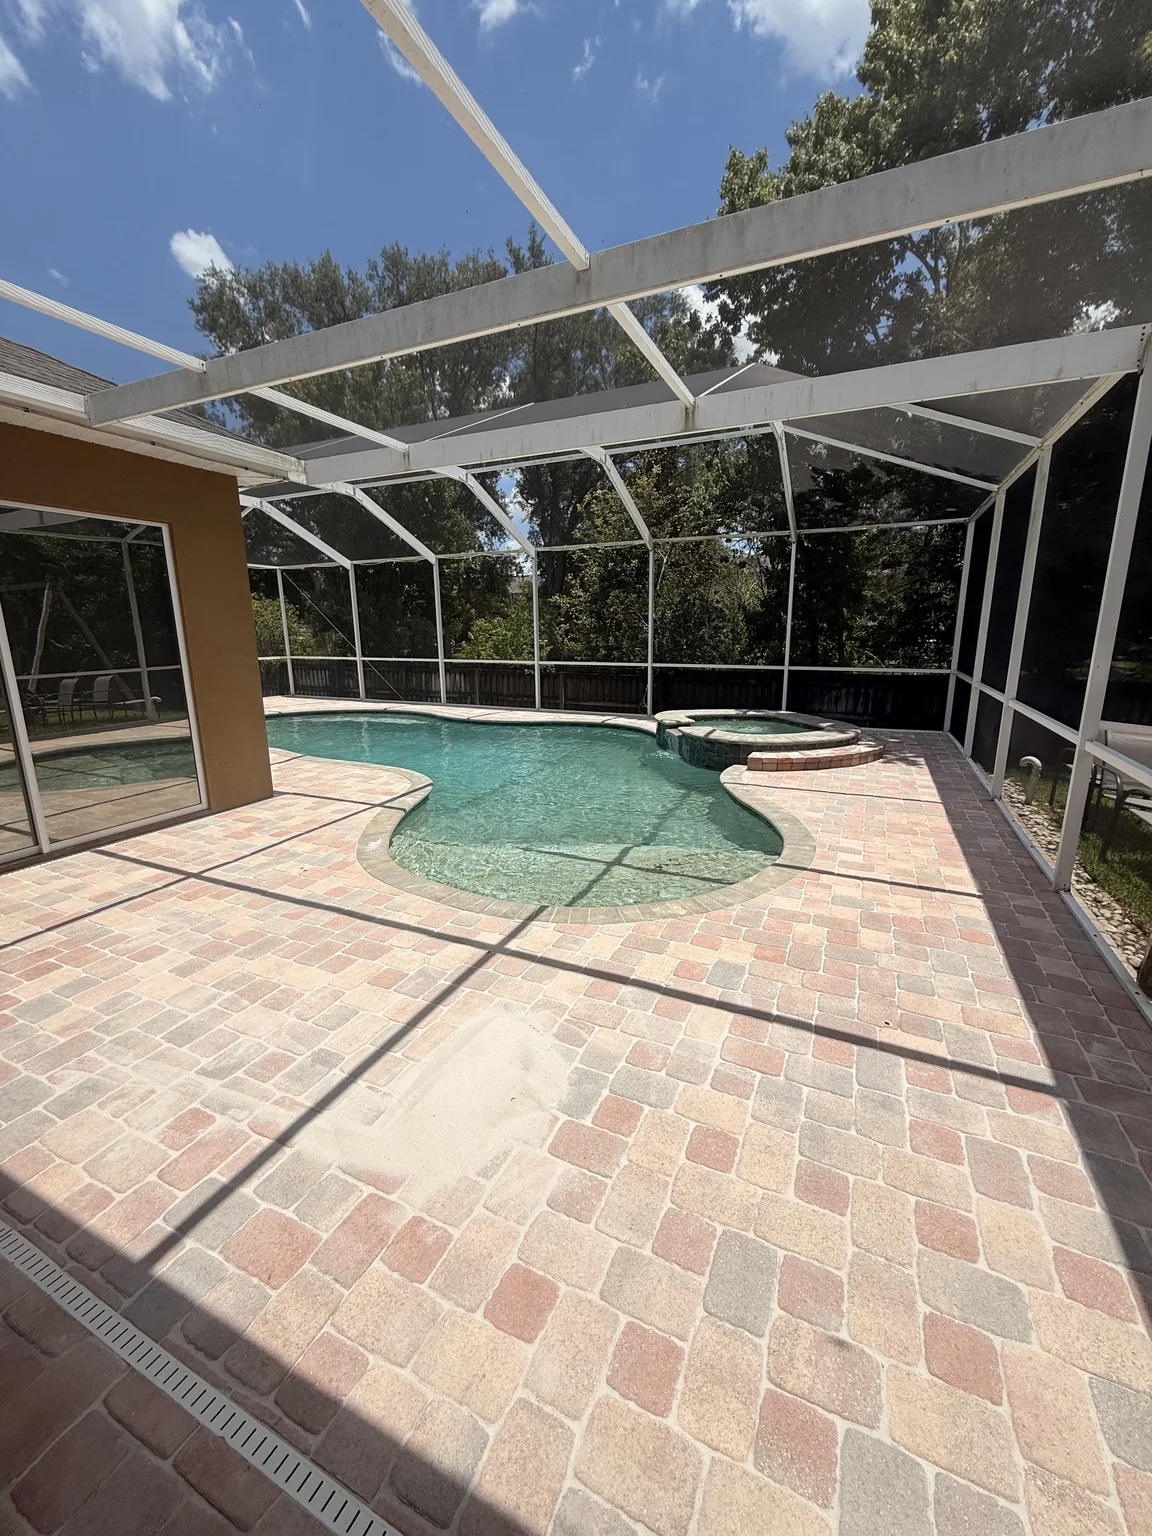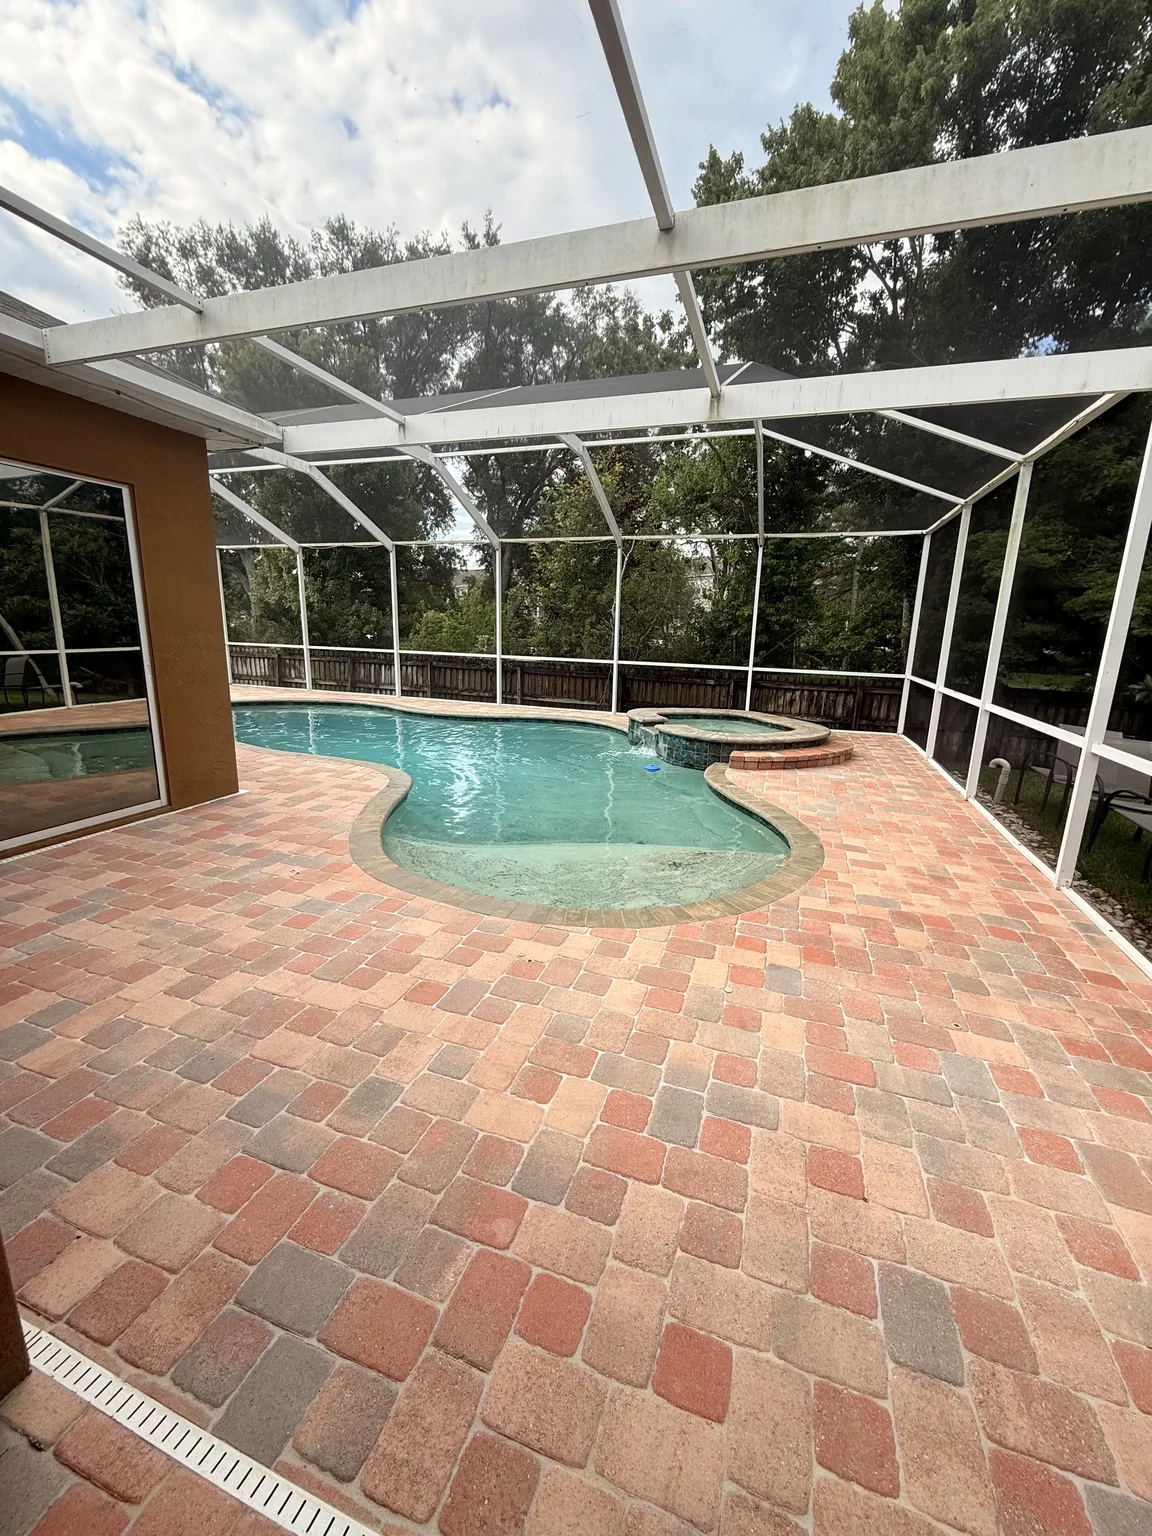
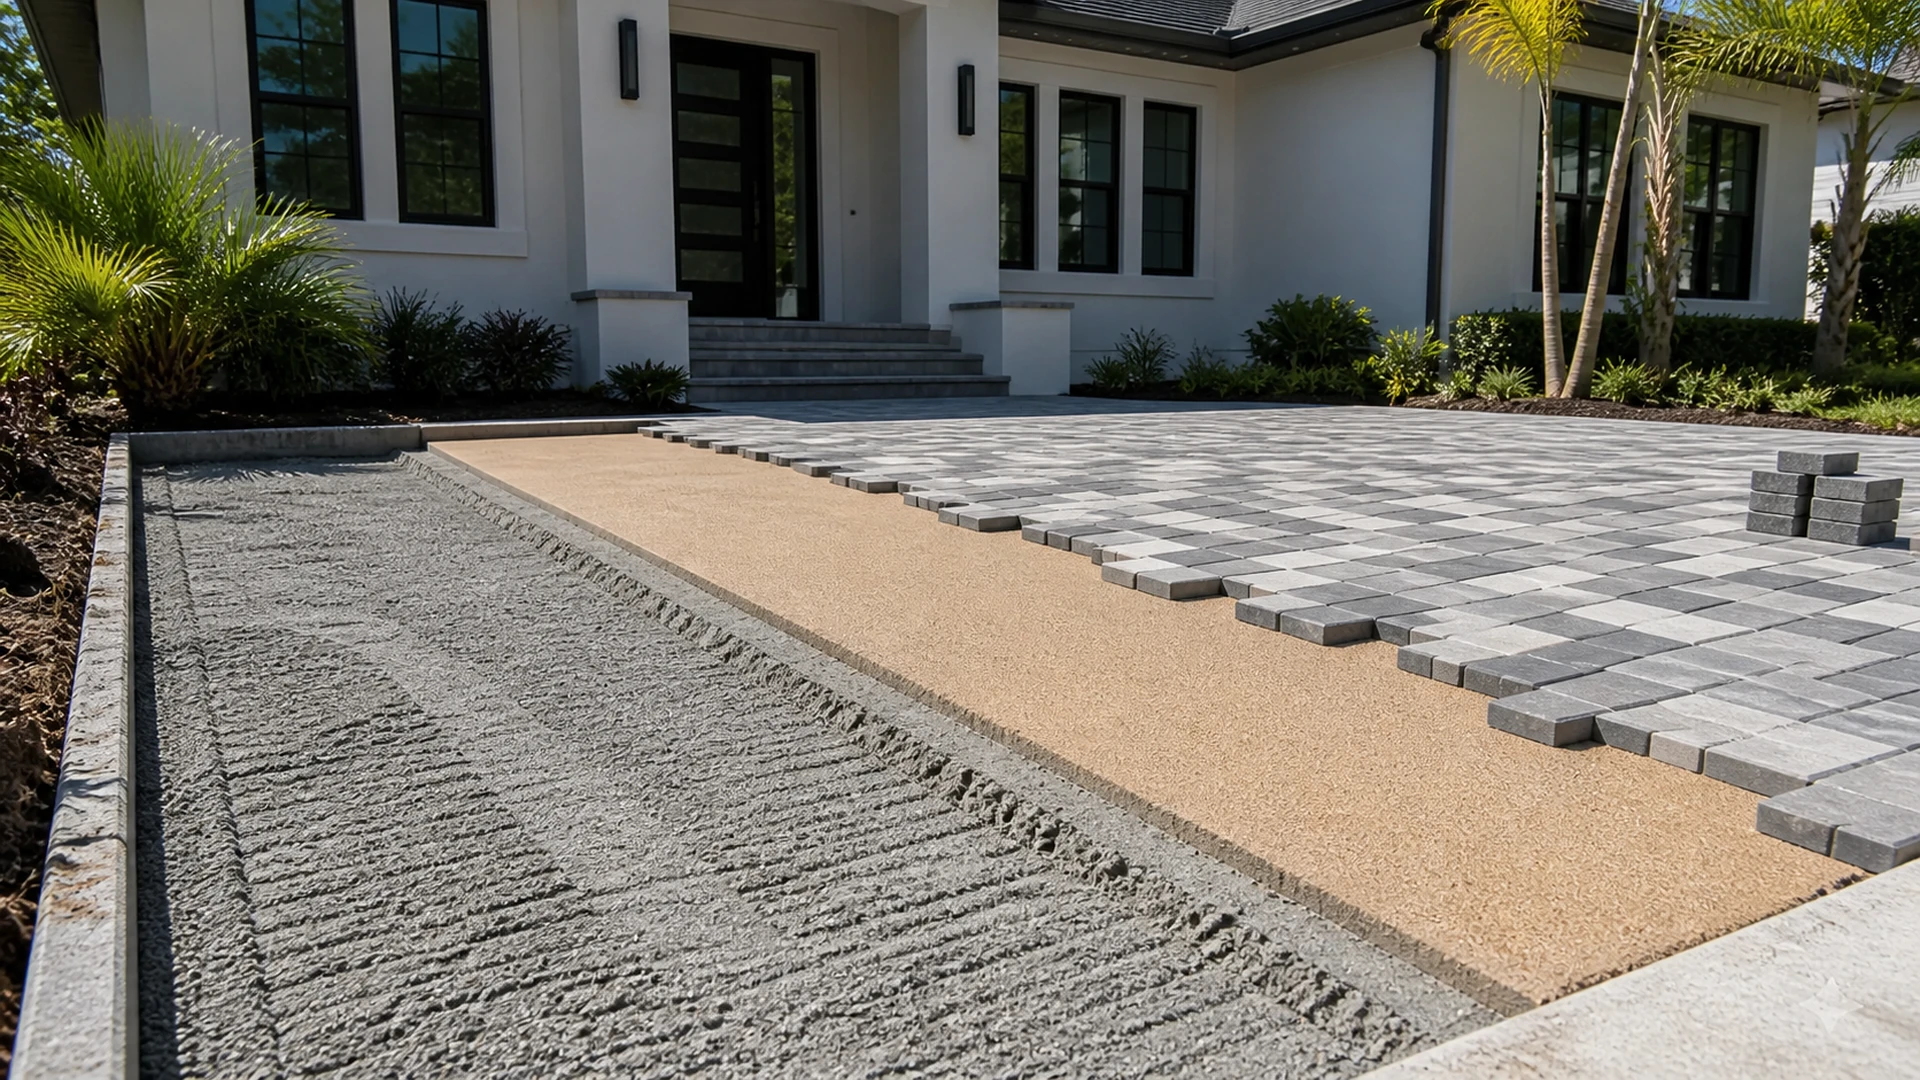
Understanding how pavers are installed begins with the finished surface, but the decisive work starts below it. First, an installer translates the design into boundaries, elevations, and a practical construction sequence. Excavation, base preparation, bedding, laying, cutting, restraint, joints, and compaction then build on one another. Therefore, skipping an early step affects every visible step that follows.
A driveway, patio, walkway, or pool surround may use similar principles while requiring different details. For example, loads, access, fixed edges, and surface transitions vary by location. Florida soil and frequent rain also make site observation important. Consequently, a professional plan responds to the actual Tampa Bay property instead of copying a generic depth or layout.
Before work starts, homeowners should know what will be removed, retained, protected, and reconnected. Meanwhile, the installer needs decisions on paver style, pattern, borders, and project limits. Clear choices reduce improvisation after excavation opens the site. This step-by-step guide explains the sequence without inventing one specification for every property.
How pavers are installed from layout to excavation
Additionally, The layout begins with measured project boundaries and reference points tied to the surrounding property. First, crews mark corners, curves, steps, structures, and utility areas that affect the work. They also review access for equipment and materials. As a result, the drawing becomes a buildable shape rather than a rough outline on the ground.
Elevations are considered before removal because the new surface must meet doors, coping, sidewalks, and other fixed features appropriately. However, the installer also needs a consistent surface direction across the field. Knowing how pavers are installed includes understanding these relationships early. Otherwise, late elevation changes can disrupt base thickness, borders, or transitions.
Turn the design into control lines
Control lines preserve alignment while the site changes during construction. For instance, a straight house wall may guide one field, while a curved bed needs separate points. The installer checks diagonals, widths, and planned border locations. Therefore, small layout errors are corrected before hundreds of units repeat them.
Meanwhile, At the same time, paver dimensions influence the final module. A pattern that looks simple on paper may leave narrow cuts along a fixed edge. Accordingly, crews can adjust the starting line within the approved design. That preparation improves balance and avoids forcing unsuitable slivers into important transitions.
Step 1: clear and excavate the defined area
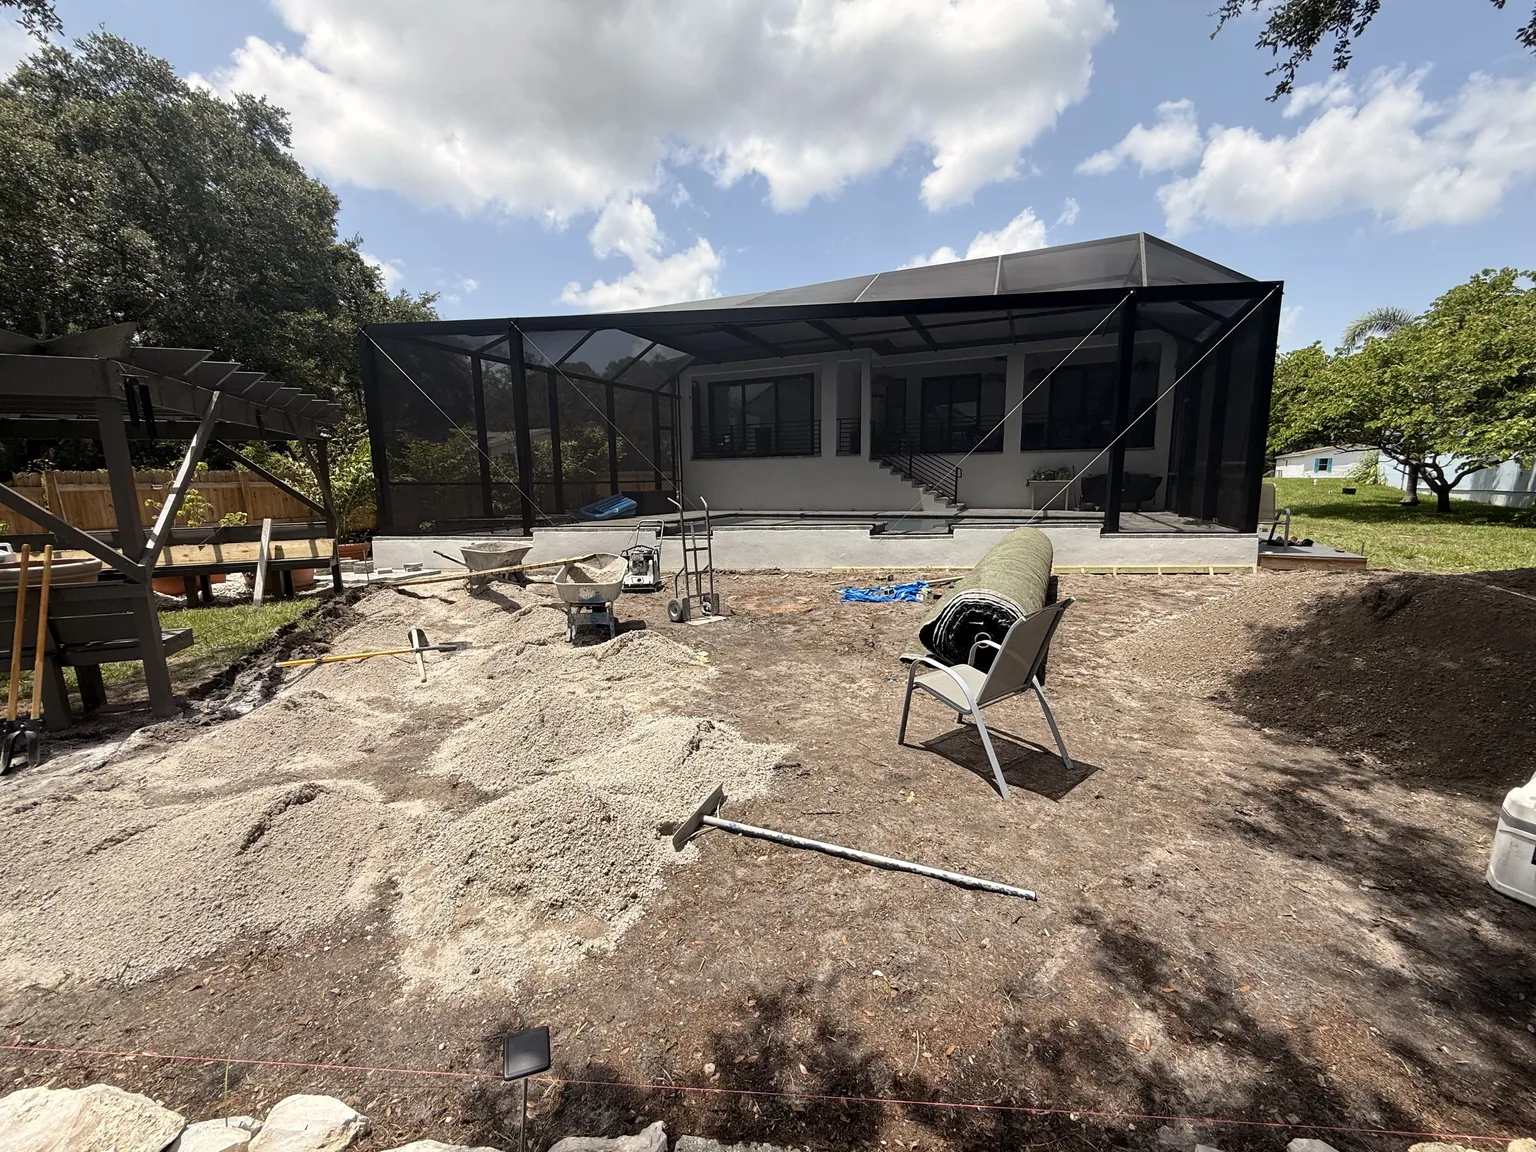
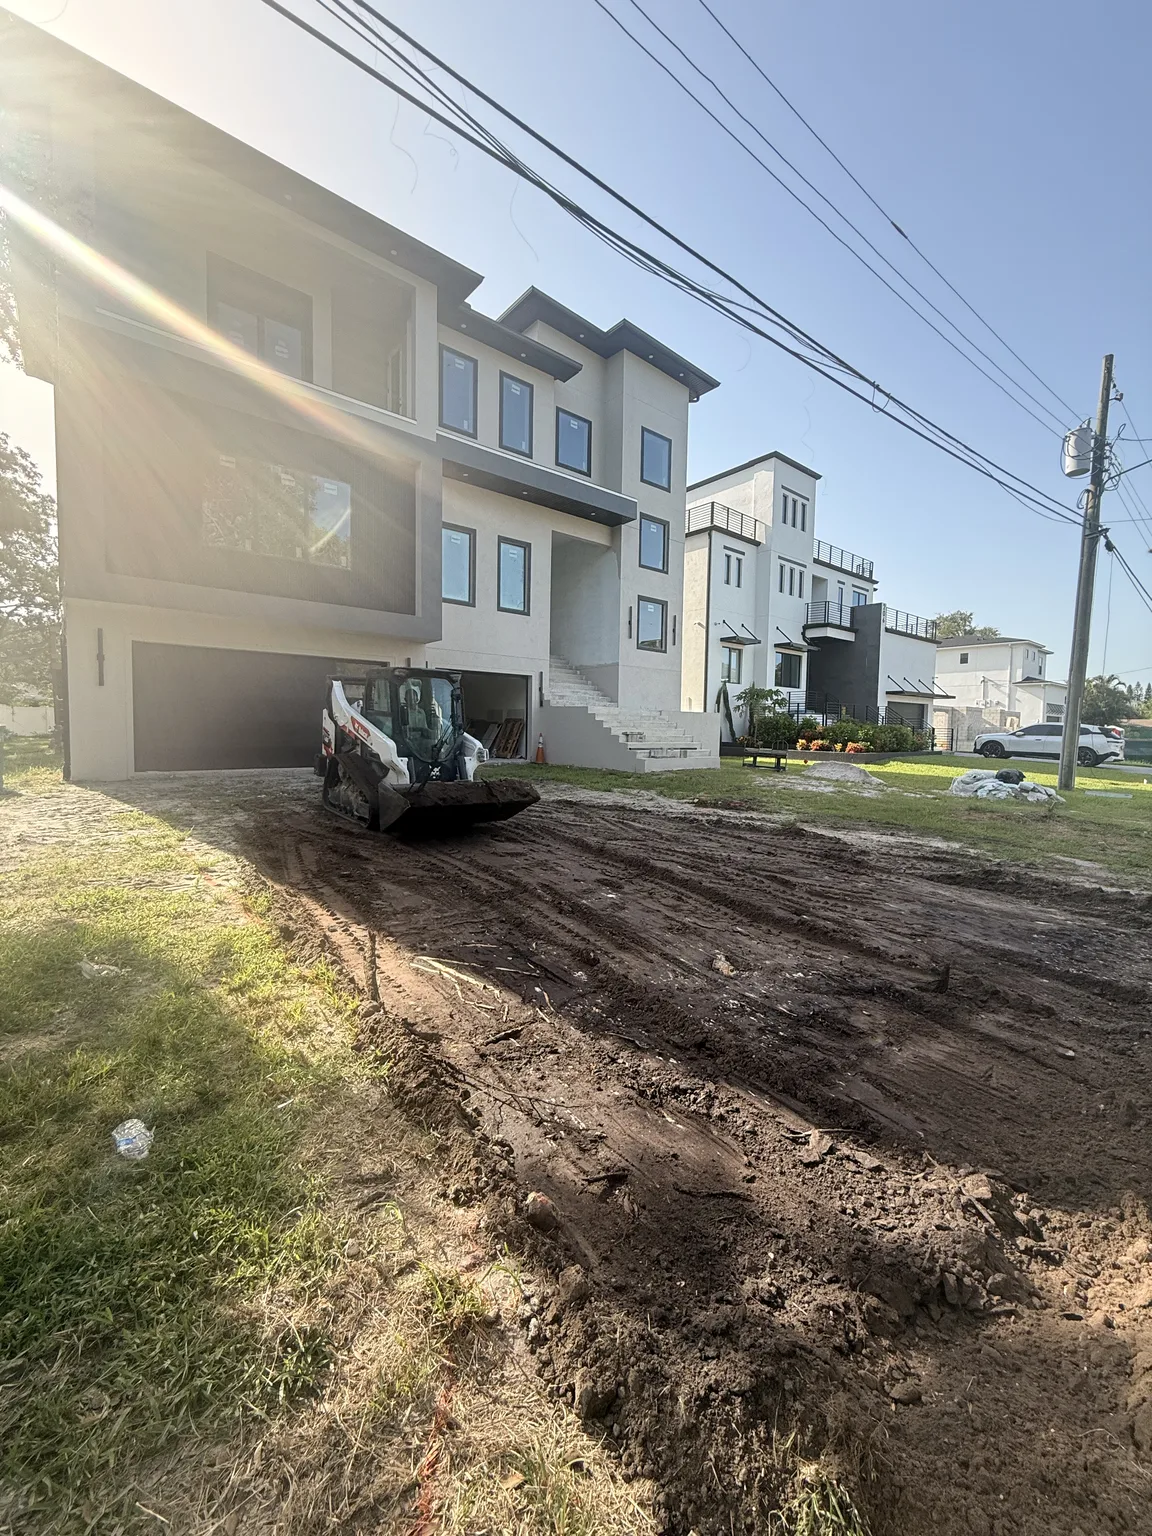
Once the layout is confirmed, existing surface material is removed within the project boundary. Next, excavation creates room for the base, bedding, and paver thickness. The required profile depends on site and use, so one universal measurement is unreliable. Therefore, the crew follows the project specification and verifies actual conditions as material is exposed.
Excavation should create a controlled bottom rather than a collection of deep and shallow pockets. However, roots, soft soil, old fill, or previous repairs may appear. Those findings deserve evaluation before new aggregate arrives. Understanding how pavers are installed means allowing verified field conditions to refine the planned preparation.
Protect the property while the ground is open
Construction access should protect retained walls, landscaping, equipment, and neighboring surfaces. First, crews define travel routes and material staging areas. Excavated material also needs an organized removal path. Meanwhile, open work areas should remain clear enough for inspection and safe movement by the crew.
Weather can influence this phase because exposed soil may change after heavy rain. Consequently, the installer checks the excavation before covering it. Adding base over a disturbed or saturated pocket can trap an avoidable weakness. A deliberate pause for site review supports the next layer and preserves the intended elevations.
Step 2: prepare the subgrade and base
Within how pavers are installed, the exposed subgrade forms the starting platform for the constructed base. Therefore, loose debris and unsuitable pockets must be addressed within the project’s scope. The crew shapes and compacts the area as specified. A consistent platform helps the aggregate layers above receive uniform support rather than bridge hidden voids.
Base material is then placed in manageable lifts instead of one deep pile. Each lift is shaped and compacted before the next is added. As a result, compaction effort reaches the material more consistently. This layered process is central to how pavers are installed for stable everyday use.
Compact, measure, and correct each lift
Afterward, Compaction and measurement happen together throughout base construction. First, the crew checks firmness, elevation, and surface direction across the area. Low spots receive proper correction before another lift hides them. Likewise, high areas are adjusted so the planned bedding thickness remains consistent later.
Edges around utilities, walls, and tight corners need particular attention because large equipment may not reach them evenly. However, appropriate smaller equipment and hand work can complete those zones. The goal is not merely a flat appearance. Instead, the base should provide connected support across the full paver field.
Step 3: establish edges and final base elevations
Before bedding, the project geometry is checked again against fixed surroundings. Next, the installer verifies border widths, curves, and transitions. Any correction is easier at the base stage than after cutting begins. Therefore, this checkpoint protects both the pattern and the intended finished level.
Edge restraint keeps the installed field contained after the pavers interlock. Its form and timing can vary with the design and boundary conditions. However, every open perimeter needs a suitable containment plan. Knowing how pavers are installed includes seeing the border as a working component, not just decoration.
Coordinate borders with the field pattern
Therefore, A contrasting border can frame the project and help resolve cuts, yet it must fit the layout module. Accordingly, the installer checks how field units reach each side. Curves may require different cut planning from straight runs. These decisions should produce secure pieces without awkward gaps at the boundary.
Steps, coping, existing slabs, and building walls act as fixed reference edges. Meanwhile, their condition can influence the connection detail. The new work should meet them cleanly without relying on joint material to hide poor alignment. Careful coordination keeps the visual line and functional transition working together.
Step 4: screed a consistent bedding layer
Consequently, Bedding creates the immediate setting layer beneath the pavers. First, suitable material is distributed over a prepared portion of base. Screed rails or established guides help form the correct plane. The crew then avoids disturbing that finished surface before units are placed.
The bedding layer should remain consistent rather than compensate for major base errors. Otherwise, thick pockets can behave differently from thin areas. Therefore, base corrections happen before screeding. This separation of roles is an important part of how pavers are installed with predictable alignment.
How pavers are installed at the laying stage
Laying usually begins from a reliable straight reference and proceeds across untouched bedding. Next, installers place units in the selected pattern while maintaining controlled joint spacing. They work from the installed surface when practical. Consequently, footprints and wheel tracks do not deform the prepared setting bed ahead.
Color and texture can vary naturally among units, so installers often draw from more than one package. This blending spreads variation across the field. Meanwhile, alignment is checked frequently with string lines or other references. Small adjustments during laying prevent a gradual drift that becomes obvious at the far border.
Step 5: lay the pattern and make fitted cuts
The chosen bond pattern determines how units repeat and where cuts will fall. Therefore, how pavers are installed through corners depends on maintaining the planned orientation across wider areas. Borders may be installed before or coordinated with field cuts, depending on the design. The essential point is a continuous layout with stable, usable pieces.
Nevertheless, Cuts are measured for actual openings rather than assumed from the drawing. Next, each piece is shaped with suitable equipment and placed with consistent joints. Very small fragments can be vulnerable or visually distracting. Accordingly, experienced layout work aims to reduce them before the cutting stage.
Keep openings and fixed objects accessible
Utility covers, cleanouts, posts, and equipment bases require neat, serviceable connections. However, they should not disappear beneath permanent units that block access. The installer plans cuts and borders around those features. Understanding how pavers are installed also means preserving the property’s future maintenance needs.
Furthermore, Where a project meets a gate or door, clearance is checked with the unit operating normally. Likewise, step transitions are reviewed from common walking directions. A visually straight line can still feel awkward if elevations conflict. Functional testing at this stage leaves room for measured correction.
Step 6: secure the perimeter and prepare joints
Additionally, After field placement and cuts are complete, open edges receive the specified restraint. First, the surrounding material is prepared so the restraint sits securely. Curves and corners are checked for continuous containment. Without this boundary, normal use can let units spread and joints widen.
The surface is then cleaned so joint filling does not trap construction debris. However, pavers and joints must suit the requirements of the selected material. The installer distributes joint material across the field and works it into the spaces. This stage begins the interlock that defines how pavers are installed as a connected surface.
Use compaction to seat the finished field
Appropriate compaction helps seat the pavers into the bedding and settle joint material. Next, the field is inspected and joints are refilled as needed. Equipment and protective procedures should match the units and project specification. Therefore, the finish is developed through controlled passes rather than one aggressive operation.
During this process, the crew watches borders, cuts, and fixed transitions for movement. Any cracked or displaced piece should be corrected before handoff. Meanwhile, excess material is removed according to product requirements. The result should be an even field with filled joints and contained edges.
Inspect the completed surface in practical ways
Consequently, A final inspection starts with the approved layout and project limits. Then, the surface is viewed from several directions for alignment, unwanted dips, abrupt edges, and inconsistent joints. Walking common paths can reveal transitions that a distant view misses. Driveway areas also deserve review along normal tire routes.
Next, check that gates, covers, doors, and equipment access still function. Confirm that retained surfaces were protected or cleaned as agreed. Consequently, the handoff addresses the outdoor area as a working space. A finished pattern alone does not explain whether every project requirement was met.
Connect the walk-through to maintenance
Instead, The installer should identify the paver product, joint material, and relevant care instructions. Also, homeowners can ask how soon normal use may resume under those product directions. Keep leftover labeled units when the scope provides them. This record can help with a future isolated repair or product match.
Regular observation should focus on joints, edges, settlement, stains, and changing conditions nearby. However, cleaning methods need to preserve joint material and surface finish. Knowing how pavers are installed makes those inspections more meaningful. Homeowners can recognize whether a concern begins at the surface, perimeter, or support below.
Compare installation proposals by scope
Two proposals can name the same paver while describing very different preparation. Therefore, compare excavation, removal, base material, lift placement, compaction, bedding, cuts, borders, restraint, joints, and cleanup. Include access and protection responsibilities as well. A line-by-line review reveals what each installer plans to build beneath the visible units.
Ask how unexpected soft areas or buried conflicts will be documented and discussed. Meanwhile, confirm the chosen pattern and where borders begin. Product samples should match the written selection. These details turn a general estimate into a clearer plan for how pavers are installed on that specific property.
Use reputable technical context wisely
Homeowners who want industry background can consult the Concrete Masonry and Hardscapes Association. However, general resources do not replace a site evaluation or project specification. Soil, access, use, materials, and existing structures differ. Local observations must shape the installation approach.
For a property-specific conversation, review the available DR Pavers Design services and prepare photos of the proposed area. Also, note fixed elevations, narrow gates, and expected use. This information helps frame the first discussion. Ultimately, field measurement confirms the details needed for a defined scope.
See the installation as one connected system
The finished pavers attract attention because they carry the color, texture, and pattern. Still, excavation and base work create their support. Bedding establishes the setting plane, while edges and joints connect the field. Therefore, every stage contributes to how the surface looks and behaves in daily use.
However, Knowing how pavers are installed also helps homeowners ask better questions without directing the crew from a checklist. Focus on the reason for each layer and the evidence from the site. Then, compare the proposed sequence with the finished transitions you expect. A clear process makes progress easier to understand from excavation through handoff.
Prepare for an efficient site visit
Therefore, Before the appointment, gather a simple sketch, approximate dimensions, and photos from each access point. In addition, identify irrigation controls, utilities, gates, and surfaces that must remain. Share the primary use and preferred style. These notes help the contractor spend more time evaluating conditions and less time reconstructing basic goals.
Finally, list decisions that are still open, such as borders, colors, or connected areas. Separate preferences from fixed requirements. Consequently, the conversation can address options without losing sight of preparation and access. Understanding how pavers are installed turns the site visit into a practical discussion about the entire system.
Finally, begin on the contact page, visit our FAQ, and inspect recent projects. Then, compare customer testimonials and review the full service list. Meanwhile, see project updates on Instagram and Facebook. For location details, use the quick map or our Google Maps profile. Ultimately, contact DR Pavers Design through WhatsApp, a call, a text, or email.