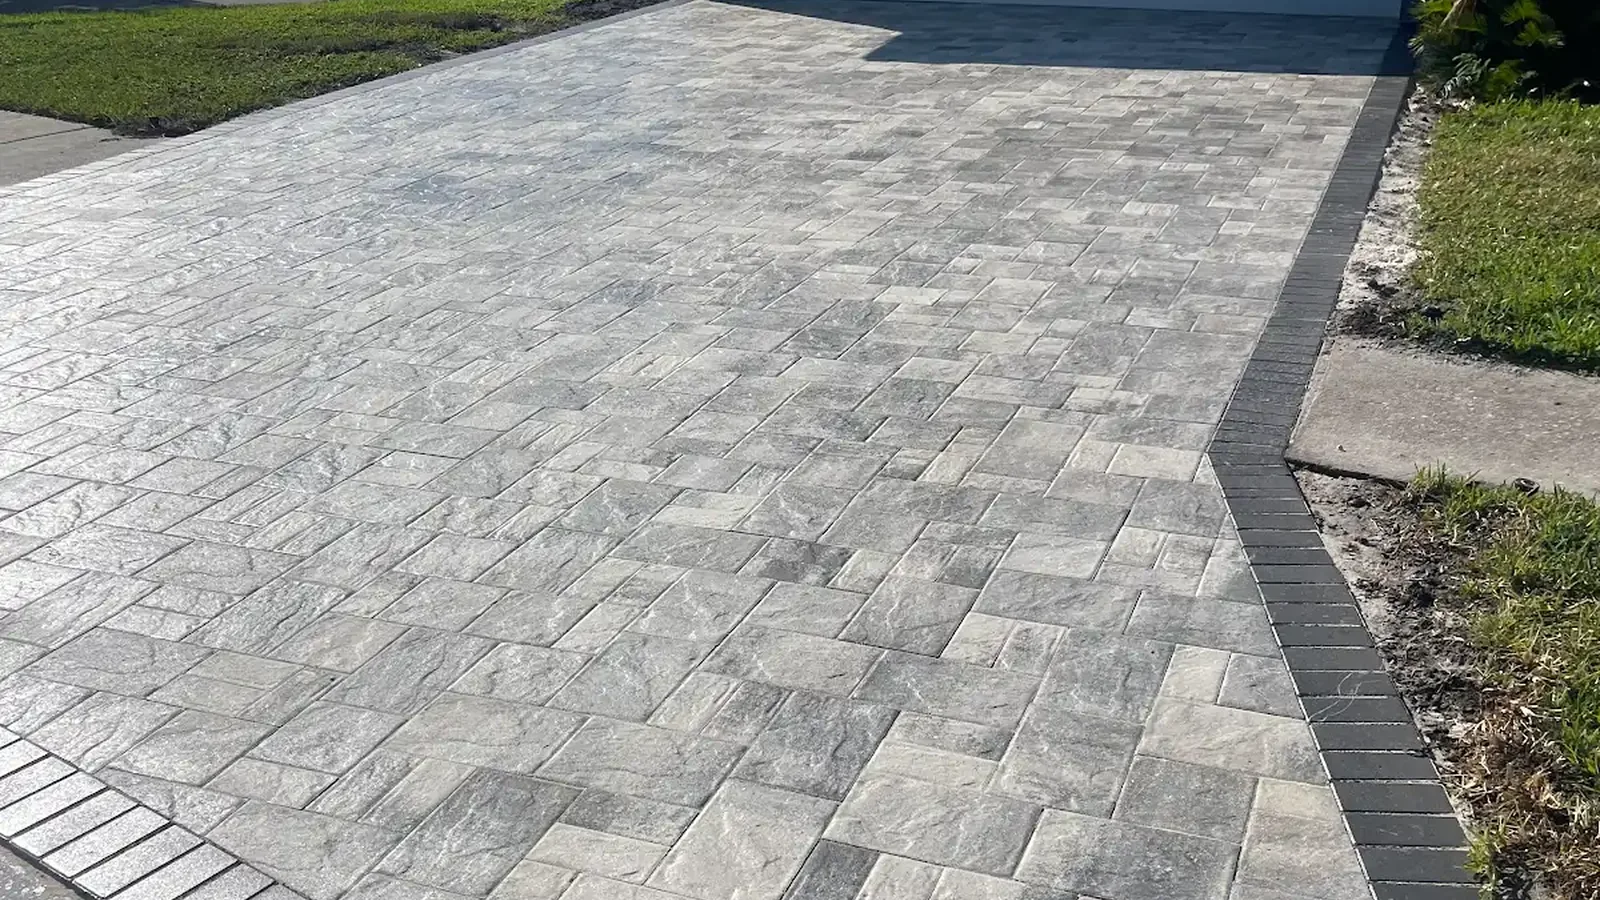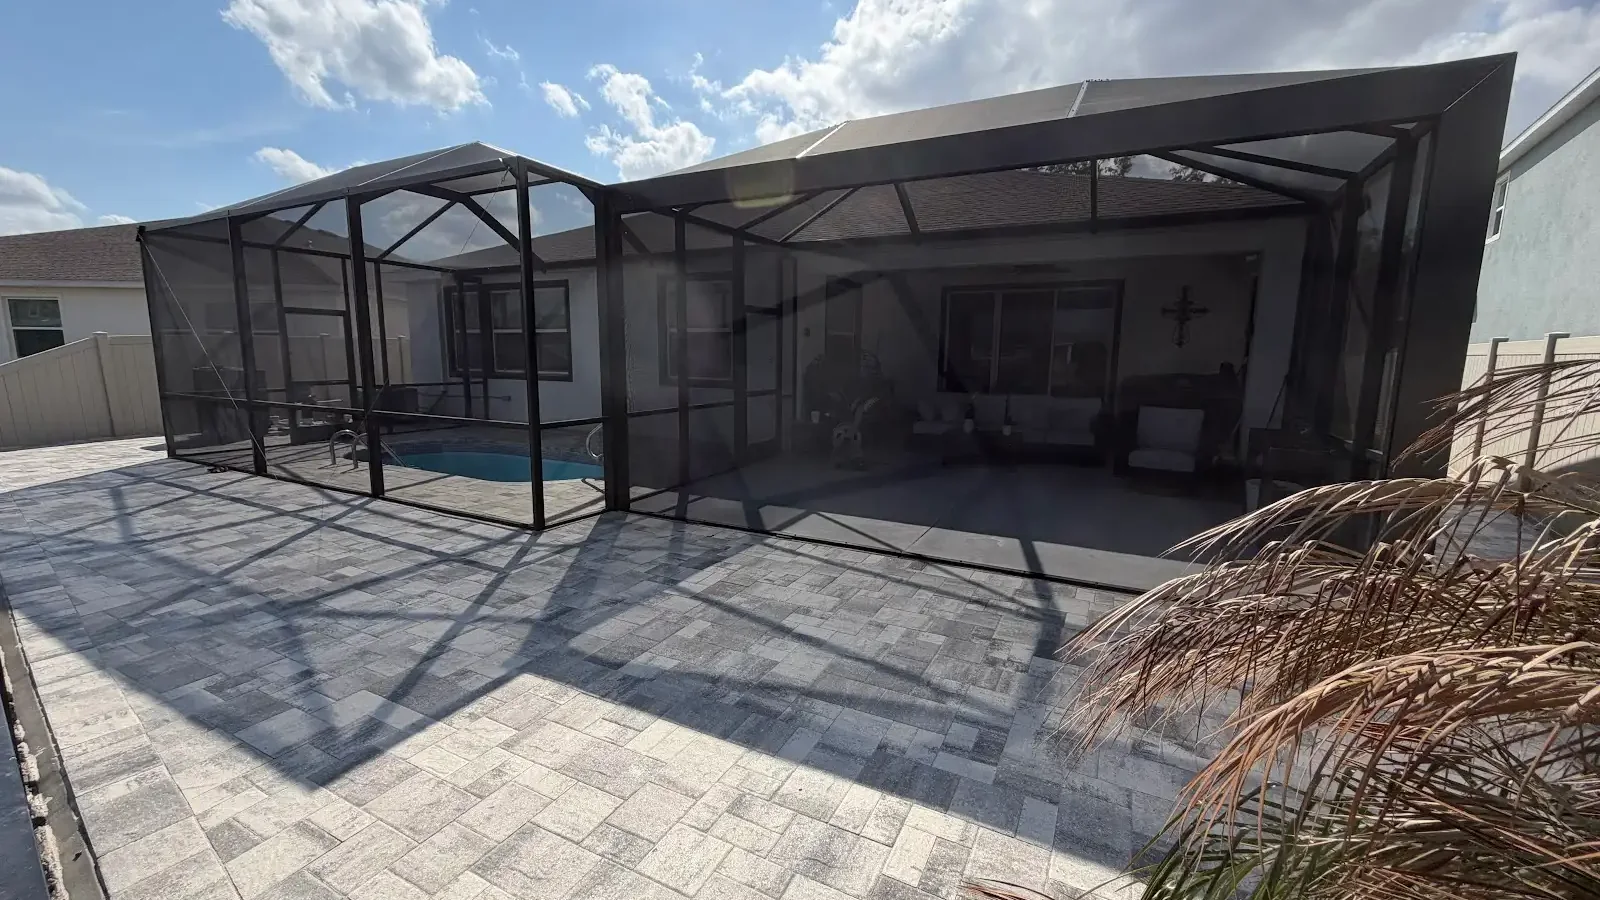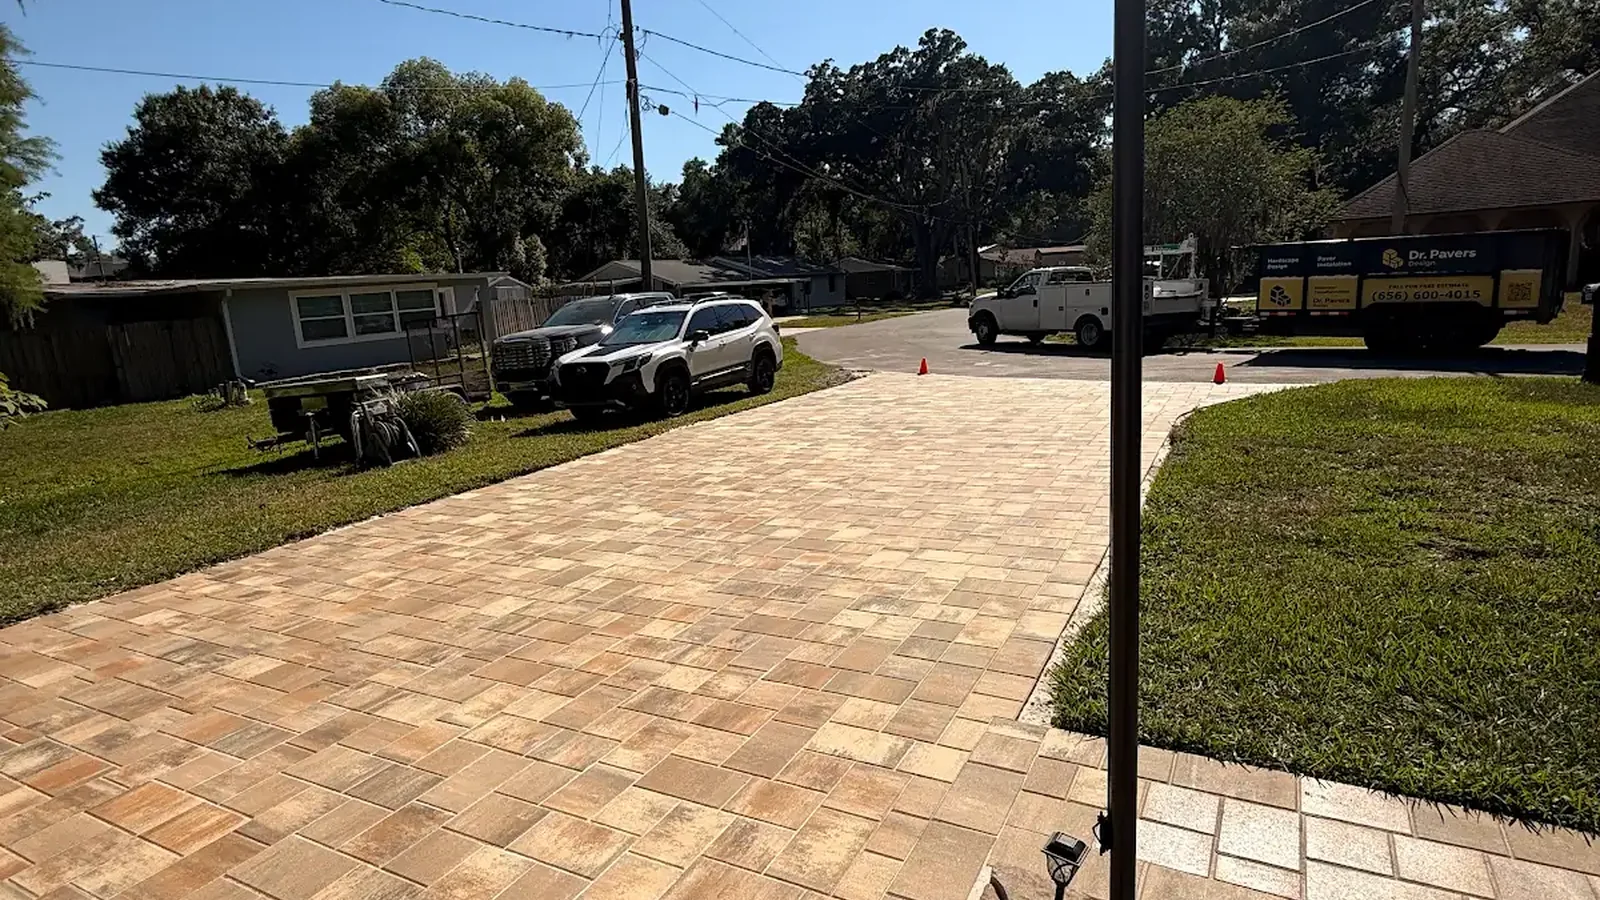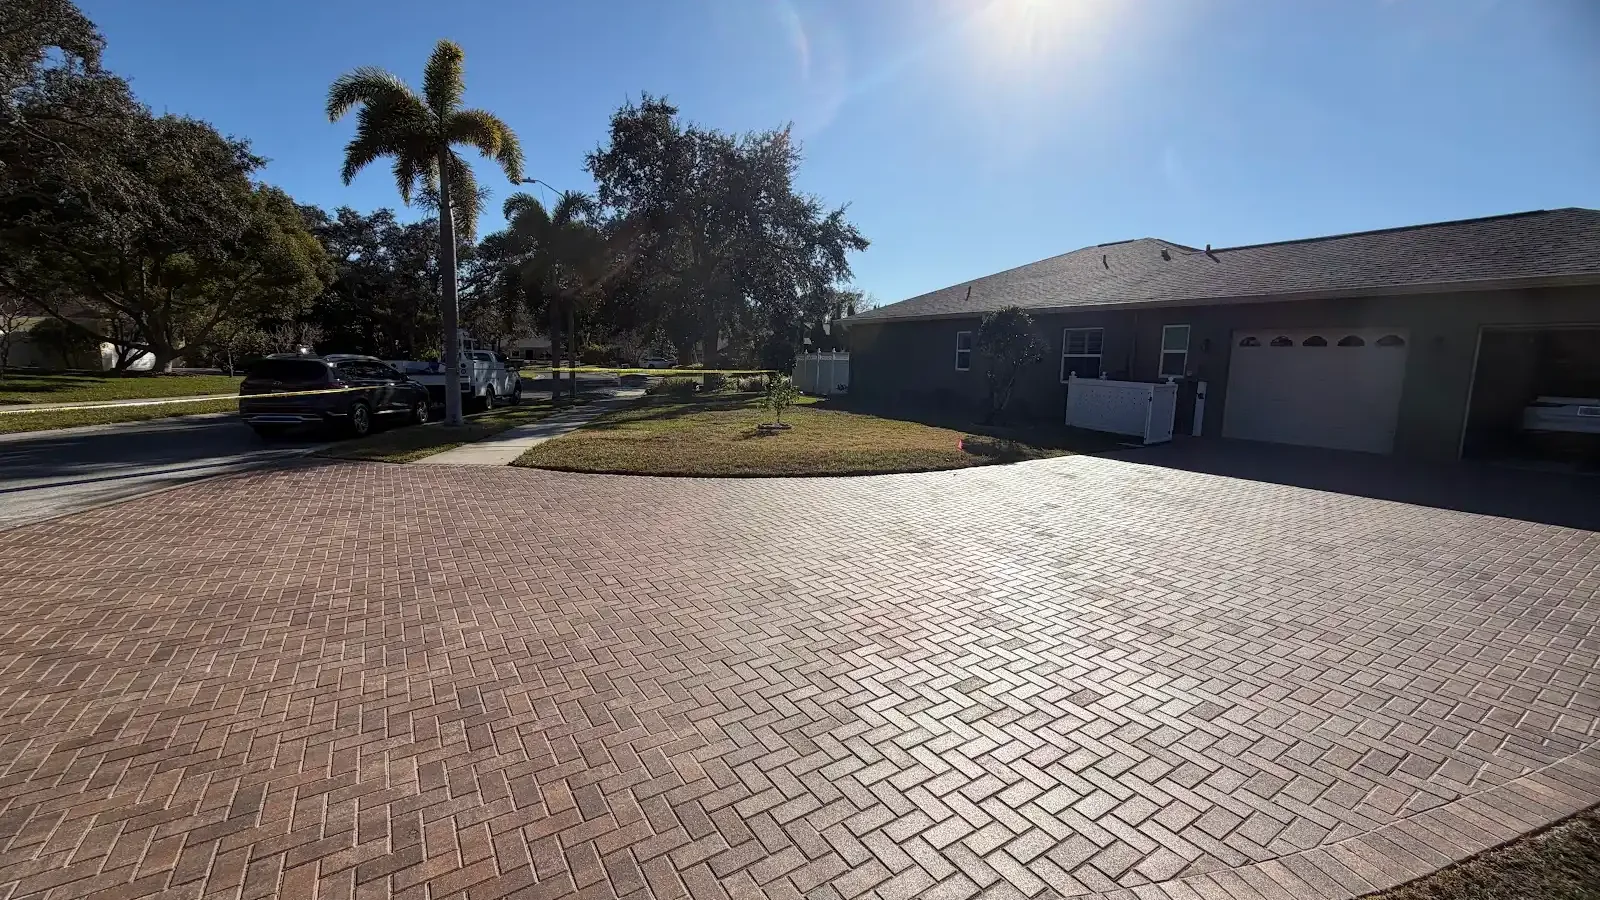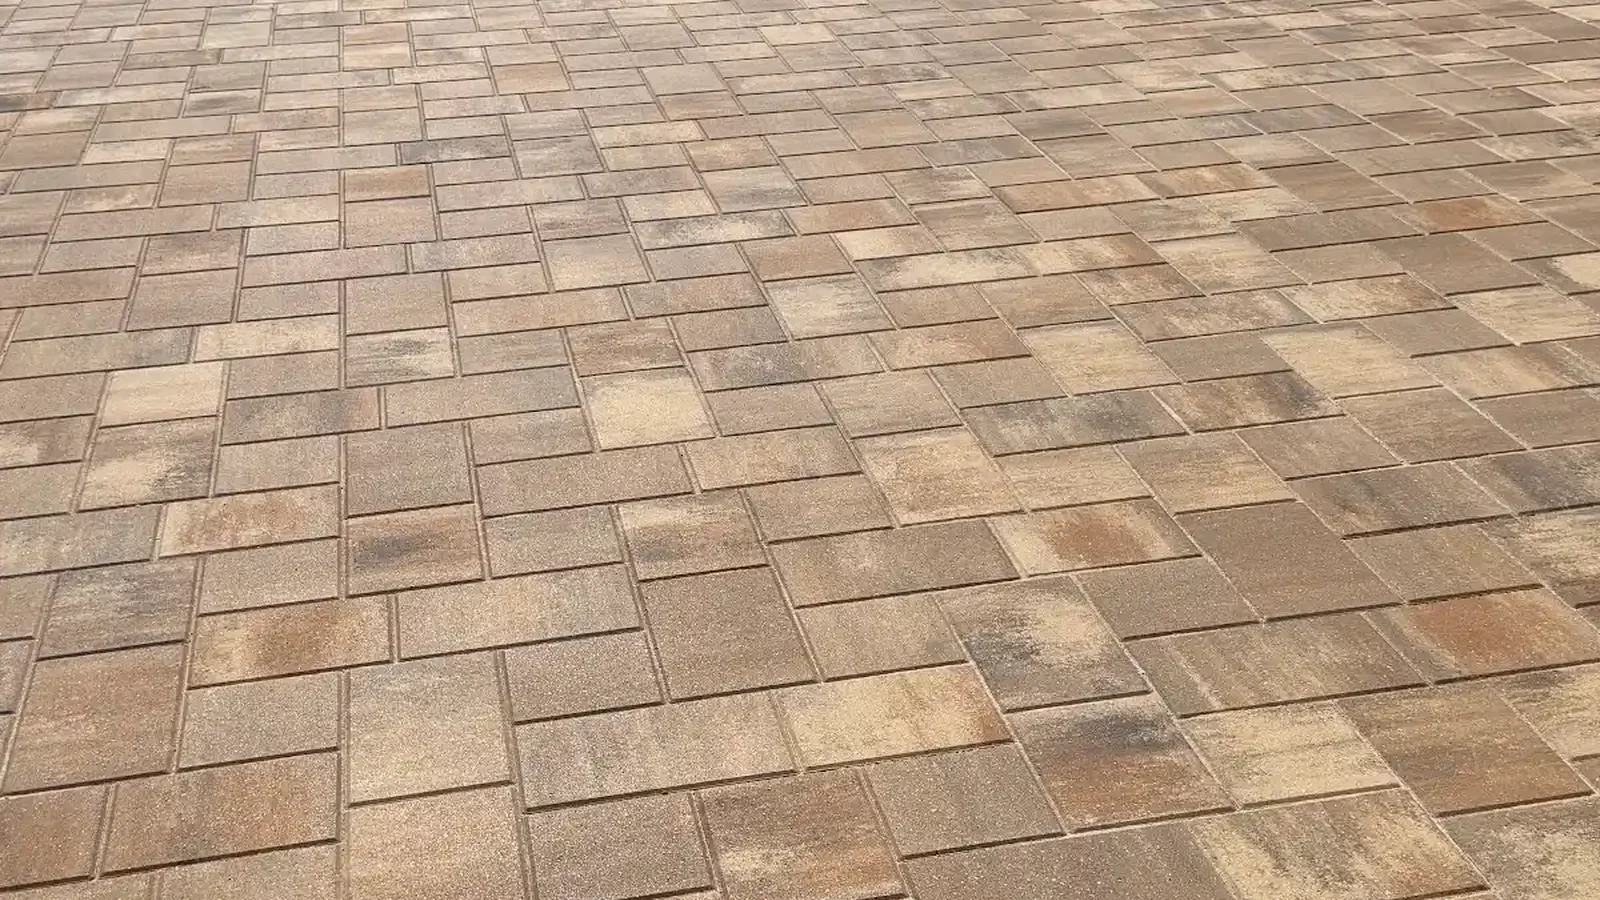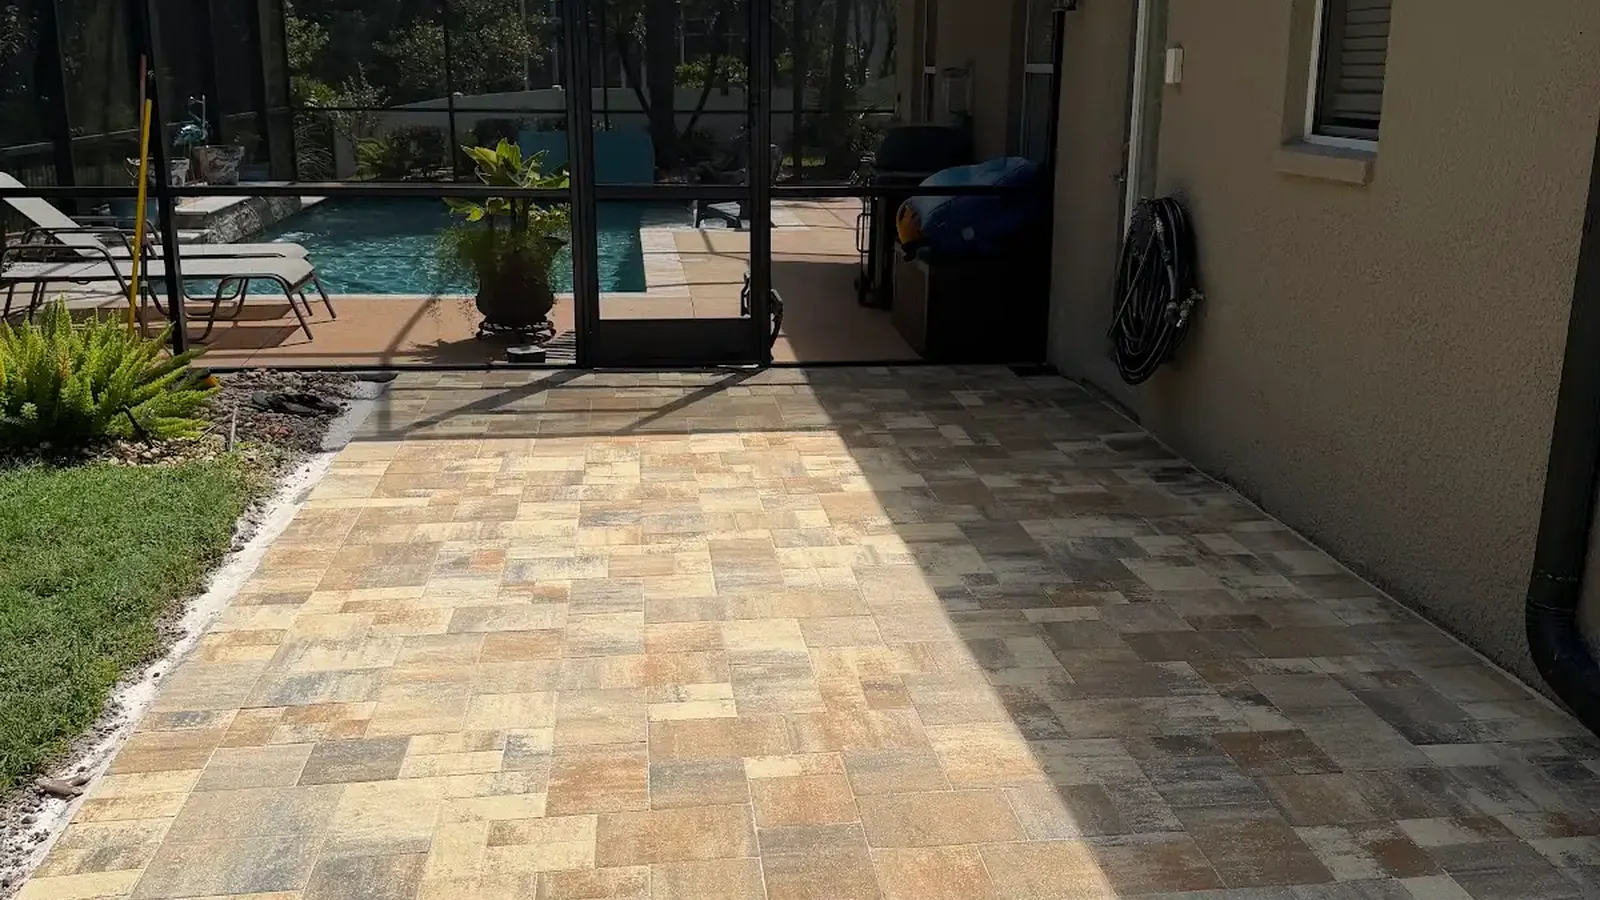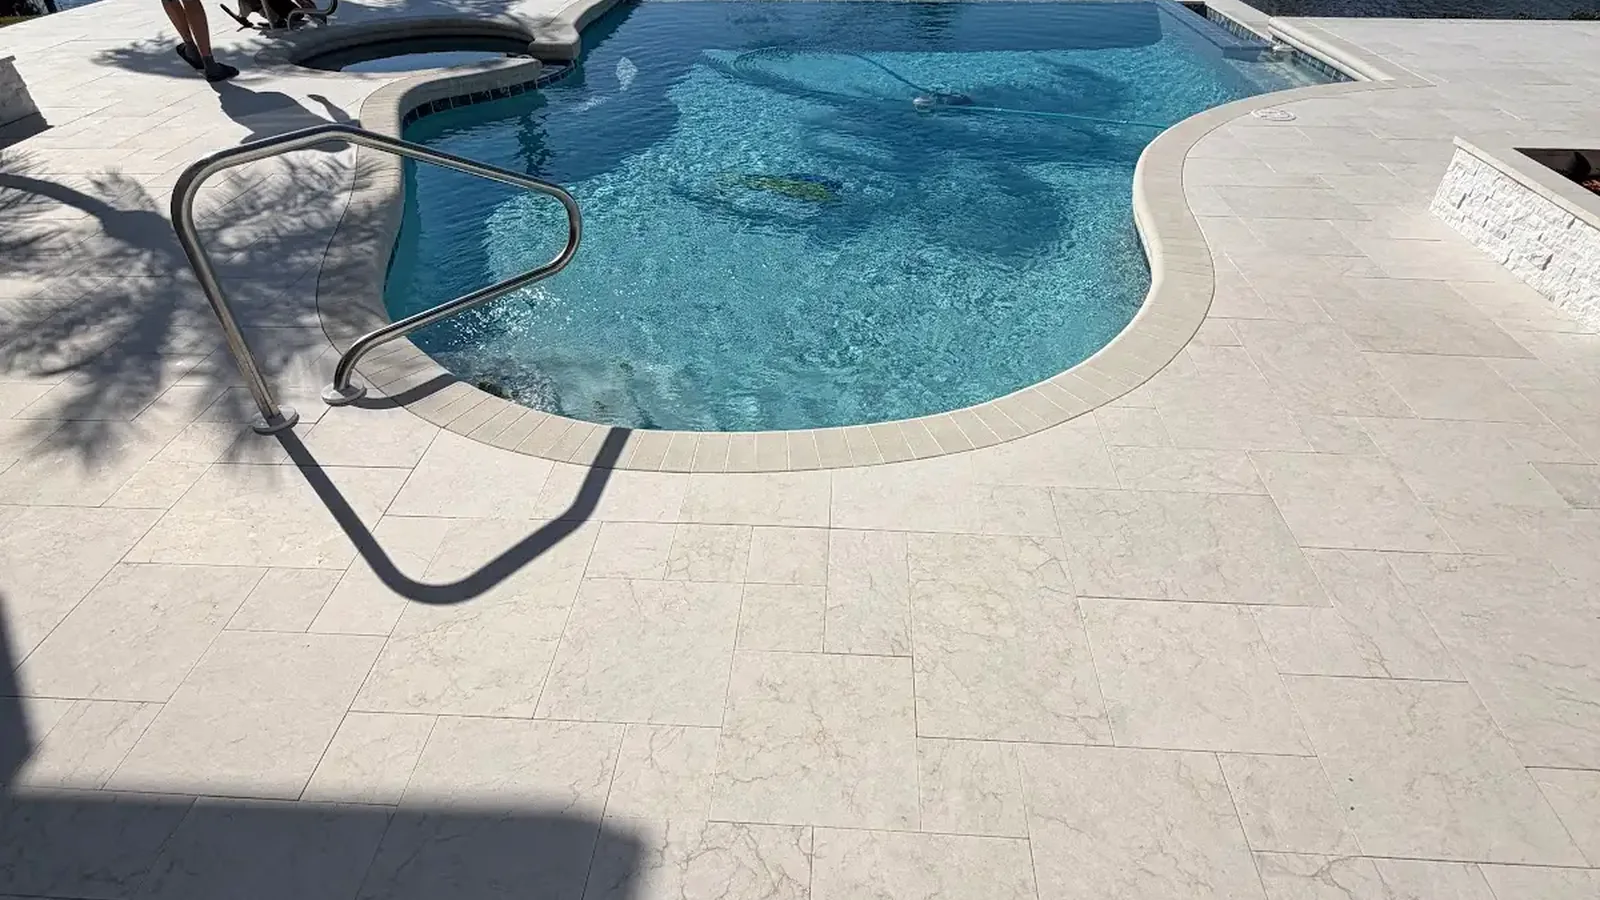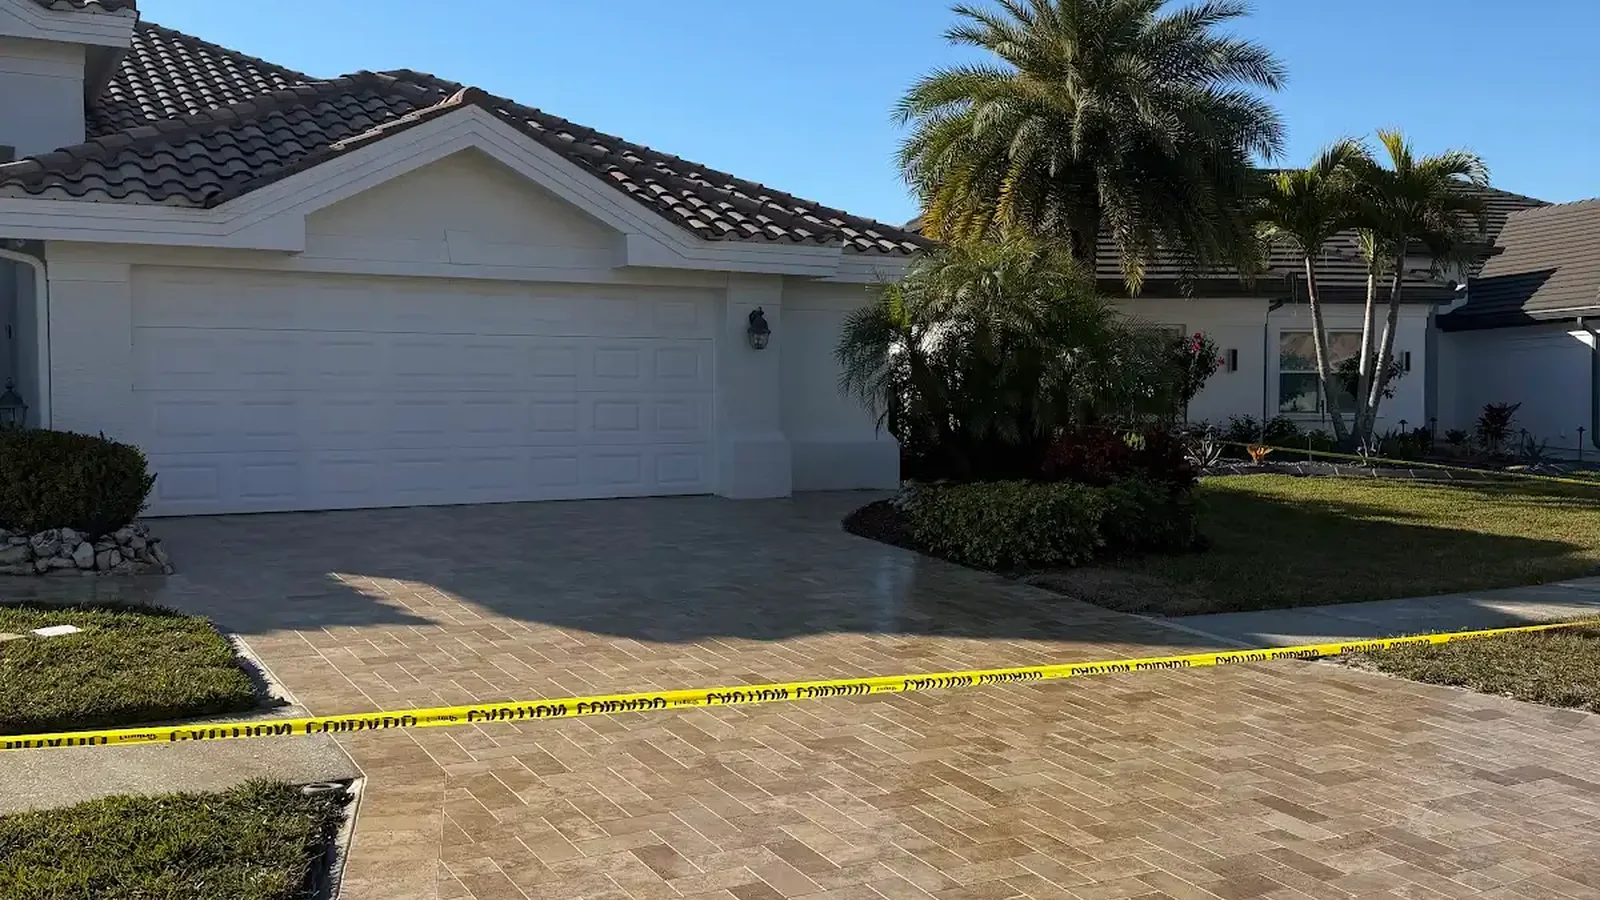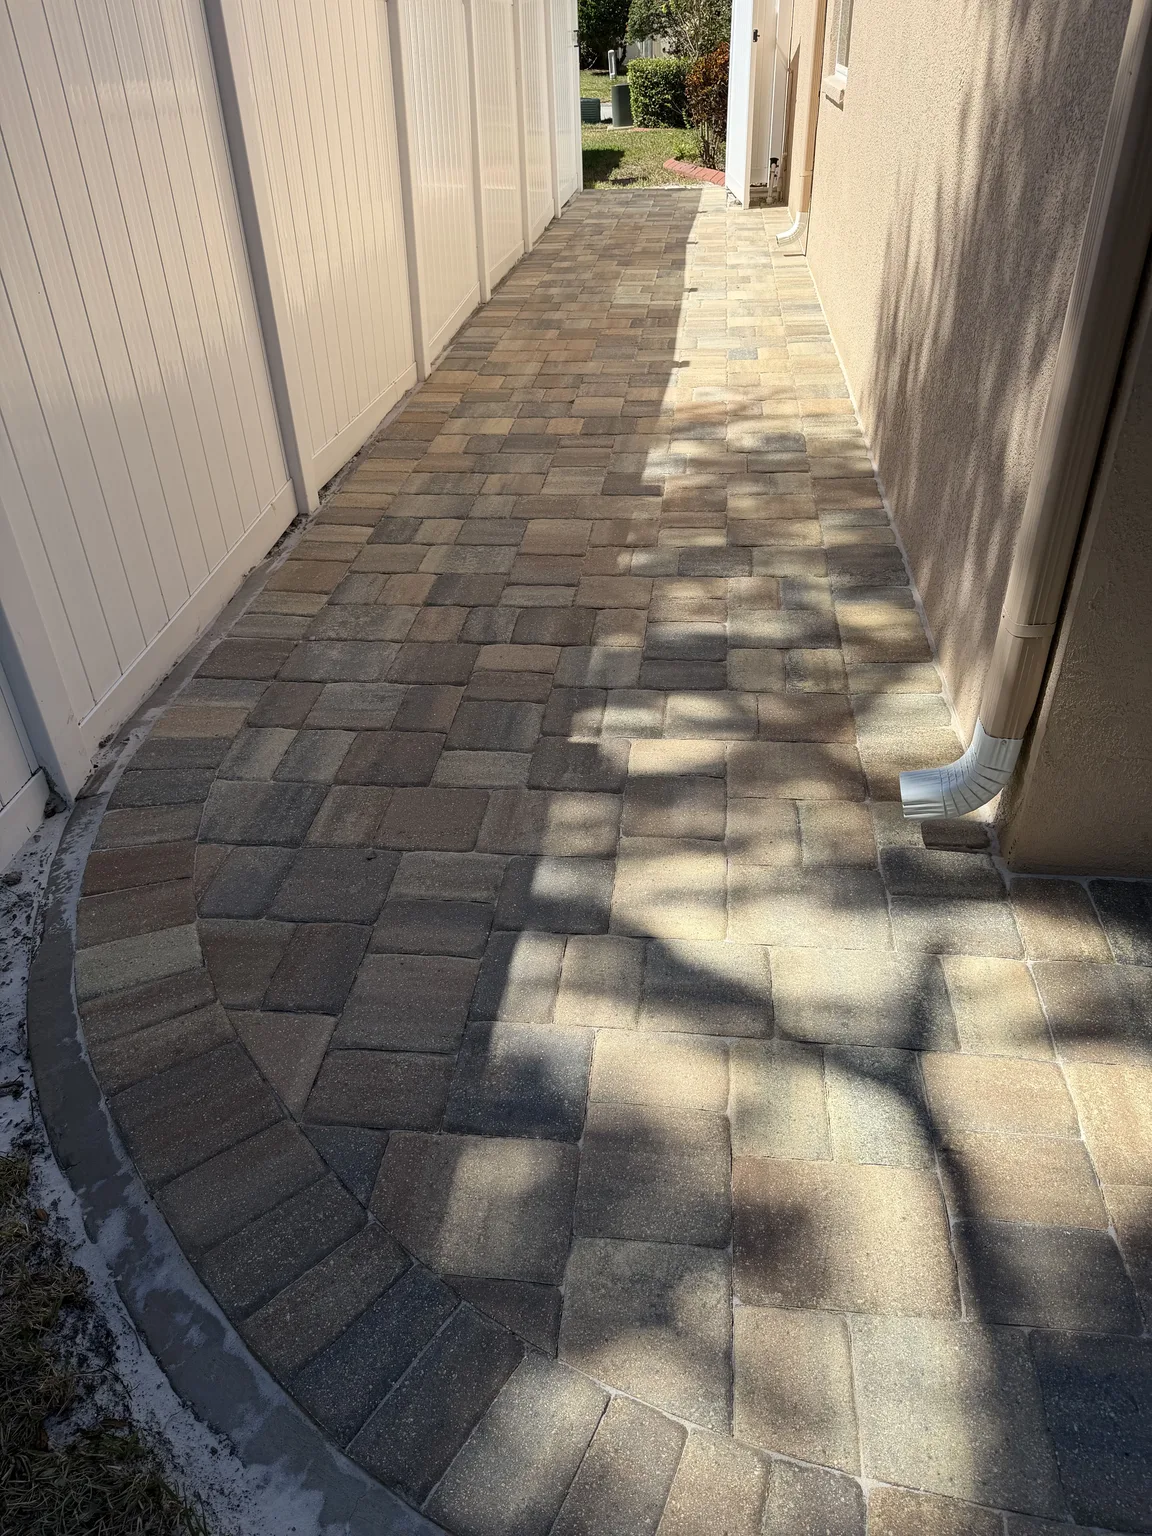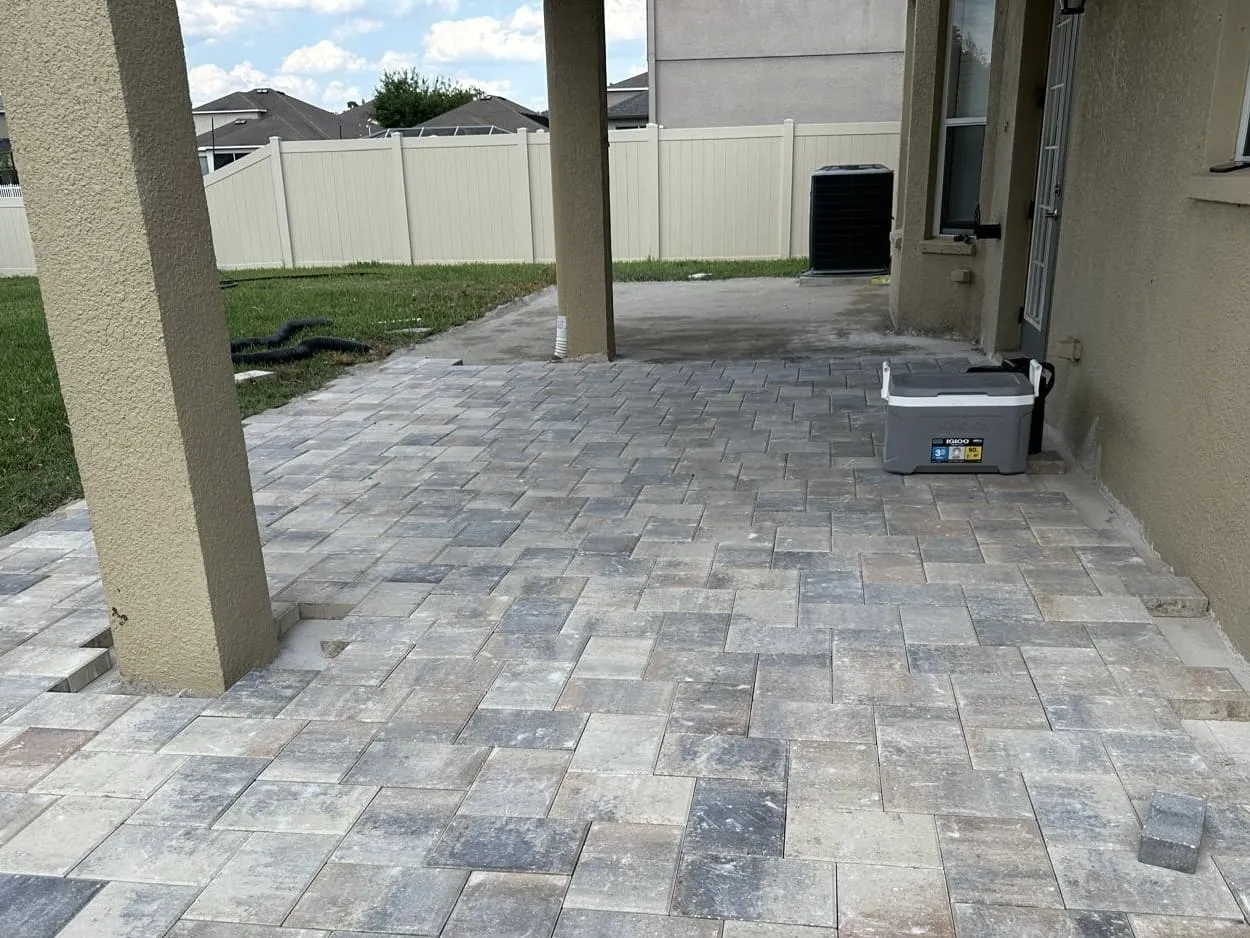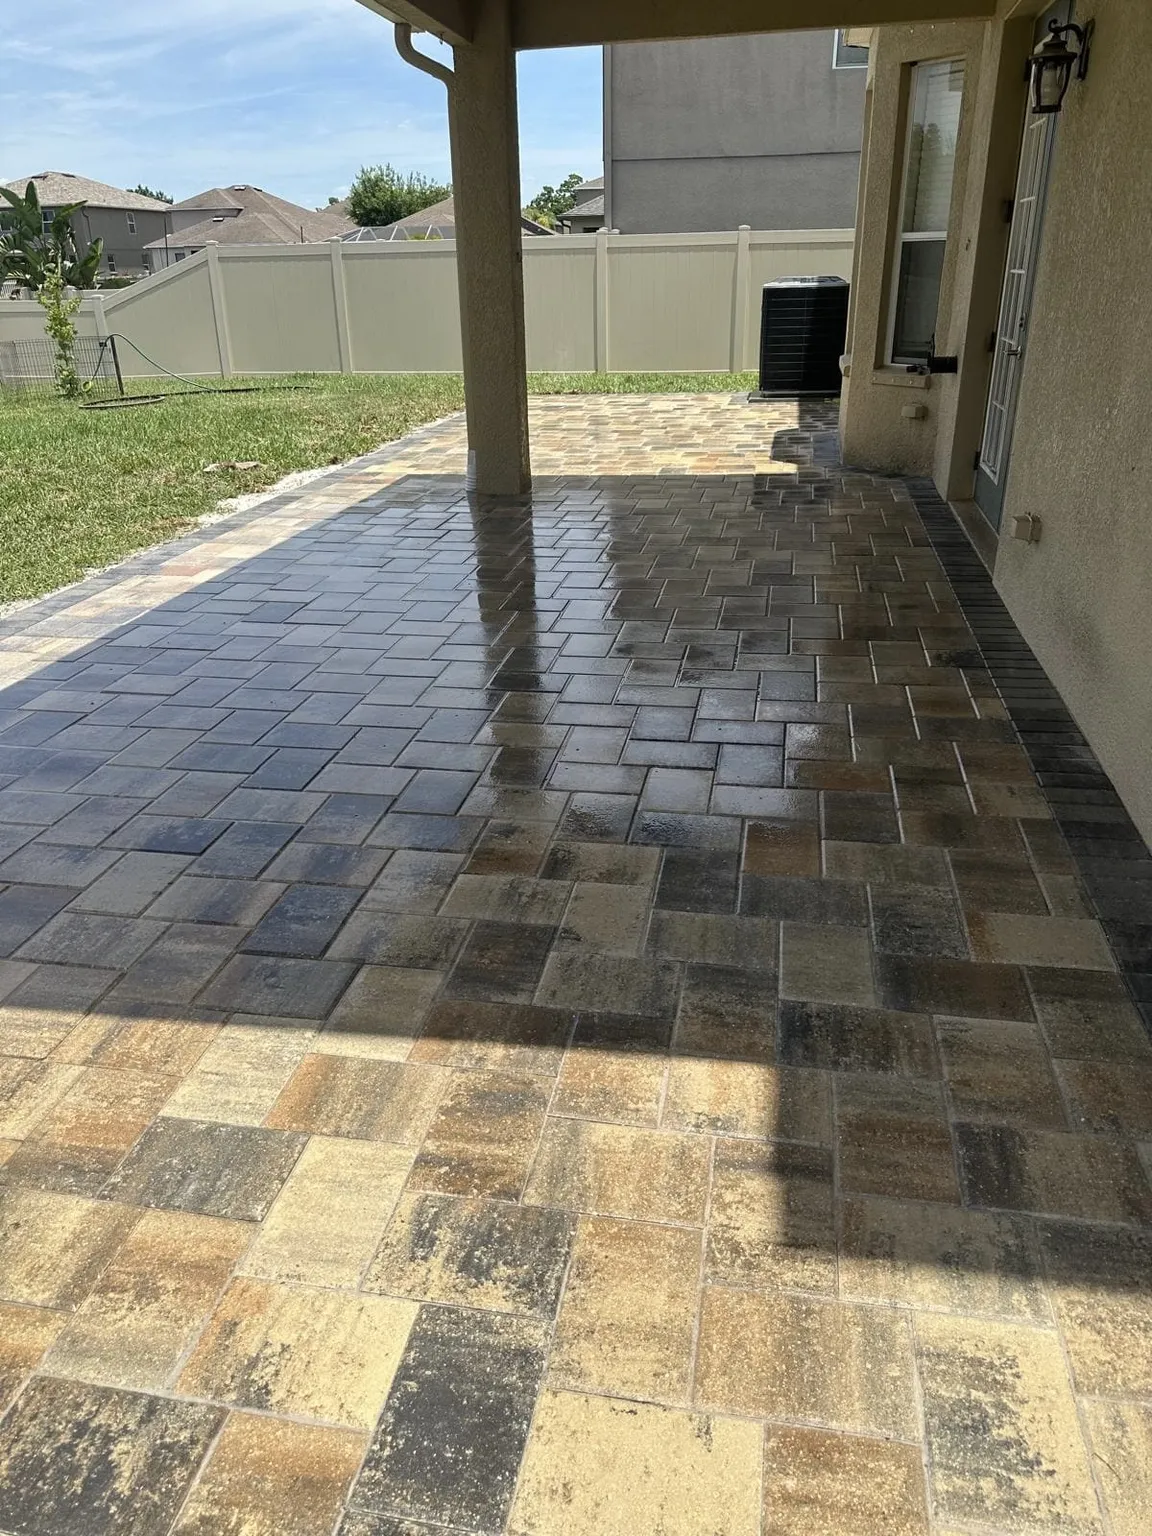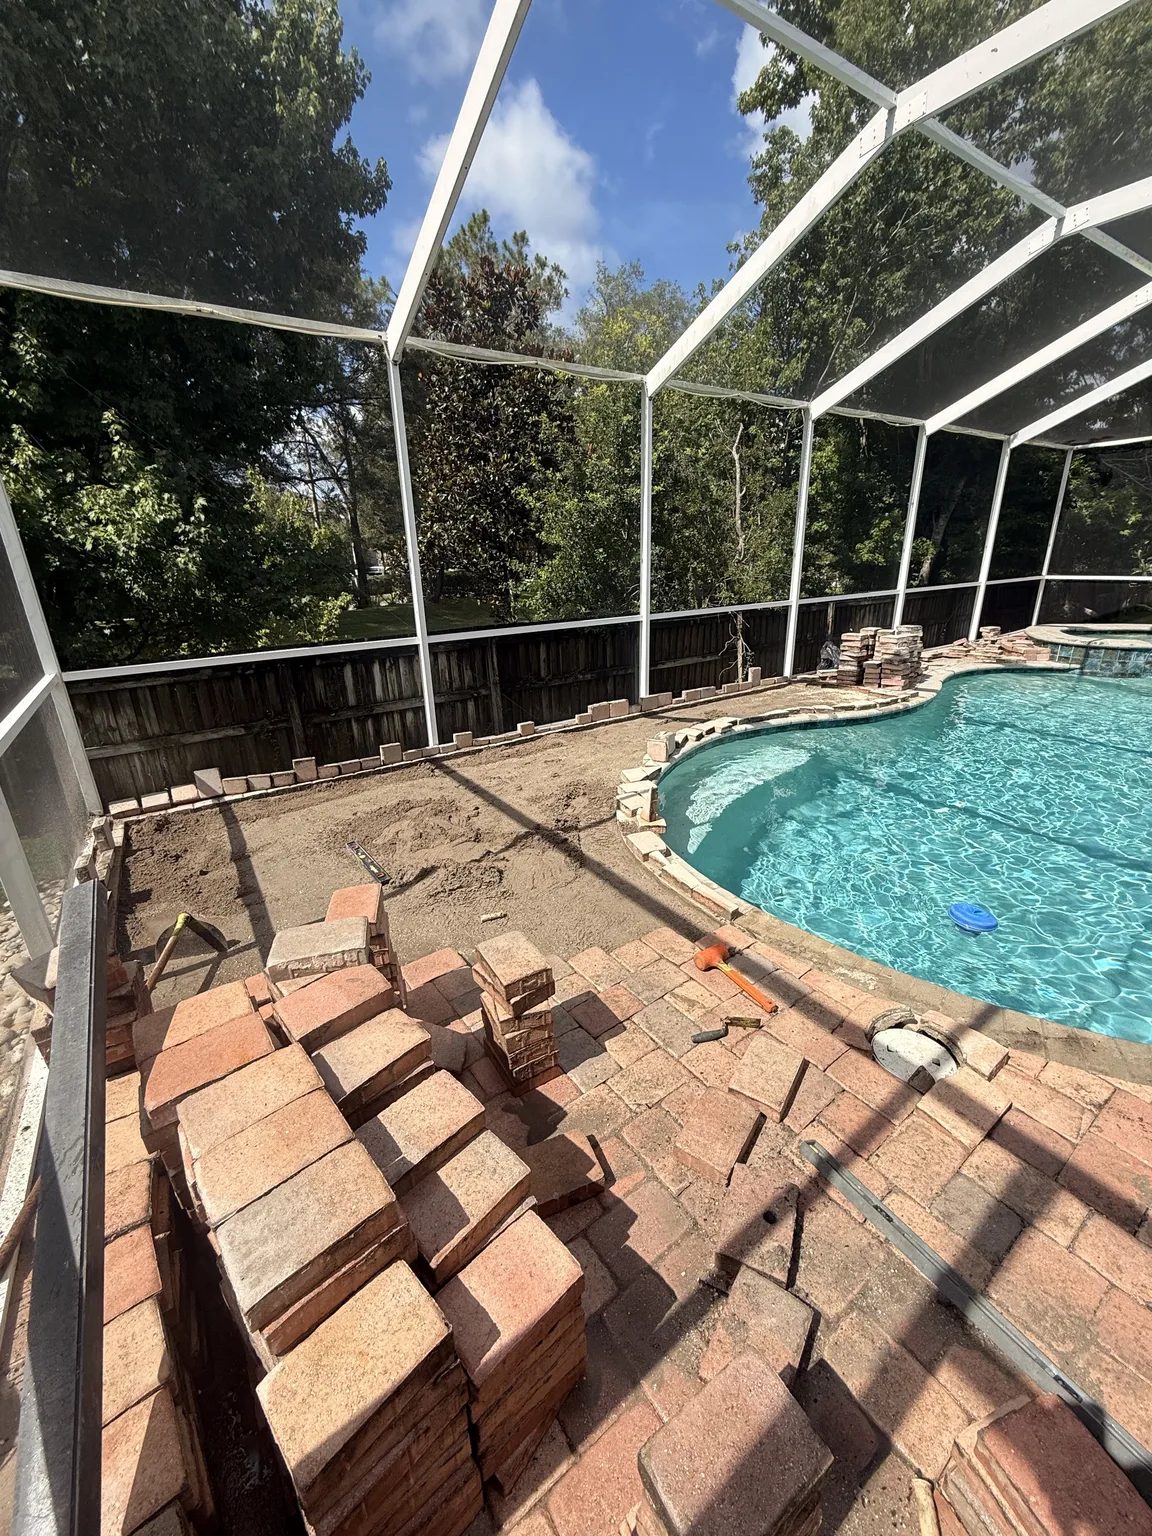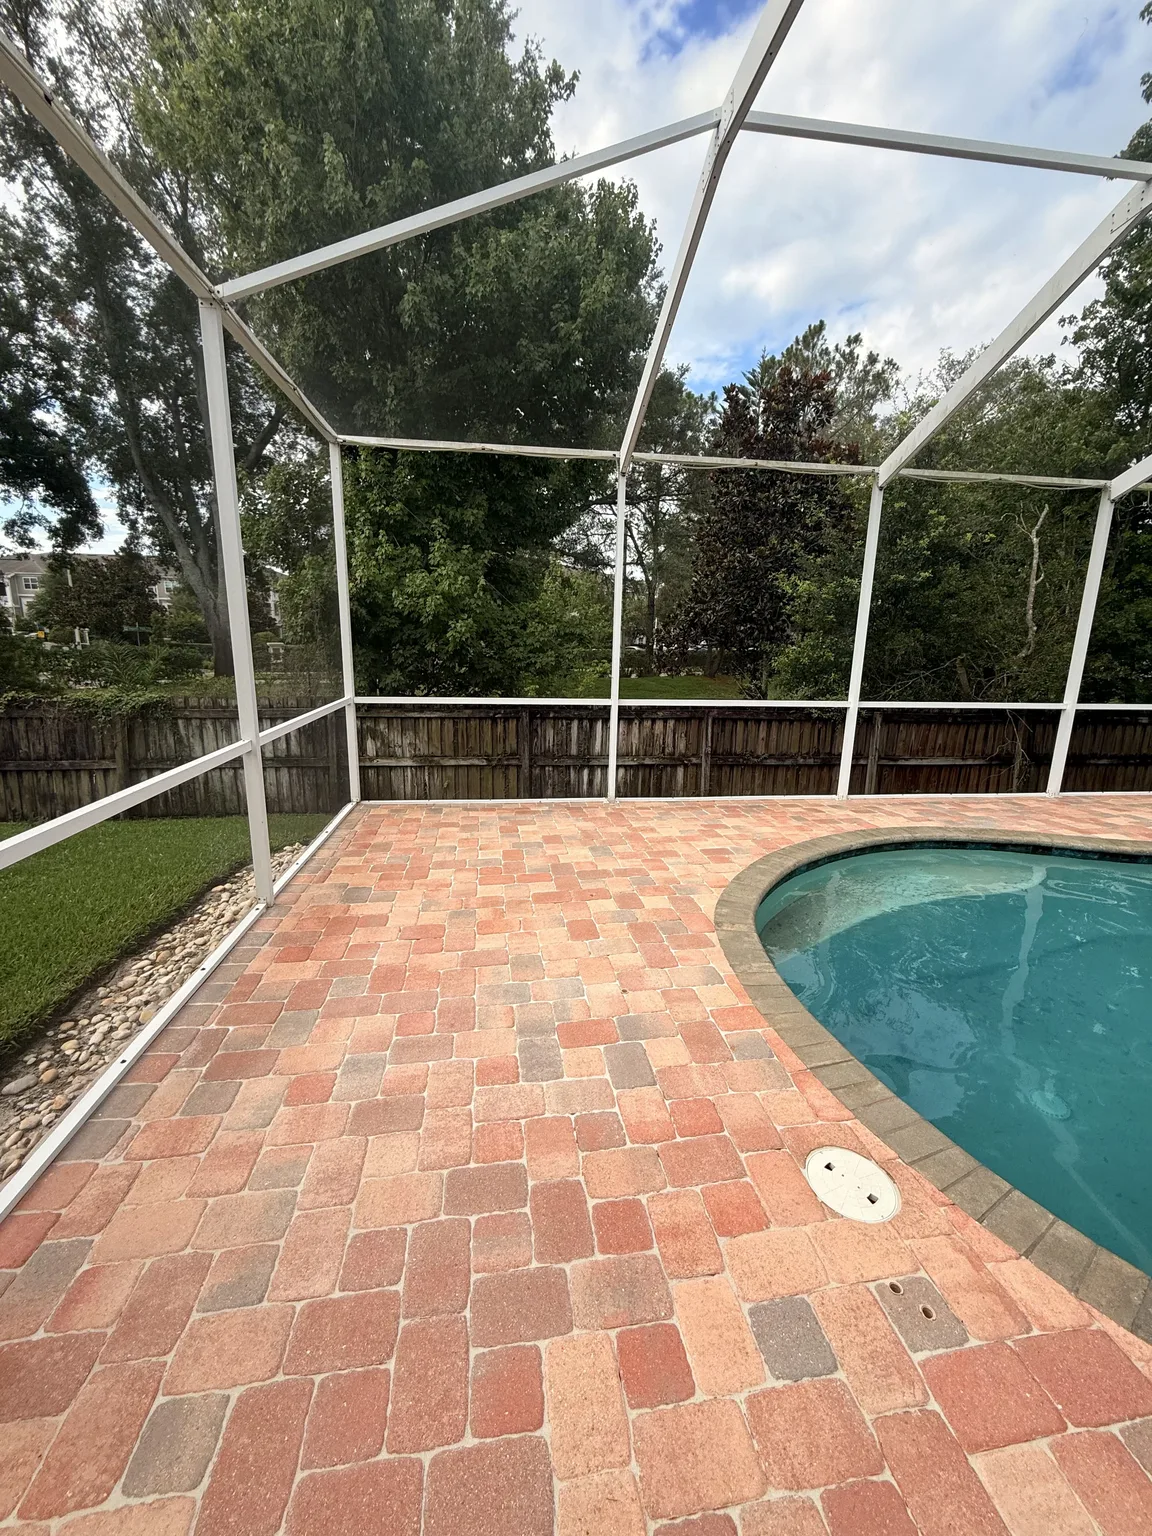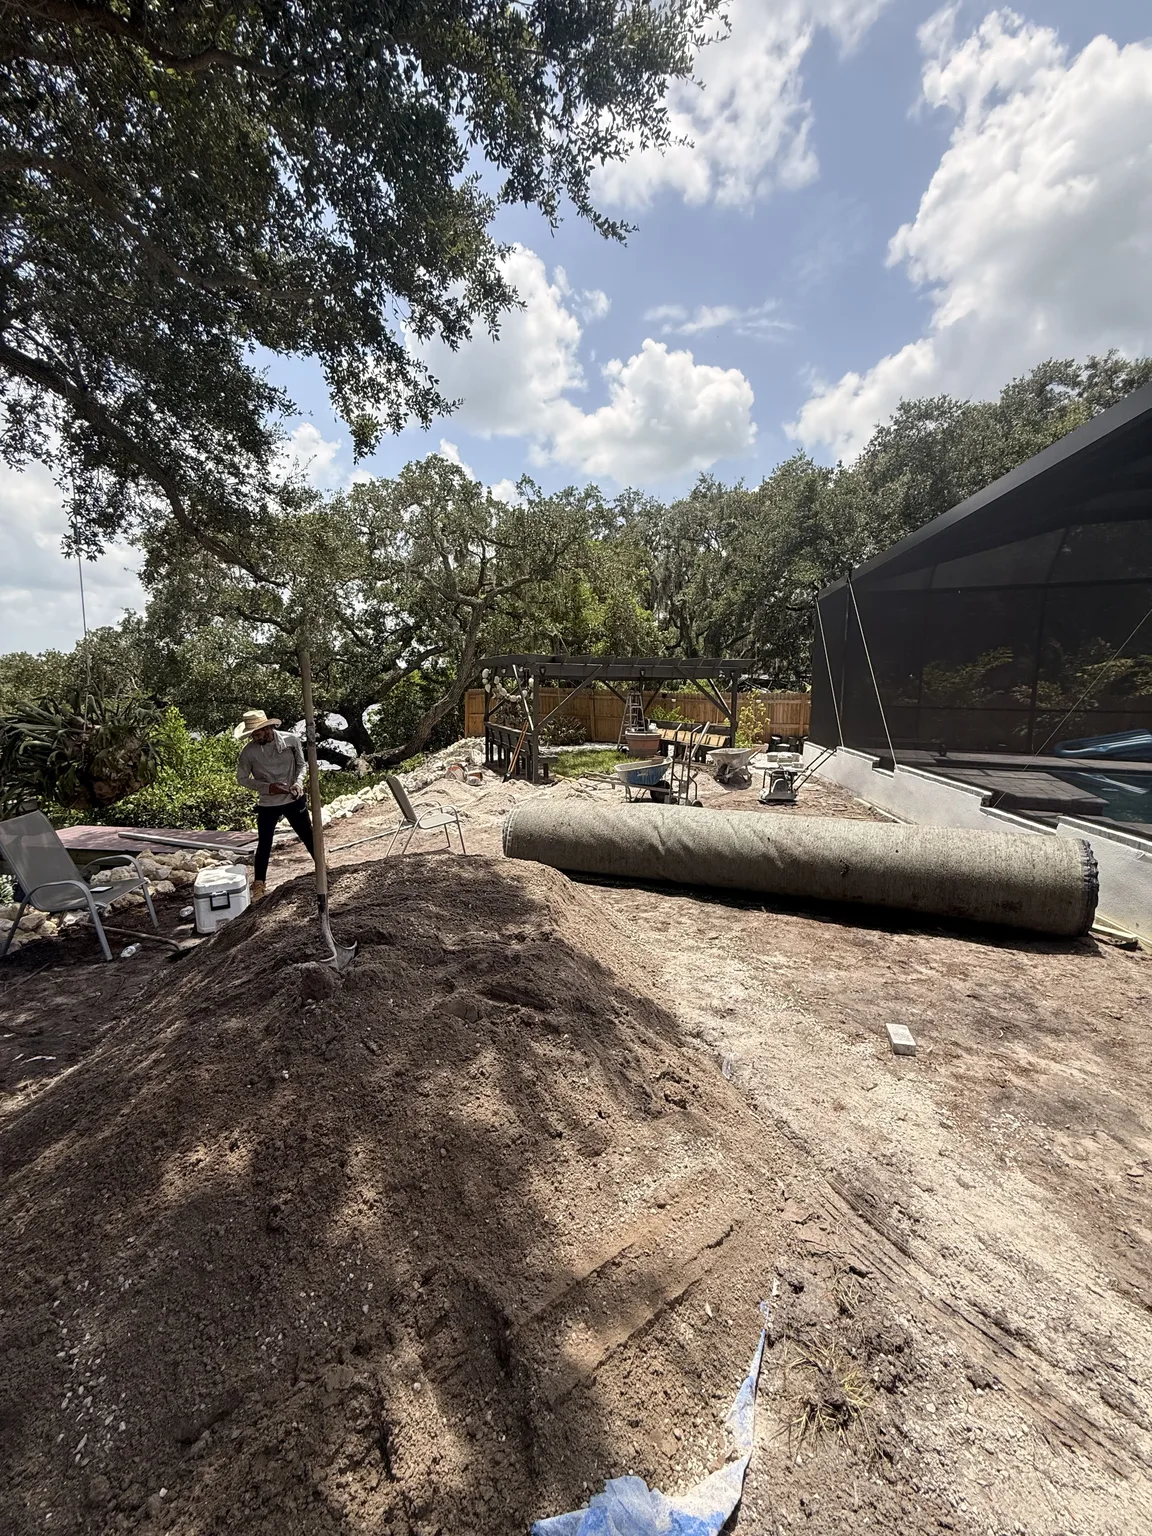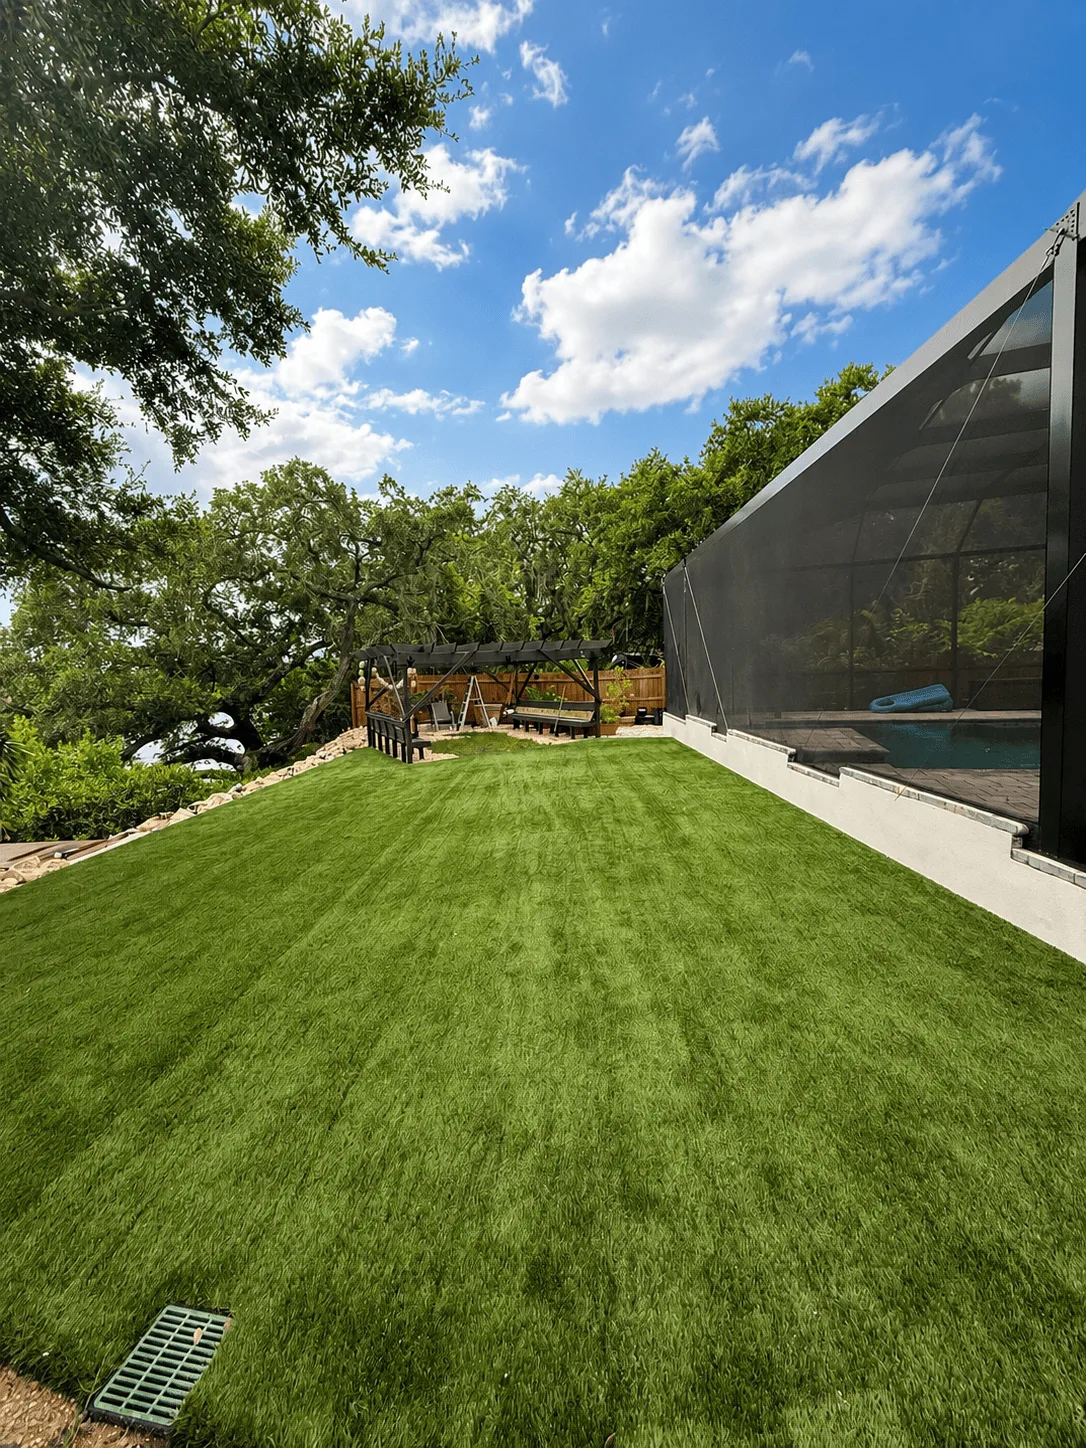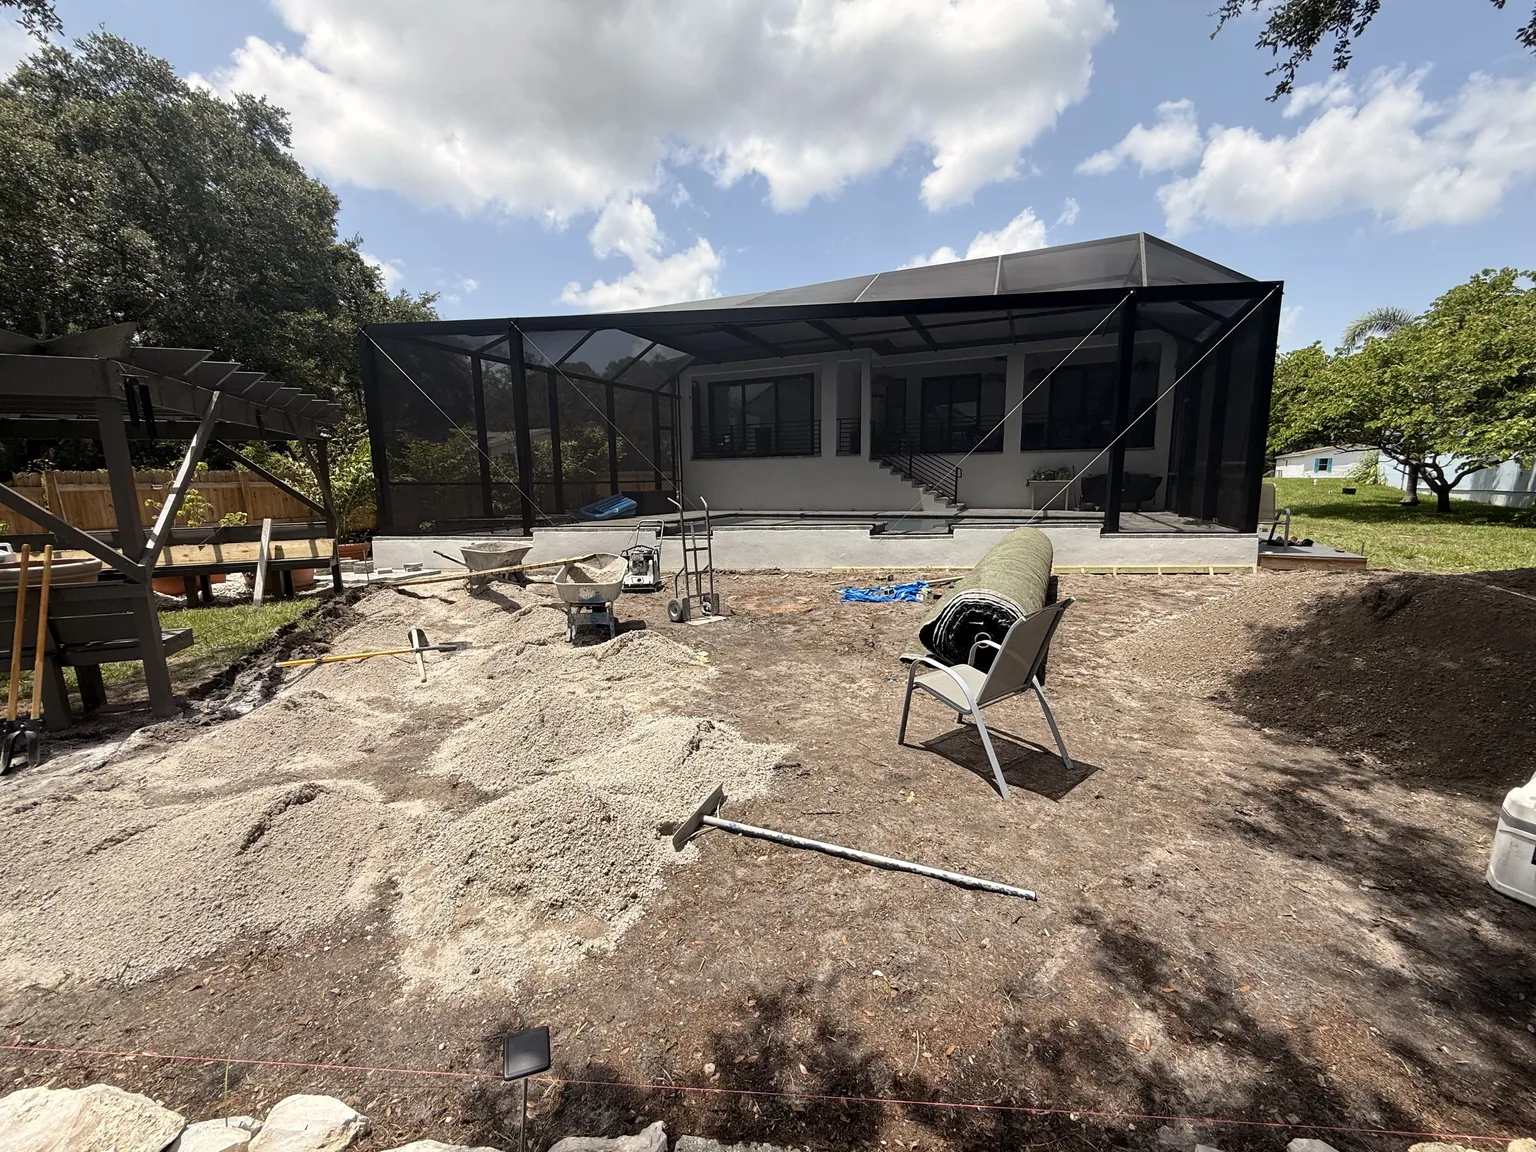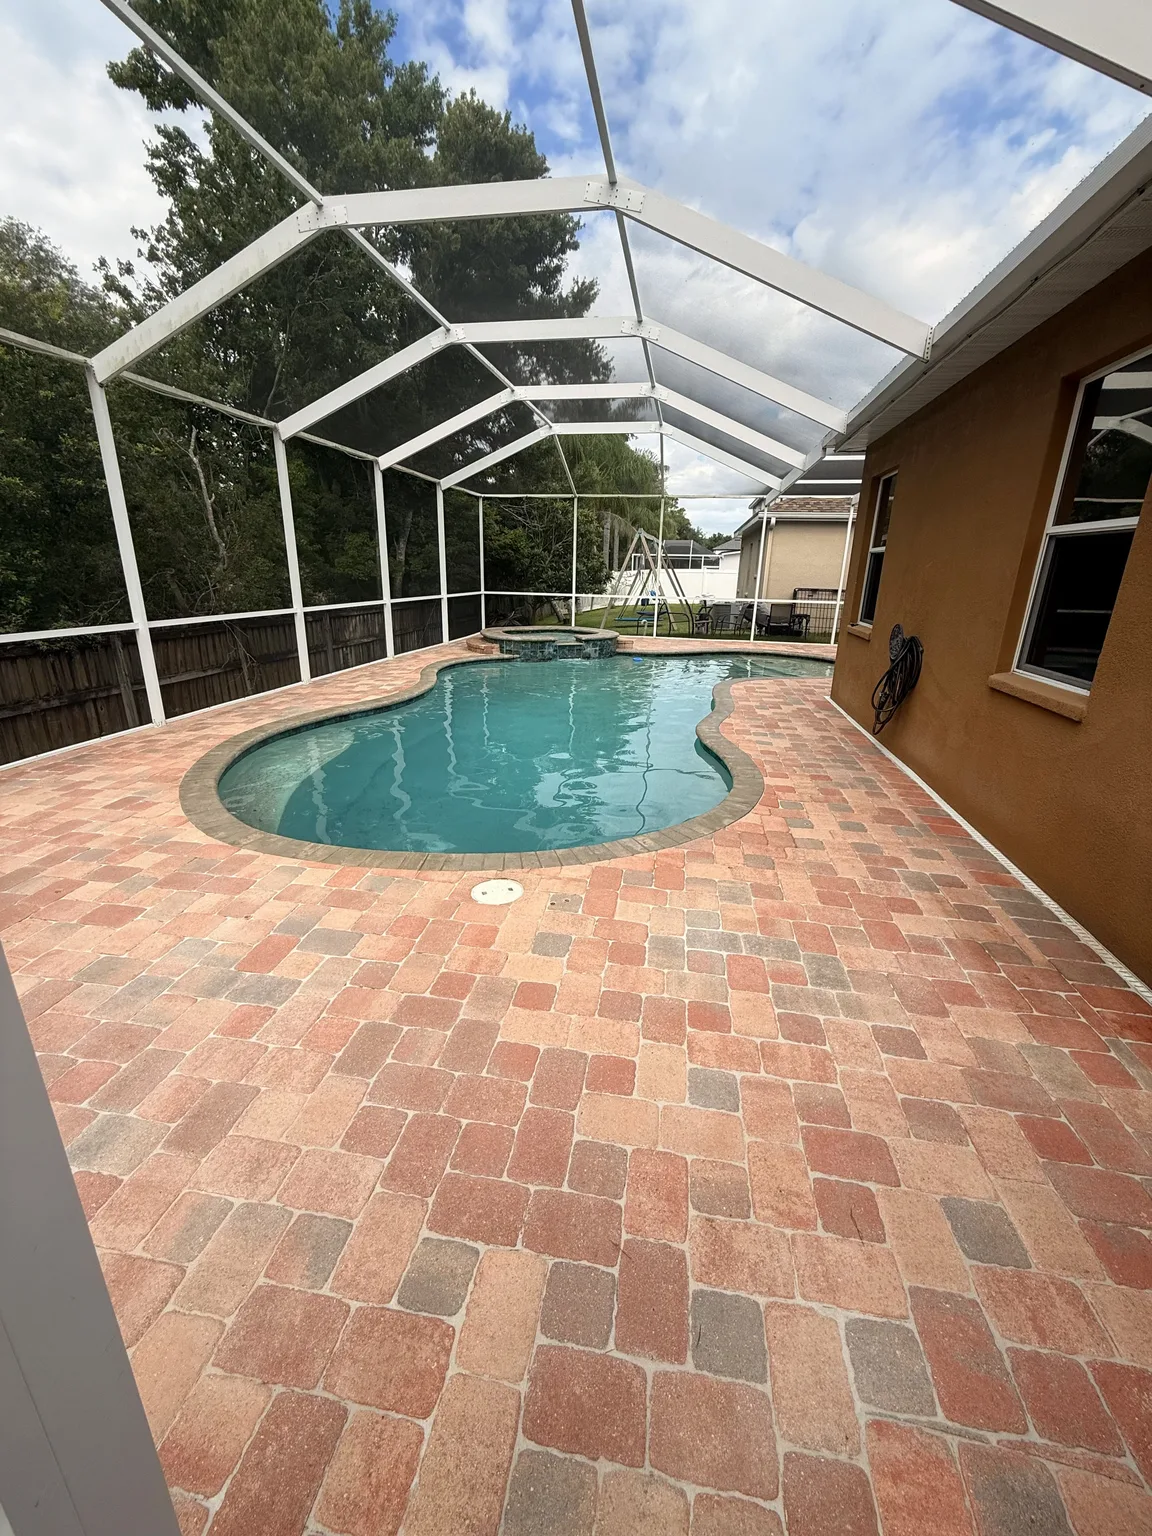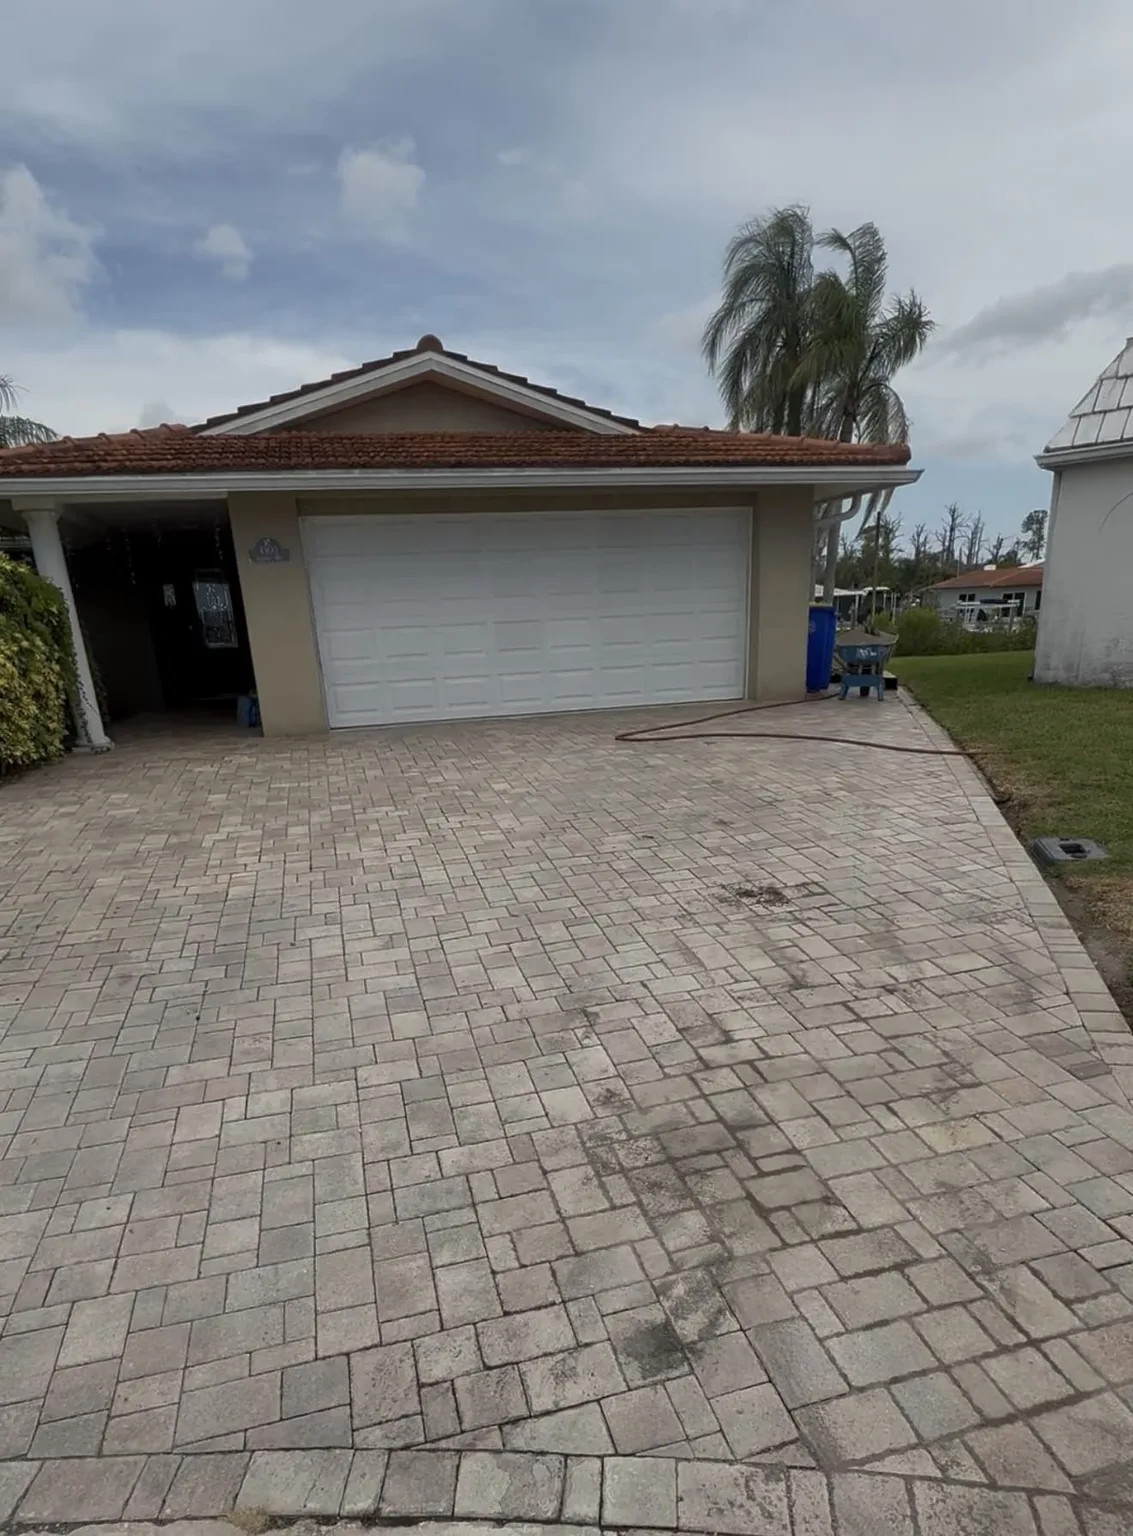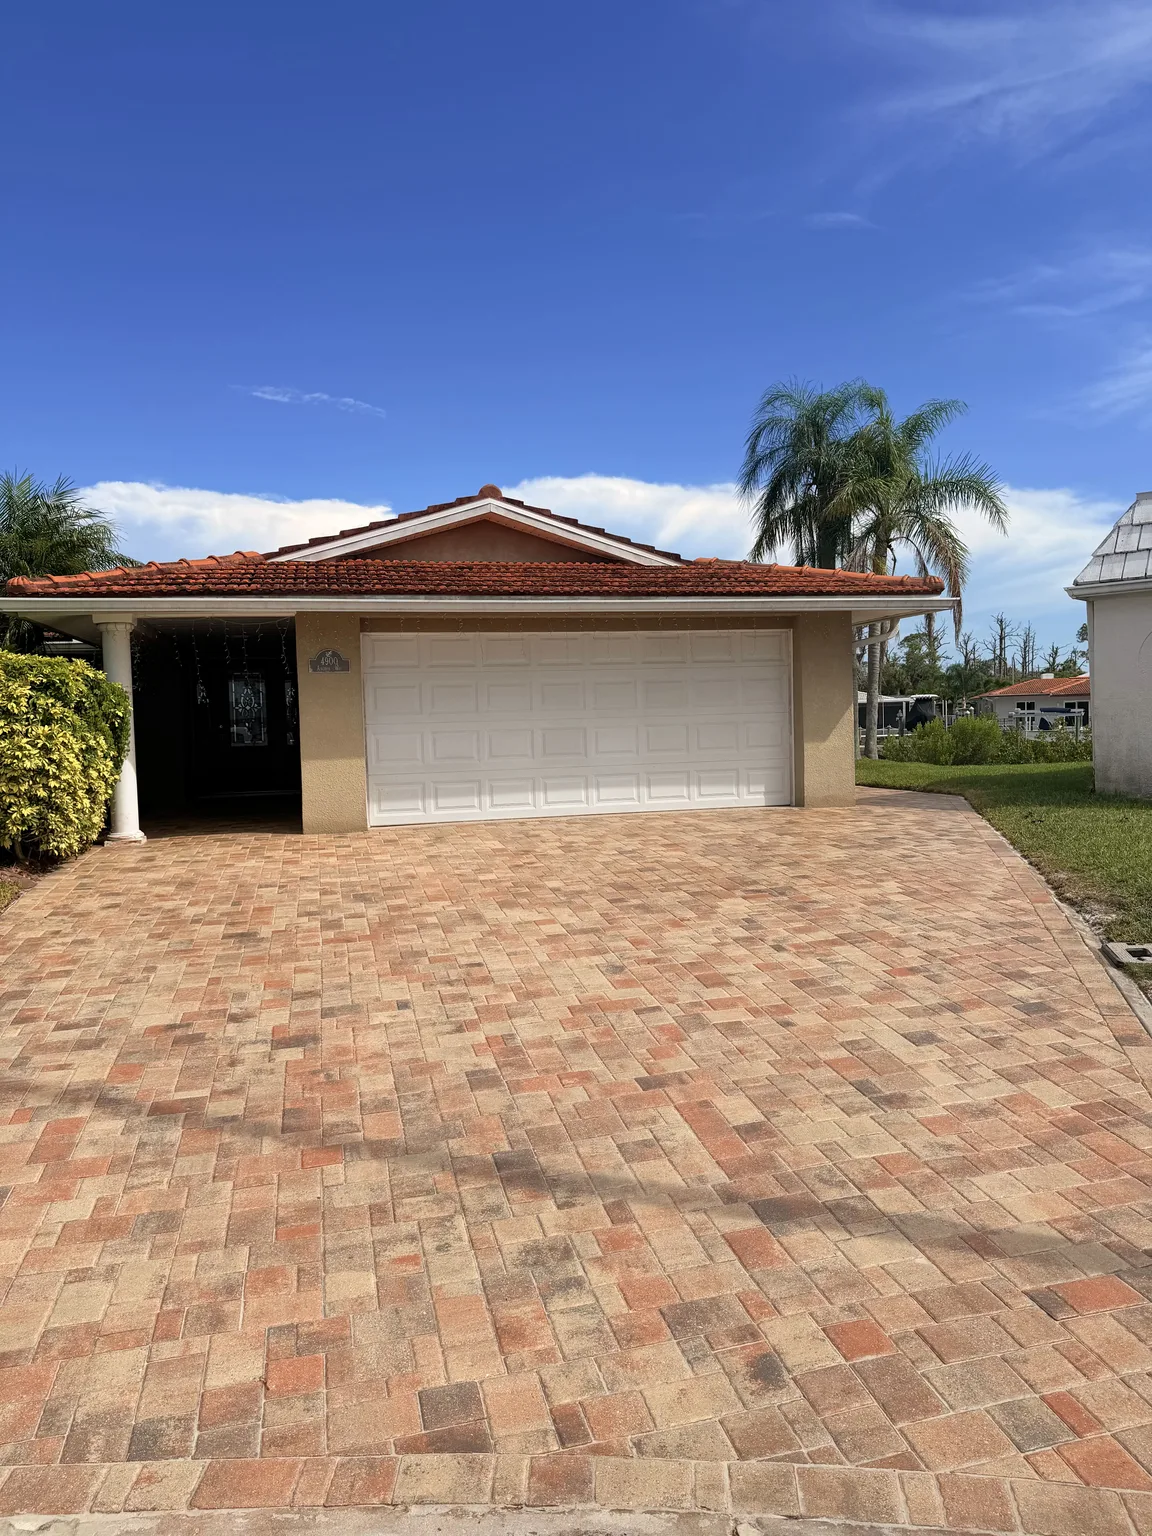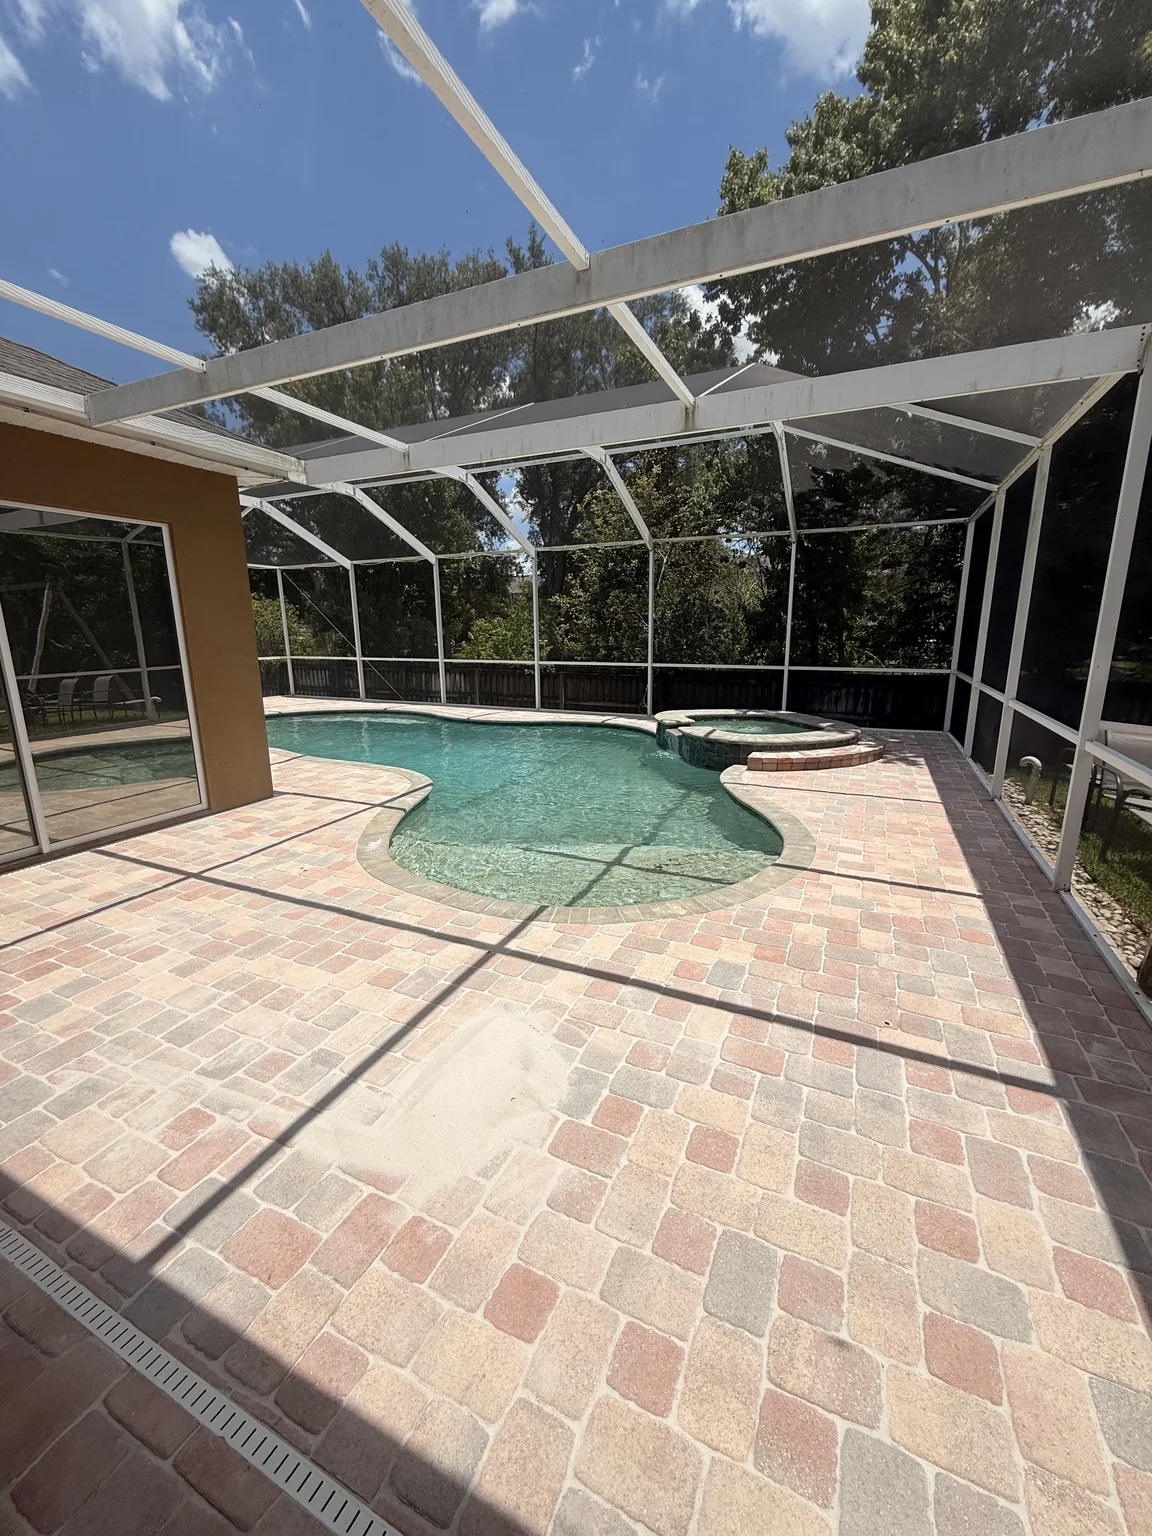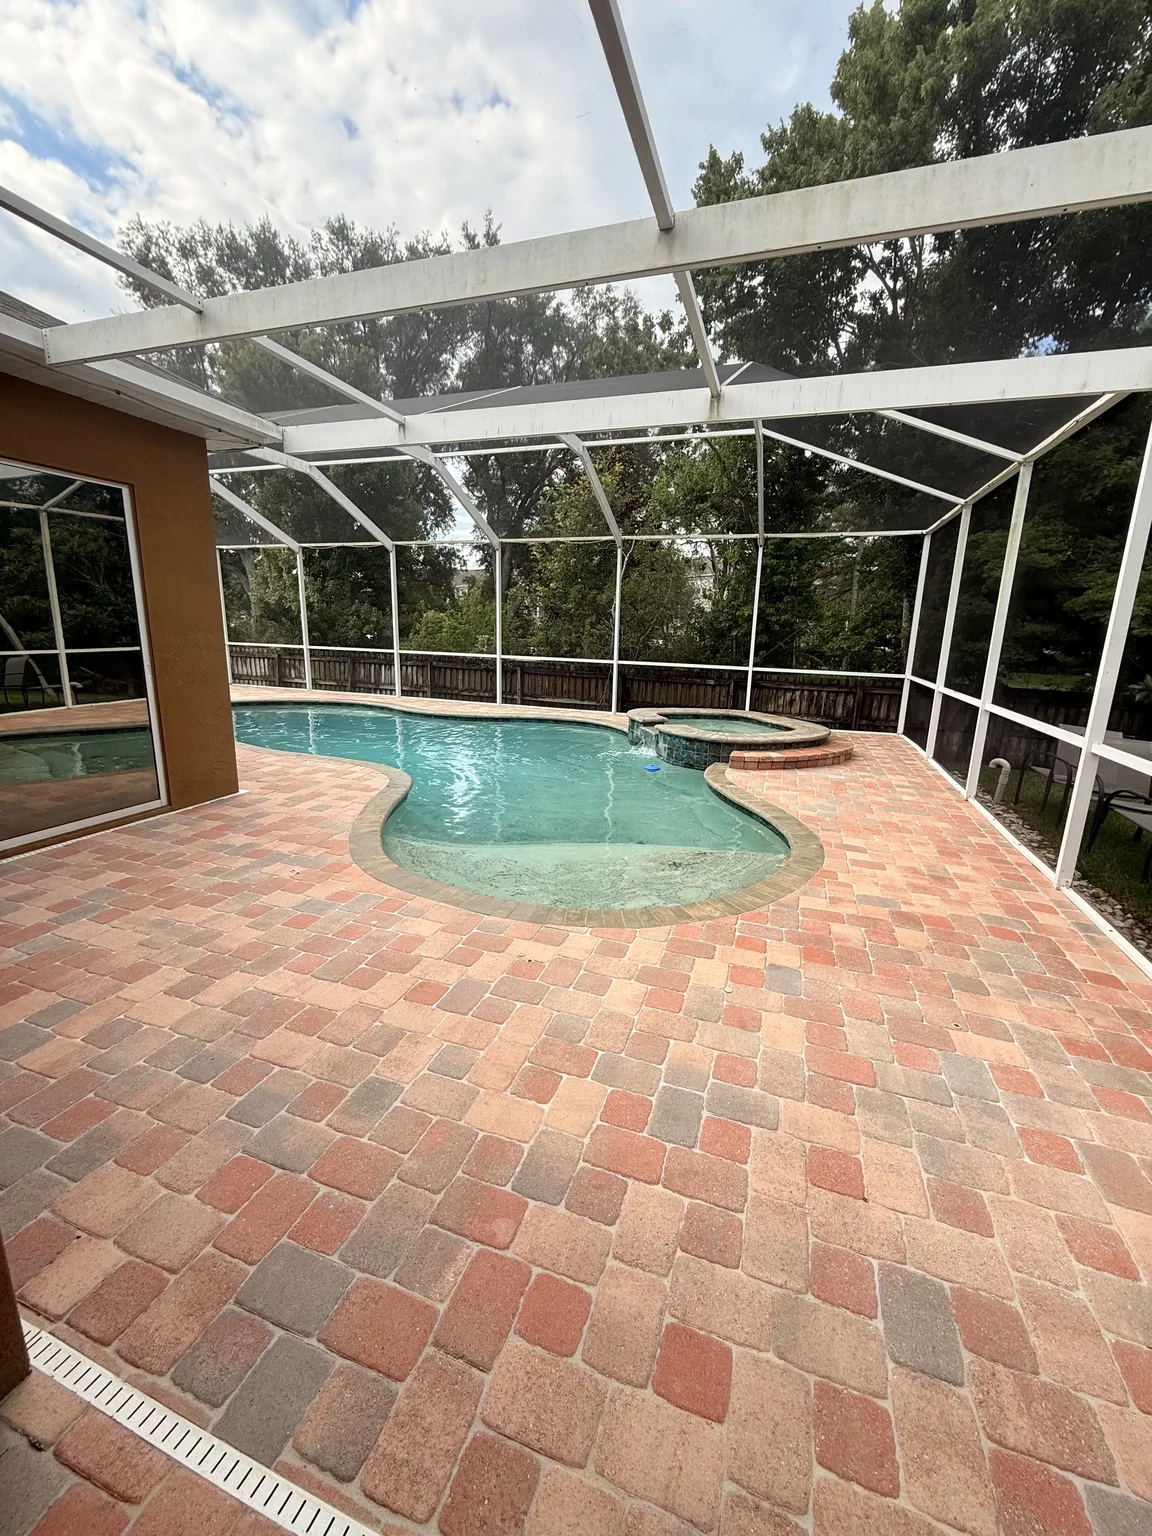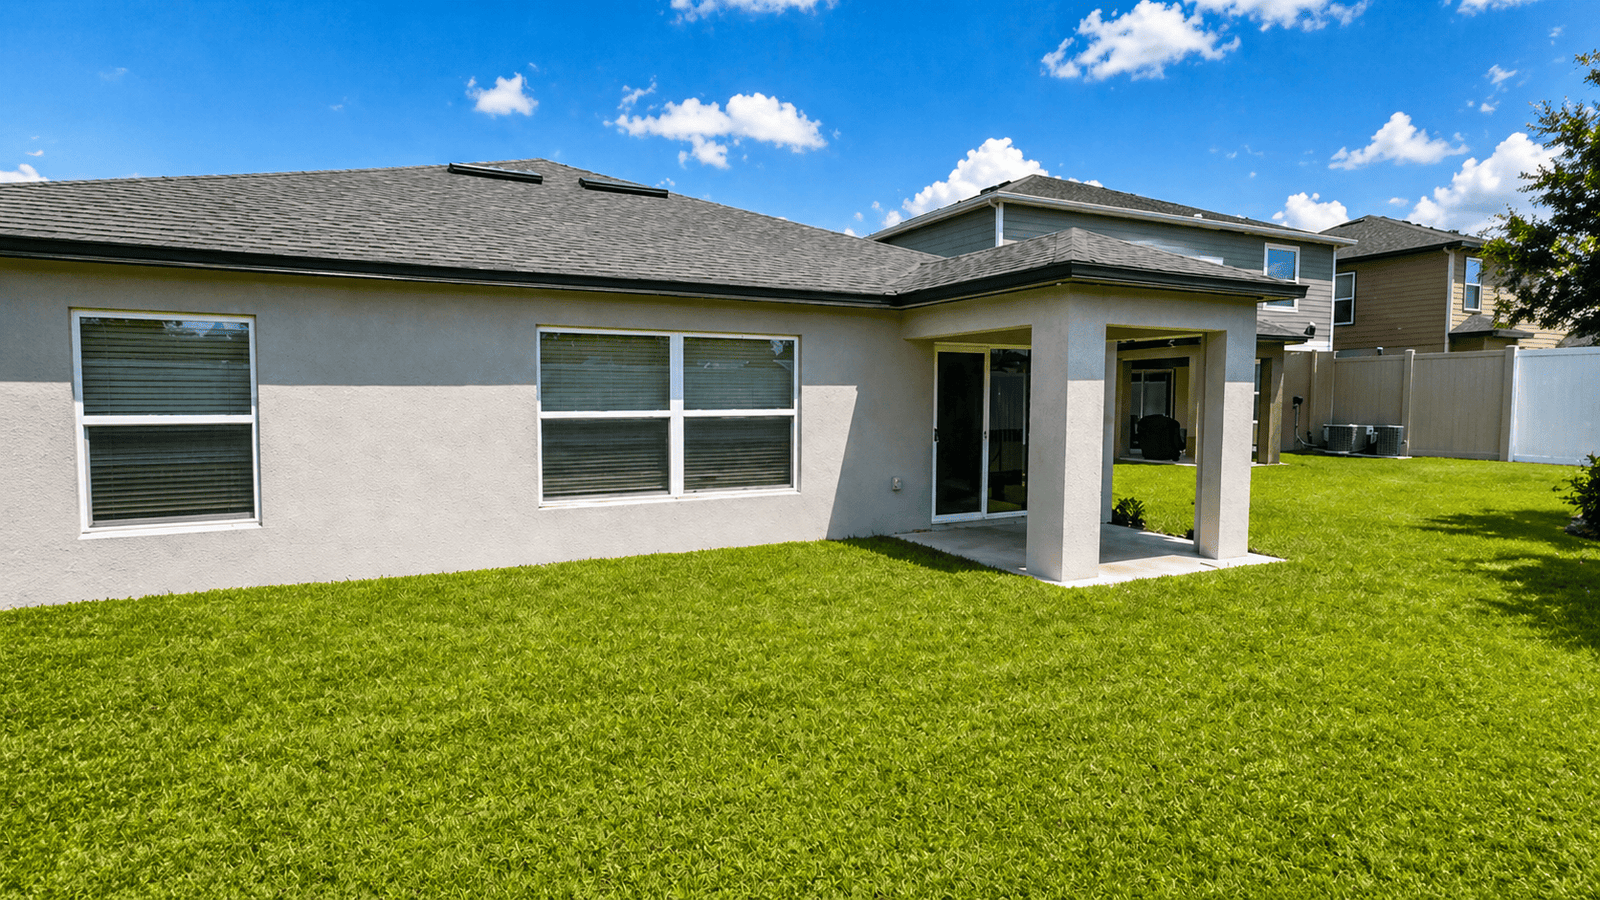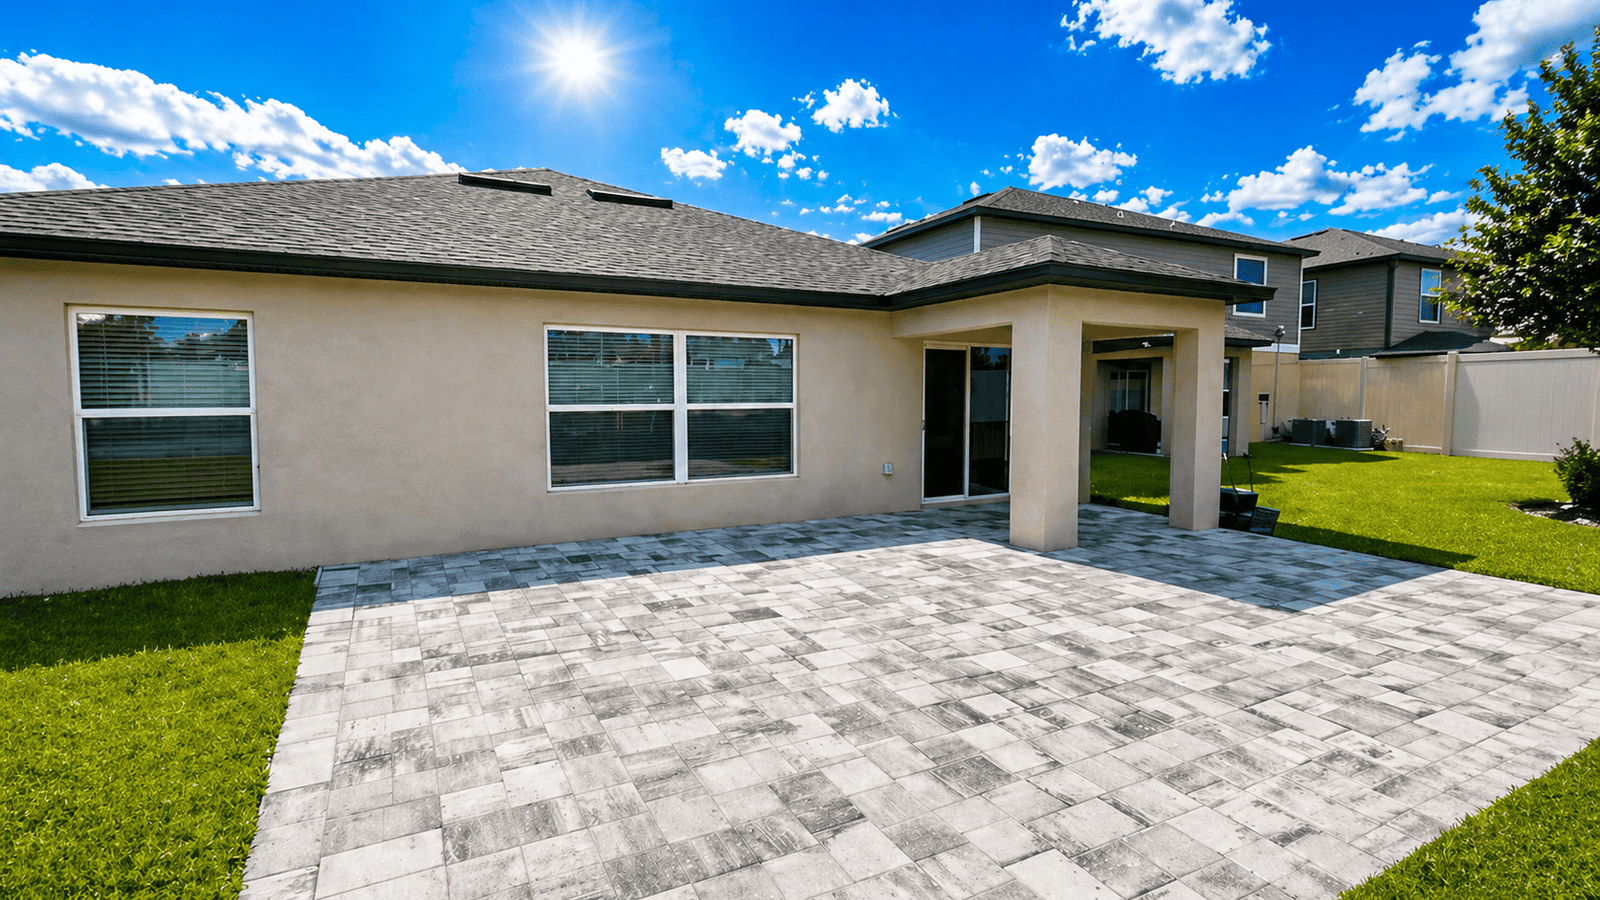
In Tampa Bay, loose pavers usually show that part of the surface has lost support or containment. First, notice whether one unit rocks, several joints open, or an entire band shifts. Those patterns point toward different causes and different repair scopes. However, replacing joint sand alone rarely solves movement that begins below the visible surface.
Because loose pavers can start with a small defect, early attention often keeps the work focused. A rocking corner can catch shoes, disturb neighboring units, and widen the affected area. Meanwhile, vehicle turns or repeated foot traffic can accelerate movement. The useful question is not simply whether a paver moves, but why its support changed.
Therefore, a lasting repair begins with observation before any unit is lifted. Check recent landscaping, edging damage, washout signs, and changes near downspouts or irrigation. Also, compare the moving area with firm sections nearby. That contrast helps a contractor separate an isolated installation detail from a broader base problem.
Why loose pavers develop in Florida hardscapes
Afterward, Florida conditions can expose weak details quickly because surfaces receive strong rain, heat, and frequent outdoor use. For example, water entering an open joint can carry fine bedding material into nearby voids. The paver then loses even contact underneath. As a result, loose pavers may rock although the top still looks clean and intact.
Likewise, a surface needs restraint at its perimeter to keep the field interlocked. A cracked, displaced, or missing edge allows units to creep outward. Consequently, joints near that edge grow wider while interior units begin to turn. Refilling those gaps without restoring restraint treats the symptom but leaves the movement path open.
How loose pavers reveal the source
Additionally, First, press opposite corners with steady foot pressure and watch the joint lines. One rocking unit often suggests uneven bedding, a broken unit, or debris beneath it. By contrast, several units moving together can indicate base settlement or lost edge support. This simple comparison guides the next inspection without assuming the answer.
Next, study the direction of any visible shift. Loose pavers beside a driveway curve may move outward under turning tires. Units along a garden bed may spread after an edge becomes exposed. Meanwhile, pavers around a repaired utility line may settle within the previously opened trench rather than across the original installation.
Read the joints before lifting the surface
Joint condition provides a useful record of surface behavior. For instance, evenly filled narrow joints usually indicate that neighboring units still share loads. Empty, widened, or irregular joints show where interlock has weakened. However, joint material can disappear because of cleaning methods, runoff, ants, repeated traffic, or underlying movement.
Therefore, look beyond the amount of sand and note its pattern. A single empty joint may follow pressure washing too close to the surface. Several radiating gaps can trace movement from one unstable section. In addition, weeds or organic debris may occupy open joints, yet removing growth does not rebuild missing support.
When joint loss is a cause or a symptom
Sometimes, joint loss begins the problem by reducing lateral support between otherwise sound units. In that case, cleaning the joints correctly and installing suitable material may restore interlock. However, loose pavers that remain uneven after the joints empty usually need lifting. The bedding and base must then be checked before the surface is reset.
At the same time, joint material should not be used to hide excessive gaps. Large gaps can reflect displaced pavers, poor cuts, or a failed perimeter. Instead, the units should return to a consistent layout before joints are finished. This sequence prevents a cosmetic fill from masking a structural alignment issue.
Edge restraint and base support work together
Instead, A paver field behaves as a connected surface, so its edge matters far beyond the last row. When that boundary holds, normal loads transfer across neighboring units. Conversely, an open edge lets the pattern relax and separate. Loose pavers can then appear several rows inward even though the first visible damage sits at the perimeter.
Below the pavers, the base should provide firm, uniform support across the repaired area. However, a soft pocket or poorly compacted patch allows bedding to deform. One section may sink while the adjacent units remain fixed. As a result, the edges rub, joints change width, and individual pavers begin to rock.
In practice, the repair must extend until stable material and reliable alignment are found. Lifting only the most obvious unit may leave a soft shoulder beside it. Therefore, a contractor often removes a controlled group instead of one paver. That access makes it possible to rebuild a smooth transition into the undisturbed surface.
Water, roots, and recent site changes
Water can contribute when it repeatedly enters a vulnerable edge or carries supporting fines away. Therefore, note puddle paths, roof discharge, irrigation overspray, and soil erosion near the moving area. Loose pavers beside those clues need more than surface leveling. The nearby water path should be corrected within the project’s appropriate scope.
Roots can also lift units or disturb the material below them as plants mature. However, cutting roots without understanding the plant and site can create another problem. Recent trenching, fence work, or landscape installation may provide a simpler explanation. Accordingly, share the timing of nearby work during the repair assessment.
A repair starts with a controlled opening
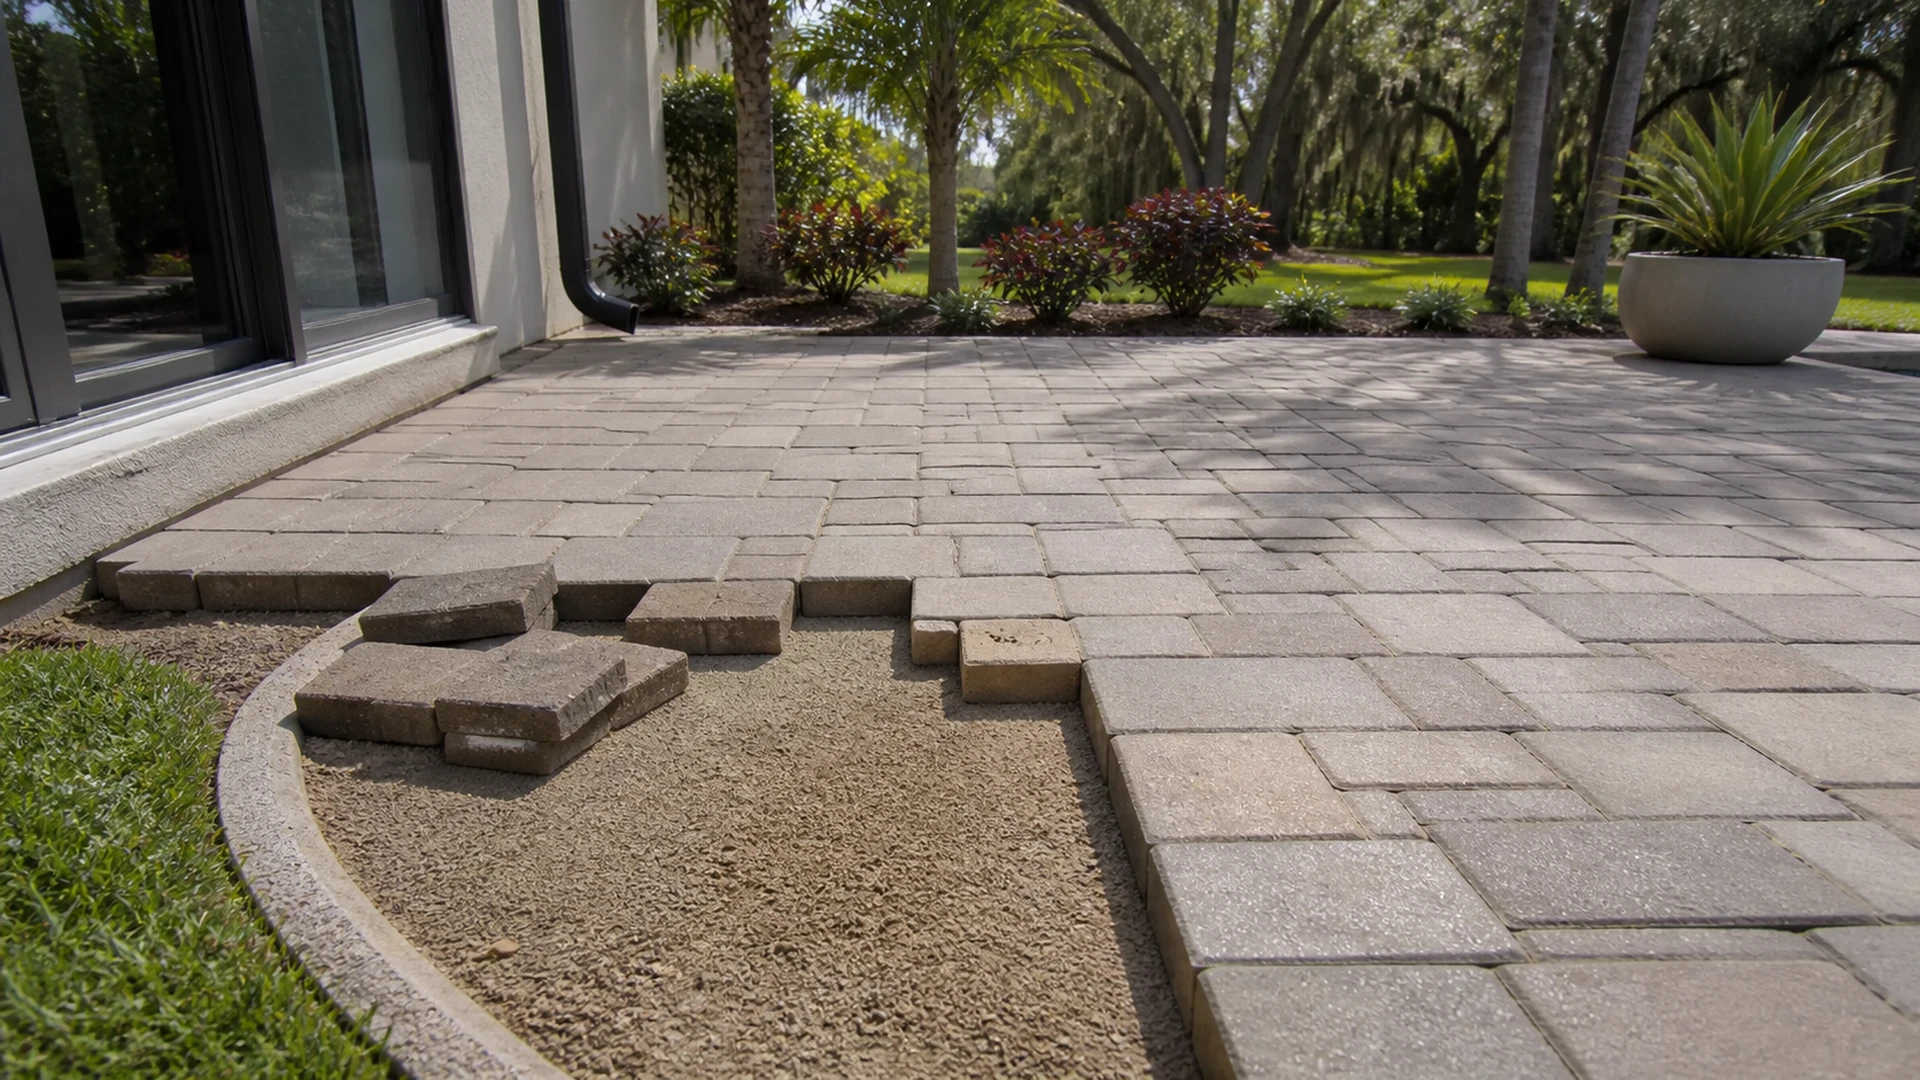
Furthermore, Before removal, a contractor records the pattern, elevation, and intended surface direction. Next, joint material is cleared carefully around the selected units. The first paver may require extra care because surrounding units still hold it tightly. Once access opens, additional pieces can be lifted without chipping their visible edges.
Then, each reusable paver is set aside in an organized sequence. This step protects color blending and makes a patterned layout easier to reconstruct. Meanwhile, cracked or badly worn pieces are identified for replacement. A close match matters, although existing exposure can make new units look different at first.
What the opened area can confirm
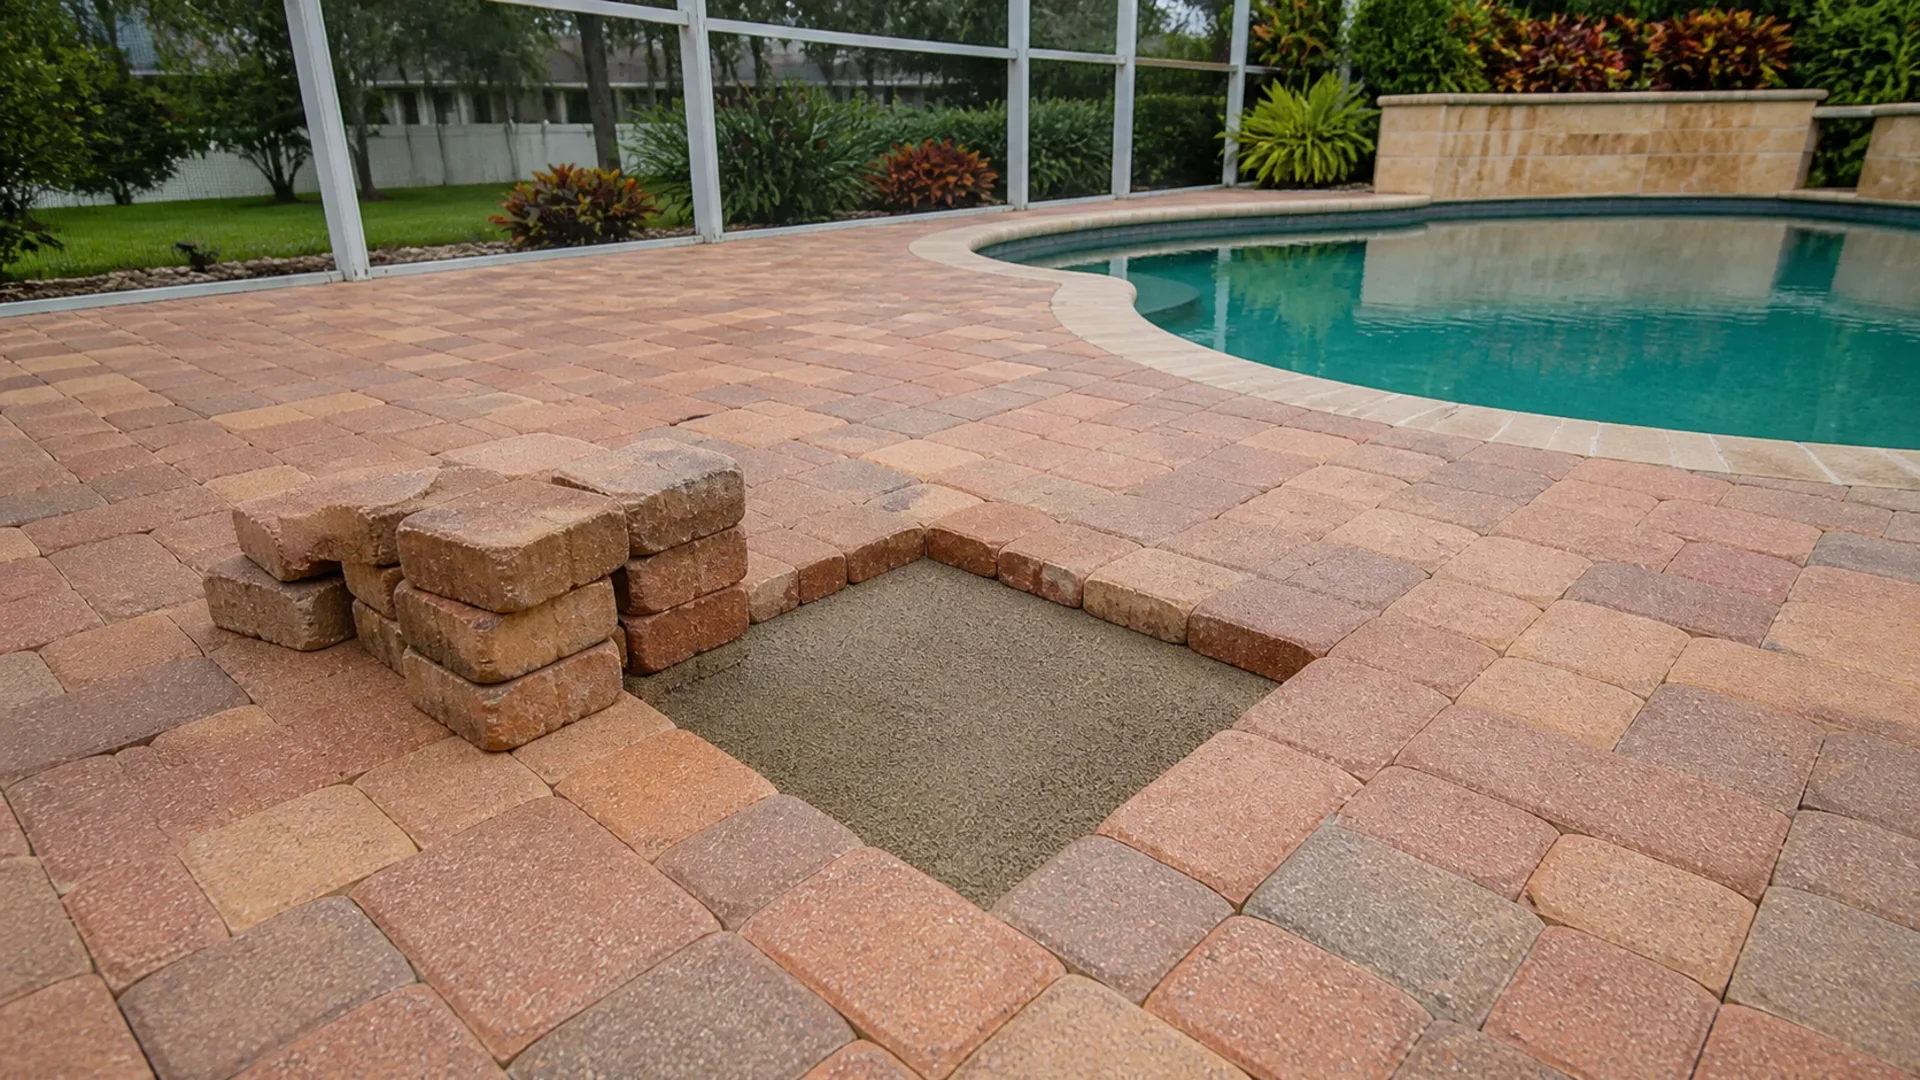
Once the surface is open, bedding thickness and condition become visible. For example, a hollow under one corner explains a rocking unit directly. Loose or migrated material may reveal a larger support problem. Consequently, this is the point where an initial repair plan can be confirmed or adjusted.
The exposed base should also be checked against the firm area around it. If it yields, contains disturbed pockets, or shows erosion, simply adding bedding is insufficient. Instead, weak material must be addressed to the depth needed for stable support. Loose pavers are unlikely to stay fixed over a base that still moves.
Rebuilding the support in the right sequence
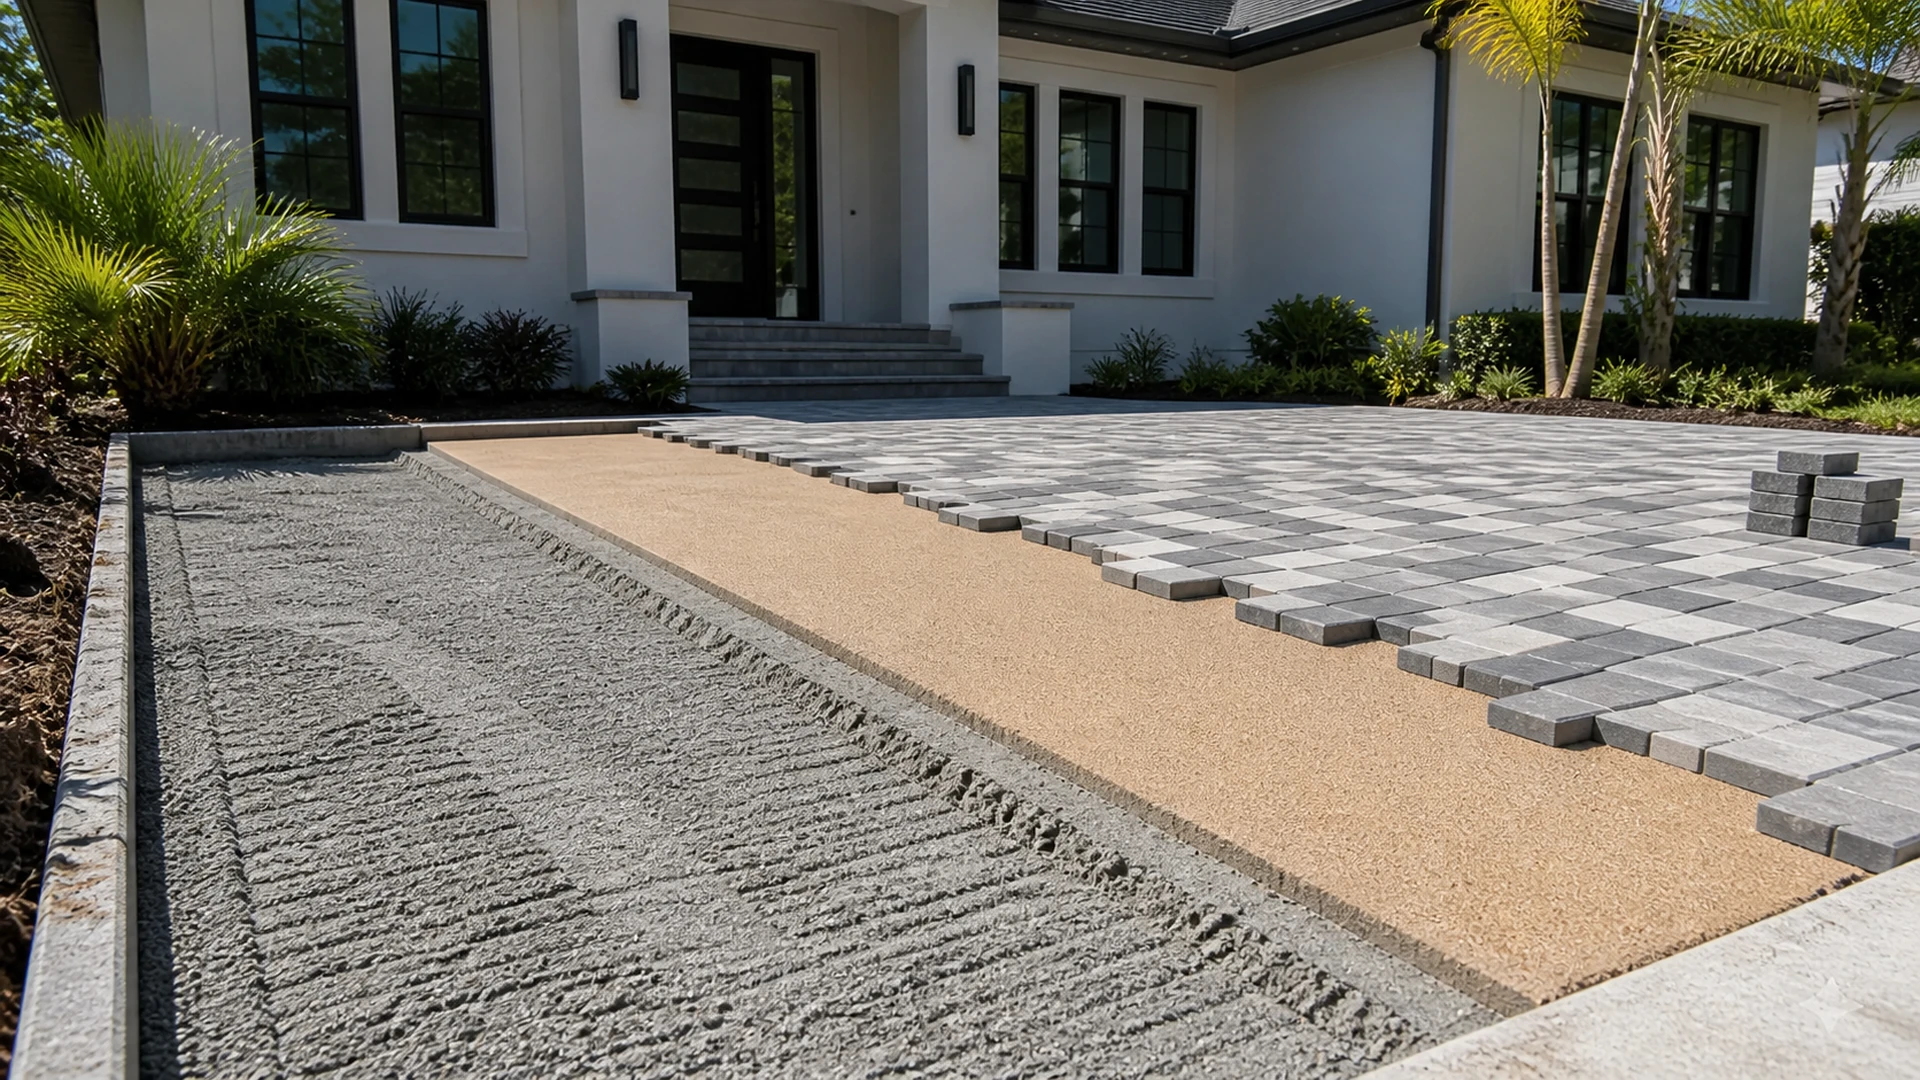
First, unsuitable loose material is removed from the repair zone without undermining the stable perimeter. The area is then rebuilt in manageable layers. Each layer needs uniform compaction and a clean connection to the existing base. Therefore, dumping material into a deep hollow and compacting only the top is not a durable approach.
Next, the bedding layer is restored evenly rather than used as bulk fill. Bedding helps seat the units and establish the finished plane. However, excessive thickness can shift under traffic and recreate movement. A straight reference across neighboring pavers helps the installer maintain a consistent transition before resetting begins.
Moreover, At this stage, the intended pitch and adjacent elevations still matter. A repair should not create a low bowl or a raised lip. Accordingly, the installer checks both the local fit and the broader surface. That measured approach keeps loose pavers from becoming a new trip point after correction.
Resetting pavers without forcing the pattern
Resetting usually begins from a stable reference line and proceeds into the opened section. Then, pavers return in their established orientation and bond pattern. The installer maintains usable joint spacing instead of hammering an oversized group into place. As a result, the repaired field connects naturally with the surrounding surface.
Small elevation adjustments belong in the support below each unit, not in a heavy final strike. However, the entire group must be checked together because one high piece can affect its neighbors. Loose pavers should feel stable before joint material is added. That checkpoint distinguishes actual support from temporary side pressure.
Finishing joints and verifying restraint
Ultimately, After the field is aligned, clean and dry joints can receive the specified joint material. It should reach the joints consistently rather than form a shallow cap. Next, appropriate compaction helps the units settle and the material fill deeper spaces. The surface is topped up and cleaned according to the selected product’s needs.
Meanwhile, repaired edge restraint must connect firmly with the retained perimeter. A neat joint finish cannot compensate for an edge that still flexes. Therefore, the installer checks the final row under practical side pressure. This detail is especially important where loose pavers developed beside beds, curves, or driveway aprons.
The final walk-through should test function
Visual alignment is only one part of completion. Therefore, the repaired area should be walked from several directions and checked for rocking or abrupt edges. Vehicle areas deserve observation along common tire paths. Any movement found now should be corrected before the work is considered finished.
Furthermore, In addition, compare joint widths across the transition from repaired to original work. Consistent joints show that the pattern was restored without compression or spreading. Loose pavers near a step, coping edge, or fixed wall also require careful clearance. Those boundaries leave less room for small layout errors.
Choosing between a spot repair and a wider reset
Additionally, A spot repair makes sense when movement is isolated and the surrounding base remains firm. For instance, one disturbed utility access area may have a clear boundary. By contrast, repeated settlement across several zones points toward a wider condition. Expanding the repair can then create a more reliable connection to stable work.
Budget discussions should follow the verified scope rather than a generic square-foot assumption. Access, matching units, edge rebuilding, cuts, and base correction all affect labor. Therefore, photos help with an initial conversation, but an on-site review provides better context. The goal is a defined cause and a repair that addresses it.
Questions to ask before approving the work
Therefore, First, ask what evidence supports the proposed cause and how far the opening may extend. Then, confirm whether existing units can be reused and how replacements will be blended. Also, ask how edge restraint, bedding, base, and joints will be handled. Clear answers connect each repair step to an observed condition.
For additional technical context, homeowners can review resources from the Concrete Masonry and Hardscapes Association. However, a general resource cannot diagnose a specific Tampa Bay site. A professional paver repair assessment should still evaluate the actual movement, access, and surrounding construction.
Preventing the same movement after repair
Afterward, keep joint lines filled as specified and avoid blasting material out during cleaning. Address exposed edges before landscape activity loosens them further. Likewise, watch for soil loss beside the perimeter after heavy rain. Small observations can identify renewed pressure before loose pavers spread into a larger section.
Finally, record the repaired location and the cause found beneath it. If movement returns, that history helps distinguish recurring site pressure from a separate defect. Loose pavers are a visible clue, not a complete diagnosis. Therefore, careful inspection, support repair, alignment, and restraint should remain connected from start to finish.
Plan the next step with useful evidence
Instead, Before contacting a contractor, take wide photos, close joint photos, and a short video of movement. Also, note when the issue appeared and whether nearby work happened first. Mark areas that feel firm for comparison. This preparation helps the site visit focus on cause, repair boundaries, and practical access.
Ultimately, a stable repair should look integrated and feel uneventful under normal use. The best outcome comes from correcting the layer that failed rather than hiding the evidence. Consequently, loose pavers deserve a measured response, not automatic replacement of the entire hardscape. A focused inspection can define the proportionate solution.
Before the crew leaves, photograph the reset pattern, rebuilt edge, and finished joints for your records. Then, keep the written care guidance with those images. If the surrounding landscape or irrigation changes later, the record gives useful context. Likewise, watching the repair through ordinary rain and traffic can reveal whether nearby areas need attention. This simple follow-up keeps future decisions grounded in visible conditions instead of memory.
Meanwhile, keep heavy planters and new landscape work away from the repaired edge until the site is ready for them. If a maintenance crew will service the area, show them the corrected boundary and joint condition. Also, avoid using the repair as a staging point for concentrated loads. These practical steps protect loose pavers from renewed outside pressure while the surrounding space returns to normal use.
Finally, start with our contact page, review the FAQs, and compare completed projects. Then, read homeowner testimonials and browse our services. Meanwhile, follow DR Pavers Design on Instagram and Facebook. For local context, view our map listing and Google profile. Ultimately, request an estimate through WhatsApp, call, text, or email.