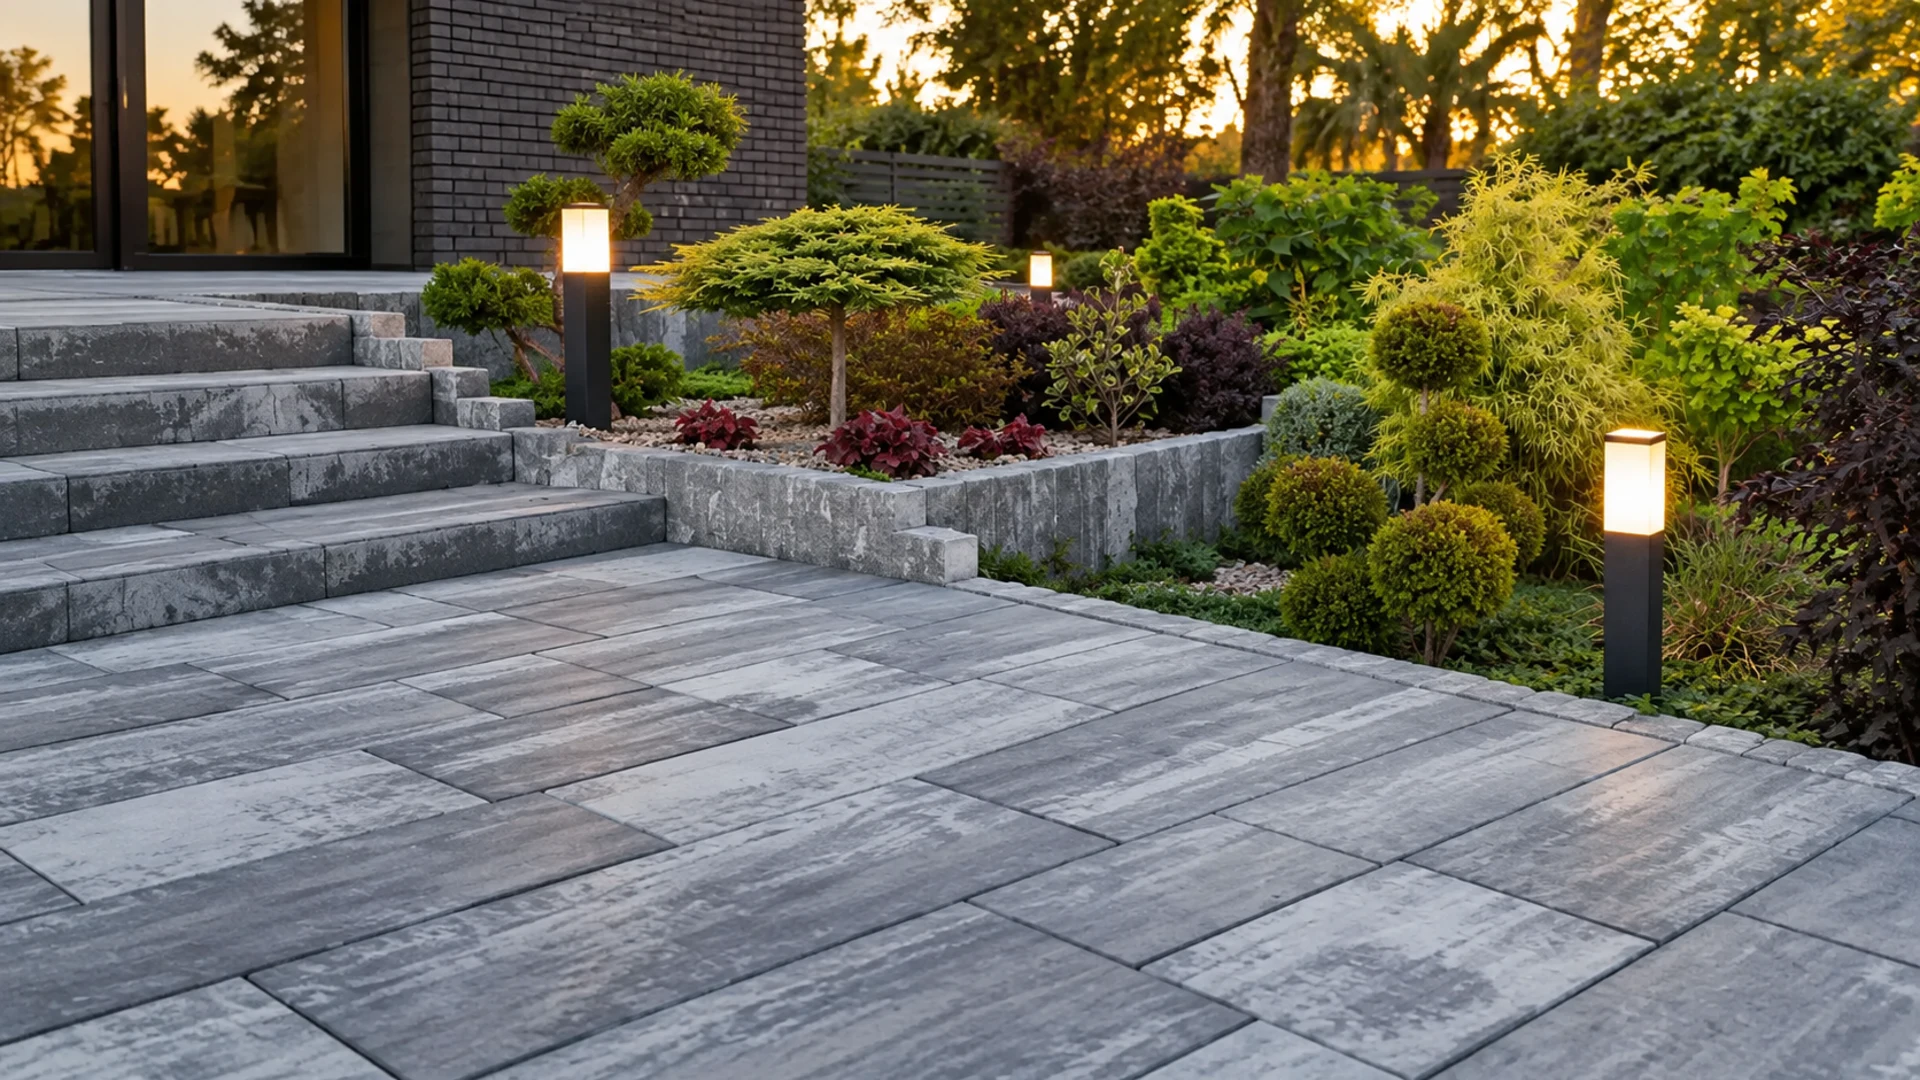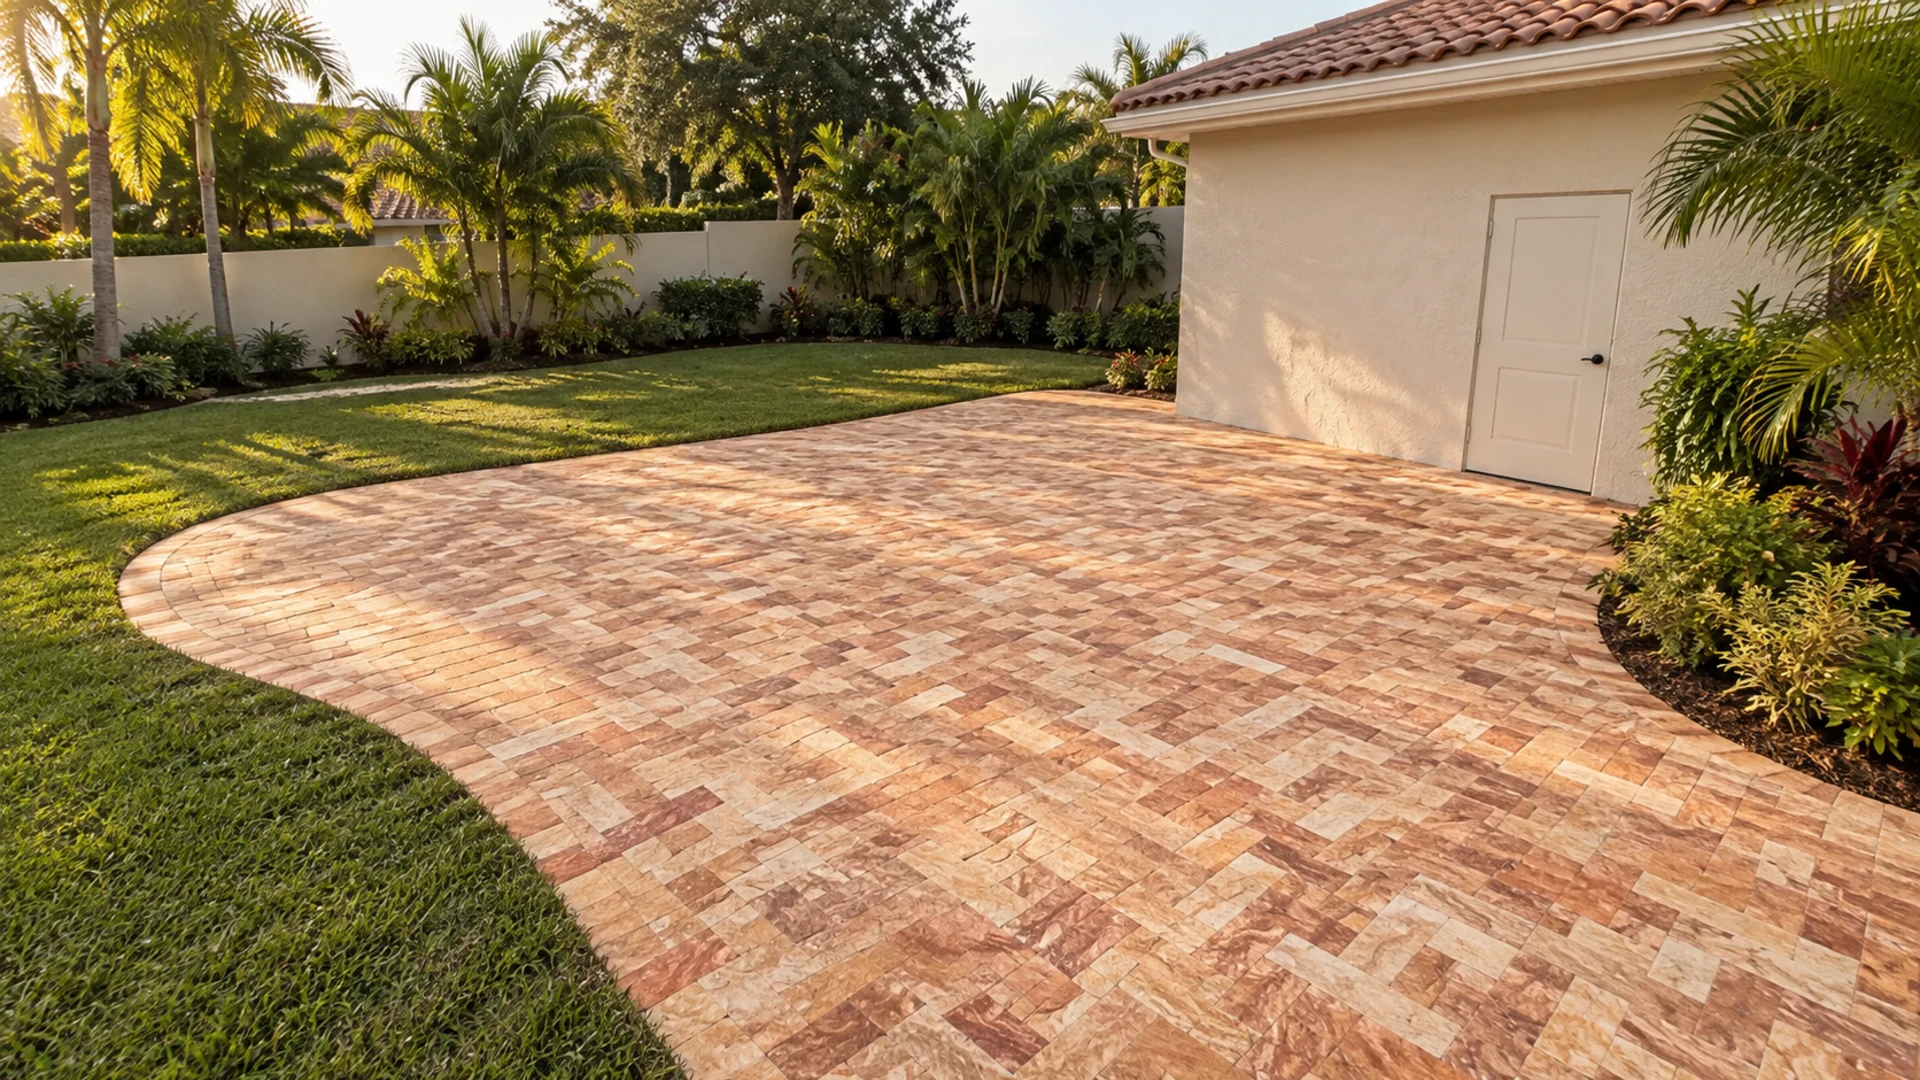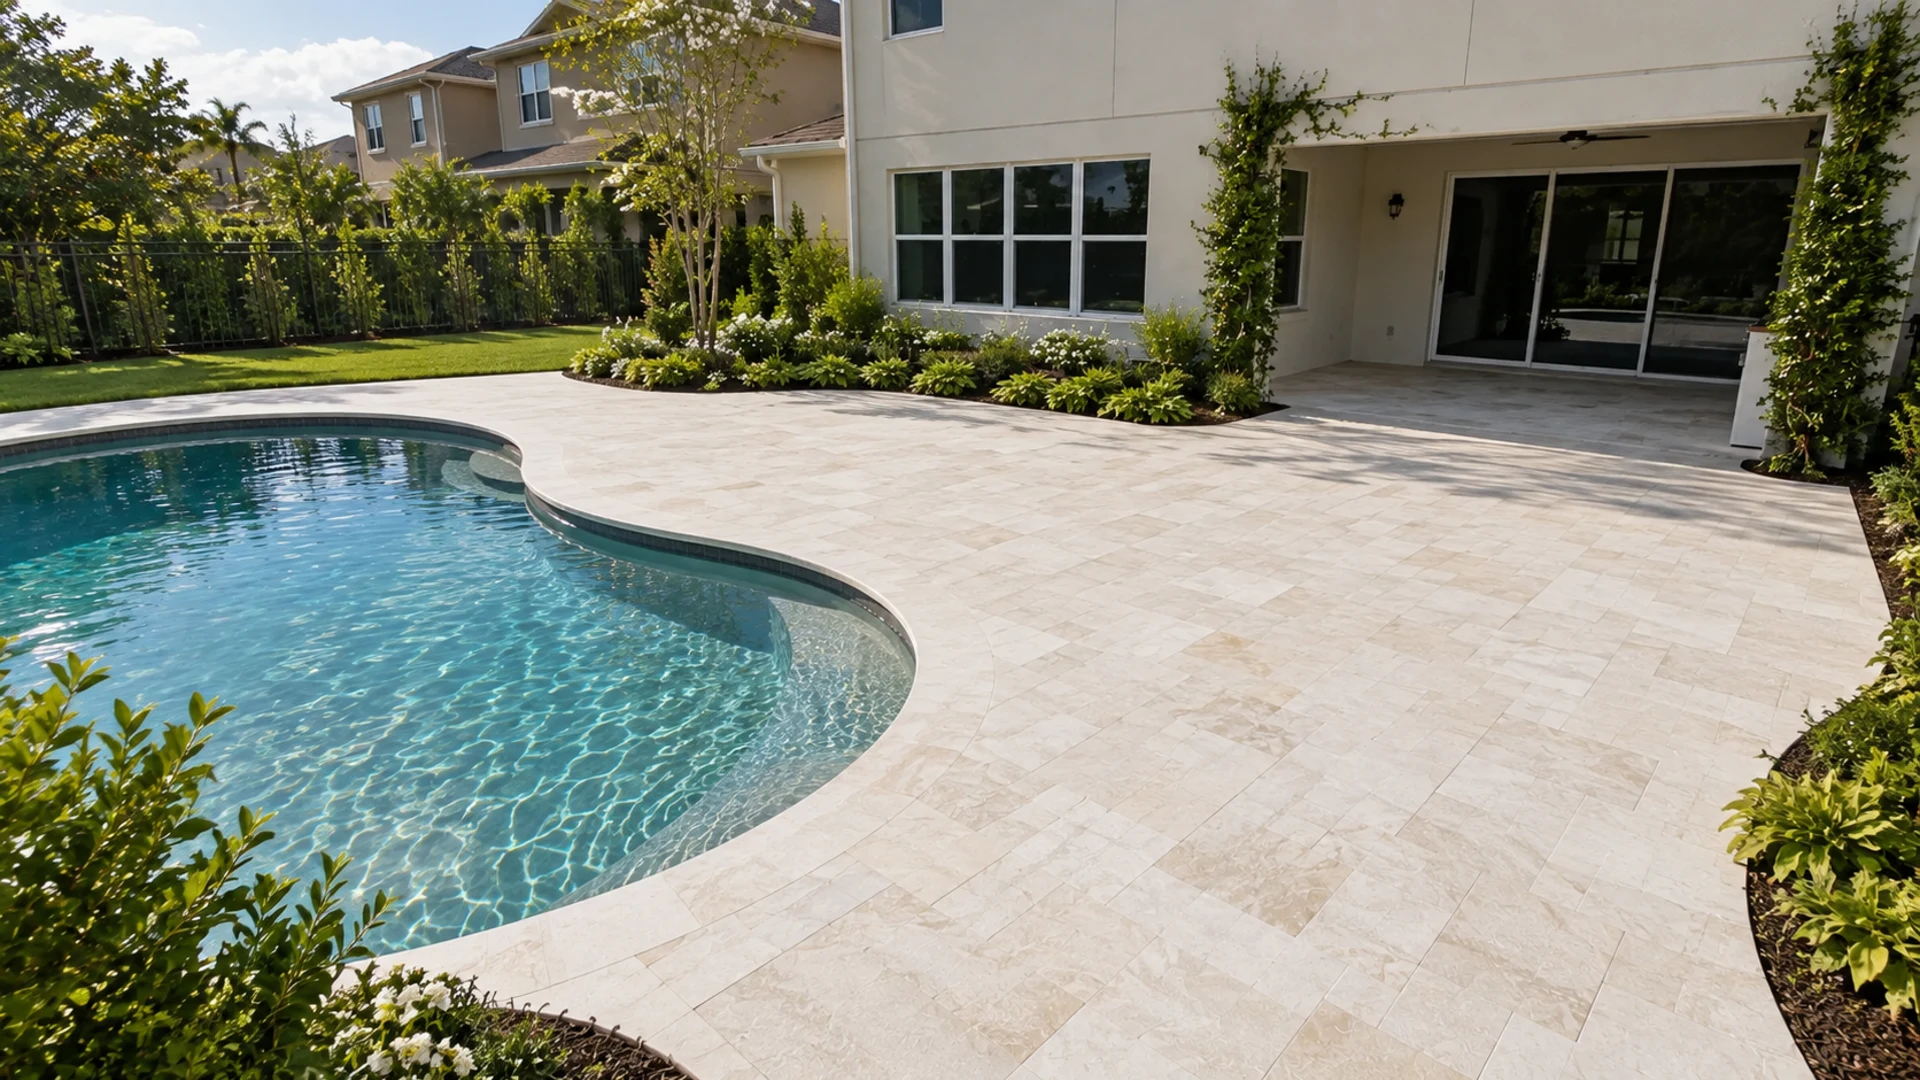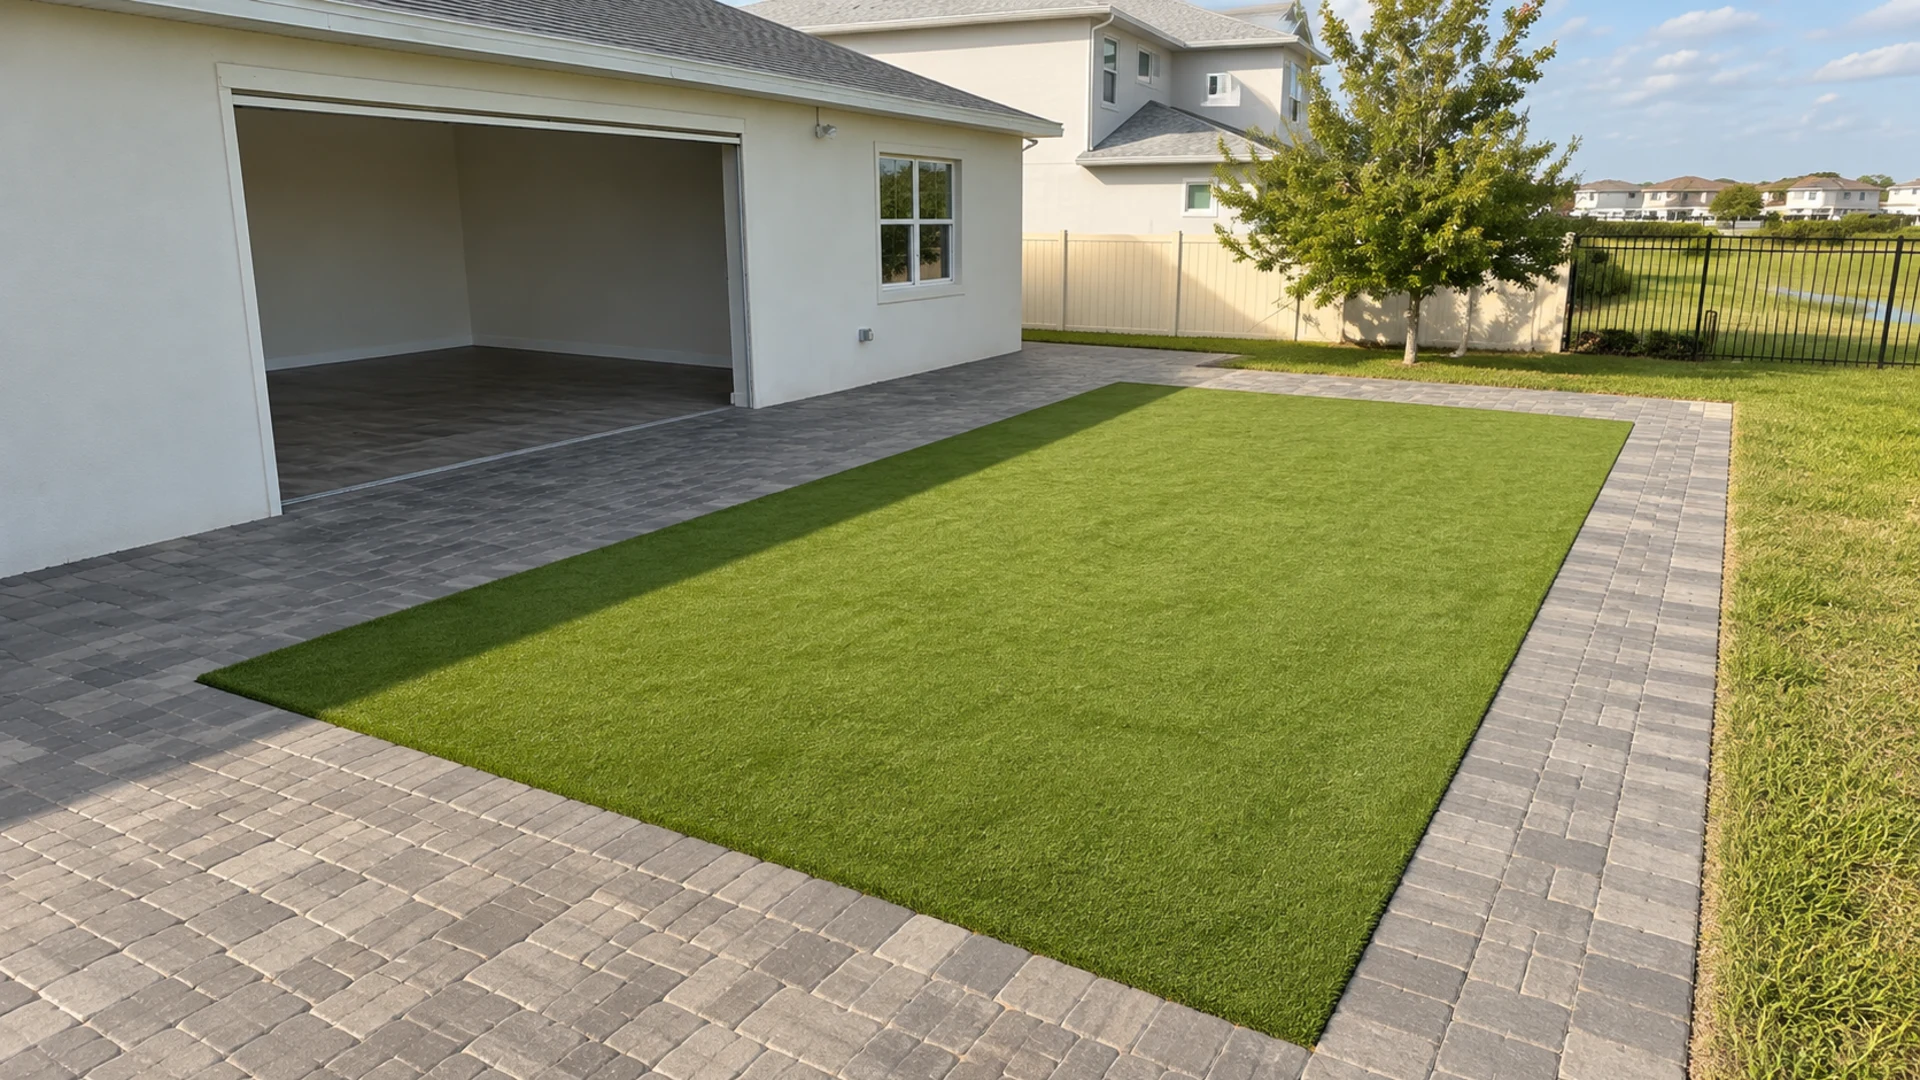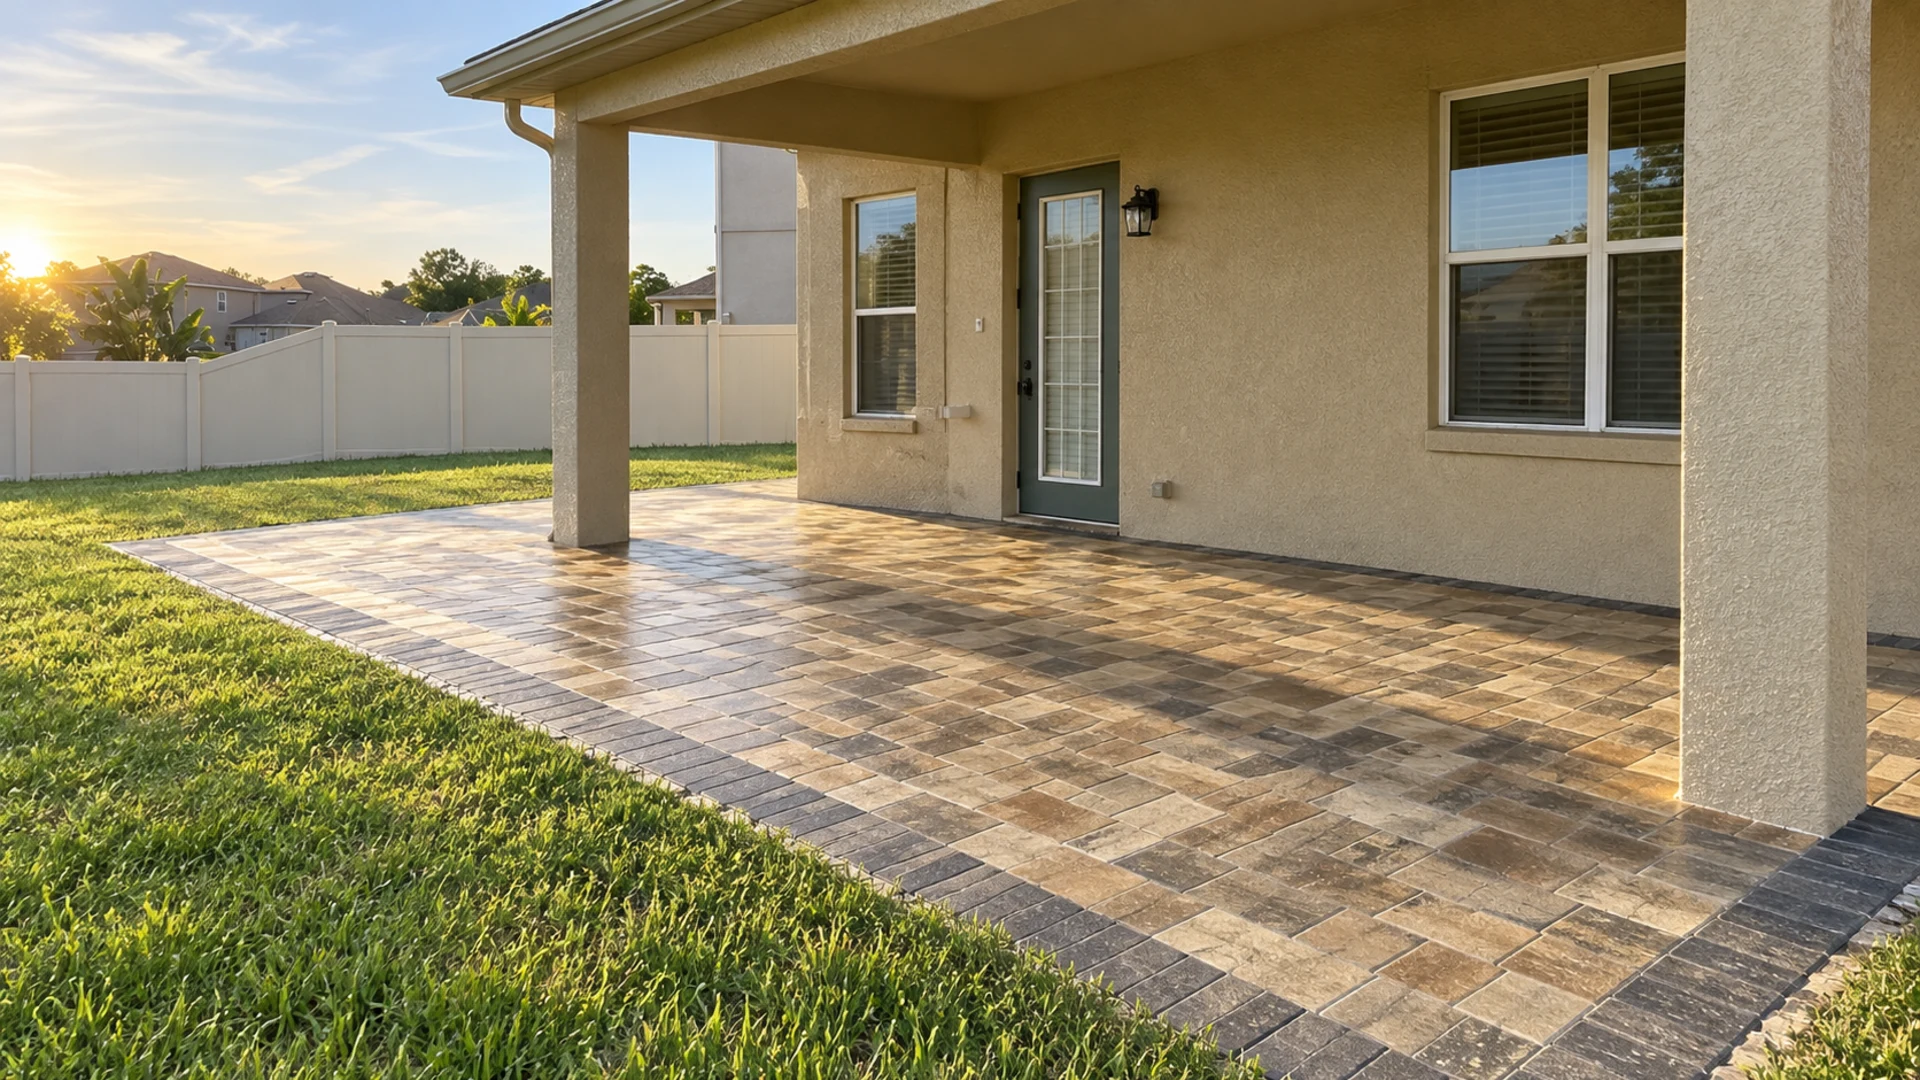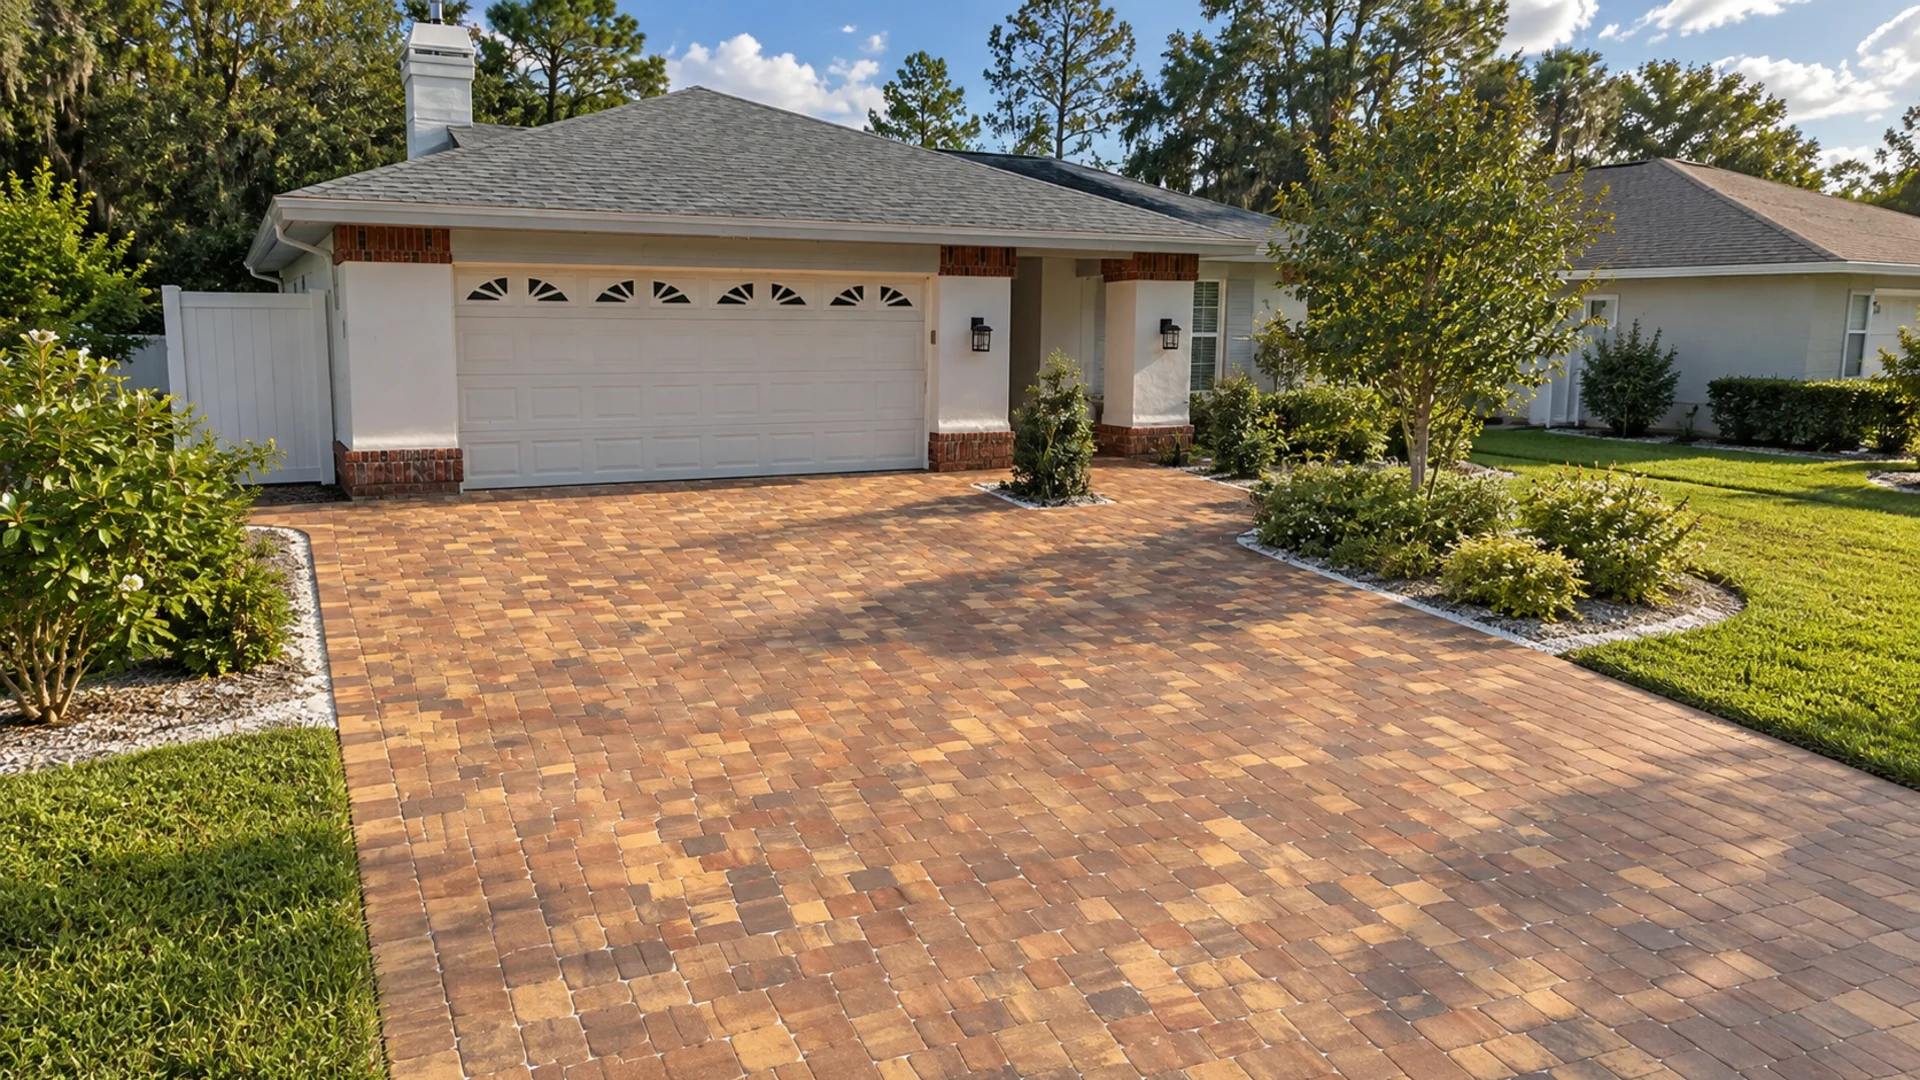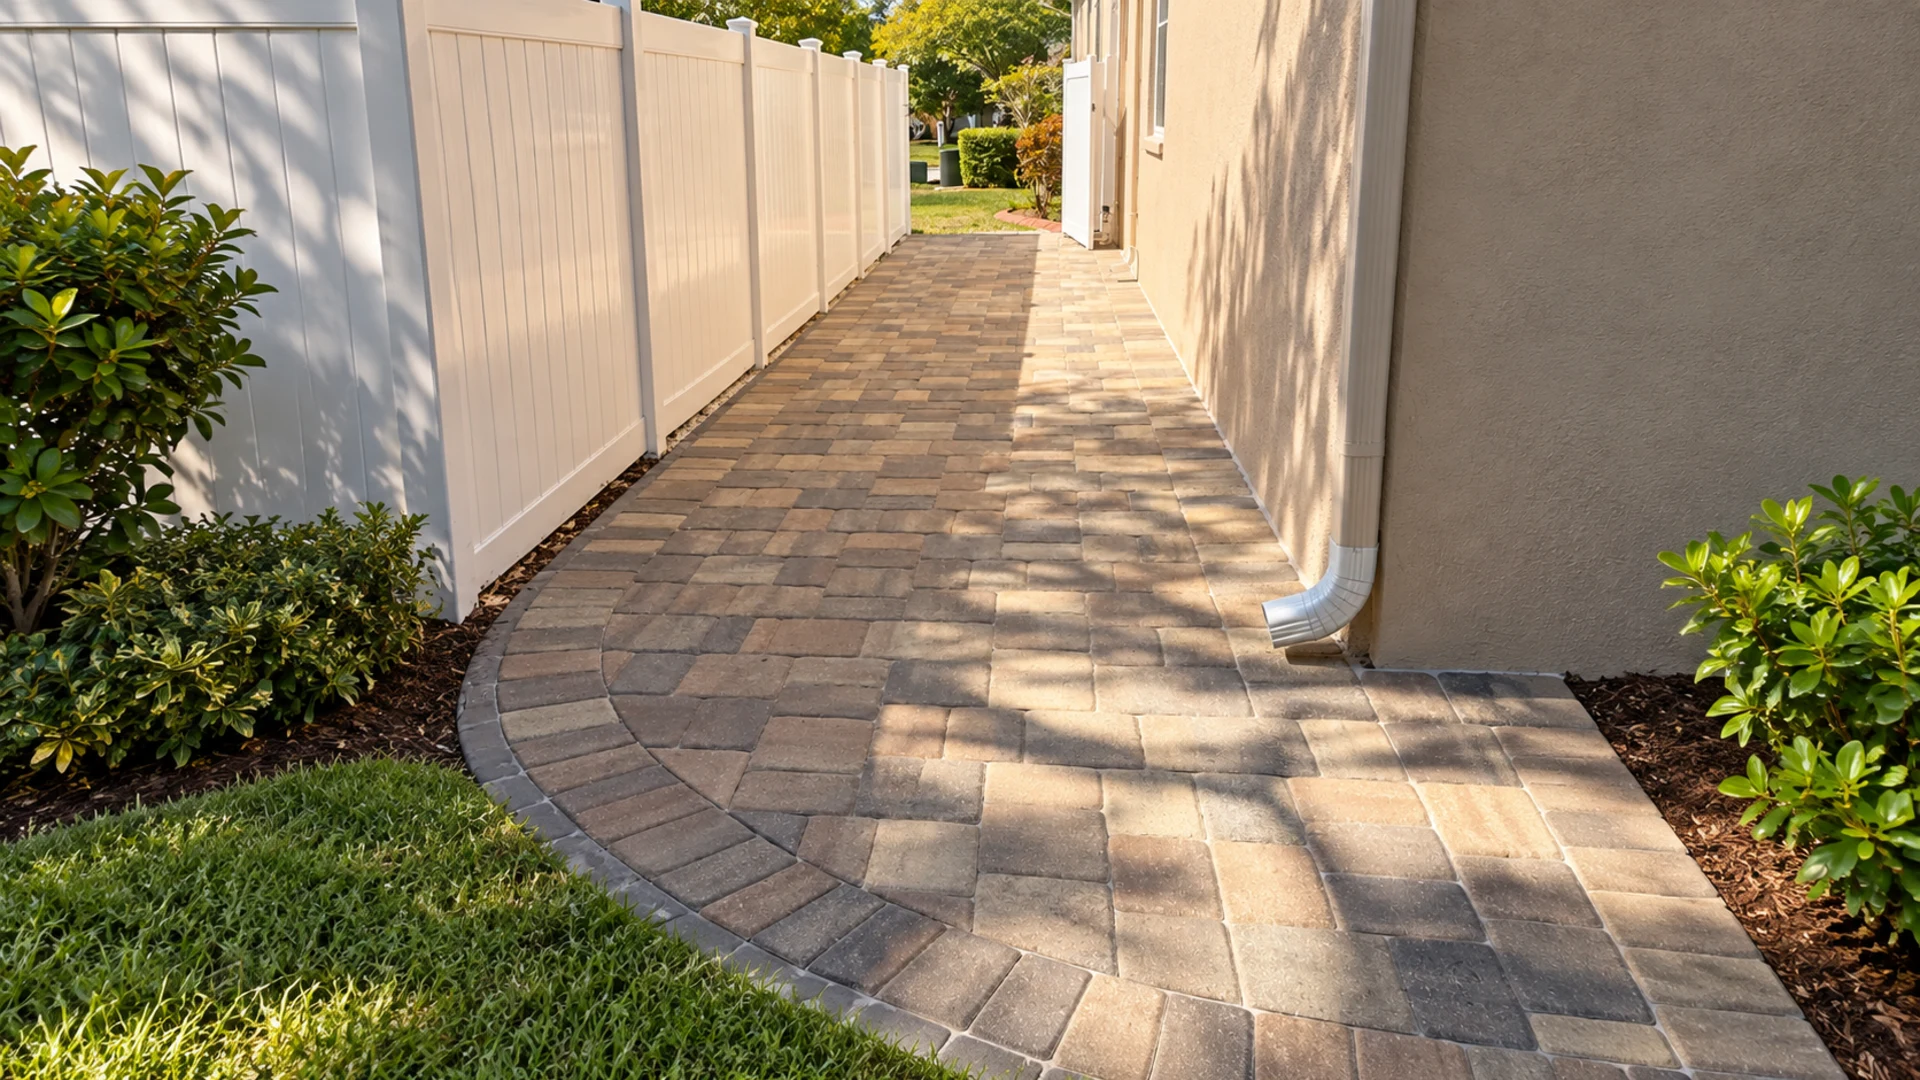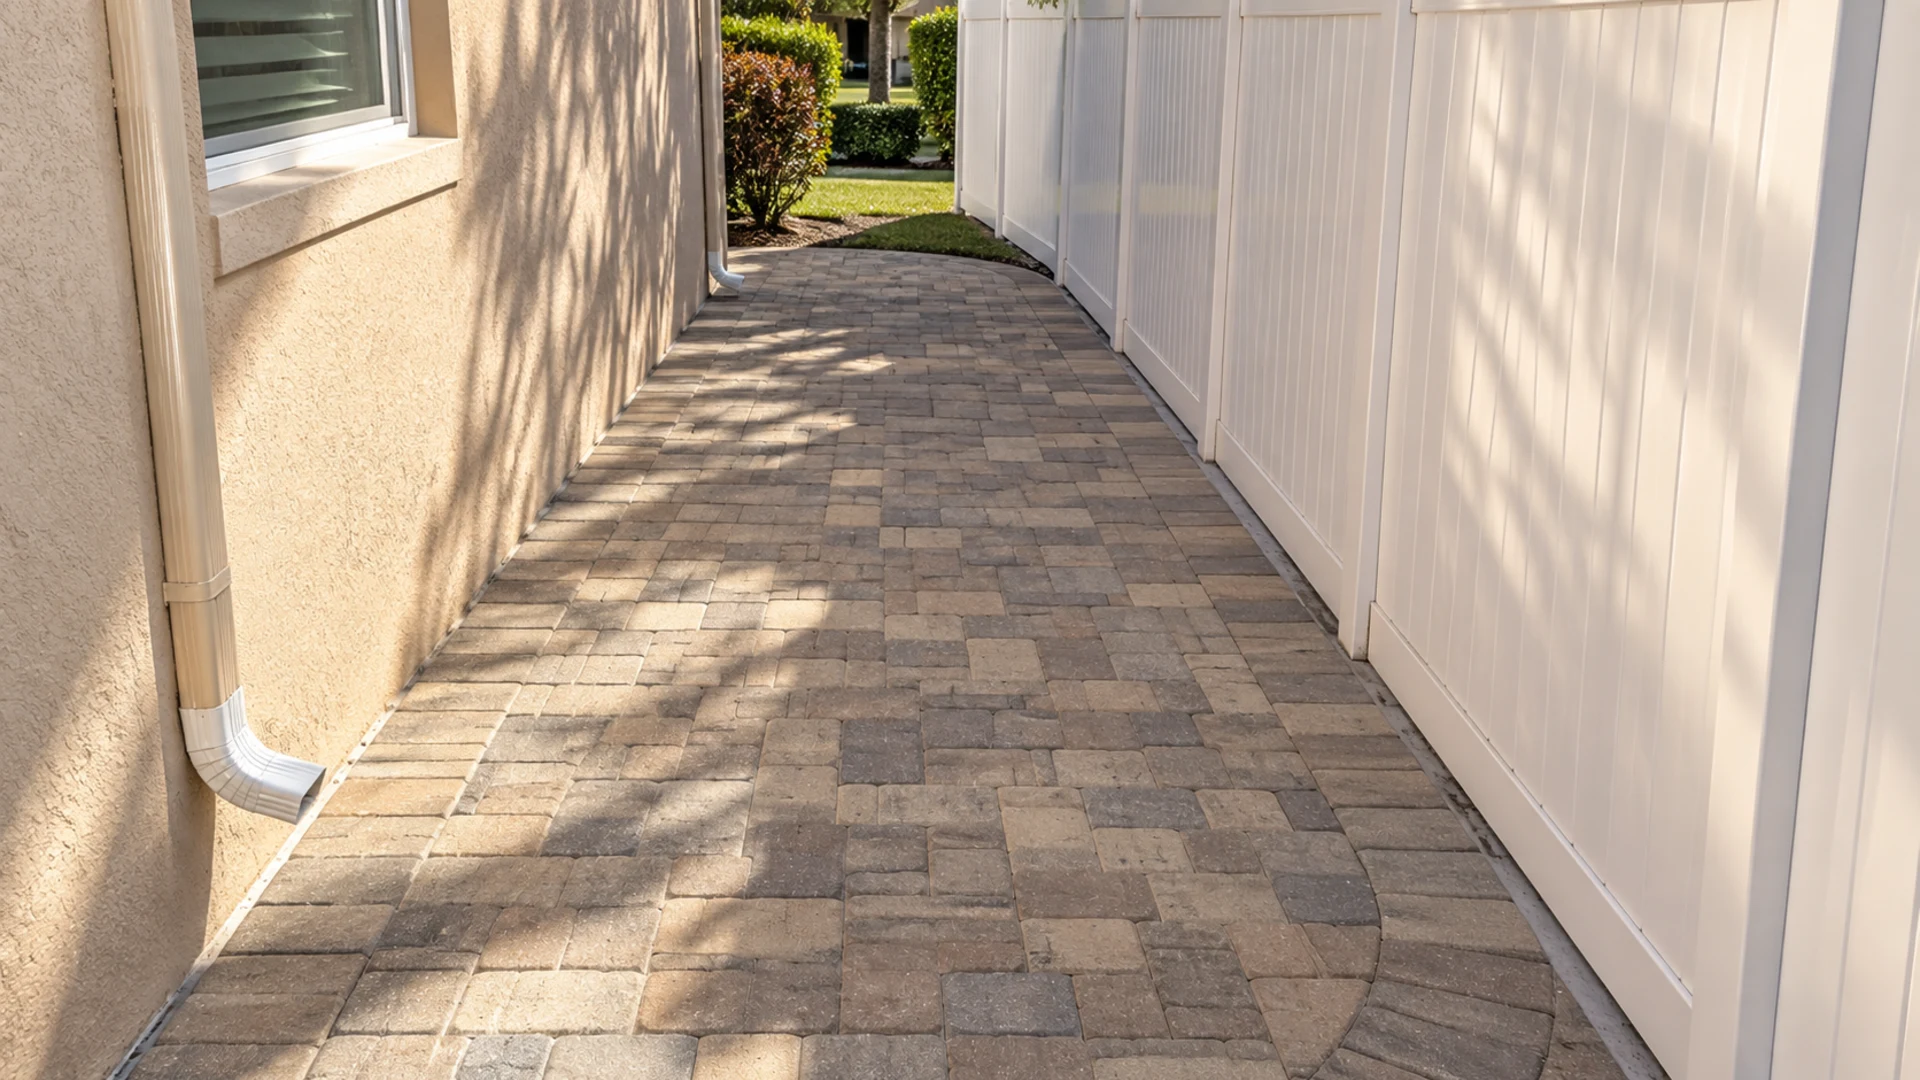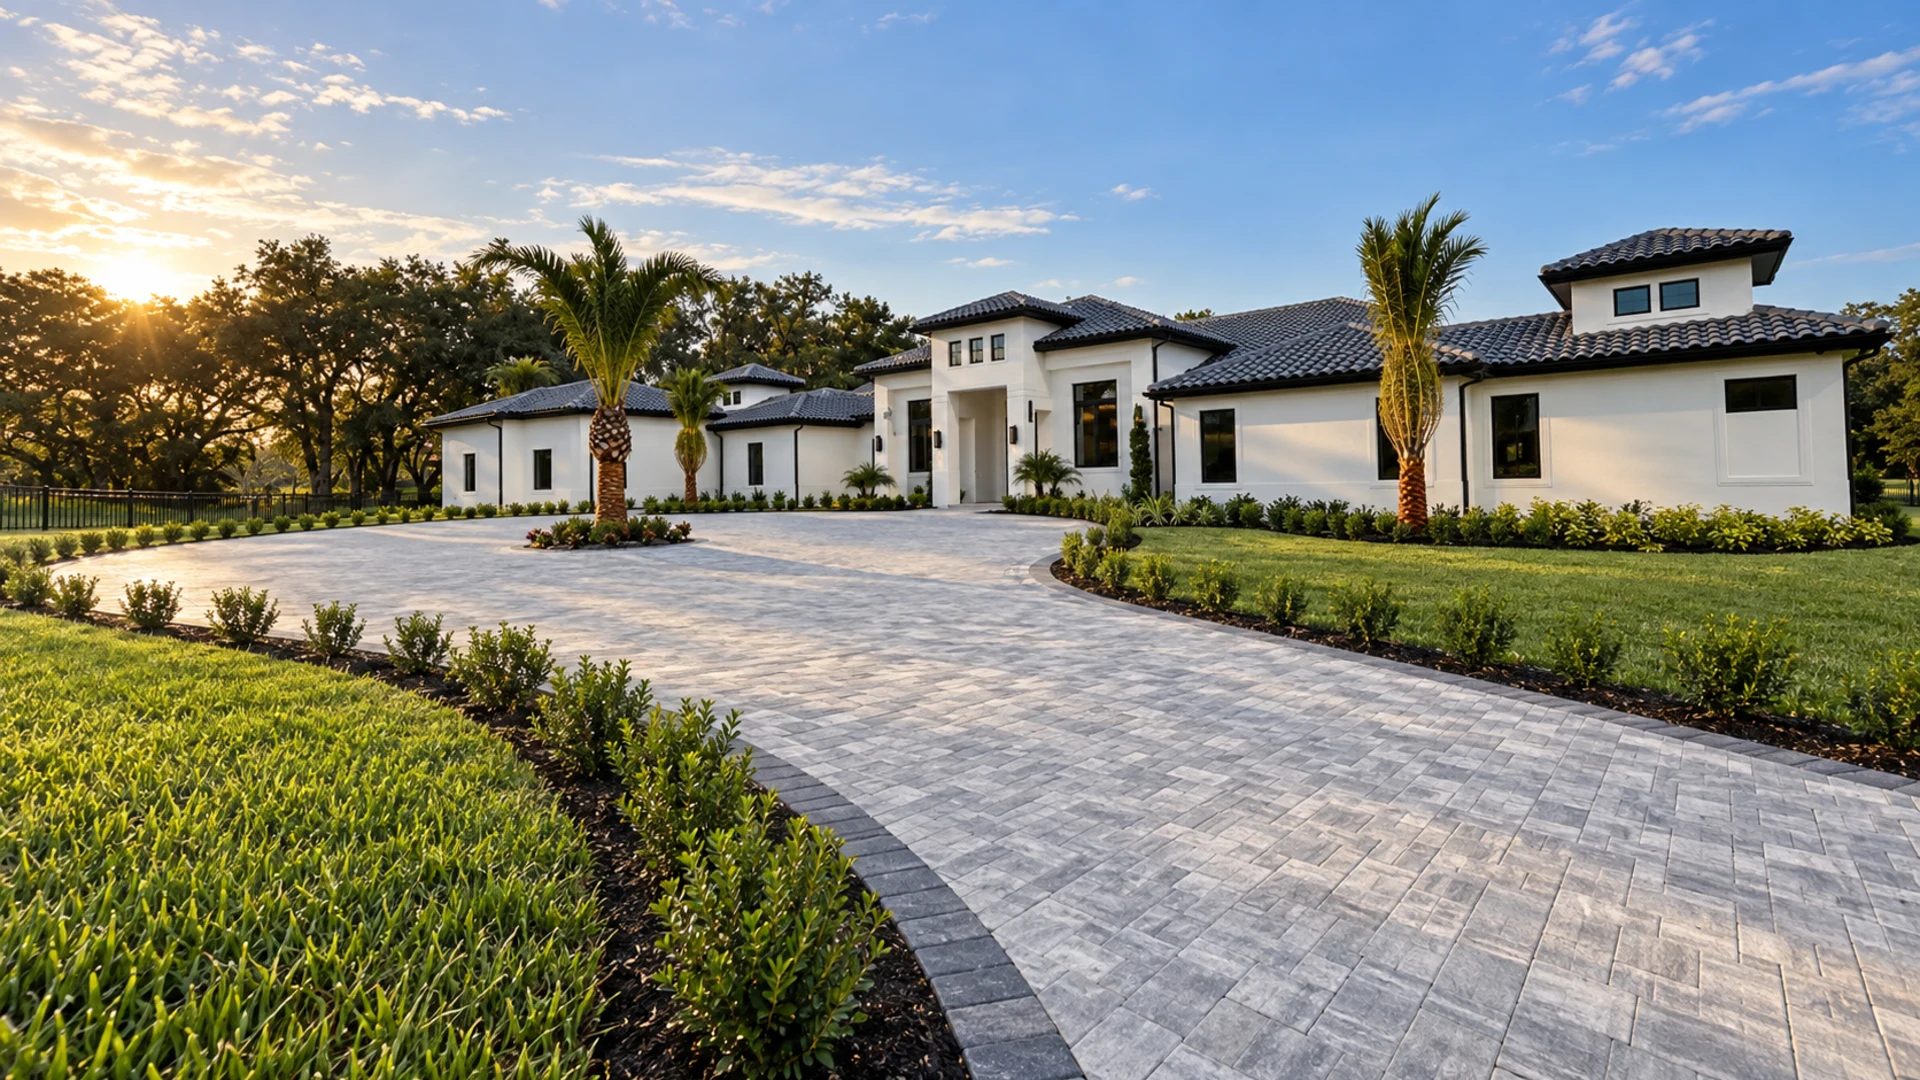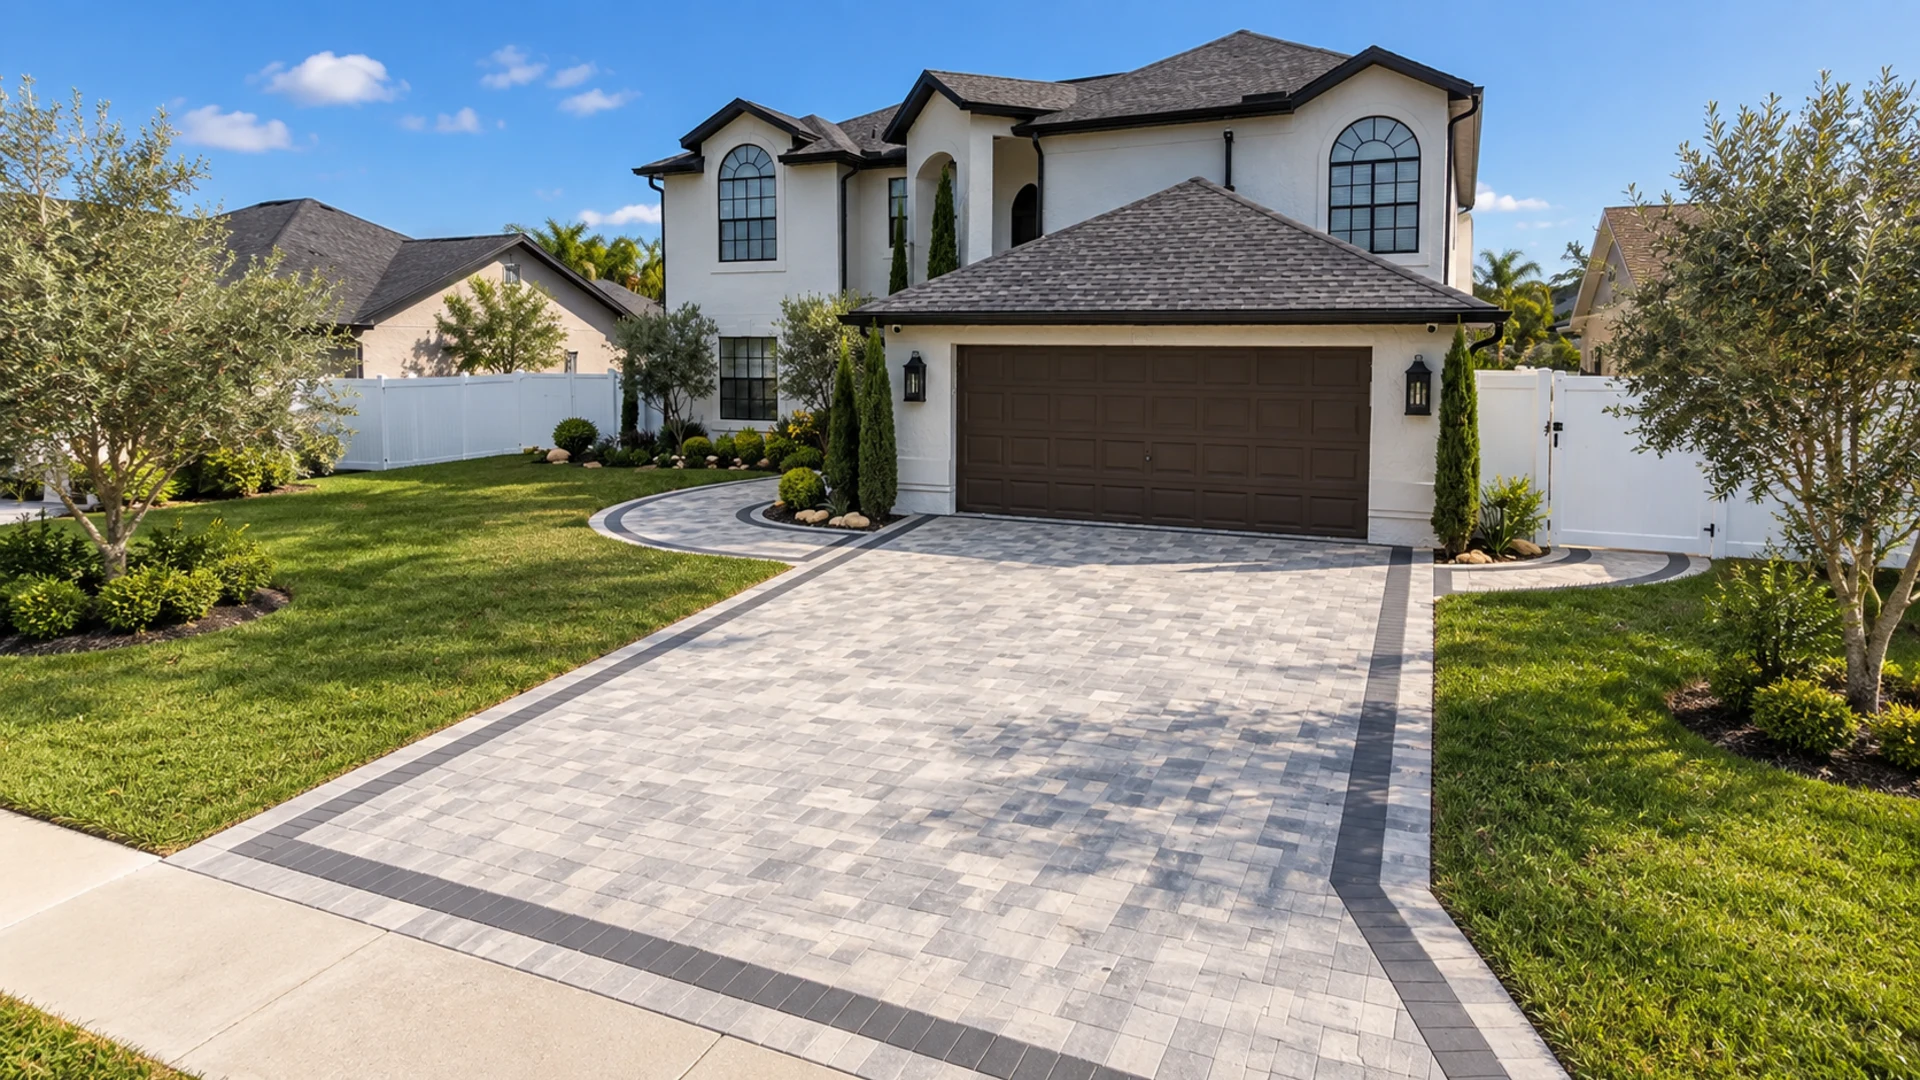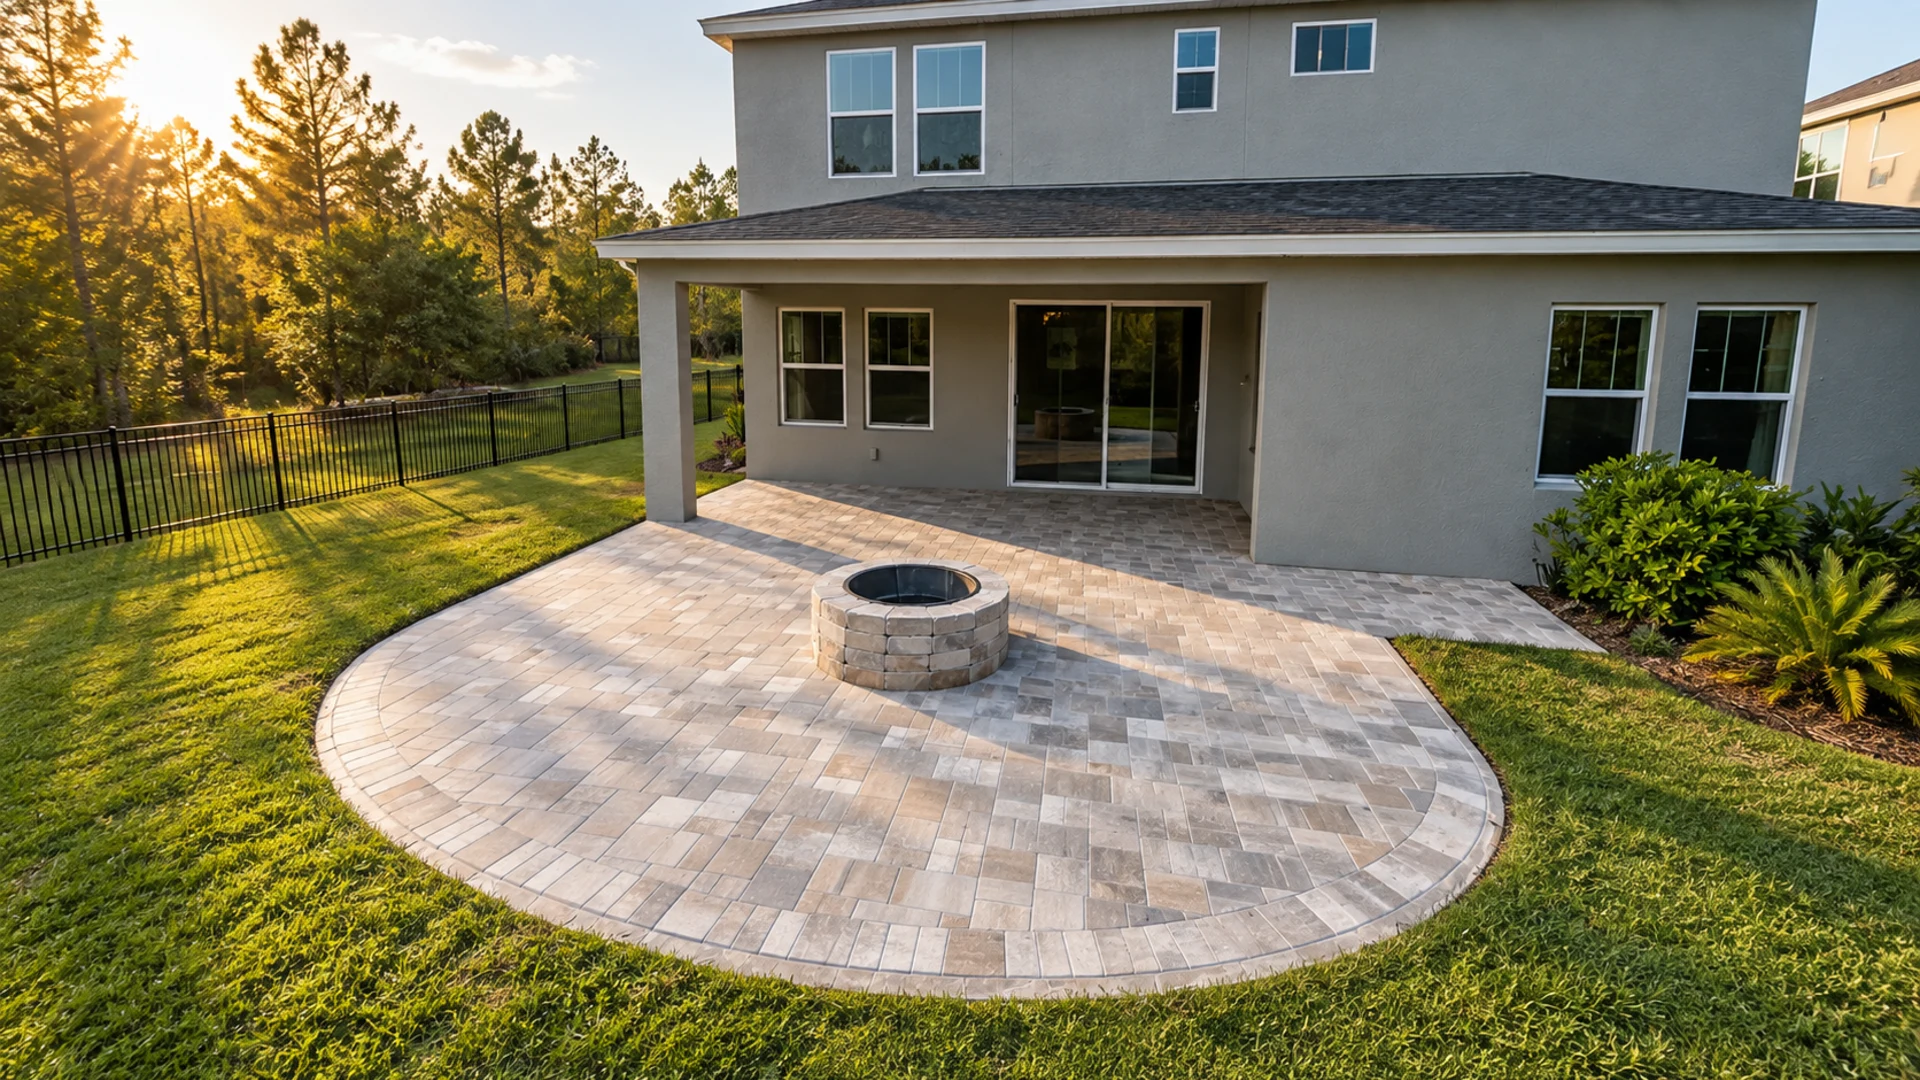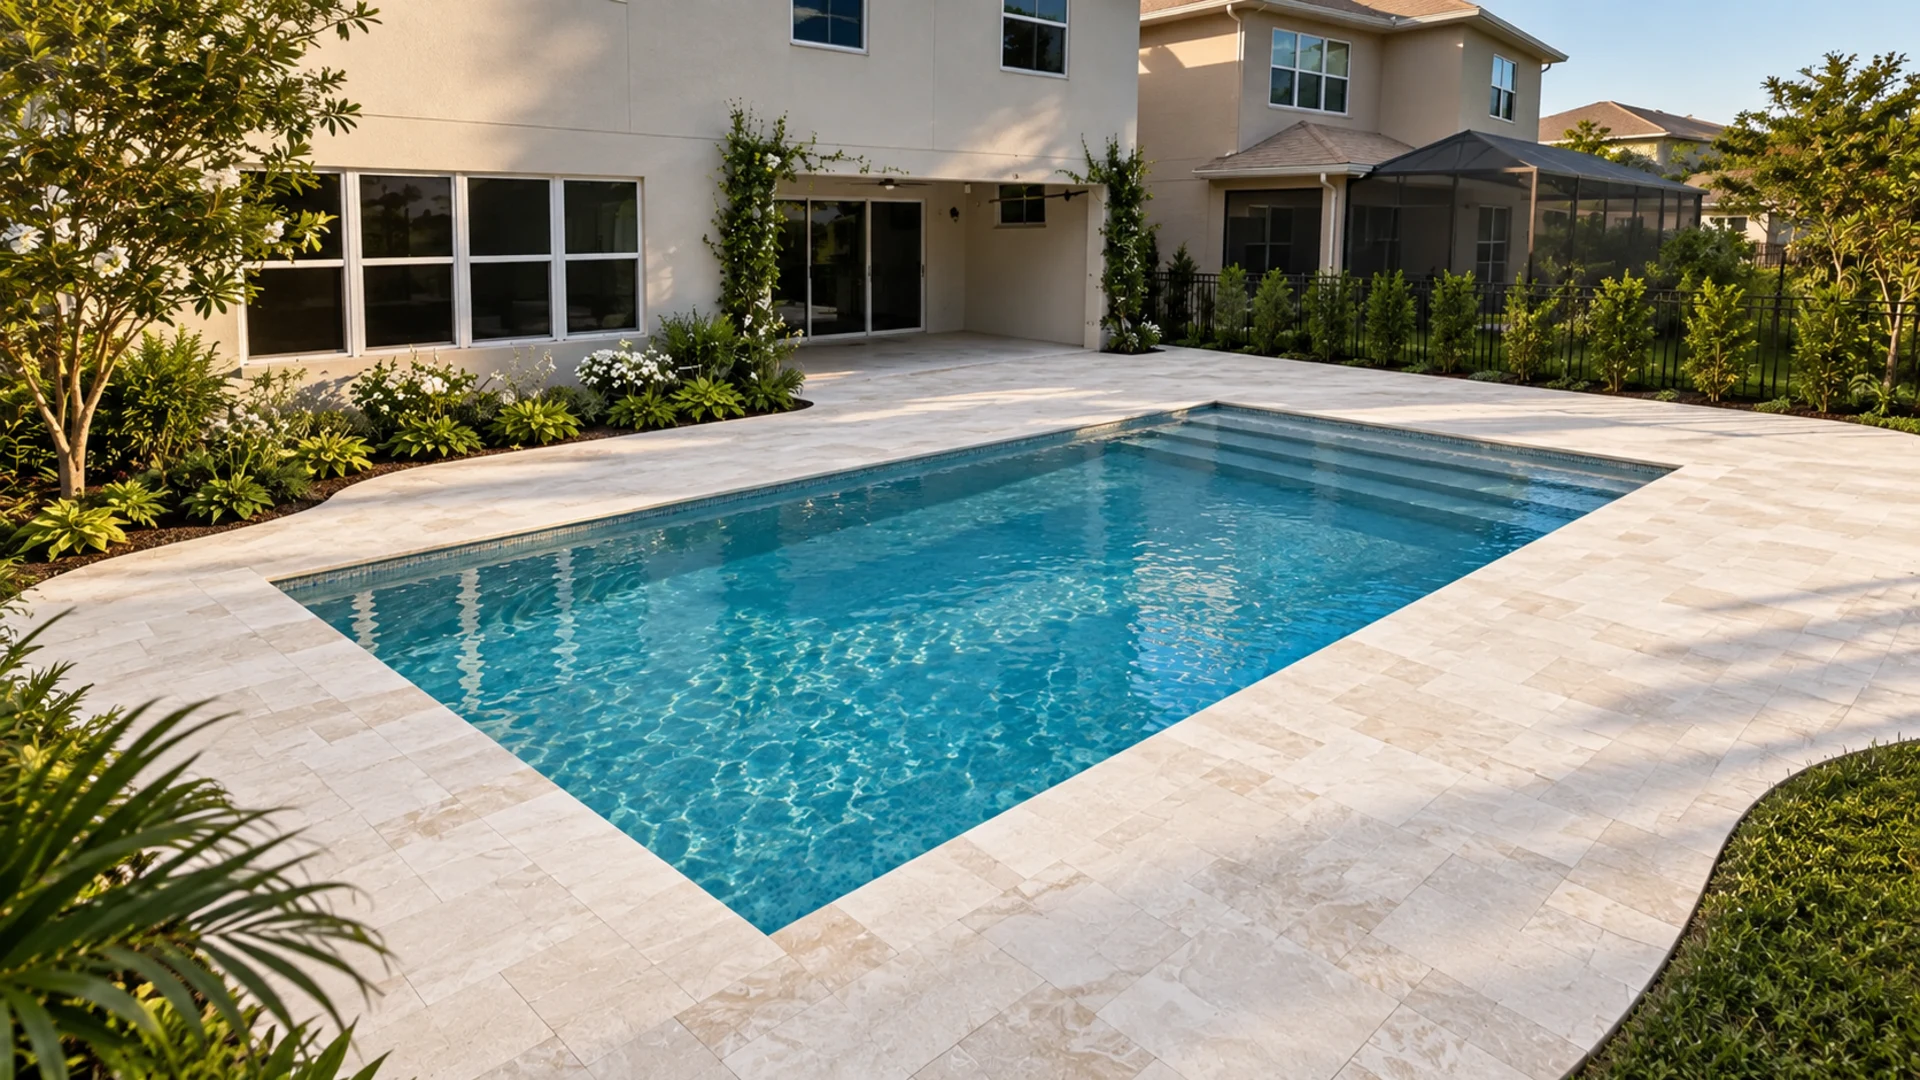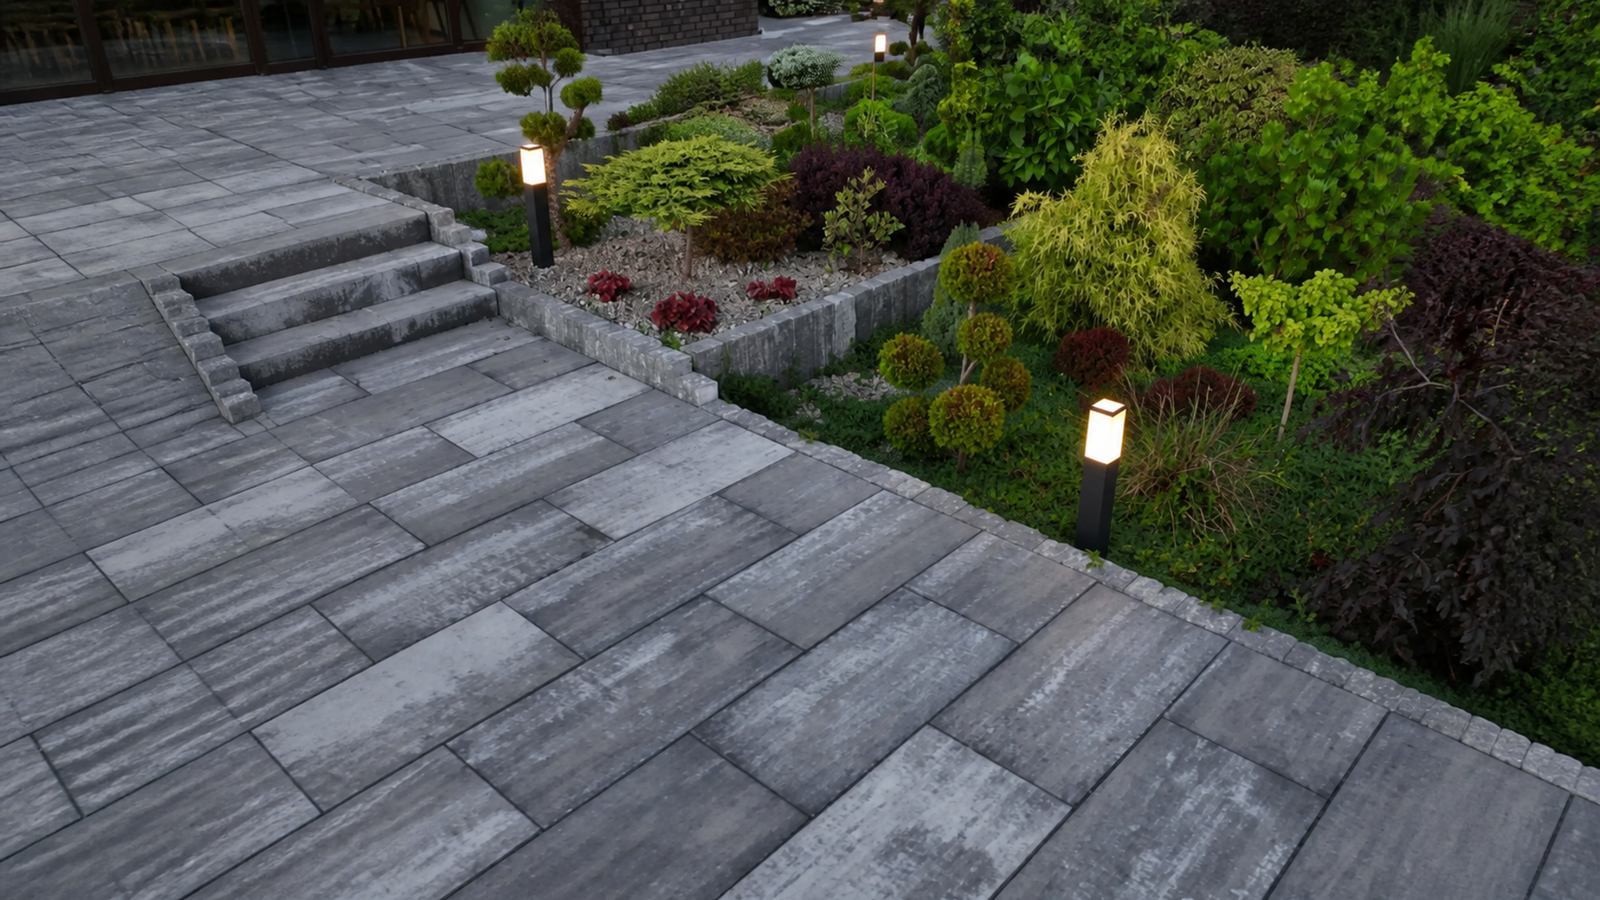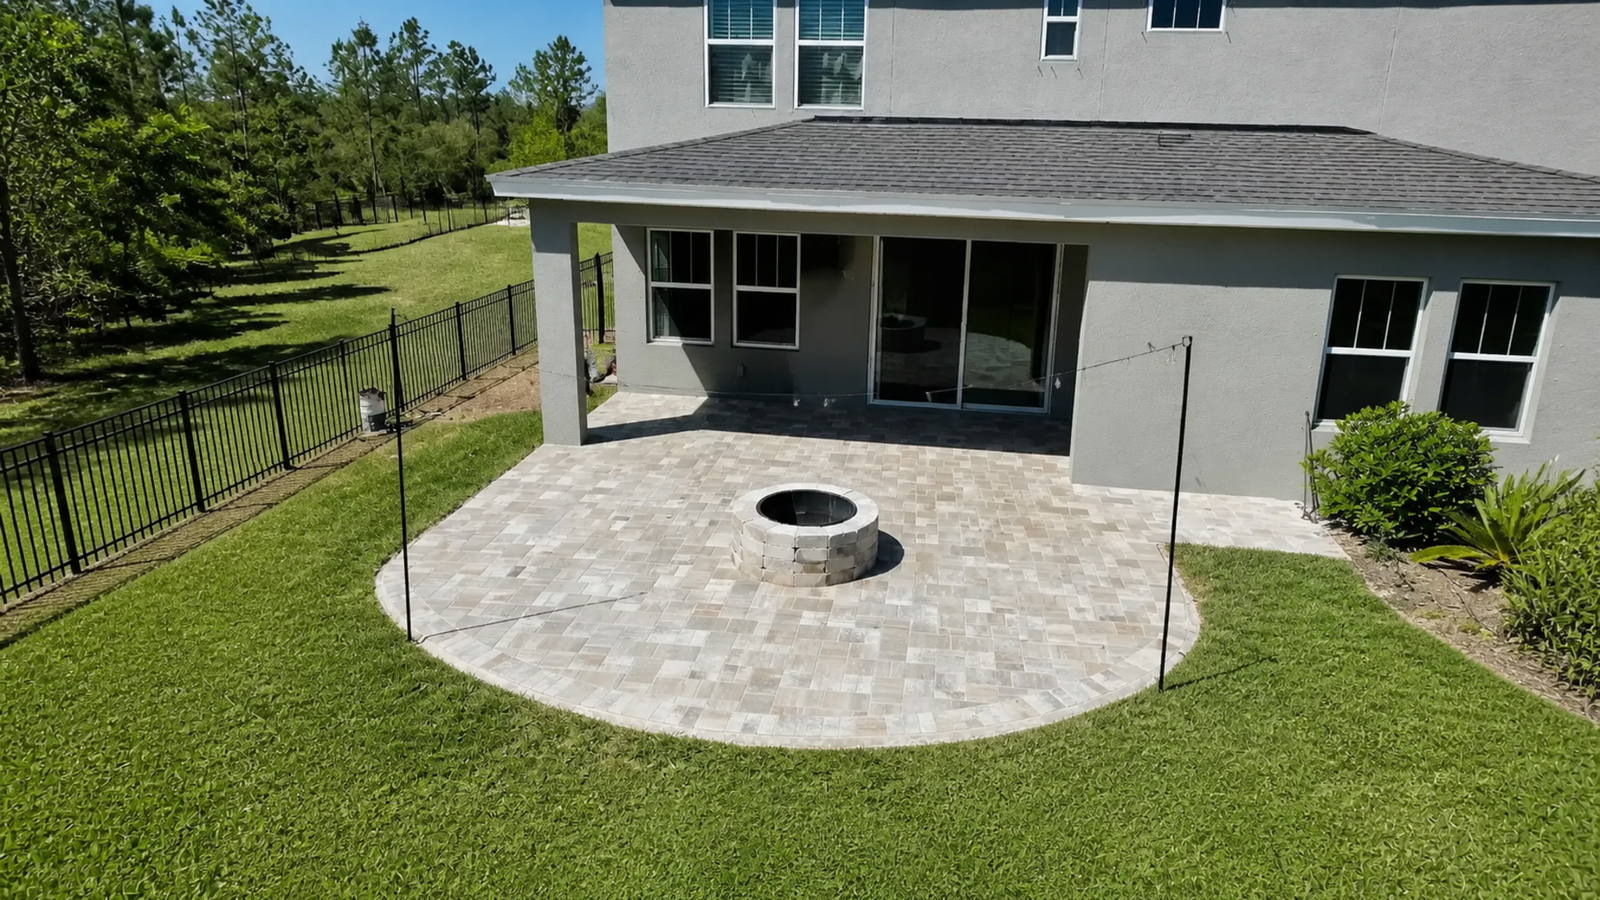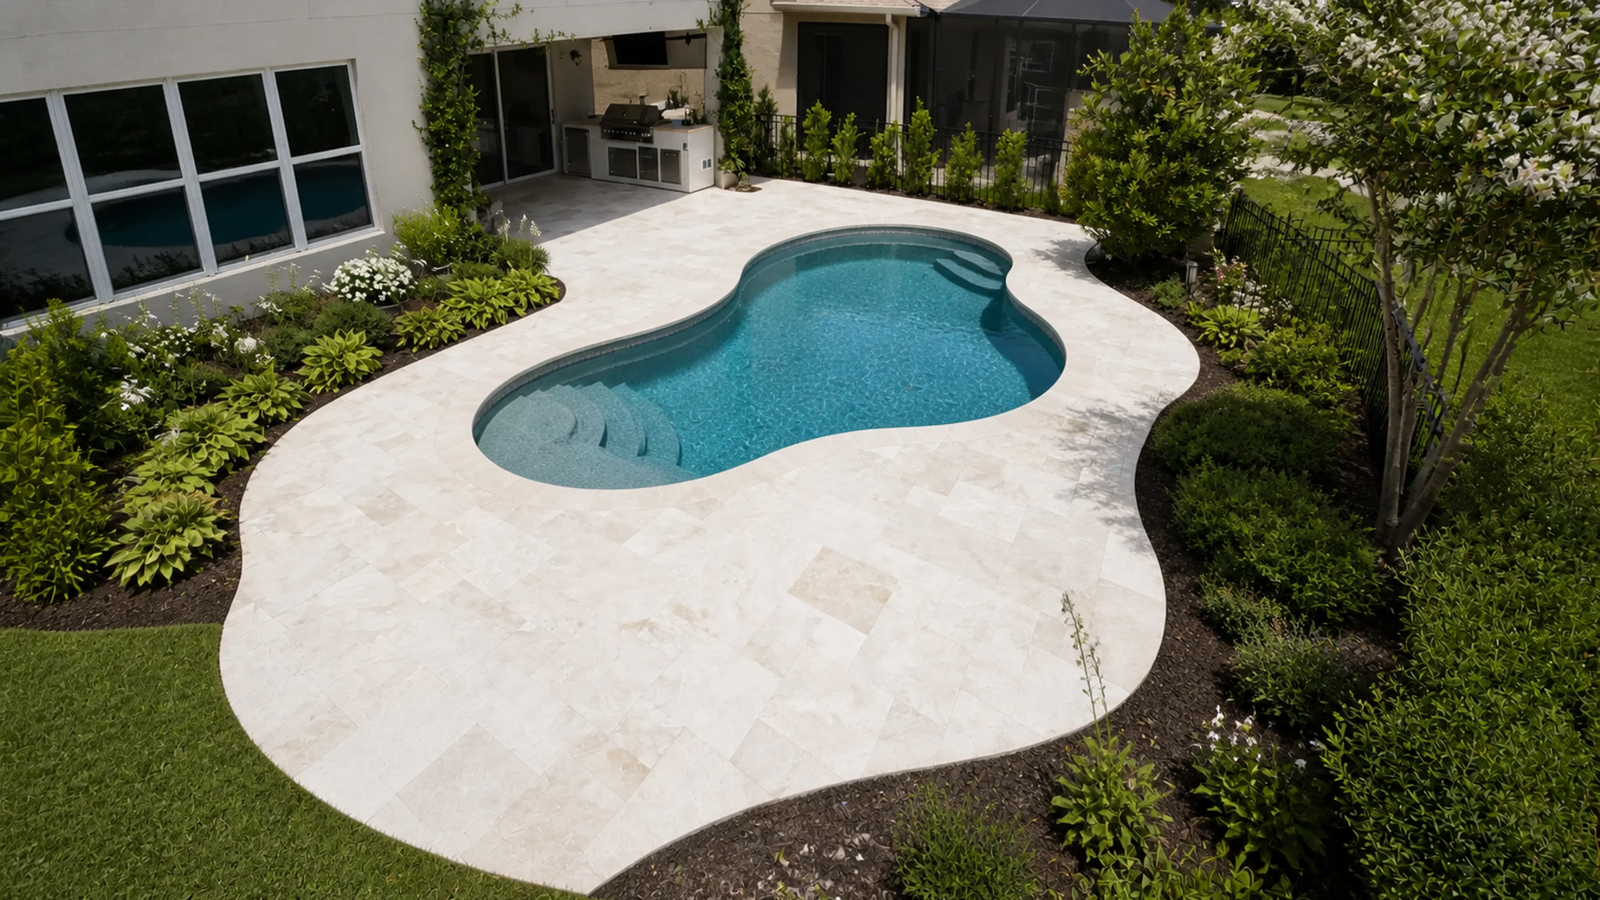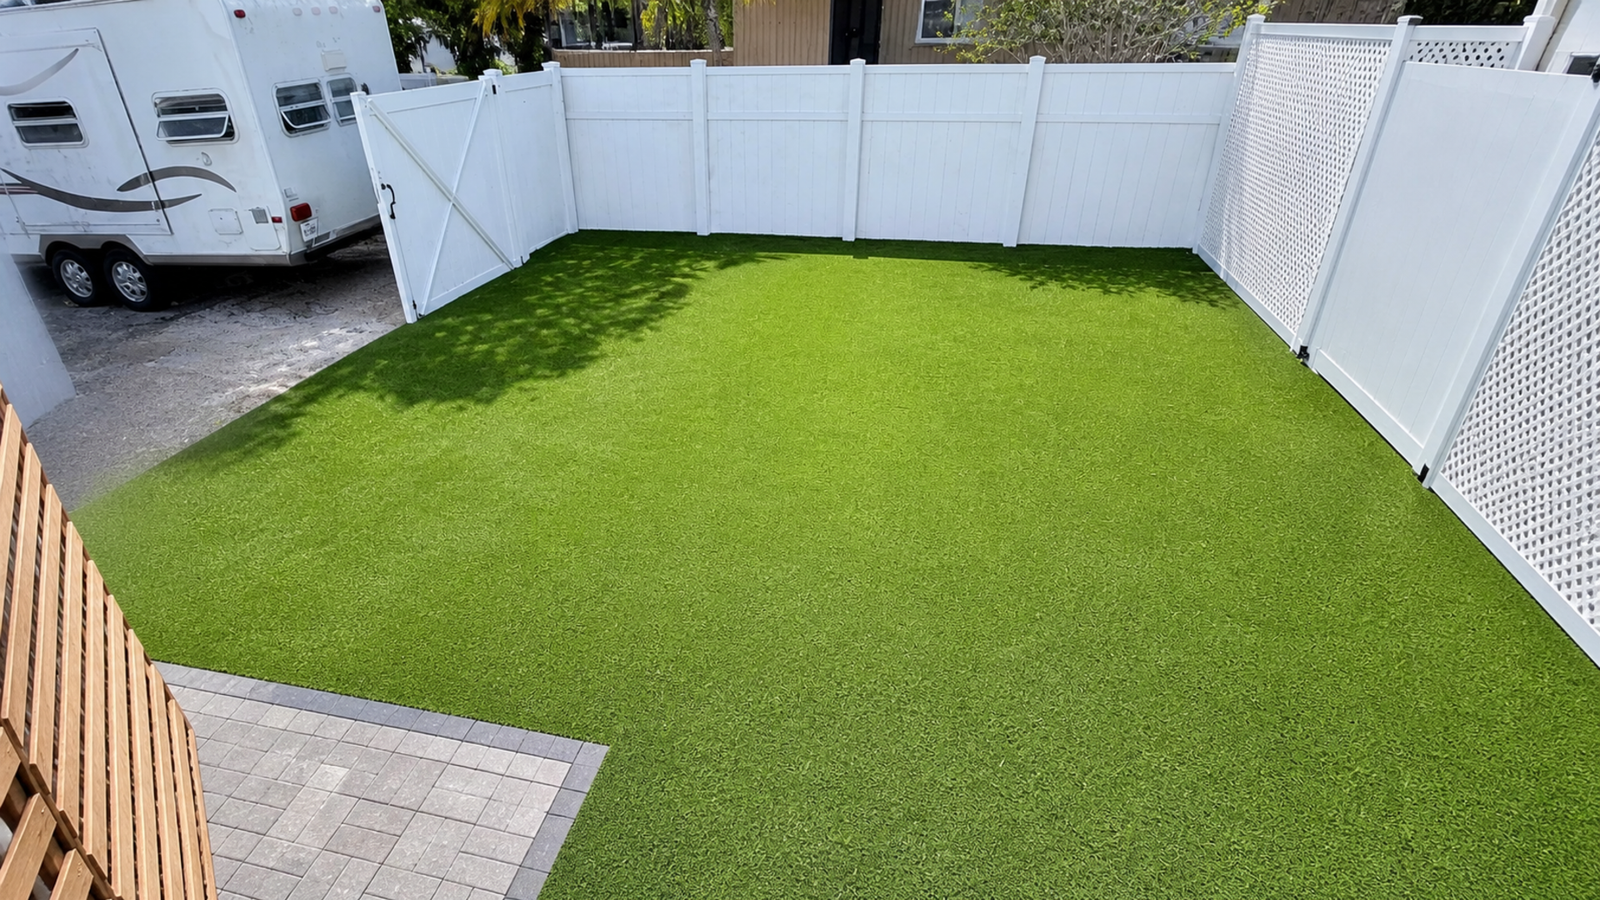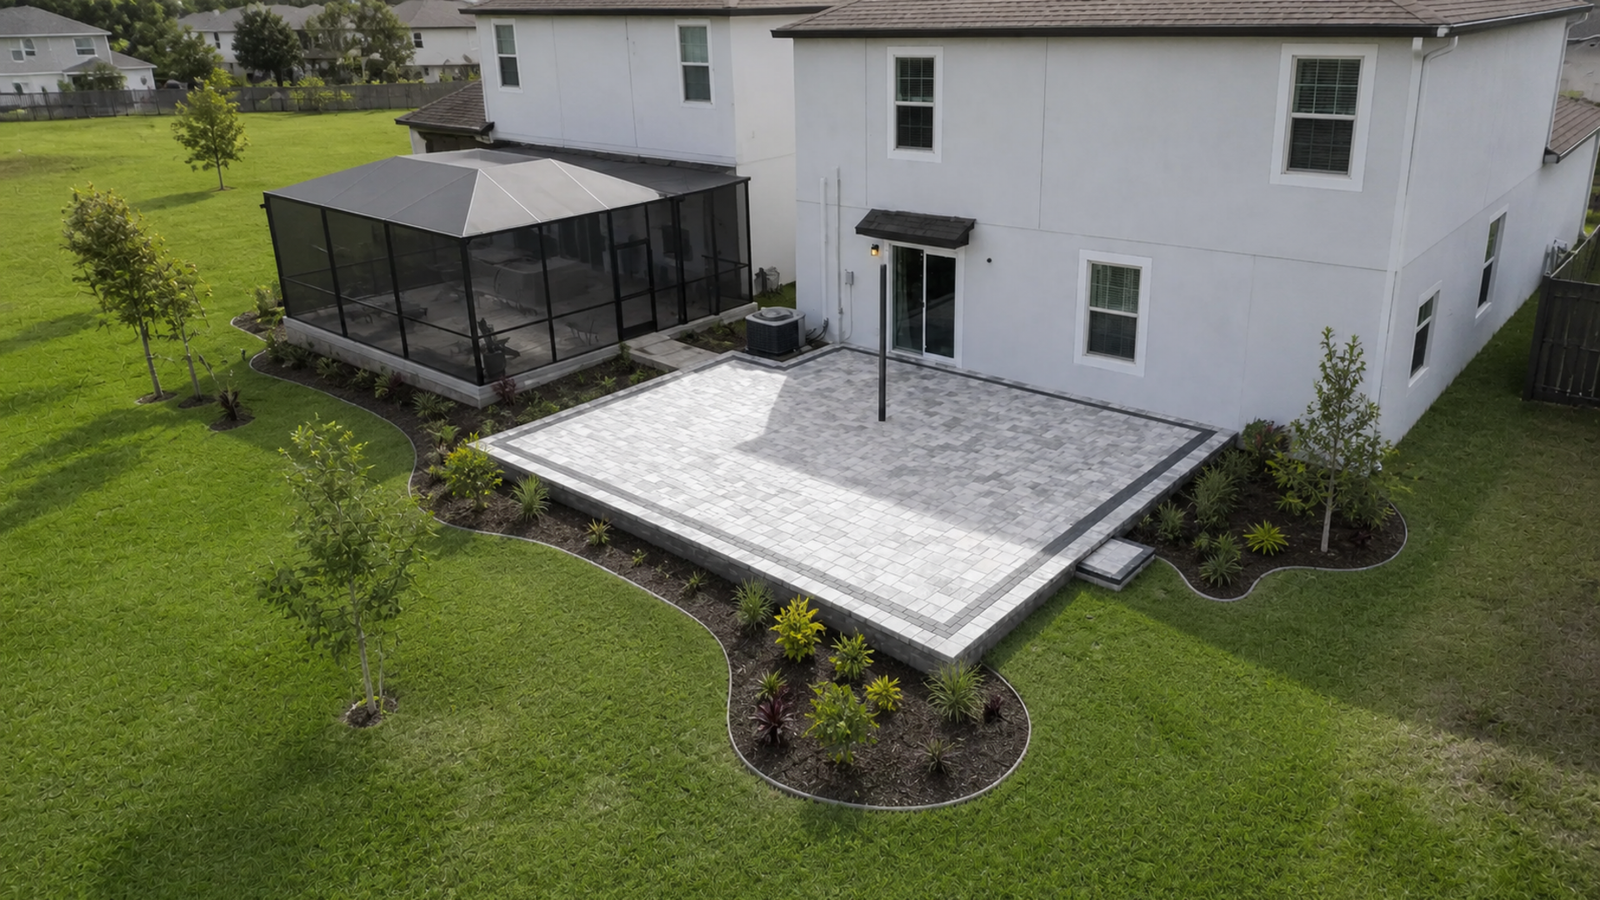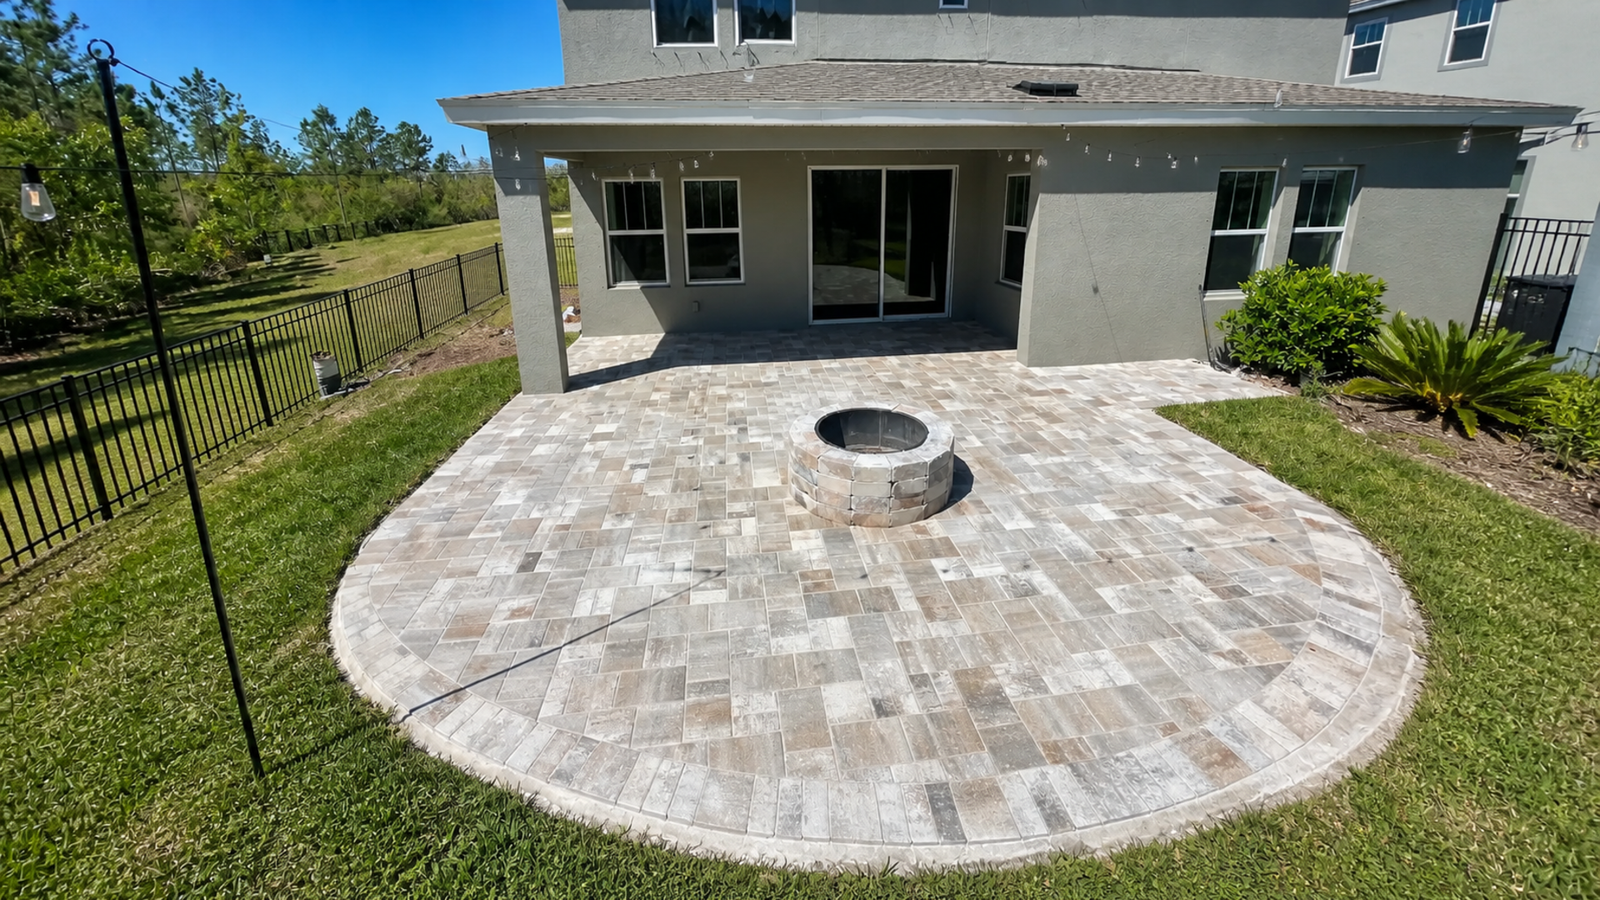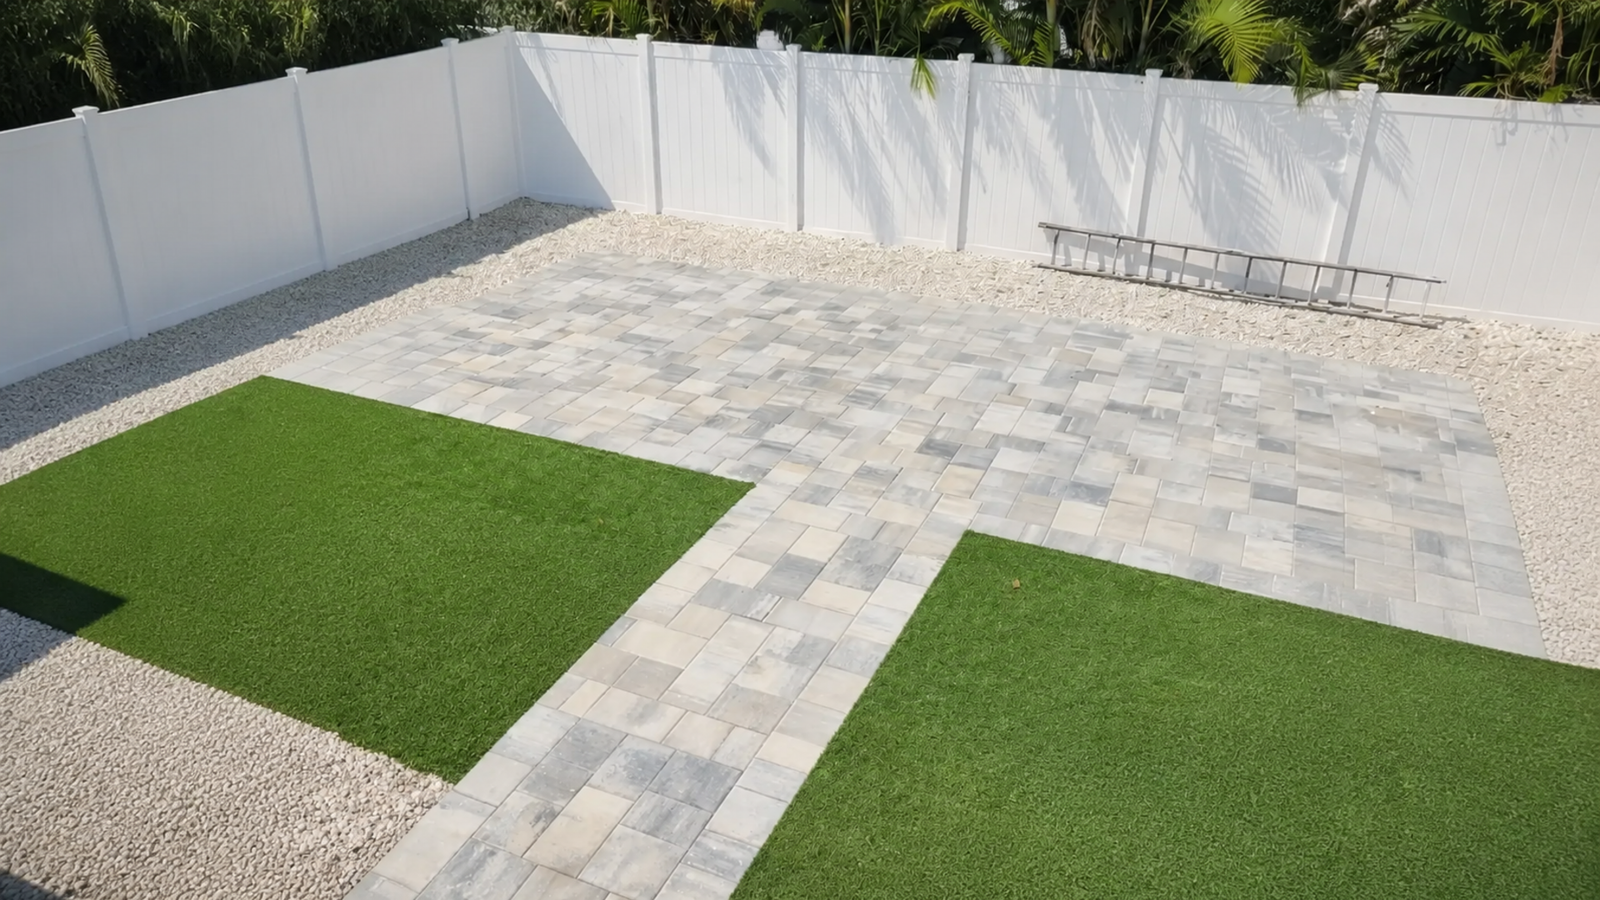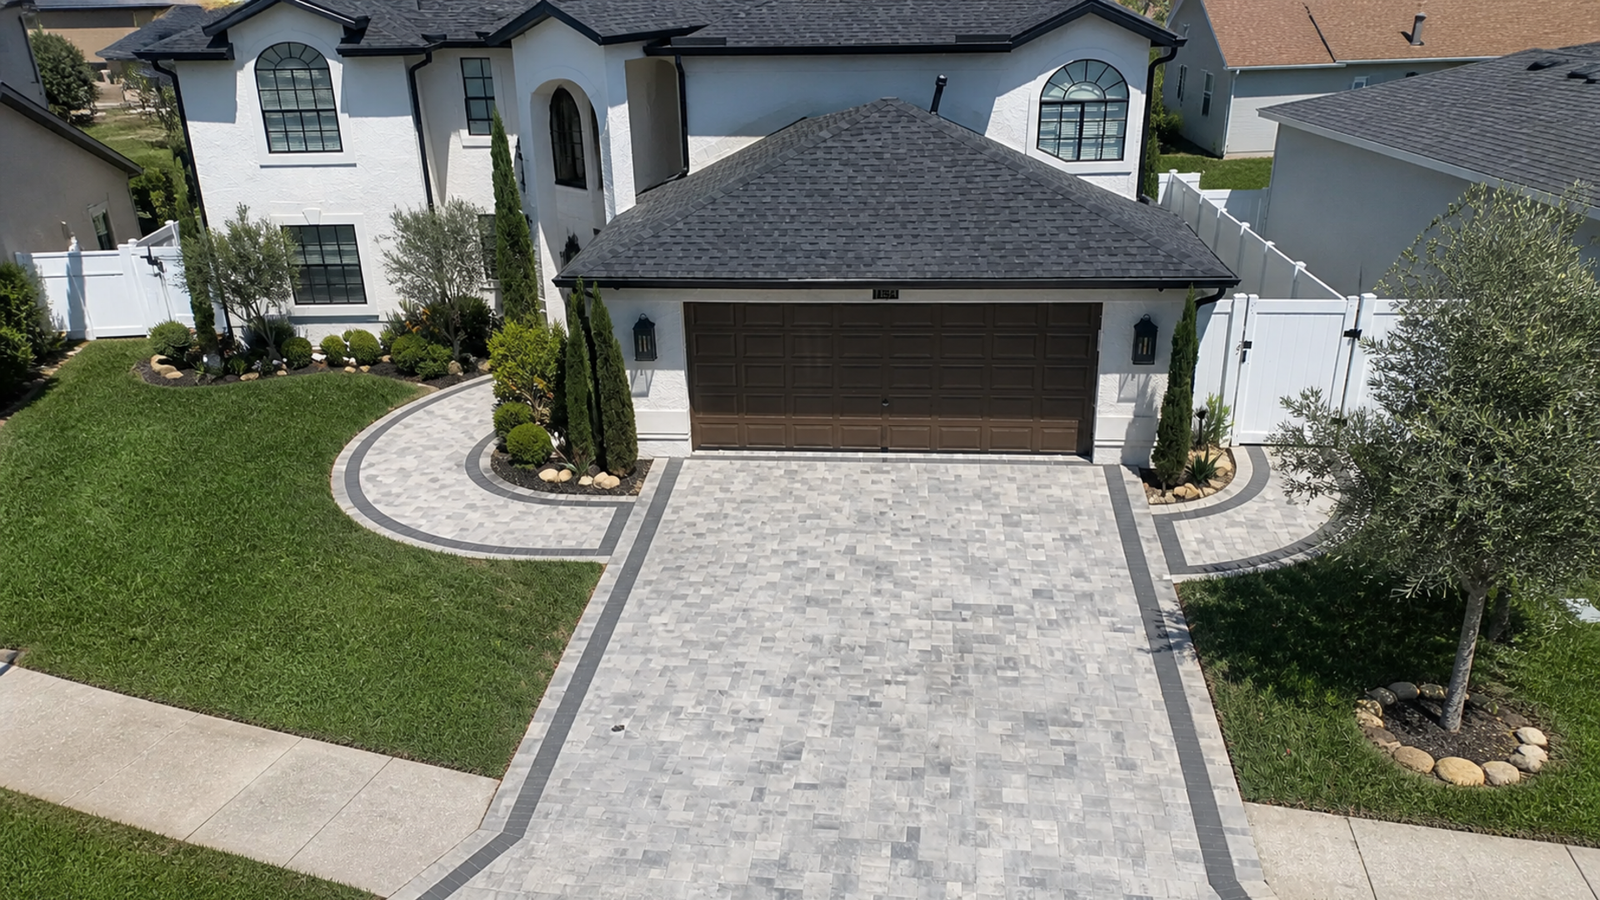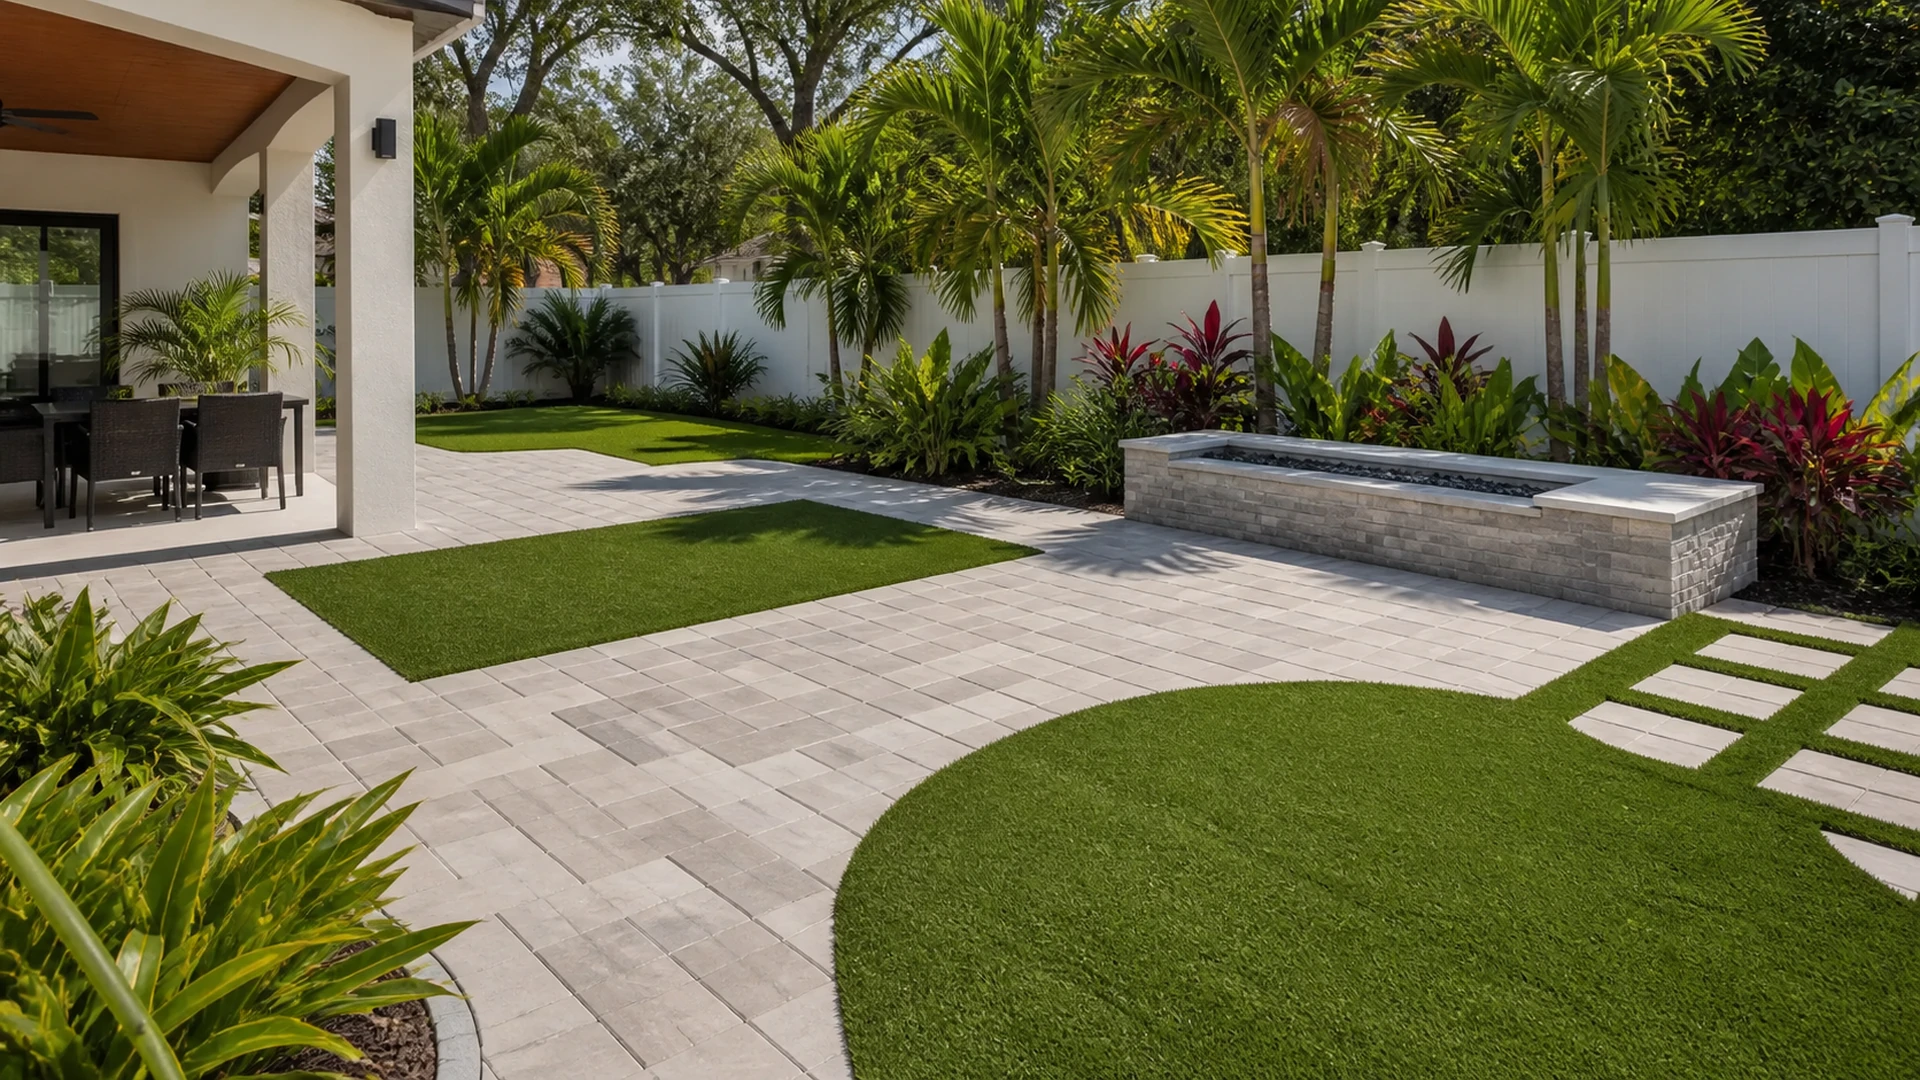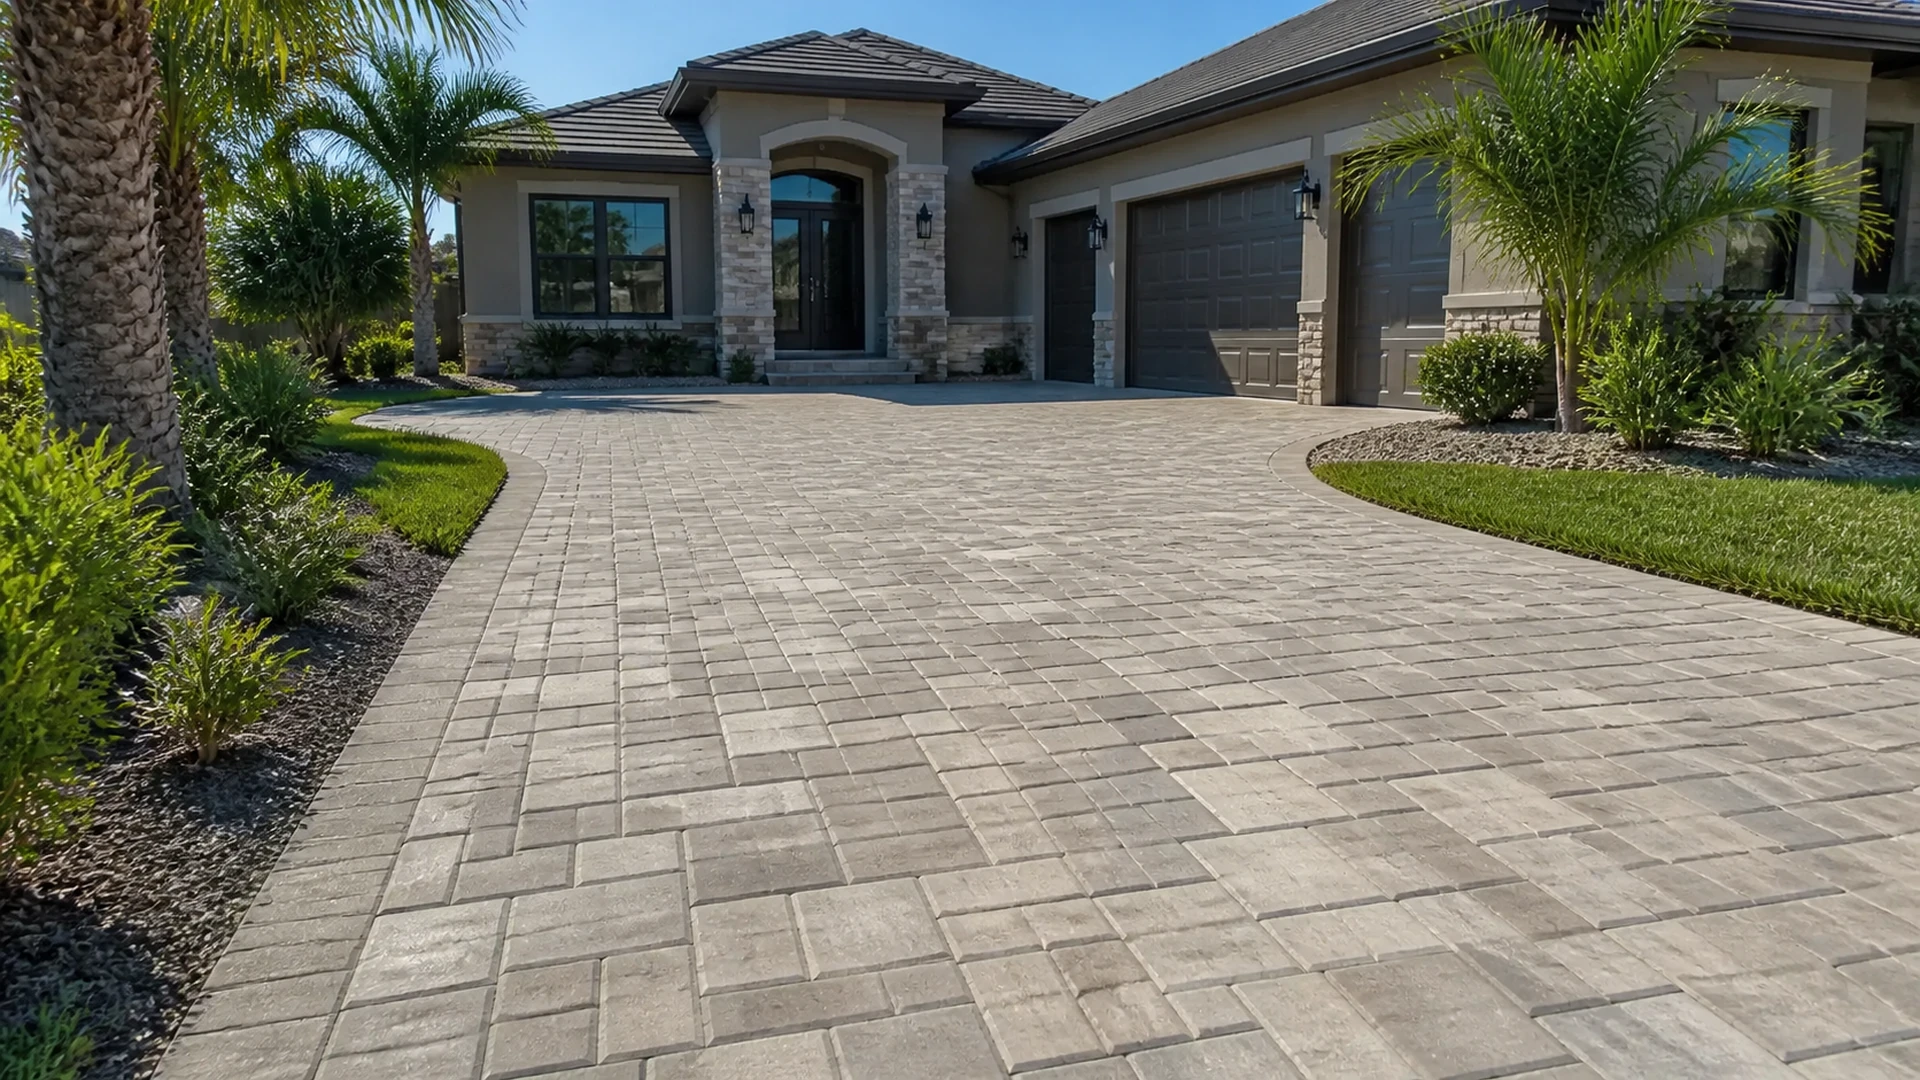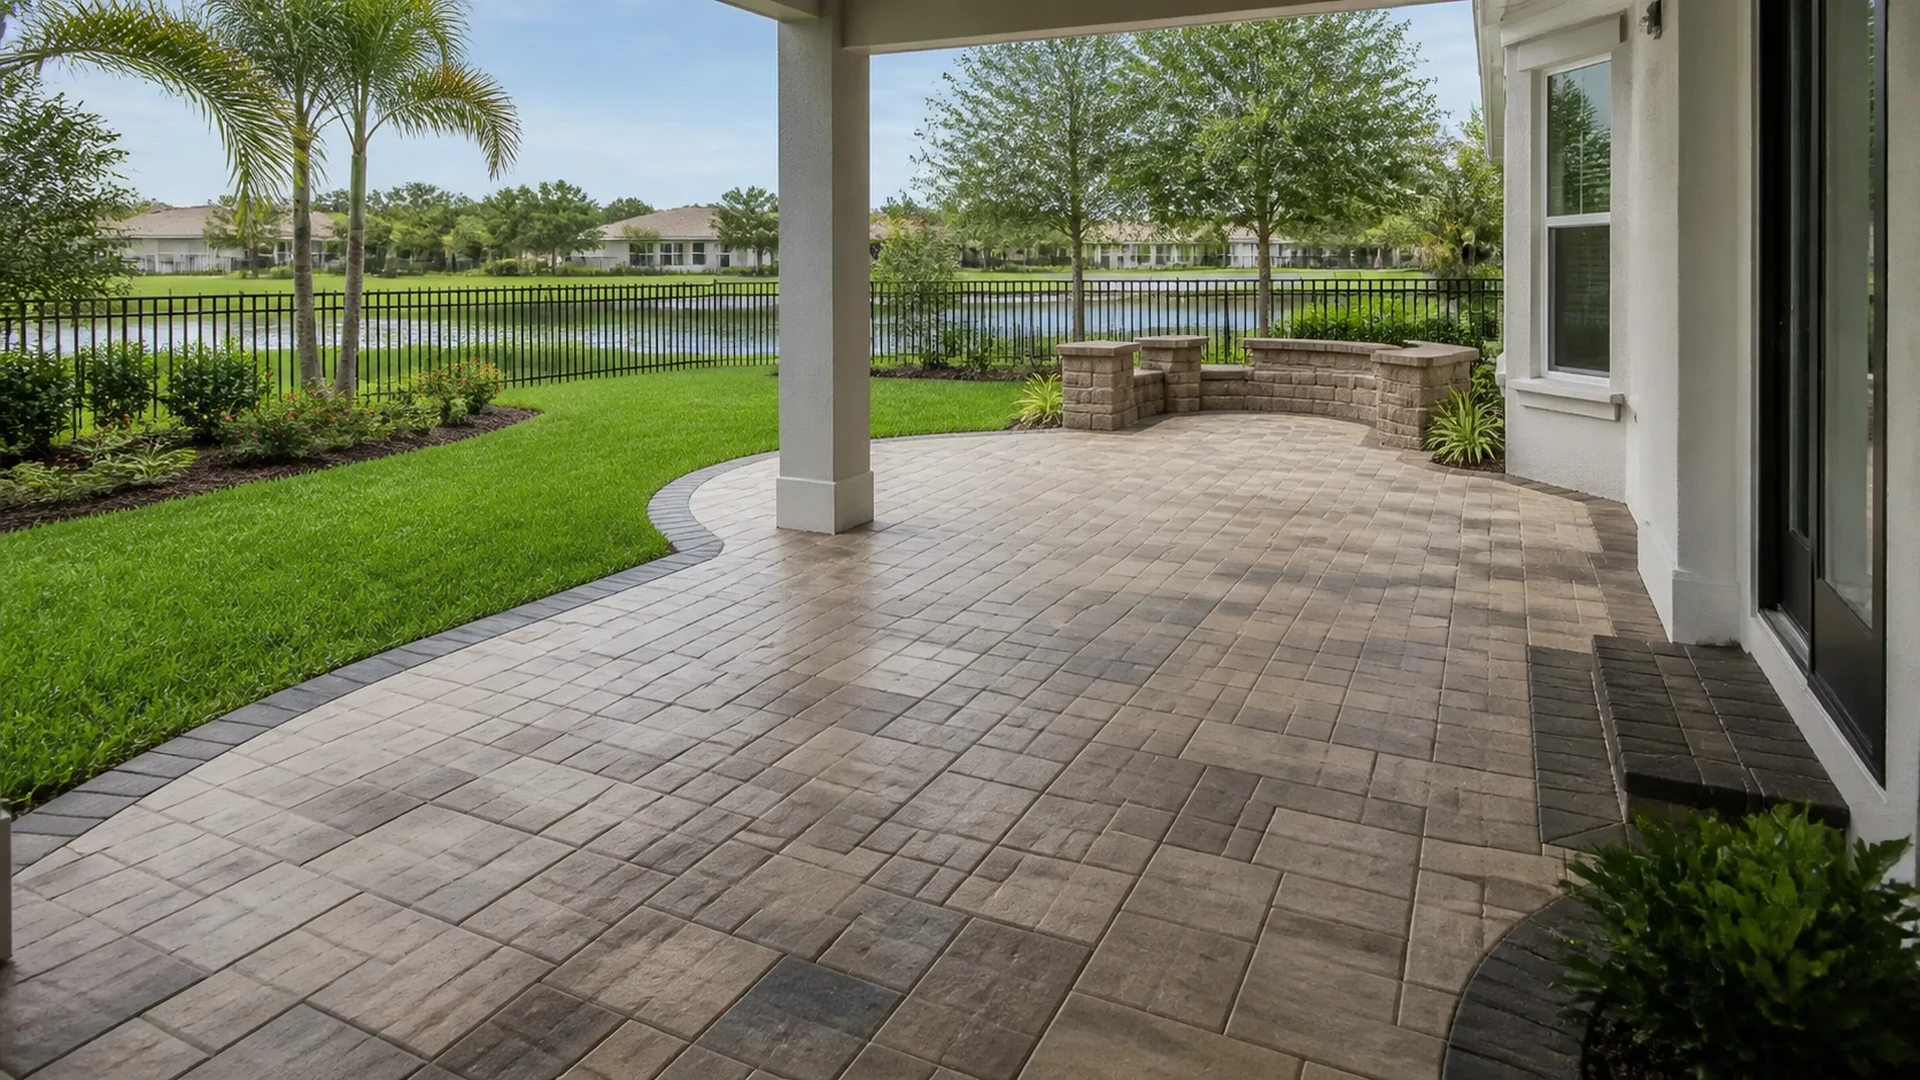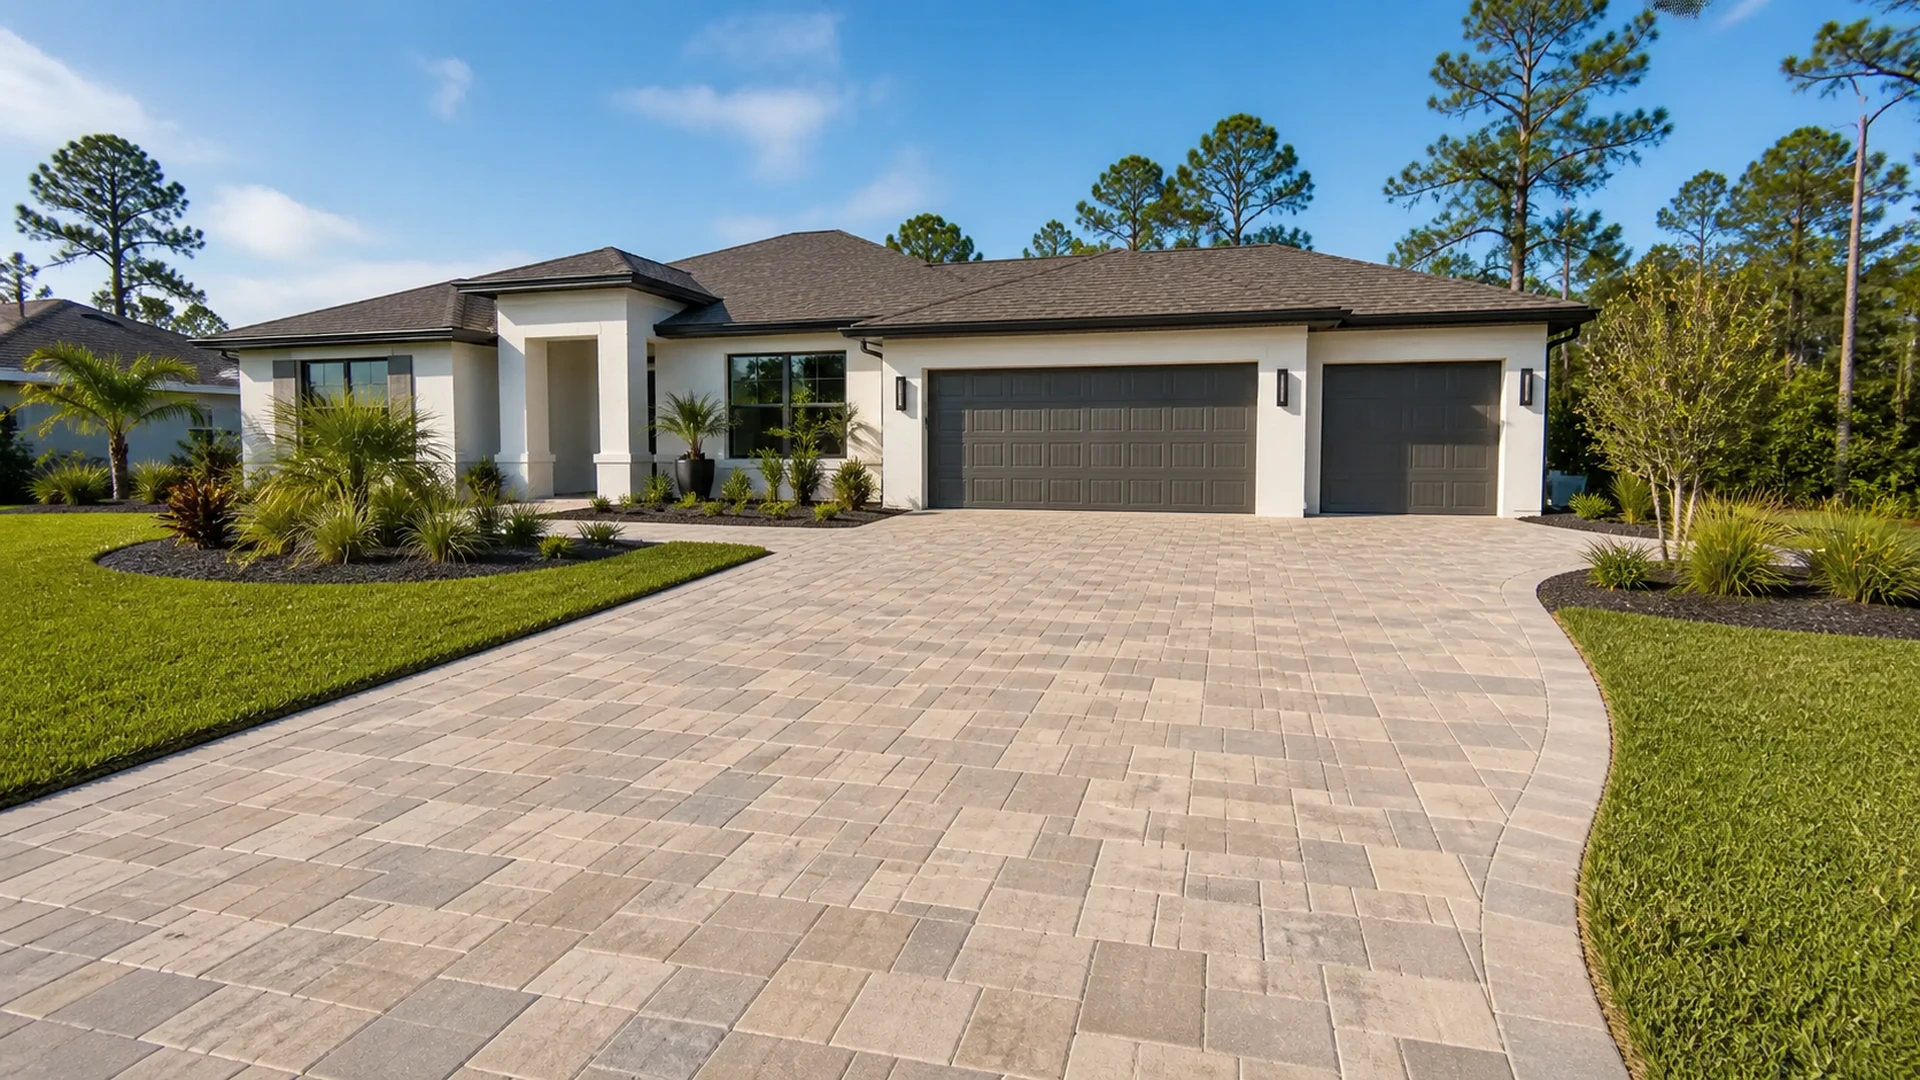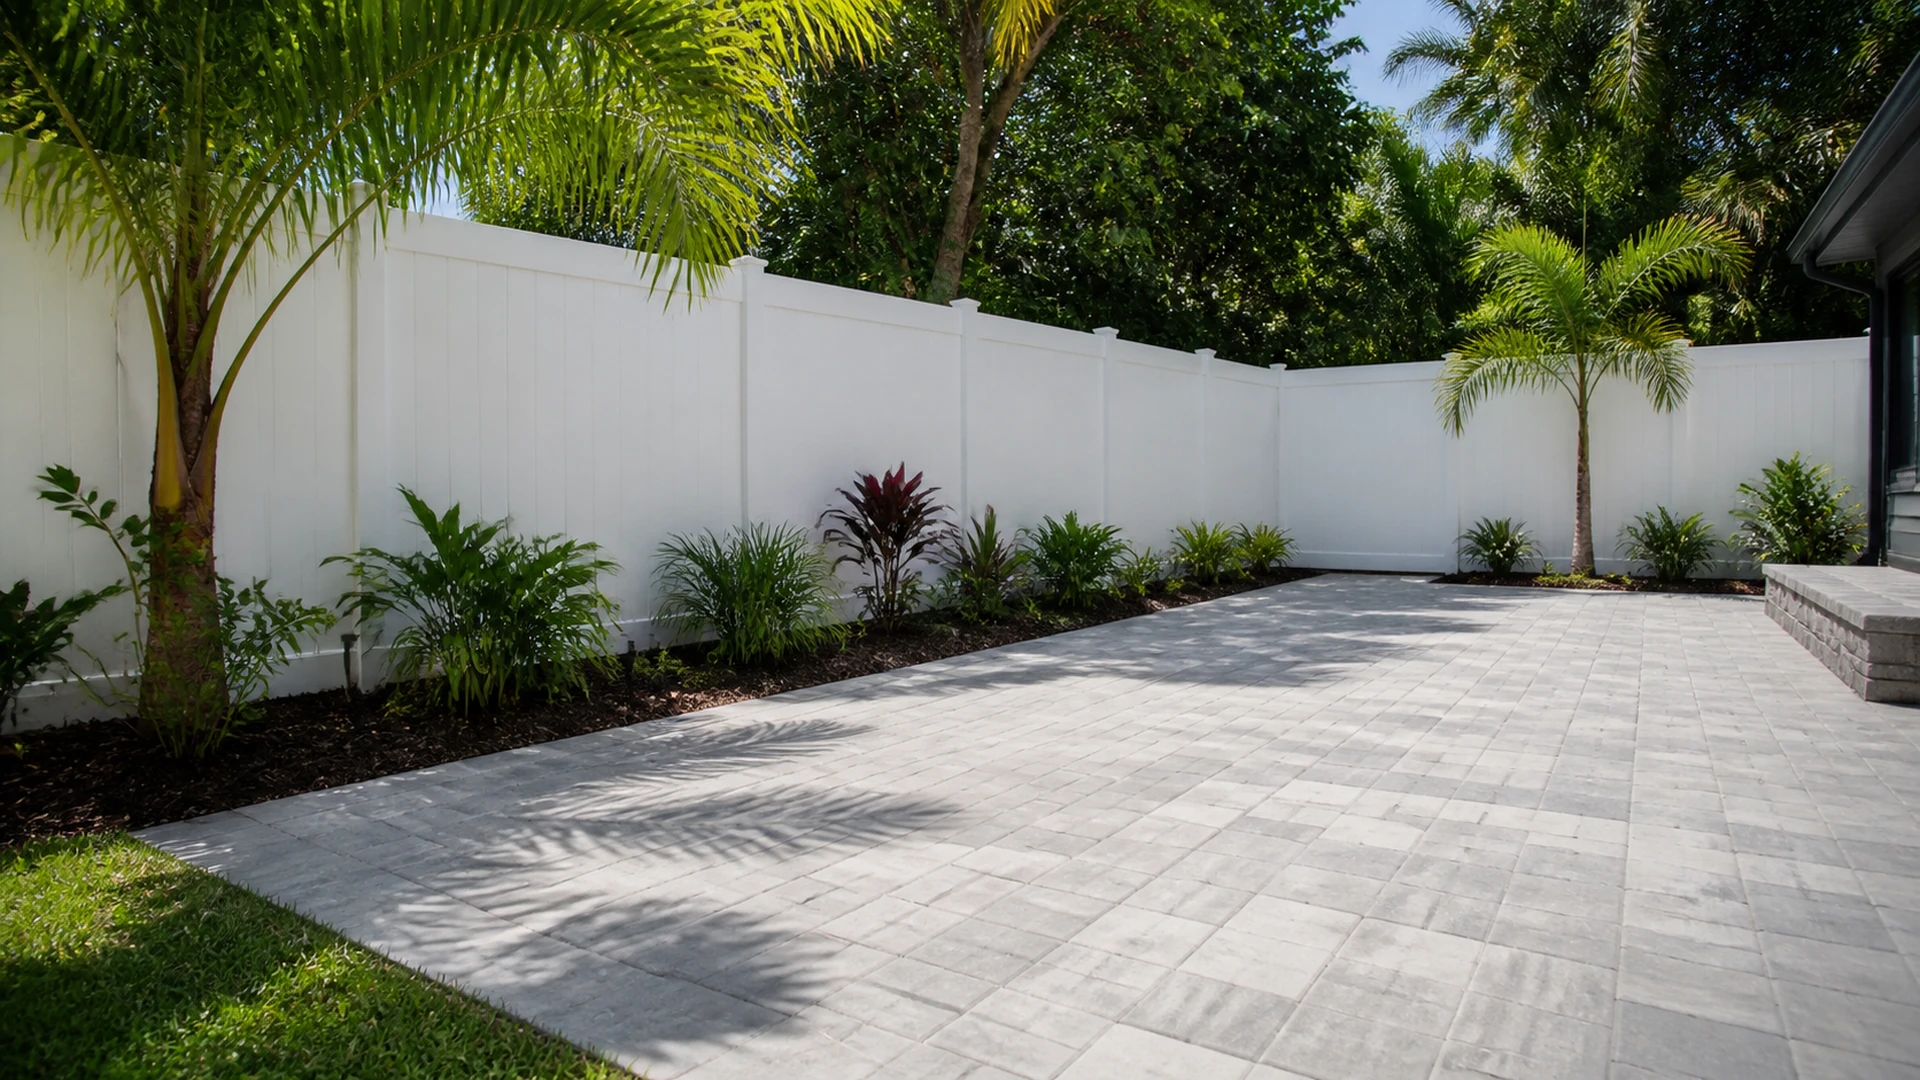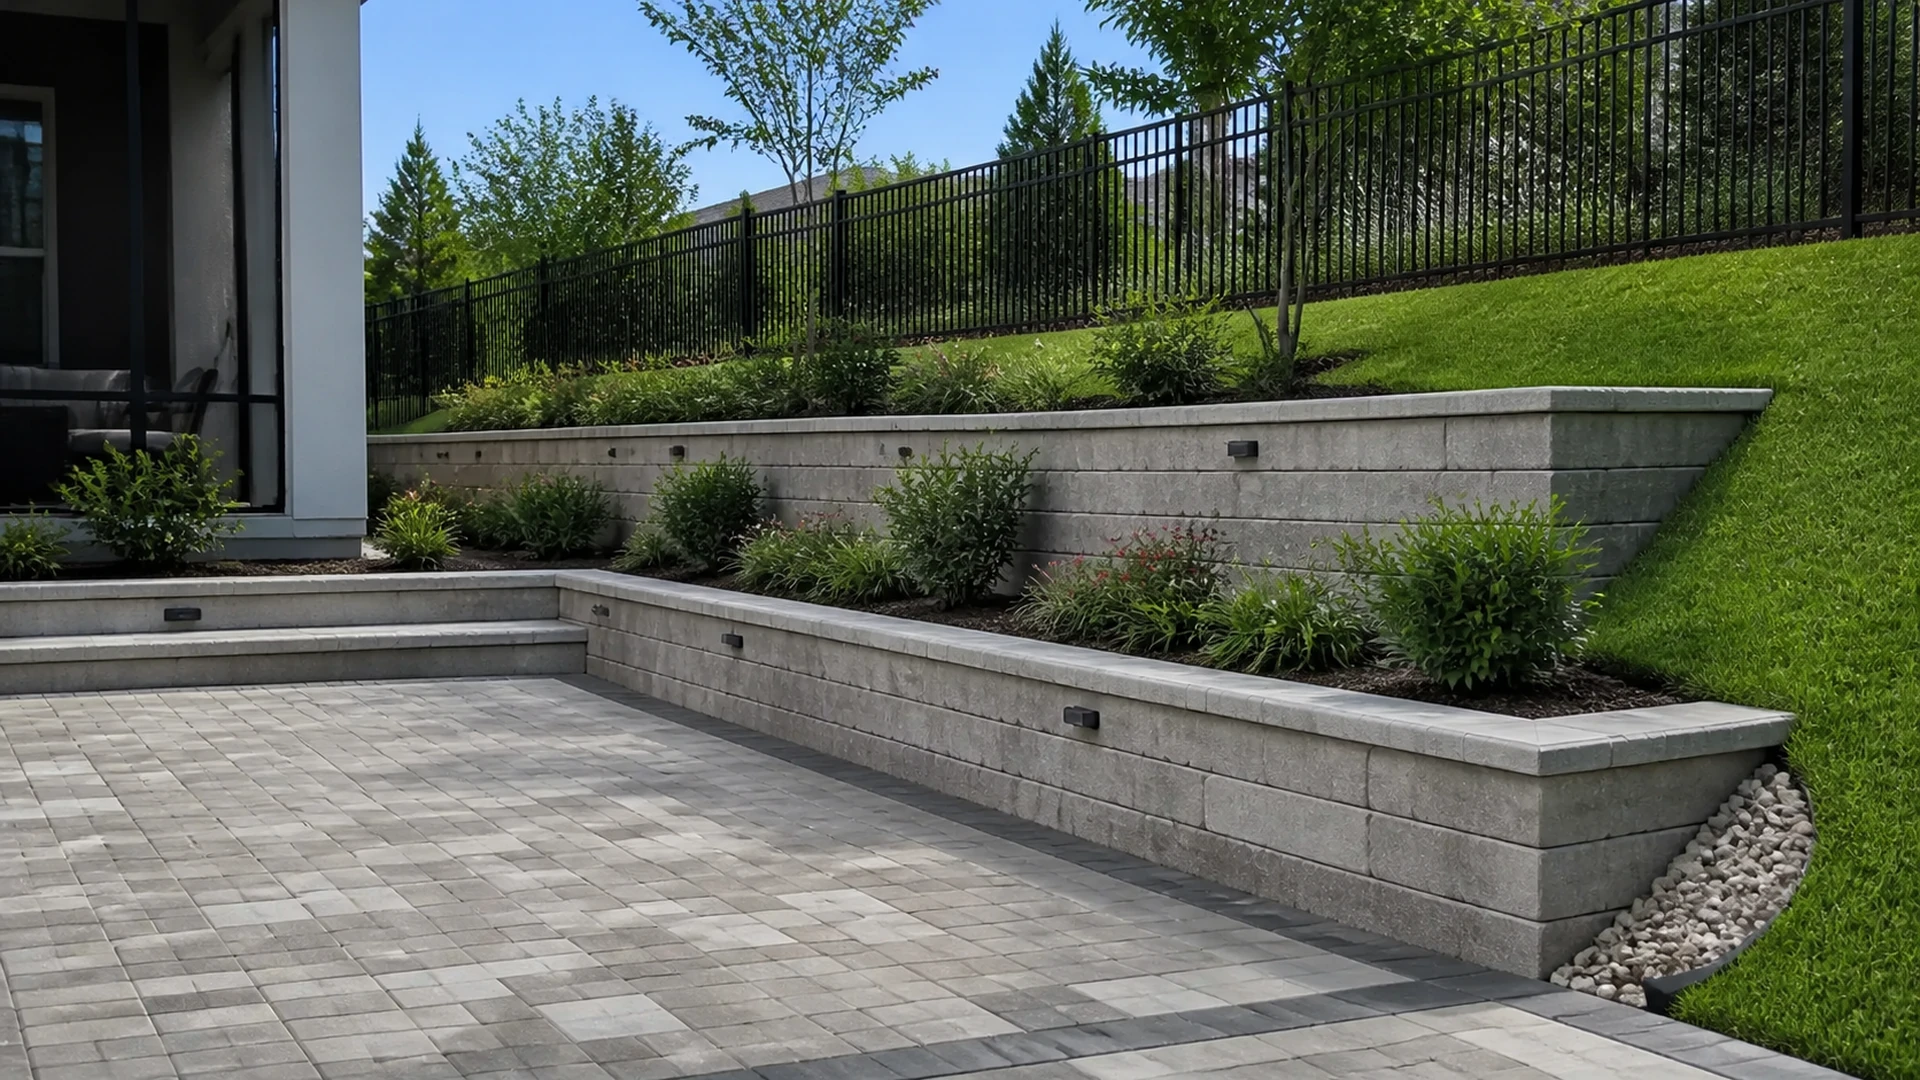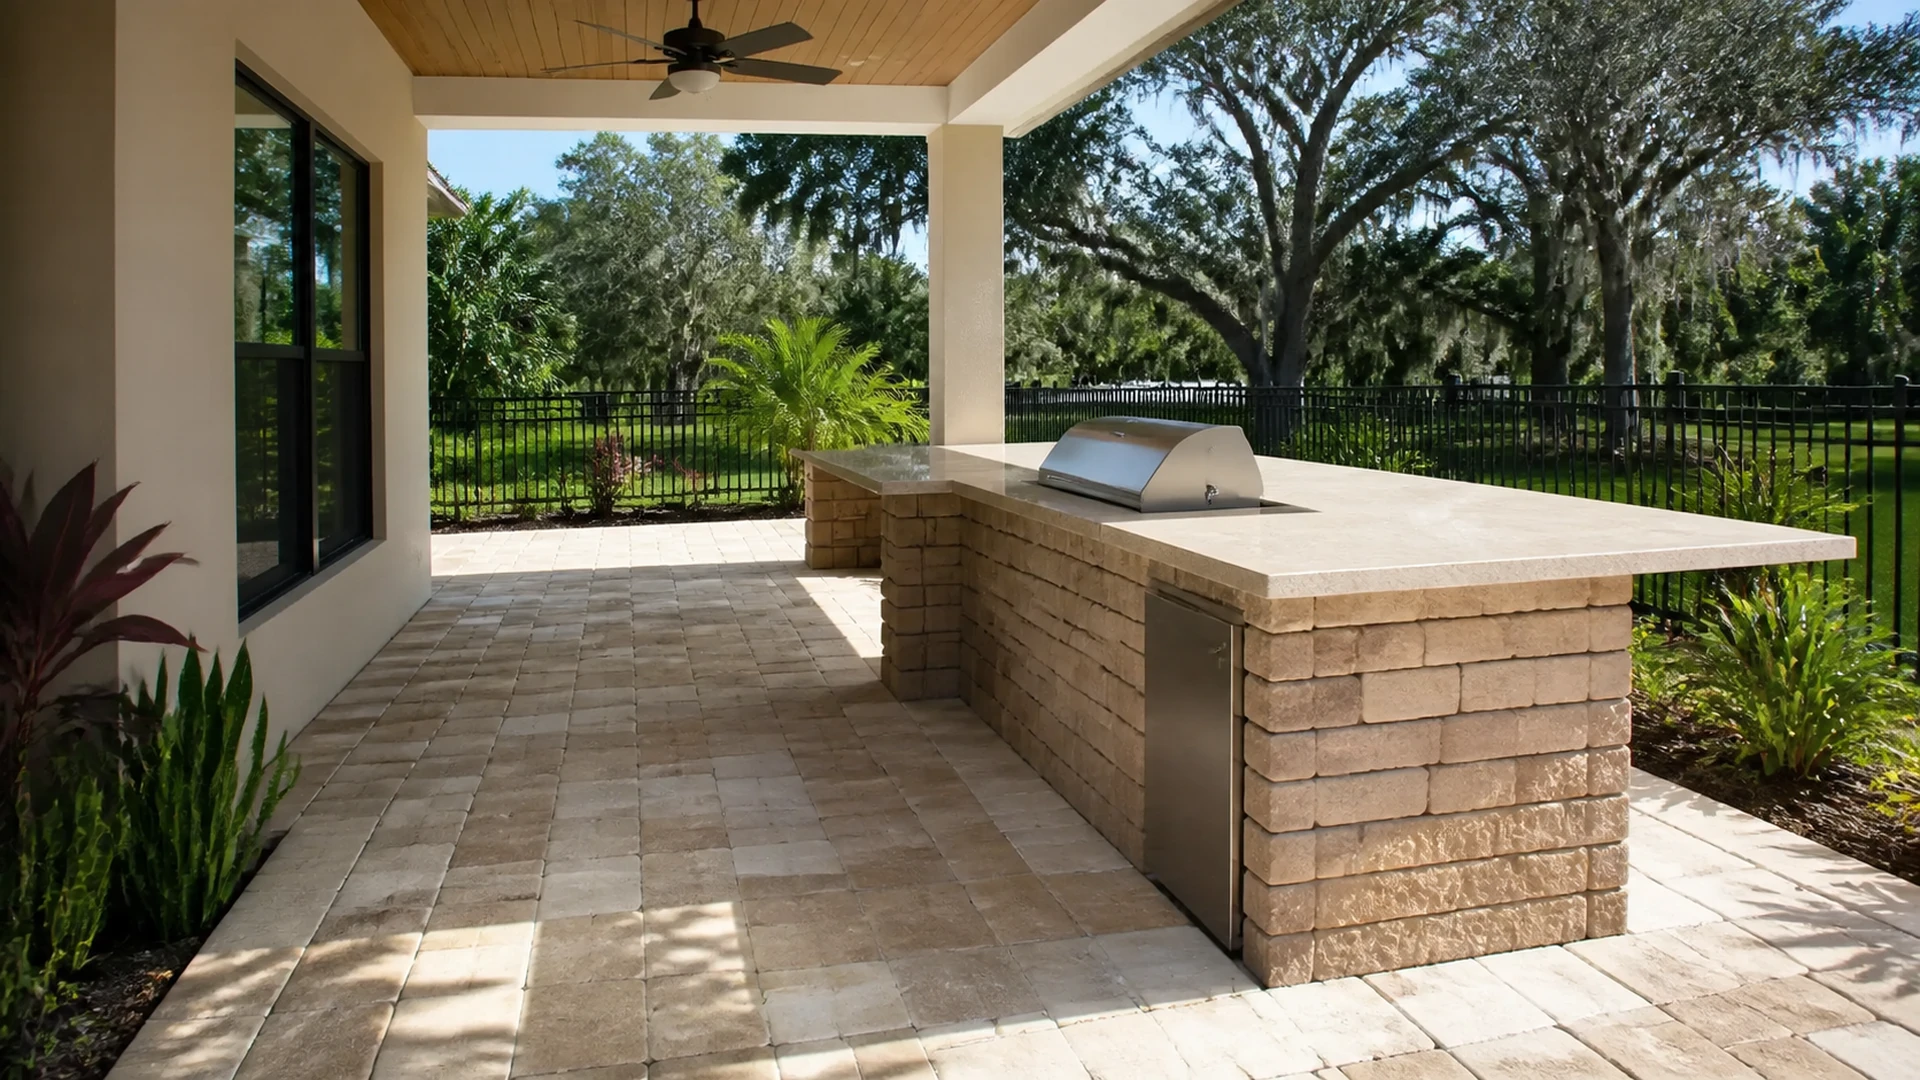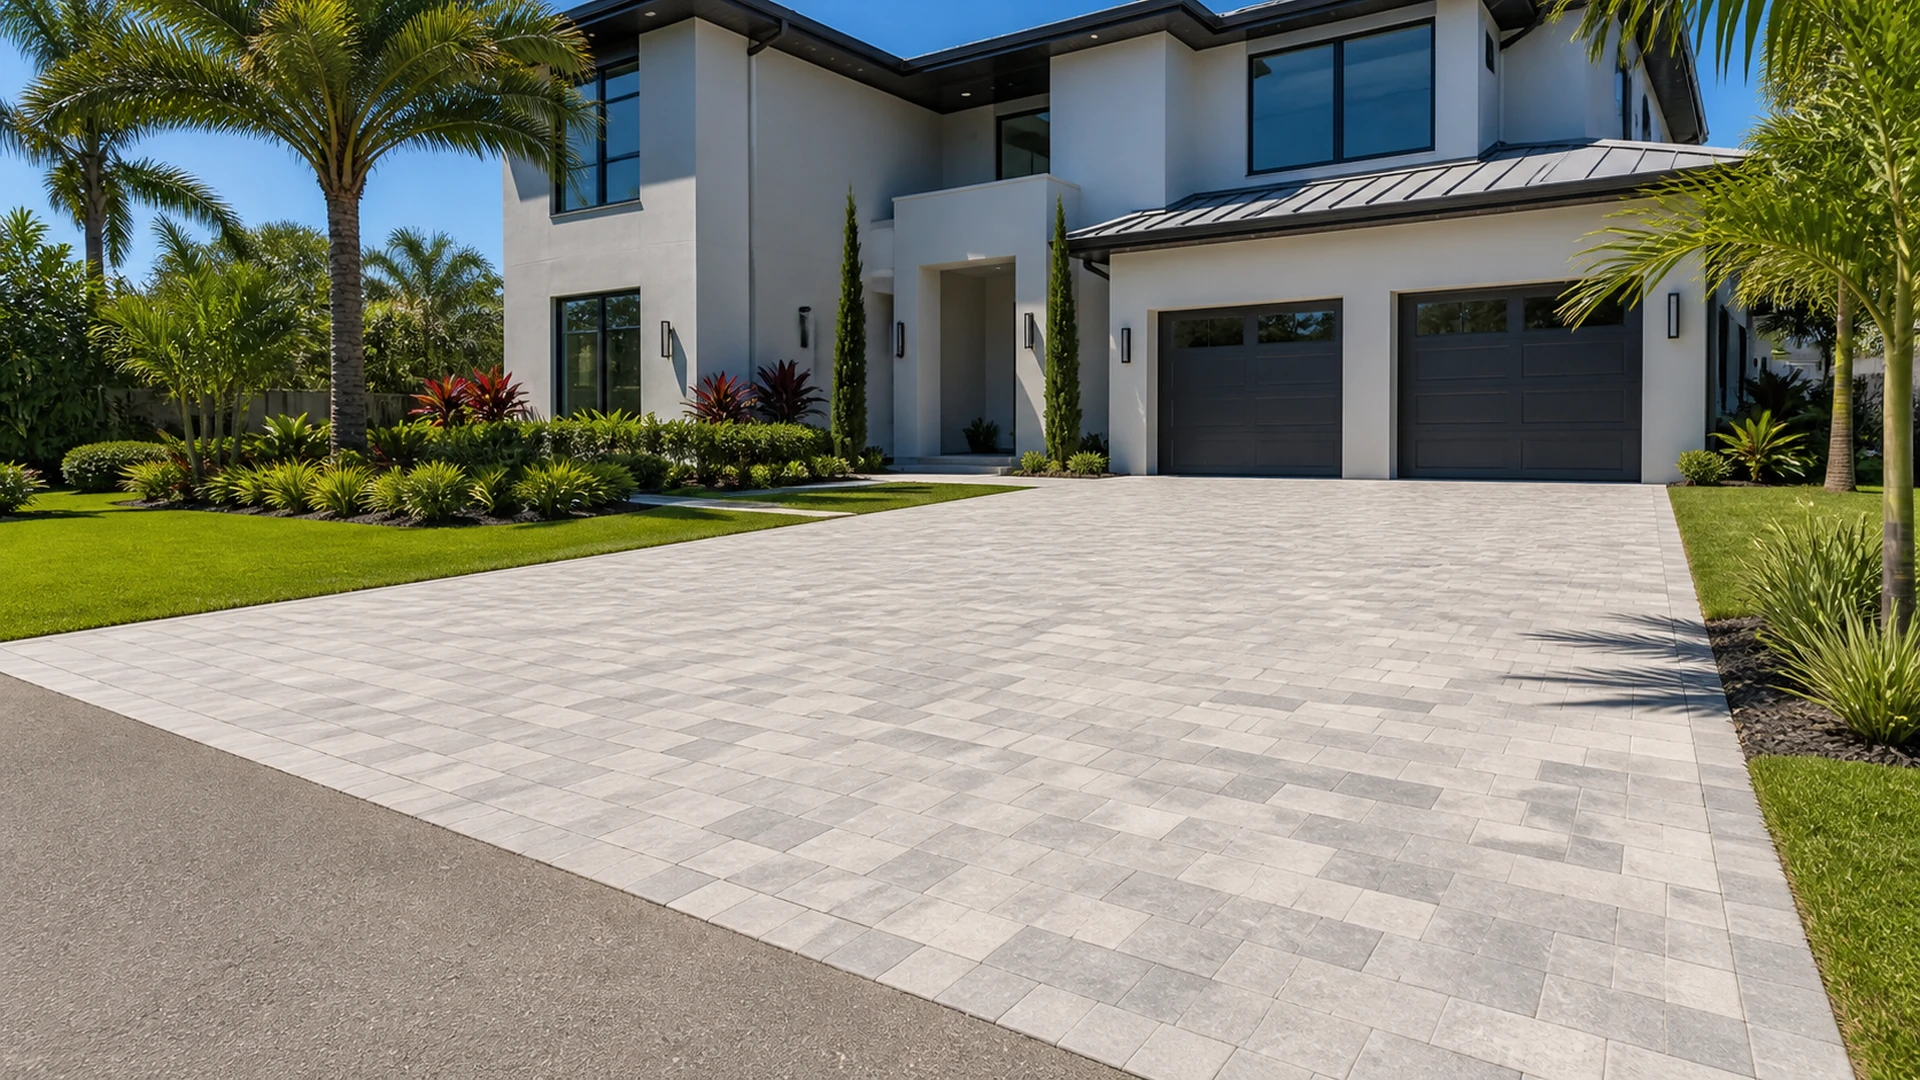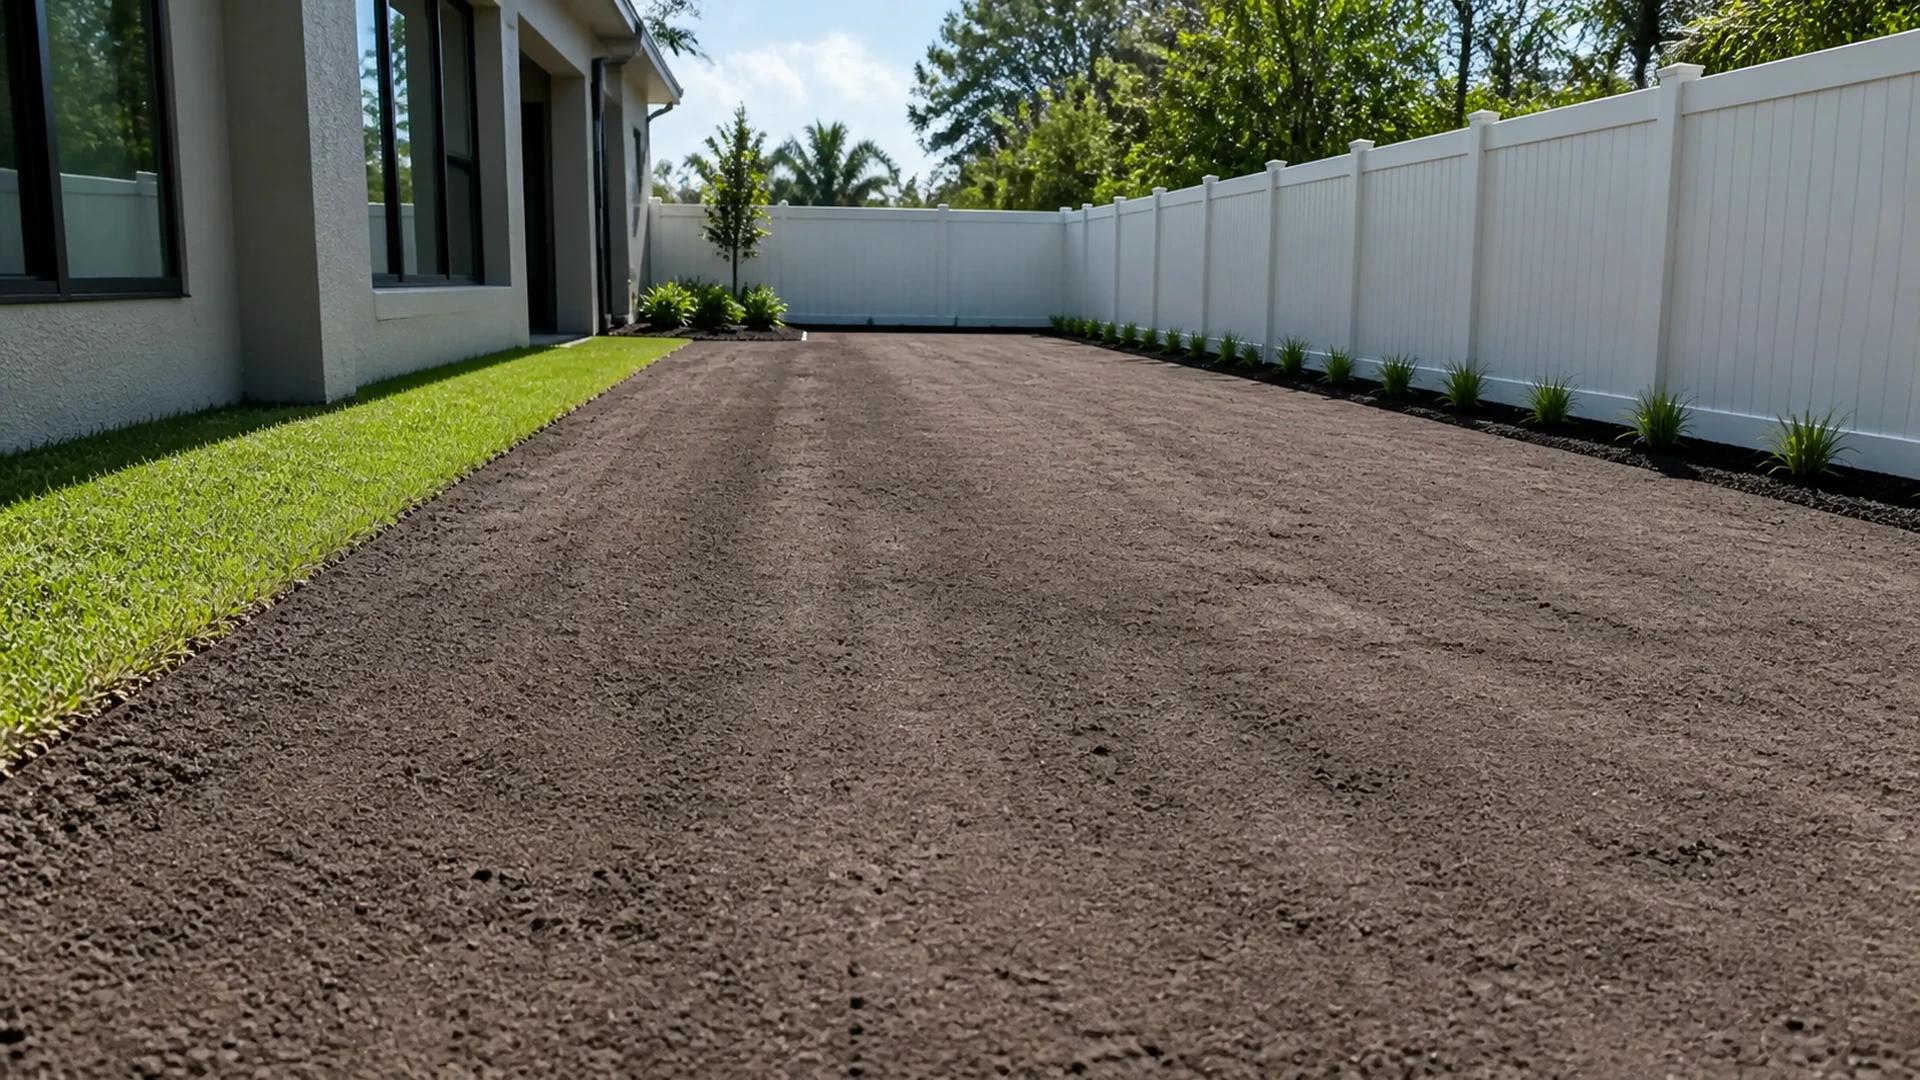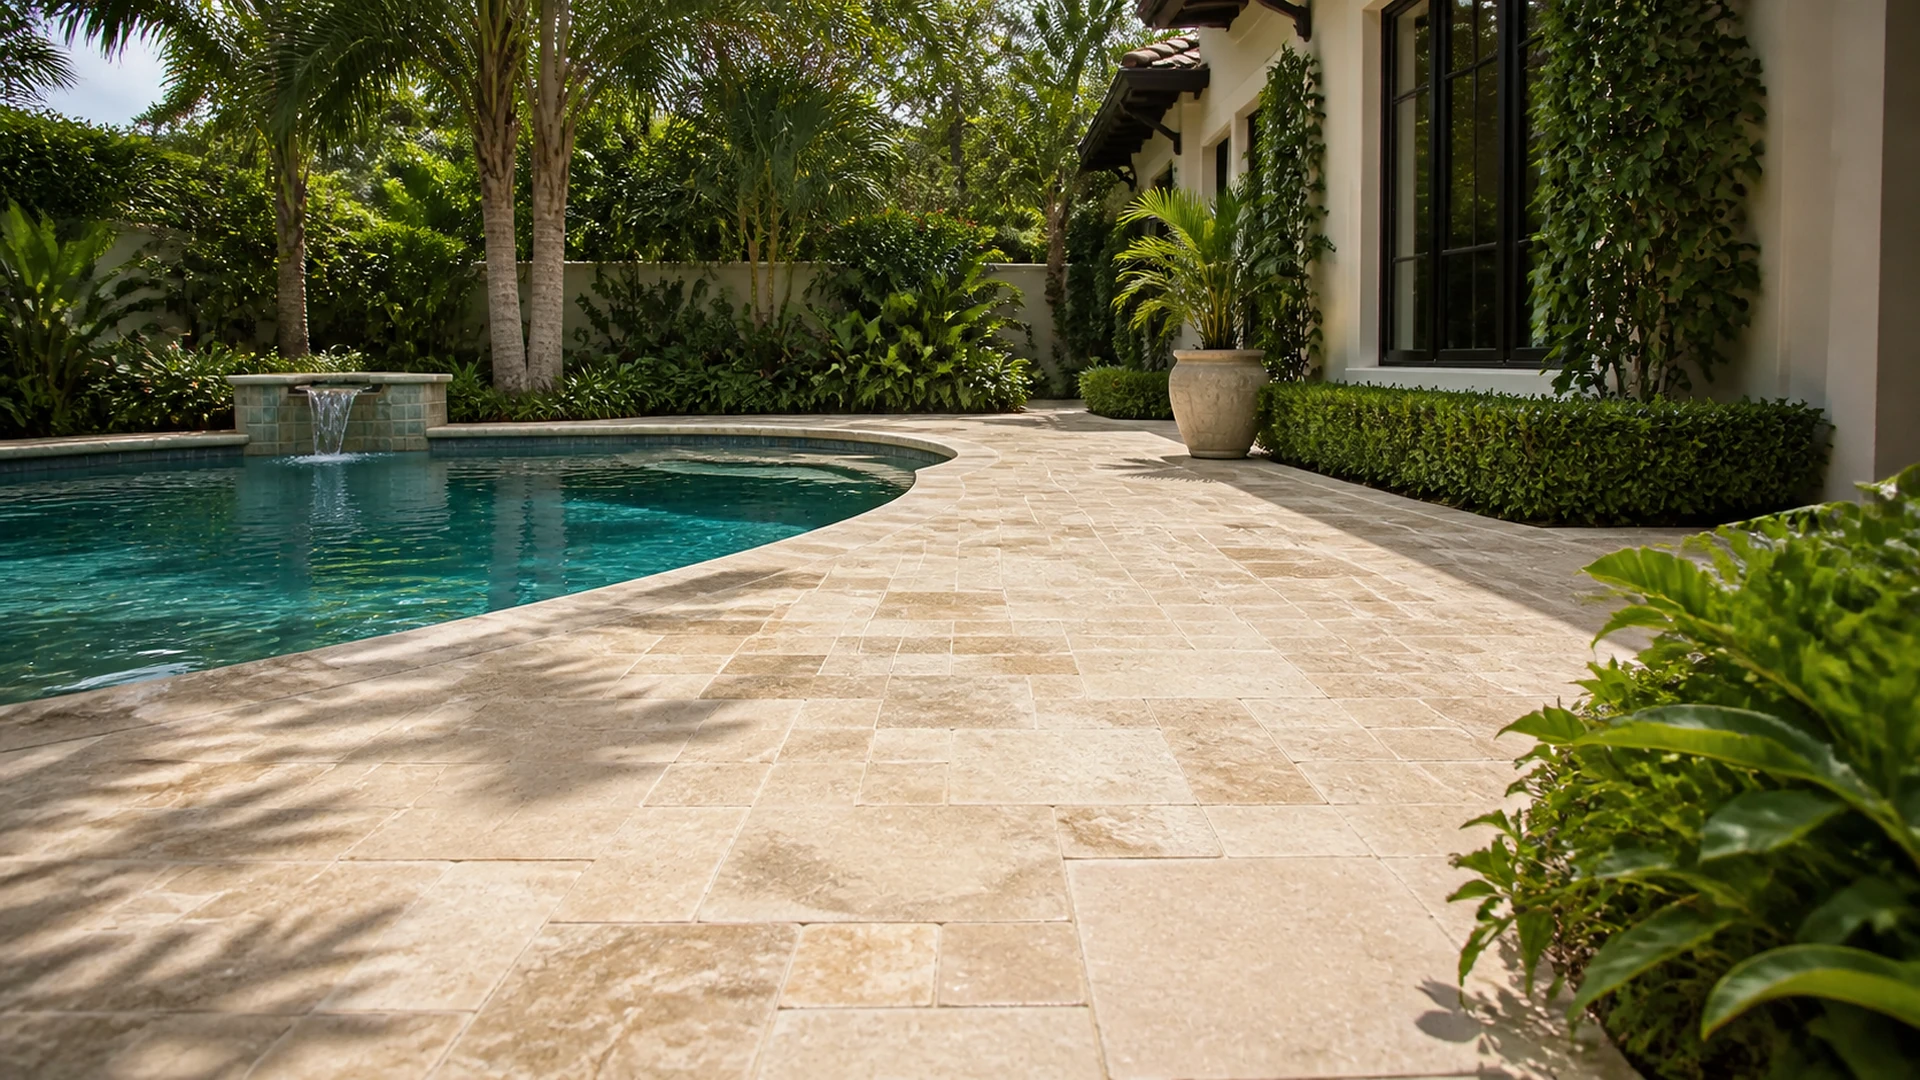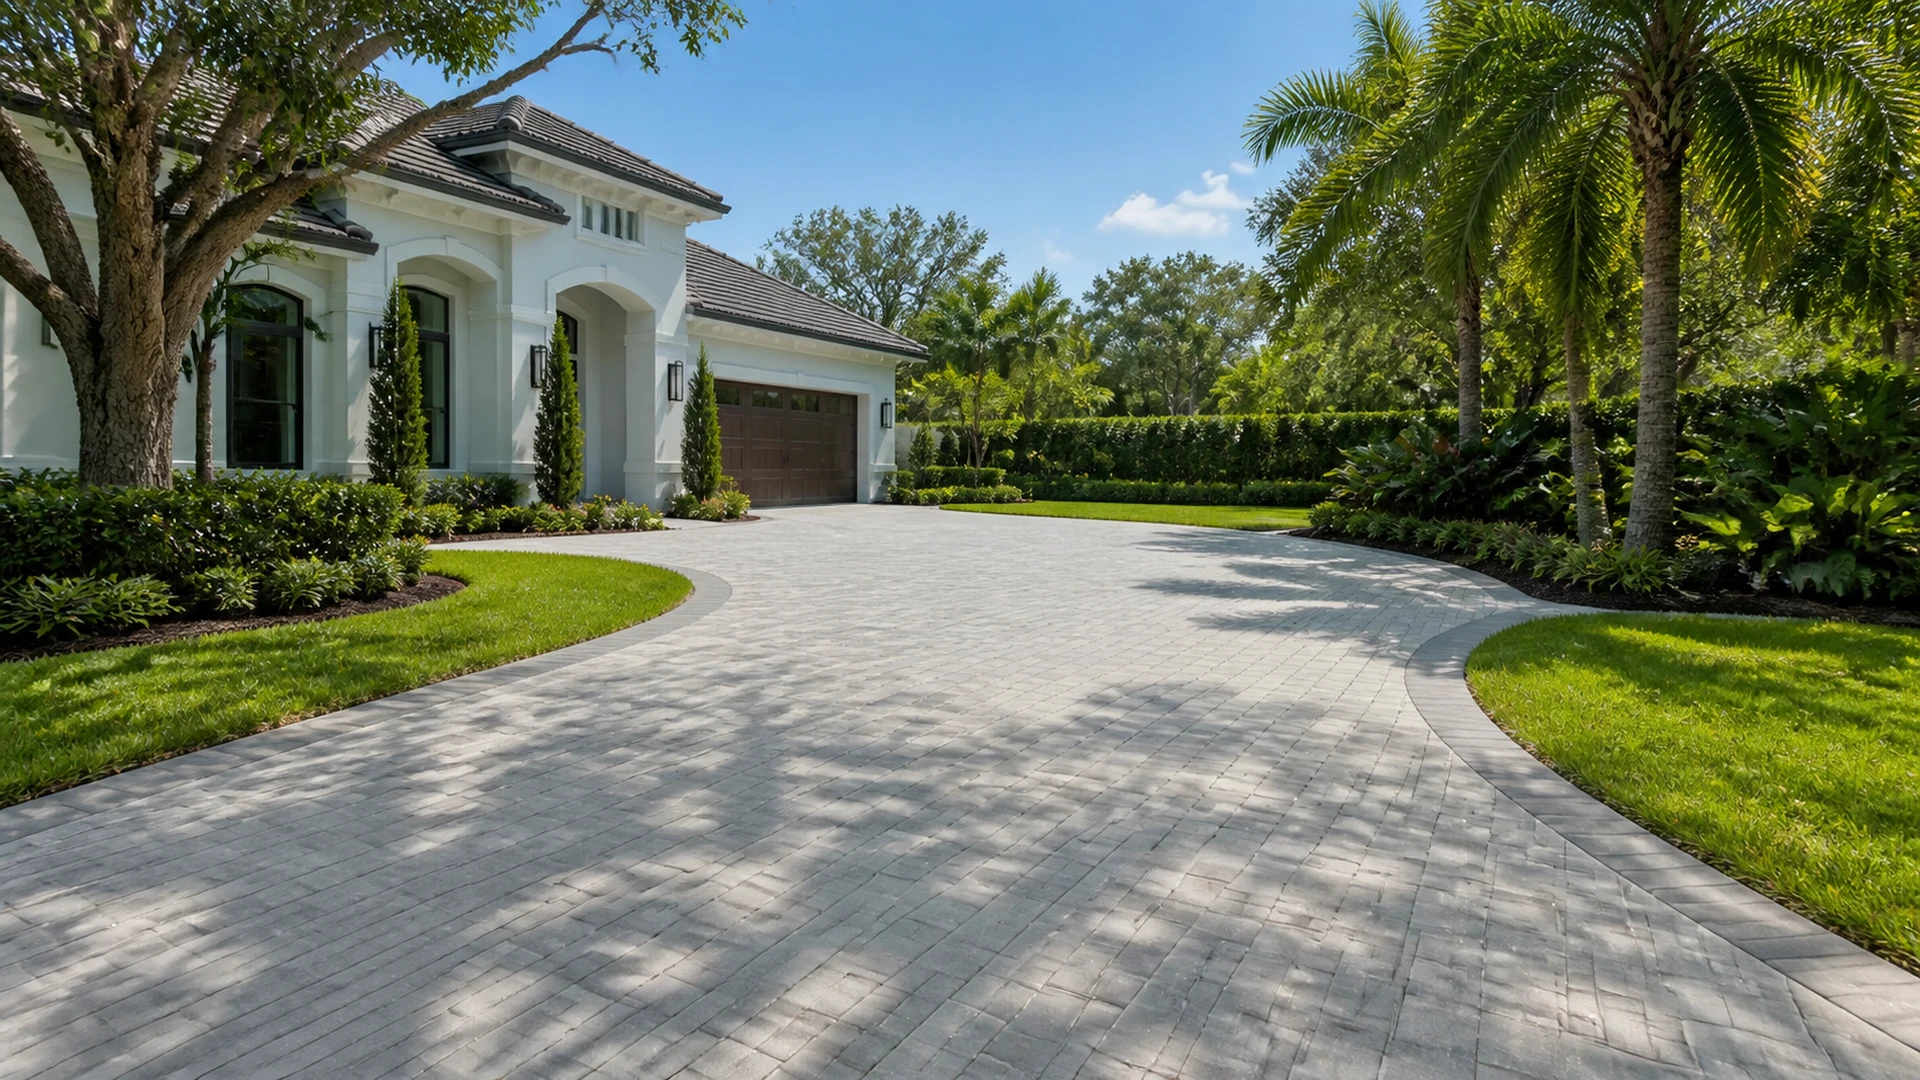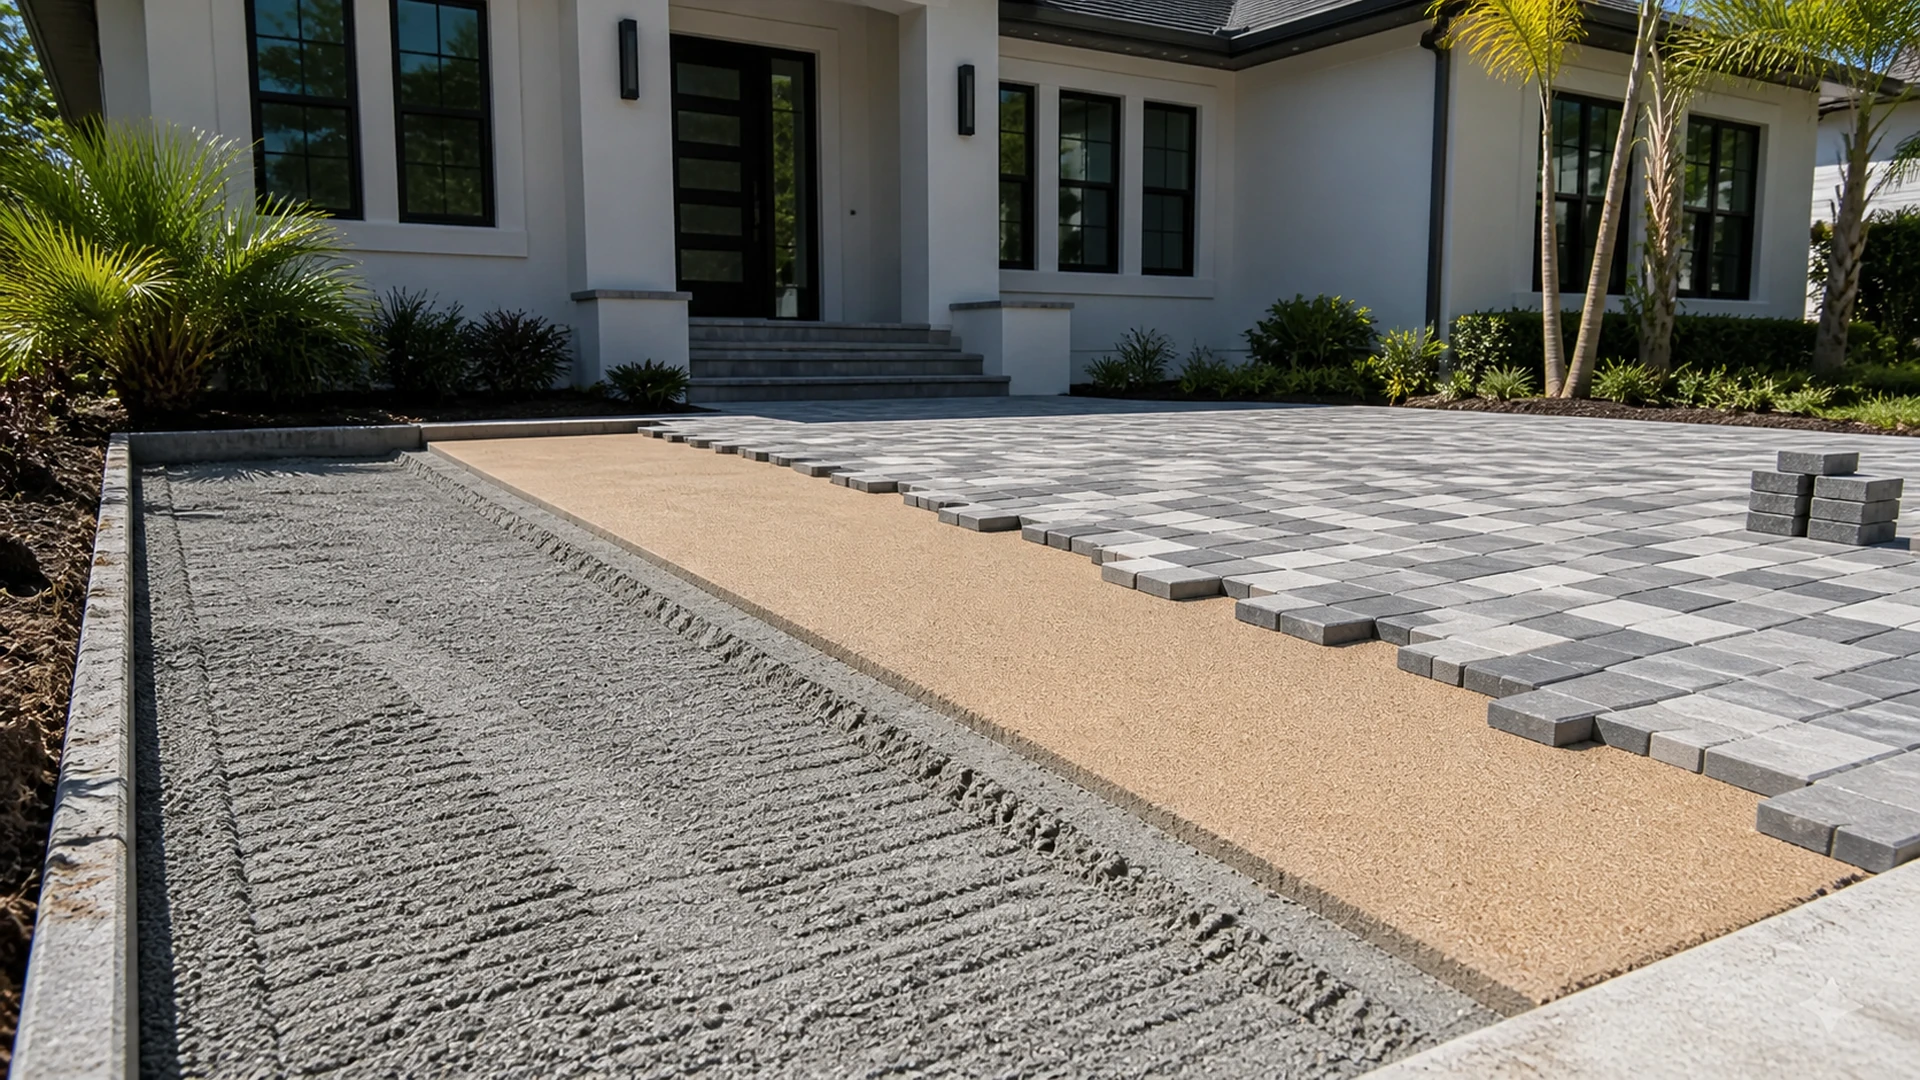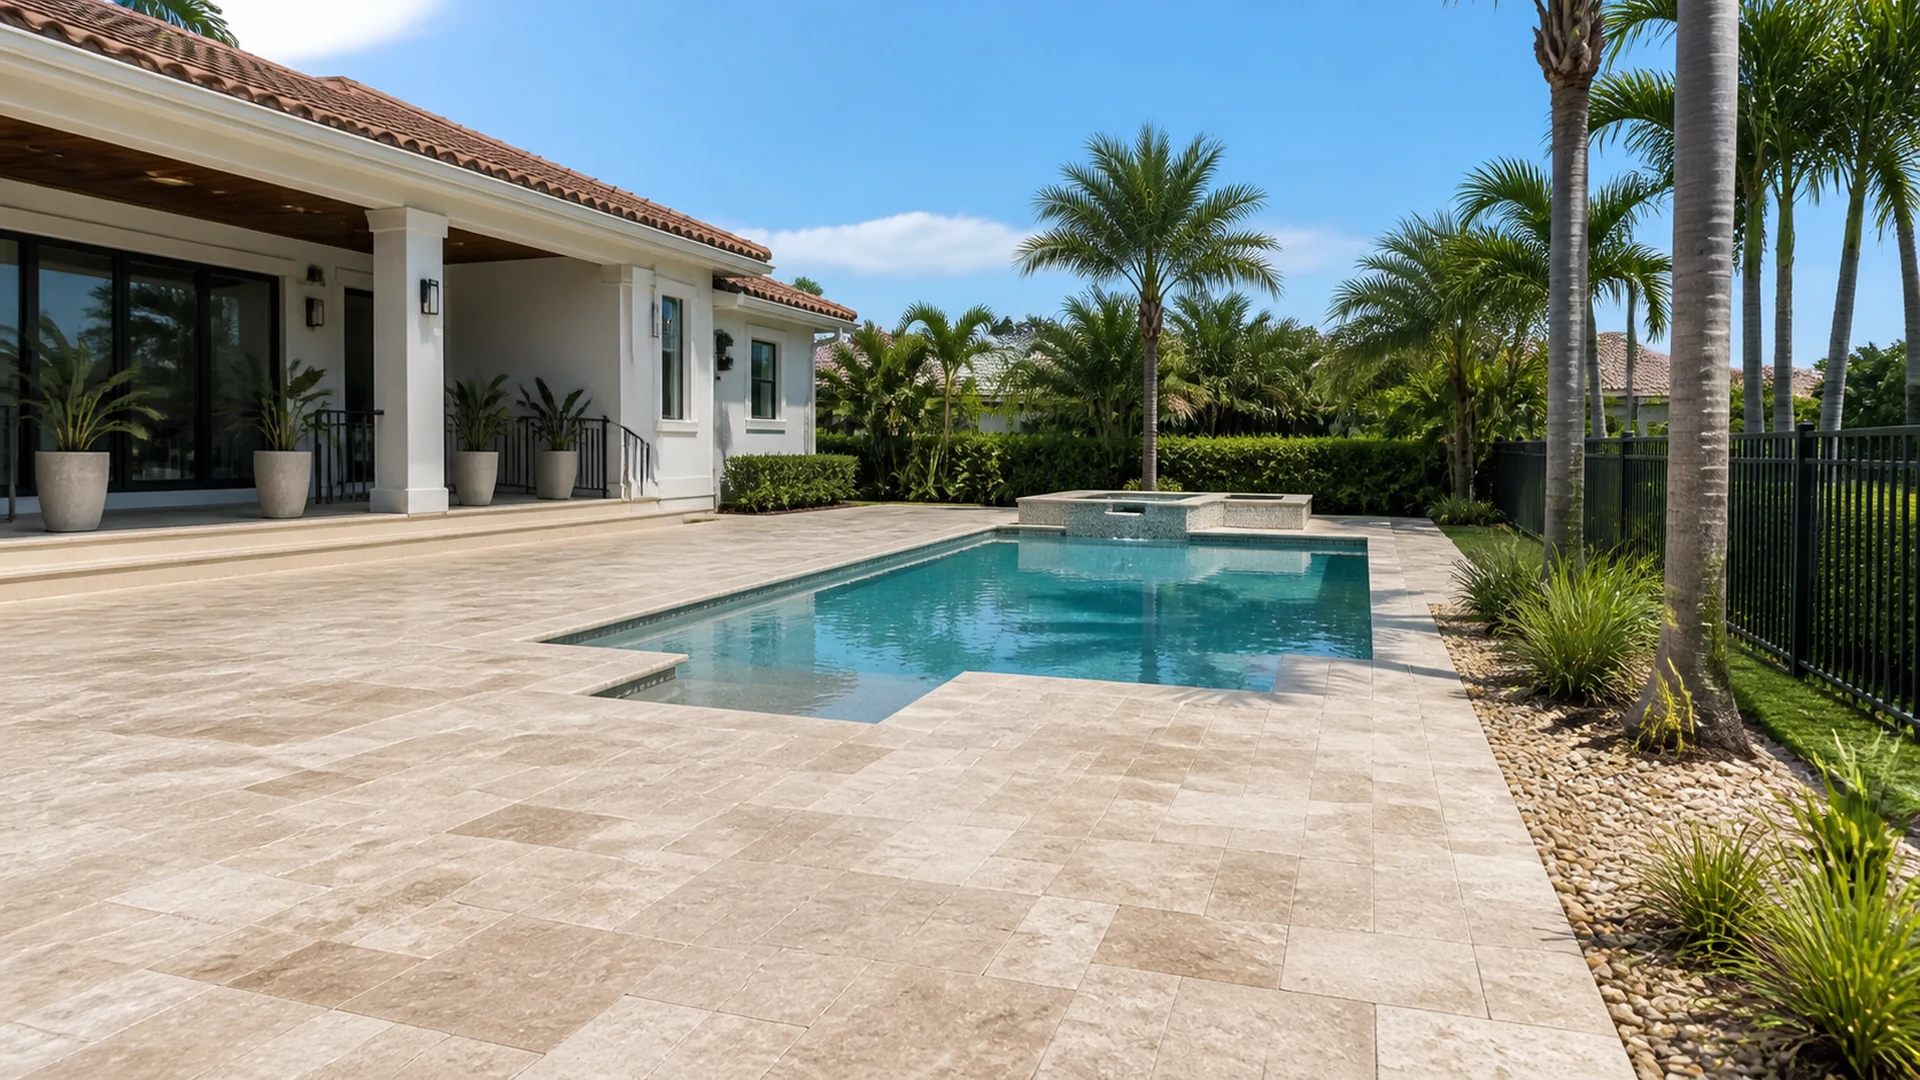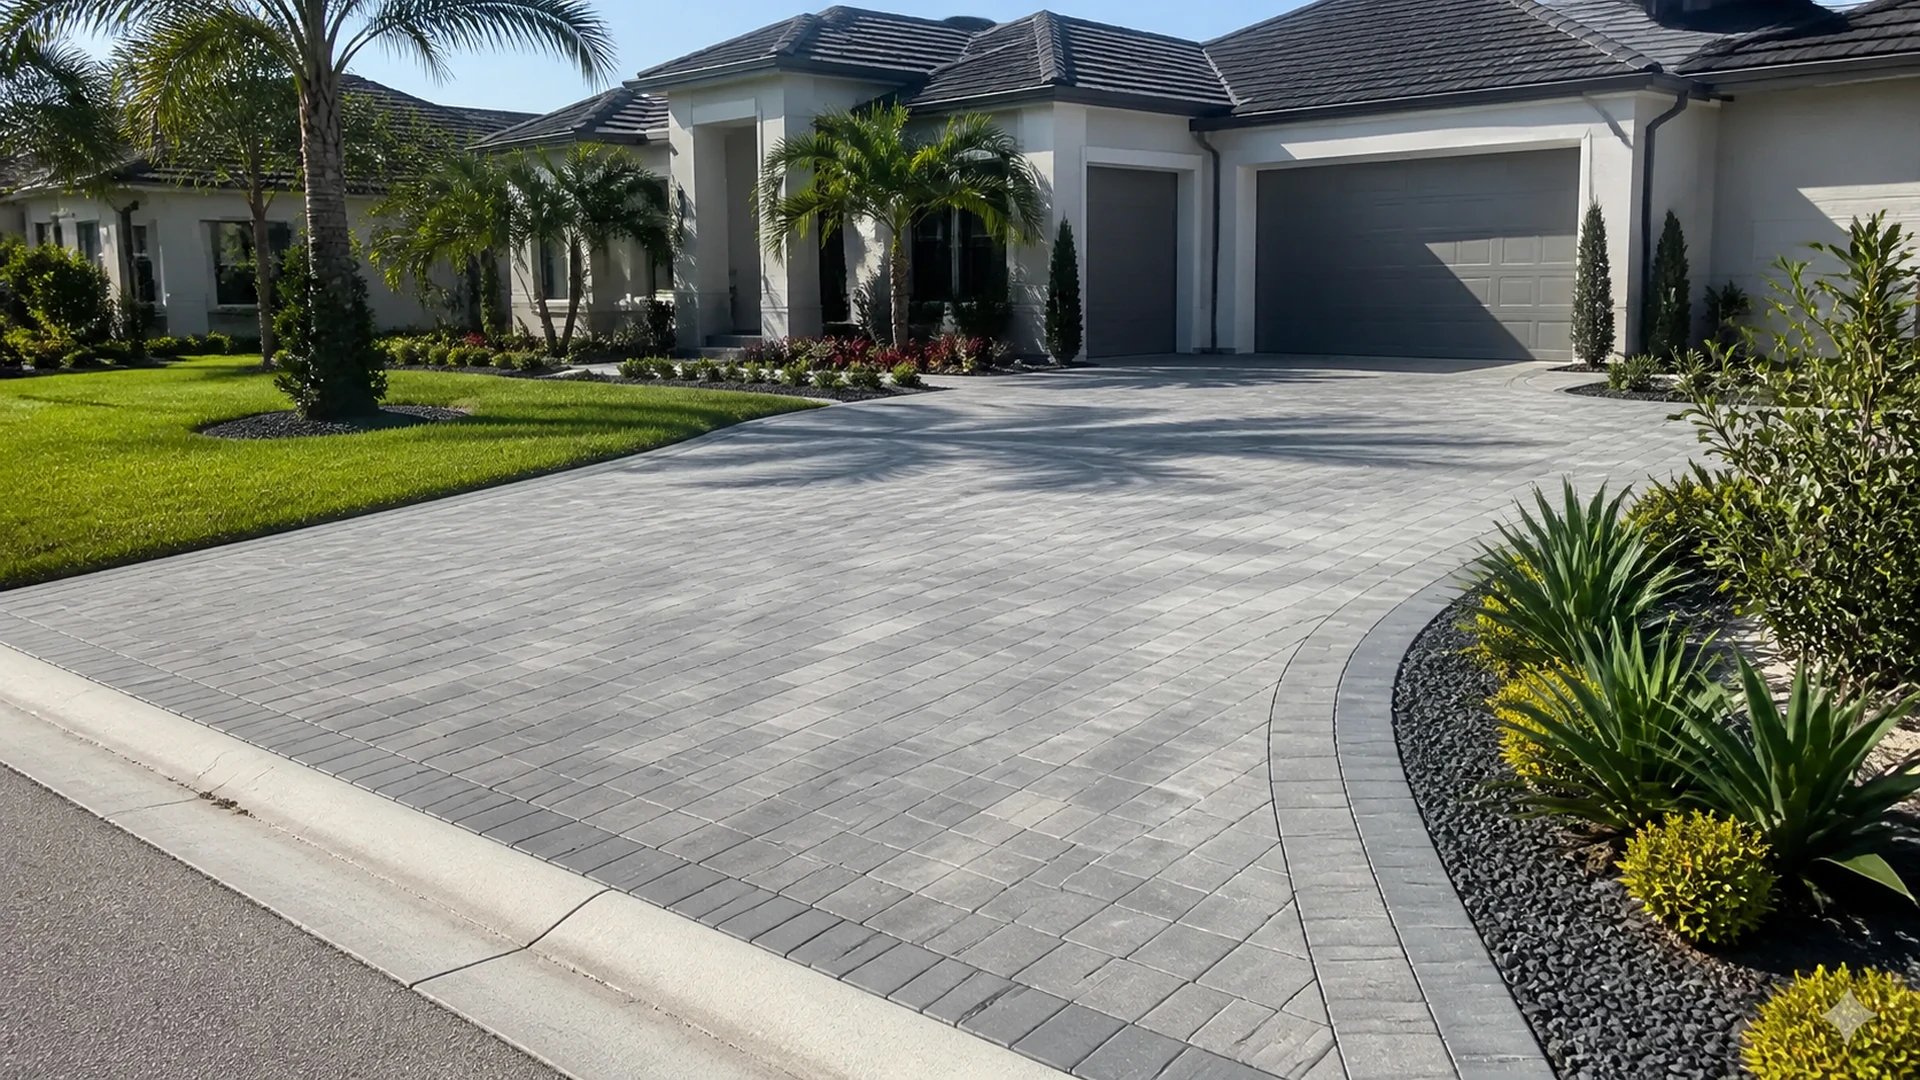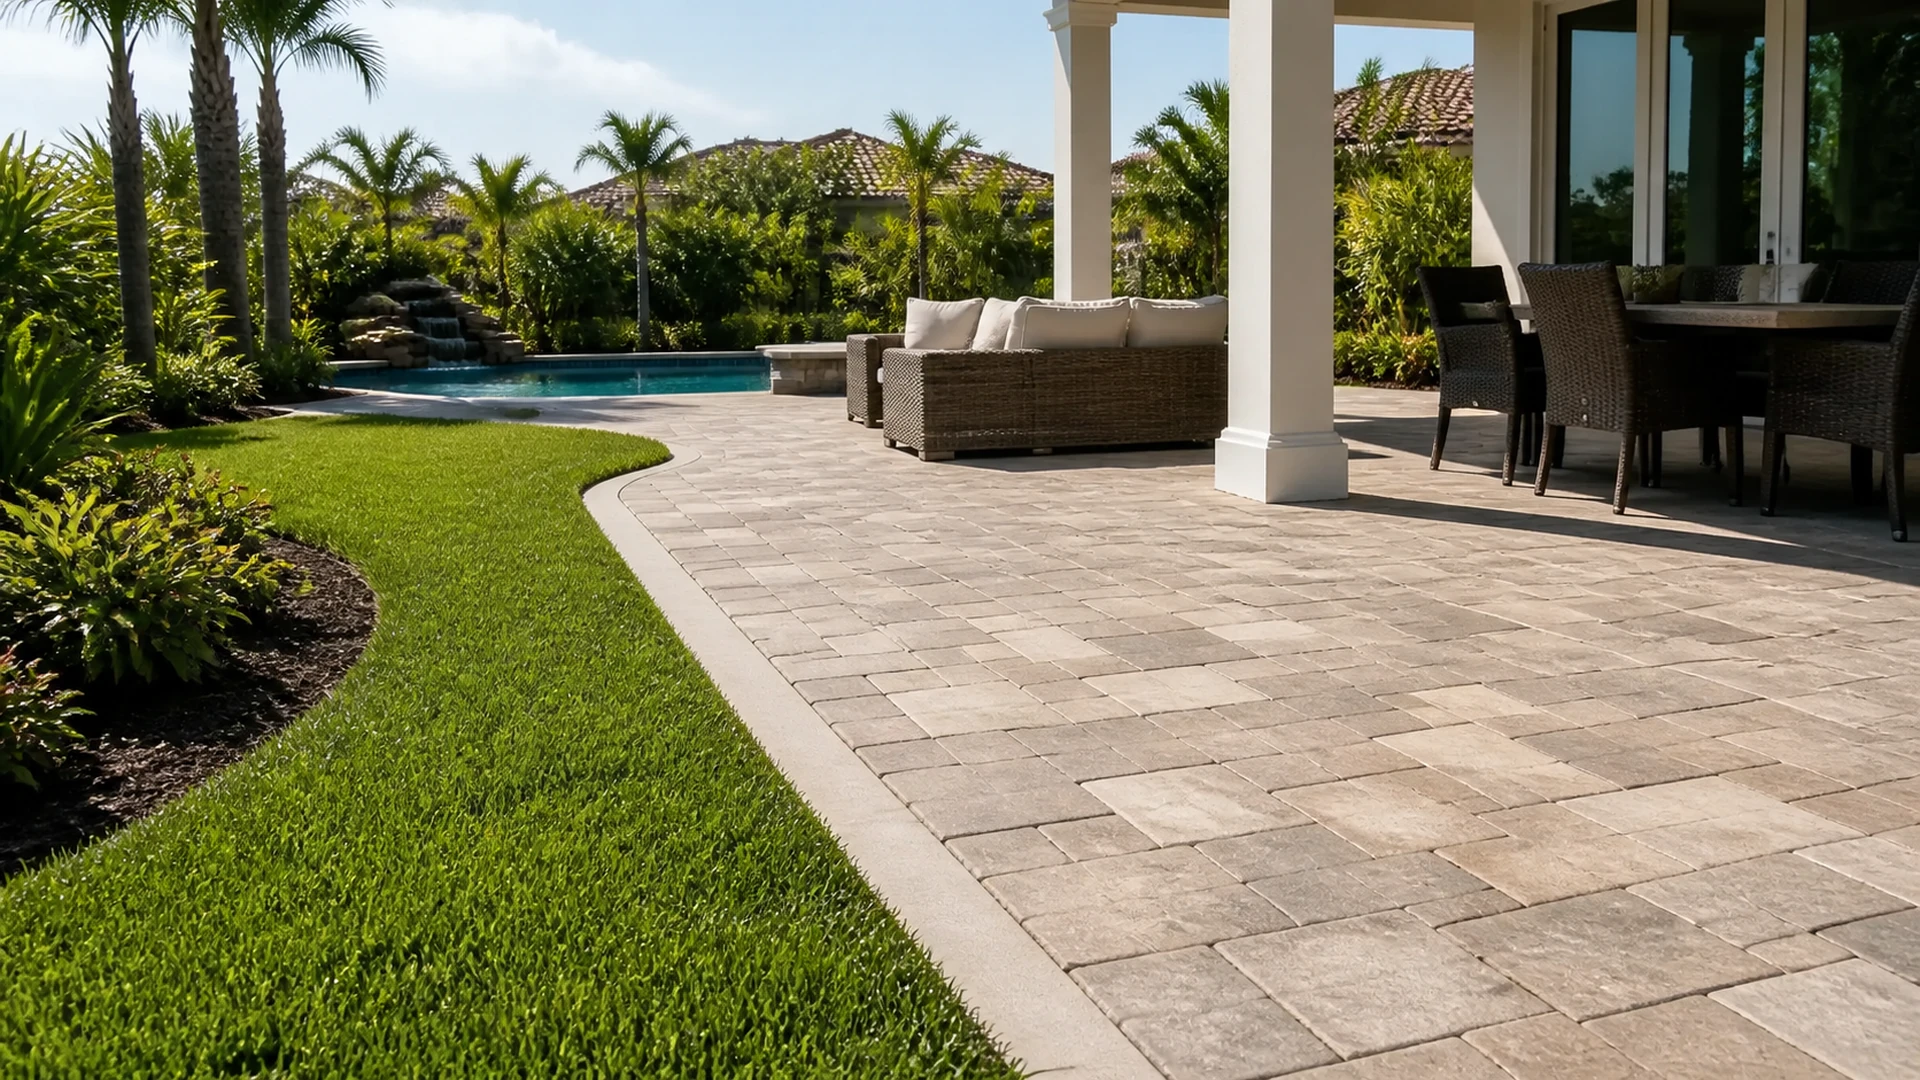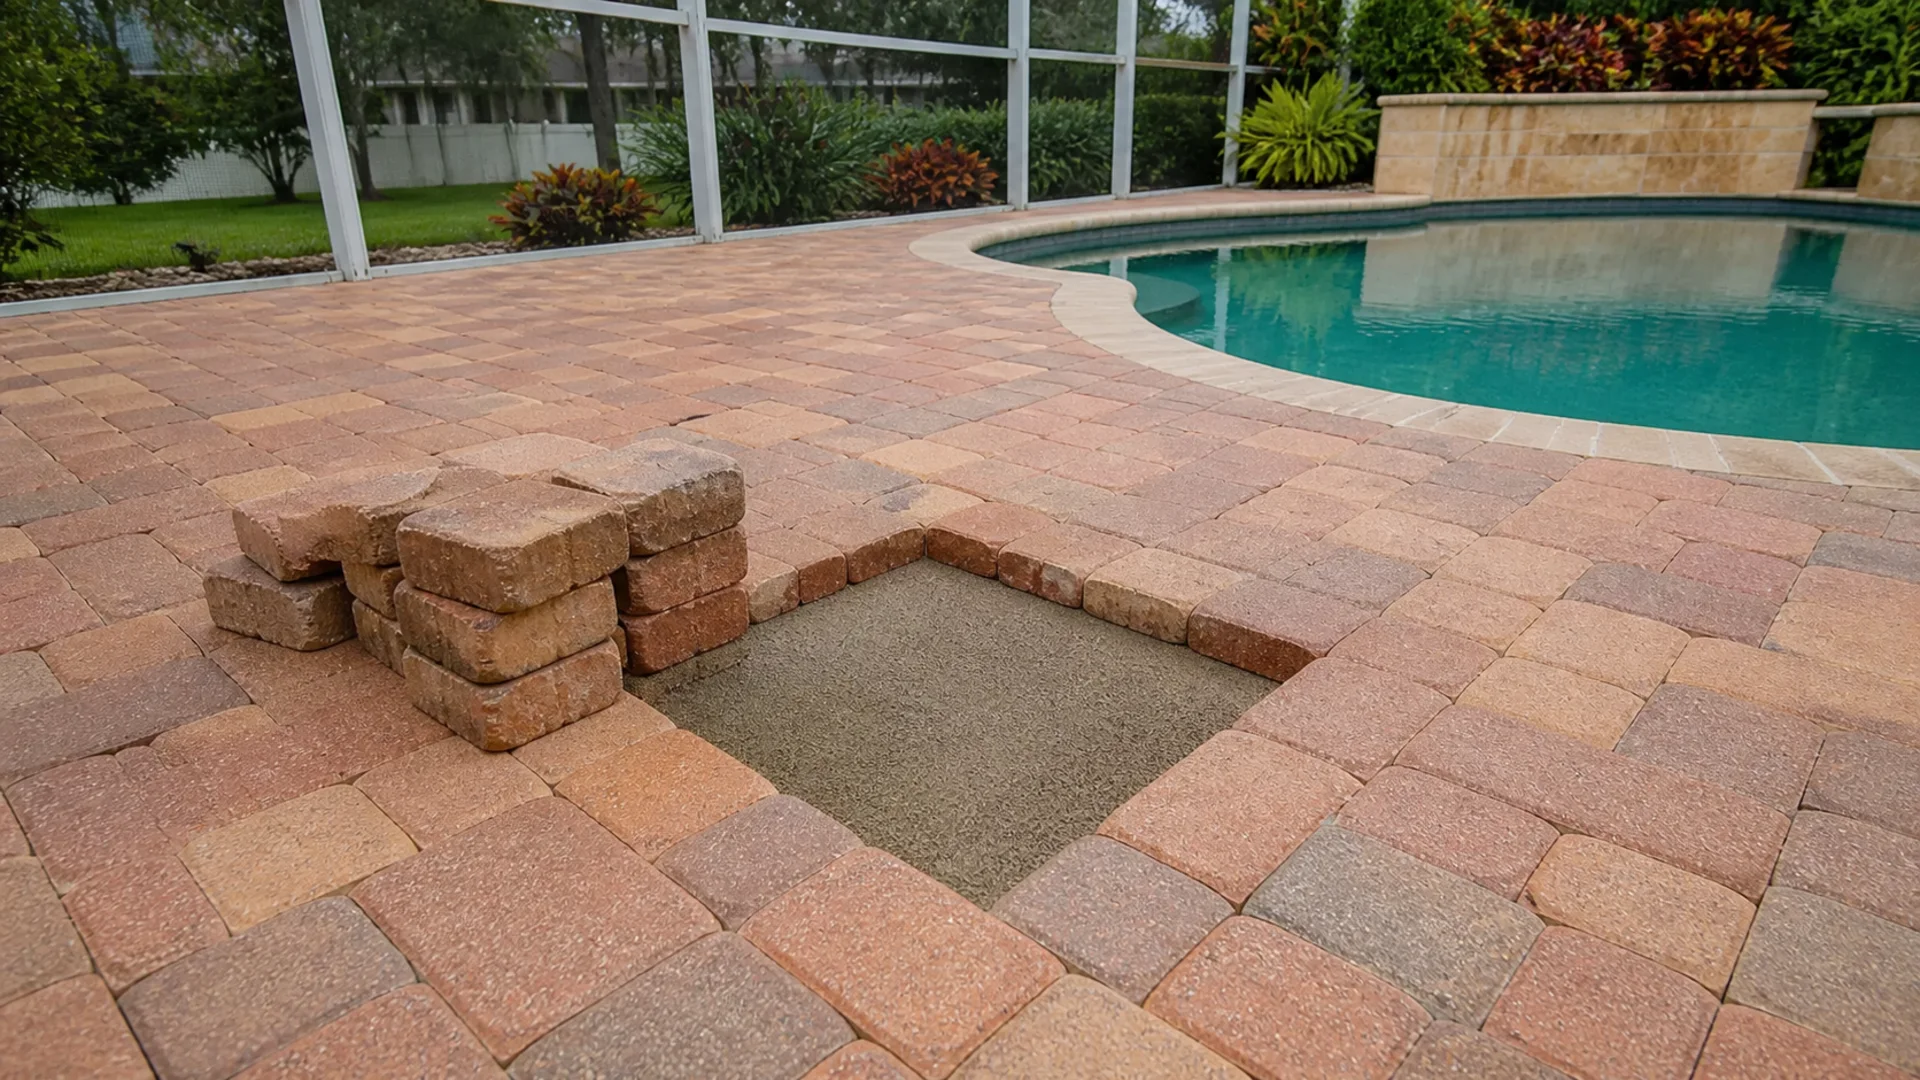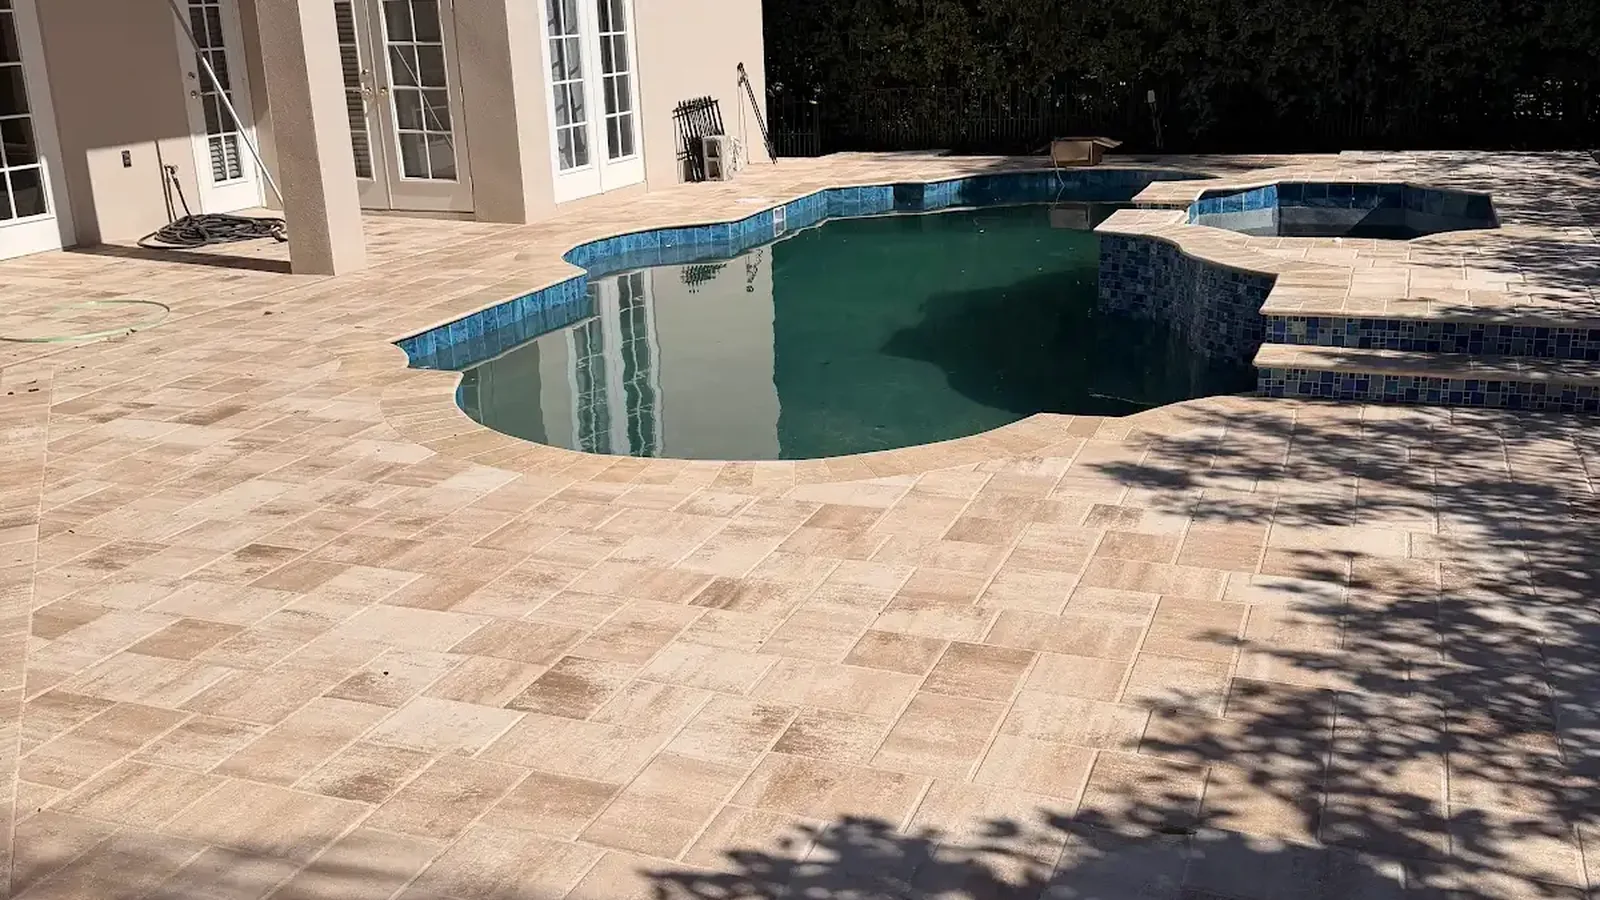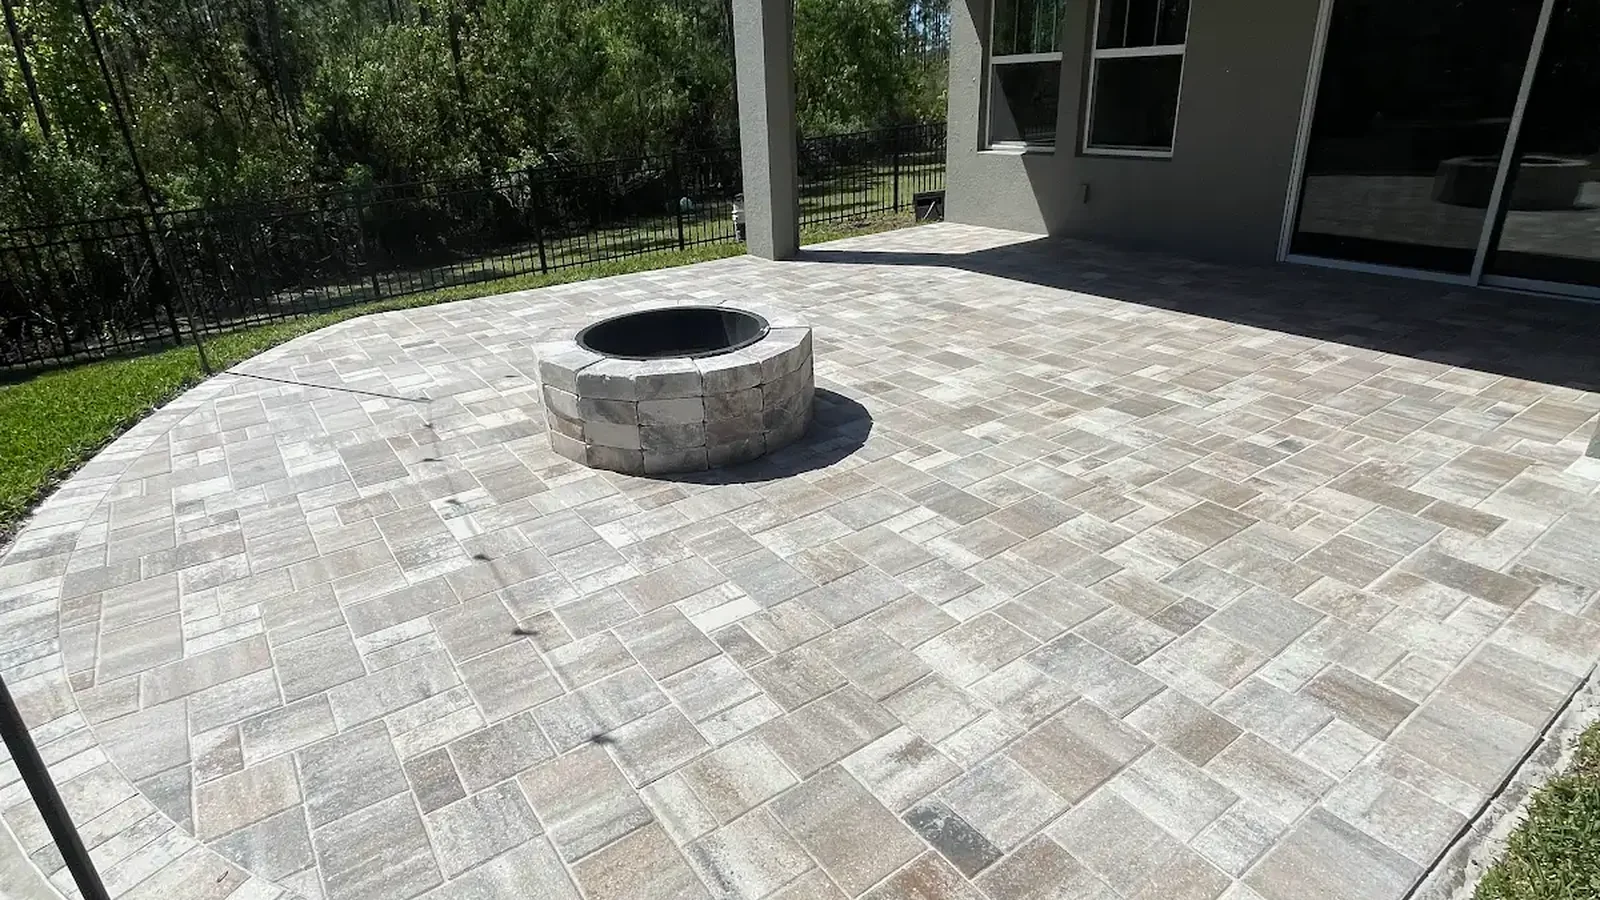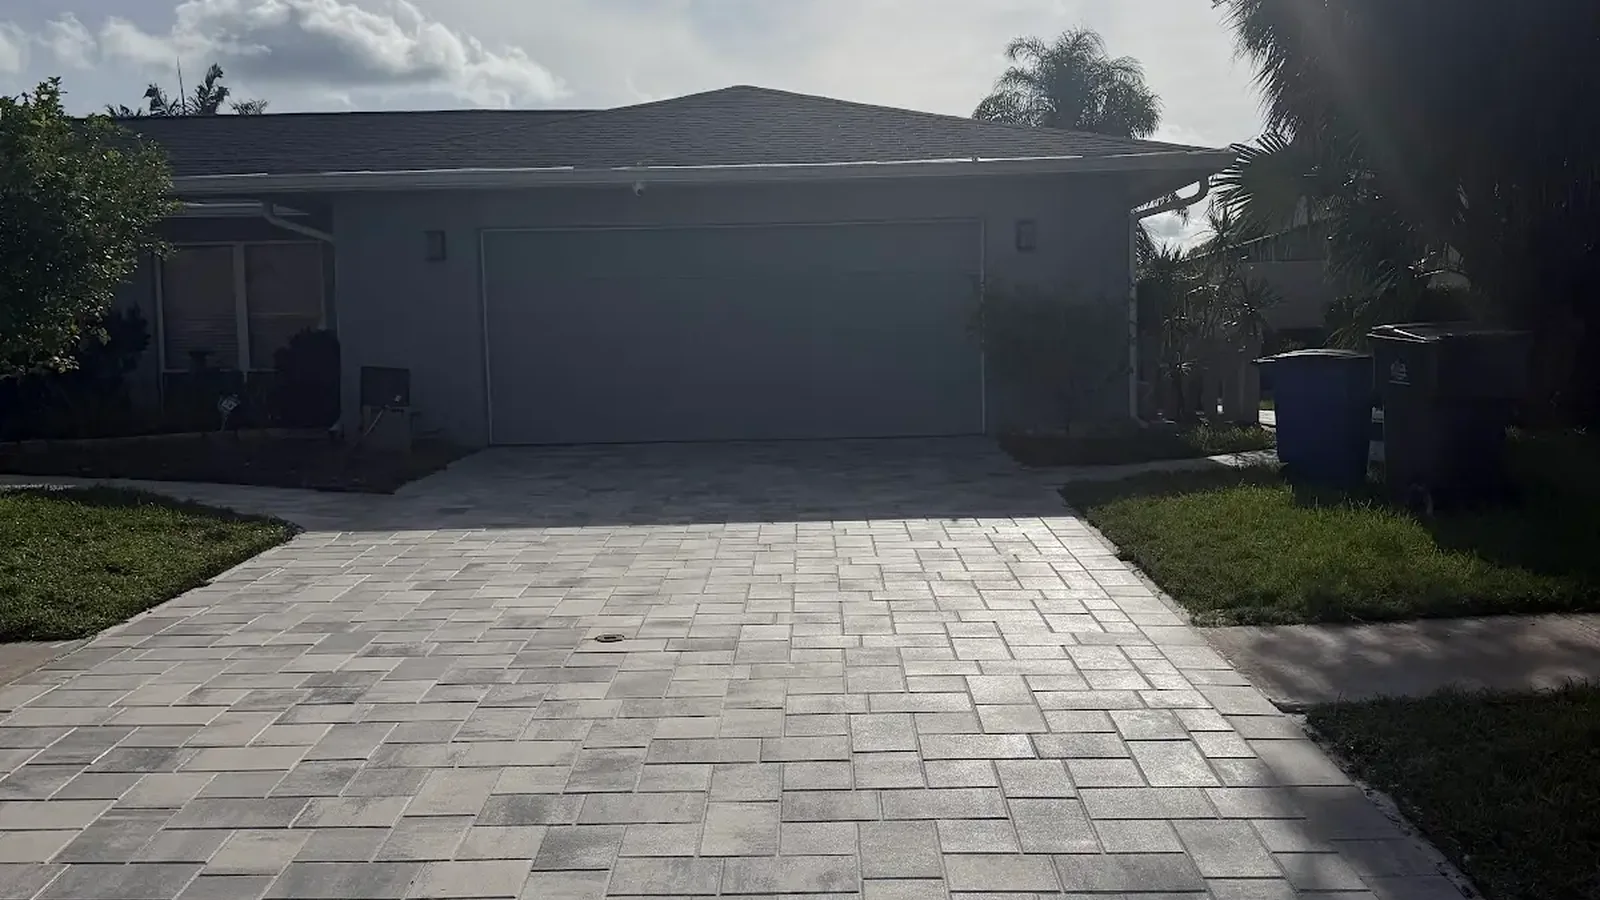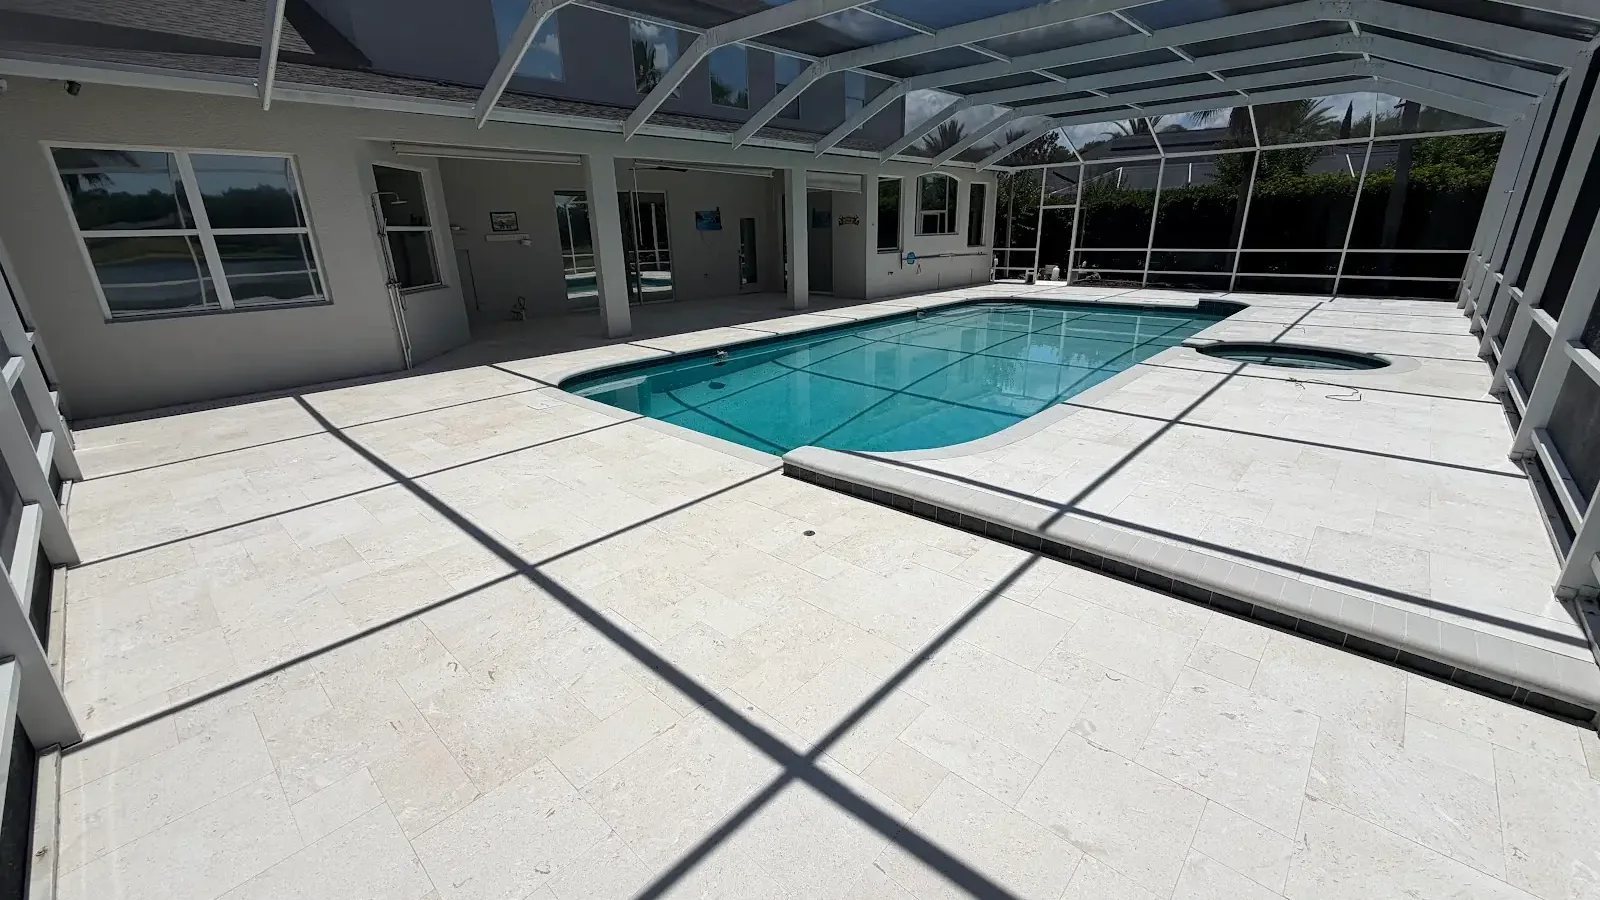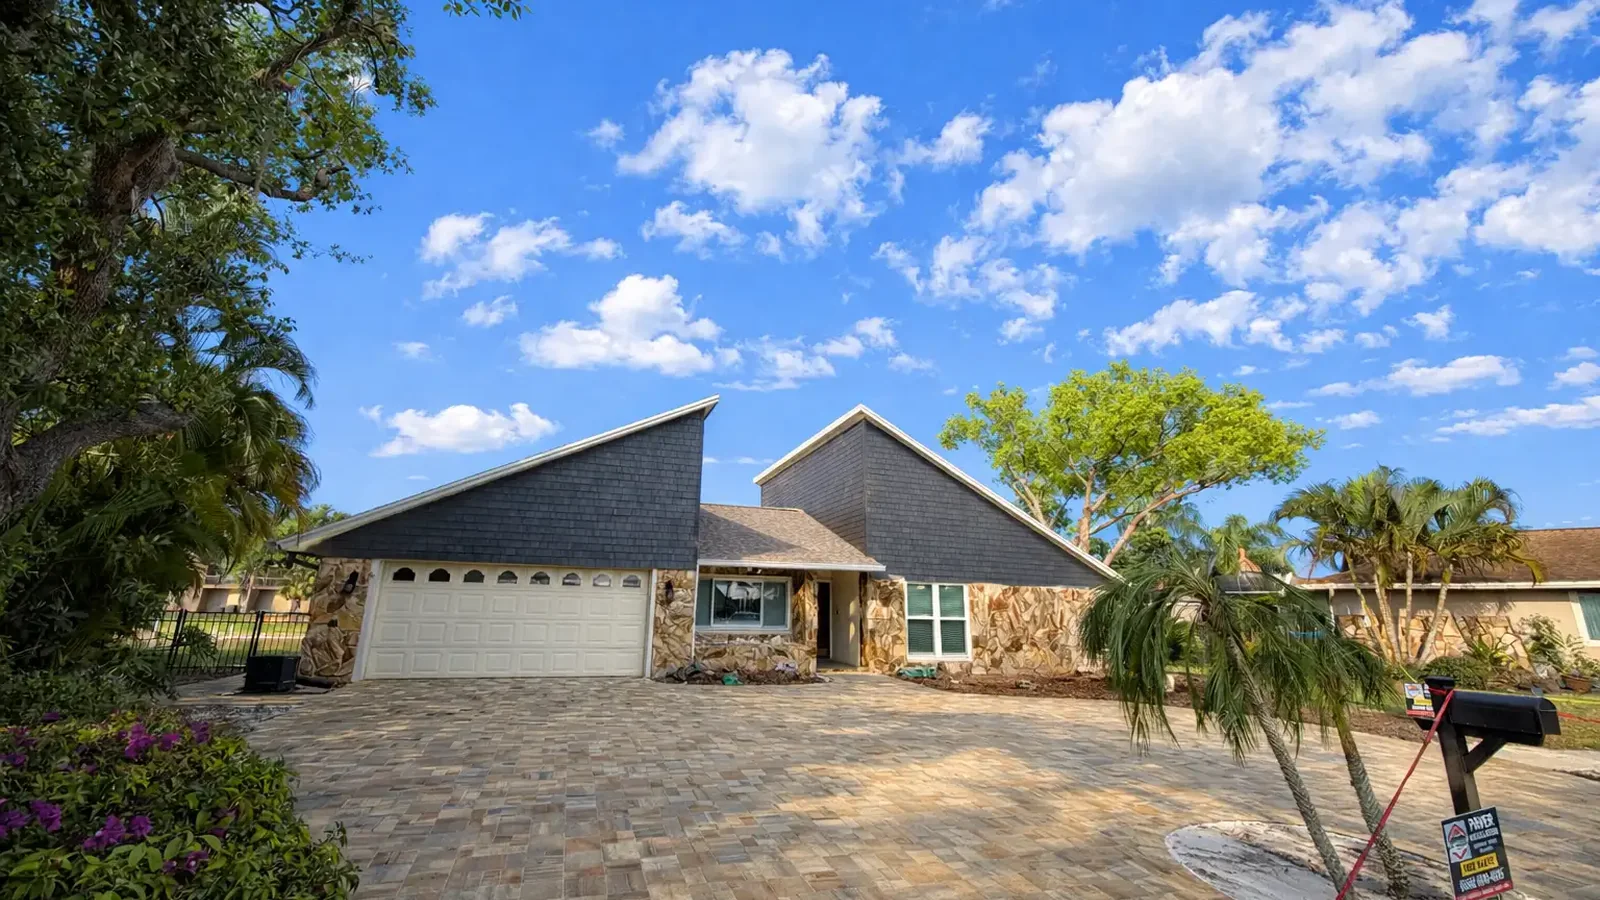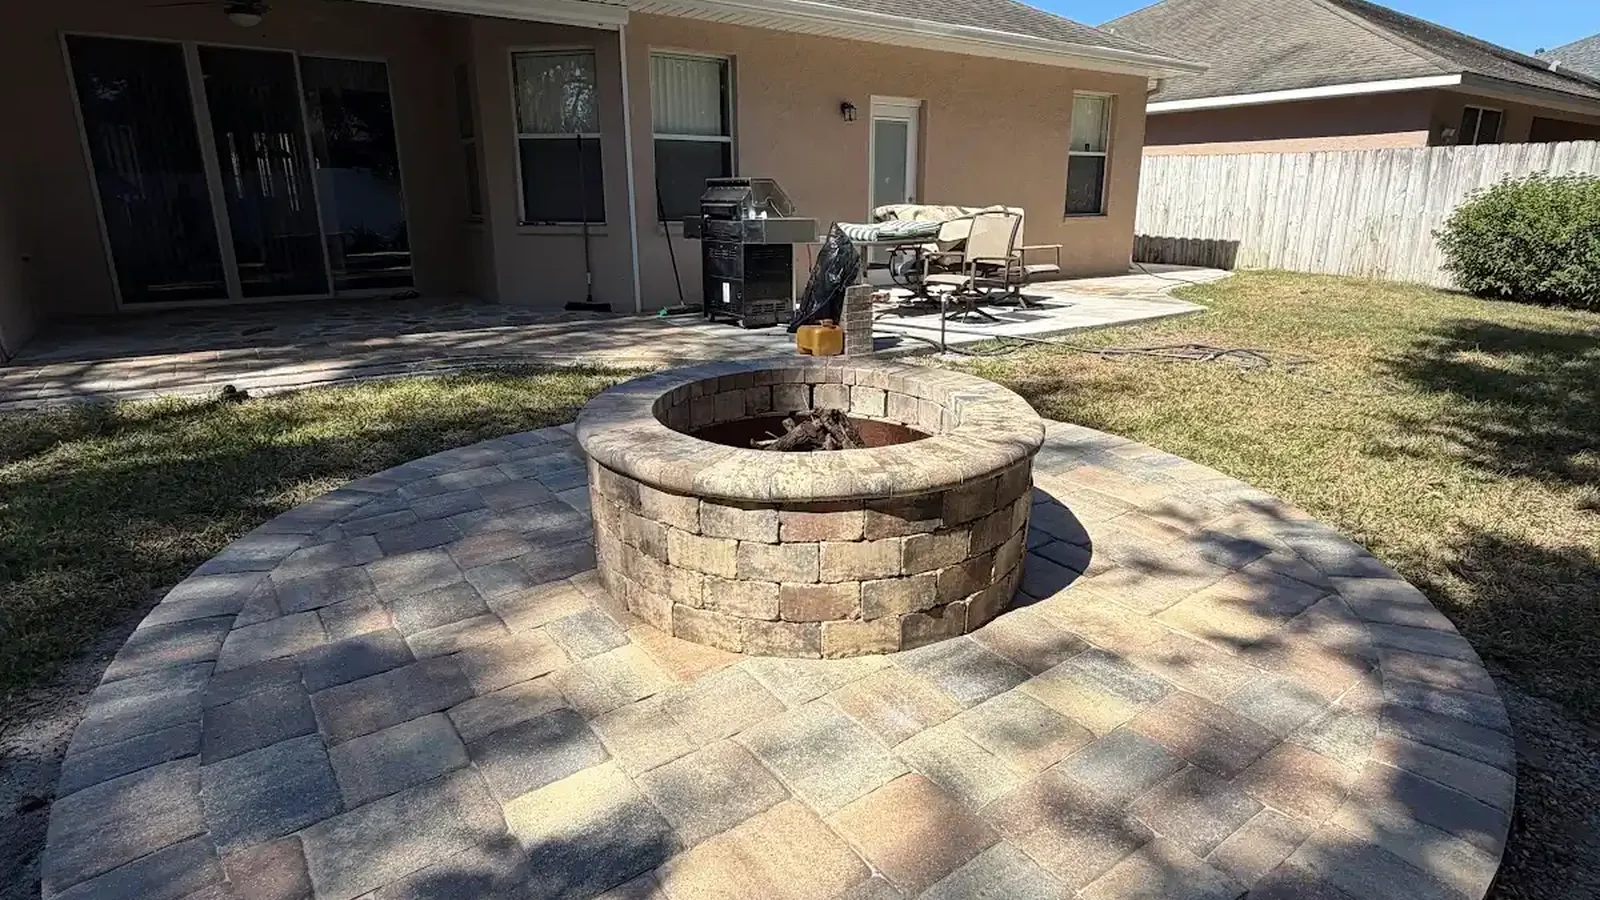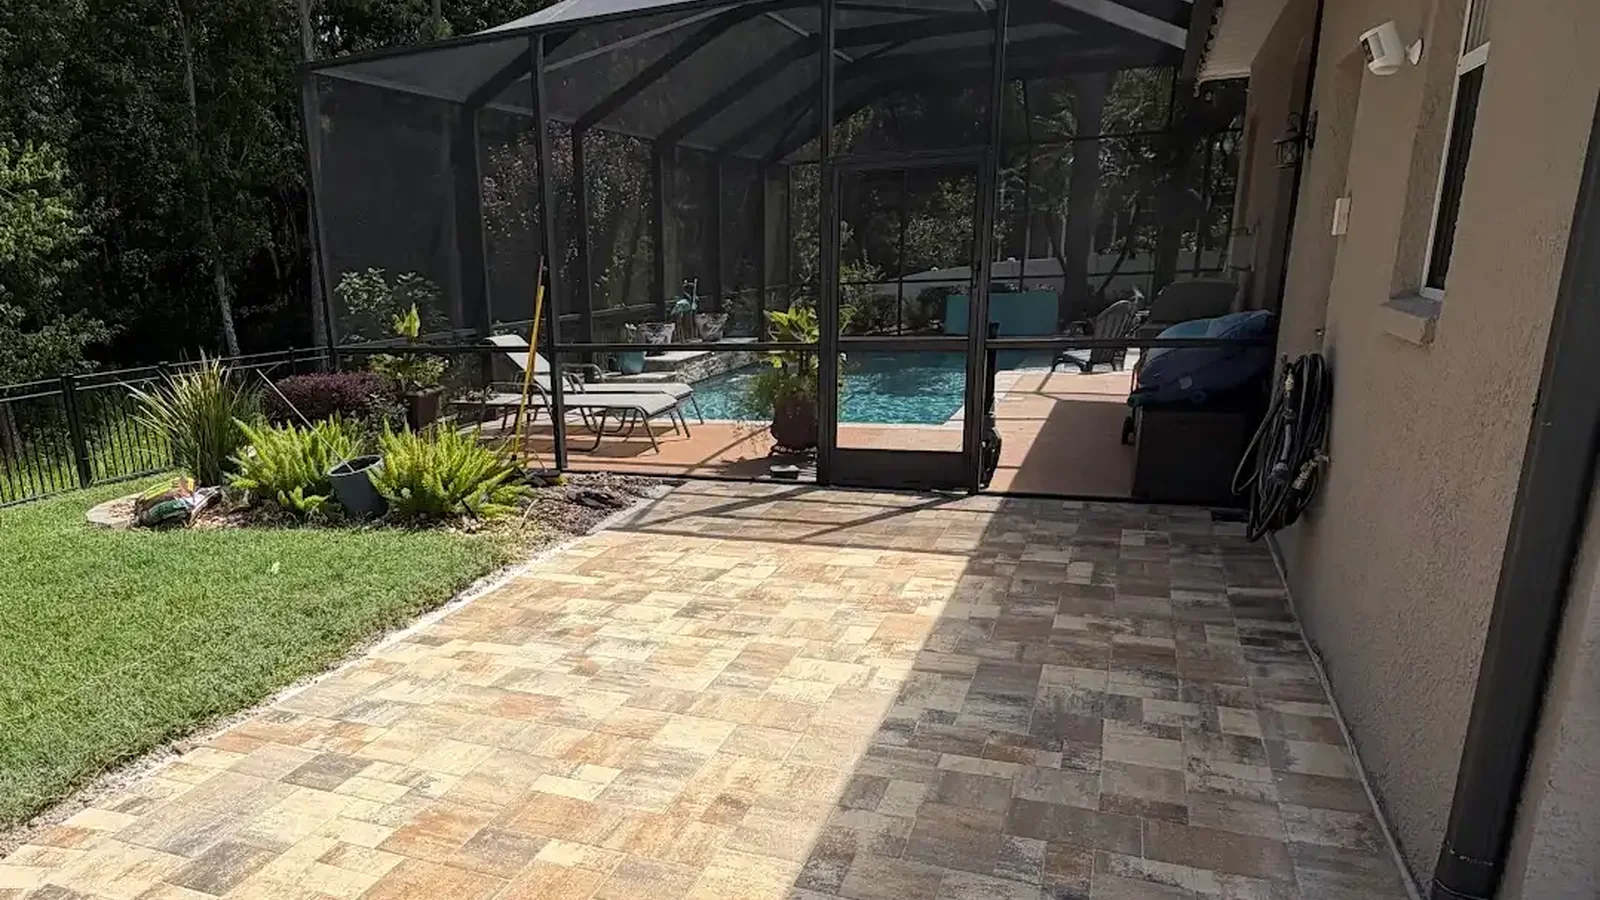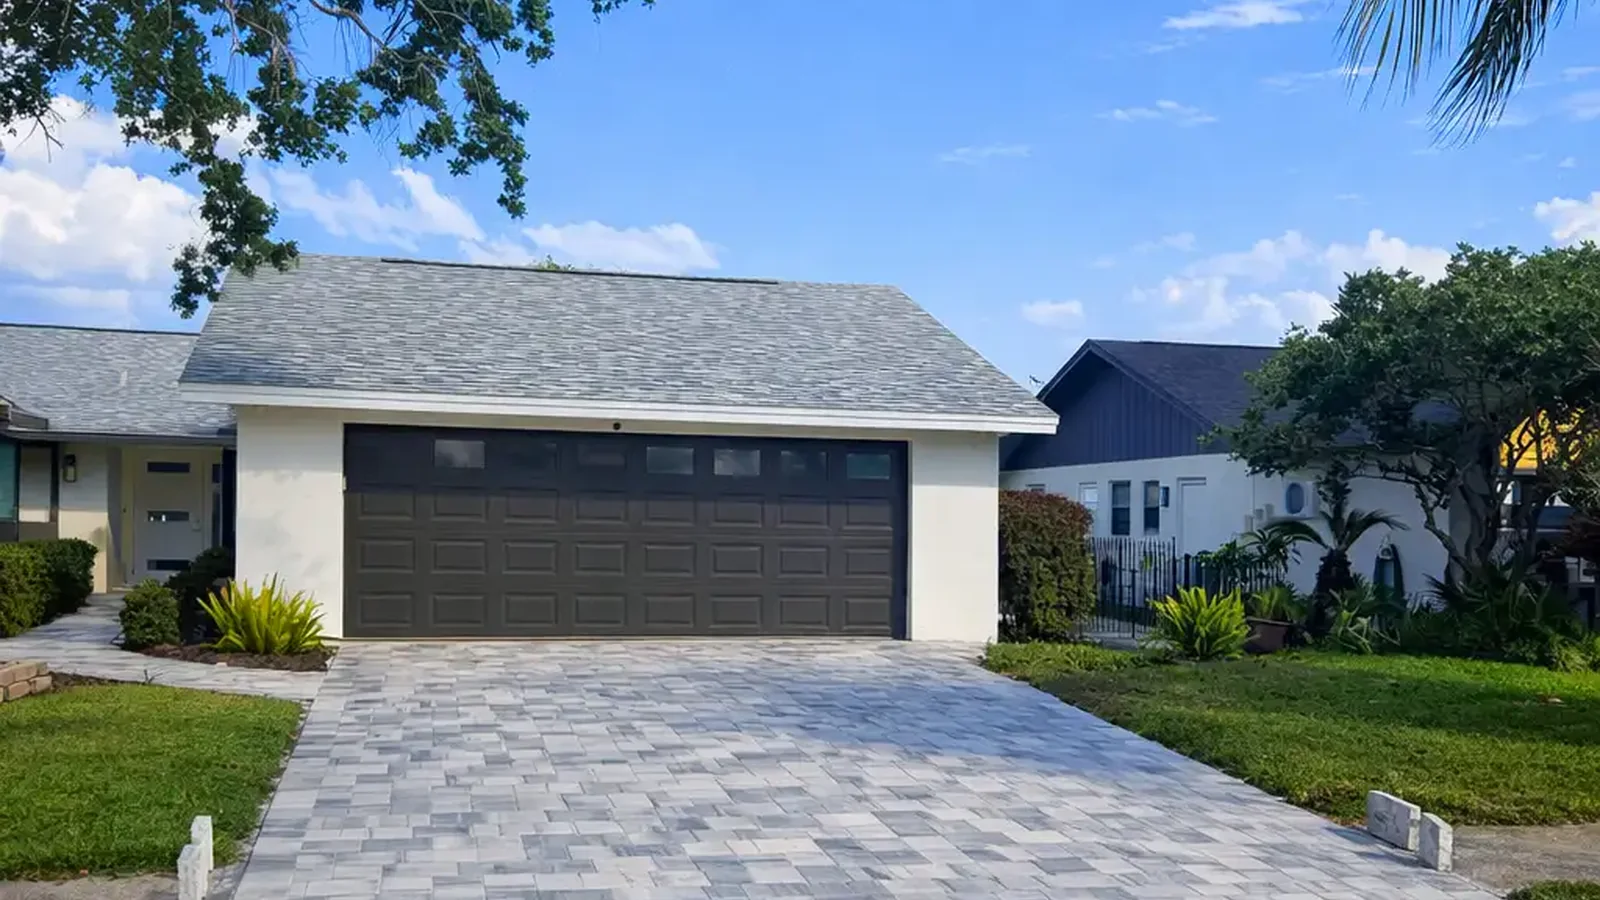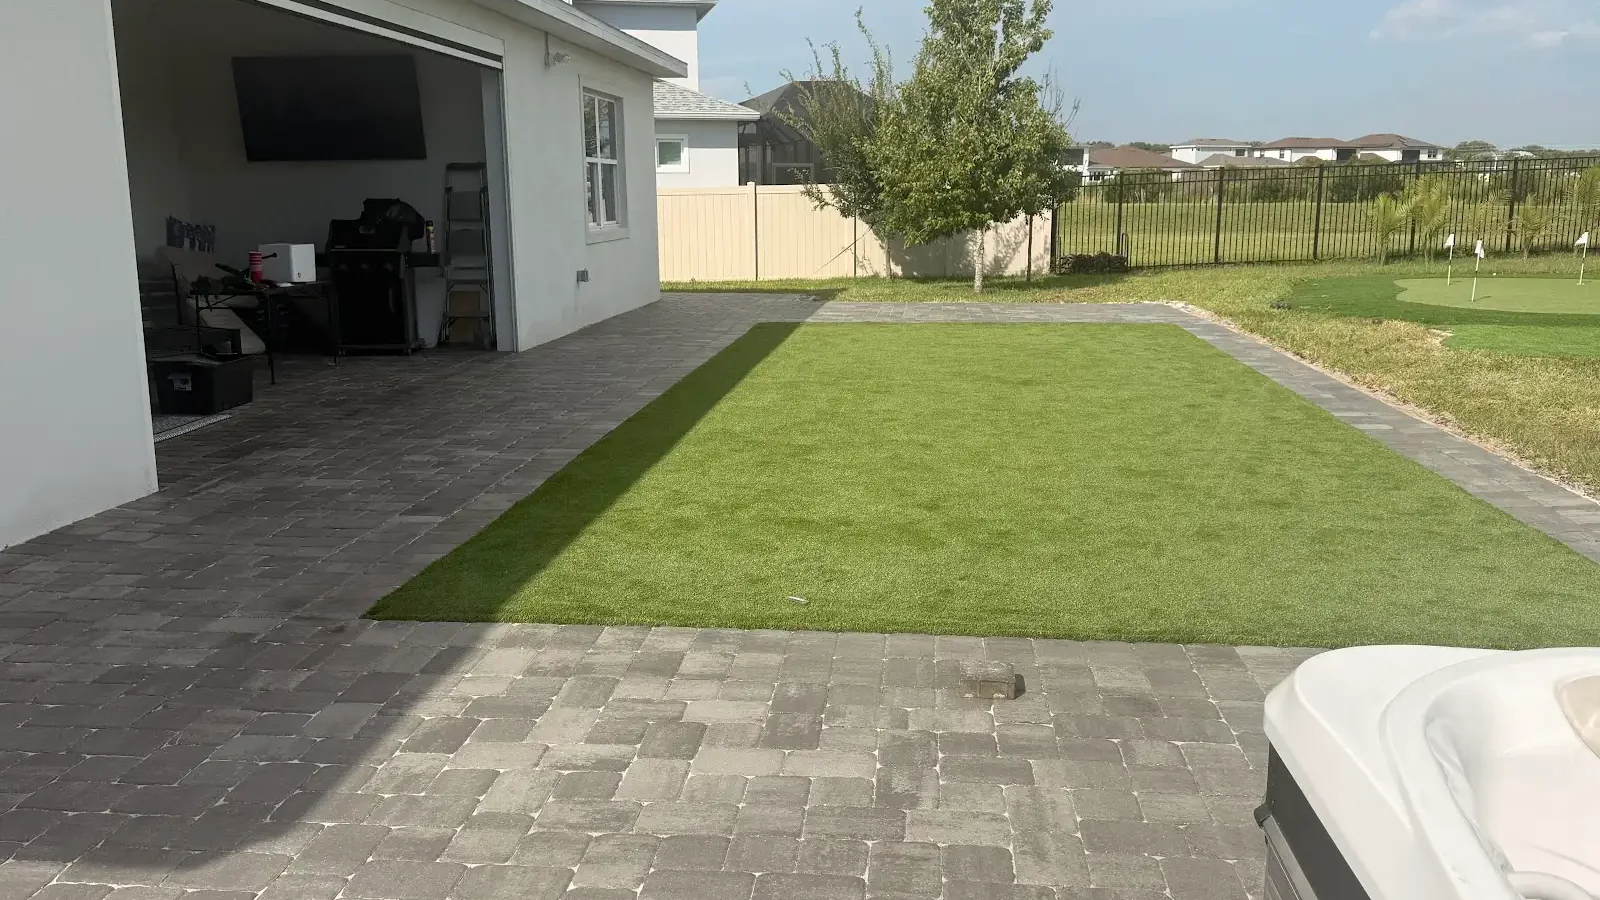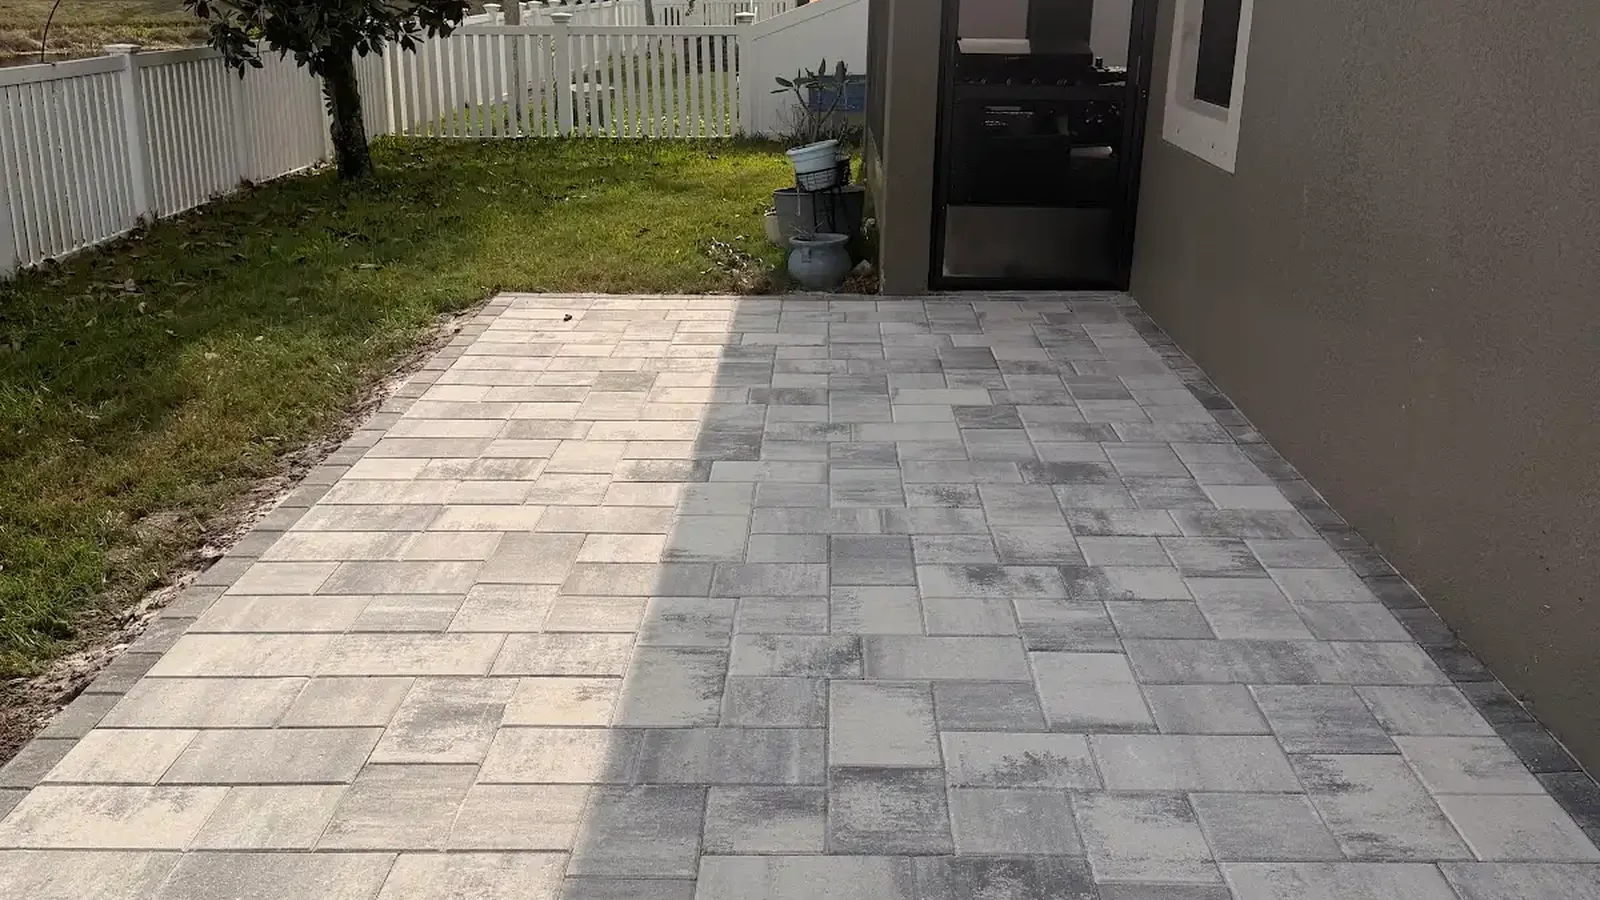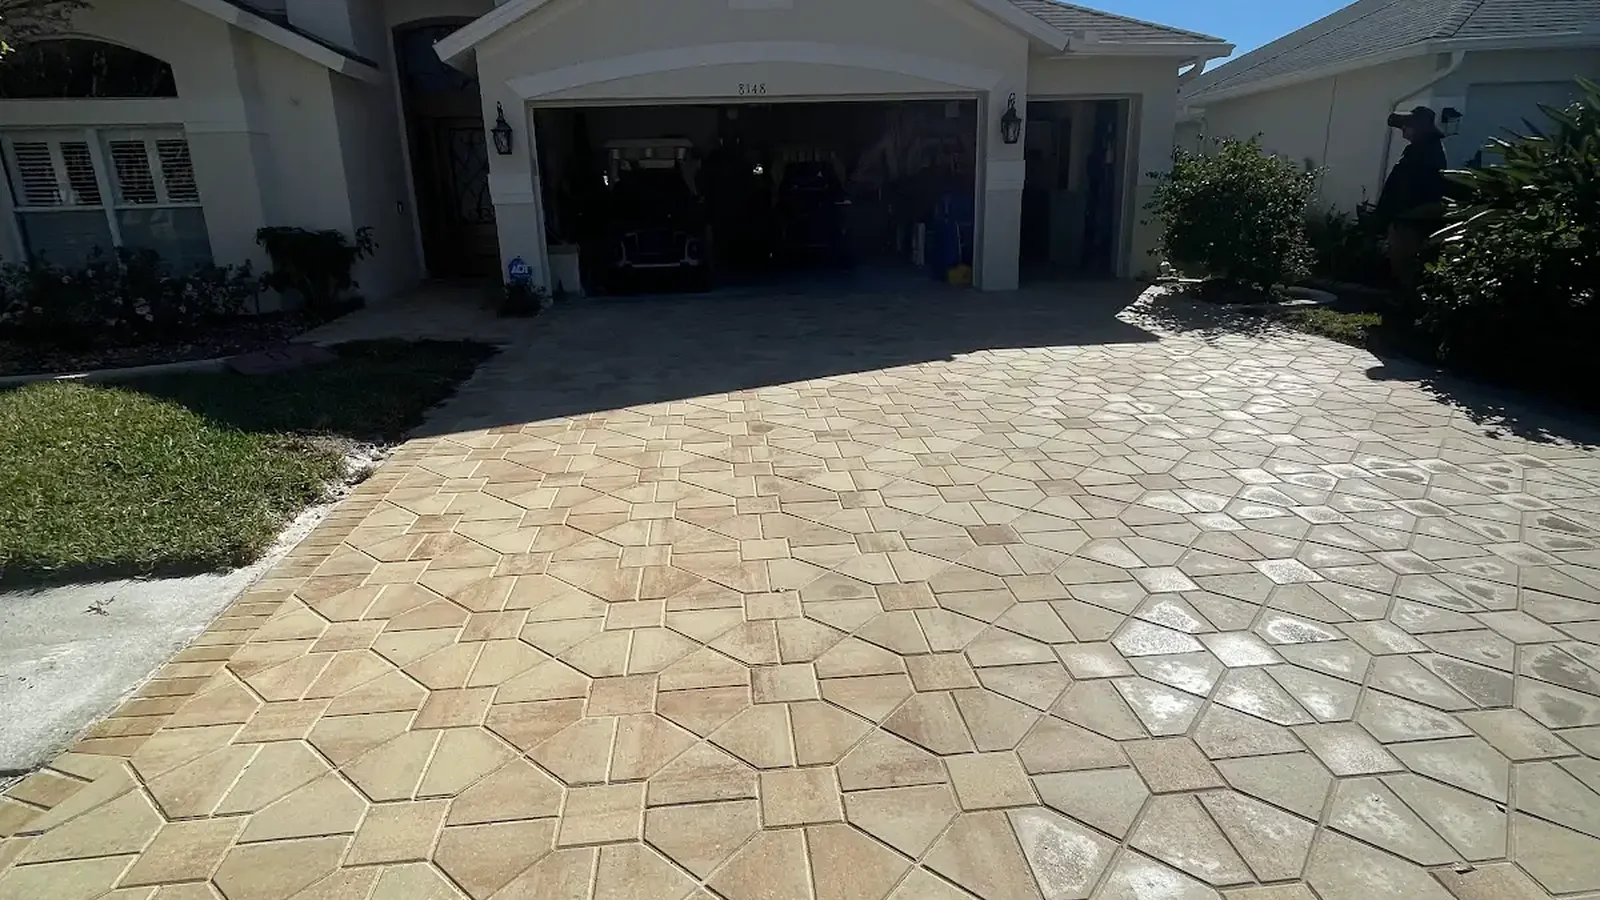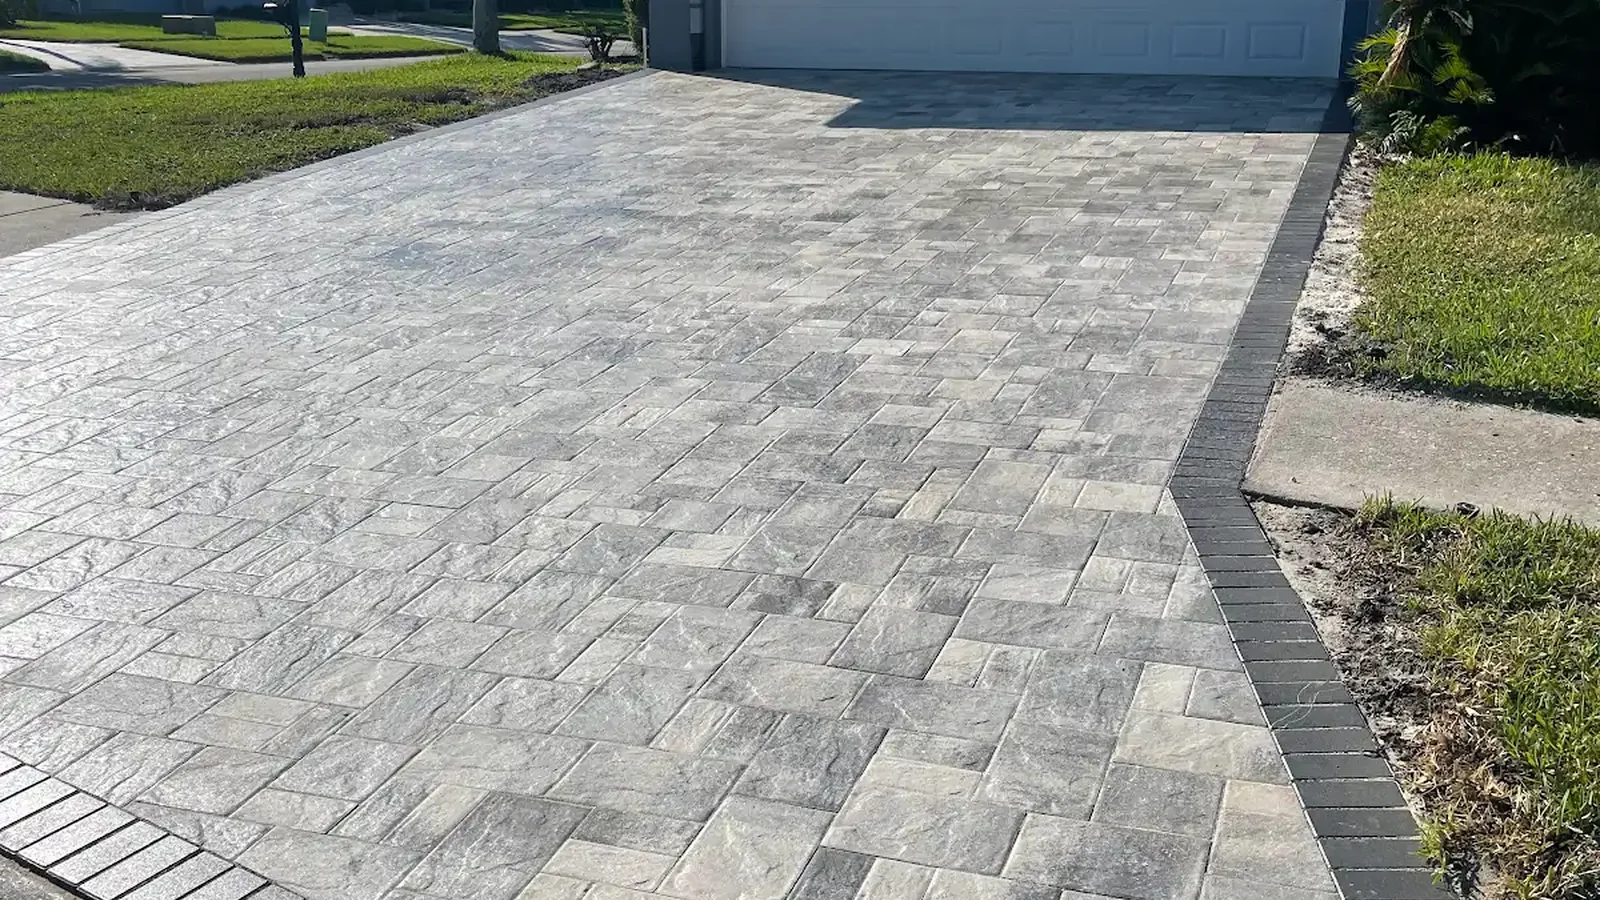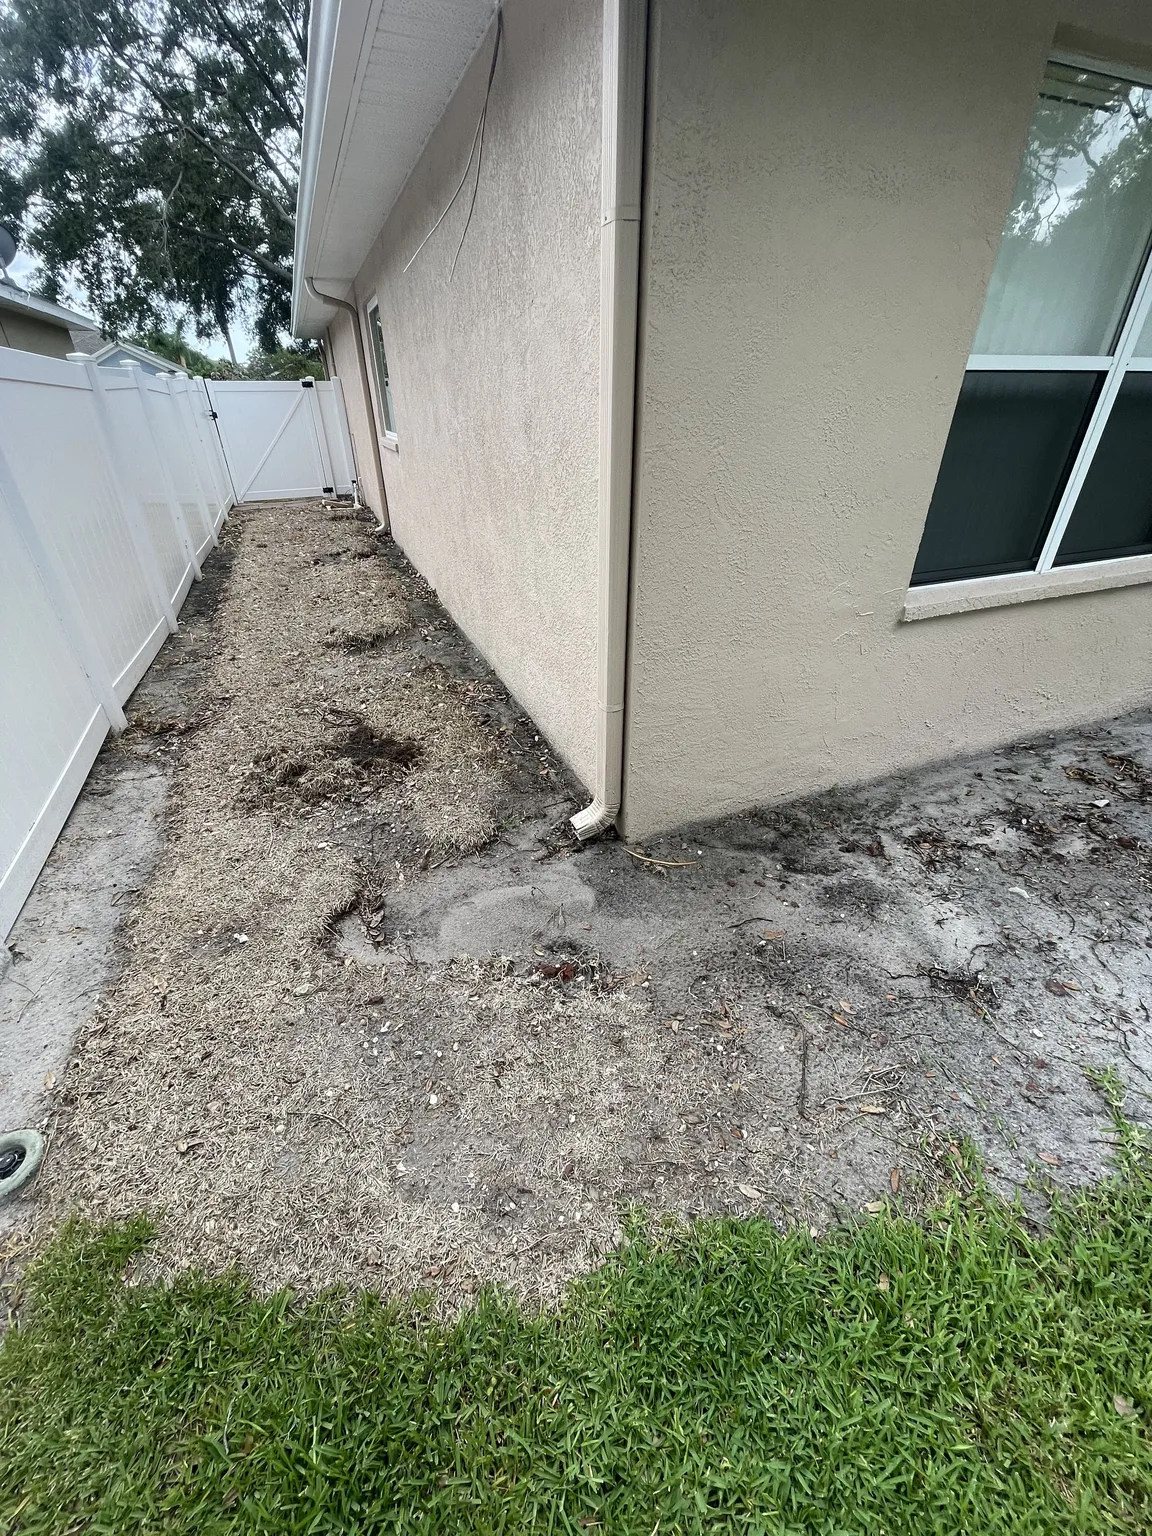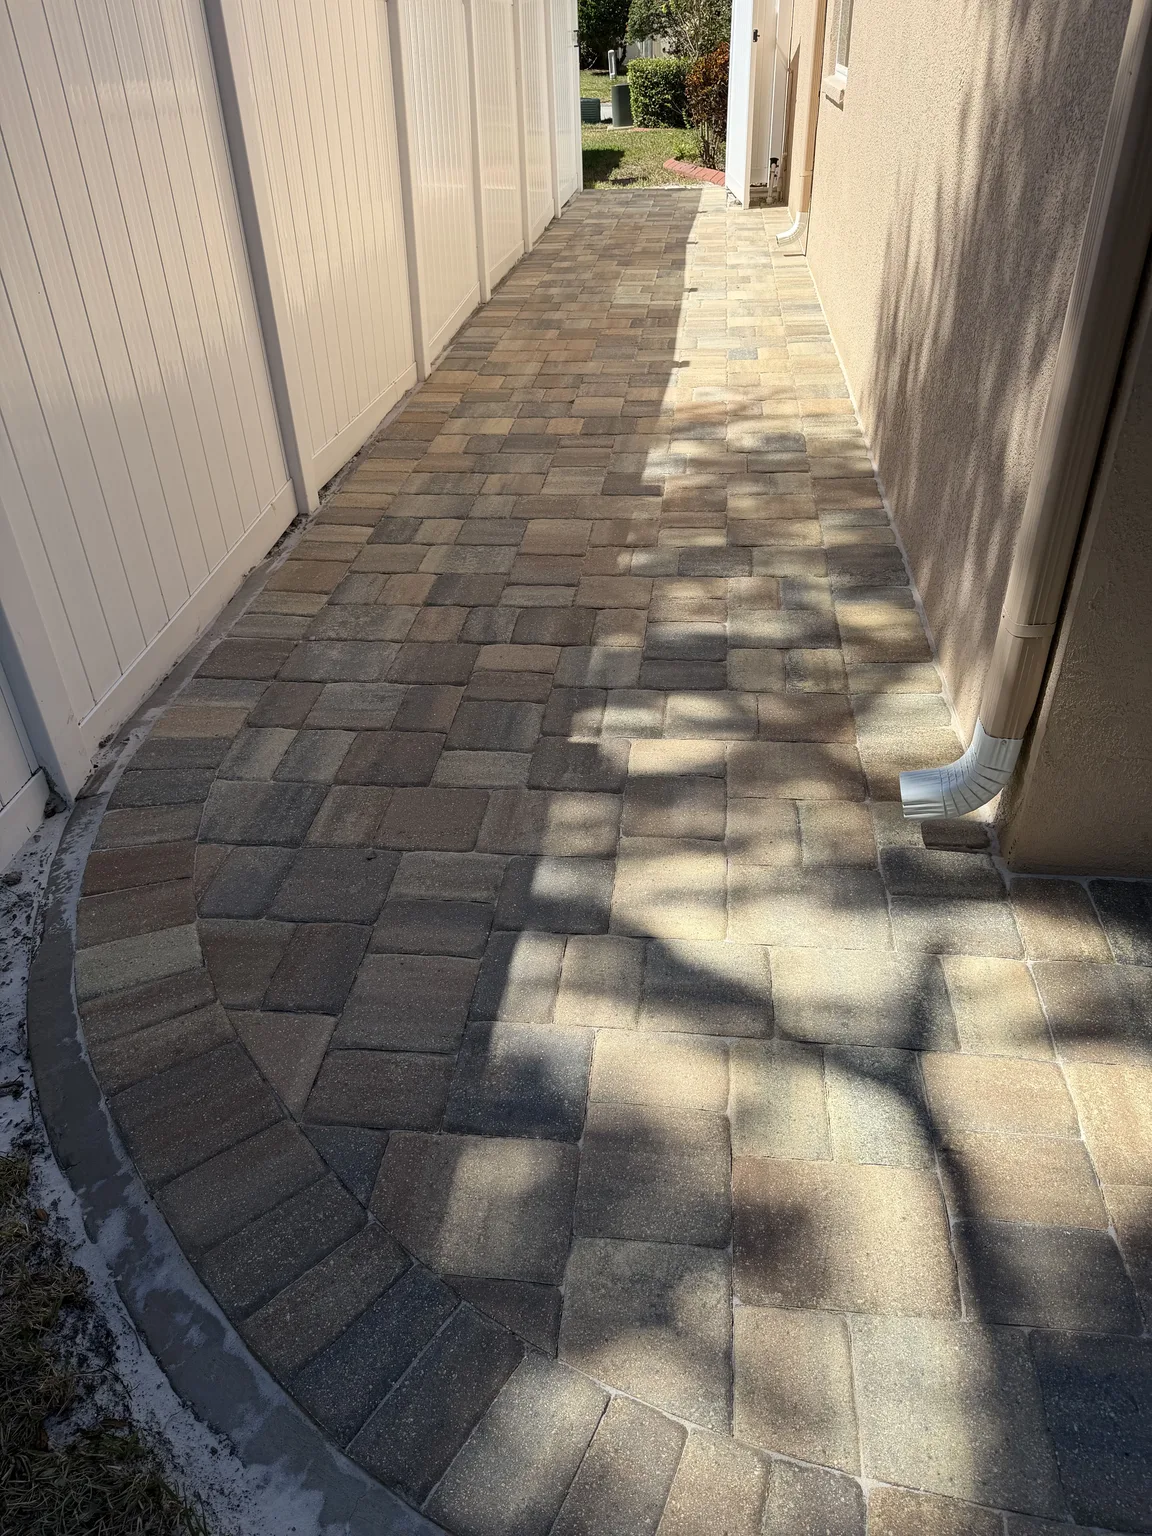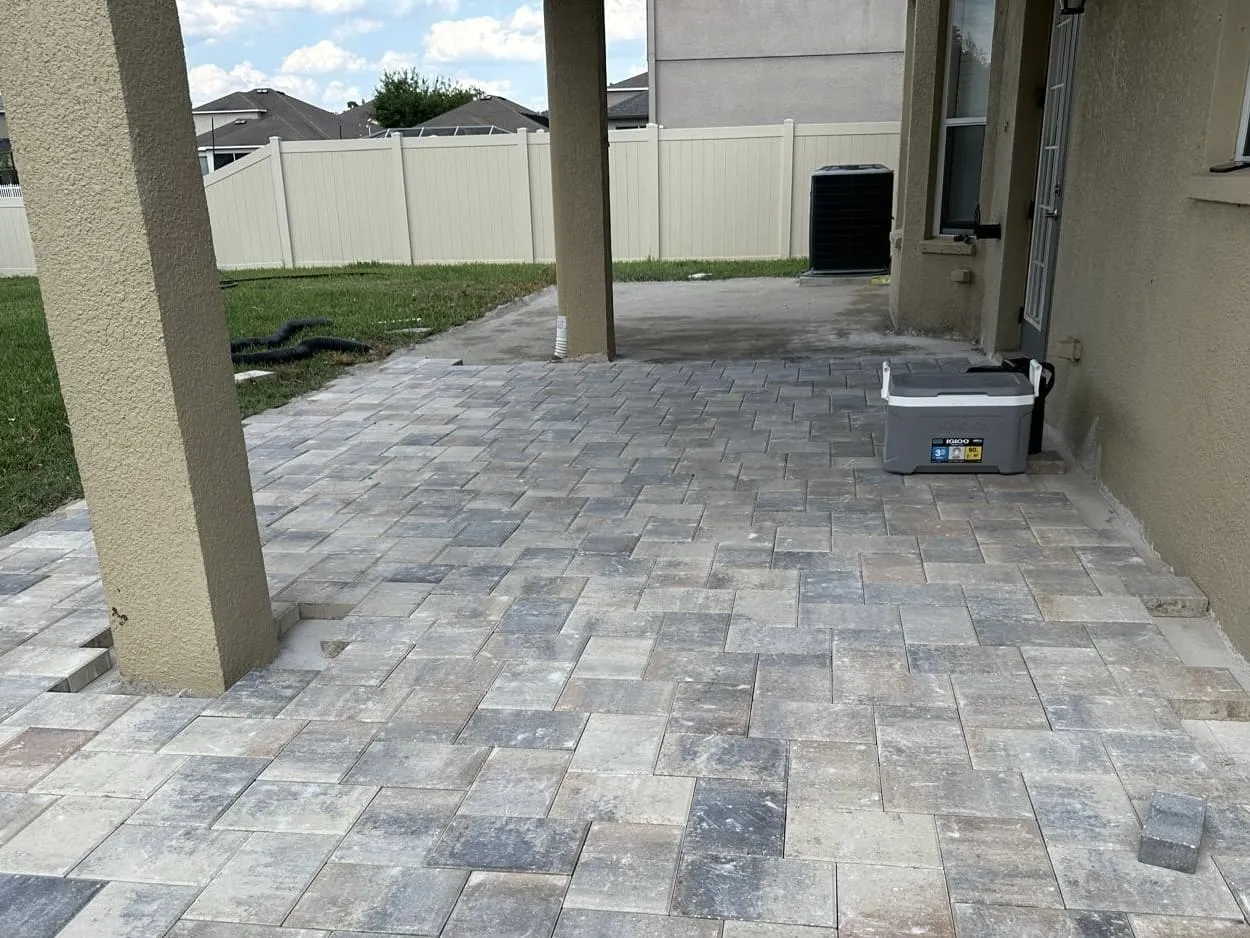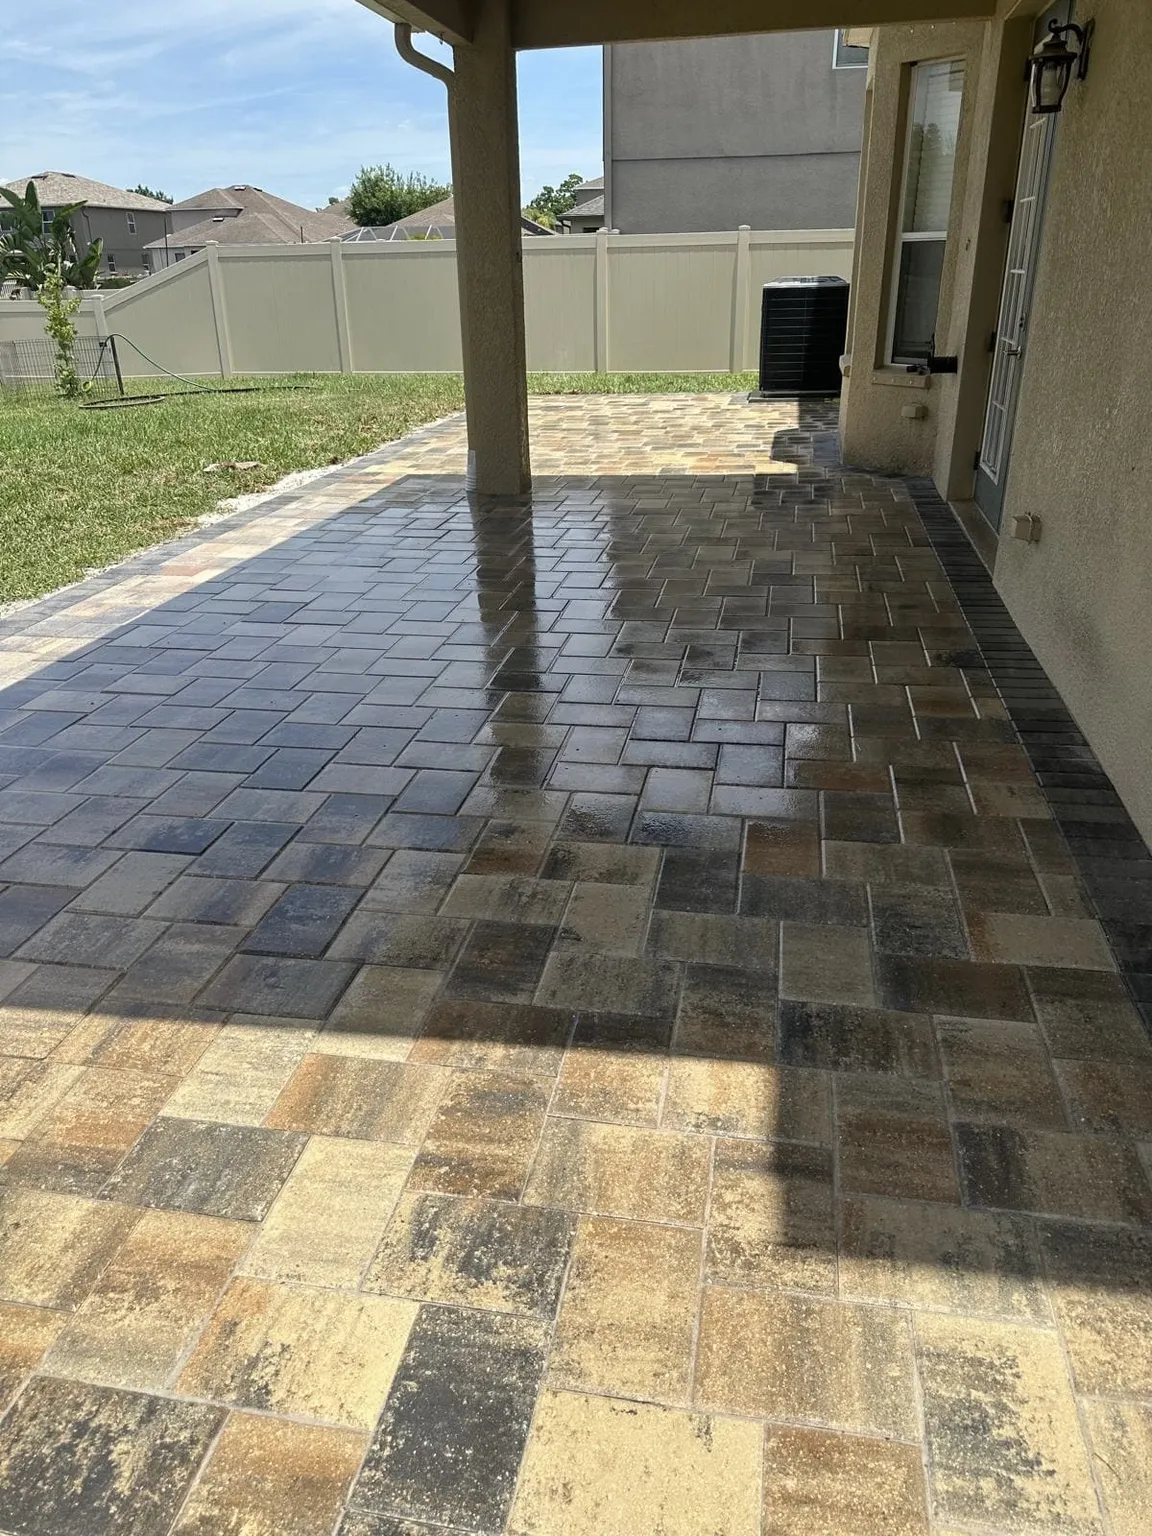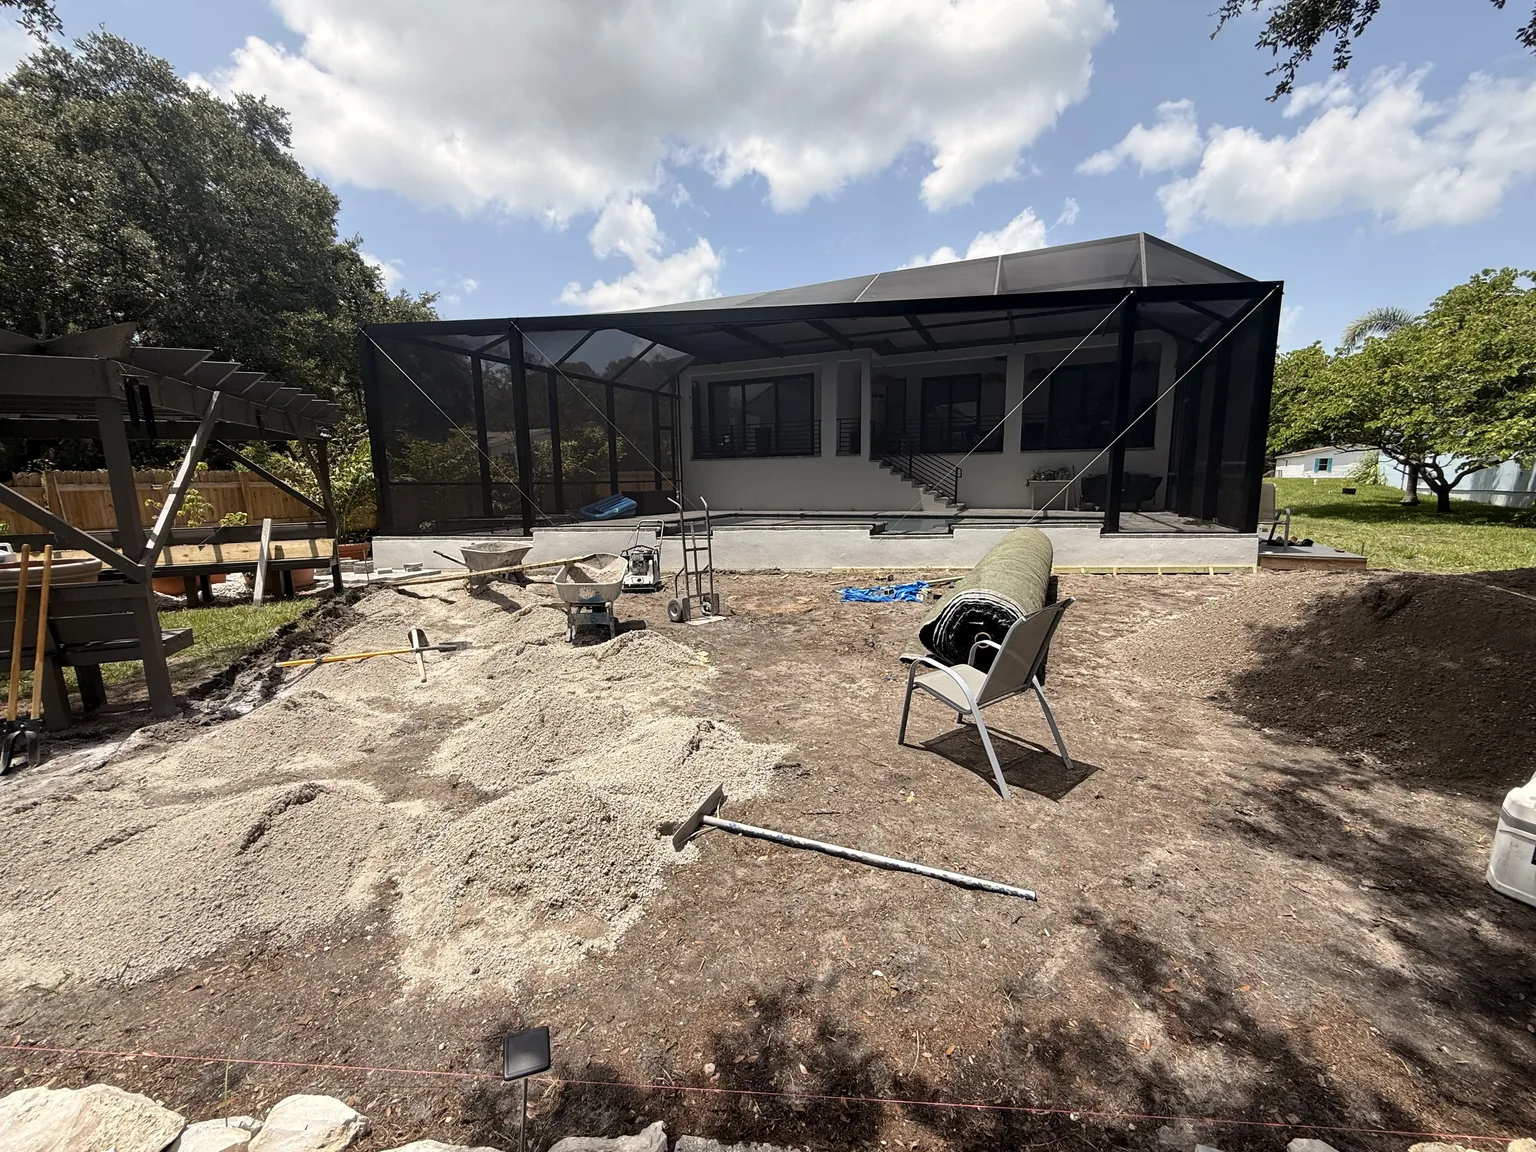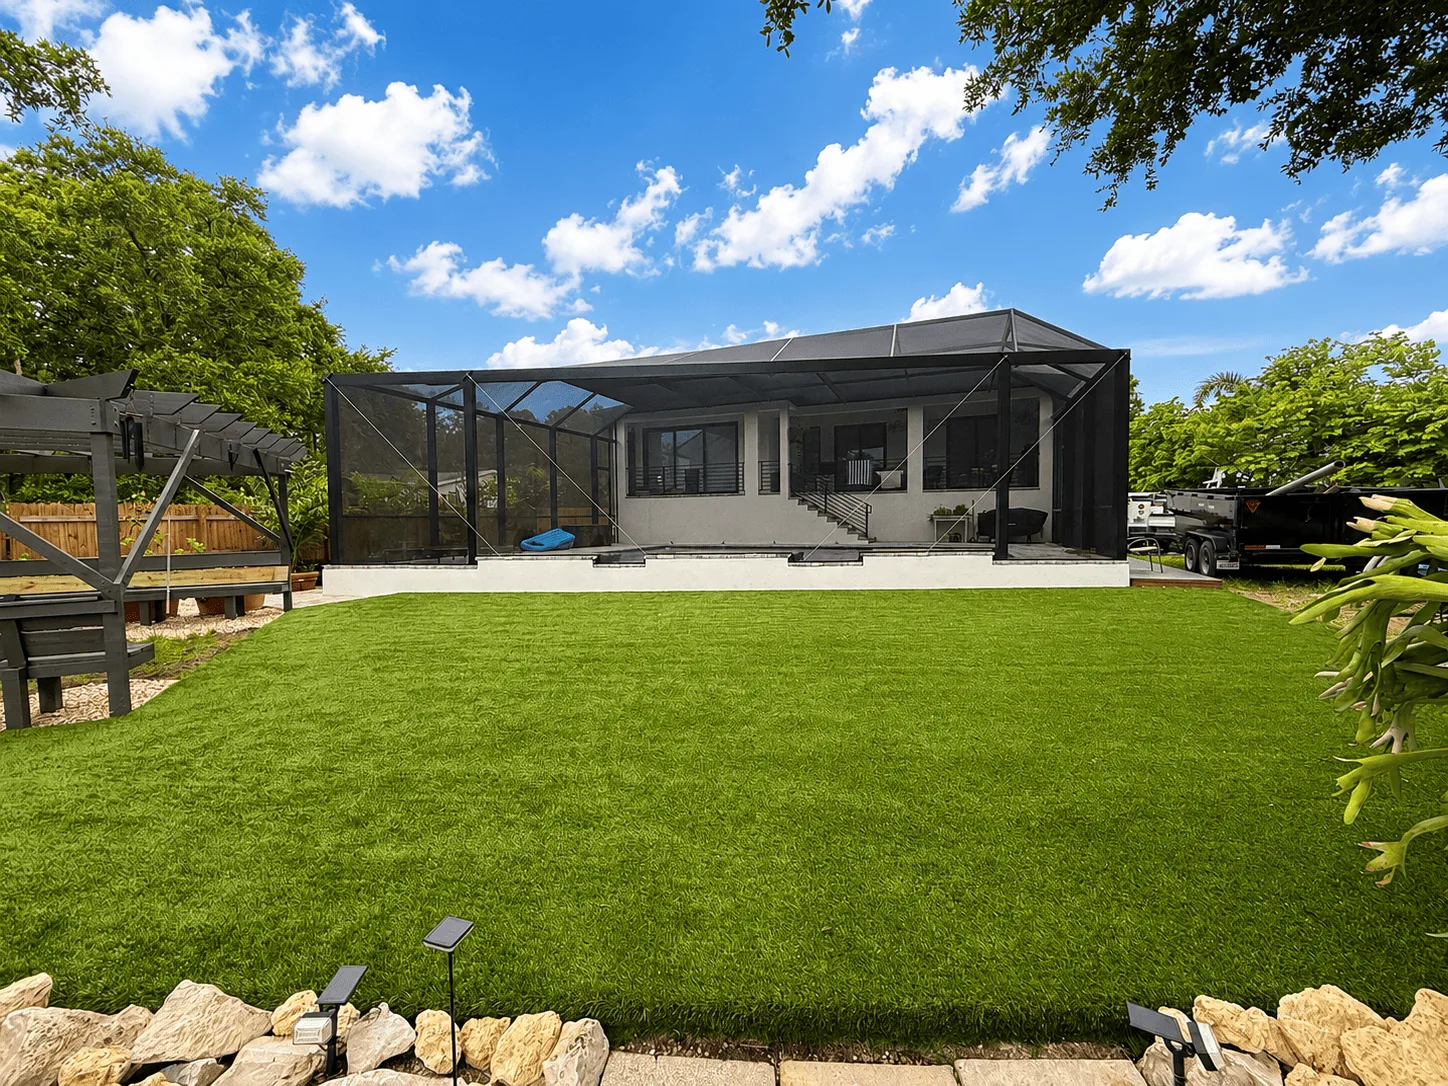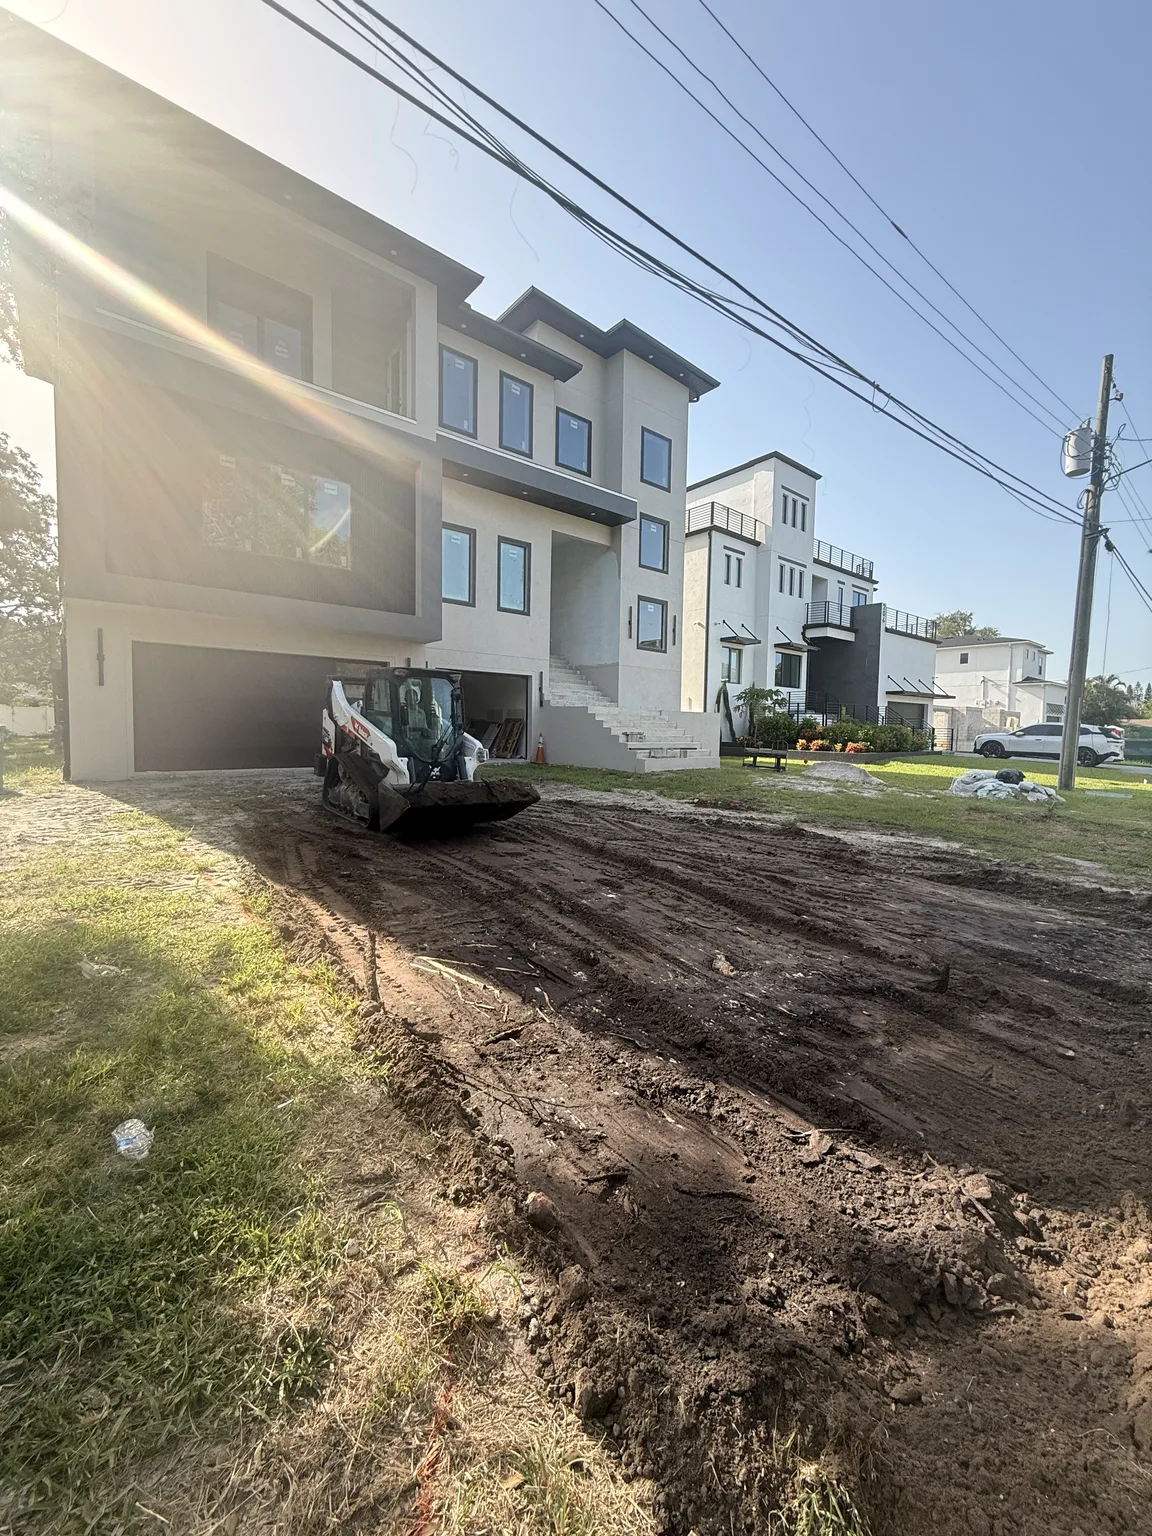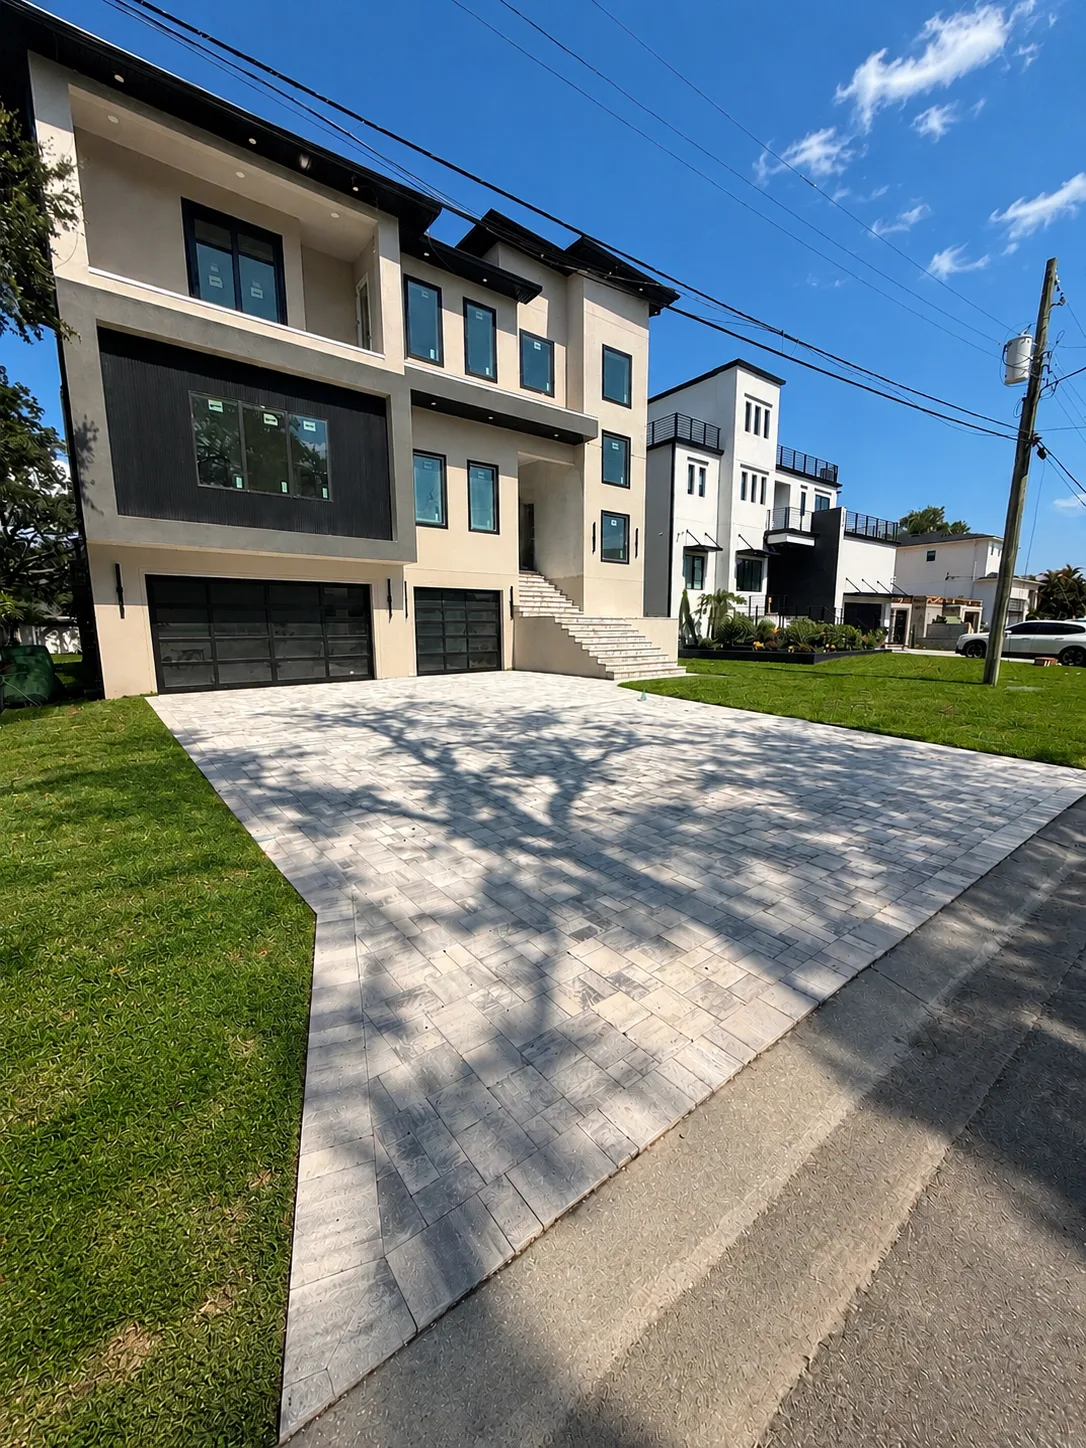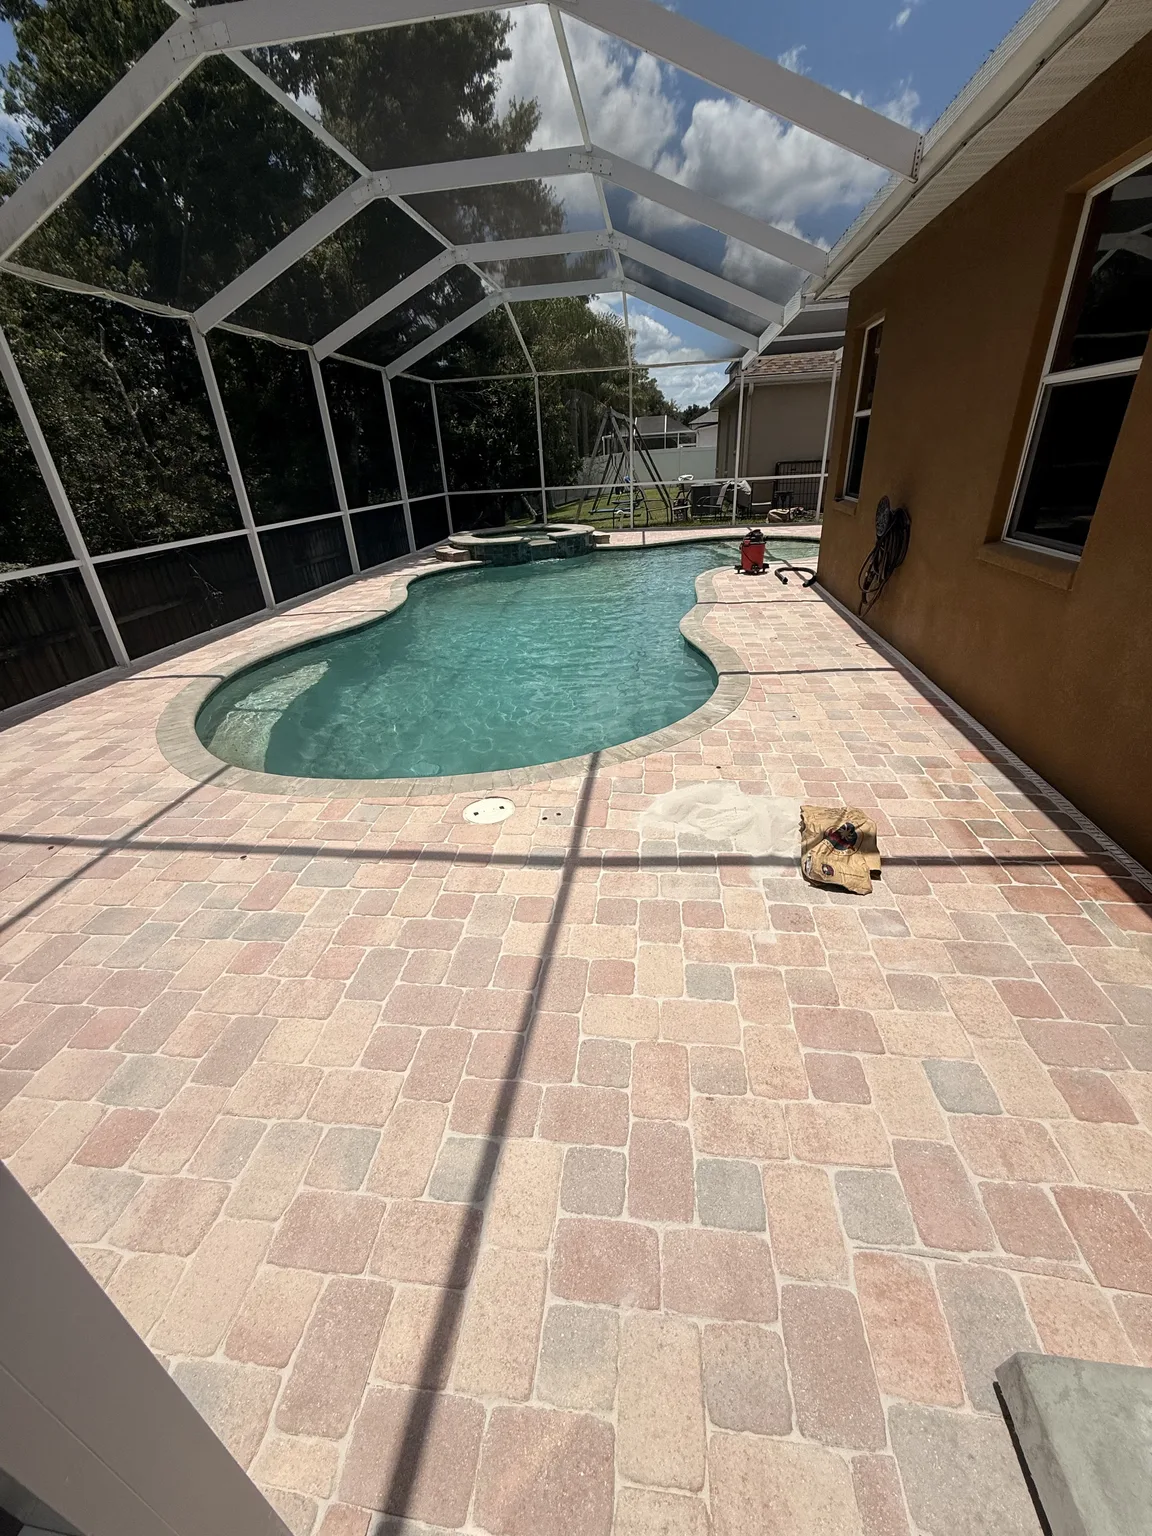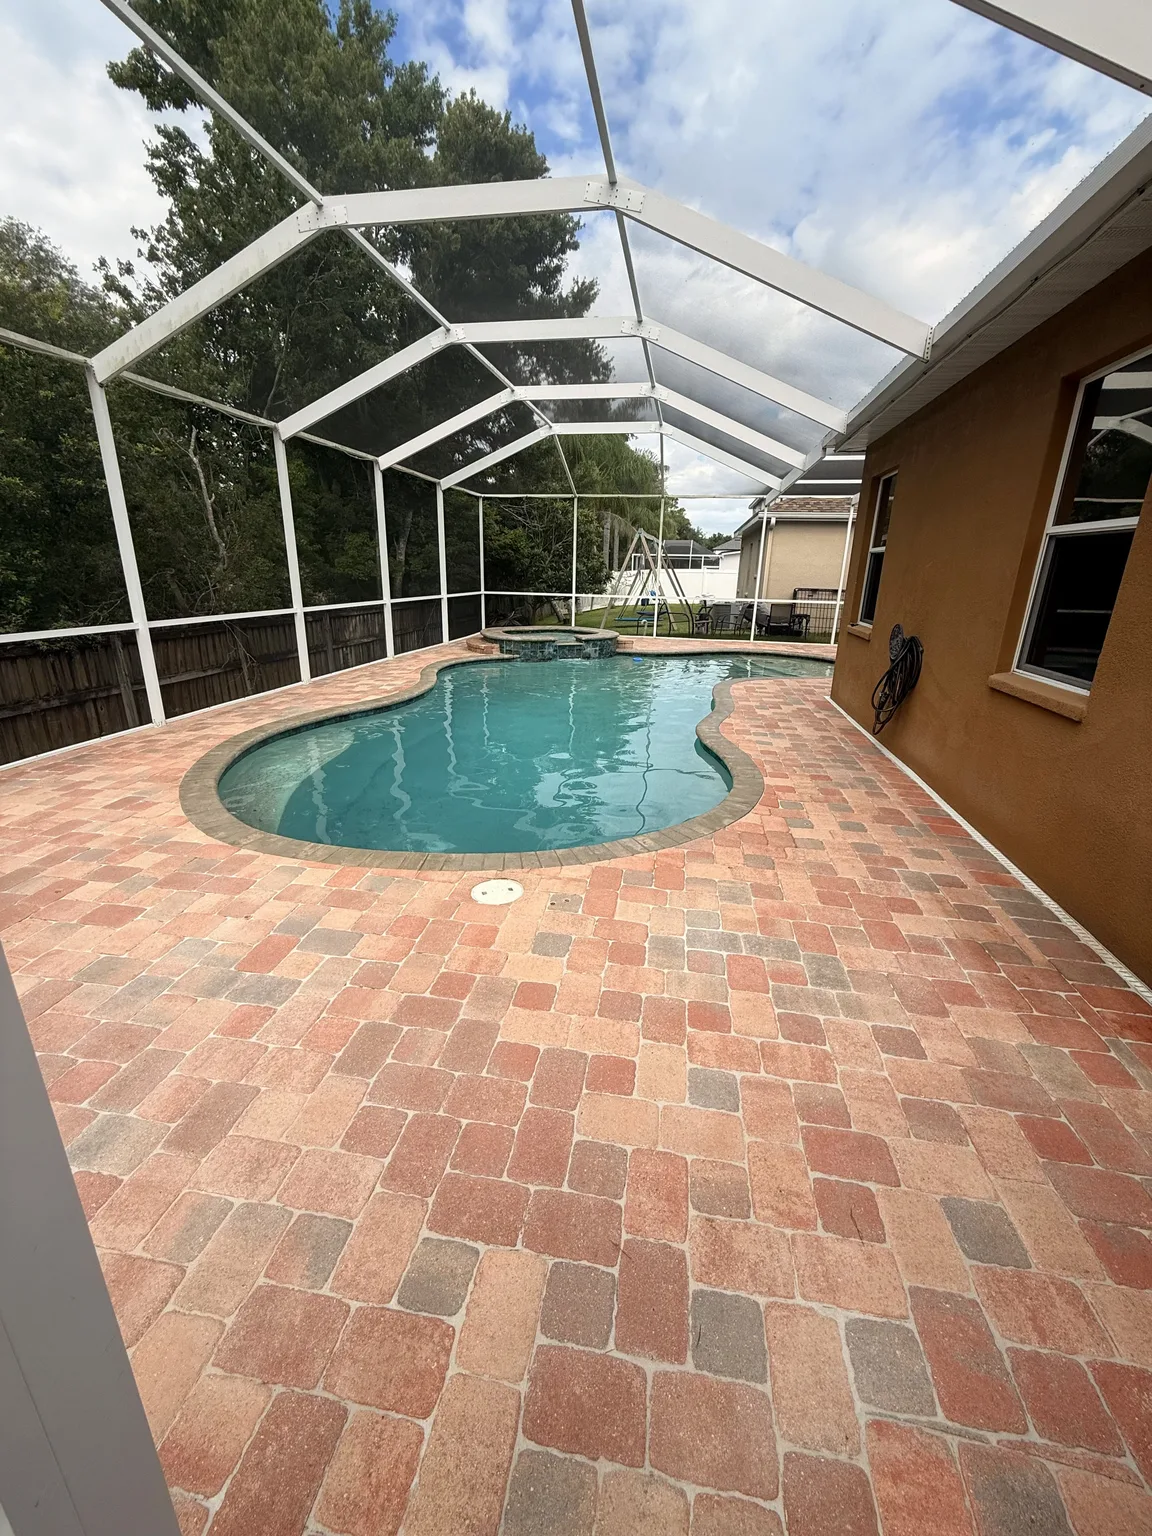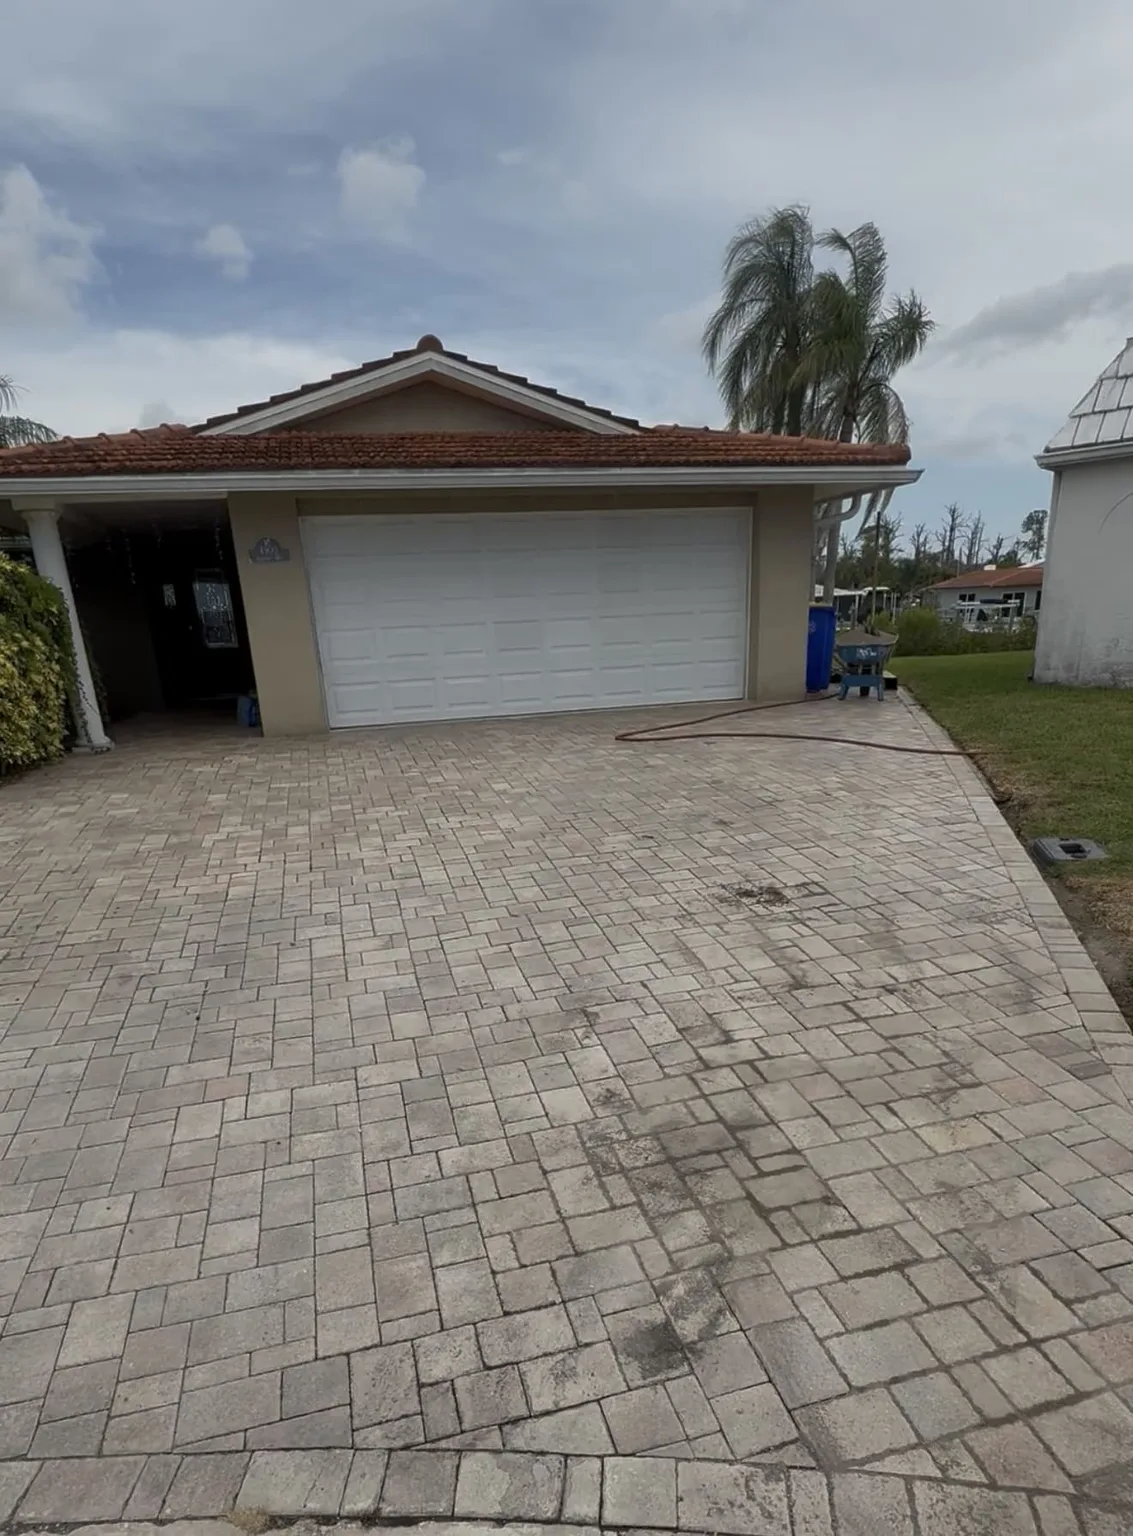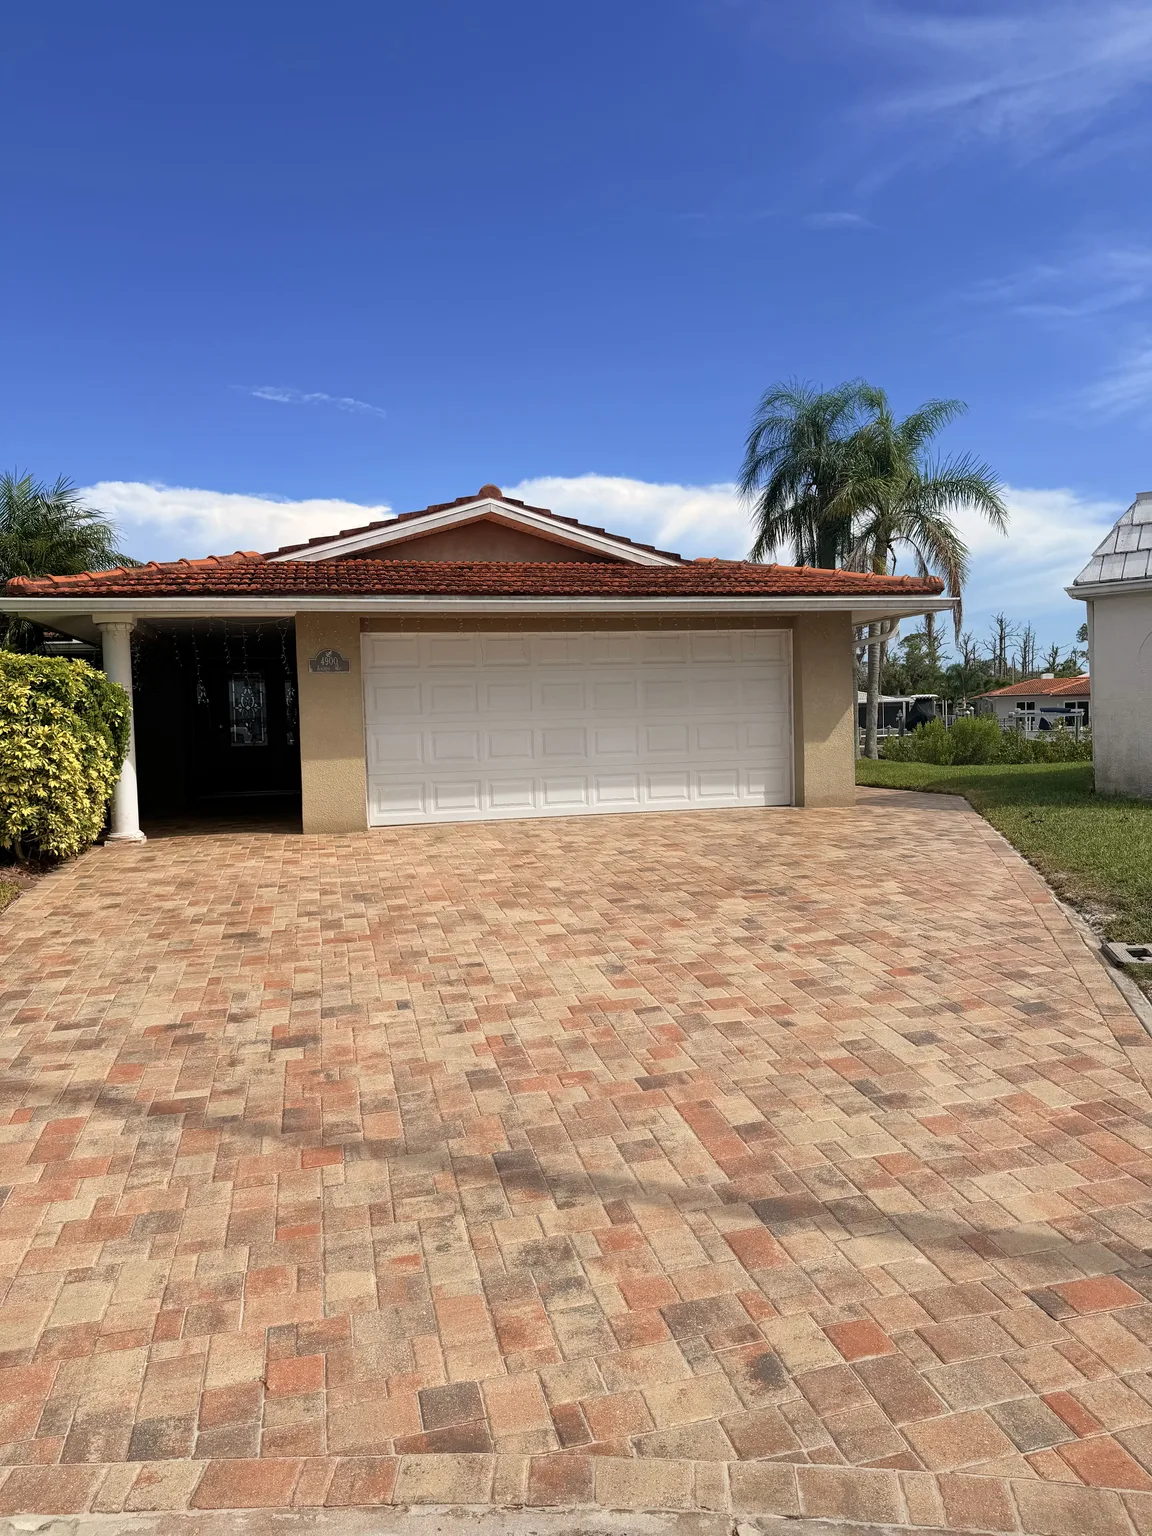
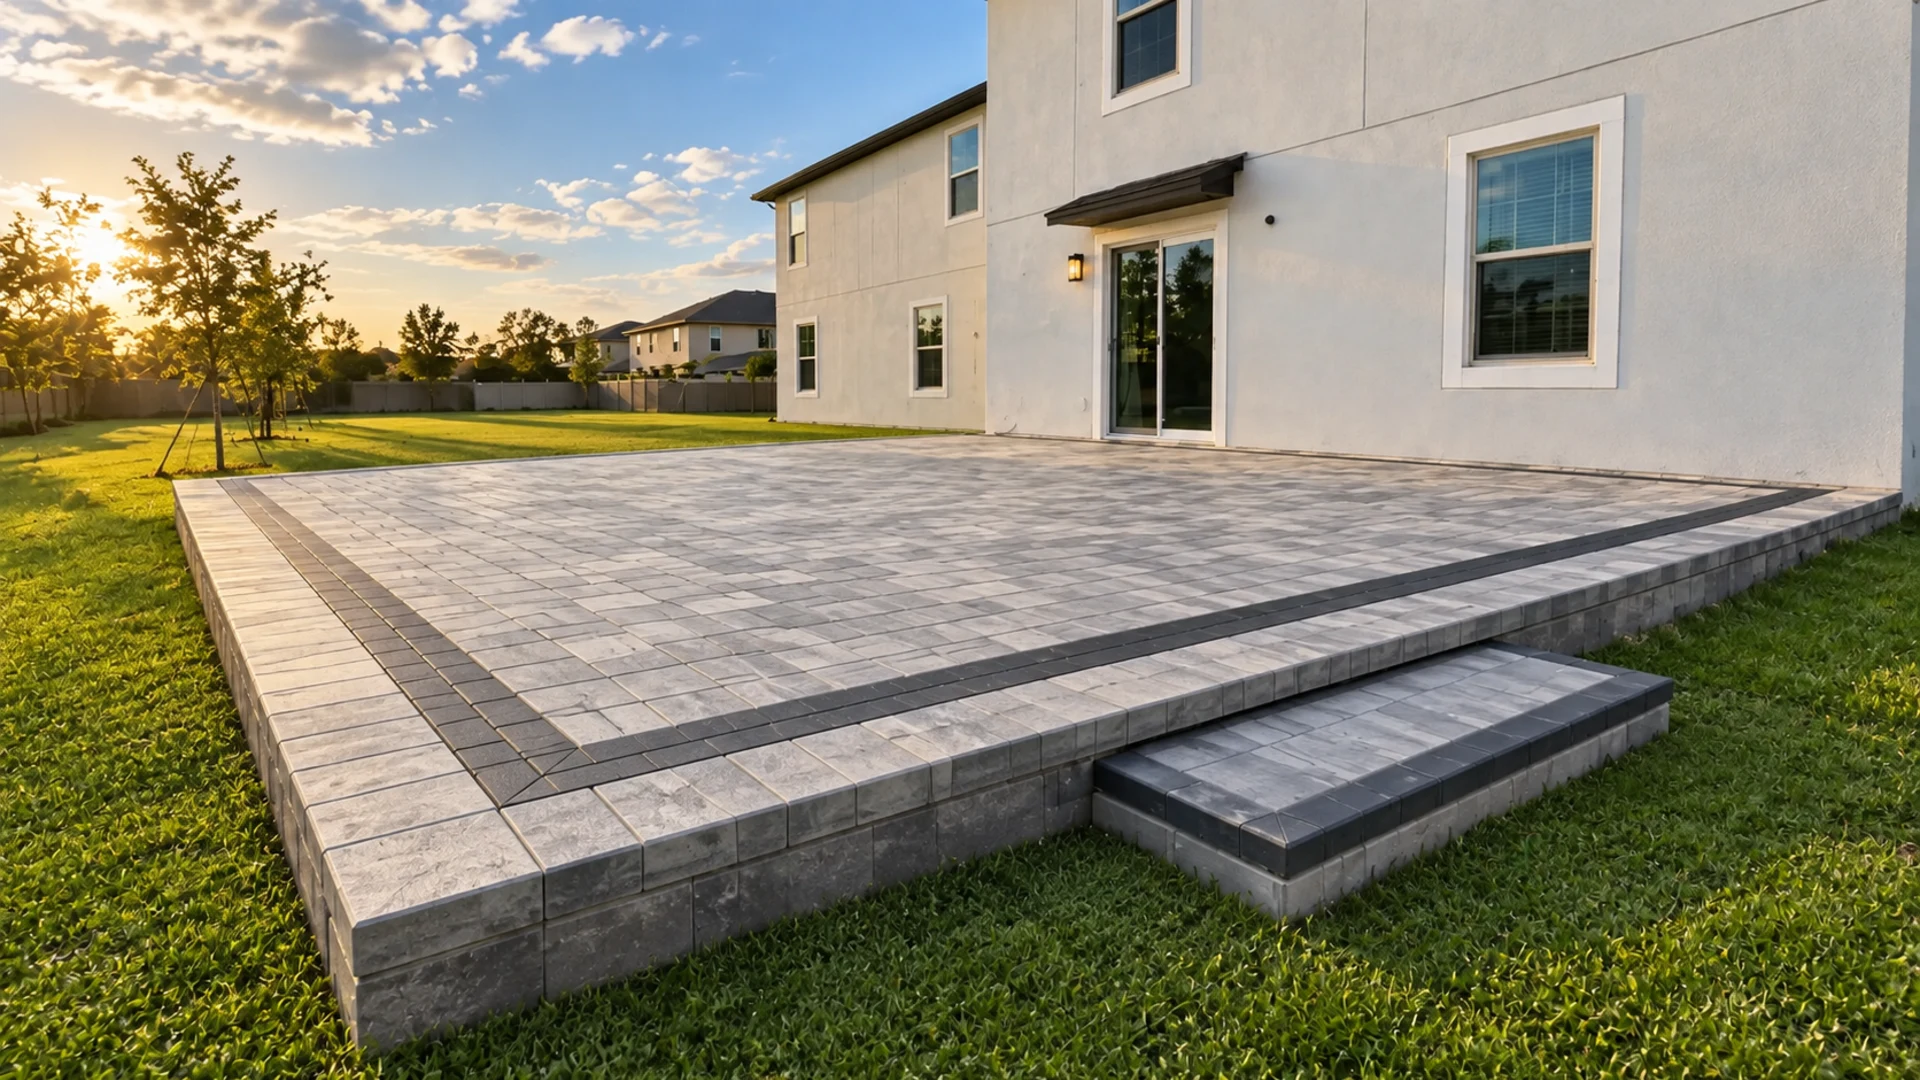
Well-planned patio step transitions make a raised patio feel intentional rather than awkward. They guide people from a door, pool deck, walkway, or lawn onto a new level without a surprise change underfoot. In Tampa Bay, the right location is shaped by the house threshold, existing grade, rainwater movement, the route people already take, and the way the patio will be used. A step can be attractive, but it first has to make everyday movement clear and comfortable.
Start with the route, not the shape
Stand at each door before choosing a layout. Notice where a person carrying a tray, opening a sliding panel, or walking in from the driveway naturally puts a foot. The most elegant outline can still be a poor transition if it interrupts that route. A good plan identifies the main approach, secondary access, and places where people pause, then gives each route a readable change in elevation.
Door operation is part of that exercise. An outward-swinging door needs clear space beyond its arc; a slider needs room for people to step aside while it is open. Screen doors, furniture, grills, and planters also change the useful landing area. Measure usable clearance, not just the masonry opening. A landing that looks generous on a drawing can become cramped once a chair or open door occupies it.
What a comfortable step sequence needs
People read a run of steps as one movement. That is why consistent risers and treads matter more than a dramatic edge treatment. If one rise differs from the others, a person who has settled into a rhythm may catch a toe or hesitate. The field dimensions should be verified after the patio elevation, base, and finish materials are known; a concept sketch alone cannot settle them.
Tread depth deserves equal attention. A shallow tread can make a low change in level feel hurried, while an overly deep tread may be mistaken for a landing. A true landing should give someone enough room to stop, turn, manage a door, or let another person pass without standing on a nosing. The intended use tells the installer where a broader pause is useful: directly outside a busy door, at a turn, or beside a dining area.
- Measure the finished threshold, not an unfinished slab.
- Record the rise from the proposed patio surface to adjacent grades.
- Mark every door swing and slider opening on the site sketch.
- Trace the route from parking, pool, gate, and kitchen.
- Note where a person may carry food, tools, or pool items.
Patio step transitions begin with elevation and water
A step is often the visible result of decisions made beneath it. The patio must relate sensibly to the threshold, surrounding lawn, existing slab, and drainage path. Raising a surface to remove a step may create a different problem at a doorway or divert water toward the house. Lowering it may produce an uncomfortable drop. The goal is a coordinated finished elevation, not simply the fewest possible steps.
Florida rain makes that coordination especially practical. Downpours can reveal a shallow low point that was invisible during dry weather. Gutters, roof runoff, irrigation overspray, and landscape beds all influence where water collects. A site review should identify where runoff is coming from, where it can leave, and whether a proposed landing blocks a path. Drainage details depend on the actual grades and materials, so they should be discussed before a final layout is priced.
Three useful transition families
A straight run is often the clearest answer when the approach is direct and the patio edge has room. It creates a predictable line of travel and can visually connect a house opening to a garden or walkway. Its limitation is width: a narrow straight step may funnel people into one spot, while a very wide one may need stronger visual cues so guests recognize the edge across its full length.
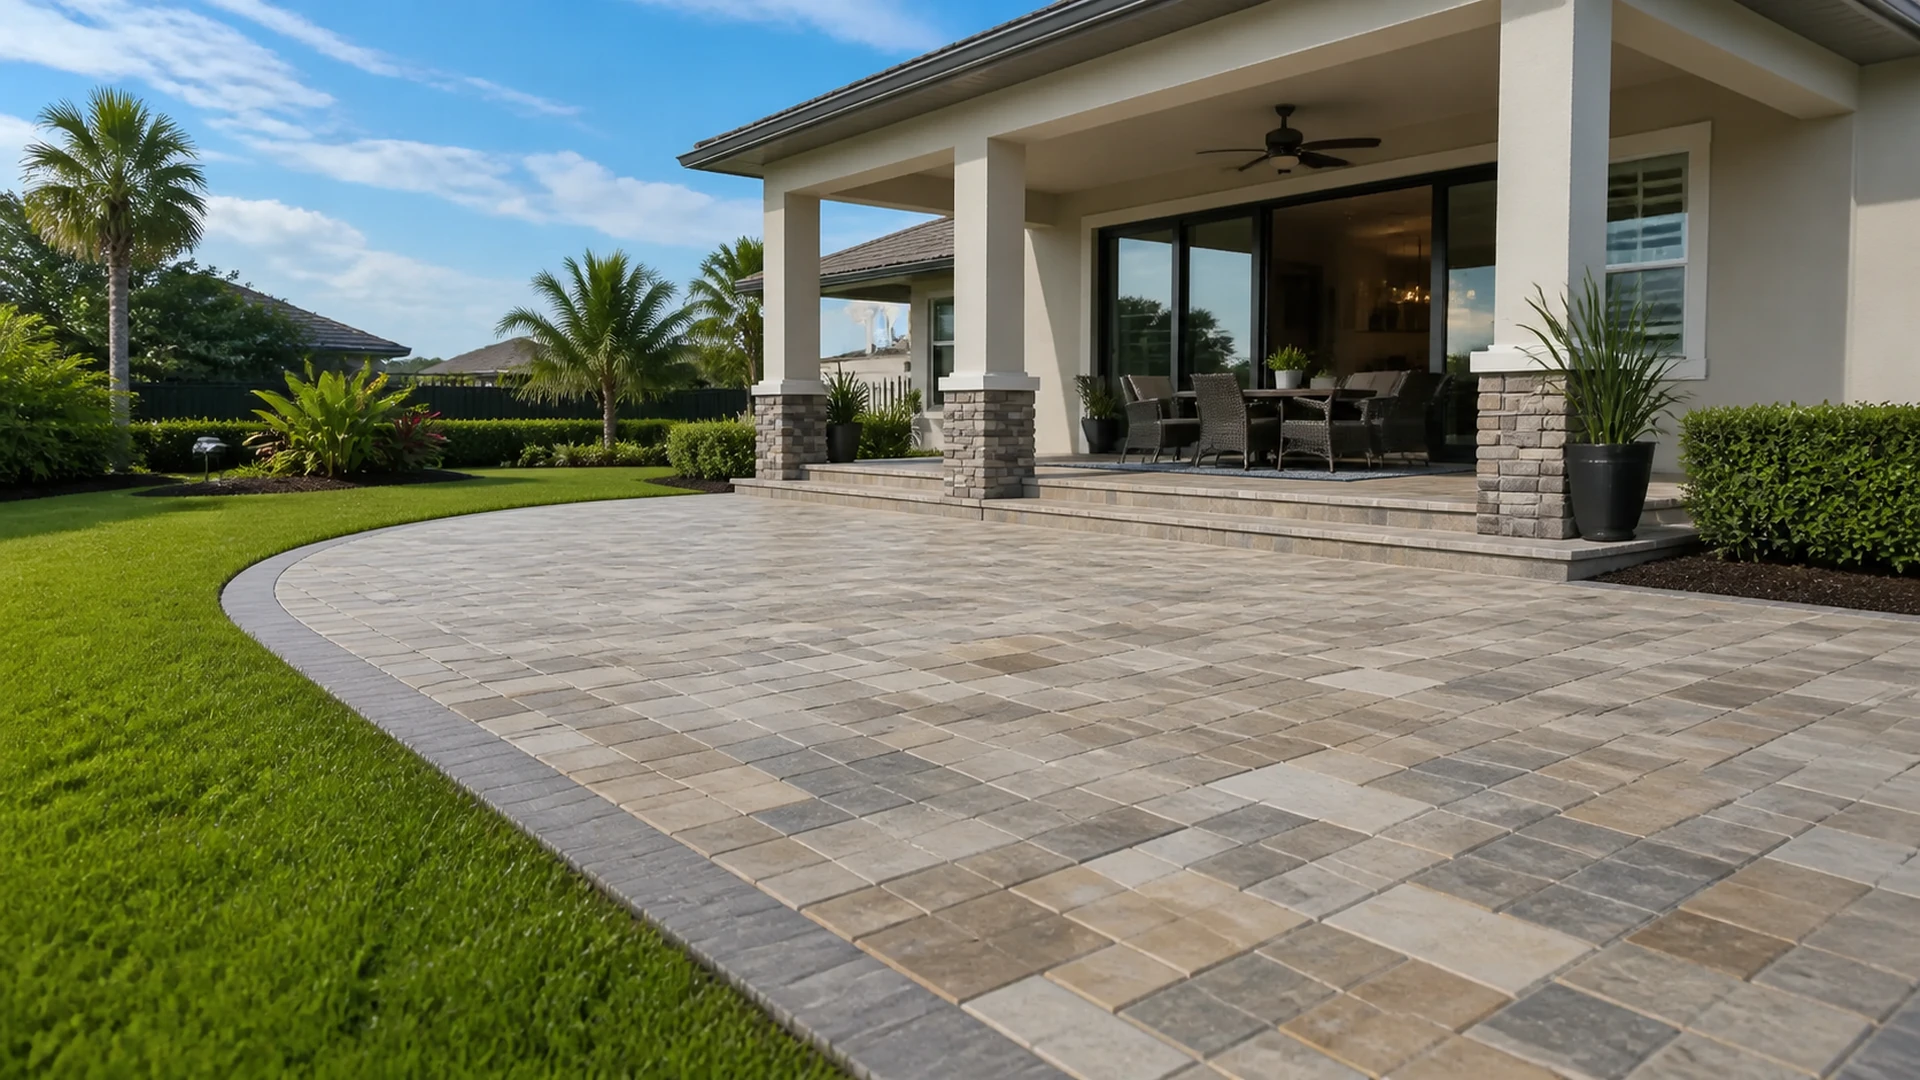
Wrapped steps soften the change in level along a patio edge. They can work well where conversation and circulation spread across a broad outdoor room, because access is not concentrated at one point. The tradeoff is discipline at corners and borders. Each exposed edge should remain legible, and the wrapping geometry has to fit the paver pattern without leaving thin, awkward cuts that distract from the finished surface.
A corner transition can make sense where grade changes around a house corner or where two circulation routes meet. It should not be selected merely to make a plan look complex. Think through which direction most people will approach, whether the inside corner traps debris or runoff, and how furniture will sit nearby. The best corner layout is one that simplifies movement rather than asking guests to navigate an ornamental obstacle.
Make edges easy to see after sunset
Contrast, lighting, and sightlines deserve a place in the design conversation. A border, different unit orientation, or carefully selected edge treatment can distinguish a step from the field without turning it into a striped pattern. Material colors should be reviewed in the property’s own light because shade, weather, and nearby finishes change what the eye sees. No visual treatment replaces sound layout, but it can help a visitor notice the level change.
Exterior lighting should illuminate the walking surface and change in elevation without shining into someone’s eyes. Low-level fixtures, nearby landscape lighting, and house-mounted light each create different shadows. Ask to see the intended fixture locations and wiring considerations early, particularly if the patio edge is being rebuilt. This is a planning issue, not a promise about code compliance; applicable requirements and electrical work need confirmation for the site.
Choose materials as part of the step, not afterward
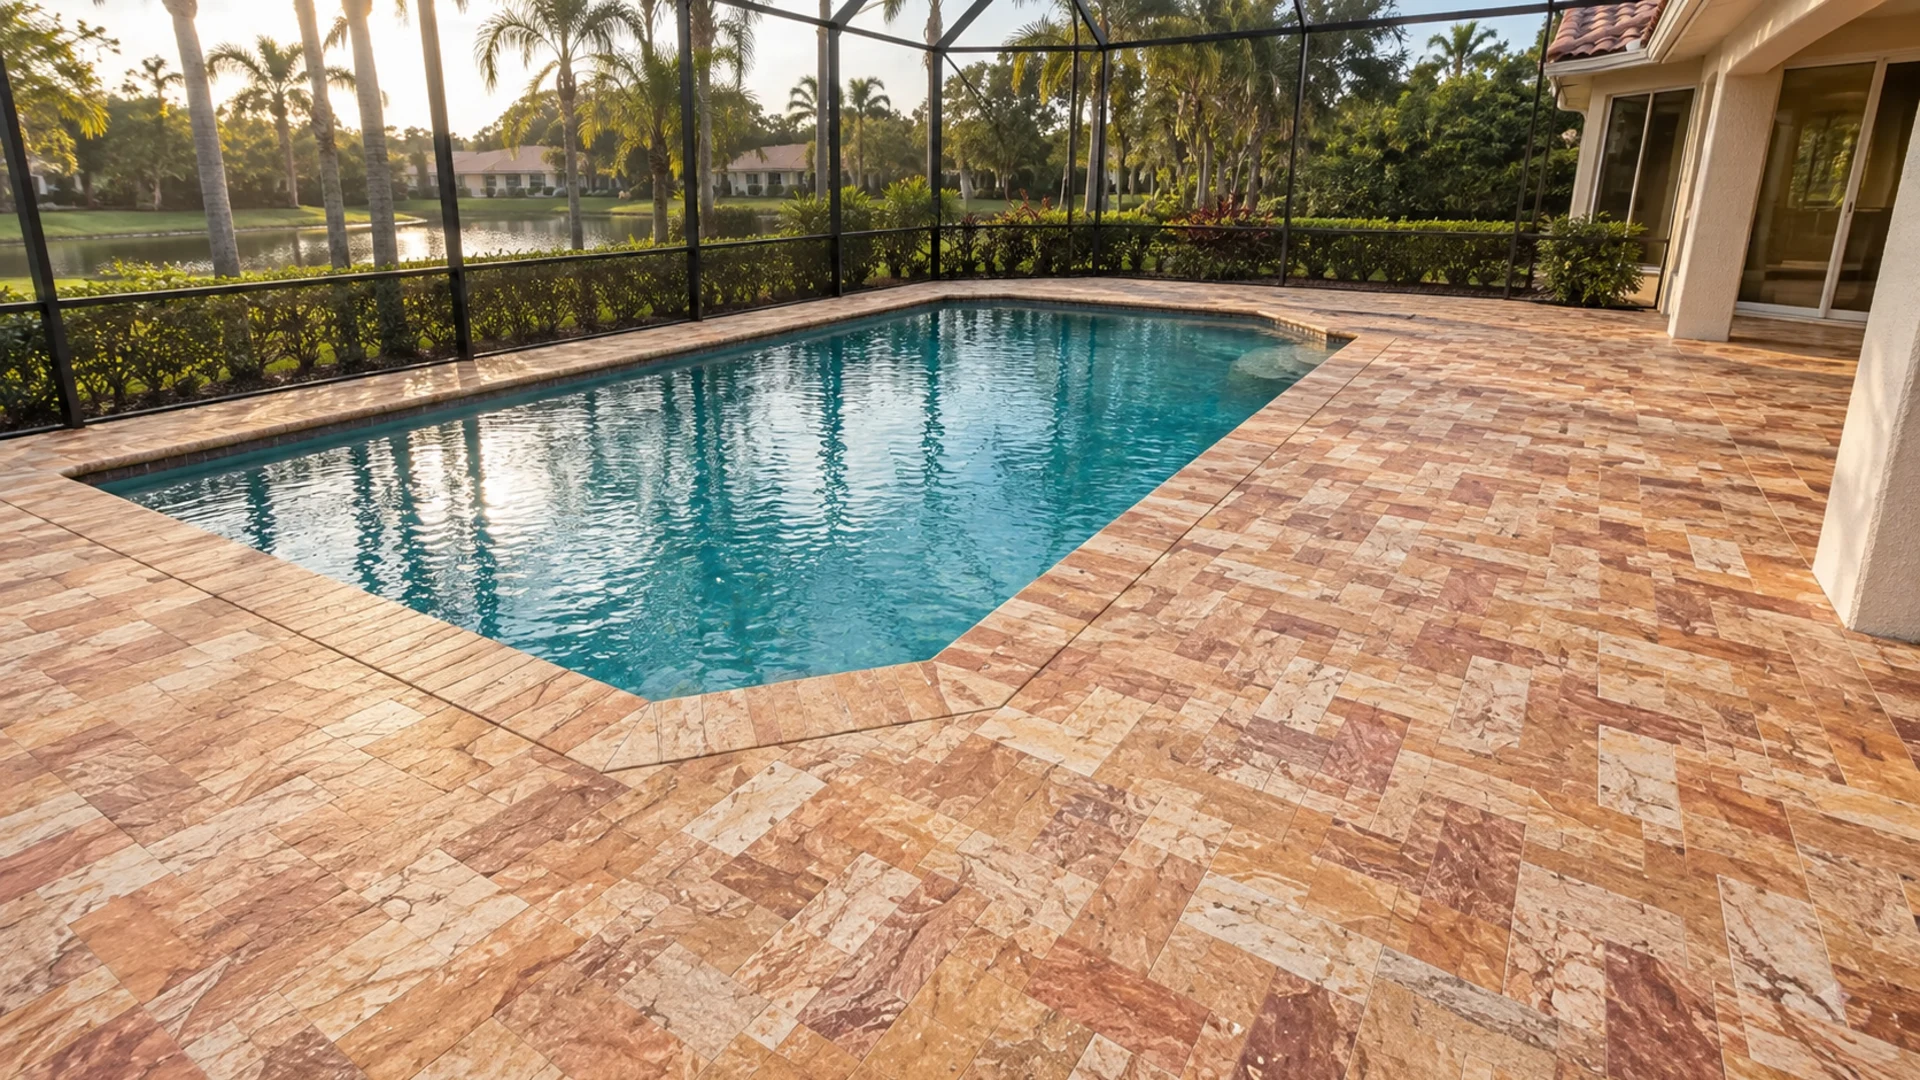
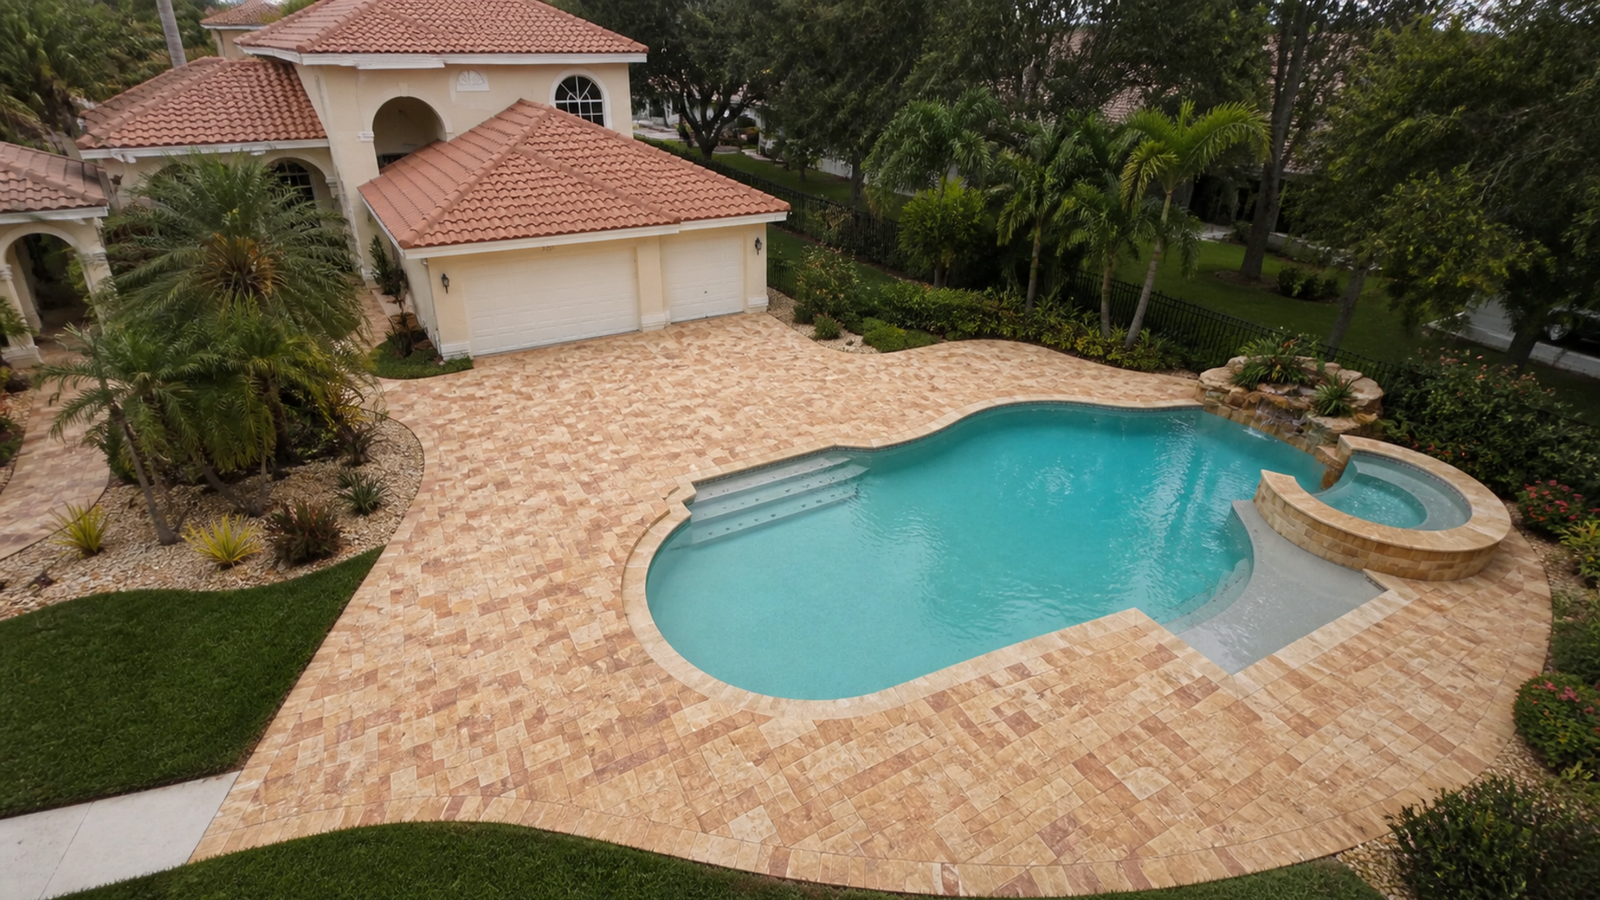
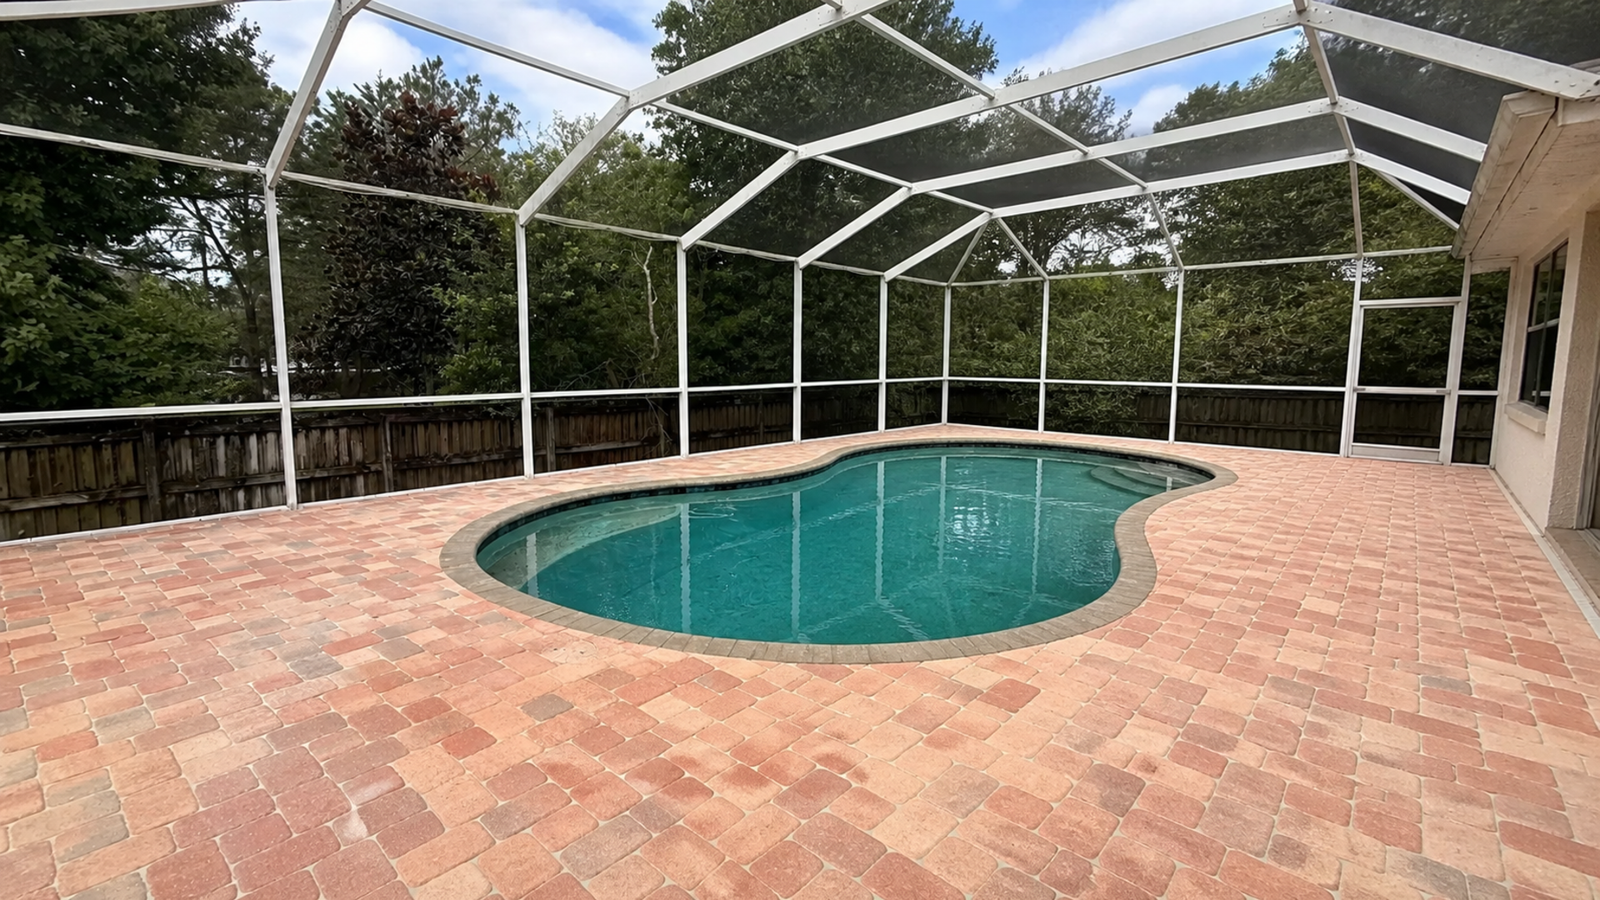
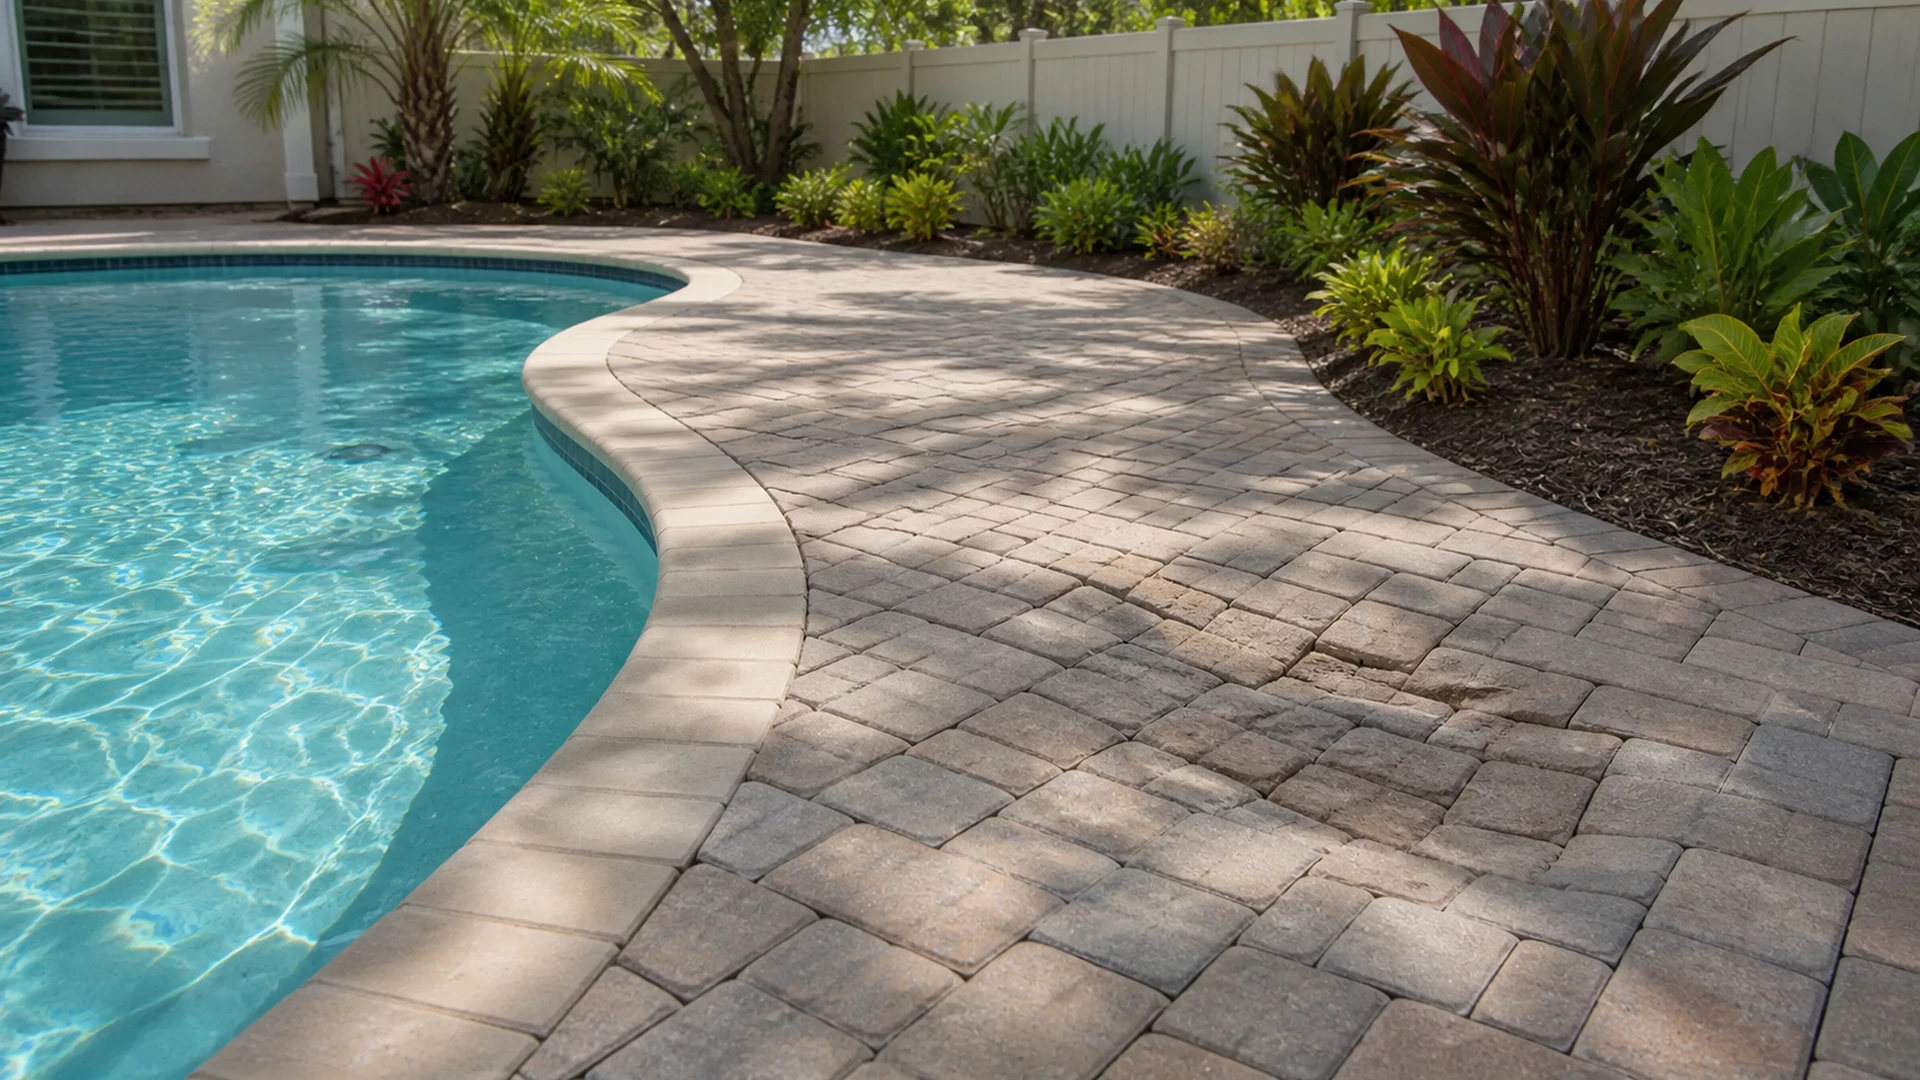
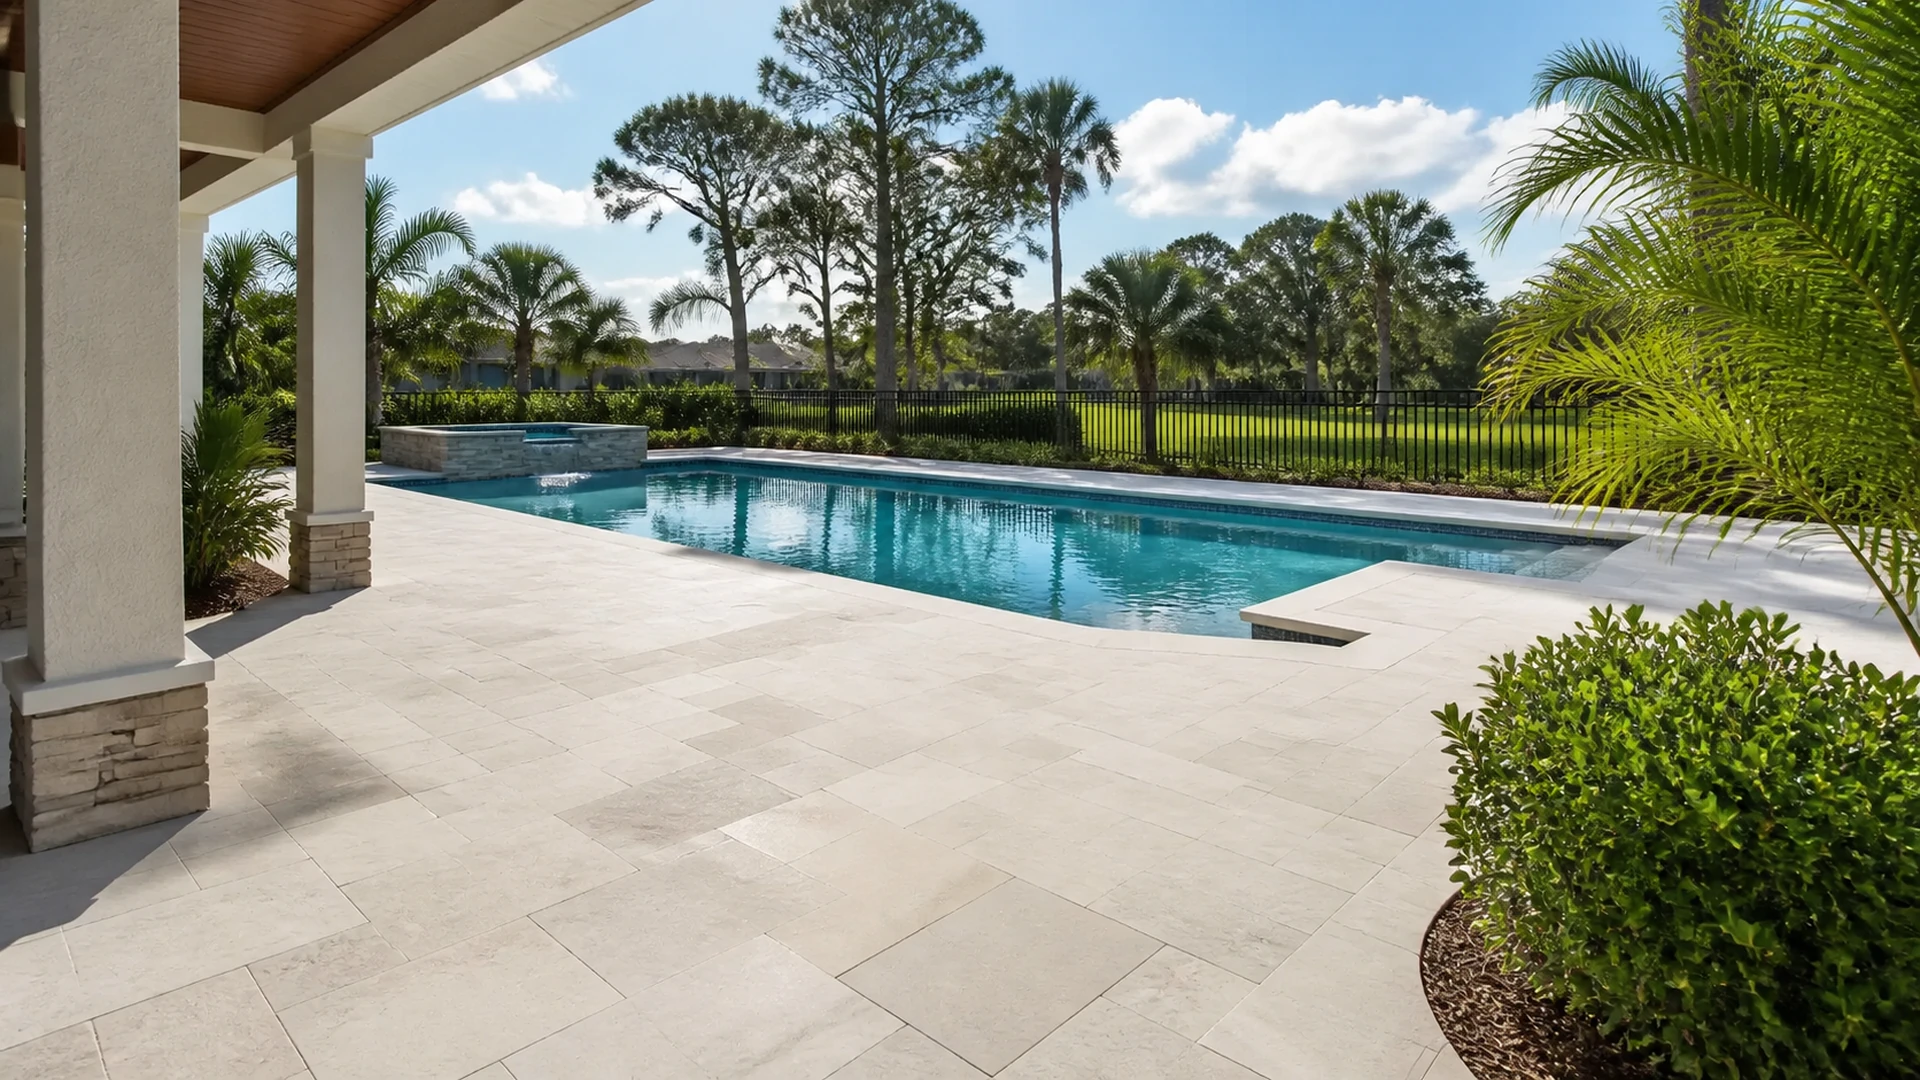
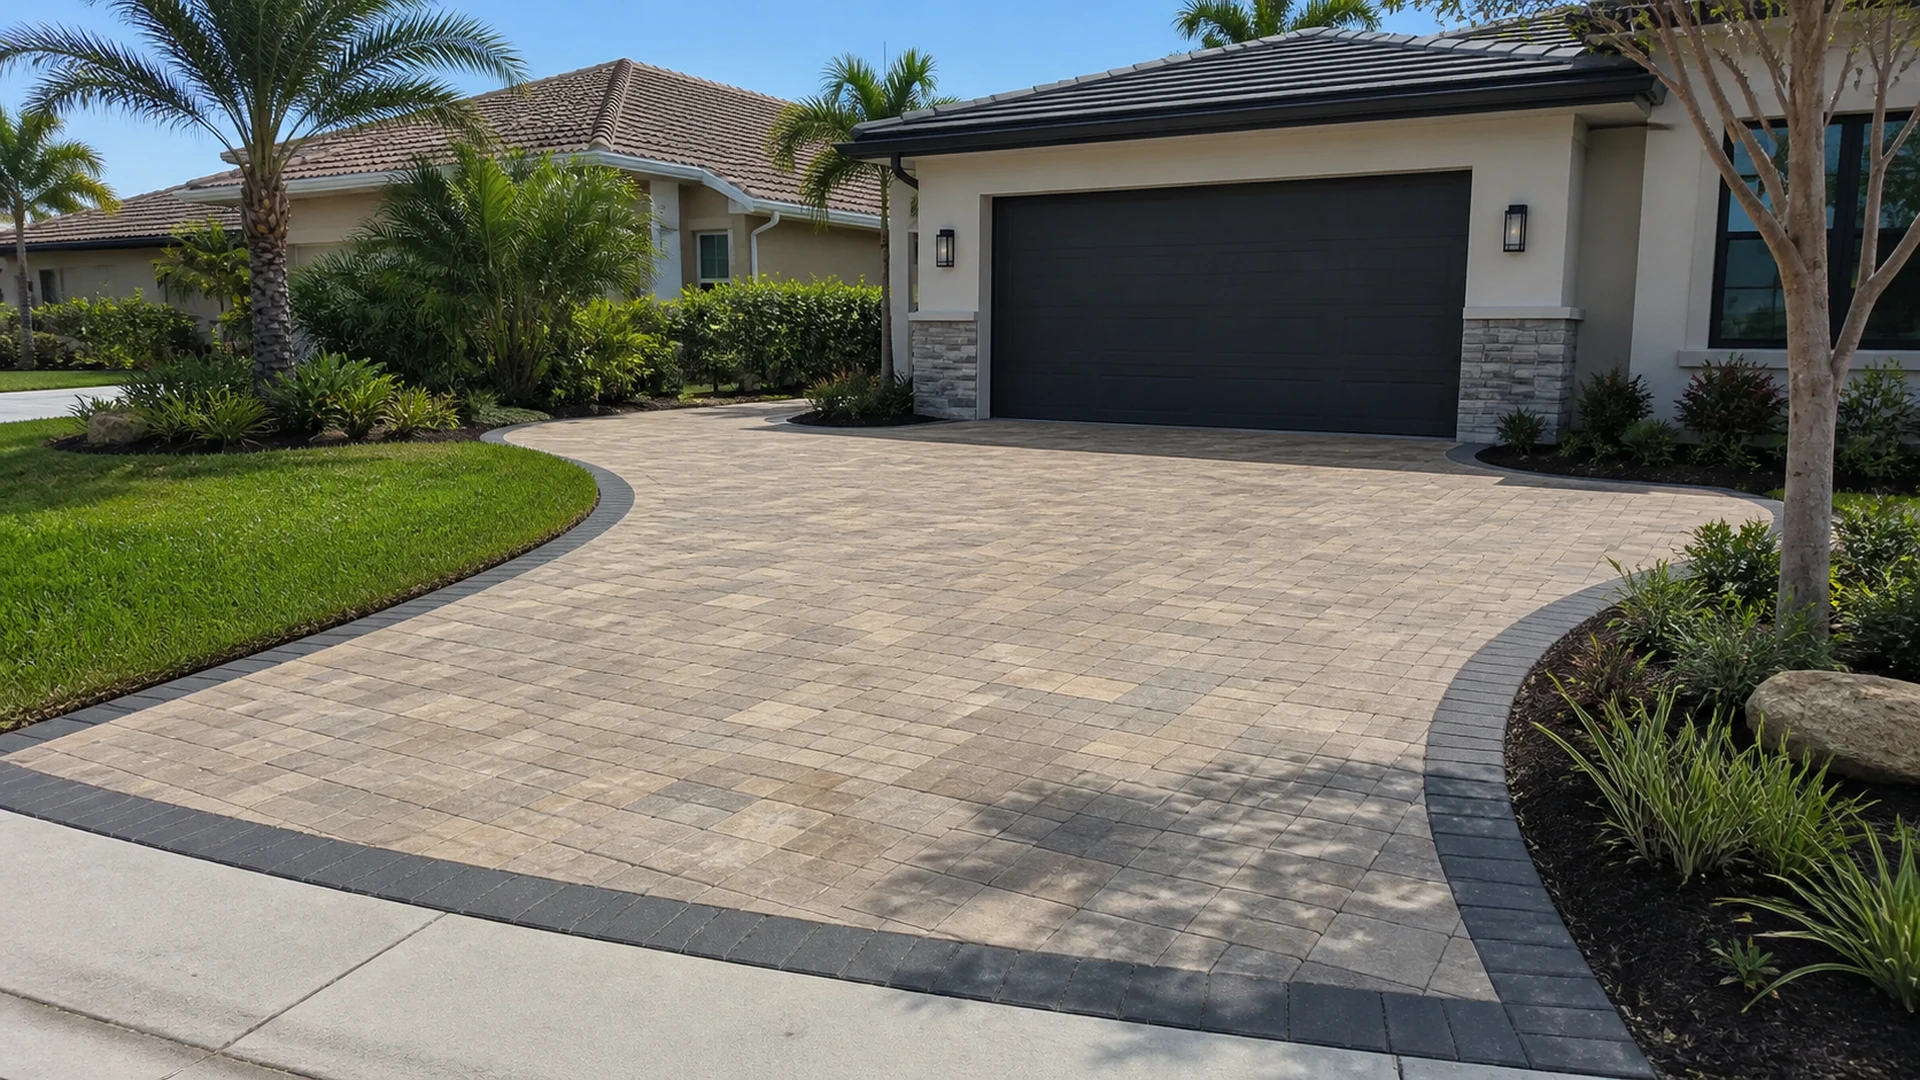
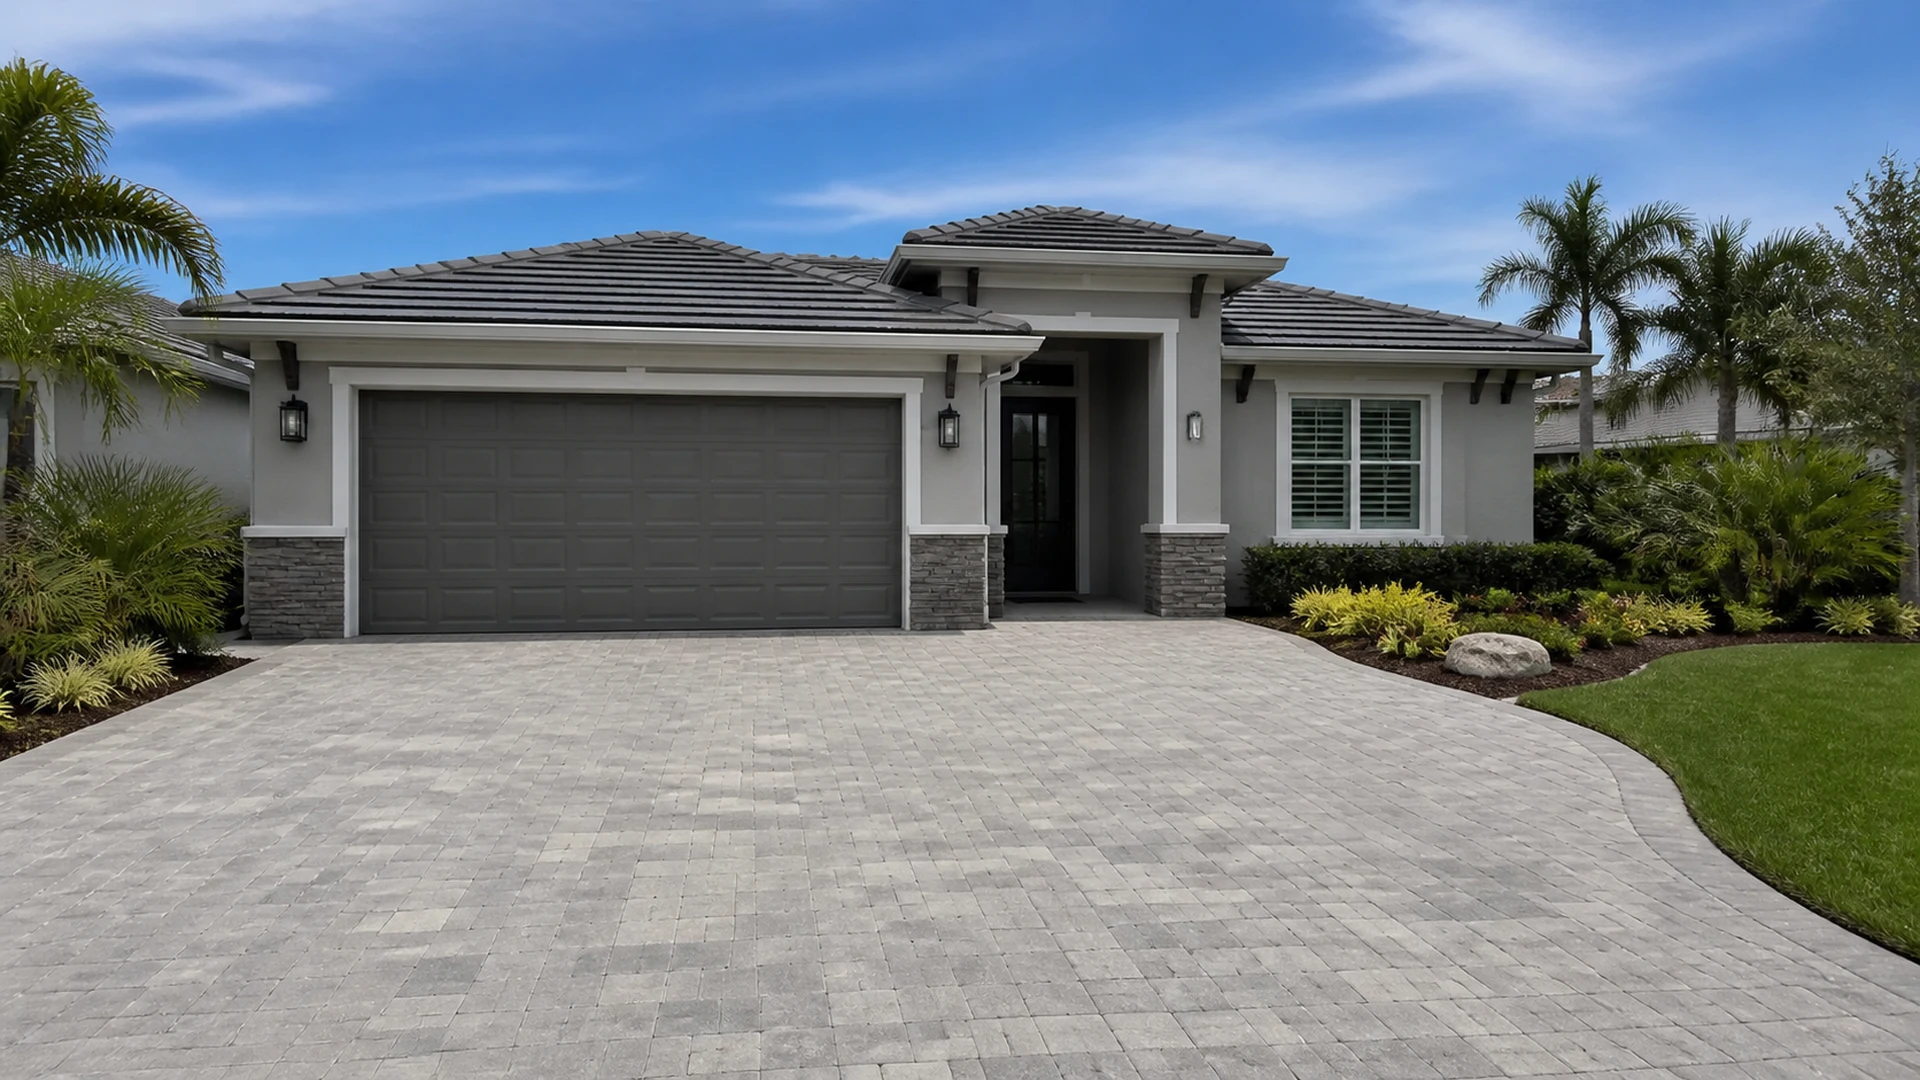
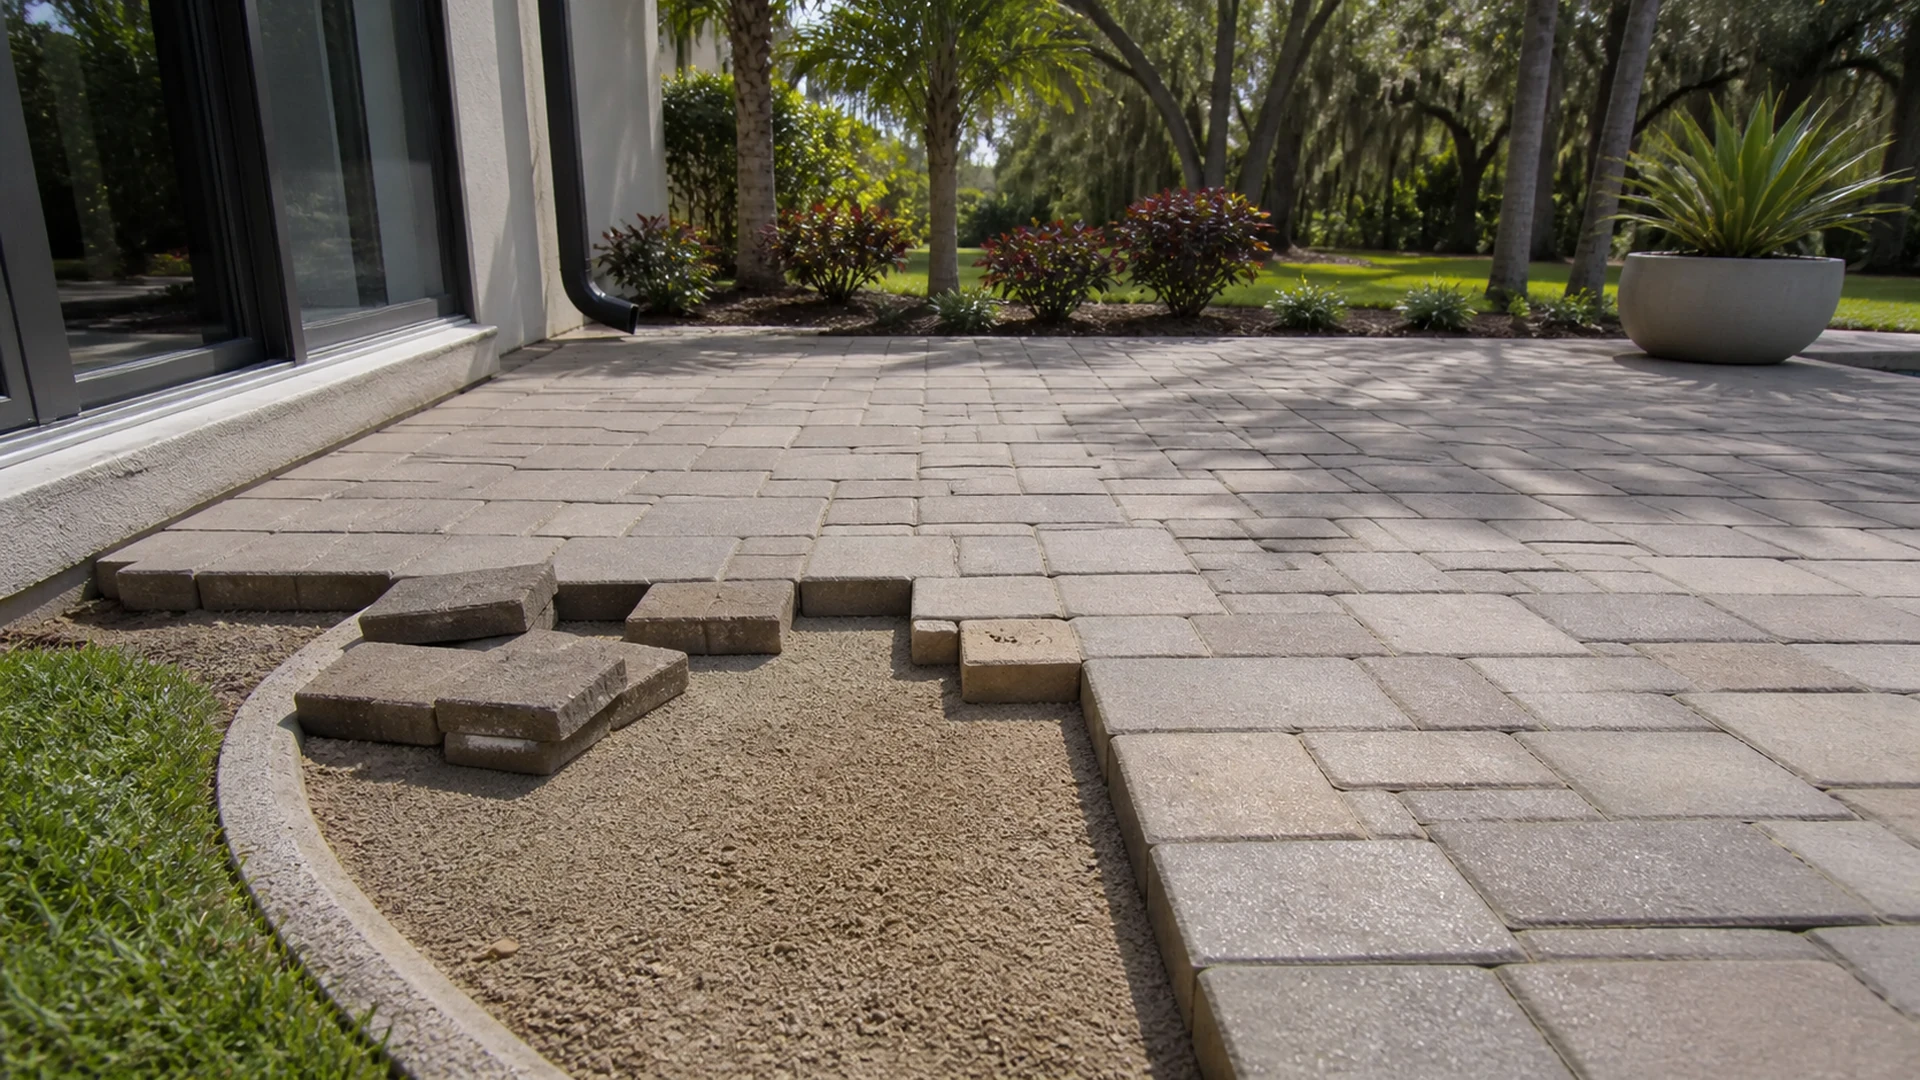
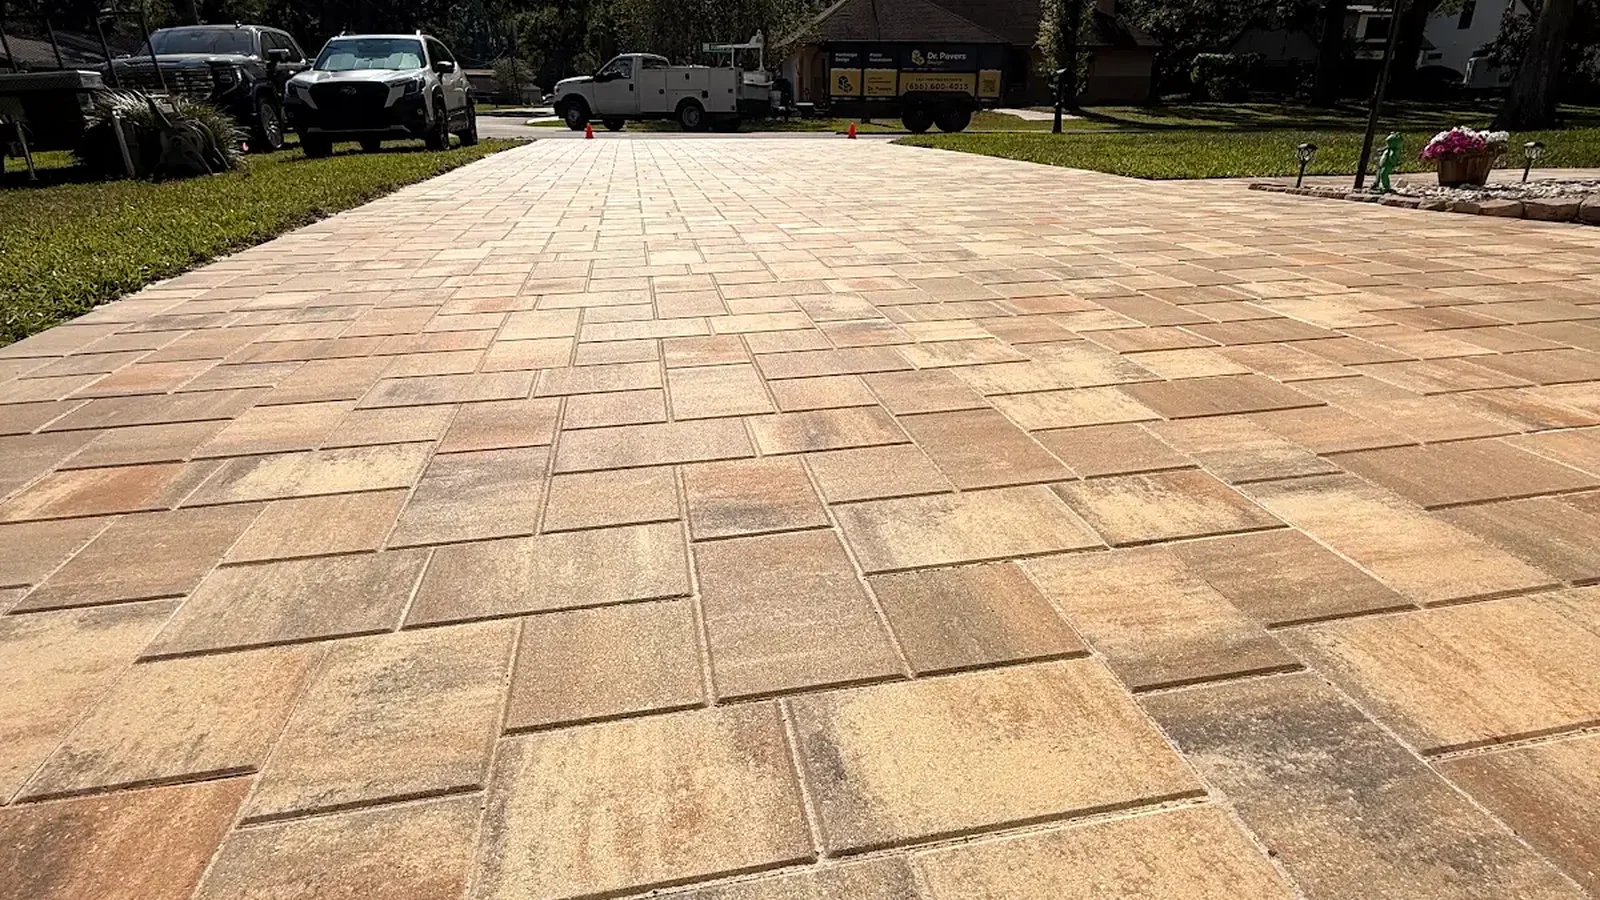
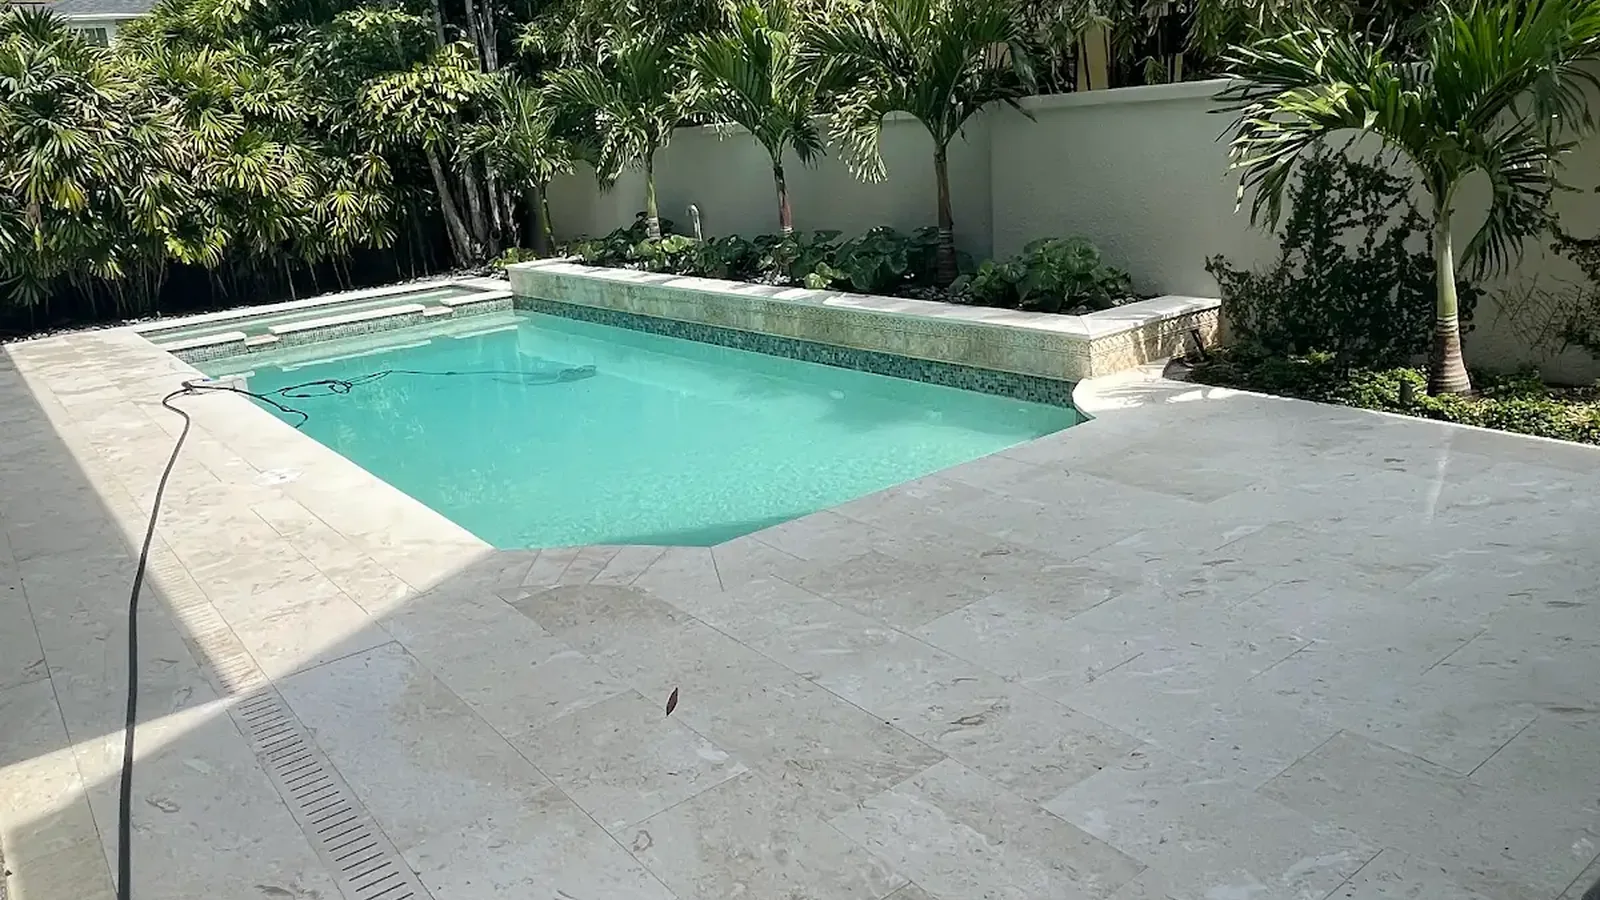
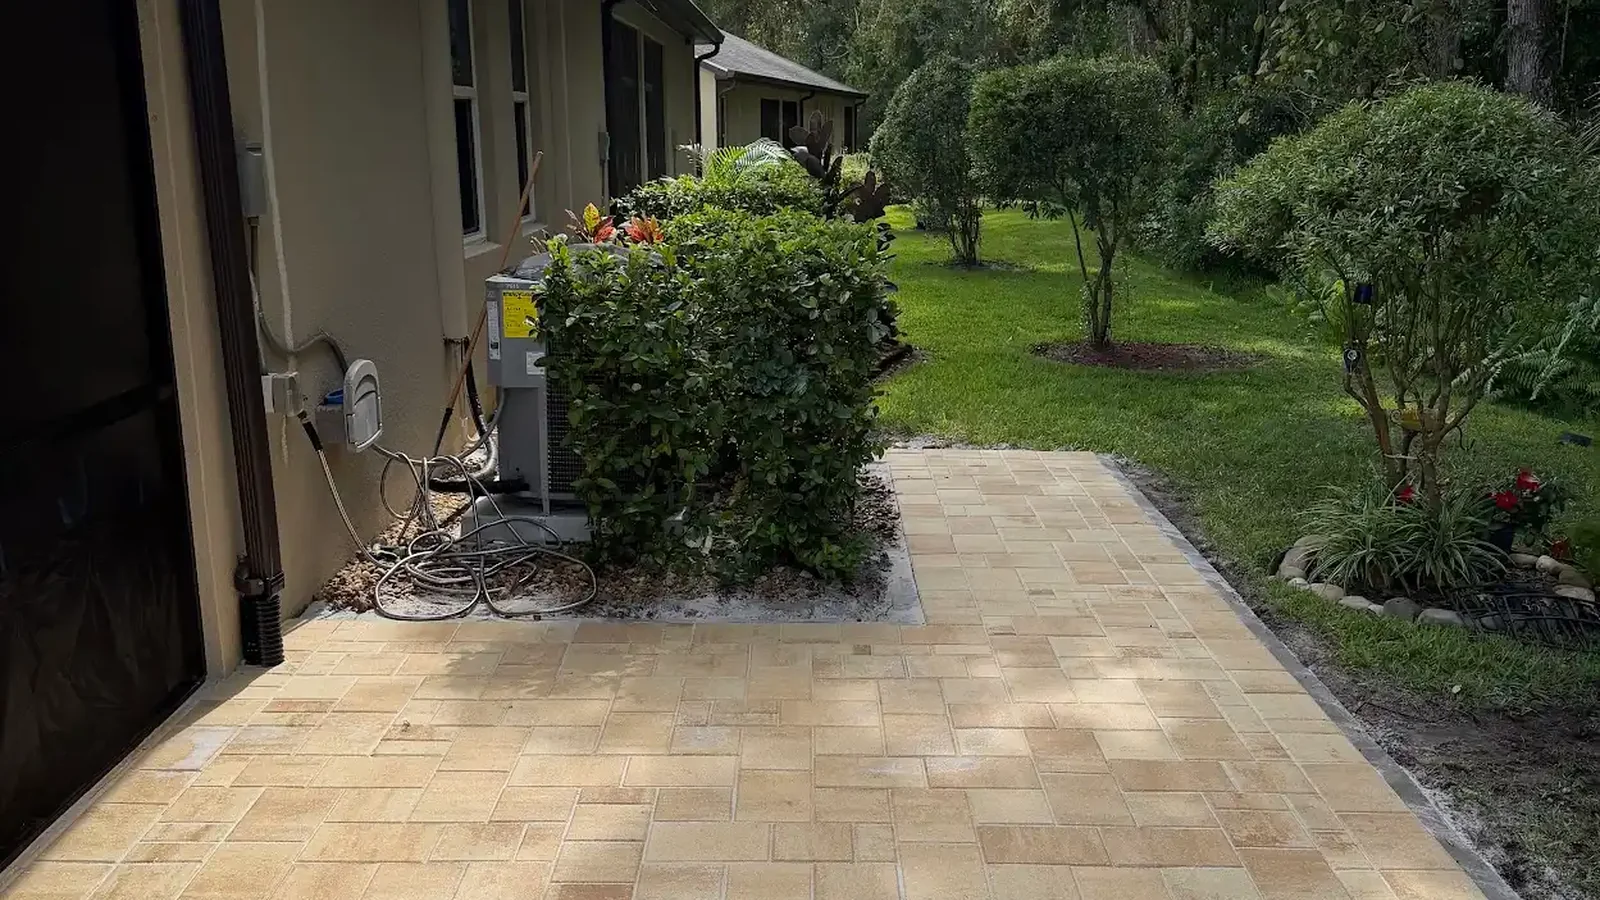
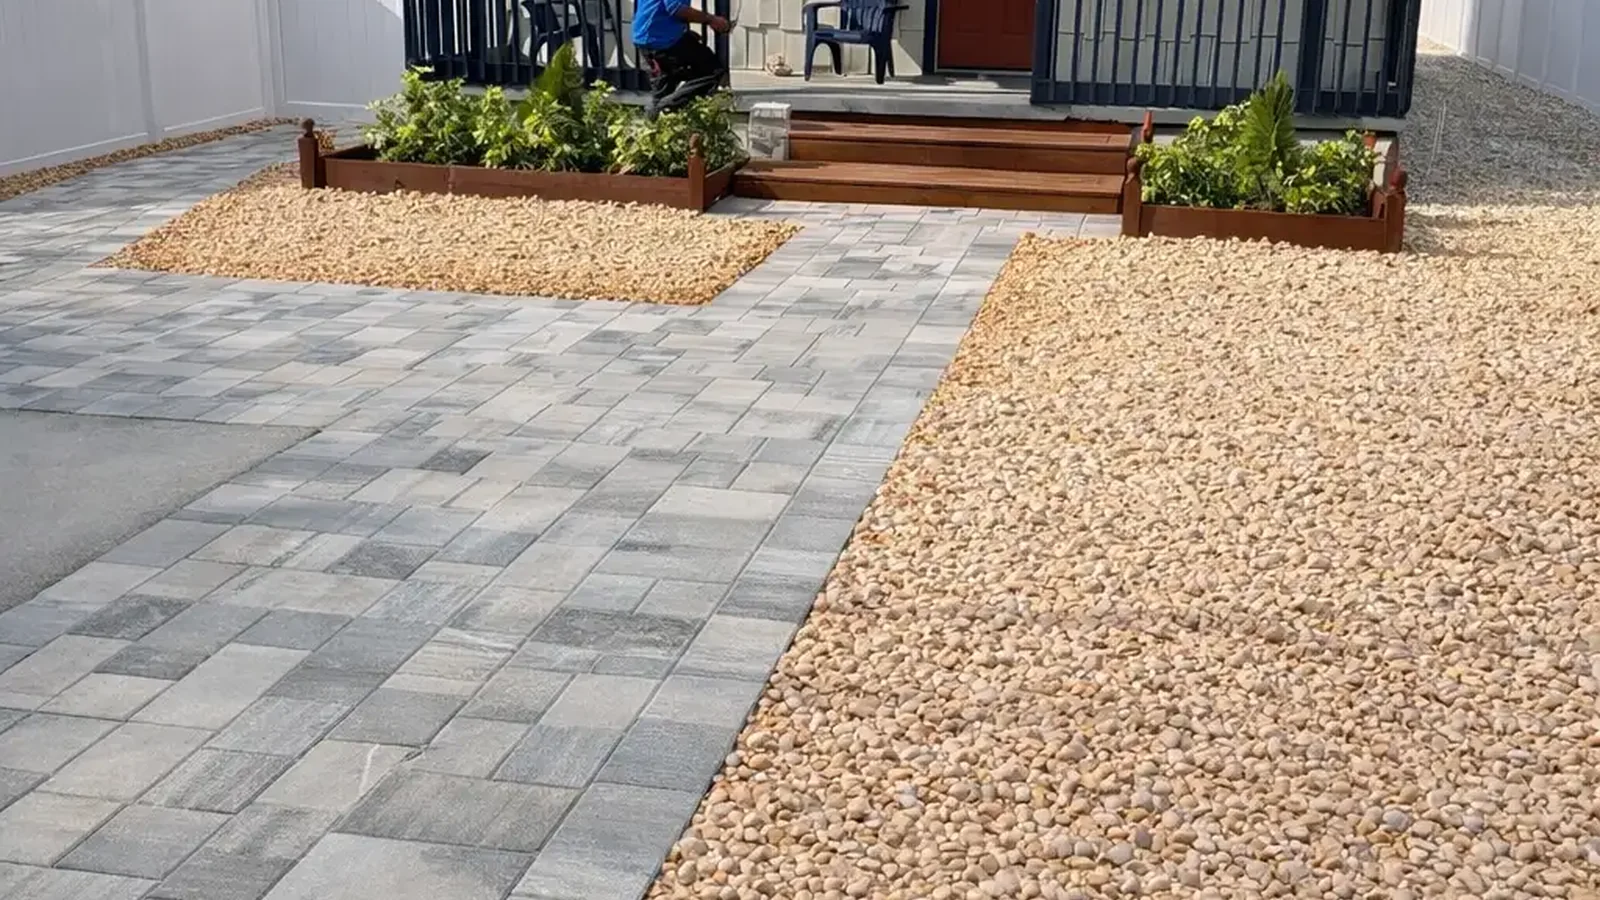
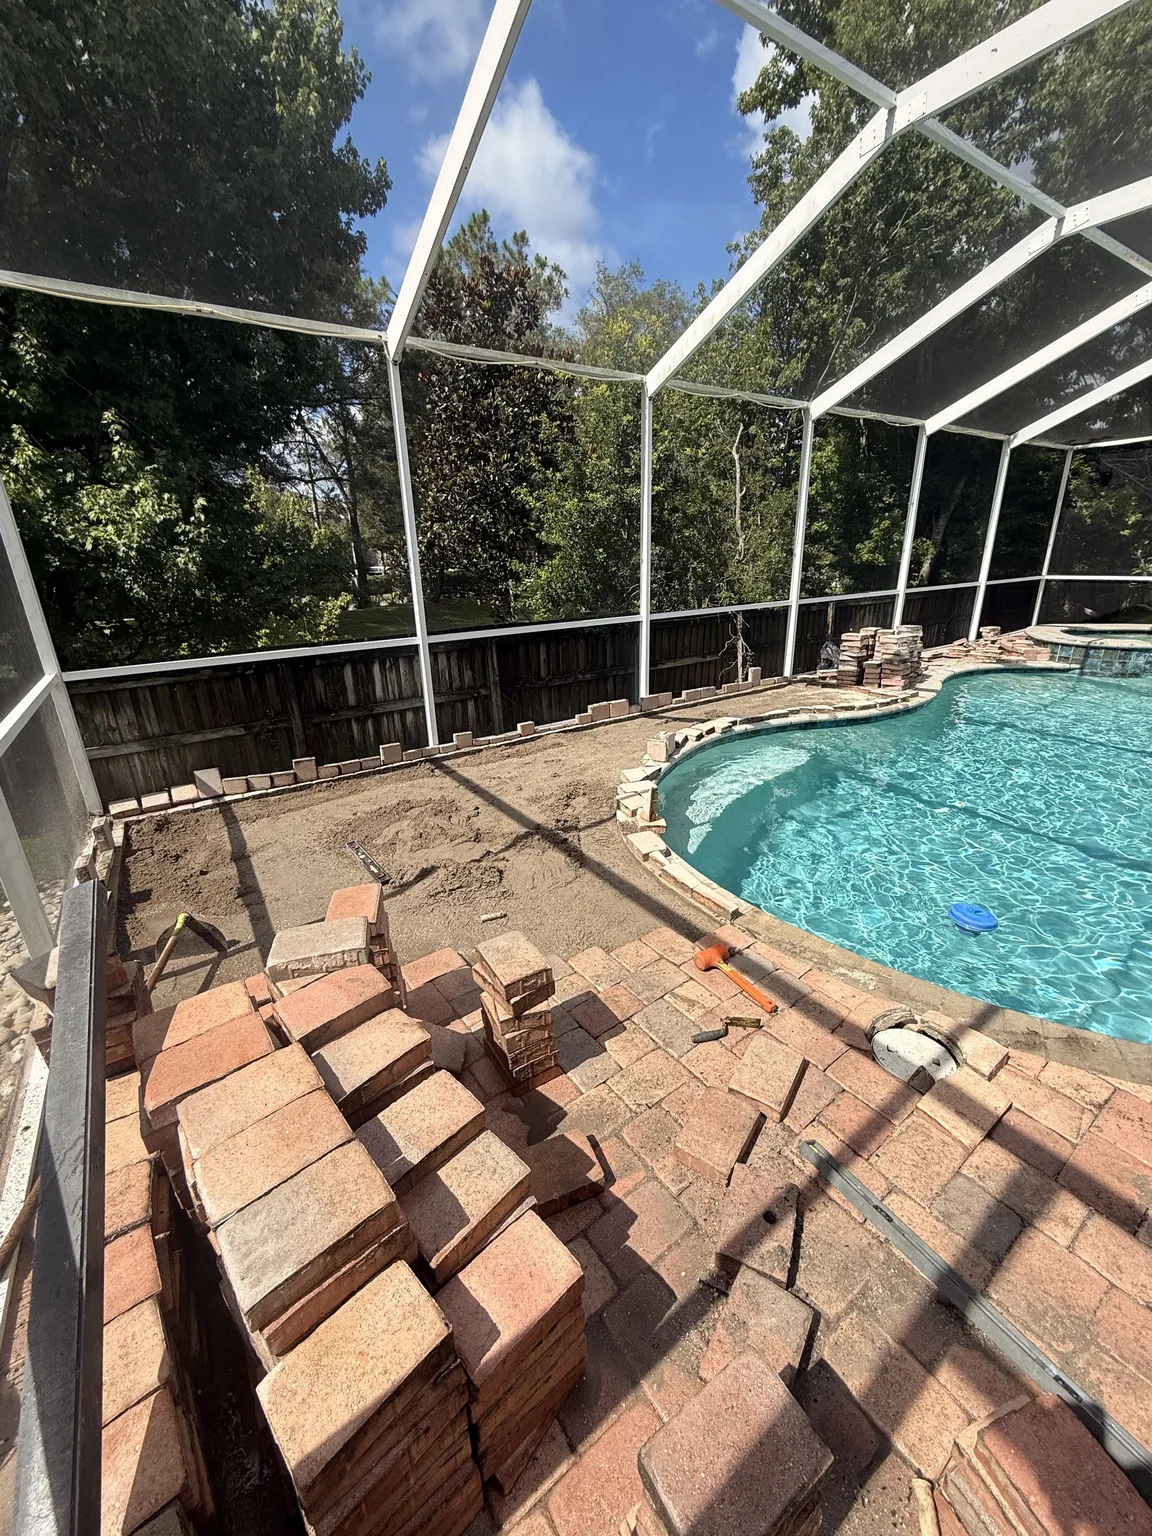
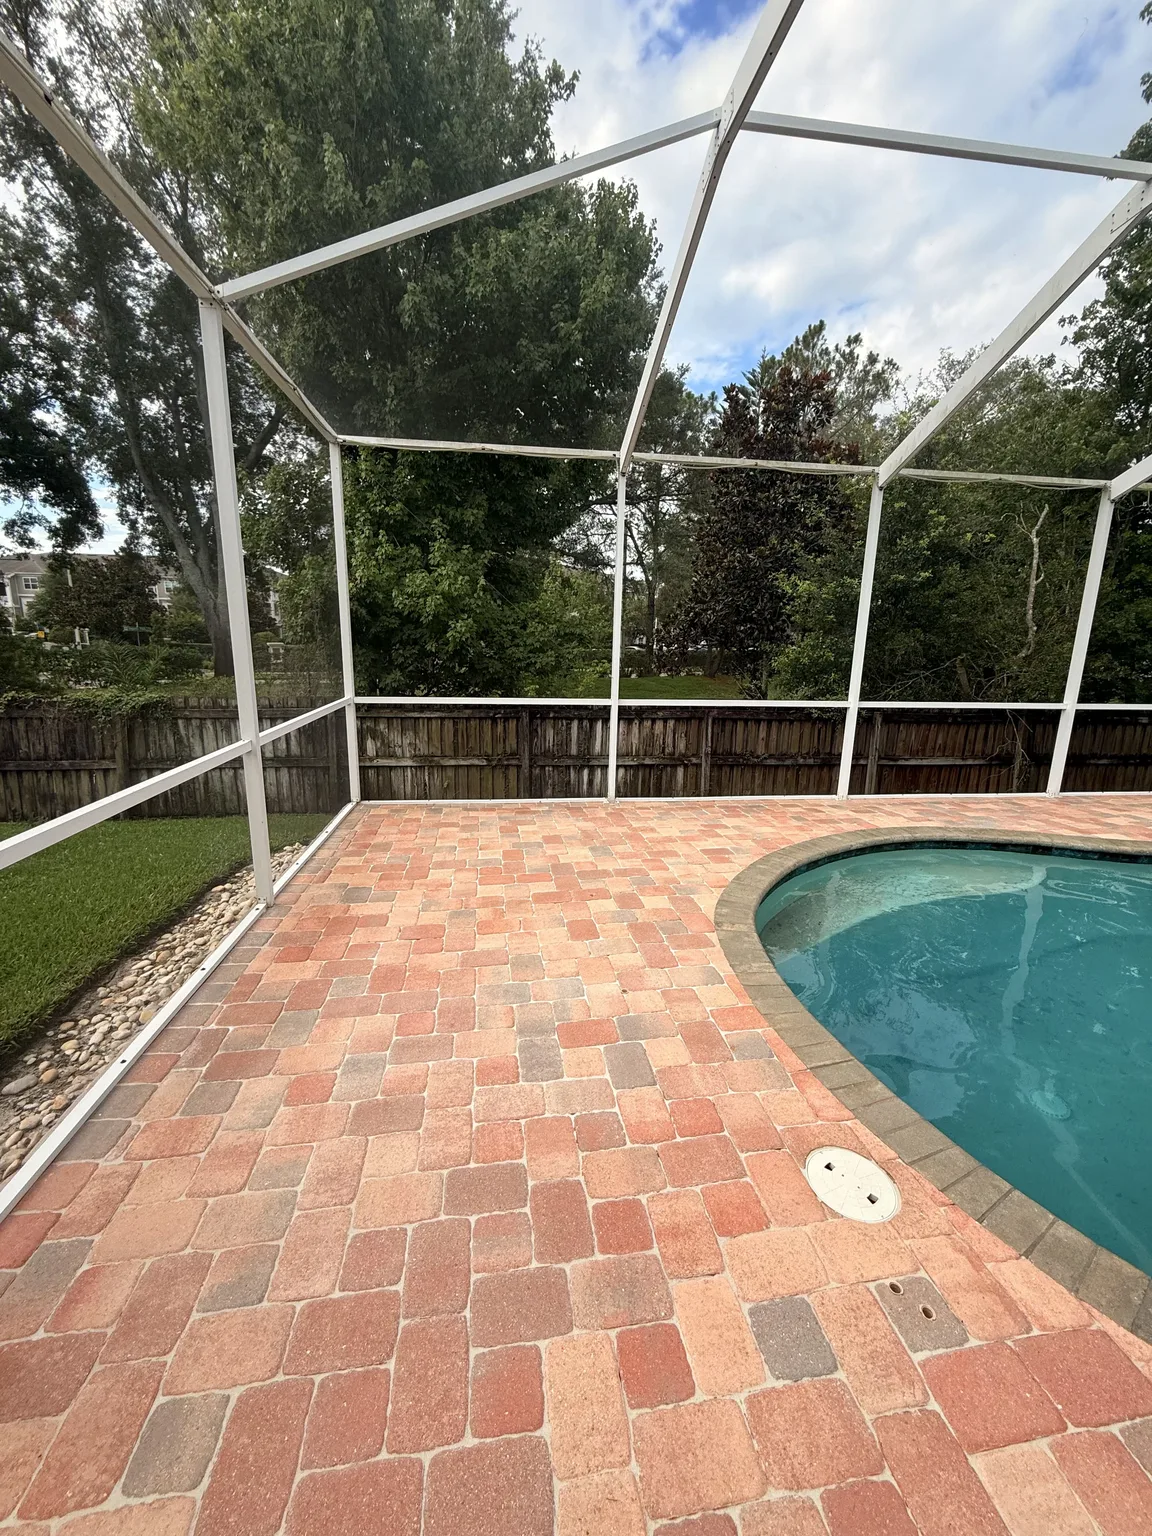
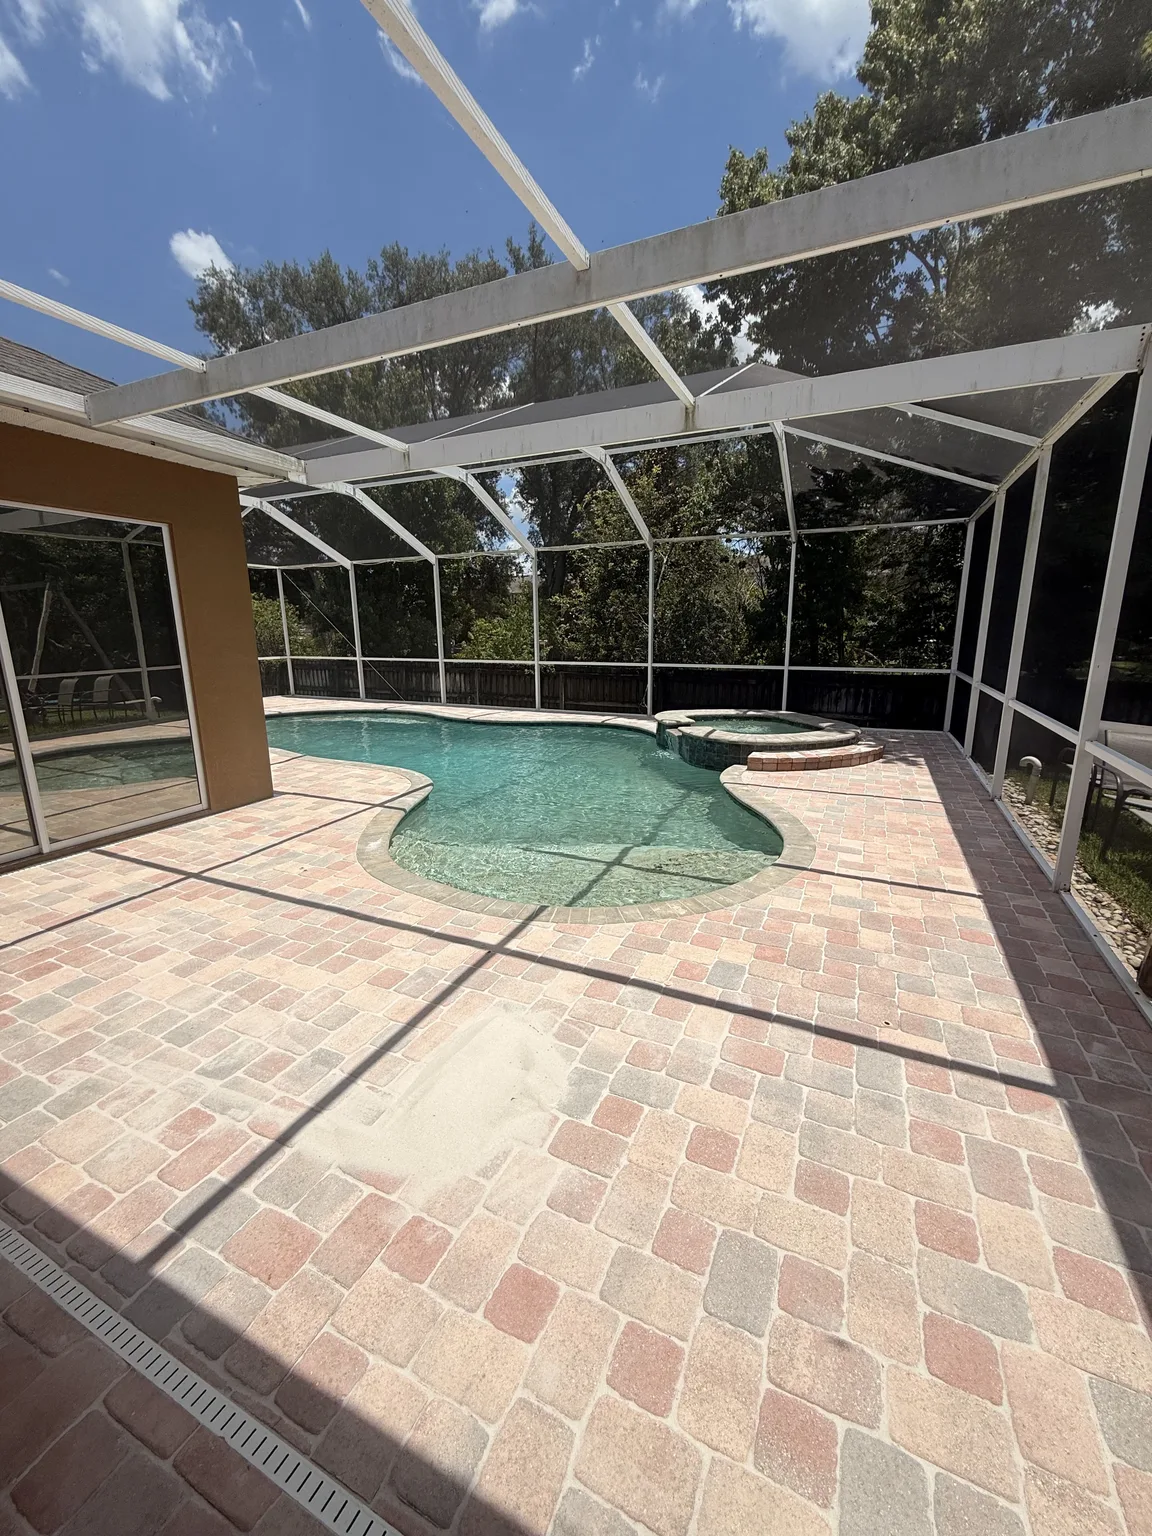
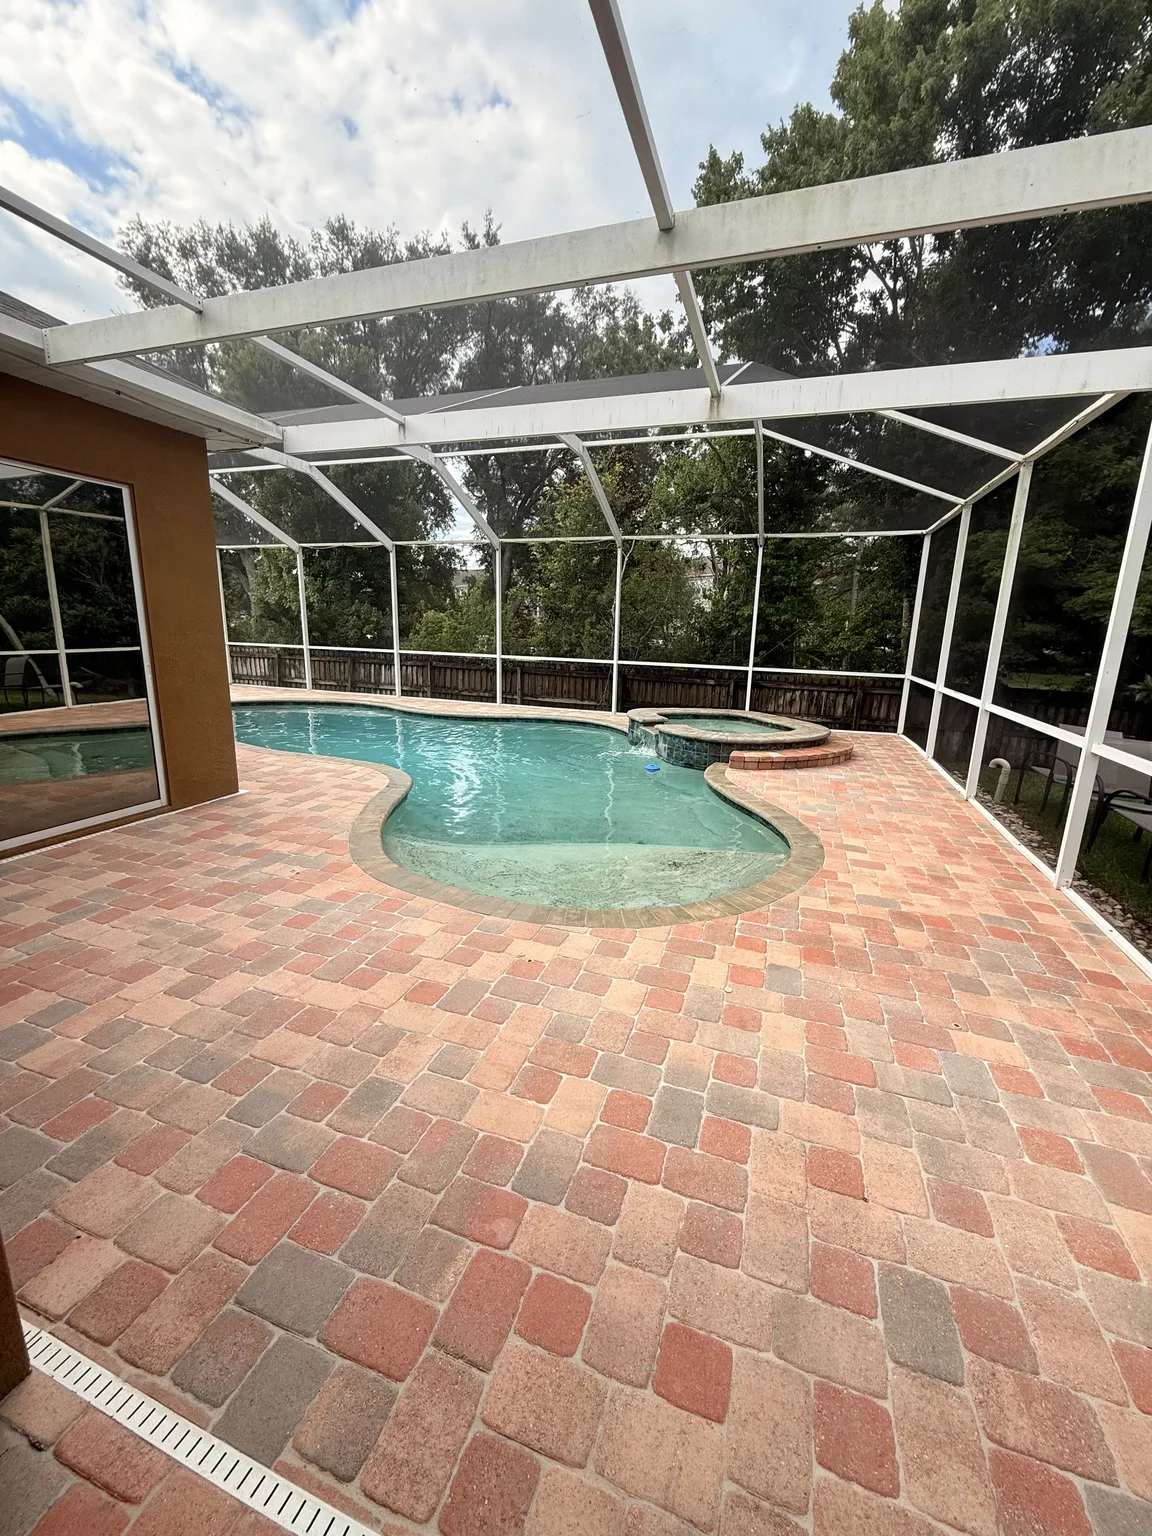
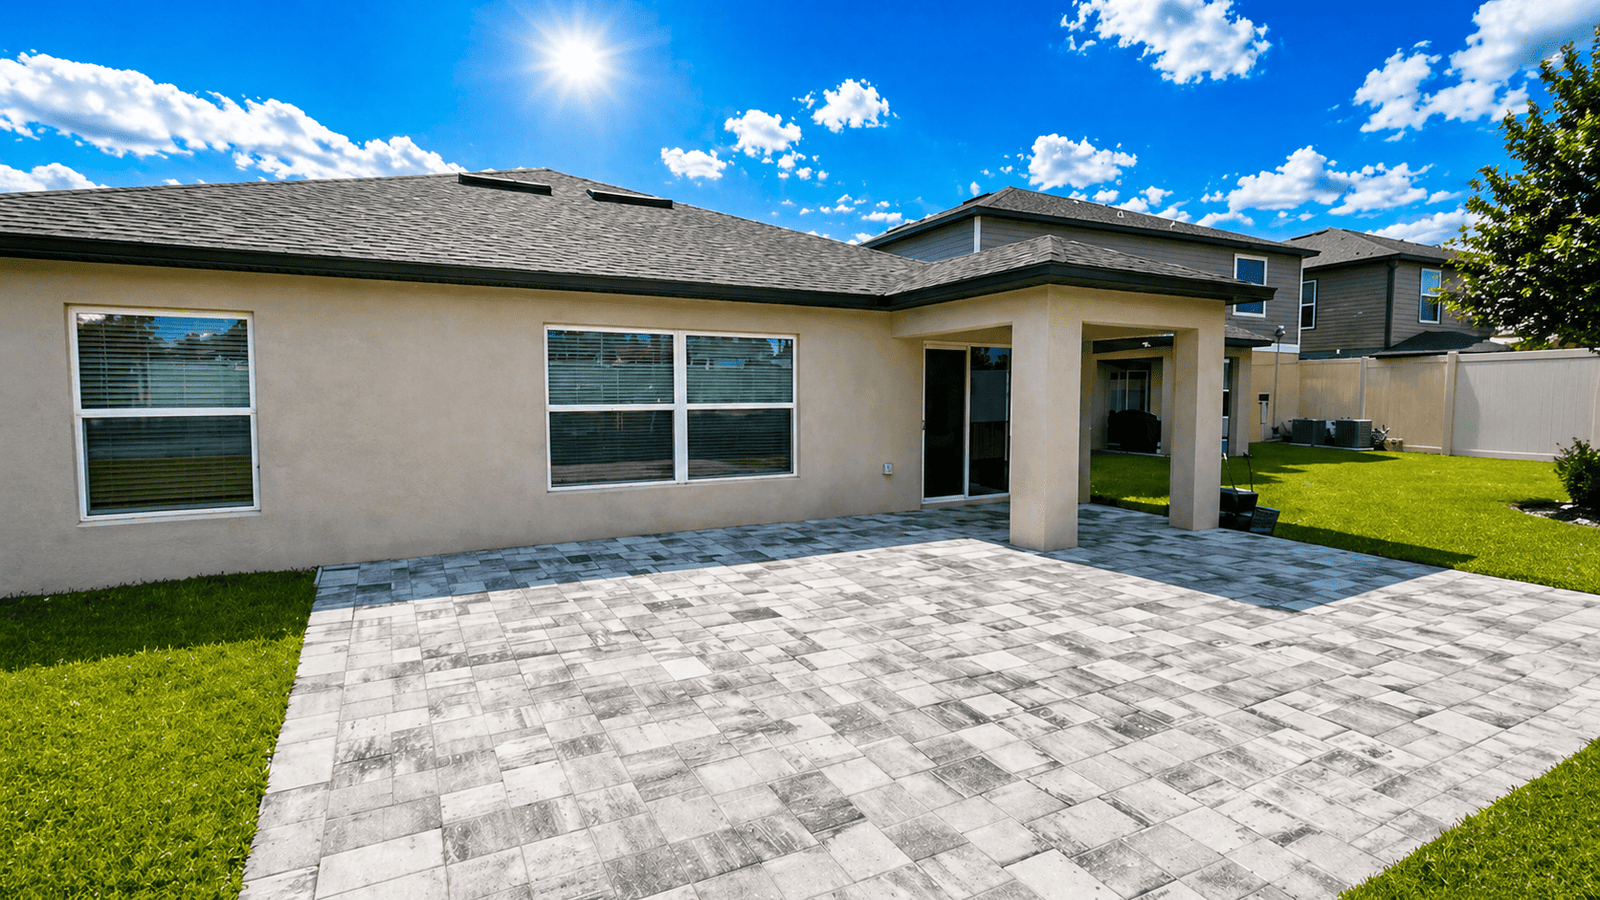
The paver field, border, coping or cap, and vertical face should read as one assembly. Before approving a selection, review the visible material family, unit geometry, color blend, pattern, border logic, finish, and intended application. A photo may show useful design direction, but it does not identify a manufacturer or prove that the same solution fits another site. Actual samples and installed dimensions are more reliable than assumptions from a screen.
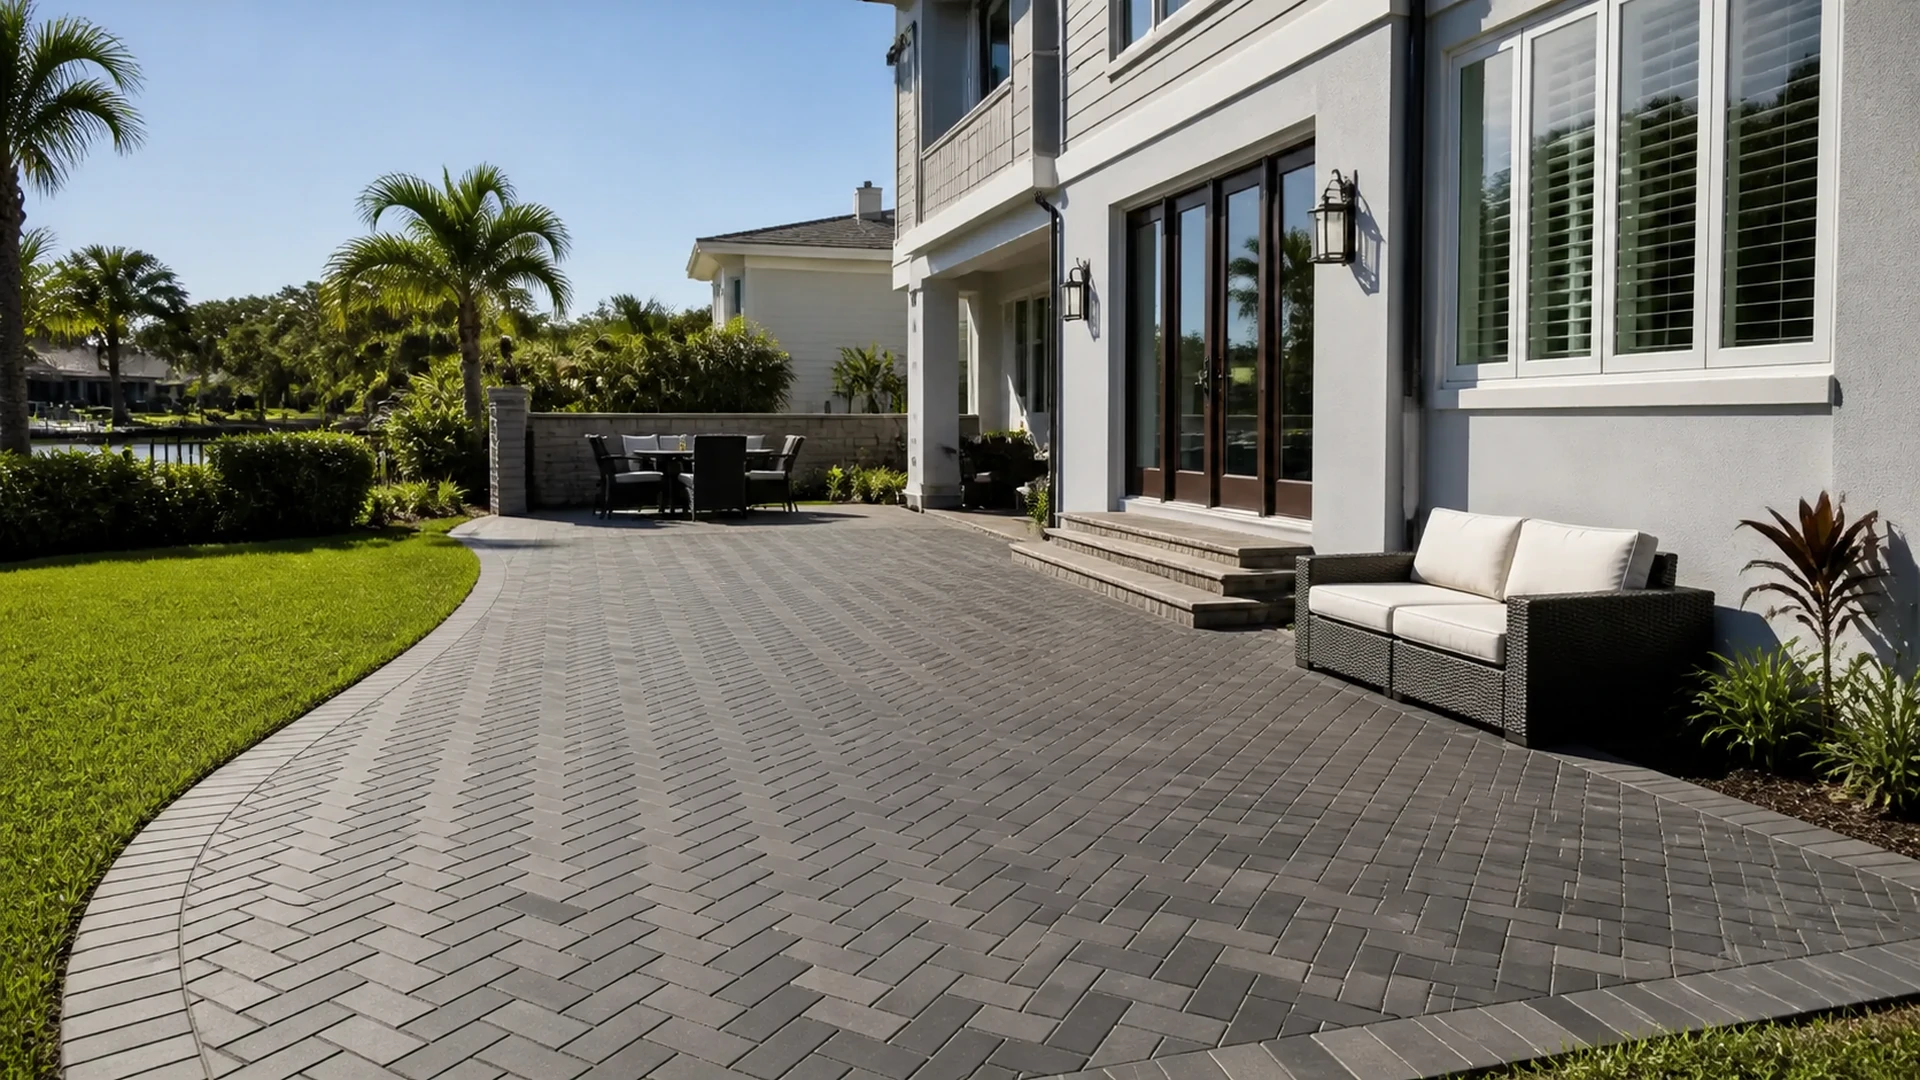
Pattern direction matters at a step. Long units can emphasize a broad landing or make a narrow run feel more directional. Borders can frame an edge, but a border that creates many small cuts at returns may be a warning that the proportions need adjustment. Discuss how joint alignment will meet the riser, where cuts will fall, and how the edge will relate to adjoining walkways. Those details separate a resolved transition from a patio with steps added late.
A proposal review that catches the important questions
Ask the contractor to walk the route with you and explain the finished levels in plain language. A useful proposal identifies the scope of removal or preparation, the proposed patio and landing areas, steps or edge treatment, and any drainage or access conditions that require verification. It should also make clear what is an allowance, what depends on an on-site measurement, and what work is outside the paving scope.
- Where will the finished surface sit relative to each threshold?
- How many rises are anticipated, and will they be checked for consistency in the field?
- Where does water move during a heavy rain?
- How much clear landing space remains when doors and furniture are in use?
- Which edges need contrast or lighting coordination?
- How will the selected pattern and border resolve at corners and risers?
Questions homeowners ask about patio steps
Can a patio avoid steps entirely?
Sometimes, but eliminating a step is not automatically better. The door threshold, existing grades, drainage, and construction depth may make a level surface impractical. A site-specific layout can compare options without assuming that one is universally safer or more attractive.
Should every patio edge have a step?
No. An edge should answer a circulation or elevation need. A continuous step can be useful around a large entertaining area, while defined entry points may suit a smaller patio. Landscape transitions and retaining conditions also affect the choice.
Where can I learn about Florida landscape conditions?
The University of Florida IFAS Extension offers research-based resources that can help homeowners frame questions about plants, irrigation, and outdoor conditions. Those resources complement, rather than replace, measurement of the patio site.
Bring the transition into the whole outdoor plan
There is also a sequencing question that homeowners can settle before work begins. If a patio will later connect to a screened enclosure, outdoor kitchen, planting renovation, or pool improvement, show those future ideas during the initial visit. A transition placed for today’s empty lawn may be poorly located once a gate, utility run, or furniture zone is added. That does not mean every future project must be built now; it means the first phase should not close off the most logical route.
Look at the transition from inside the house as well. The view through a slider or French door often makes a patio edge feel wider or narrower than it measures. A centered straight run may suit a formal room, while a subtle side approach can protect a view toward landscaping. Neither choice is inherently better. The value of reviewing both sightlines and walking lines is that the finished patio will not feel like two separate designs, one seen through glass and another experienced on foot.
How existing conditions change the details
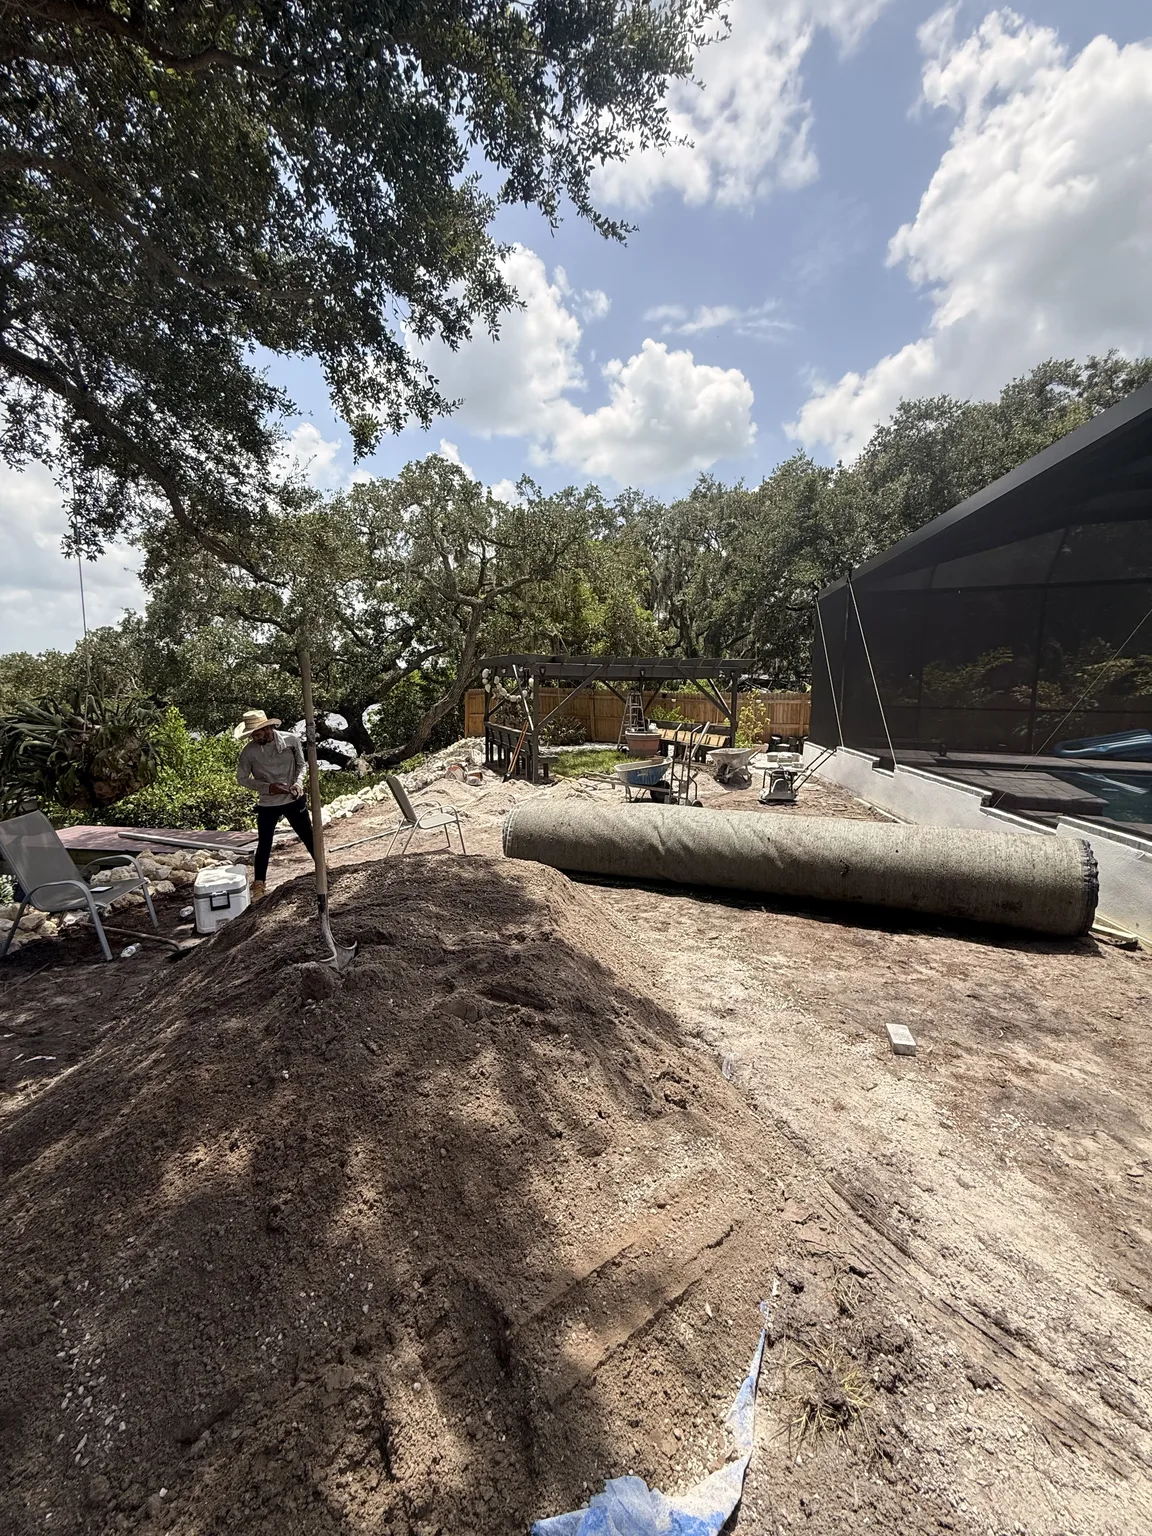
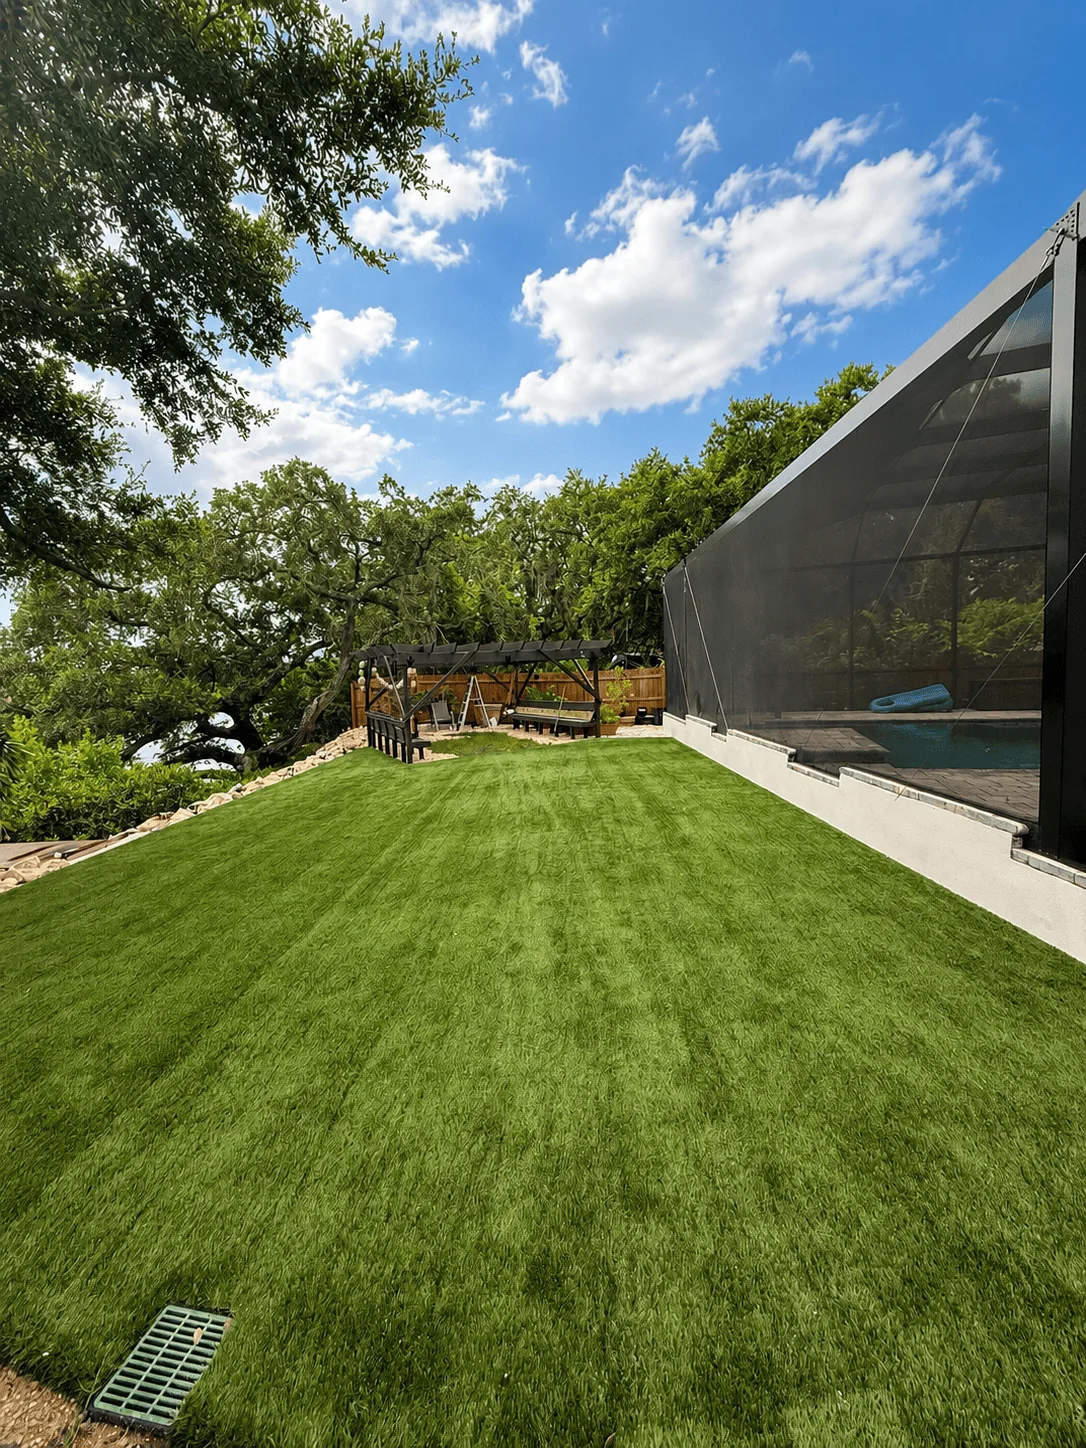
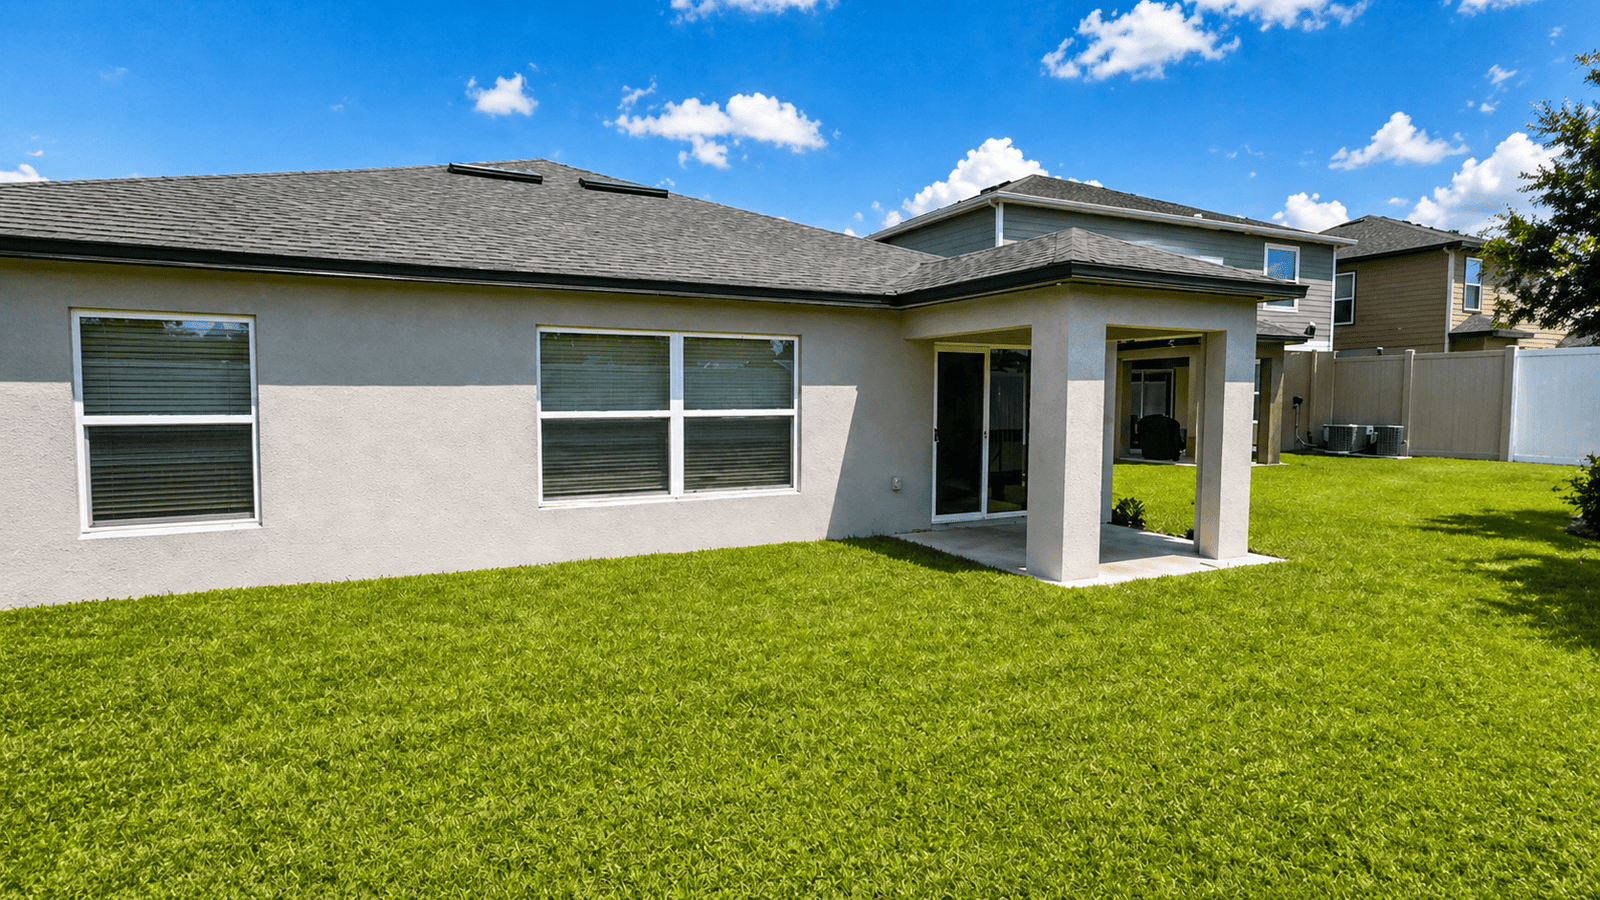
Established homes rarely present a blank site. A mature tree may have roots near an intended edge, a downspout may discharge where a step seems most convenient, or an older concrete slab may sit at a different elevation than the new work. Fences, gates, utility equipment, and pool-screen posts can limit access and layout. These are not reasons to abandon a project; they are reasons to survey before promising a specific step width, final height, or construction approach.
Transitions next to planting beds need a clear relationship to soil and mulch. Loose material that regularly migrates onto a tread creates more cleanup and can blur the edge people need to see. Think about access for trimming, irrigation adjustments, and seasonal planting without forcing someone to step through a bed. A modest revision to bed shape can preserve the intended route and make the transition easier to maintain.
Before construction, walk a full-size mock route
Painter’s tape, string, removable markers, or even placed chairs can make a proposed route easier to judge. Mark the landing edges and stand where the finished riser would be. Open the door, carry a box, and have two people pass through the space. This simple exercise can reveal that a corner is too close to a gate or that the preferred entry point conflicts with a grill. It is cheaper to adjust a line on the ground than a completed edge.
During that walk, notice what happens in wet conditions. A route that works in sandals on a dry afternoon may become less clear when water from the lawn, roof, or pool deck changes how people approach it. The objective is not to speculate about every storm. It is to make sure the transition has been considered alongside the patterns the property already shows, so the design has fewer surprises after the first heavy rain.
Keep future maintenance in mind, too. Leaves, blown mulch, and ordinary outdoor debris tend to gather at inside corners and low edges. An easy-to-reach, clearly shaped transition is simpler to sweep and inspect than one with decorative pockets that serve no circulation purpose. When a design choice adds a corner or return, ask what it contributes to the route, view, or drainage plan.
That same practical review helps keep the finished work calm and cohesive. A well-resolved step does not need extra visual drama to announce itself; its dimensions, route, and edges already communicate where people should go.
A patio step should make the yard easier to use on an ordinary Tuesday as well as during a gathering. Before selecting a final shape, compare the transition with the doorway, drainage route, furniture plan, landscape edge, and evening visibility. Reviewing Dr Pavers Design project and service information can help turn those observations into a focused conversation. The strongest result is a sequence that feels obvious underfoot, fits the home, and leaves room for the way the household actually moves outside.
Finally, when you are ready to improve your patio and outdoor living area, review the services, see completed projects, read testimonials, and check the FAQ before requesting a free consultation through the contact page. Follow Dr Pavers Design on Instagram and Facebook, or review the company on Google. Open Google Maps, send a WhatsApp message, call +1 (656) 600-4015, send a text message, or email drpavers@outlook.com for a free consultation anywhere in Tampa Bay.