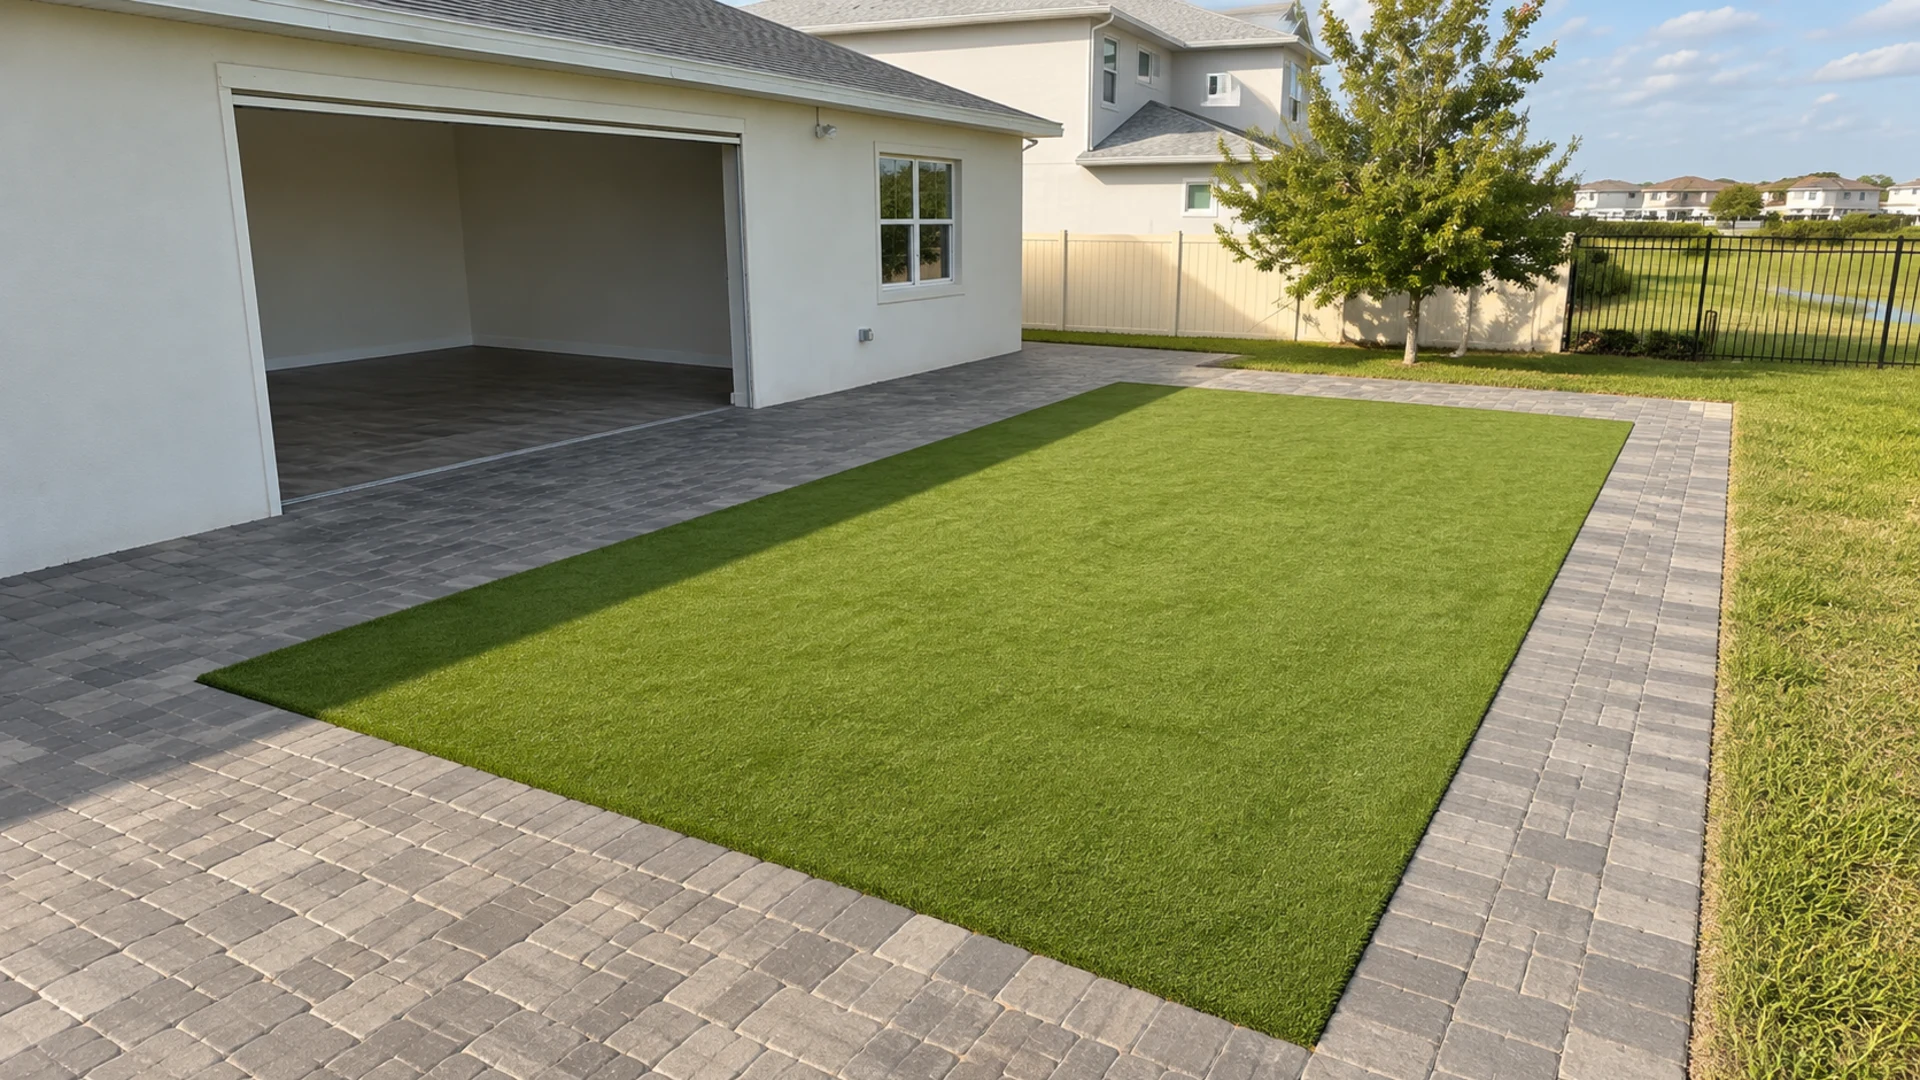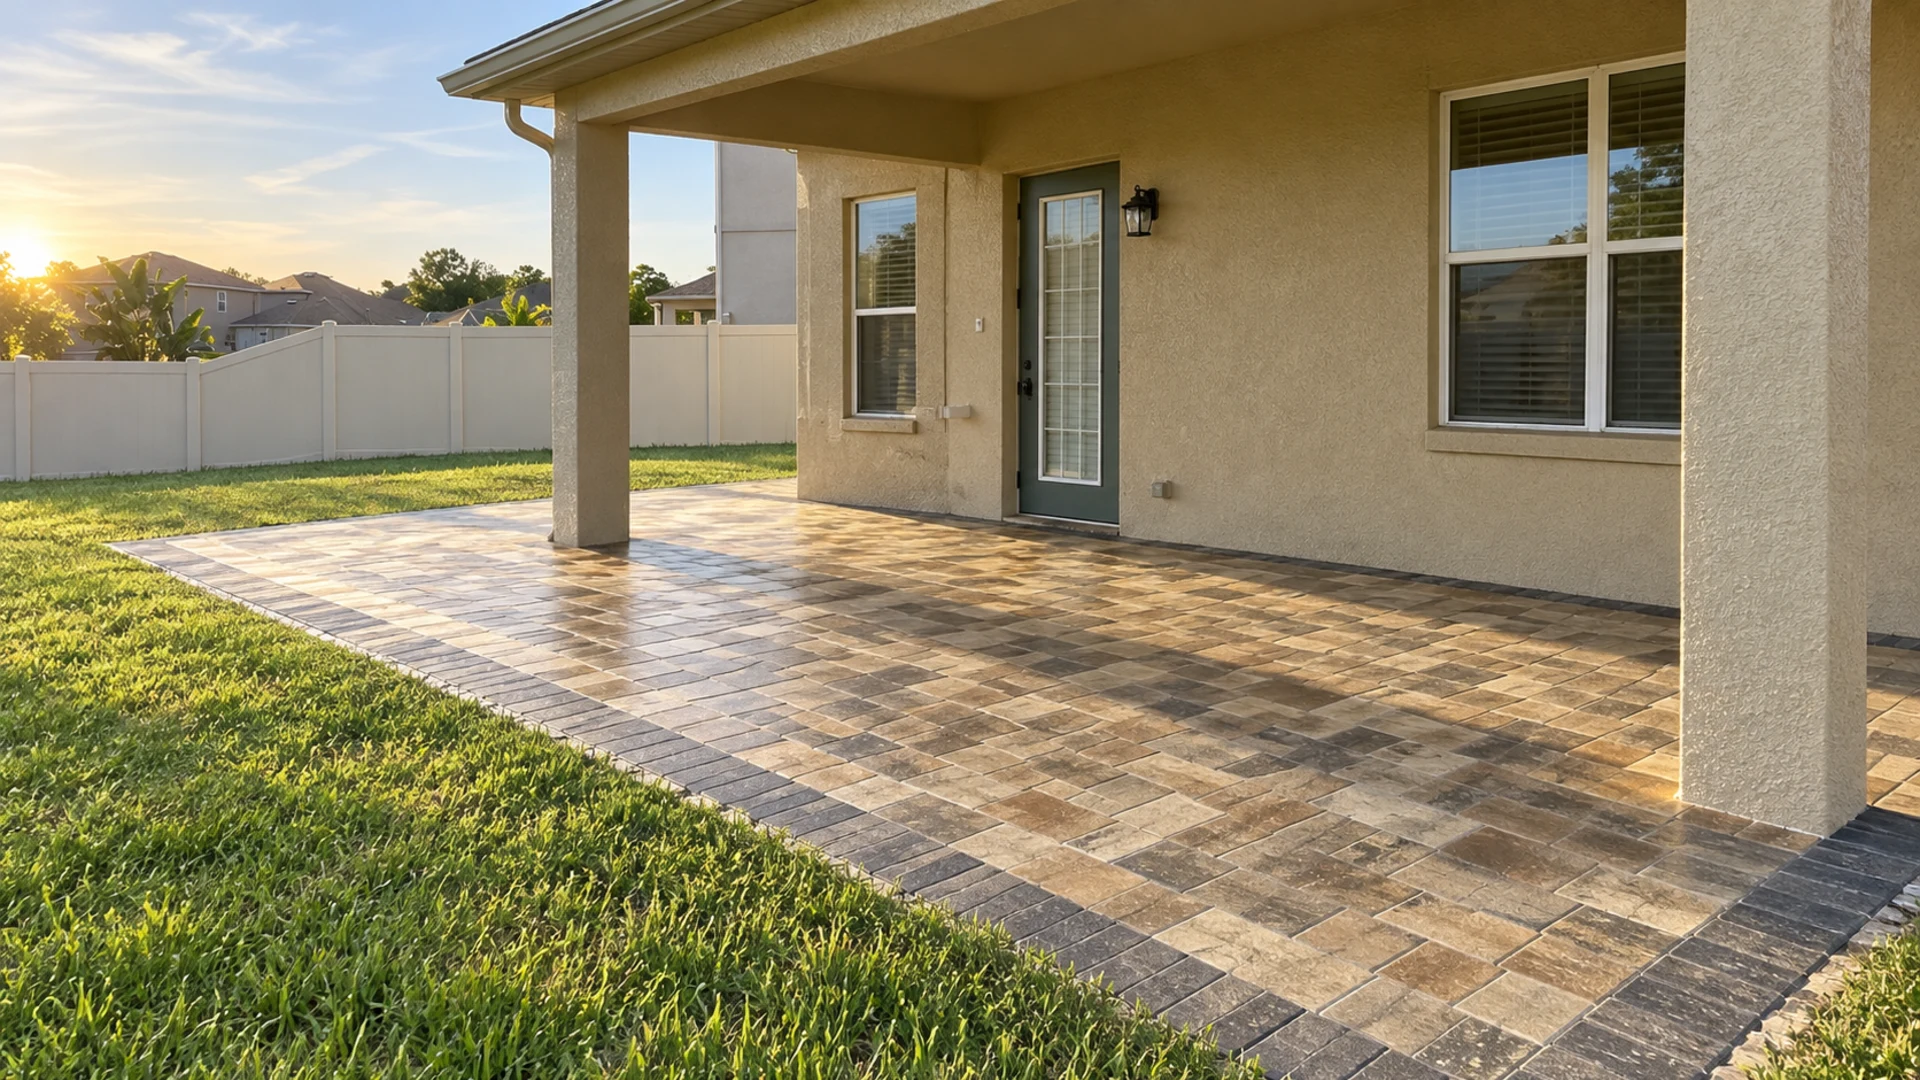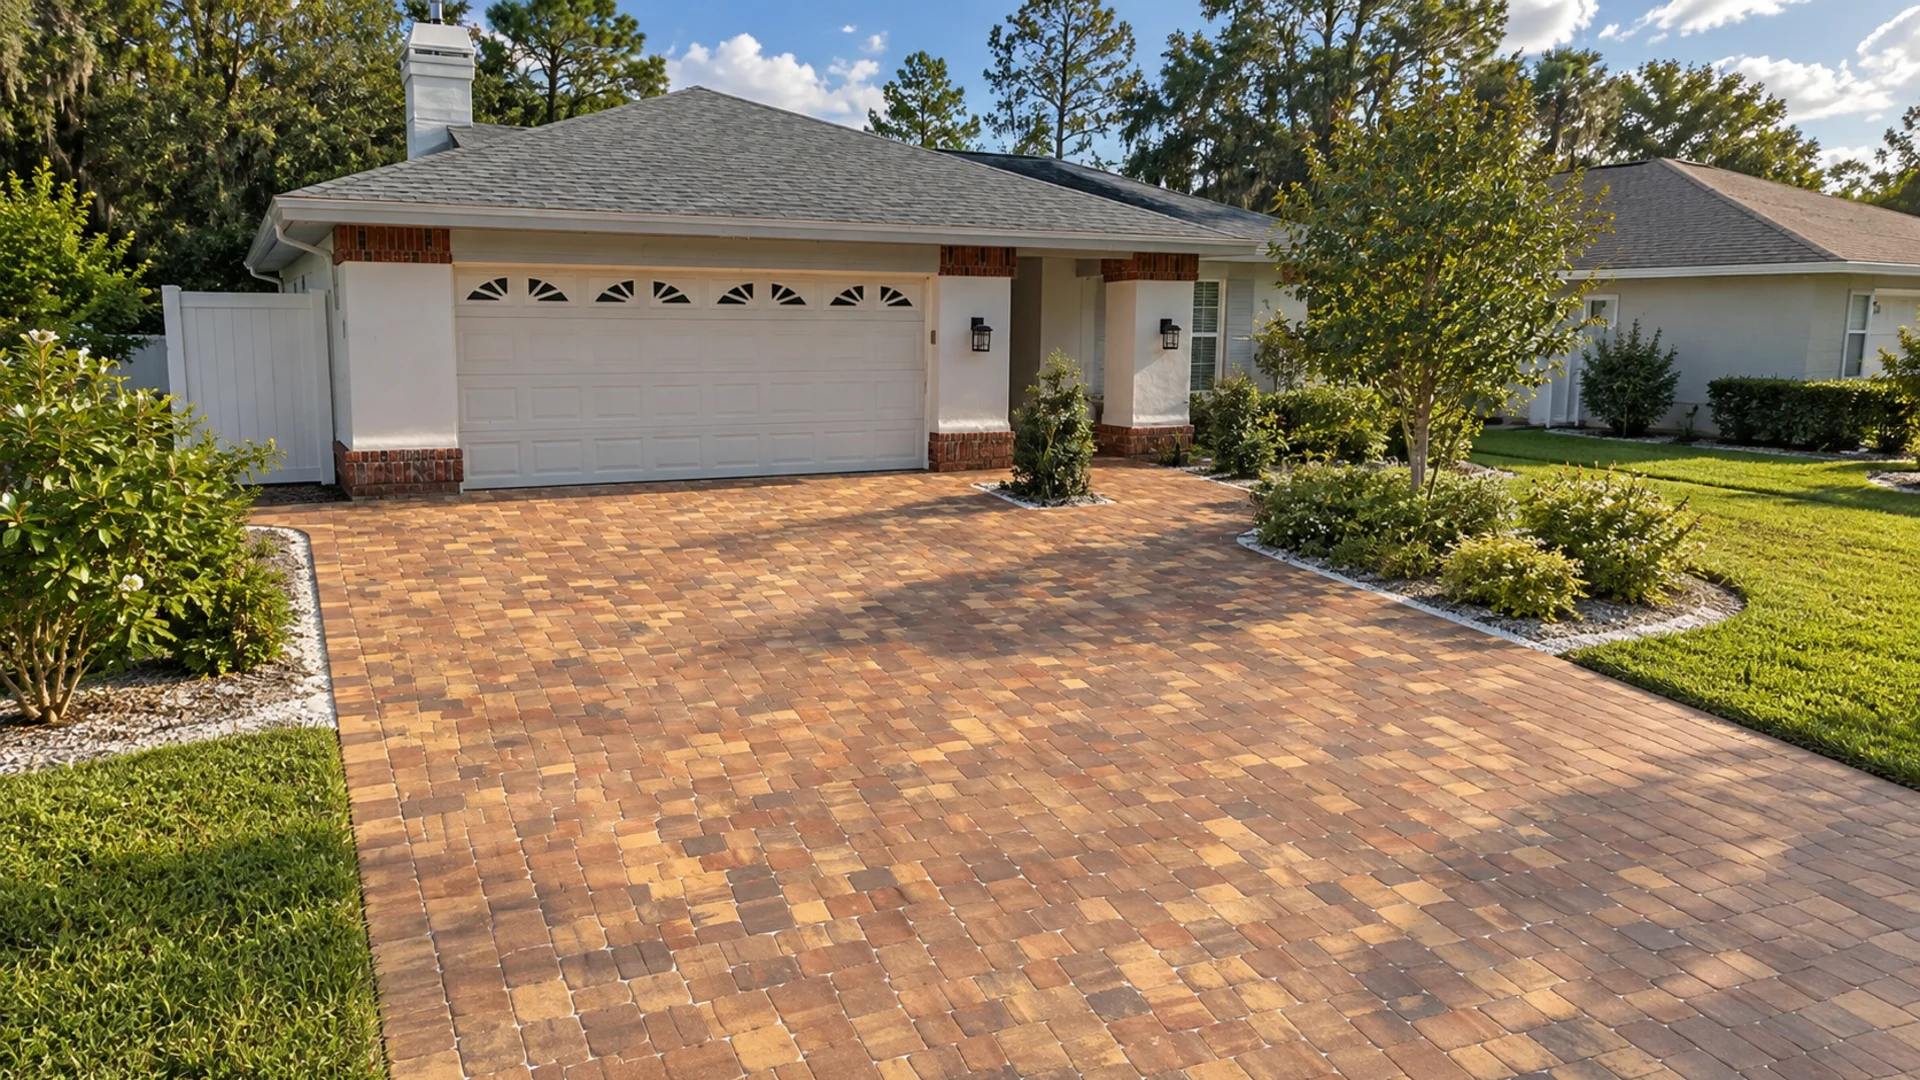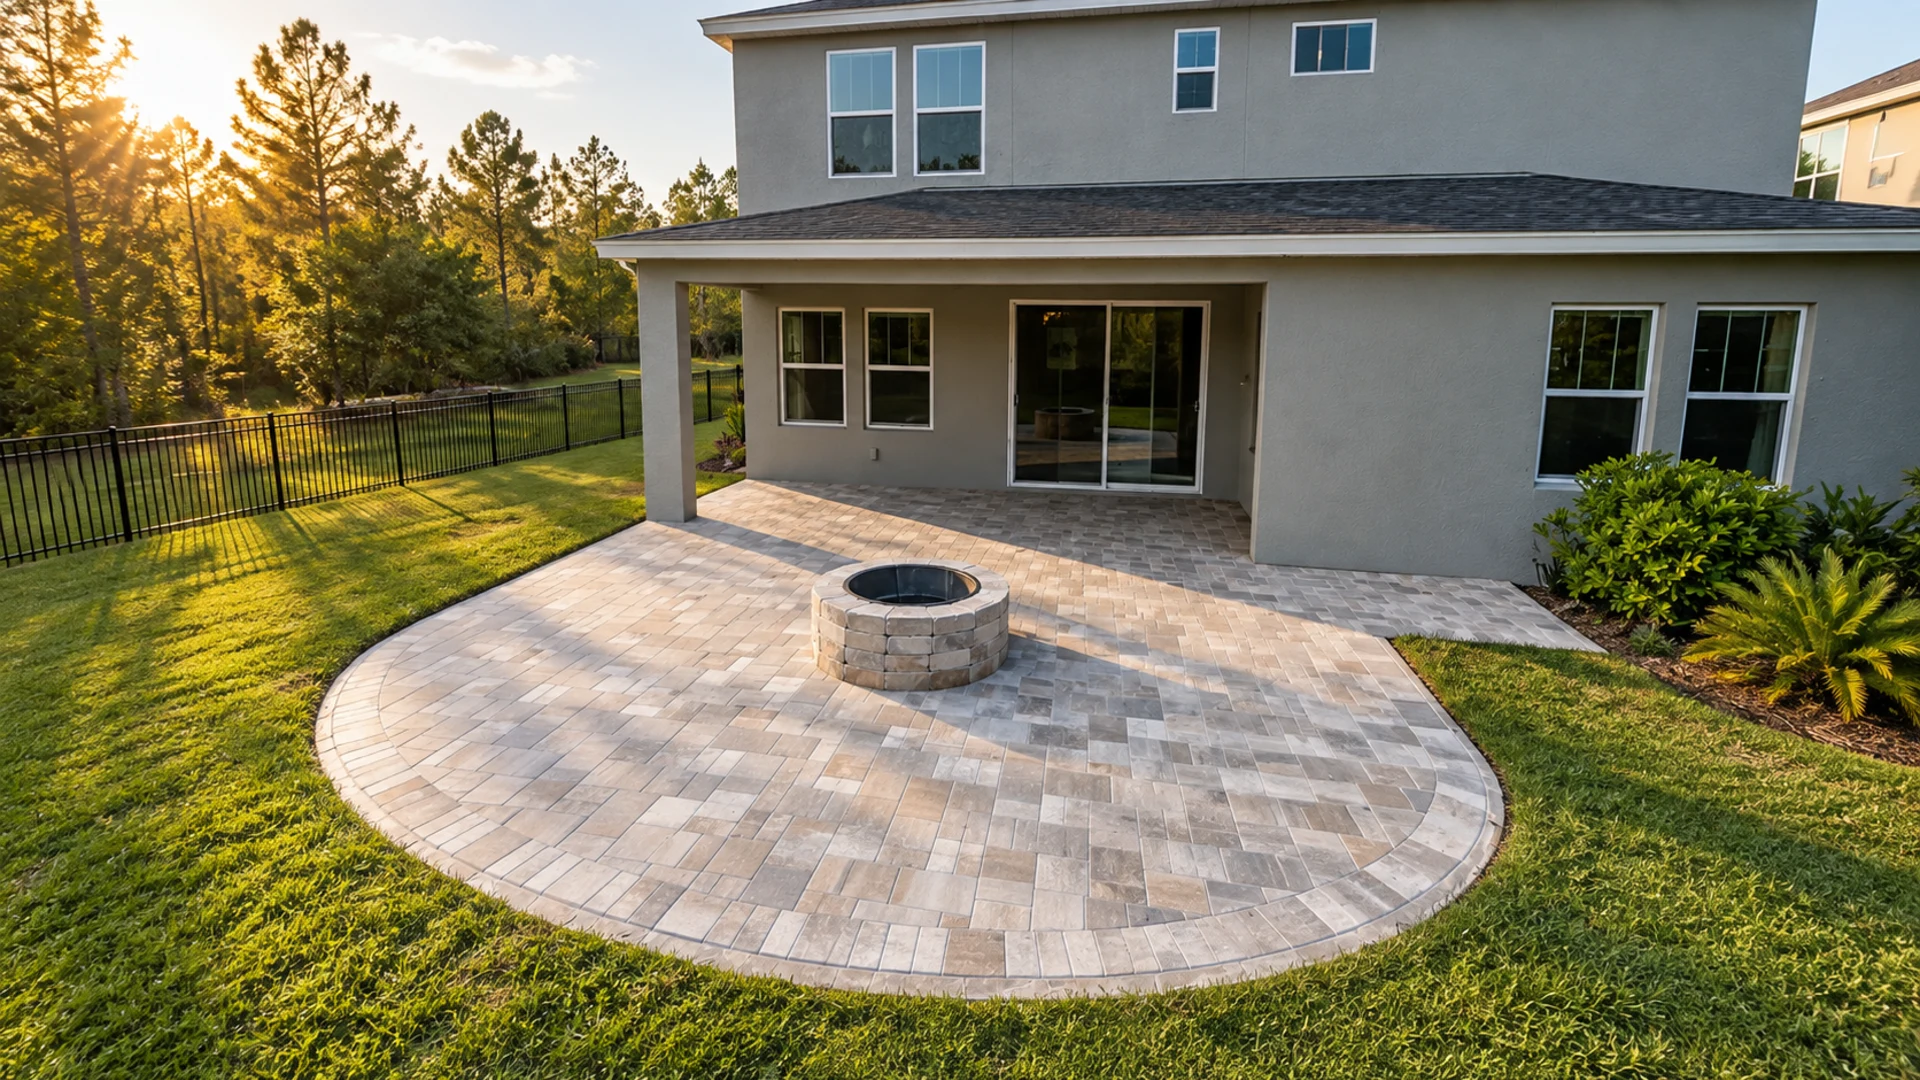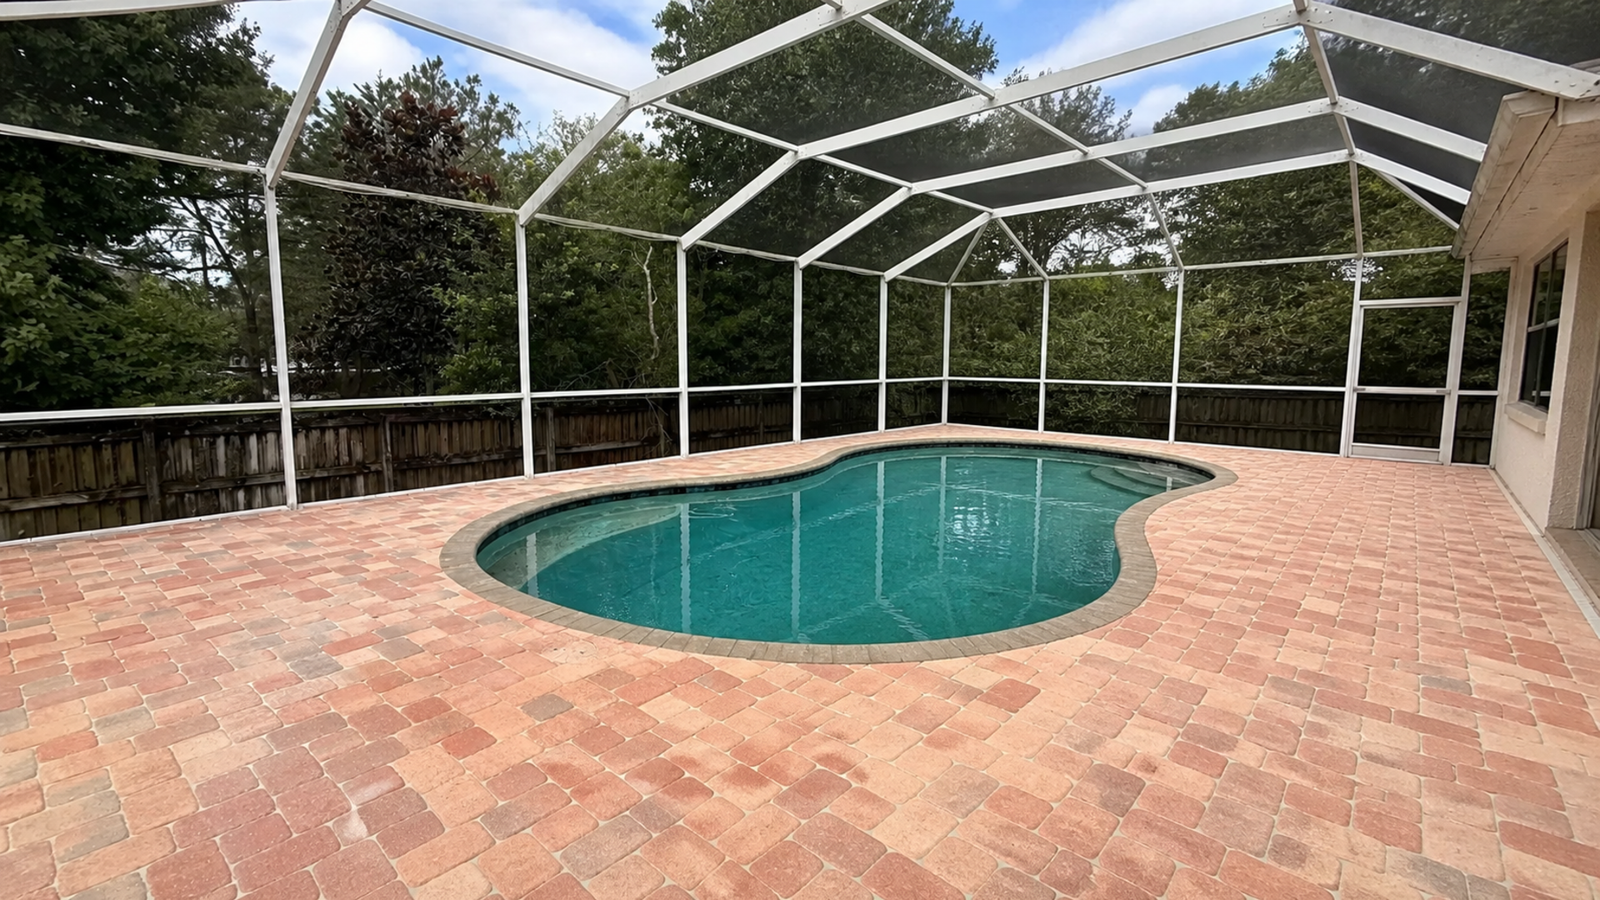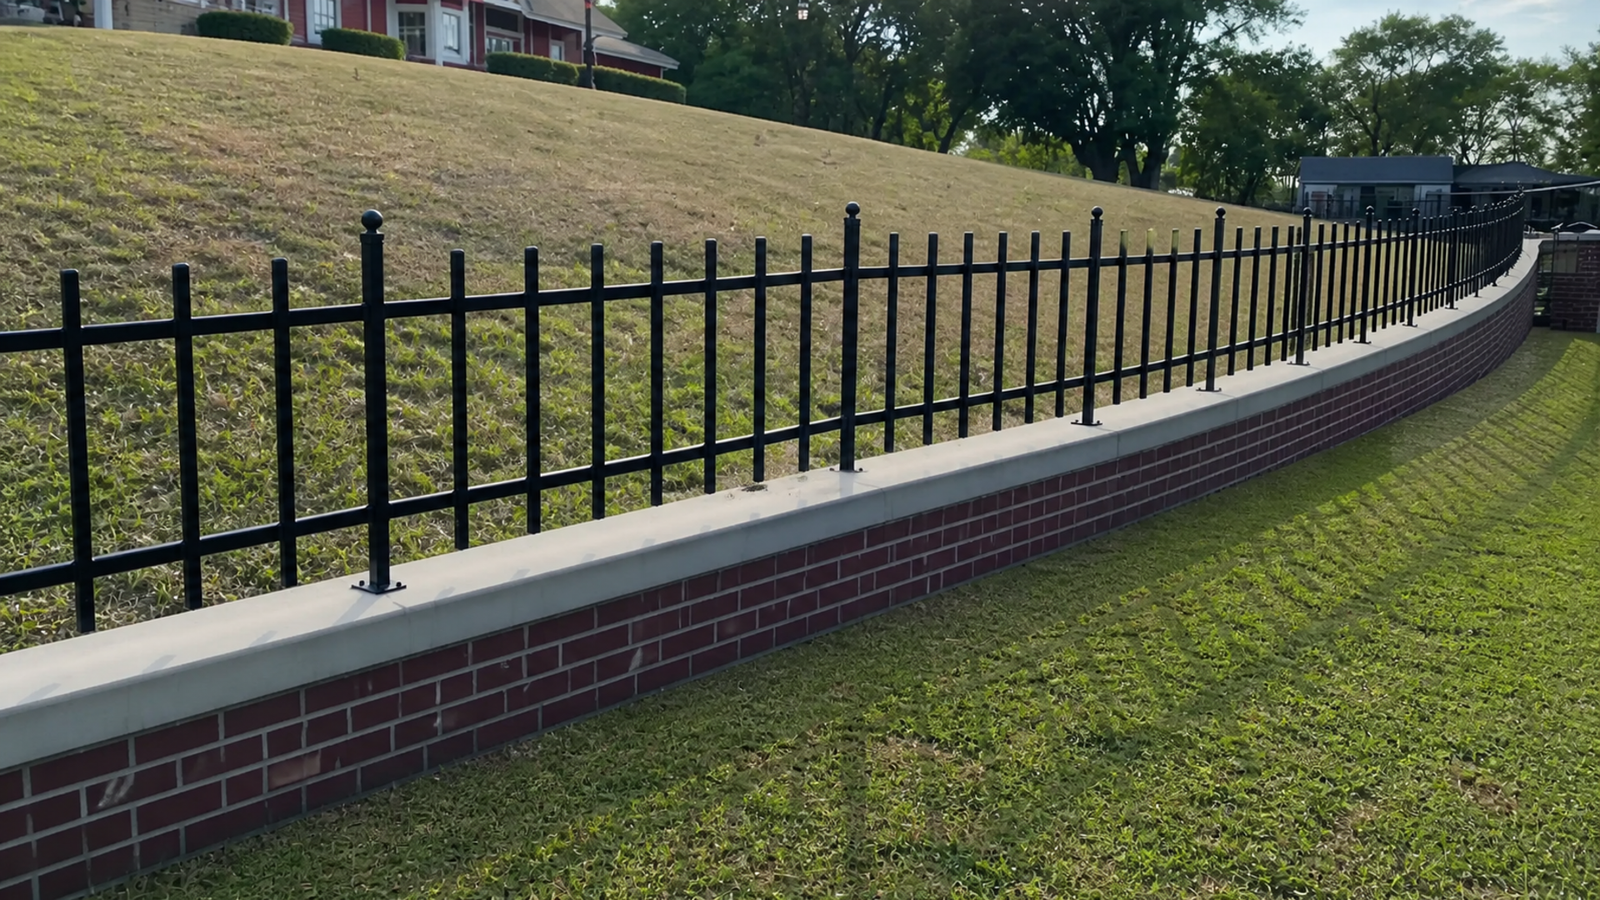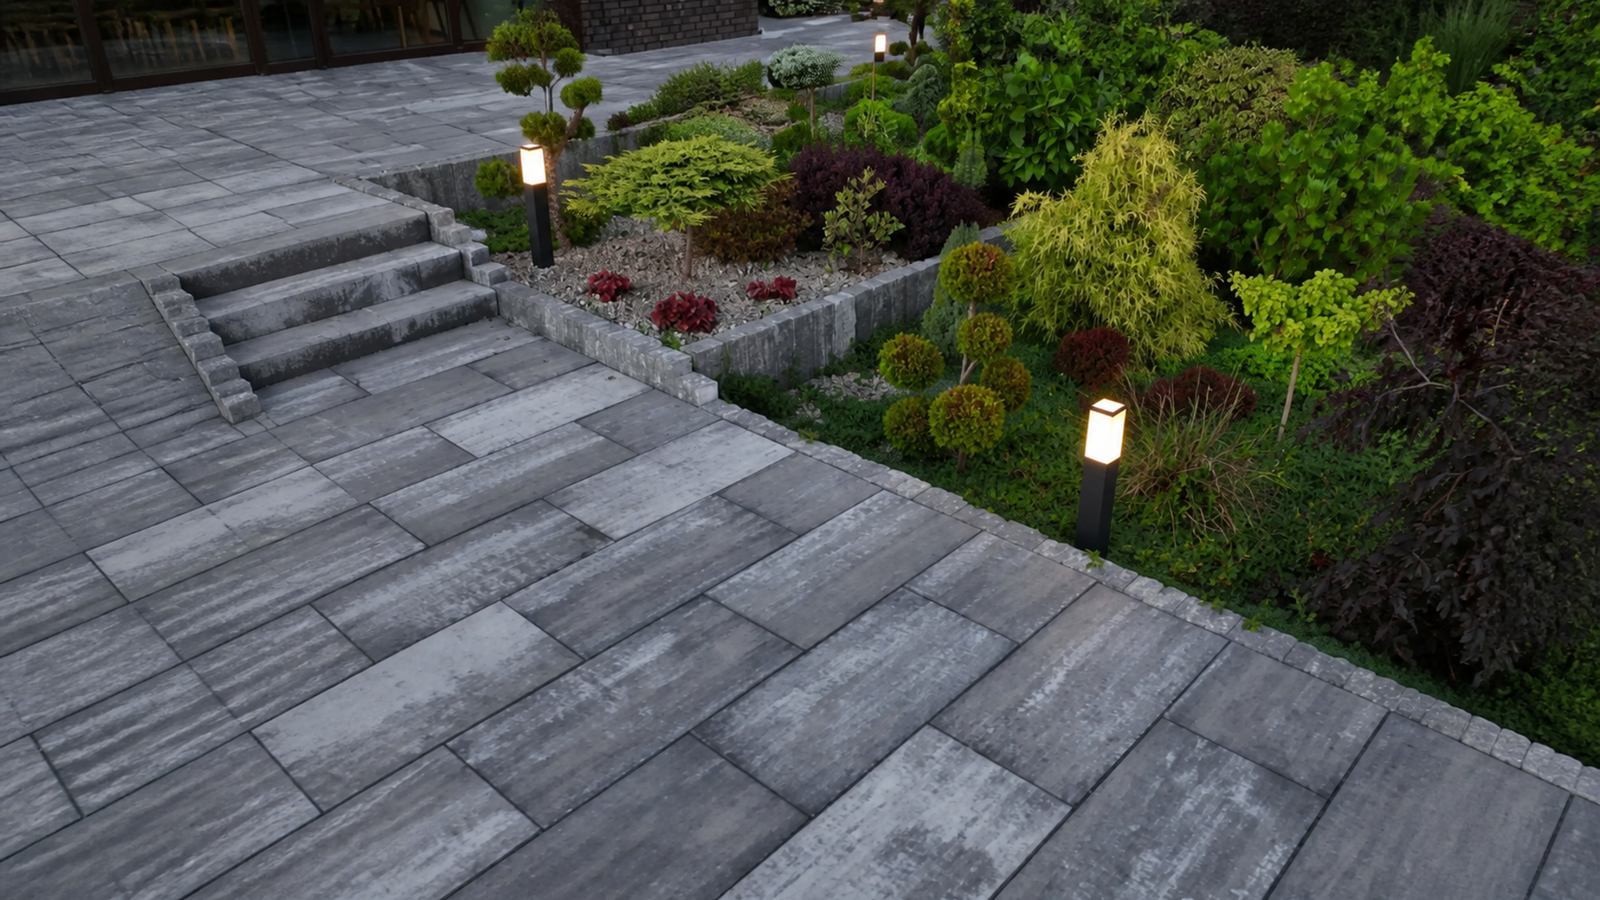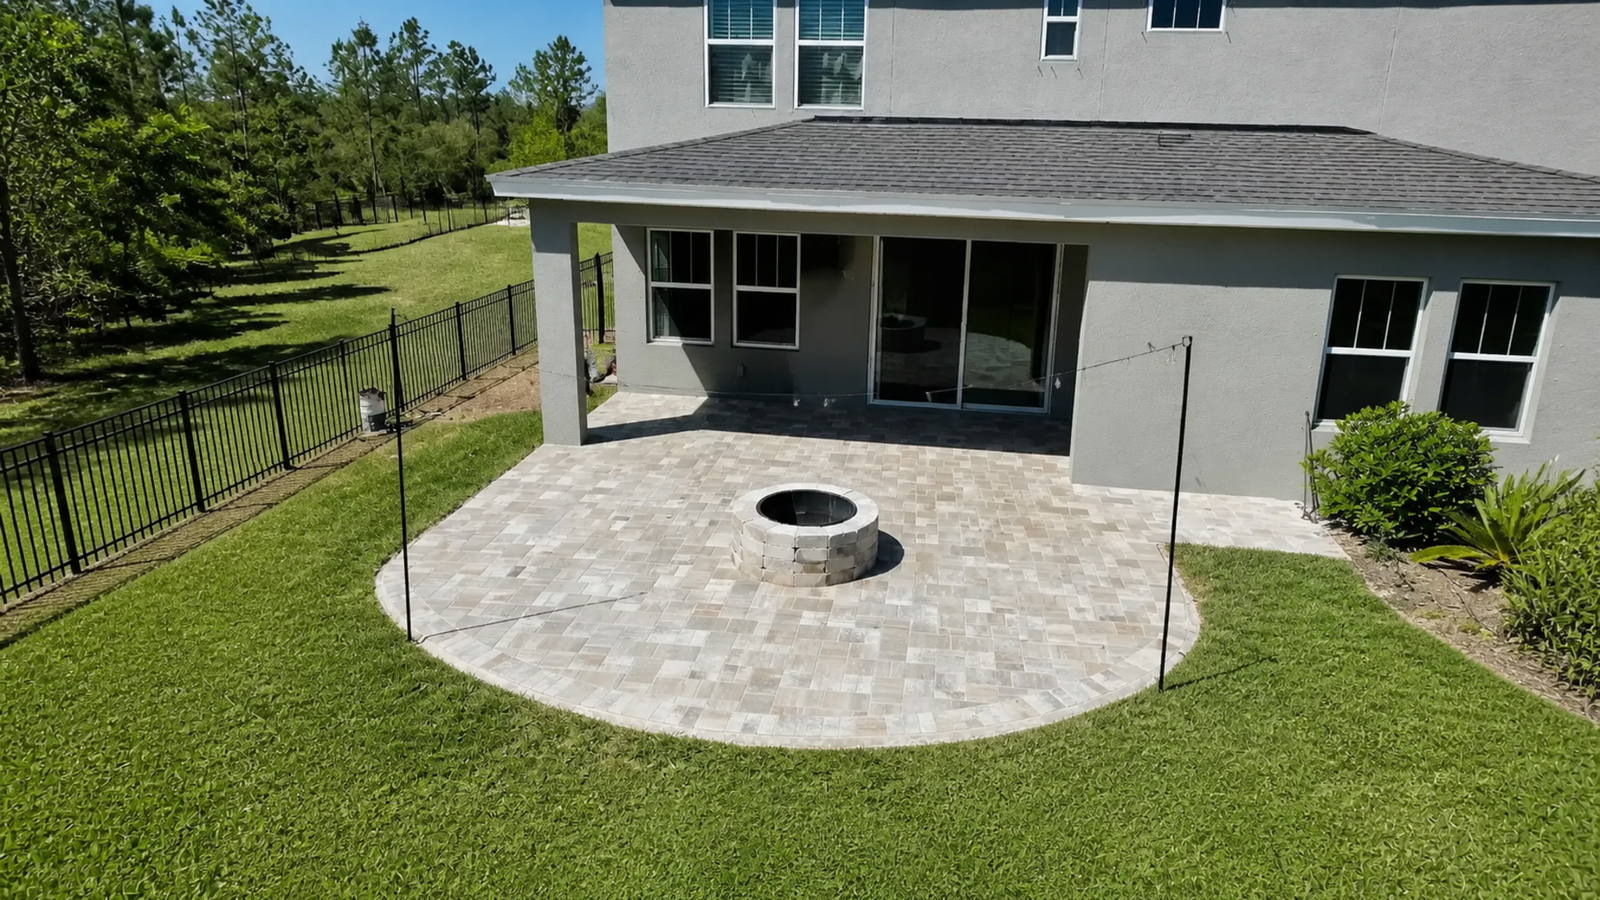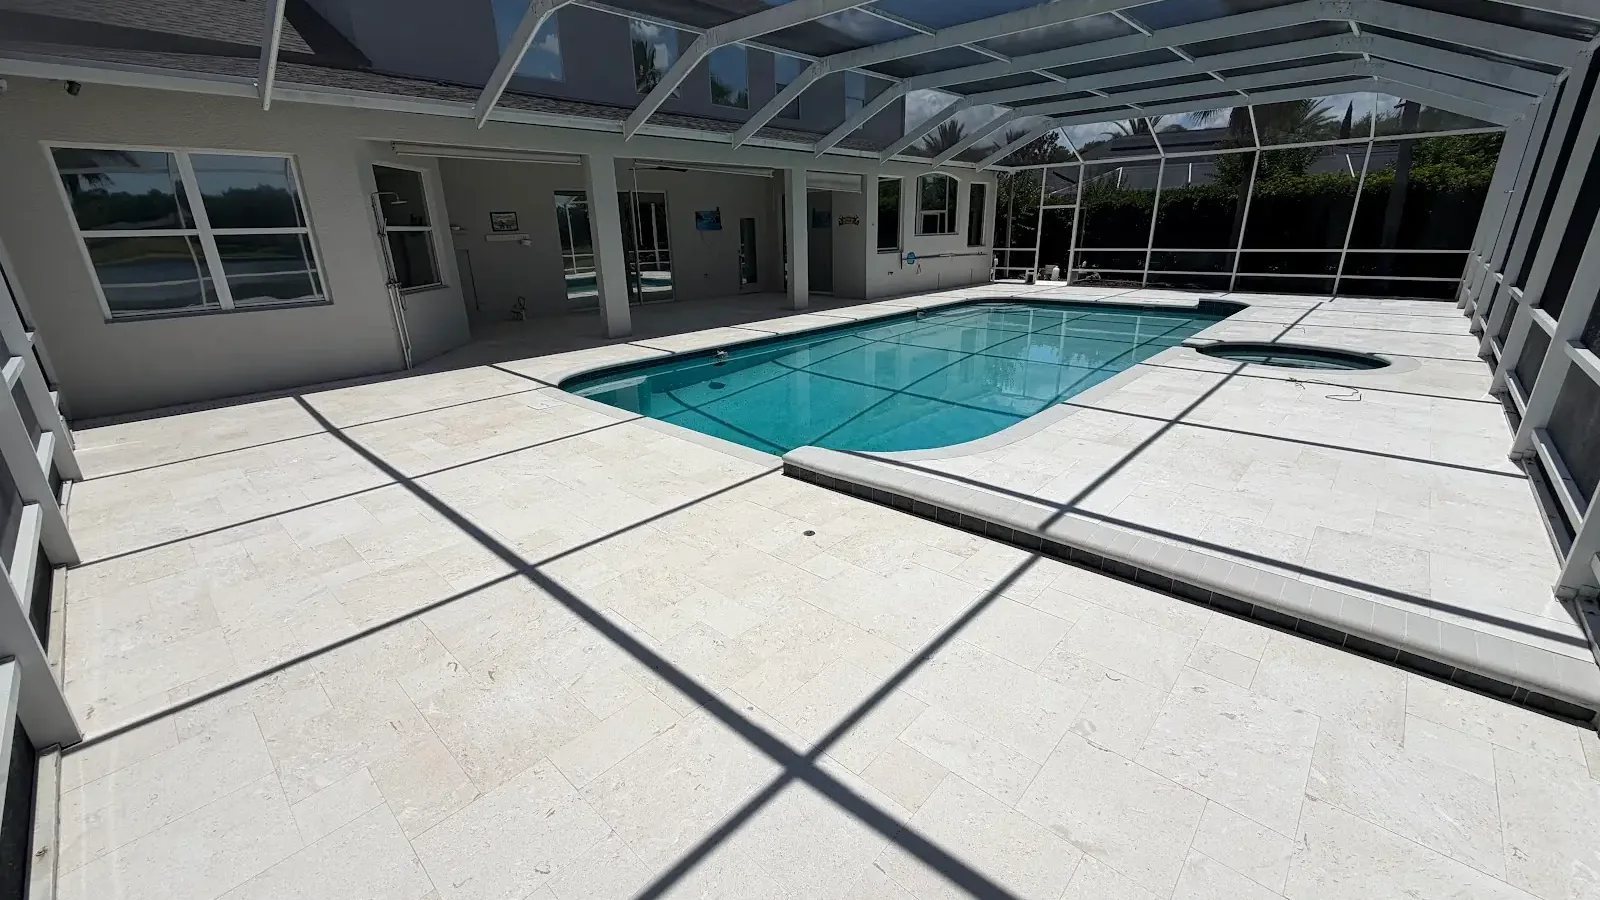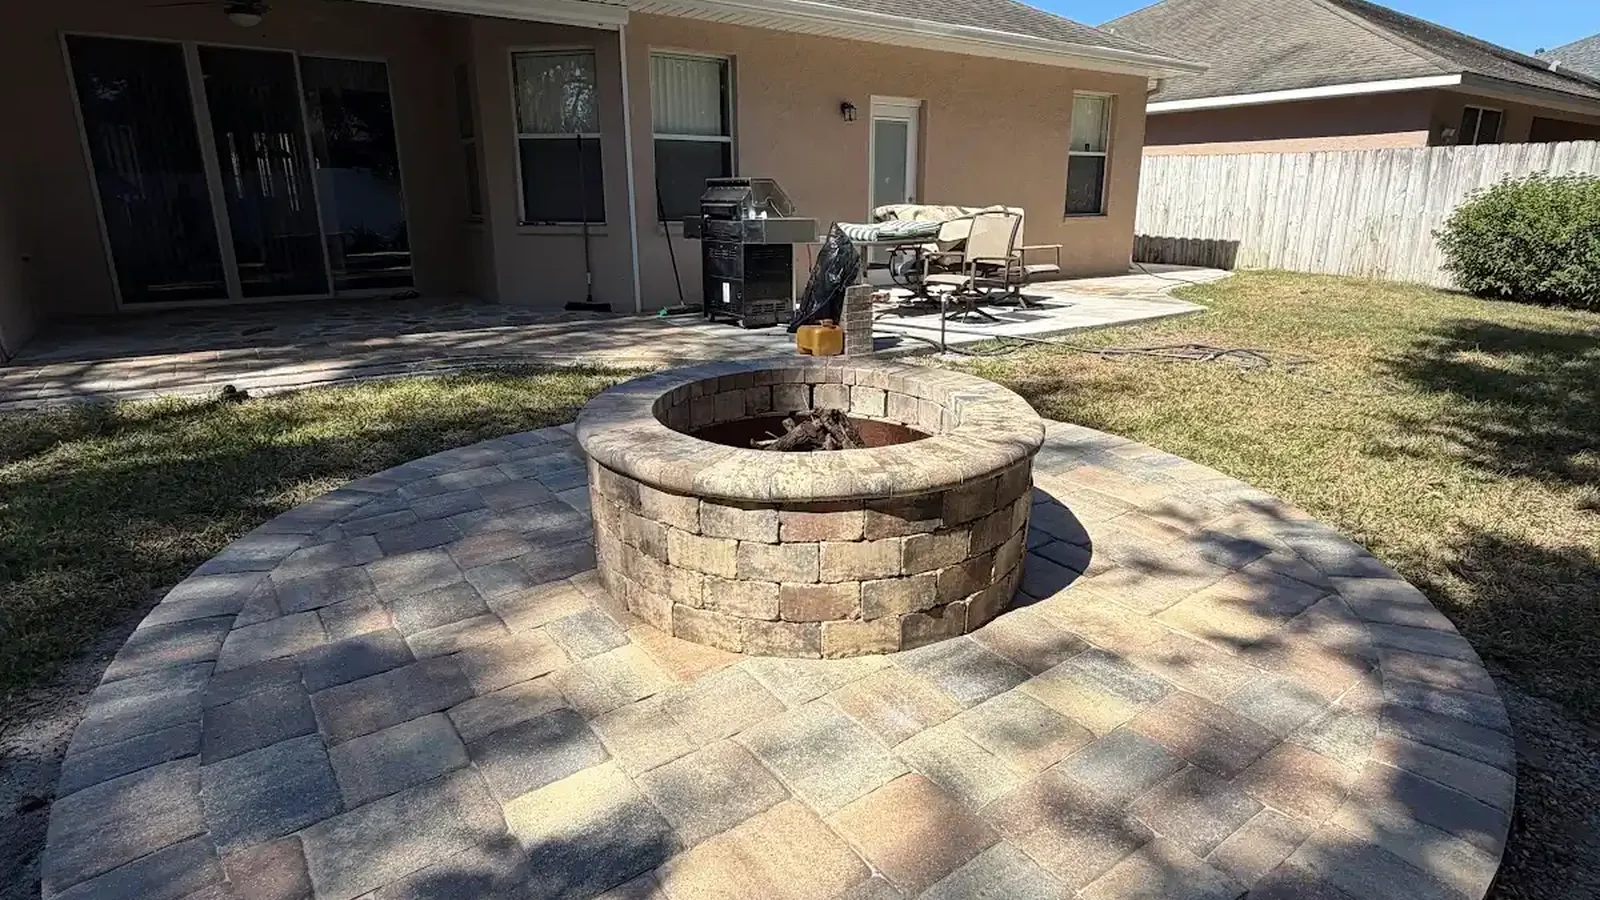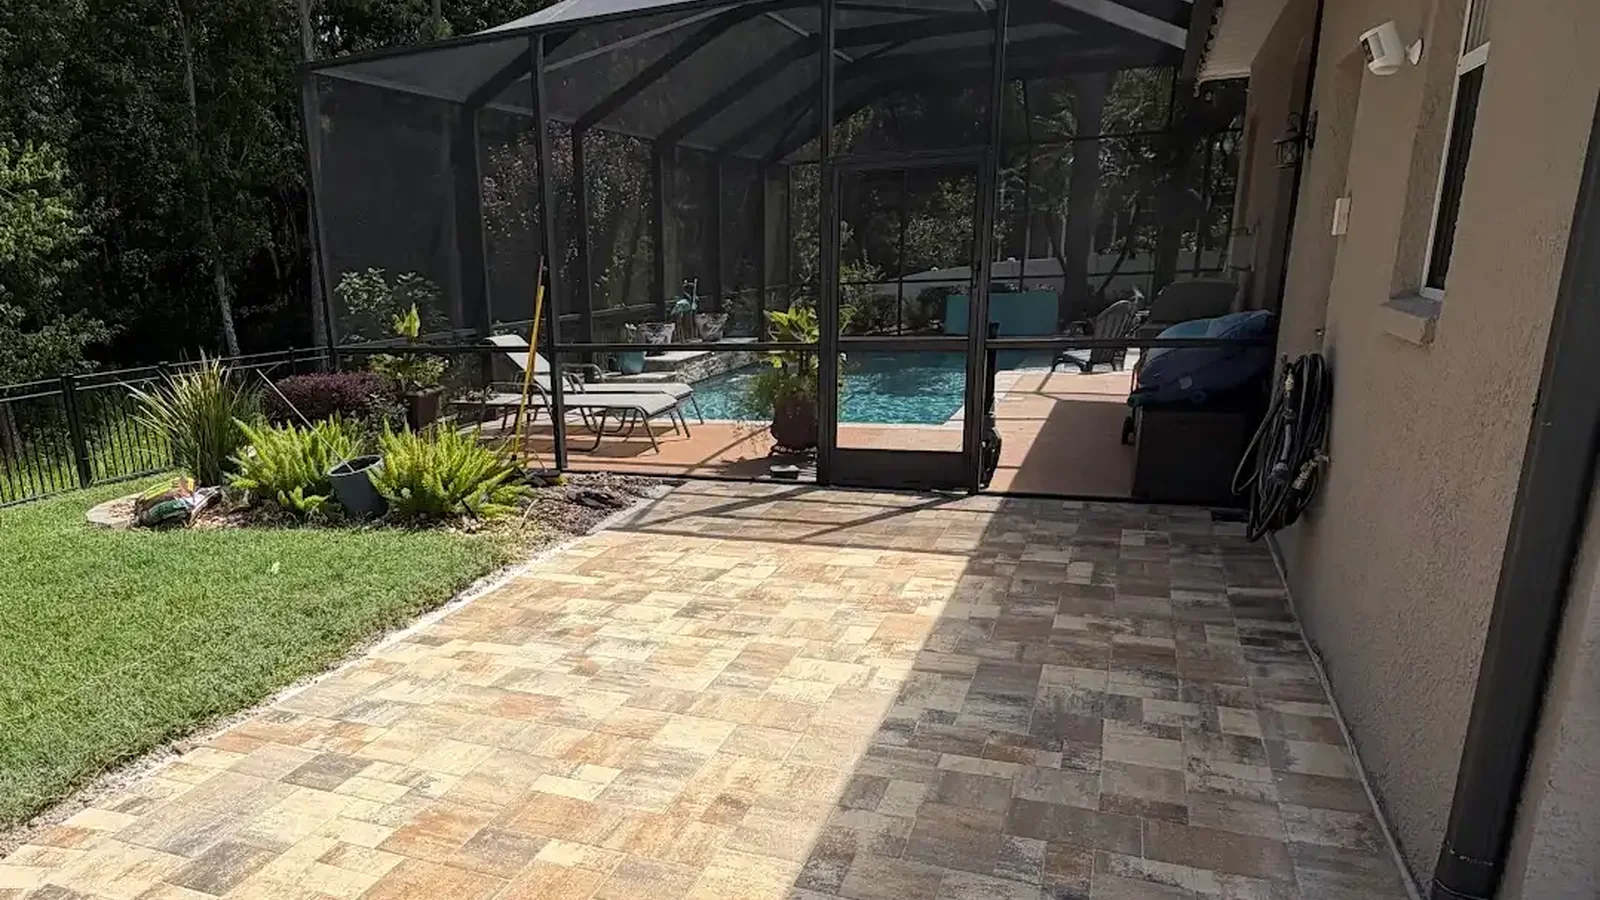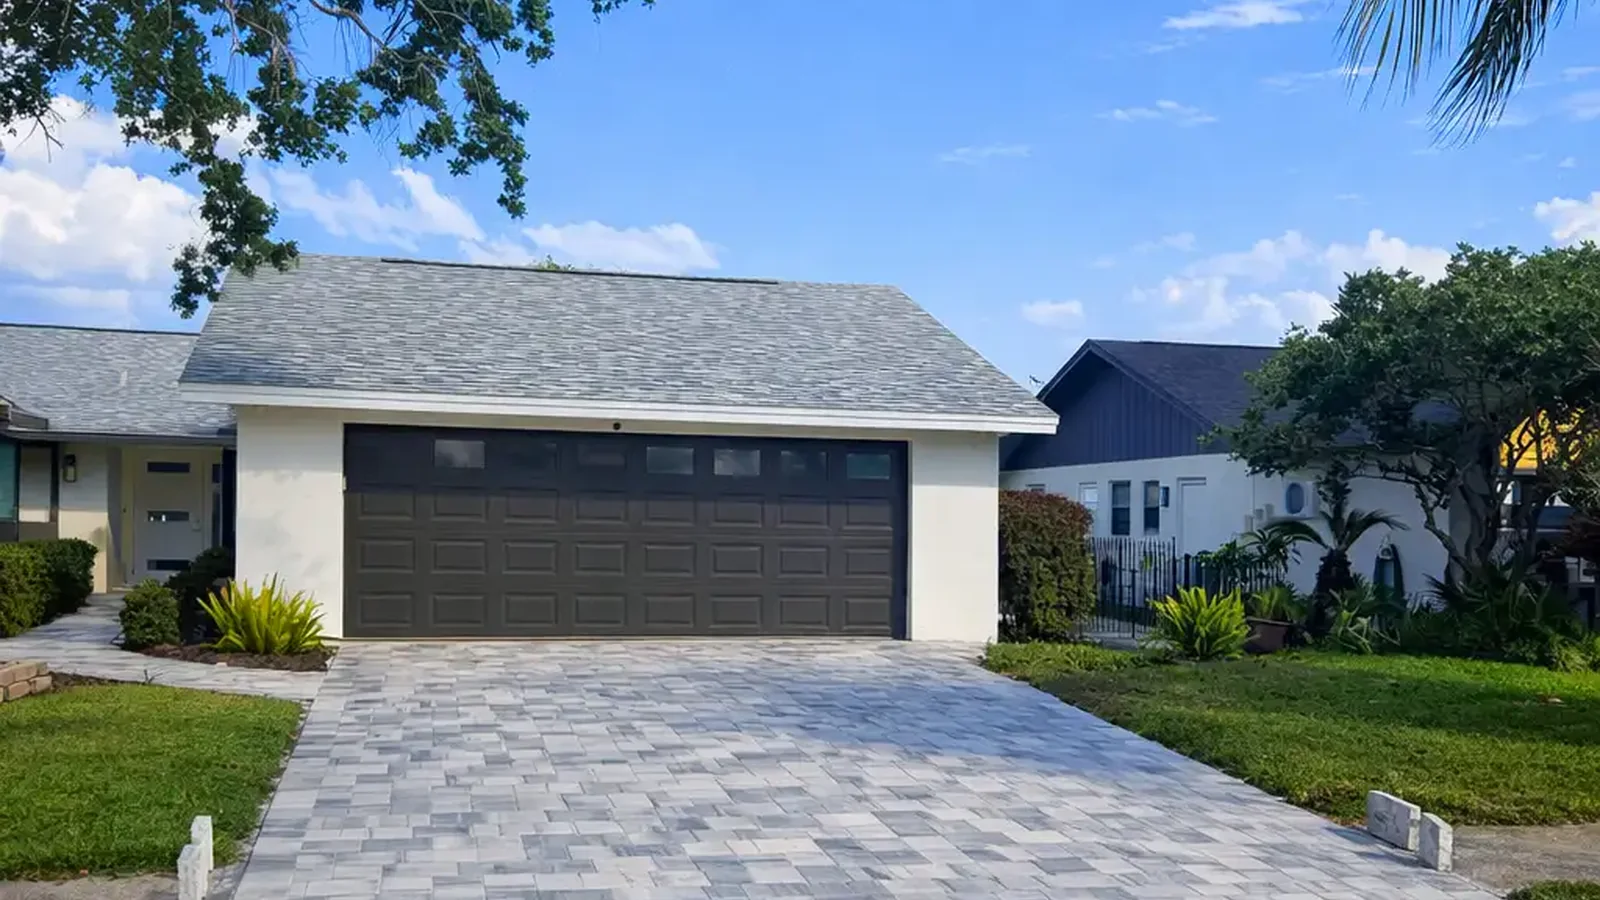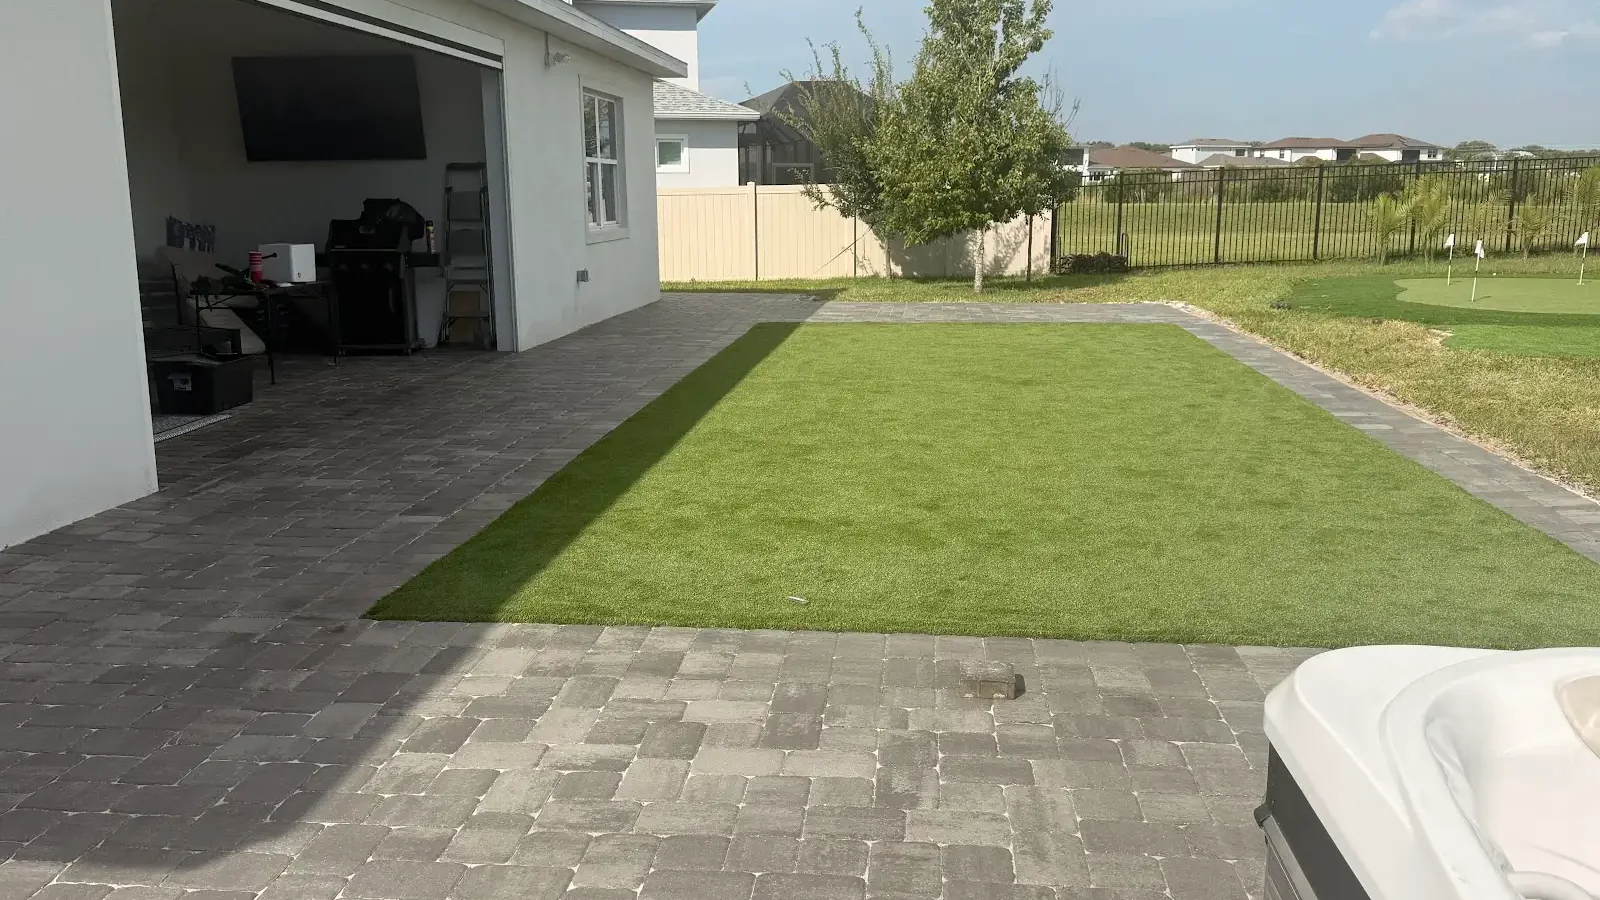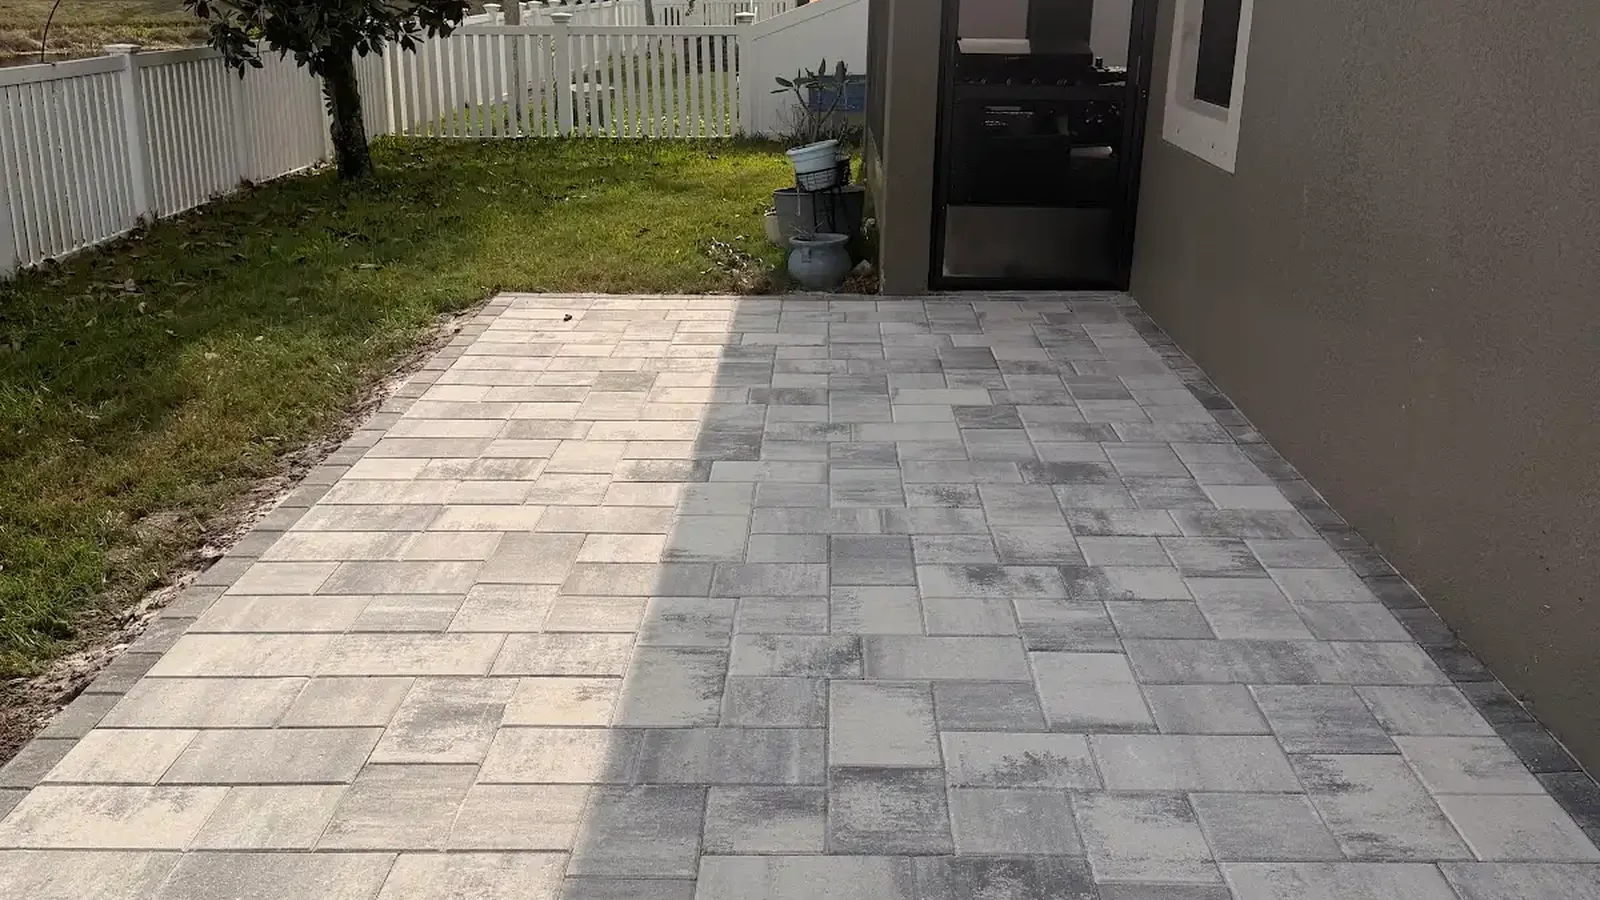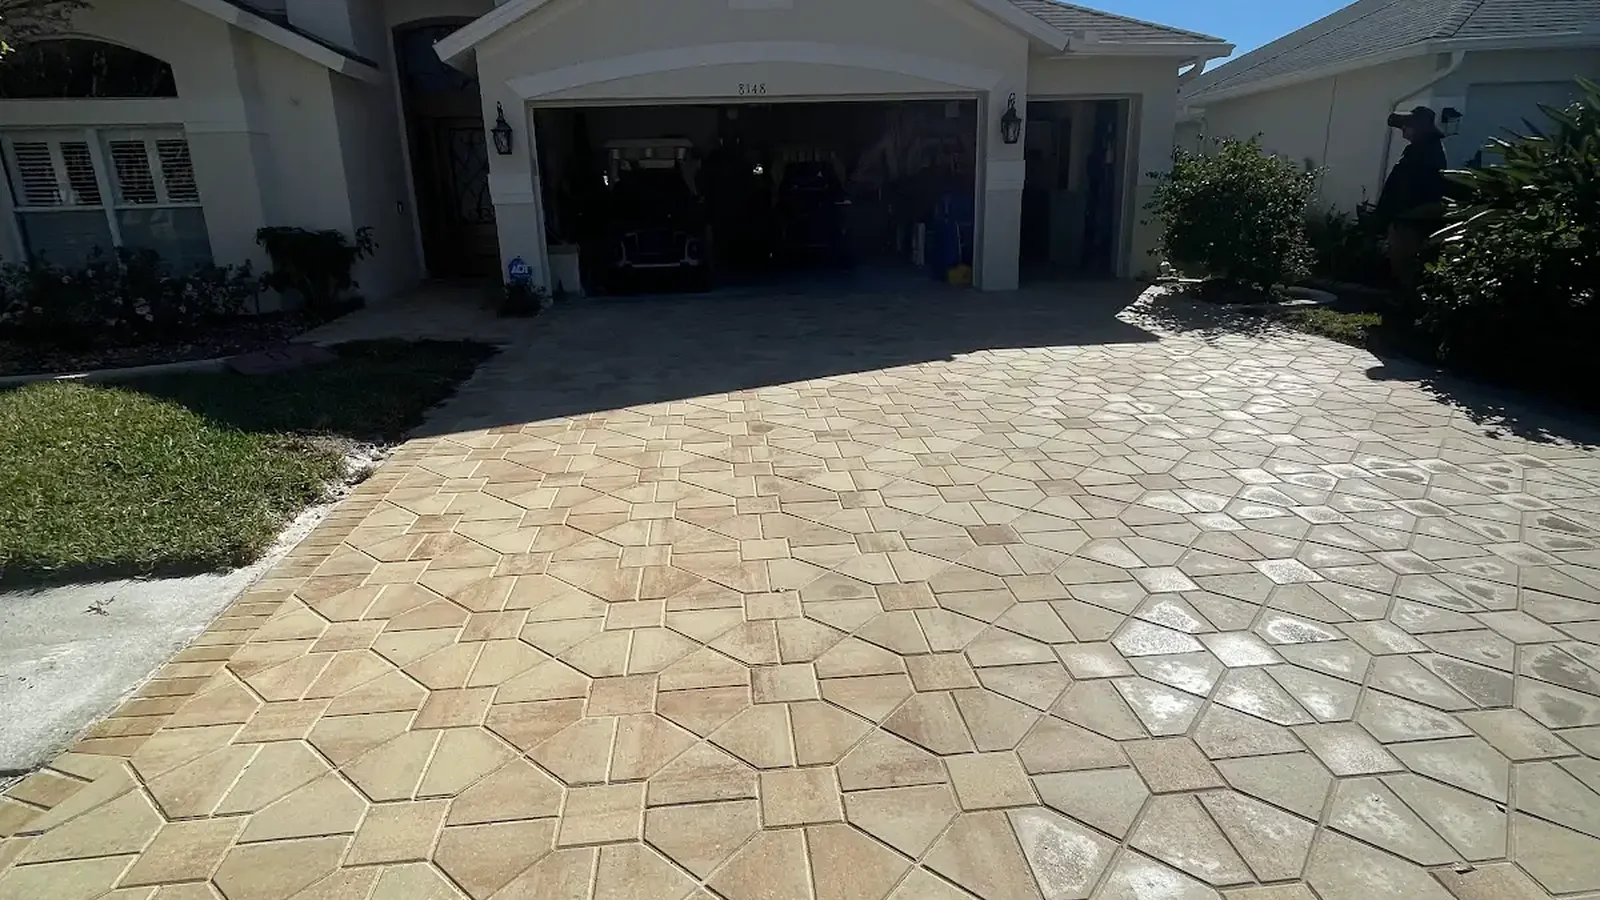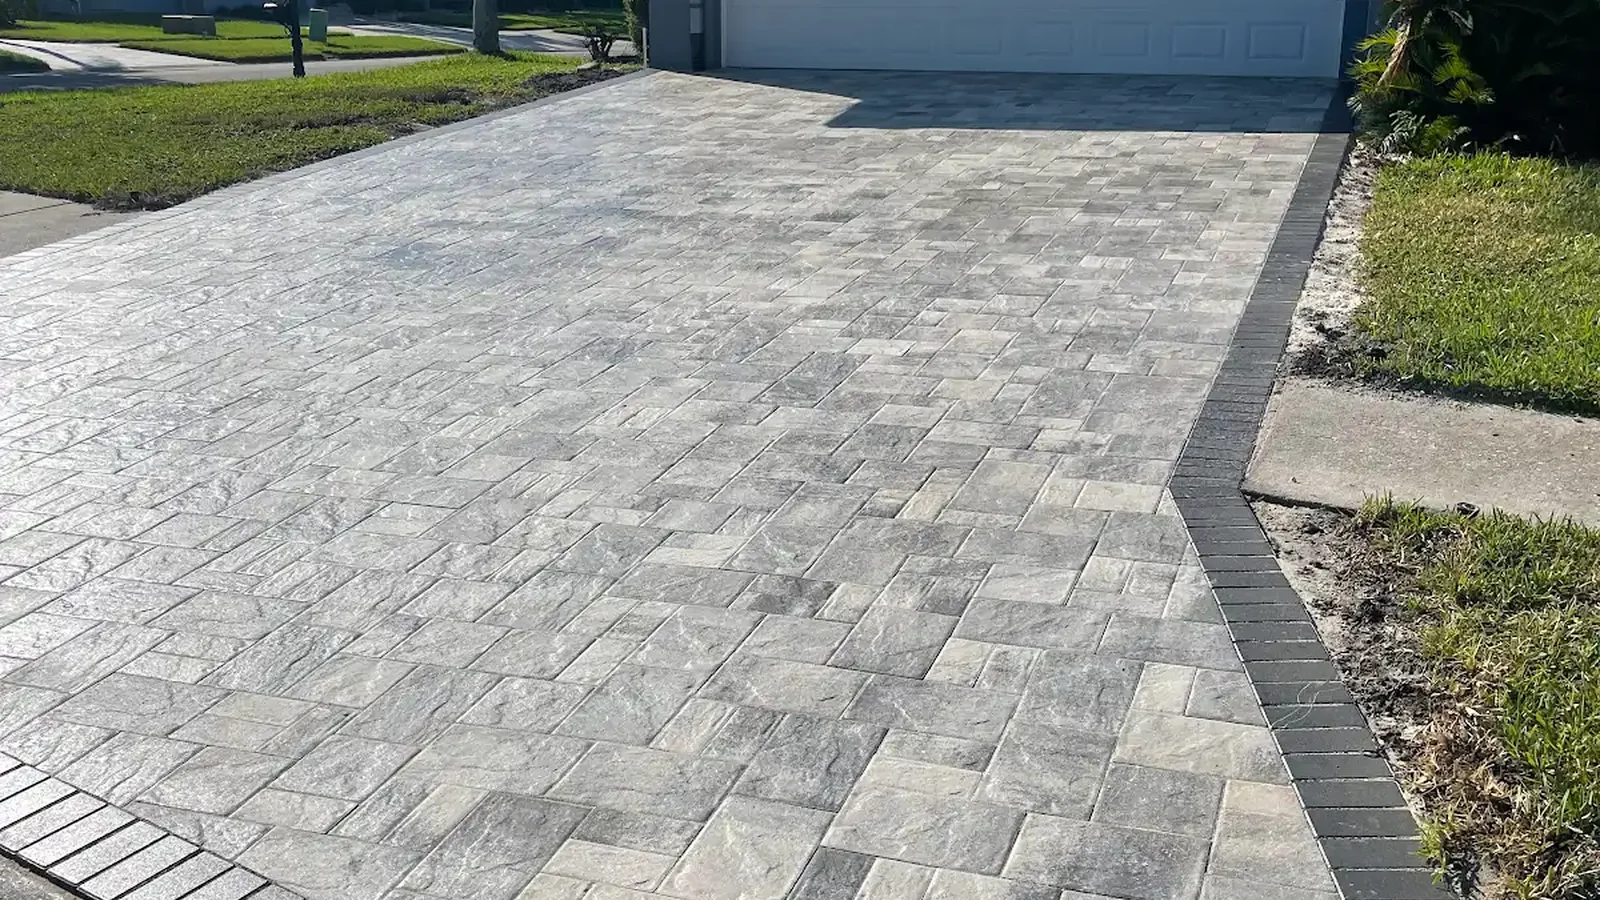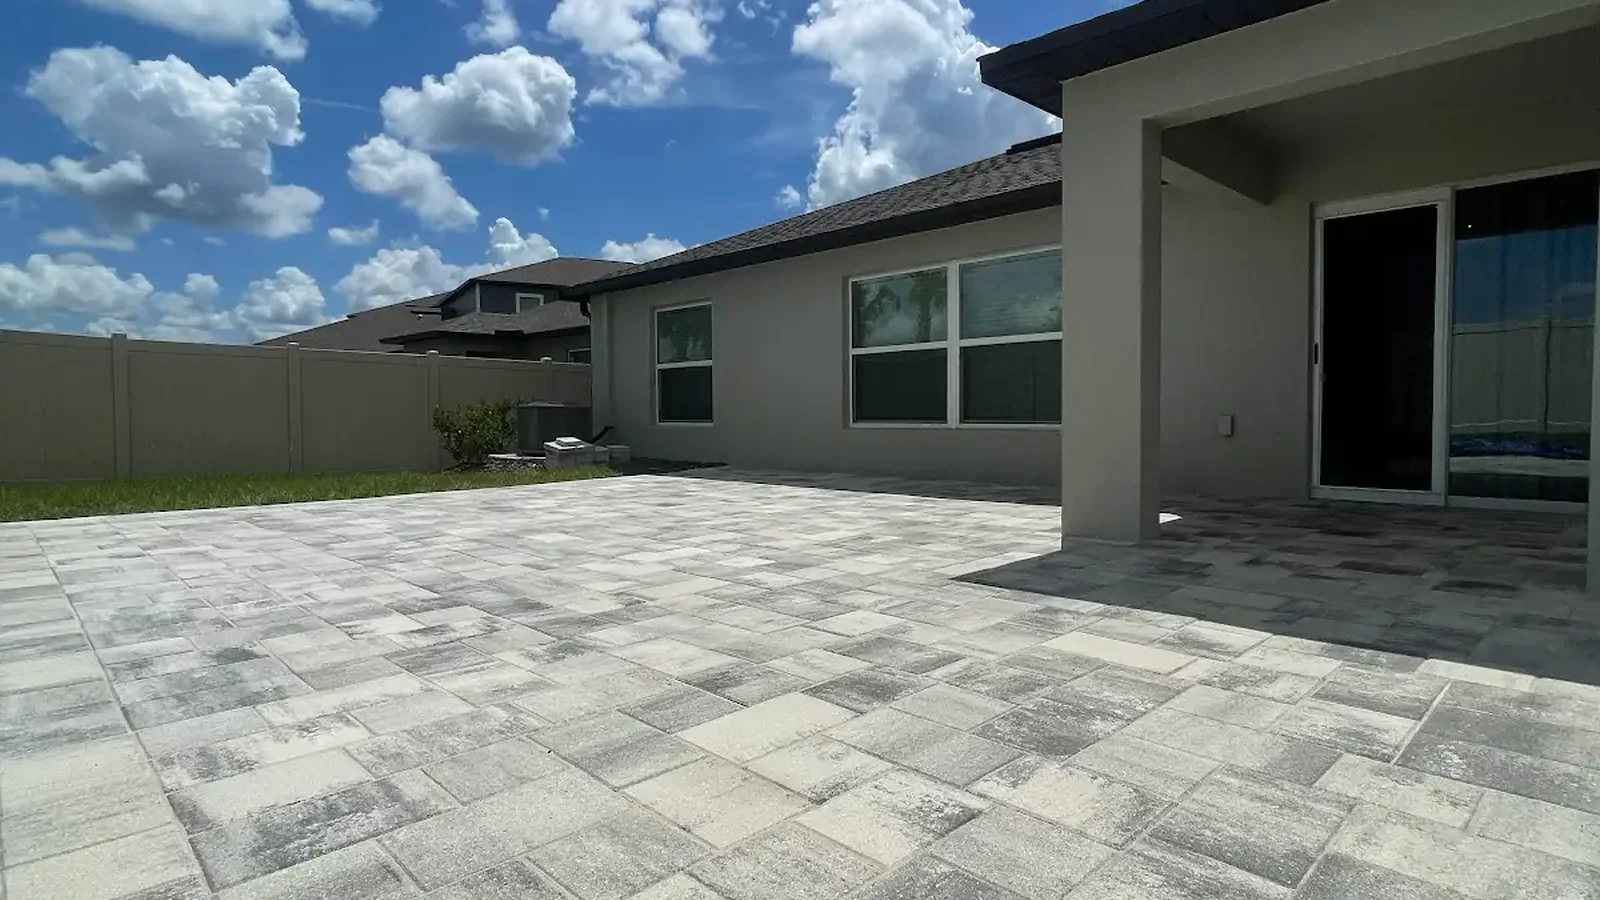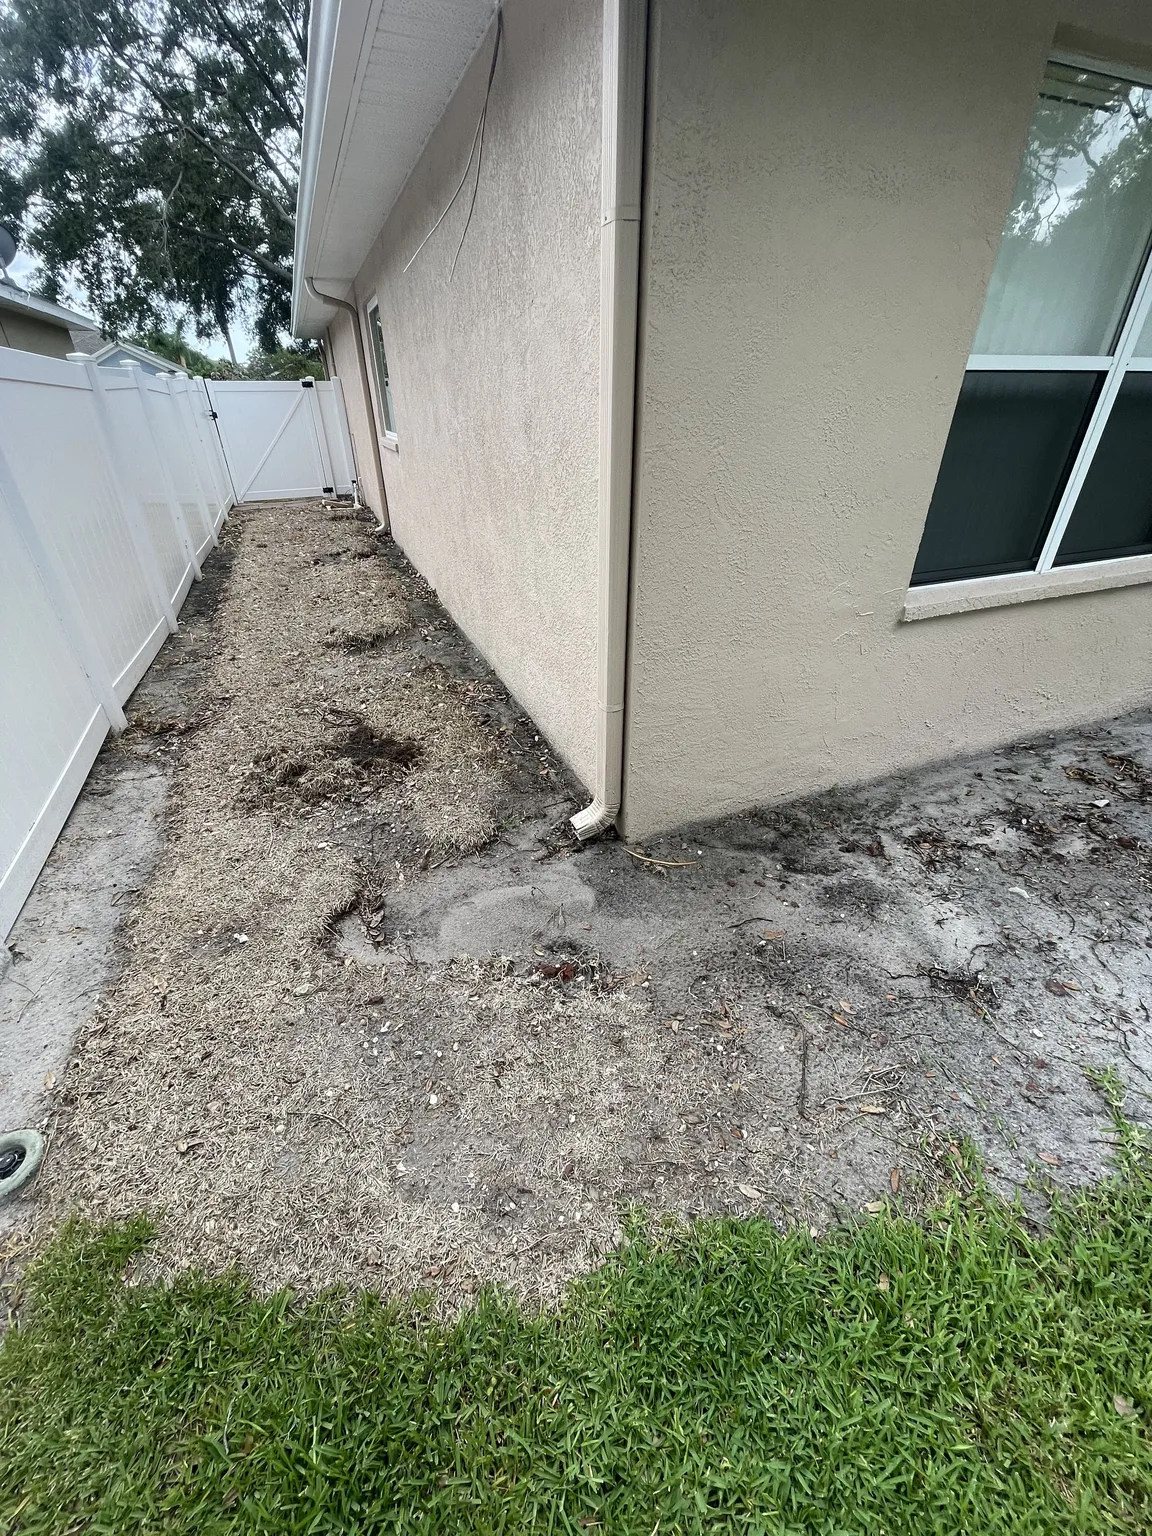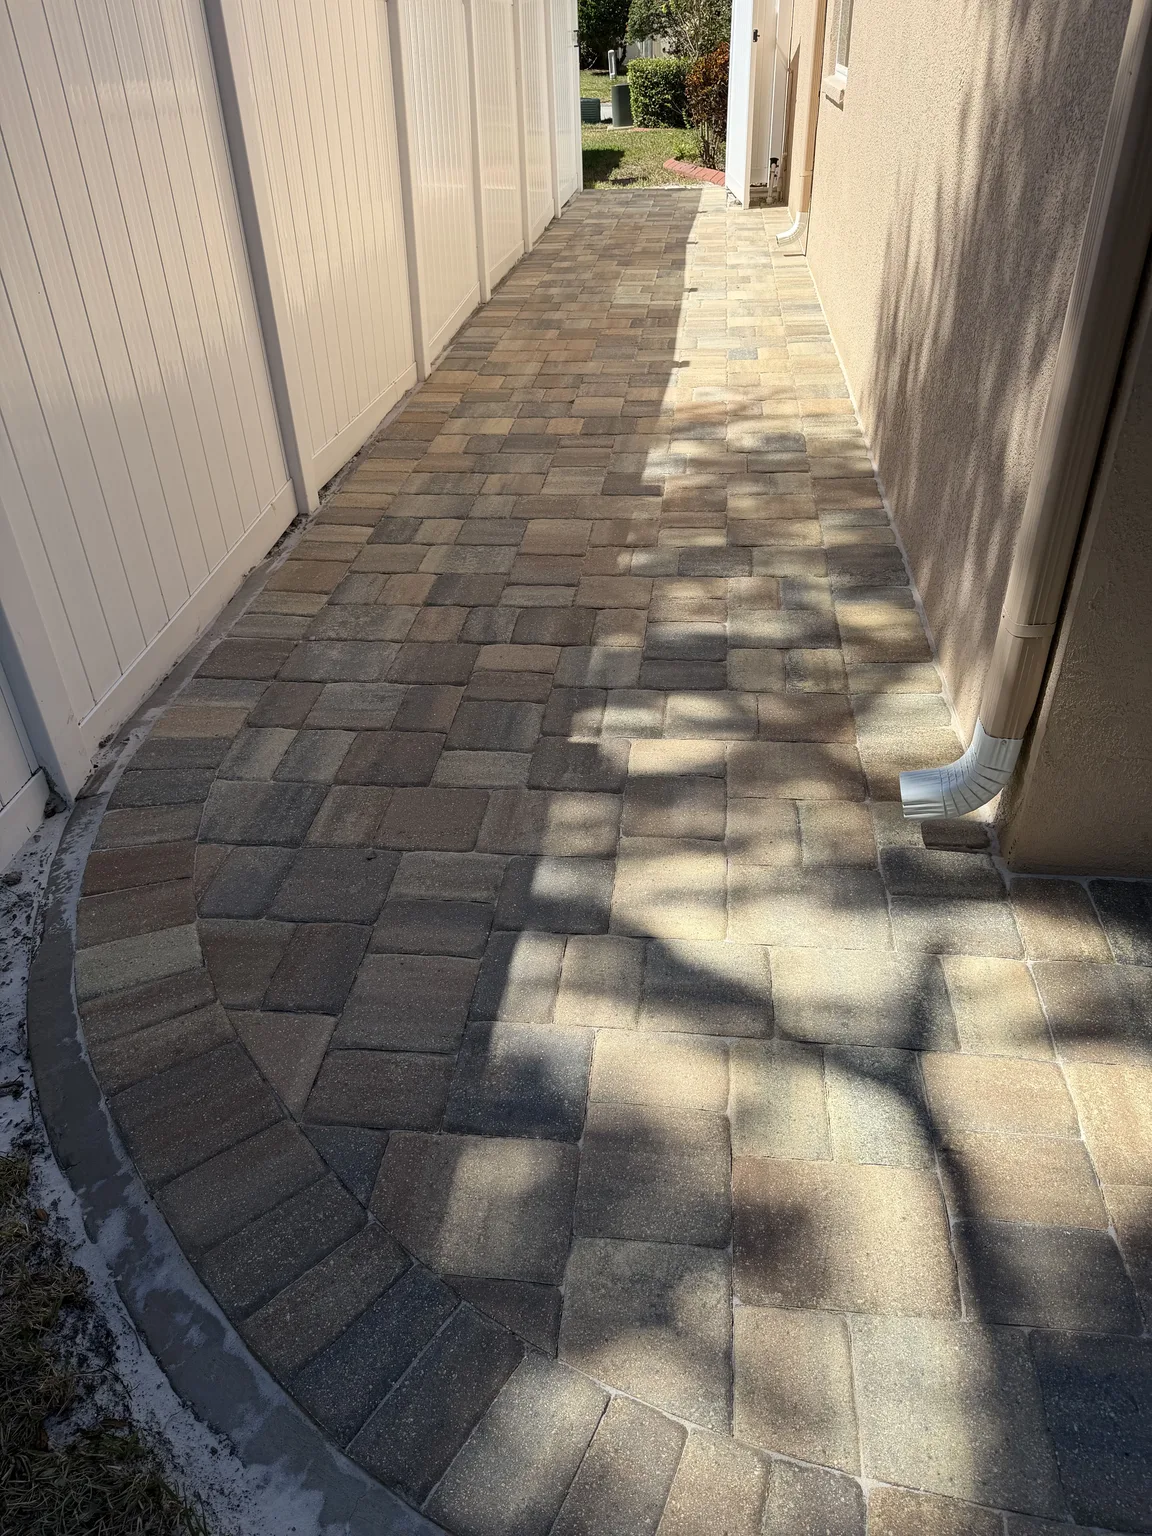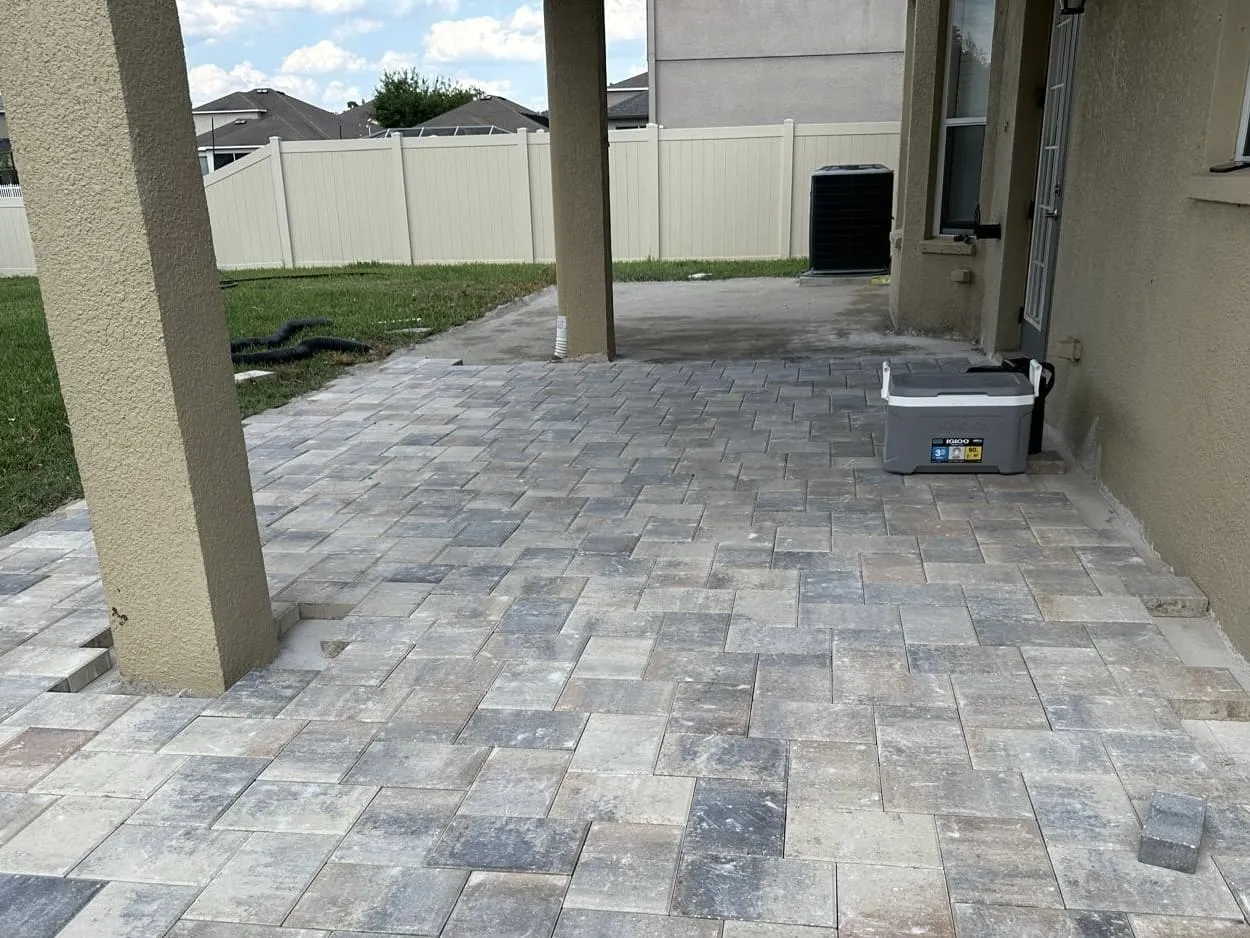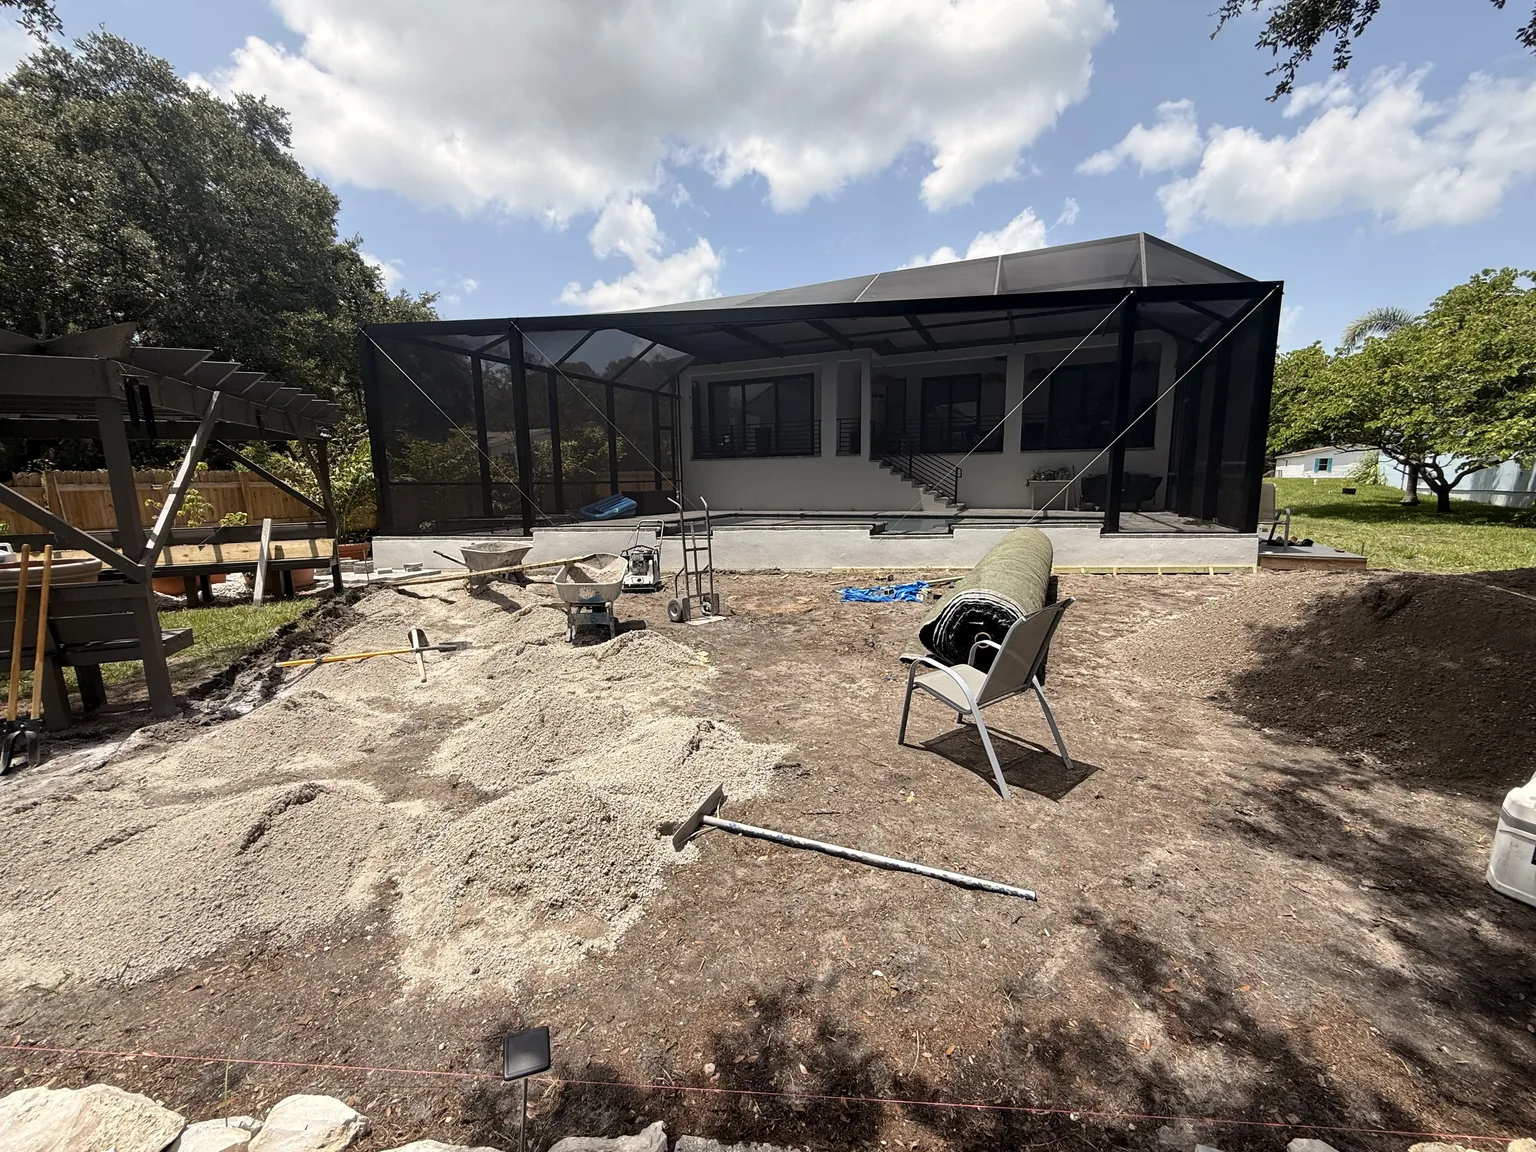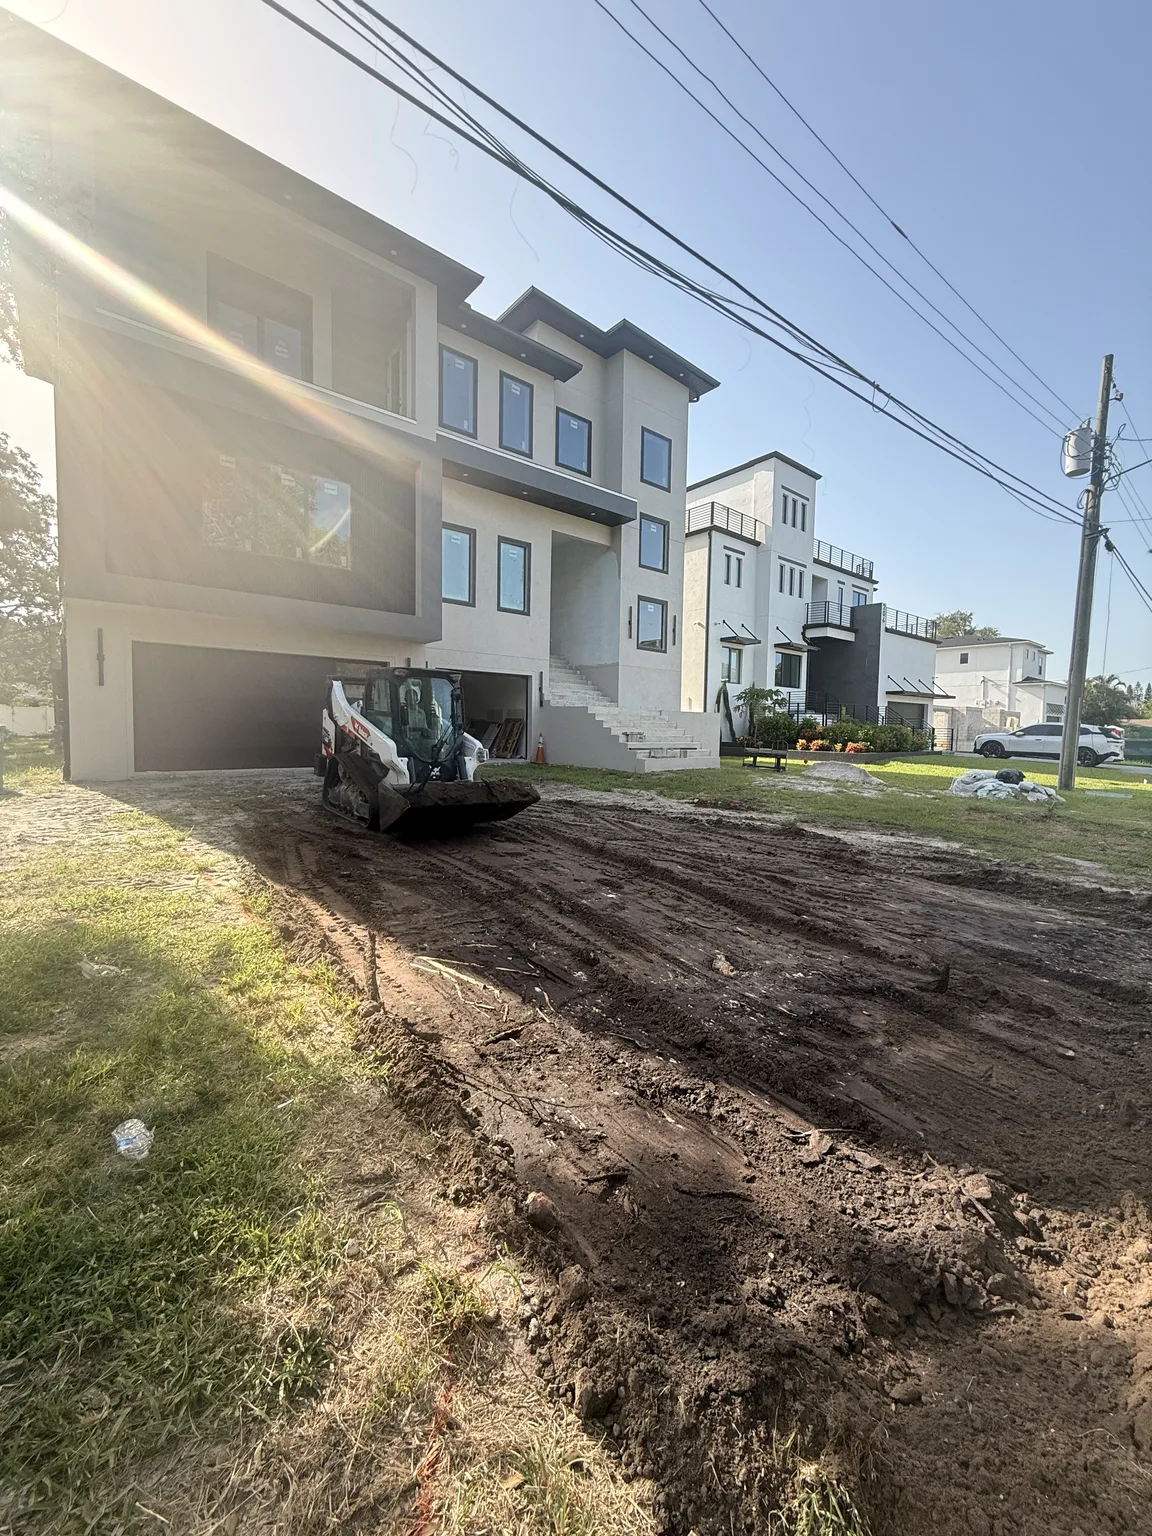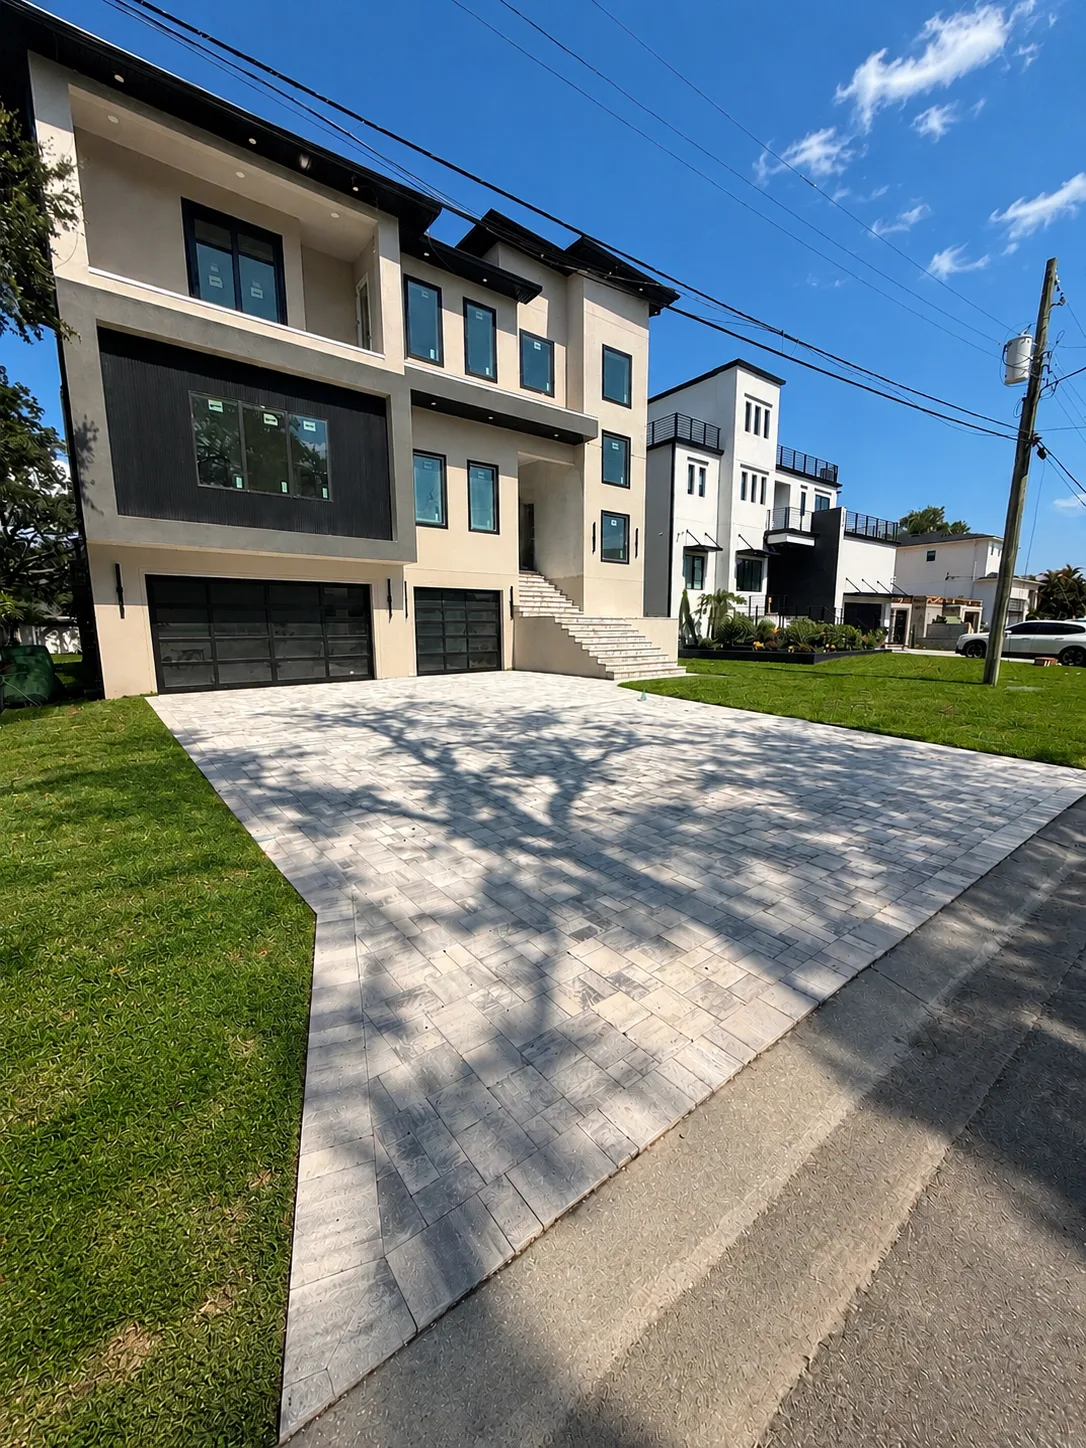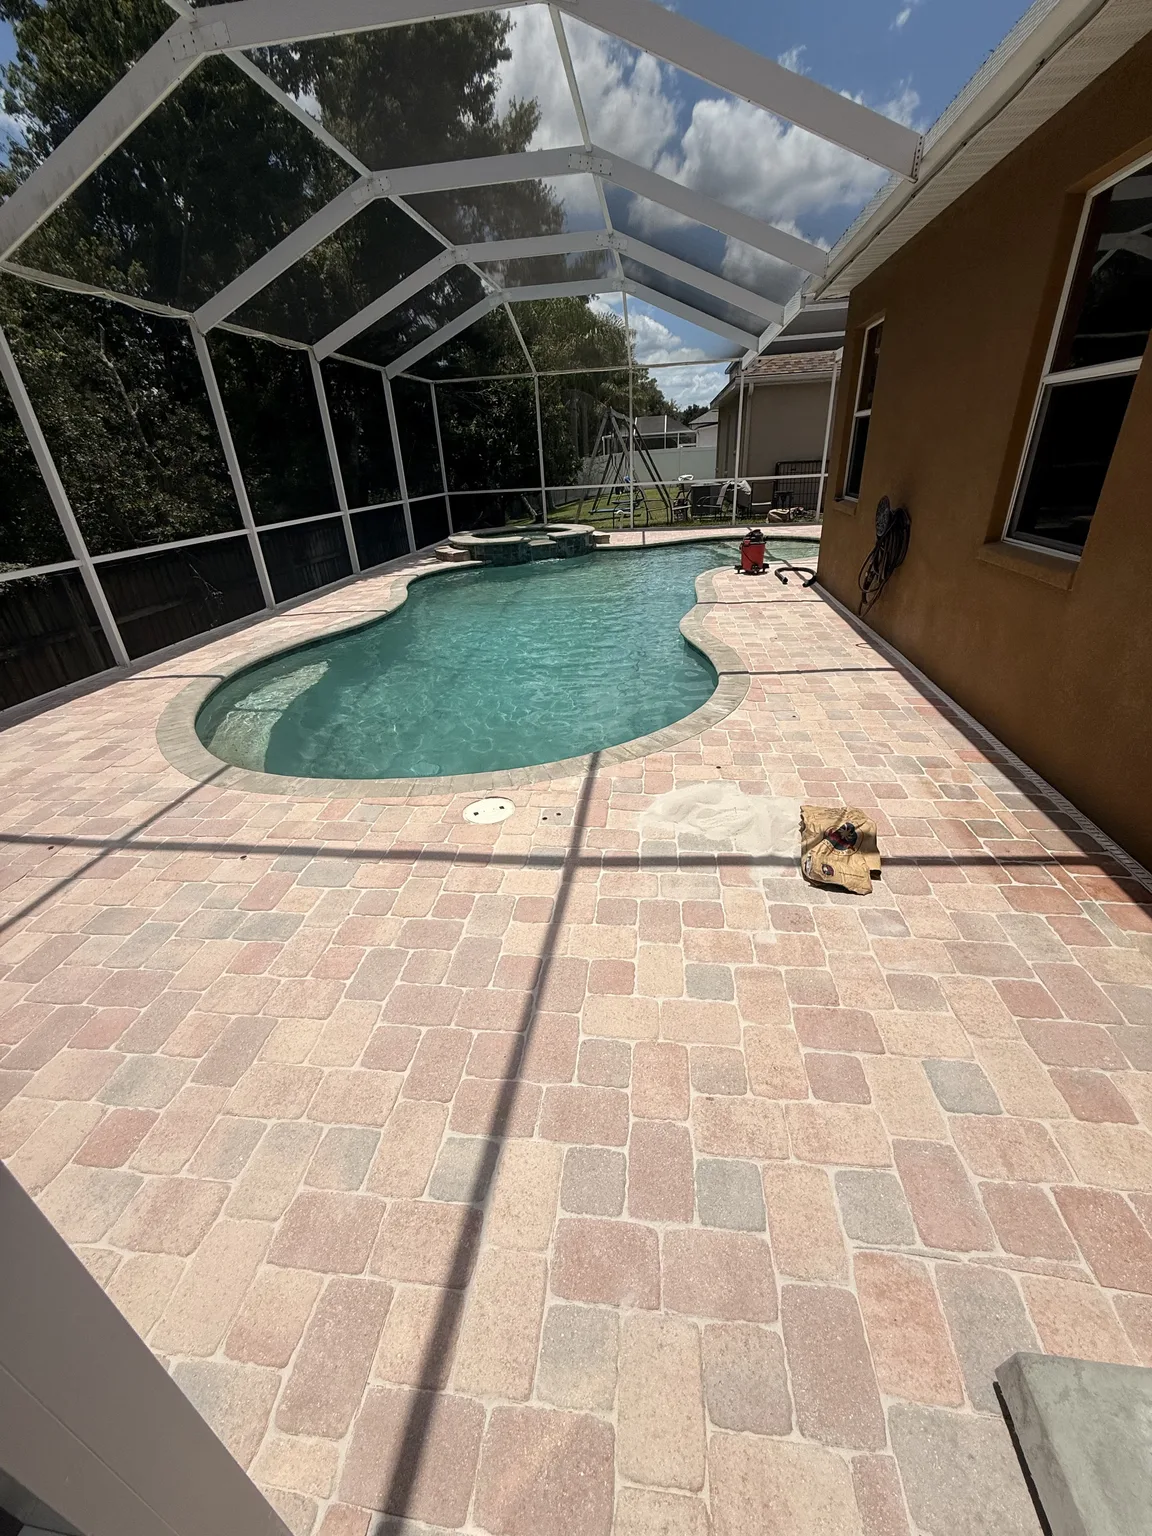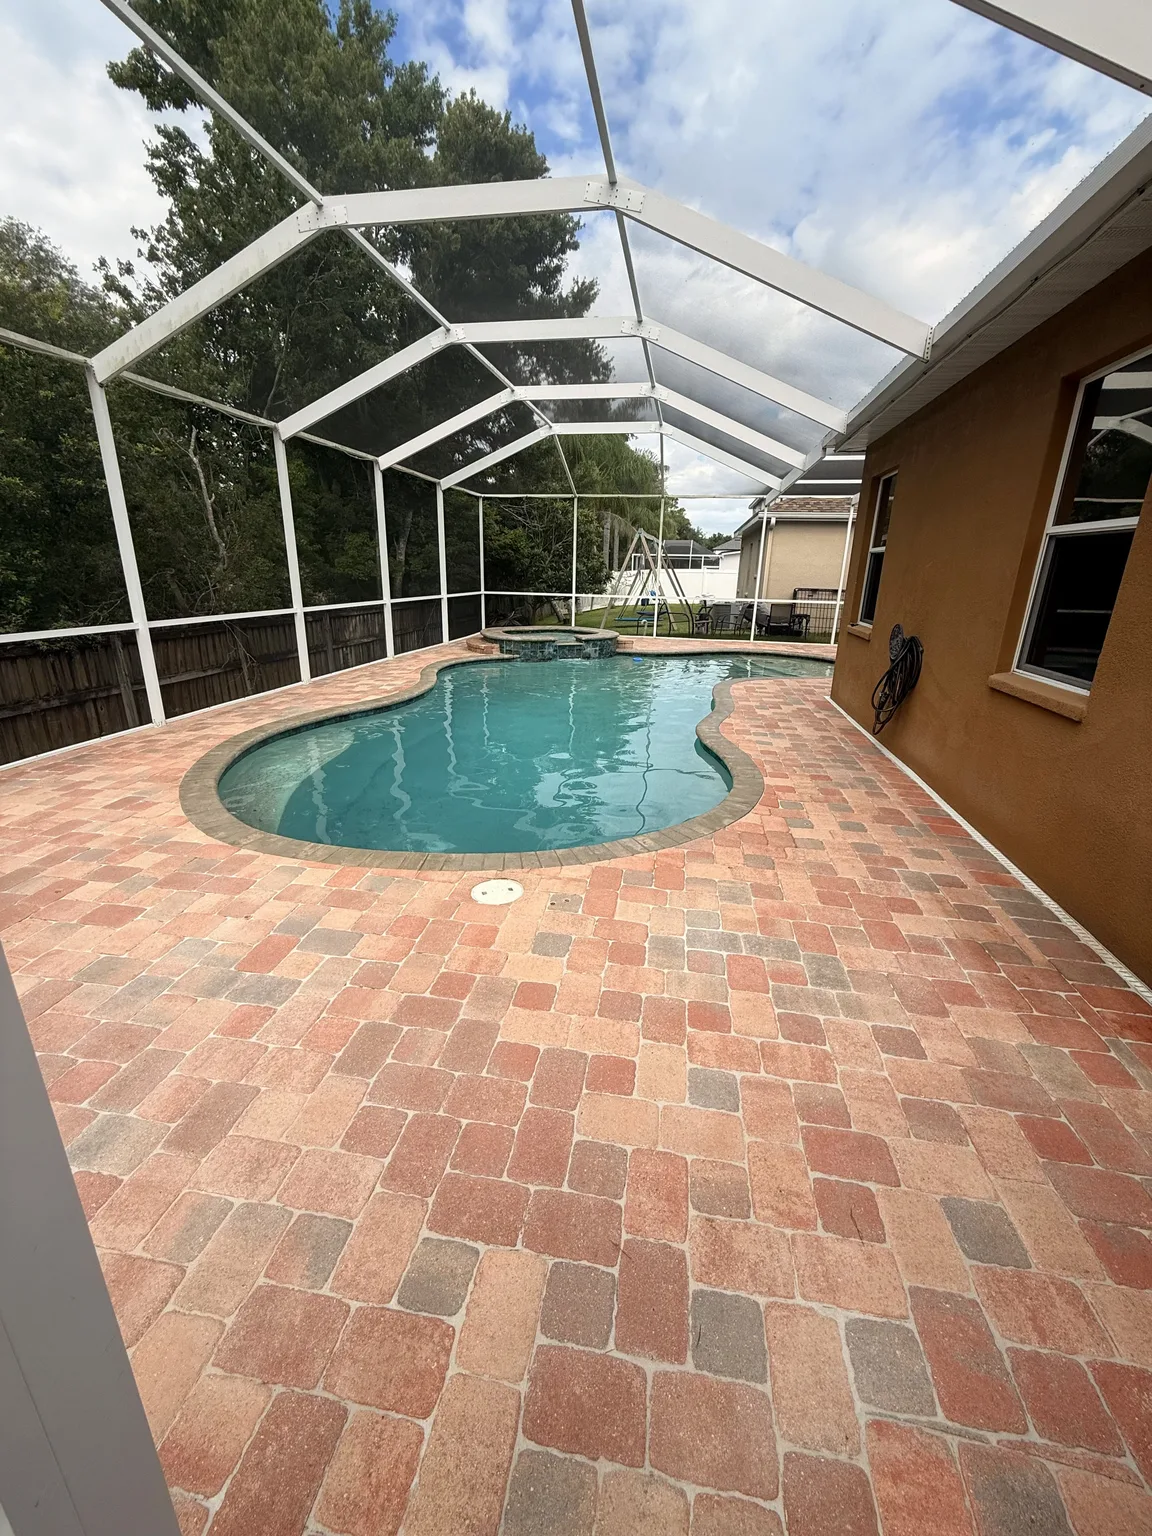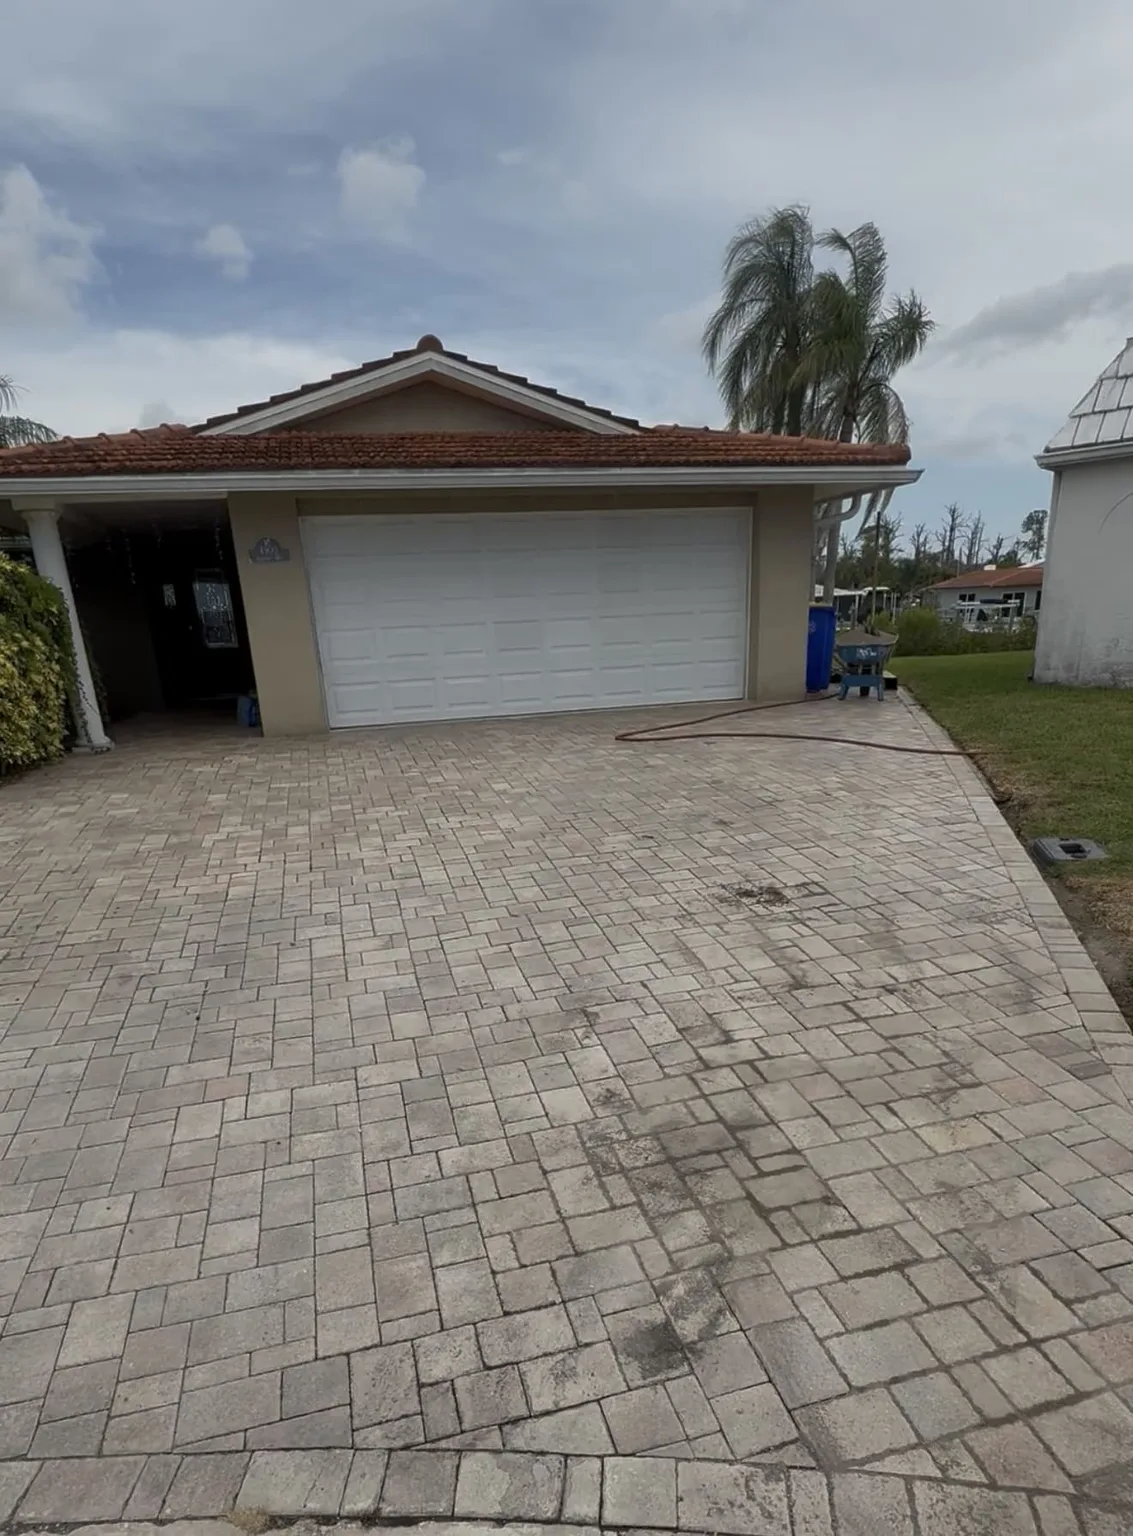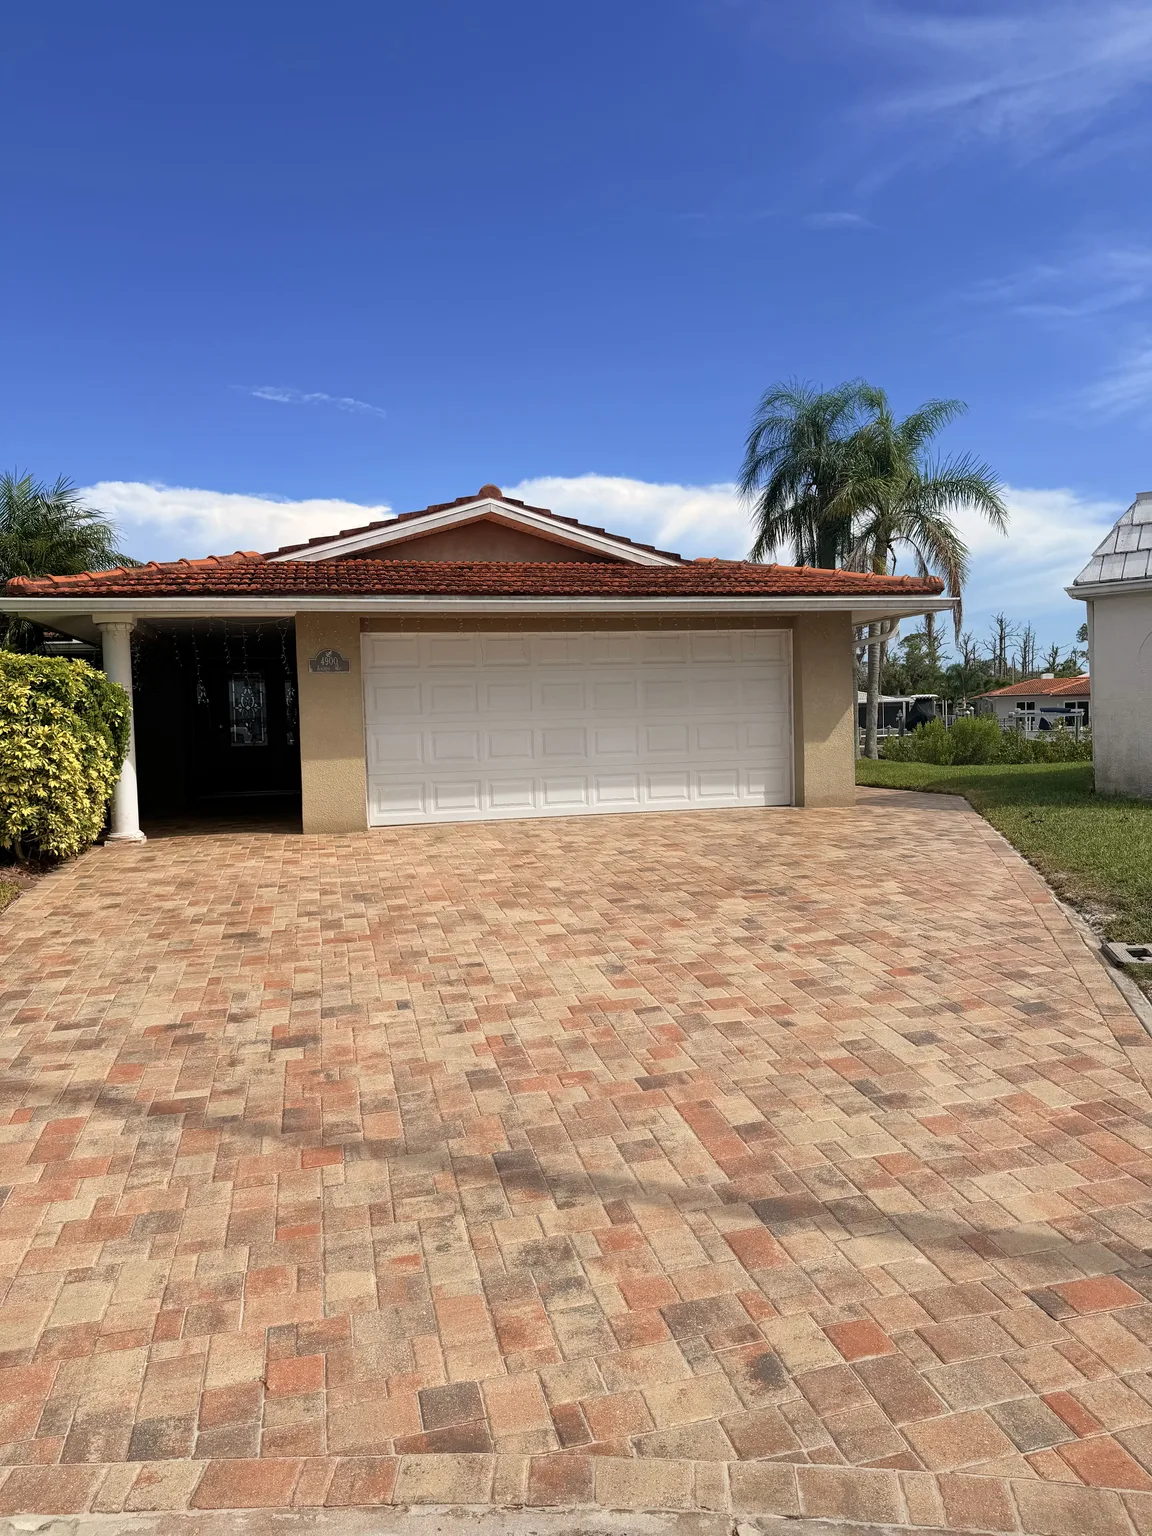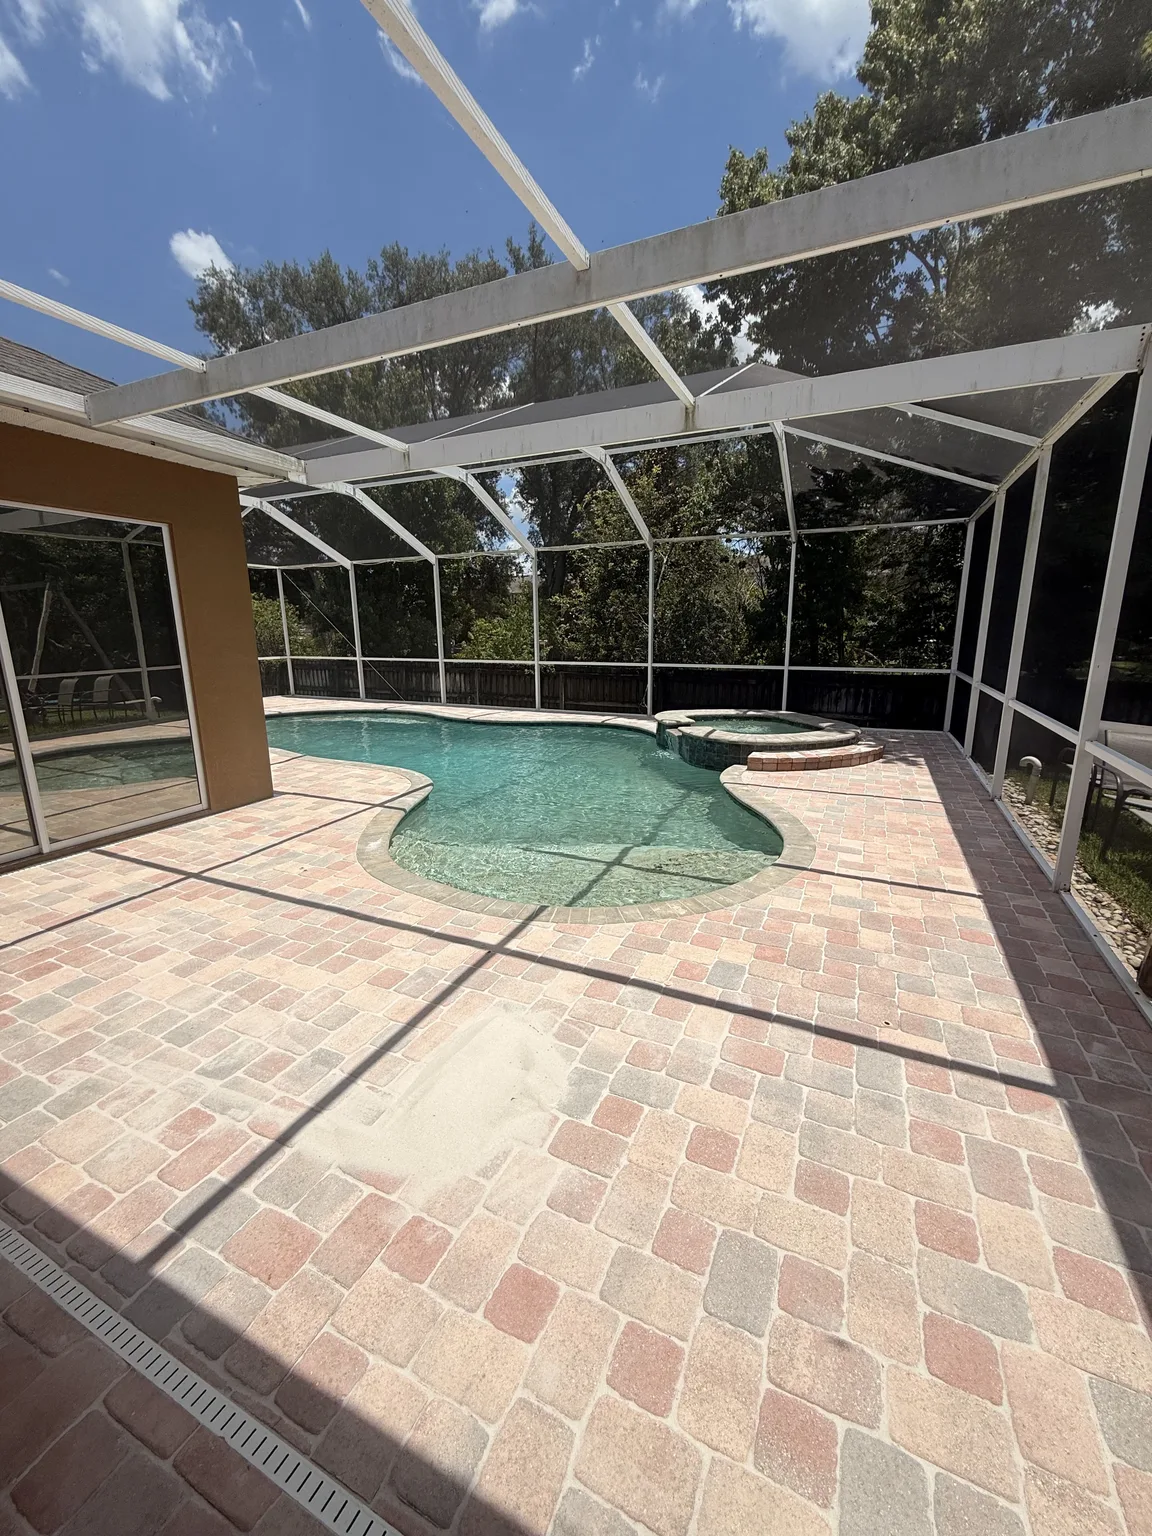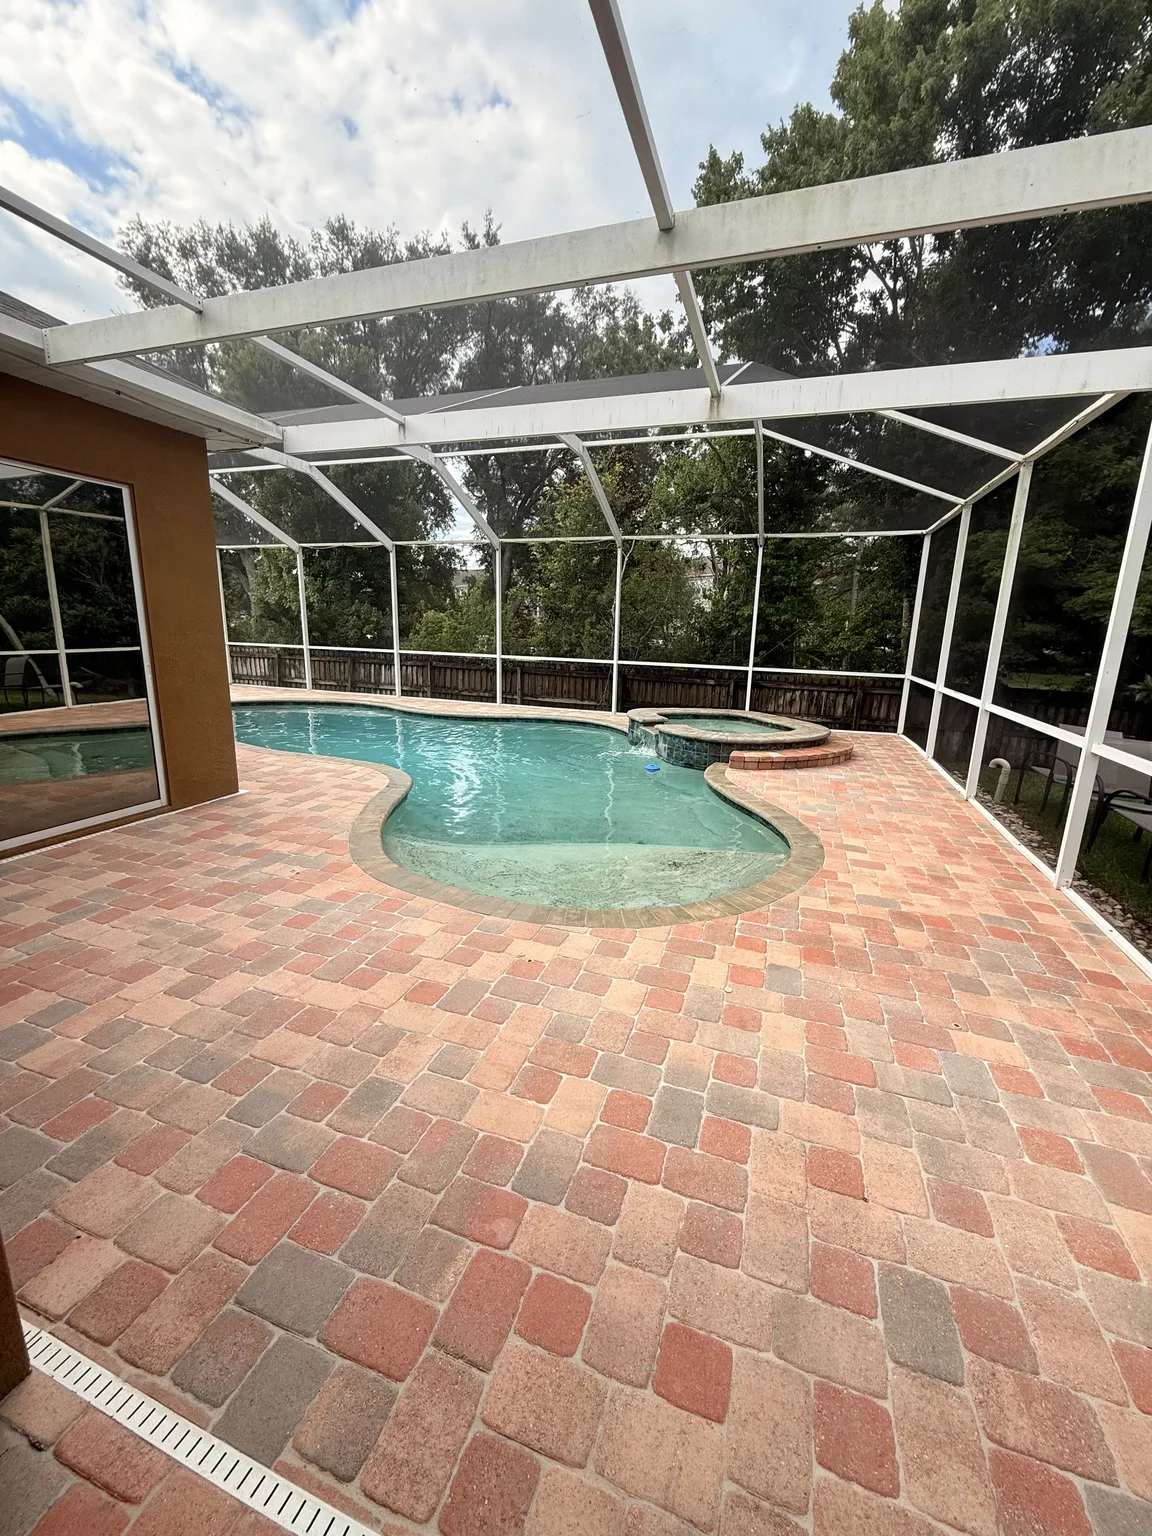
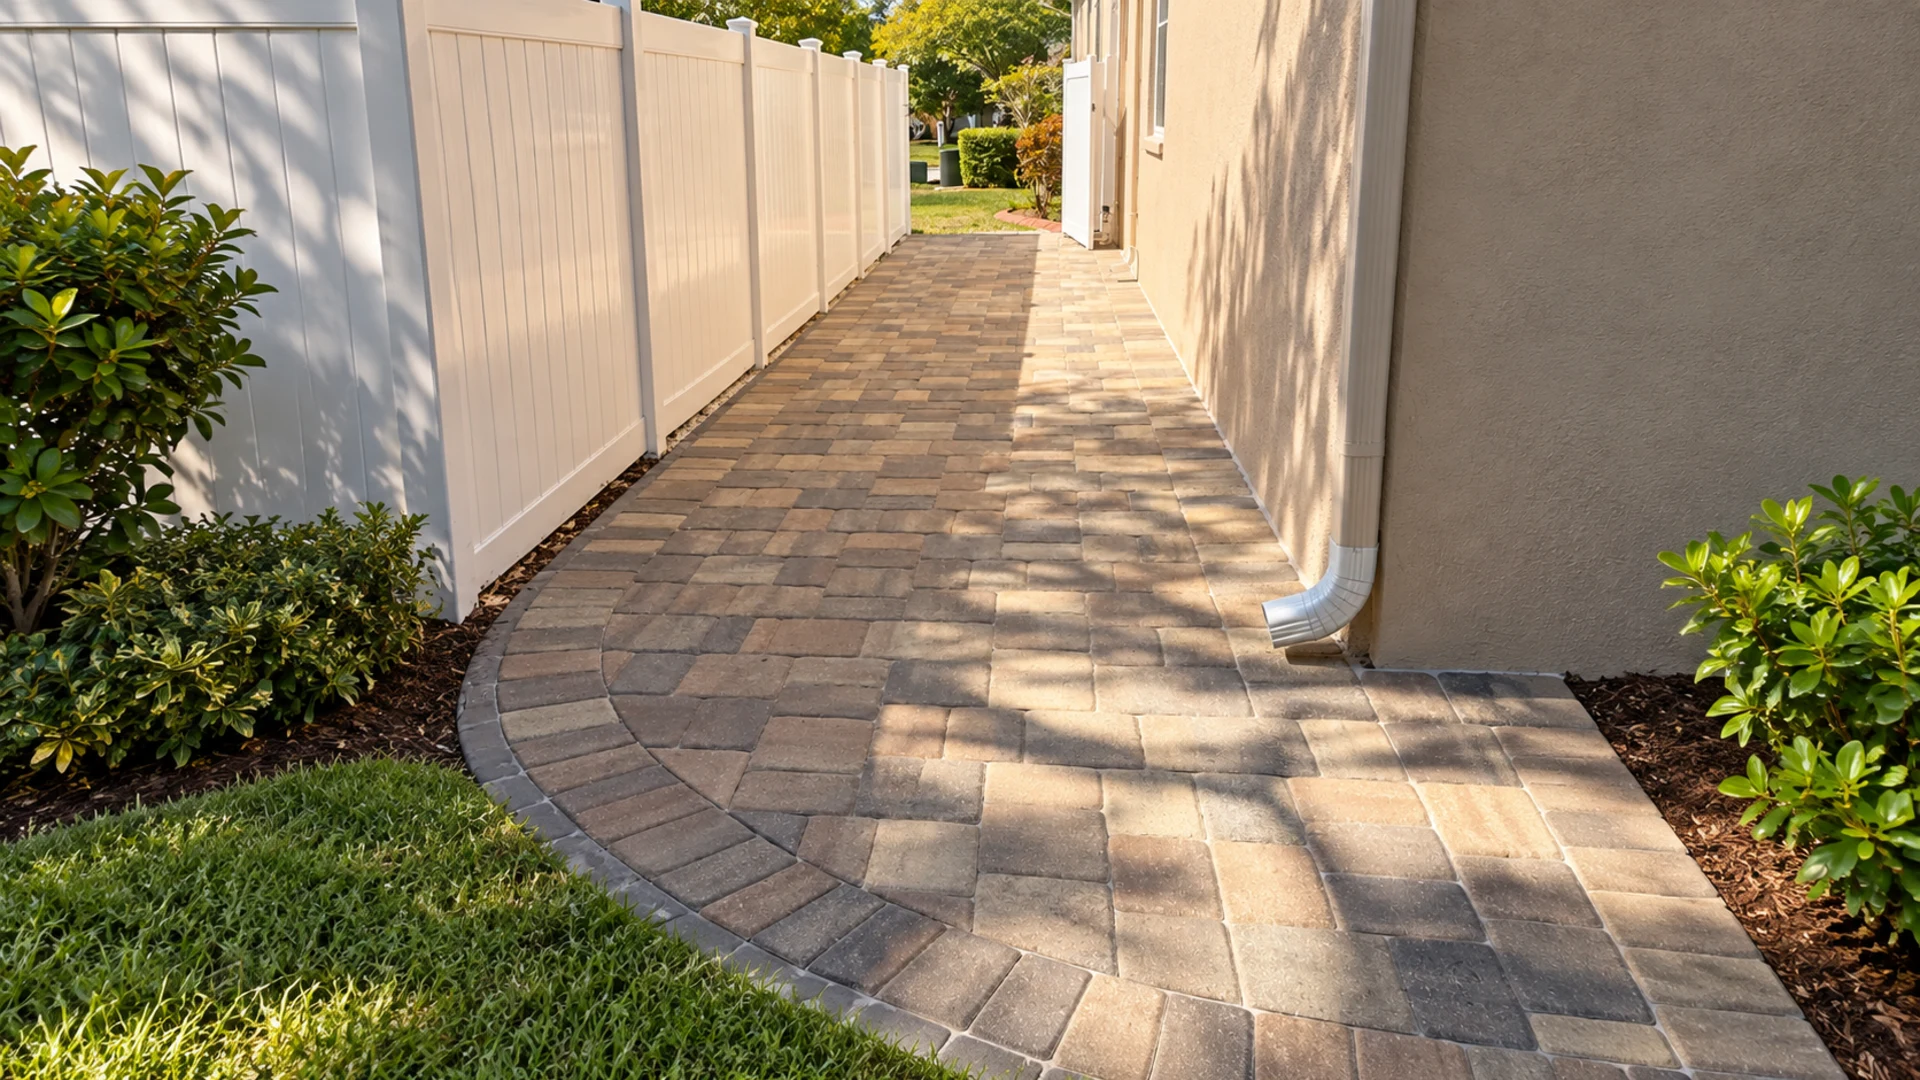
Paver base compaction is hidden once a driveway, patio, or walkway is finished, but its performance often leaves clues at the surface. A low spot that returns after repair, a band of rocking pavers near a garage, or joints that keep opening along a vehicle path can help a homeowner describe what is happening accurately. Those clues do not prove the depth of the base or identify the original installation method. They do create a useful record for a site evaluation, especially when the area has seen Florida rain, vehicle traffic, irrigation, or prior patchwork.
The goal is not to take apart the driveway by guesswork. It is to separate a cosmetic concern from a movement pattern, preserve evidence before a repair changes it, and ask focused questions about what lies below the pavers. That approach gives a contractor a much better starting point than a general report that the surface simply feels uneven.
Read the pattern before judging the pavers
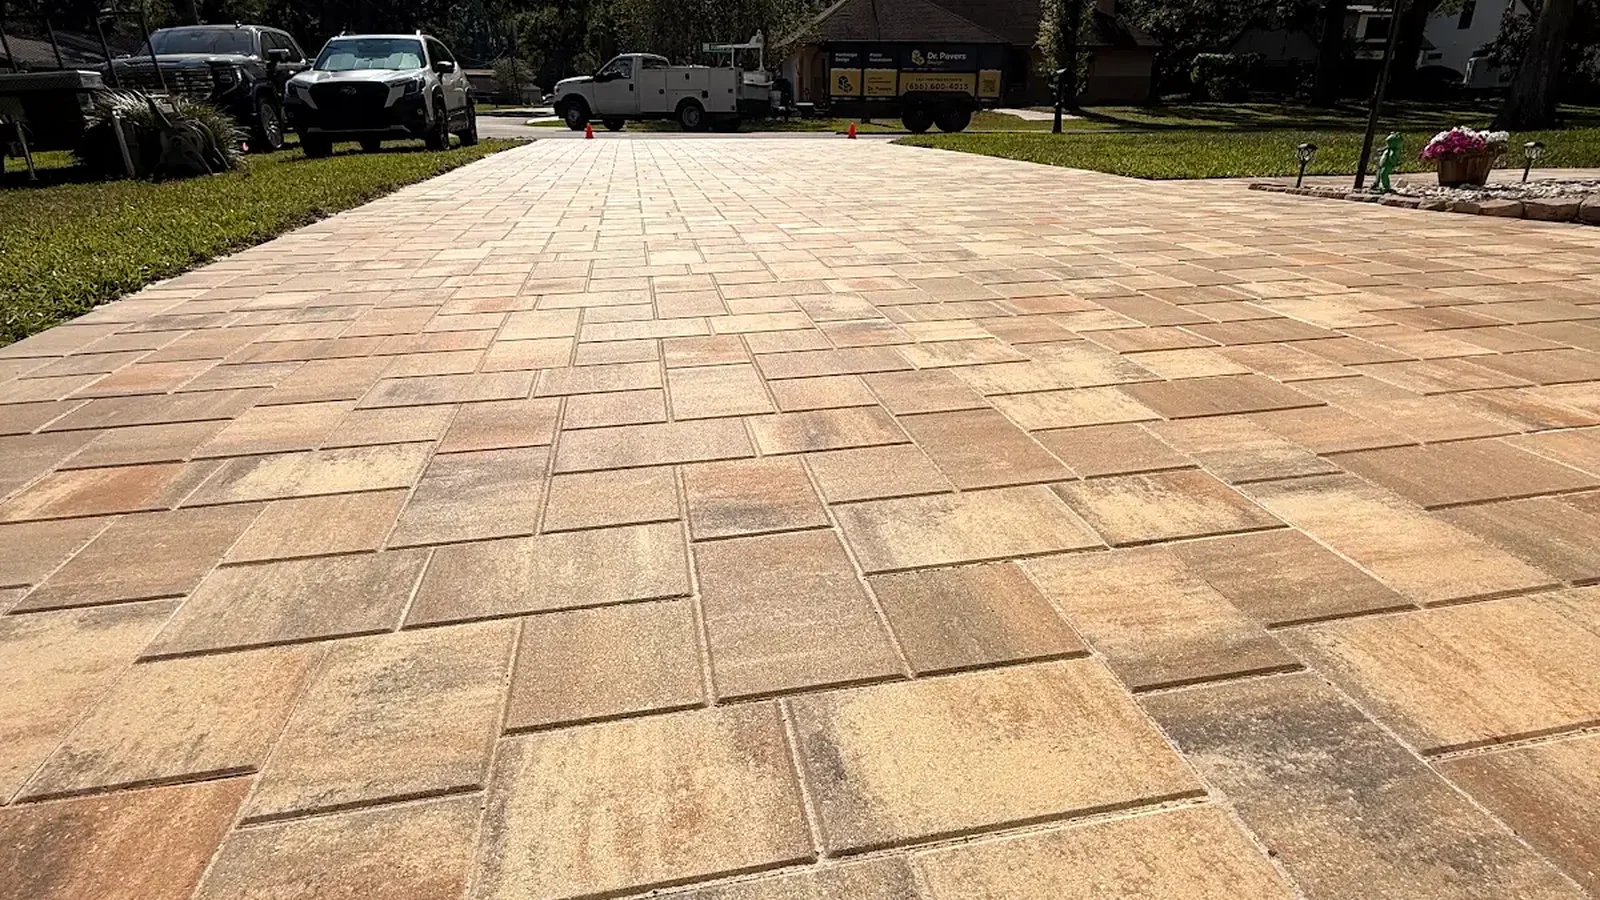
Individual pavers can show ordinary wear without signaling a base problem. The more revealing signs are repeated, organized changes in elevation or joint width. Stand back far enough to see the entire paved field, then look across it in early or late light. Shadows often reveal a broad depression, a ridge at an edge, or a line where units no longer sit in the same plane. Photograph the area from several positions before sweeping debris into the joints or moving vehicles.
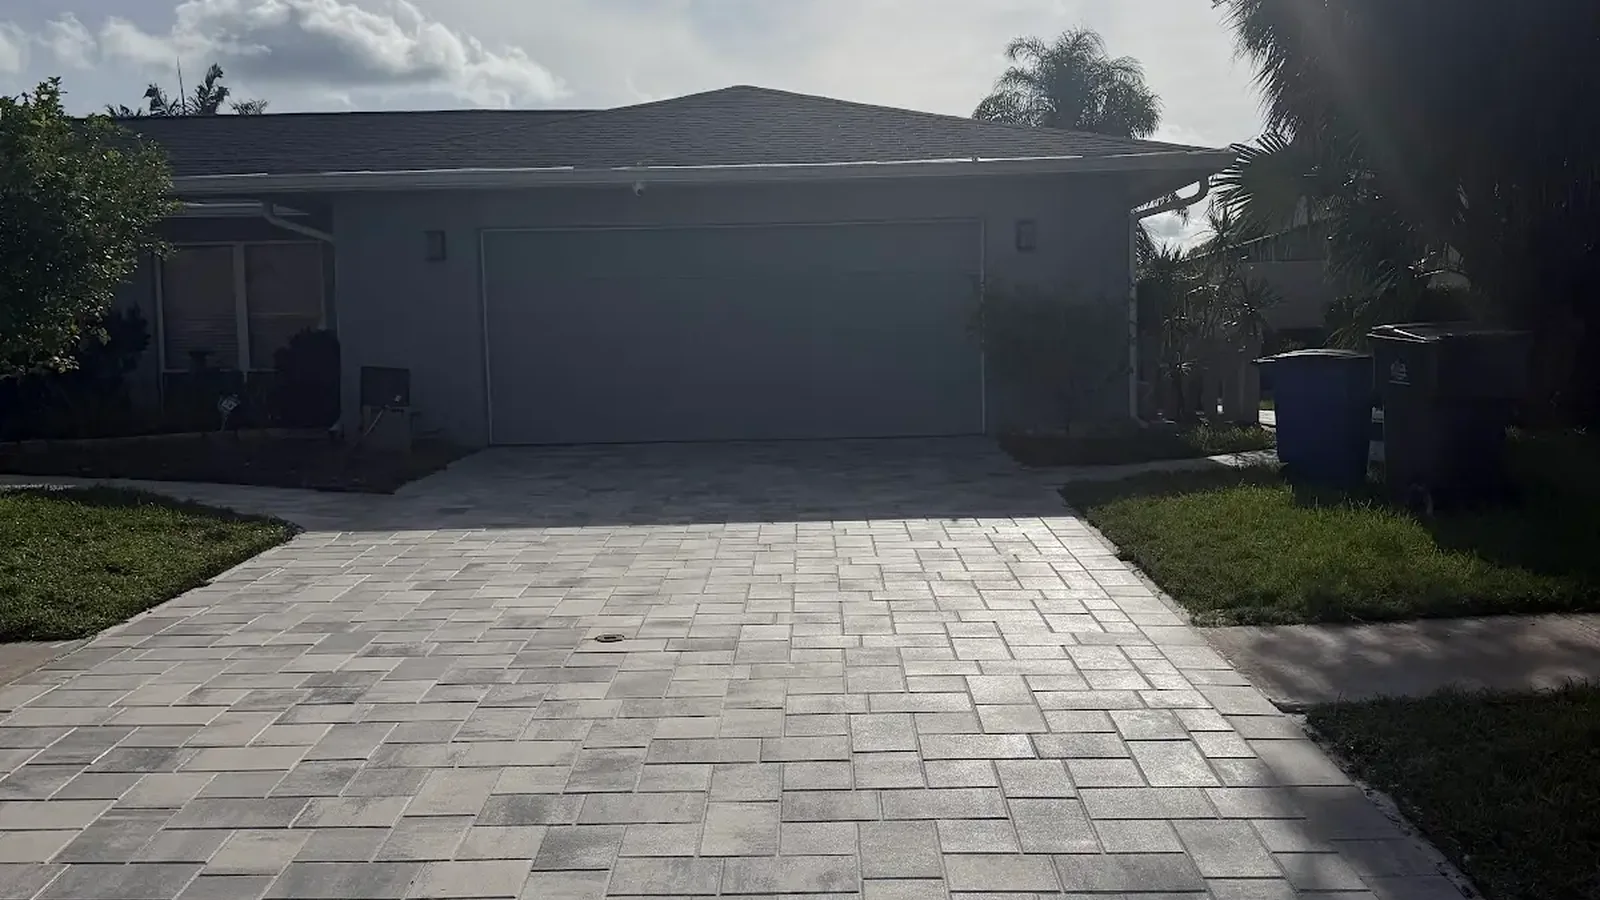
Rutting is one of the clearest patterns to document. It appears as shallow tracks where tires regularly travel, often at the approach to a garage or in a turning zone. The important detail is whether both tracks follow the expected wheel paths, whether only one side is affected, and whether the depression continues into a border. A tire path may reveal a load-related weakness, but a visual pattern alone cannot tell whether the cause is base support, drainage, edge restraint, subgrade conditions, or a combination of factors.
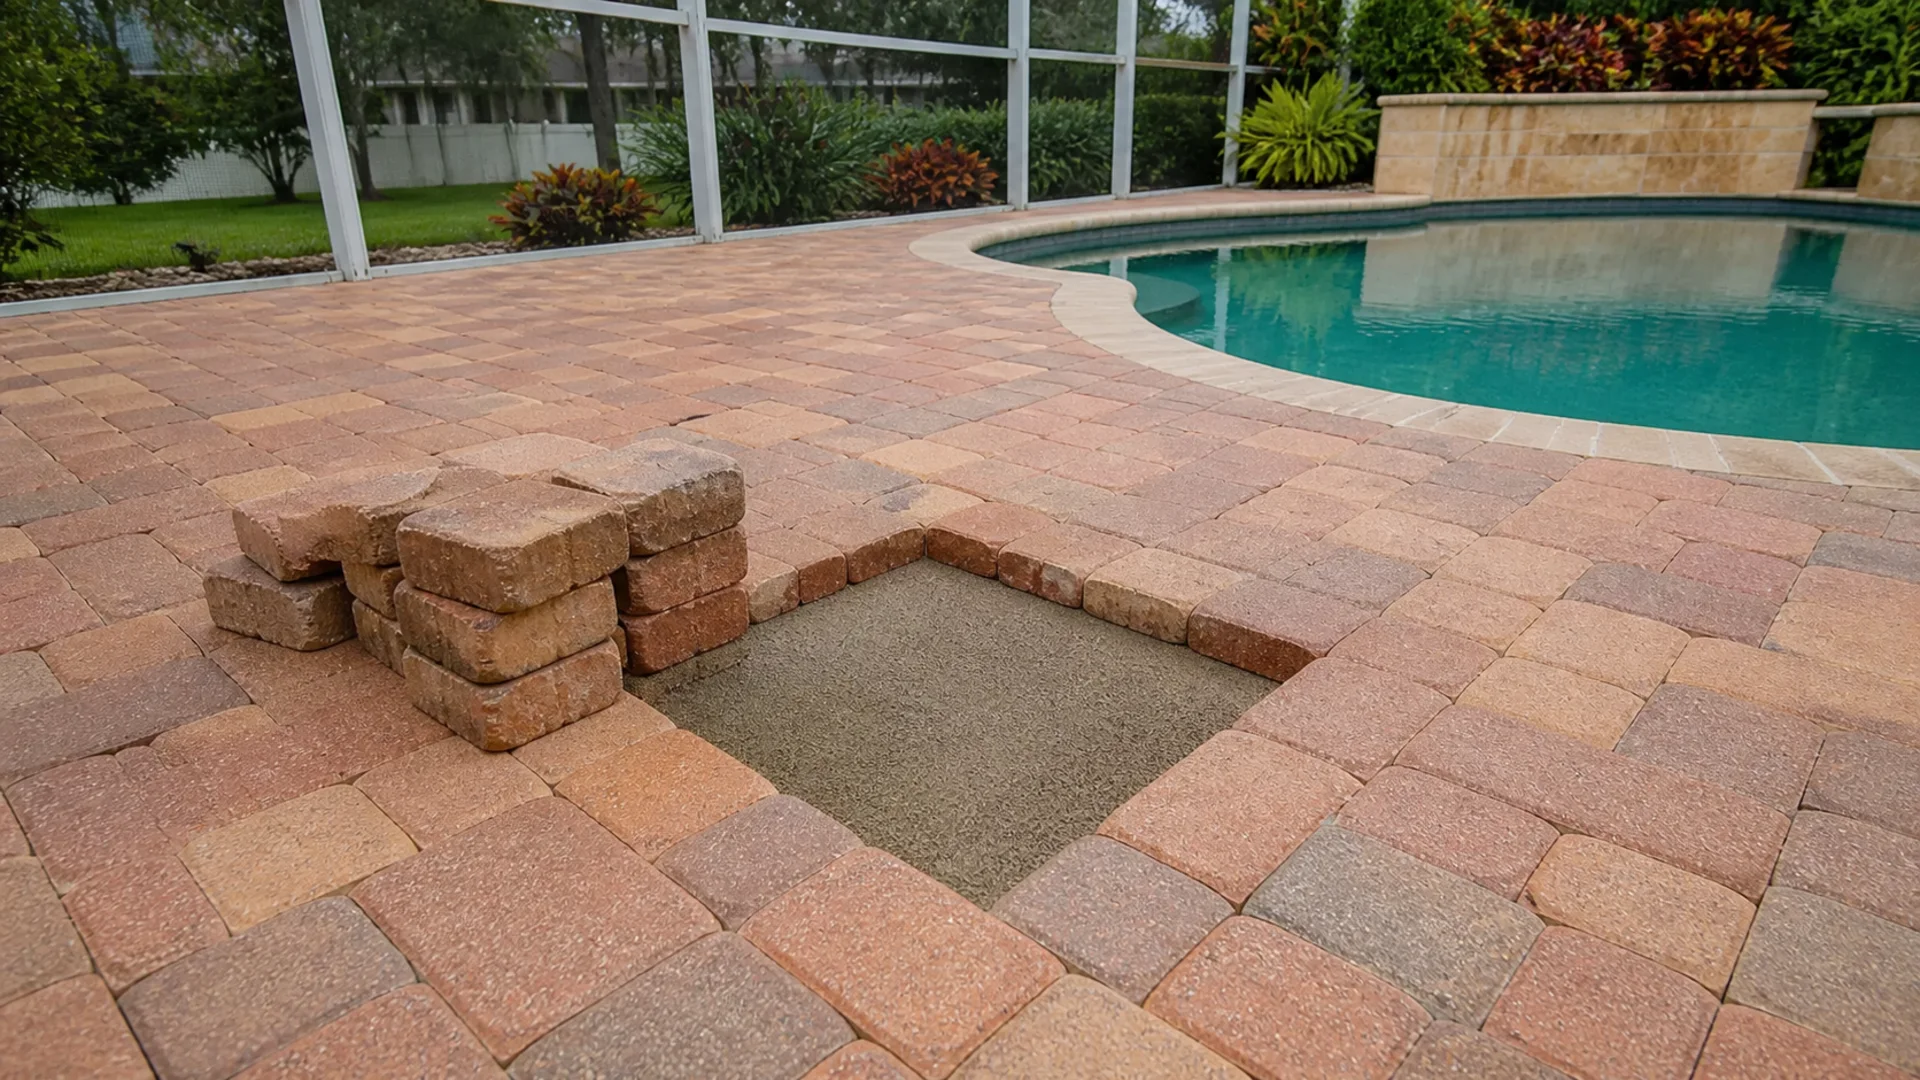
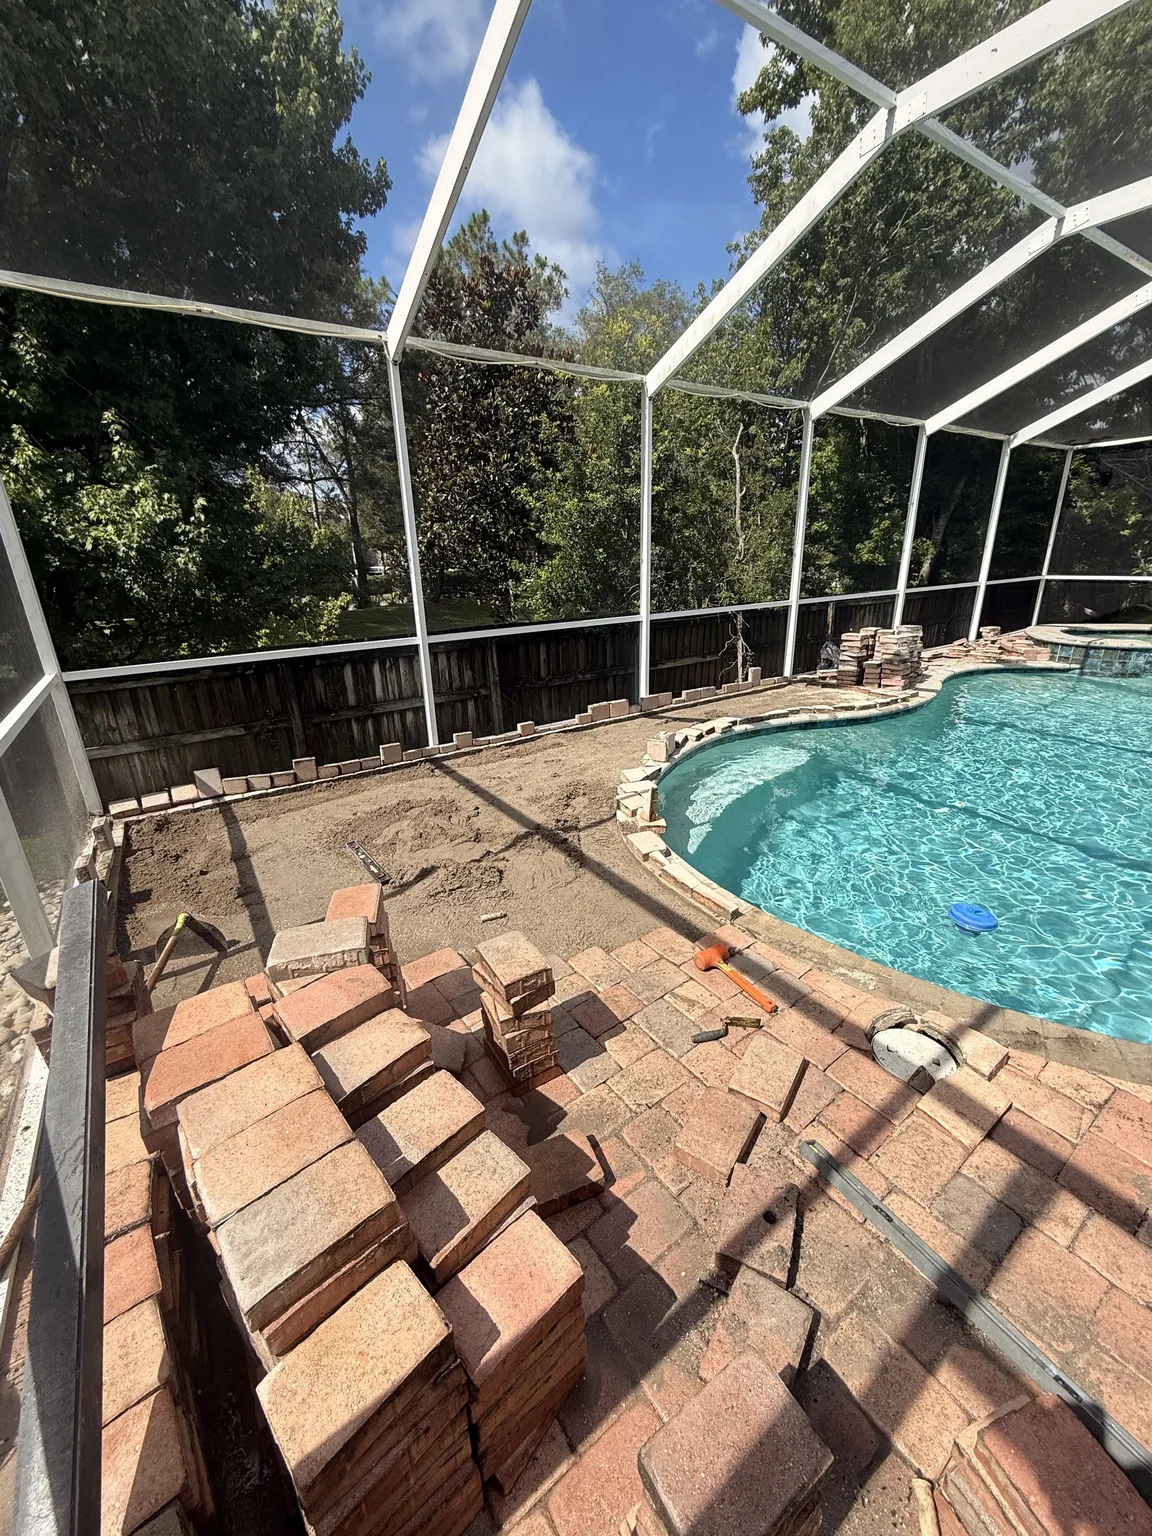
Rocking units deserve a separate note. A paver that tips under a heel or a carefully placed foot is different from a uniformly low area that remains firm. Mark the location with a removable reference in a nearby joint, then record whether the movement is isolated, clustered, or concentrated at a transition. Do not pry a loose unit out for inspection unless that work has been planned; removing one paver can disturb bedding material and make later observations less reliable.
- Repeated depressions in the same traffic lane rather than one random low paver.
- Joints that spread in a direction, particularly where the paved field meets a fixed edge.
- An edge that drops, opens, or looks as if the field is moving away from its restraint.
- A change at a garage apron, walkway connection, drain, planter, or other transition.
- Surface movement that is most noticeable after a storm, irrigation cycle, or vehicle use.
What the surface can and cannot reveal about paver base compaction
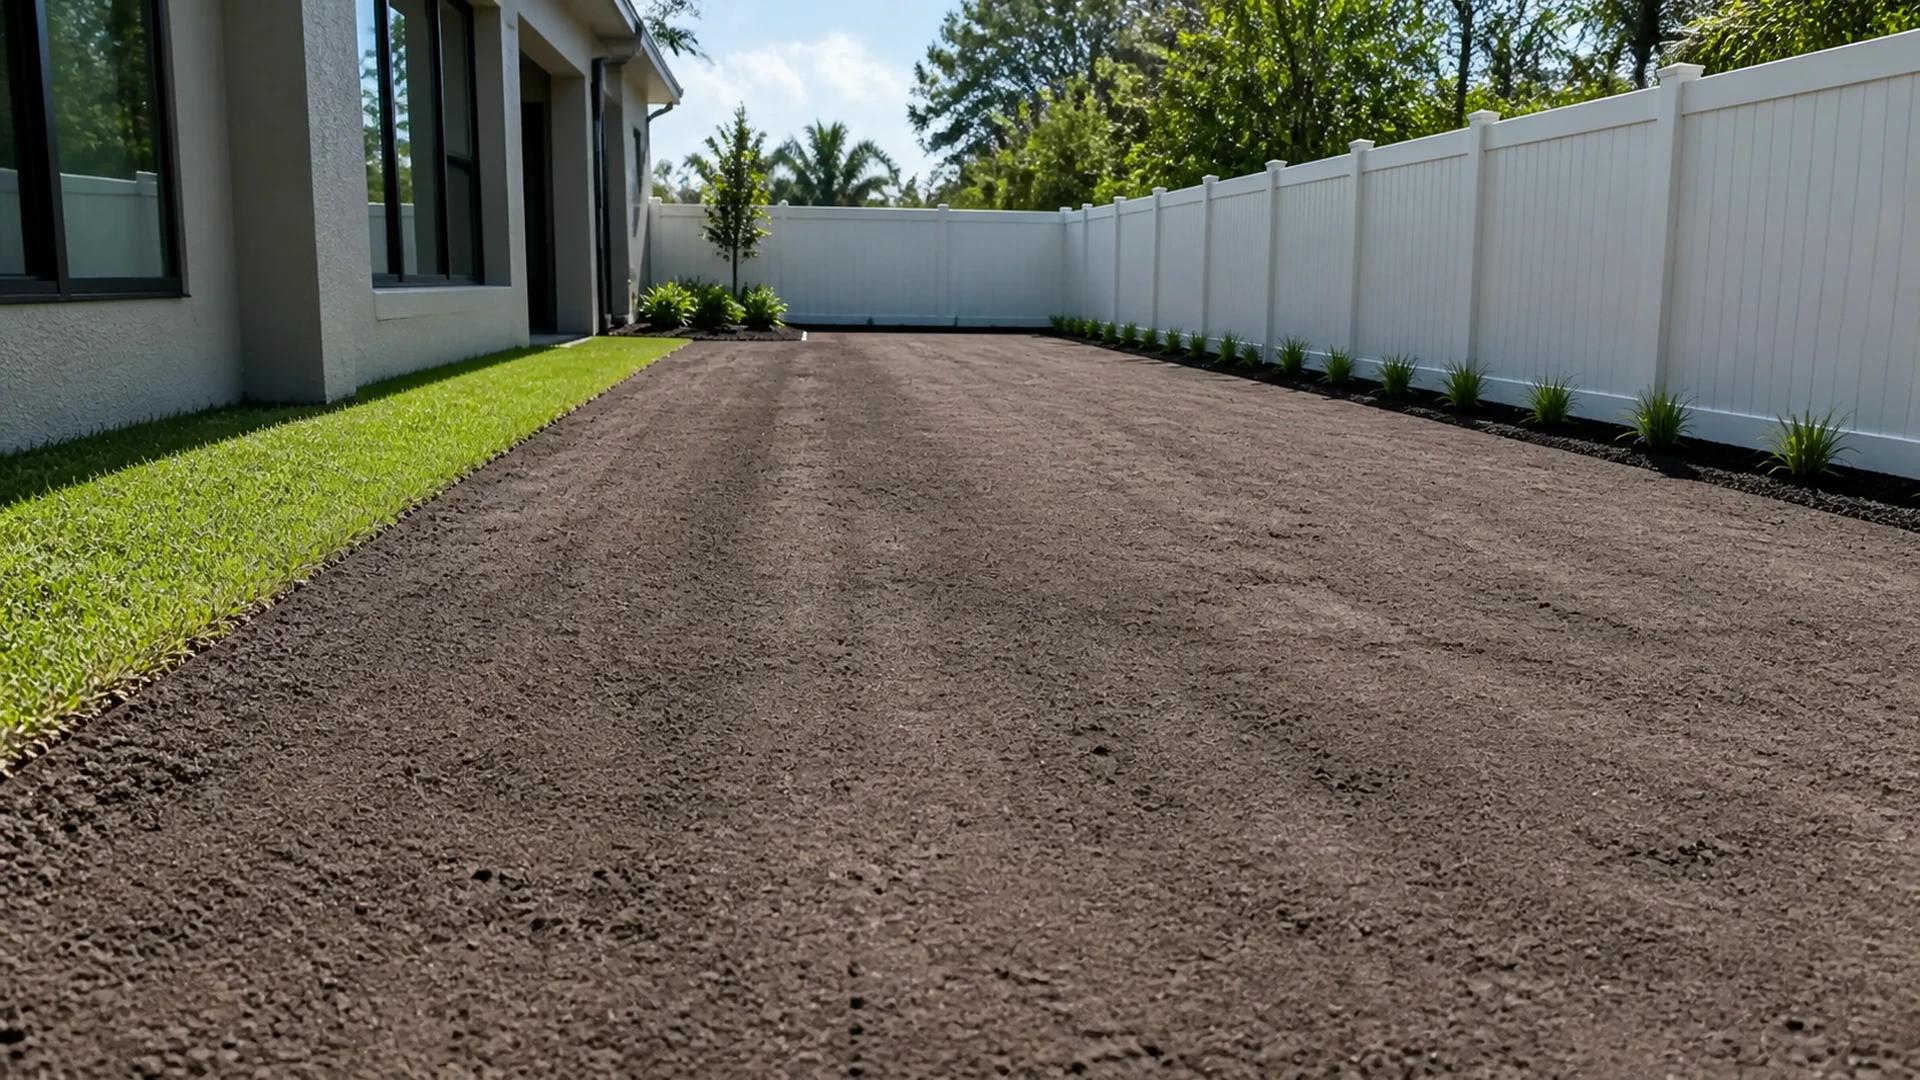
A finished paver surface is a system of visible units, joint material, bedding material, edge support, base layers, and the soil beneath them. Looking at the top does not reveal the thickness of any hidden layer or confirm how it was compacted. A driveway can look level in a wide photo while a small portion has settled. Conversely, a few open joints may be related to joint-material loss rather than a broad base issue. An on-site professional needs the history, location, drainage context, and, when appropriate, a controlled inspection to distinguish those possibilities.
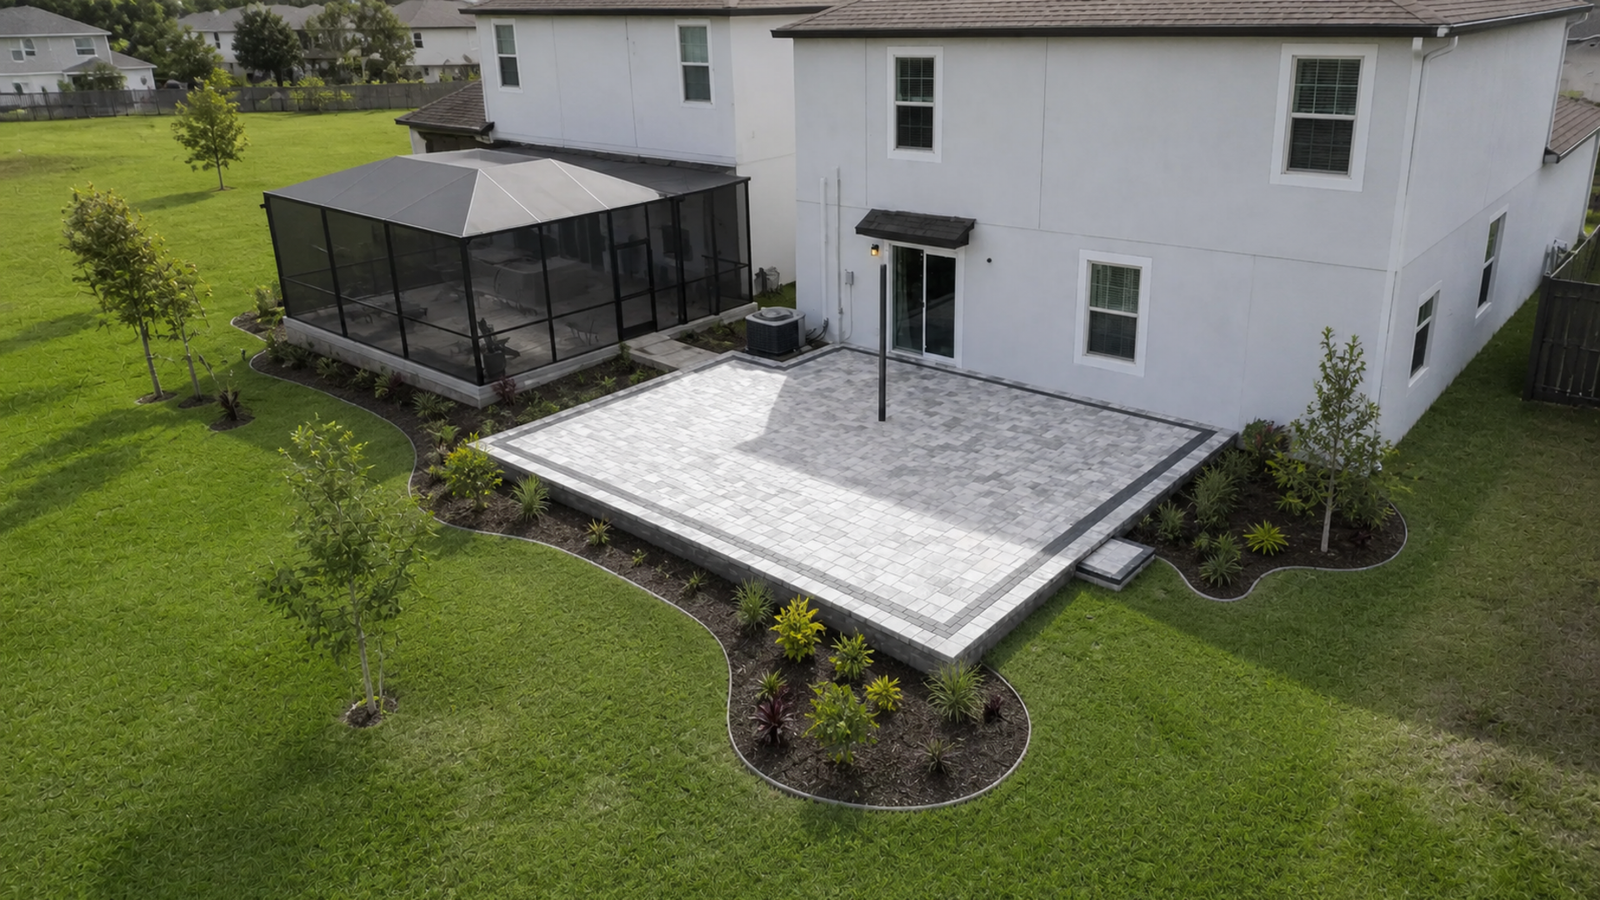
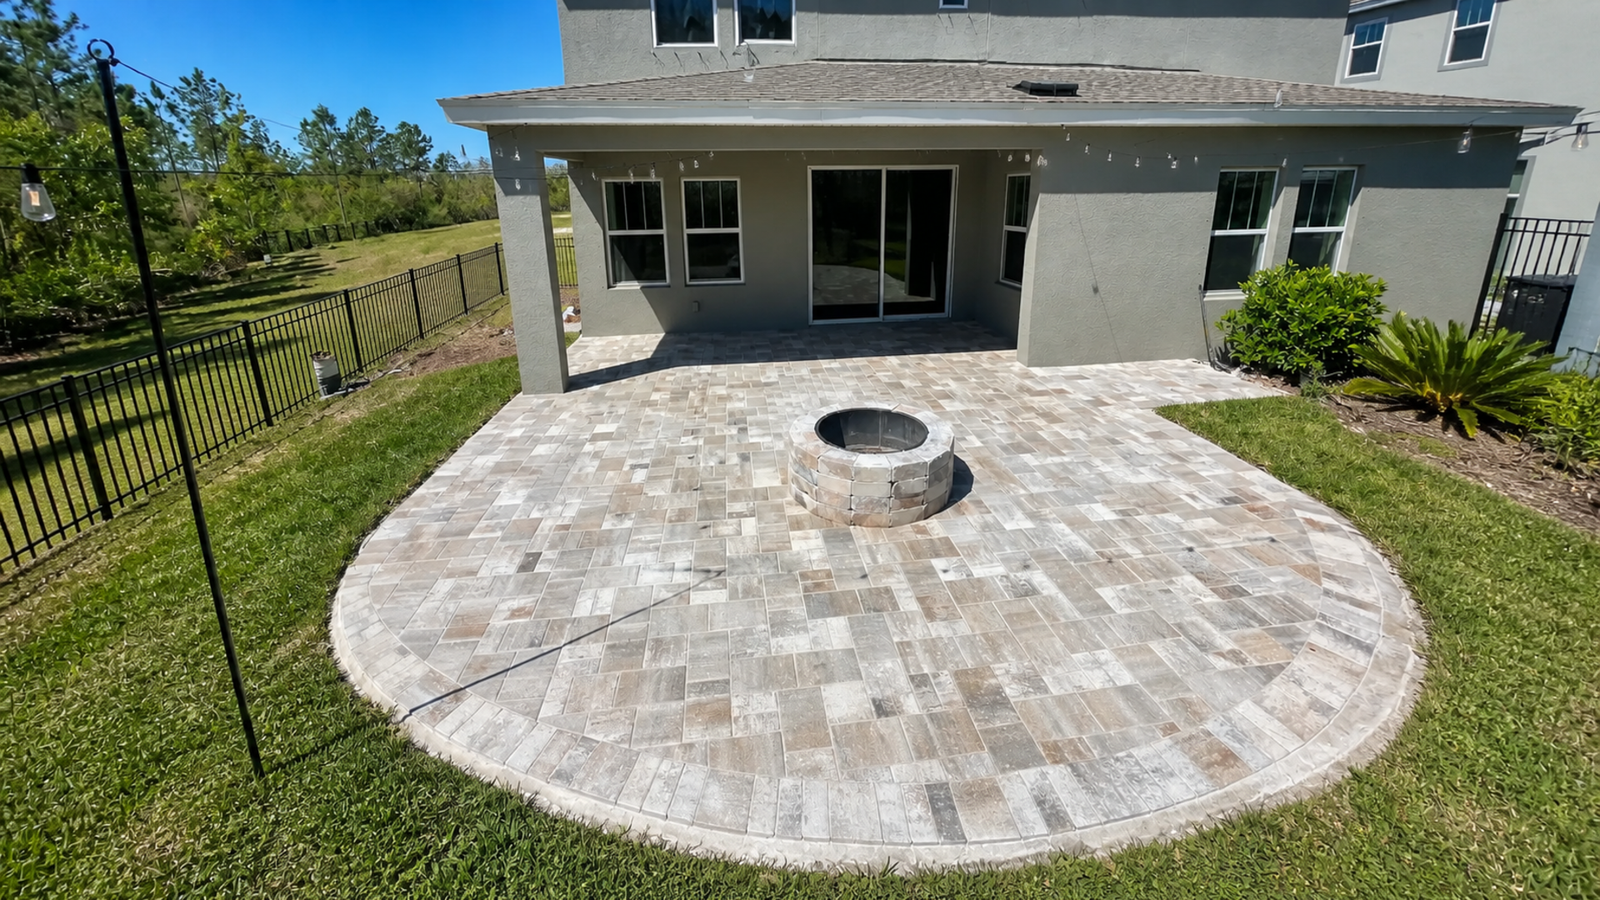
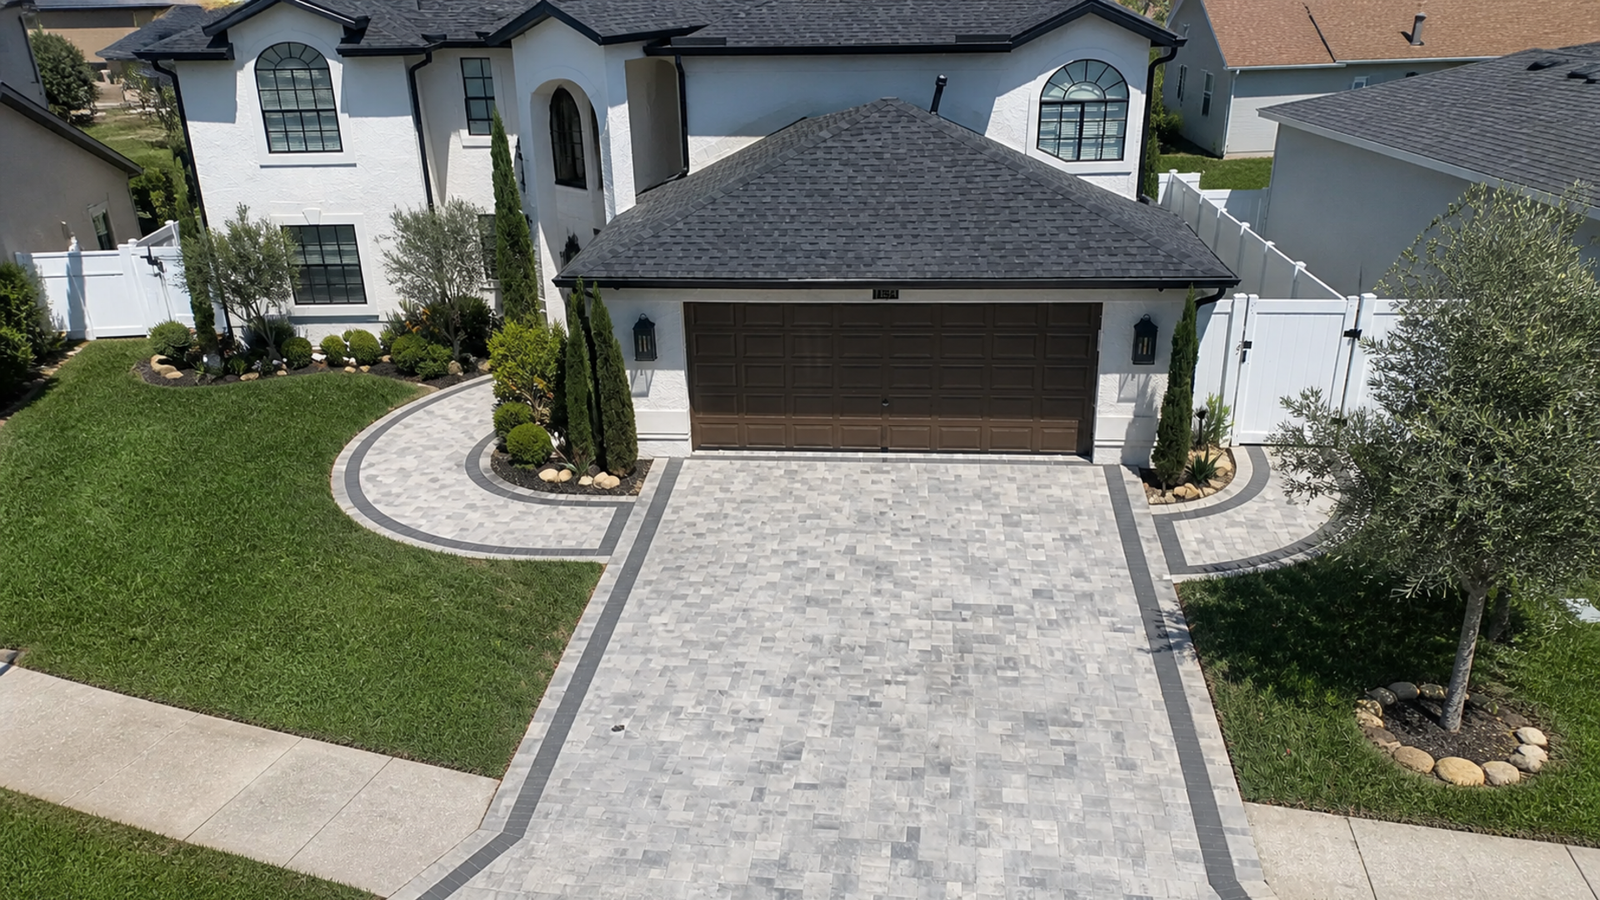
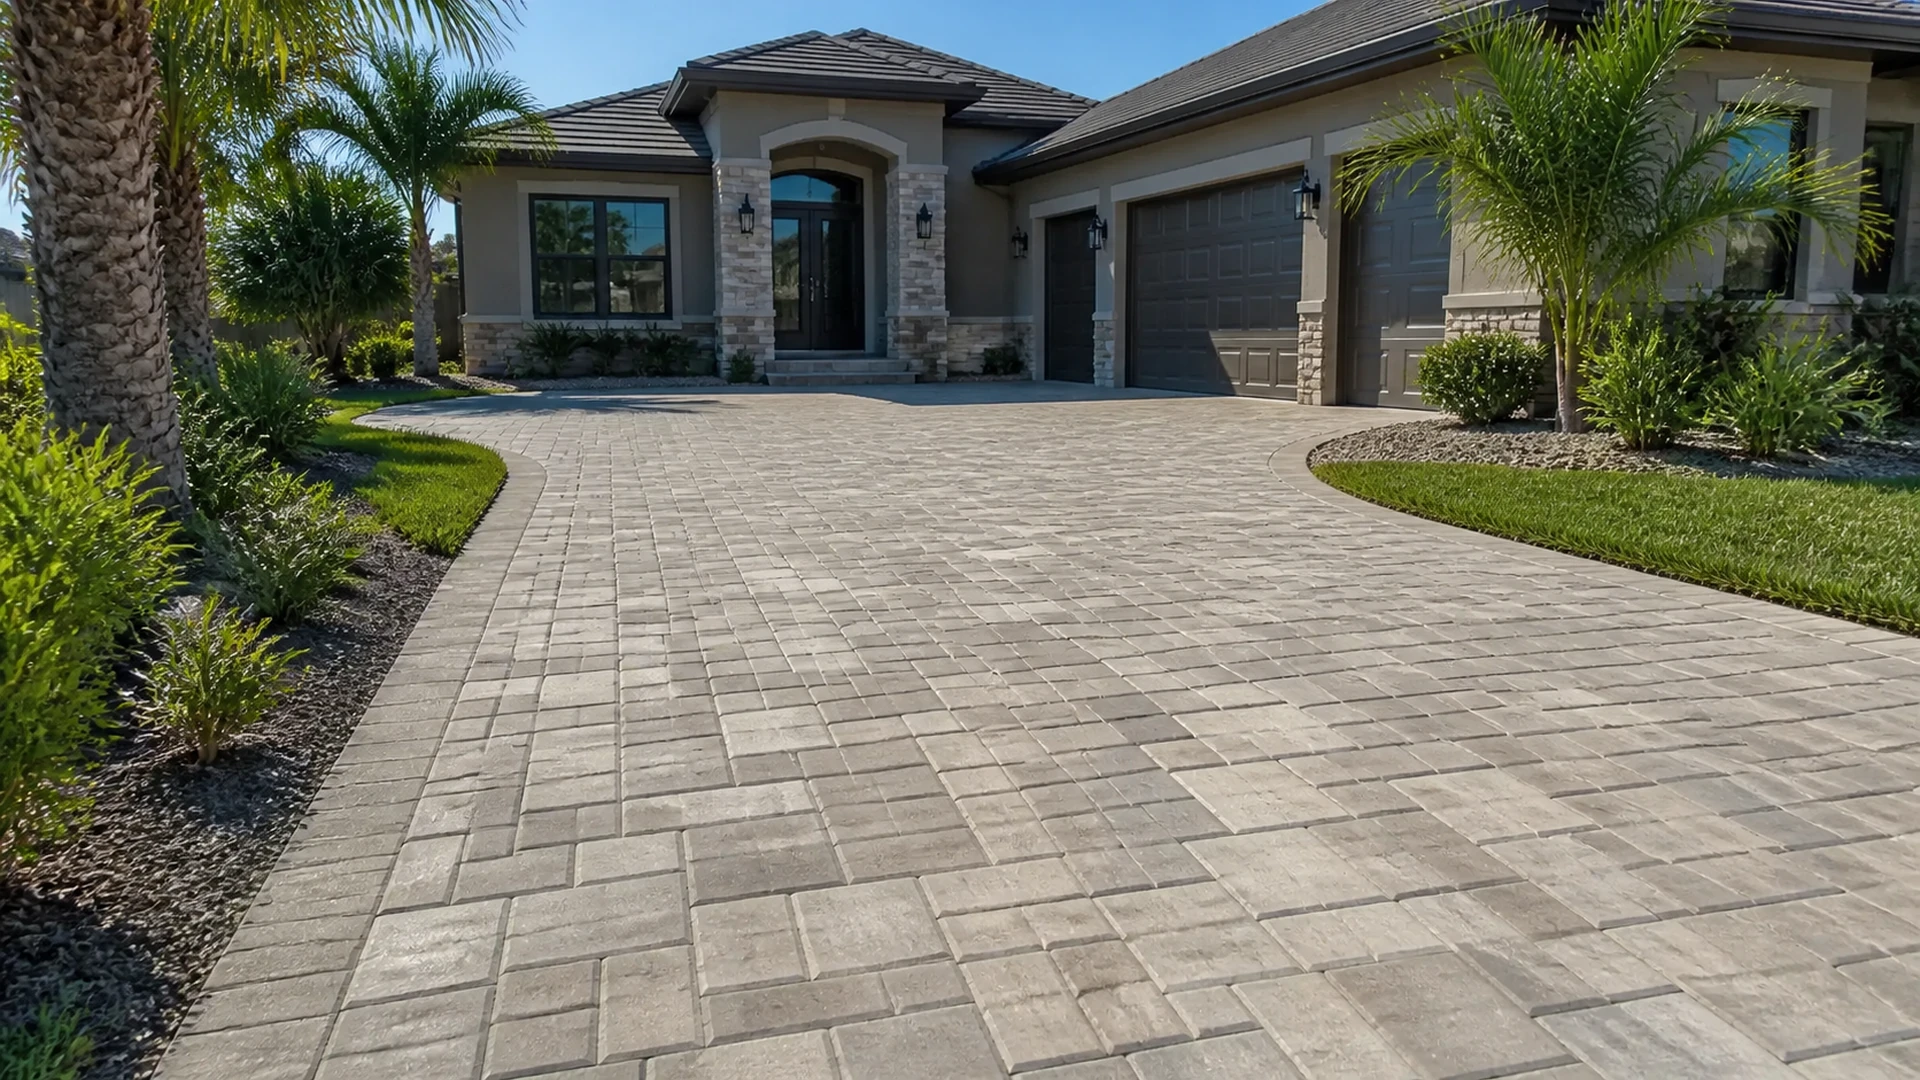
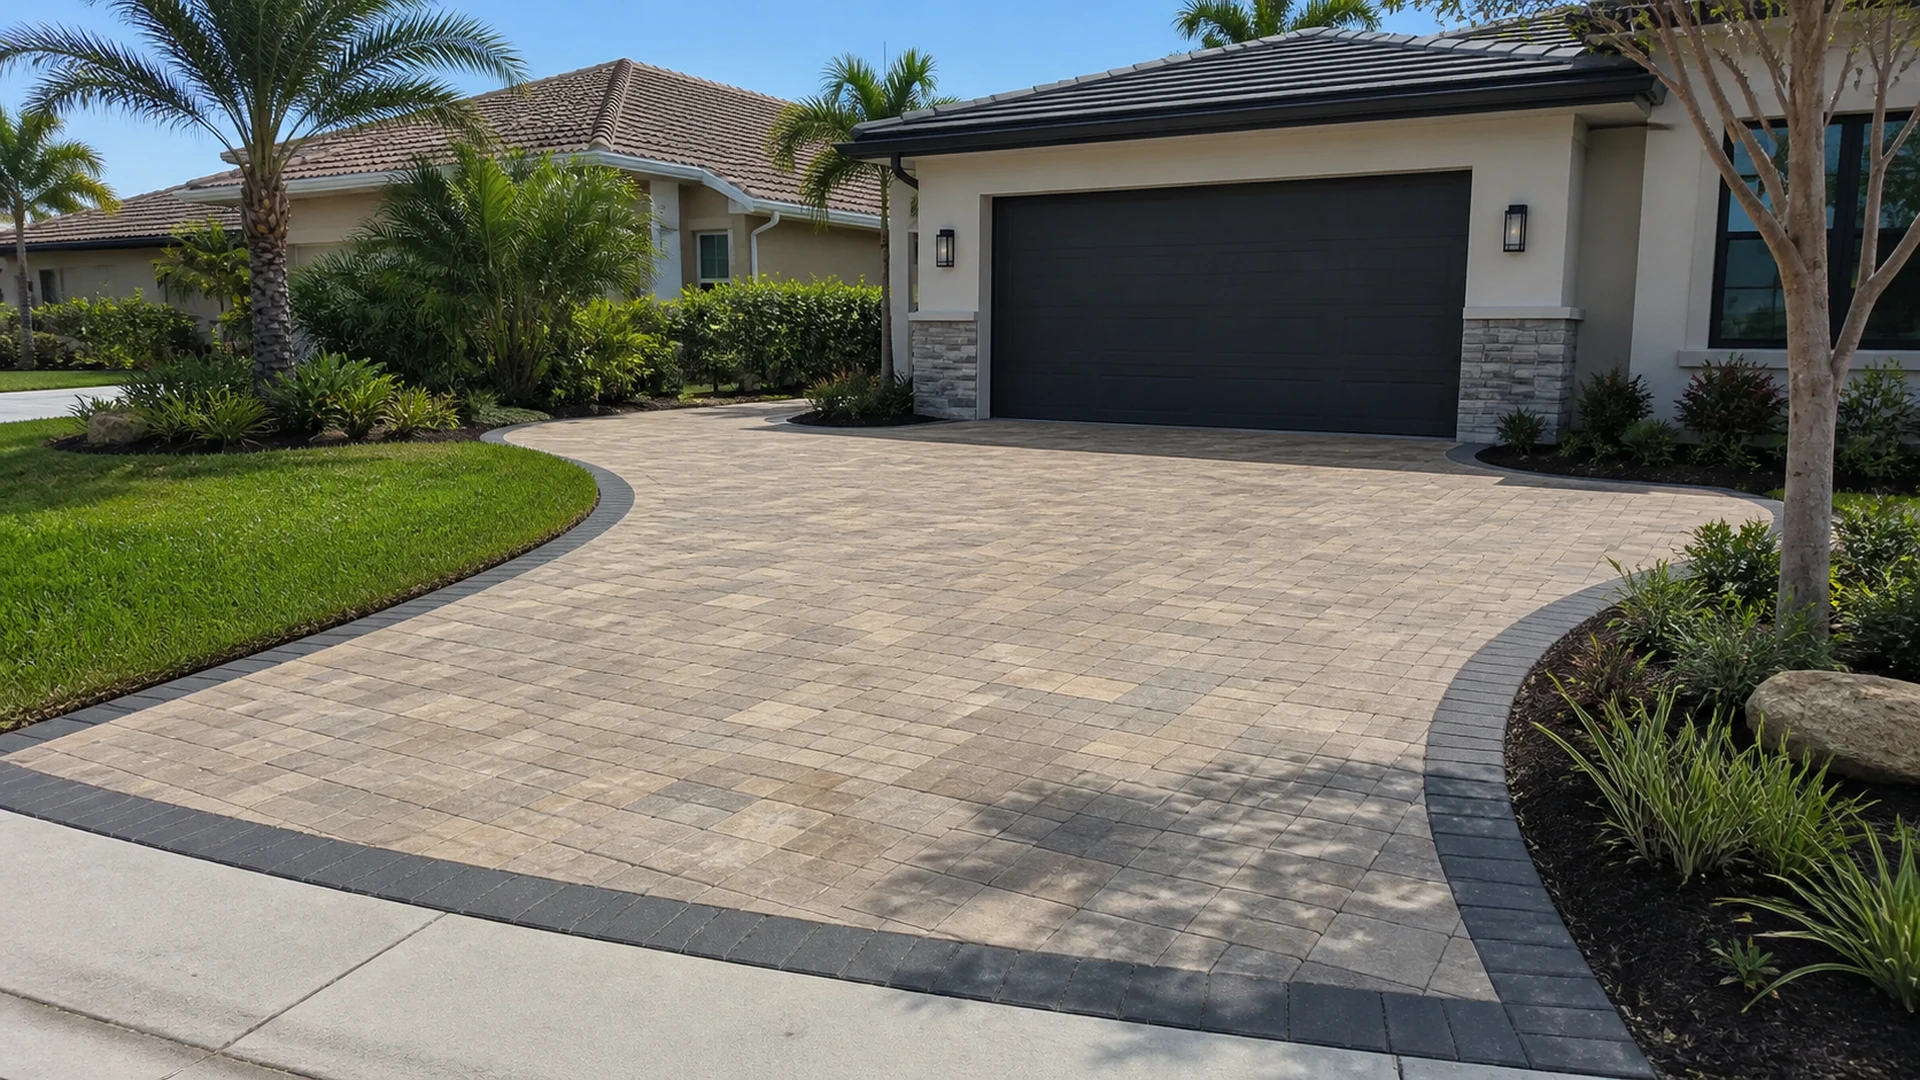
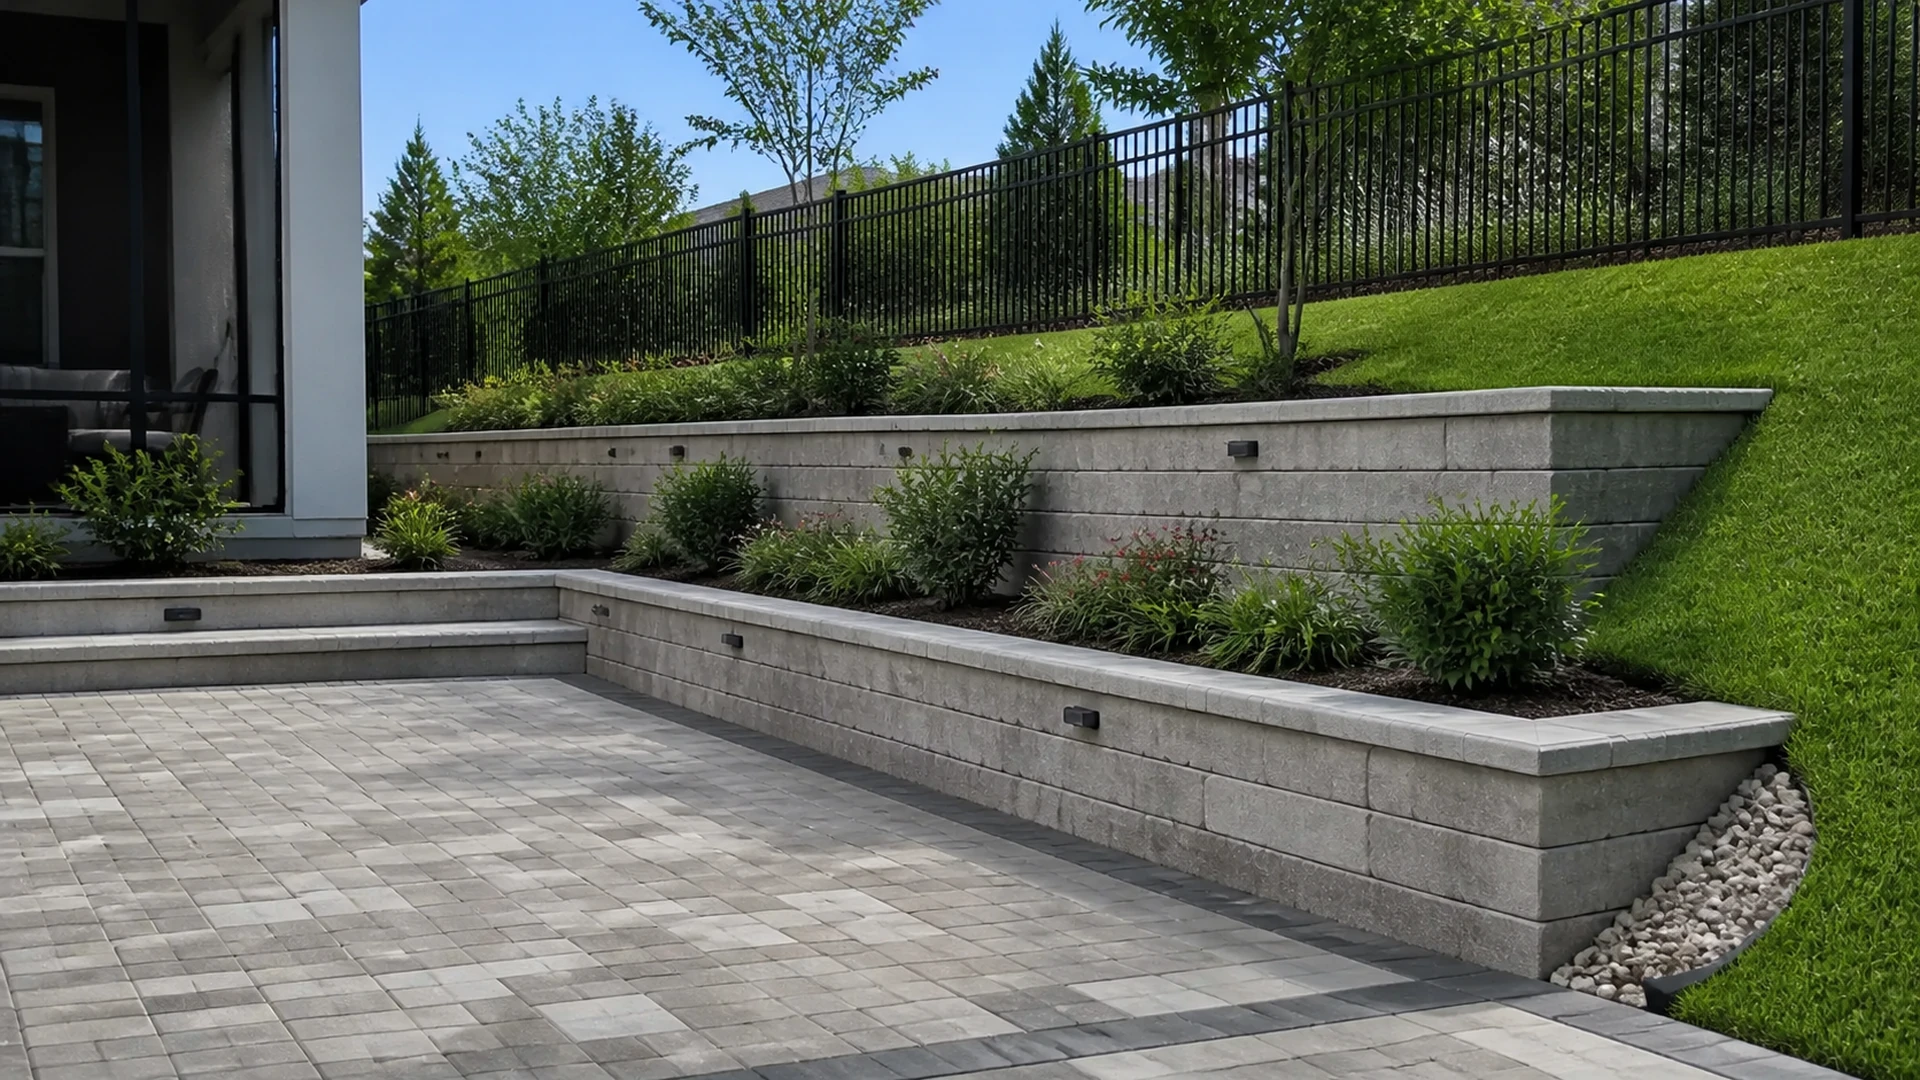
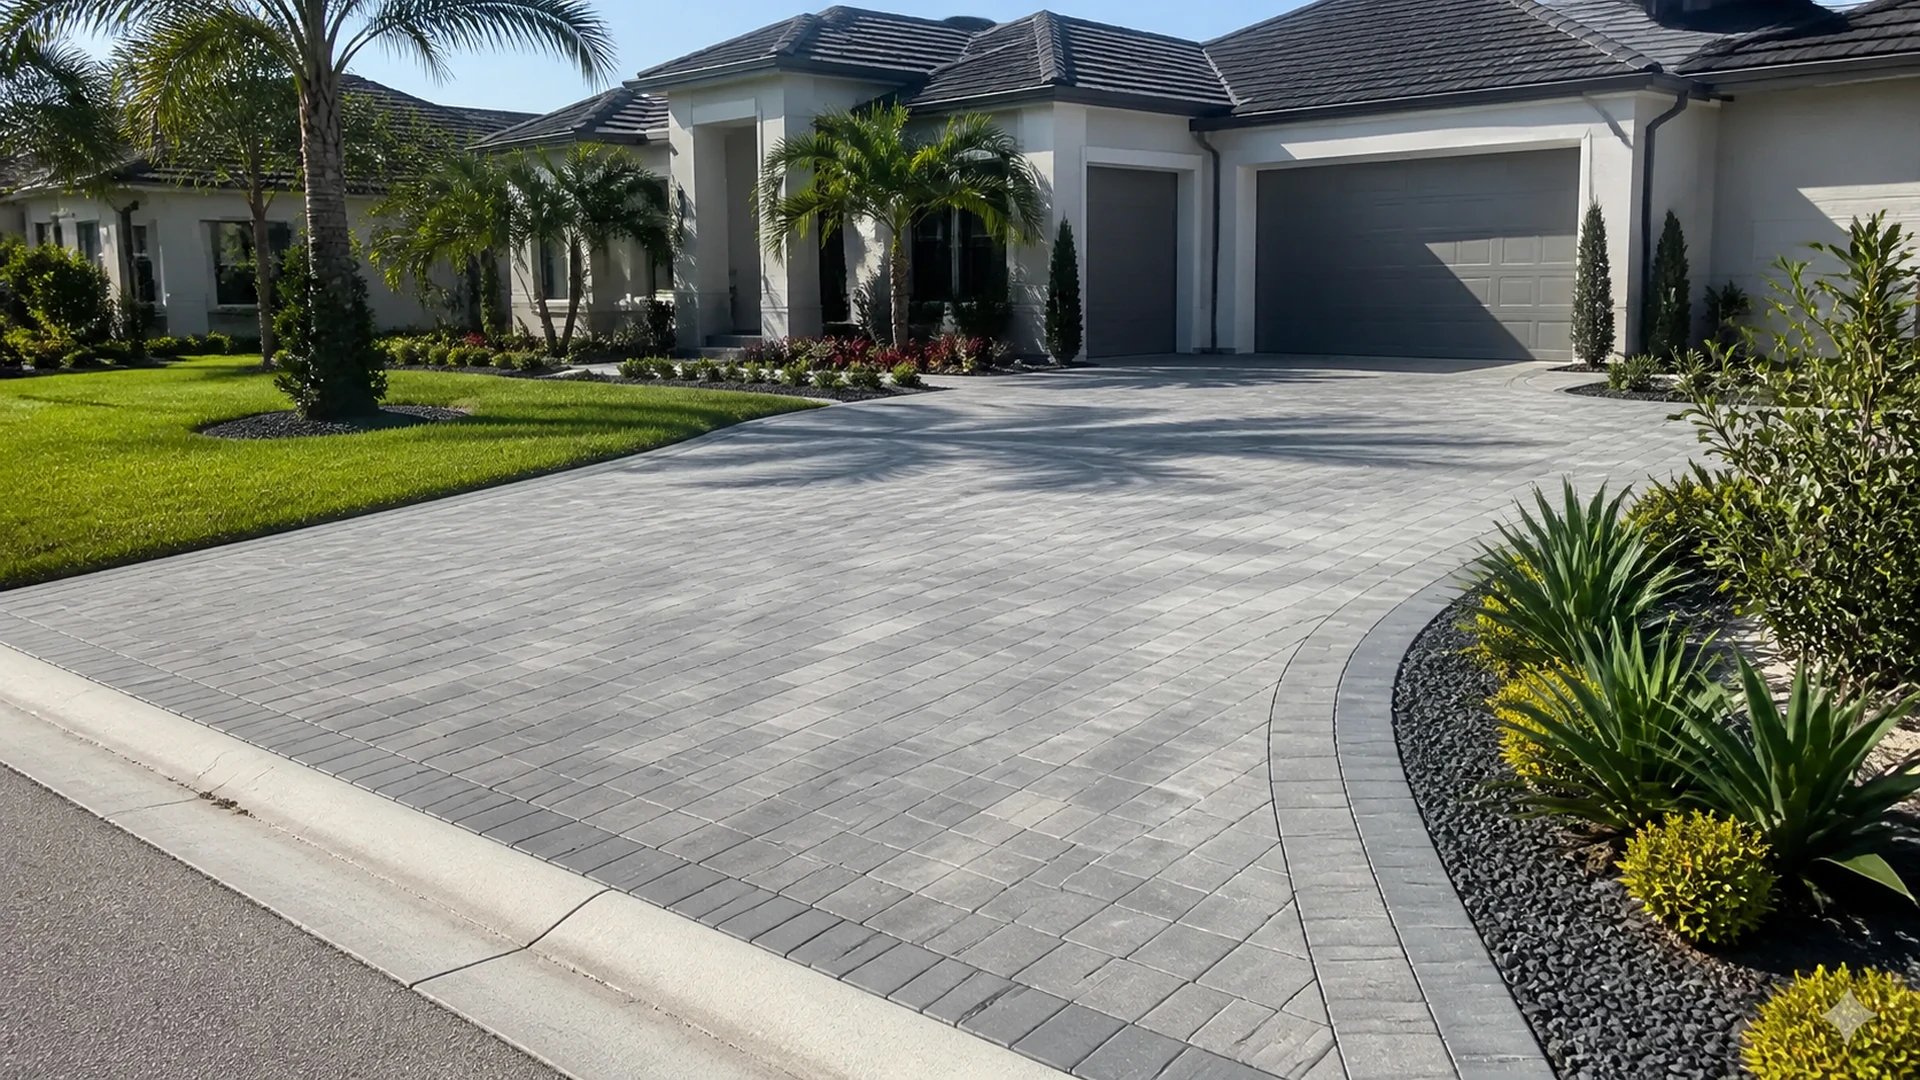
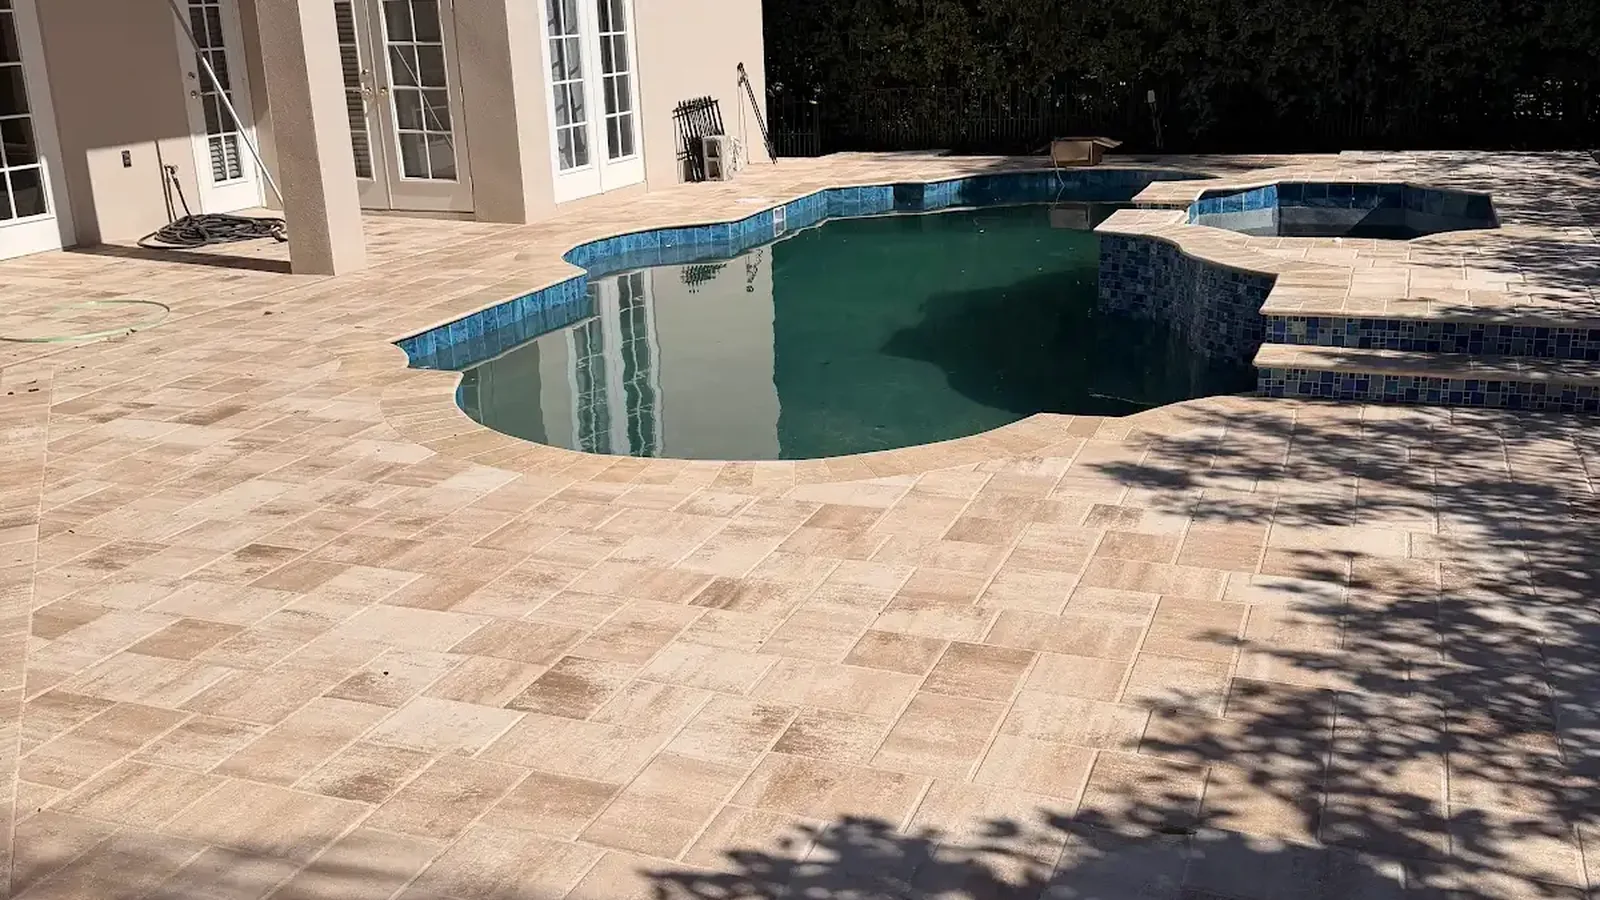
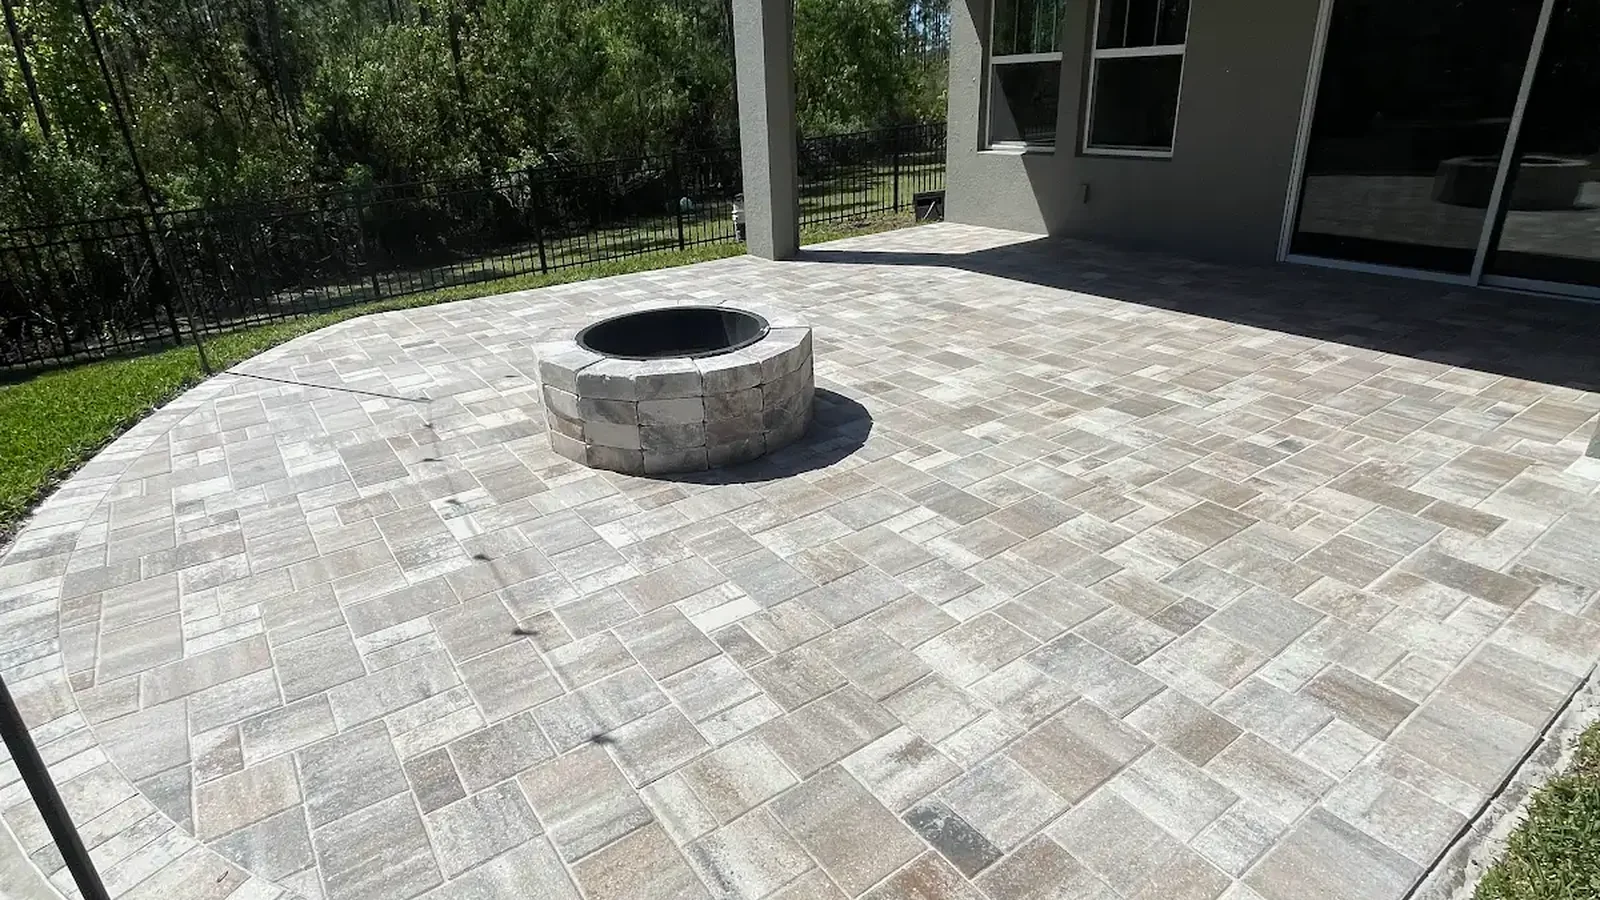
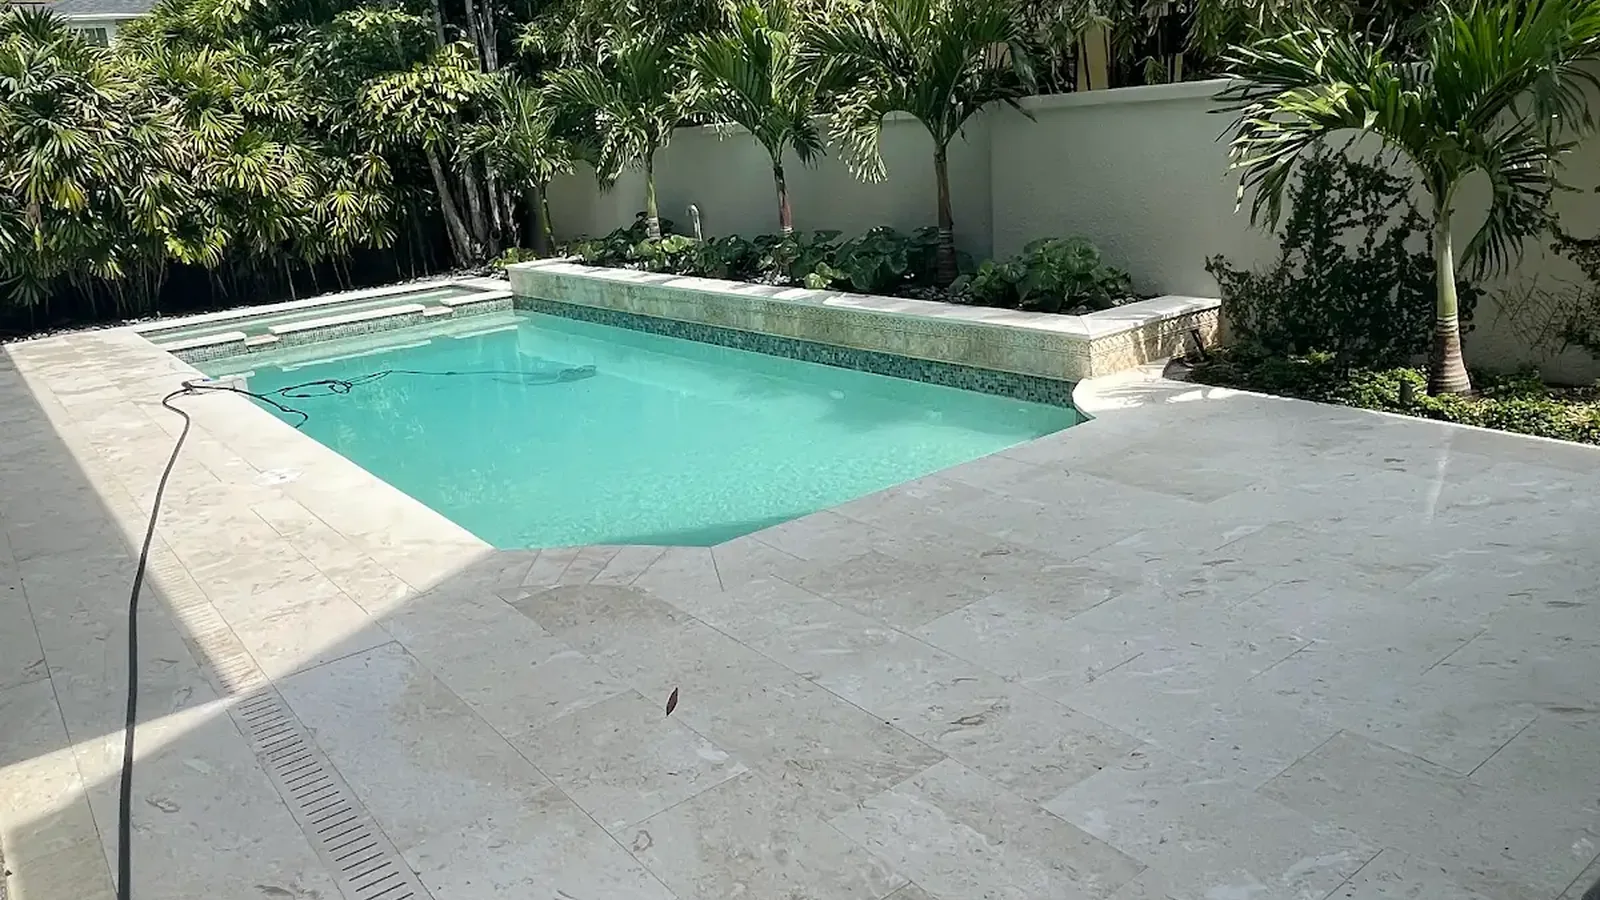
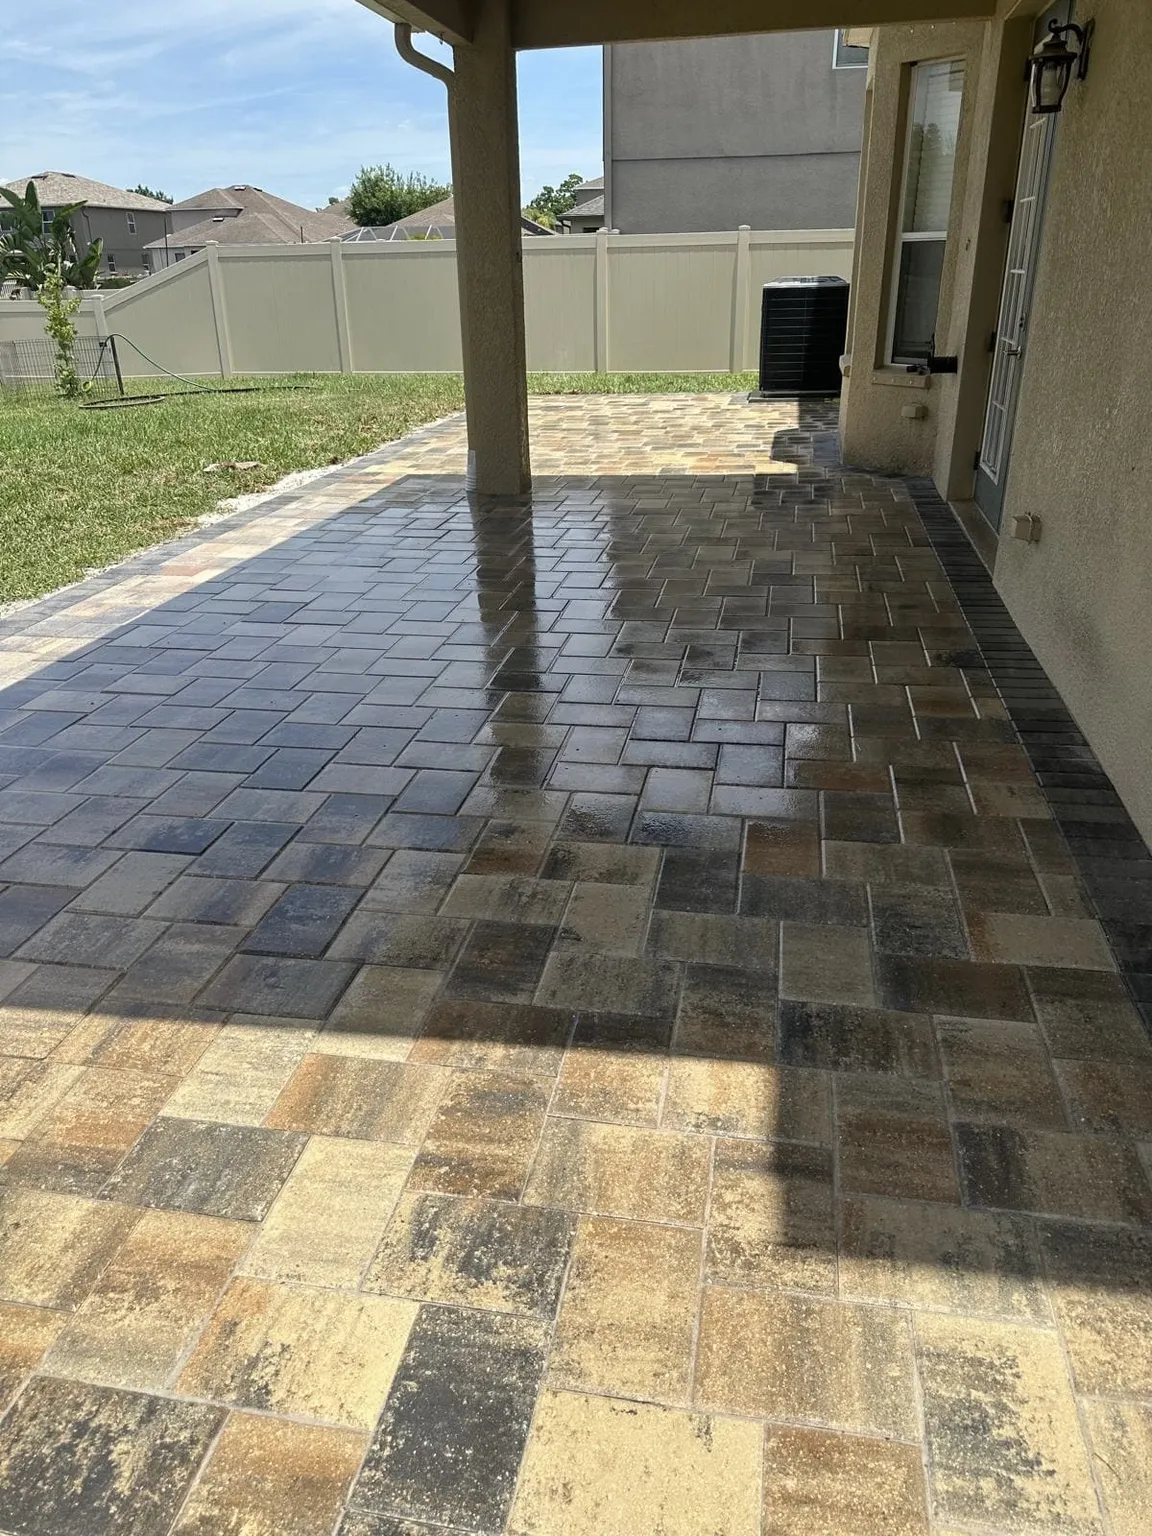
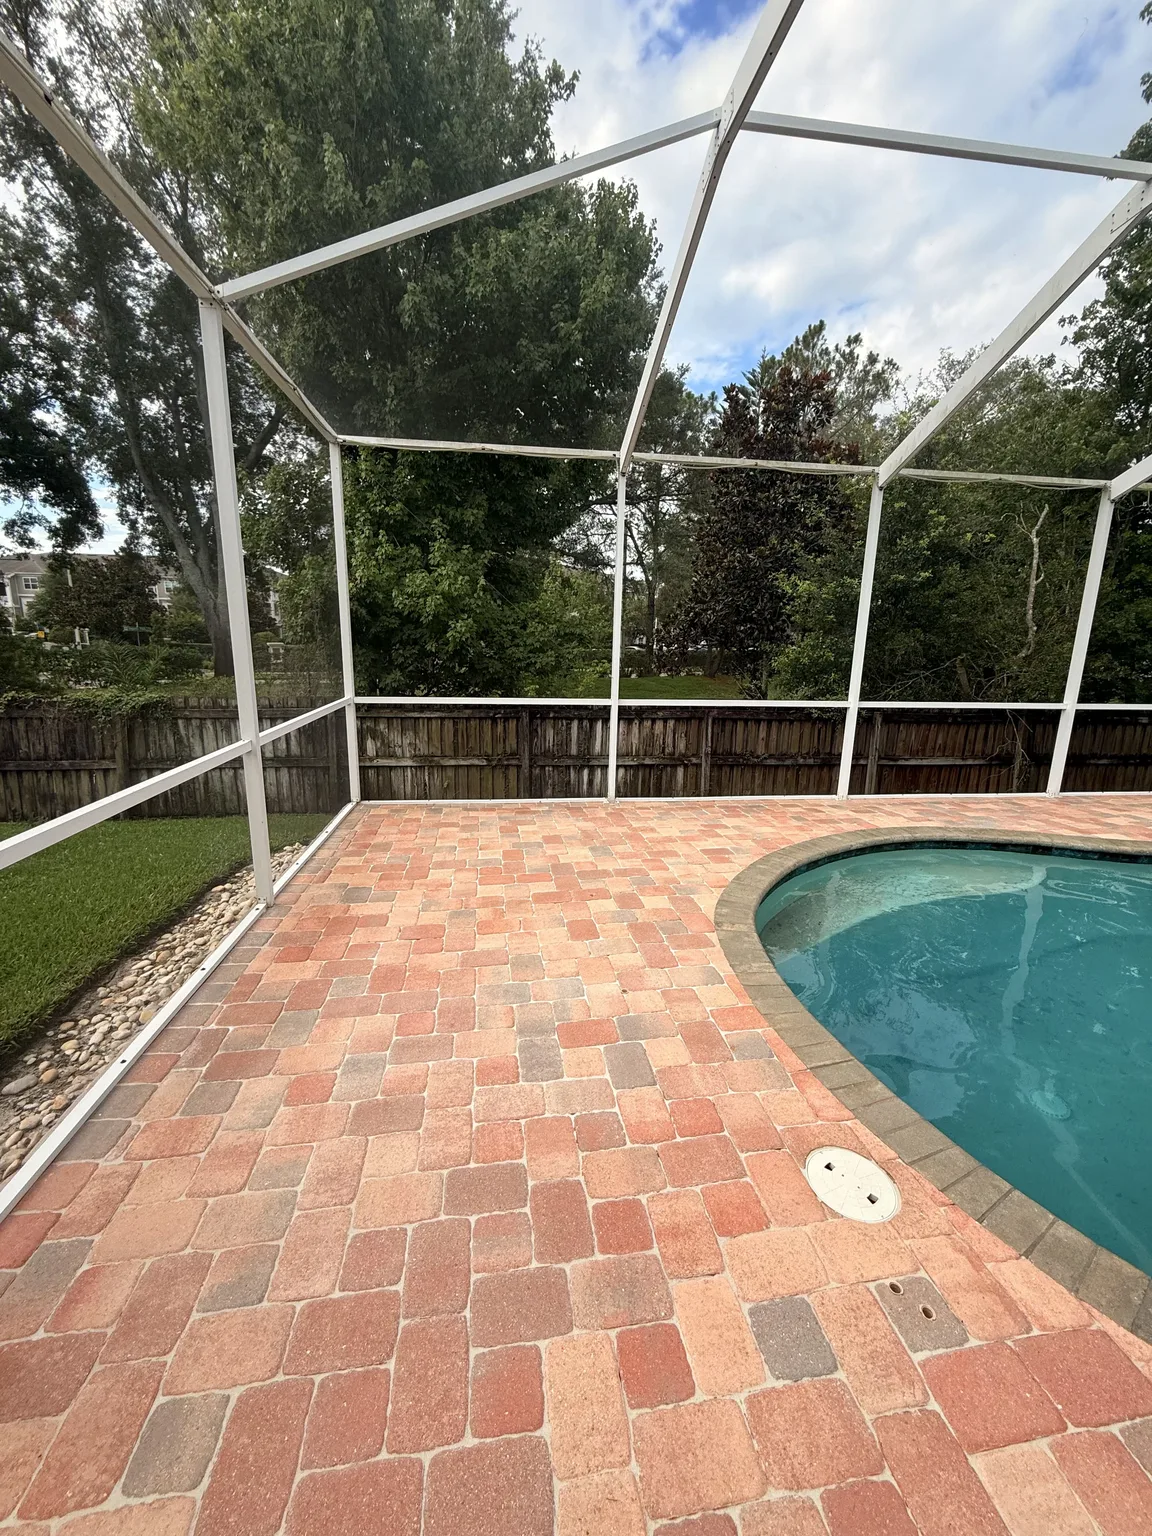
It is also risky to use color, shape, or pattern as evidence of structural work. The visible installed material should be described only as it appears: its unit geometry, color blend, pattern, border logic, finish, and application. None of those observations identifies a manufacturer or proves a construction detail. A repair plan should be based on conditions that can be verified, not assumptions drawn from appearance.
Edges and transitions often carry the story
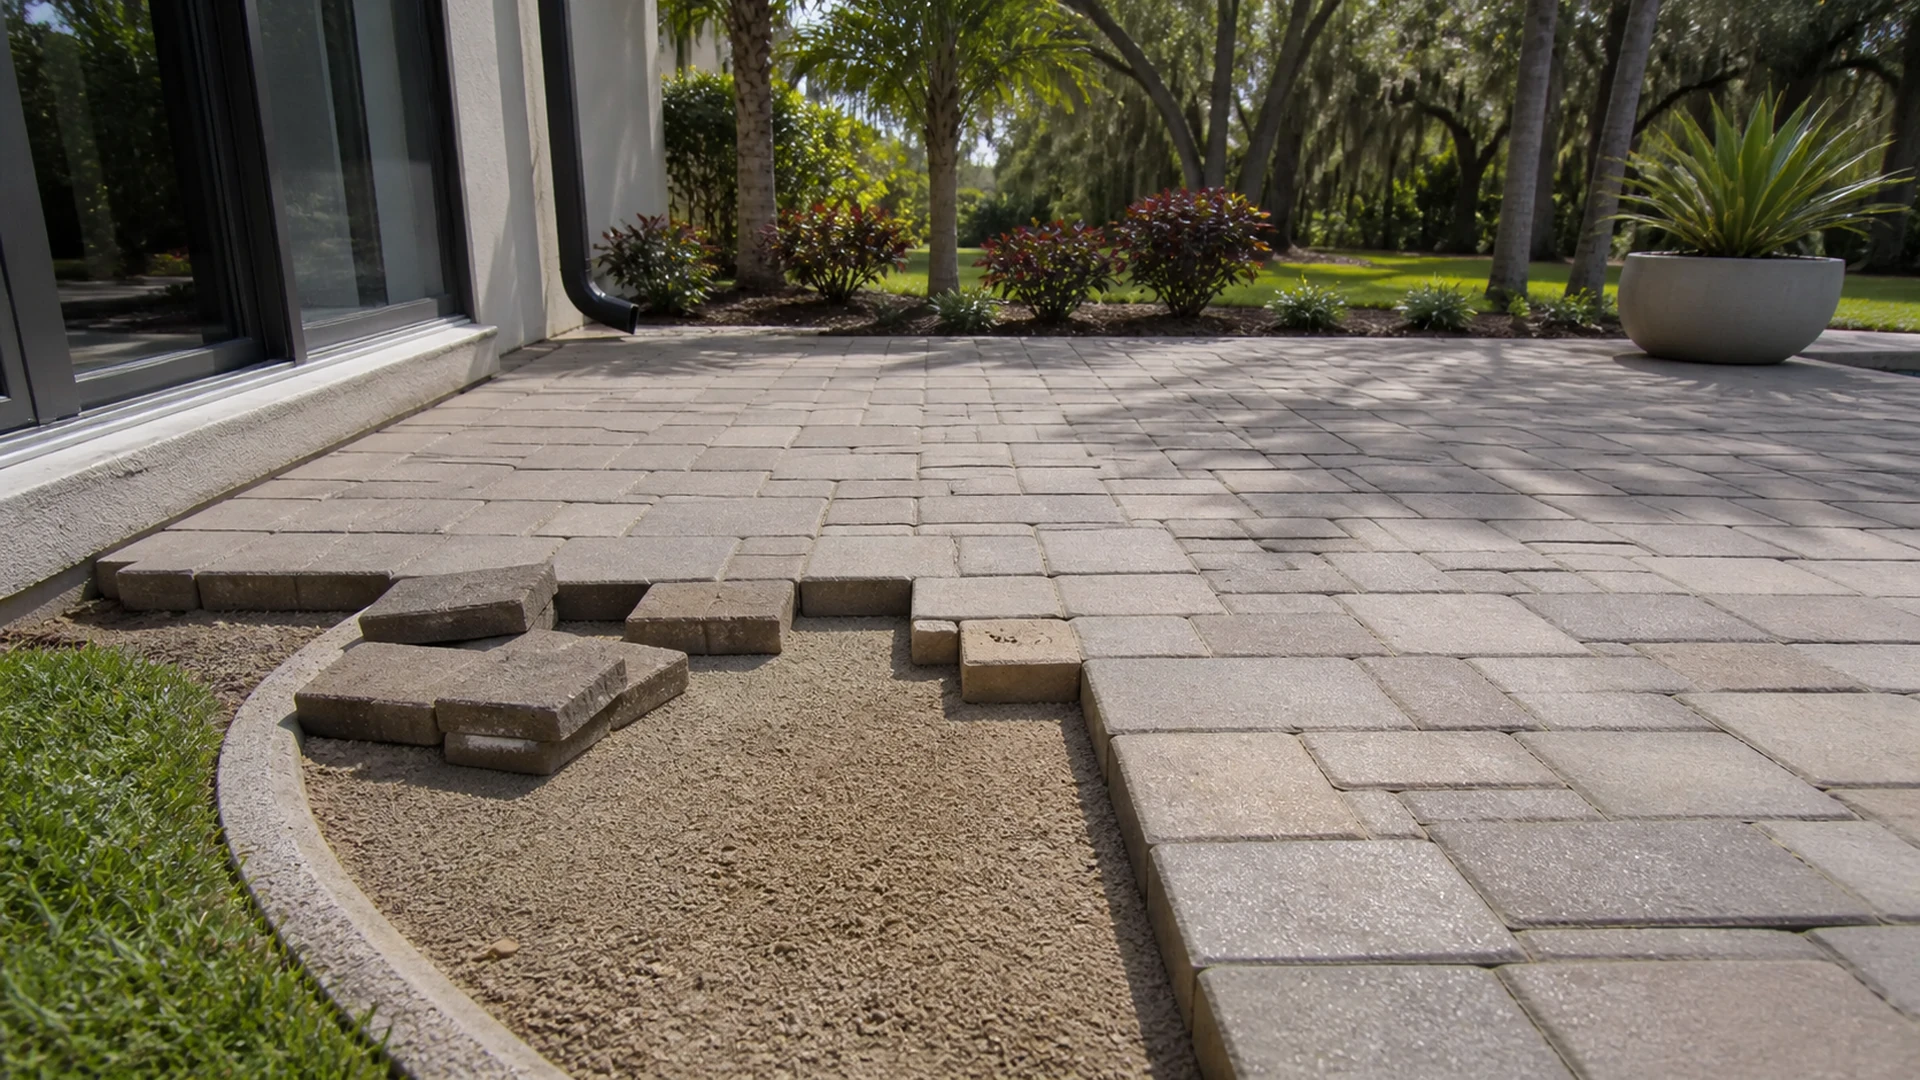
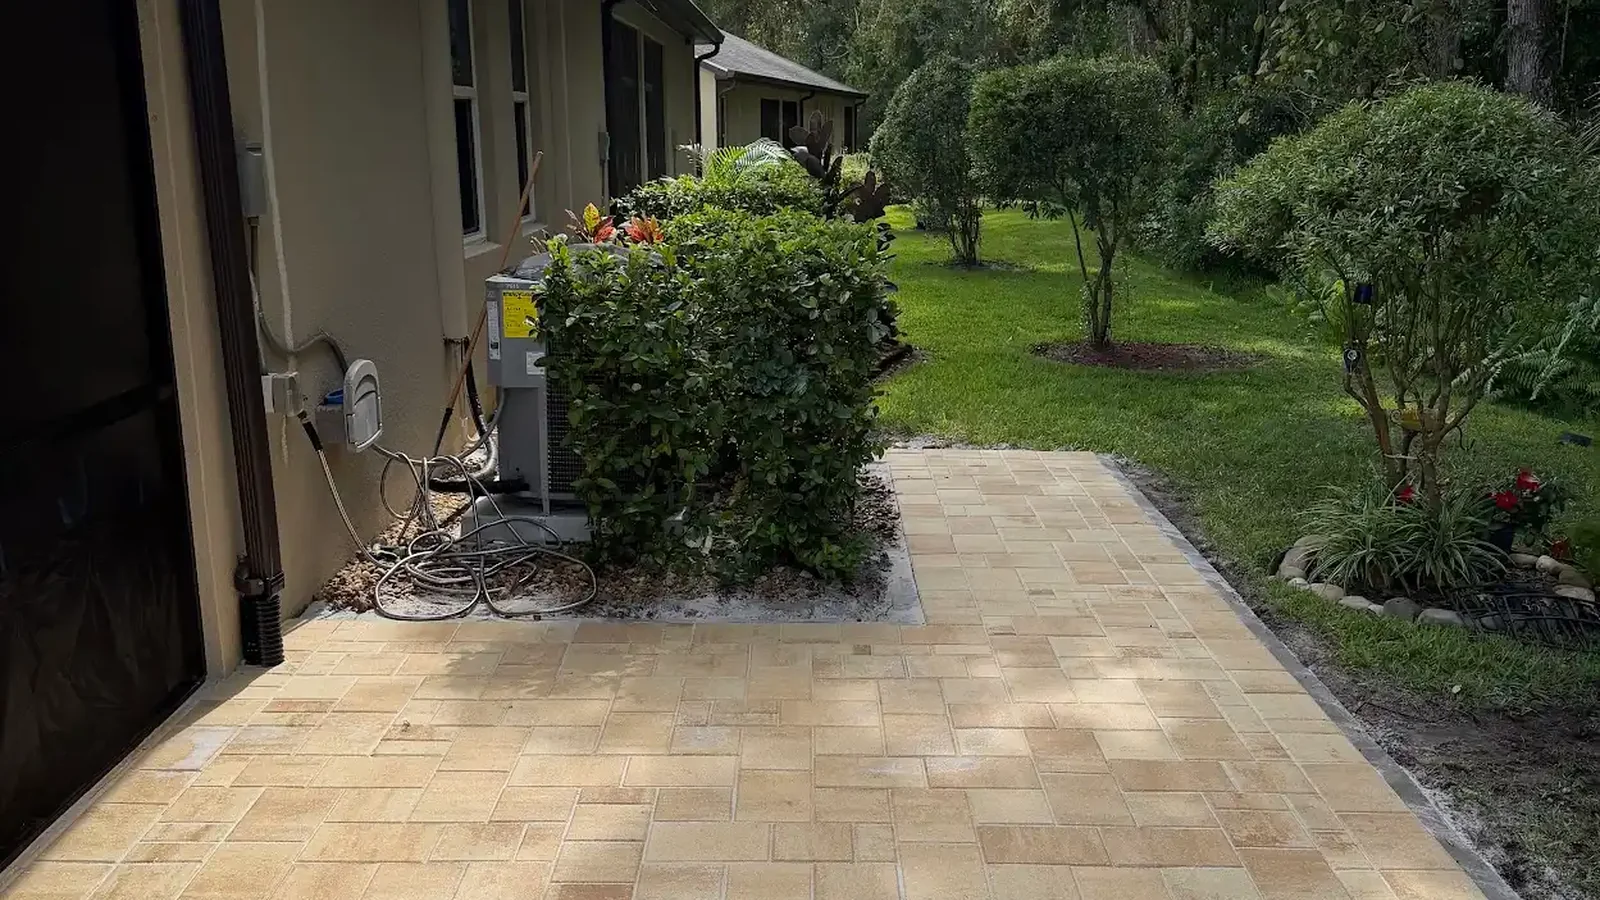
Perimeter behavior matters because a paved field needs support at its boundaries. If the interior remains relatively even while a border drifts outward, drops, or develops widening joints, document the relationship between the border and the main pattern. Note whether the issue is near a lawn edge, a wall, a driveway apron, or a threshold. These locations have different loads and water paths, so they should not be treated as interchangeable symptoms.
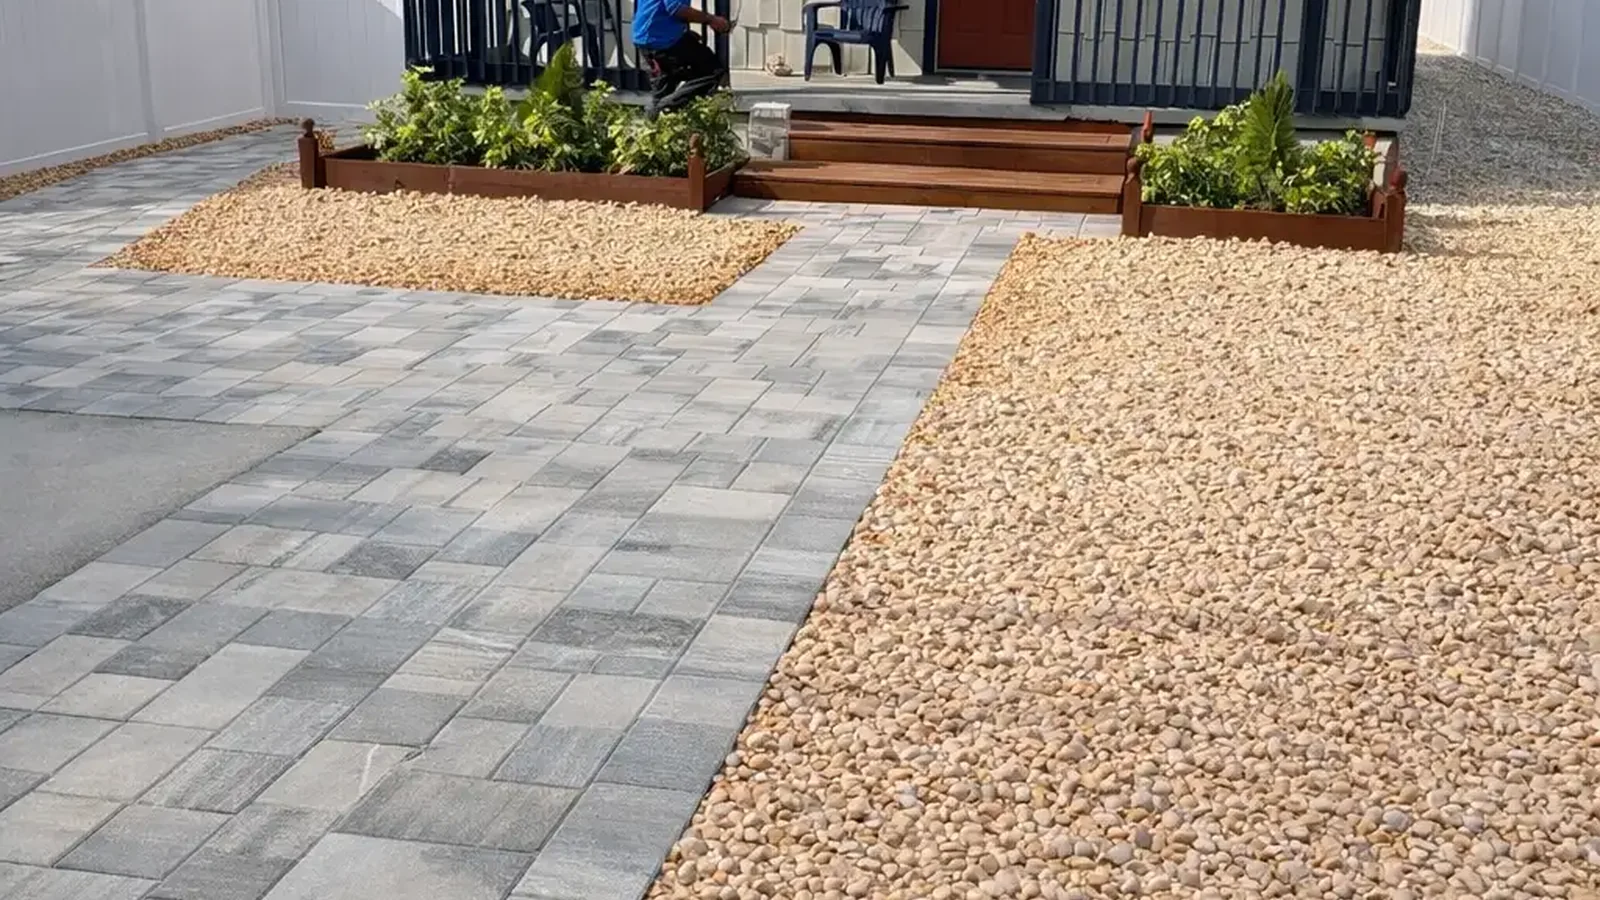
Transitions are equally informative. A change in level where pavers meet concrete, asphalt, a drain, or another hard surface may be caused by movement on either side of that joint. A clean straight separation is not the same as irregular lipping across several courses. Take a photo that includes both materials and a wider photo showing how water would travel through the area. Avoid declaring which material moved first; that requires a direct evaluation.
Build a timeline, not just an album
Dates turn ordinary photos into useful evidence. Start with the earliest image that shows the location clearly, even if it was taken for another reason. Then add recent wide views, close views, and pictures taken after notable weather or use. A short timeline helps establish whether a condition appeared suddenly, progressed slowly, or has remained unchanged. It also keeps a later repair from being mistaken for the original condition.
Vehicle information belongs in that timeline. Record the usual vehicle types, where they park, how they enter or turn, and whether a delivery, trailer, or service vehicle used the area before the change was noticed. There is no need to estimate weights. The practical value is in showing the load path: straight entry, repeated steering at one spot, parking with hot tires, or traffic that crosses an edge. A driveway is not loaded like a footpath, and a turning point is not loaded like a straight lane.
Water events are another useful entry. Note heavy rain, persistent standing water, downspout discharge, irrigation changes, nearby excavation, or a repair to an adjacent surface. In Tampa Bay, storm cycles and irrigation can expose a drainage problem that was not obvious during a dry period. That observation does not establish a cause, but it helps the evaluator check whether the timing and water path deserve attention.
- Date the condition was first noticed and whether it changed quickly or gradually.
- Photos from a wide view, an eye-level view, and a low-angle view with a straight reference such as a joint line.
- Locations where water ponds, enters joints, exits the paved area, or washes toward an edge.
- Any previous lifting, re-leveling, joint-sand replacement, sealing, or adjacent construction.
- Receipts, proposals, messages, warranties, drawings, and closeout information already available.
Ask construction questions that lead to usable answers
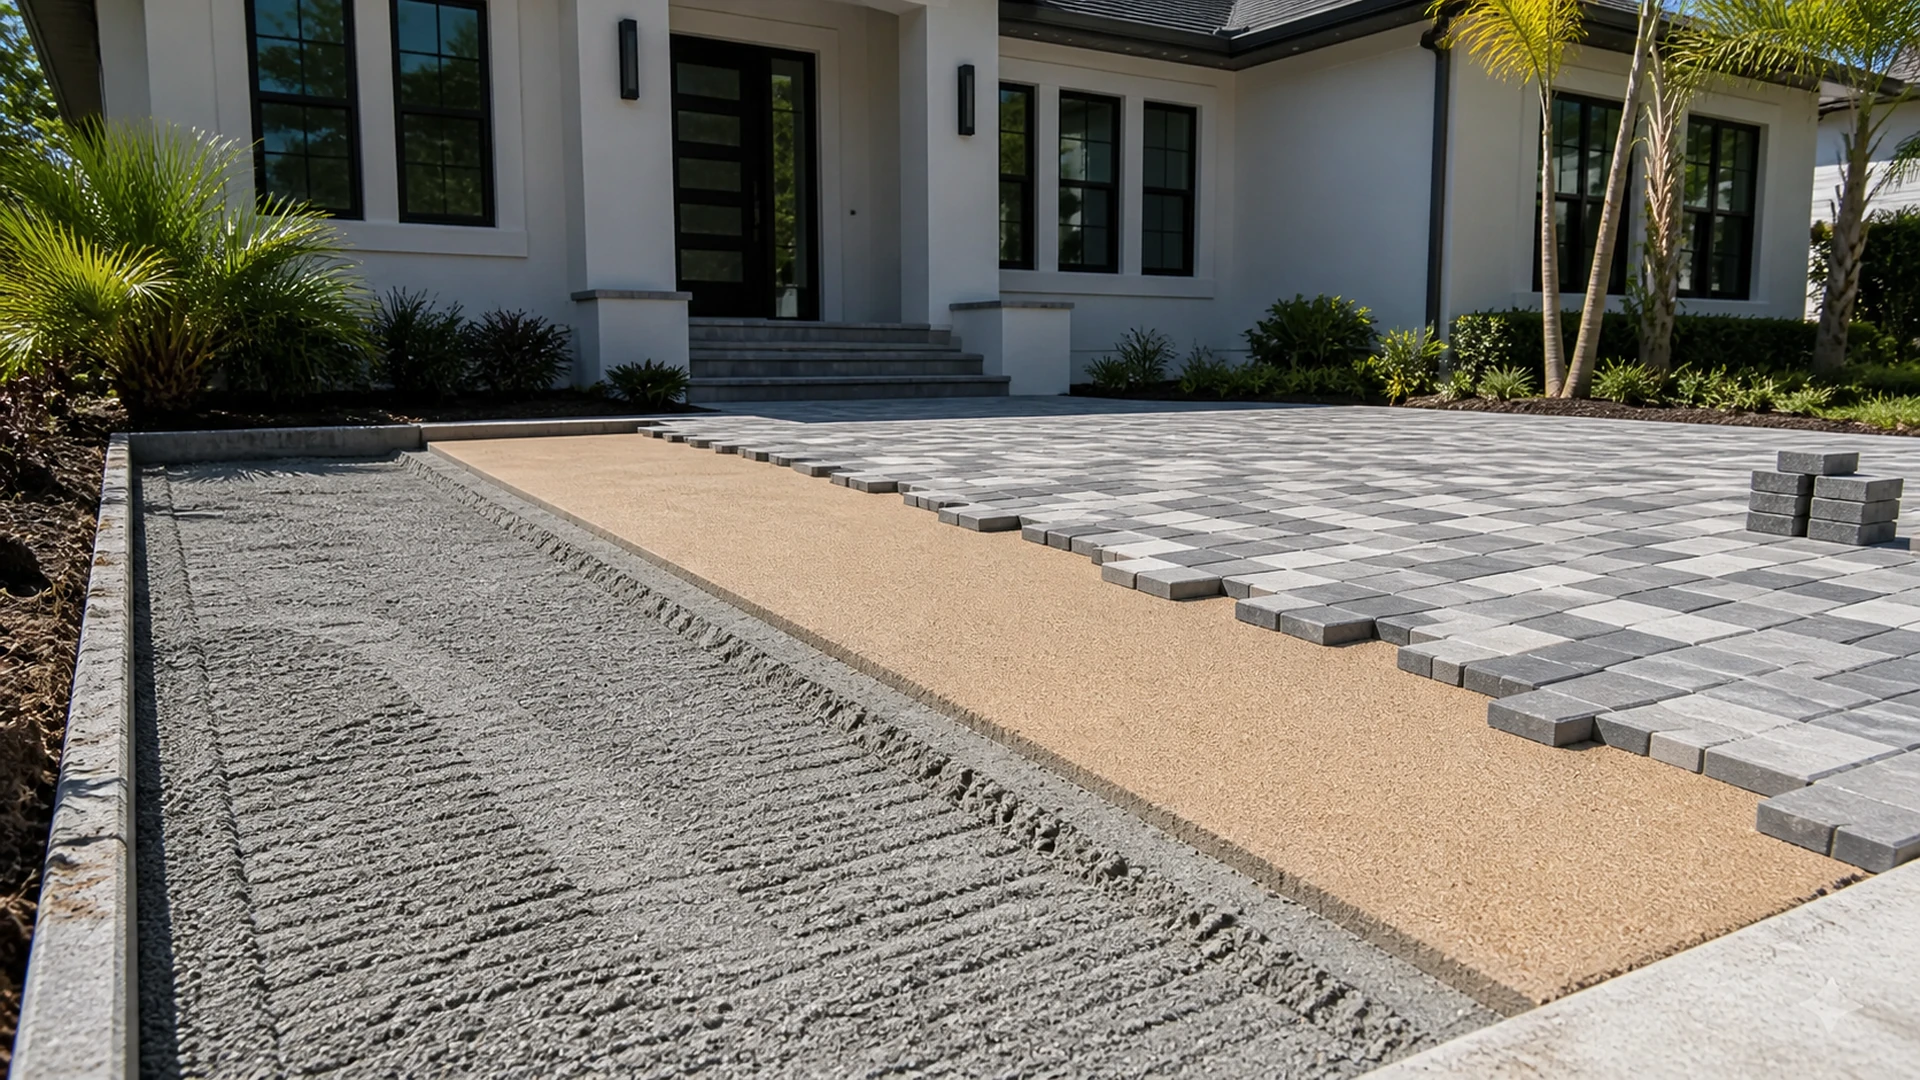
Homeowners do not need to know the original crew’s procedures to ask good questions. A useful discussion starts with what was excavated, how the ground was prepared, how base material was placed, and how the edges were supported. If records exist, ask whether they describe placement in lifts rather than treating the base as one undifferentiated layer. Ask whether compaction or density verification was documented, and whether the driveway and pedestrian areas were designed around their different uses.
The wording matters. A question such as “Was it compacted?” may produce a vague yes. More specific questions invite a meaningful explanation: What material was used for the base? Was it placed and compacted in stages? How were grades checked before pavers were set? What edge support was installed at drive lanes and transitions? Were soft or wet soil conditions encountered during excavation? If no record is available, the honest answer may be that the condition must be assessed on site rather than reconstructed from memory.
Industry education can help homeowners frame those questions without substituting for a project review. The Concrete Masonry and Hardscapes Association is one place to learn the vocabulary used for concrete paver systems. For local next steps and the types of work available, review Dr Pavers Design project and service information. Neither resource can diagnose the conditions beneath a particular paved area from a photograph.
Records to request when work is planned or completed
A clear scope is valuable before the first paver is removed and after the last one is reset. It should identify the area being addressed, the visible symptoms, the planned extent of removal, and how grades, drainage, base material, bedding, joints, and edge support will be handled. If an inspection reveals conditions outside the original scope, the change should be explained before it becomes invisible again under the surface.
Closeout records should be practical, not ceremonial. Keep dated photographs of the opened area, notes on any unexpected soil or water condition, a description of the repair limits, and care instructions for the restored surface. If the work involves a larger installation, save the proposal, approved change records, and any product information actually supplied for that project. These documents make future maintenance more informed and can prevent the next contractor from starting with incomplete assumptions.
When observation should become an on-site evaluation
Call for an evaluation when a depression continues to grow, pavers rock in a driving area, joints repeatedly open after refill, an edge is separating, or water remains where it did not previously collect. The same is true when a change crosses from the pavers into a slab, wall, threshold, or drain. These are reasons to inspect the system in person, not reasons to assume a particular hidden defect.
Until that visit, avoid quick fixes that erase the evidence without addressing the condition. Adding loose material to a low joint, forcing a rocking paver down, or directing more water away with an improvised patch may alter the symptom and complicate the assessment. Keep the area reasonably clear, use it cautiously if it presents a trip hazard, and bring the timeline and records to the conversation.
Compare like locations, not unlike areas
A helpful home observation compares parts of the same installation that receive similar use. If one garage bay has a depression, compare it with the other bay only if both see similar vehicle traffic and water exposure. If a patio corner is low beside a downspout, compare it with another corner only after noting its drainage path. A walkway beside a planting bed should not be judged by the same standard as a driveway wheel path. The point is to give the evaluator context, not to create a do-it-yourself structural conclusion.
Use a straightedge or level only as a way to record a visible change, not to certify construction. Photograph the tool in place, label the location, and avoid forcing it across raised texture or debris. A measured-looking image can be useful when it is tied to a date and location. It cannot establish whether a base course meets a particular thickness, whether density was achieved, or whether underlying soil changed after installation.
Separate urgent access concerns from repair scope
If movement creates a sharp trip point, interferes with a door, affects vehicle clearance, or directs water toward a building opening, note that practical concern clearly. It may affect how promptly the area should be assessed. It still does not define the repair boundary. An apparent low spot can be part of a limited localized condition, or it can be connected to a wider grade and drainage issue. The appropriate scope follows inspection of the surrounding system, not the size of the most visible defect alone.
A more useful way to describe movement
“The driveway is sinking” is understandable, but a more precise description leads to a better review: “The right tire track near the garage became lower after two heavy rain events, three pavers rock at the border, and the joint beside the concrete apron has widened.” That wording identifies location, timing, movement, and adjacent conditions without pretending to diagnose the base. It also makes it easier to compare future photos to today’s condition.
Paver base compaction is one part of a complete support system, and a visible clue is only the beginning of the investigation. Careful documentation, targeted questions, and a site-specific review protect homeowners from both casual guesses and unnecessarily broad repairs. The best next step is to understand the pattern before deciding what should be lifted, rebuilt, regraded, or left alone.
Finally, when you are ready to plan a durable paver installation, review the services, see completed projects, read testimonials, and check the FAQ before requesting a free consultation through the contact page. Follow Dr Pavers Design on Instagram and Facebook, or review the company on Google. Open Google Maps, send a WhatsApp message, call +1 (656) 600-4015, send a text message, or email drpavers@outlook.com for a free consultation anywhere in Tampa Bay.