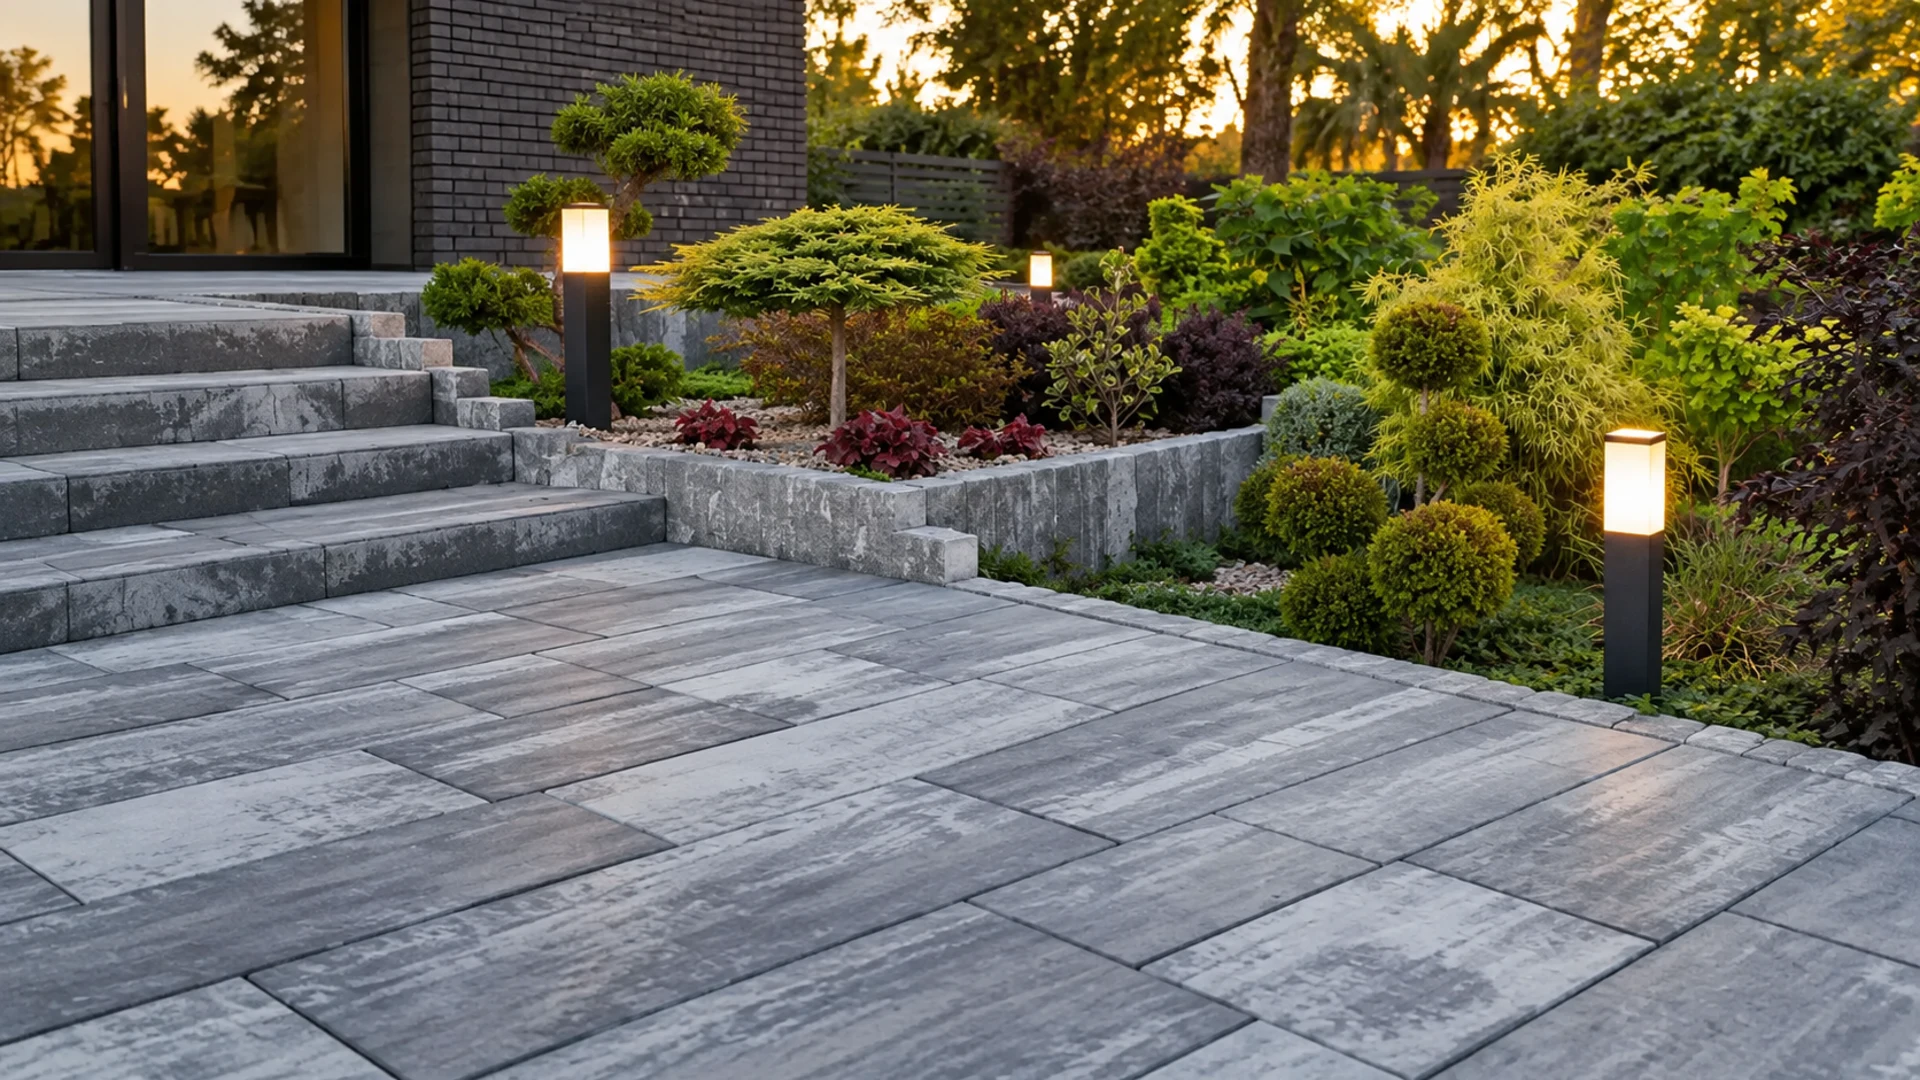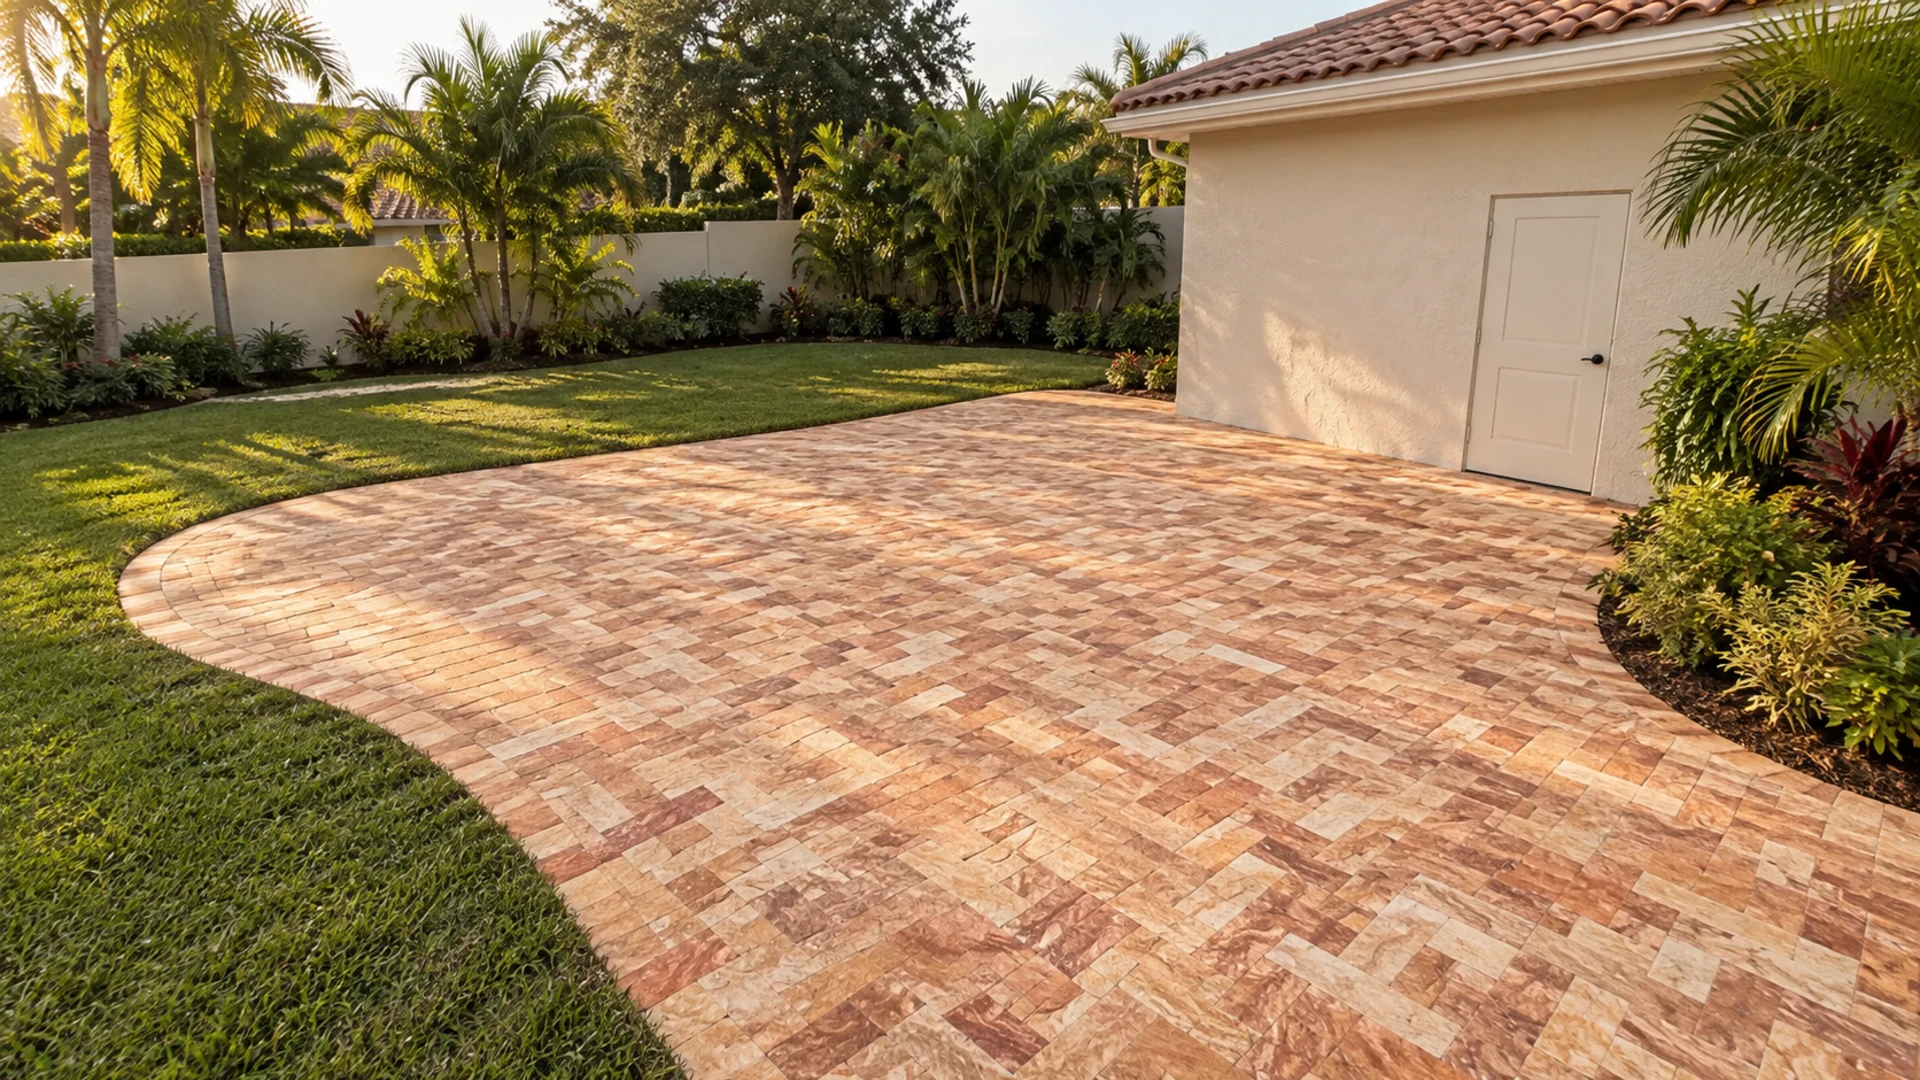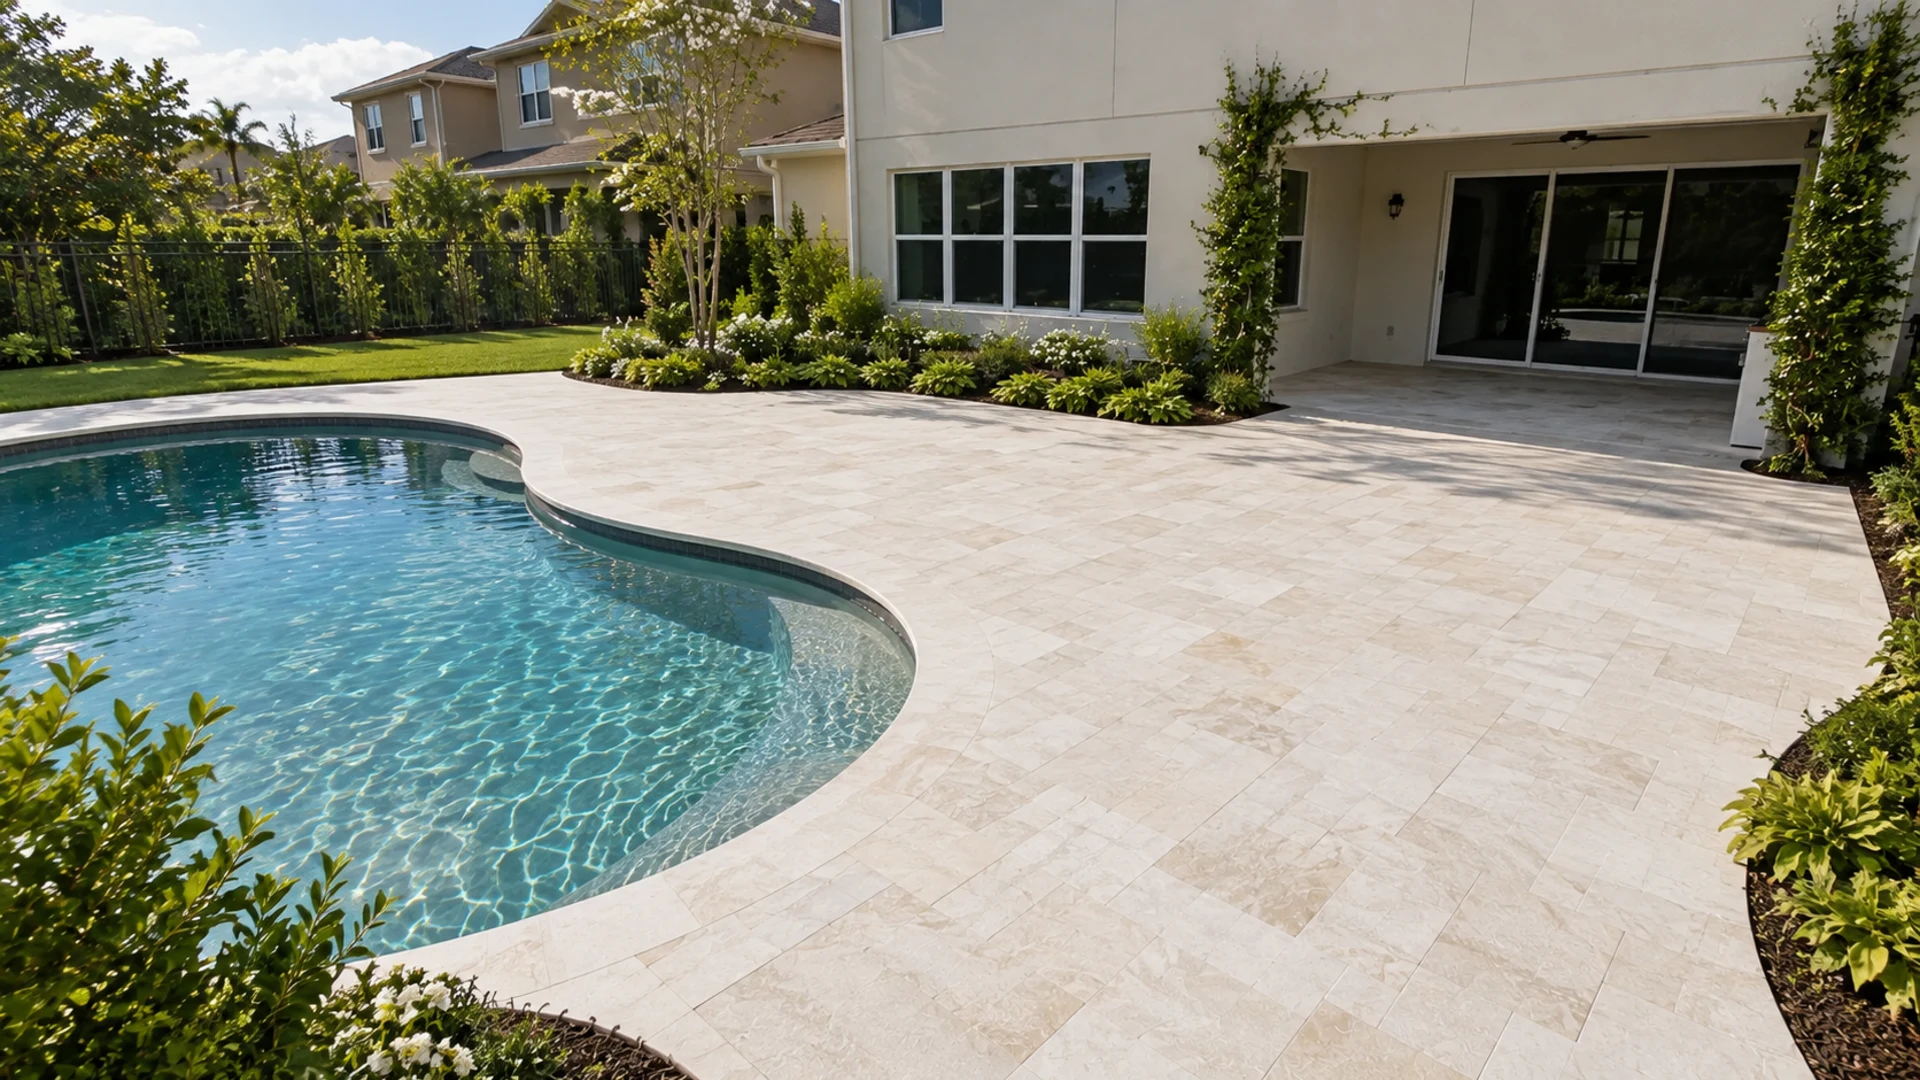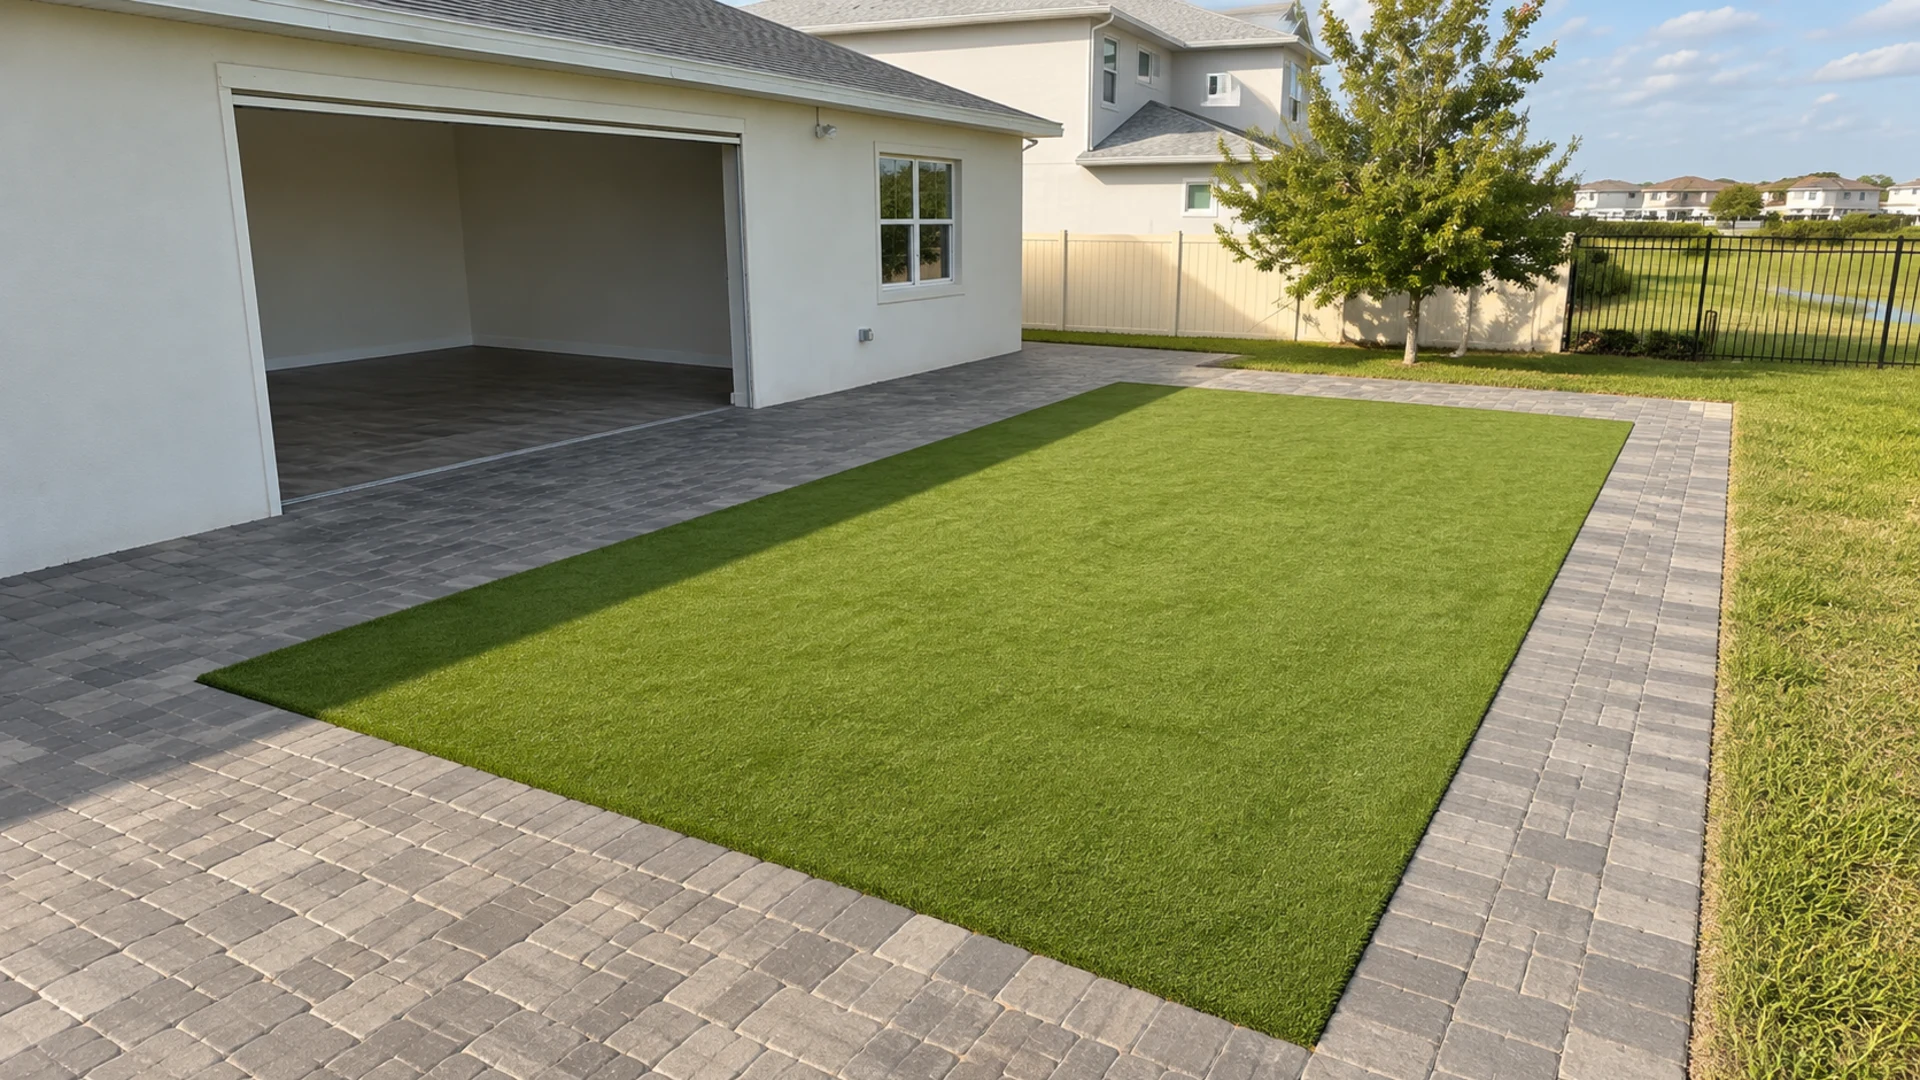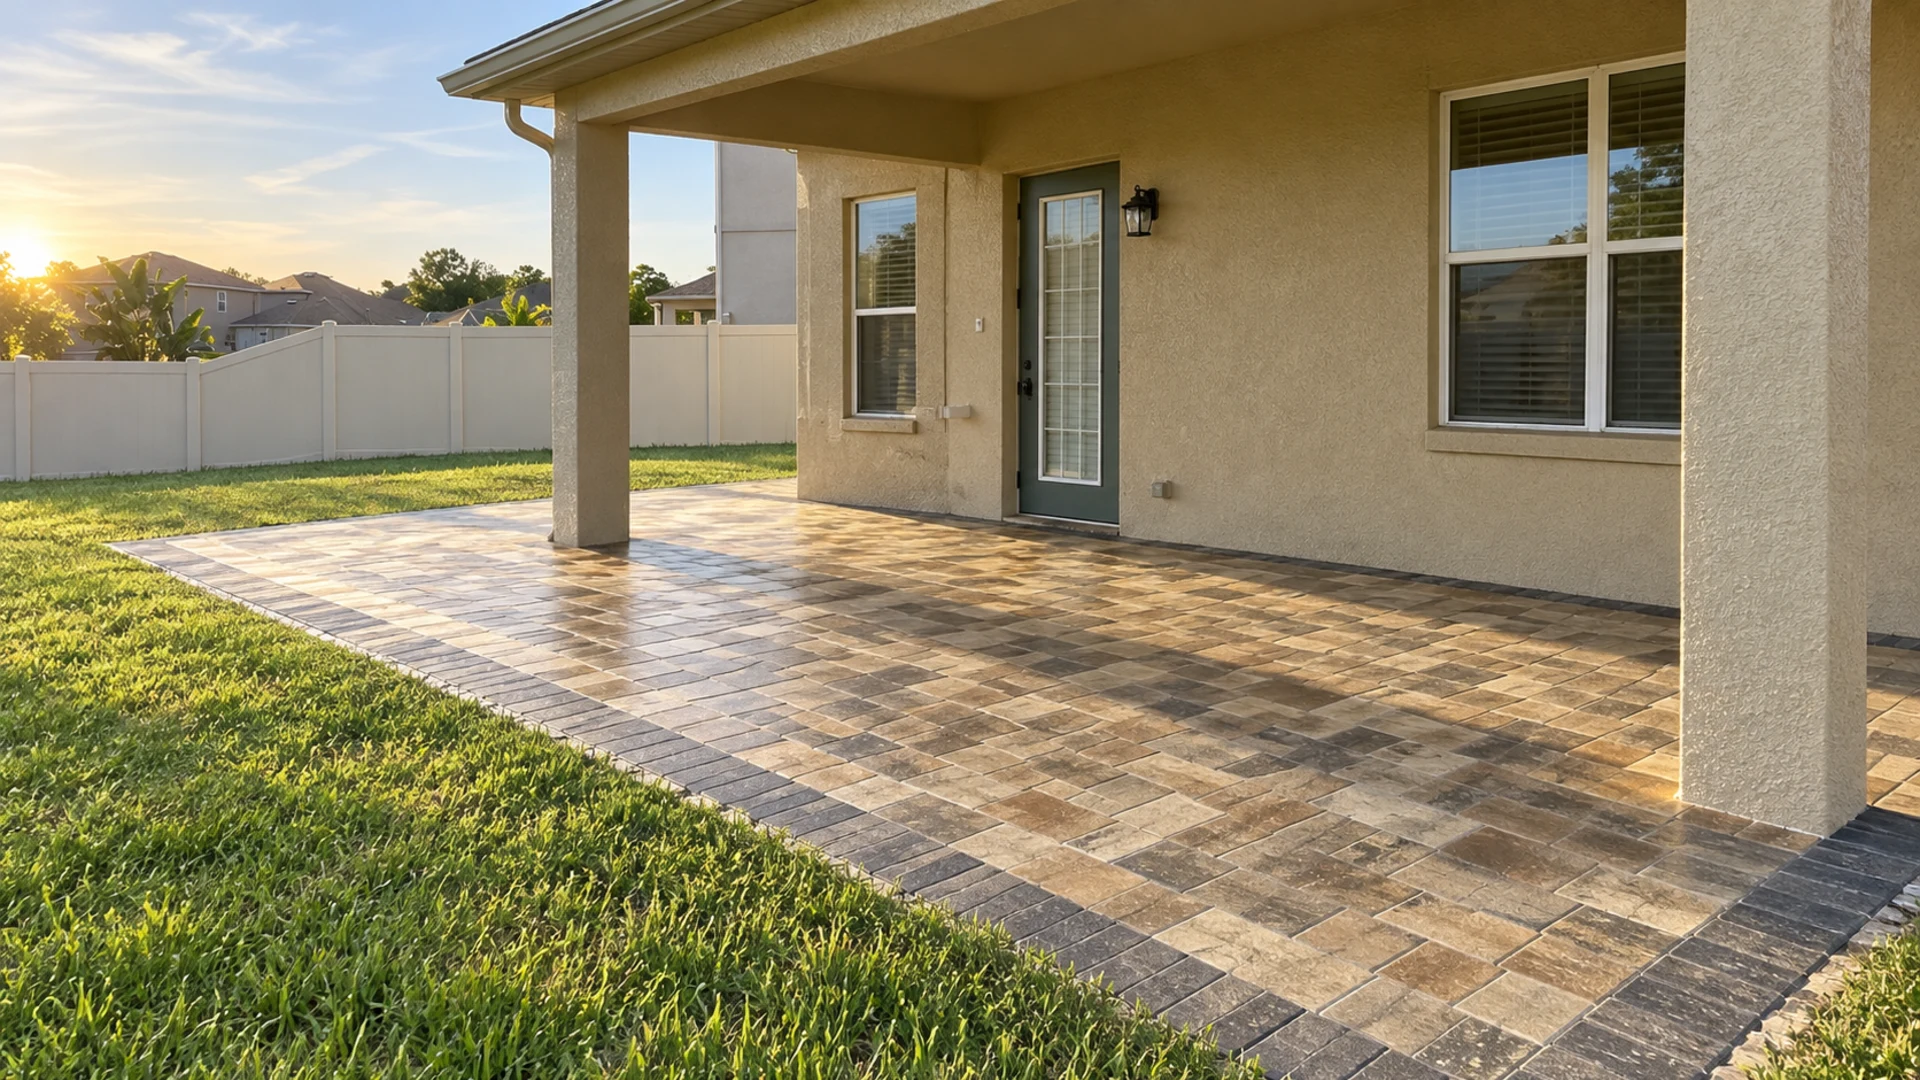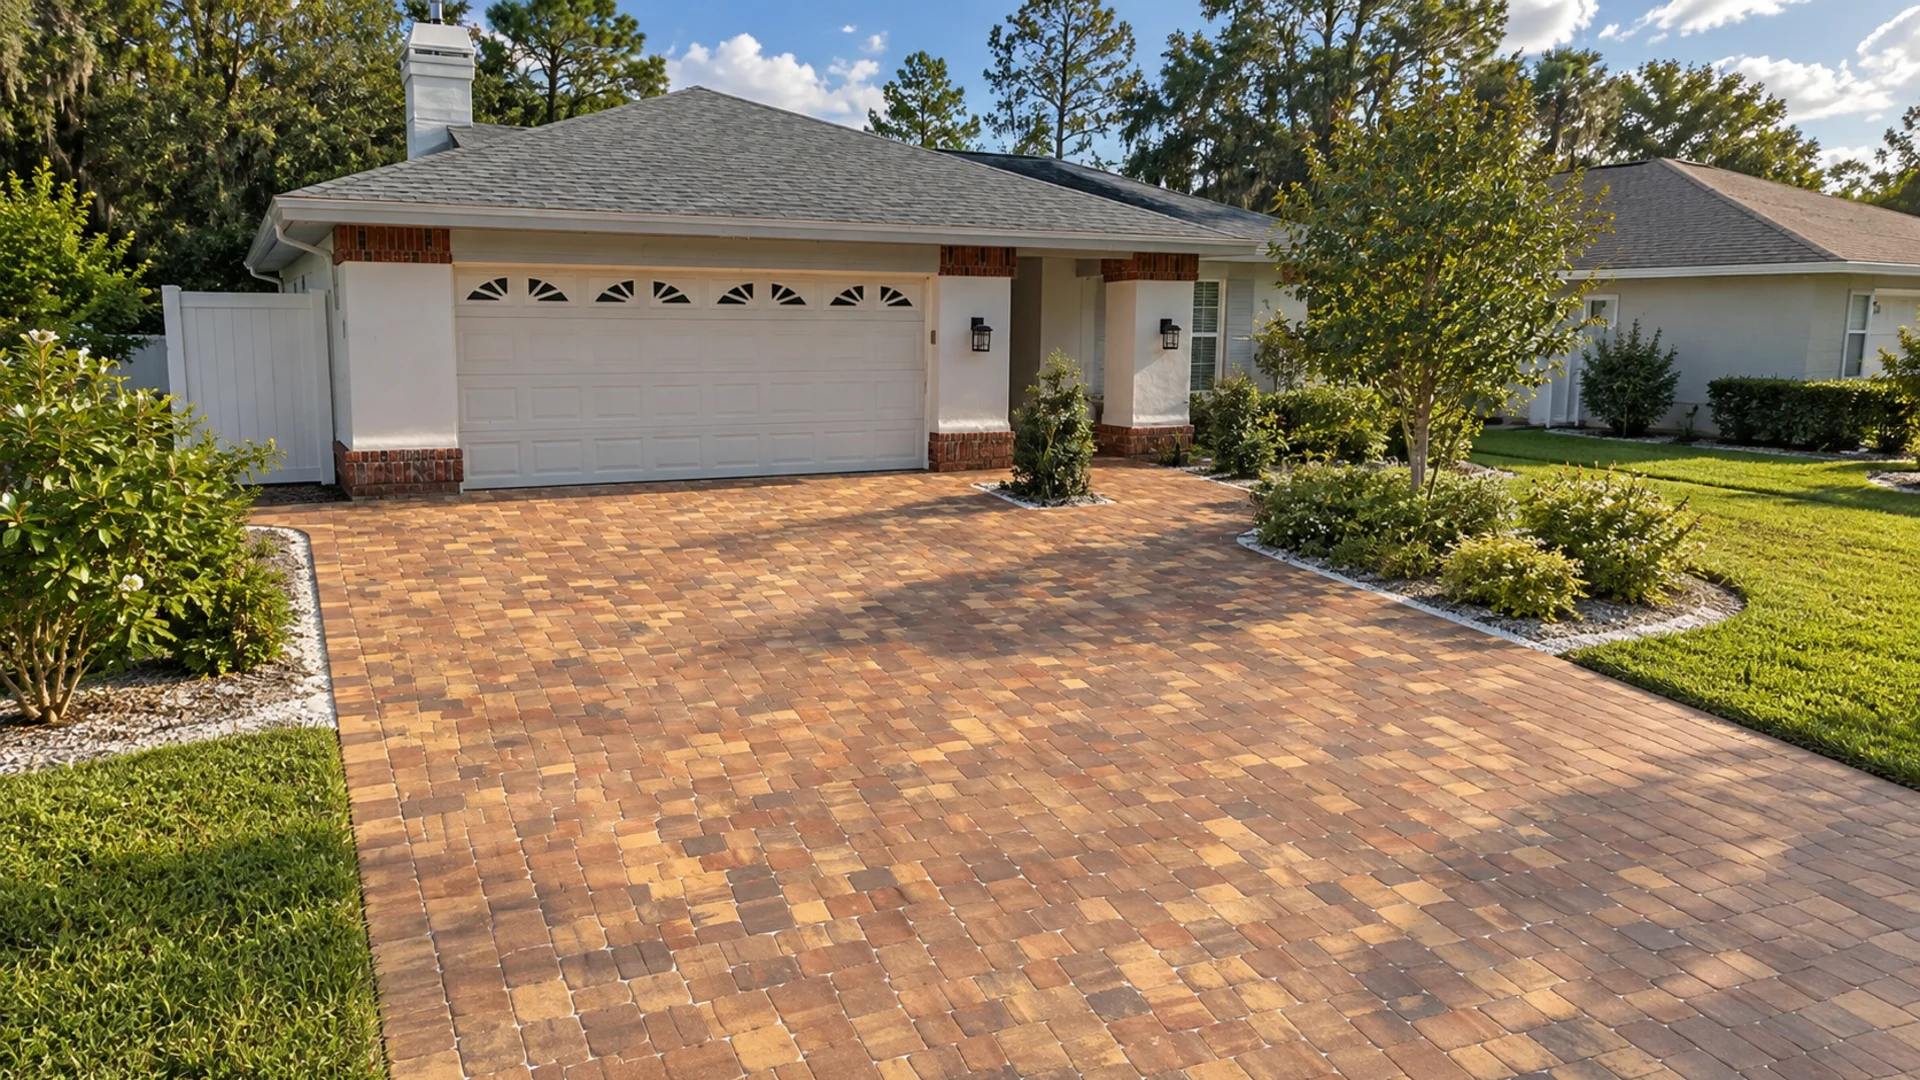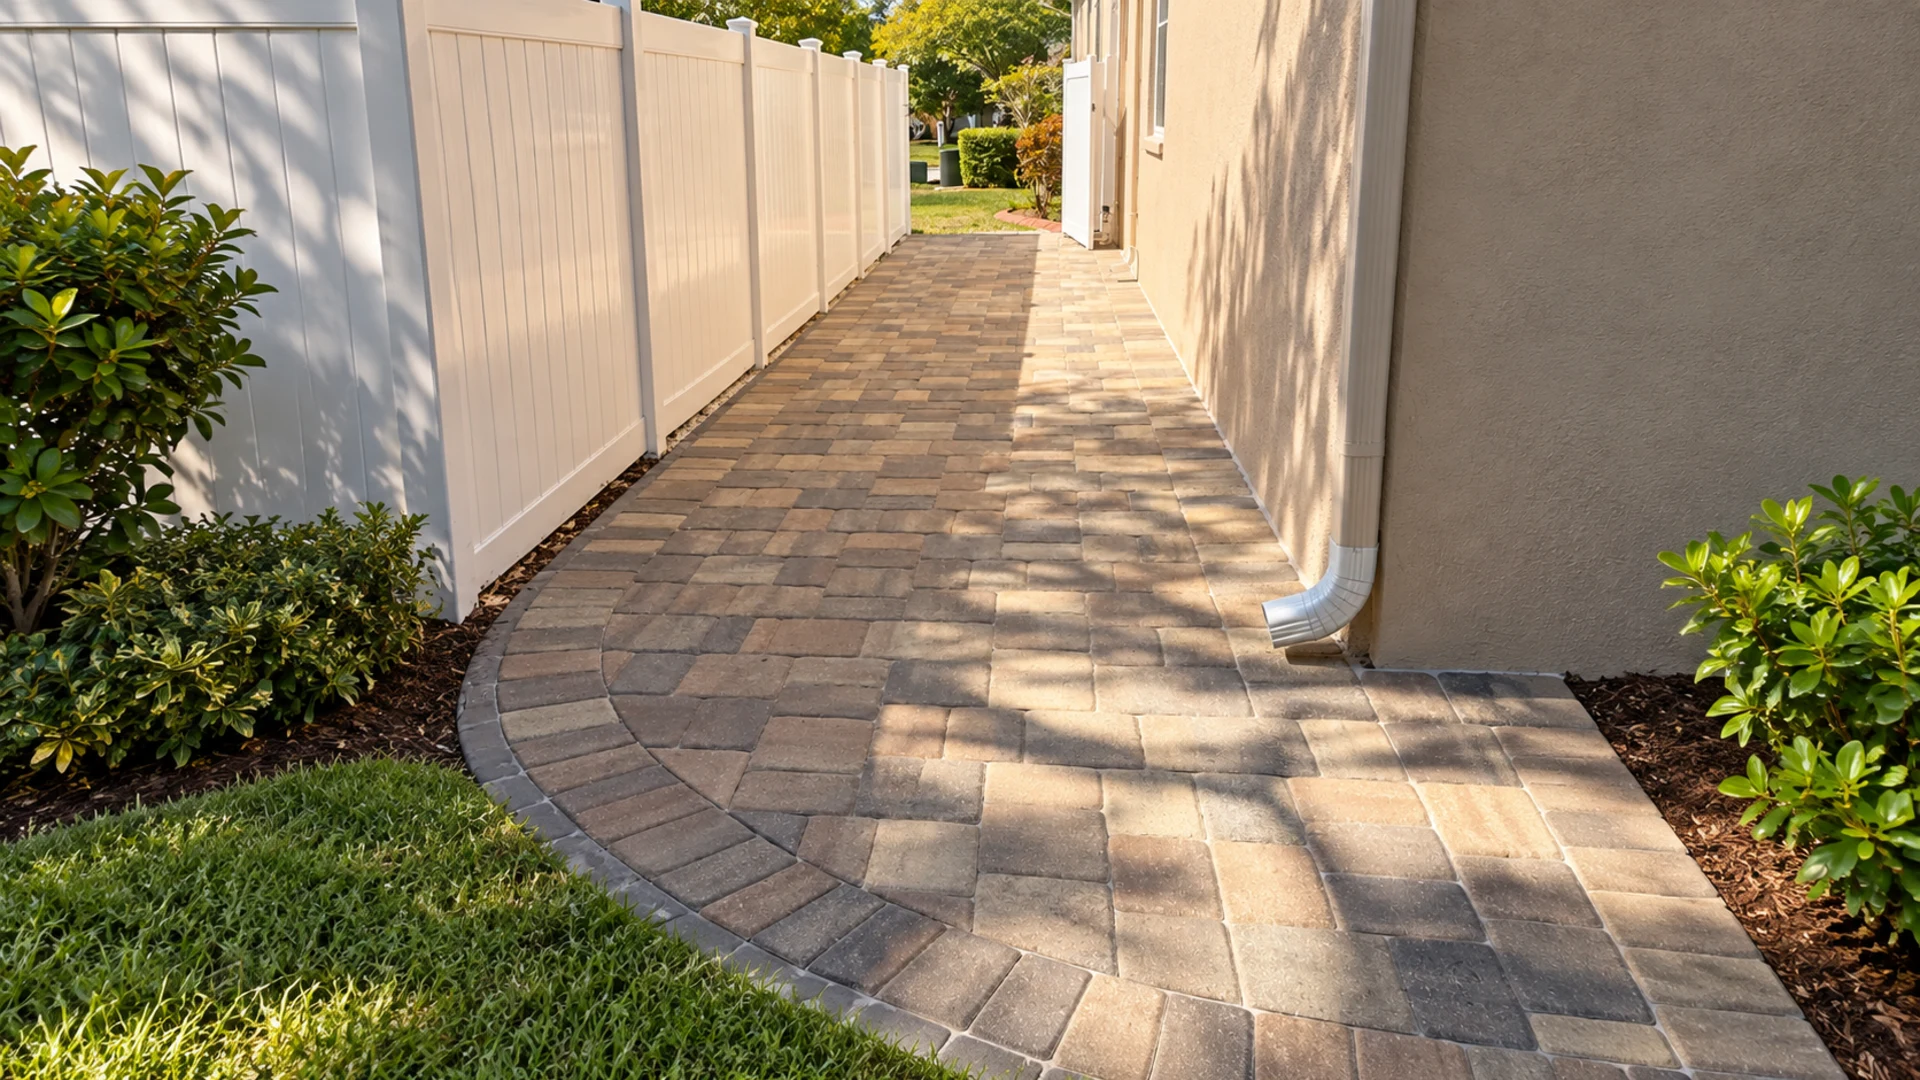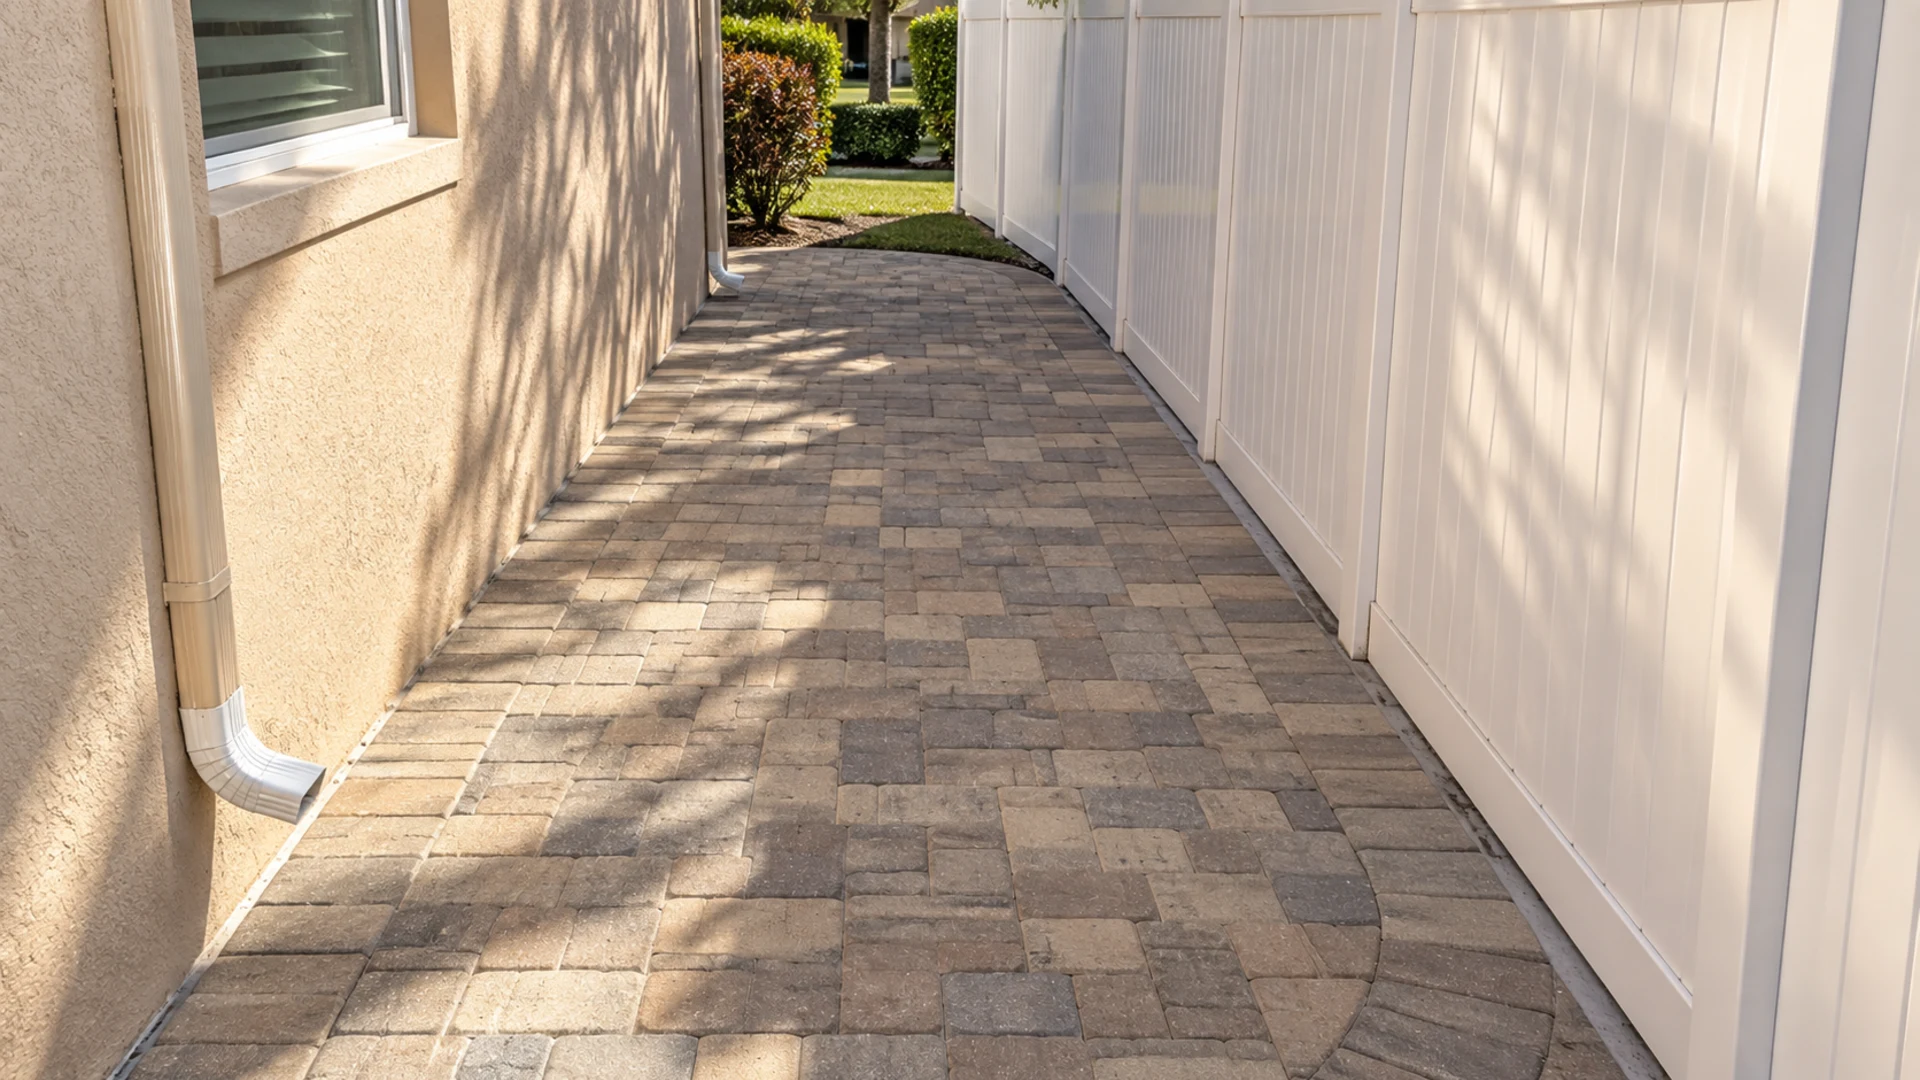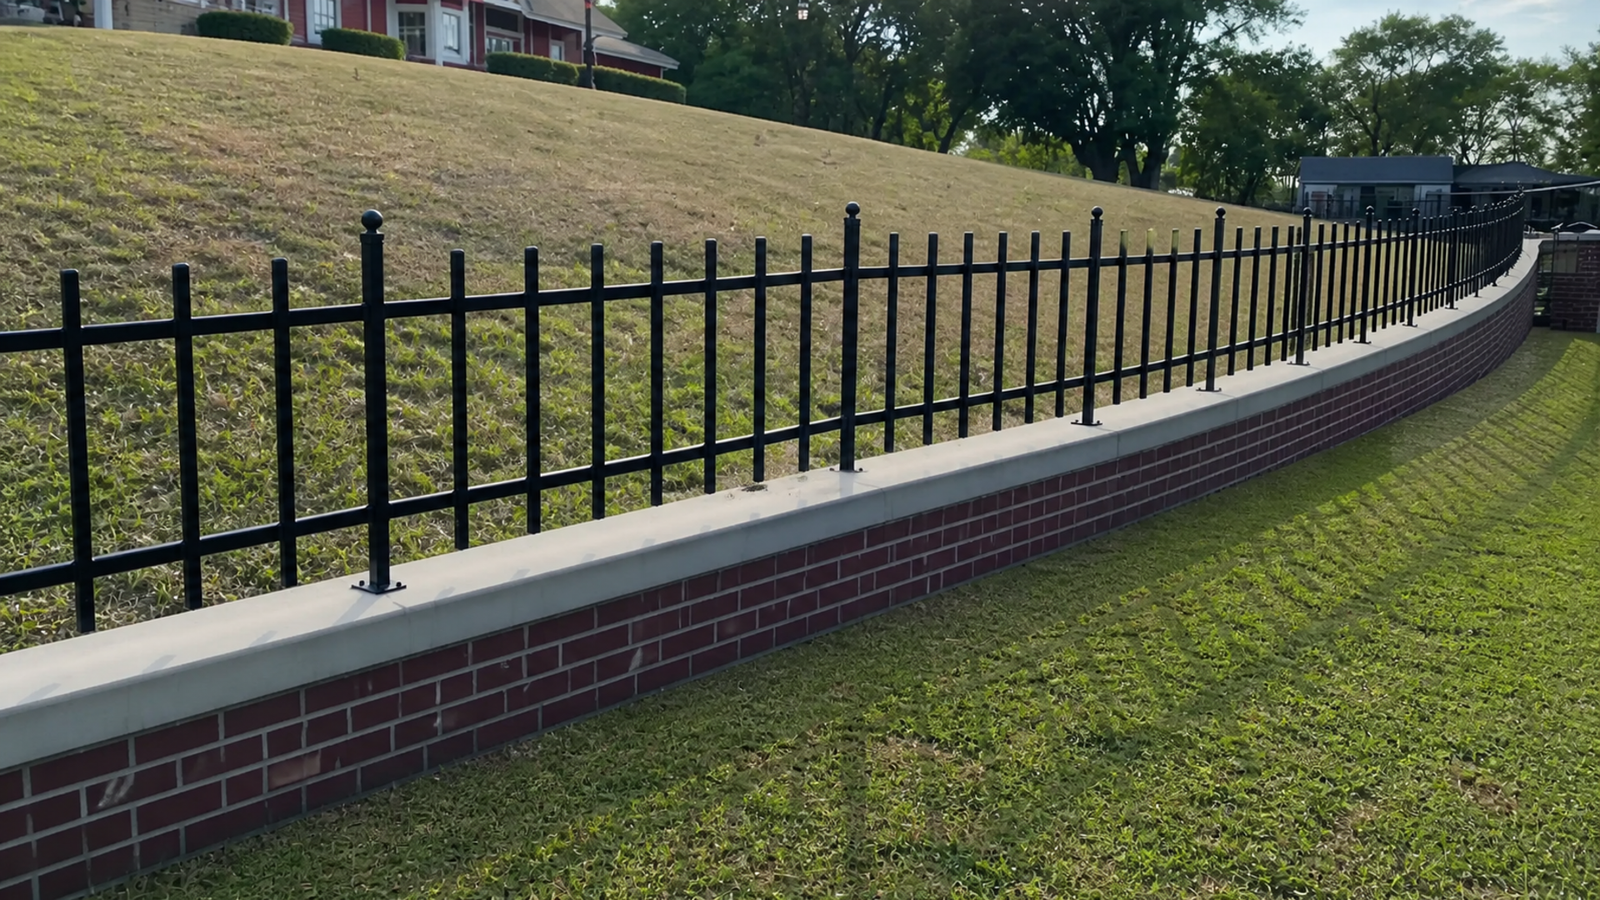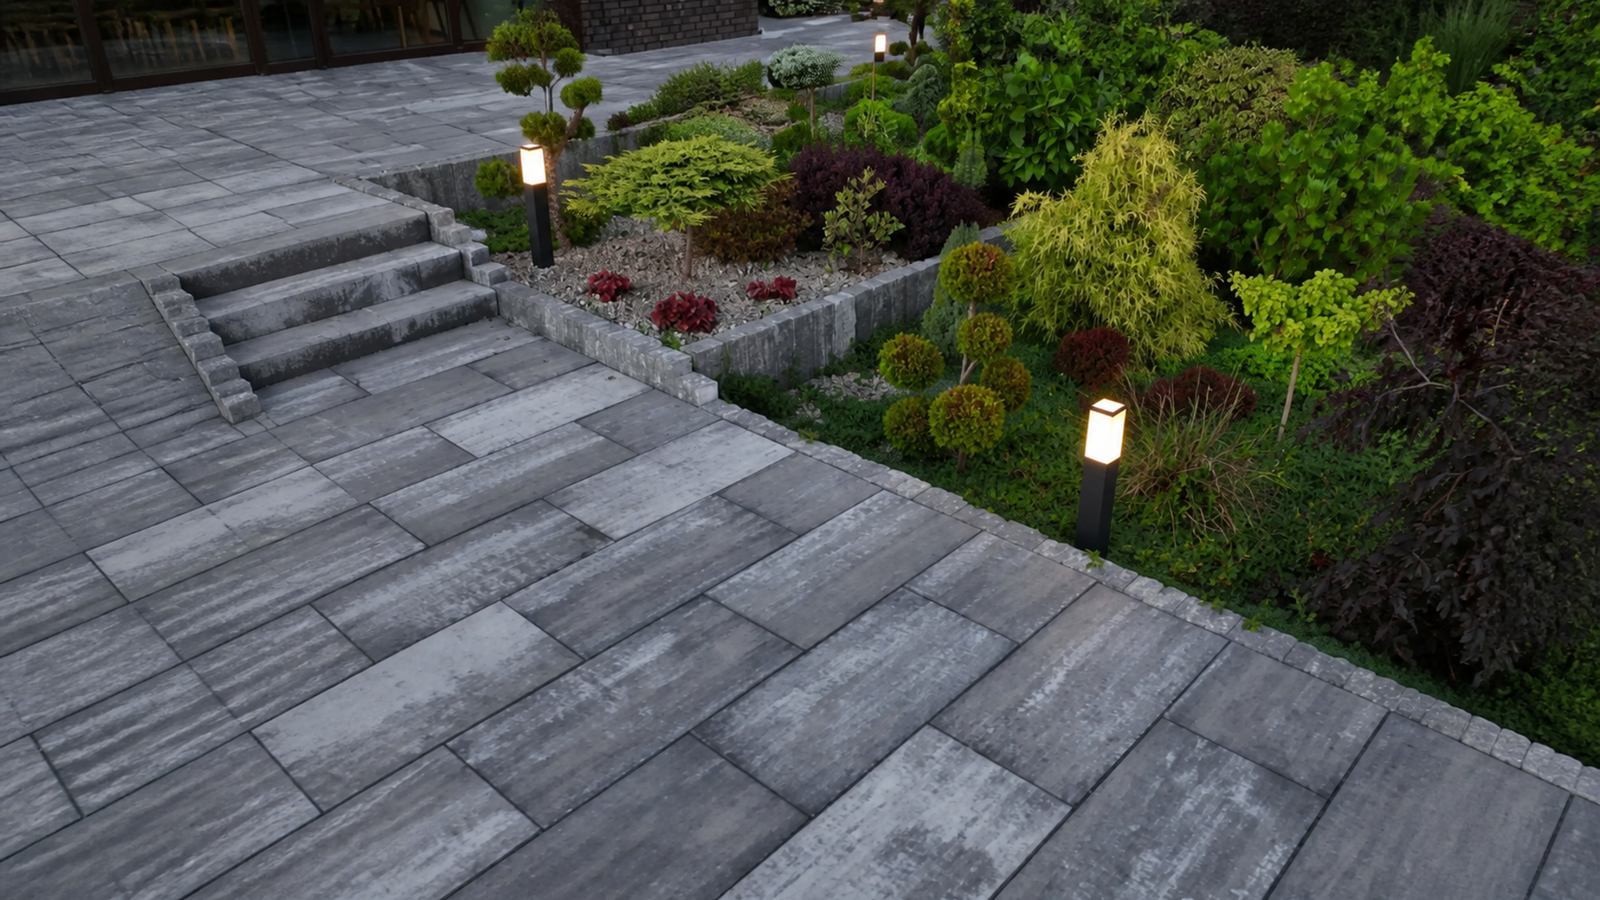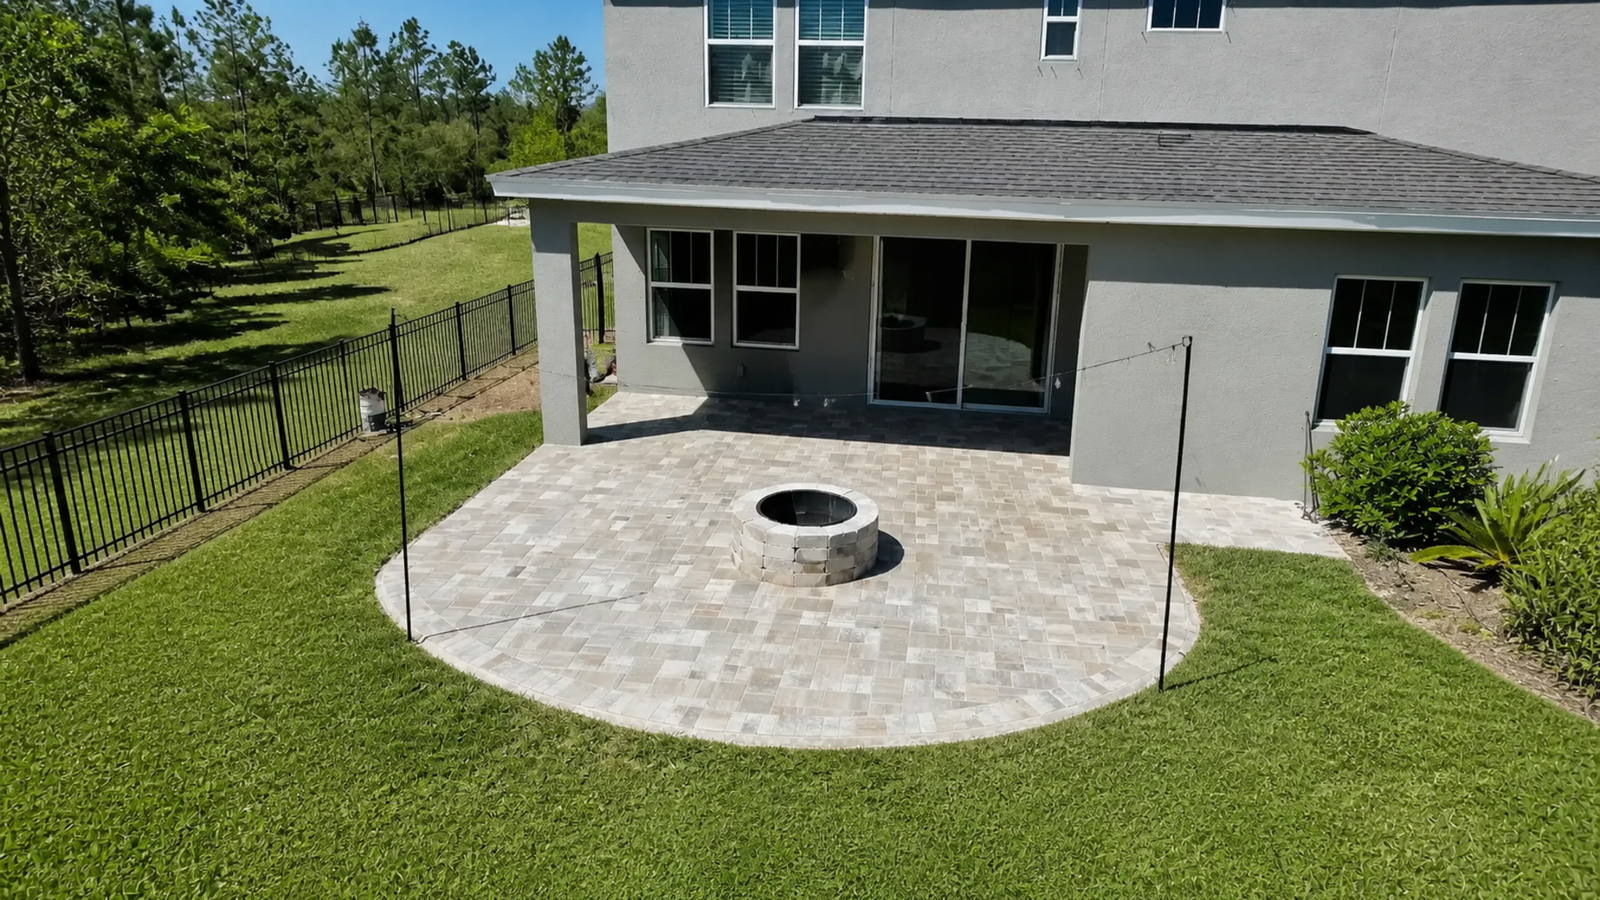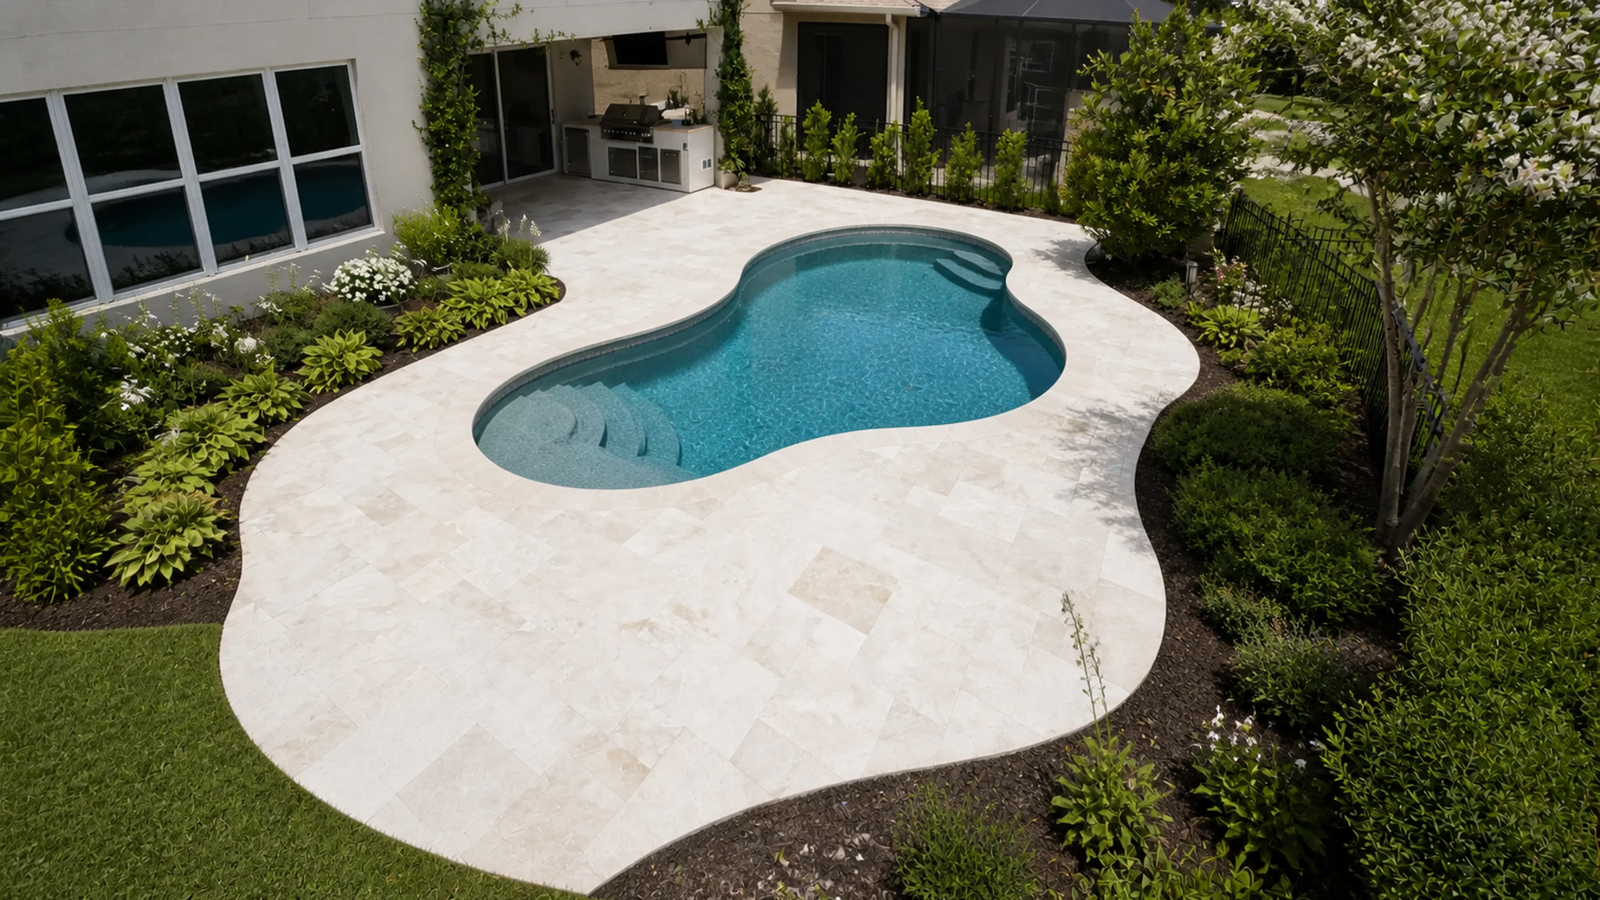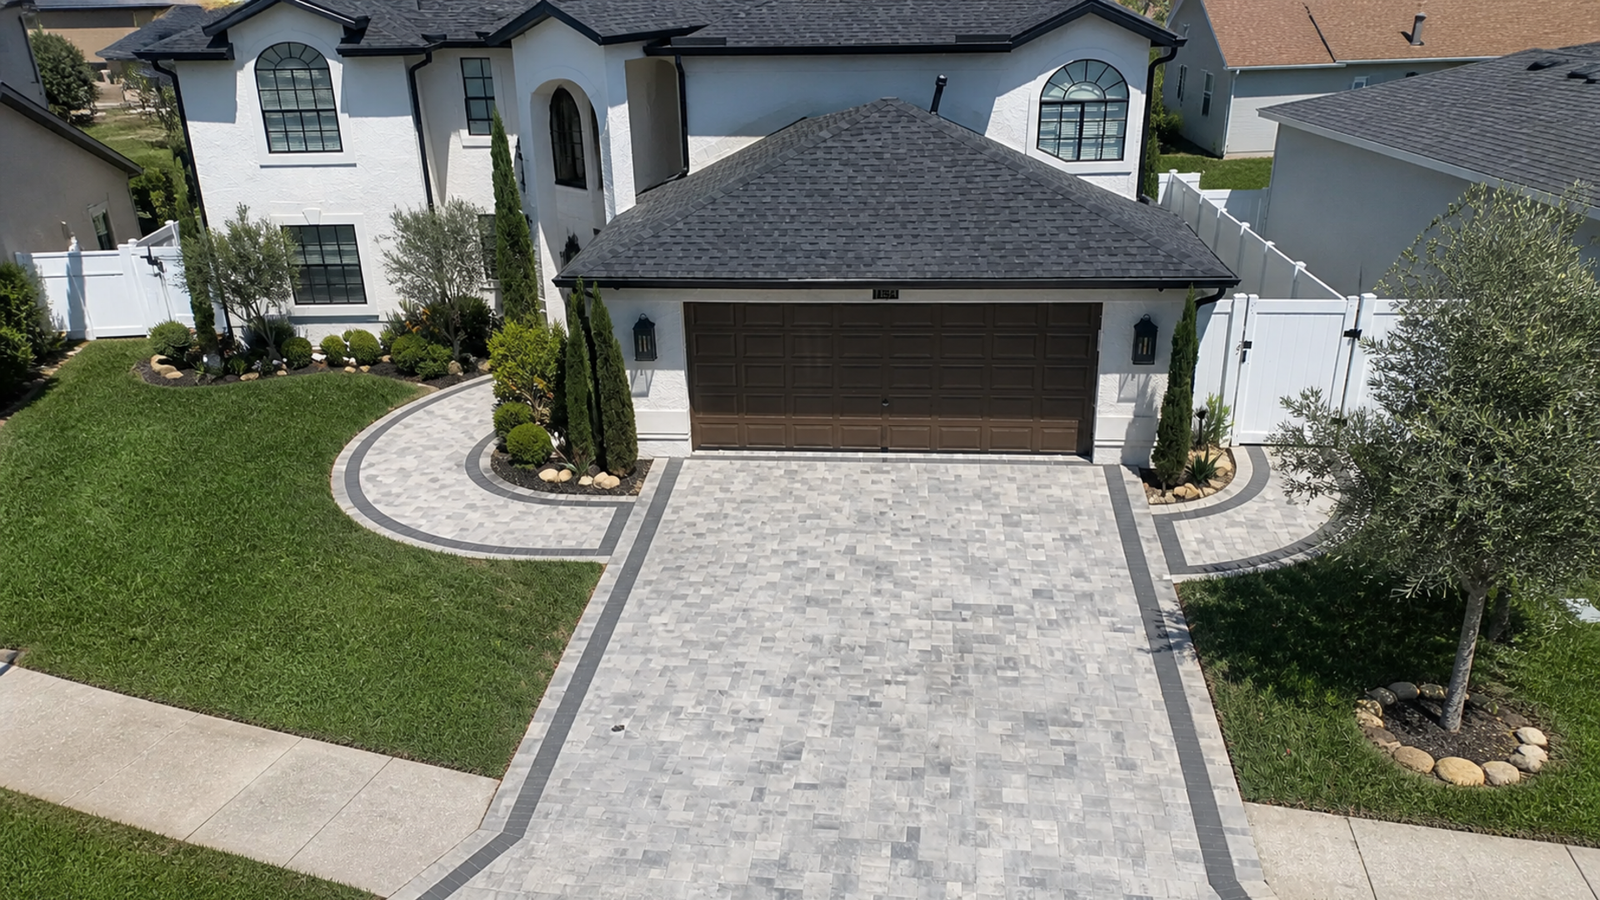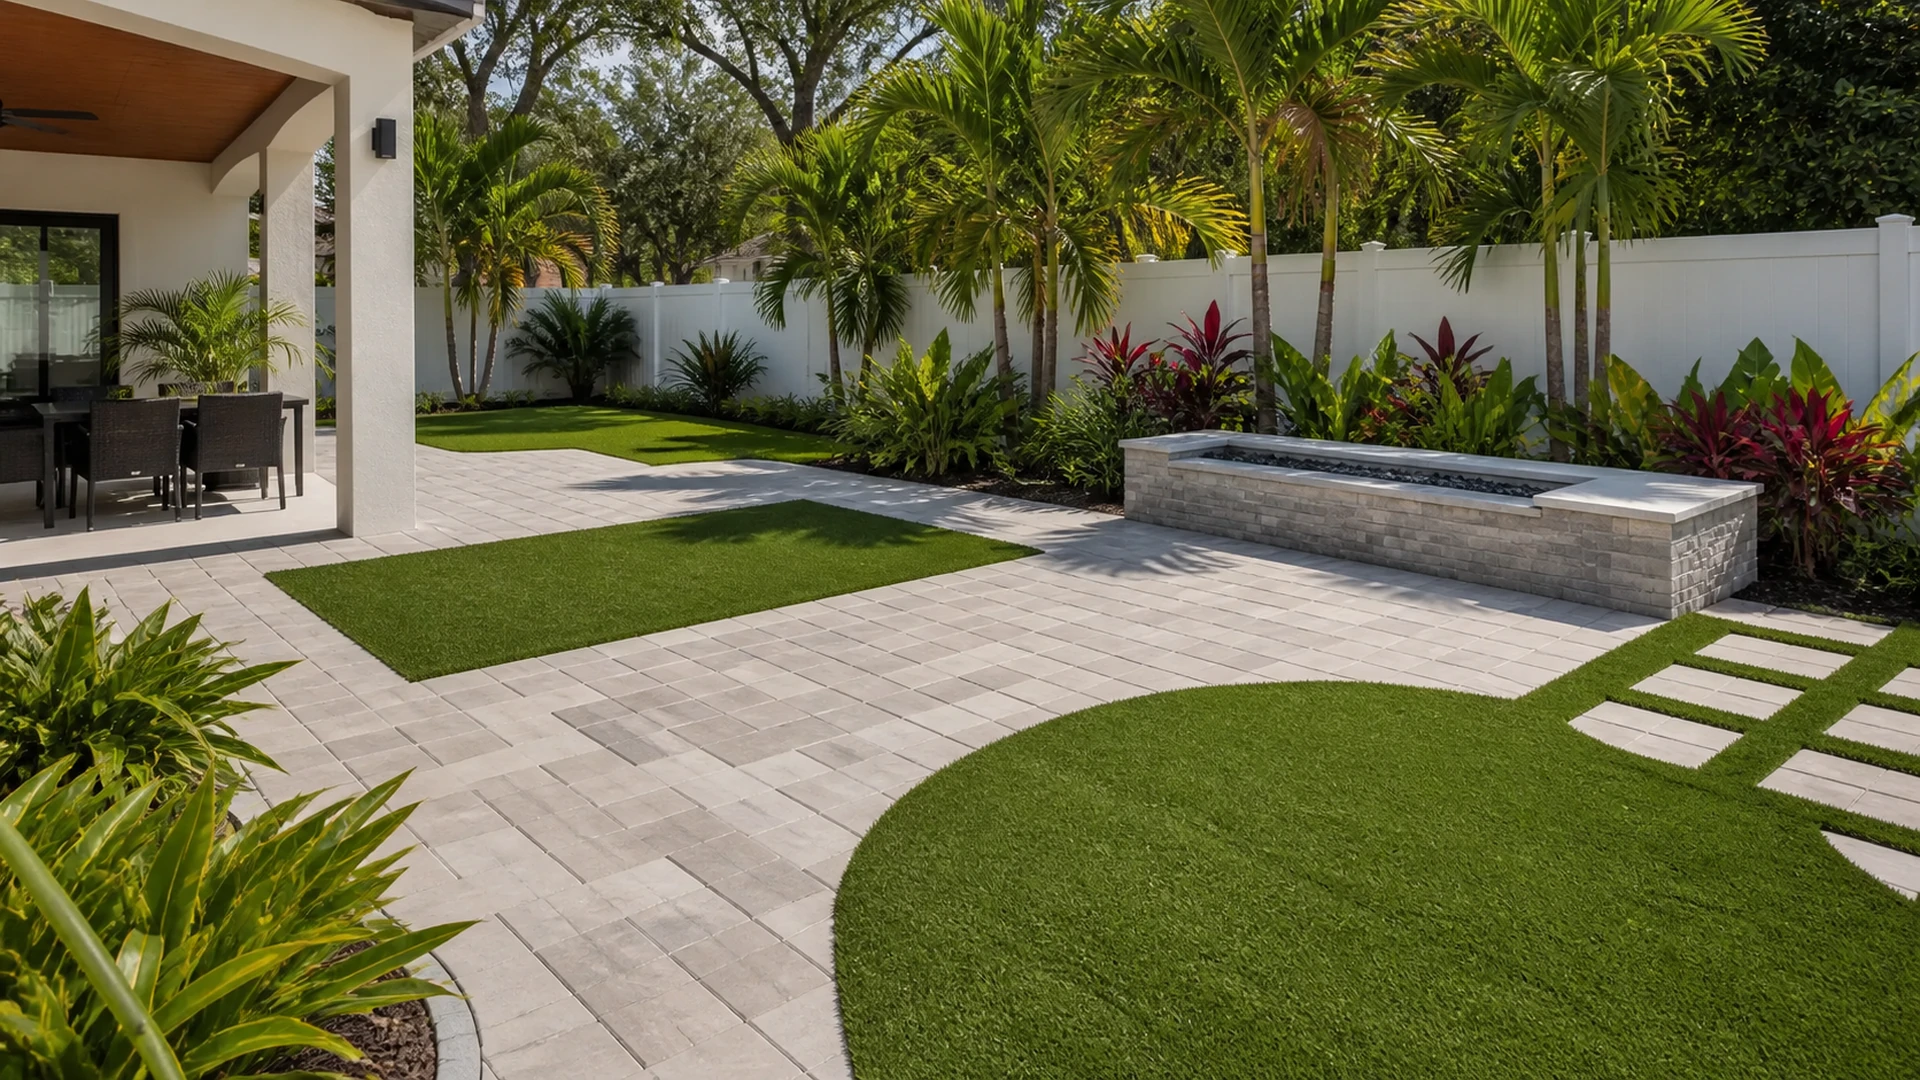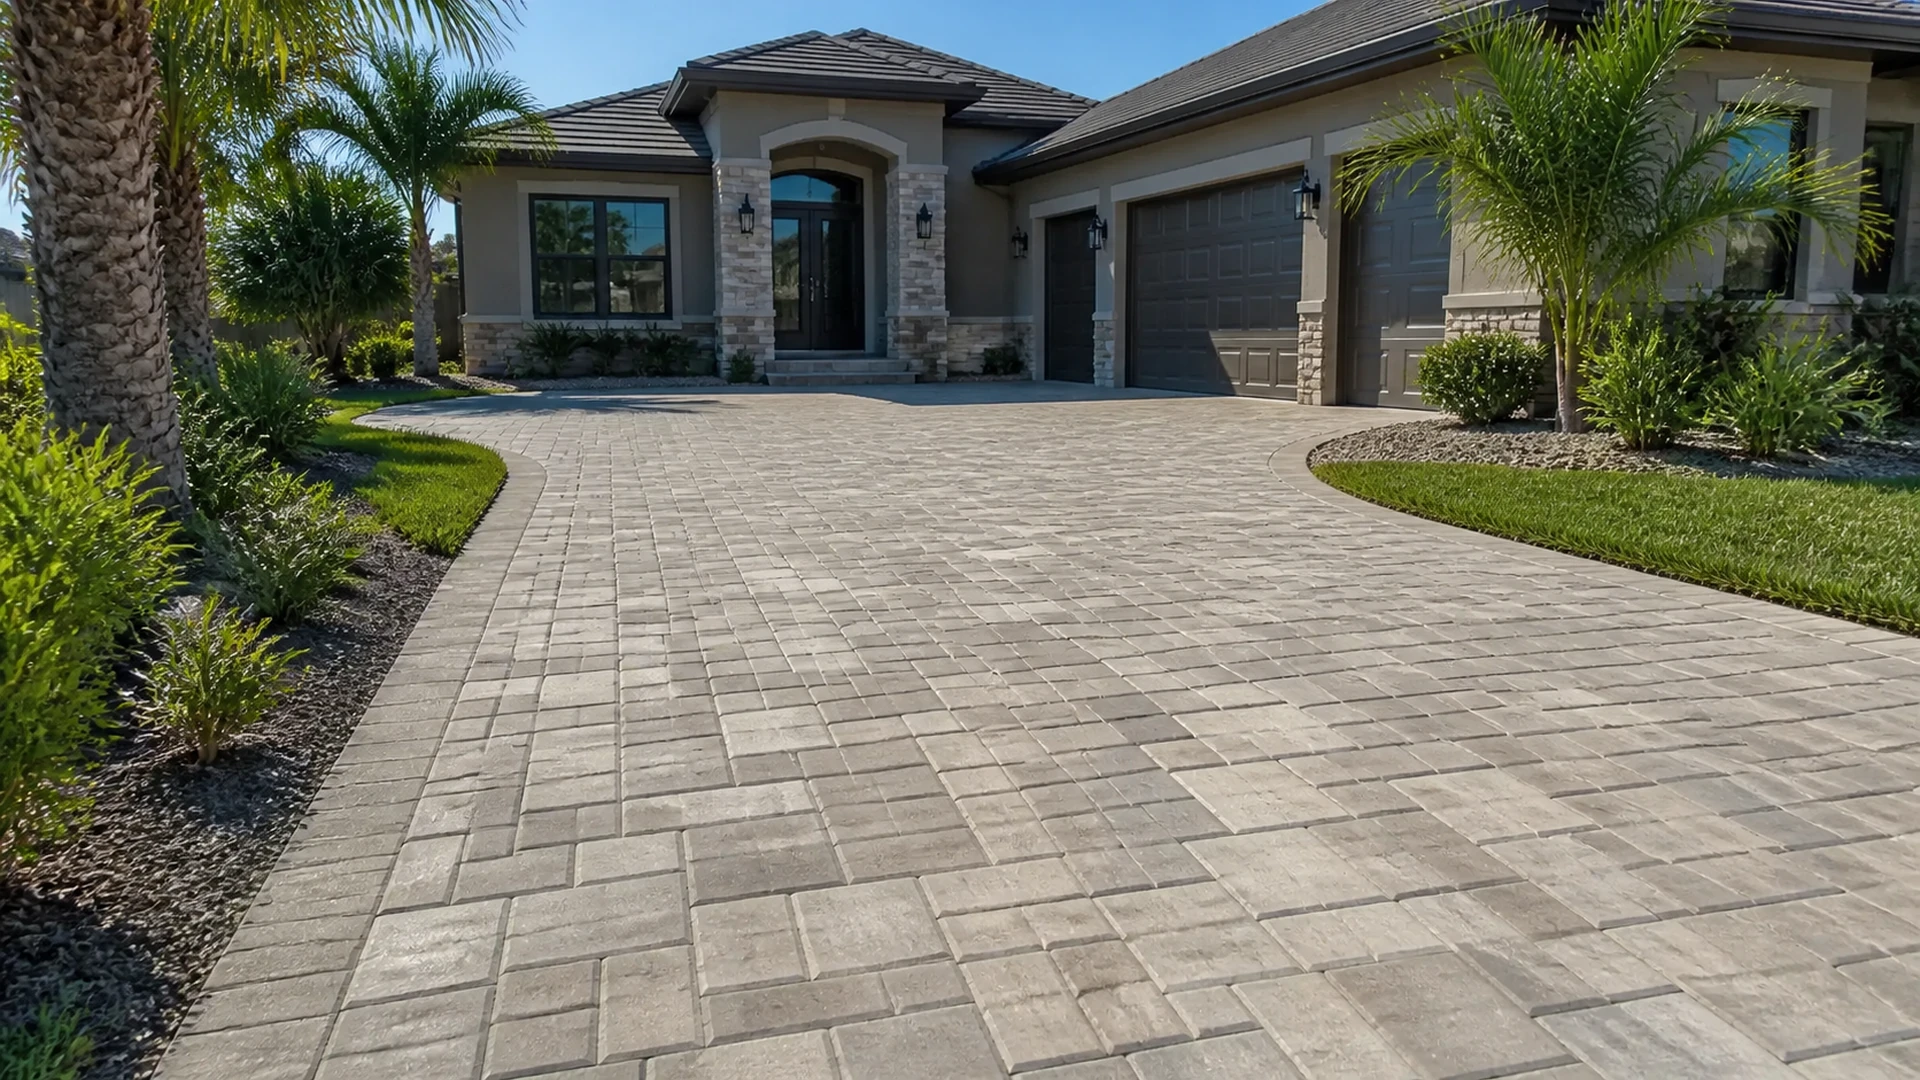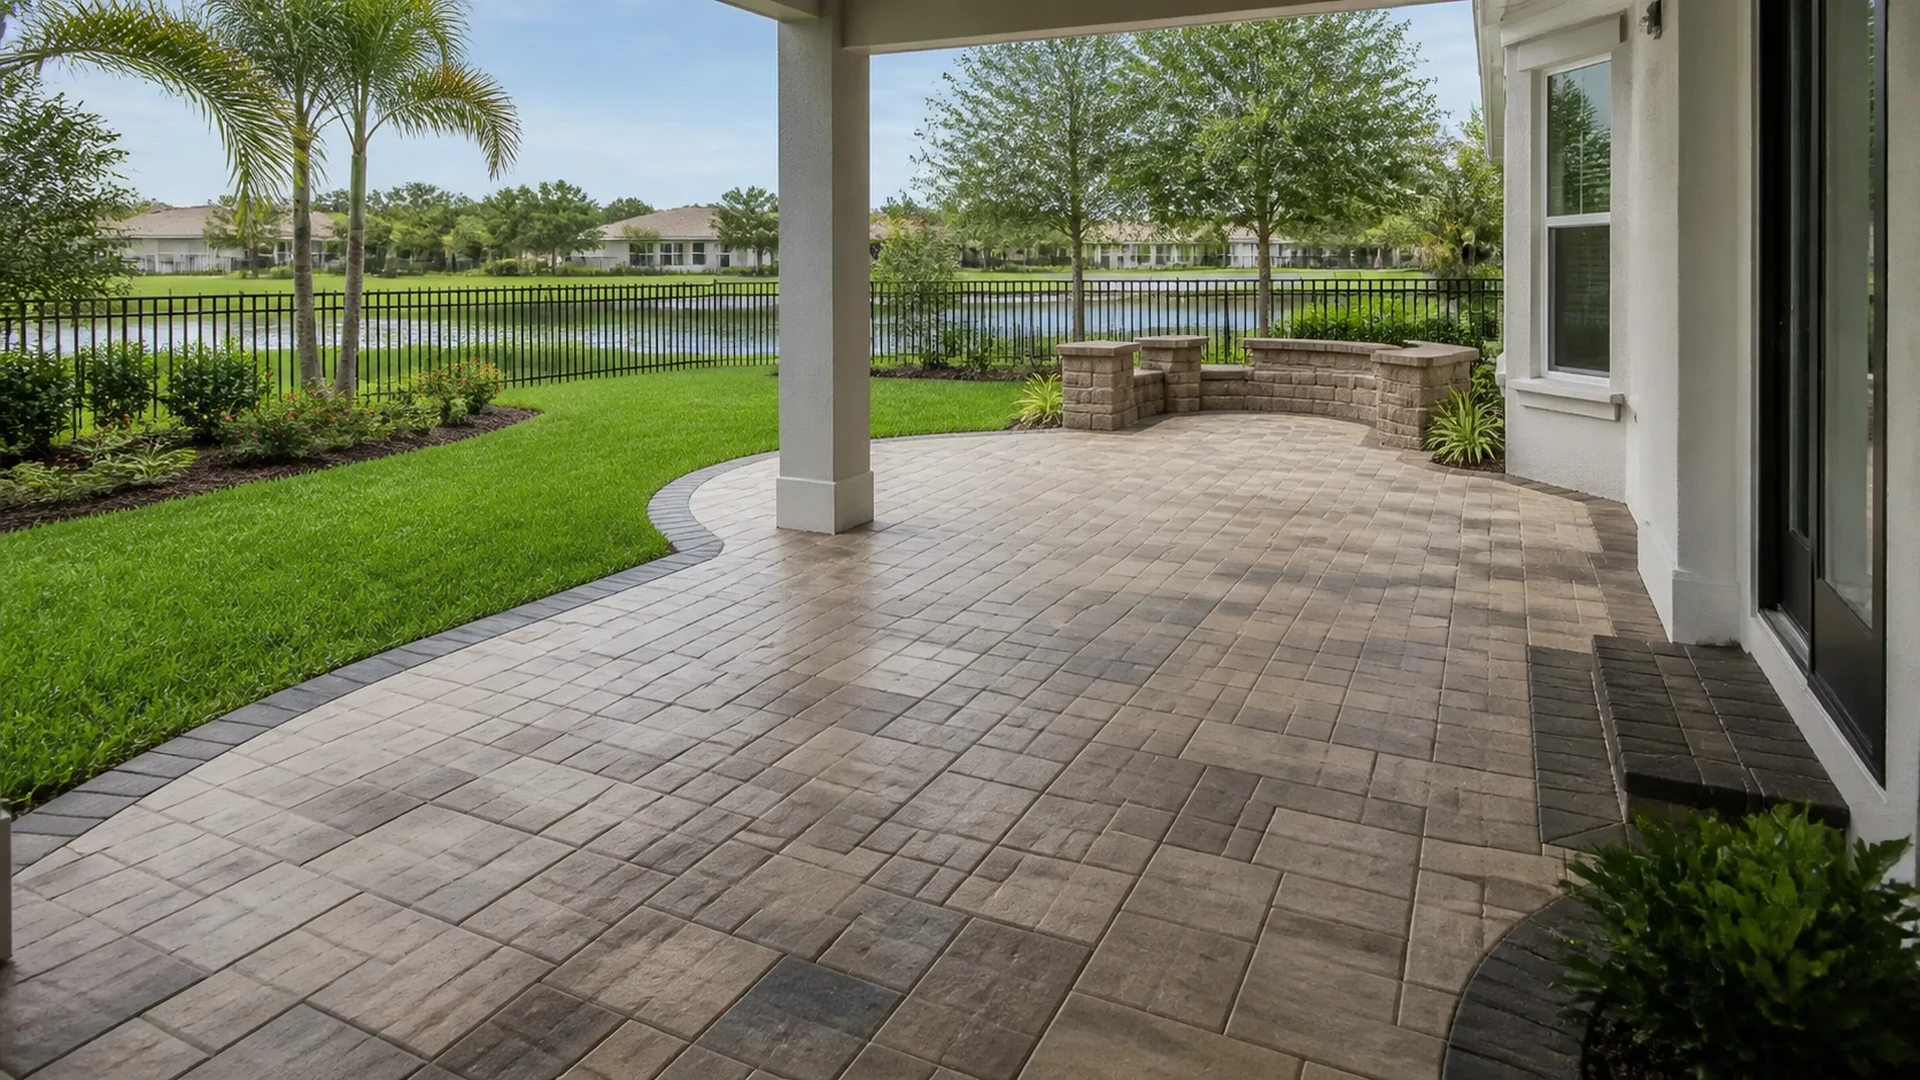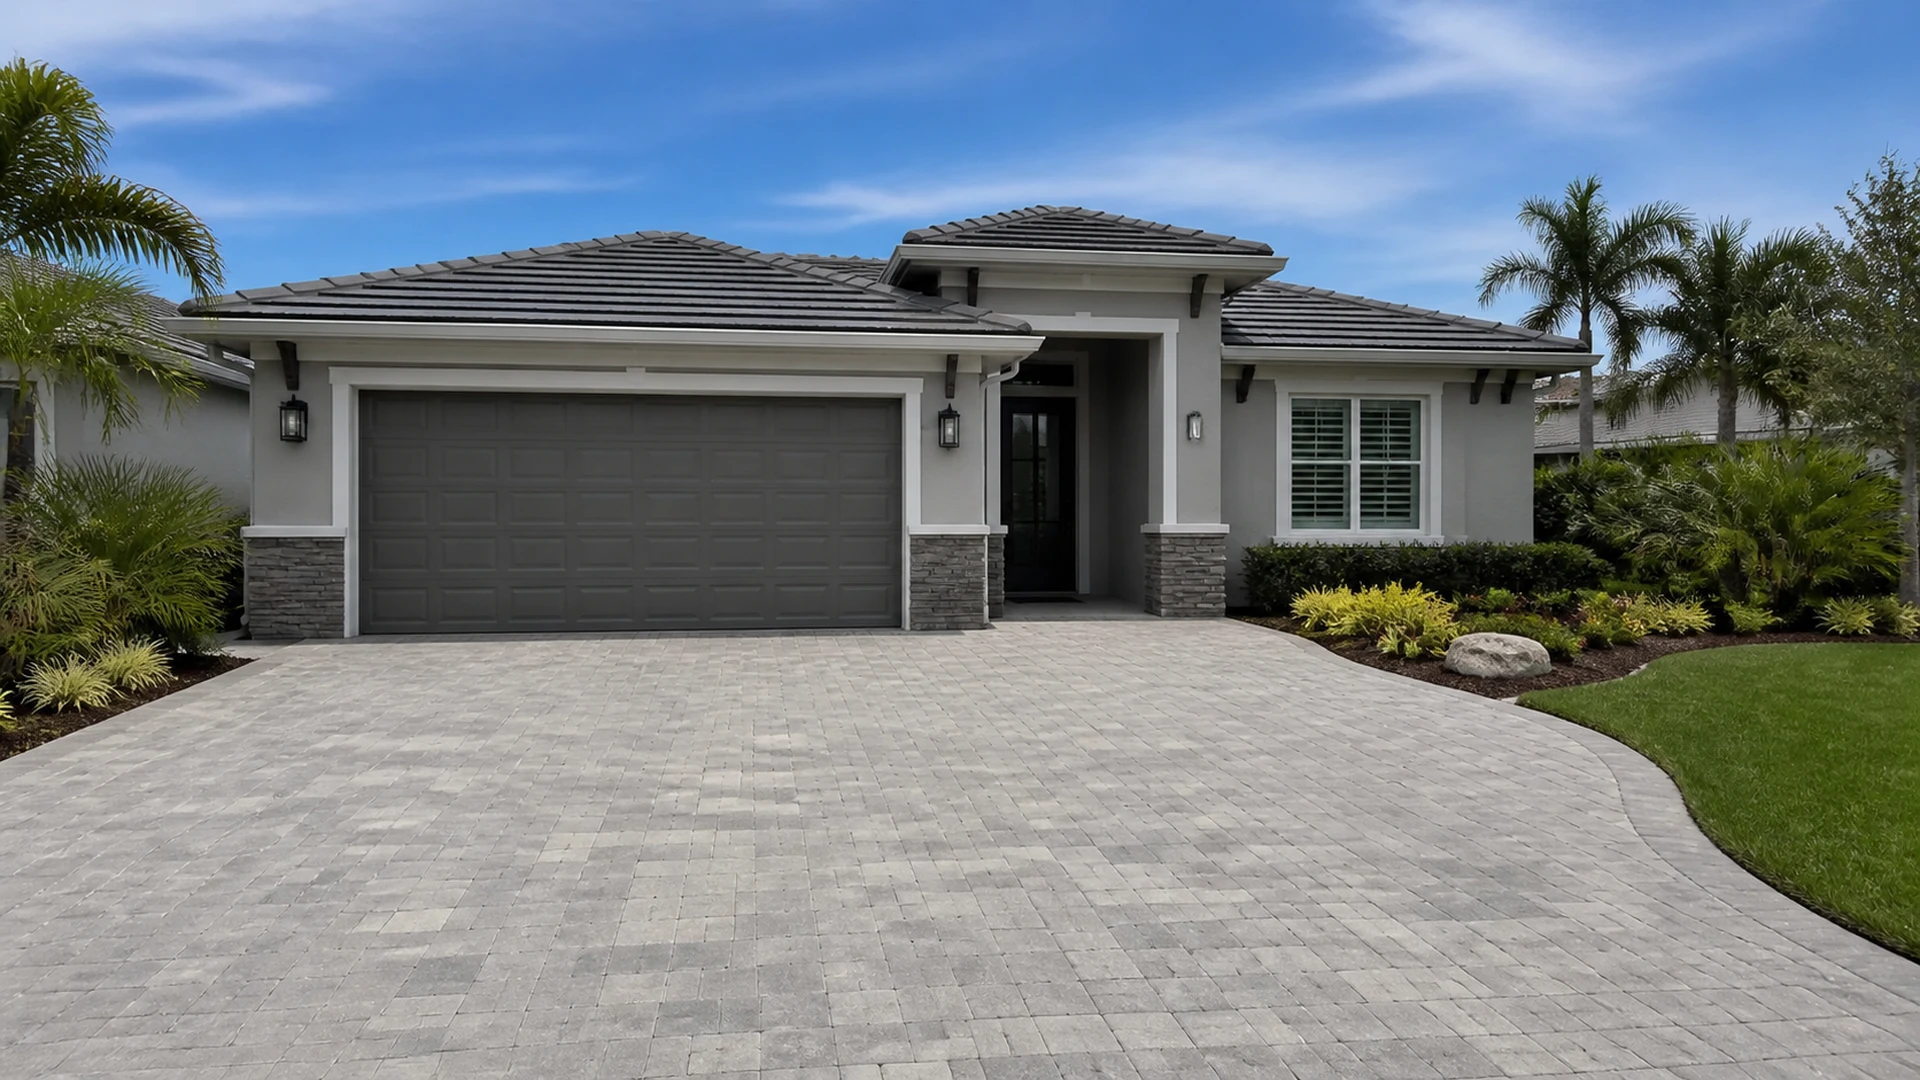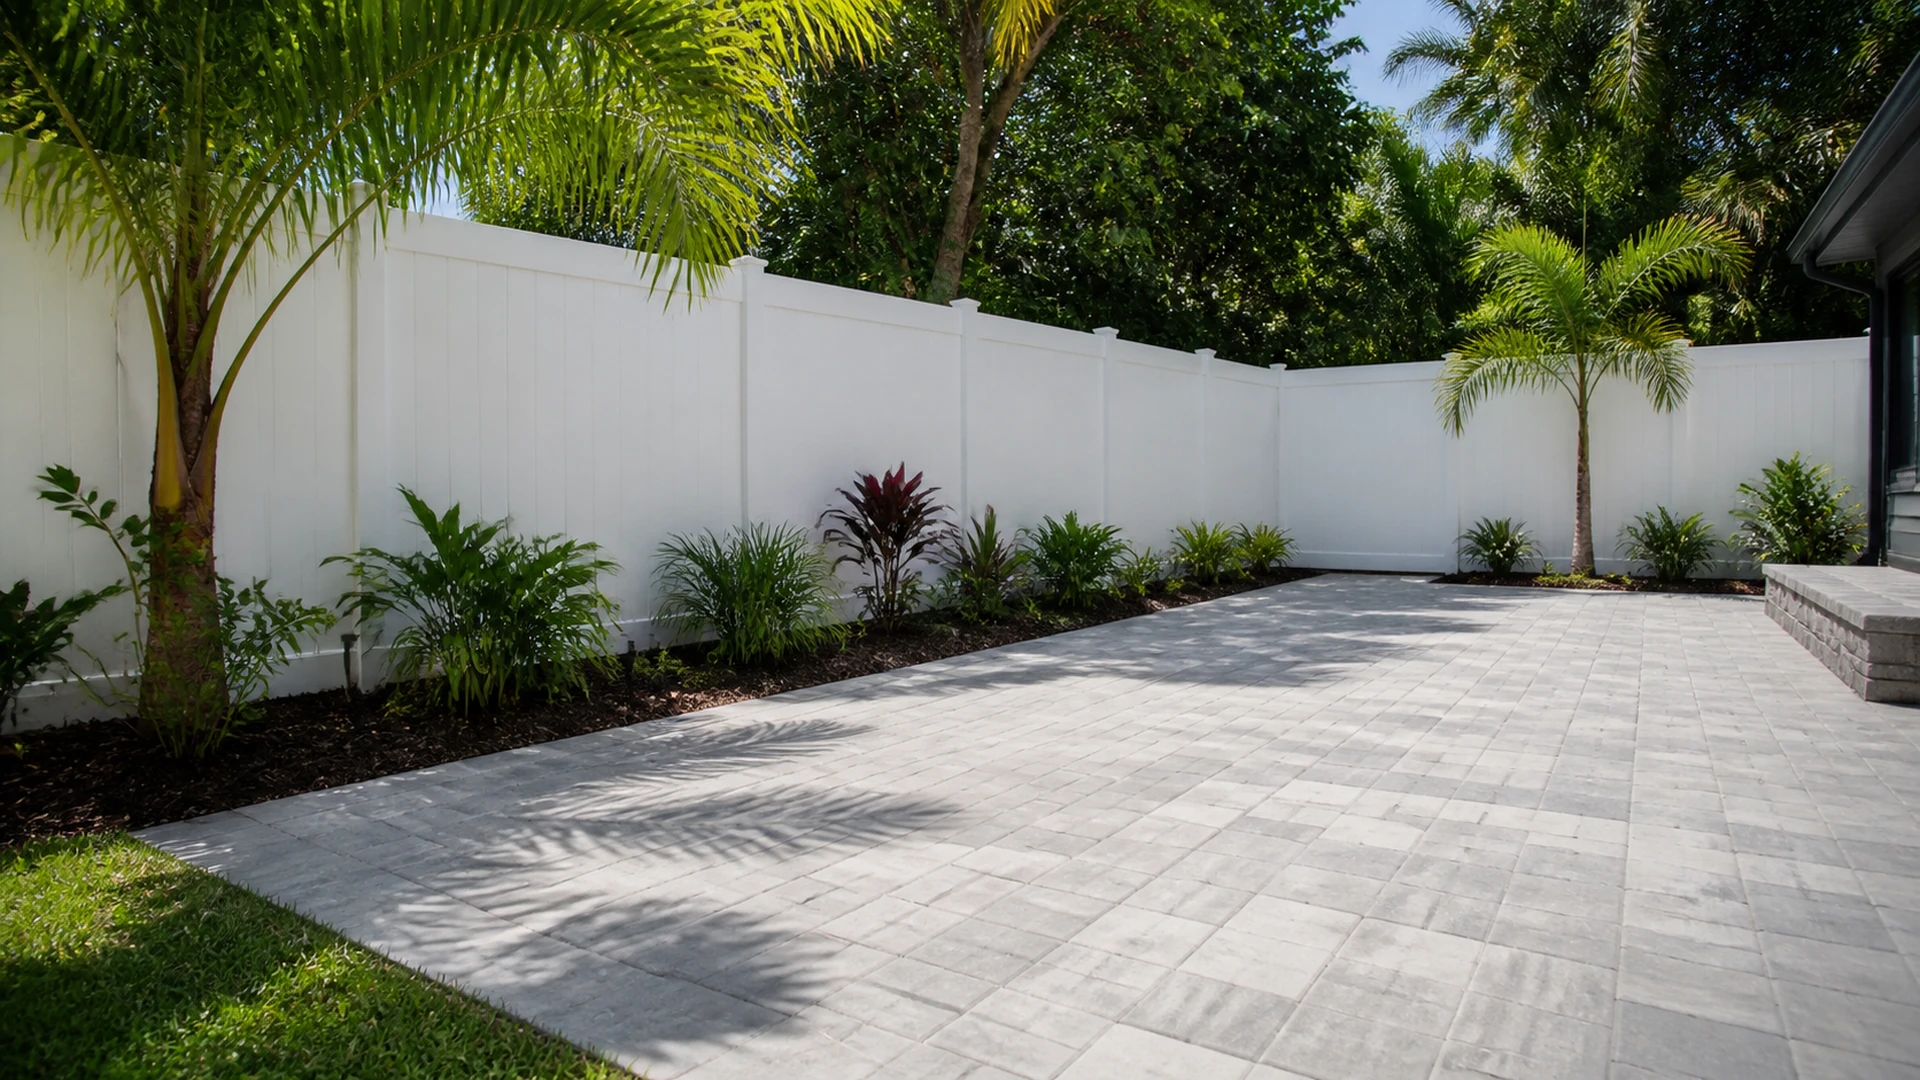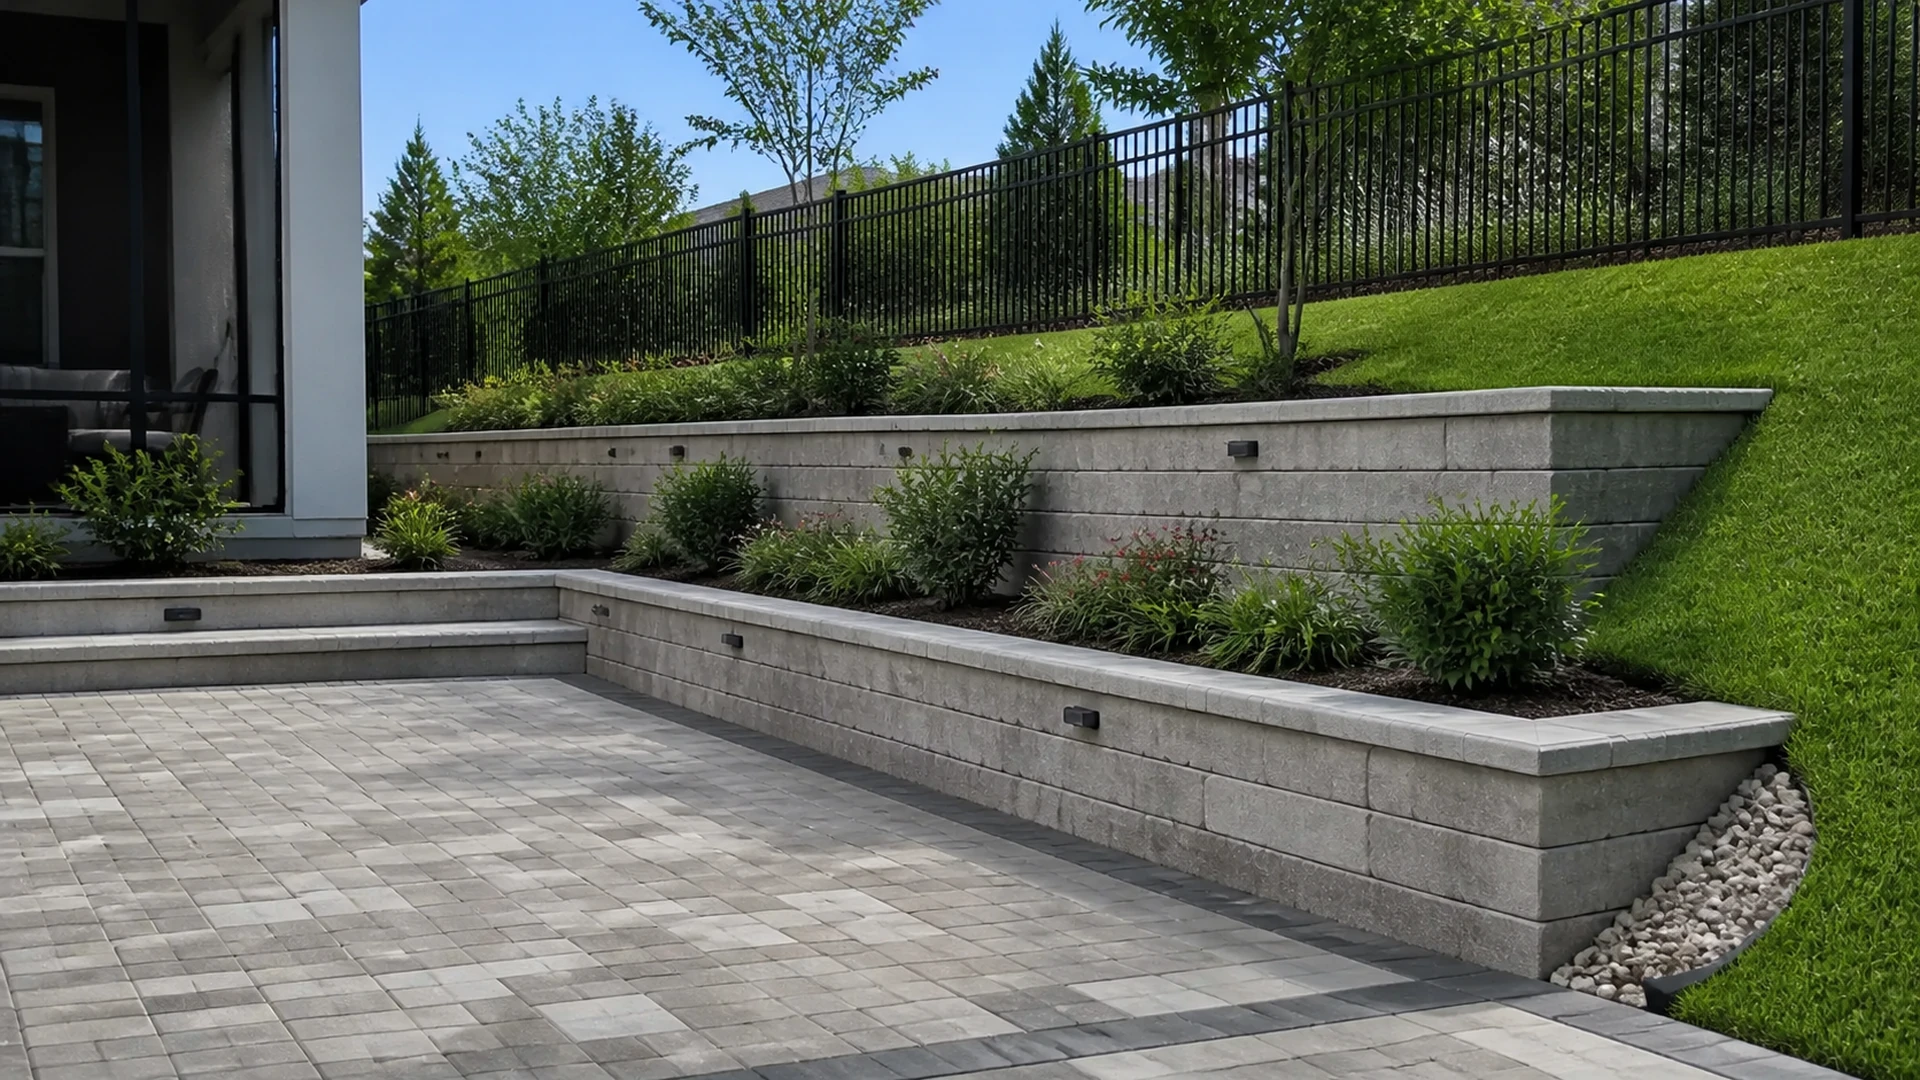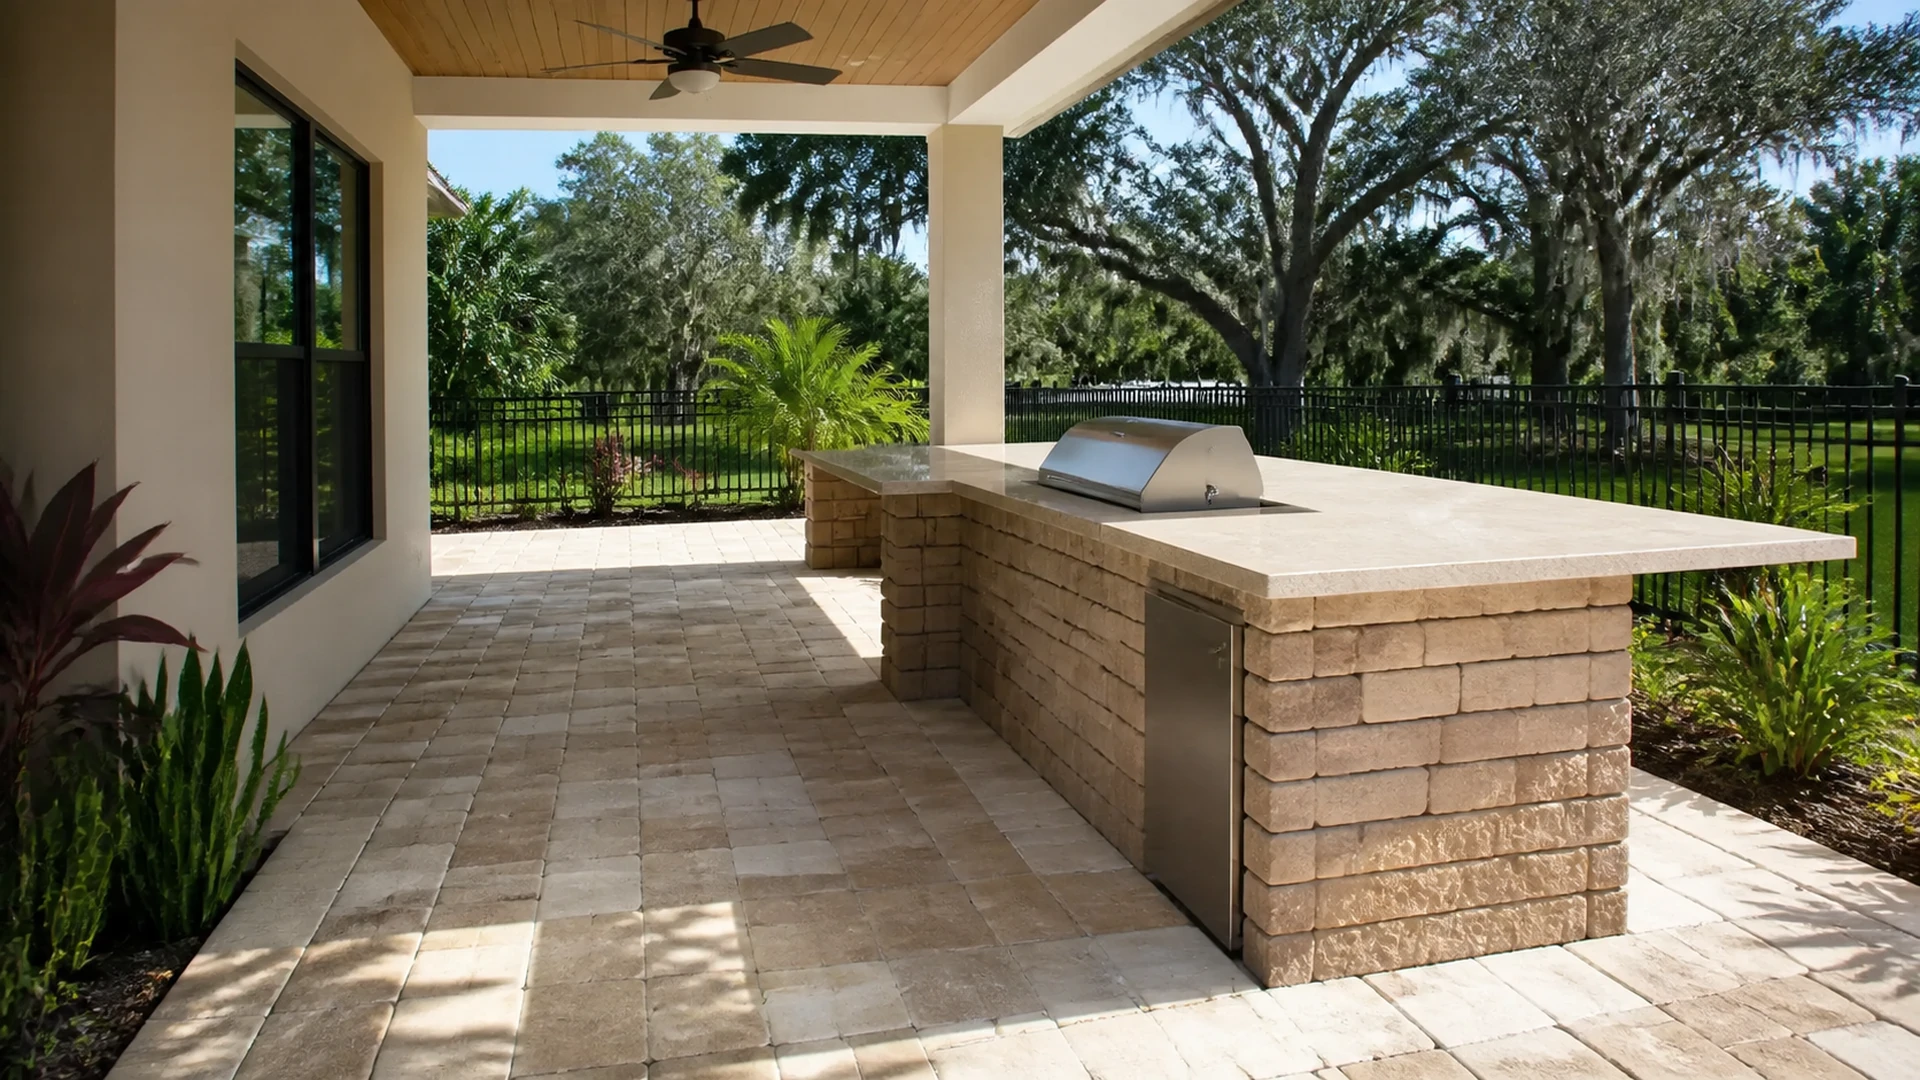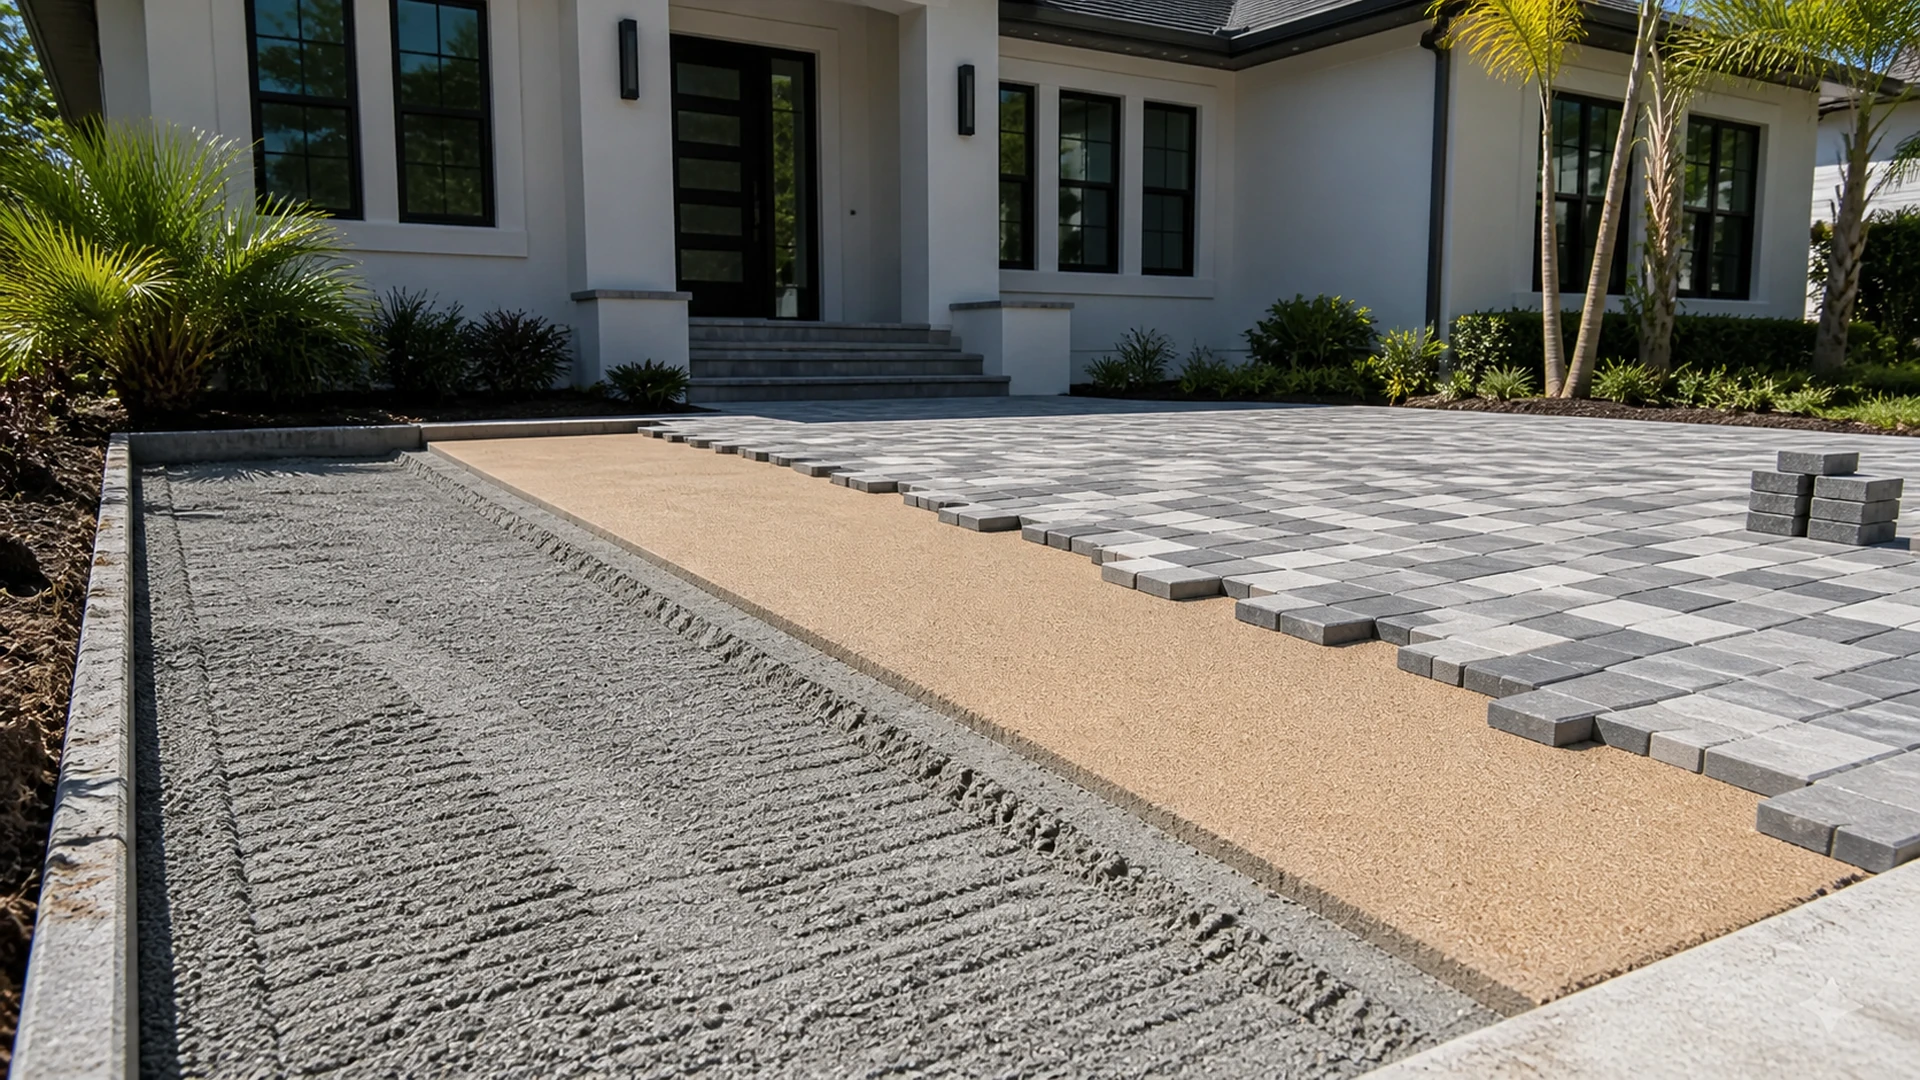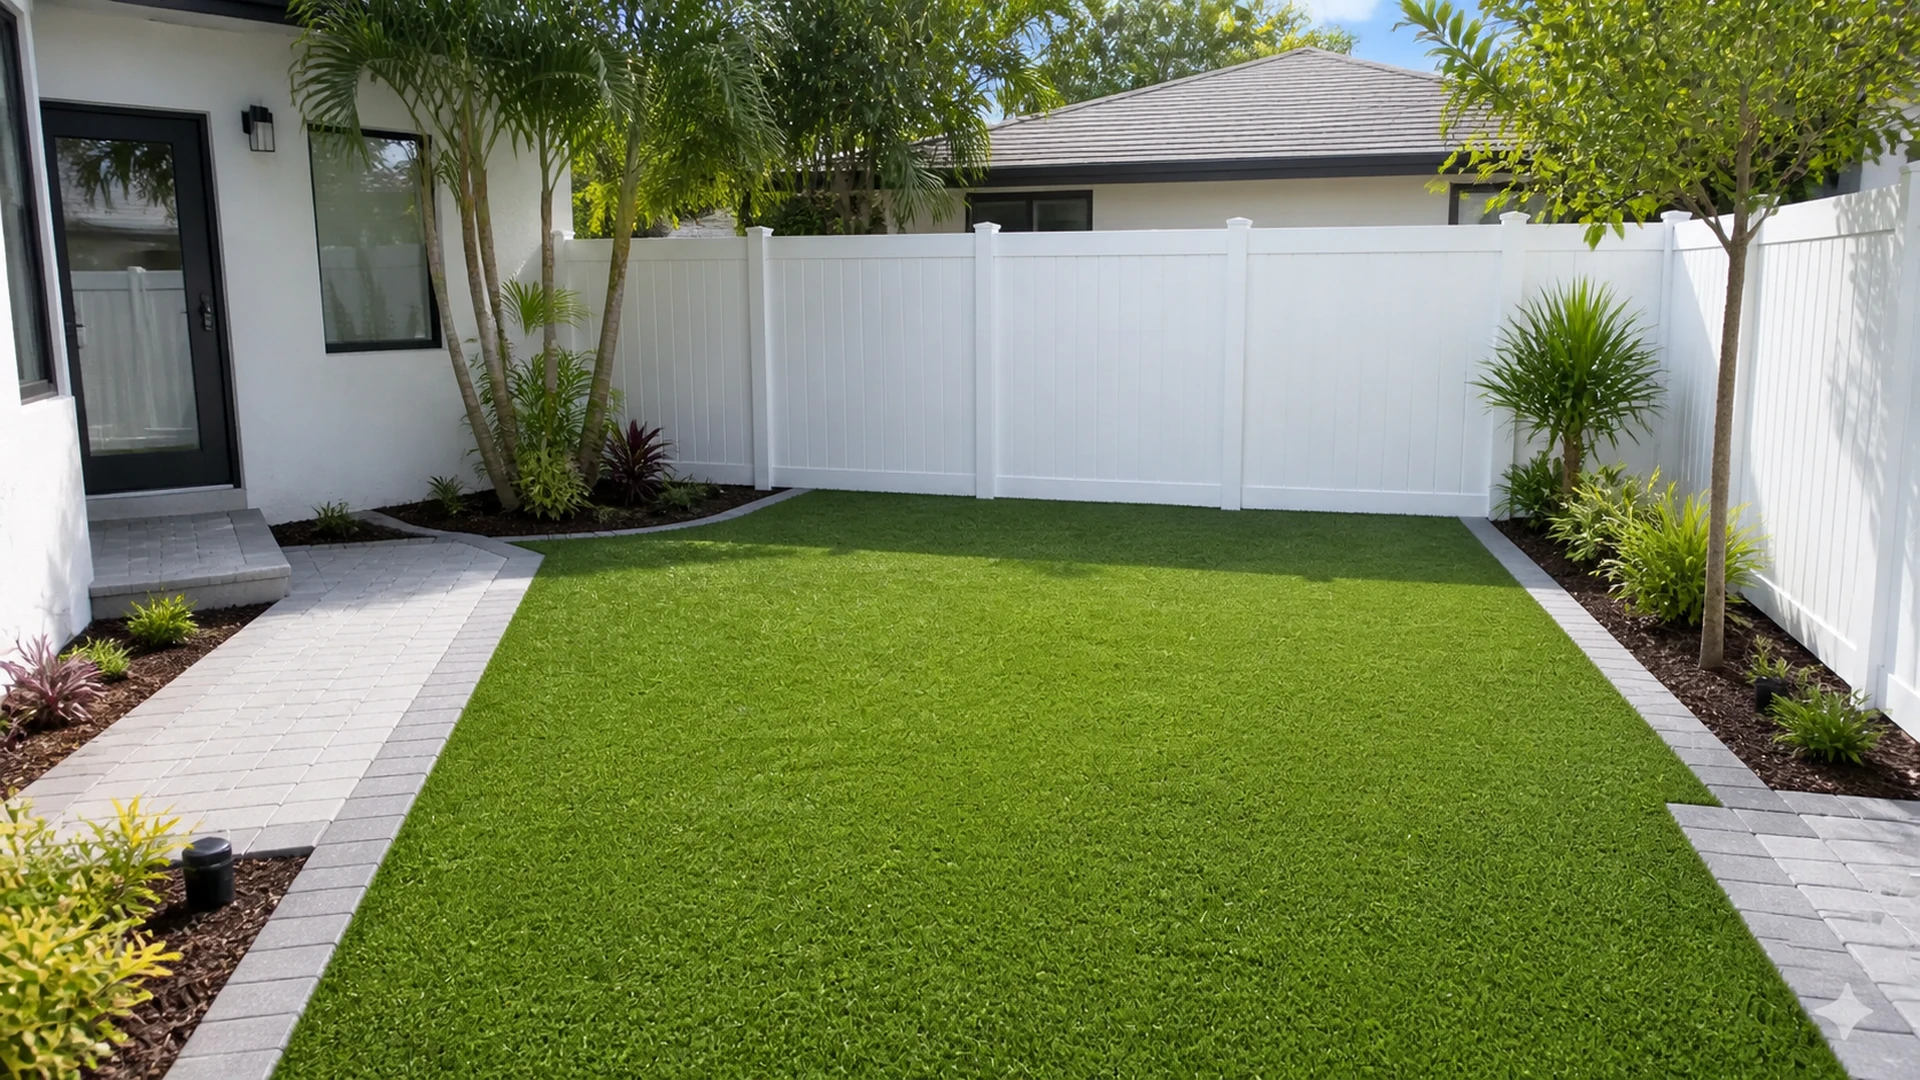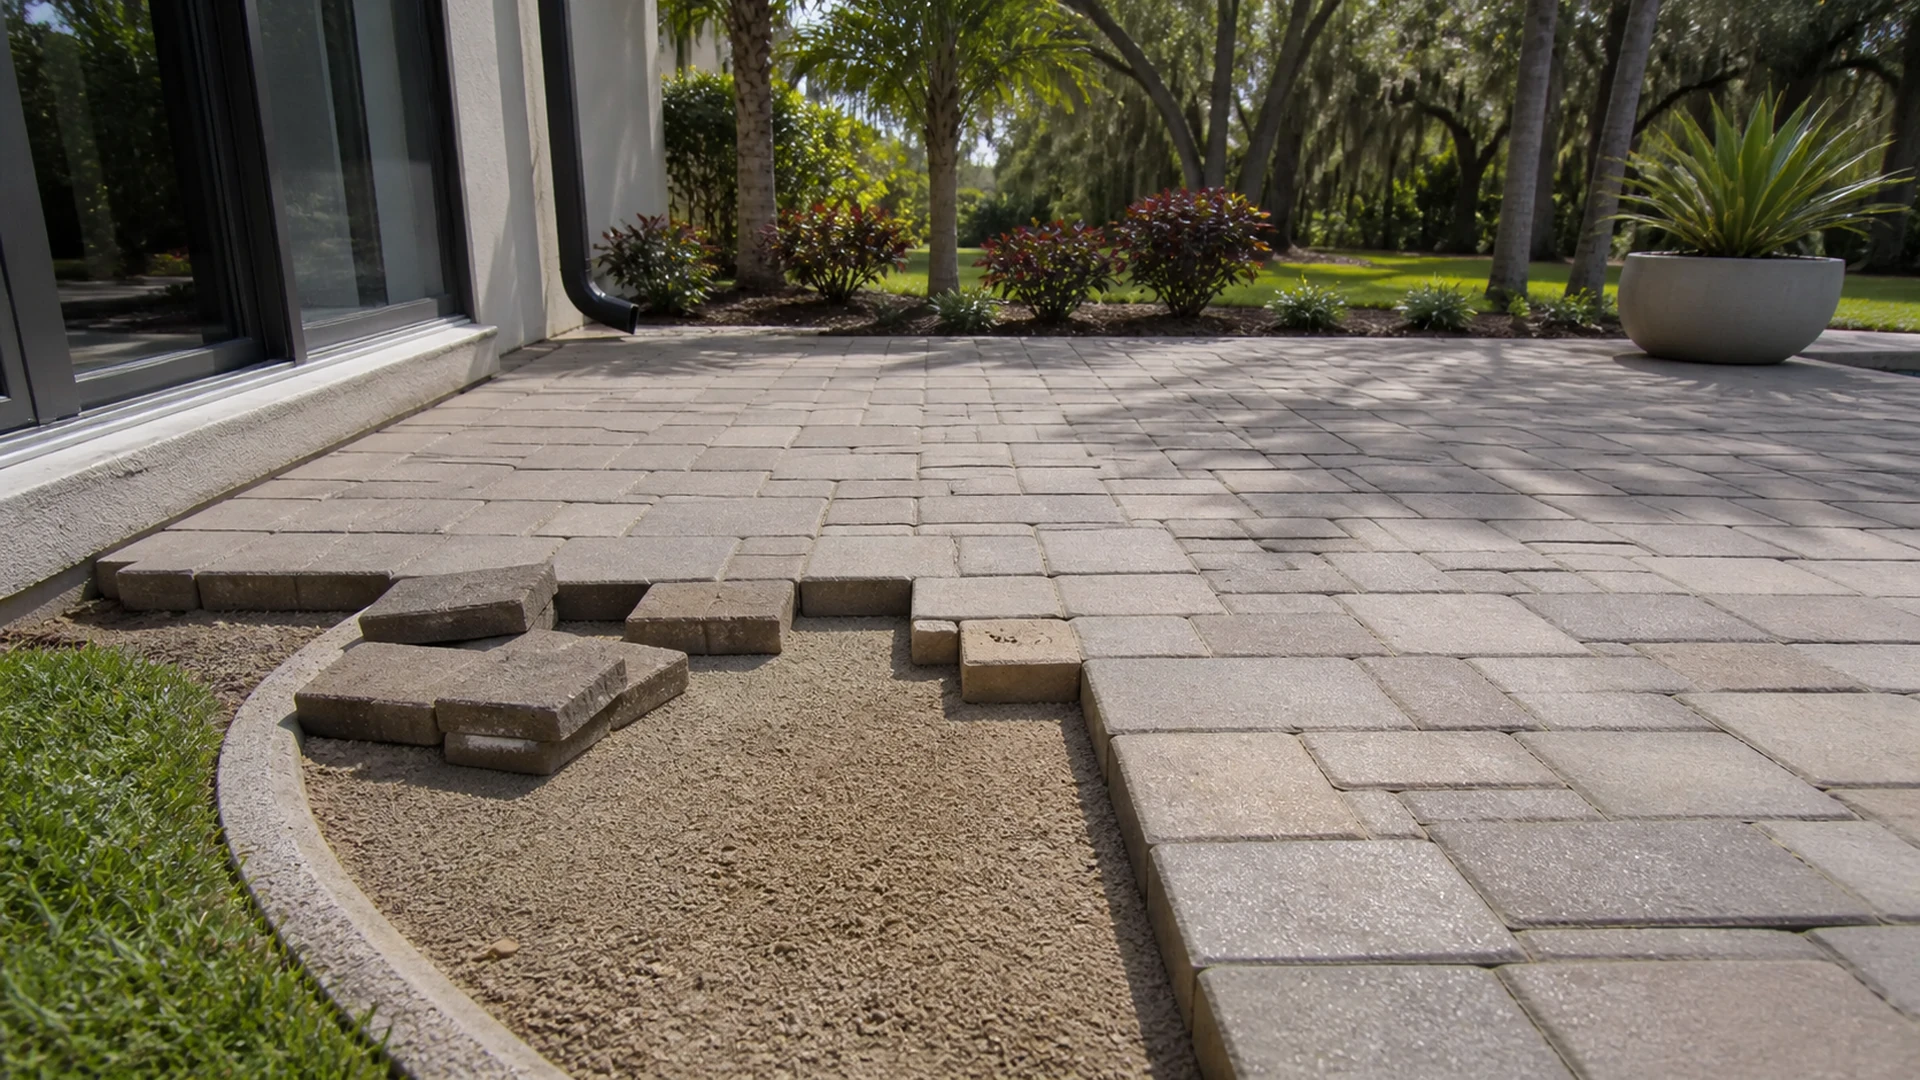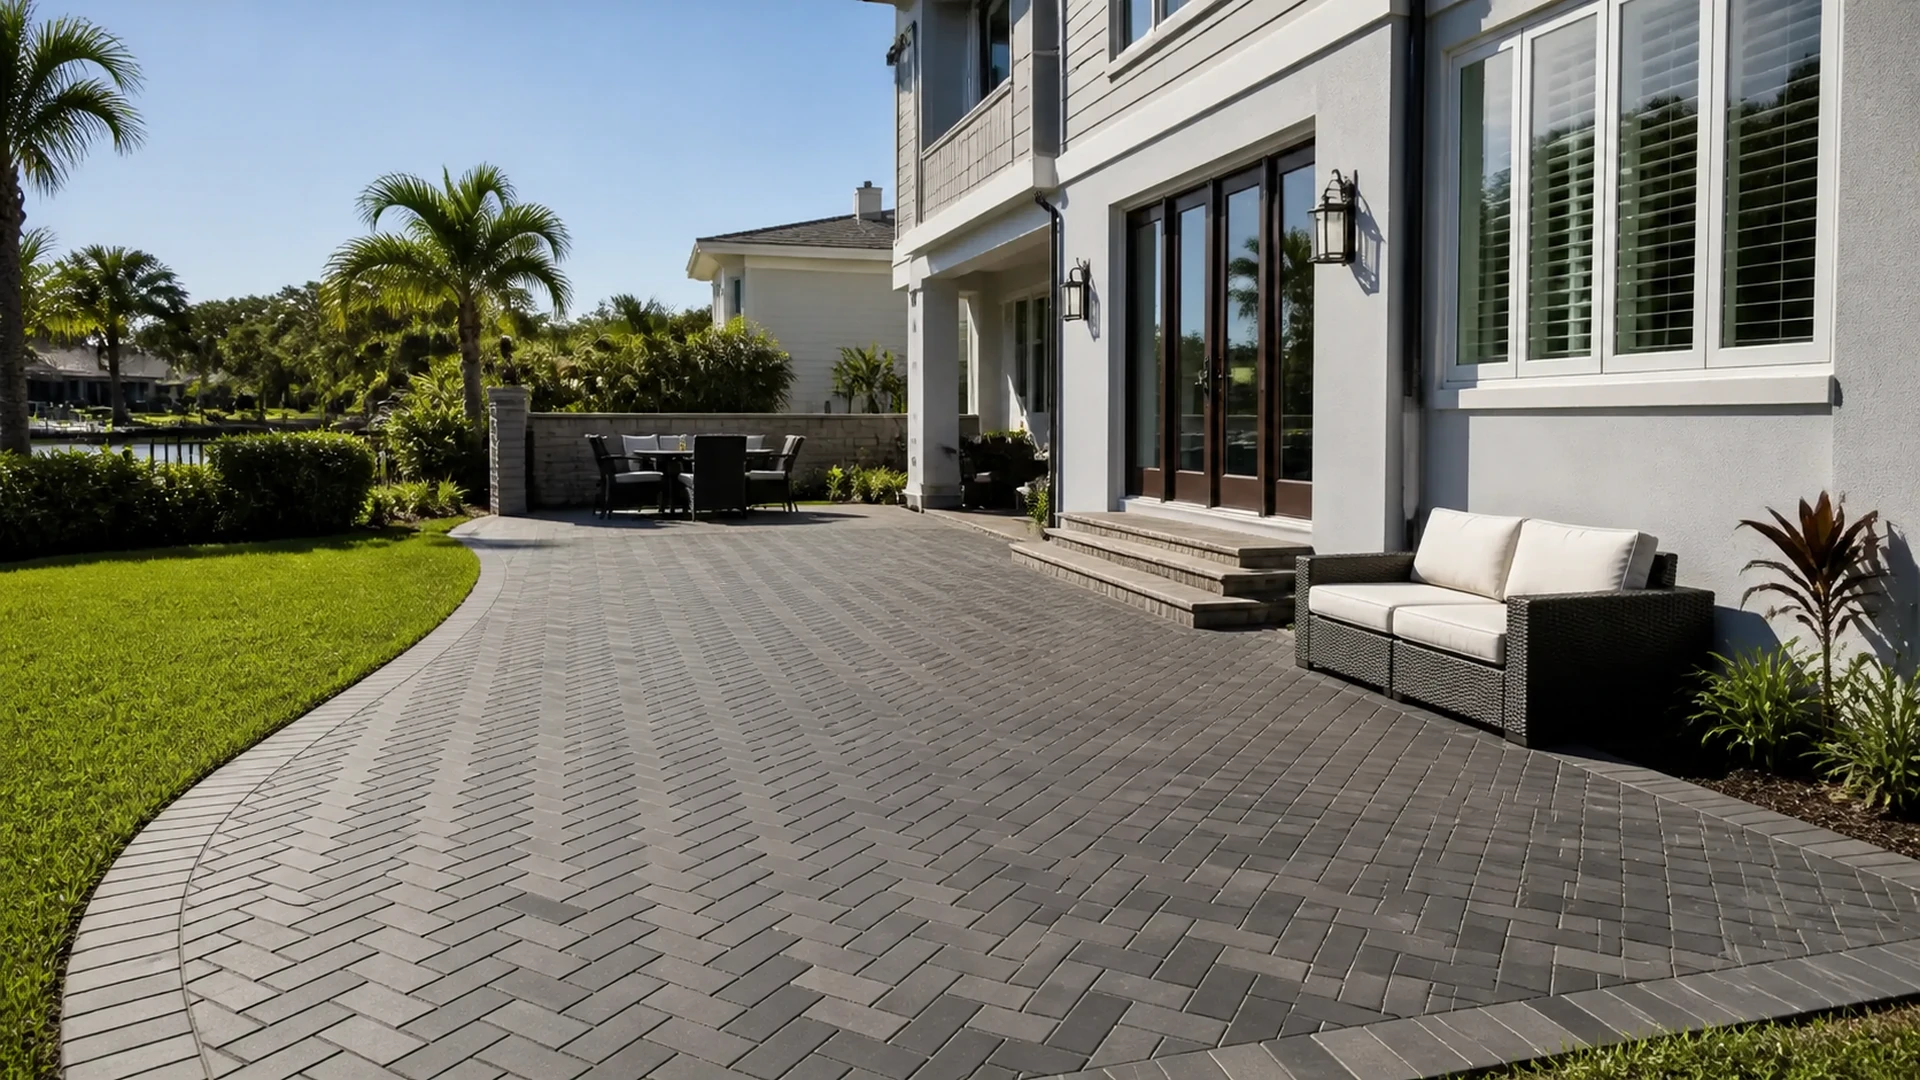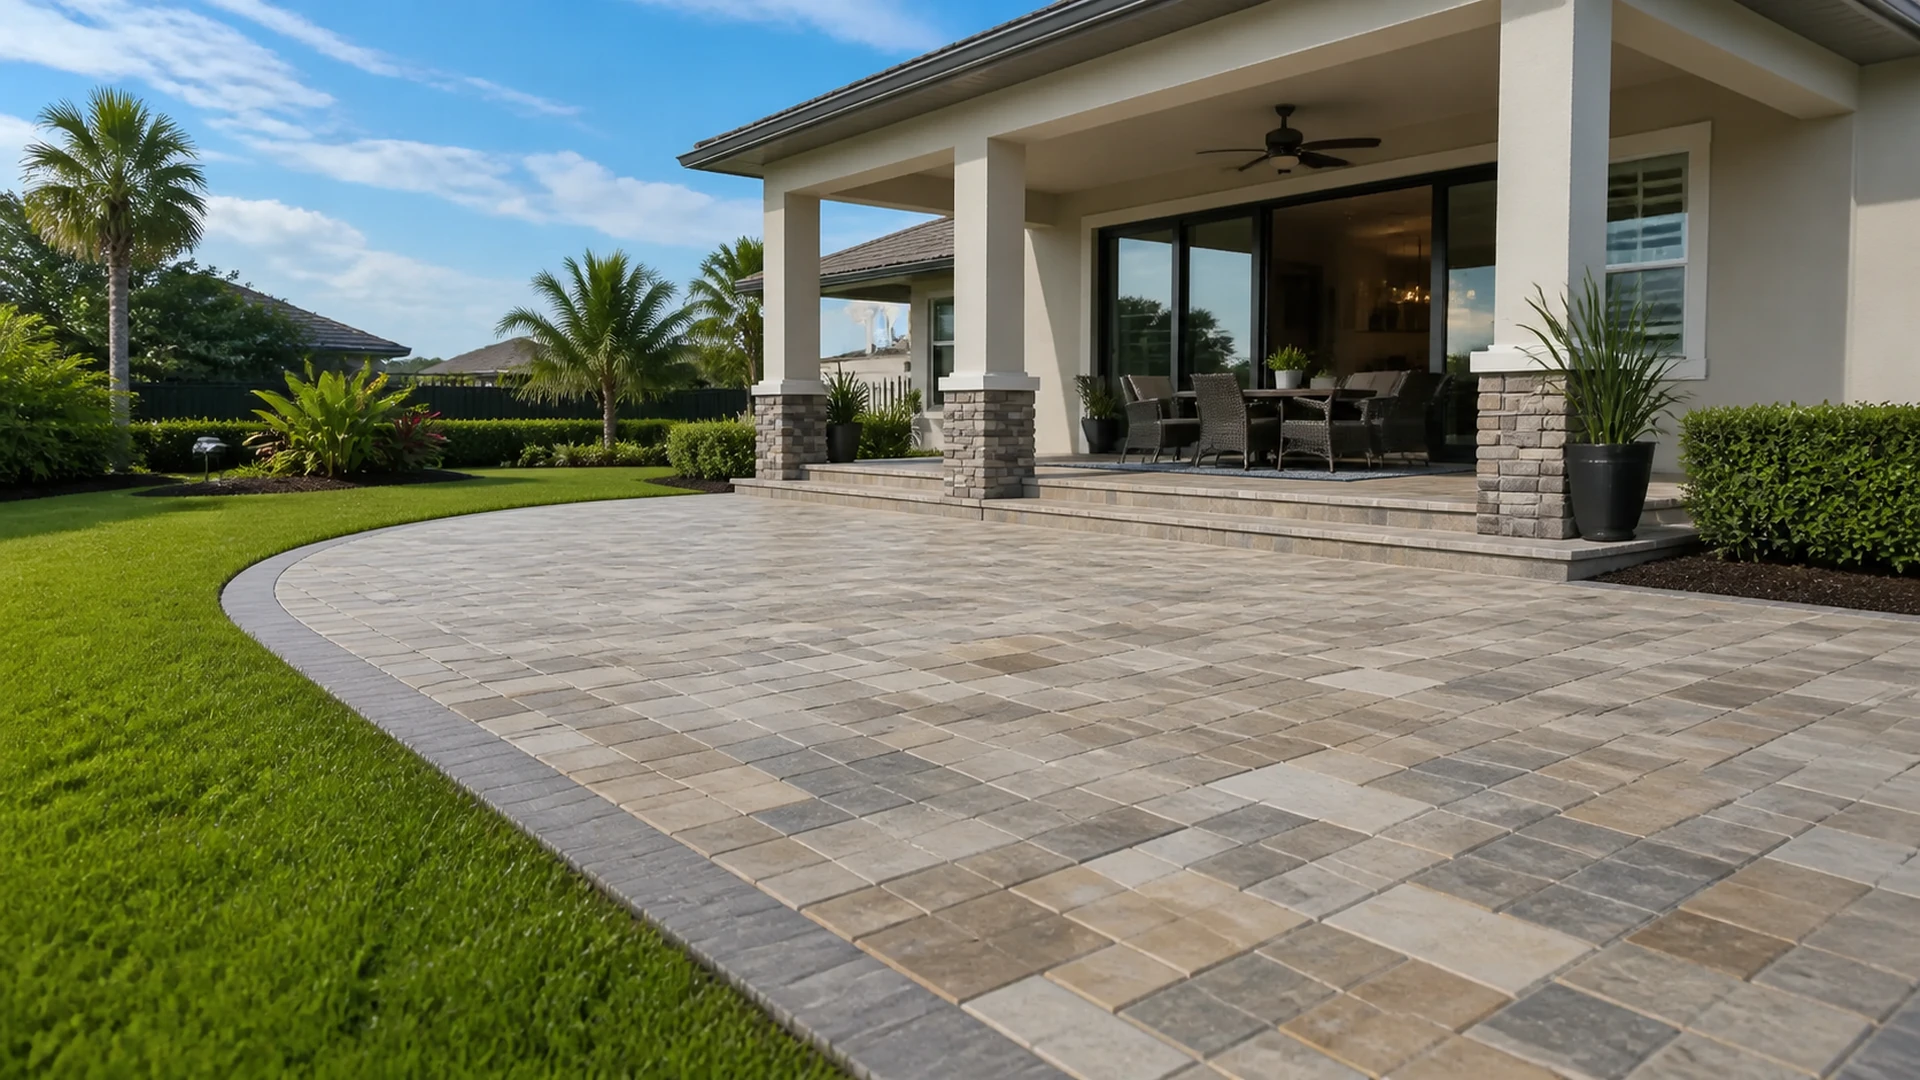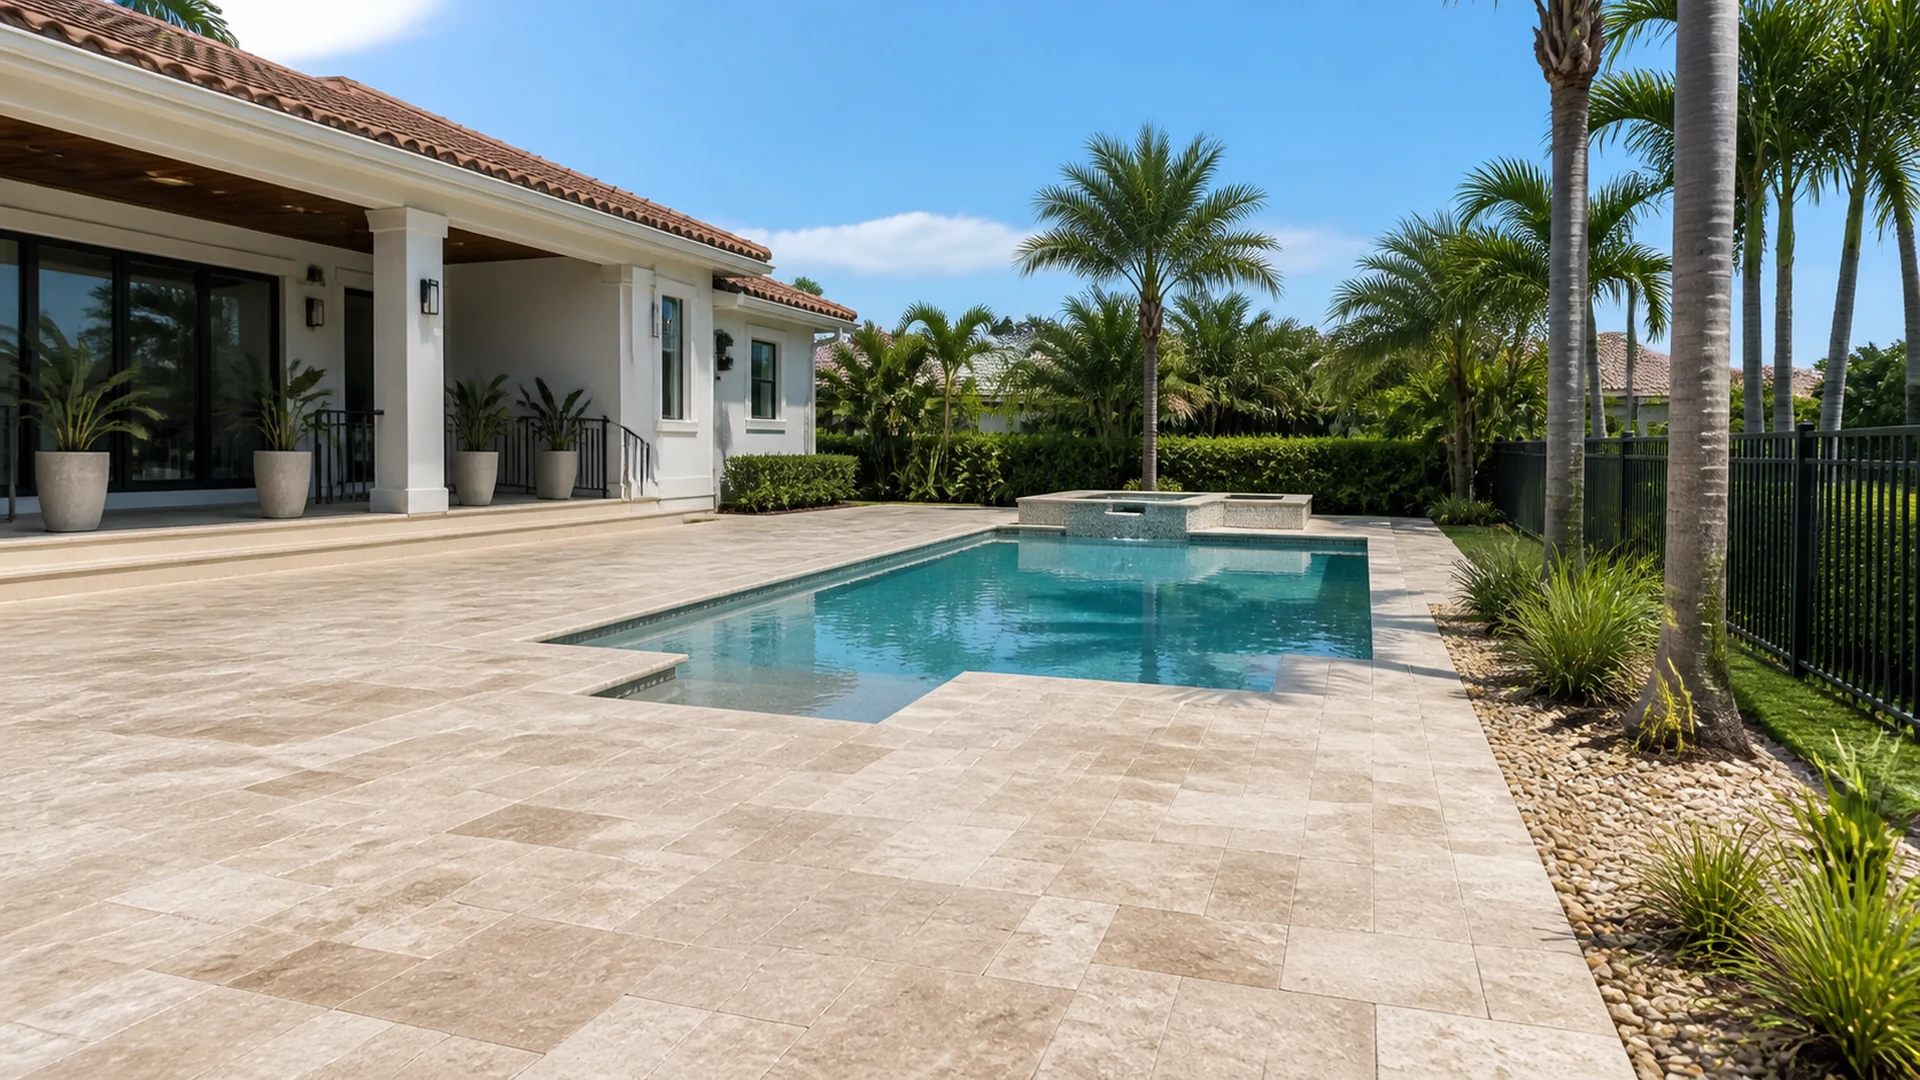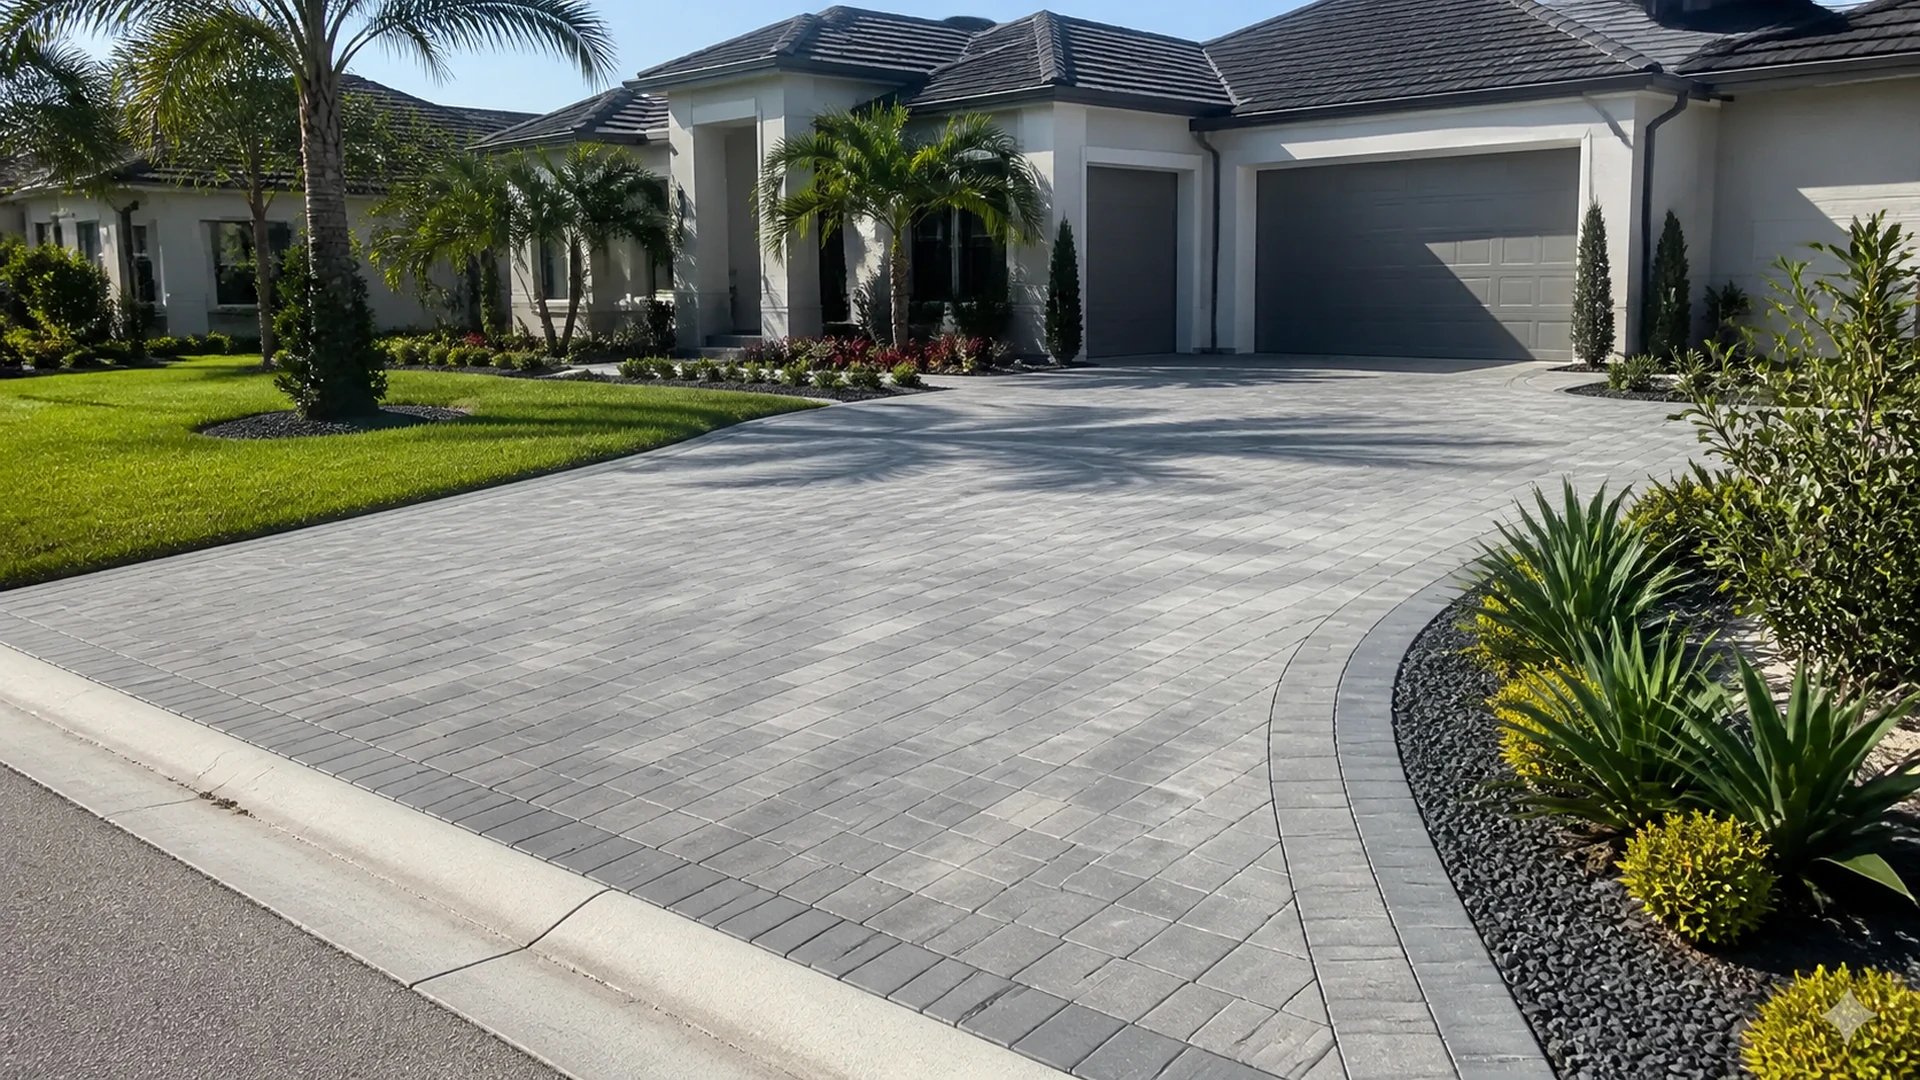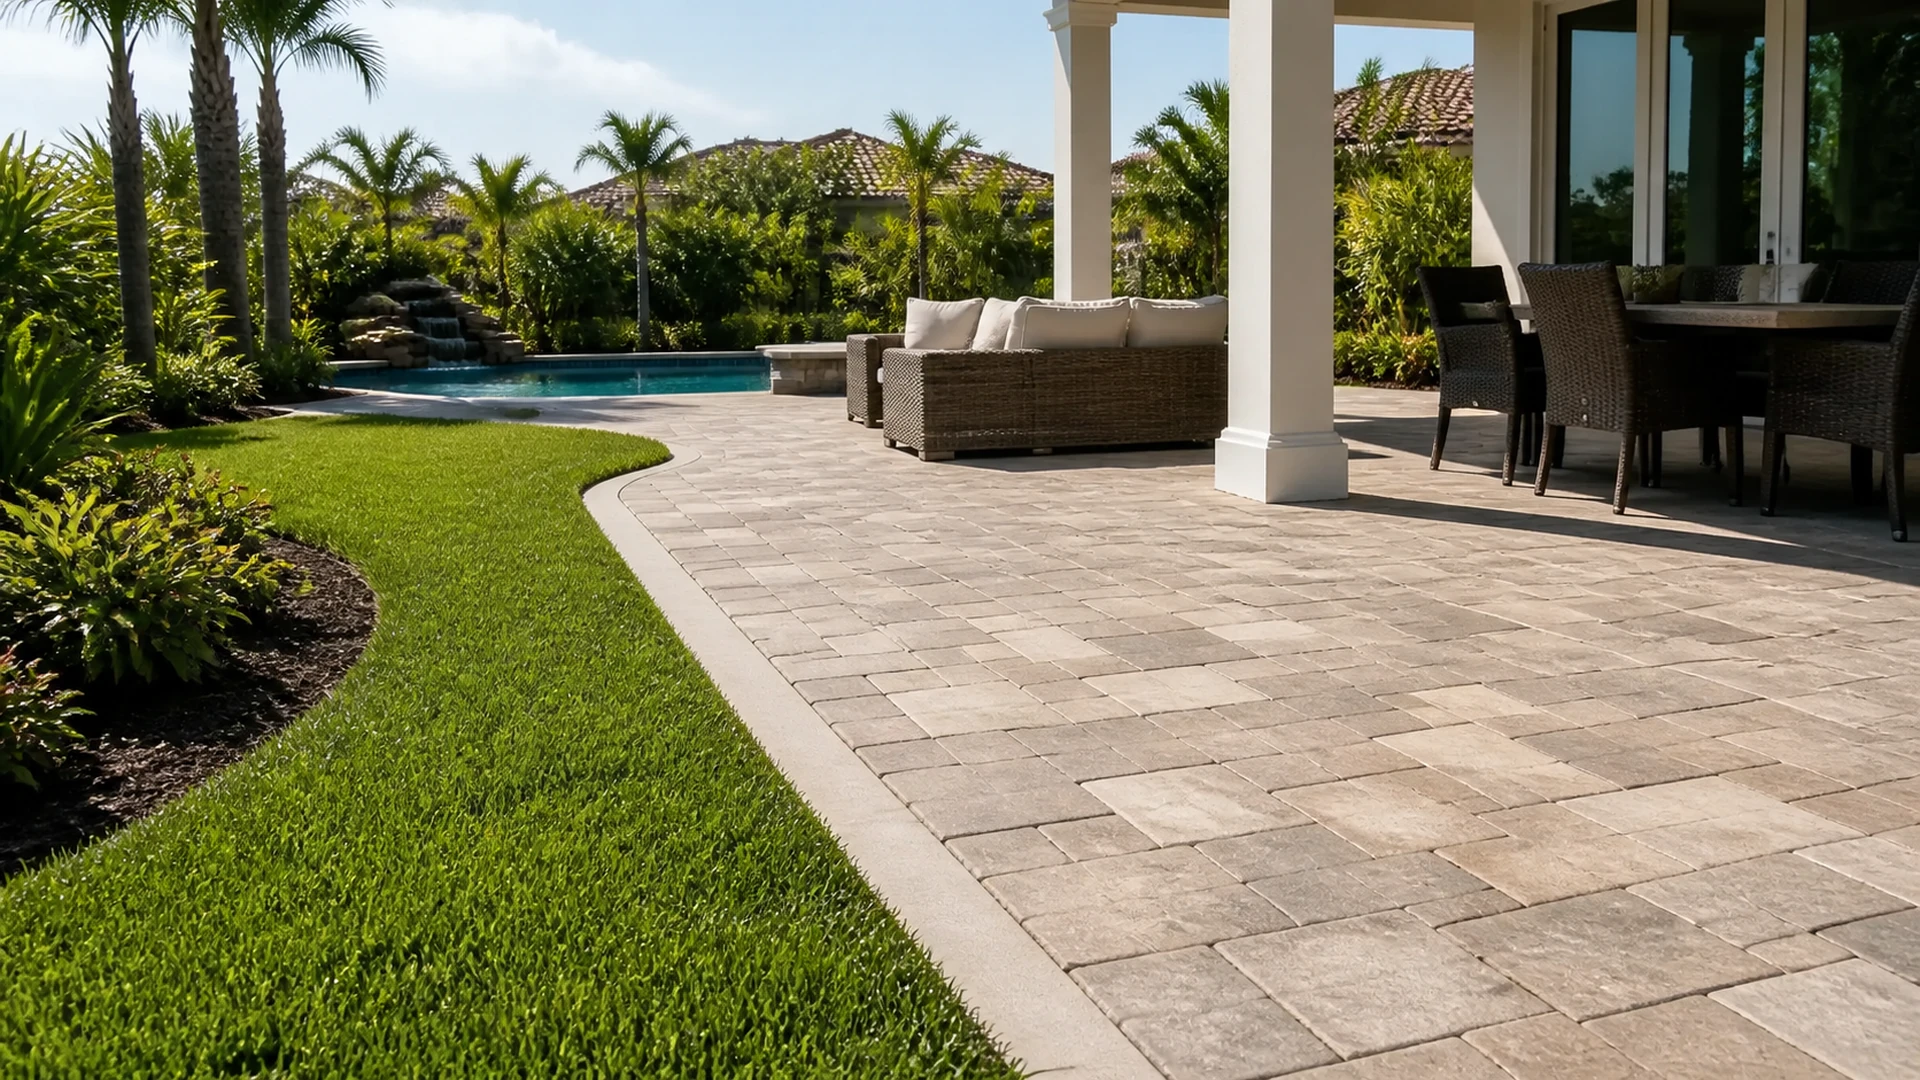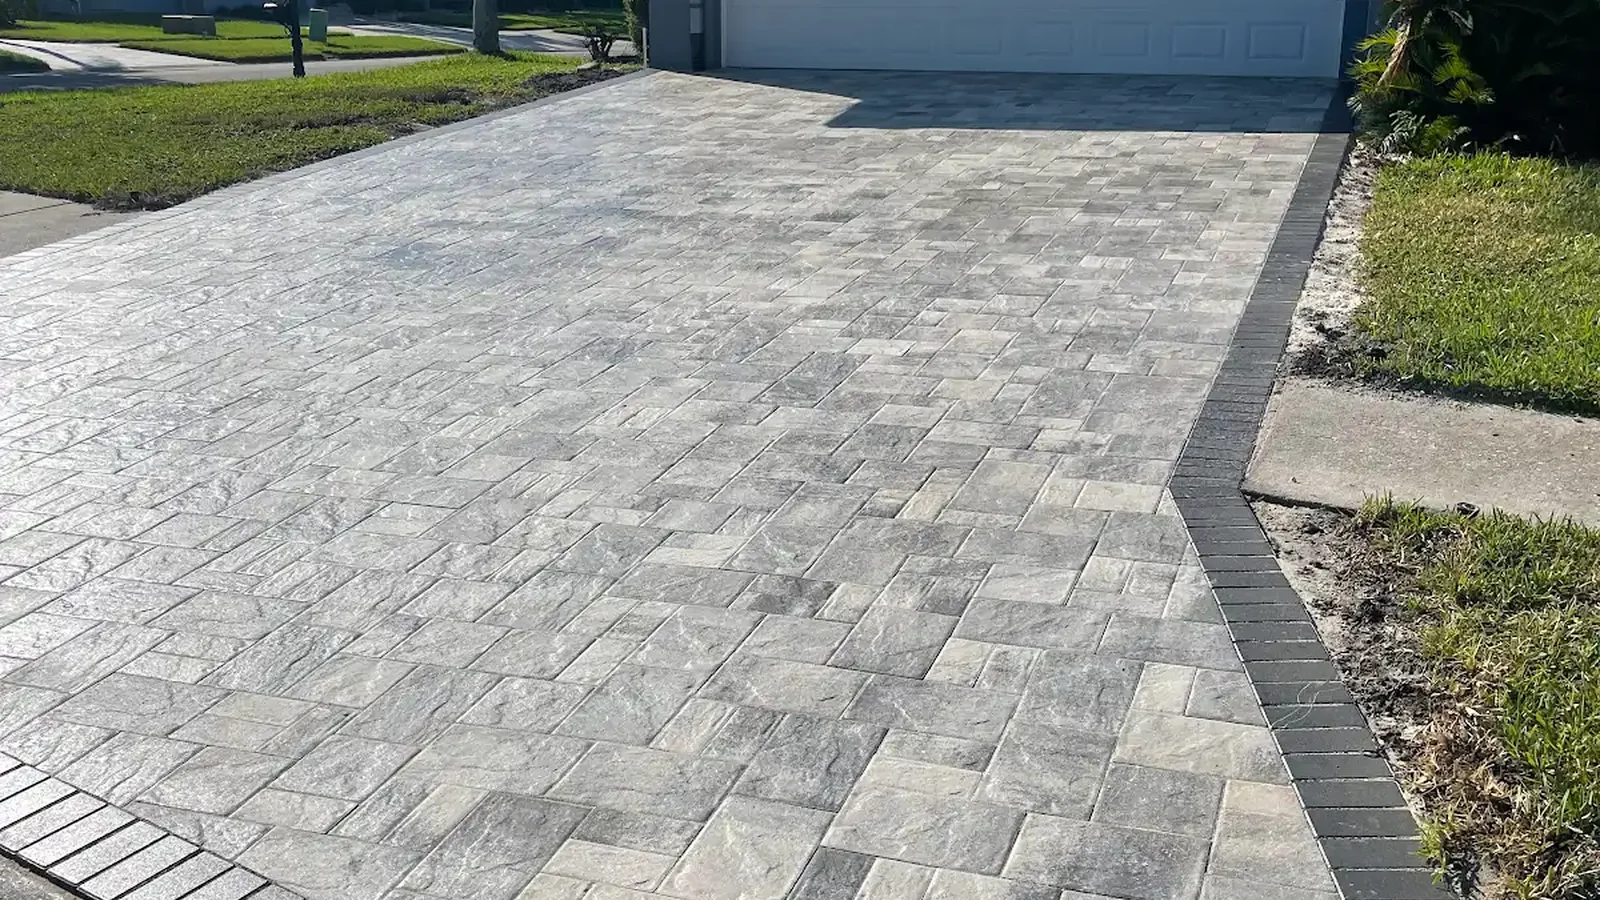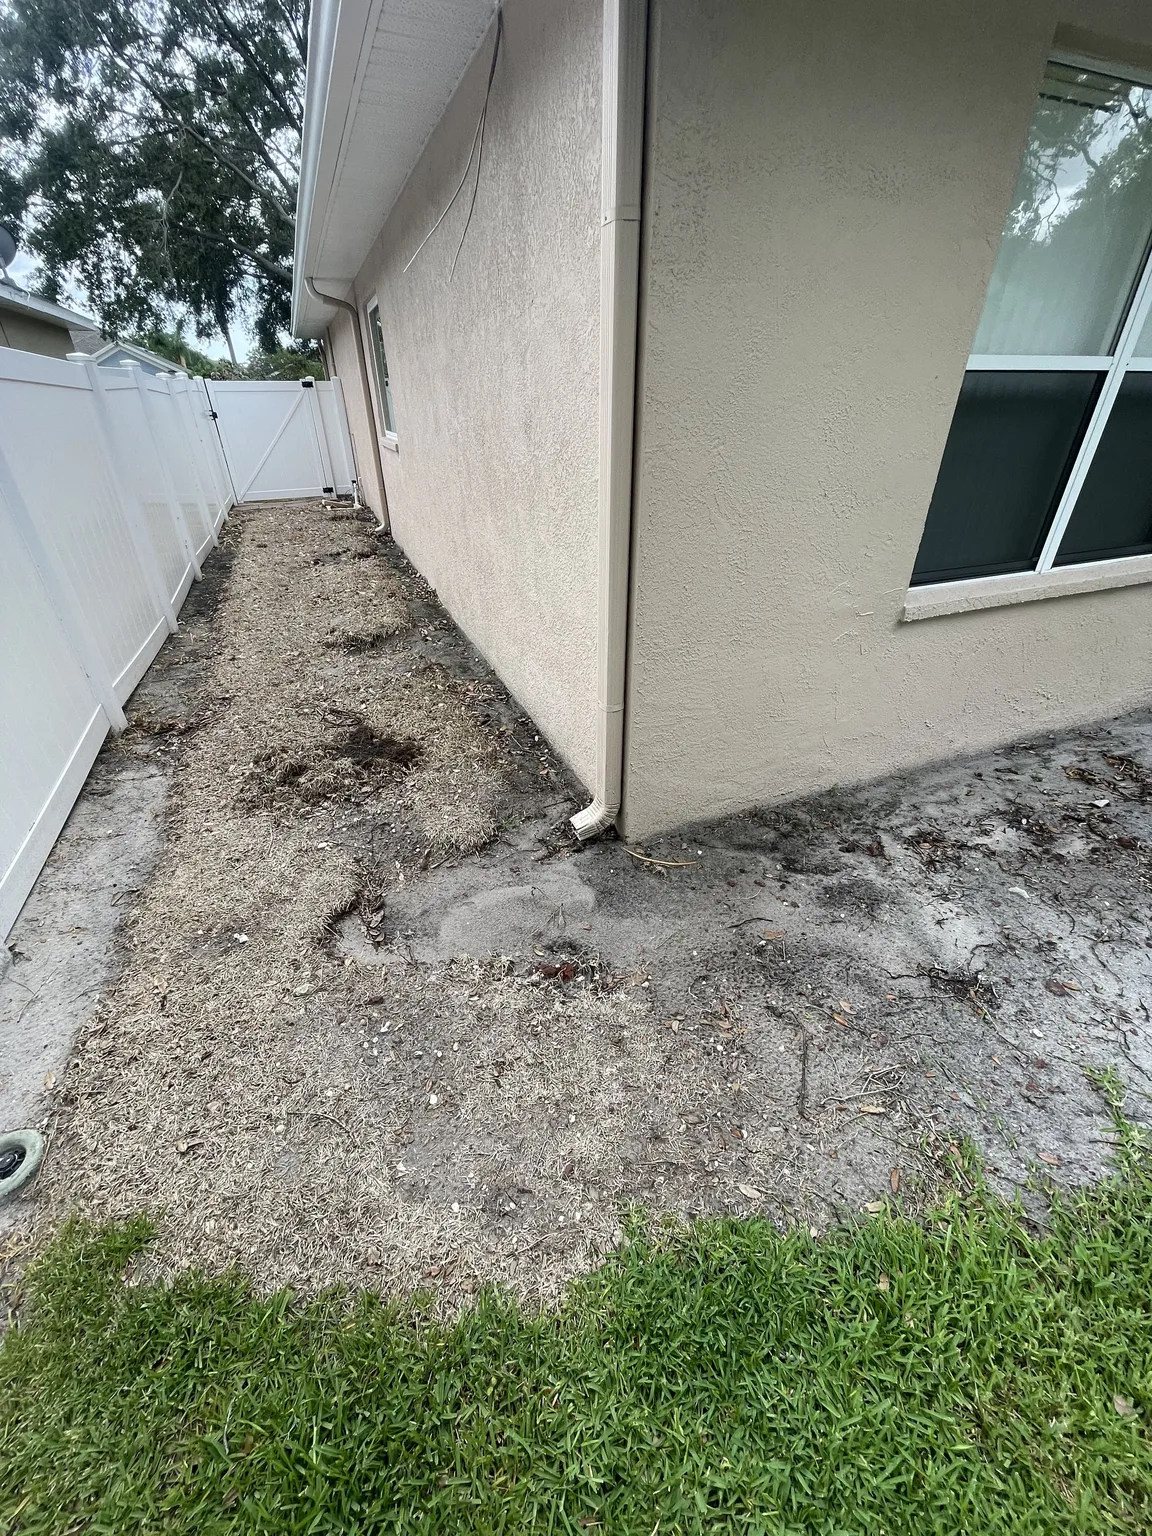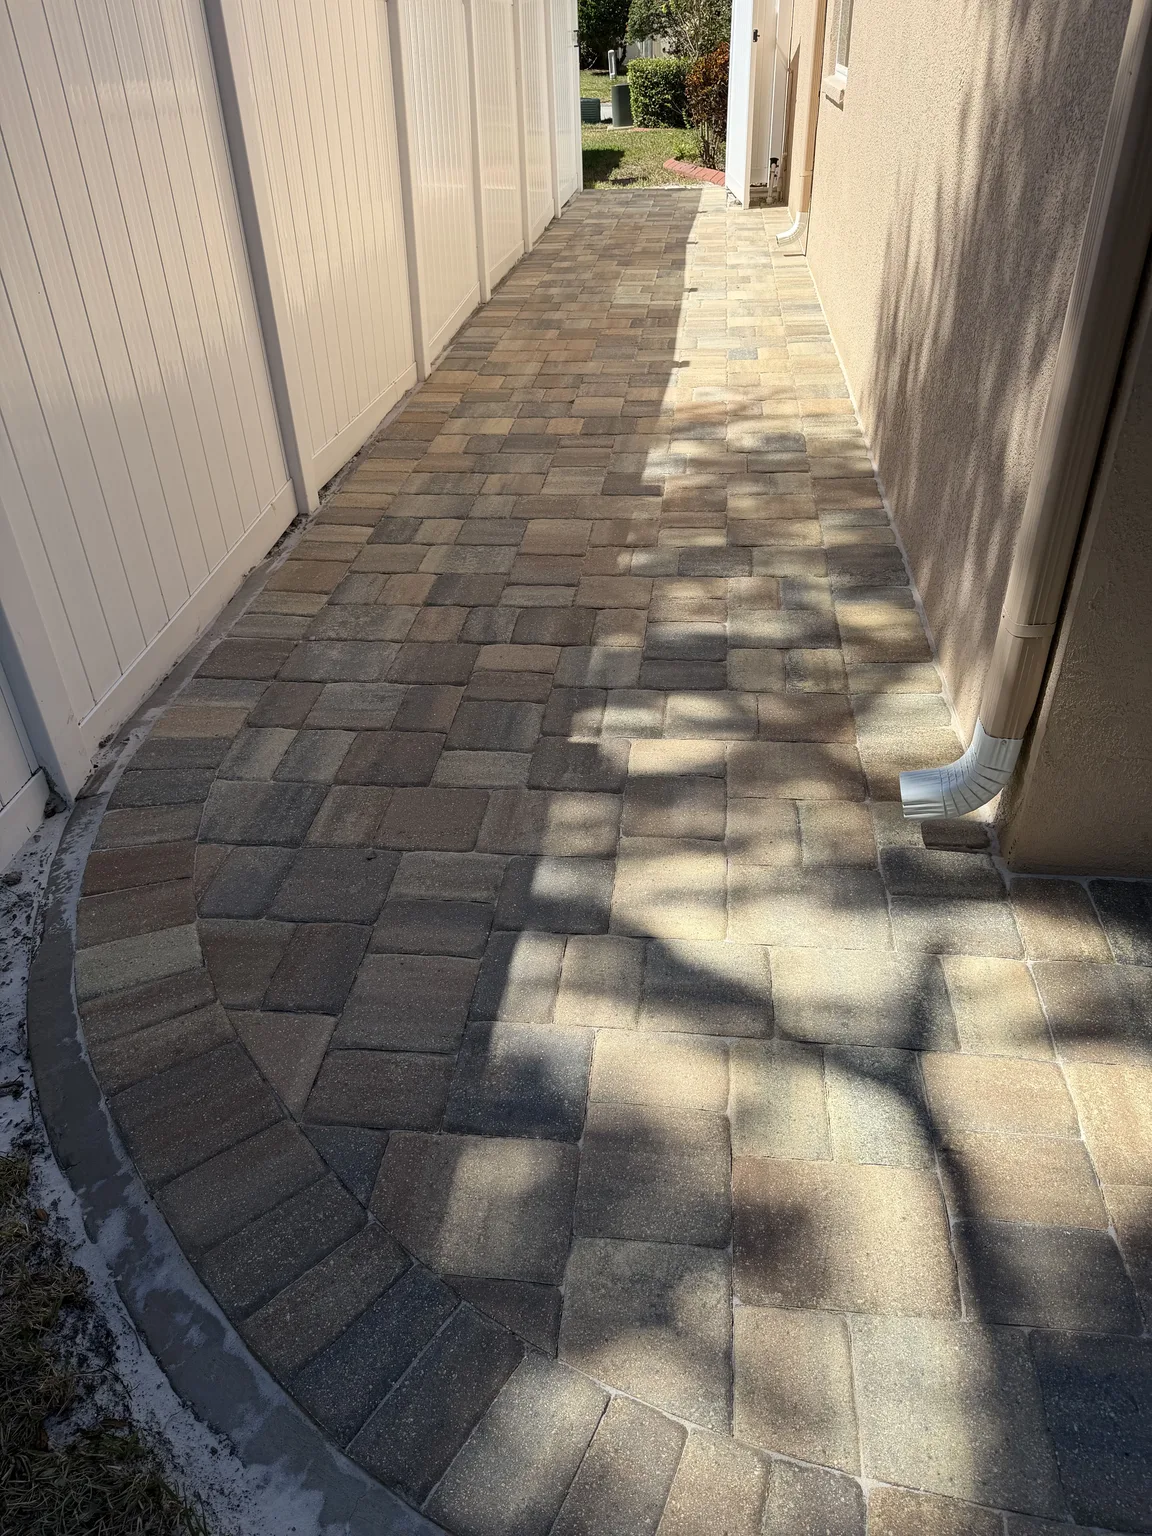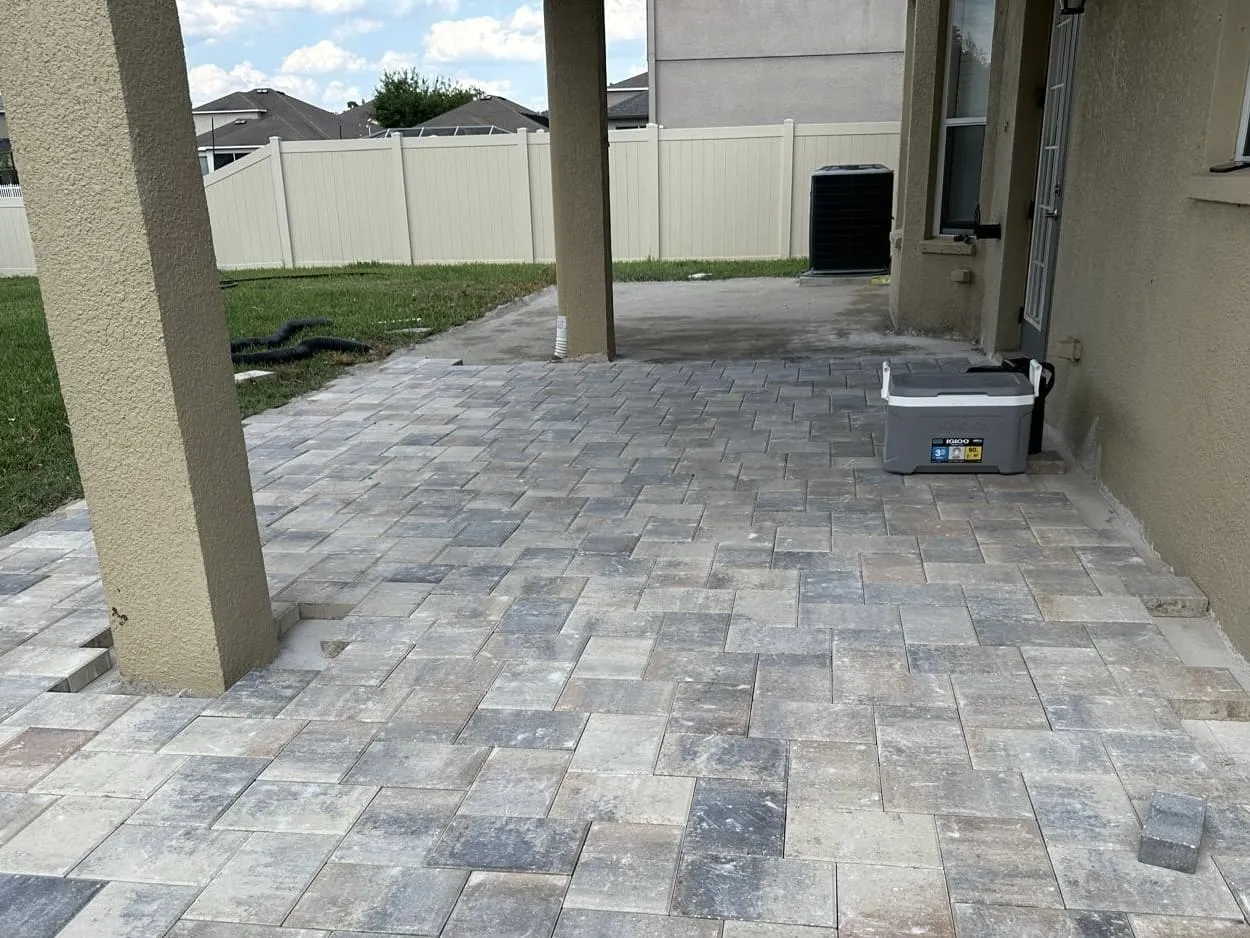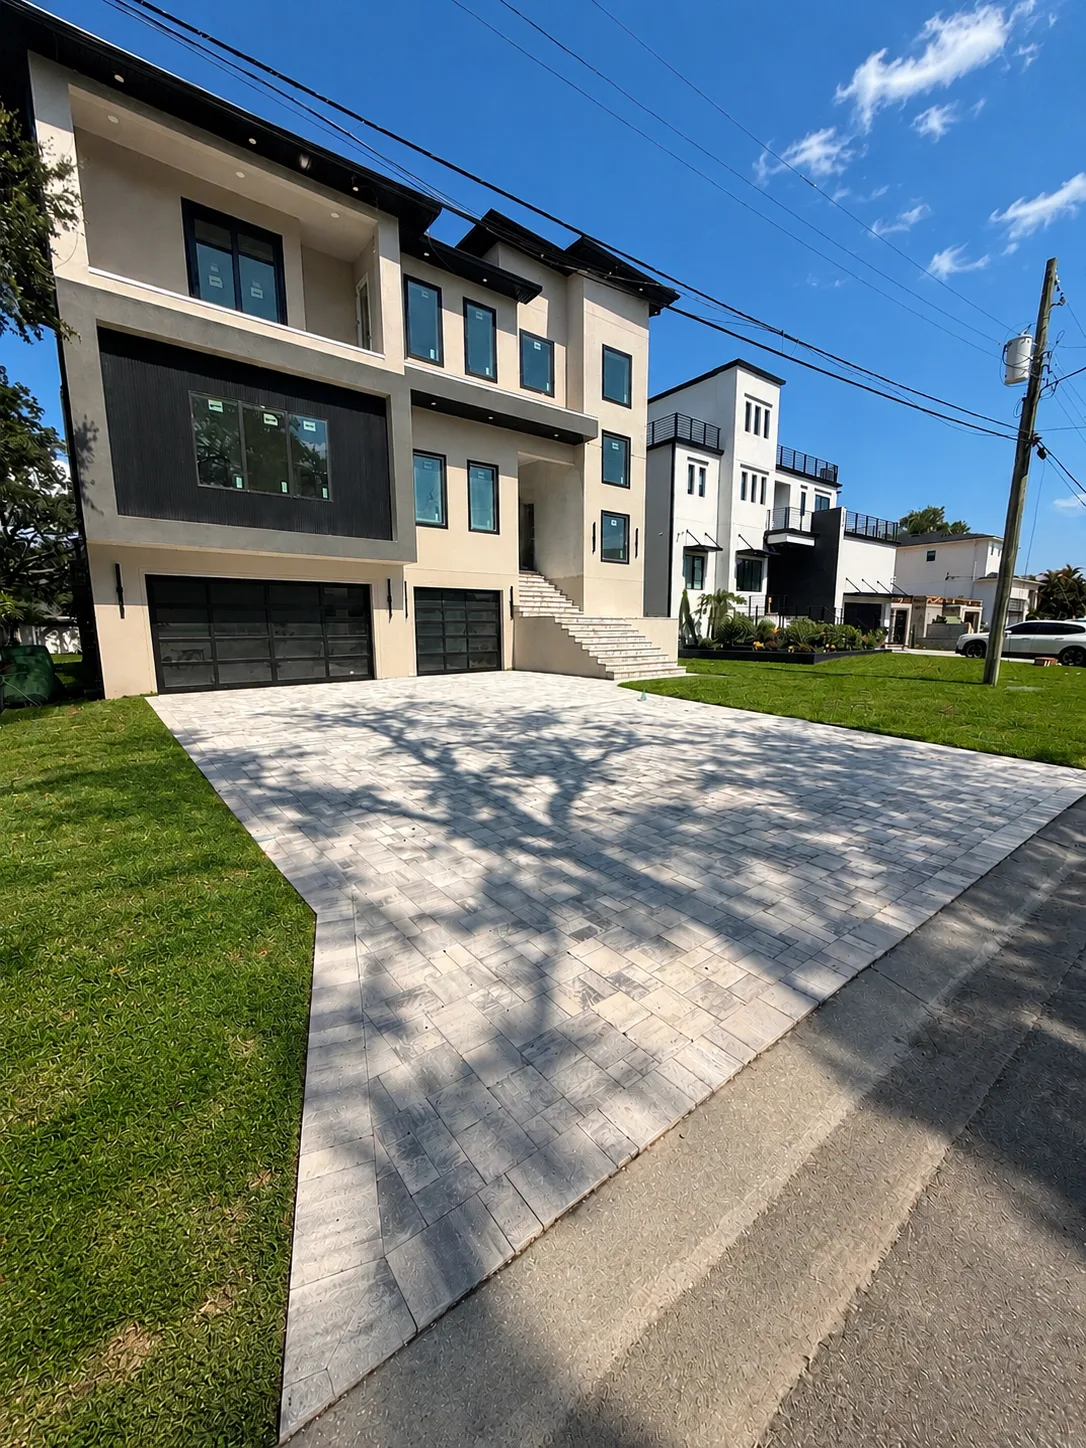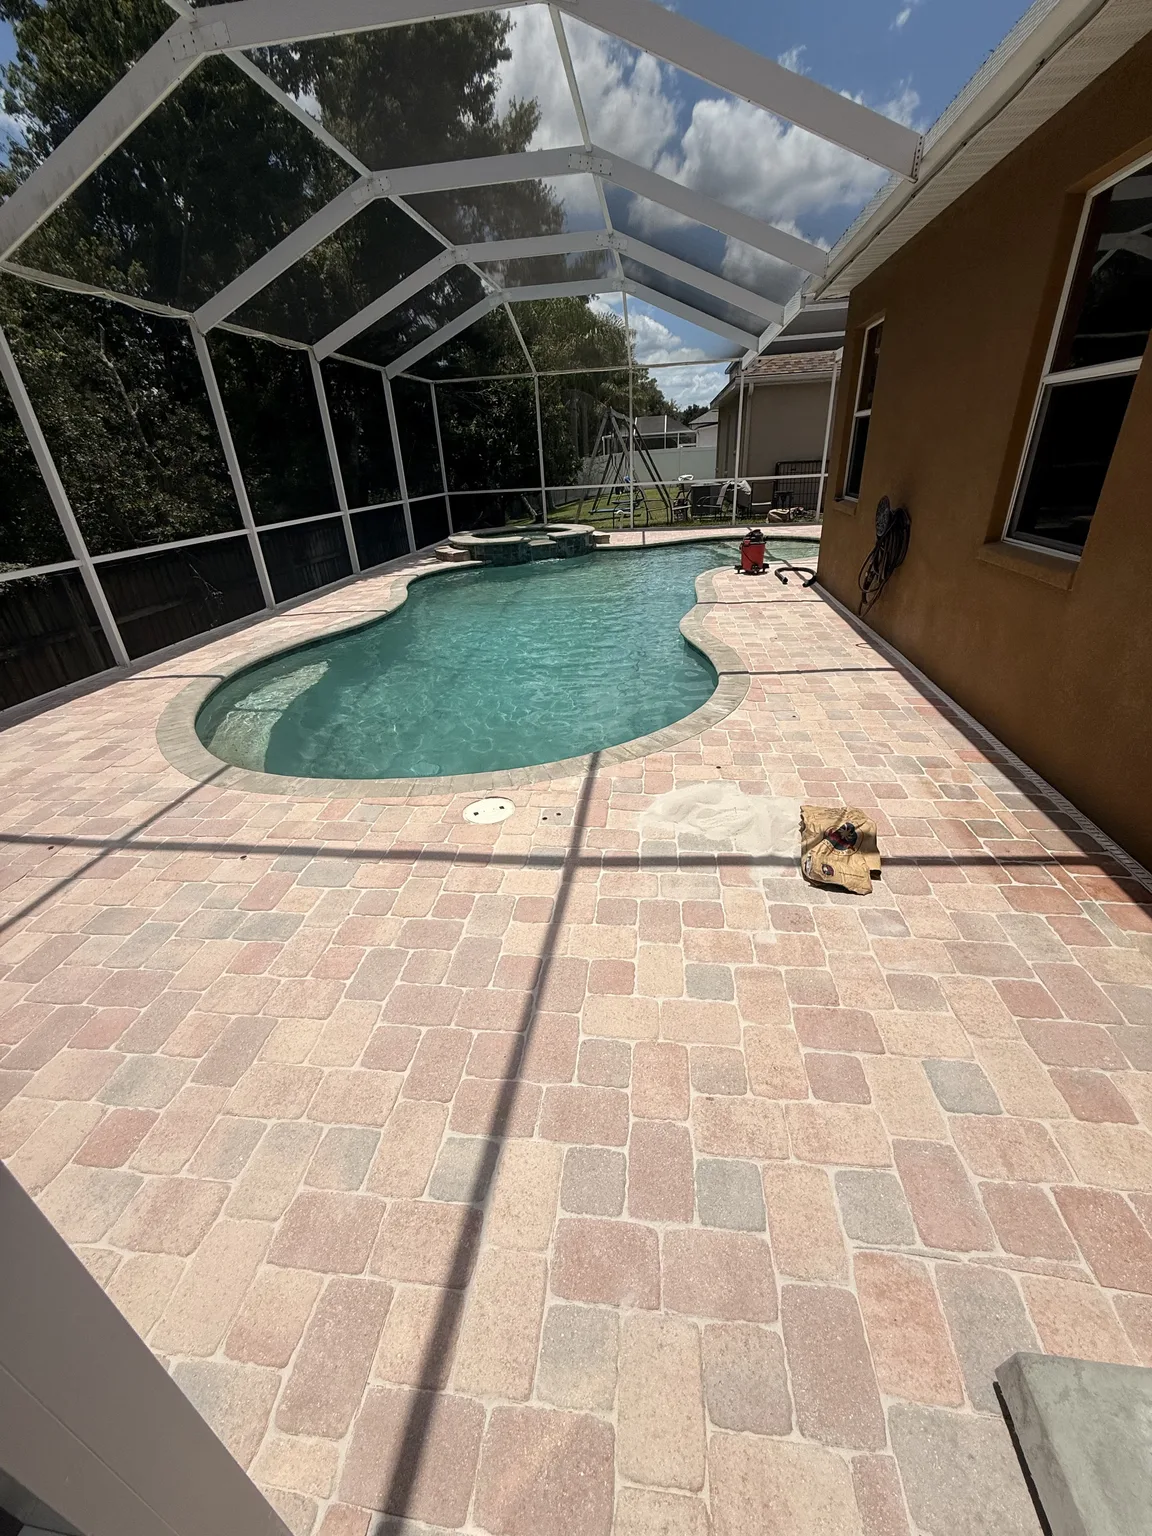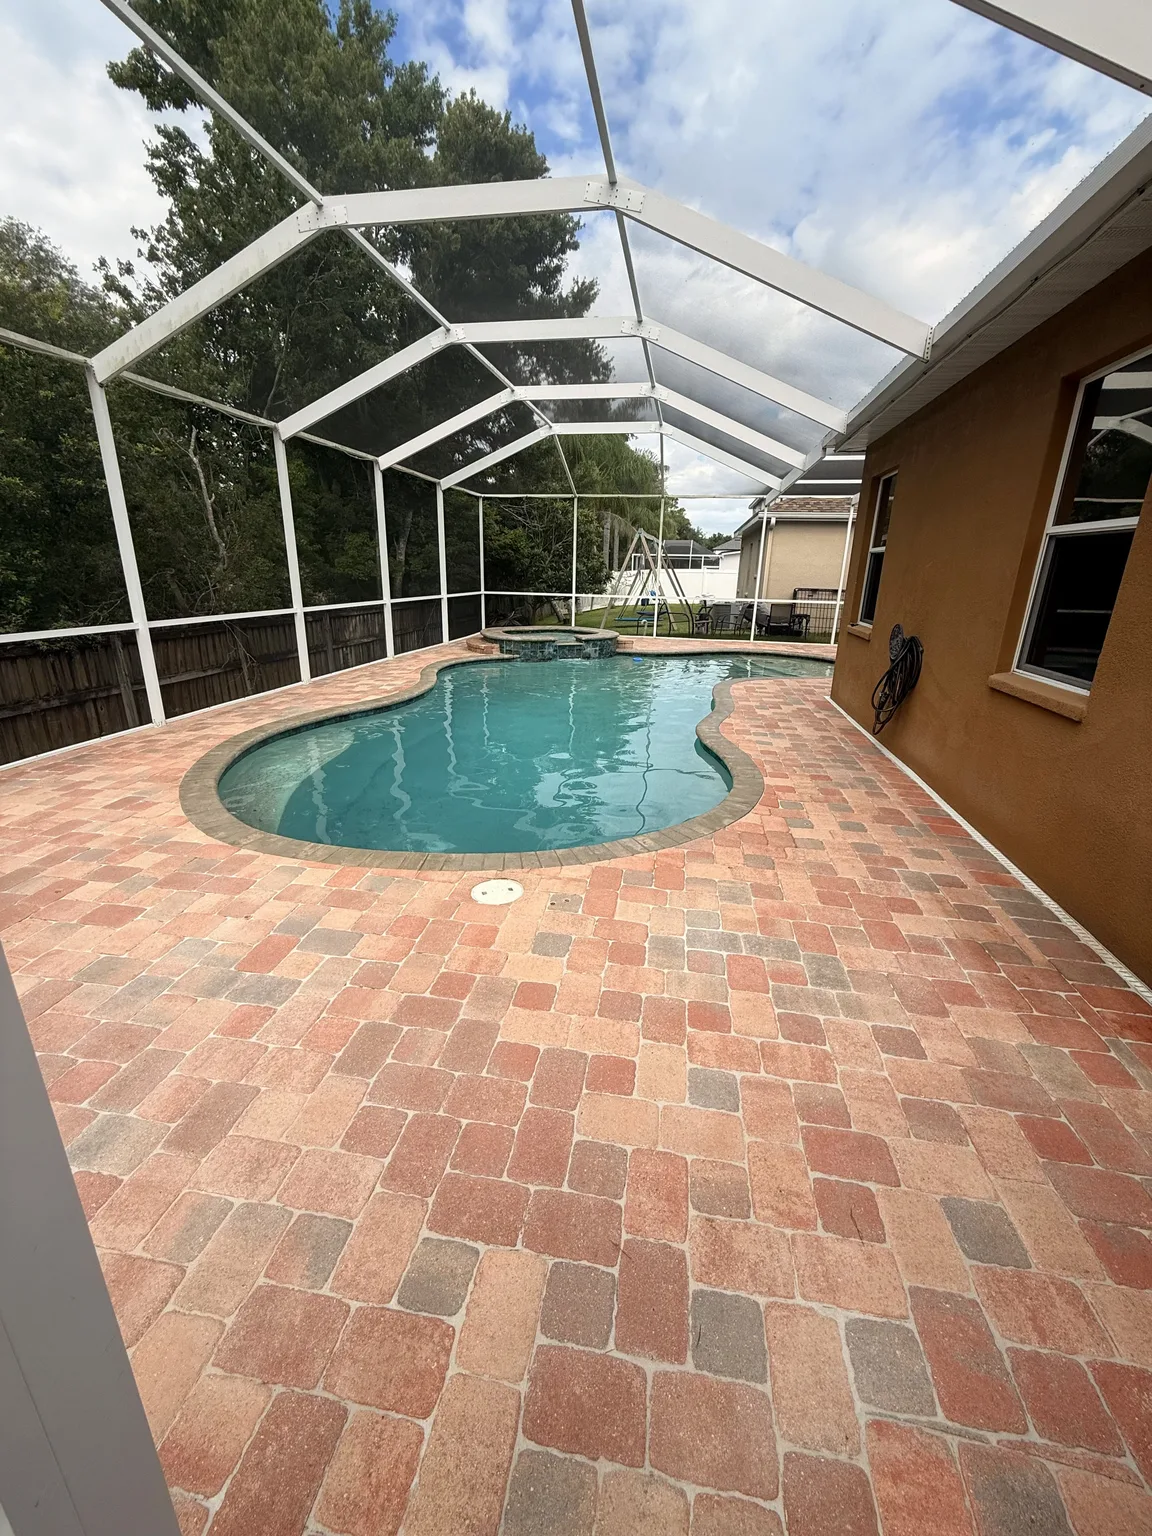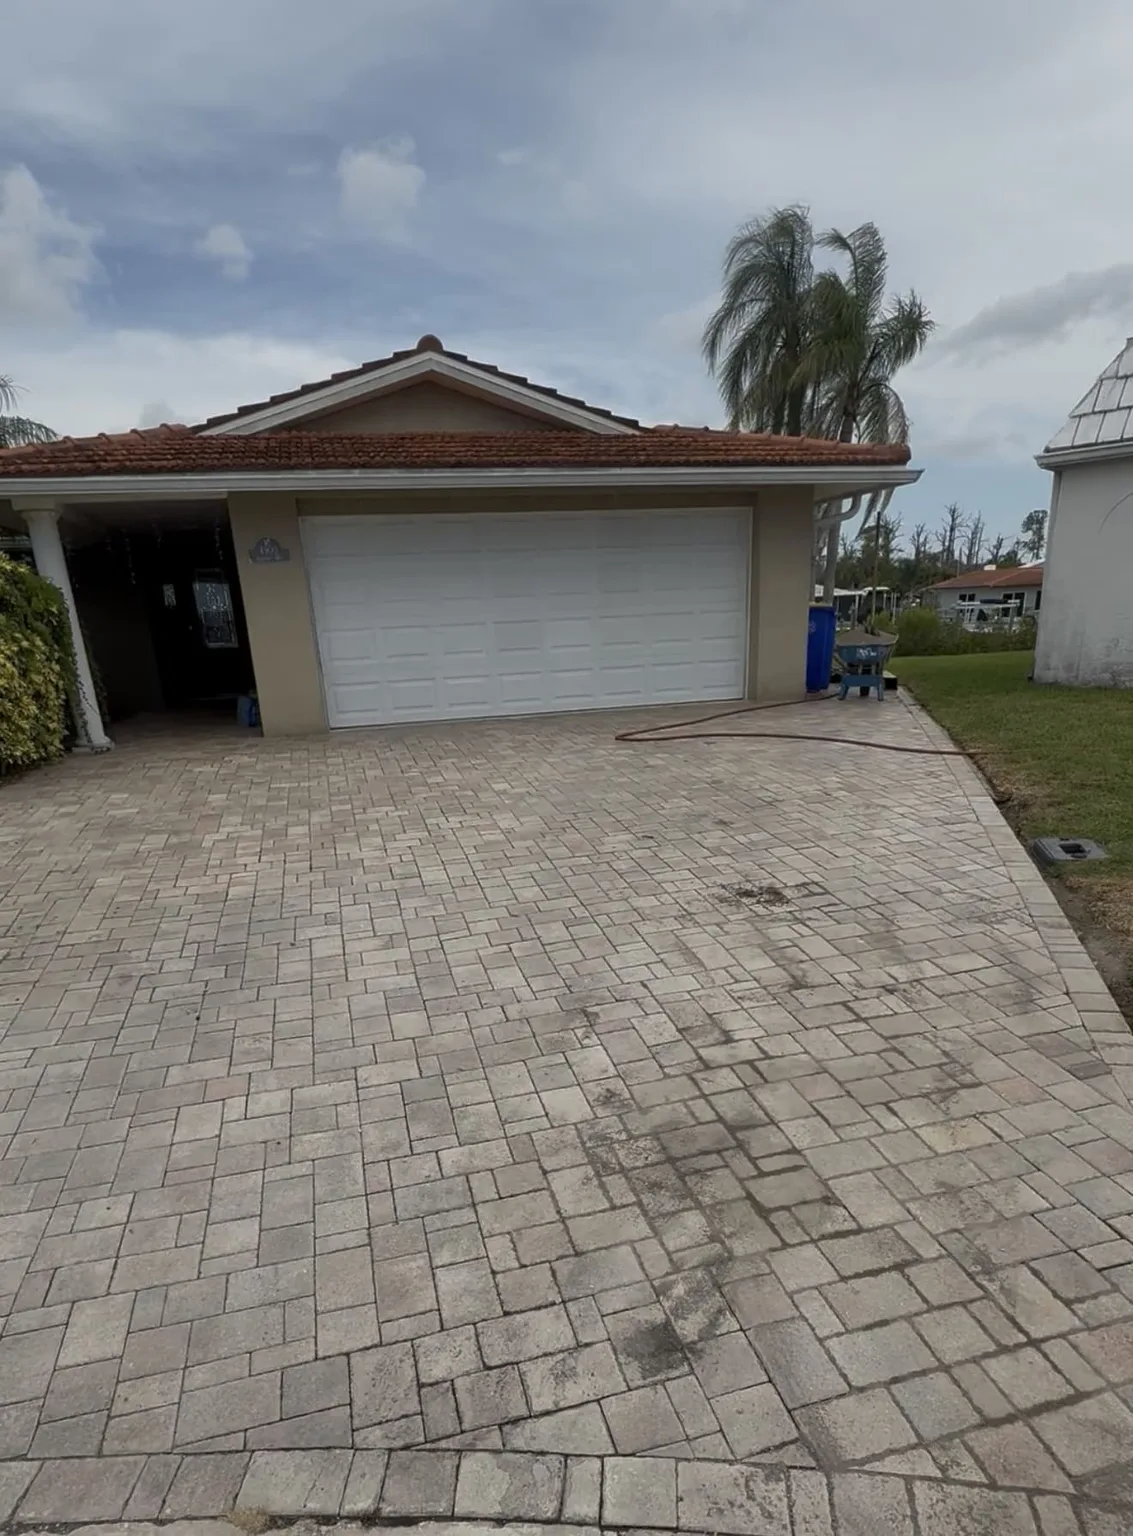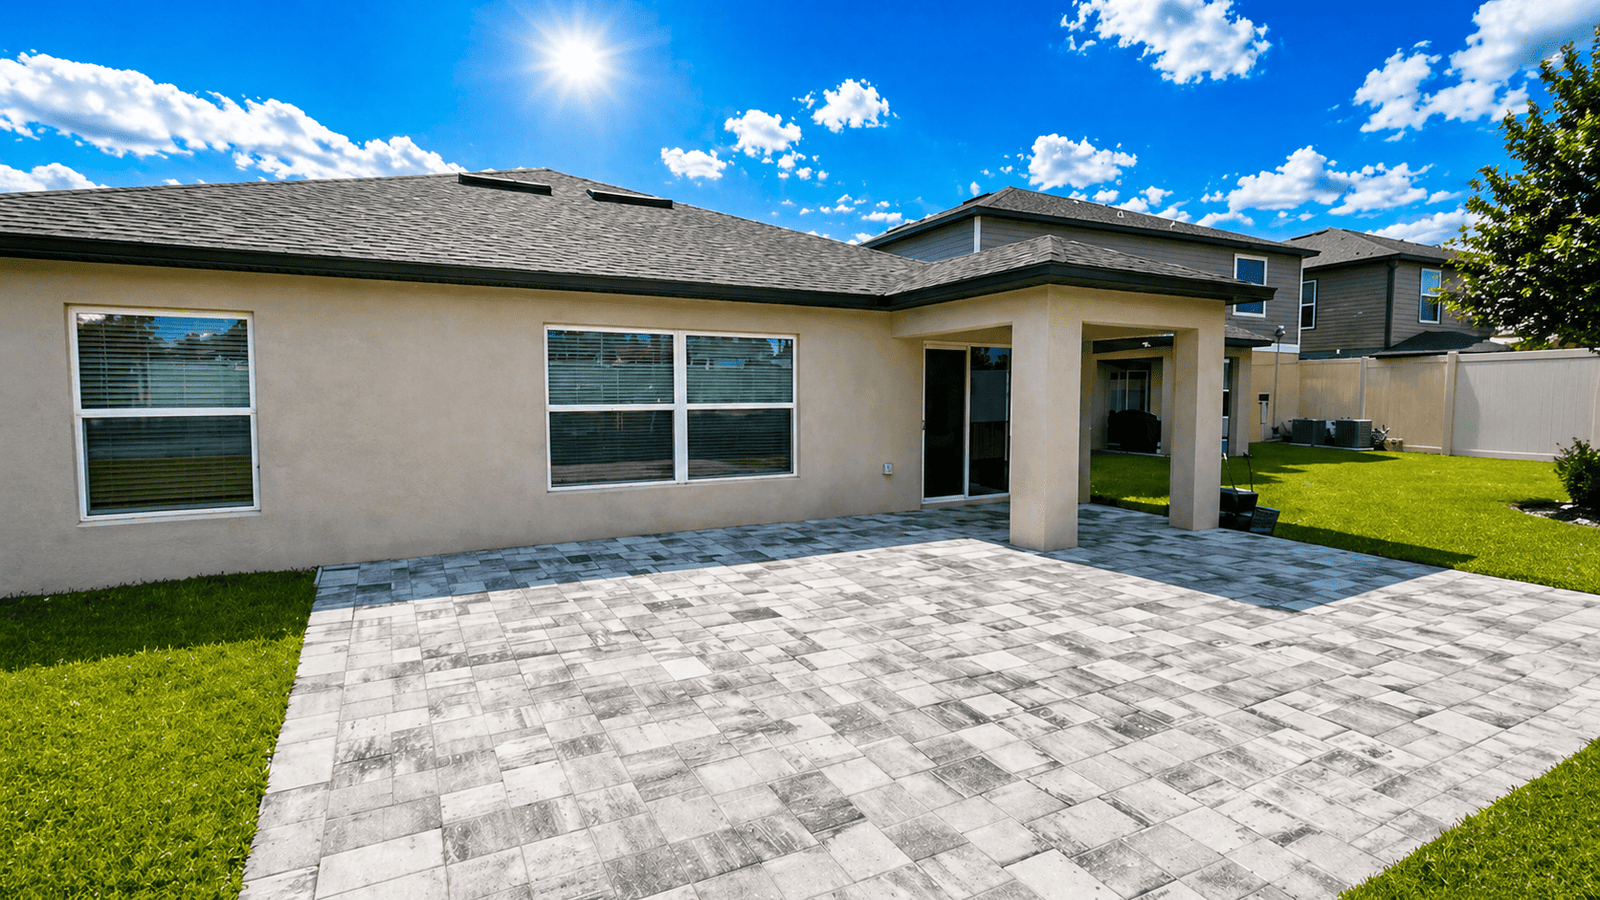
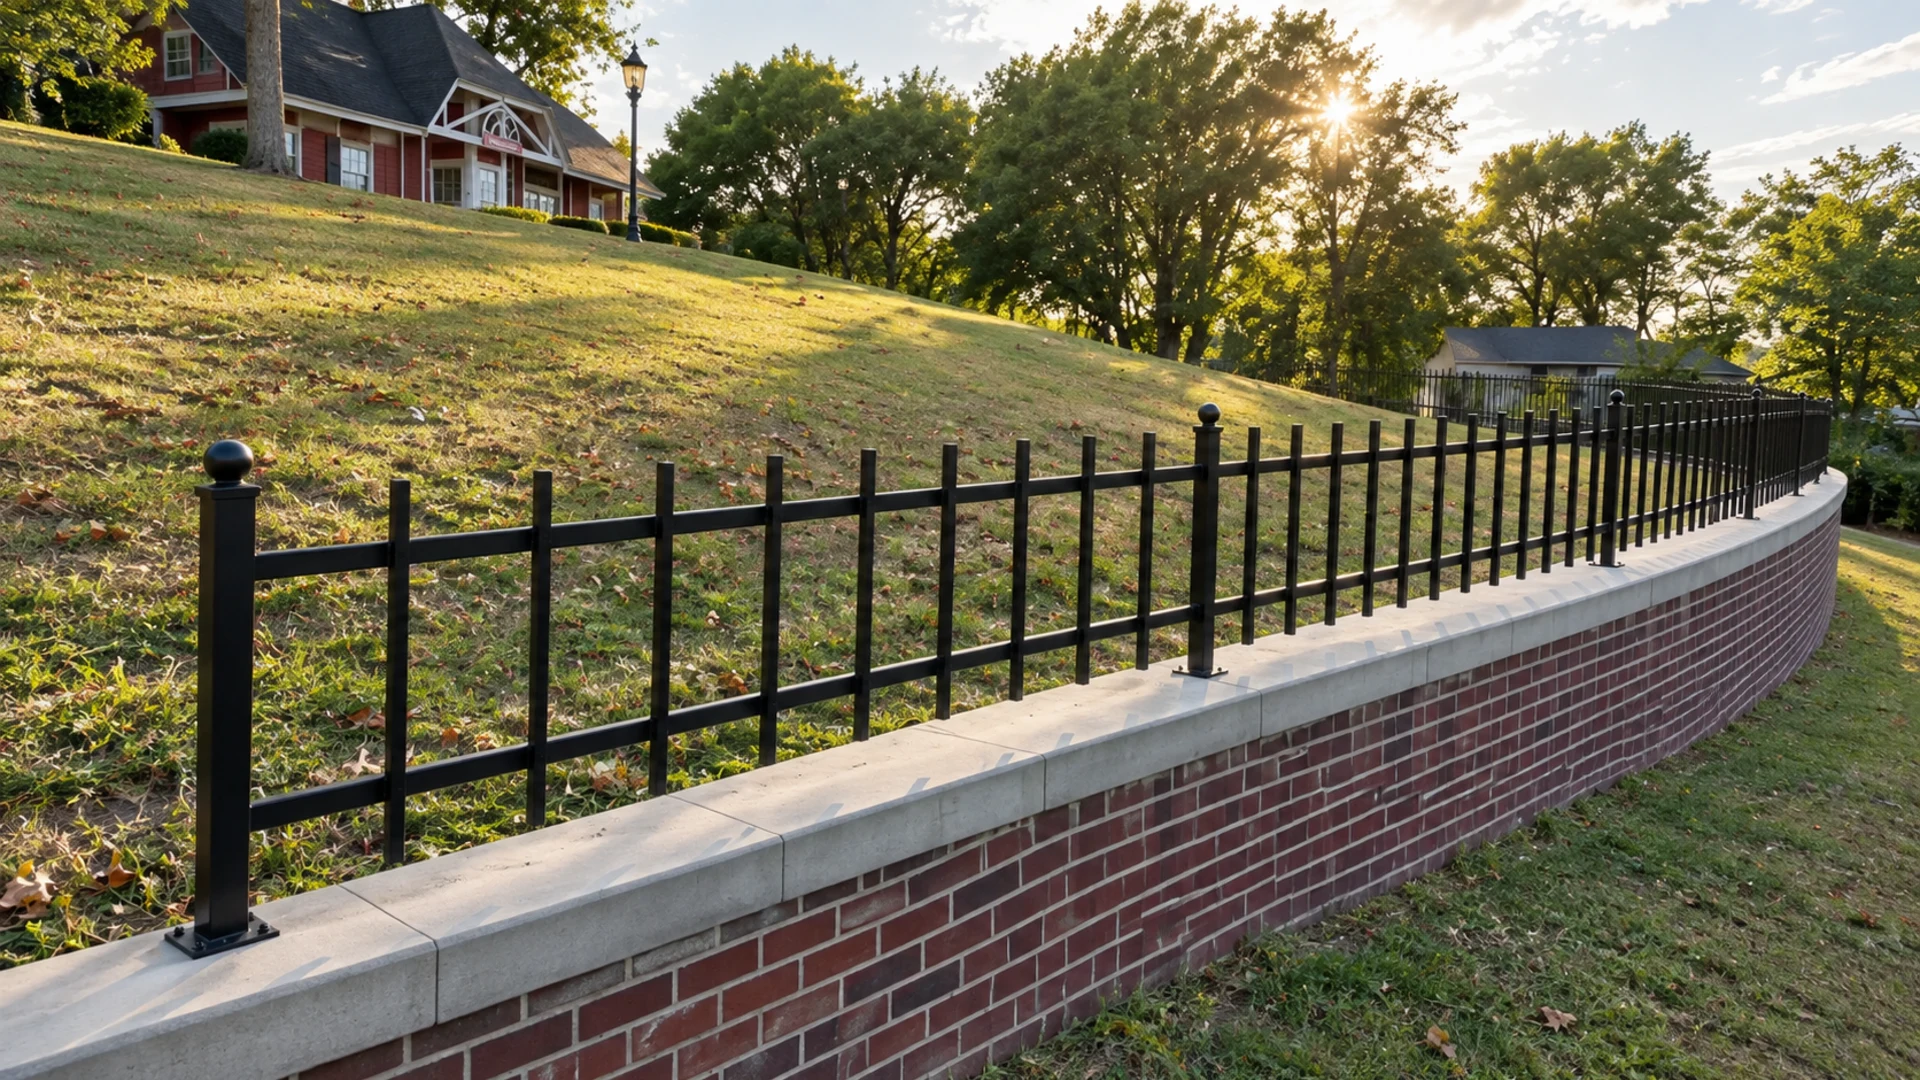
Fence post placement beside a retaining wall is not a routine “set the posts in a straight line” decision. The fence and the wall are separate systems, often with different load paths, drainage needs, and maintenance access. A post that looks conveniently close to a wall cap can complicate excavation, restrict water movement, or put new force where the wall was not intended to receive it. In Tampa Bay, a sound layout begins by locating boundaries and utilities, then reviewing the wall and drawing the fence line before a hole is opened.
Why fence post placement changes near a retaining wall
A retaining wall holds back grade. Its visible face is only one part of that job; below and behind it may be aggregate, drainage provisions, reinforcement, soil, or construction details that are not apparent from the yard. A fence post needs its own support and must resist the pull of gates, wind on panels, and everyday use. Treating either element as a convenient attachment point for the other can create a problem even if both looked stable at the start.
The practical question is not simply how many inches separate a post from a wall. It is whether the intended location leaves the wall’s cap, face, backfill area, drainage route, and footing zone undisturbed. The answer depends on the wall type, grade change, fence height and style, soil conditions, and the layout of the property. Those are site questions, so a careful plan identifies them instead of assuming that a familiar spacing rule applies everywhere.
Map the line before choosing holes
Start with the intended fence path shown across the entire outdoor area, not just the portion beside the wall. A string line or marked layout can reveal a corner that crowds a step, a panel that crosses a drainage swale, or a gate that would swing into a grade change. It also makes it easier to discuss the finished fence in relation to patios, walkways, landscaping beds, and access routes rather than deciding one post at a time.
- Confirm the property line from reliable ownership or survey information rather than a neighbor’s existing fence, a hedge, or an assumed boundary.
- Mark the wall face, cap edges, steps, downspout outlets, drains, irrigation heads, and visible utility equipment.
- Identify where installers need room to move materials and tools without working over the wall or across finished hardscape.
- Mark proposed corners, end posts, and gate posts first; ordinary line posts can then be coordinated between those fixed points.
- Note grade changes along the run so the fence design can address them intentionally instead of forcing panels to follow an unsuitable line.
This layout stage is also the right time to check local requirements and any community rules that govern height, setbacks, materials, or visibility at corners. A survey, a utility locate, and any necessary permission each answer a different question. None should be substituted for another. A utility locate does not establish ownership, and a visible wall does not show what is behind it.
Wall zones that deserve extra attention
The wall face should remain accessible for inspection and maintenance. Setting a post too close can make it difficult to see cracking, movement, staining, or joint changes later. It can also turn a straightforward repair into a fence-removal issue. Along a wall with a finished cap, the cap deserves the same respect: it is not automatically a structural anchor and should not be drilled or used as a base for brackets without verifying the wall design and the proposed attachment.
The upper side of a retaining wall needs equal care. That is commonly where drainage material and soil transition occur. Digging there without understanding the construction can disturb material that supports drainage or grade. On the lower side, a hole may conflict with the wall’s footing or an area that needs room for inspection. The wall’s corners, returns, and transitions near stairs are particularly sensitive because several directions of grade and hardscape meet in a compact area.
Water is part of the location decision. Retaining walls frequently rely on a planned path for water to leave the retained area; a fence should not block outlets, trap debris, or redirect roof and irrigation water toward a wall face. Florida rain can expose a poor path quickly, especially where a downspout, planter bed, or compacted side yard concentrates flow. The goal is not to prescribe a universal drainage detail from a distance, but to preserve the route that the existing site needs and evaluate any unclear condition in person.
Do not make the wall carry the fence
A fence panel catches wind, and a gate transfers repeated opening and closing forces to its support posts. Those loads are different from the earth-retention work of a wall. Fastening rails to a cap or face may seem tidy, but it can introduce concentrated force, water-entry points, or movement conflicts. The same concern applies to placing a post so close that its concrete or compacted support effectively bears against the wall. A clean visual relationship is desirable; a shared structural assumption is not.
When a fence must turn near the wall, a self-supporting corner arrangement may be preferable to an improvised connection. The final approach should follow the selected fence system, the observed wall construction, and any applicable approval process. If the project needs an attachment, excavation near the wall, or an unusual transition, that is a reason to verify the condition and permissions before work, not a reason to conceal the detail behind a finished panel.
Gates need their own layout conversation
Gate posts carry more demand than a typical line post, so they should not be an afterthought squeezed into the nearest opening. Measure the clear passage needed for people, lawn equipment, trash bins, or pool-area circulation. Then check the swing path at the actual grade. A gate can drag on a rising driveway, strike a step, or open toward a wall where it cannot be operated comfortably. A latch location and a usable approach on both sides matter as much as the opening width.
Near a retaining wall, gate placement also affects access for future wall care. A thoughtfully located gate may give a homeowner a way to inspect the wall face or service a narrow side yard. Conversely, a gate whose hinge post crowds a cap or wall return can create a high-force location at exactly the wrong point. Review the post locations, hardware direction, gate weight, and travel path together before setting the end posts.
Underground conditions are not visible from the fence line
Roots, irrigation piping, landscape lighting, electrical lines, drainage piping, and communications services can all cross a proposed run. Some are shallow, some are privately installed, and some may not be evident at the surface. Arrange utility locating before excavation and treat marked information as part of the layout, not a last-minute obstacle. Private features may need separate investigation. If a marked route conflicts with a desired post, revise the layout or use an approach appropriate to the verified condition rather than digging by assumption.
Roots deserve a measured response as well. Cutting a substantial root can affect a tree, while forcing a post hole through roots may leave a weak or poorly located foundation. A minor route adjustment can be less disruptive than trying to make every panel fall at a predetermined interval. Resources such as the University of Florida IFAS Extension can help homeowners understand Florida landscape considerations, but a site review is still needed to decide what the particular tree, wall, and fence line allow.
A workable order of operations
Good sequencing prevents an attractive fence plan from becoming an expensive correction. Begin with property information and the proposed fence purpose. Request utility locating with enough time to use the results. Walk the wall from both sides where possible, noting caps, drainage outlets, grade changes, steps, and any visible signs that need professional attention before nearby work. Only then should the layout be marked and reviewed for gate function, panel transitions, access, and maintenance clearance.
- Establish the boundary and project constraints.
- Locate public utilities and identify private-site features that need verification.
- Review the retaining wall, adjoining grade, water paths, and accessible work area.
- Lay out corners, ends, gates, and line posts with the wall zones marked.
- Resolve conflicts before excavation, drilling, or attachment decisions are made.
- Install only after the final layout leaves the fence independently supported and the wall serviceable.
This sequence is especially valuable on a tight side yard, where a small adjustment at one end can prevent a crowded gate or inaccessible wall face at the other. It also provides a clear record of the questions that were checked, rather than relying on memory after posts and panels are already in place.
Questions homeowners can bring to the walkthrough
Ask how the fence will remain independent of the wall, where the post holes sit in relation to the wall’s visible features, and how access will be maintained. Ask what happens if a utility, root, drain, or unexpected wall detail appears at a planned location. If the project includes a gate, ask to see its swing path and the final position of its hinge and latch posts. These questions focus the conversation on coordination, not on unsupported promises about what cannot be seen below grade.
For broader planning, review Dr Pavers Design project and service information to compare the outdoor elements that may need to work together. A fence is often the final visible layer around a patio, walkway, planting area, or grade transition. Its best location respects those elements while keeping the wall legible, accessible, and free to perform its separate job.
Design details that keep the layout practical
Fence style affects the plan. An open picket or rail design exposes the wall and may preserve a clearer sightline at a transition, while a privacy fence changes wind exposure and visual enclosure. Stepped panels, racked panels, and custom transitions each respond to grade differently. The preferred look should be drawn against the actual rise and fall of the yard, including the wall cap and nearby steps, so a decorative decision does not create an awkward gap or a difficult-to-maintain corner.
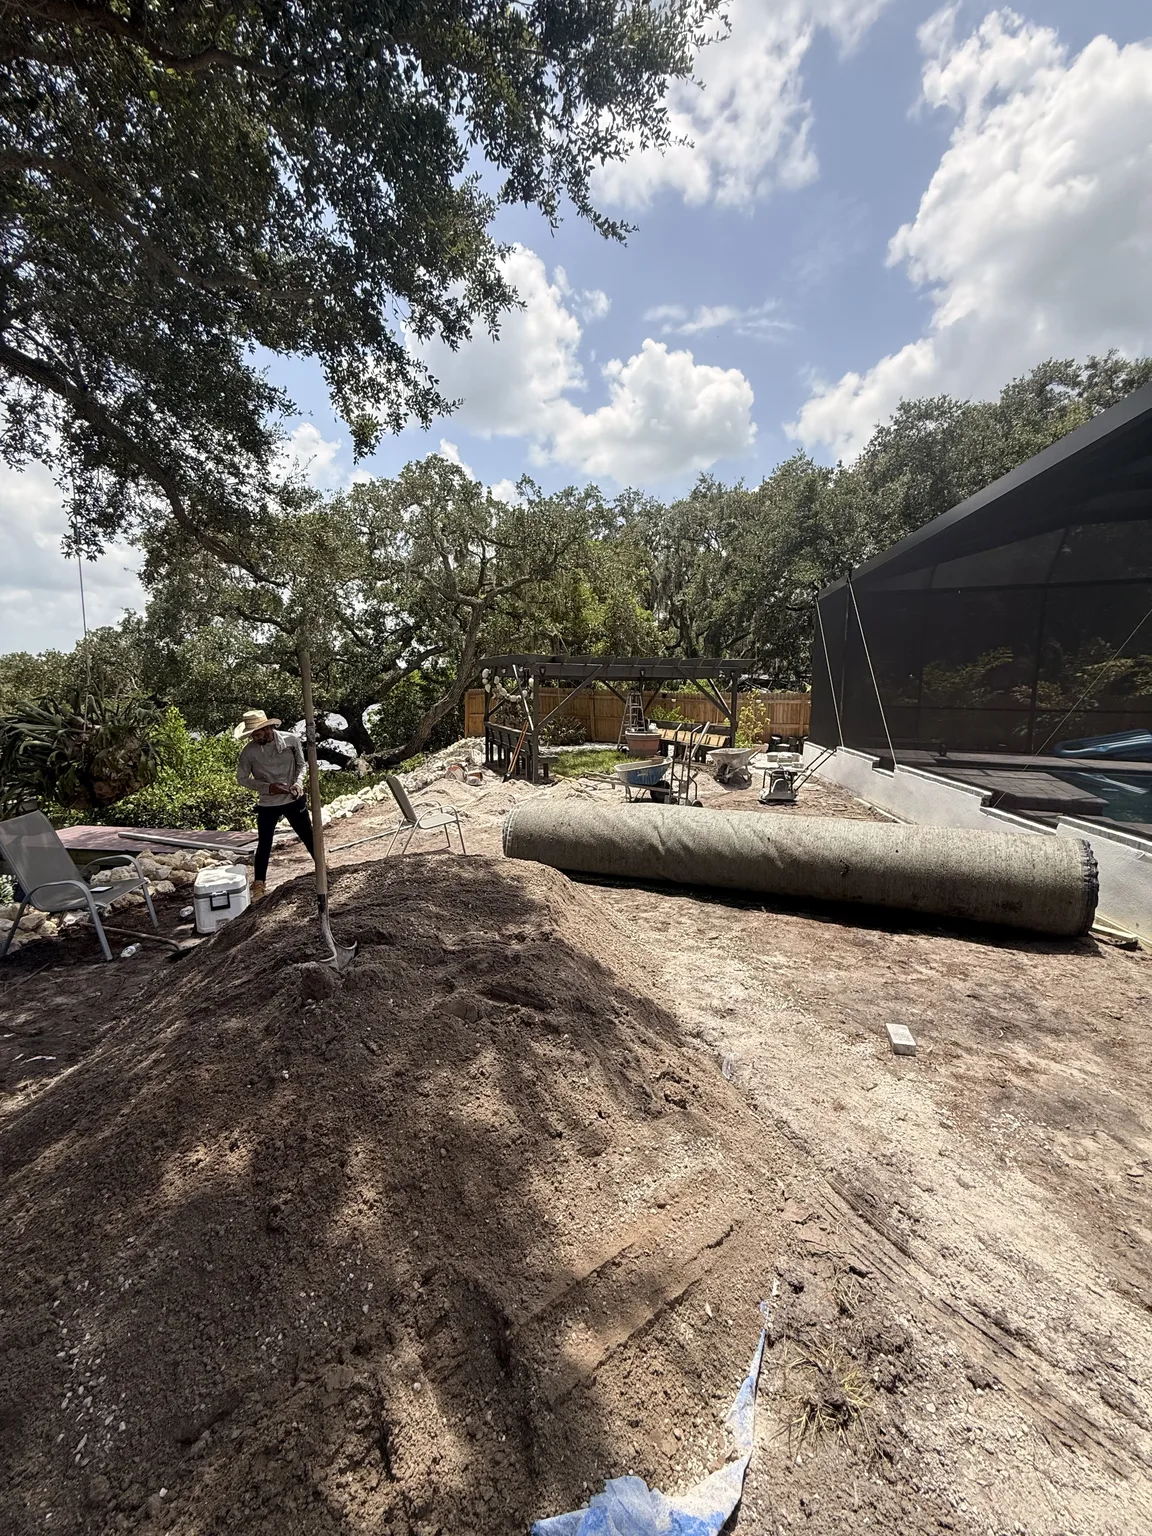
Consider how the finished space will be used after installation. A narrow passage behind a fence can become impossible to sweep, trim, or inspect. A planting bed may need enough room for routine care without leaning ladders or tools against the wall. If a pool, patio, or equipment pad is nearby, confirm that the fence line does not block service access. These modest operational details are easy to overlook on a plan and frustrating to solve after the line posts are permanent.
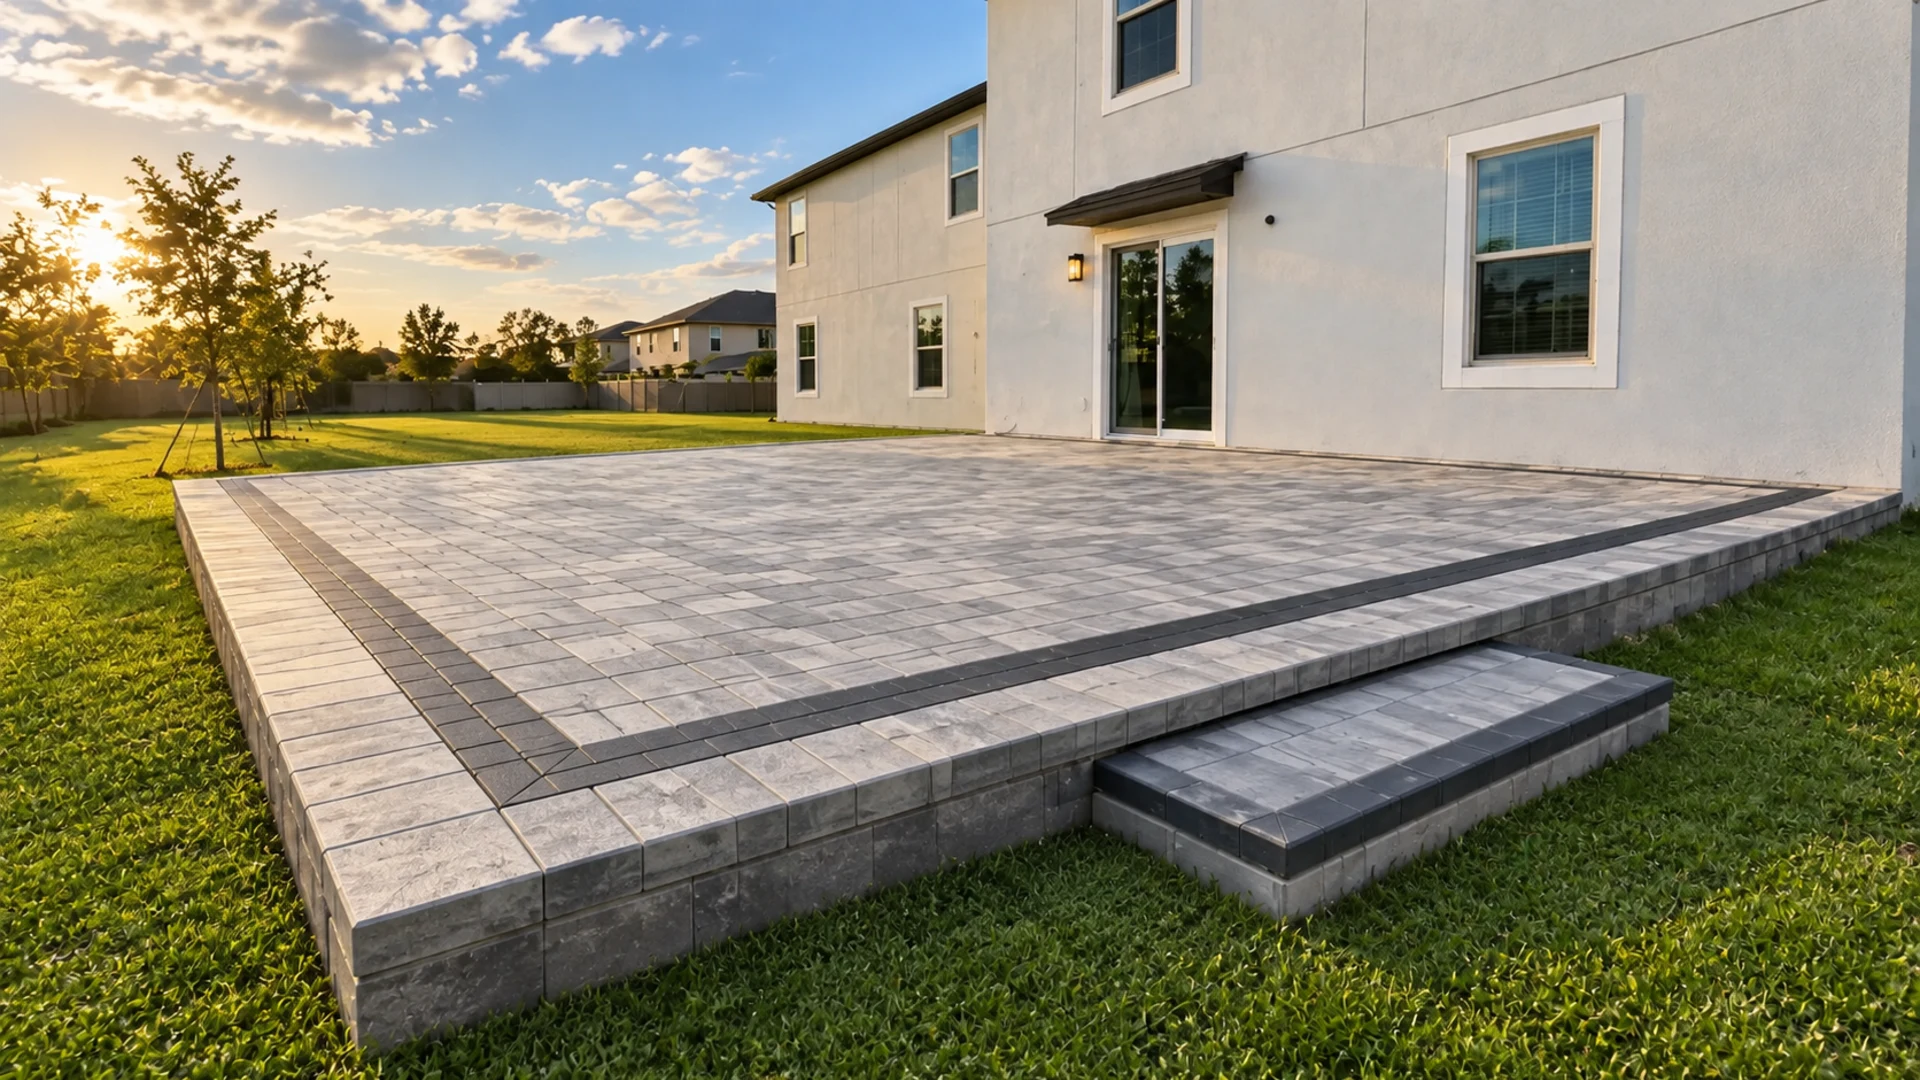
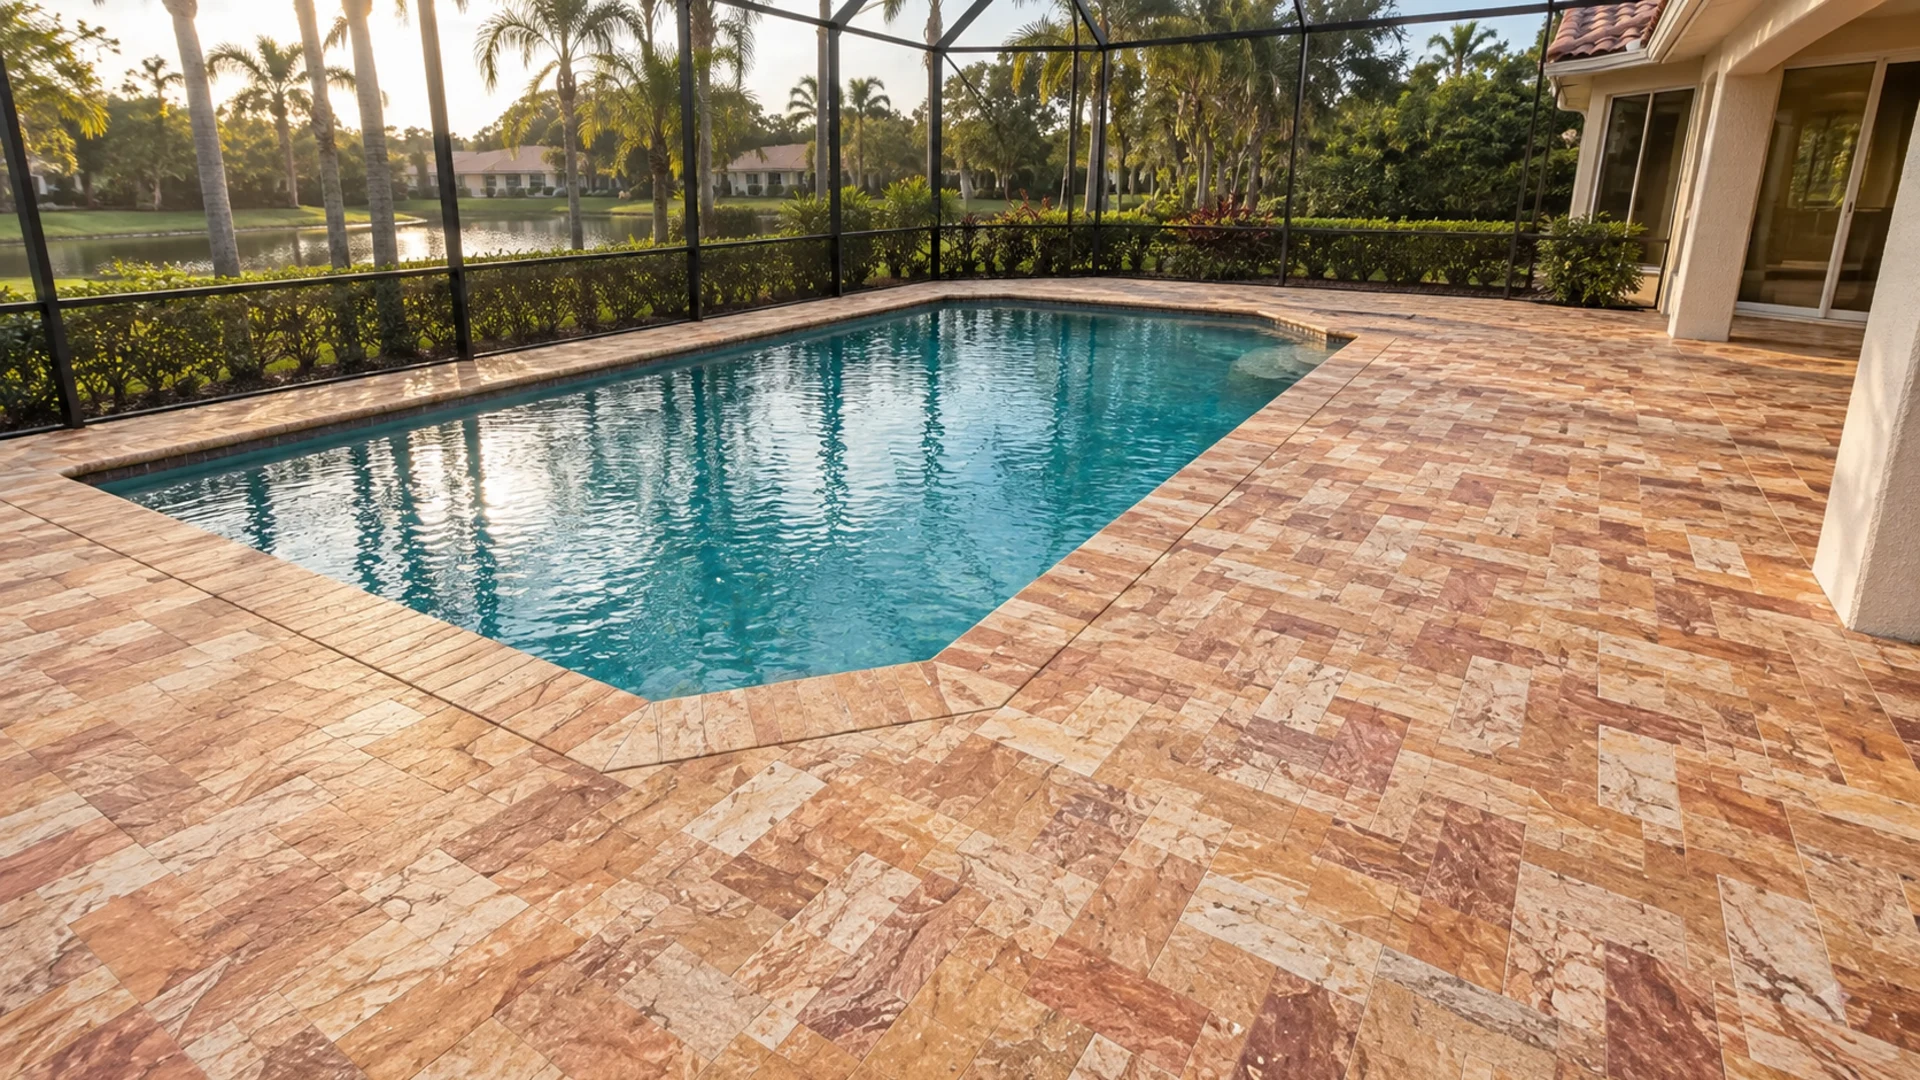
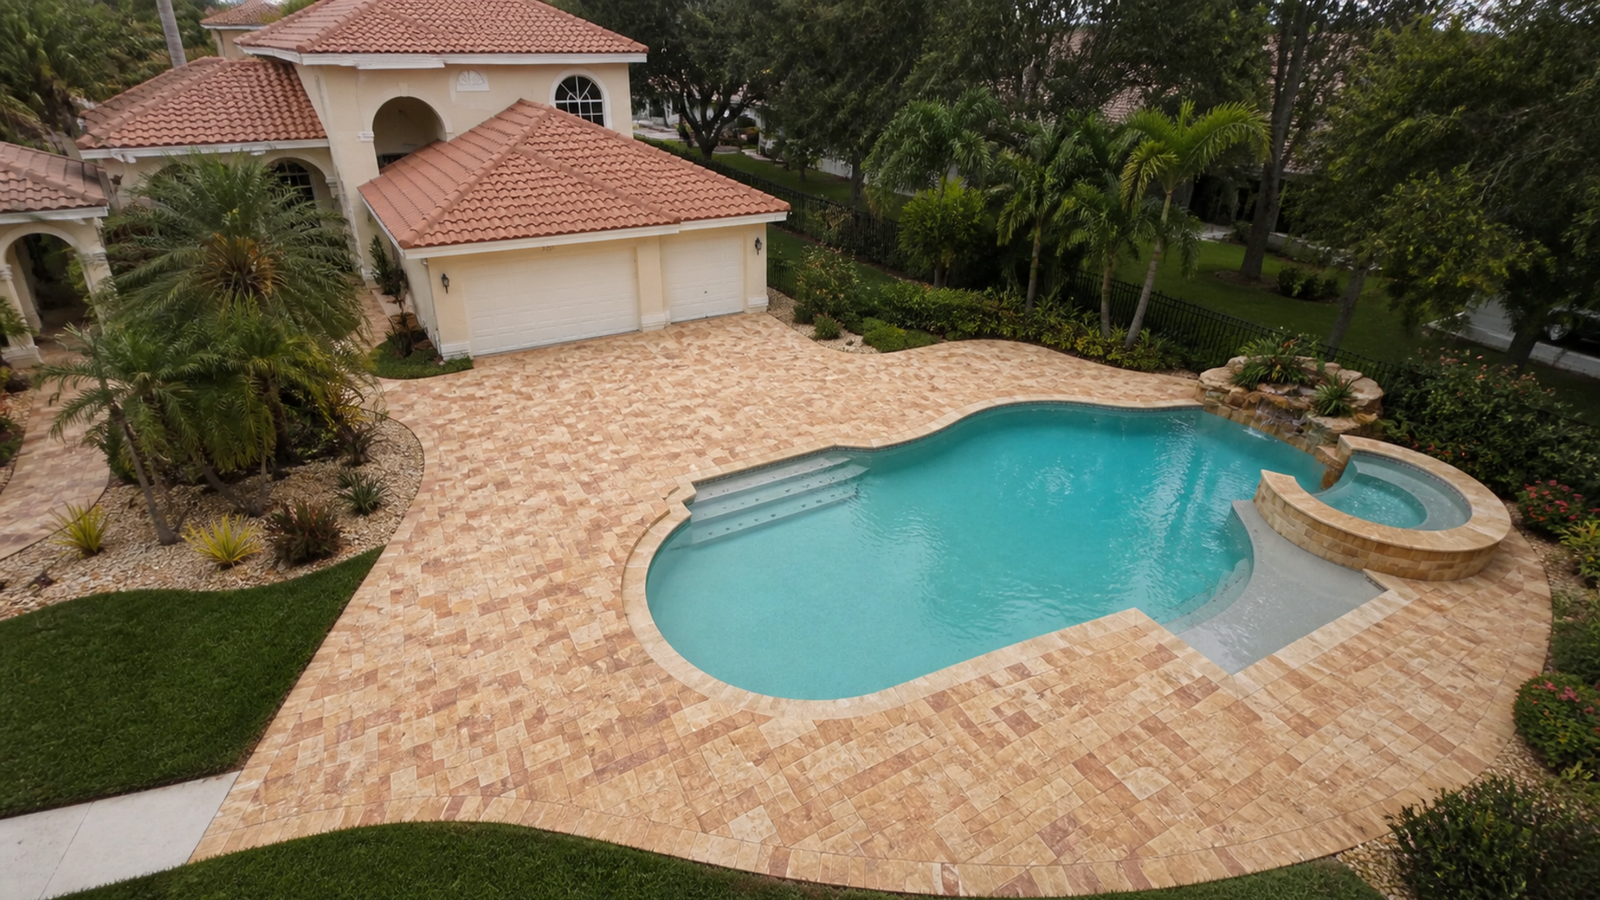
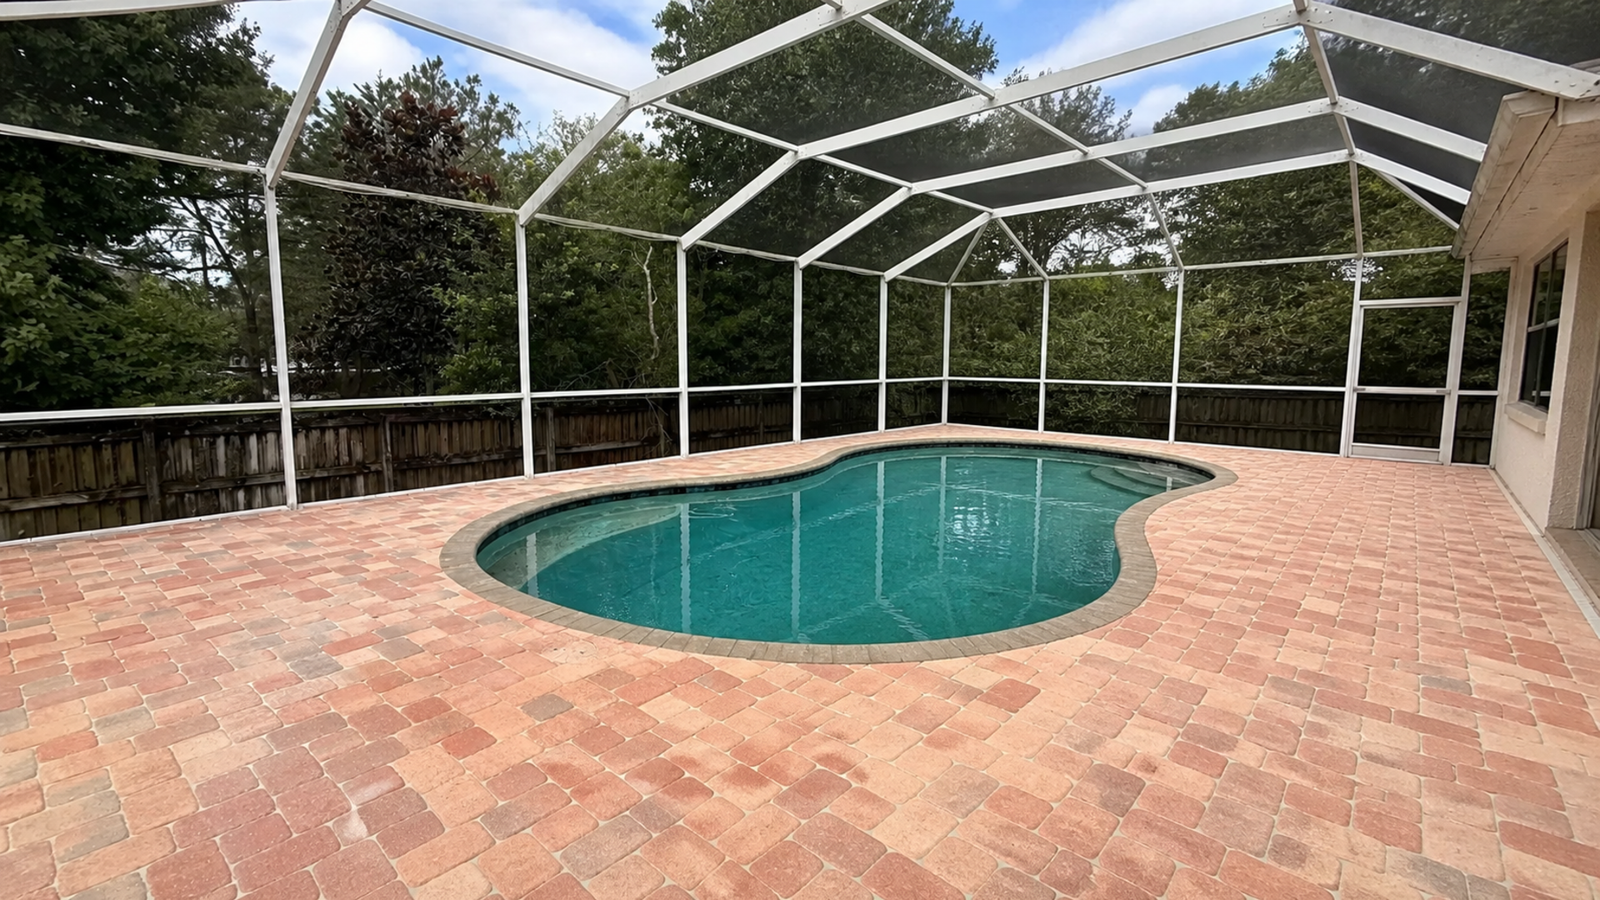
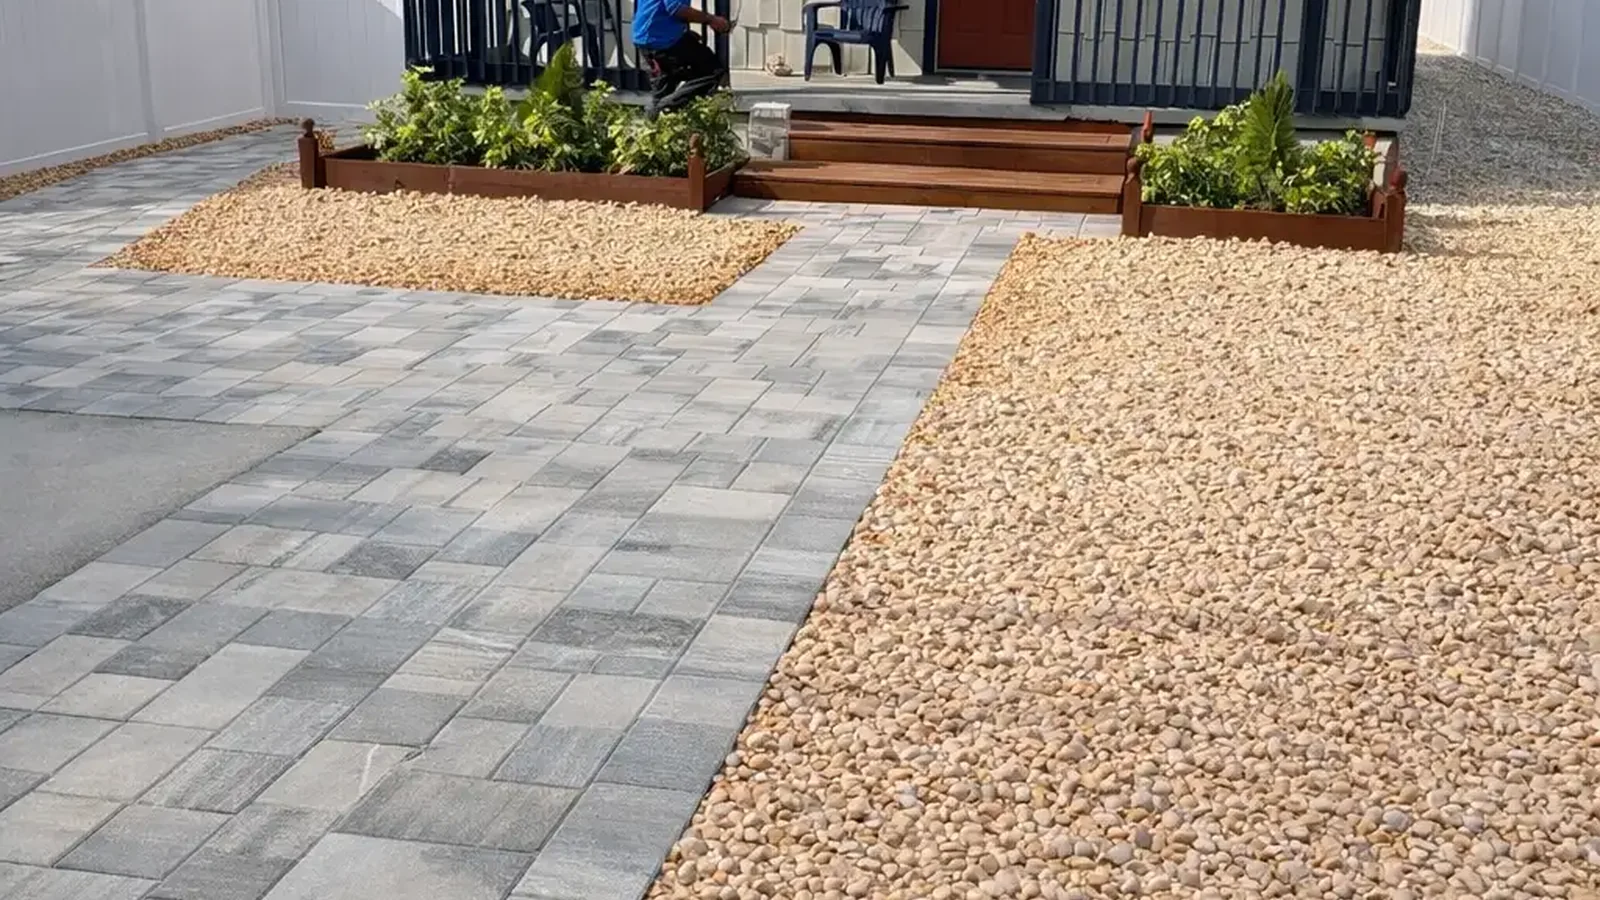
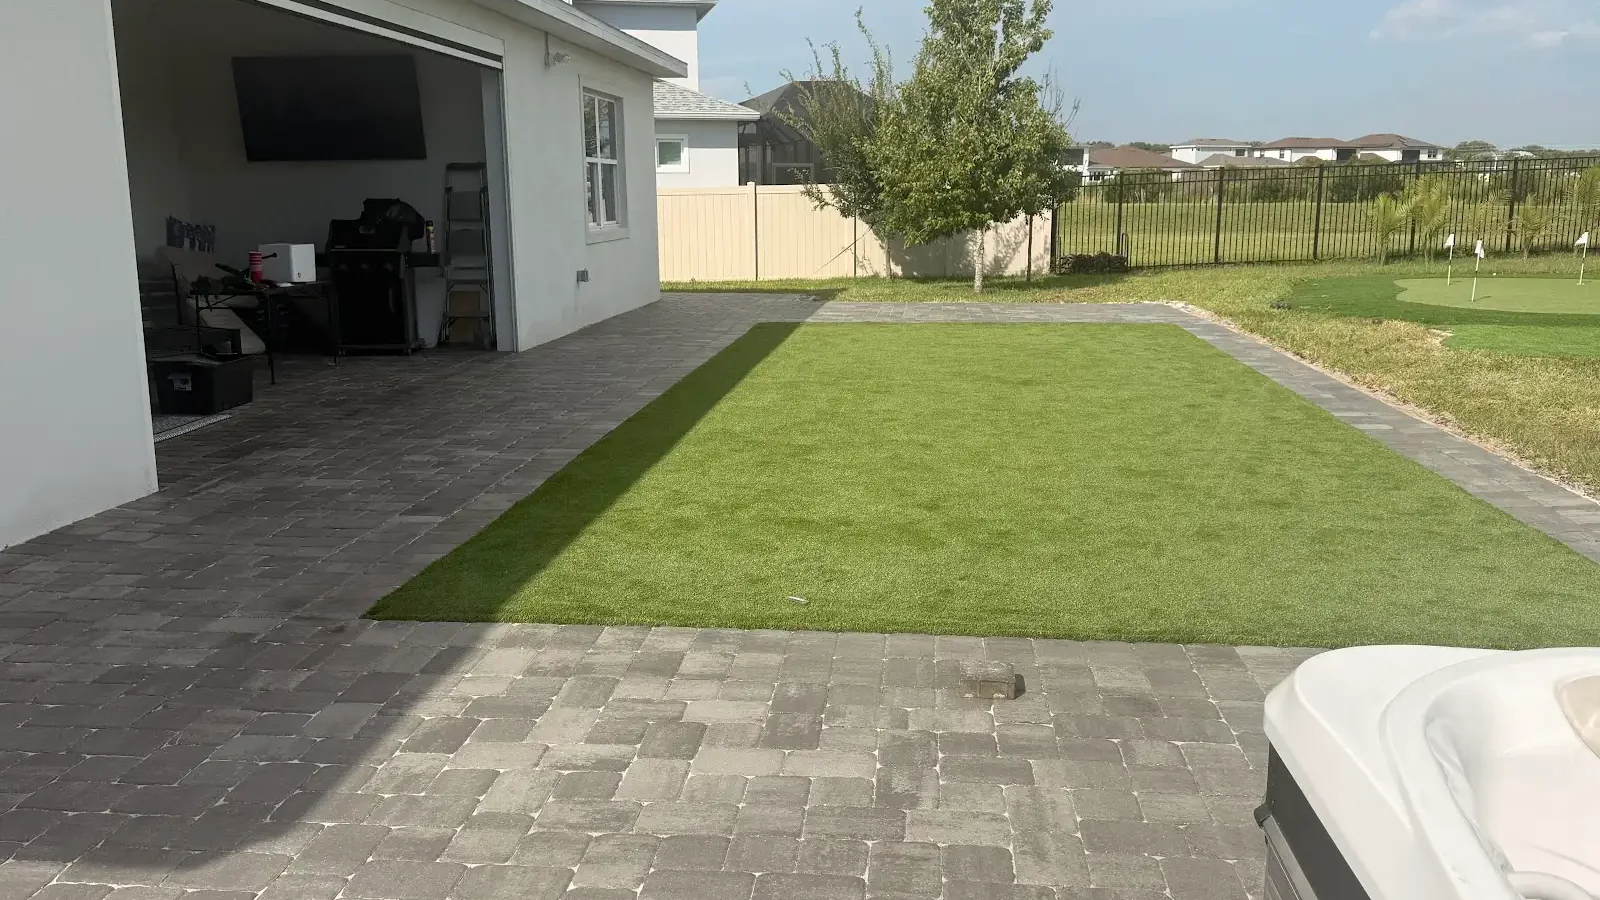
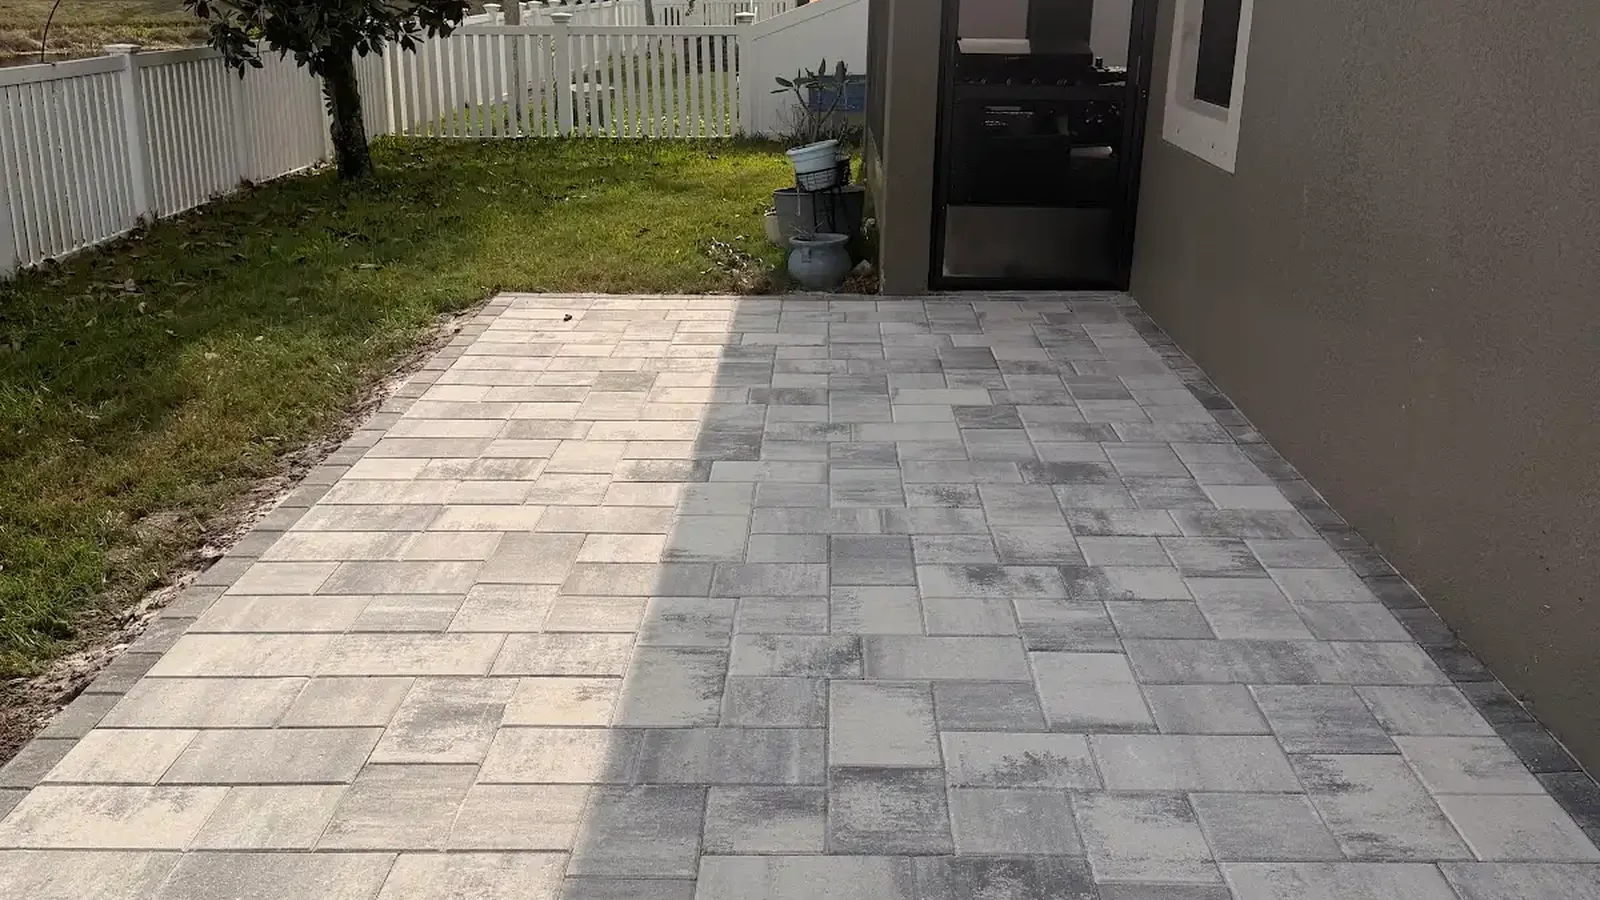
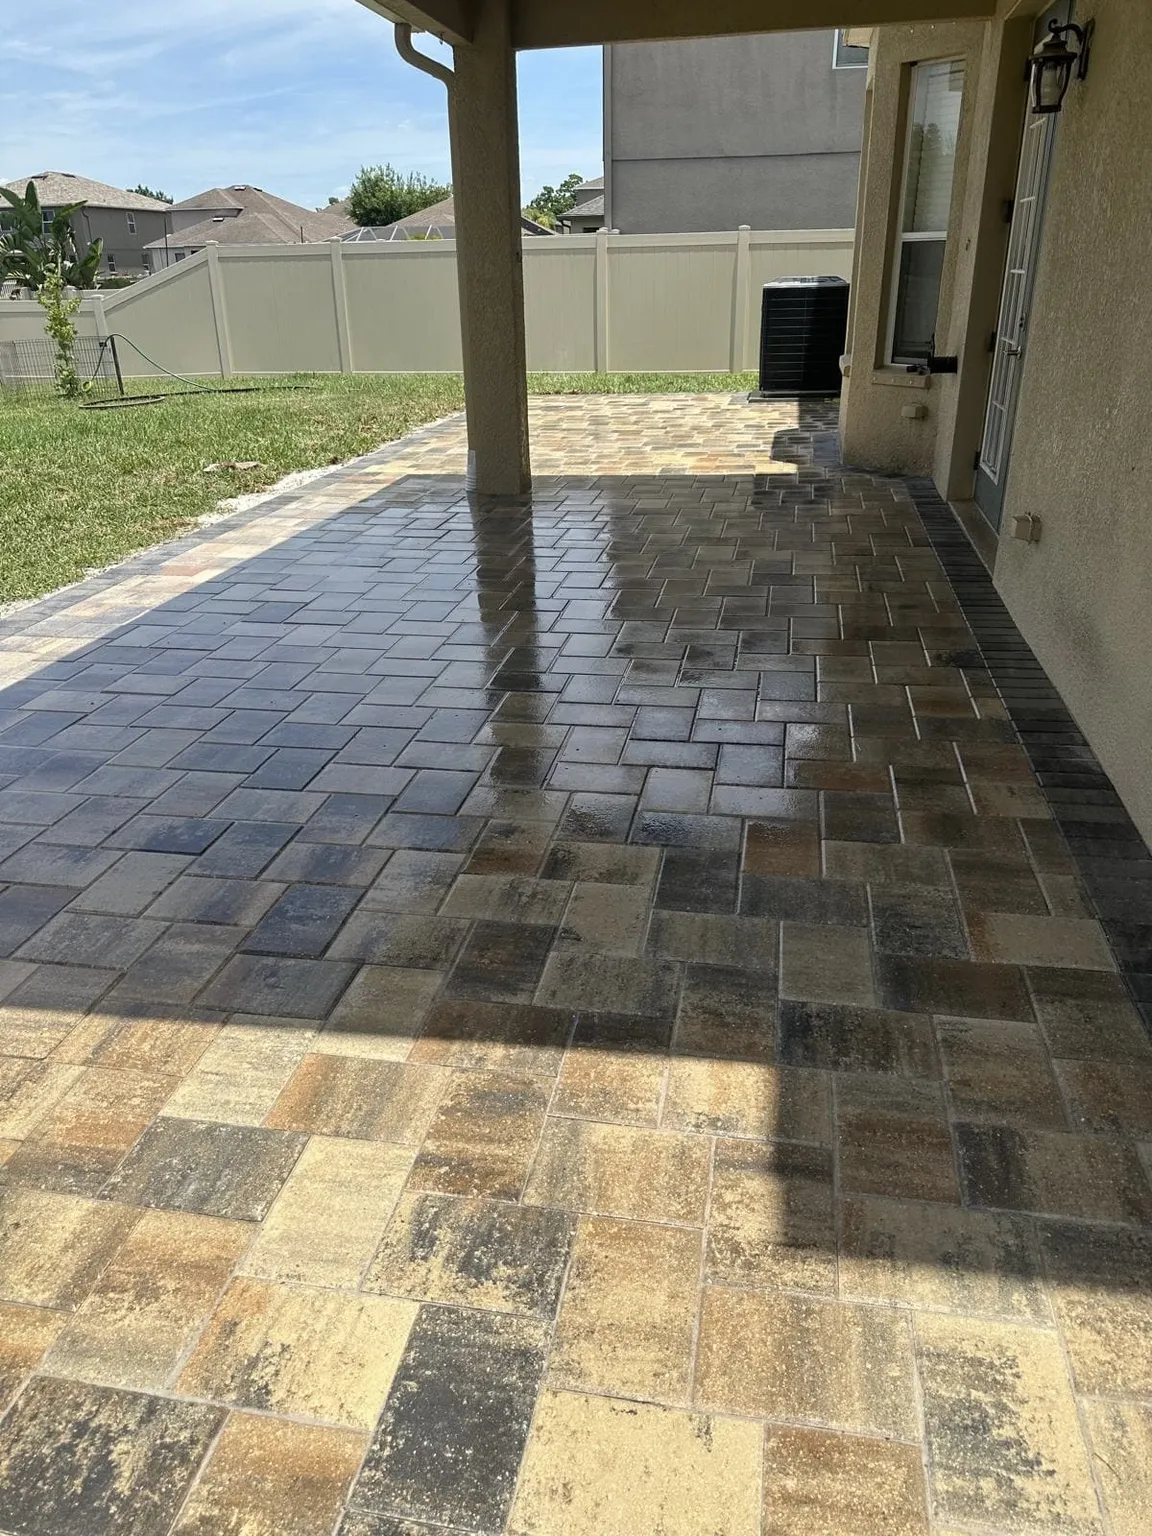
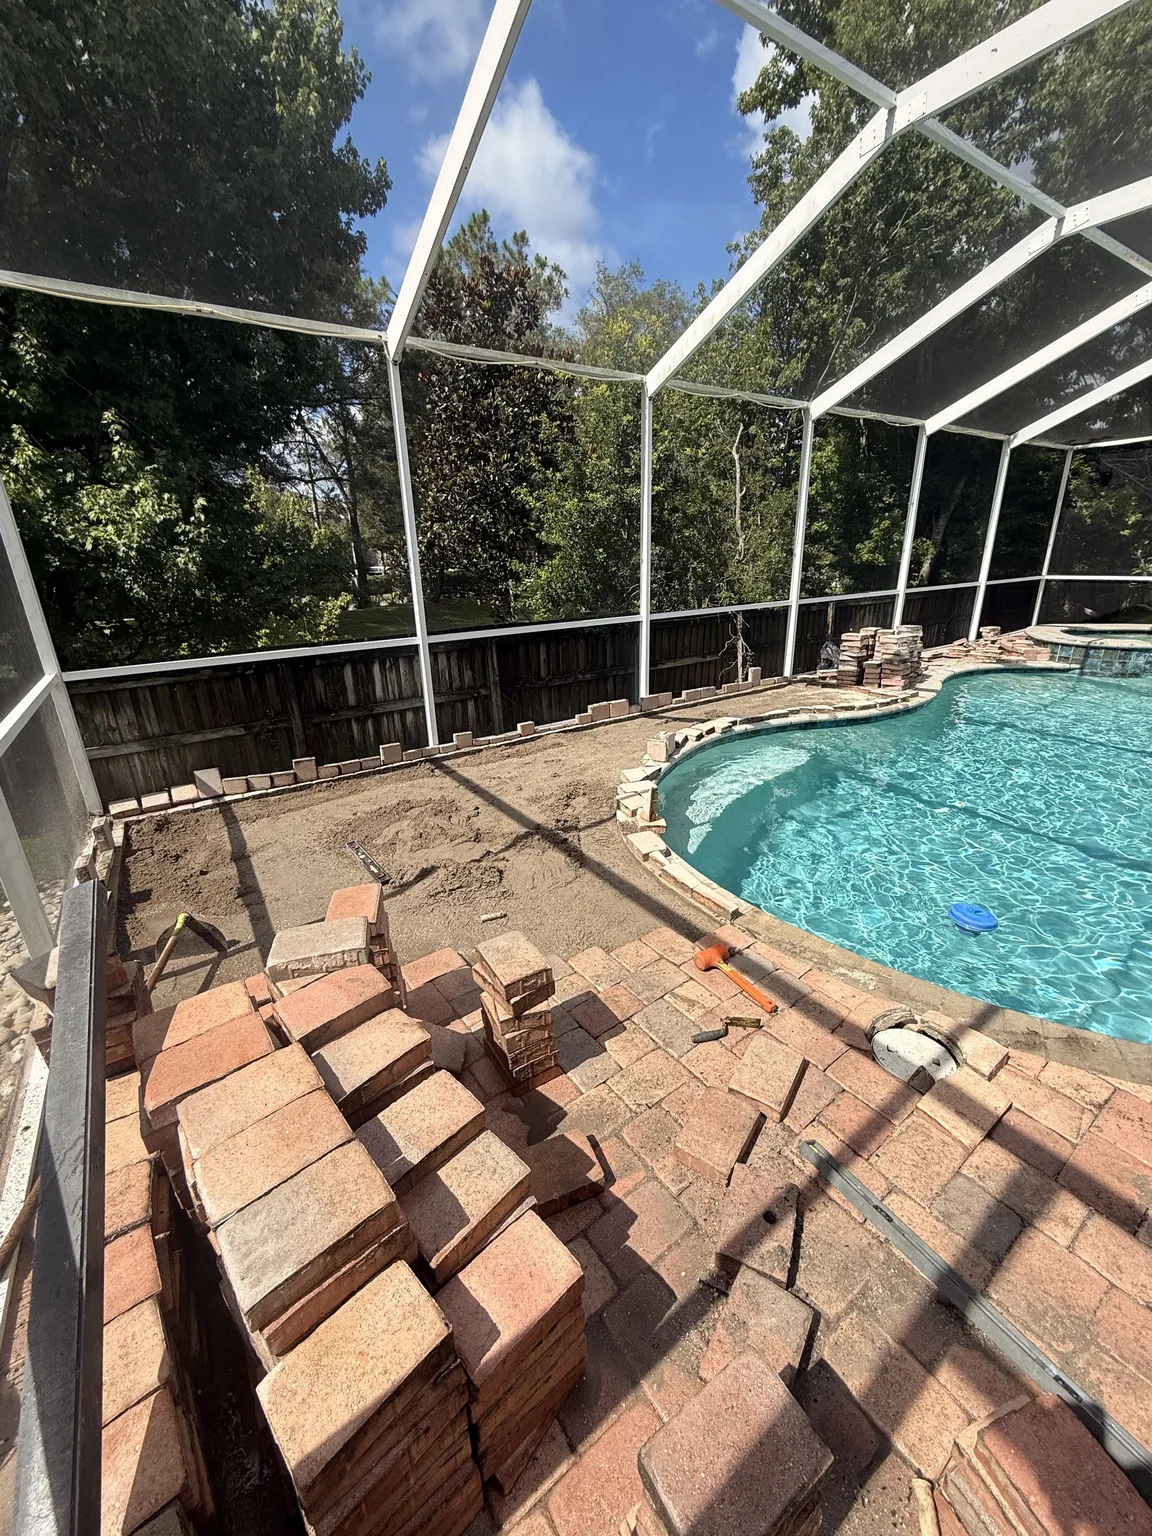
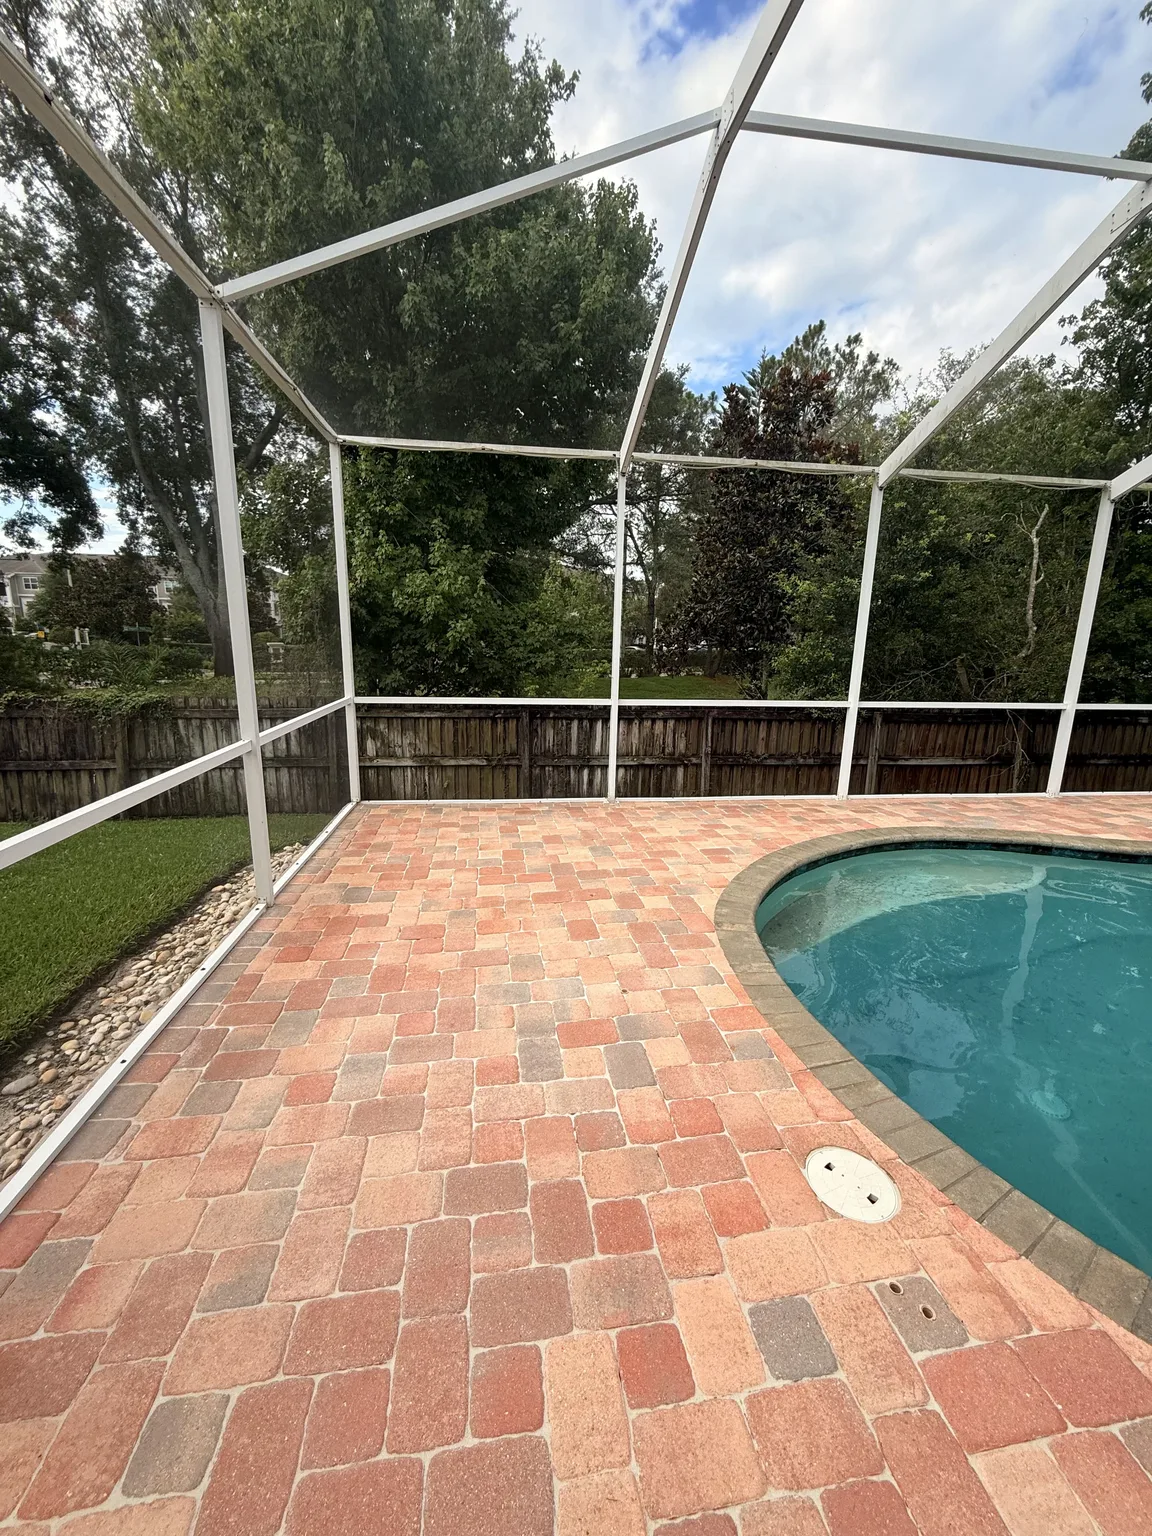
Material transitions should be planned, not improvised. A fence crossing beside a paver border, concrete walk, or landscaped edge may need a carefully located terminal post to avoid damaging the finished surface. Existing surface materials reveal a visible geometry and border logic; a new fence should respect that geometry rather than cut through it for the sake of equal panel spacing. If a post location conflicts with hardscape, the layout can be reconsidered before any removal or excavation is proposed.
Seasonal maintenance should remain possible from the beginning. Leaves, mulch, and windblown debris can collect where a fence meets a wall or grade transition, so leave enough room to clear those areas without scraping the cap or pulling against panels. Check that irrigation adjustments, wall inspection, and any future landscape work can occur without dismantling the fence. Planning a modest clearance is not wasted space; it is what keeps an attractive boundary from creating a hidden, neglected strip beside a structure that should remain observable.
Plan for a fence that leaves the wall serviceable
The strongest fence layout near a retaining wall is usually the one that looks uncomplicated because the difficult coordination happened first. It follows a verified boundary, accommodates utilities and gates, leaves room to inspect the wall, and avoids turning the wall into a fence support. Before committing to posts, use the full site layout to resolve the few locations where wall geometry, water, grade, and access overlap. That care protects both the new fence and the outdoor structure already doing important work.
Finally, when you are ready to plan a fence around your outdoor space, review the services, see completed projects, read testimonials, and check the FAQ before requesting a free consultation through the contact page. Follow Dr Pavers Design on Instagram and Facebook, or review the company on Google. Open Google Maps, send a WhatsApp message, call +1 (656) 600-4015, send a text message, or email drpavers@outlook.com for a free consultation anywhere in Tampa Bay.