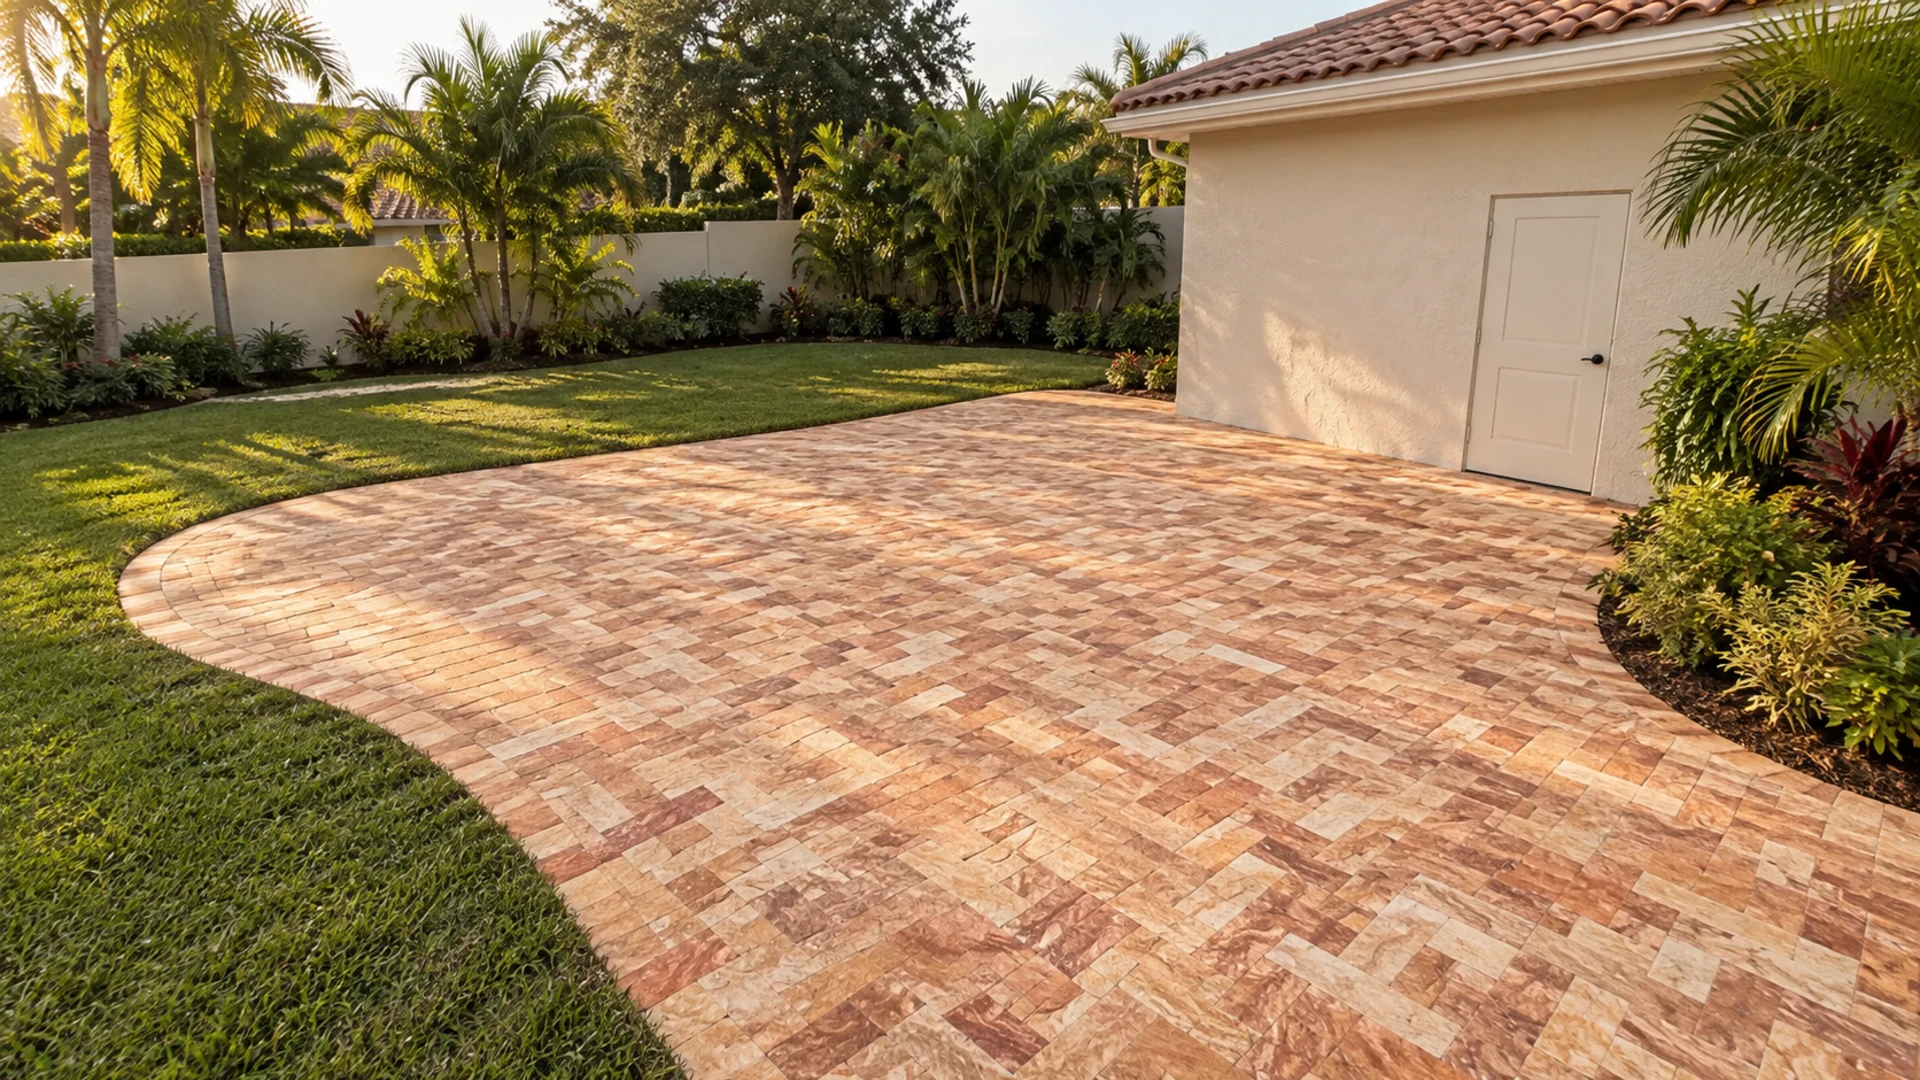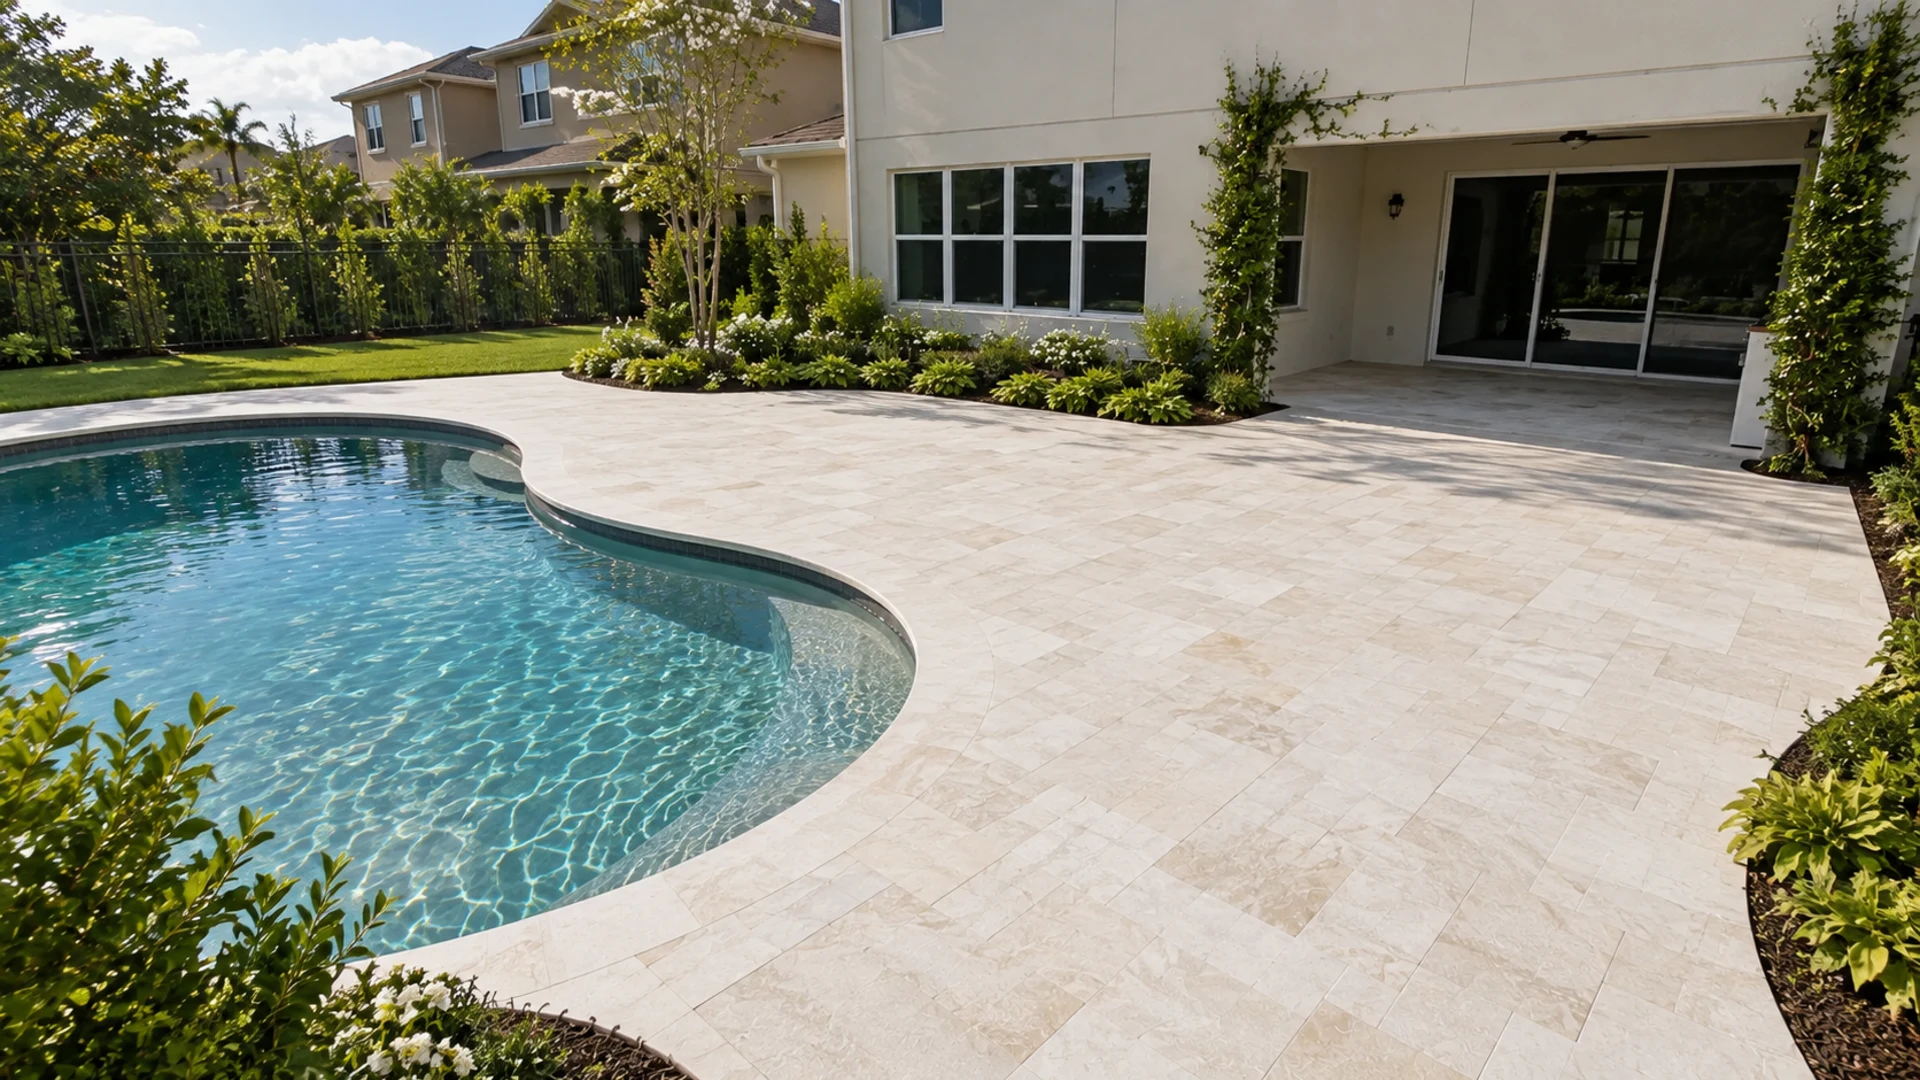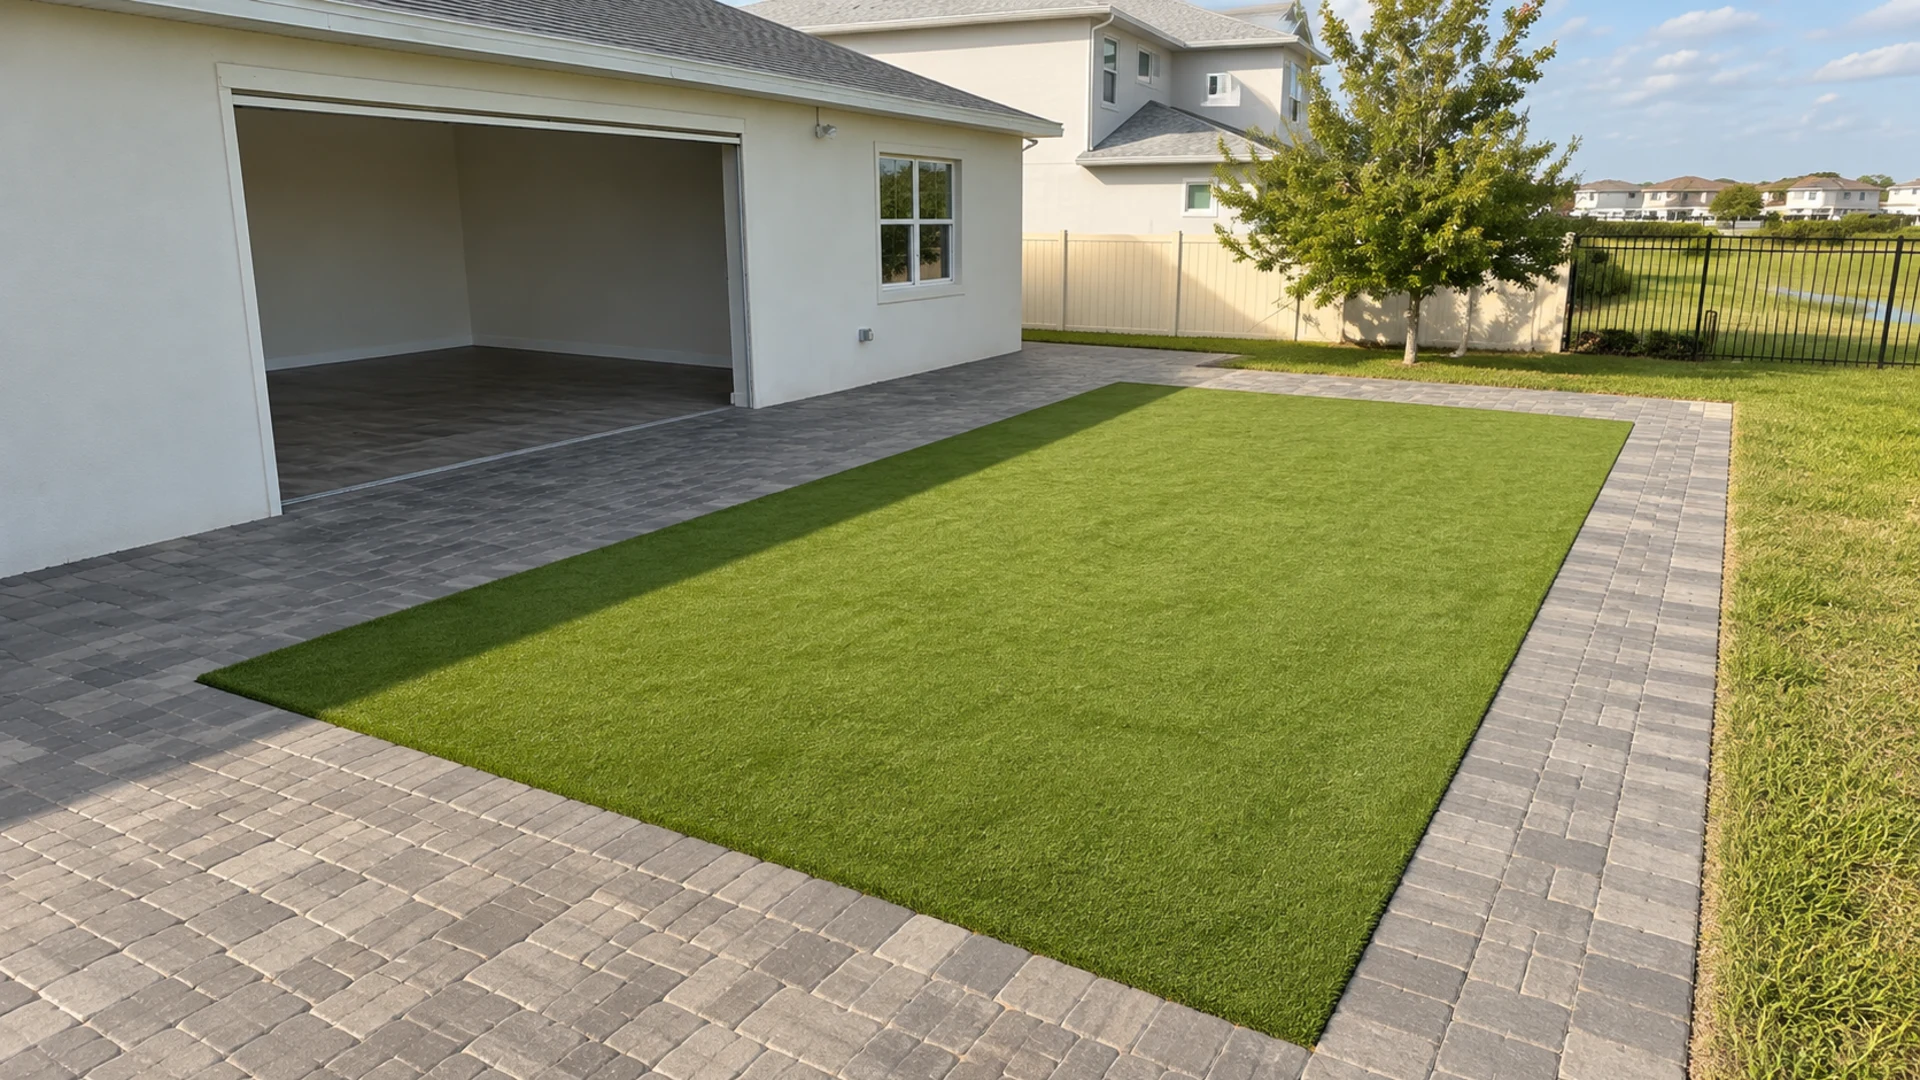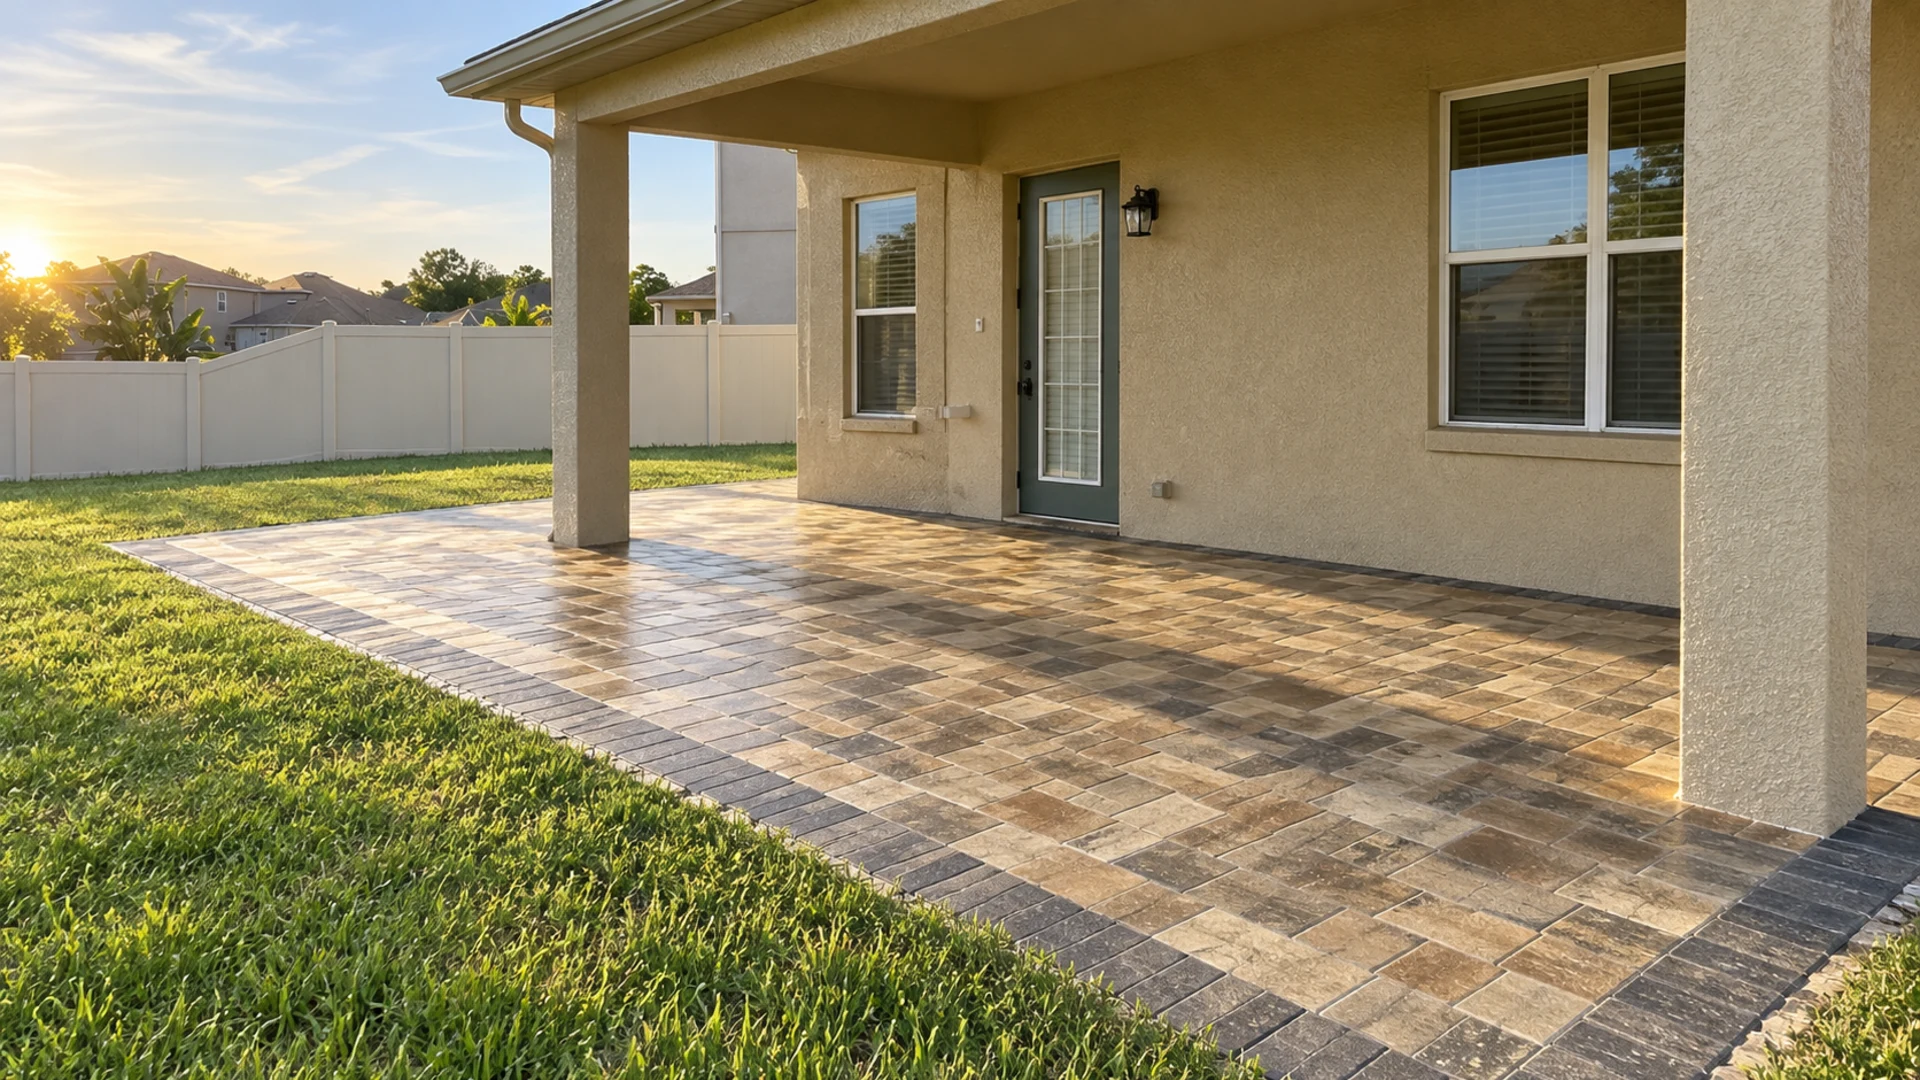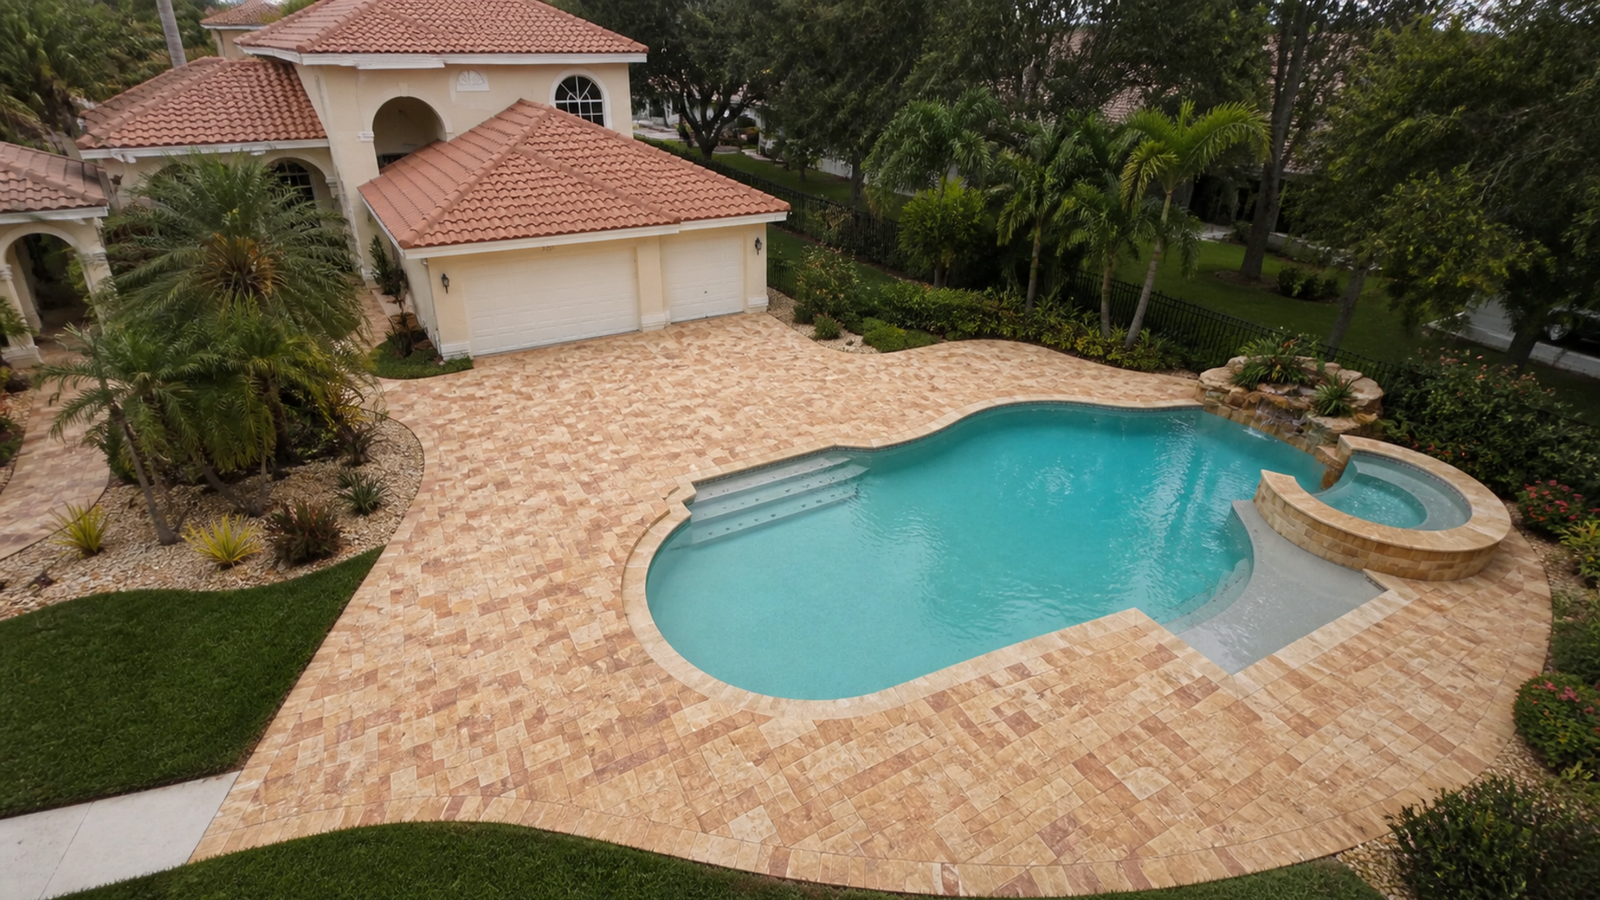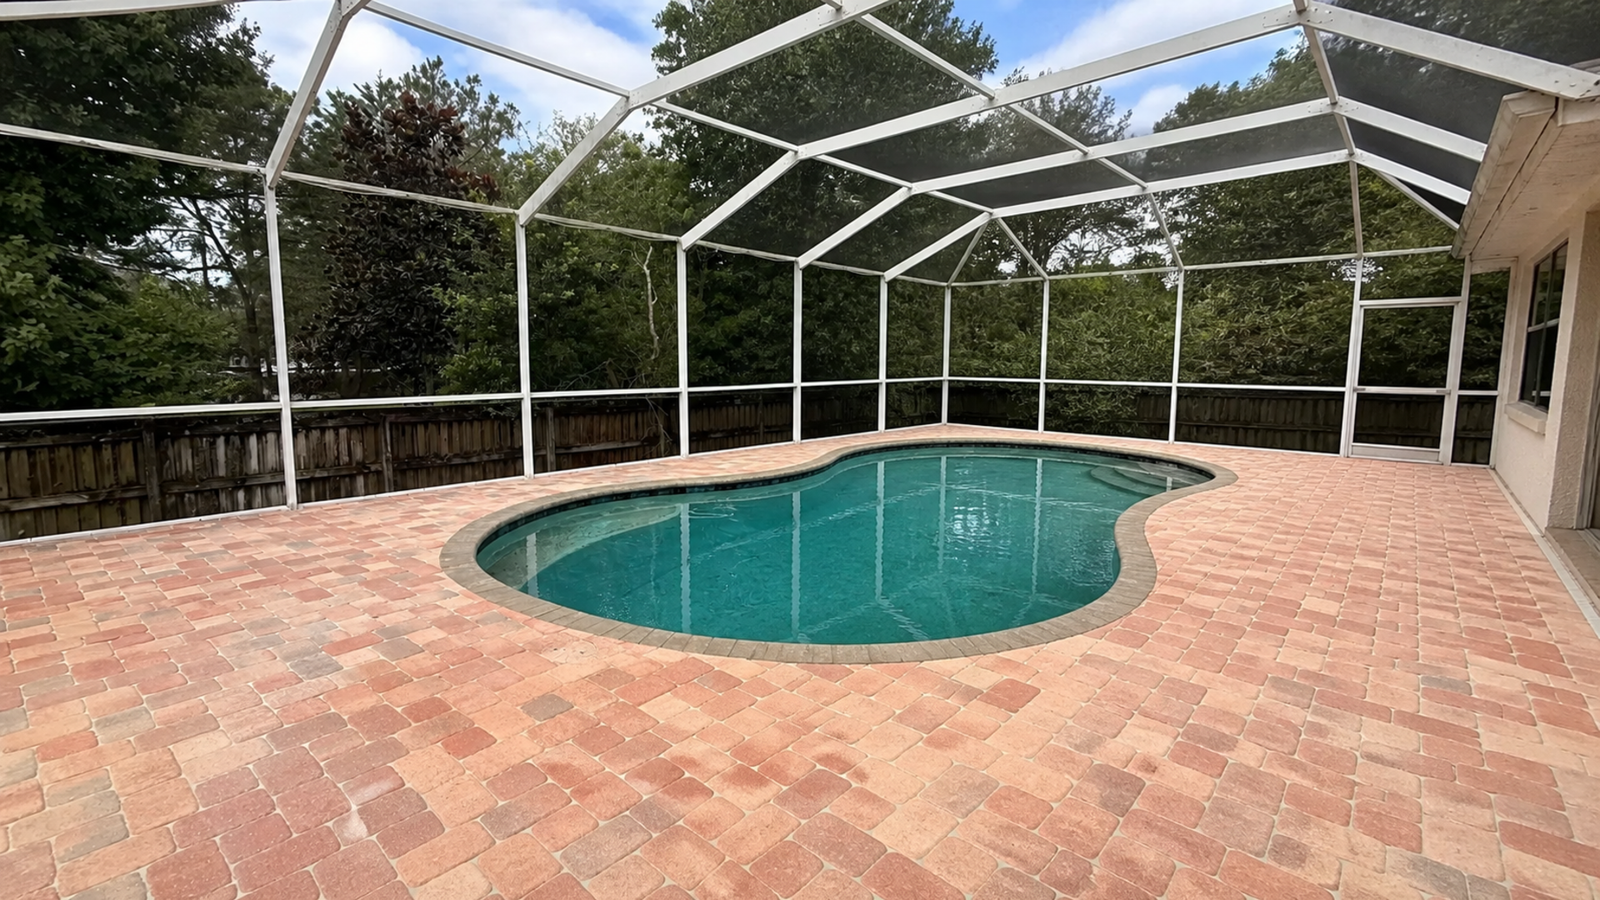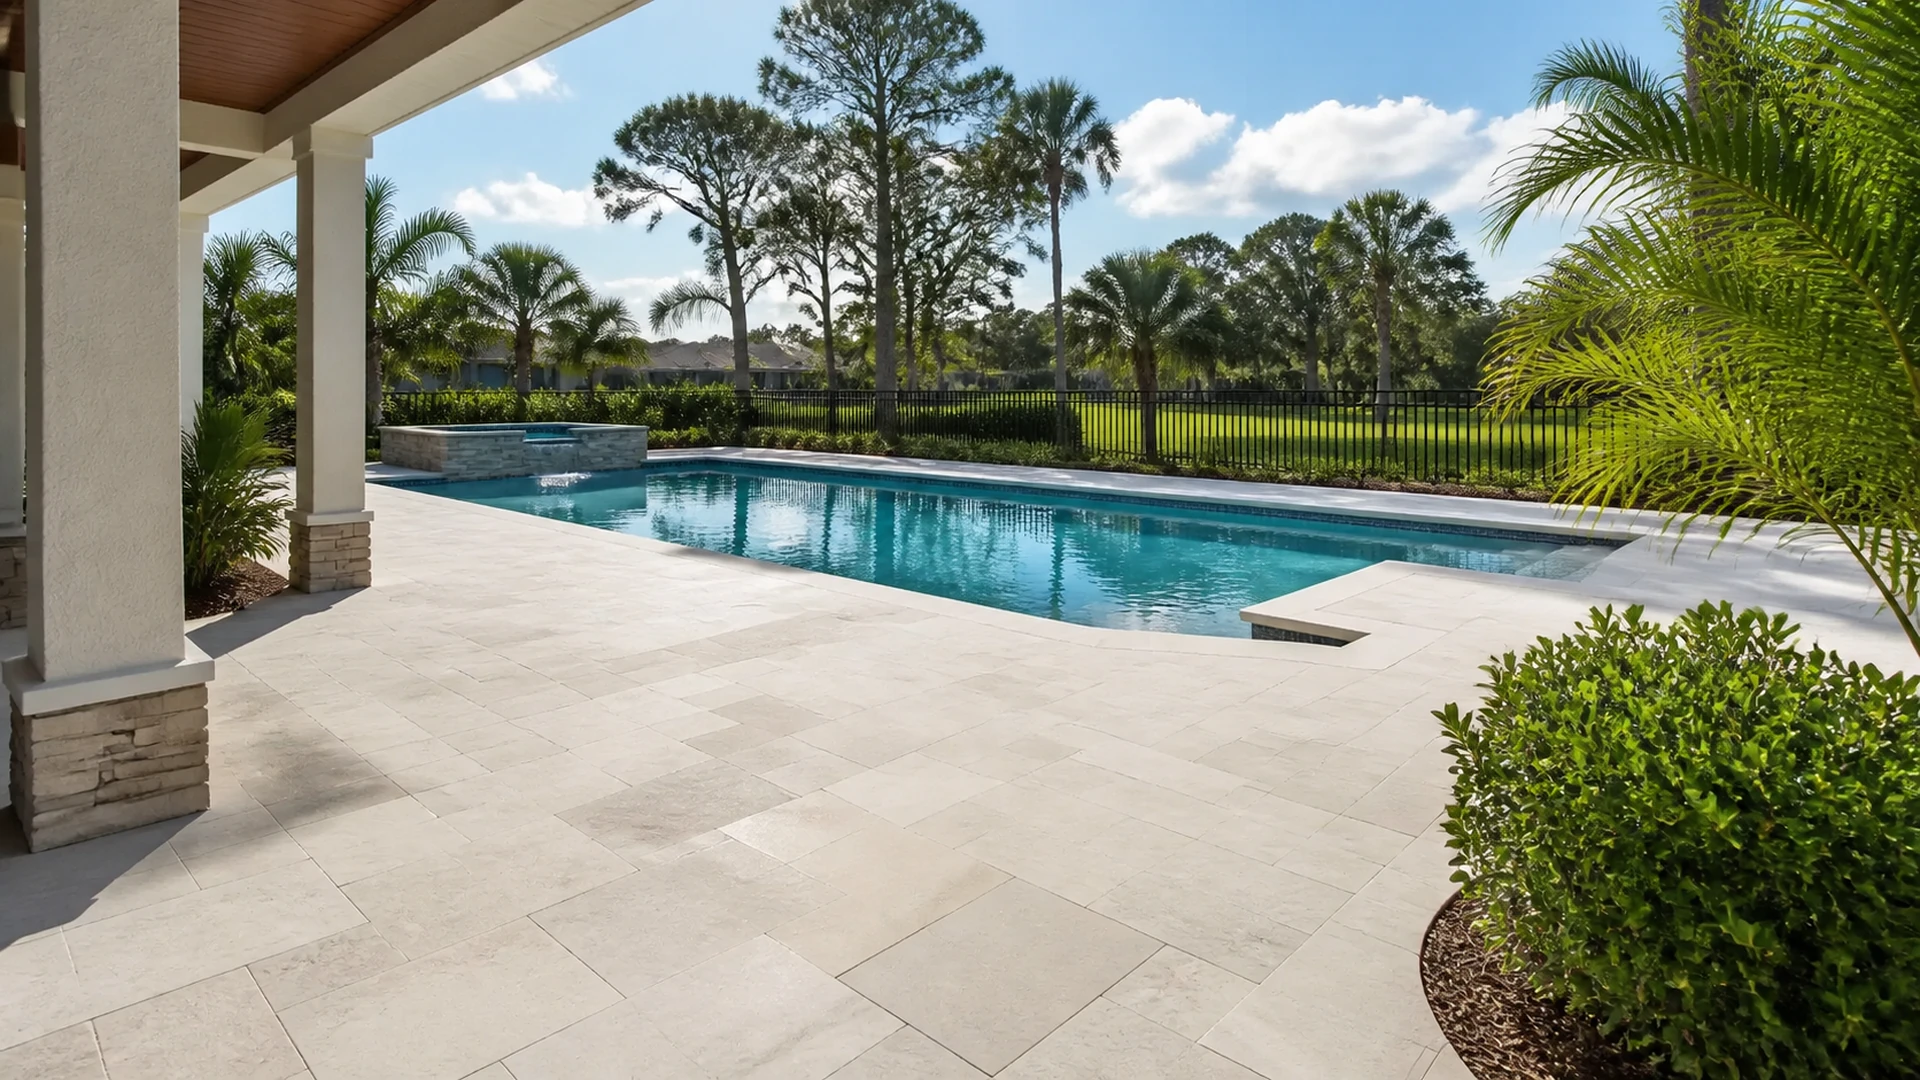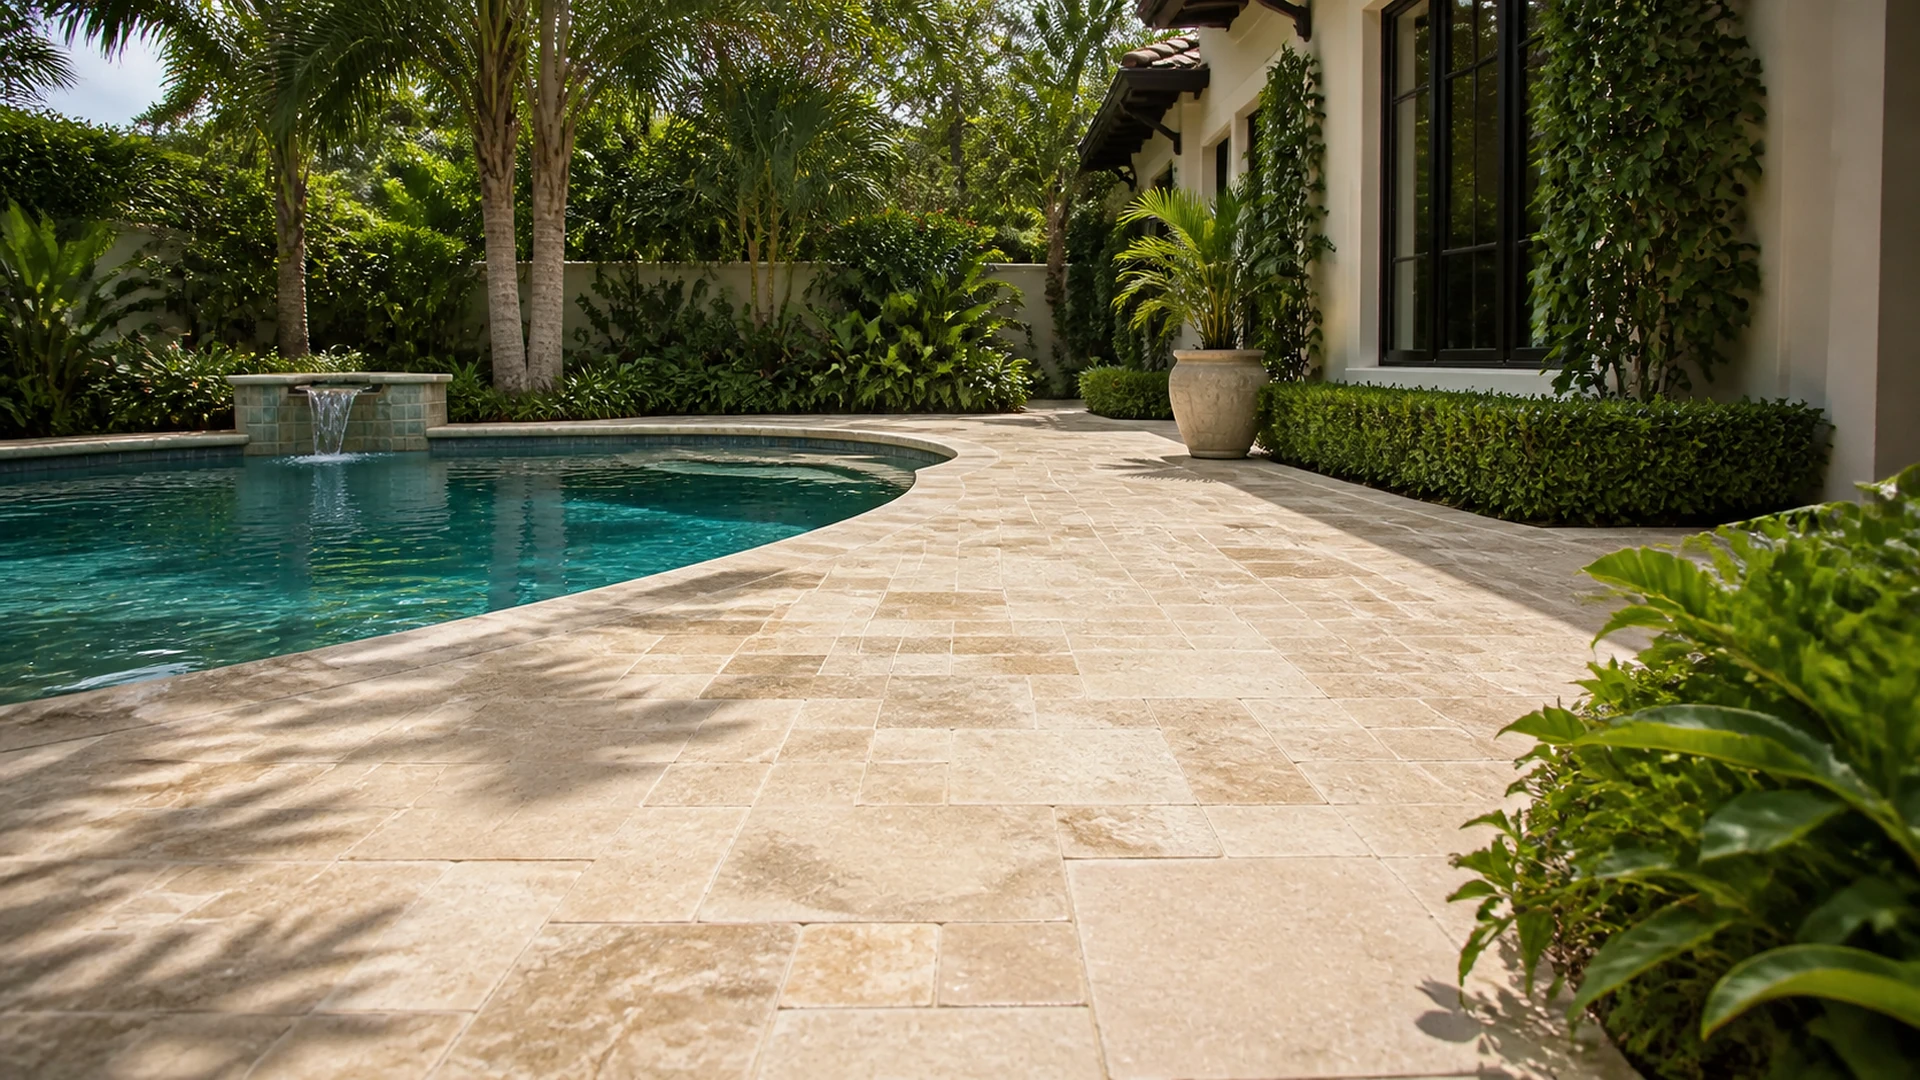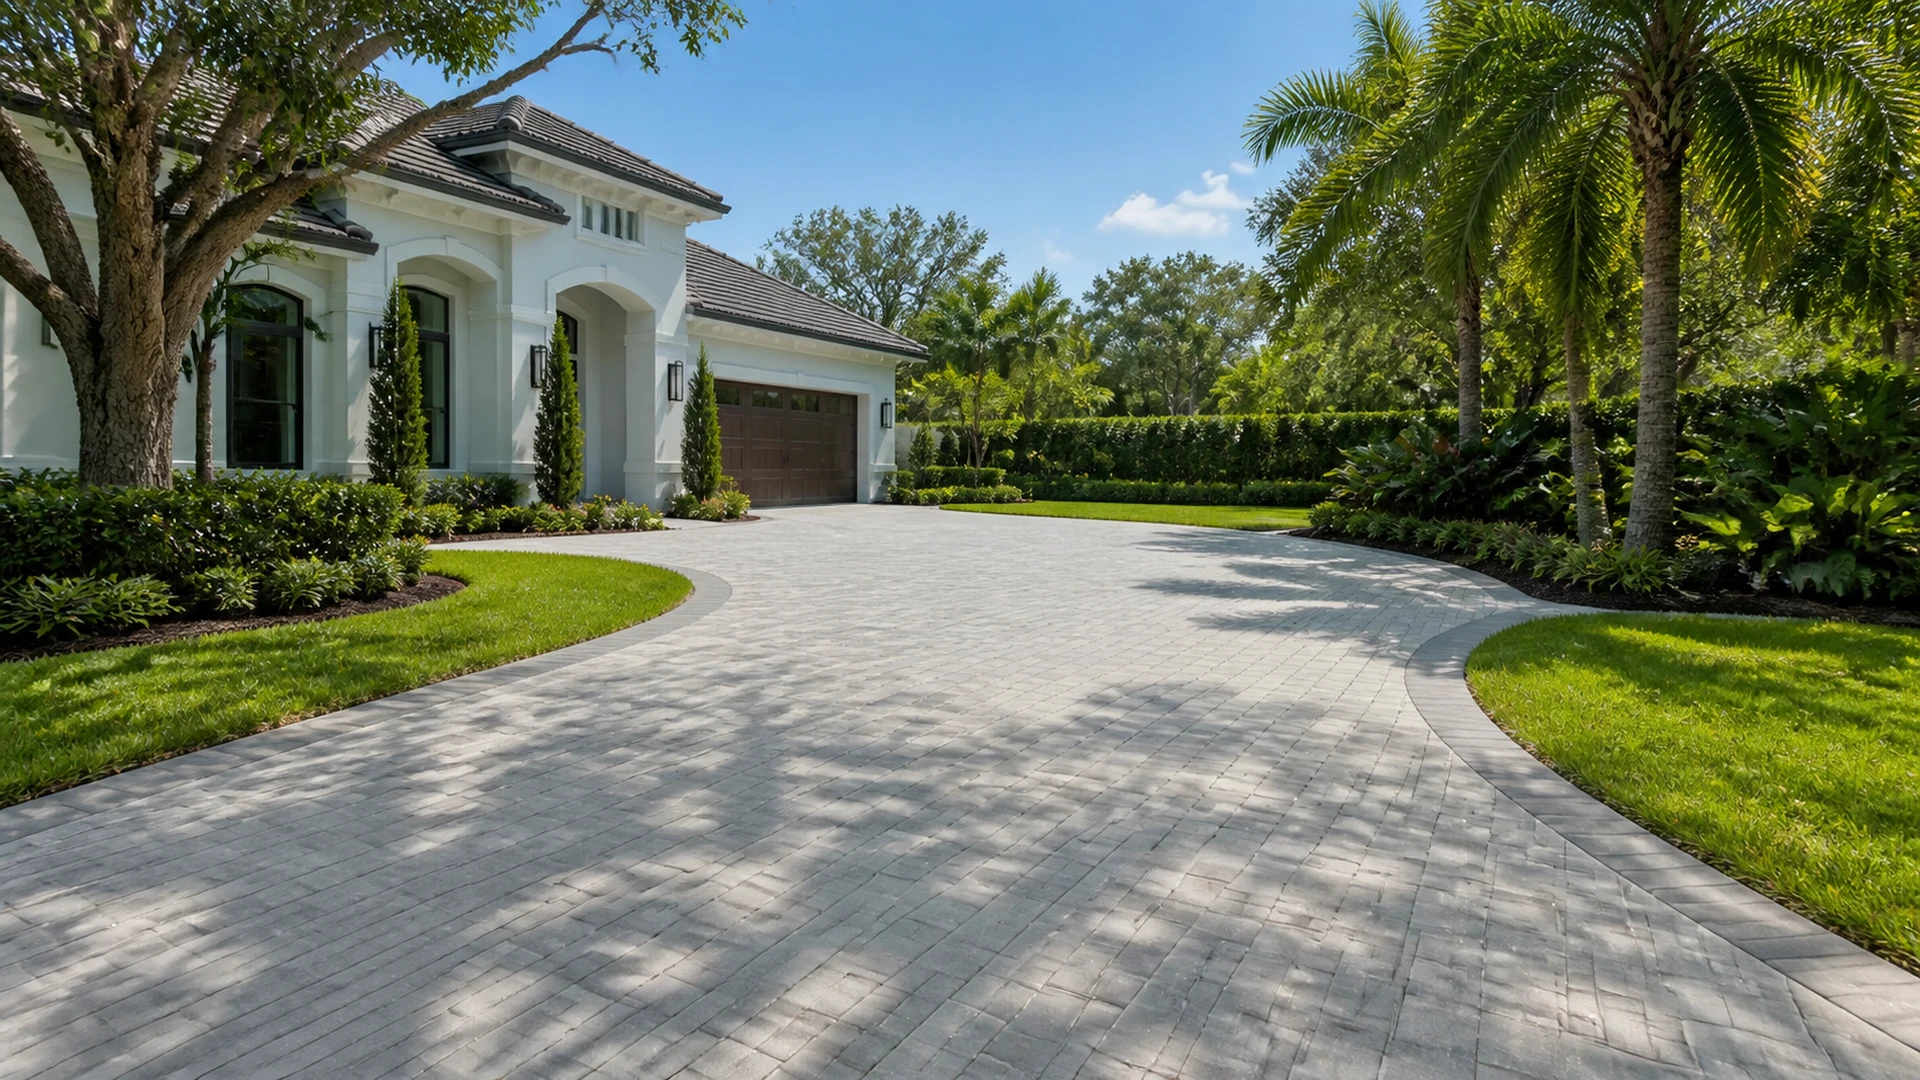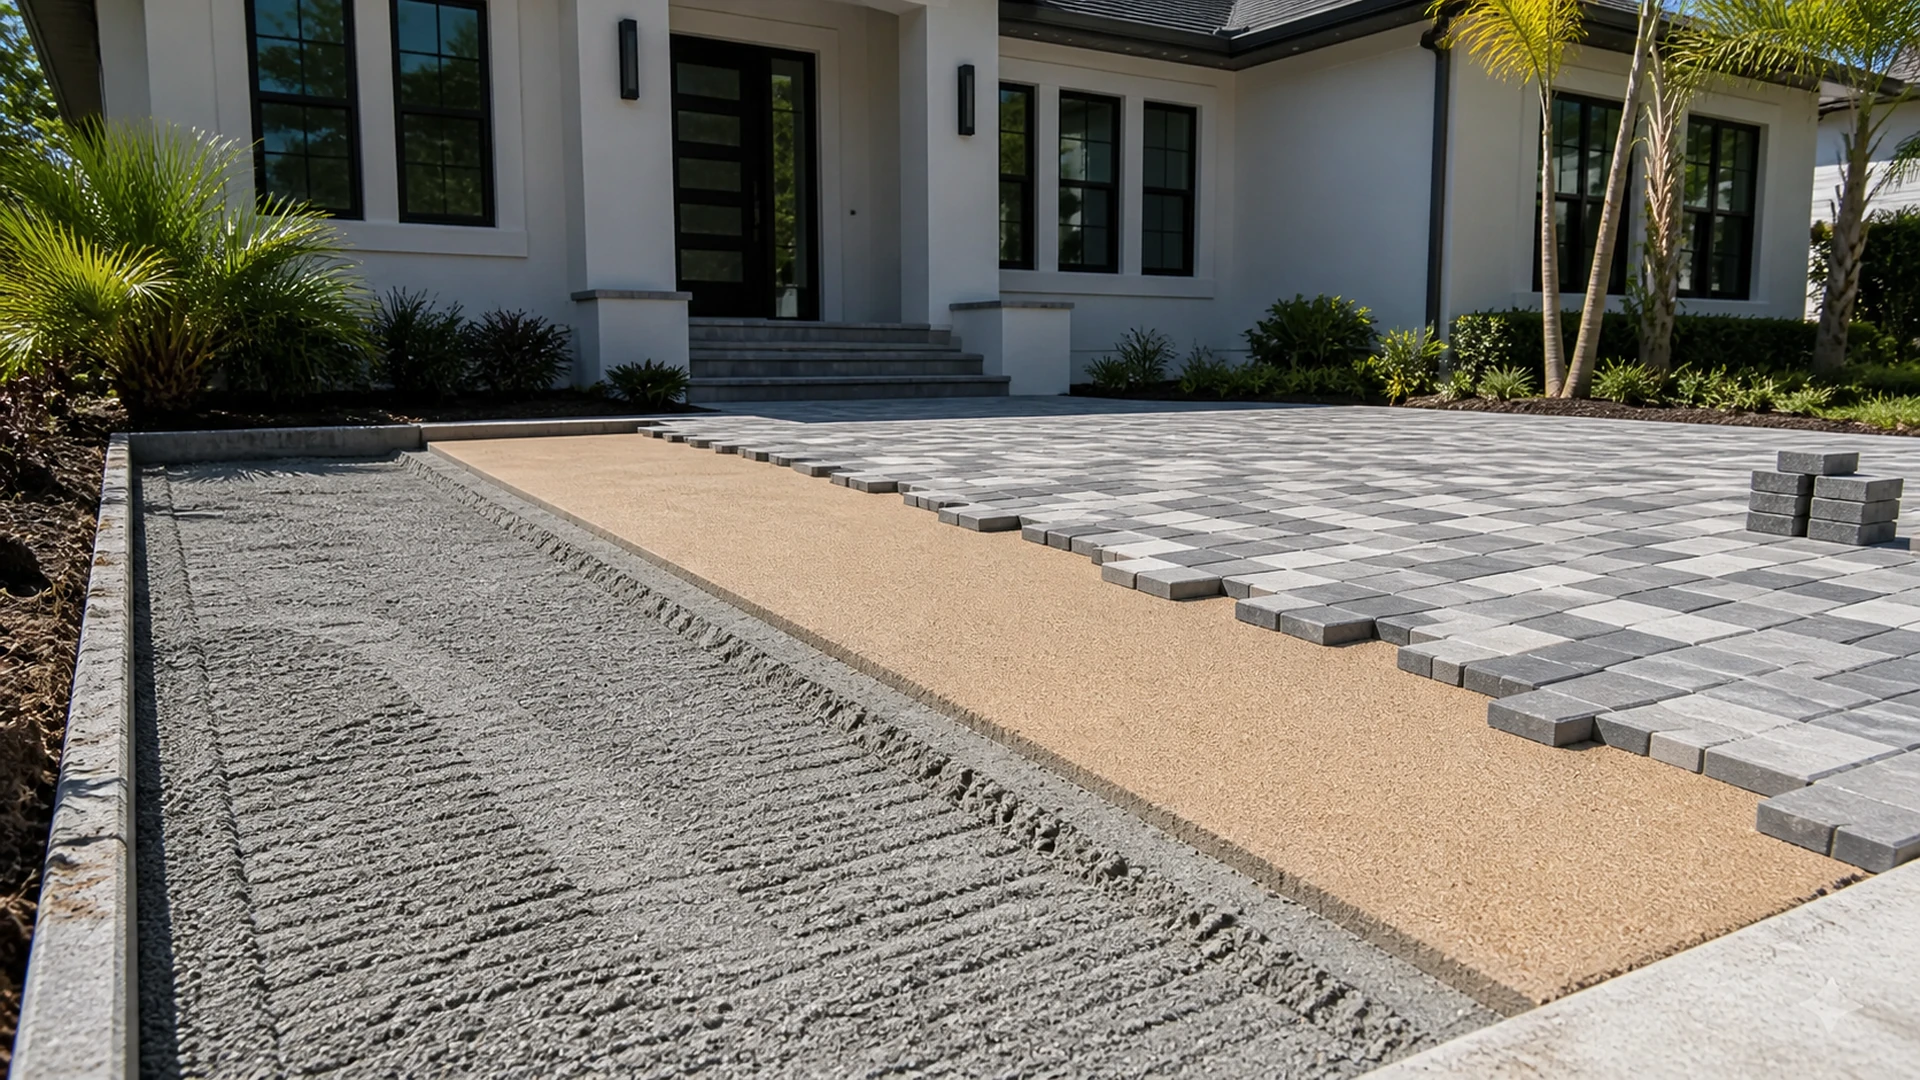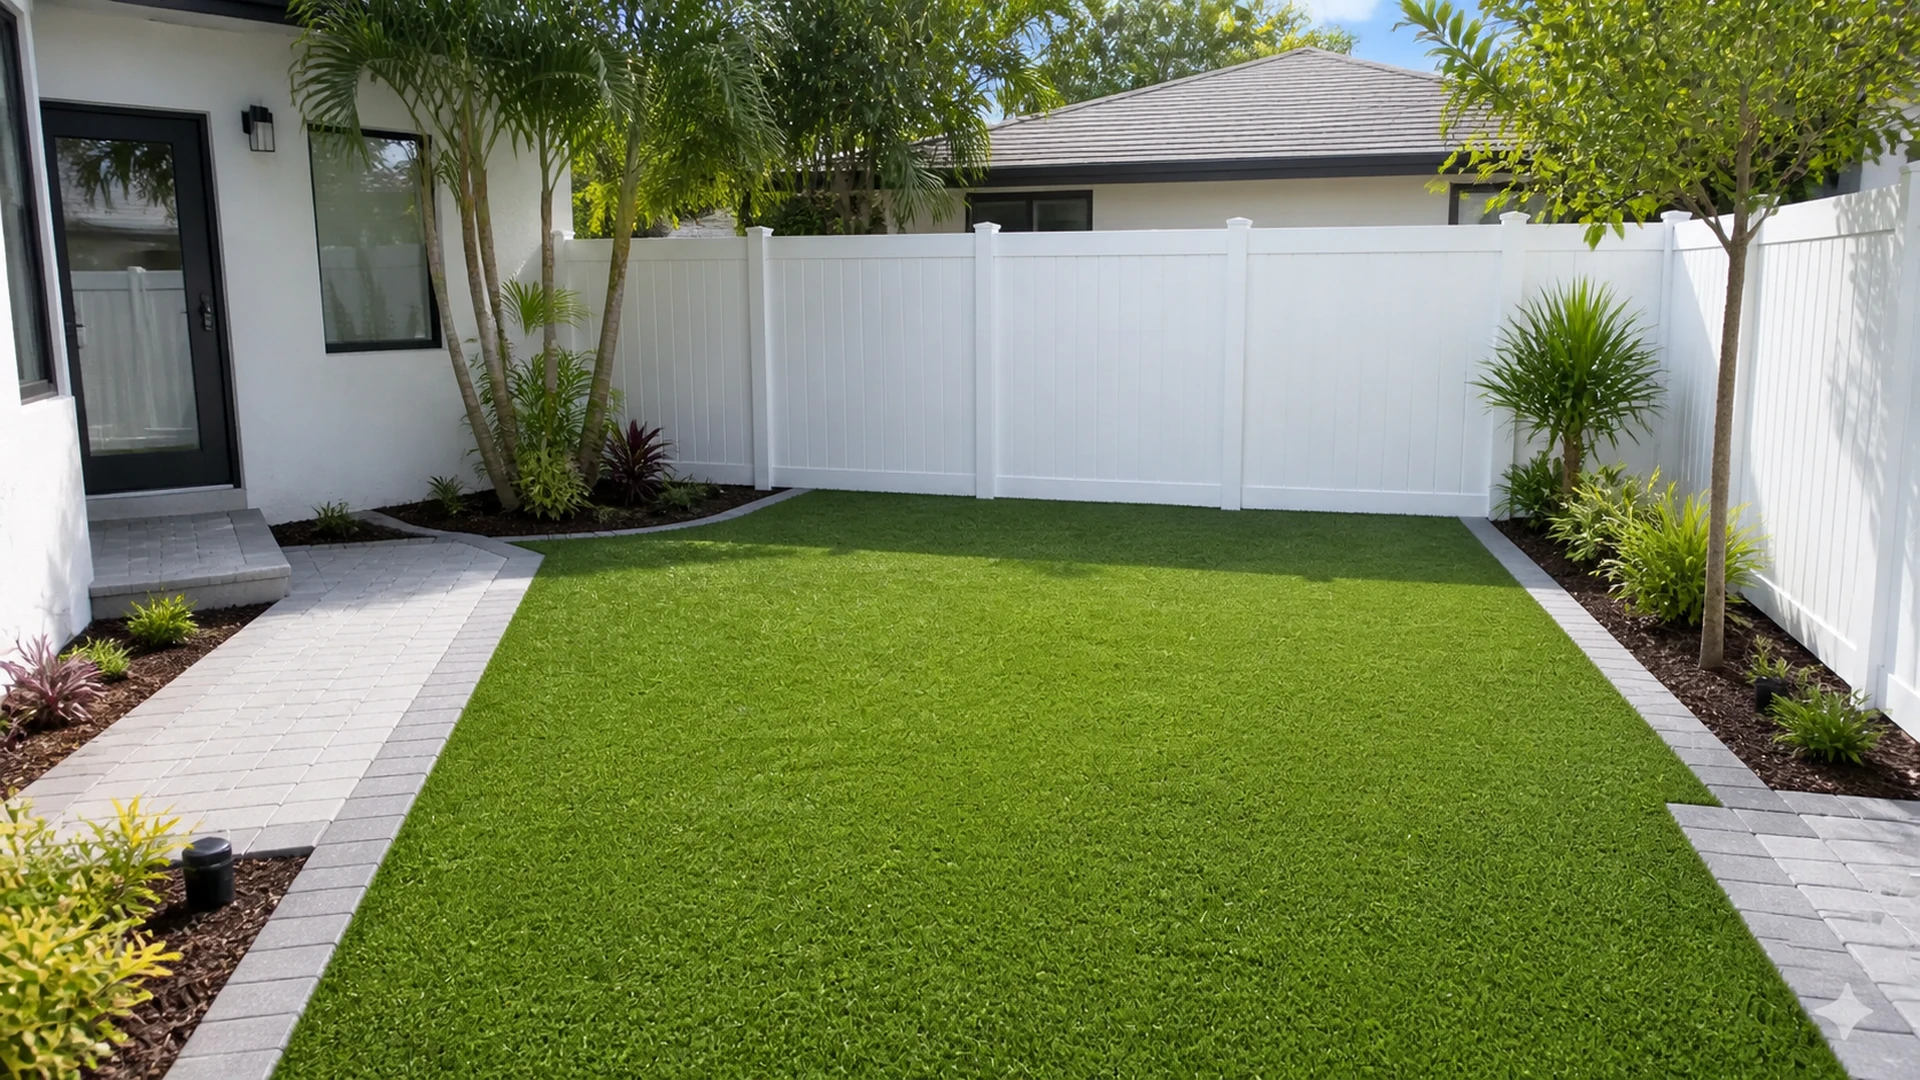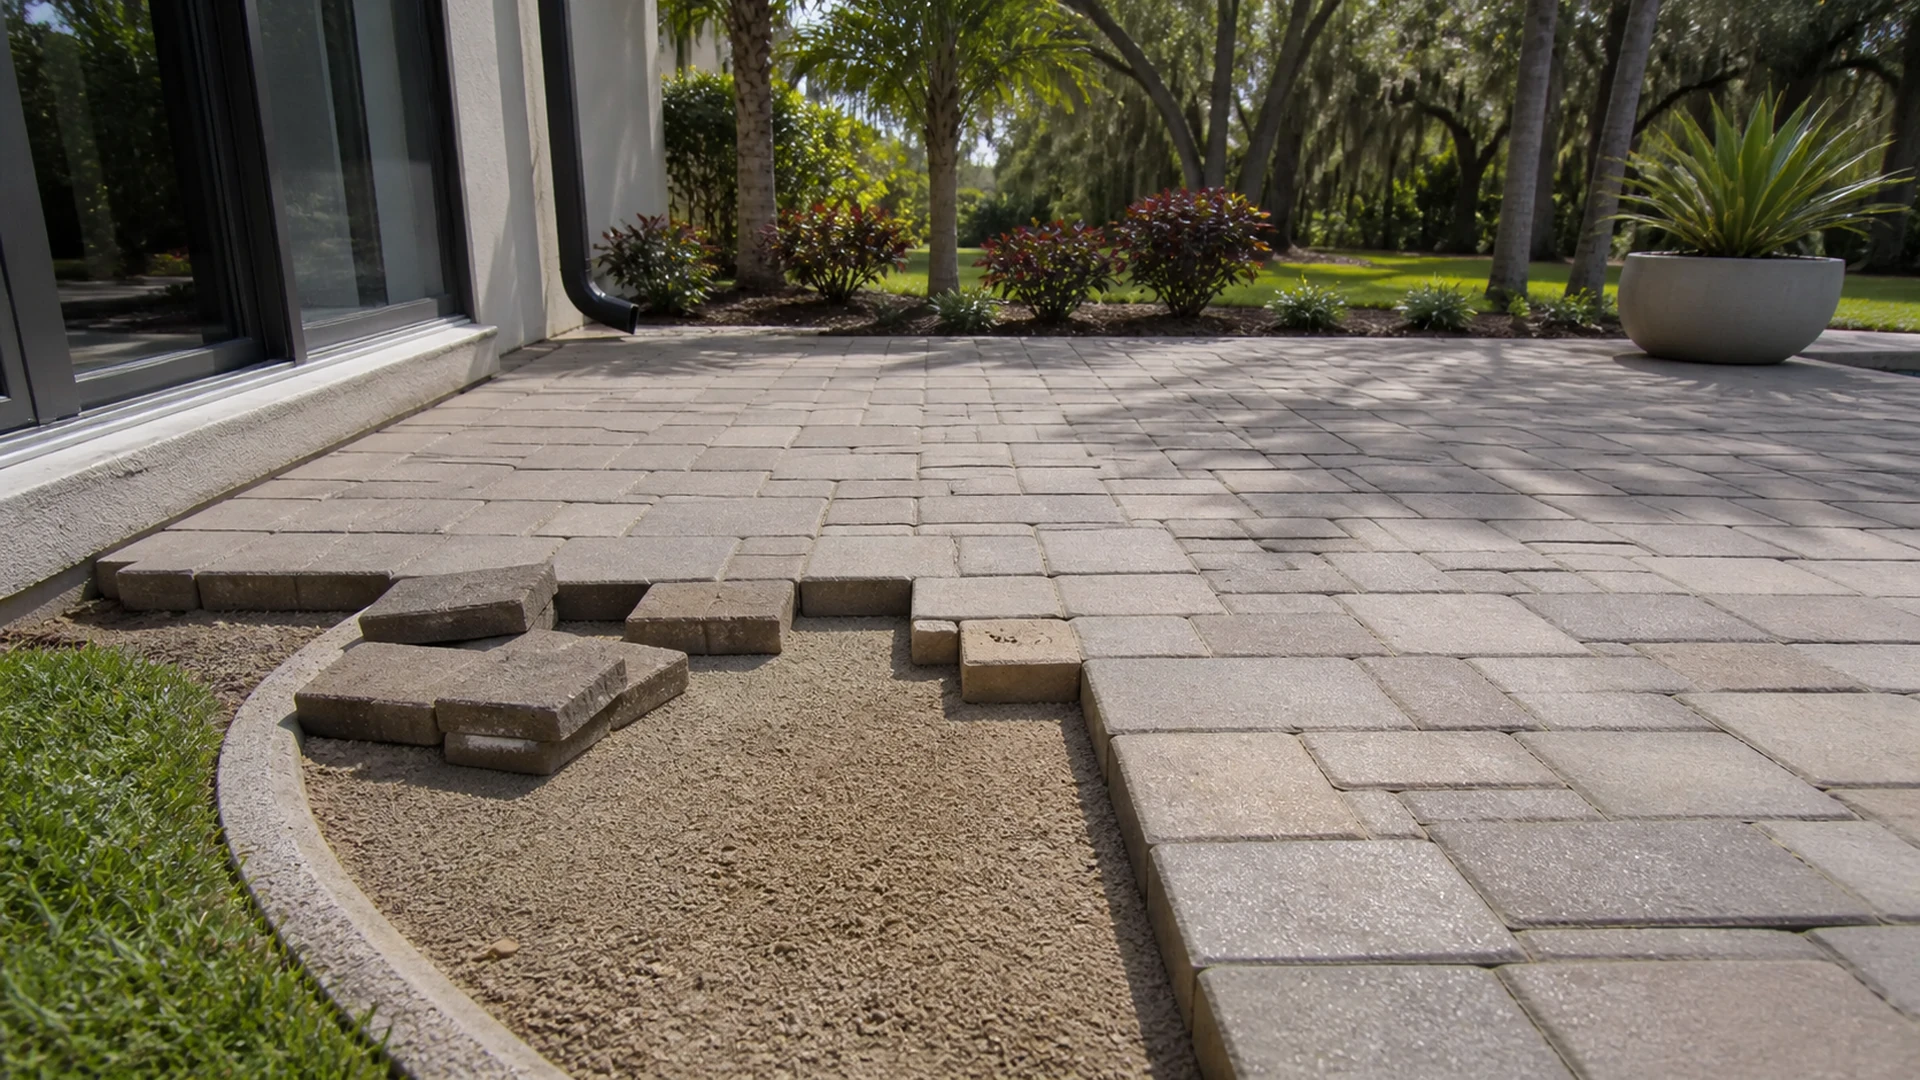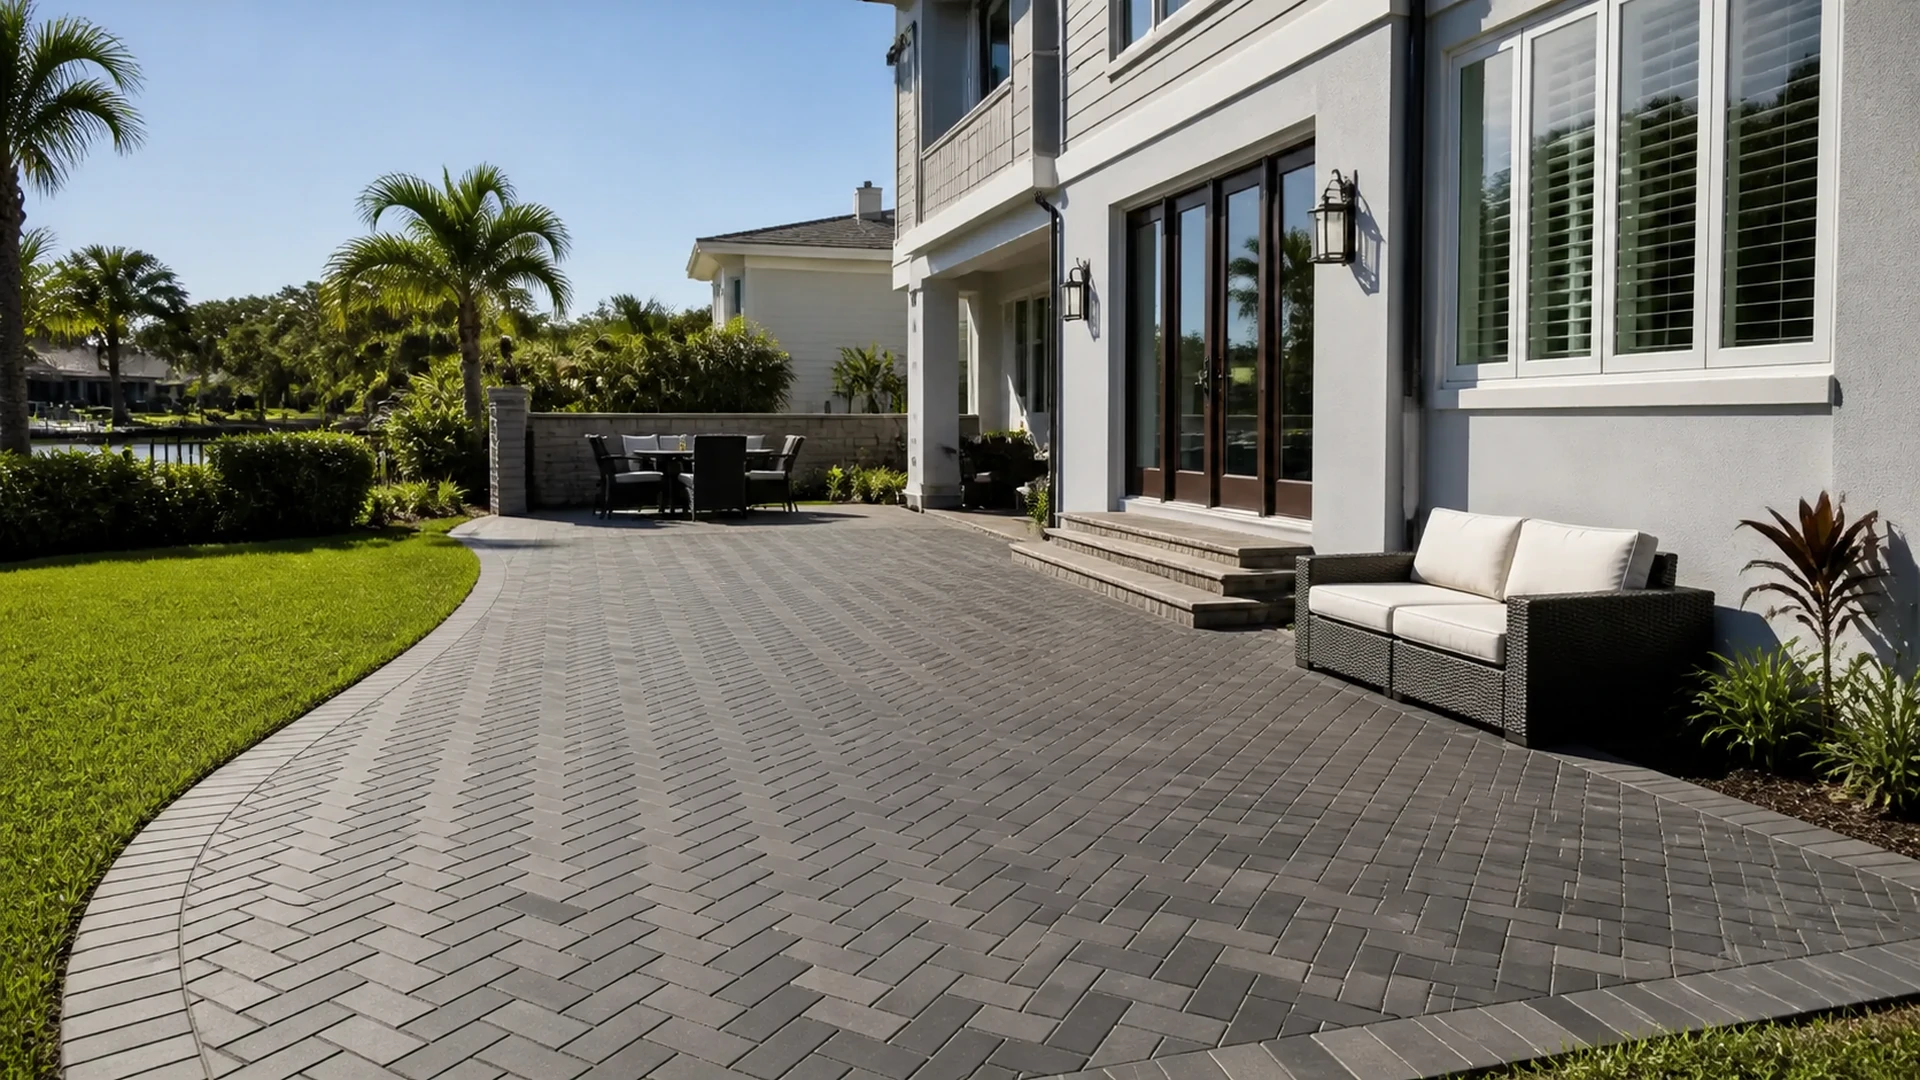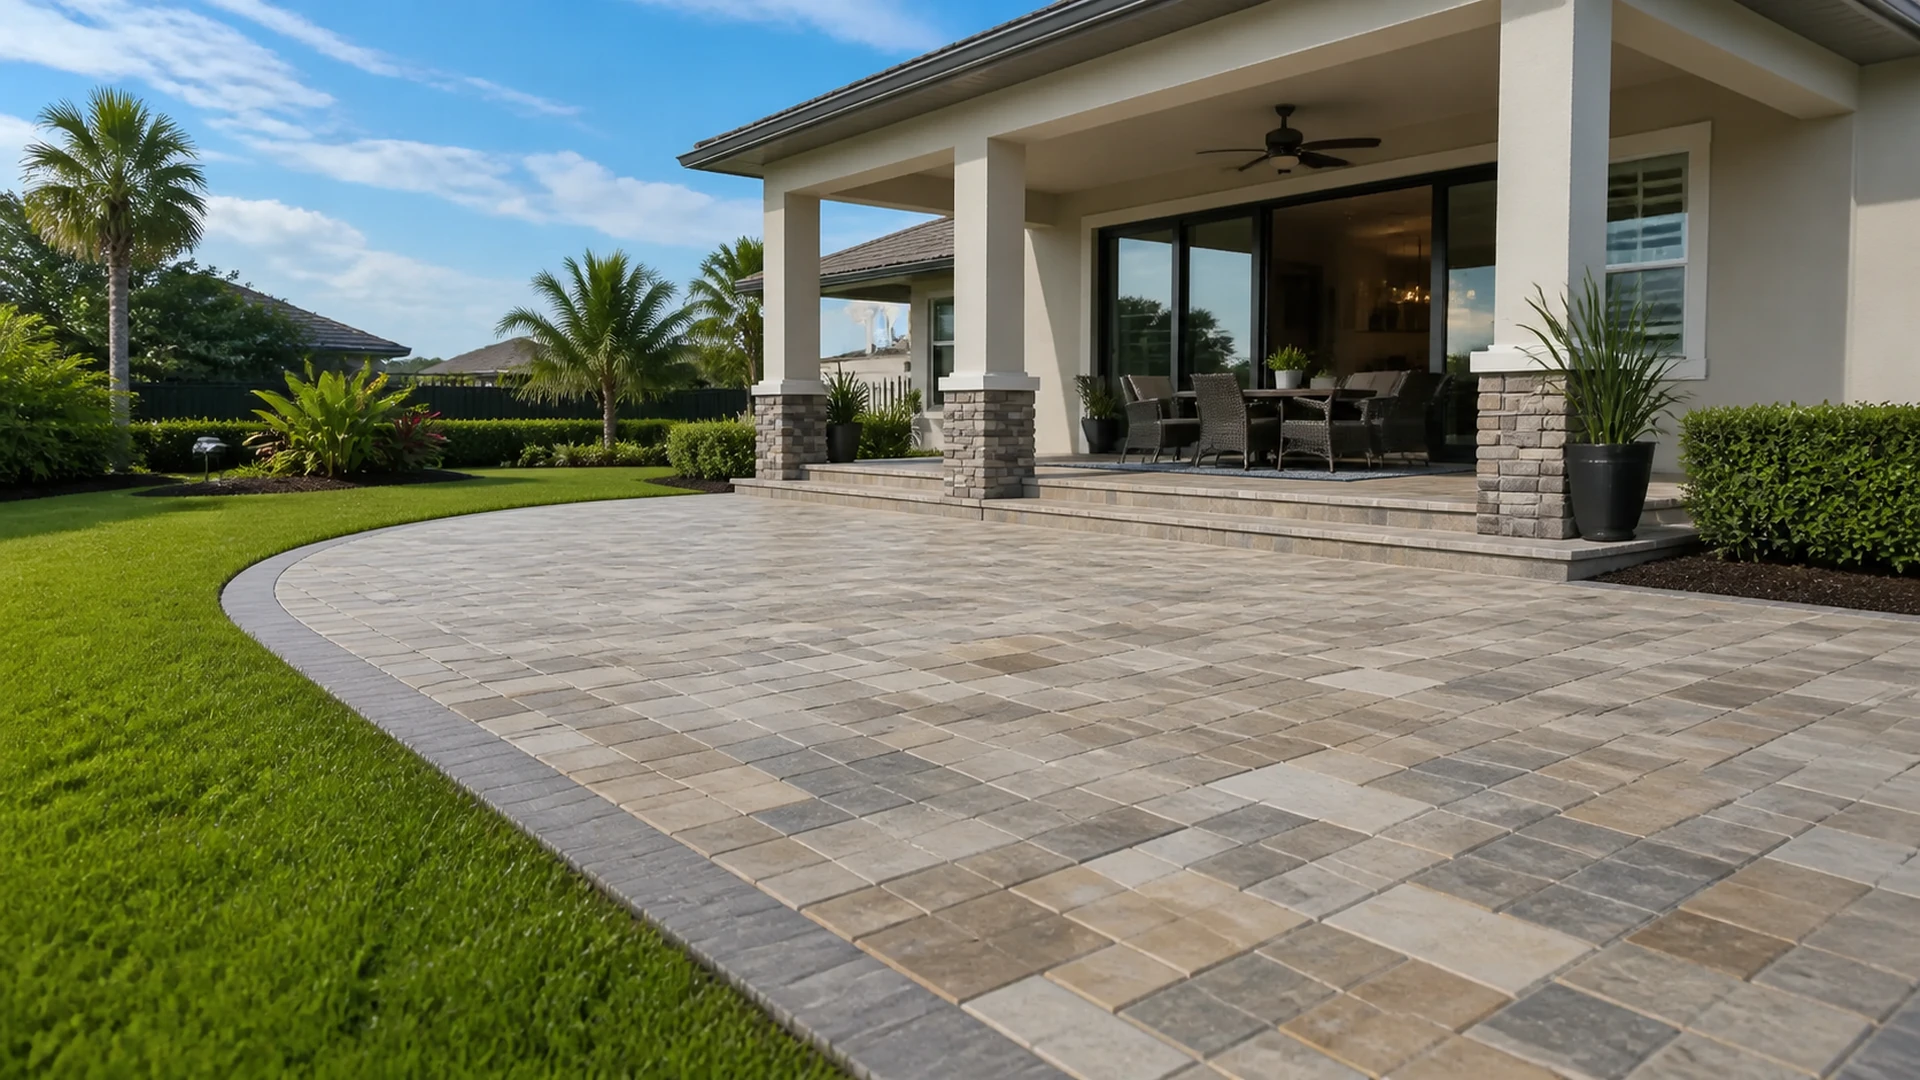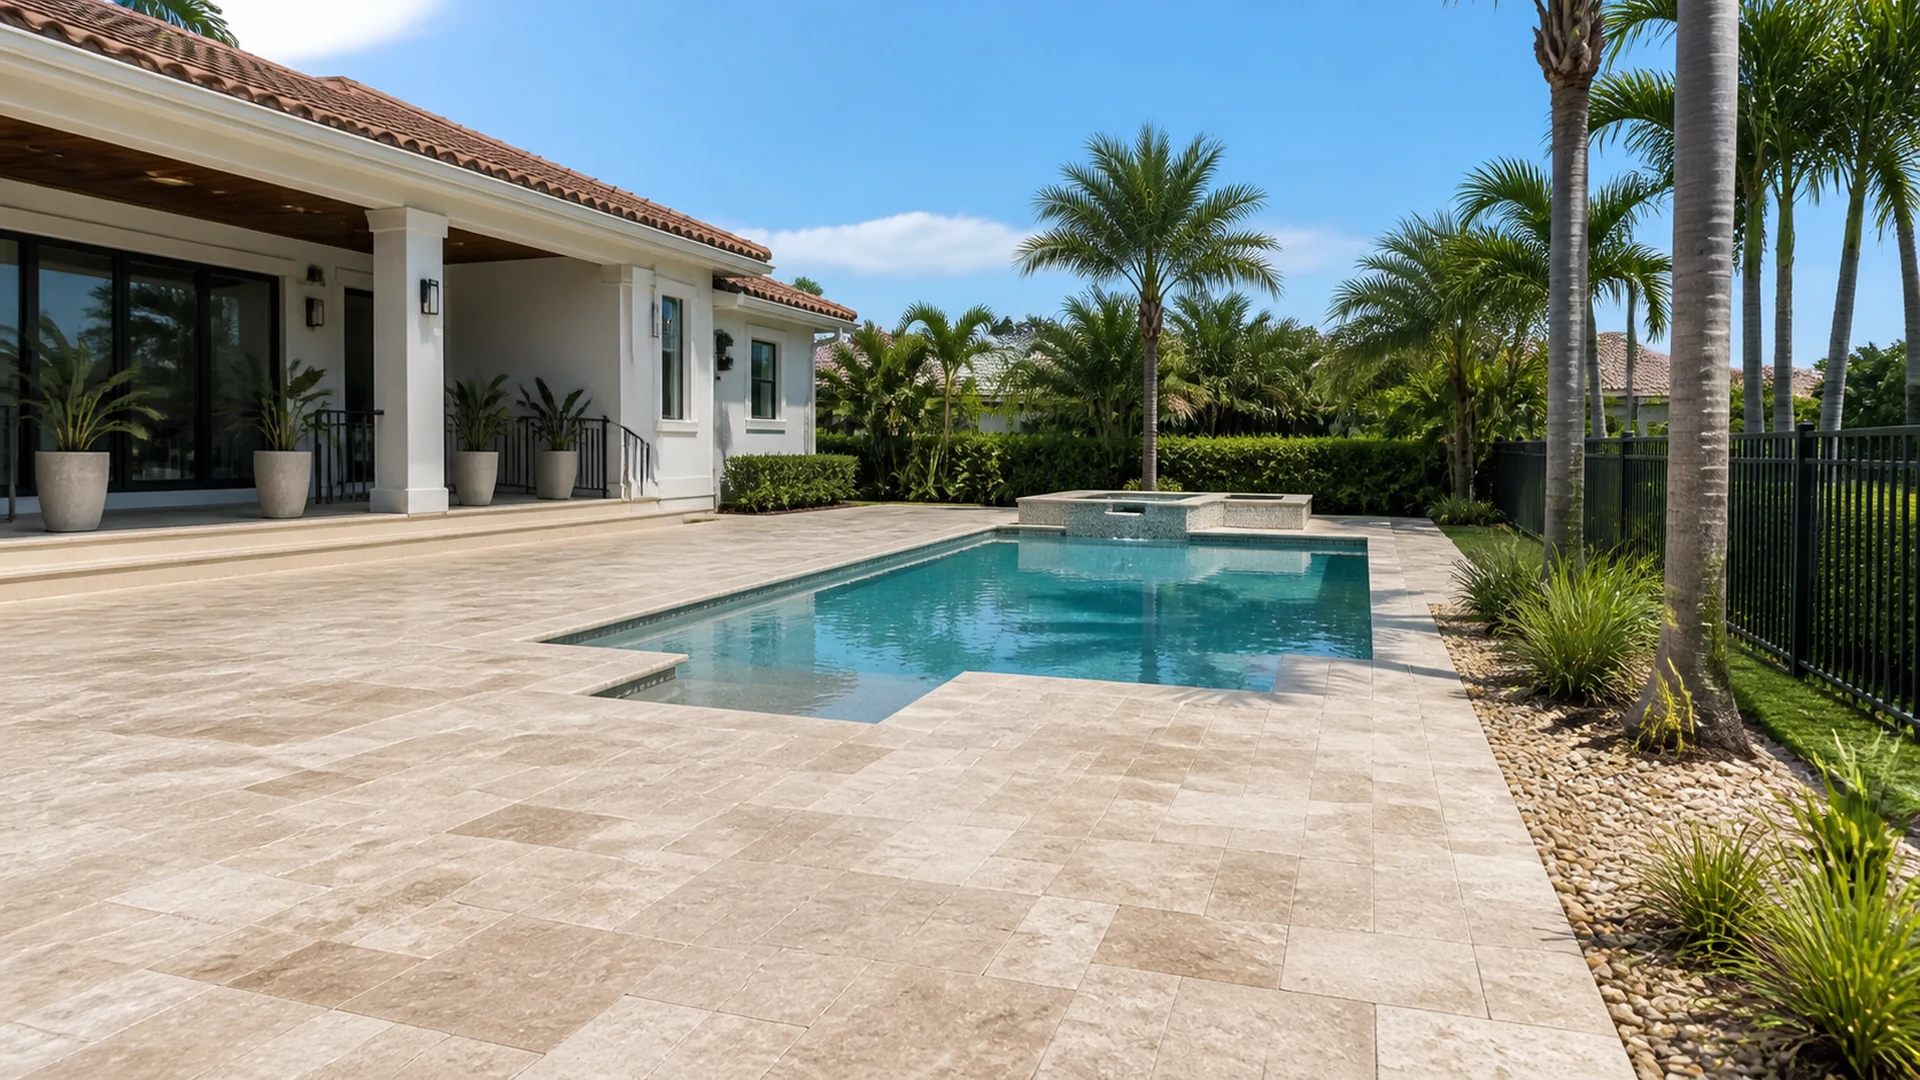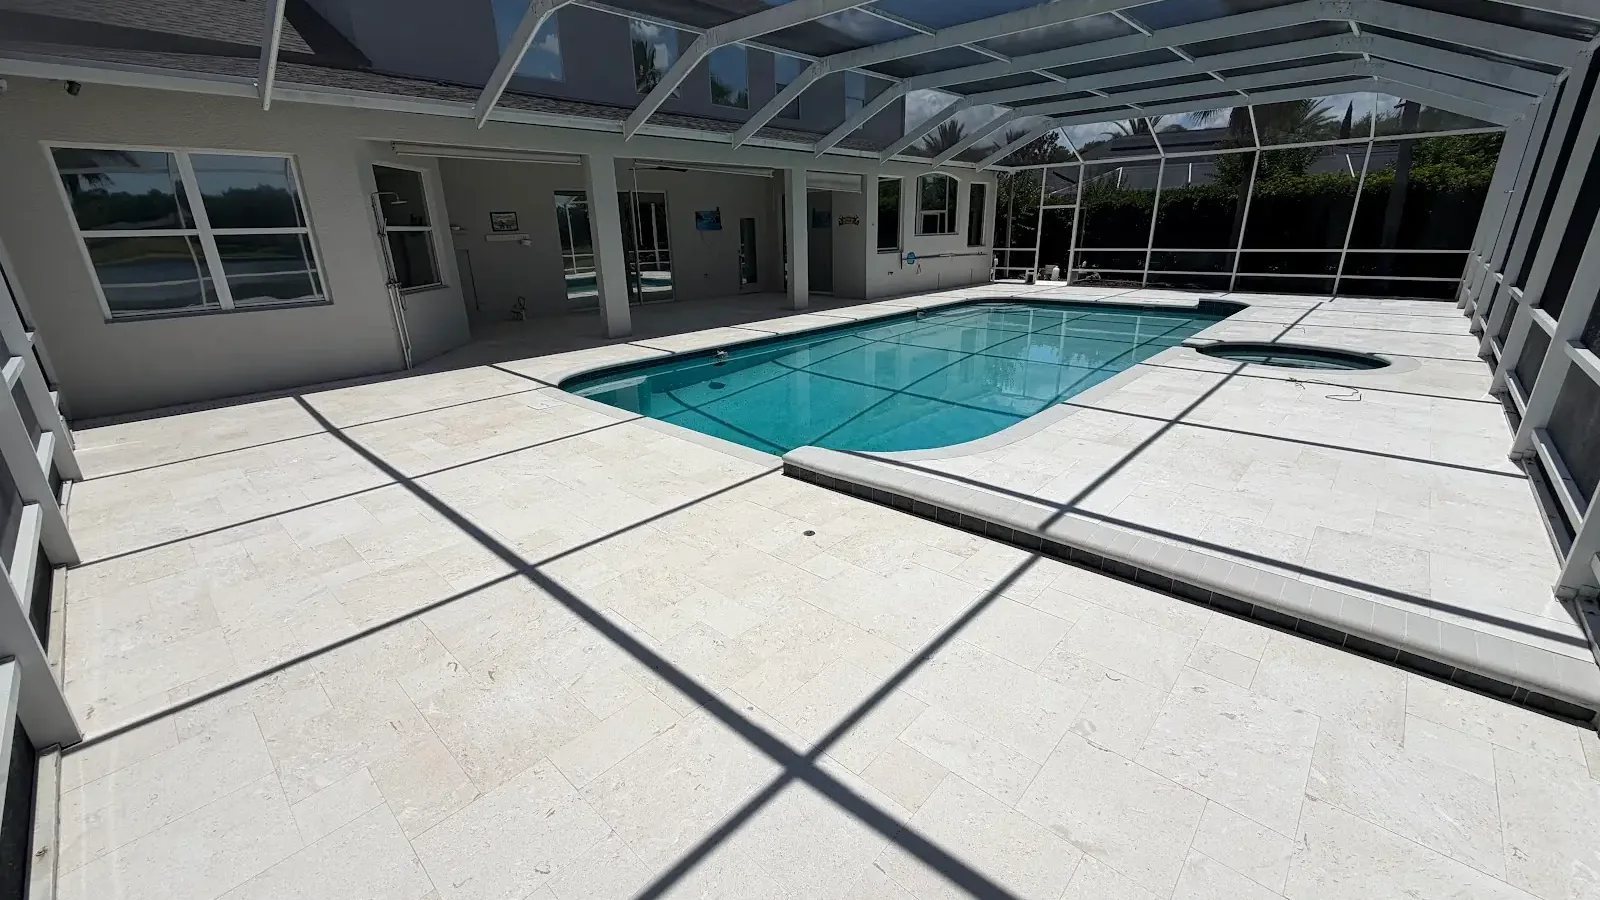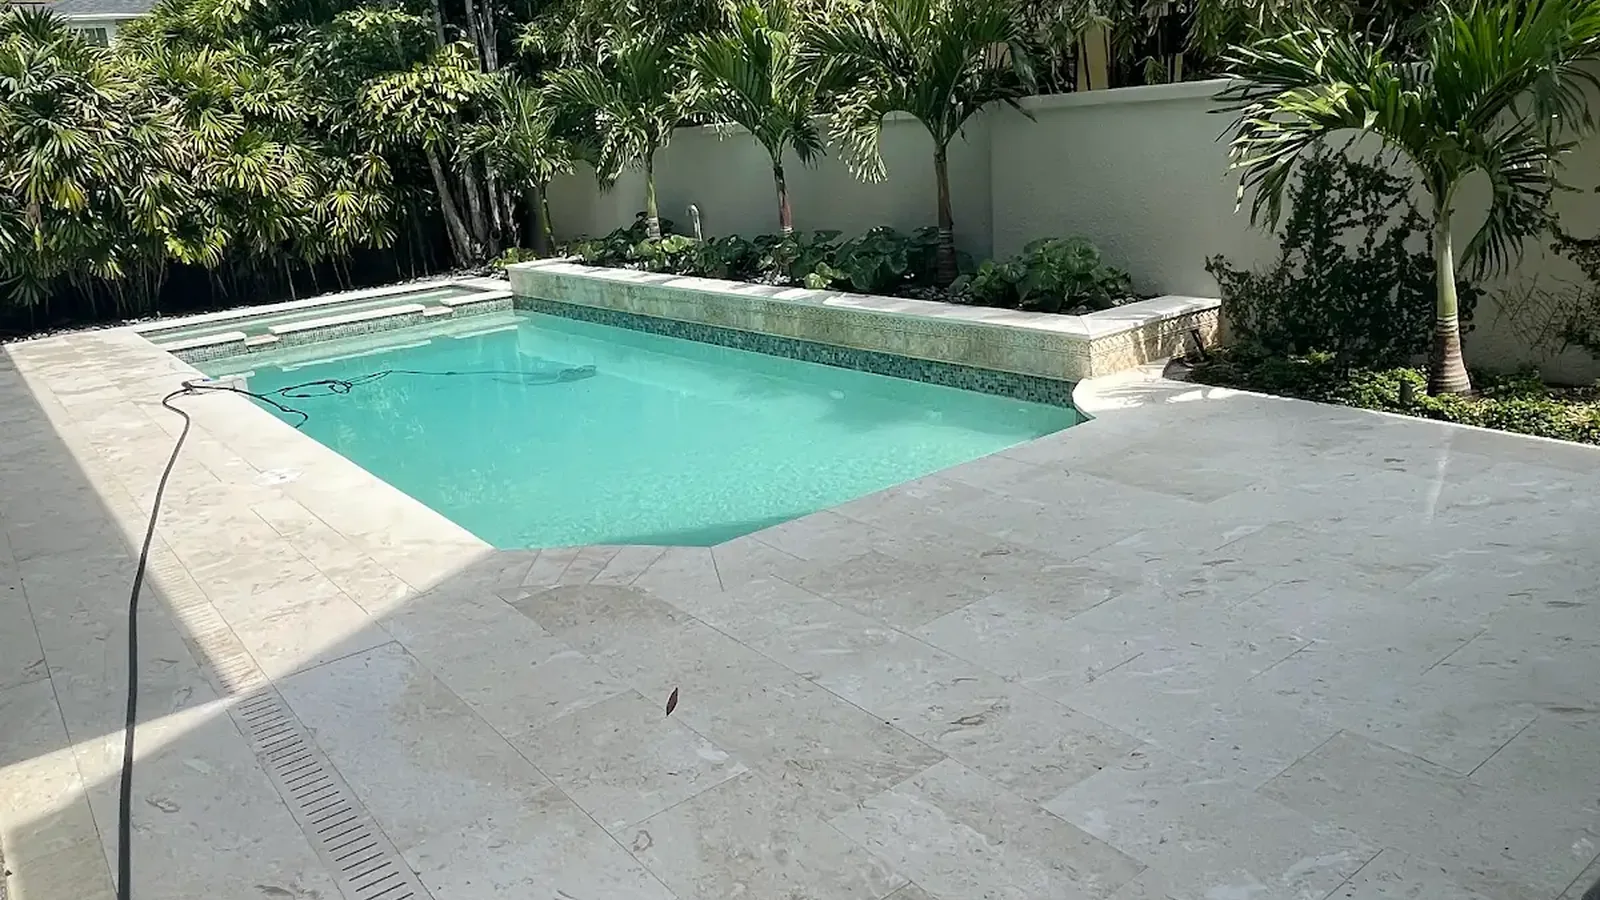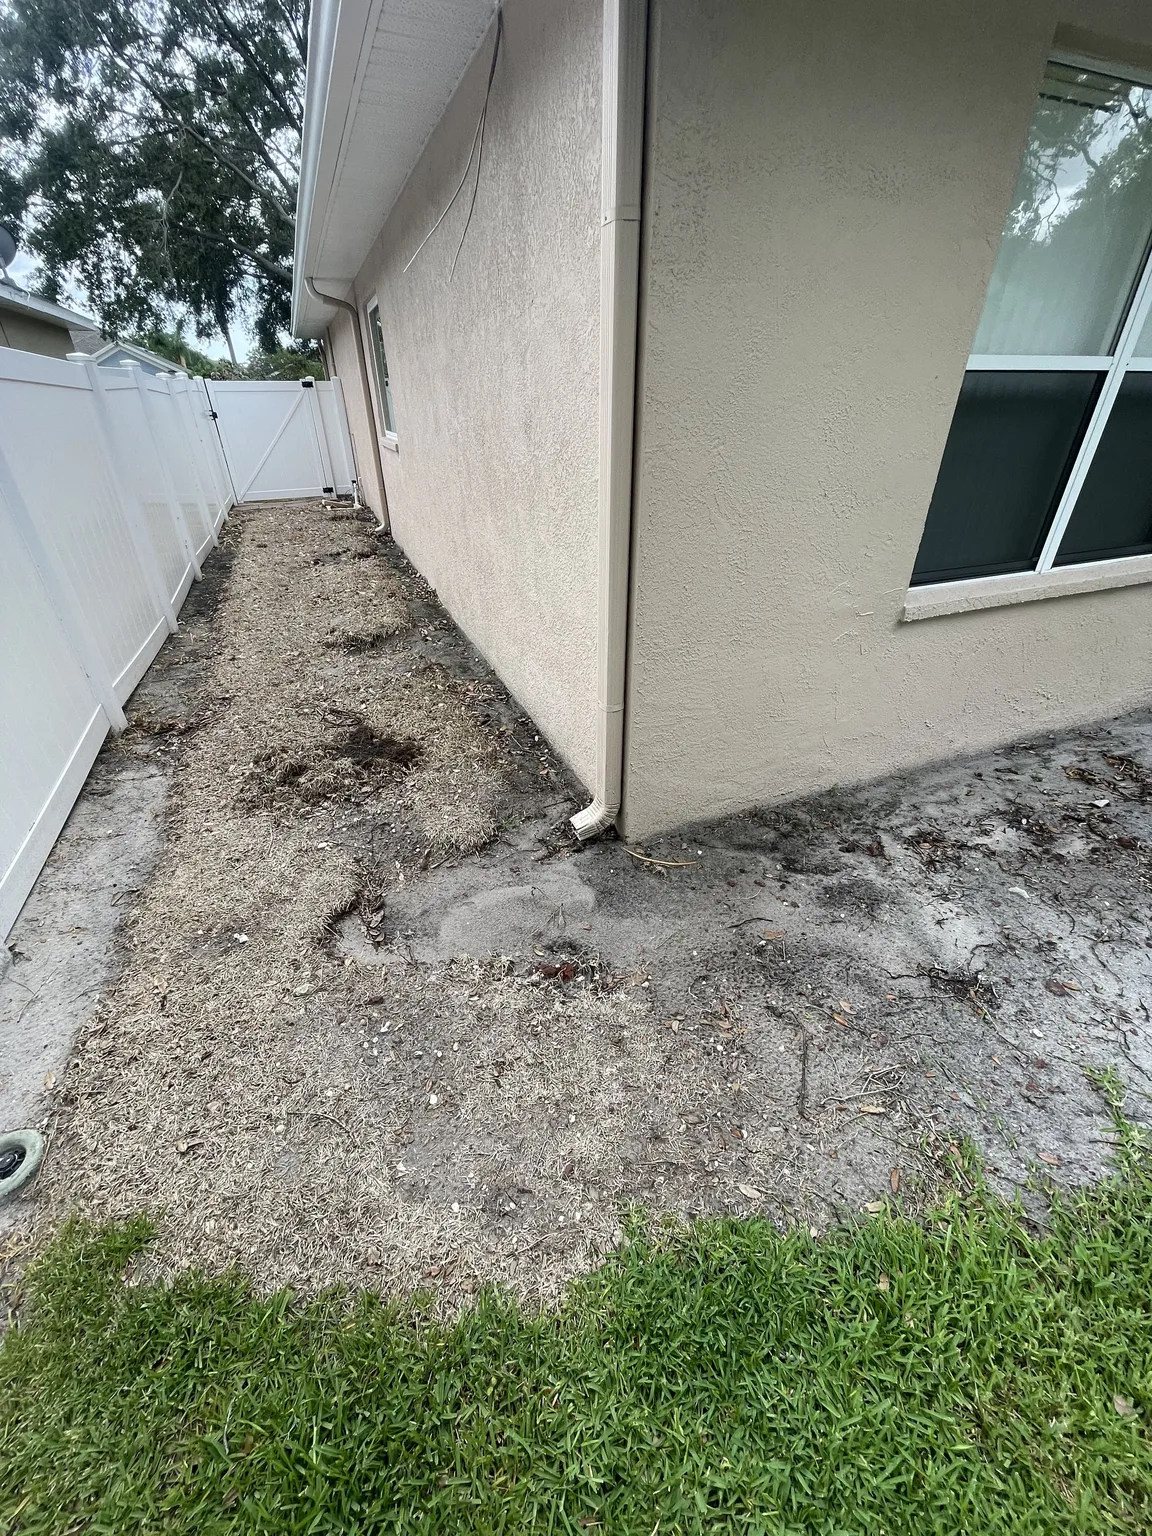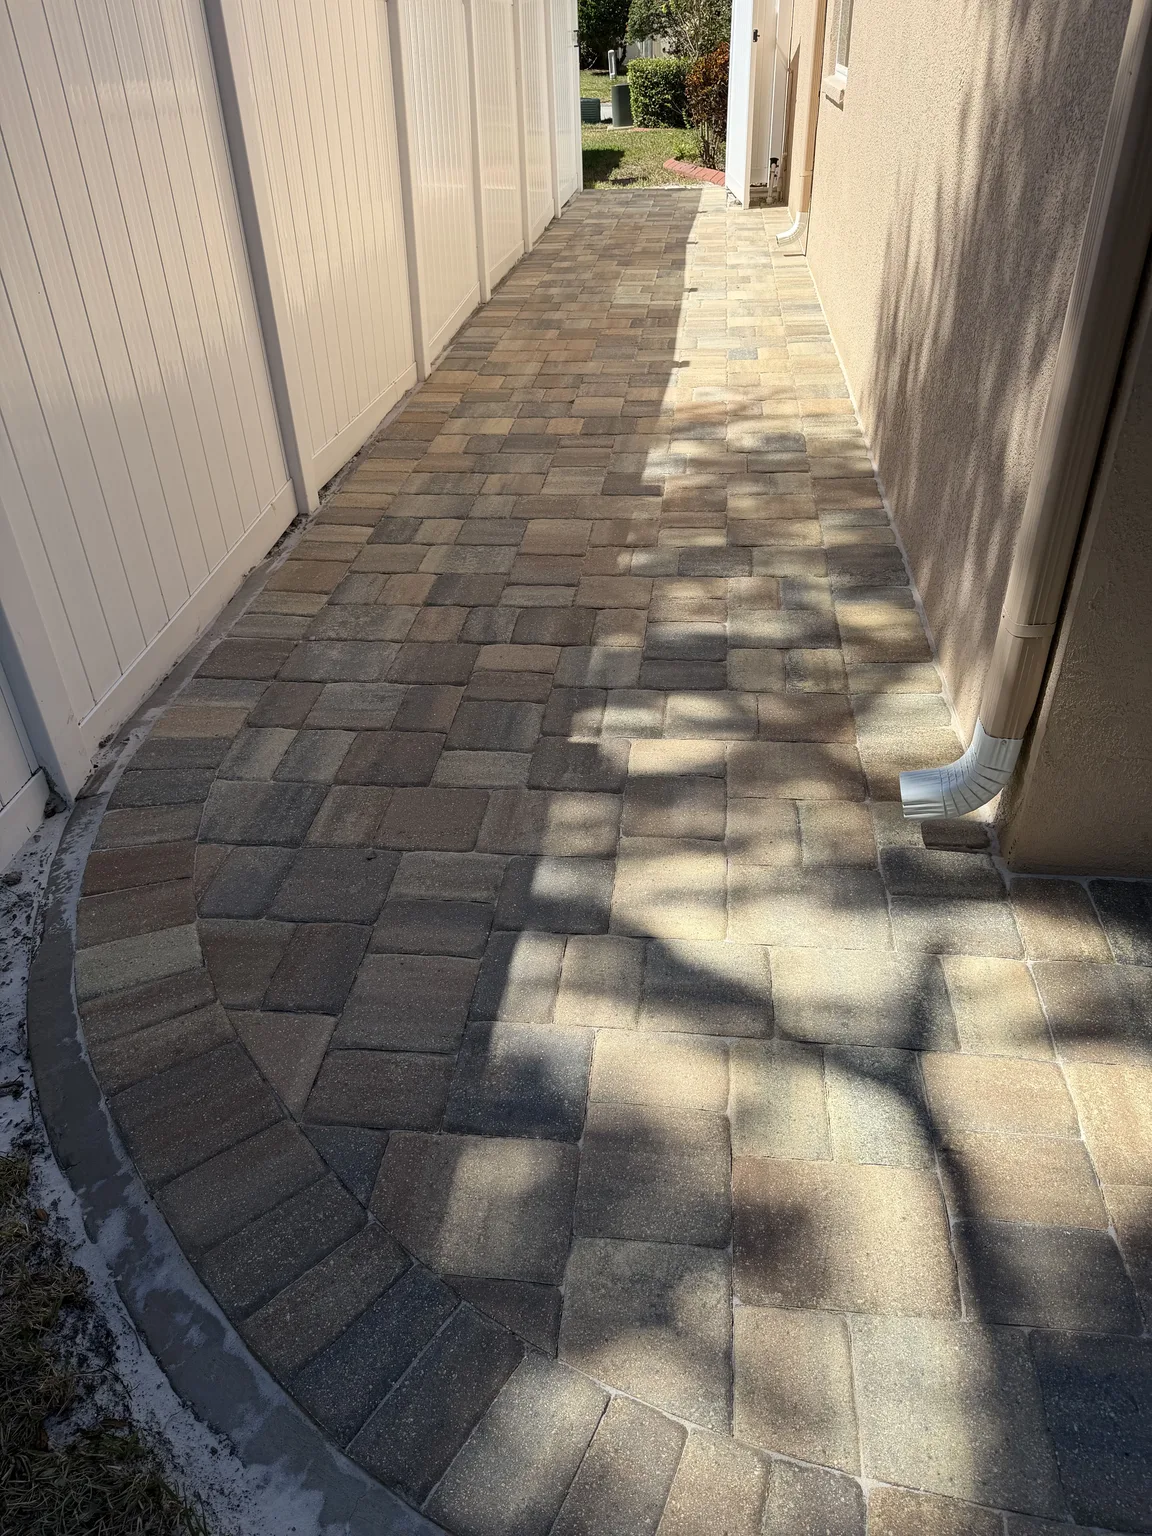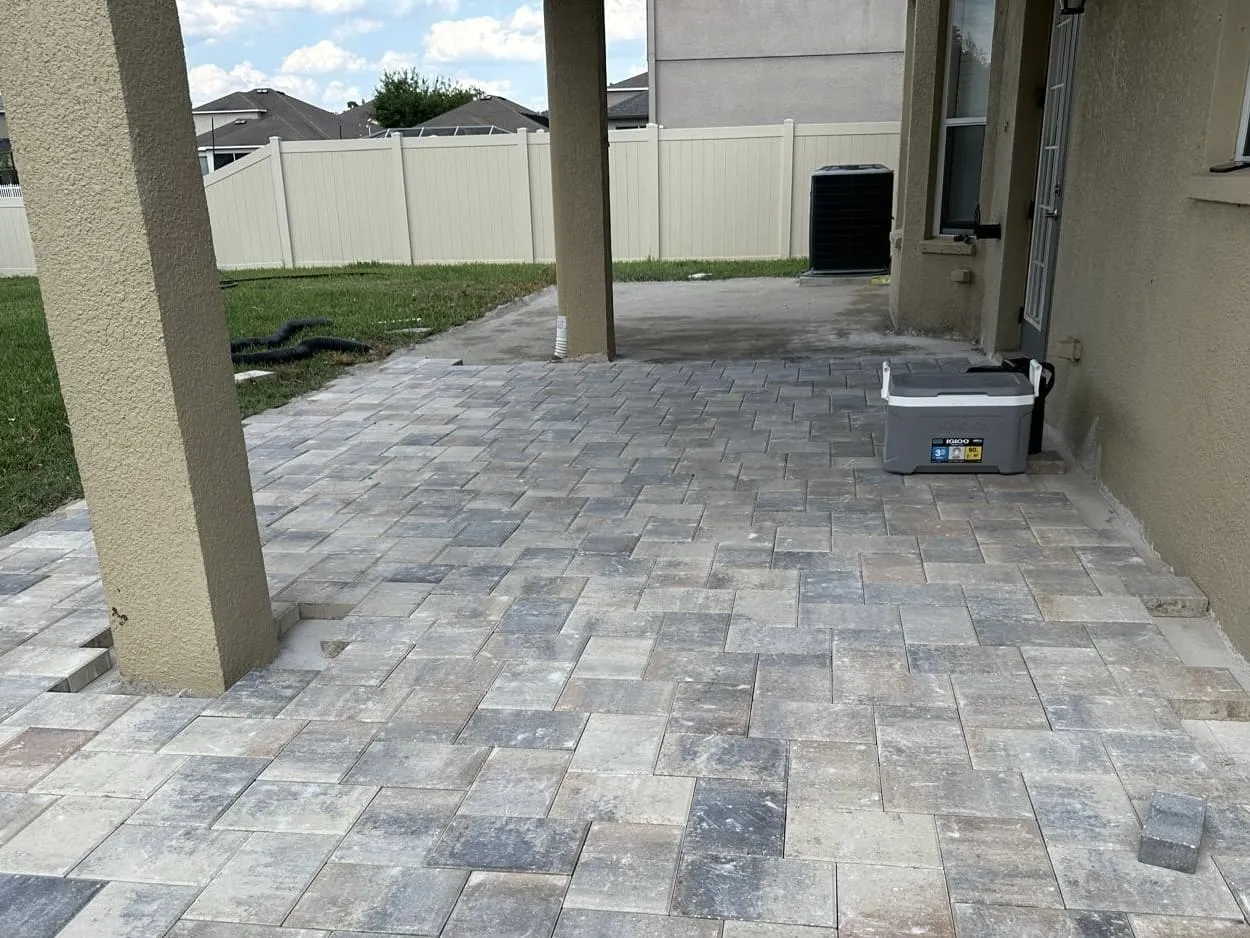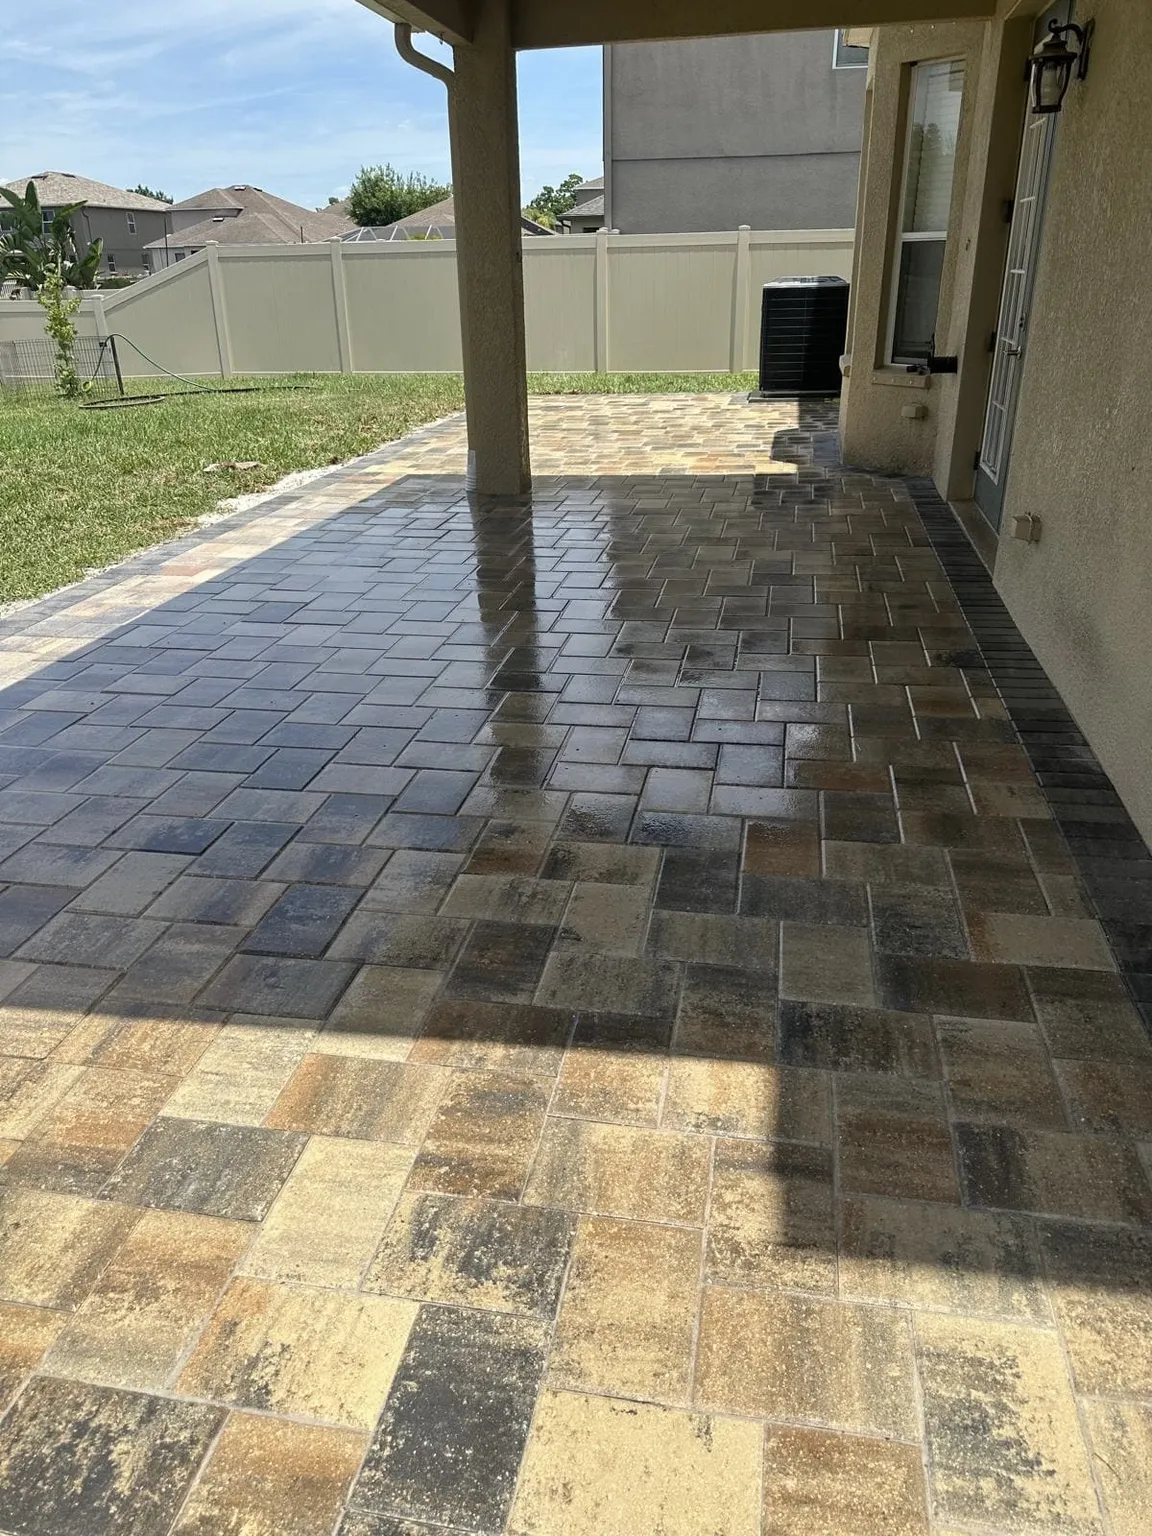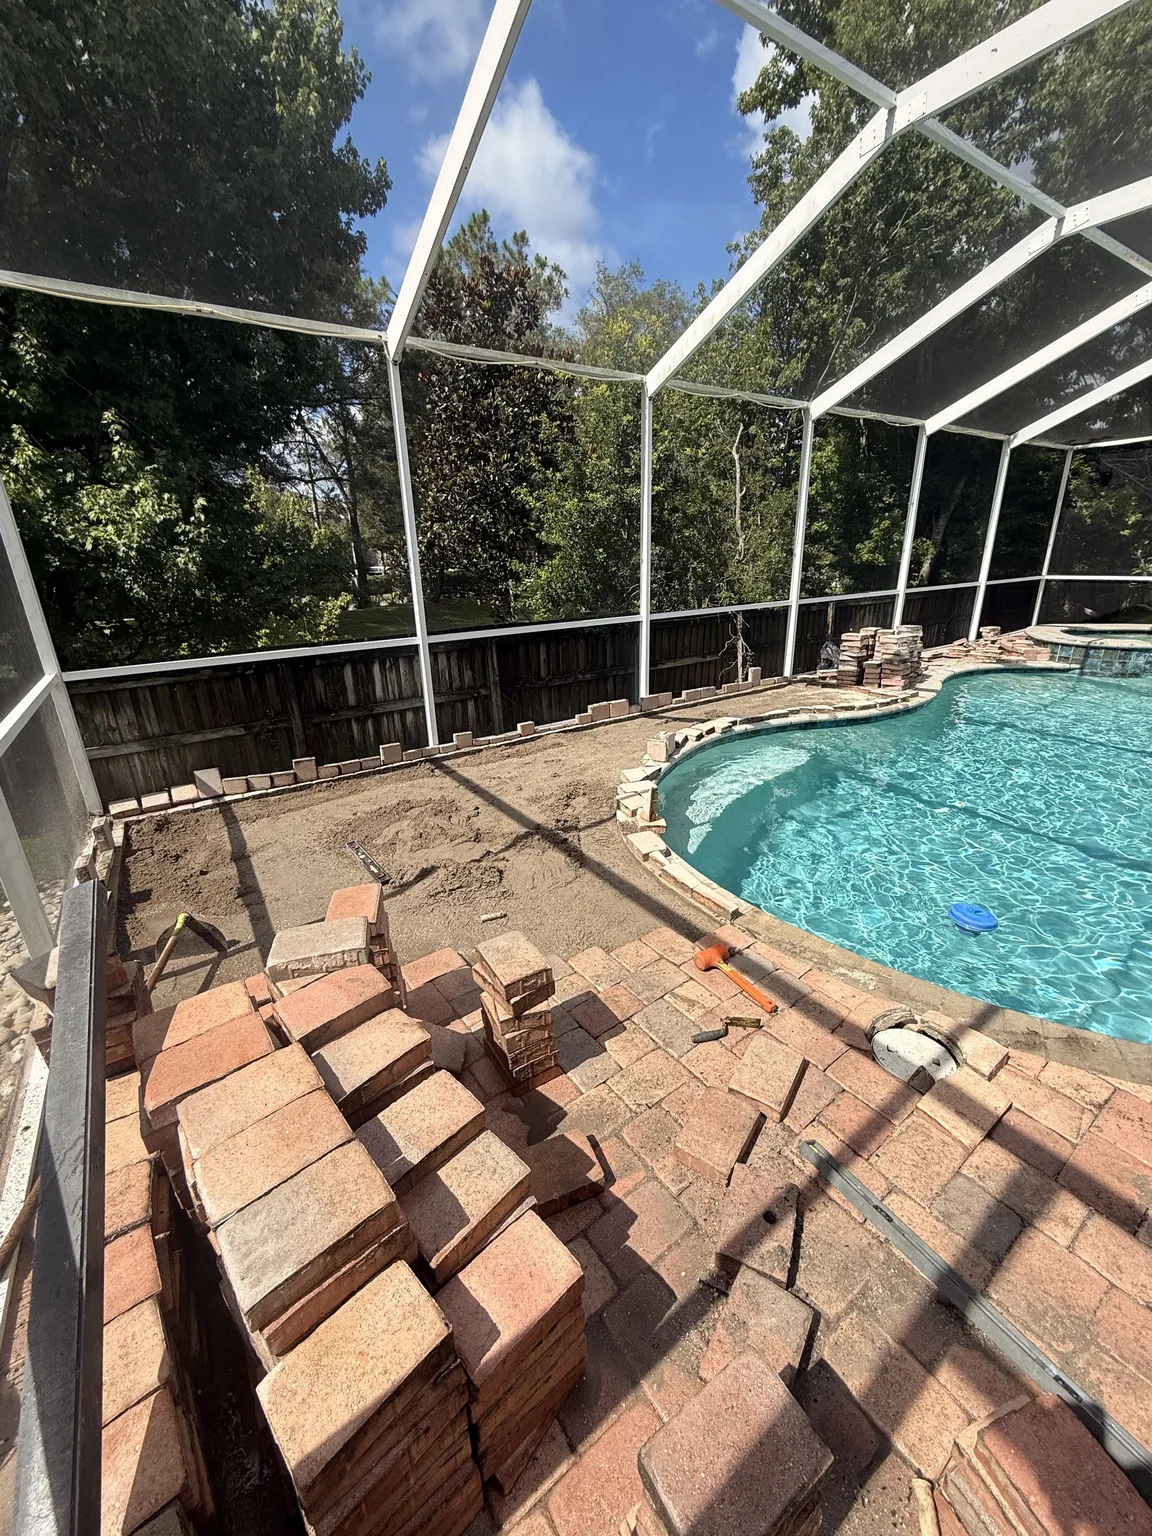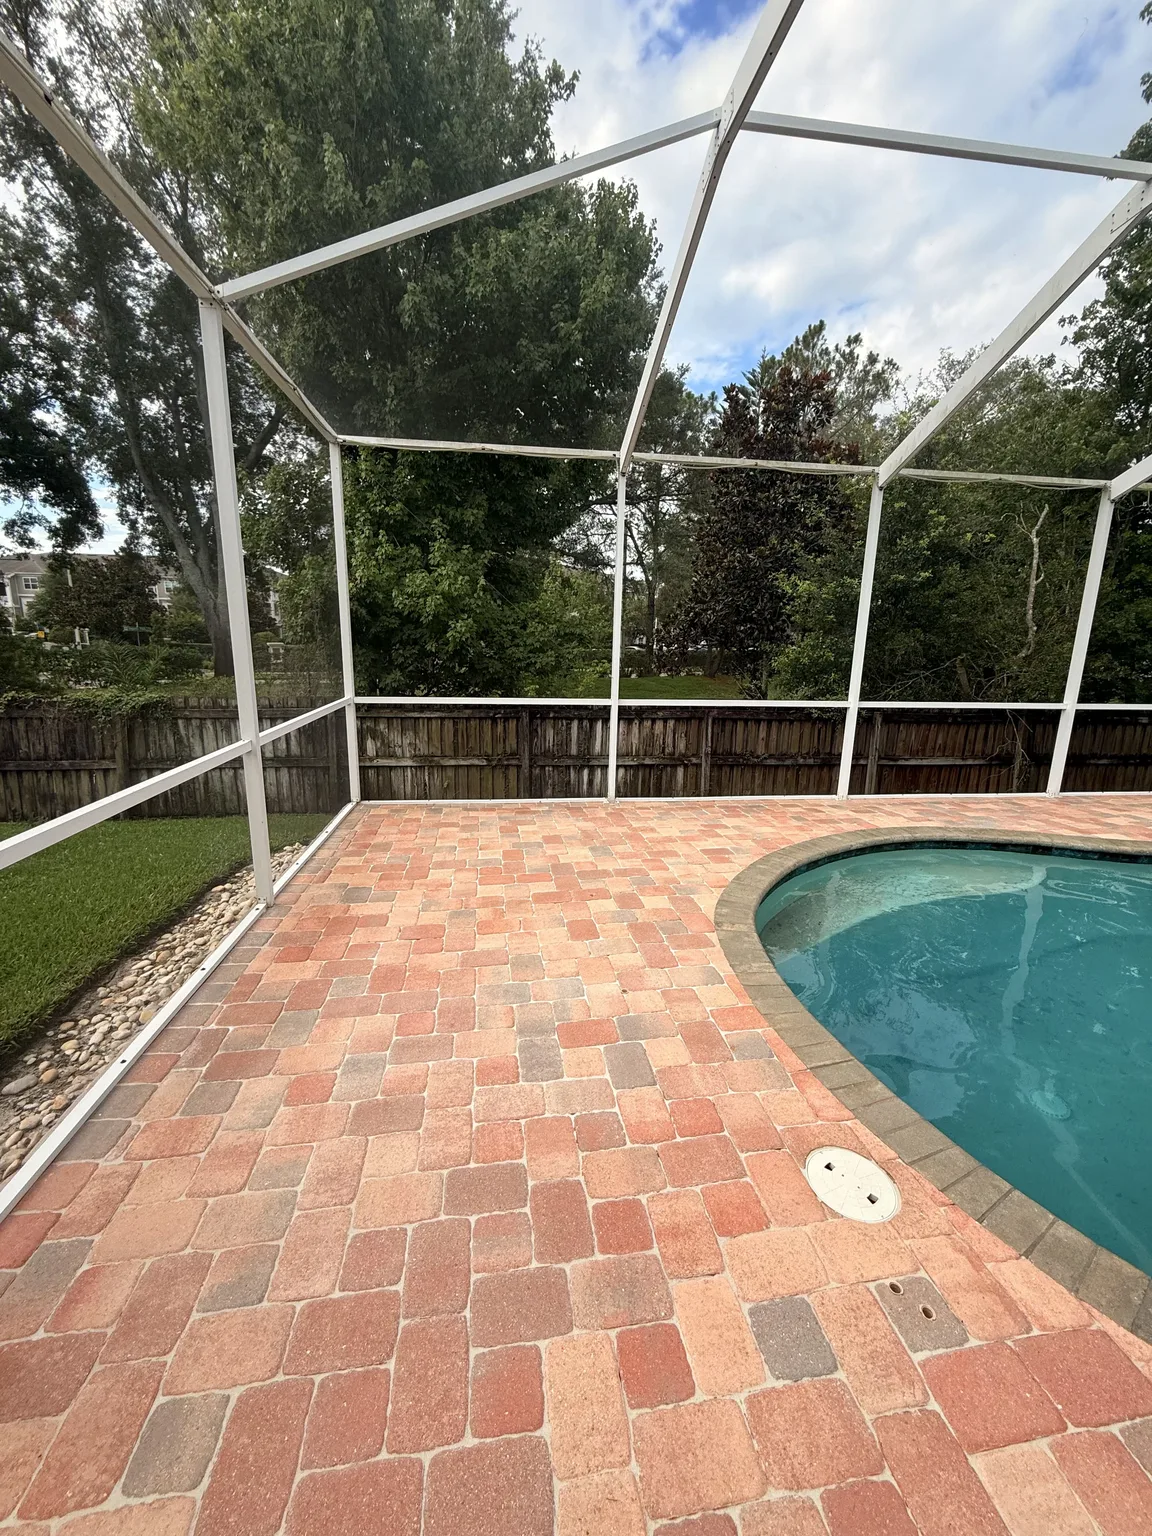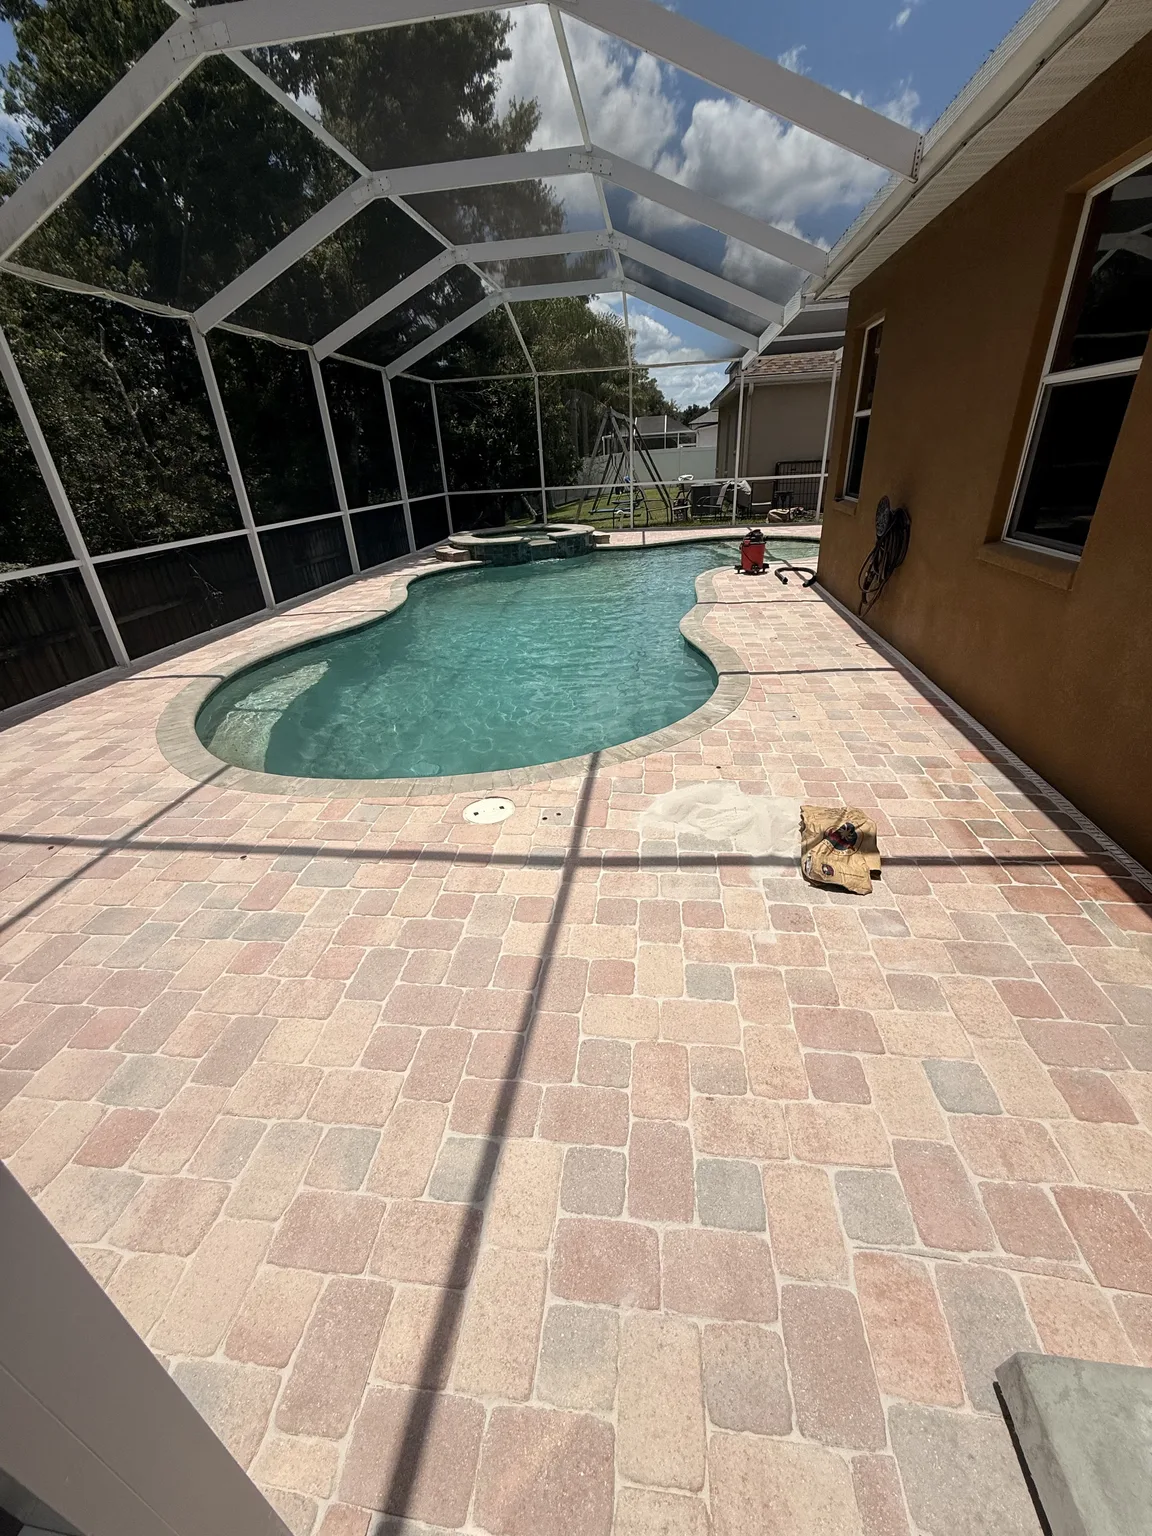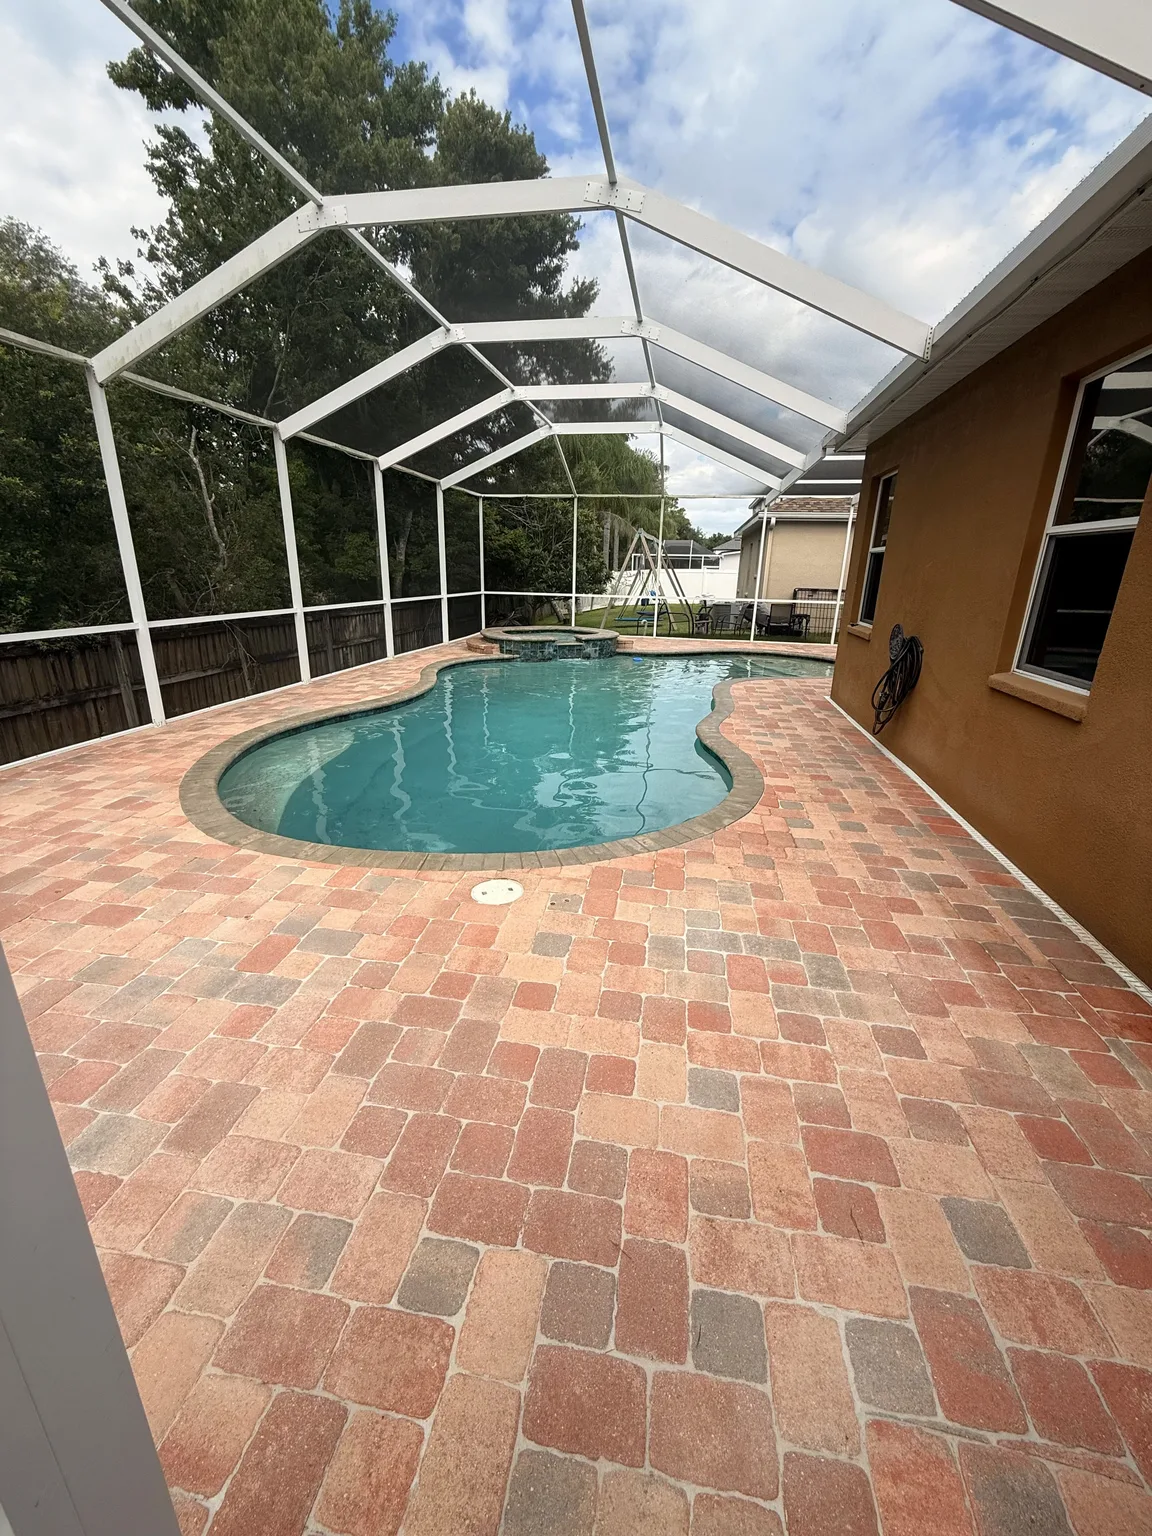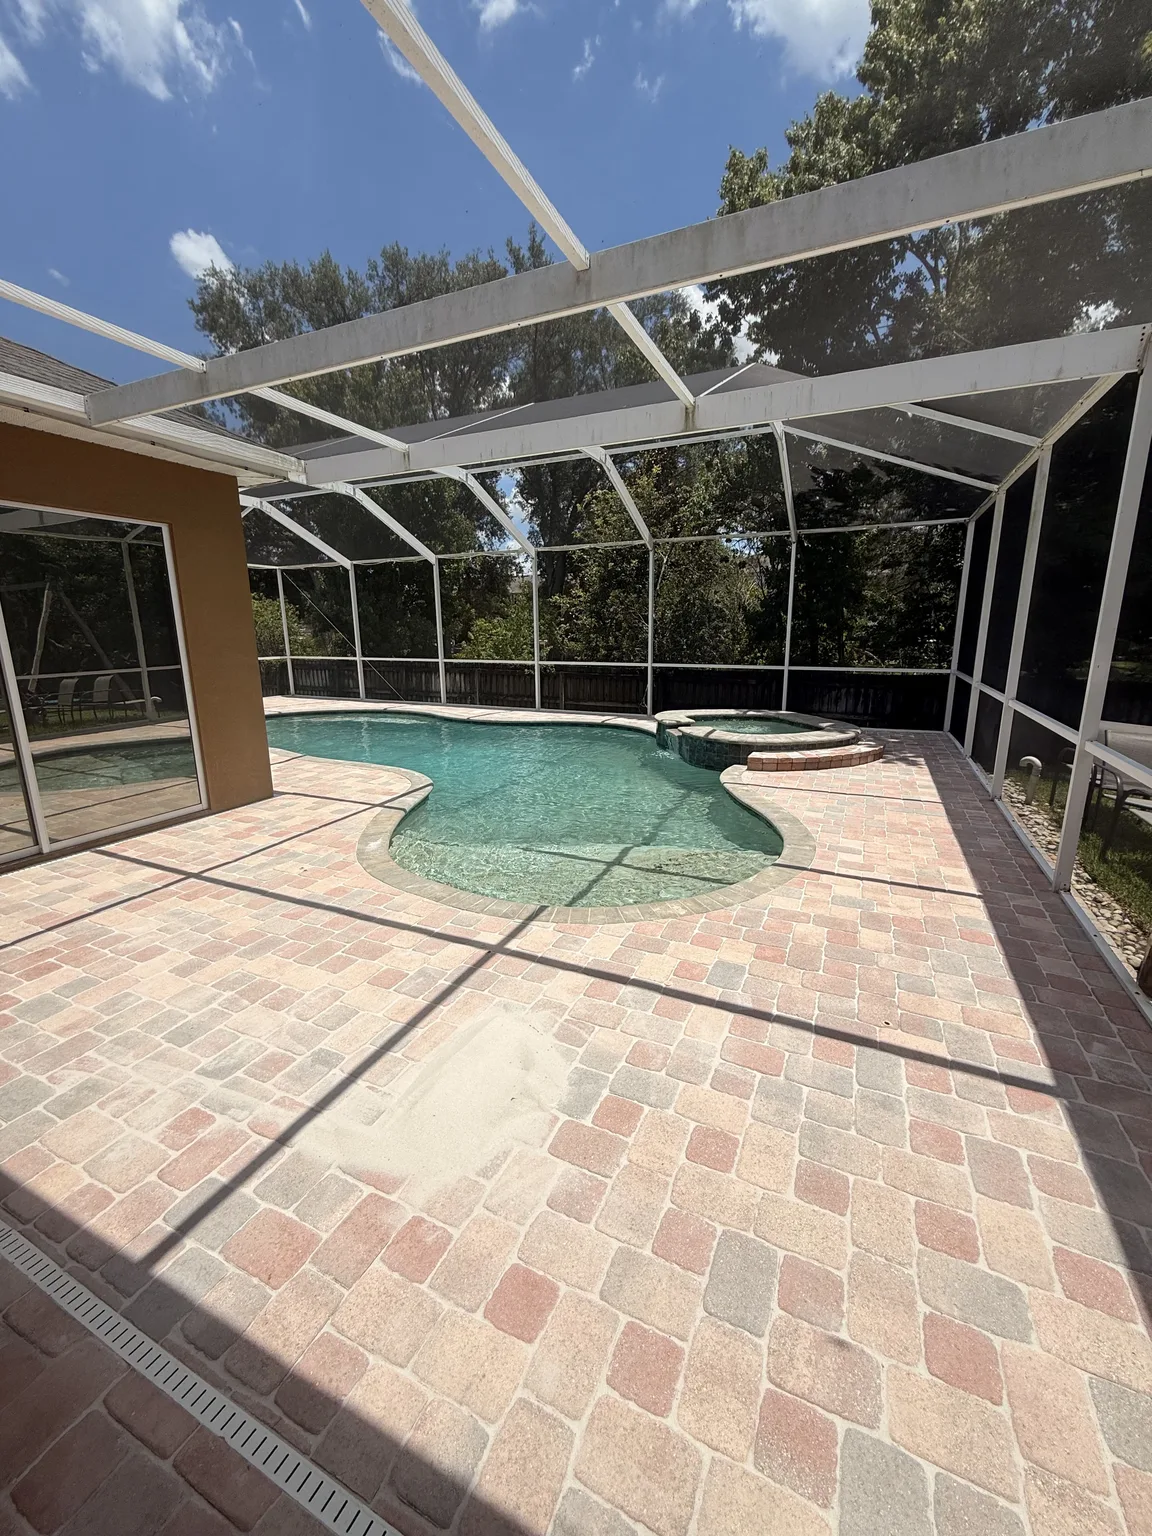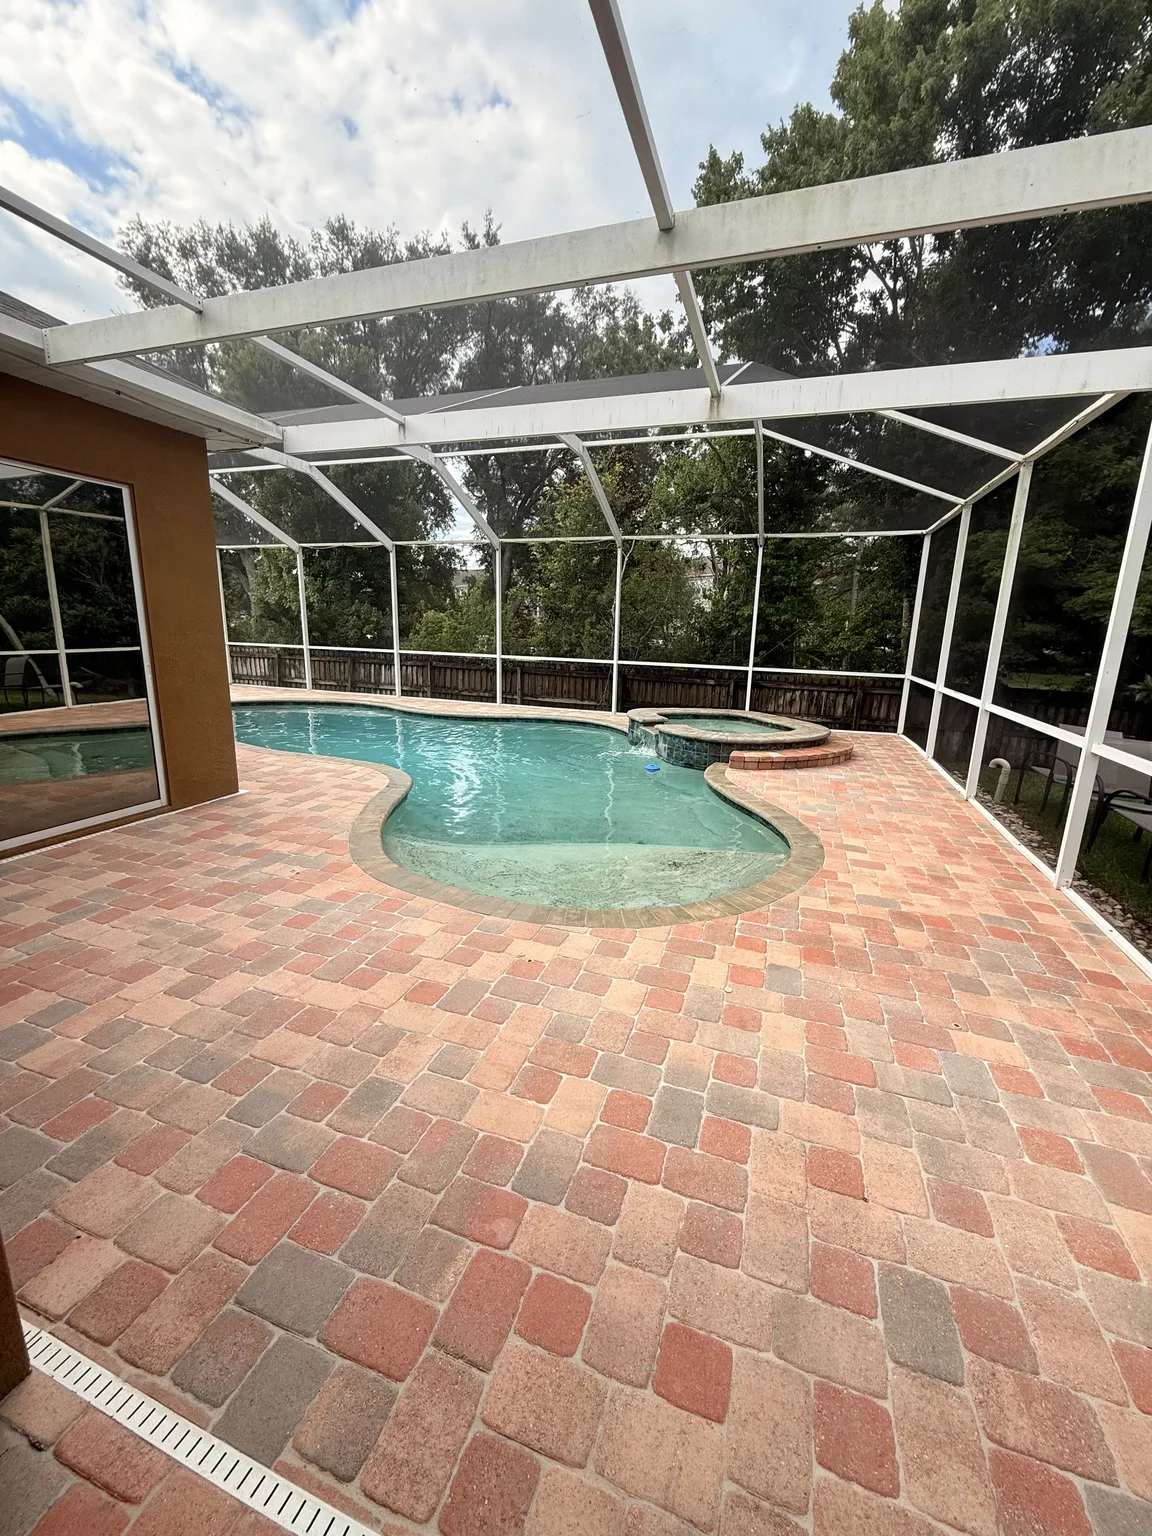
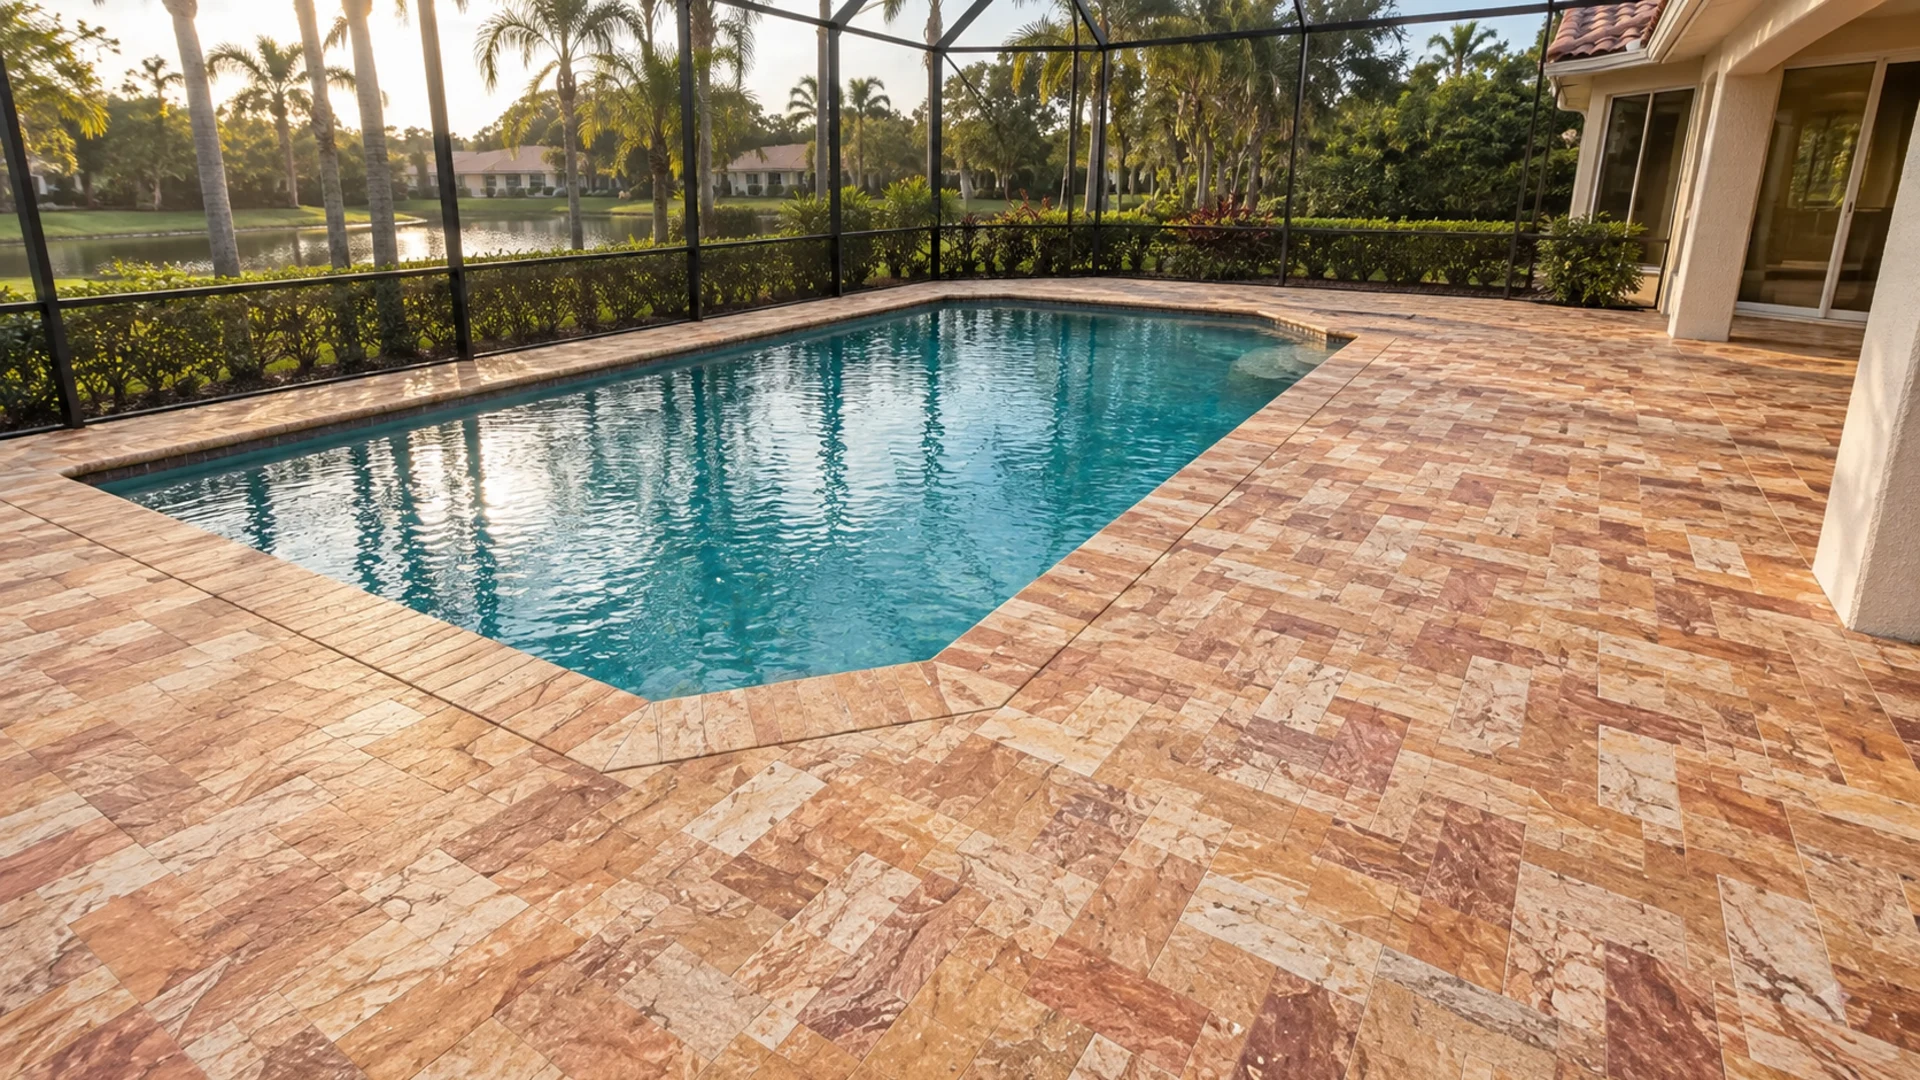
Pool coping gaps and deck paver joints may sit inches apart, yet they are not interchangeable features. The joint beside a pool shell manages a sensitive transition at the water’s edge, while joints within a paver field organize individual units across the deck. Knowing which condition you are looking at helps a Tampa Bay homeowner describe it accurately, avoid cosmetic guesswork, and recognize when a walking surface or pool edge deserves prompt professional attention.
Pool coping gaps are not ordinary paver joints
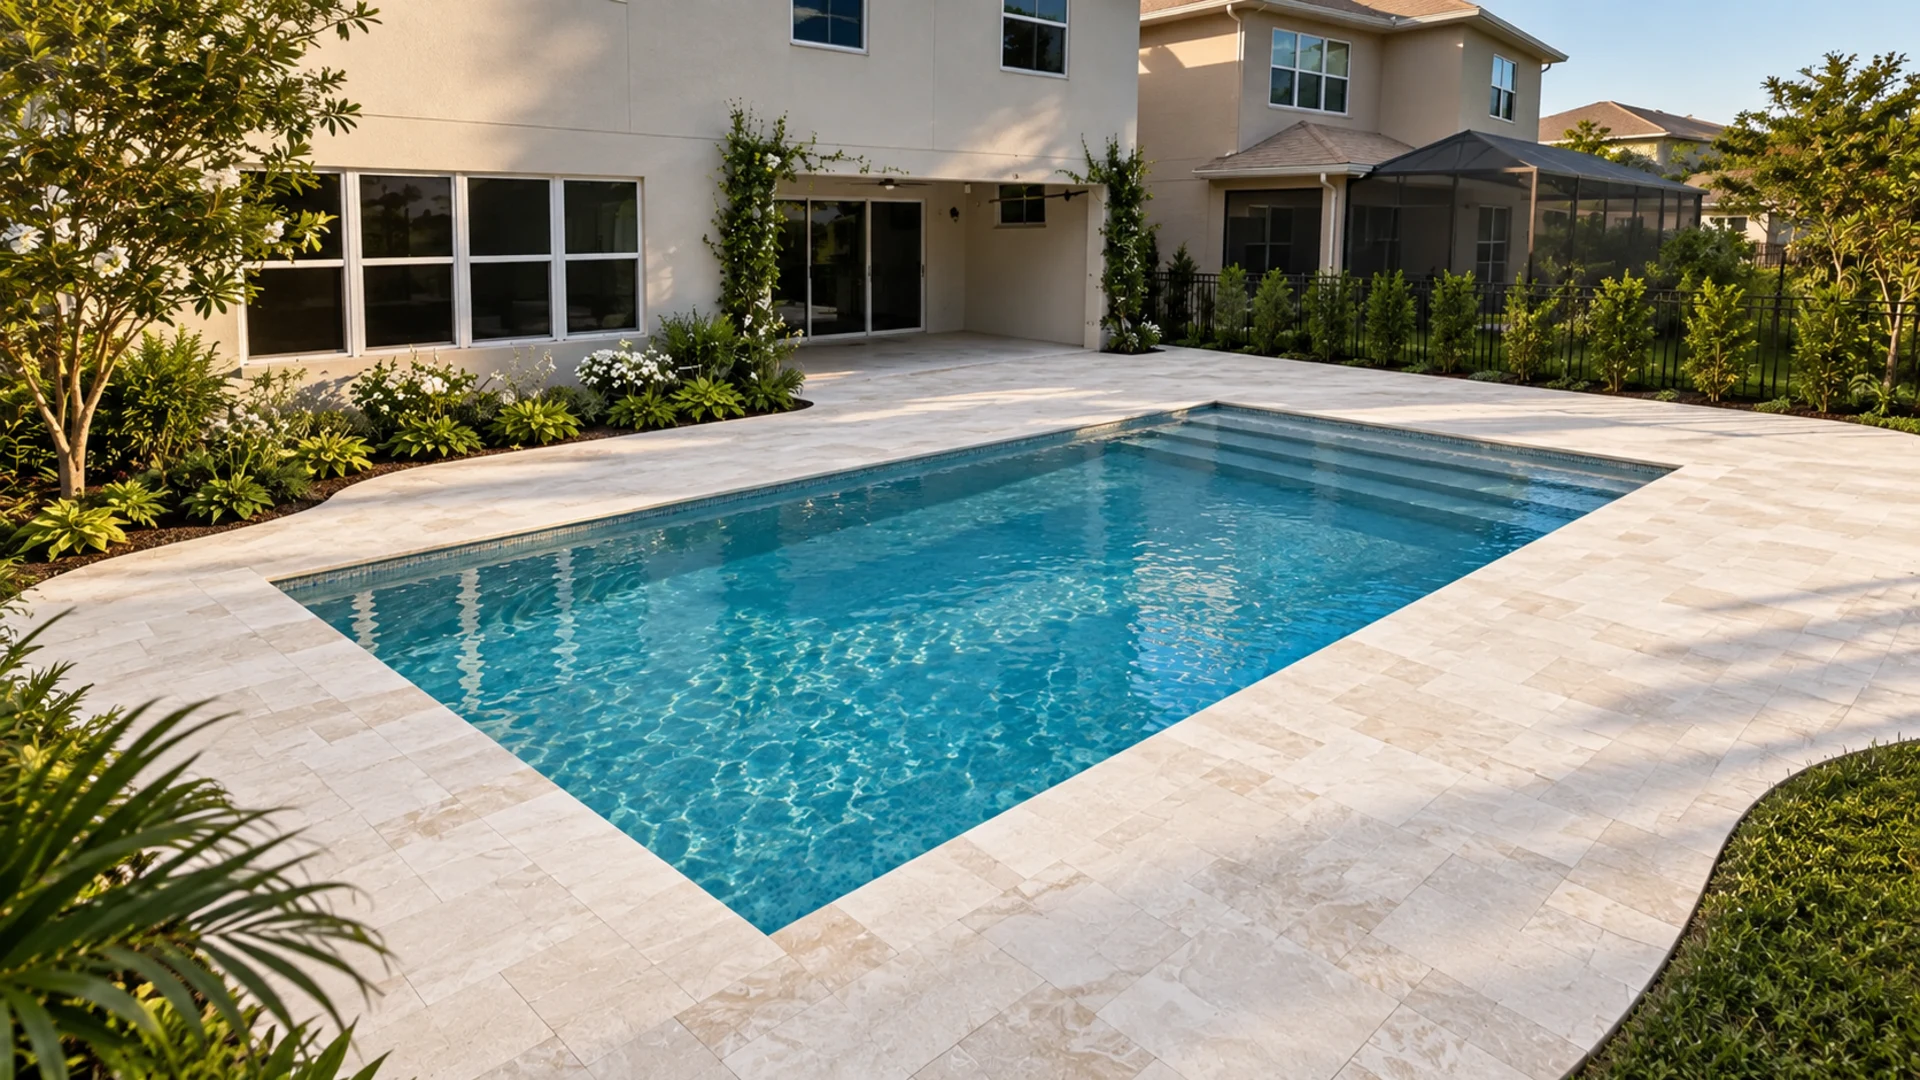
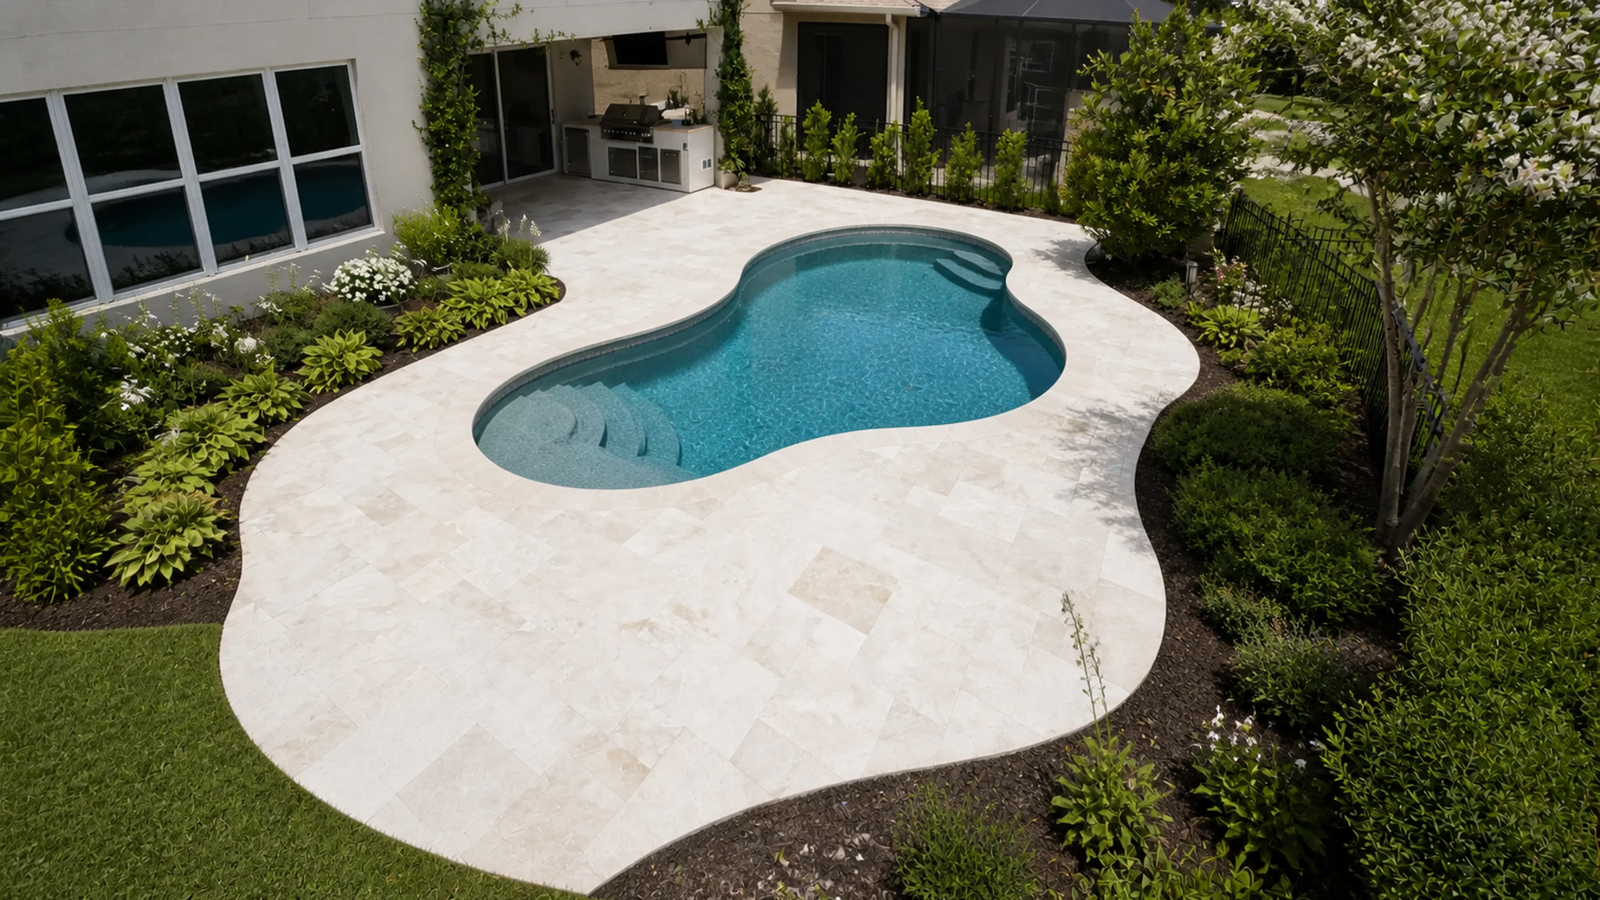
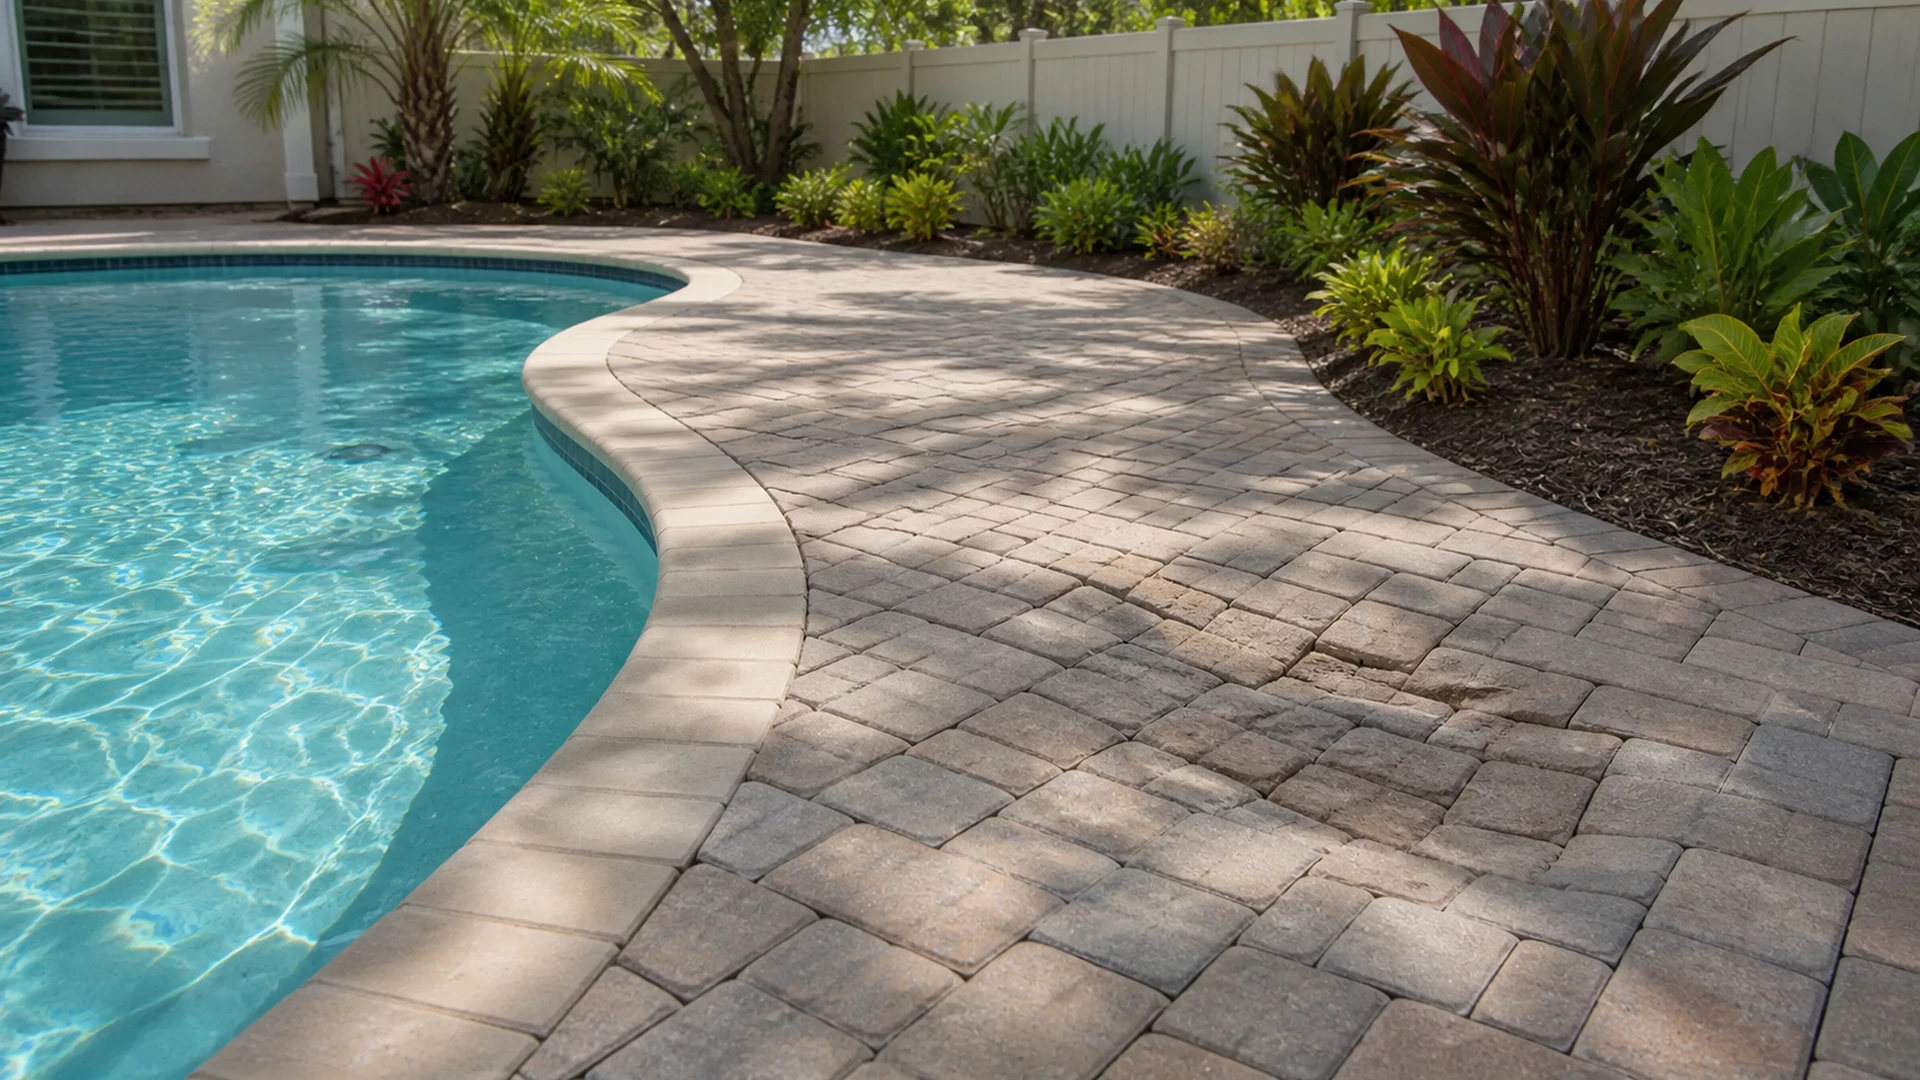
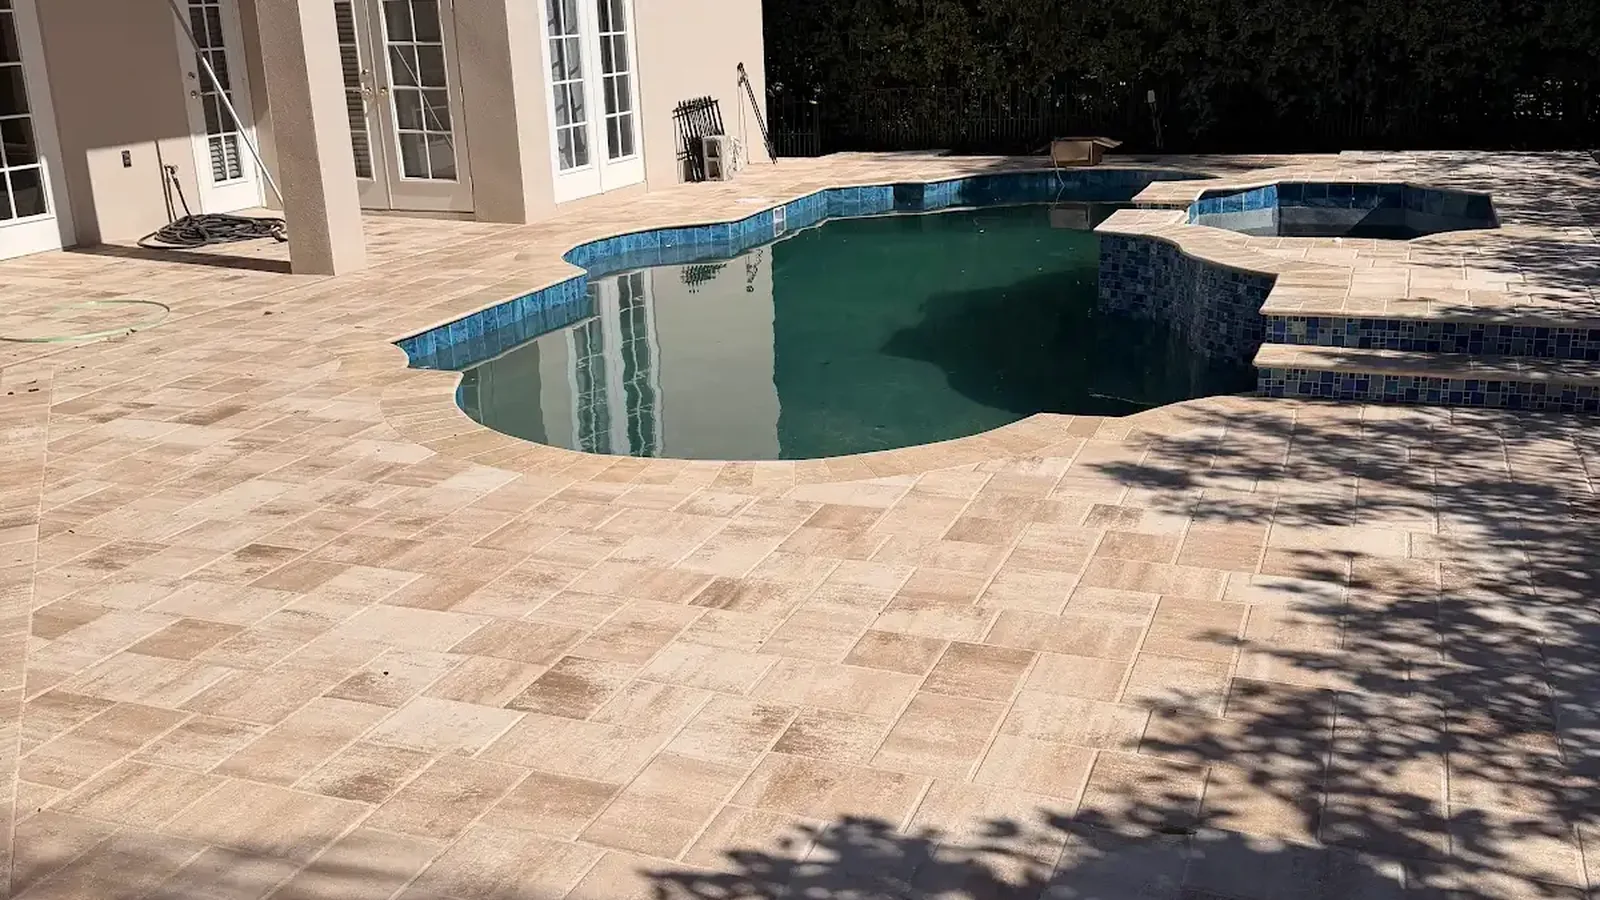
Coping forms the finished rim of a pool. It meets the shell, follows curves and corners, and often creates the visual boundary between water and deck. A gap at that interface can involve movement, sealant condition, mortar or setting material, water routing, or the relationship between adjacent components. The visible opening alone does not identify the cause, and it should not be filled with whatever material happens to be available.
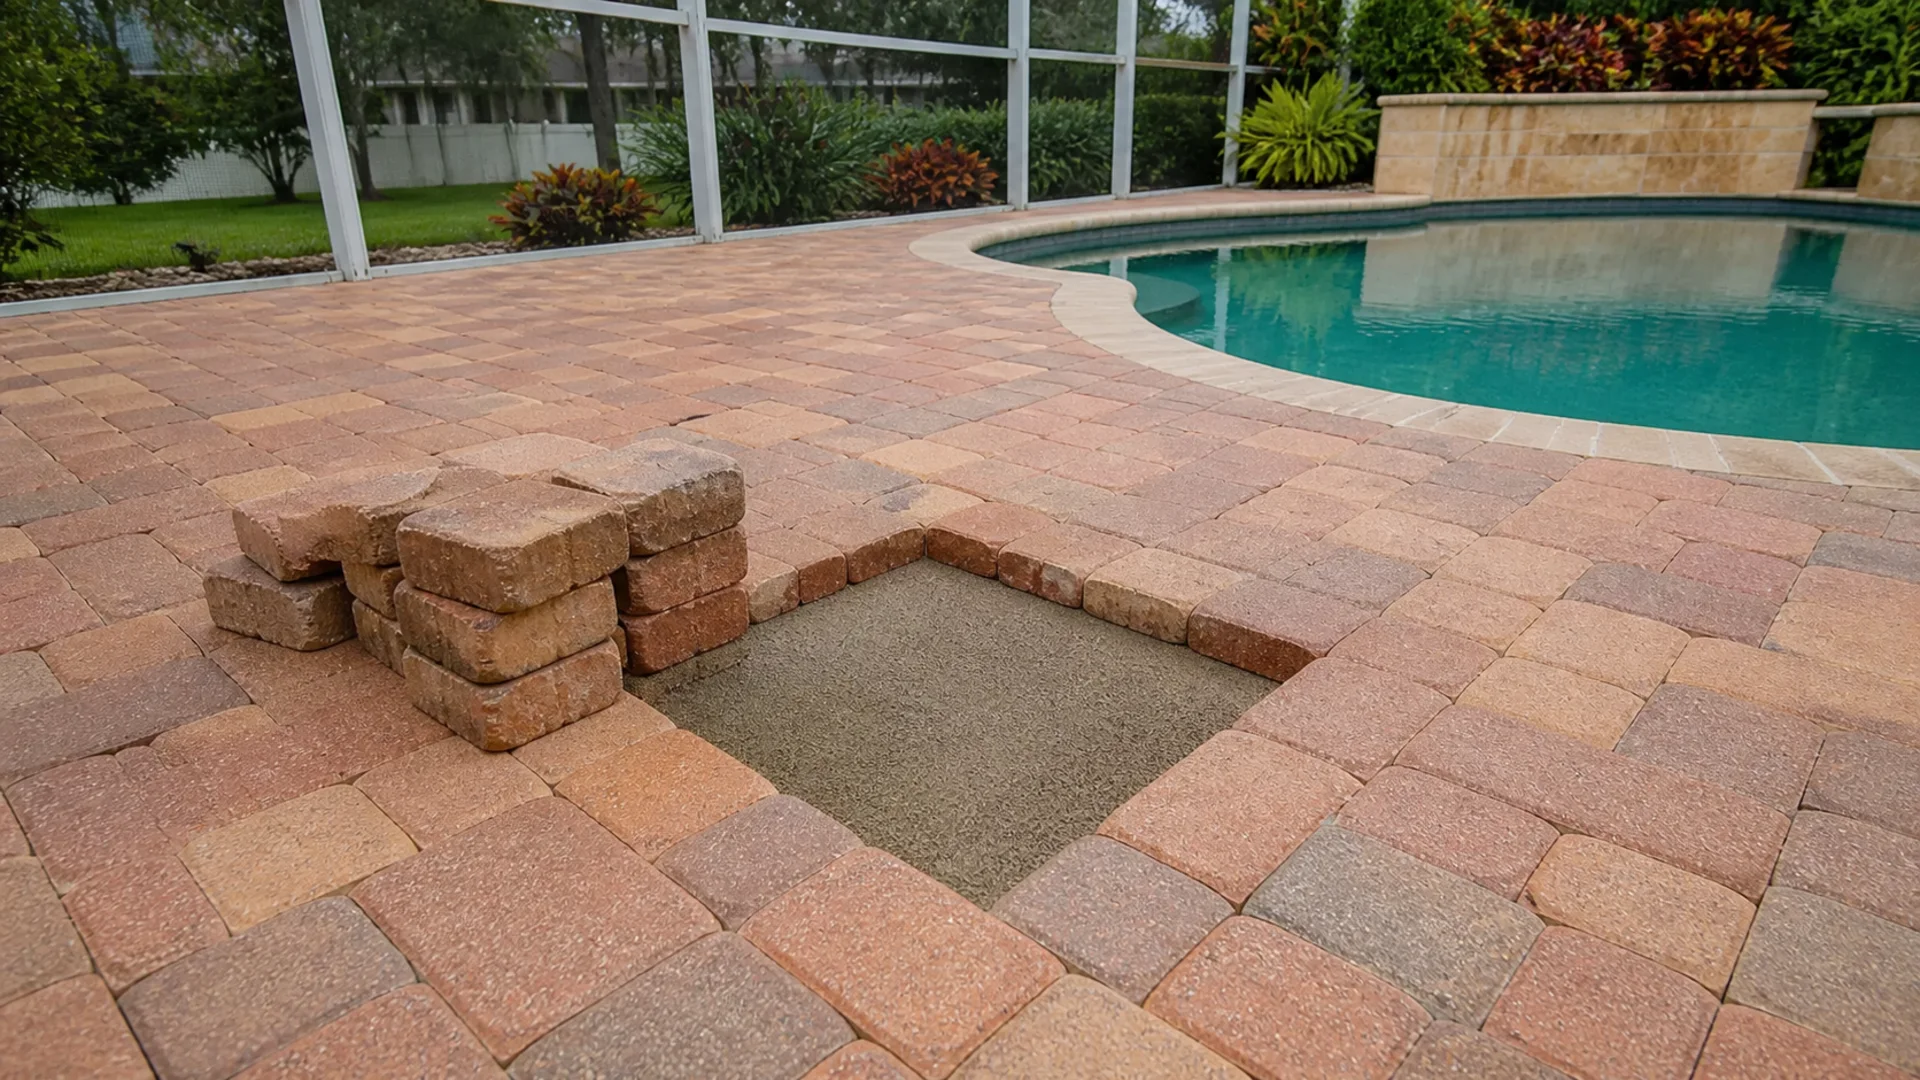
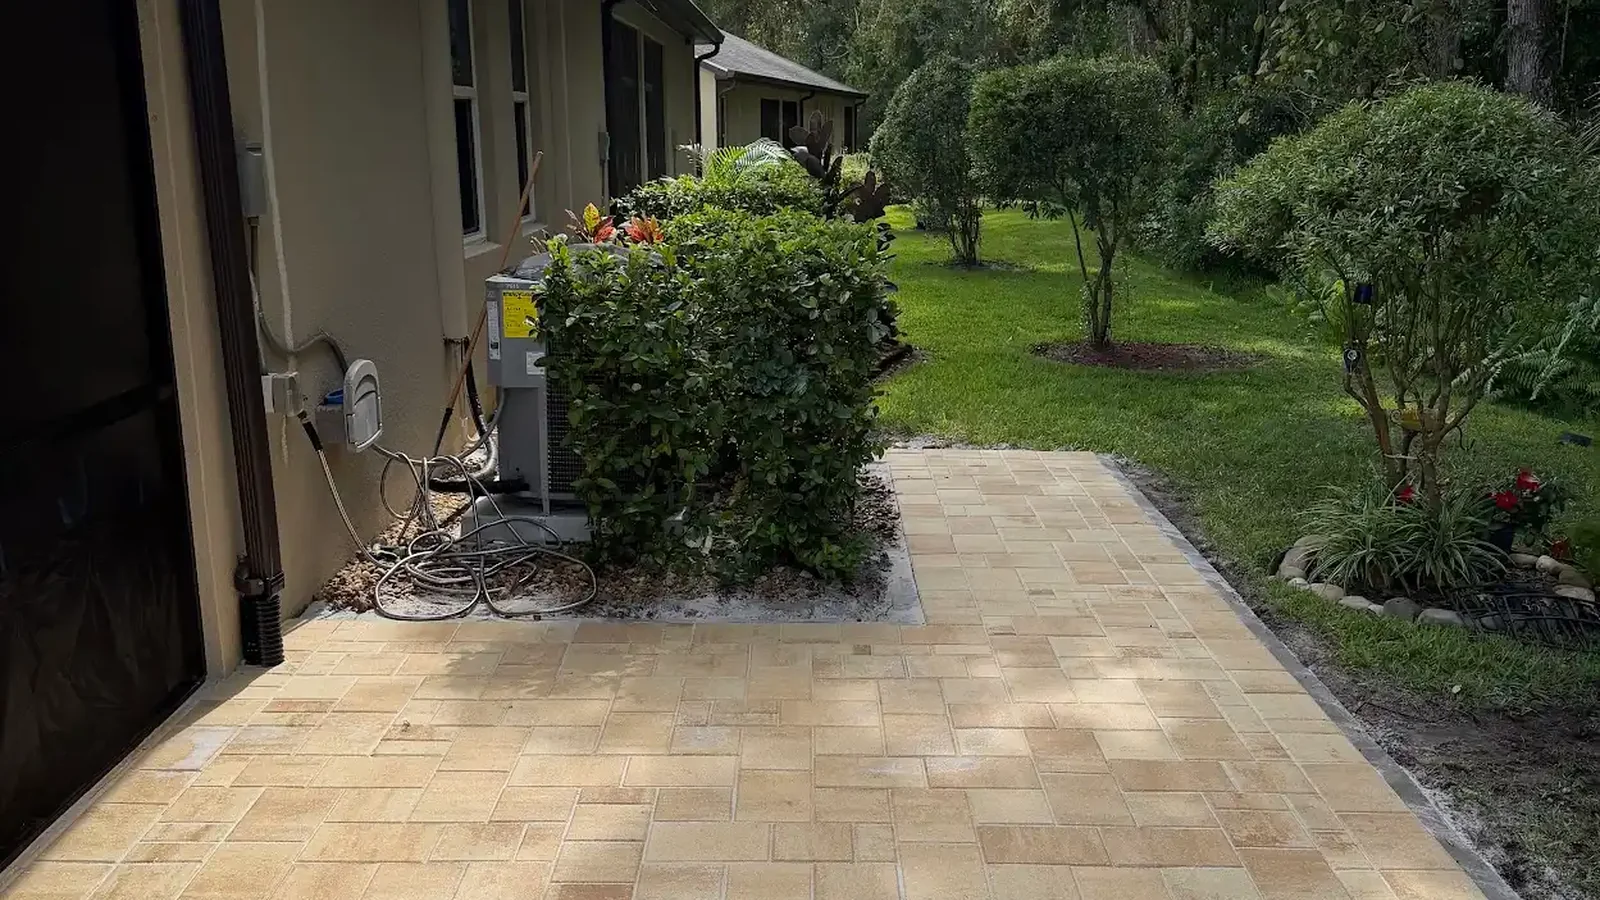
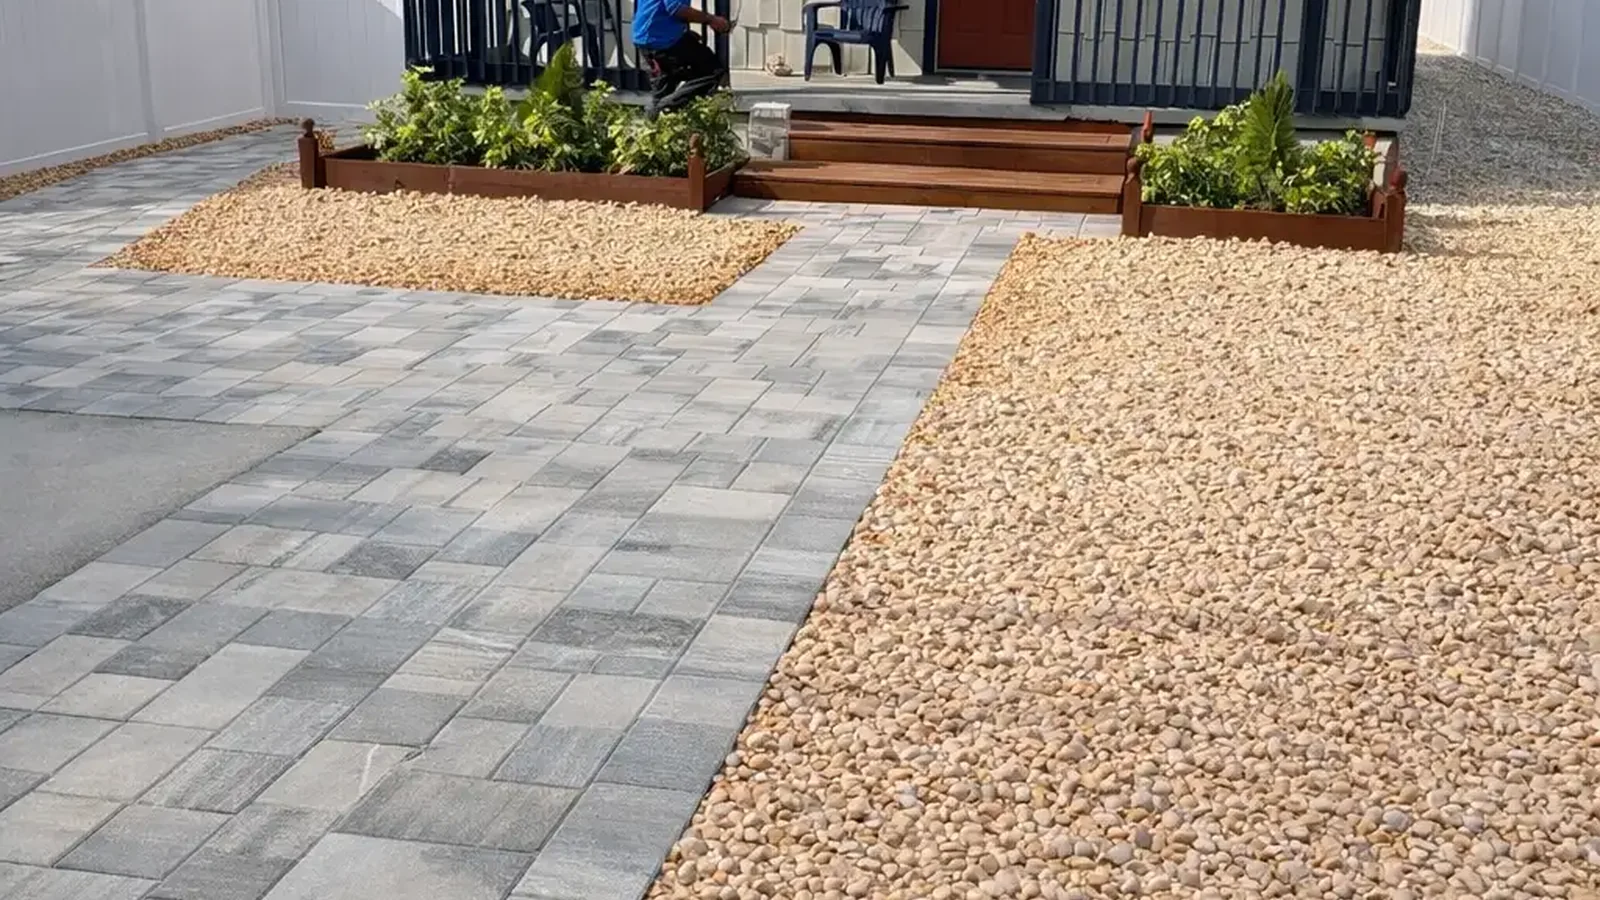
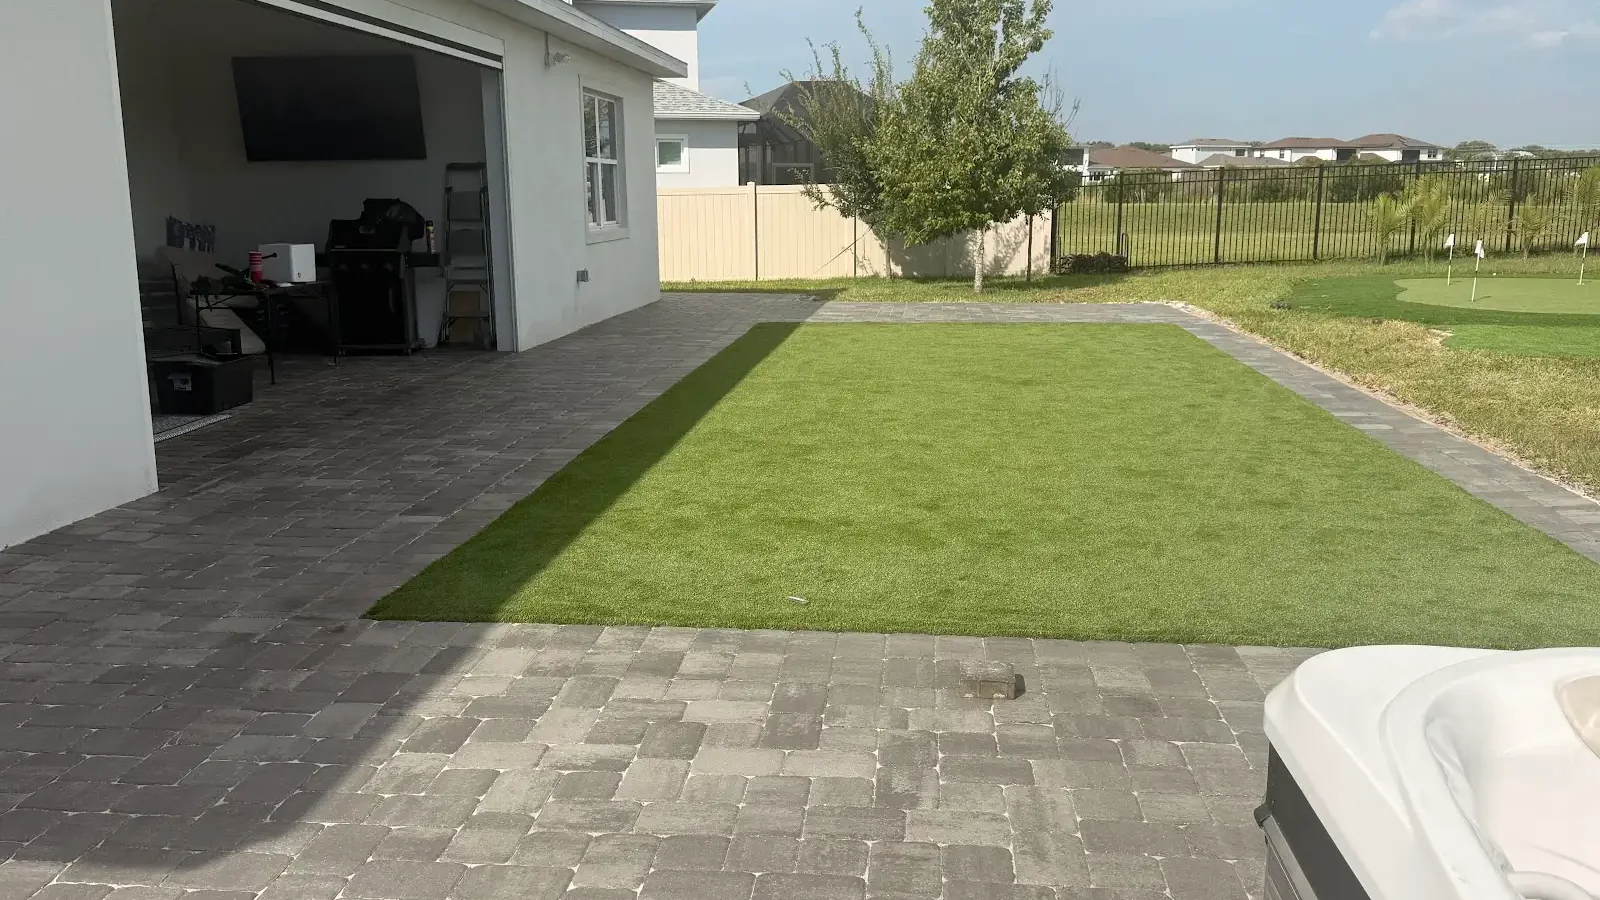
Deck paver joints serve a different purpose. They separate individual paving units and work with the field pattern, joint material, bedding, edges, and base. Their appearance can vary with the paver geometry, the amount of use, cleaning practices, weather, and settlement. A joint that has opened or lost material in the field may need evaluation, but it should not automatically be treated like the shell-adjacent joint around the coping.
This distinction matters because pool decks combine several systems in a compact space: the pool structure, the coping, waterline features, drainage, deck paving, and nearby equipment access. A repair decision at one line can affect the behavior or appearance of the next. The safest first step is a clear description of what is changing and where it occurs.
Map the changes around the pool before choosing a remedy
Begin at a fixed reference point such as a skimmer, a step, a corner, or a drain, then travel around the pool in one direction. Record whether the condition is continuous or limited to a short run. Note whether it follows a straight segment, a radius, a return, or an area where the deck changes level. A simple sketch with numbered photographs is often more useful than a collection of close-ups with no location context.
Curves concentrate visual differences because the coping units and deck field must resolve changing geometry. At corners and step entries, several lines may converge, making a small separation look more dramatic than it is elsewhere. Skimmer areas, return fittings, drains, and equipment-adjacent paving deserve their own notes because access needs and water paths can influence the layout. Do not remove covers, pry at coping, or alter a joint simply to see what lies beneath.
Florida heat, humidity, rain, and irrigation can be relevant when you are documenting a pool deck, especially when moisture appears after a particular event. Still, a wet edge is an observation, not a diagnosis. Record the weather, pool use, irrigation timing, and location of the moisture. That information gives an evaluator context without turning a homeowner’s photo into a conclusion about the shell, plumbing, or base.
How to photograph and measure without overreaching
- Take wide photos that show the coping, adjacent deck, and nearby pool feature together.
- Take a second set at walking height to show whether a surface edge appears proud, low, loose, or flush.
- Place a ruler or other simple scale beside an opening only if it can rest there safely without entering the pool.
- Photograph the same locations after dry weather and after a rain or irrigation cycle when that comparison is relevant.
- Mark the images on a sketch so an evaluator can see whether the condition clusters near a curve, skimmer, drain, or deck transition.
- Keep the original photos and dates; avoid filters or edits that conceal color changes or water staining.
Good documentation describes what the eye can verify: a missing joint material, a change in width, a chipped edge, a low paver, standing water, or a raised trip point. It does not claim that a pool is leaking, that the shell is moving, or that a specific material has failed. Those conclusions require an appropriate inspection and, in some situations, coordination with pool professionals or other qualified parties.
Questions about sealant, mortar, filler, and drainage
At the coping interface, ask what material is present now and whether it appears intended to accommodate movement, finish an edge, or bridge a gap. Sealants, mortars, and fillers are not generic substitutes for one another. Their suitability depends on the joint location, adjoining materials, condition of the edges, exposure to water and chemicals, and the detail originally used. A clean-looking bead can be the wrong response if it traps water, bonds incompatible materials, or masks a changing edge.
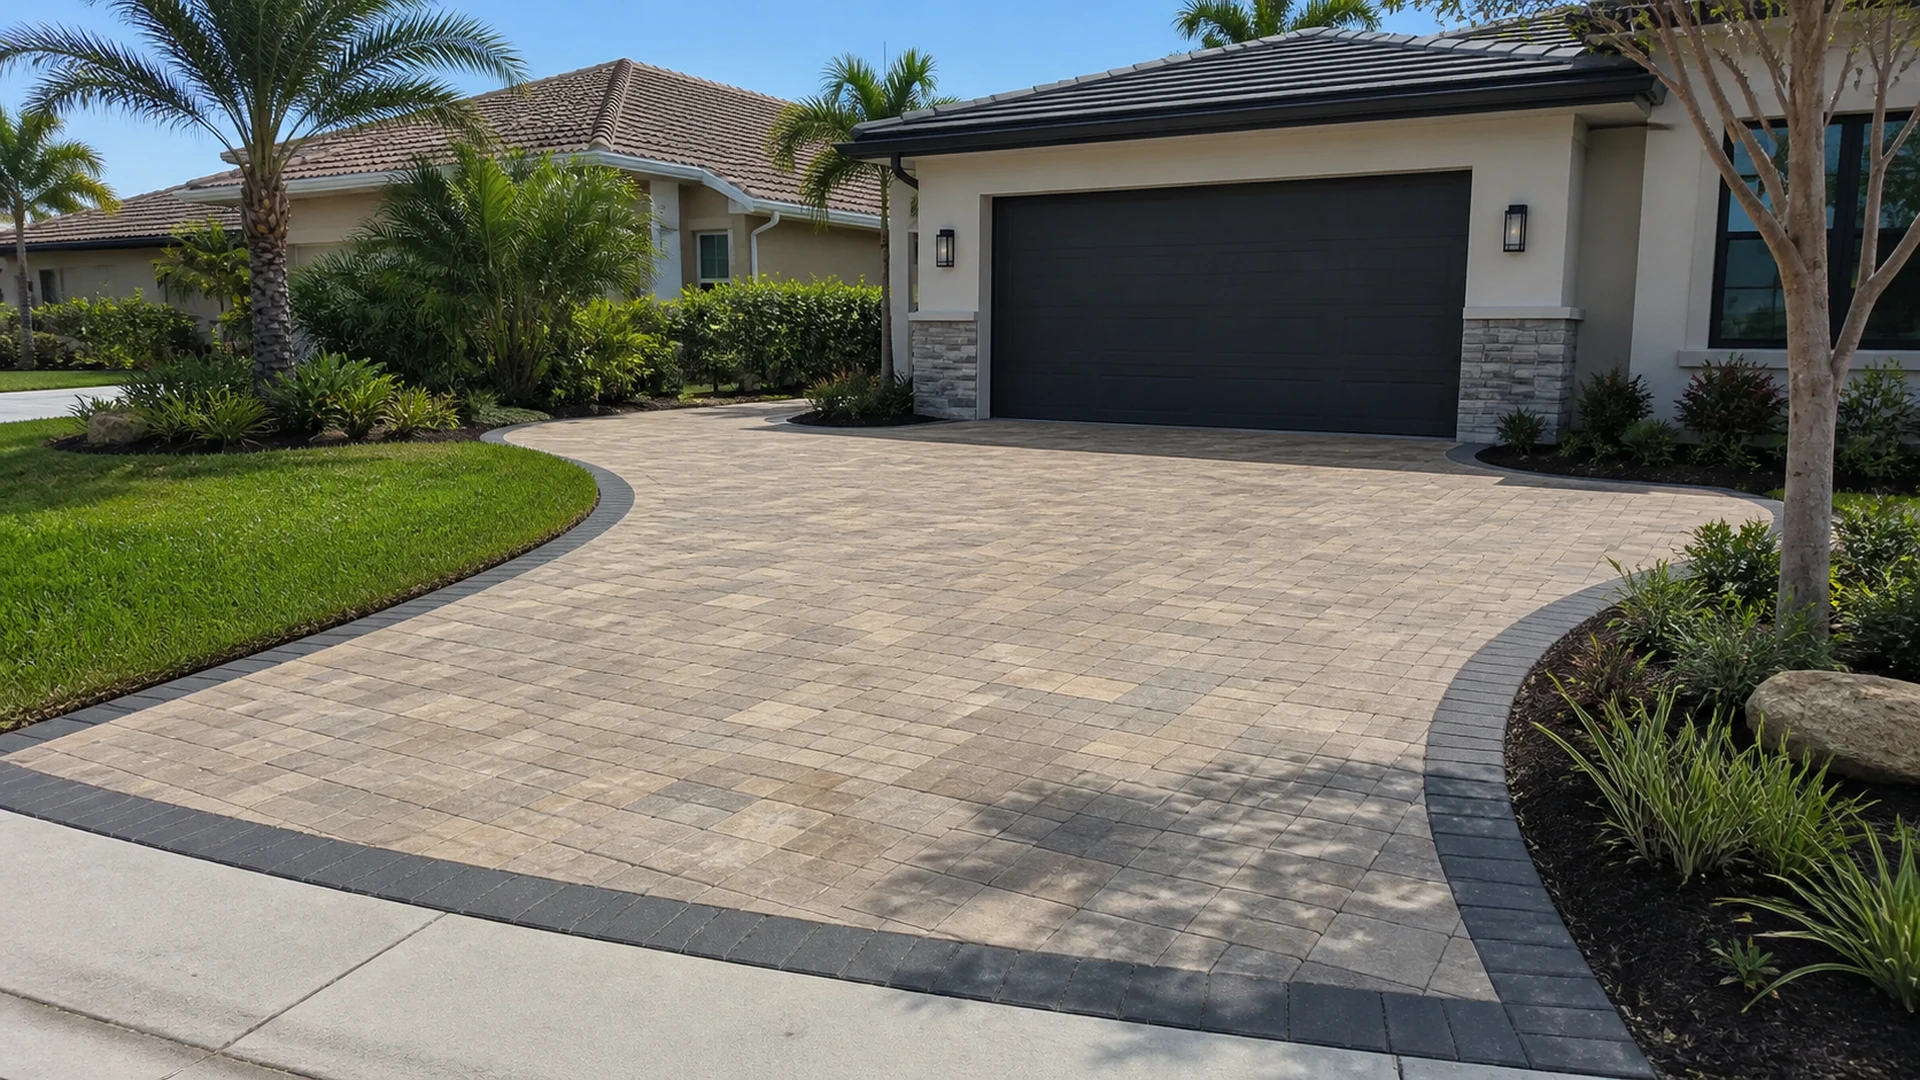
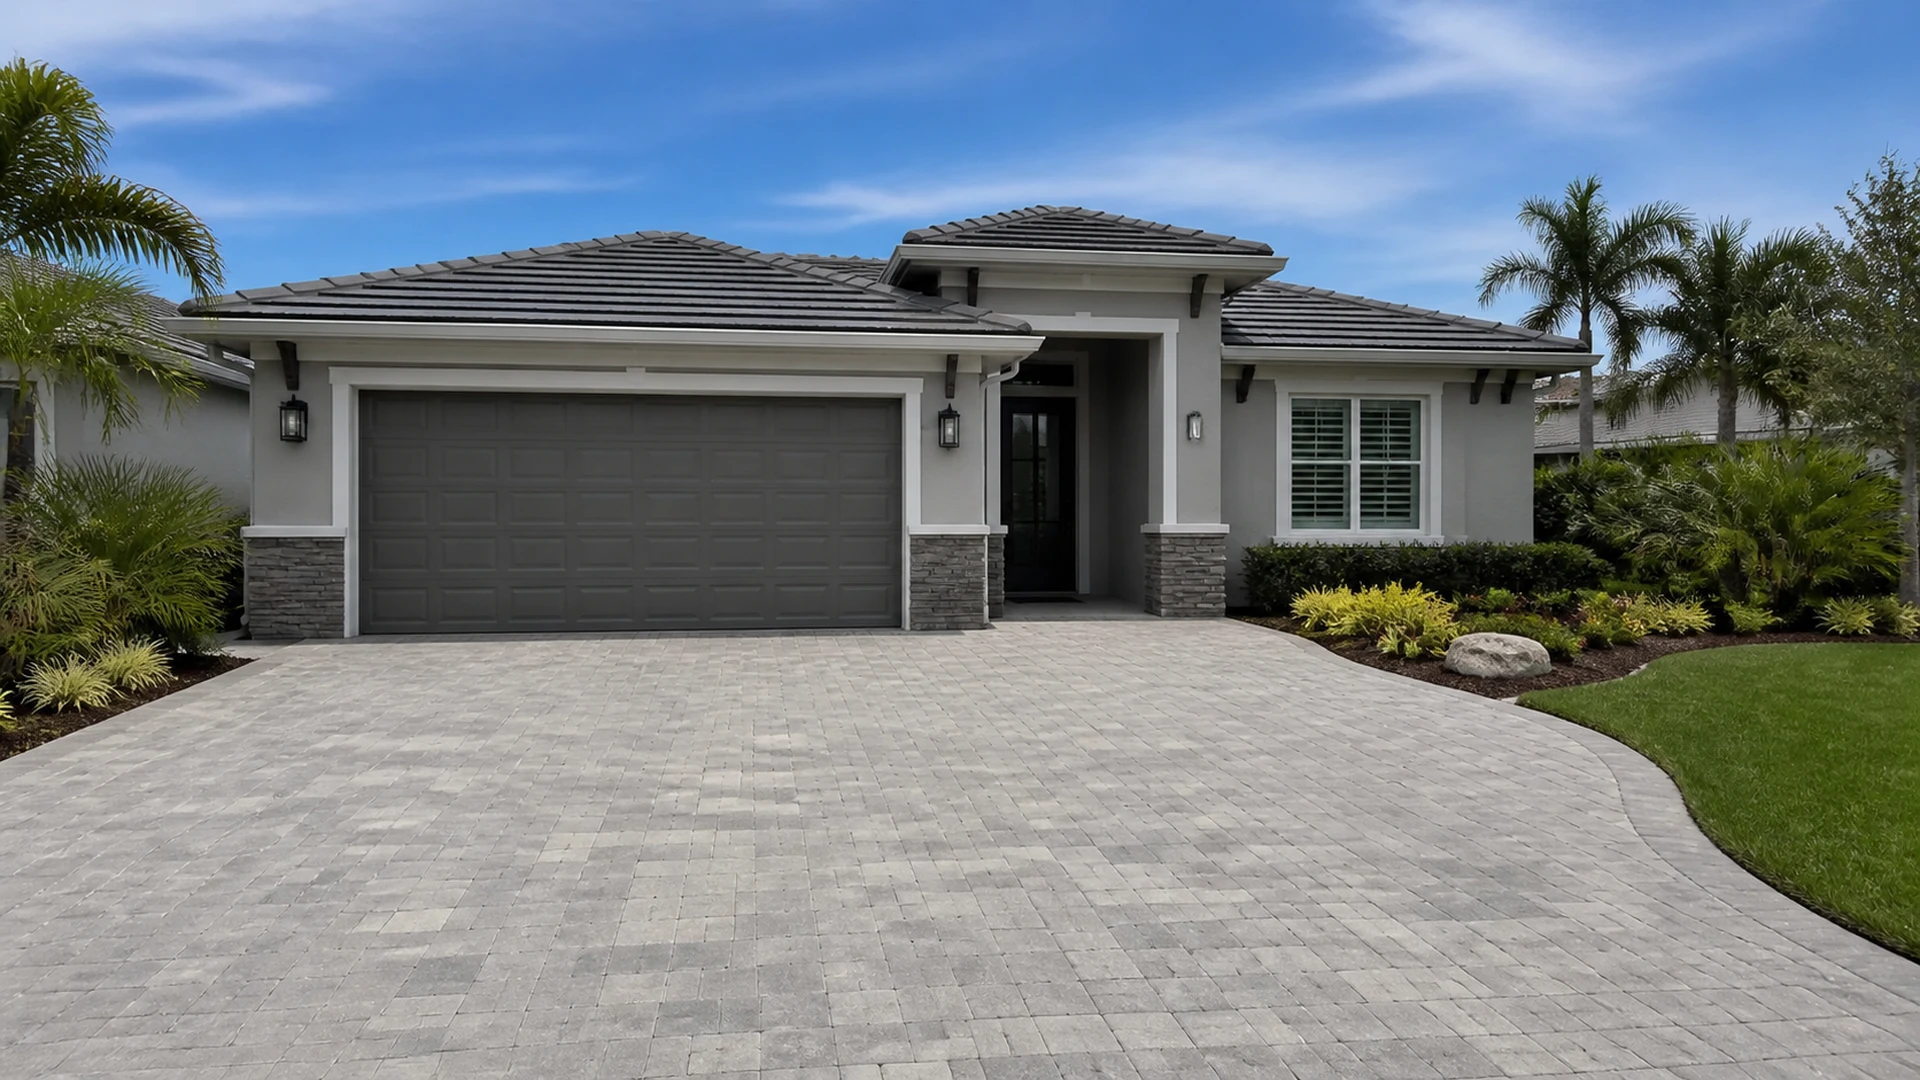
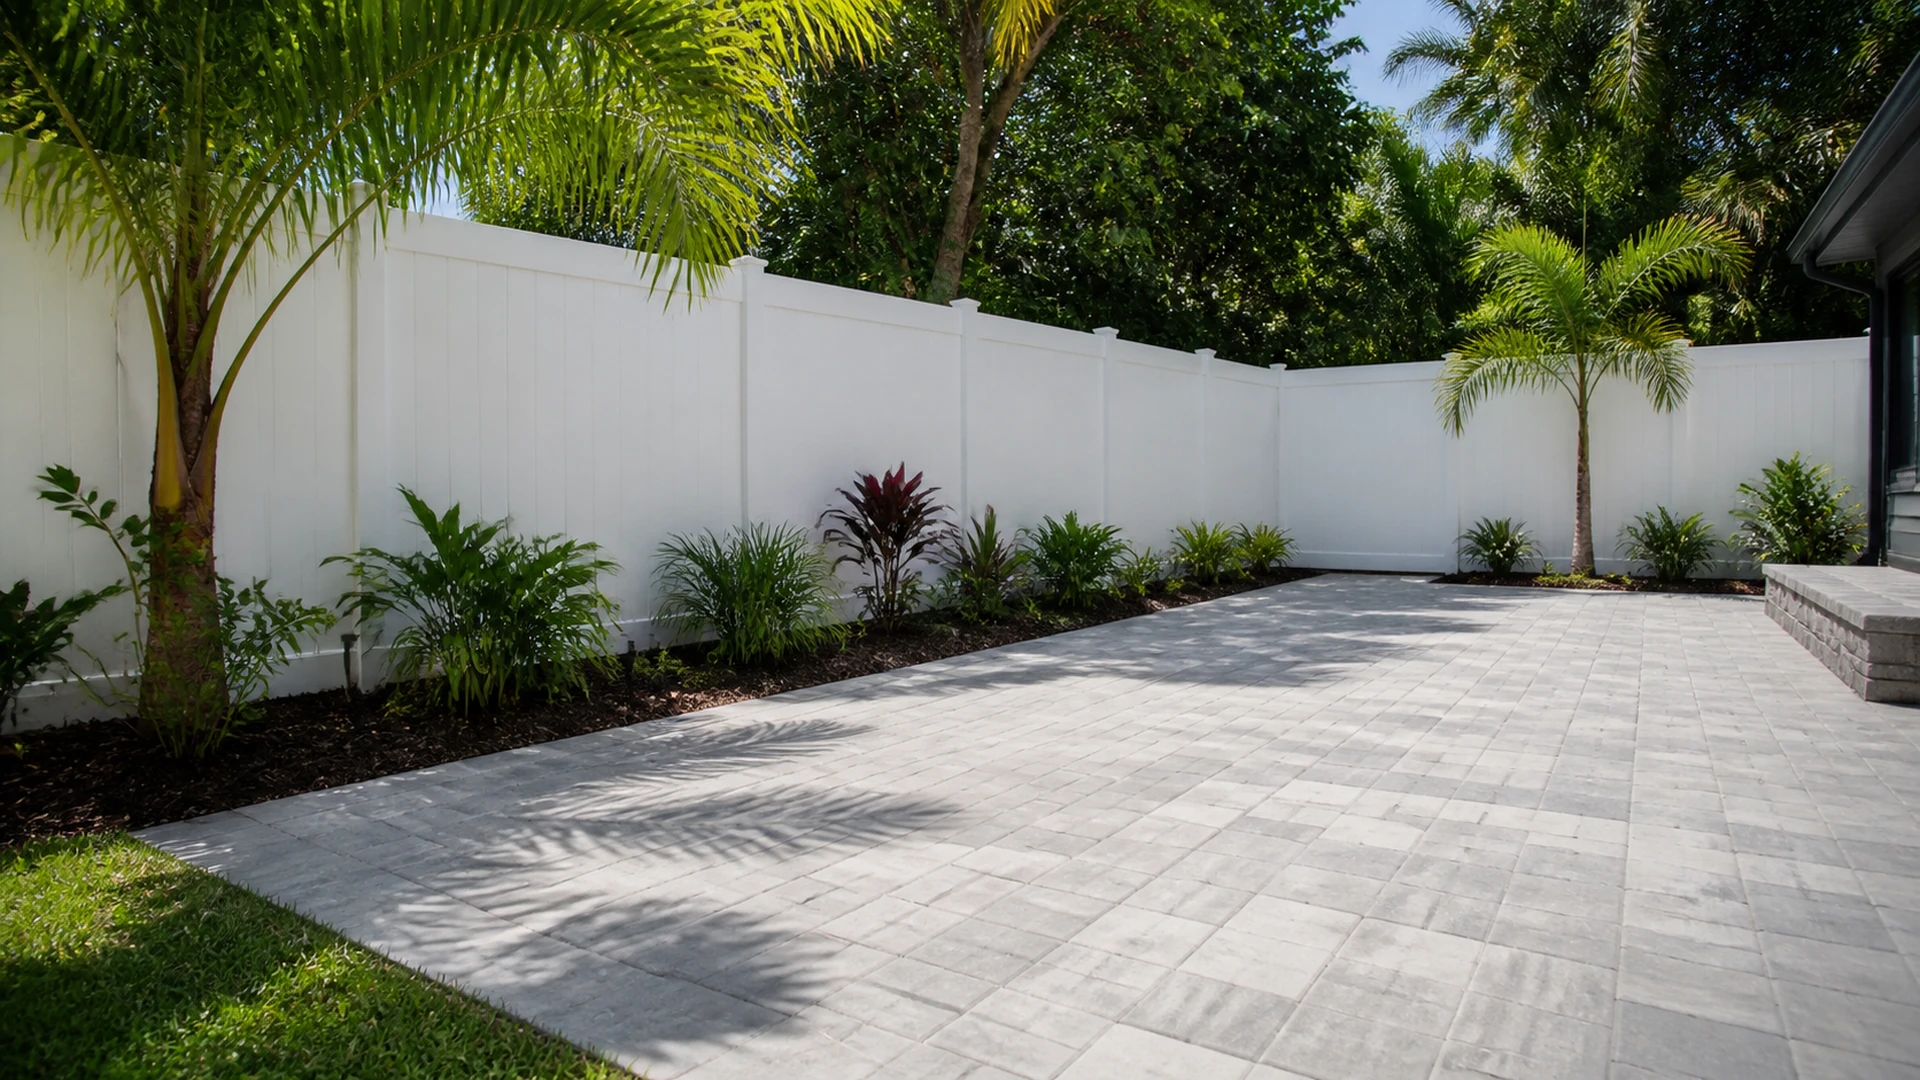
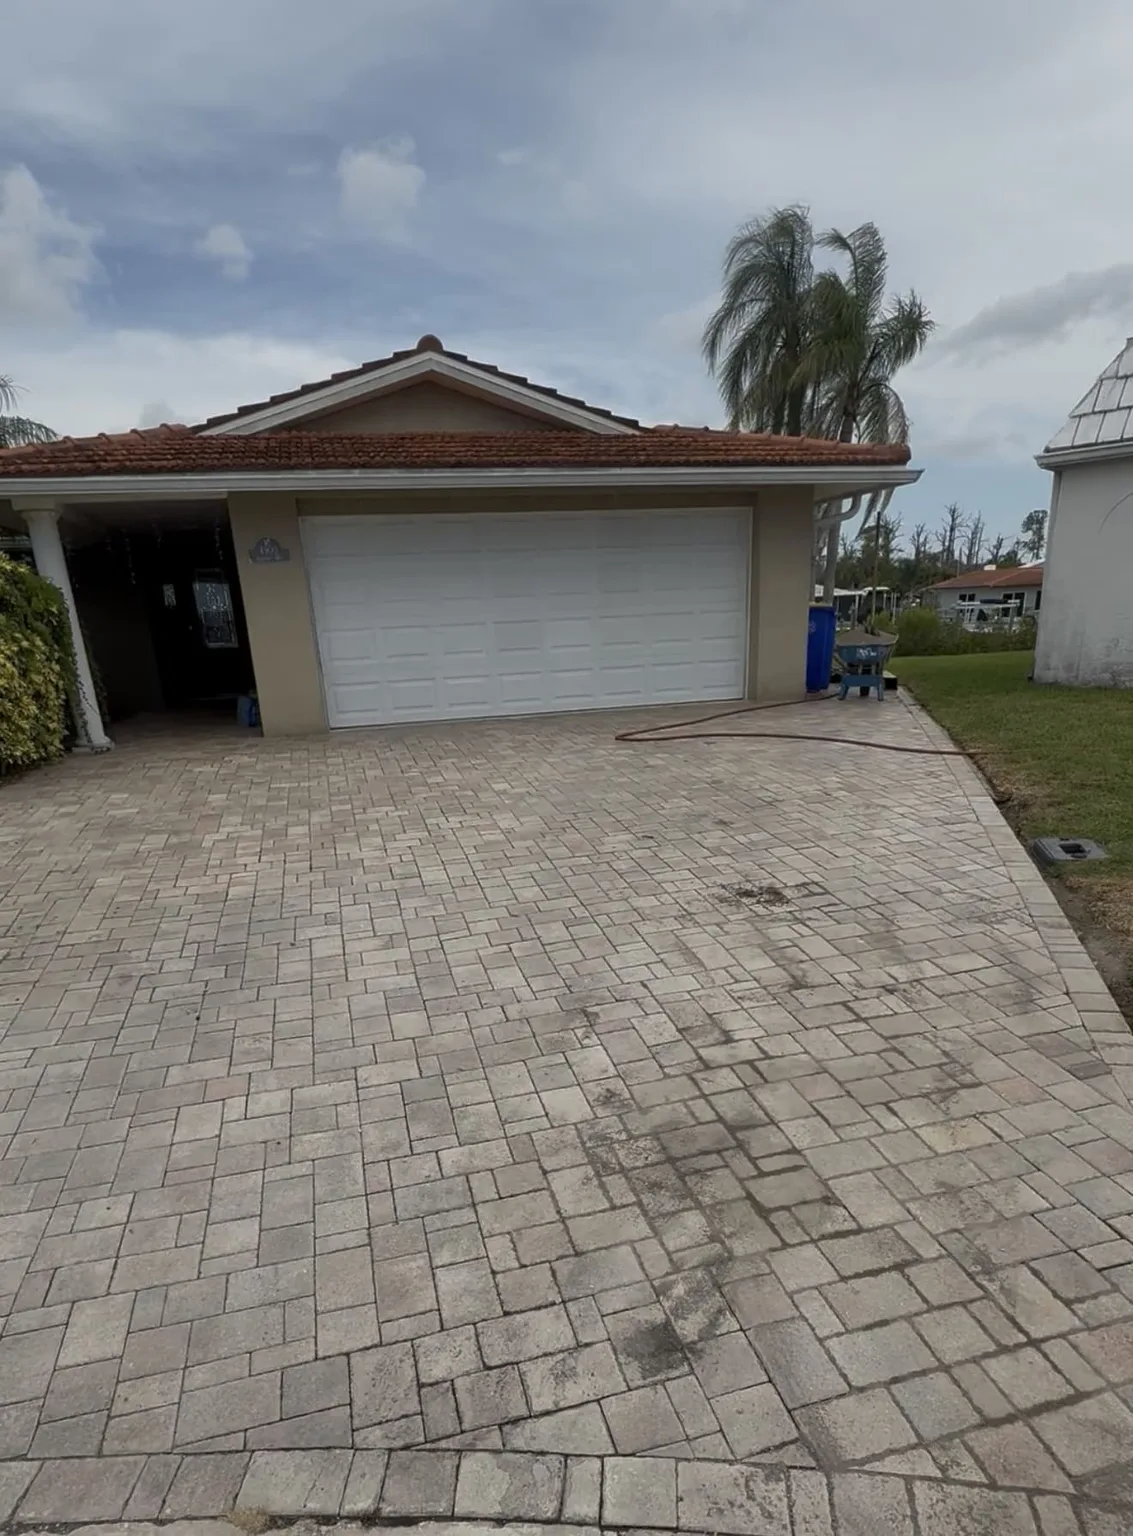
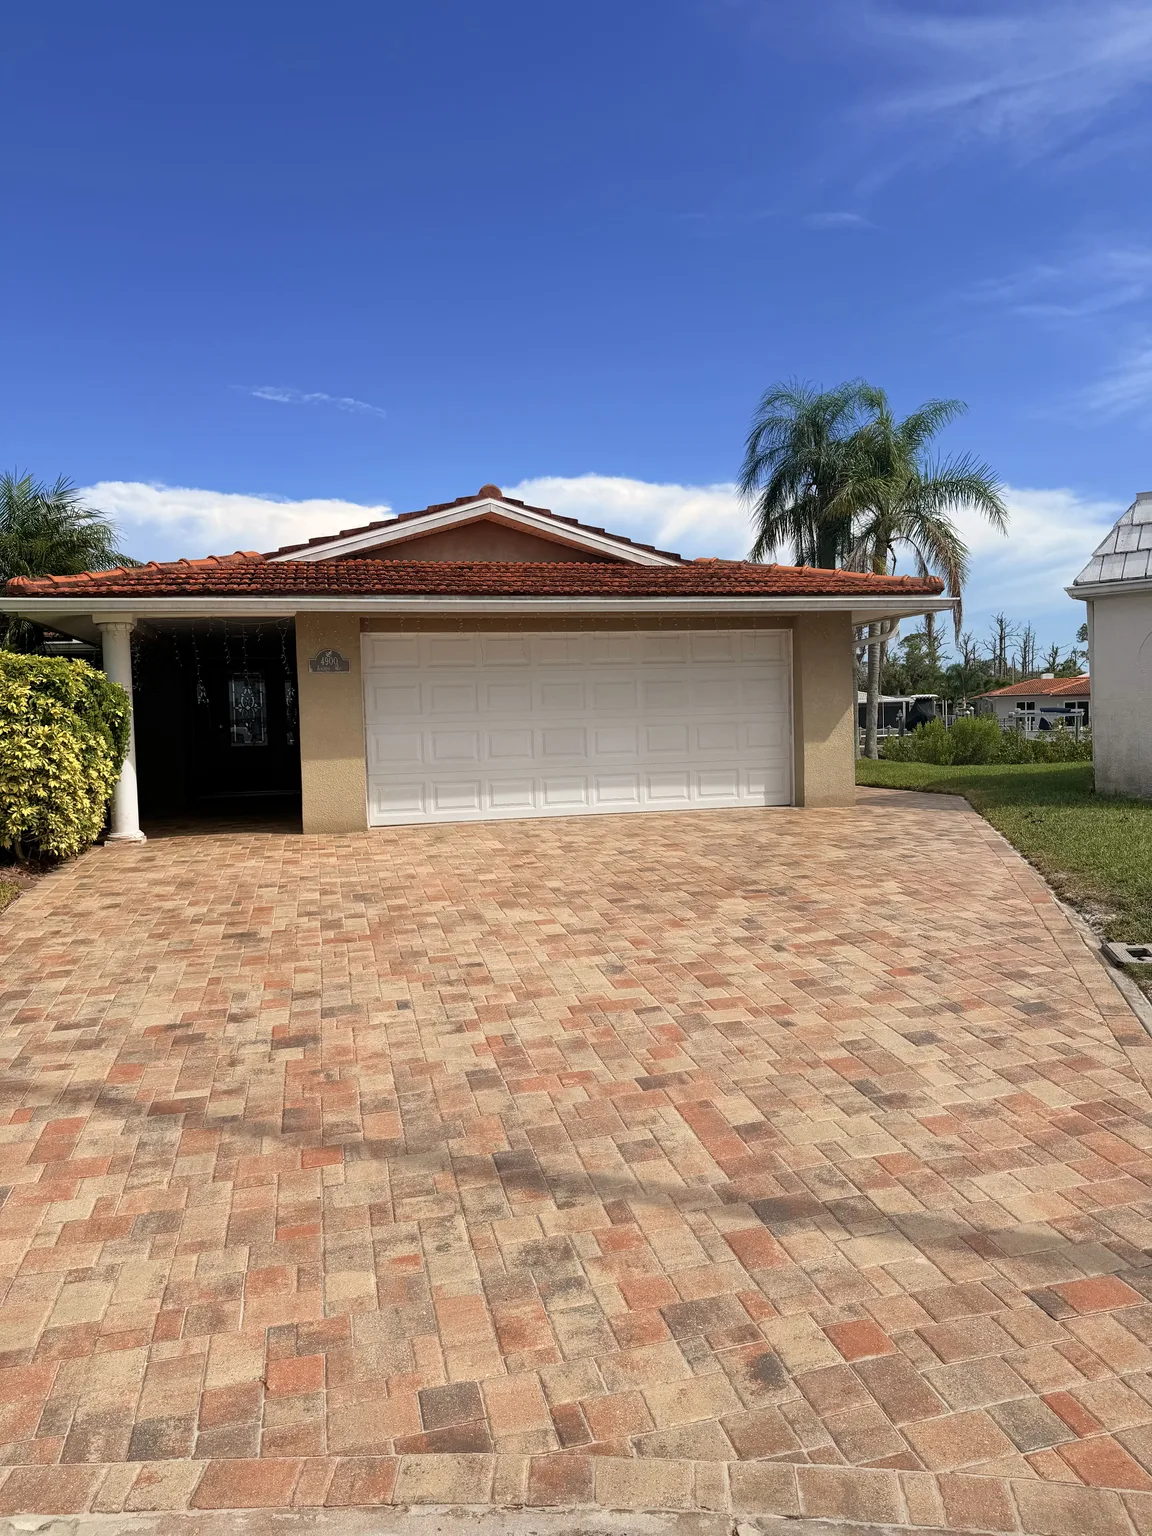
Within the paver deck, the discussion shifts to the field system. An evaluator may look at joint loss, paver stability, pattern continuity, restrained edges, bedding condition, and drainage across the surface. The remedy may be localized or may require a broader review; that choice should follow the observed condition rather than a rule that every open joint receives the same filler. If the deck includes a visible material family, geometry, color blend, border logic, or finish documented by the project, those details should be preserved rather than guessed from a manufacturer name.
Drainage questions should be specific. Where does water leave the deck? Does a drain accept flow, does water collect near coping, or does a low spot appear only in one season? Is the condition near a channel, scupper, downspout discharge, or irrigation spray? The answers can shape the inspection, but they do not establish a hidden cause. Pool environments reward careful observation because several water sources can produce similar surface evidence.
When a safety review should move up the list
Some visible symptoms warrant timely attention because they affect how people use the pool area. Treat a loose coping piece, a sharp or broken edge, a rocking paver, a sudden height difference, or a persistent trip edge as a safety concern. Keep guests away from an unstable section where practical, especially children and anyone walking barefoot. Do not try to stabilize a loose piece with household adhesive or use the pool edge as a testing surface.
Water near electrical equipment, a cover that no longer sits securely, unexplained rapid surface changes, or an edge that is actively deteriorating are also reasons to seek the appropriate qualified help promptly. The response may involve more than hardscape work. General pool-area safety practices from CDC Healthy Swimming can help frame safe use, but they do not replace an inspection of a particular deck or pool.
Read the deck as a connected walking surface
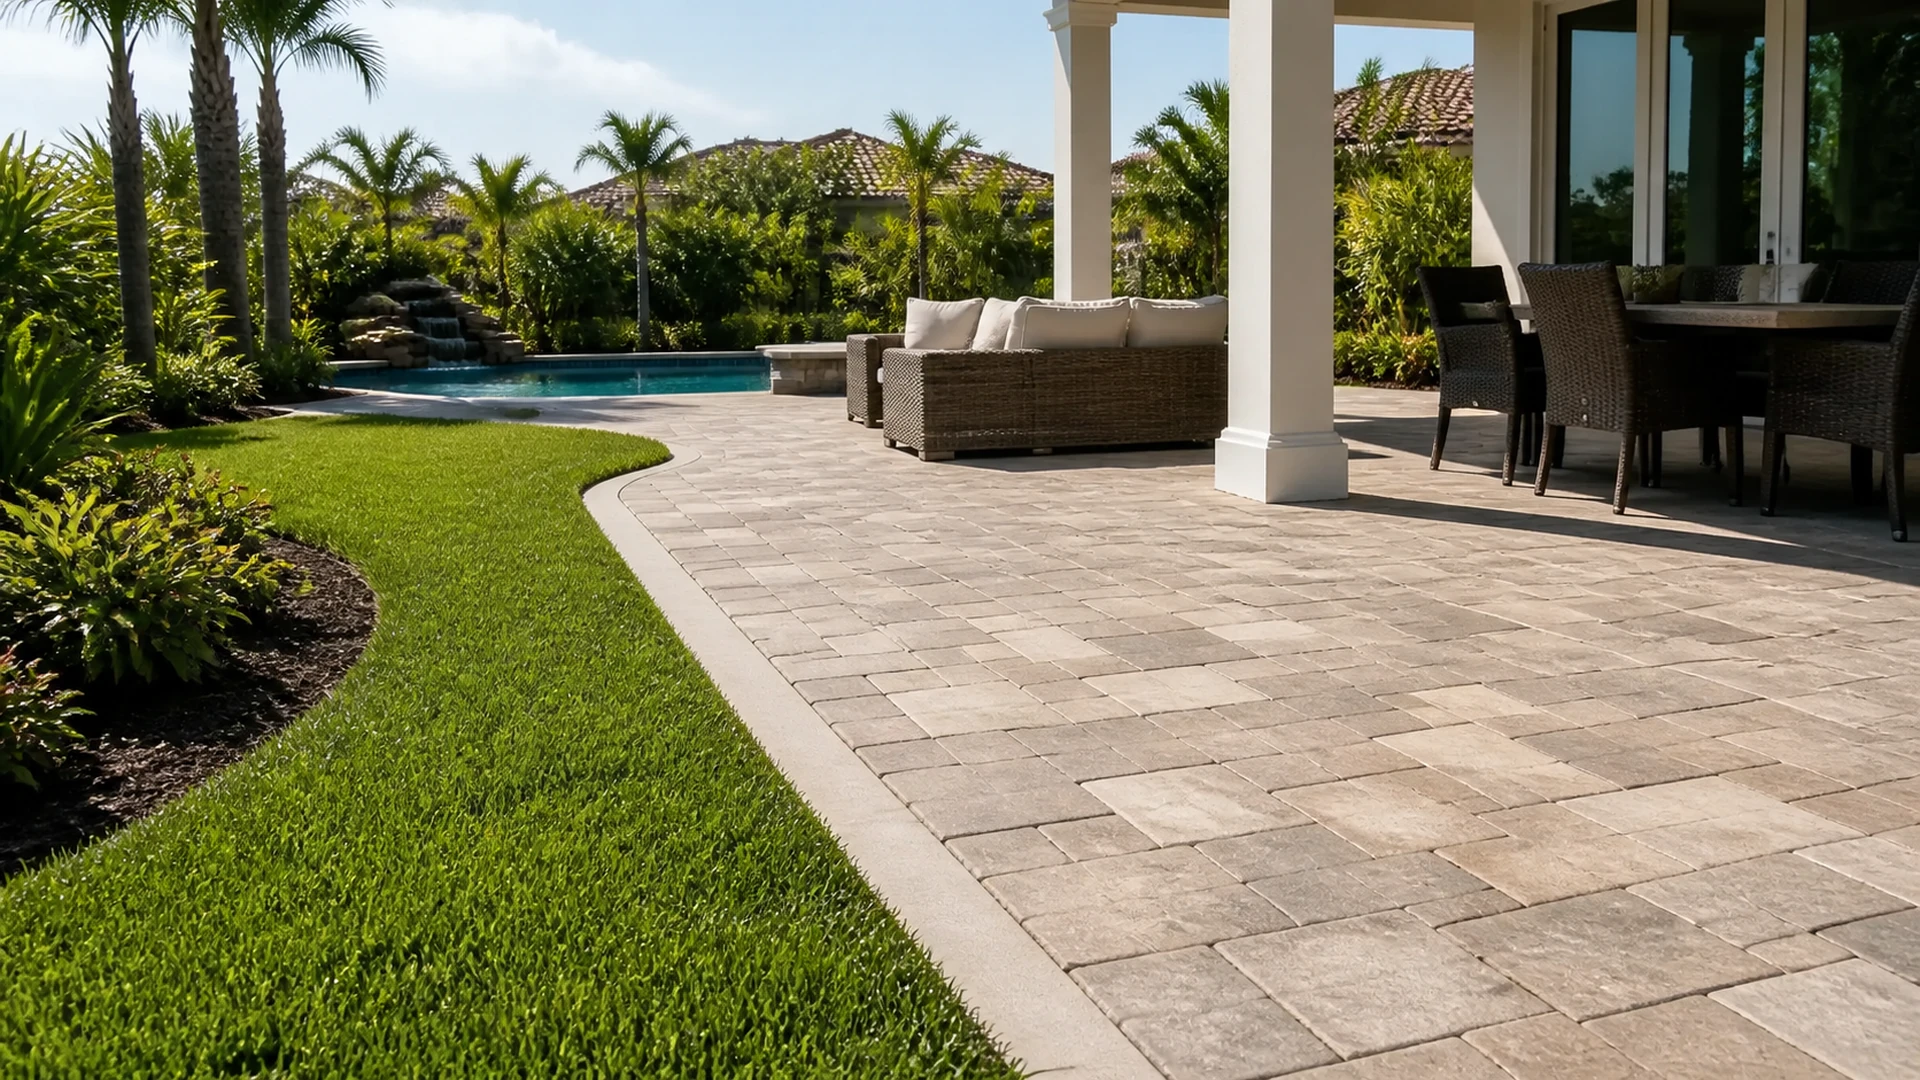
Look beyond the most obvious gap. Follow the nearby paver joints toward the patio, doors, steps, drains, and equipment pad. A condition limited to one coping corner calls for a different conversation from a deck where several areas have become uneven. Notice whether pavers remain stable under normal foot traffic, whether joints are consistently filled, and whether the field maintains its intended lines. Do not rock or lift units to test them; visual observation and ordinary use are enough to flag an area for review.
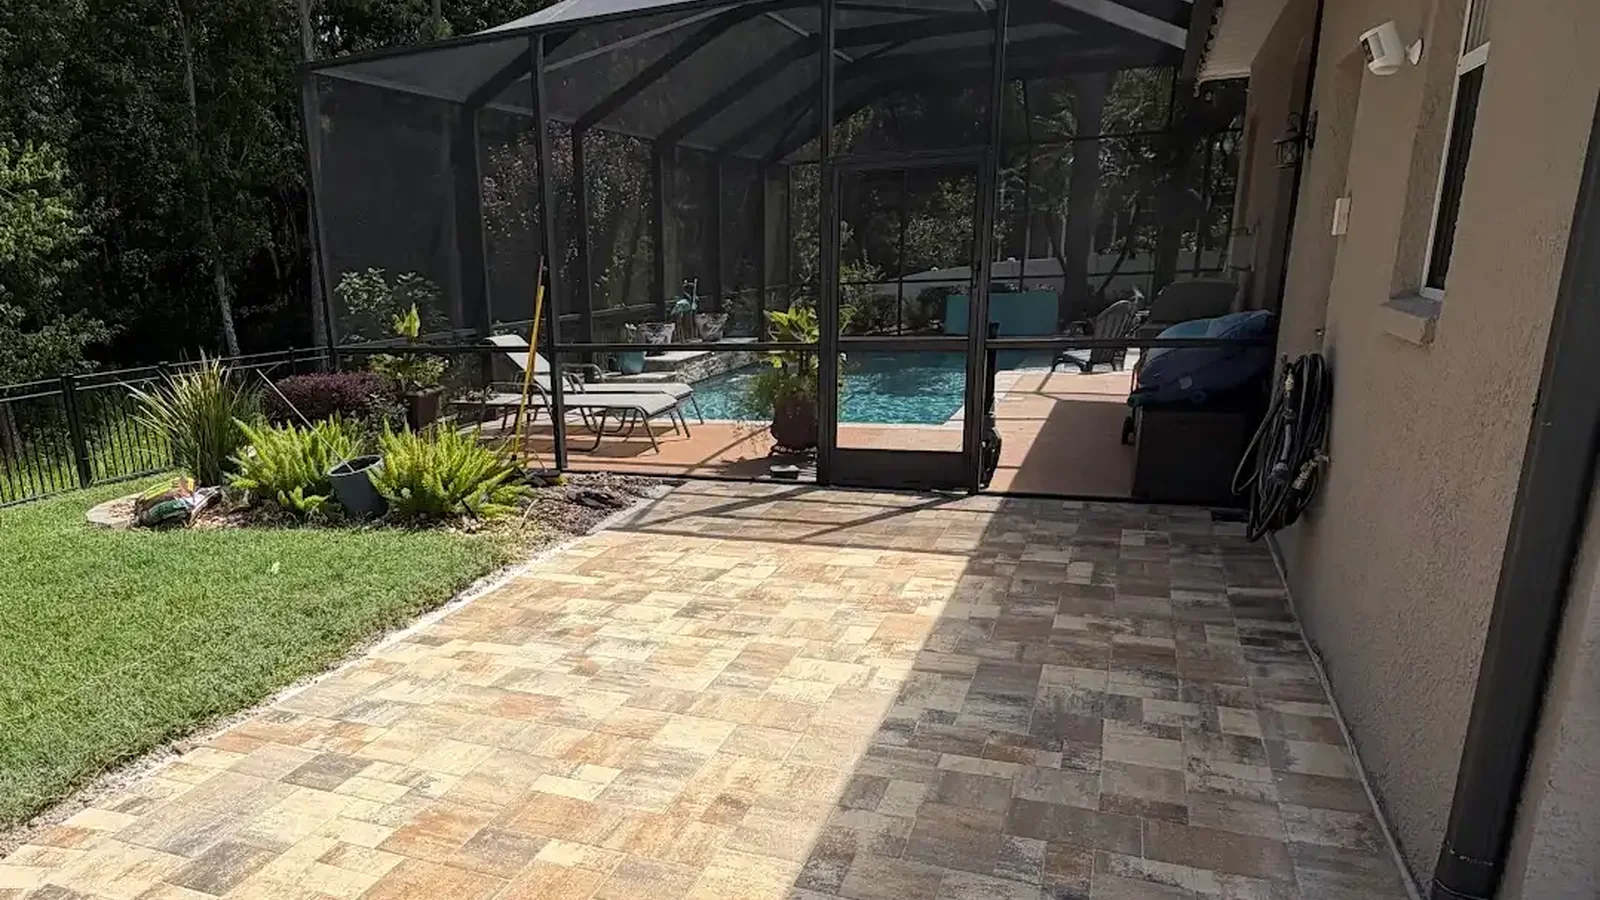
Deck edges near screen enclosures, planters, walls, and steps also matter. These locations can interrupt the field pattern and concentrate cuts or water. If a paver surface meets a fixed structure, describe the visible separation and any change in elevation without deciding which component moved. An evaluator can determine what the observed relationship means after reviewing the construction, access, and surrounding conditions.
Pool furniture can hide useful clues. When safe and practical, photograph the area after moving a lightweight chair or rug, then return it to place. Avoid shifting heavy grills, equipment, or anything that could damage the surface or create an injury risk. A recurring damp outline under furniture may be worth documenting, but it should be compared with known splash zones, rain exposure, and irrigation rather than treated as proof of a single cause.
What not to do while you wait for an evaluation
- Do not pack a coping gap with rigid patch material solely to make it disappear.
- Do not pressure-wash aggressively into open joints or along a loose pool edge.
- Do not use caulk, adhesive, sand, or mortar as a universal repair material.
- Do not remove a drain cover, skimmer component, or pool fitting to inspect below the surface.
- Do not let a visible trip edge become part of a normal barefoot route for family or guests.
- Do not assume a clean, dry surface means a changing joint has resolved itself.
Temporary caution is not the same as neglect. Keeping people clear of an unstable spot, taking dated photos, and avoiding intrusive repairs preserves useful evidence for the person who evaluates it. It also reduces the chance that a rushed patch changes the original detail or makes later work more complicated. If conditions worsen quickly or an edge becomes unsafe, contact an appropriate qualified professional rather than waiting for a routine maintenance visit.
Maintenance observations that help over time
A brief seasonal check can catch small changes before they become a larger usability issue. Walk the deck in daylight, look across the surface at a low angle, and note new chips, joint loss, stains, or areas that hold water. Compare these notes with previous photos instead of relying on memory. This is especially useful after storm cycles, landscaping changes, or work near the pool that may have affected access or drainage.
Keep pool care and deck care connected but distinct. Cleaning methods, chemical handling, and water management around the pool should follow the advice appropriate to the pool system. Surface maintenance for pavers should account for the visible finish and joint condition. When a question crosses both areas, say so during scheduling. That gives the contractor or evaluator a chance to identify whether another specialist needs to be involved instead of offering an oversimplified one-trade answer.
Shade, tree debris, and pool activity can make a surface look different from week to week. That is why a dated sequence is more informative than one dramatic image. Note whether the condition changes after a period of dry weather, normal pool use, or a rain event. Consistent documentation supports a focused inspection while leaving the determination of cause to the people examining the site.
If you have a pool cover, safety barrier, or outdoor kitchen nearby, include it in the wide shots when it helps explain access and circulation. The deck is used as a whole, and a small irregularity can matter more when it sits in the route between the house, gate, seating area, and water. That context helps distinguish a minor visual concern from a condition that affects everyday safe use.
A conversation that produces useful next steps
When arranging an evaluation, share the pool shape, the age of the visible condition if known, the locations on your sketch, and any changes after rain, cleaning, or irrigation. Explain whether the concern is an appearance issue, a walking hazard, recurring joint loss, drainage, or a combination. If work has been done previously, provide the available records without assuming they settle the current condition. This lets the visit focus on the interfaces that matter instead of starting from an incomplete description.
Ask what can be assessed from the visible deck and what needs separate verification. Ask how a proposed repair would preserve transitions around curves, drains, and access points. Ask whether the plan addresses a localized edge, the paver field, drainage, or another condition entirely. Clear boundaries are valuable: they prevent a surface repair from being presented as a solution to a concern it cannot prove or address.
Keep the pool edge readable and the deck walkable
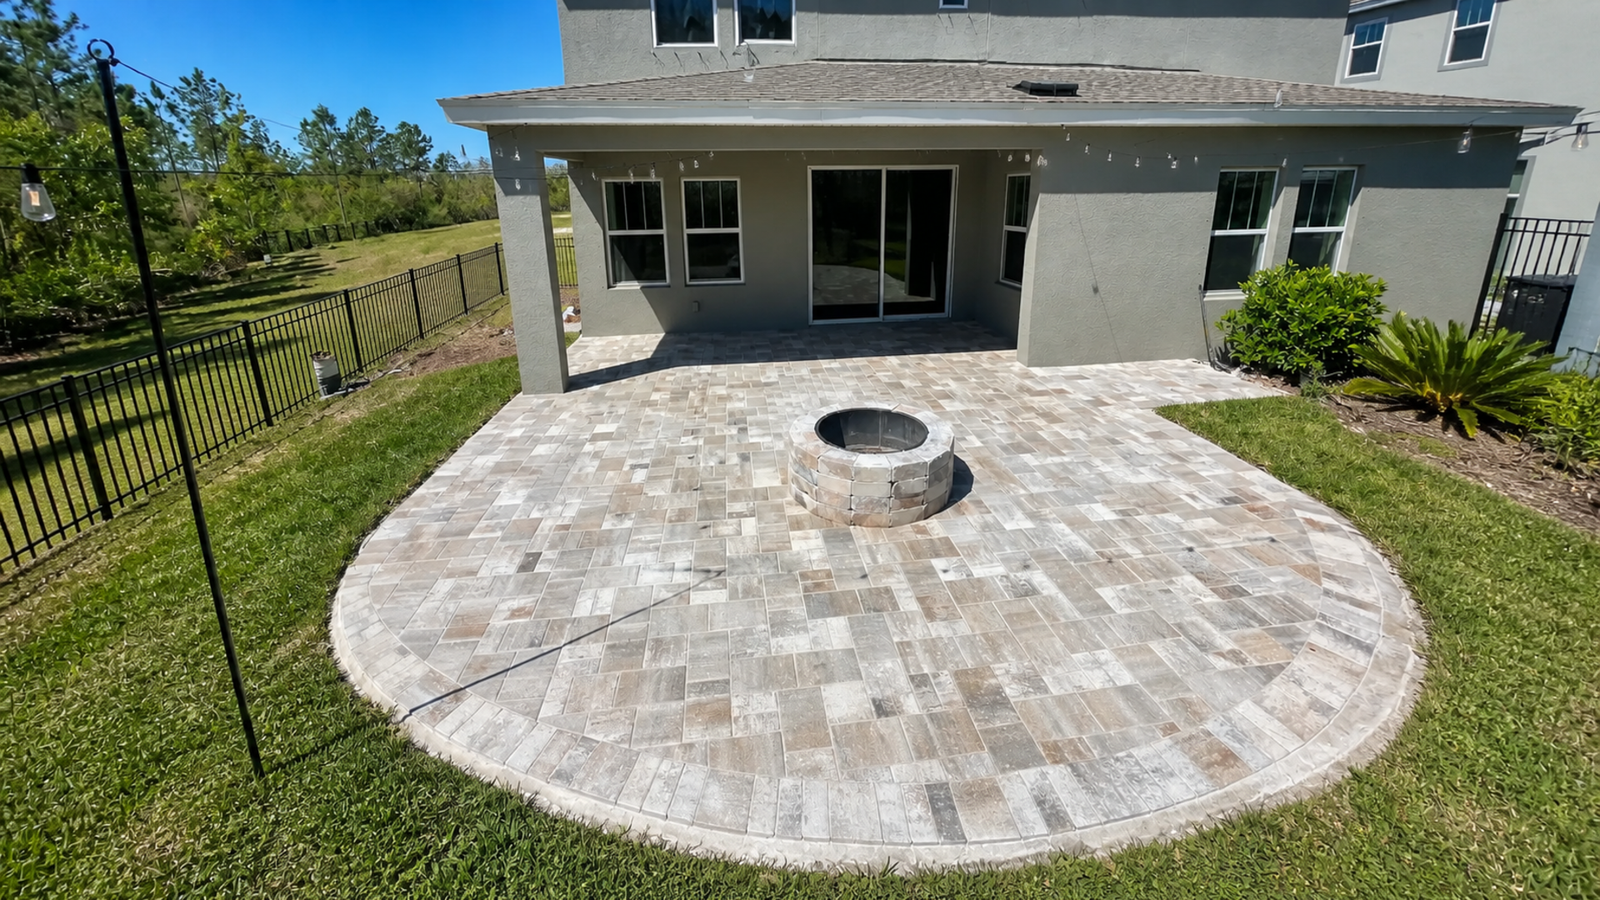
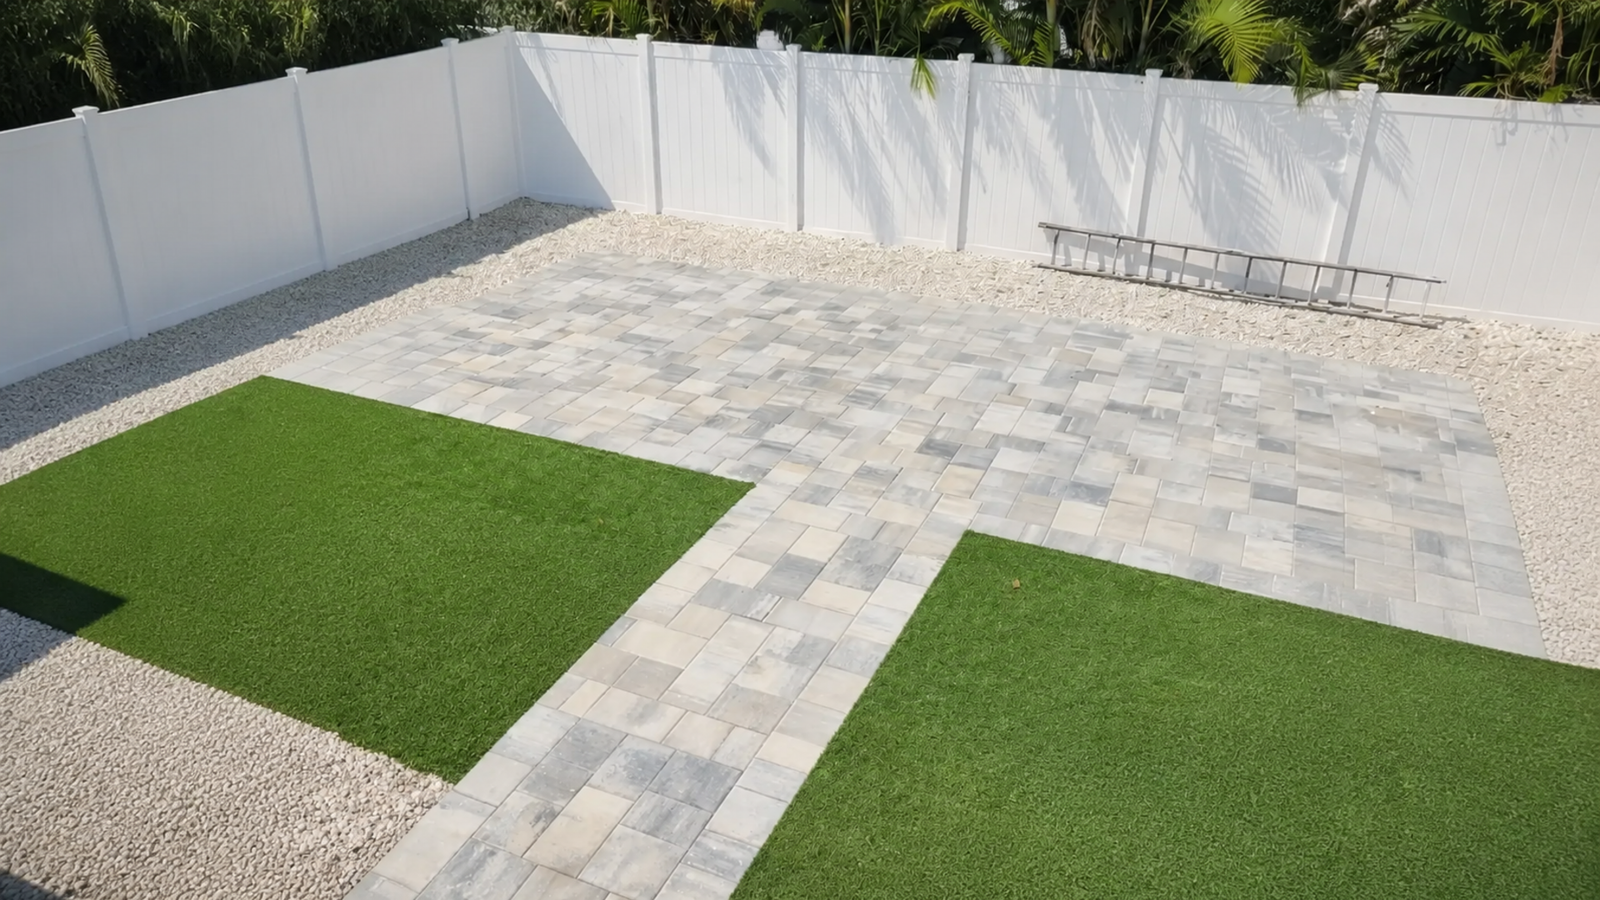
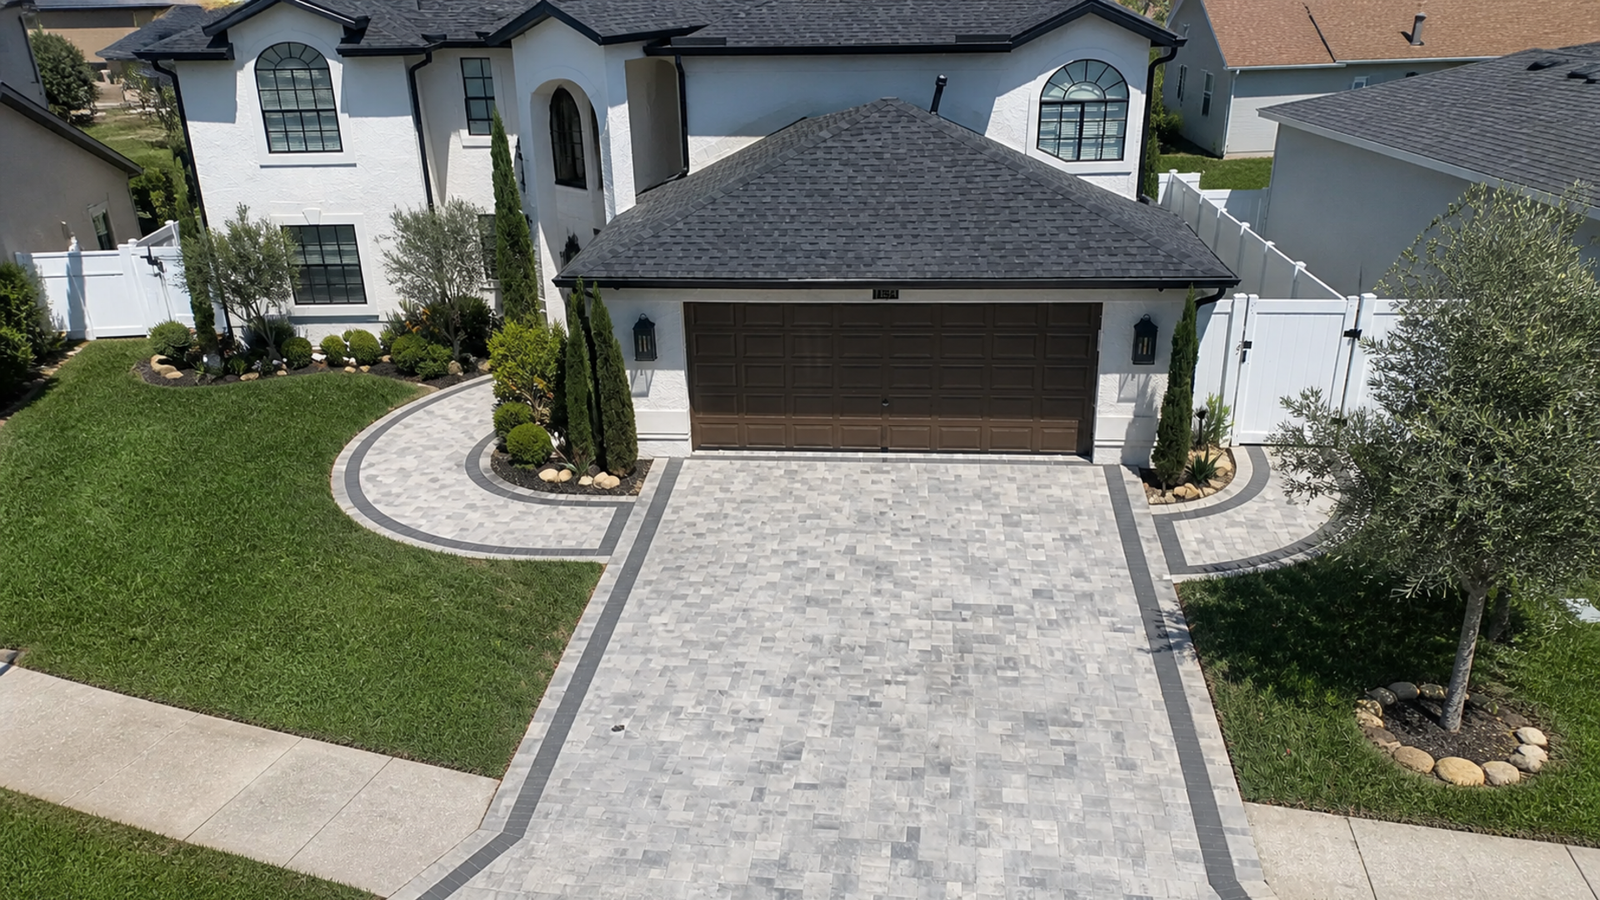
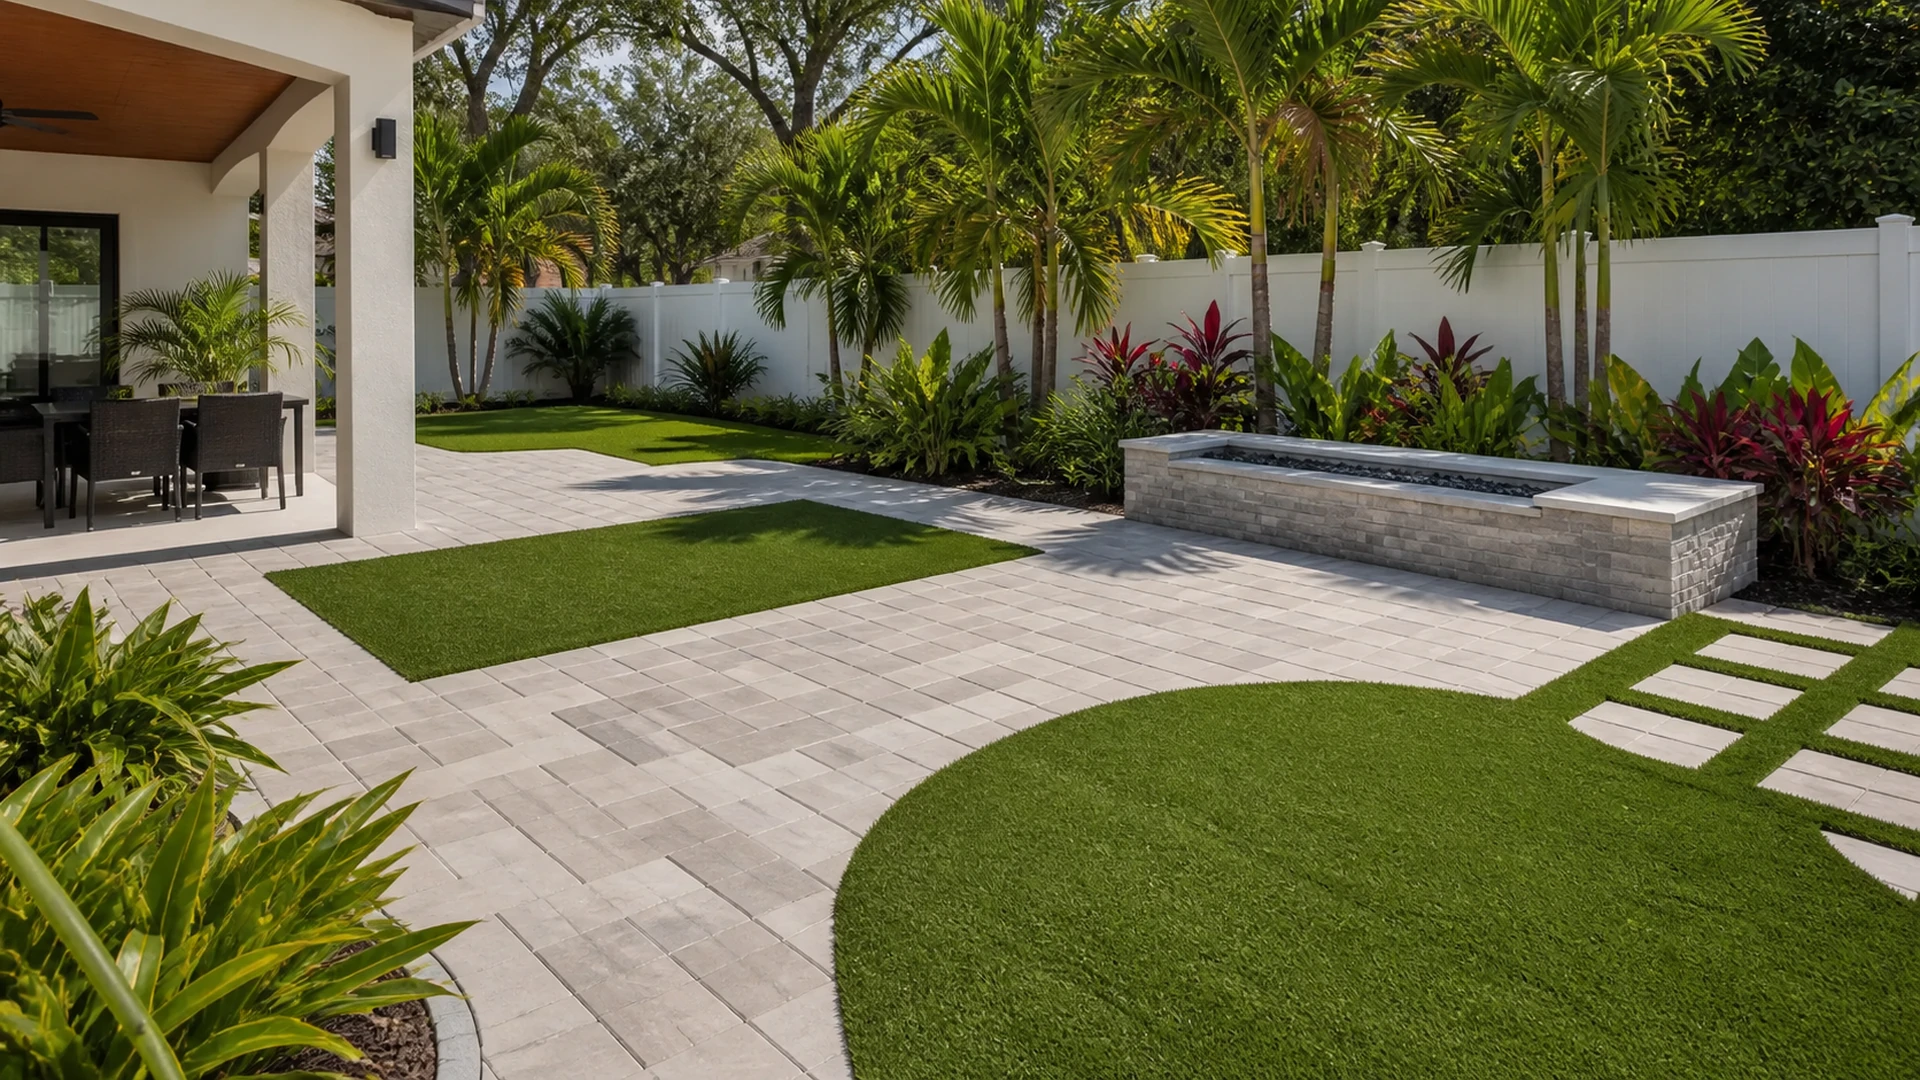
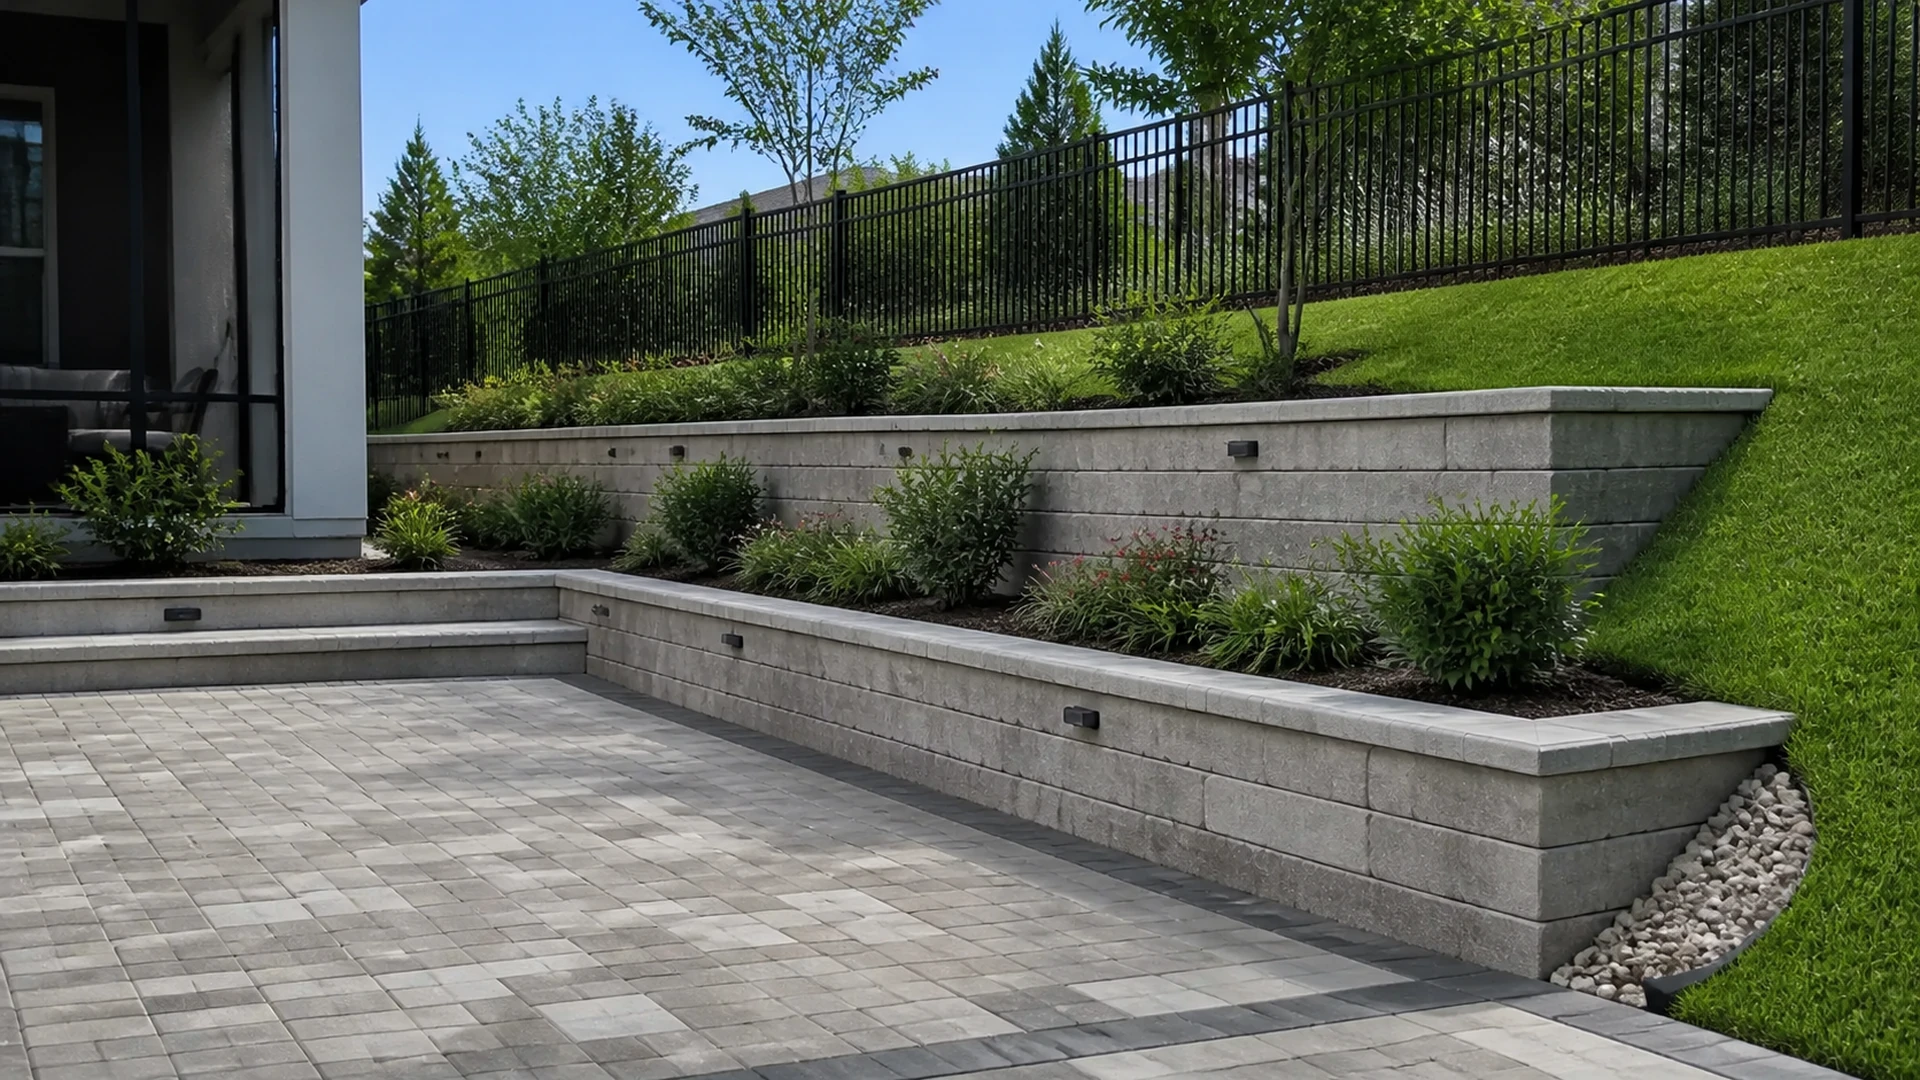
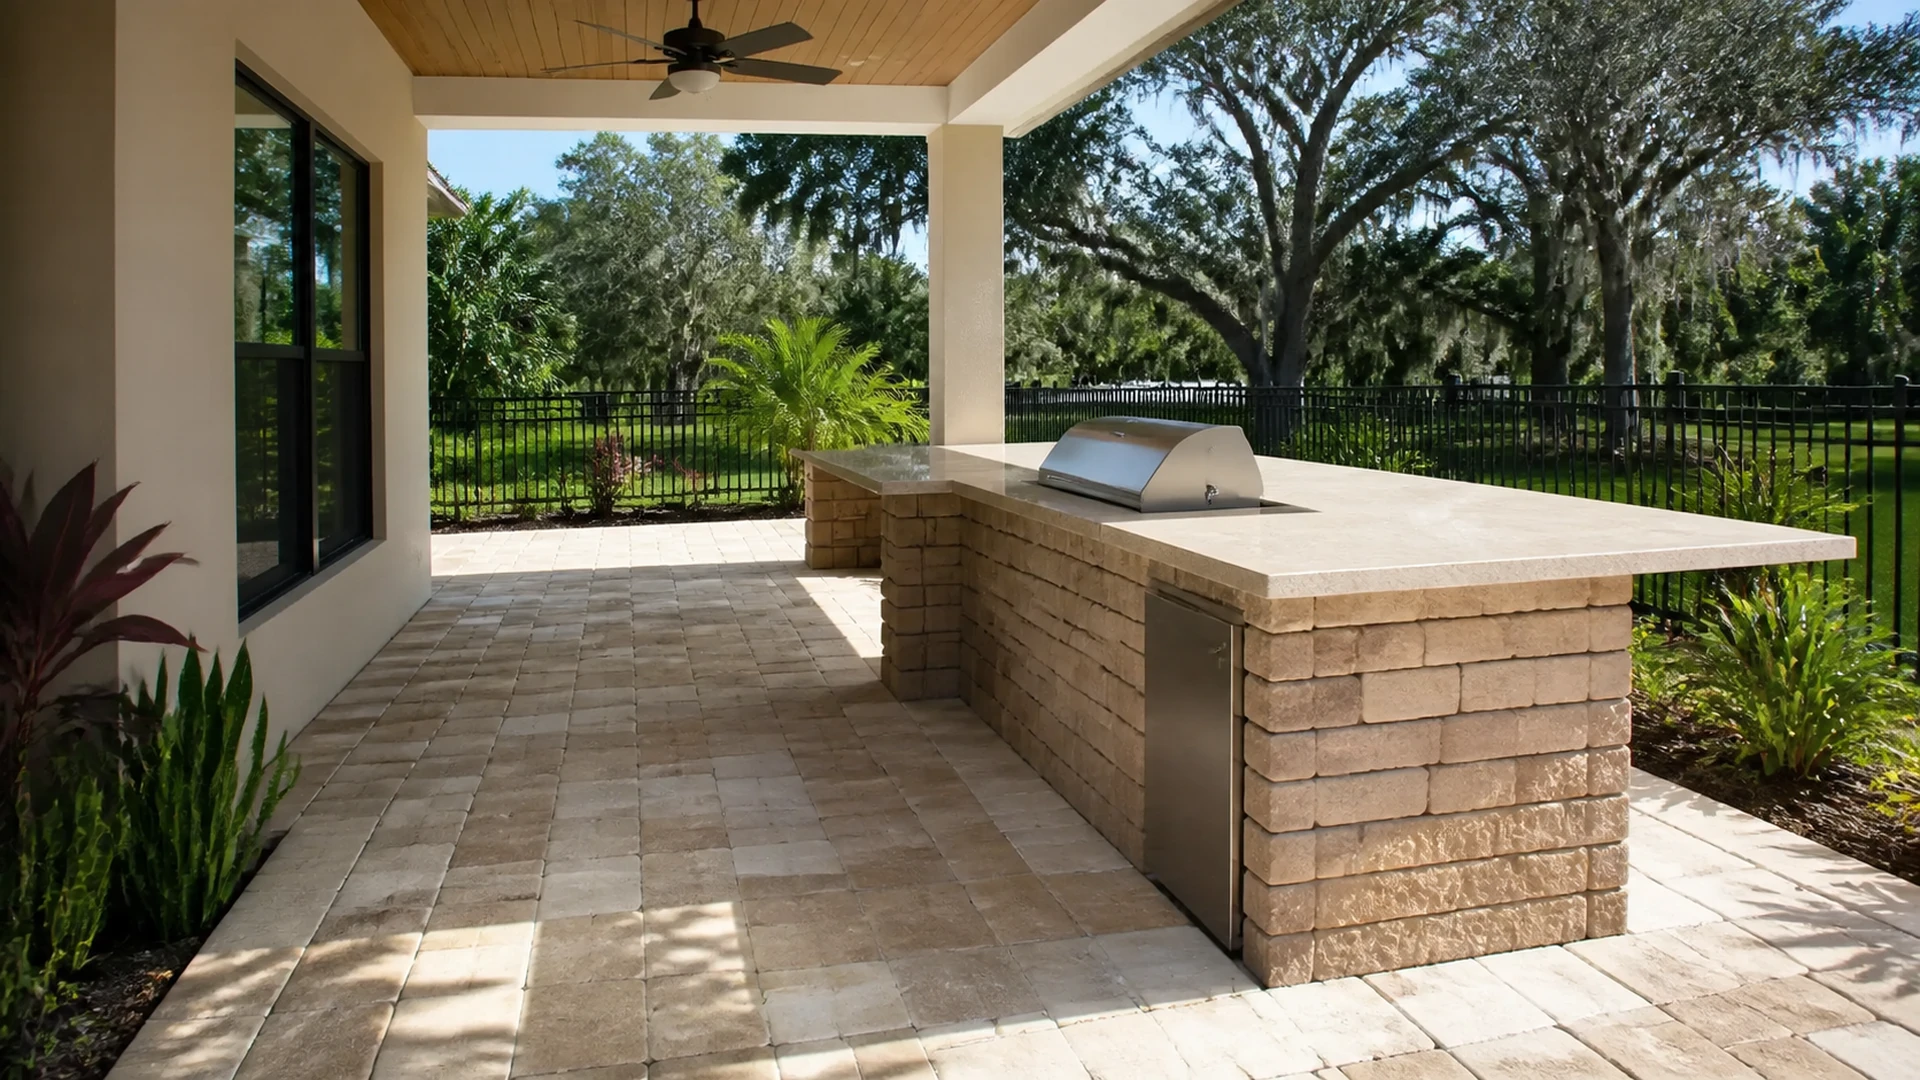
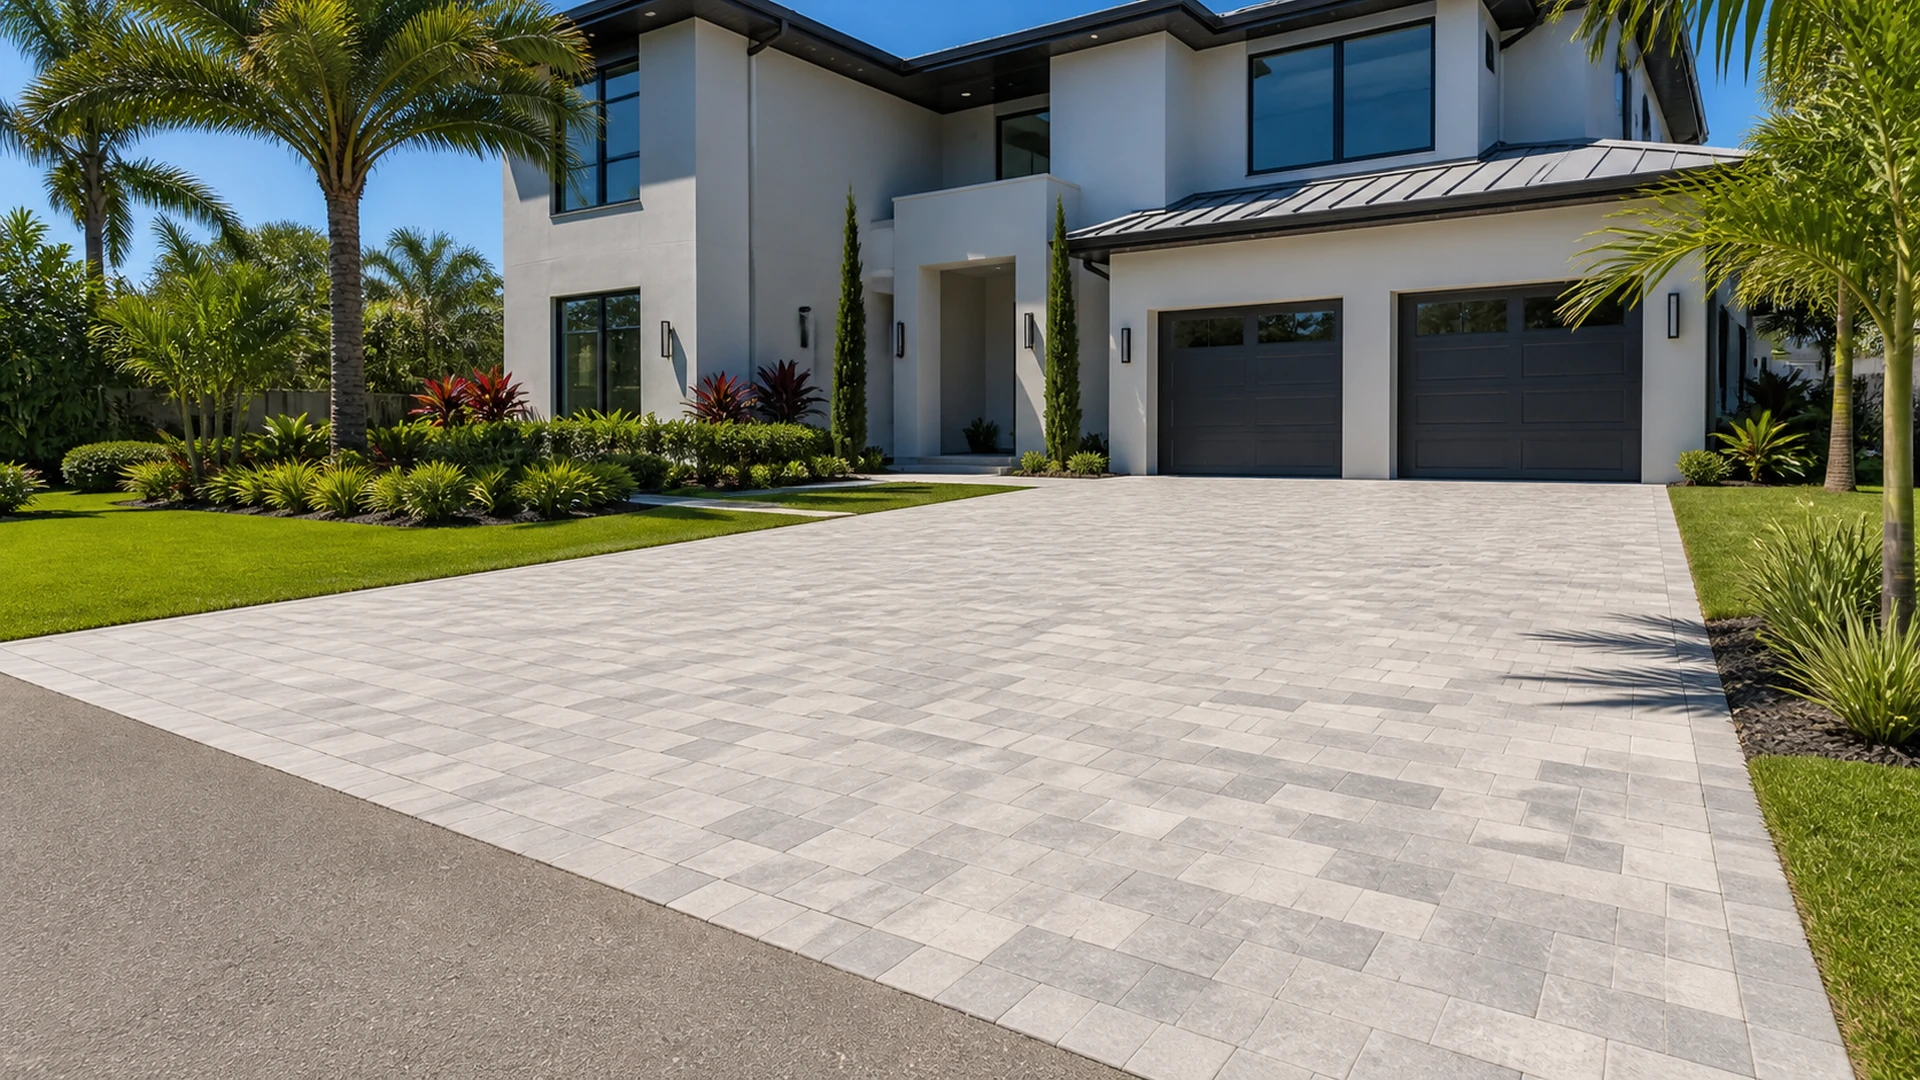
A pool deck looks most settled when its edges are intentional, its walking surface is even, and water has a considered path. That result starts with treating coping and paver joints as distinct details, then documenting the actual condition before deciding what to change. For examples of outdoor work and a starting point for a project discussion, see Dr Pavers Design project and service information.
Careful notes, wide photographs, and a safety-first response to loose or uneven areas give an evaluator a meaningful starting point. They also help homeowners avoid the temptation to make a quick cosmetic patch at one of the most exposed edges of the property. The right next step is based on the specific location, materials, and conditions found on site.
Finally, when you are ready to restore your pool deck, review the services, see completed projects, read testimonials, and check the FAQ before requesting a free consultation through the contact page. Follow Dr Pavers Design on Instagram and Facebook, or review the company on Google. Open Google Maps, send a WhatsApp message, call +1 (656) 600-4015, send a text message, or email drpavers@outlook.com for a free consultation anywhere in Tampa Bay.