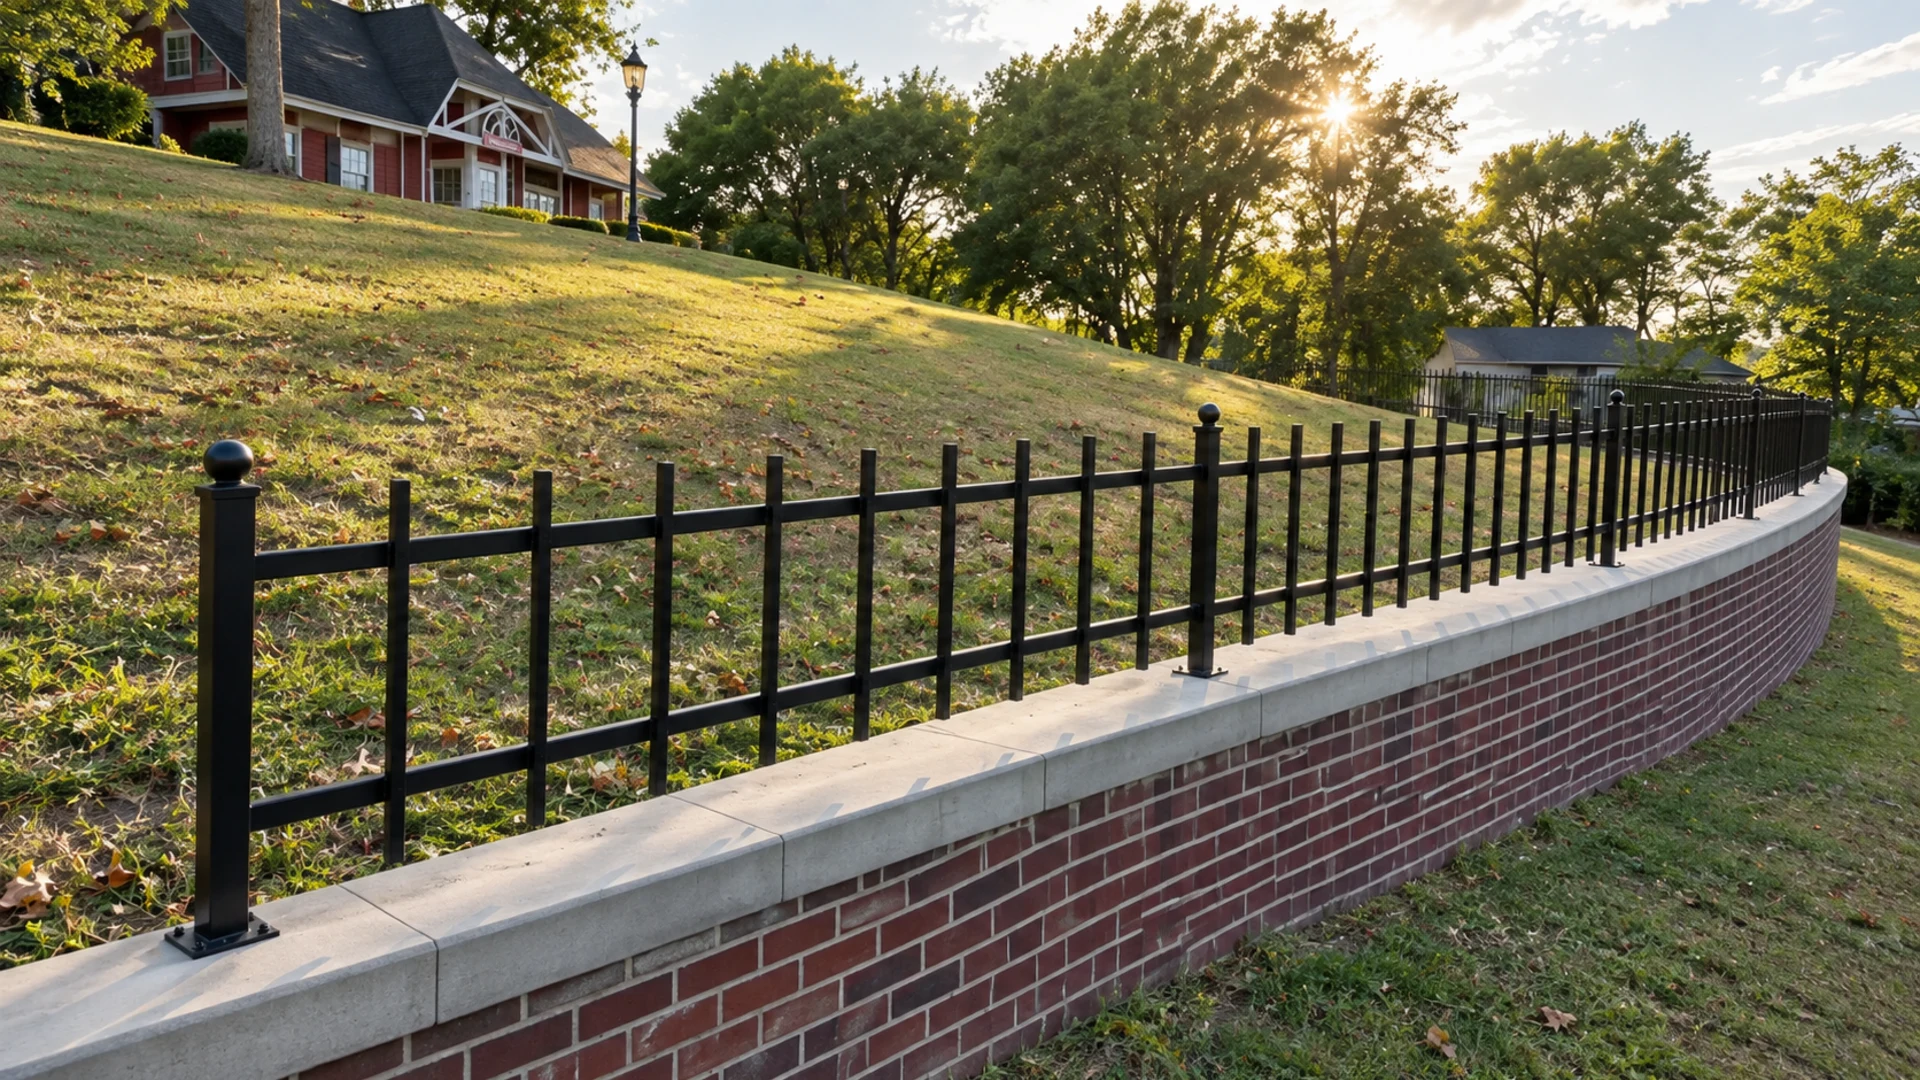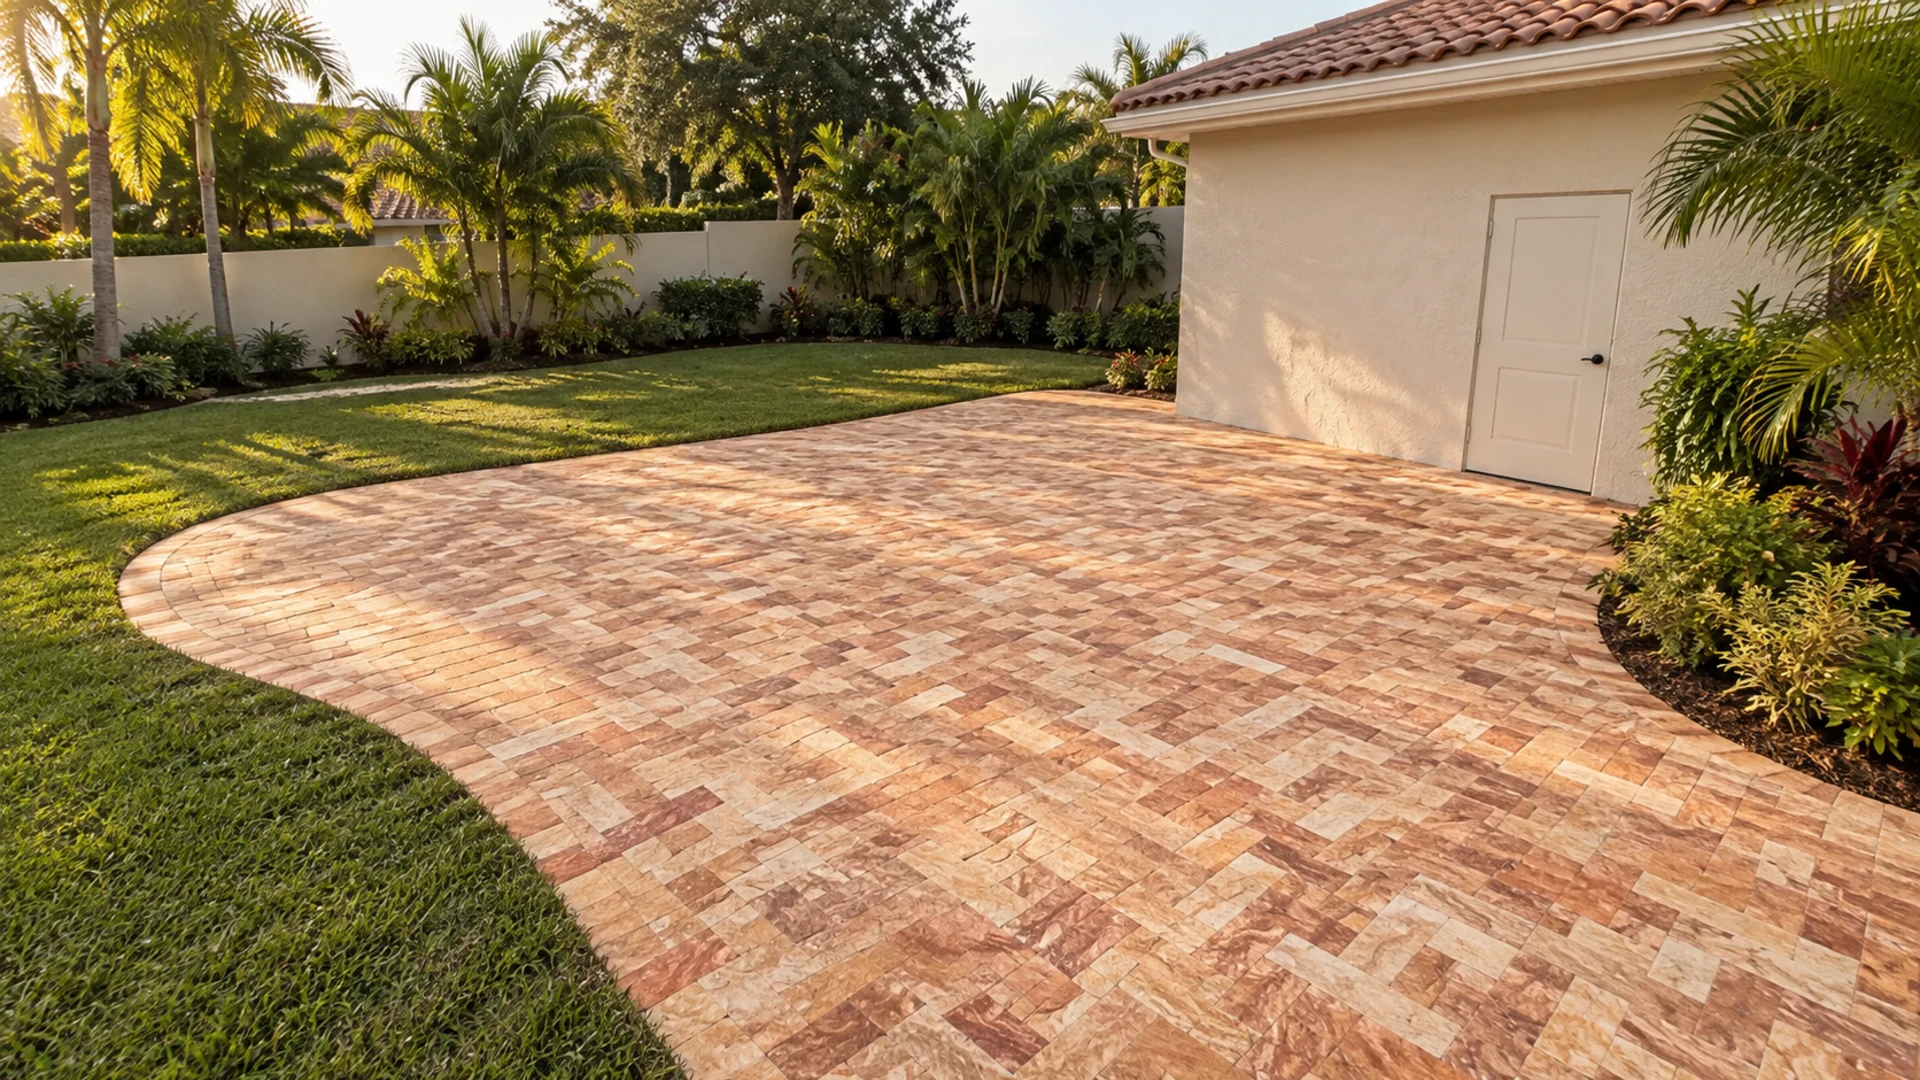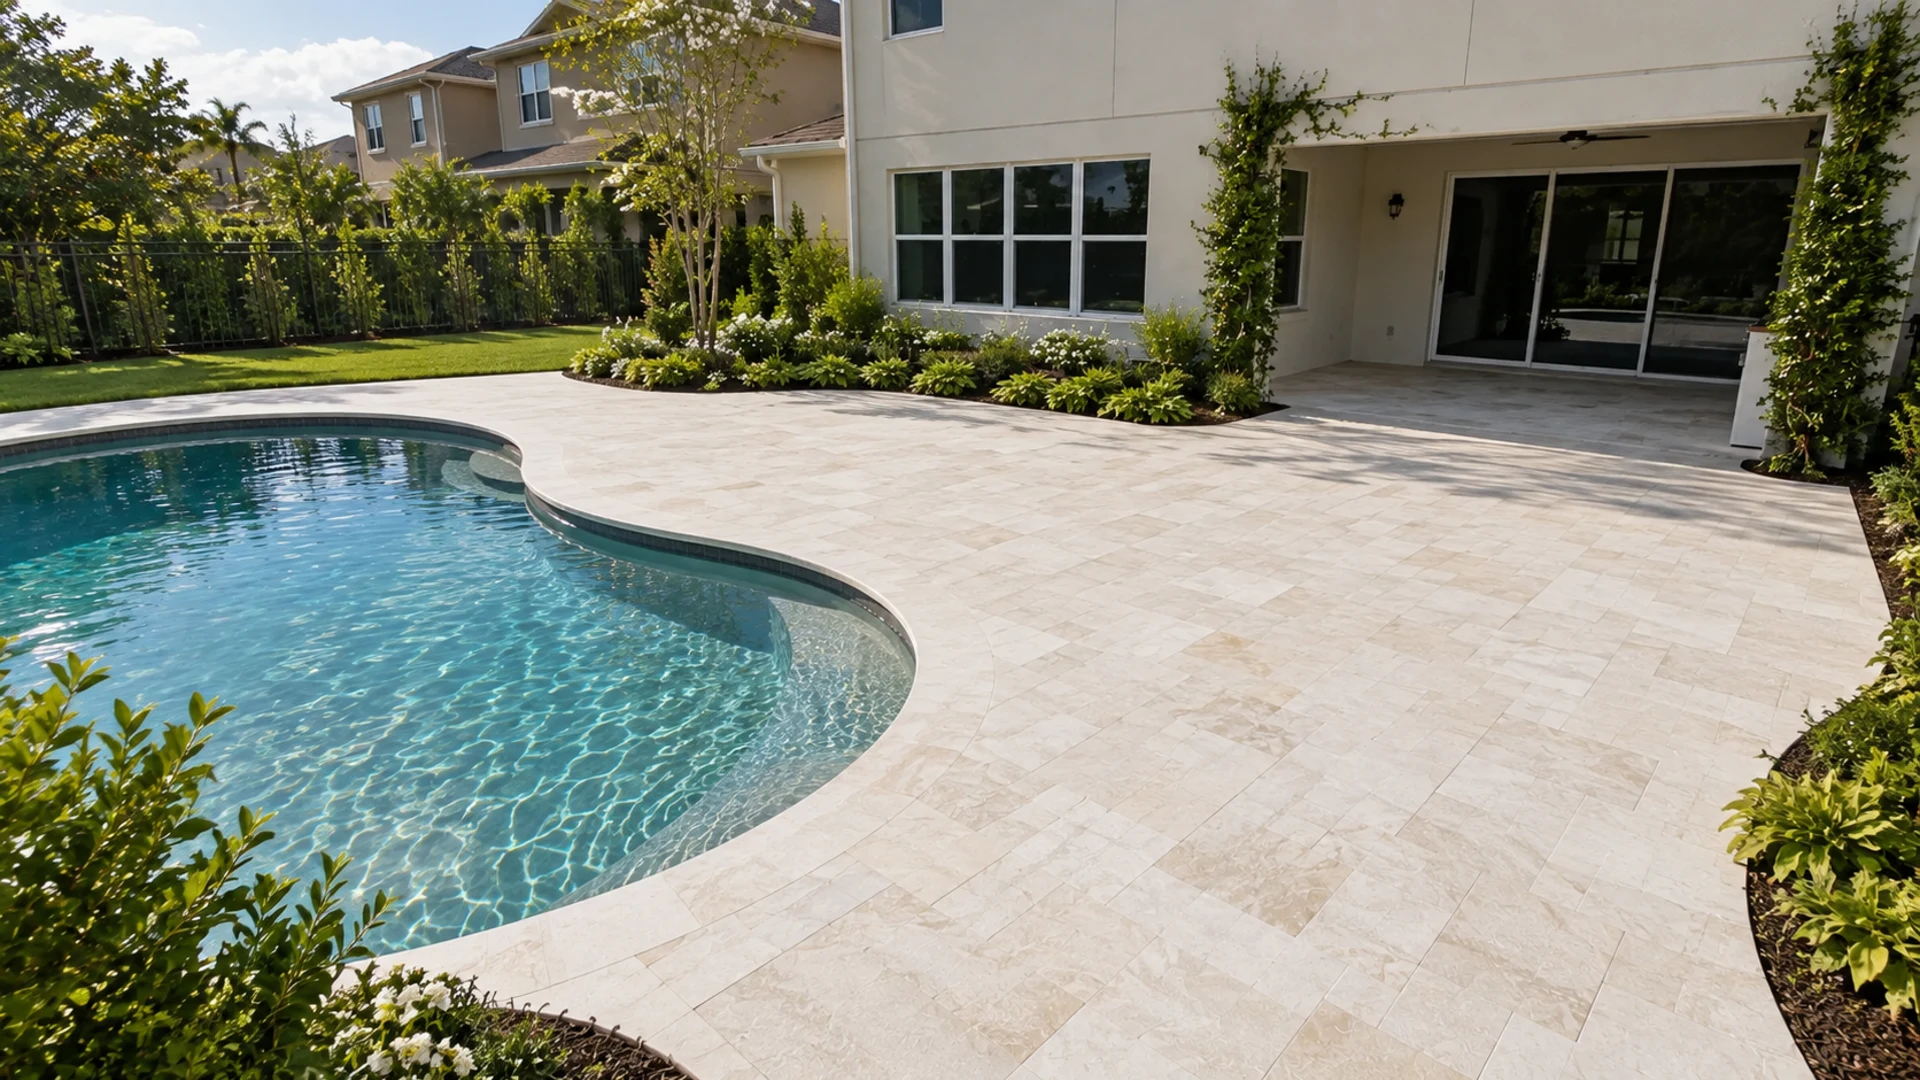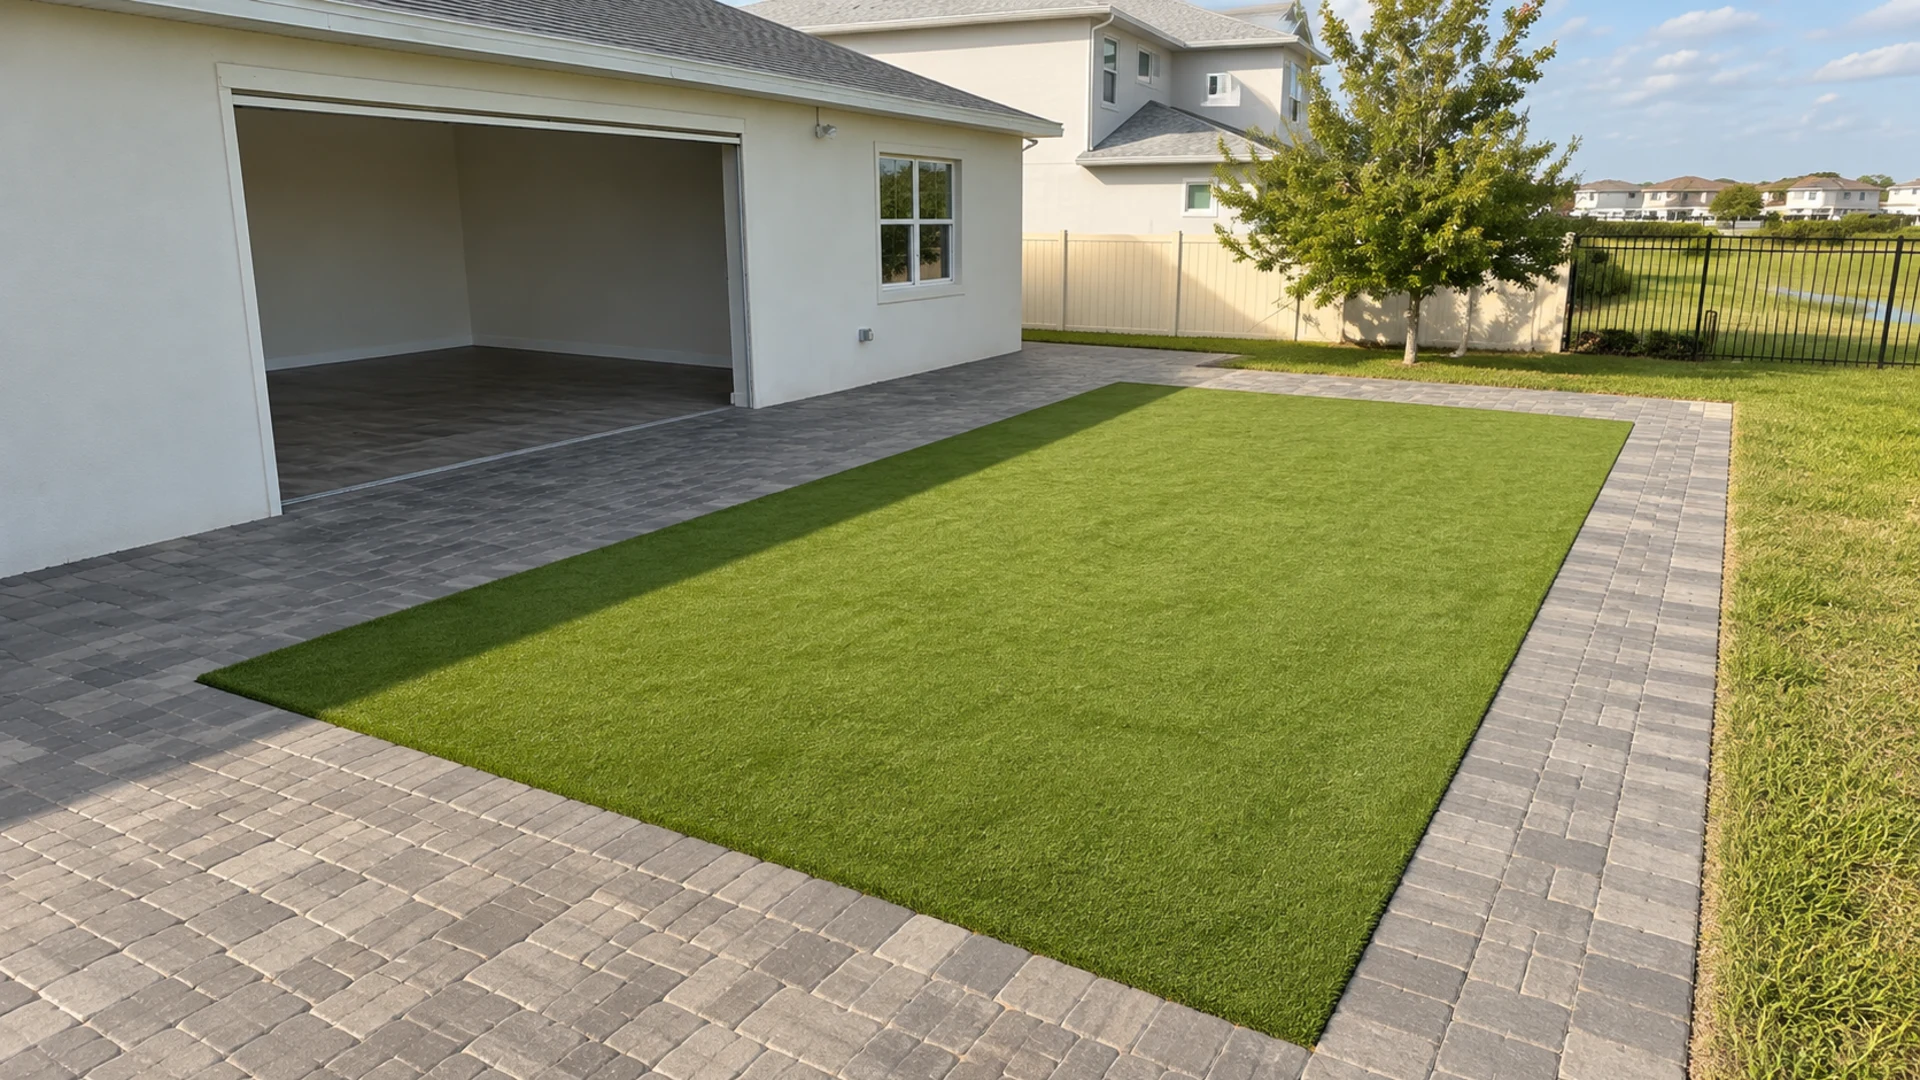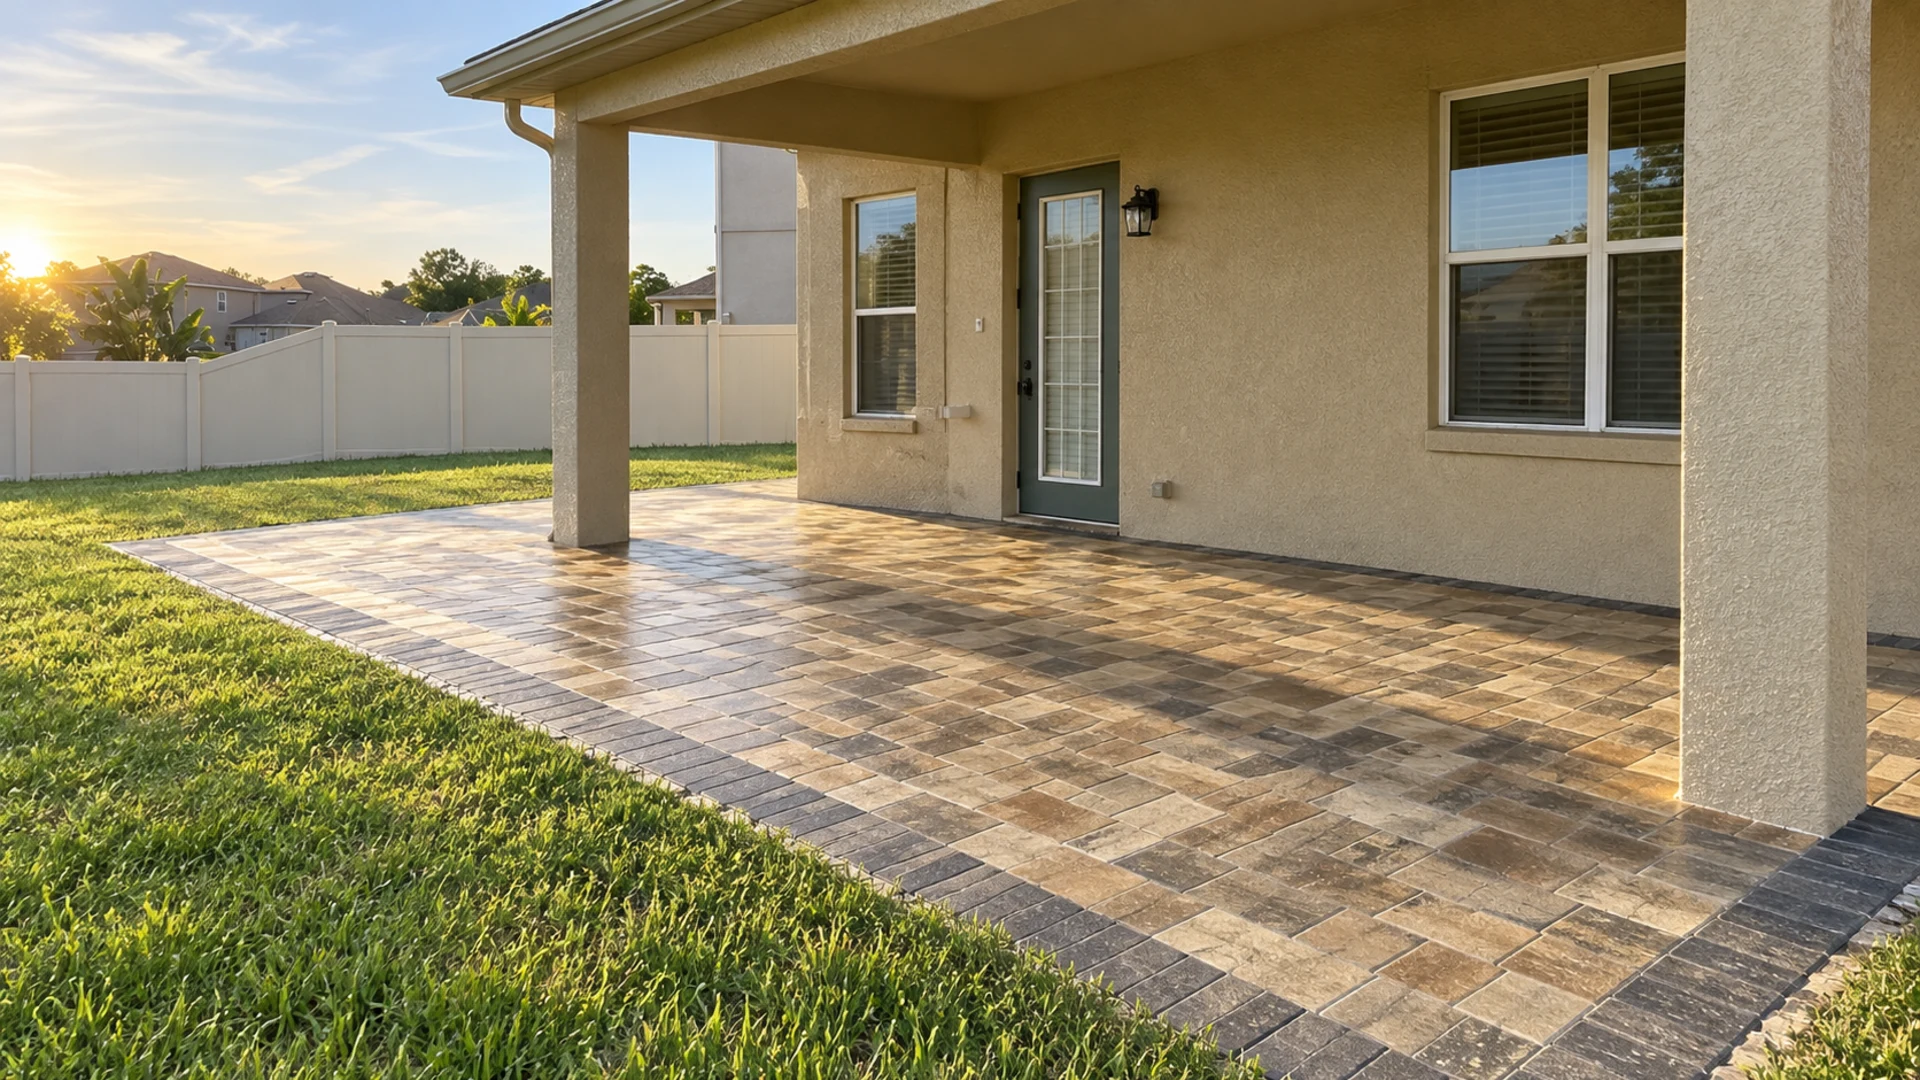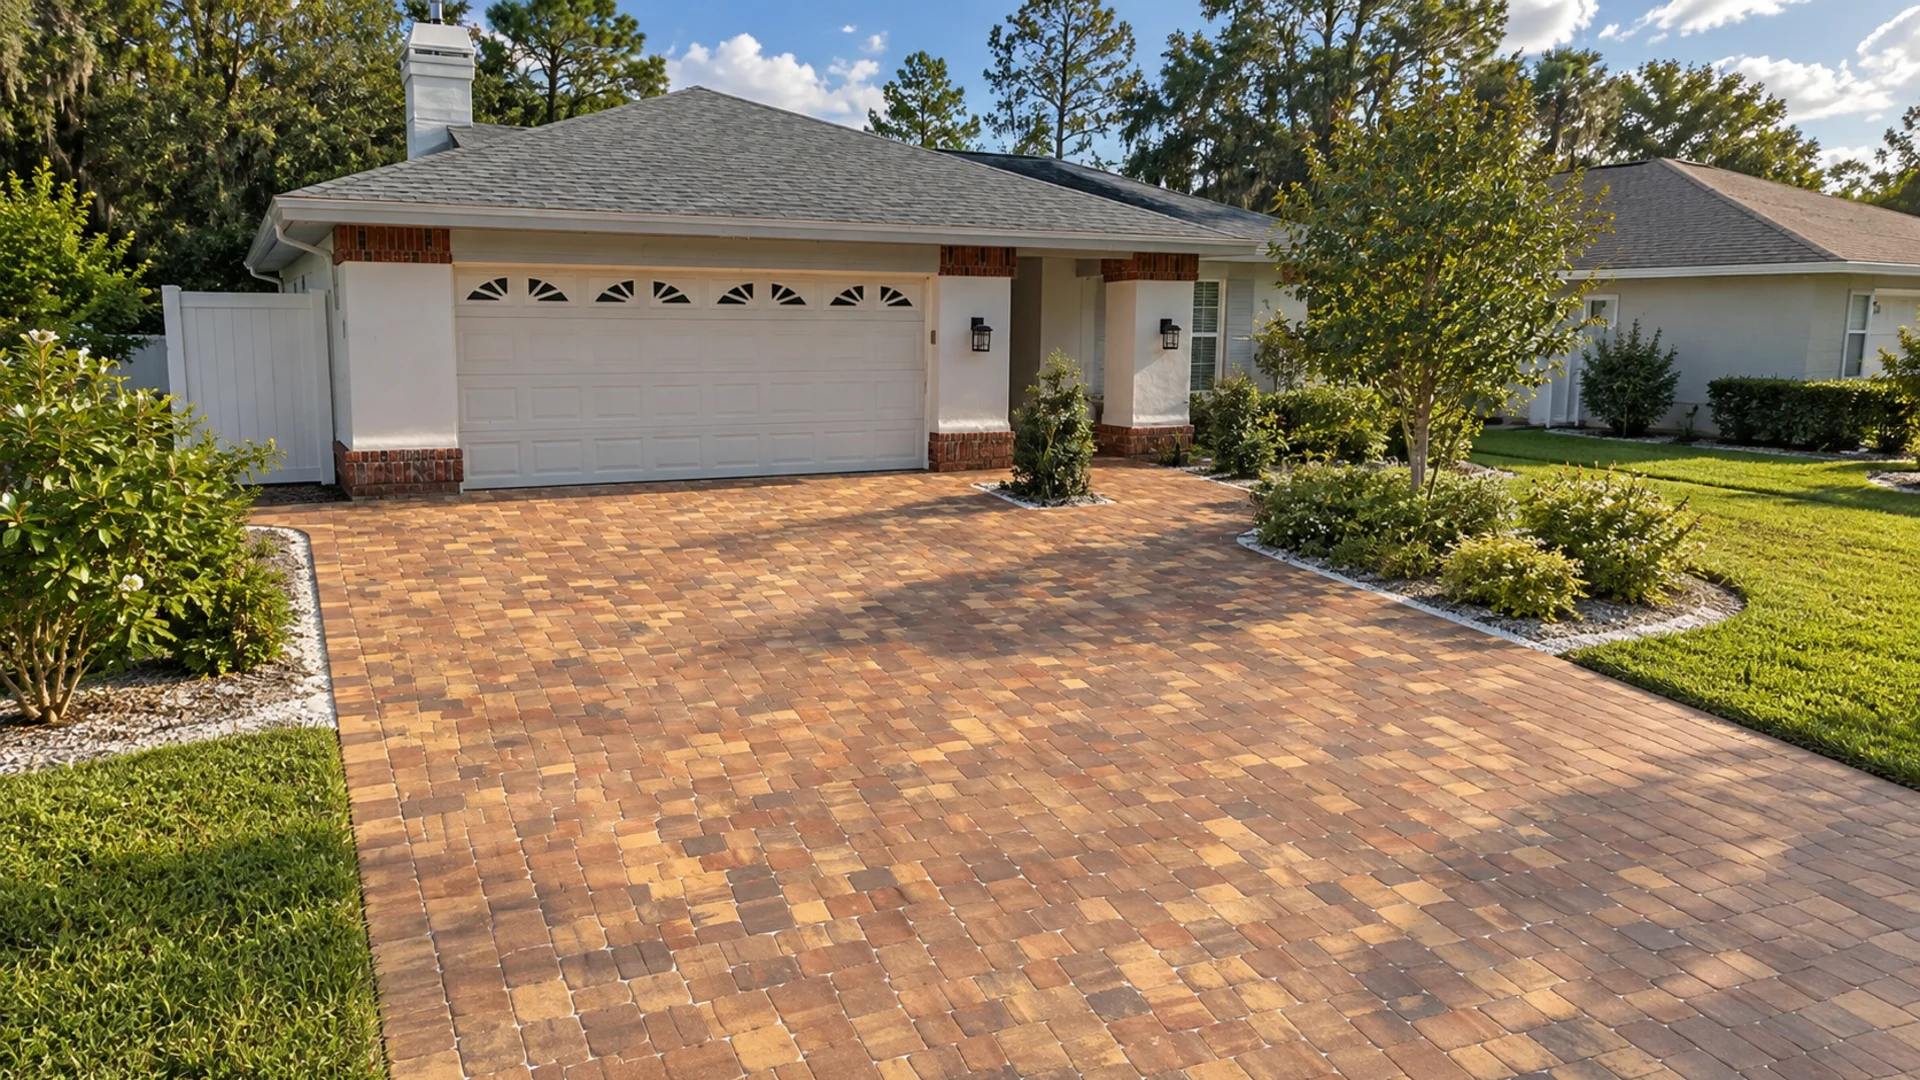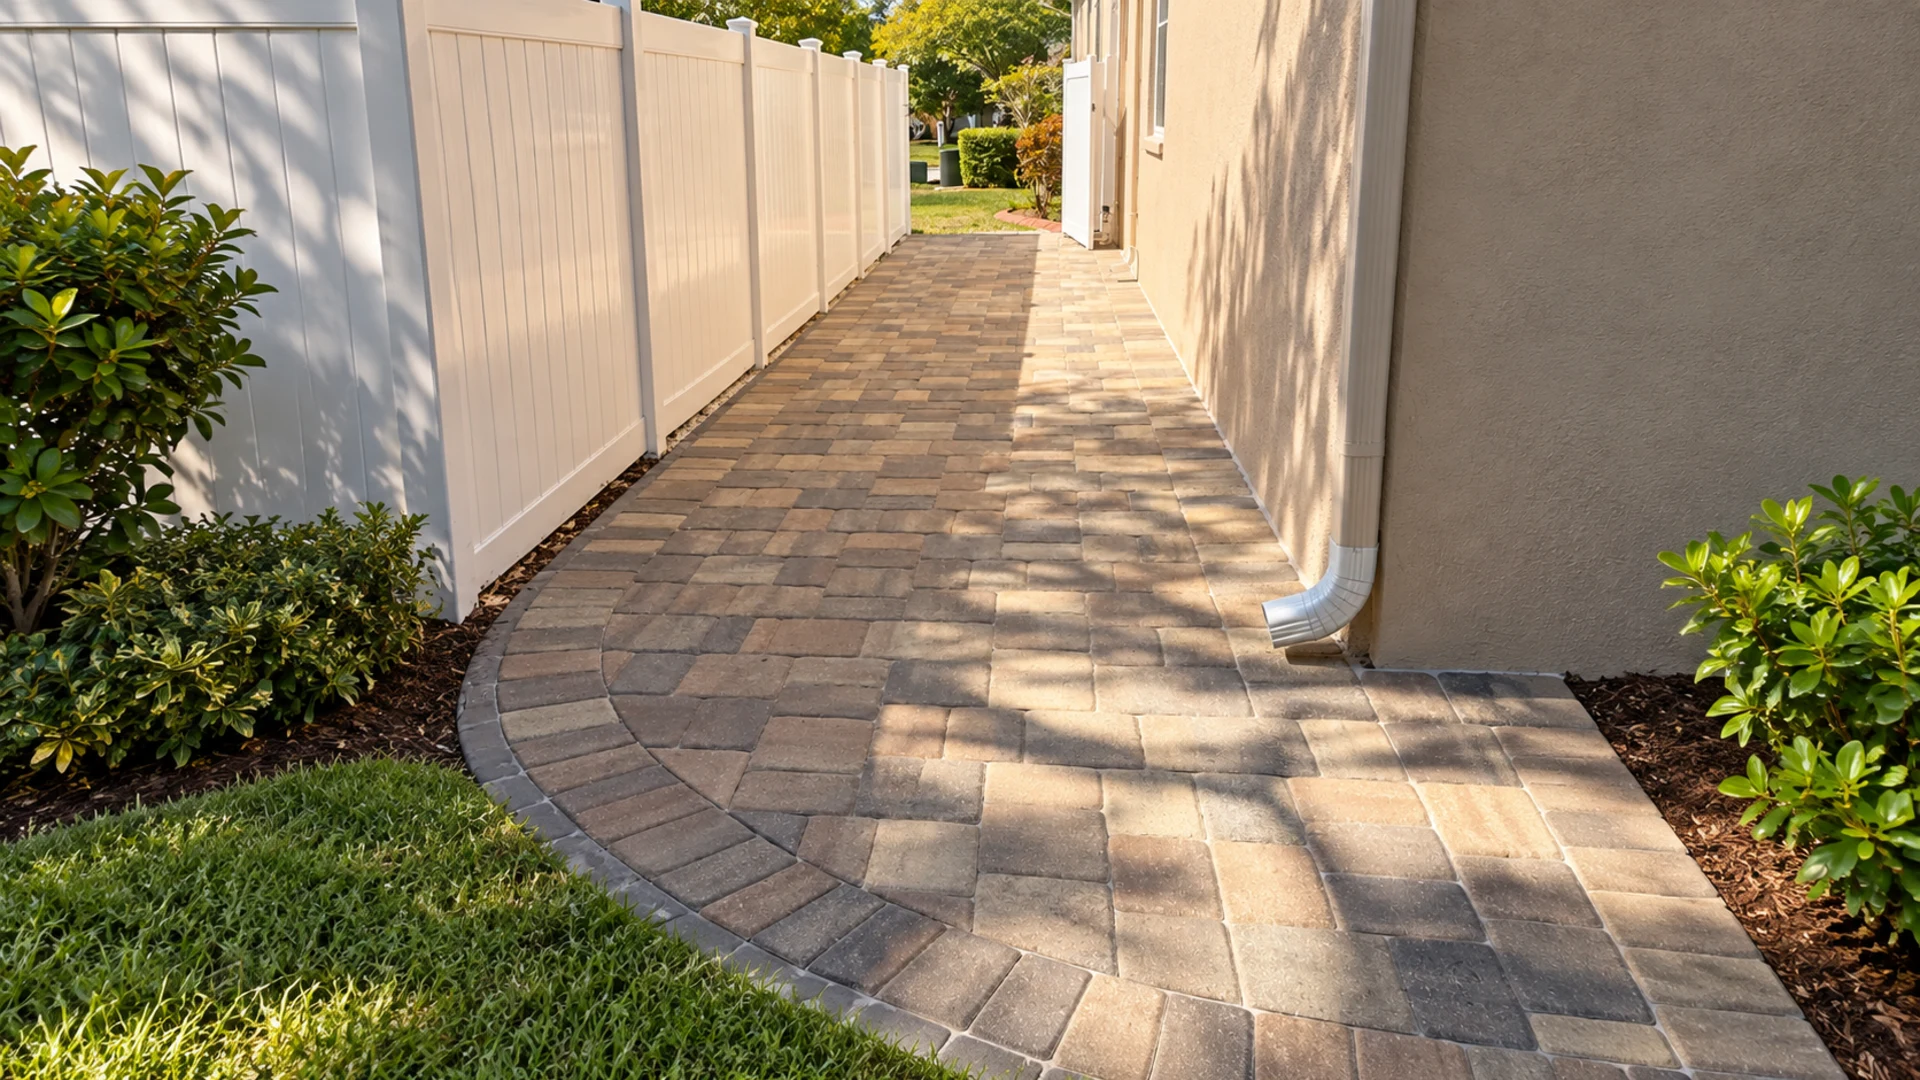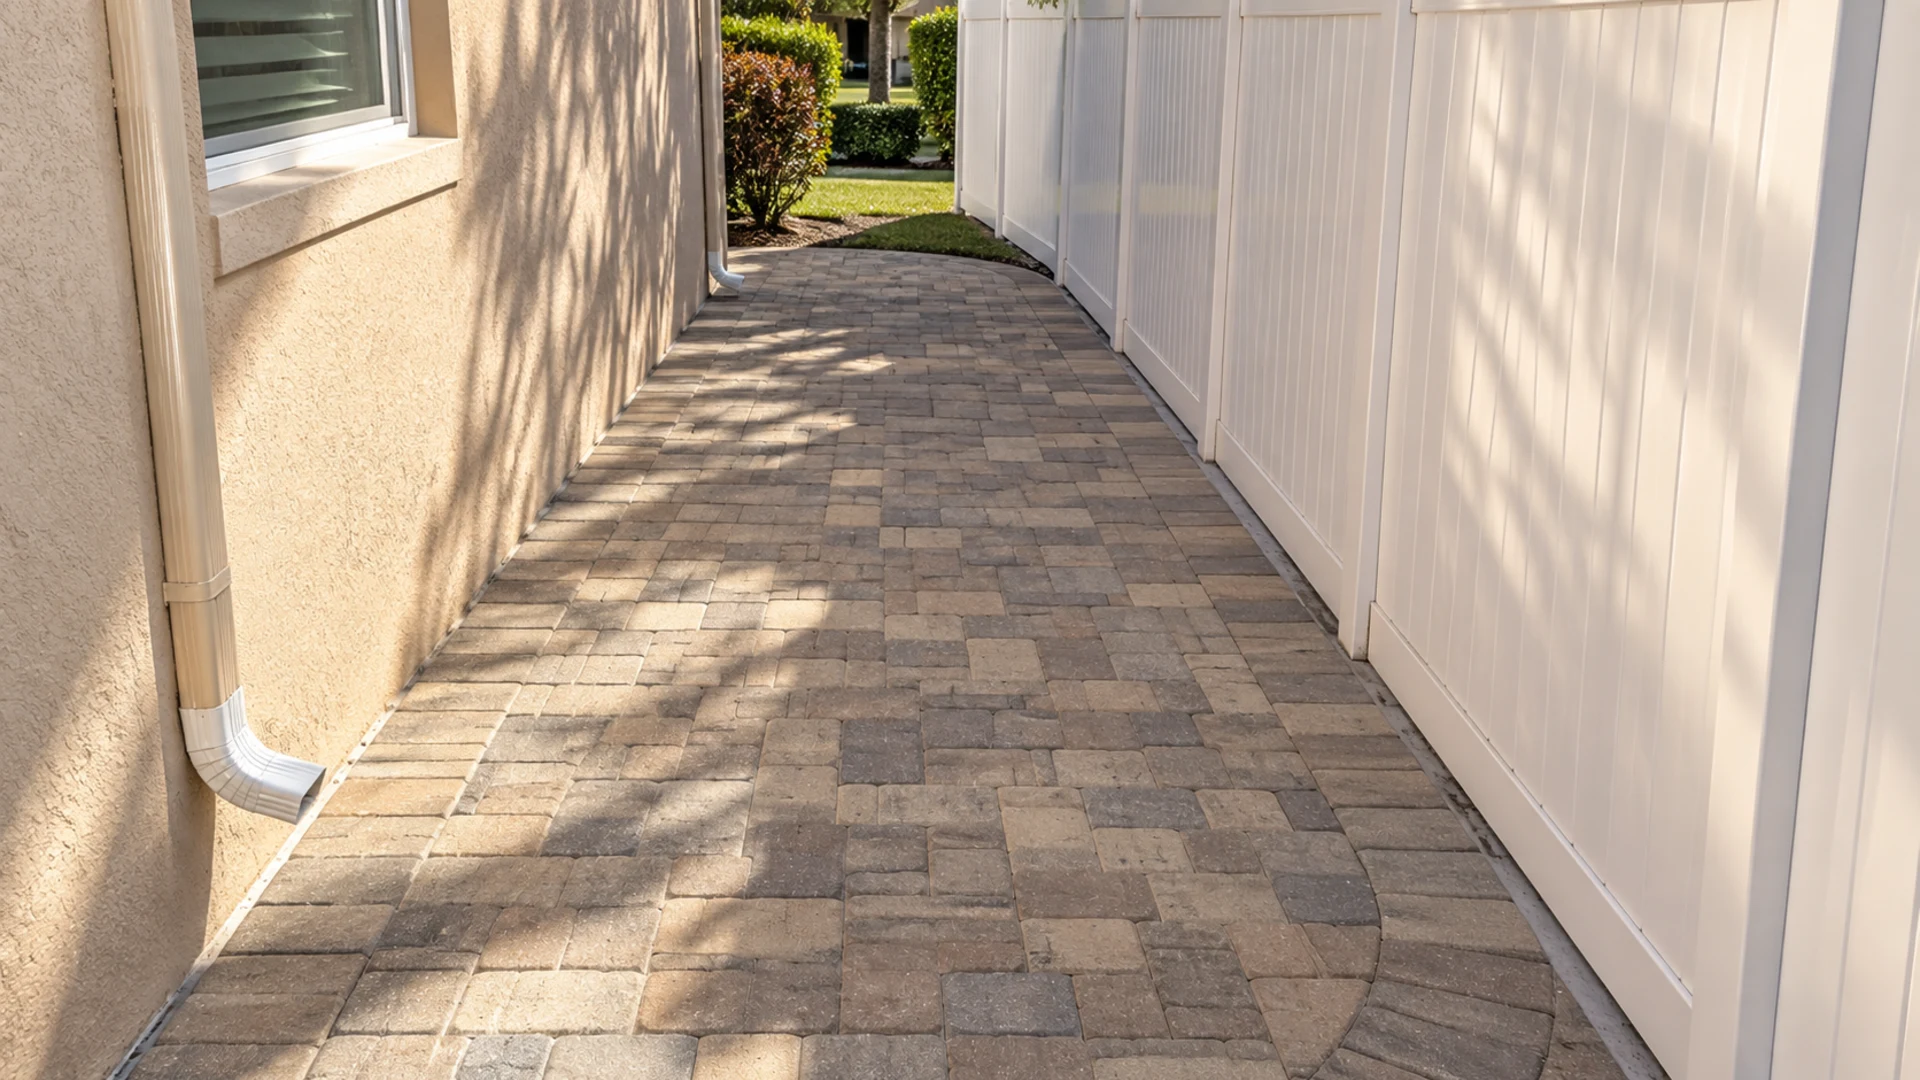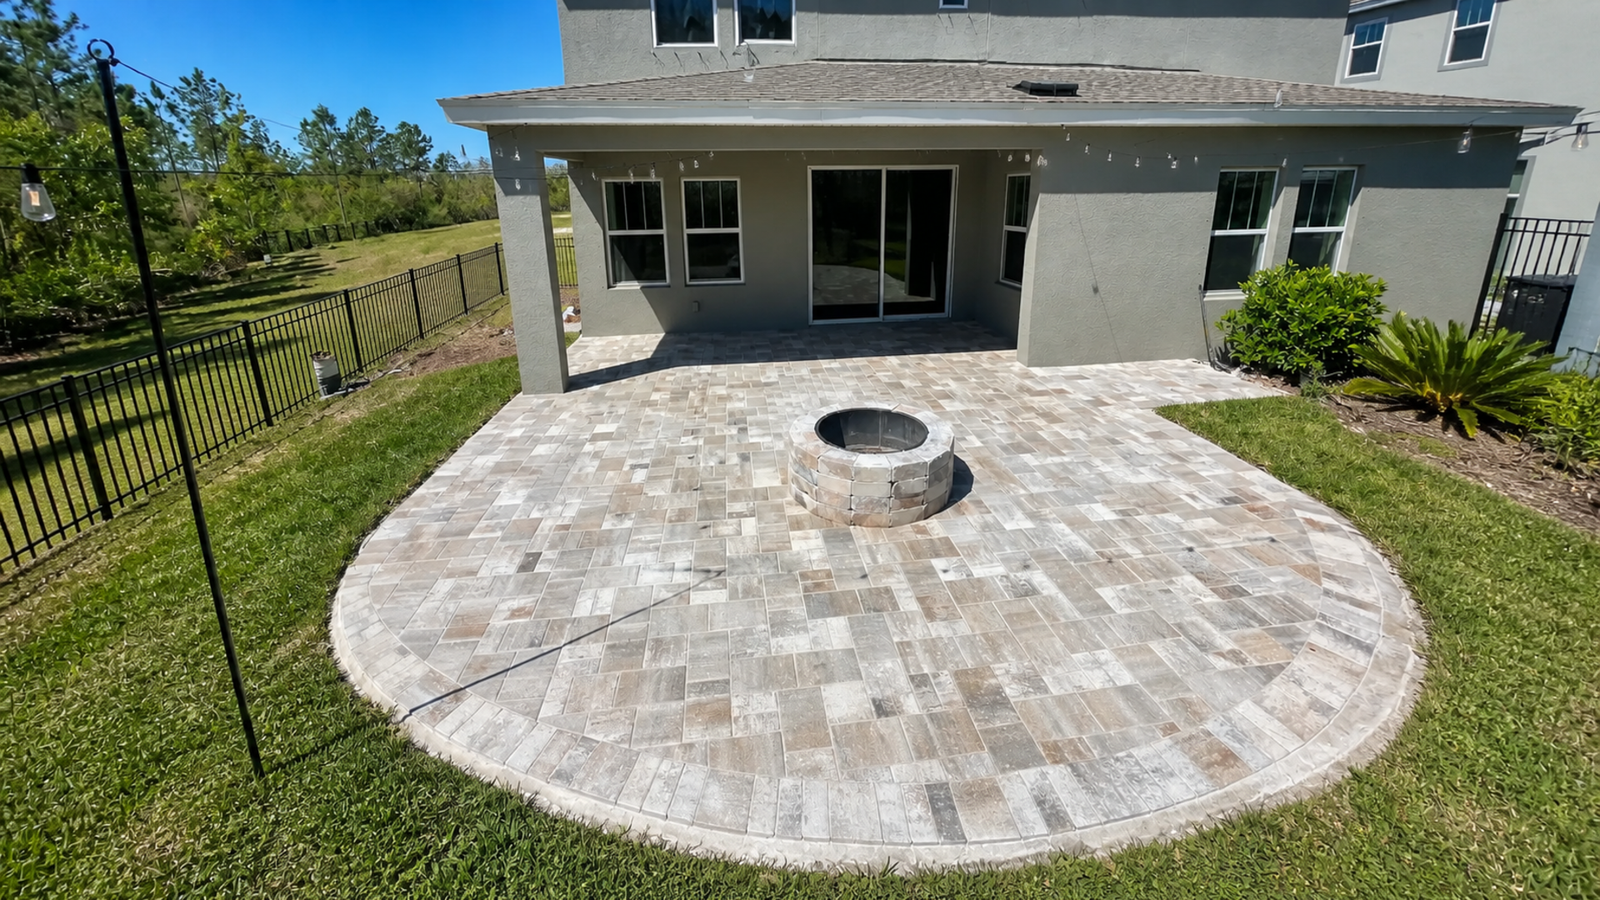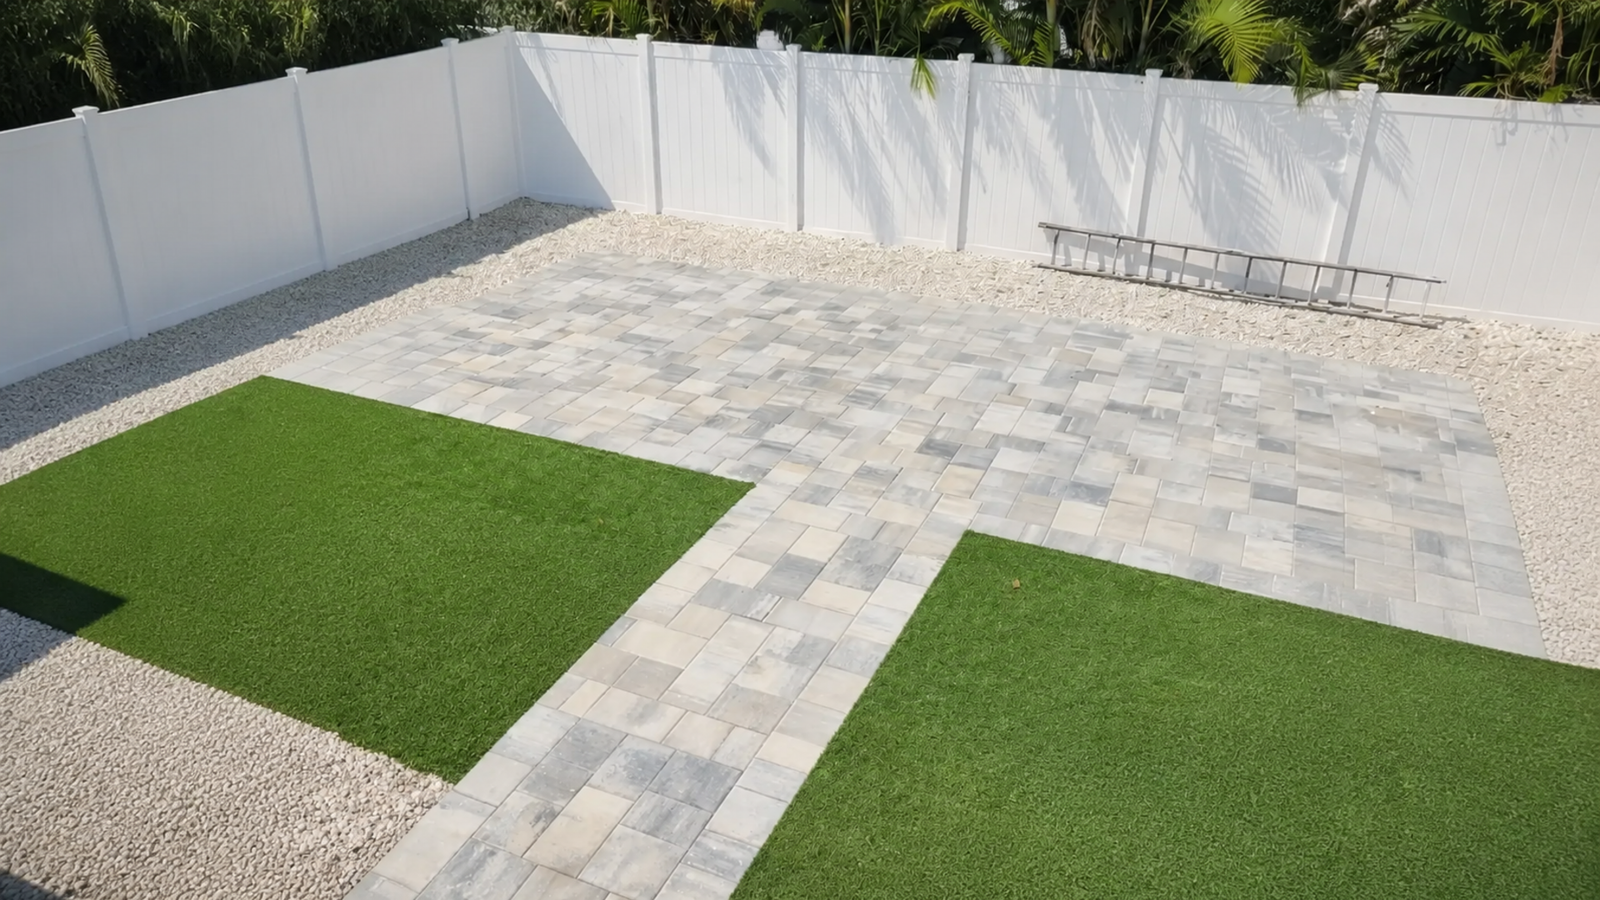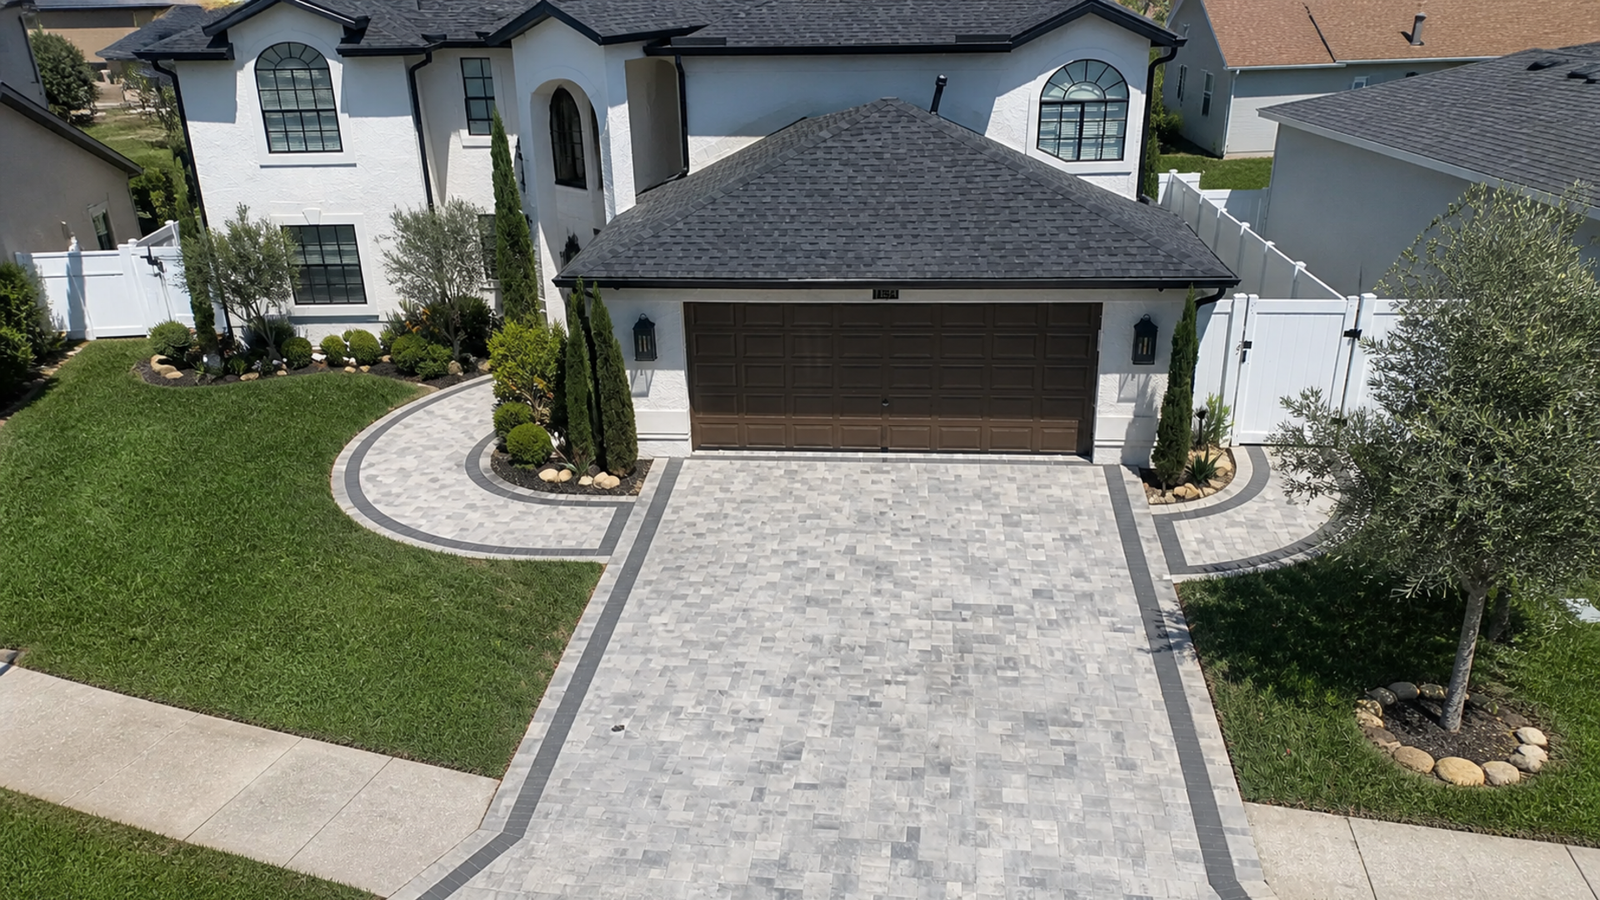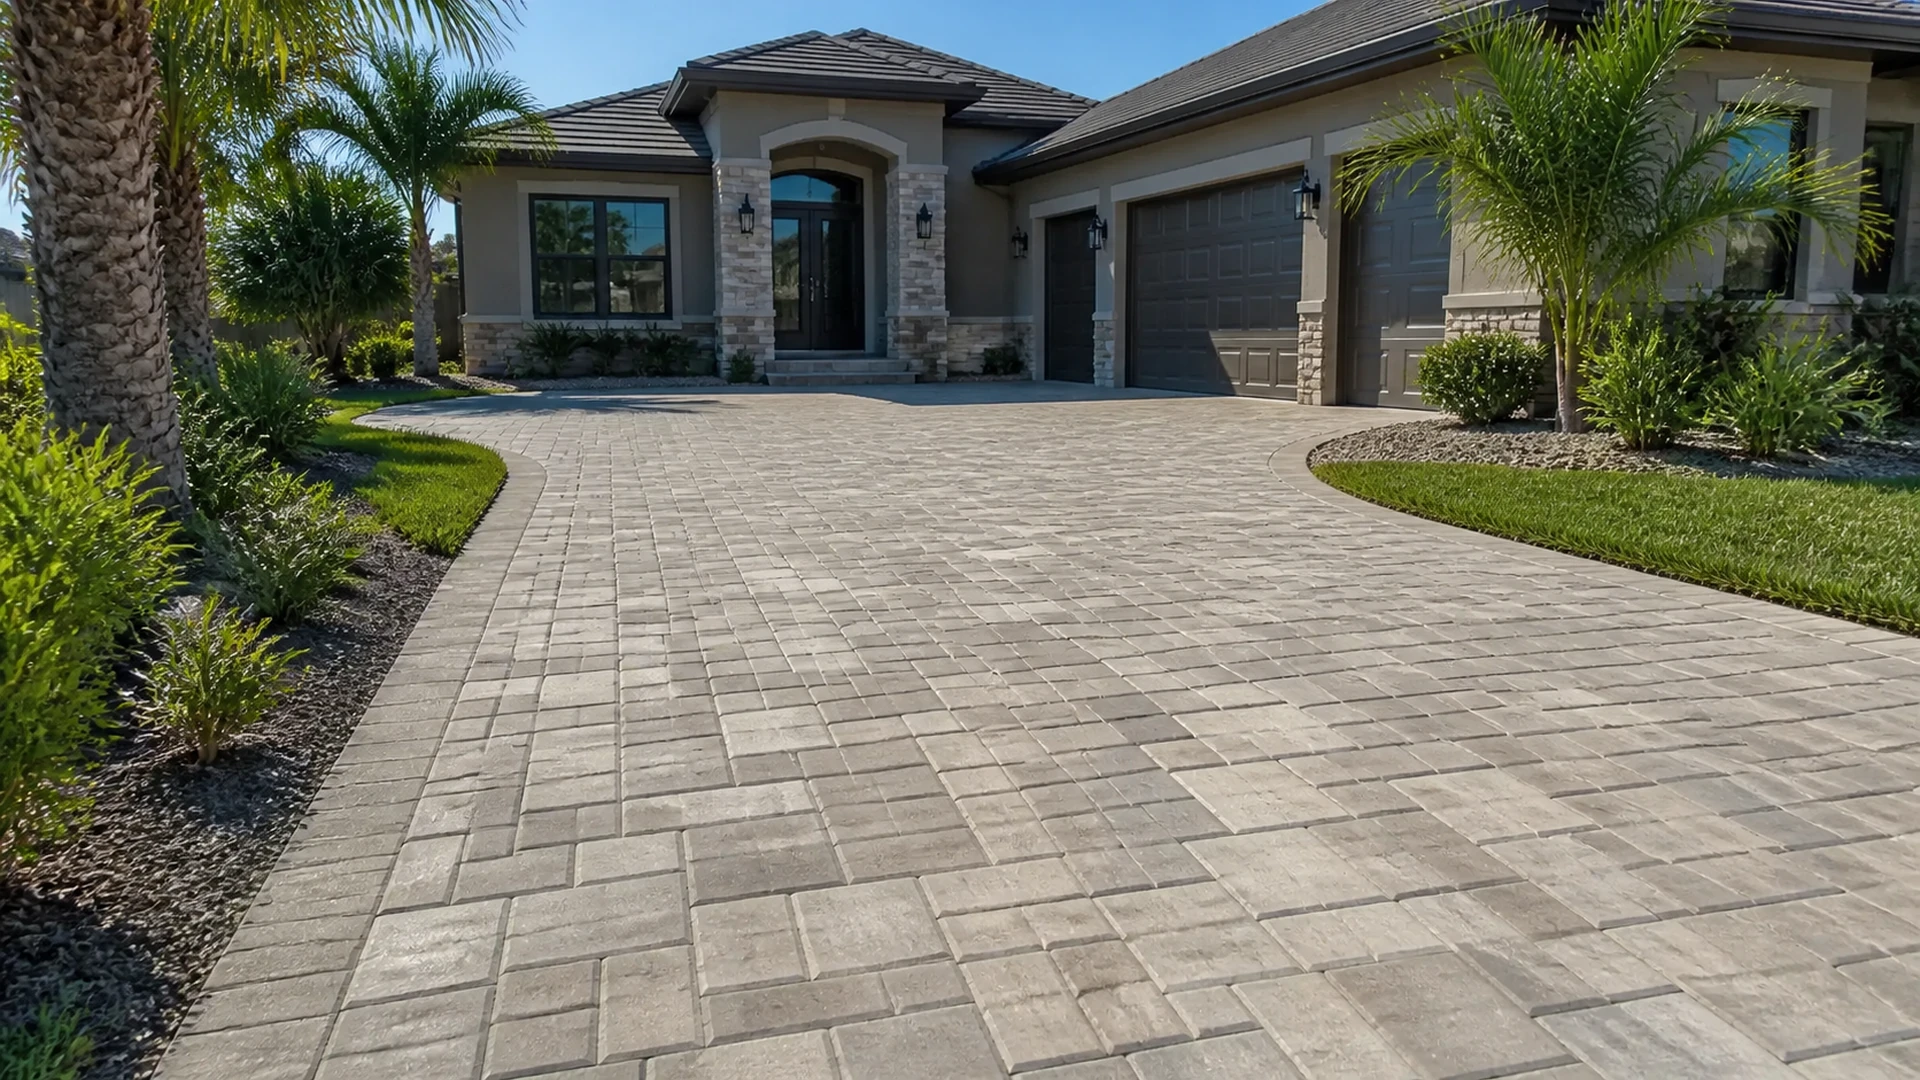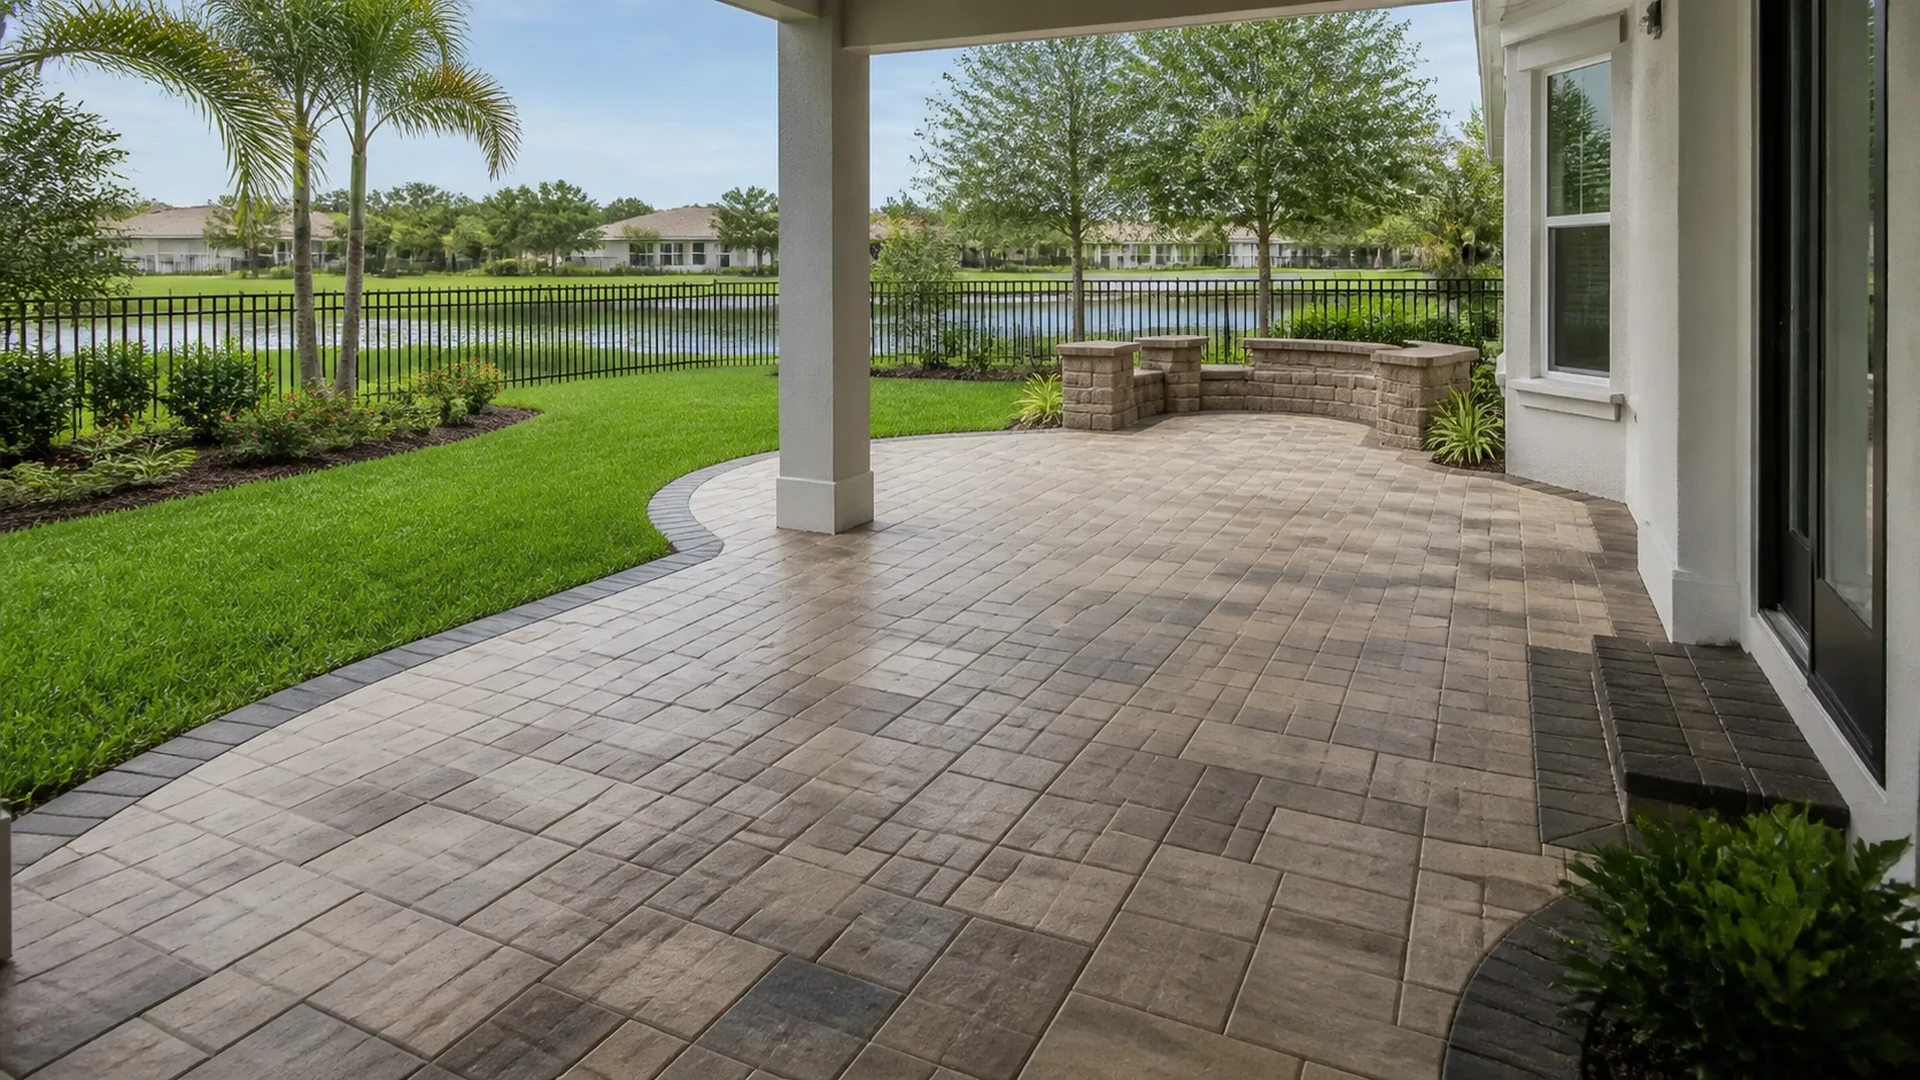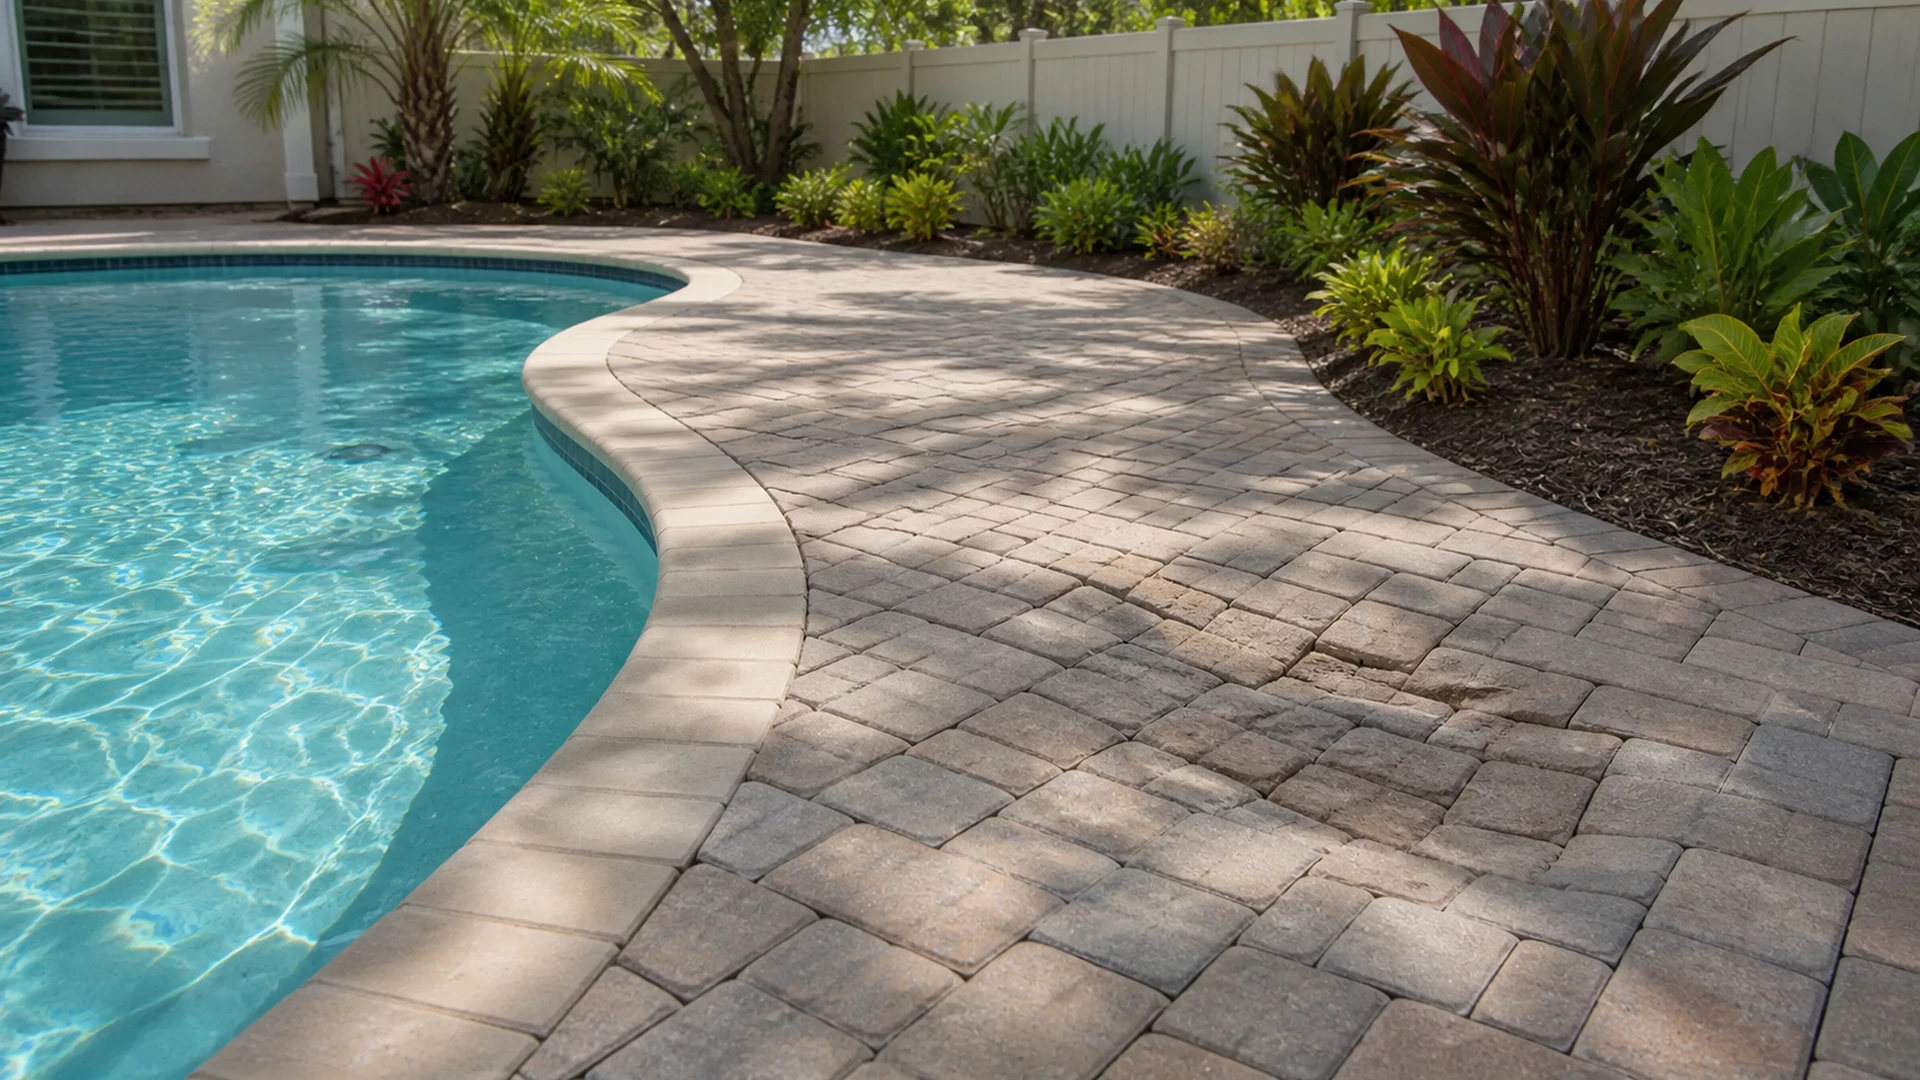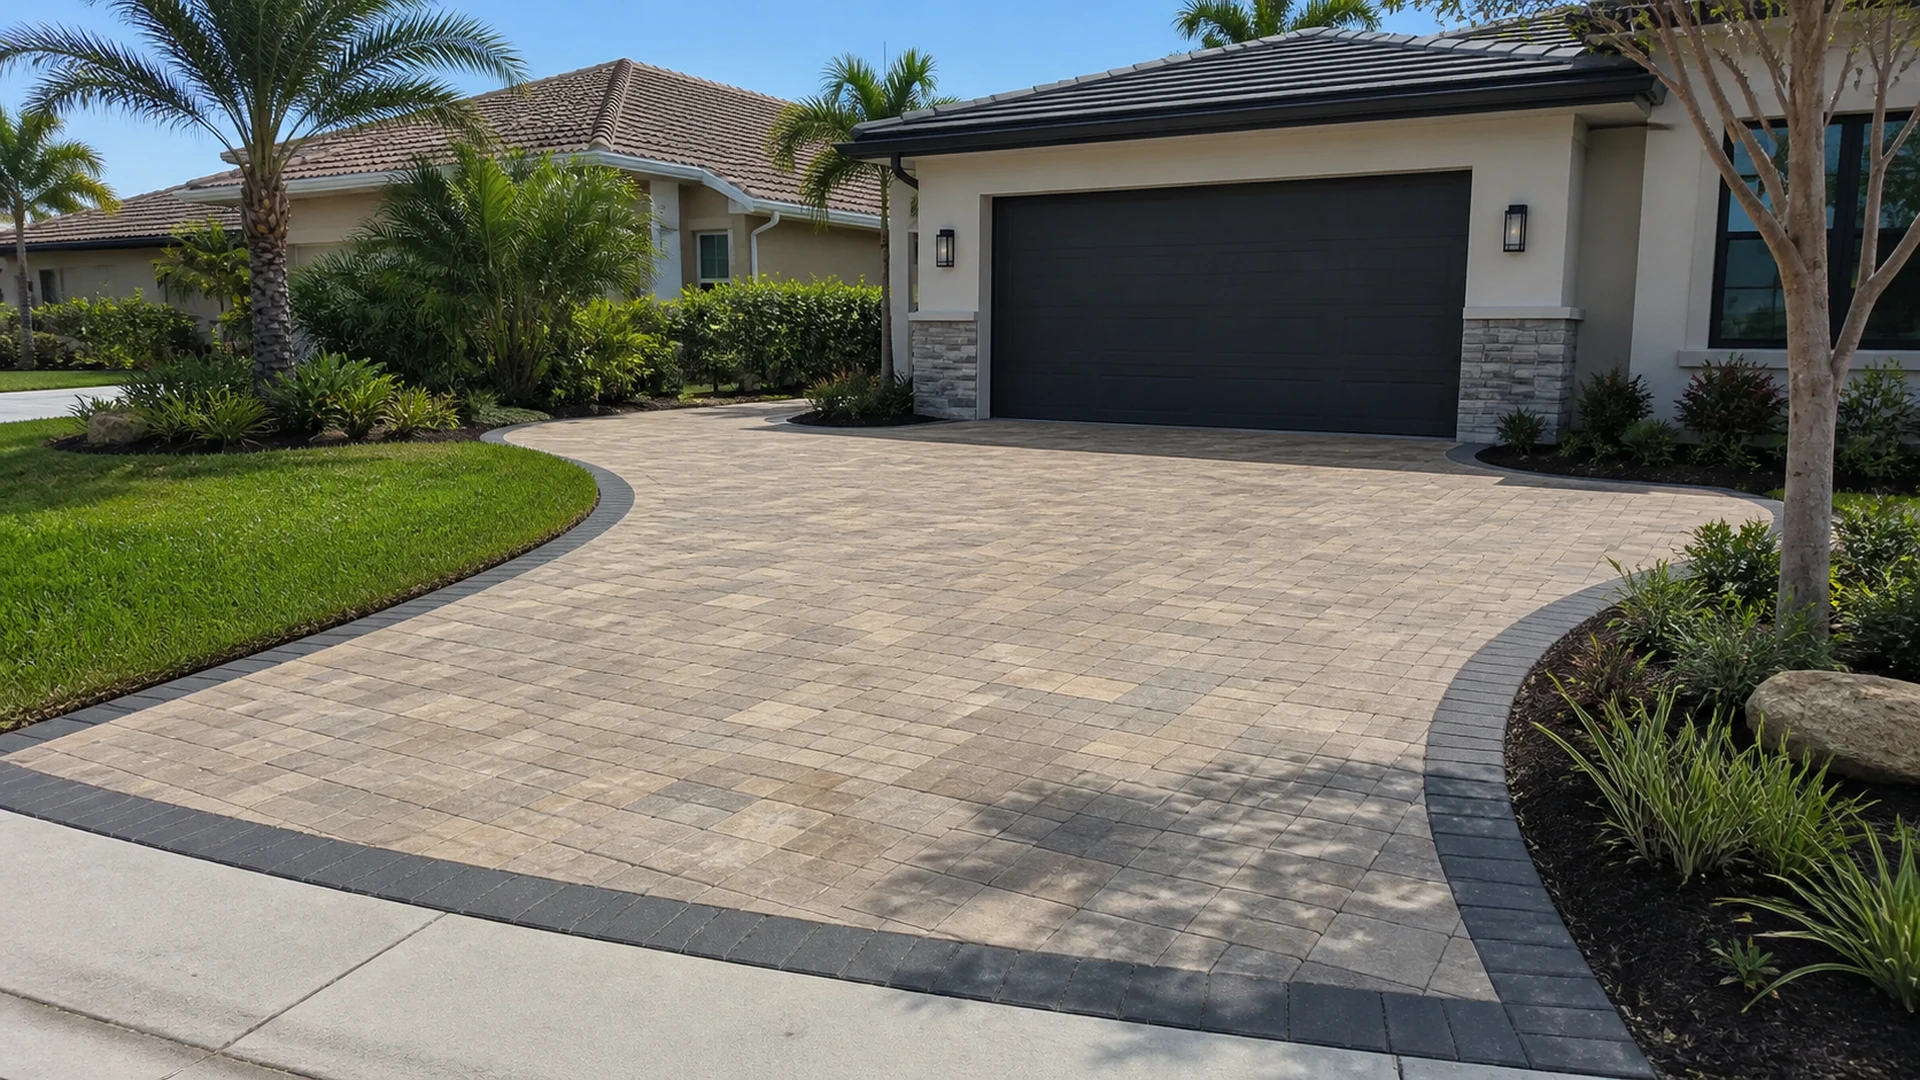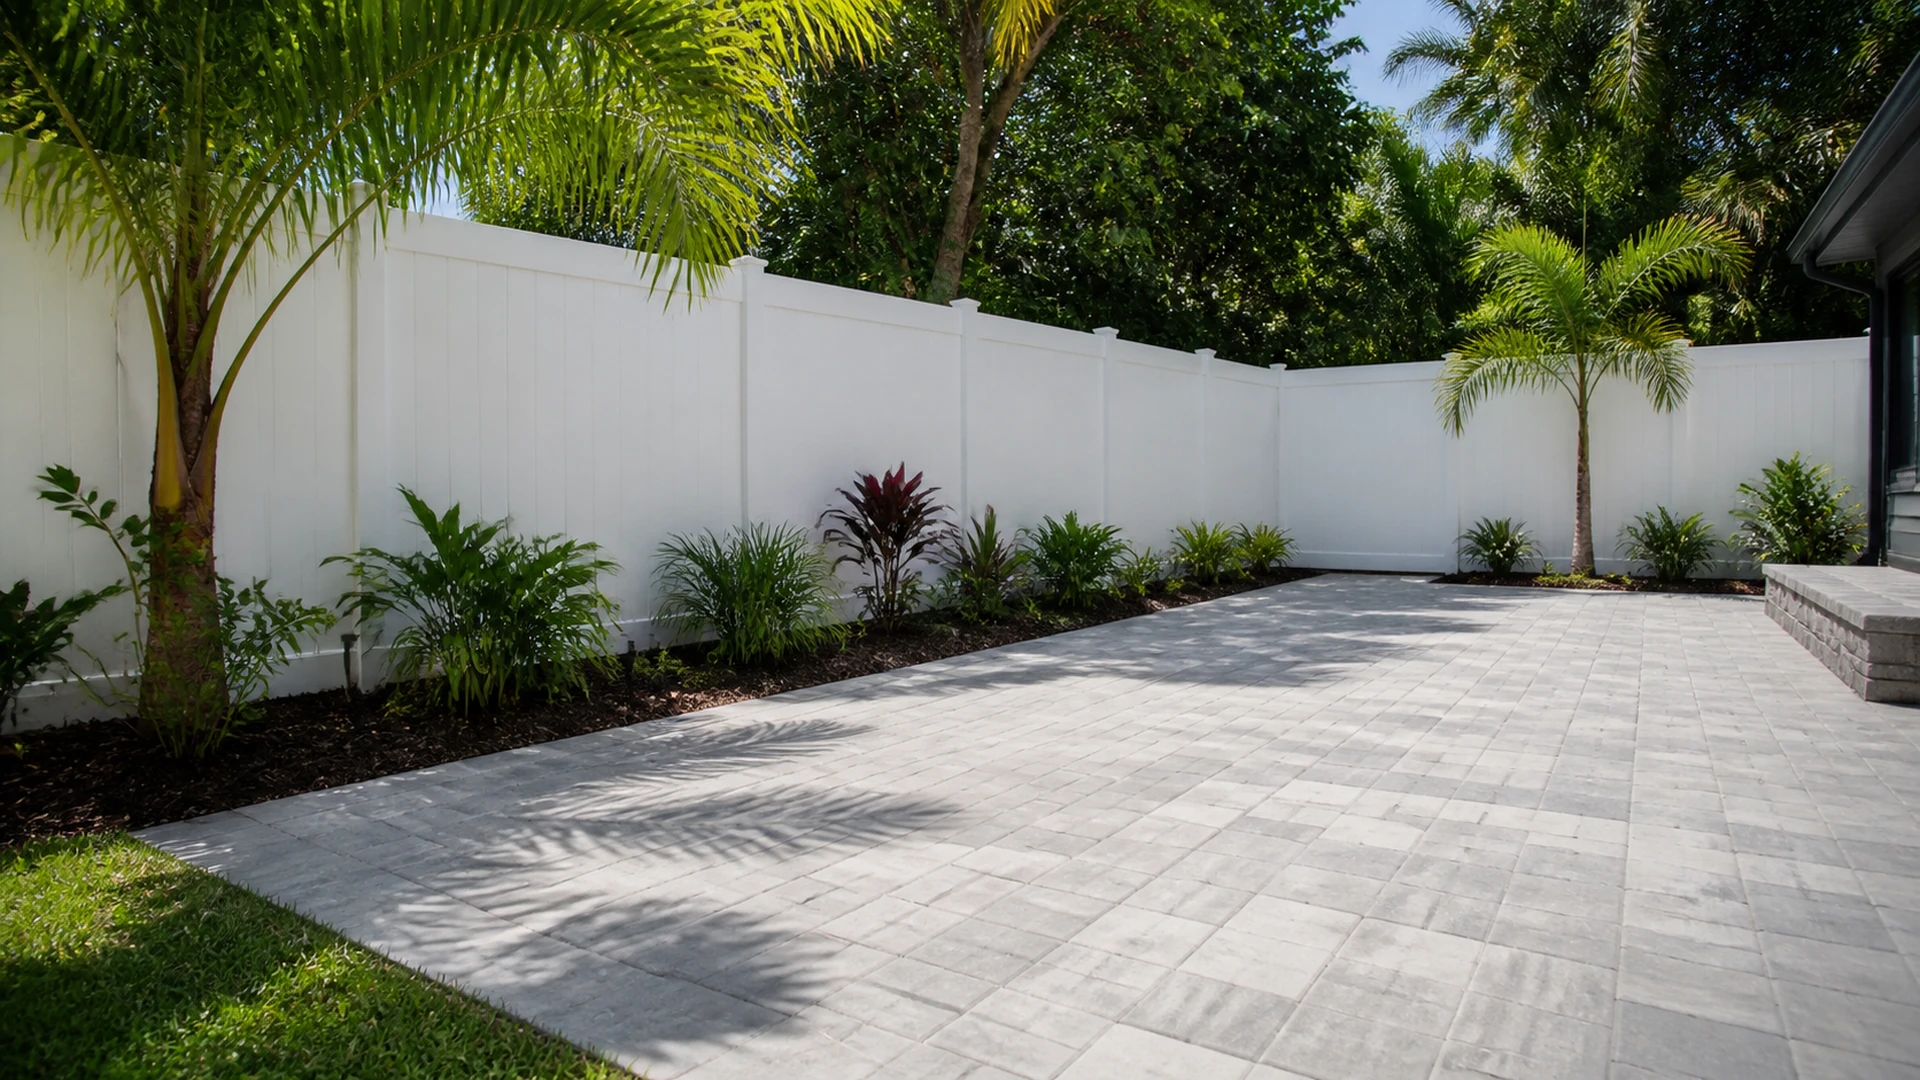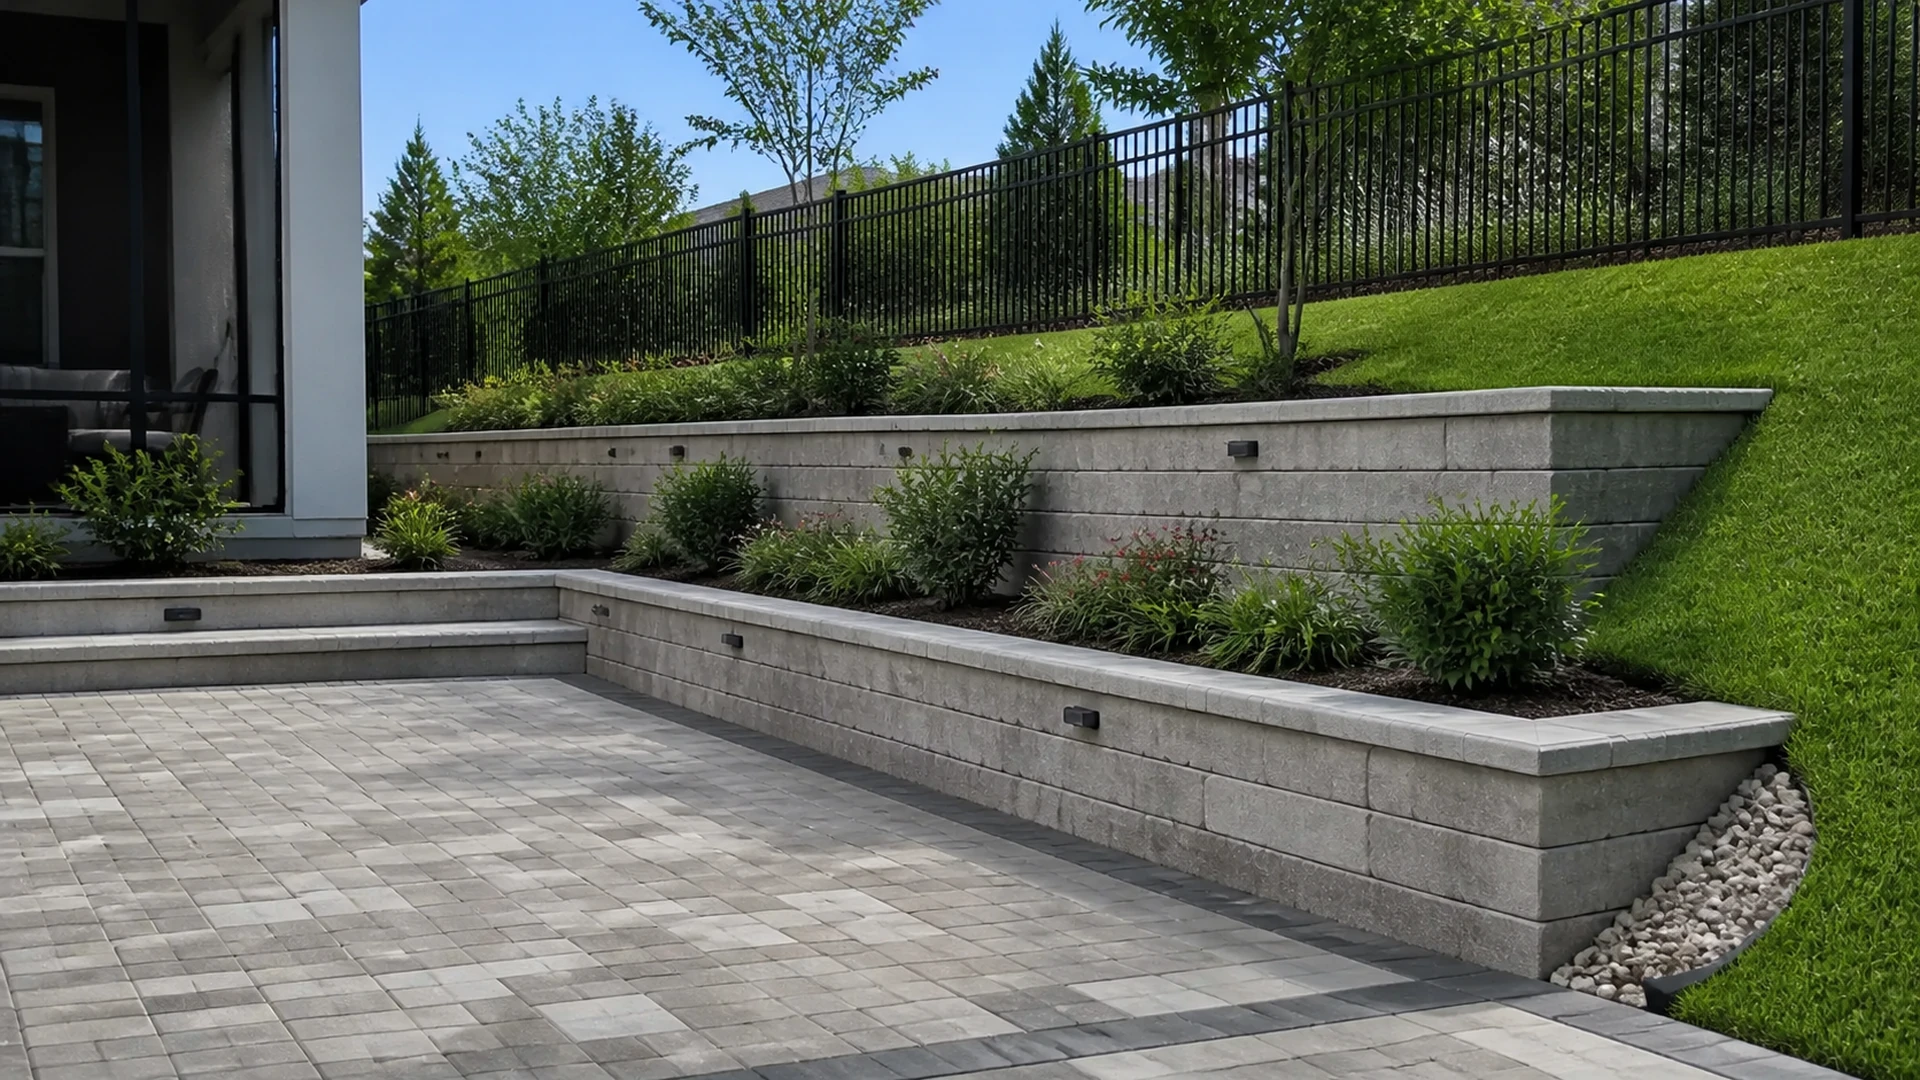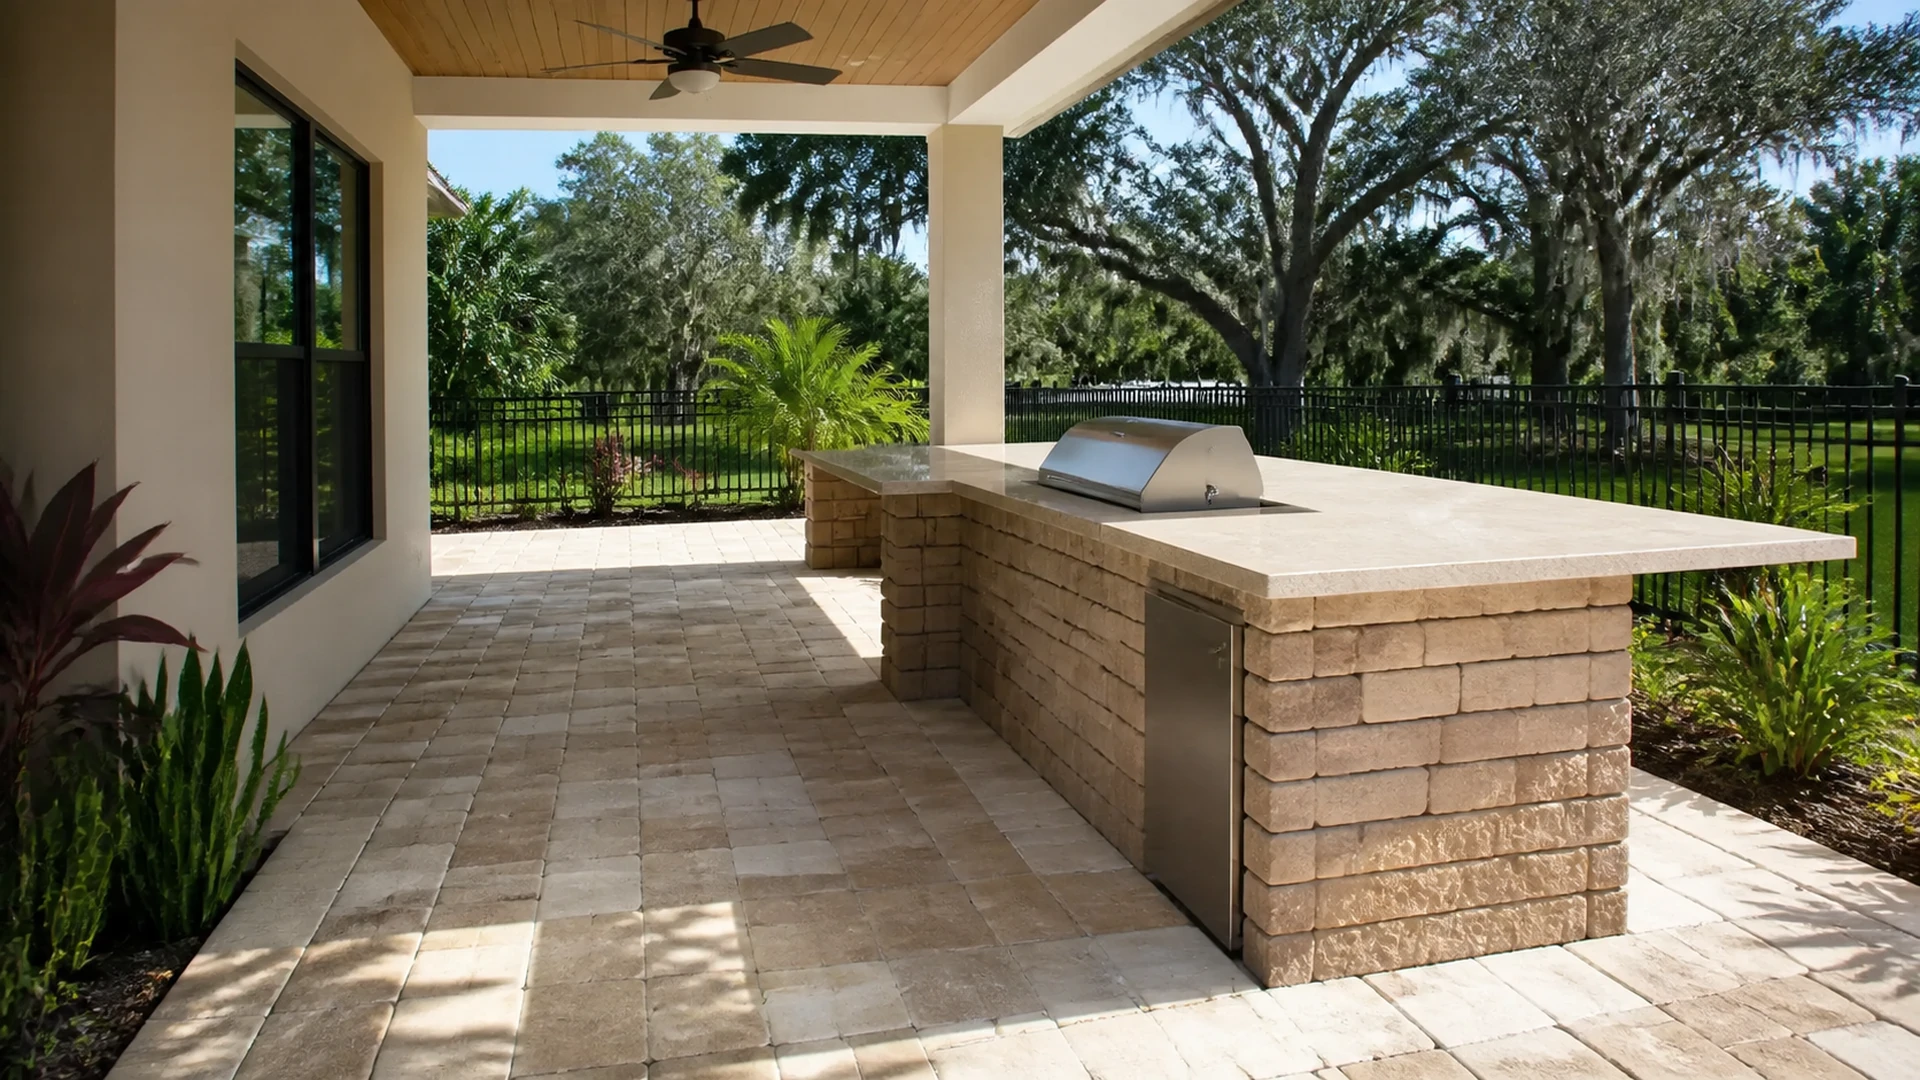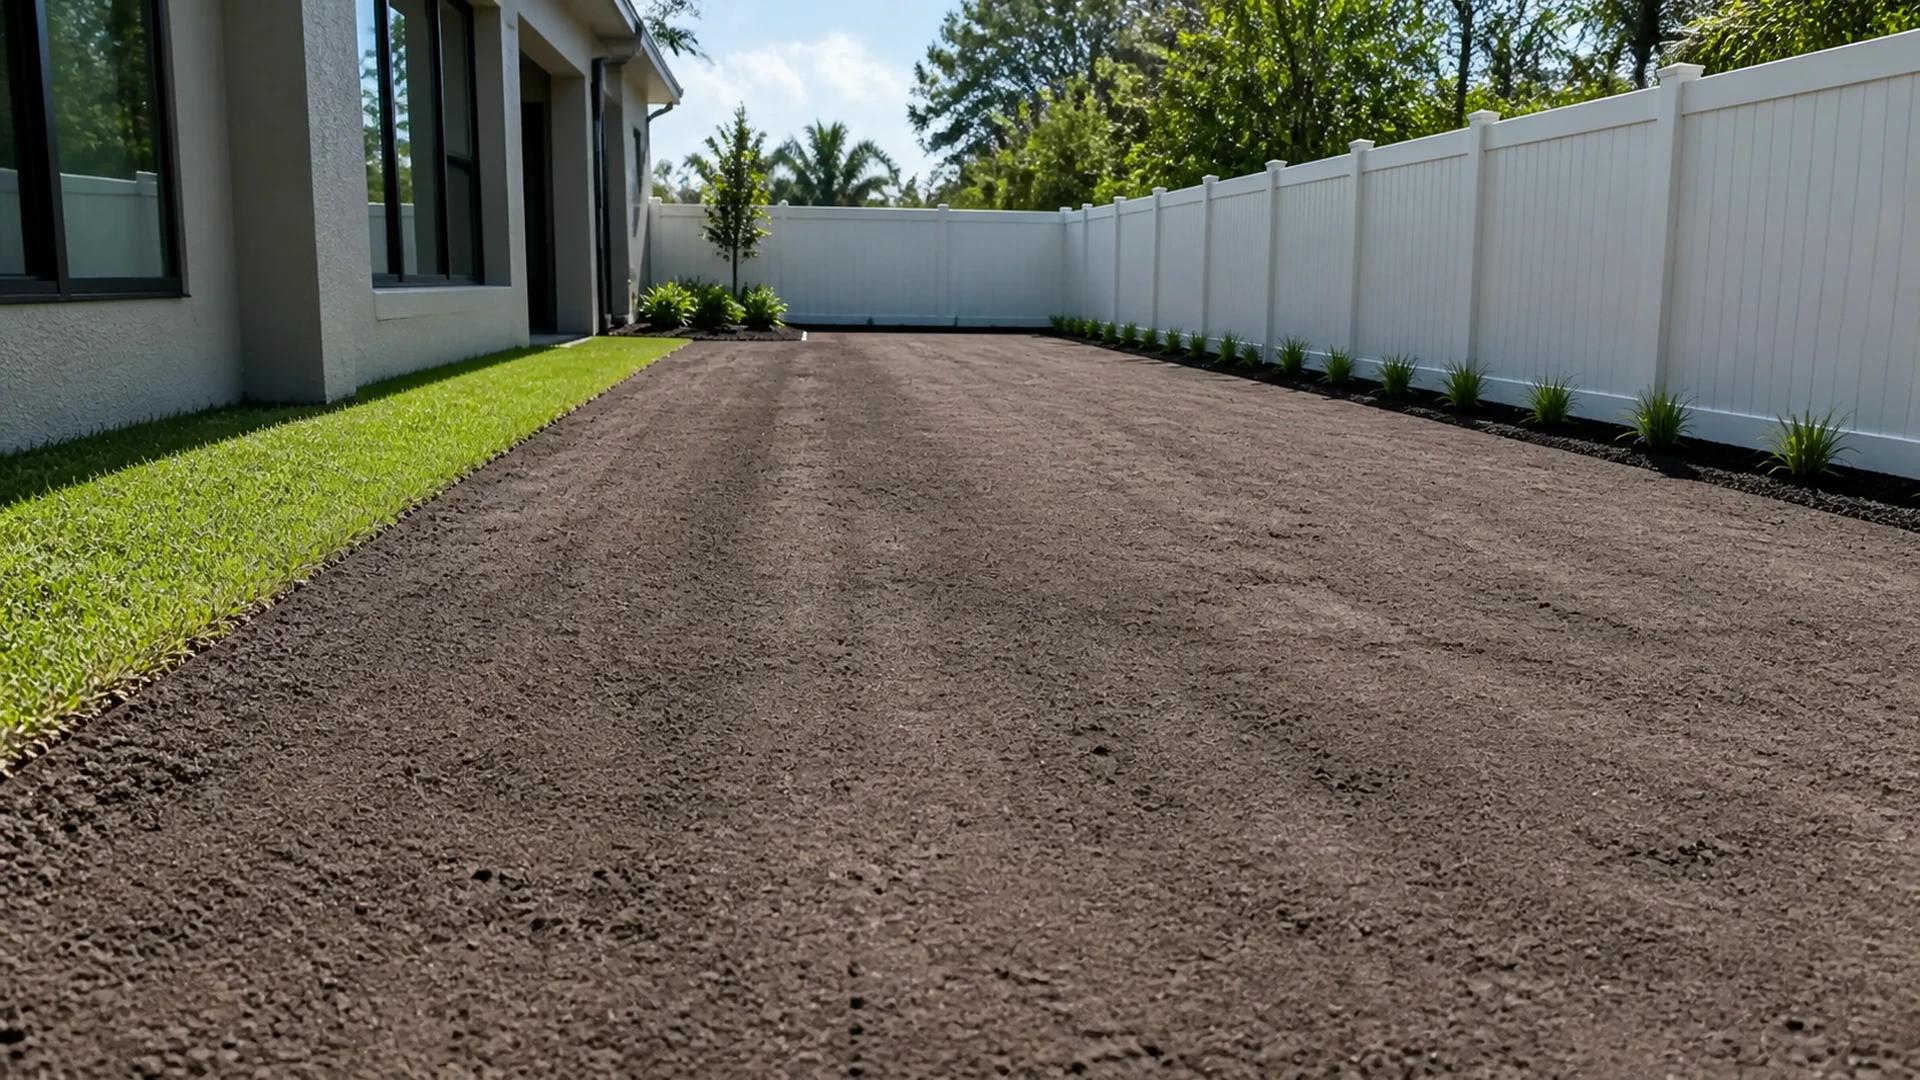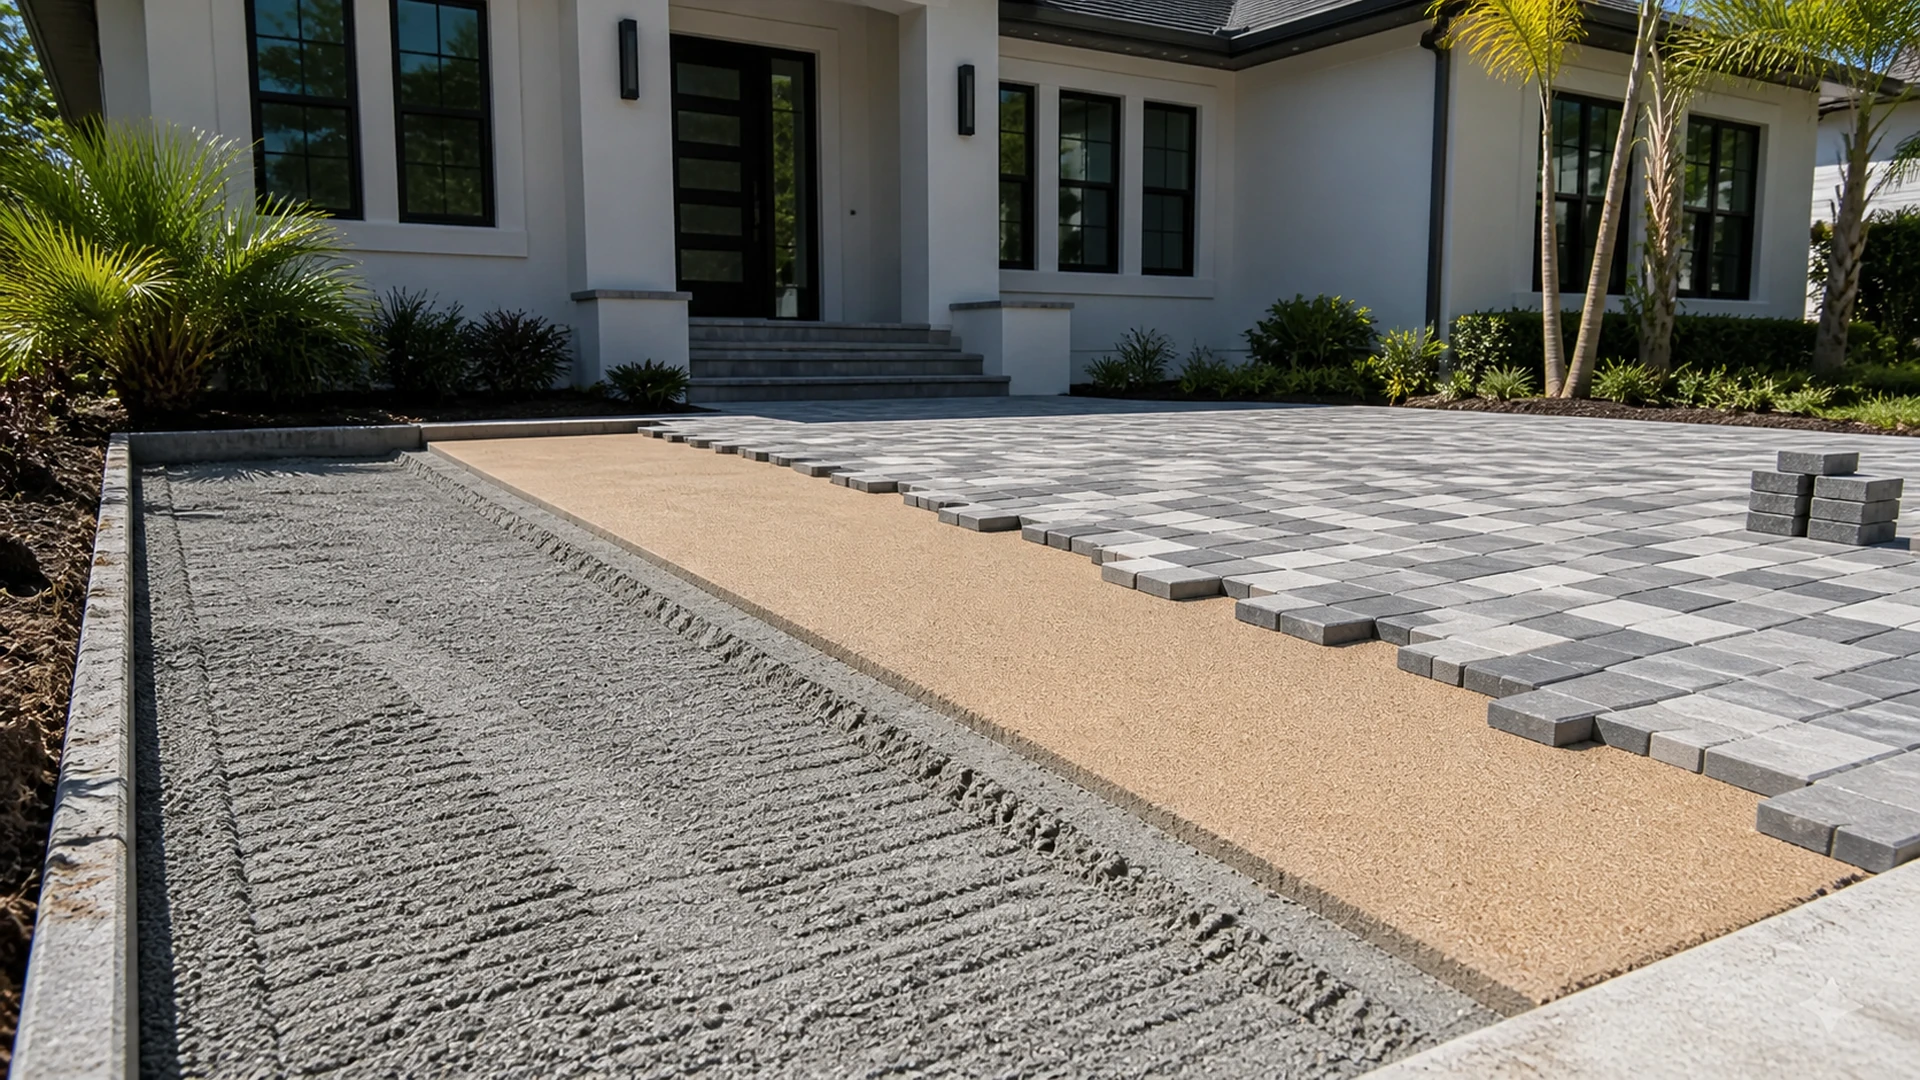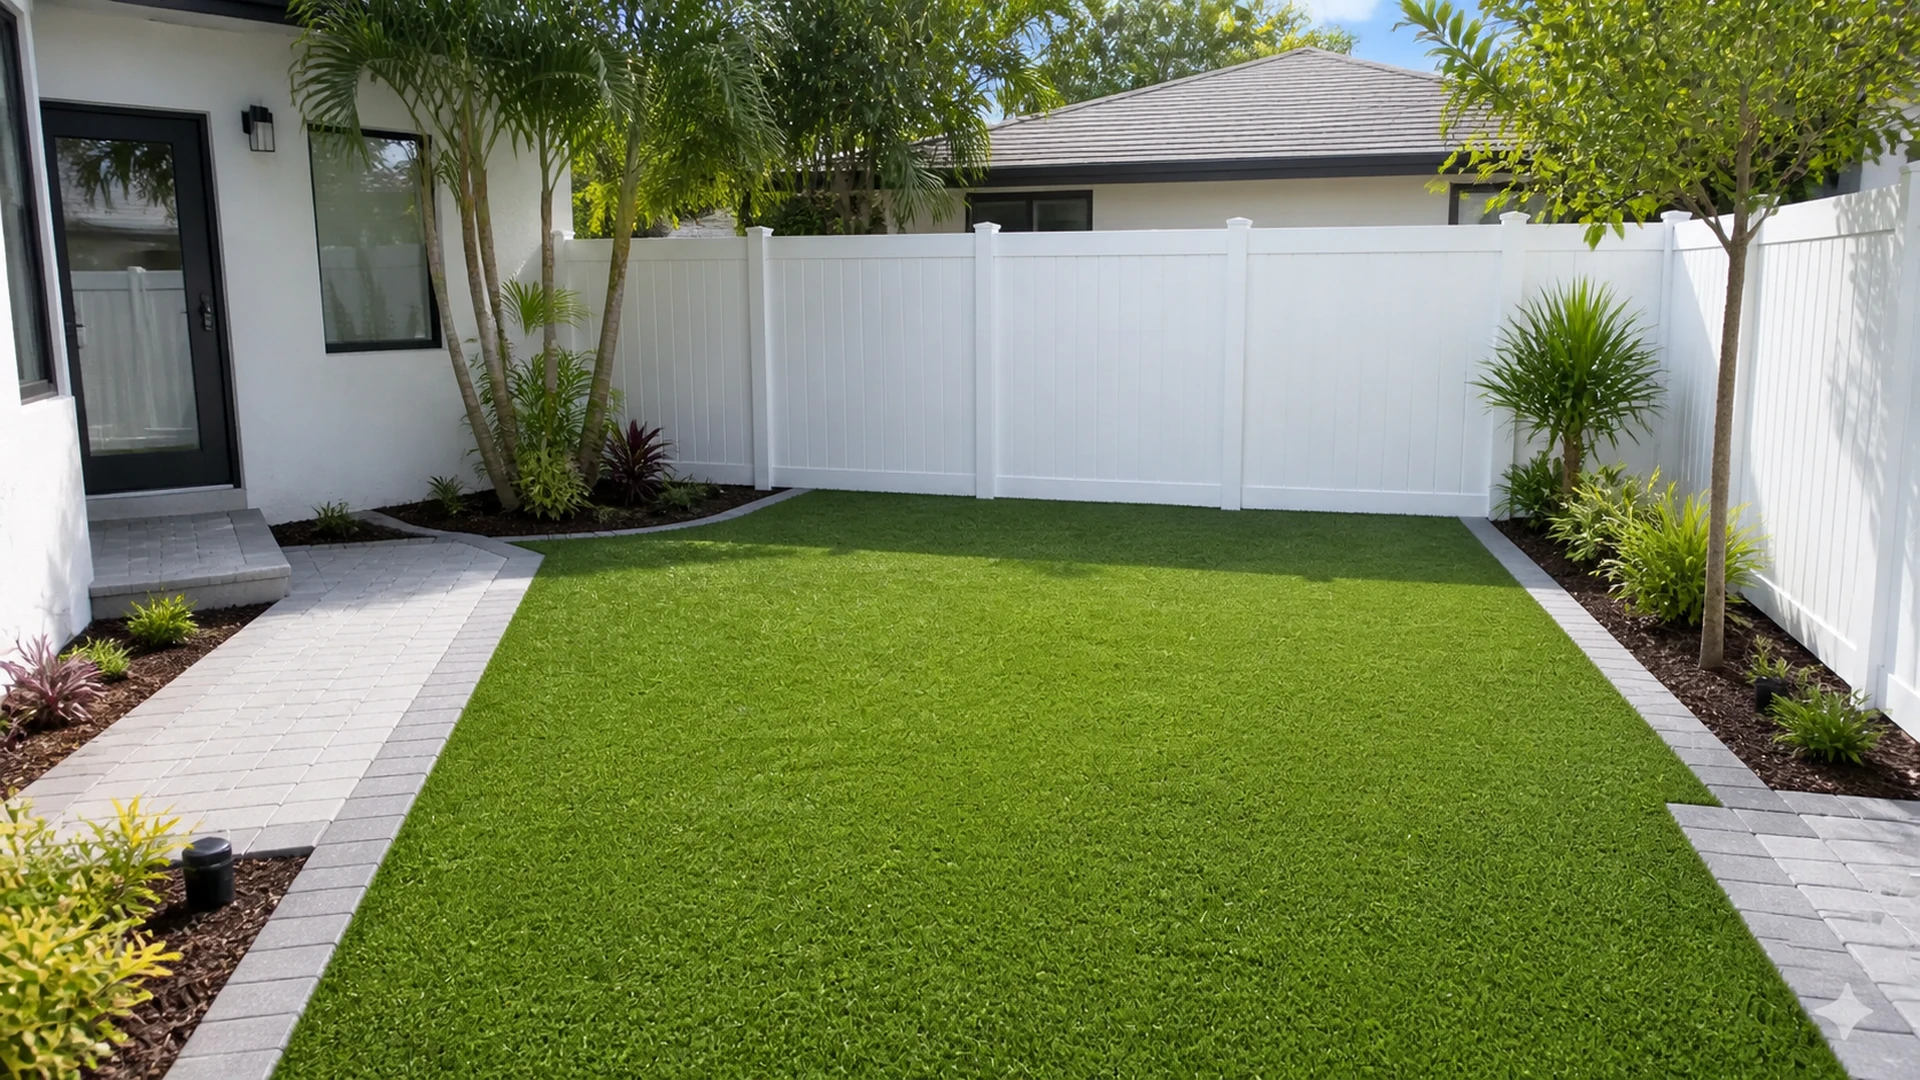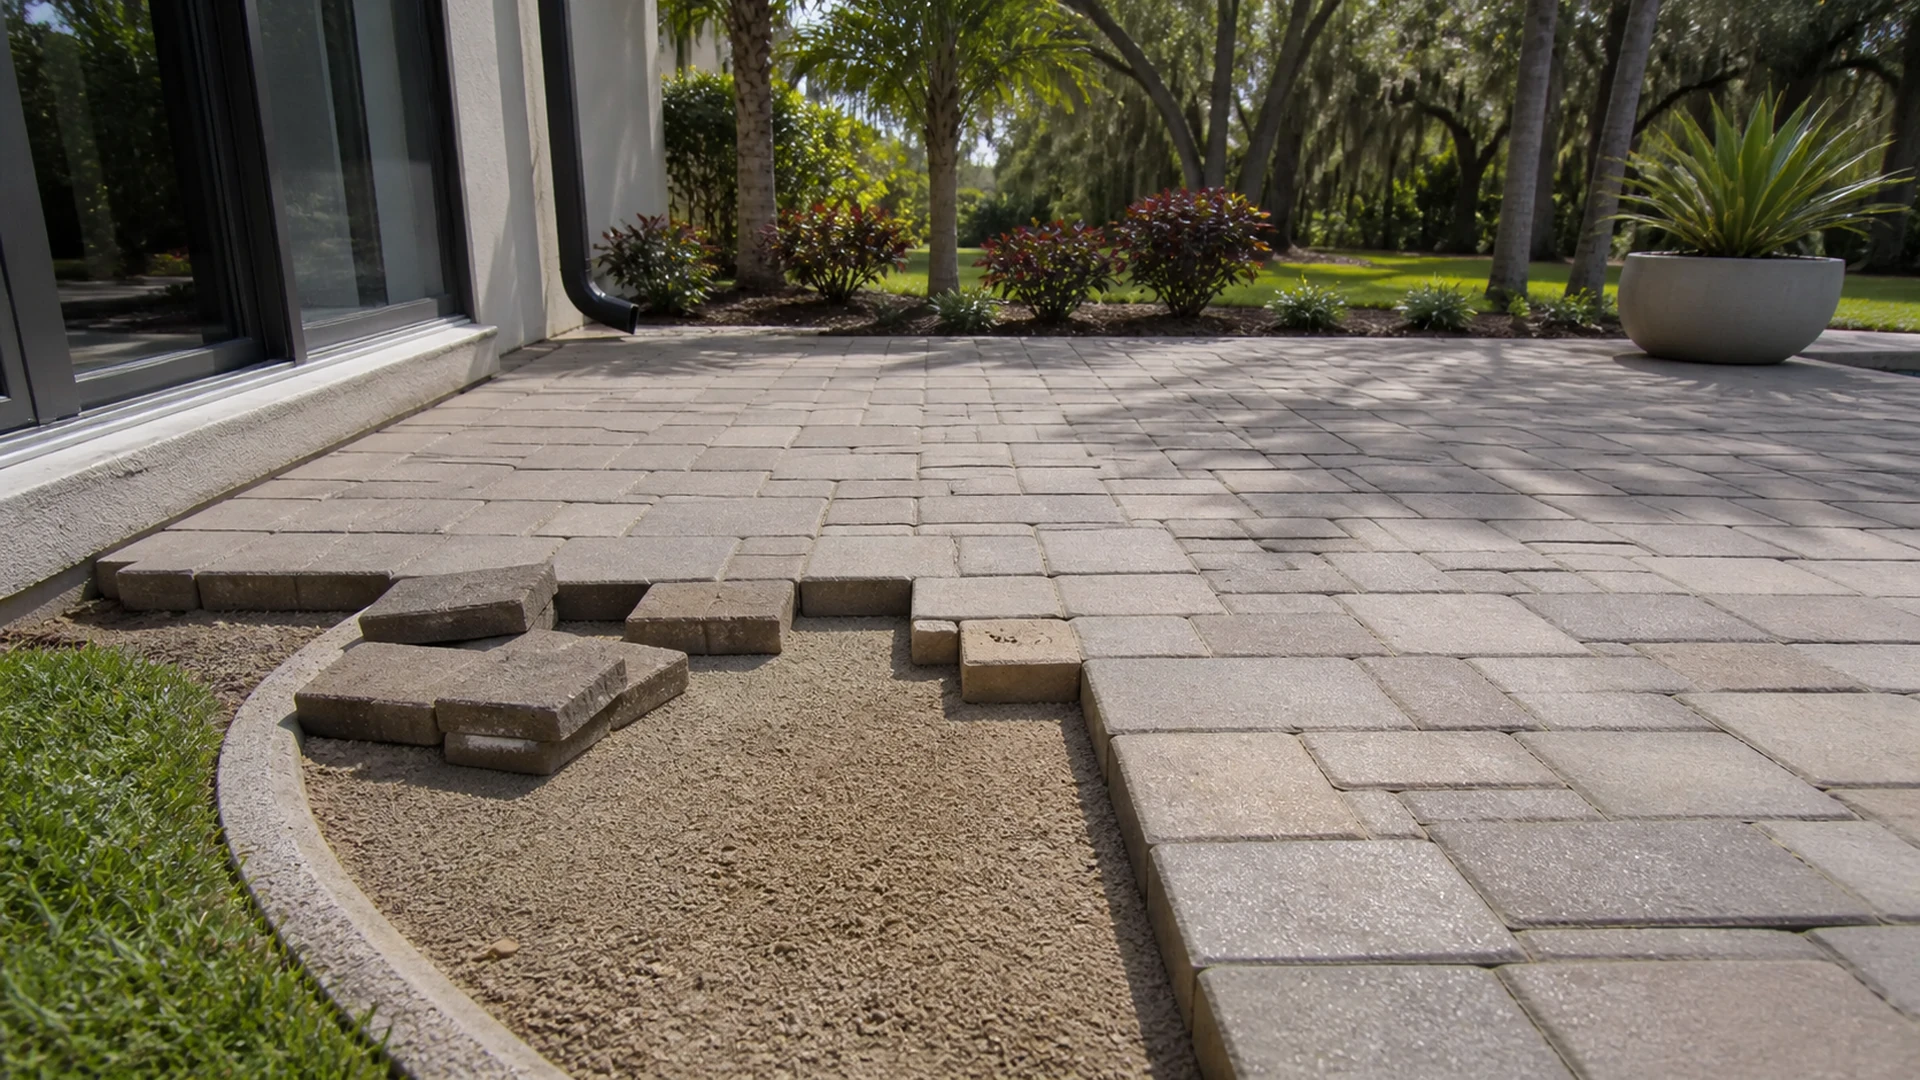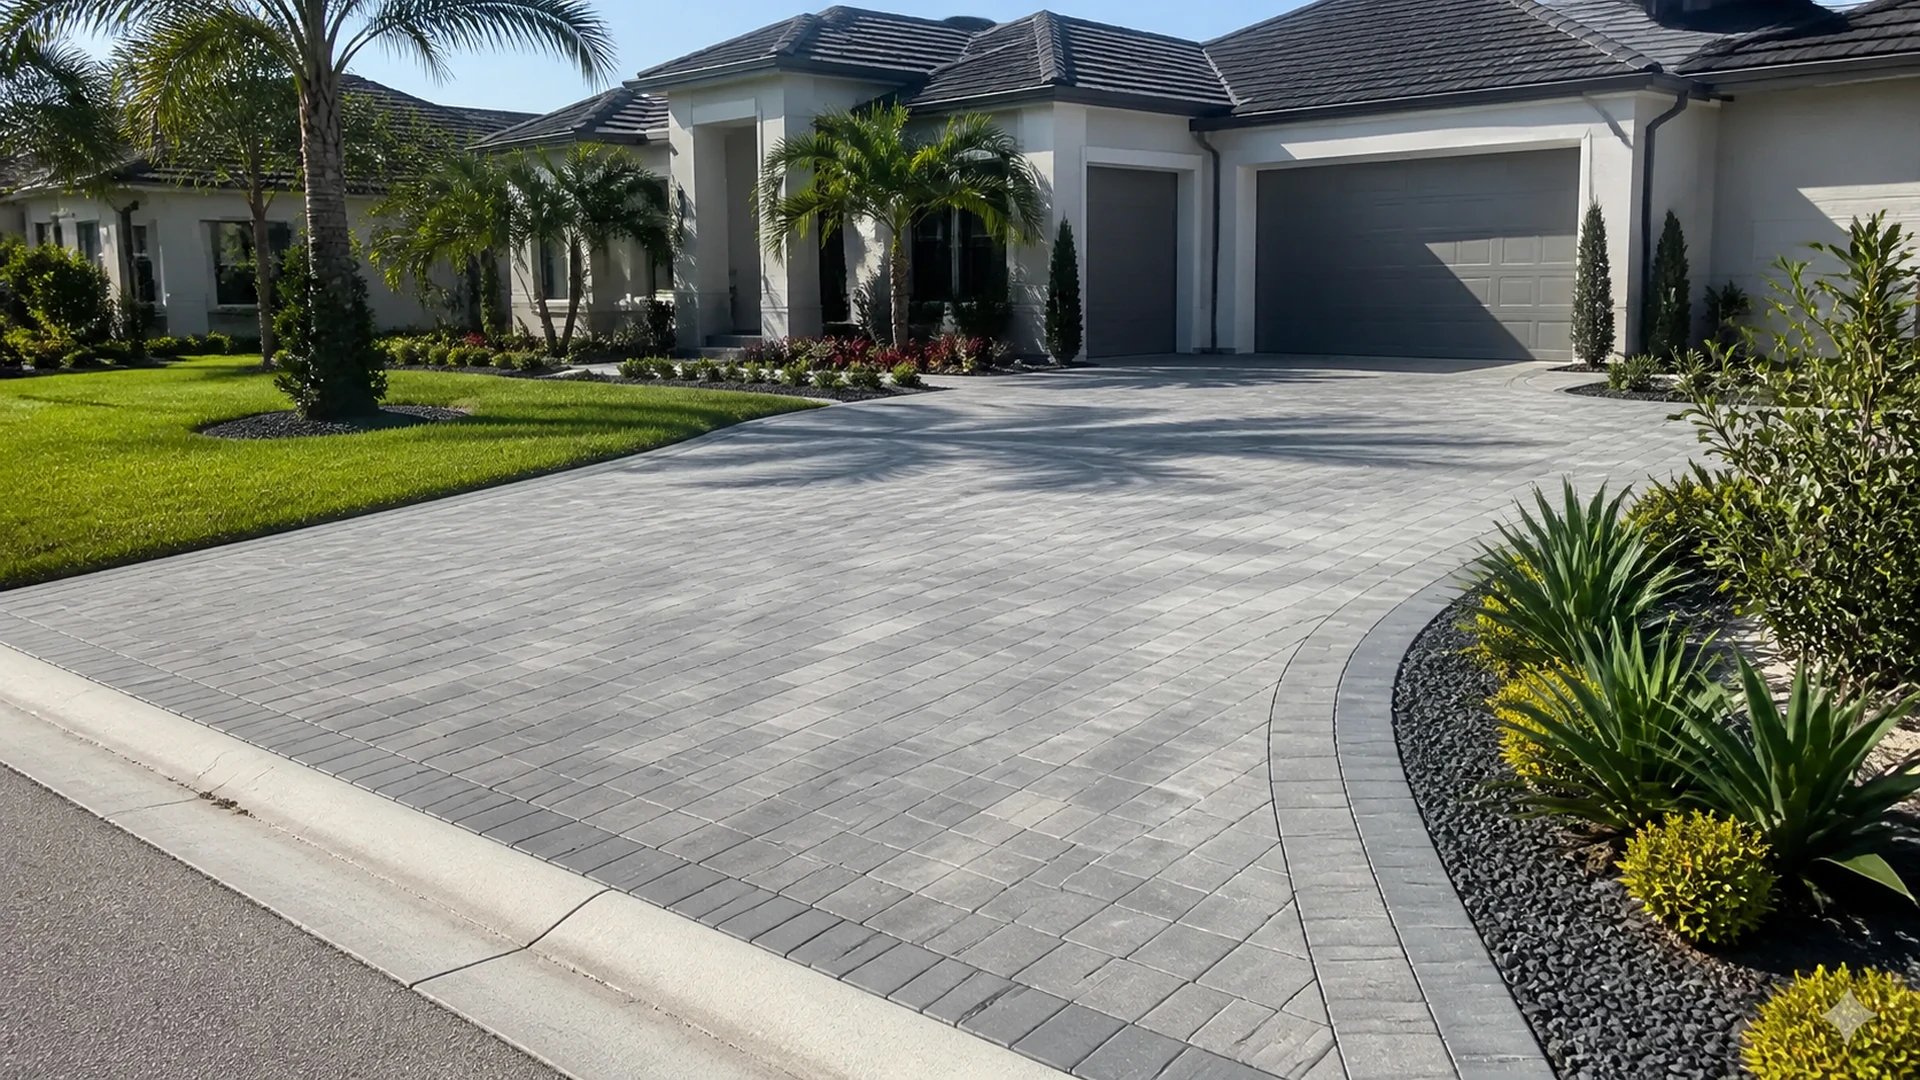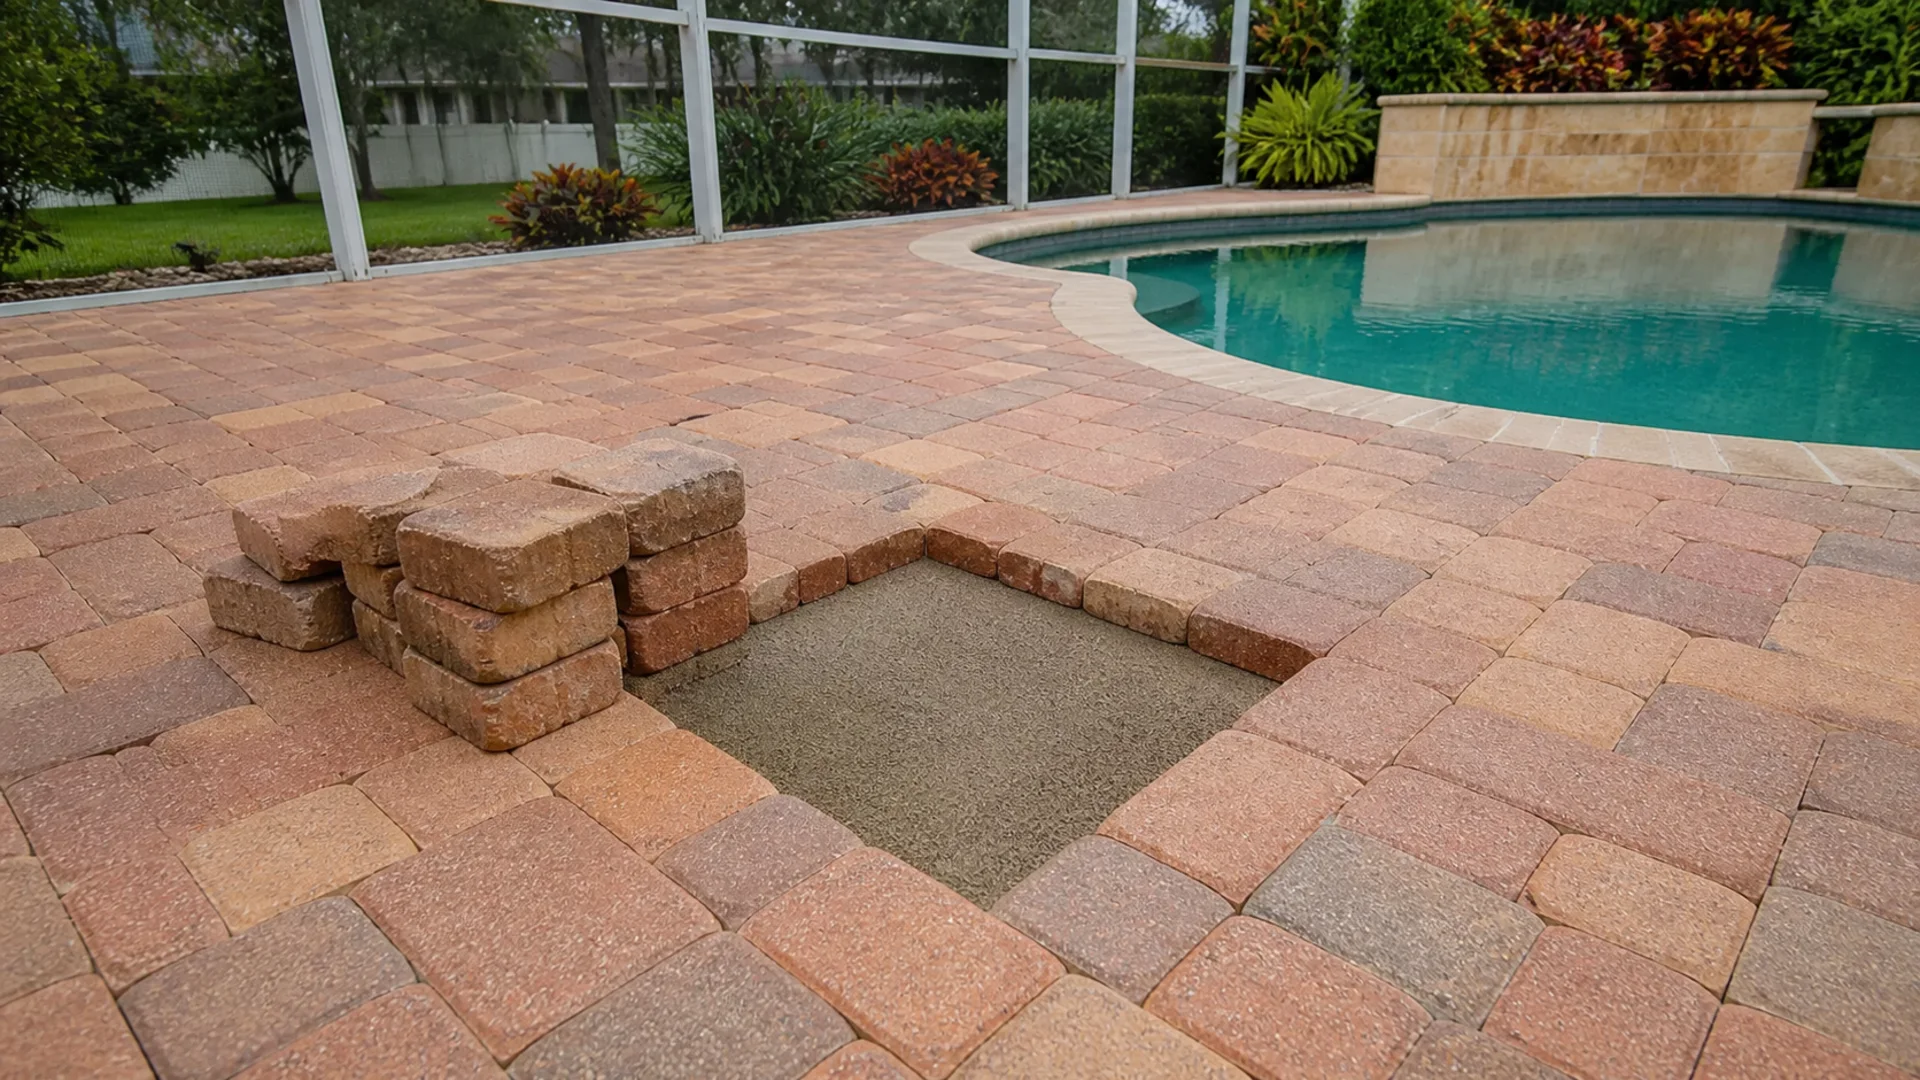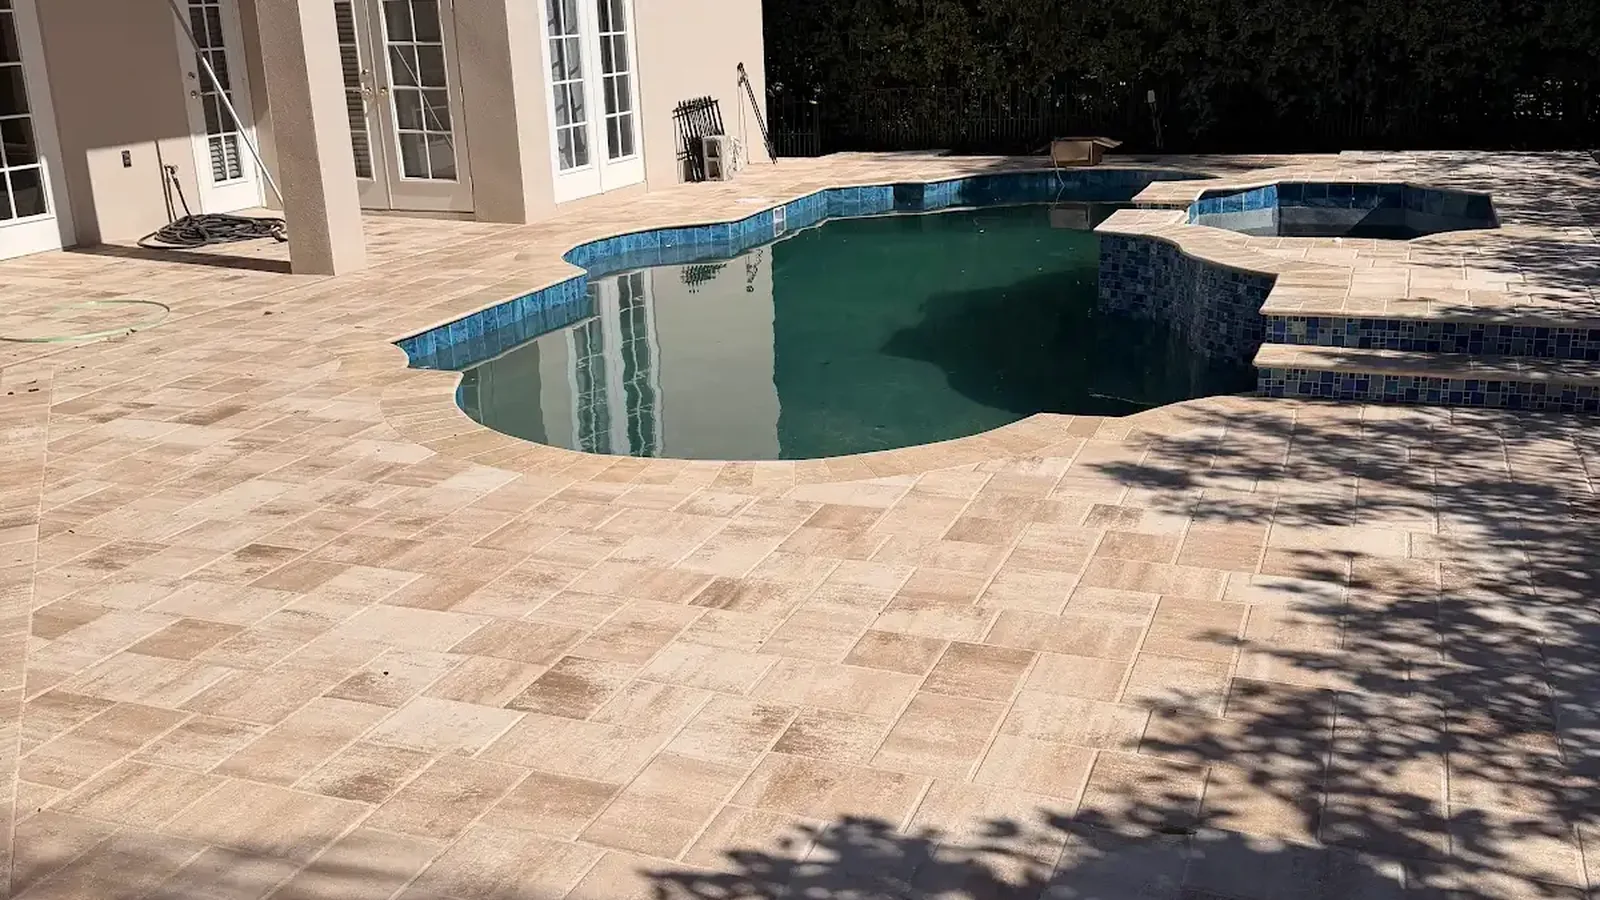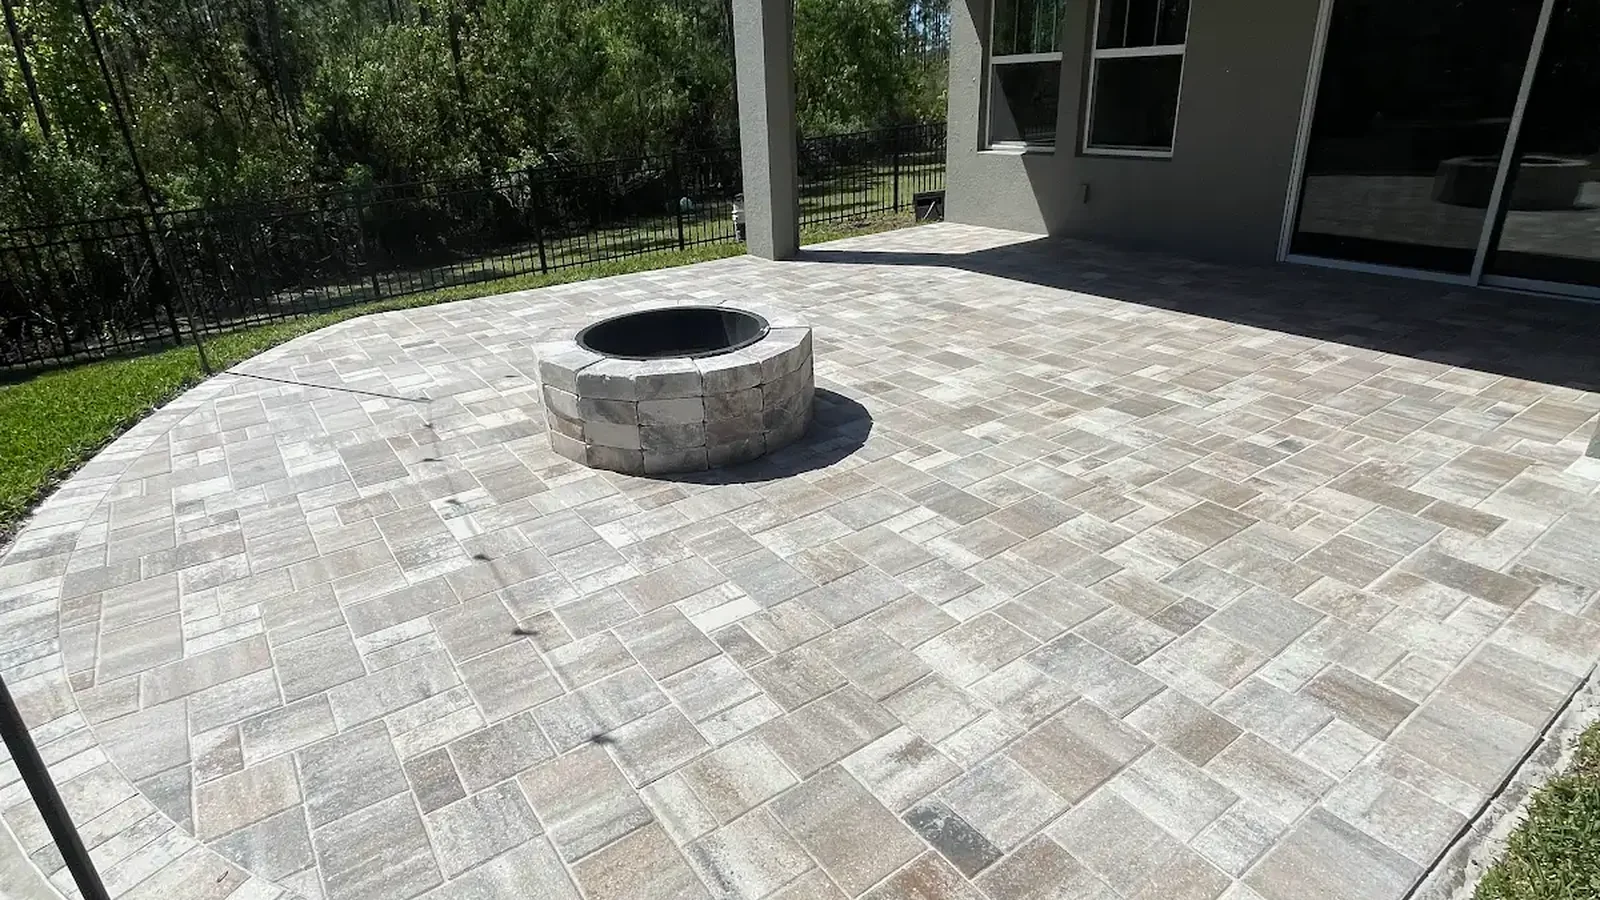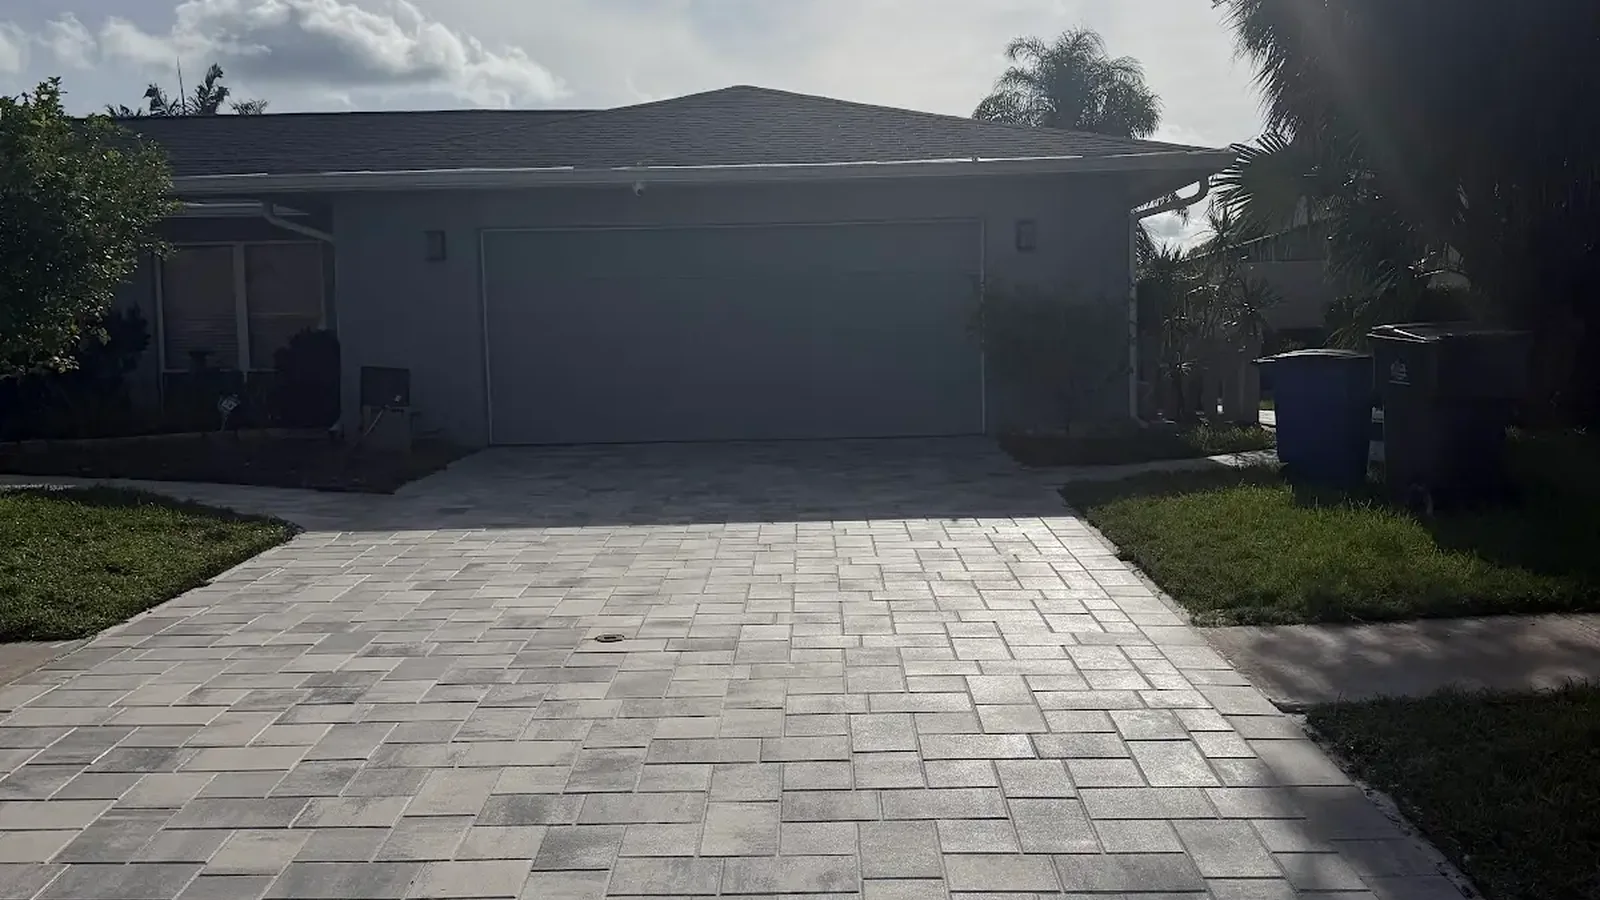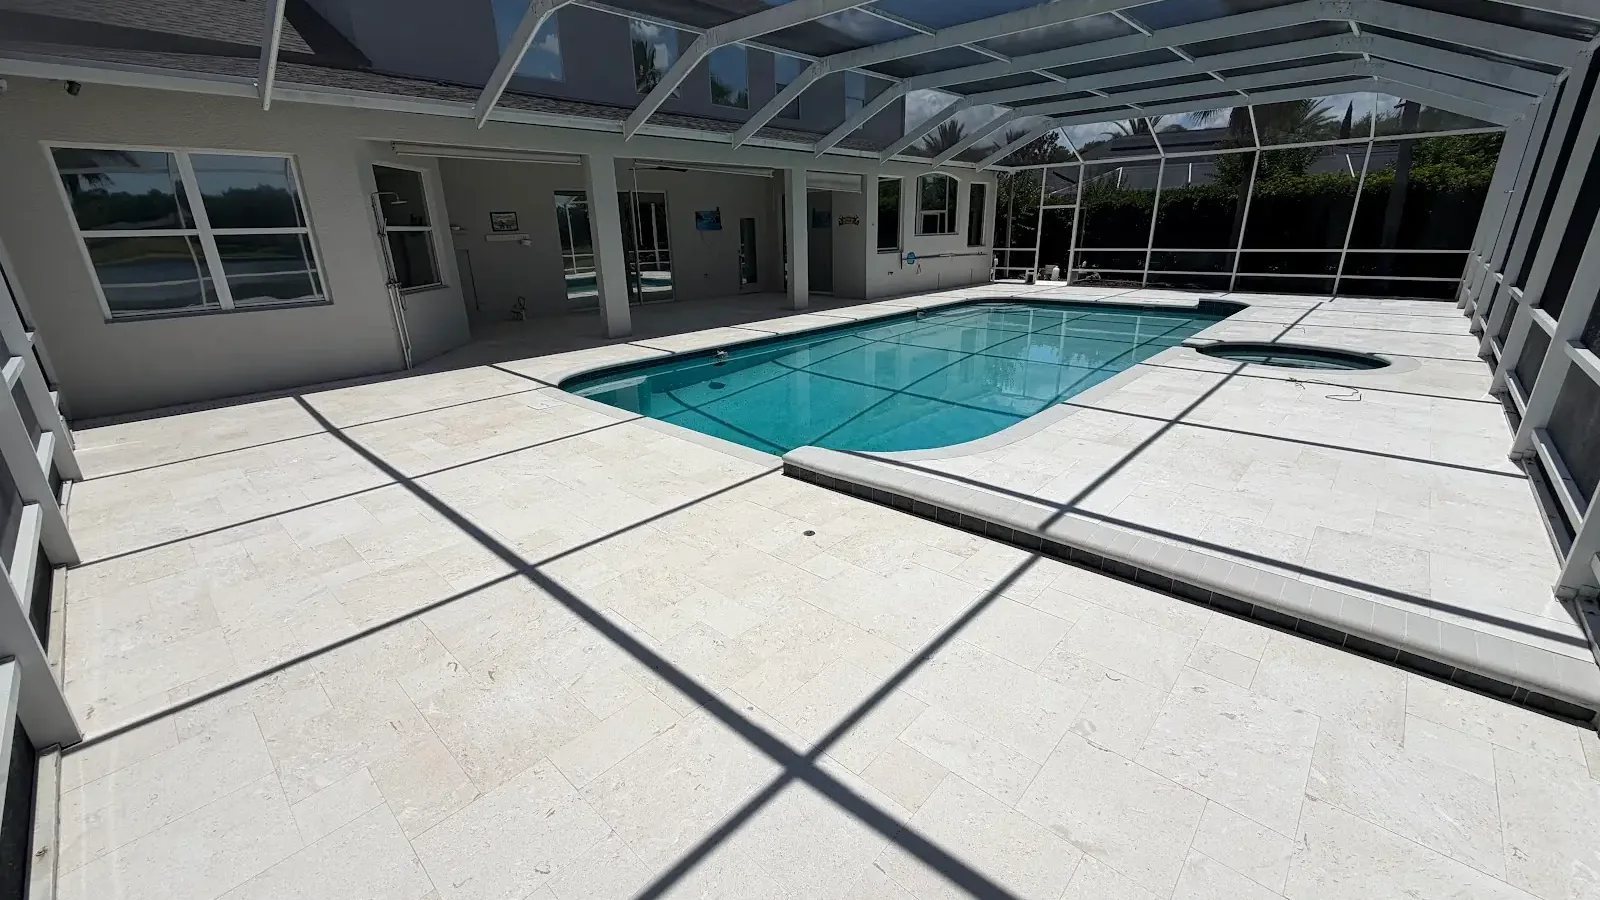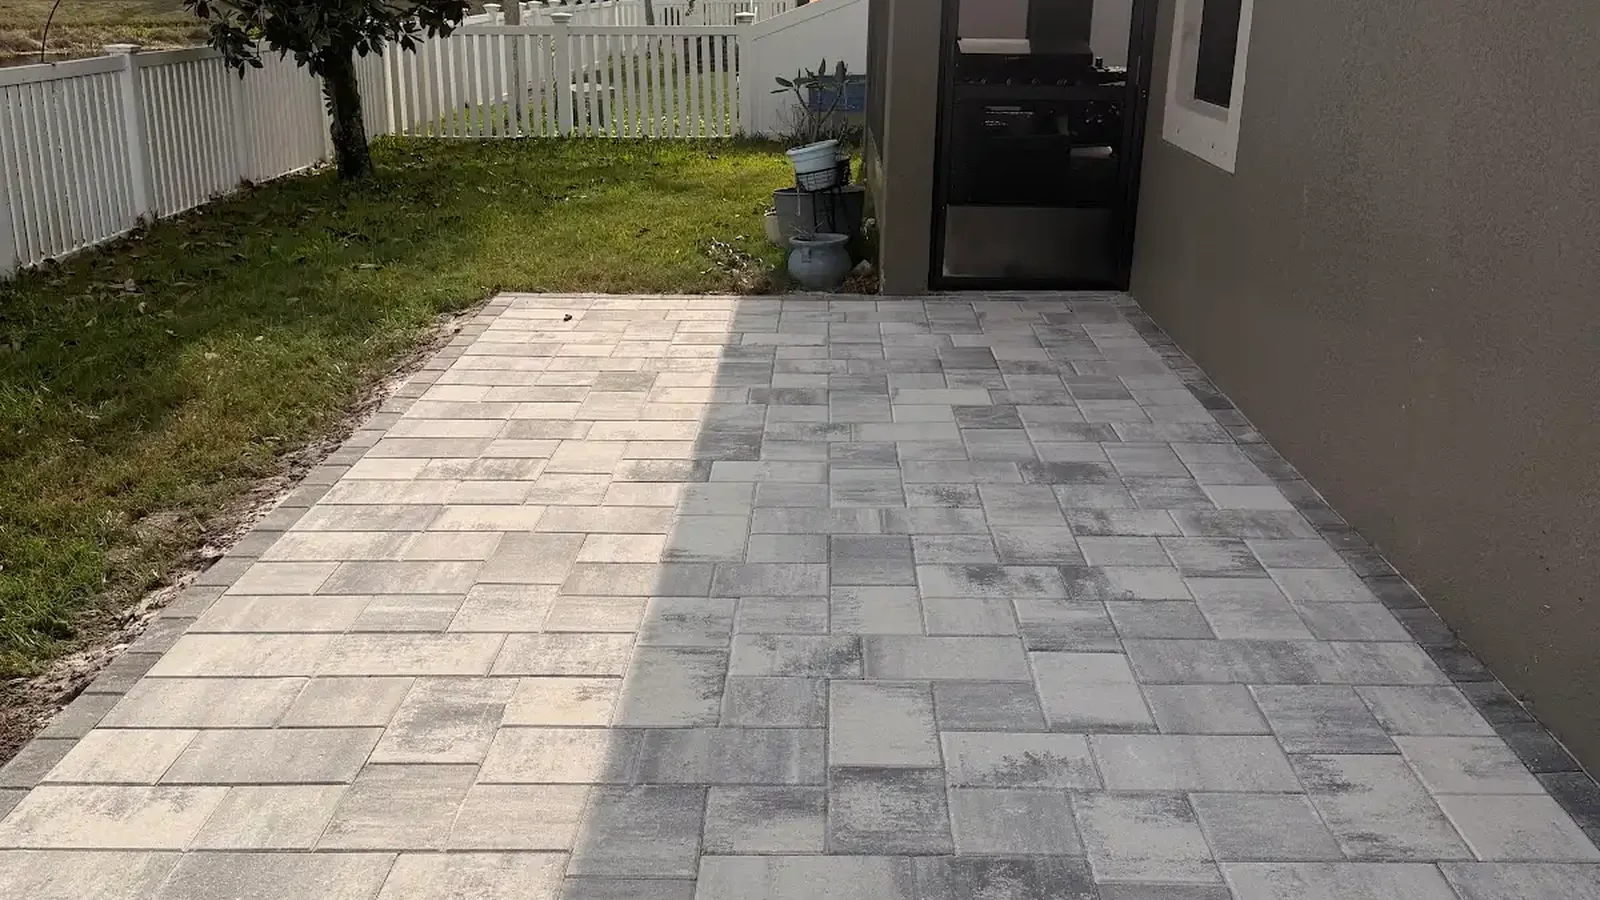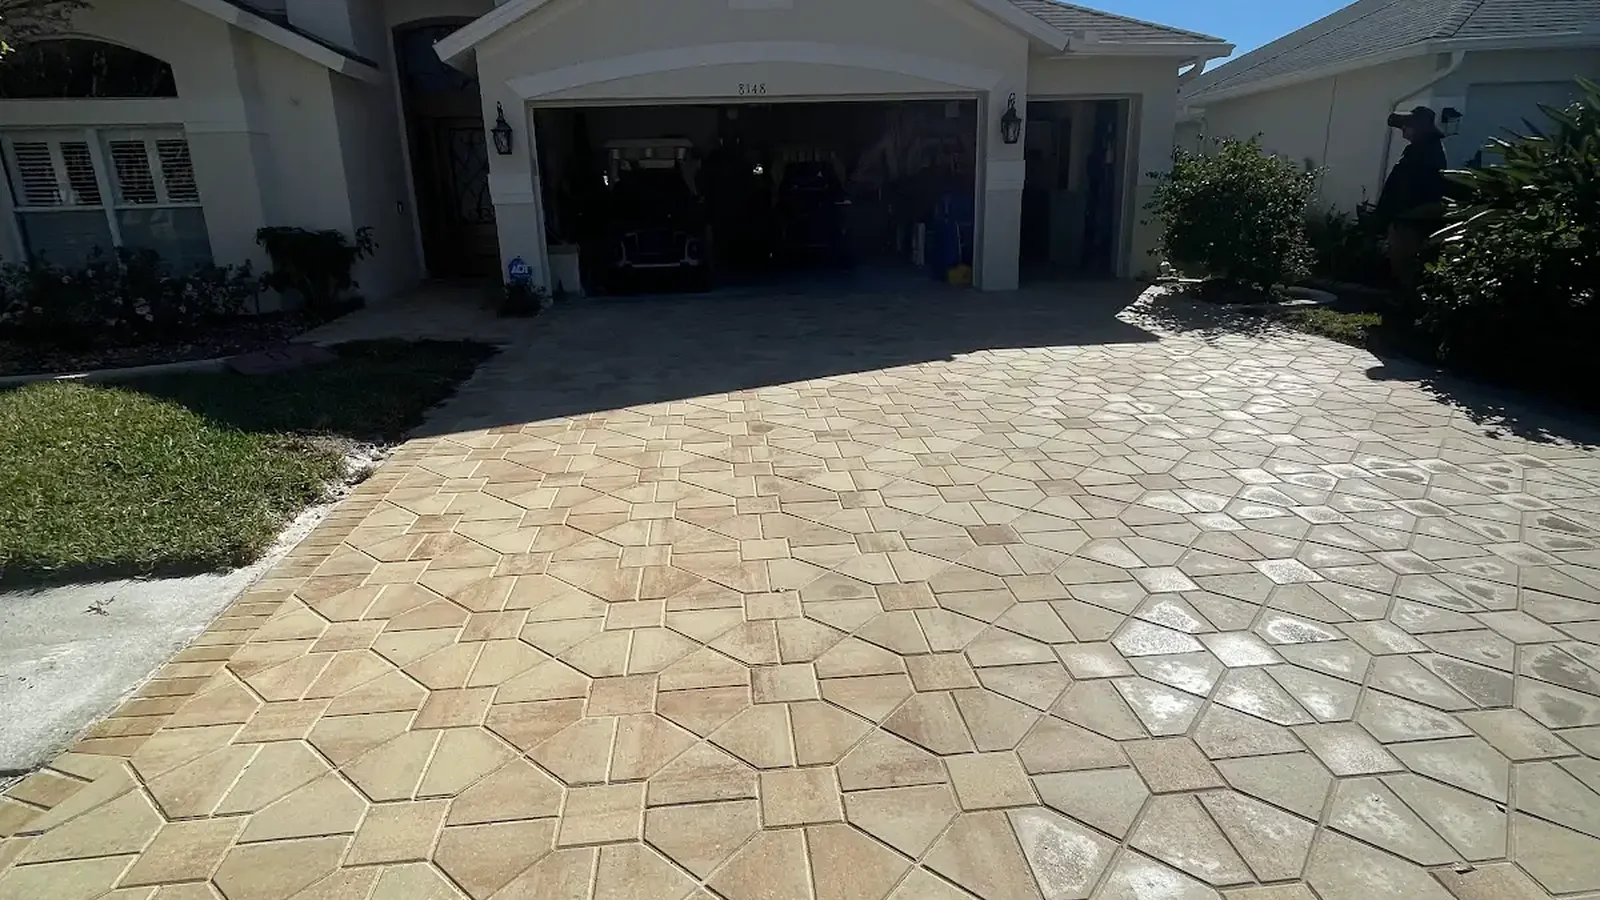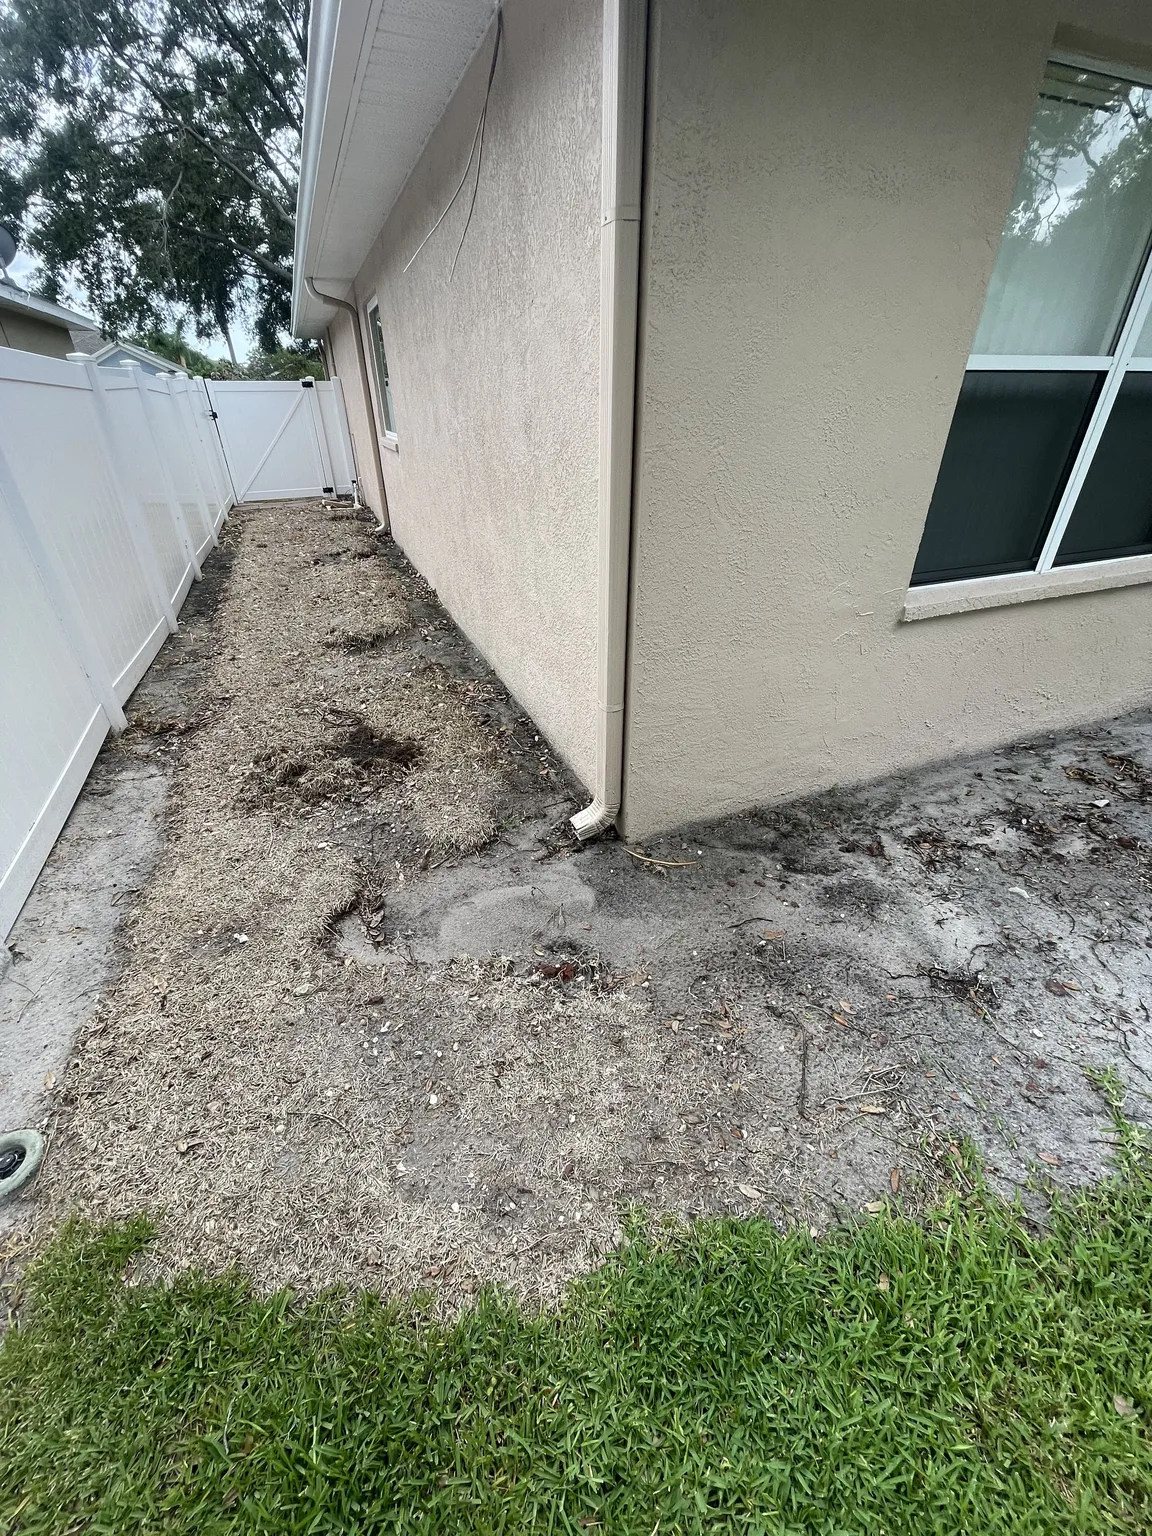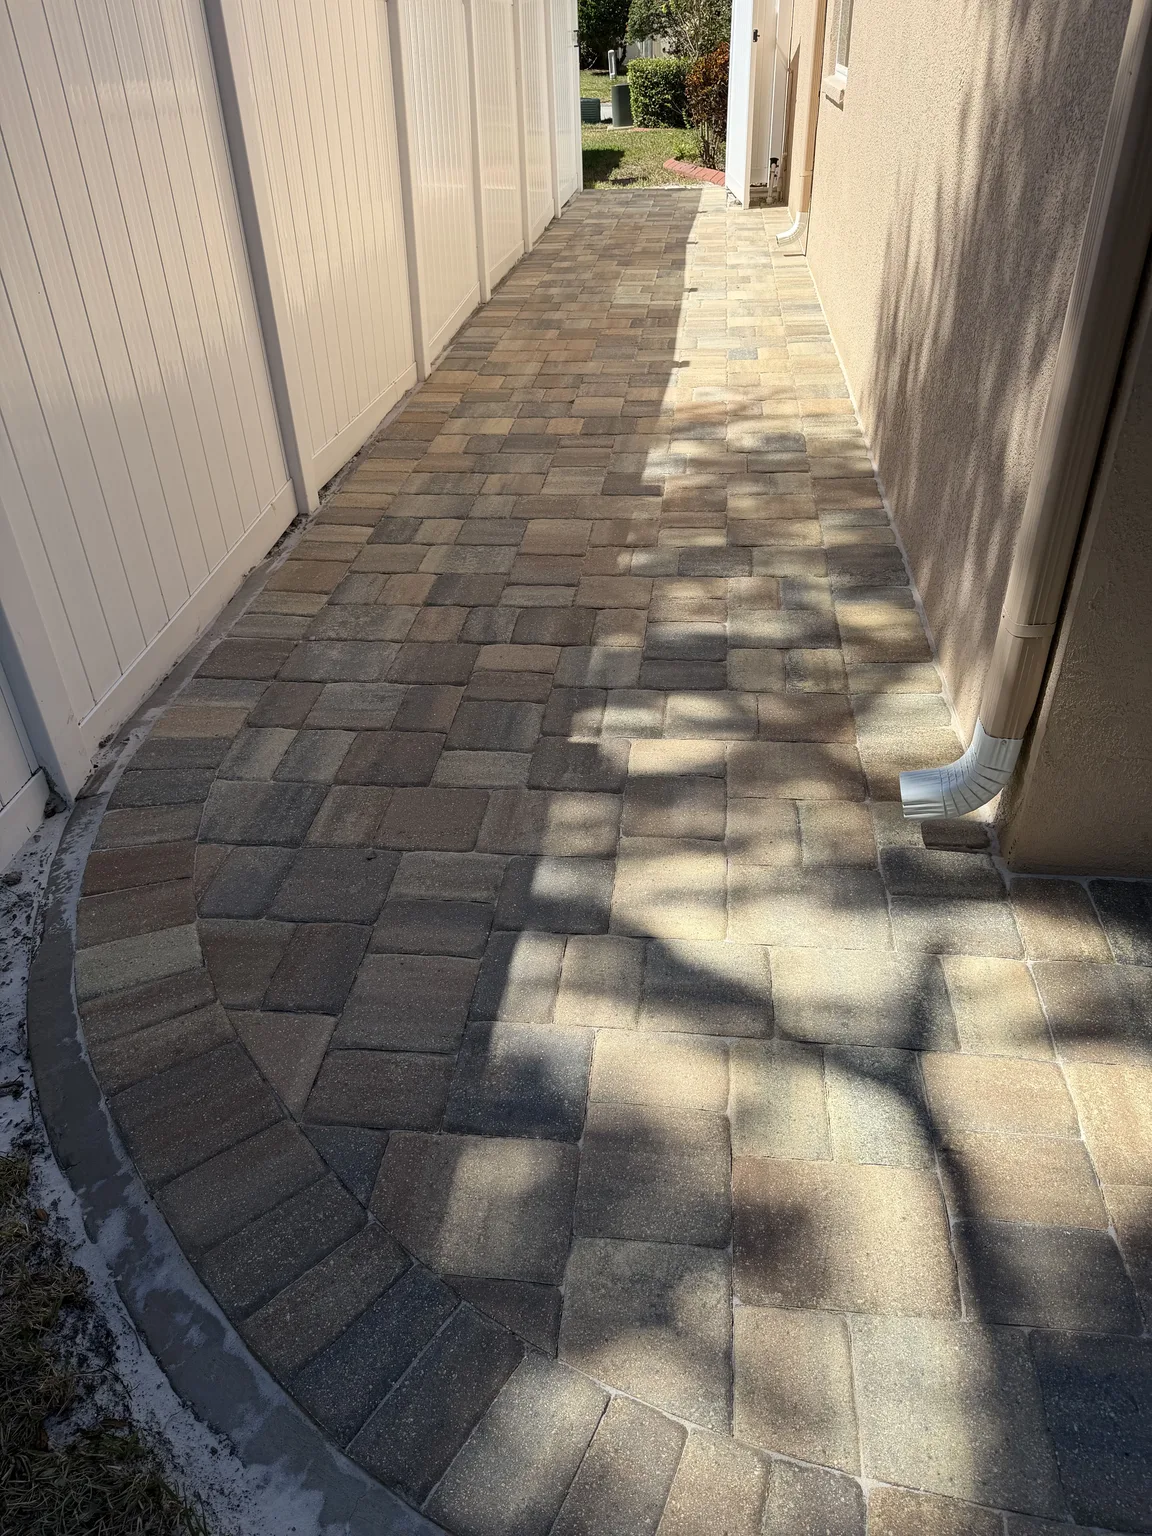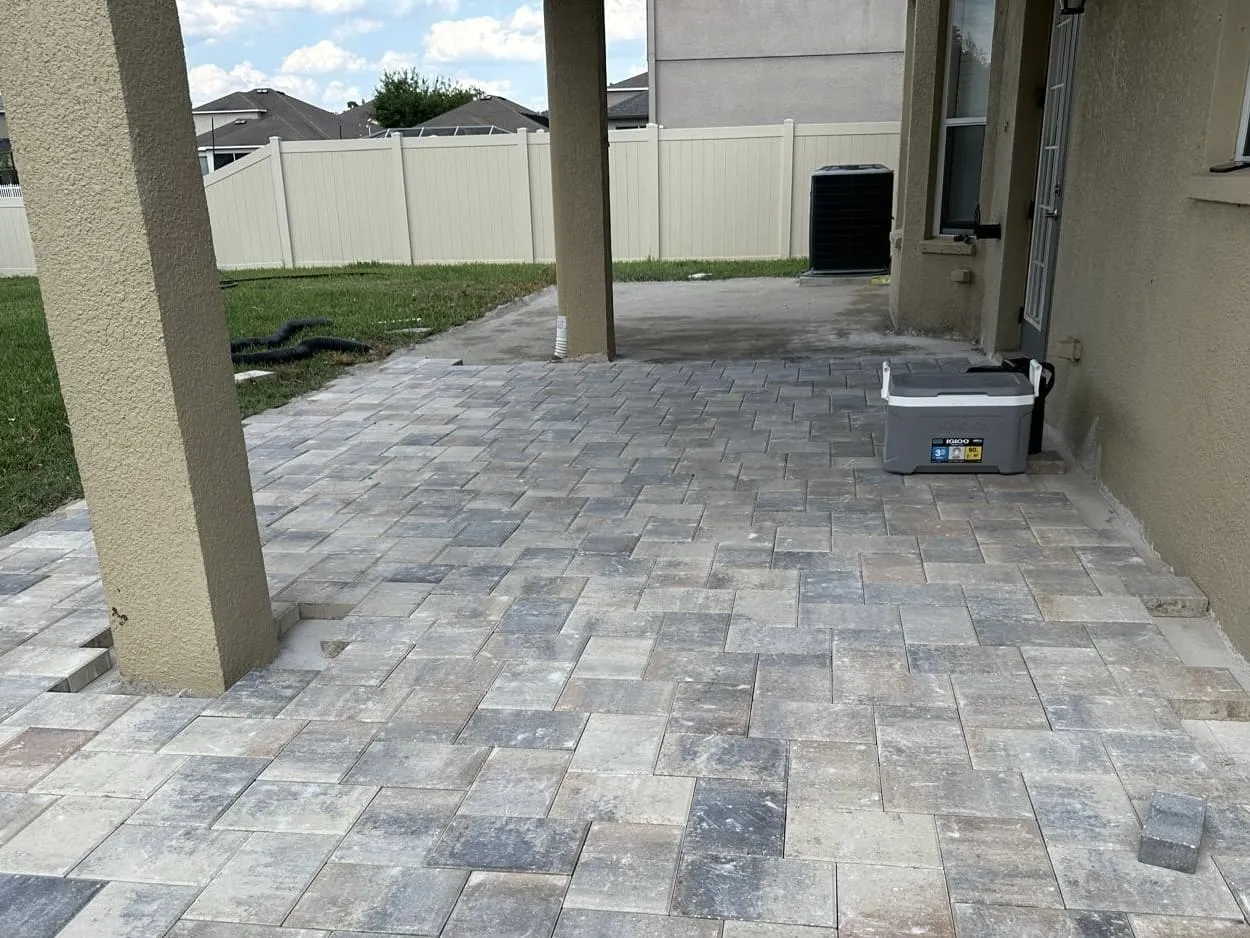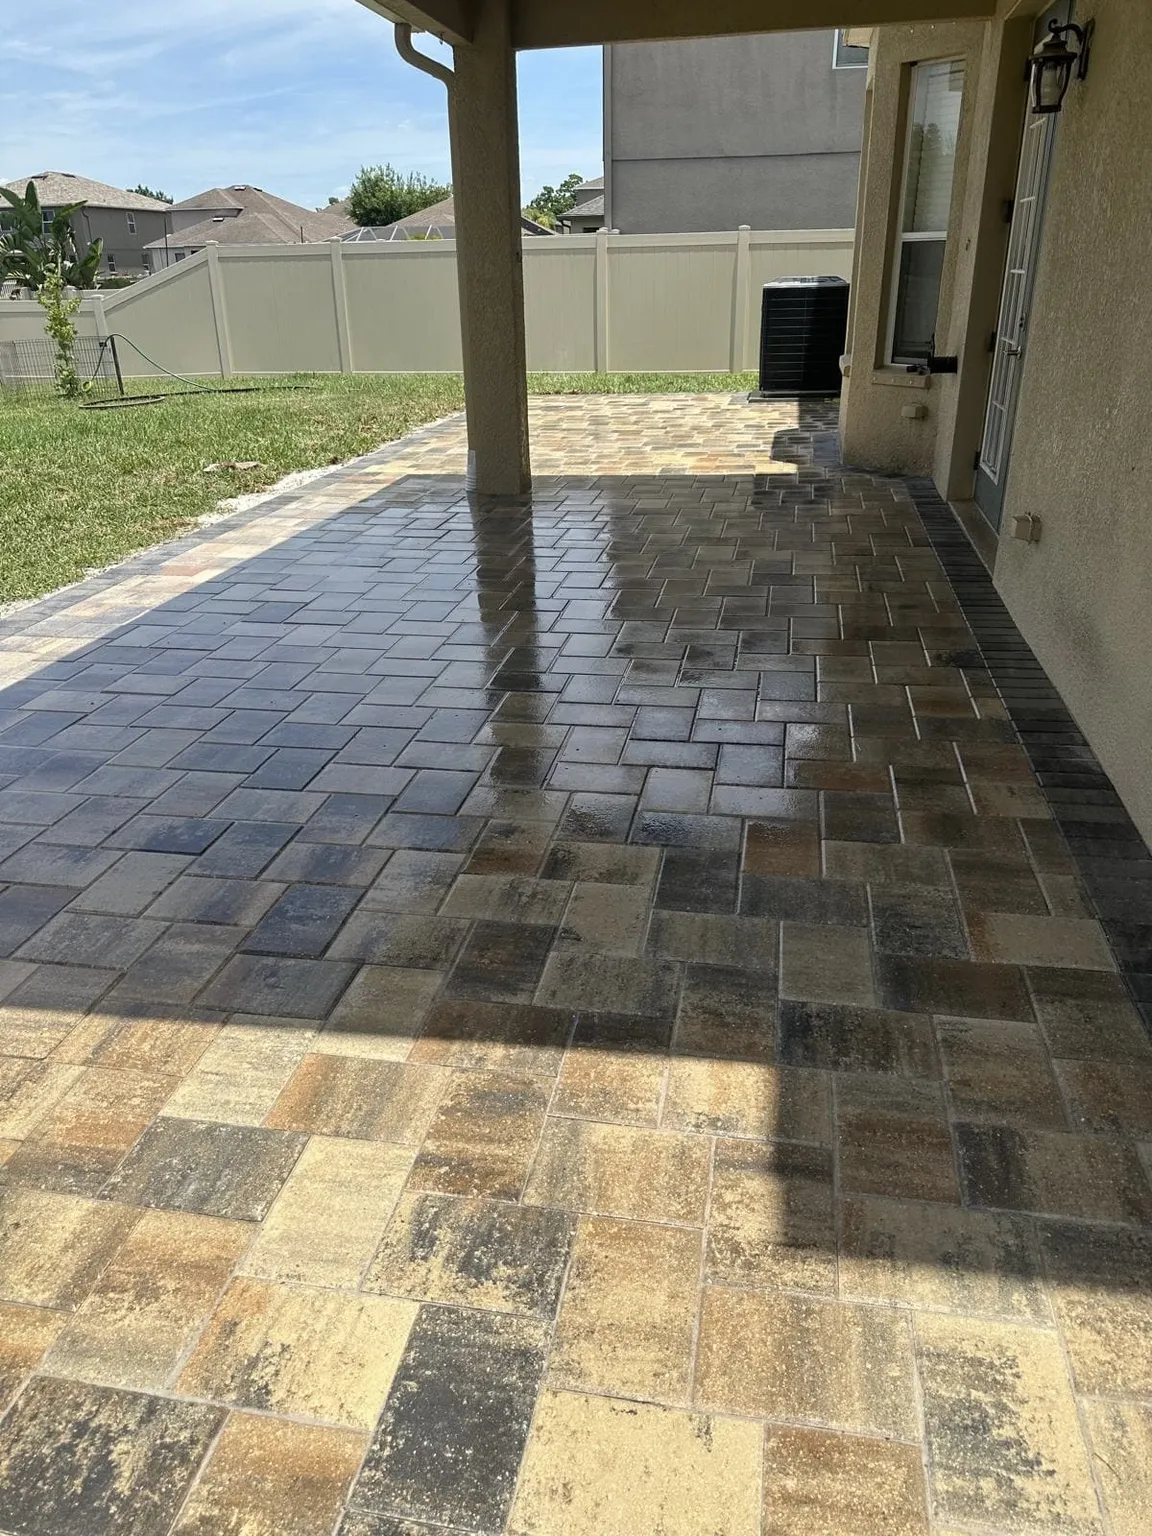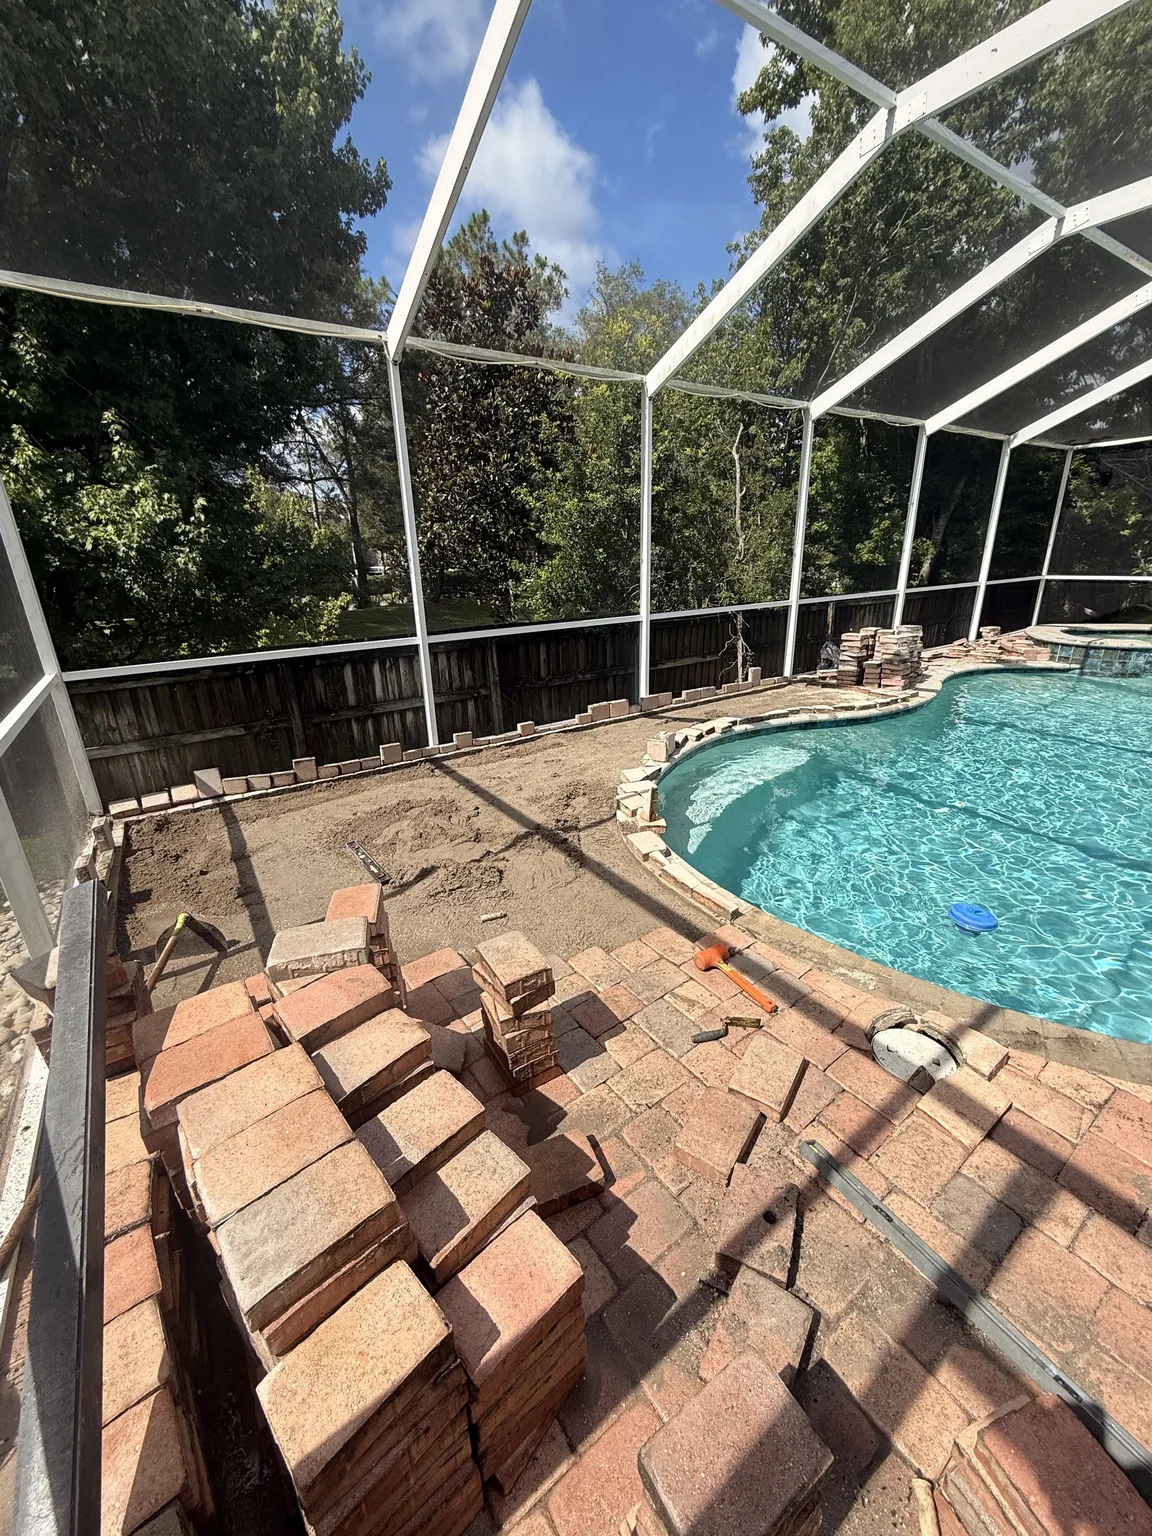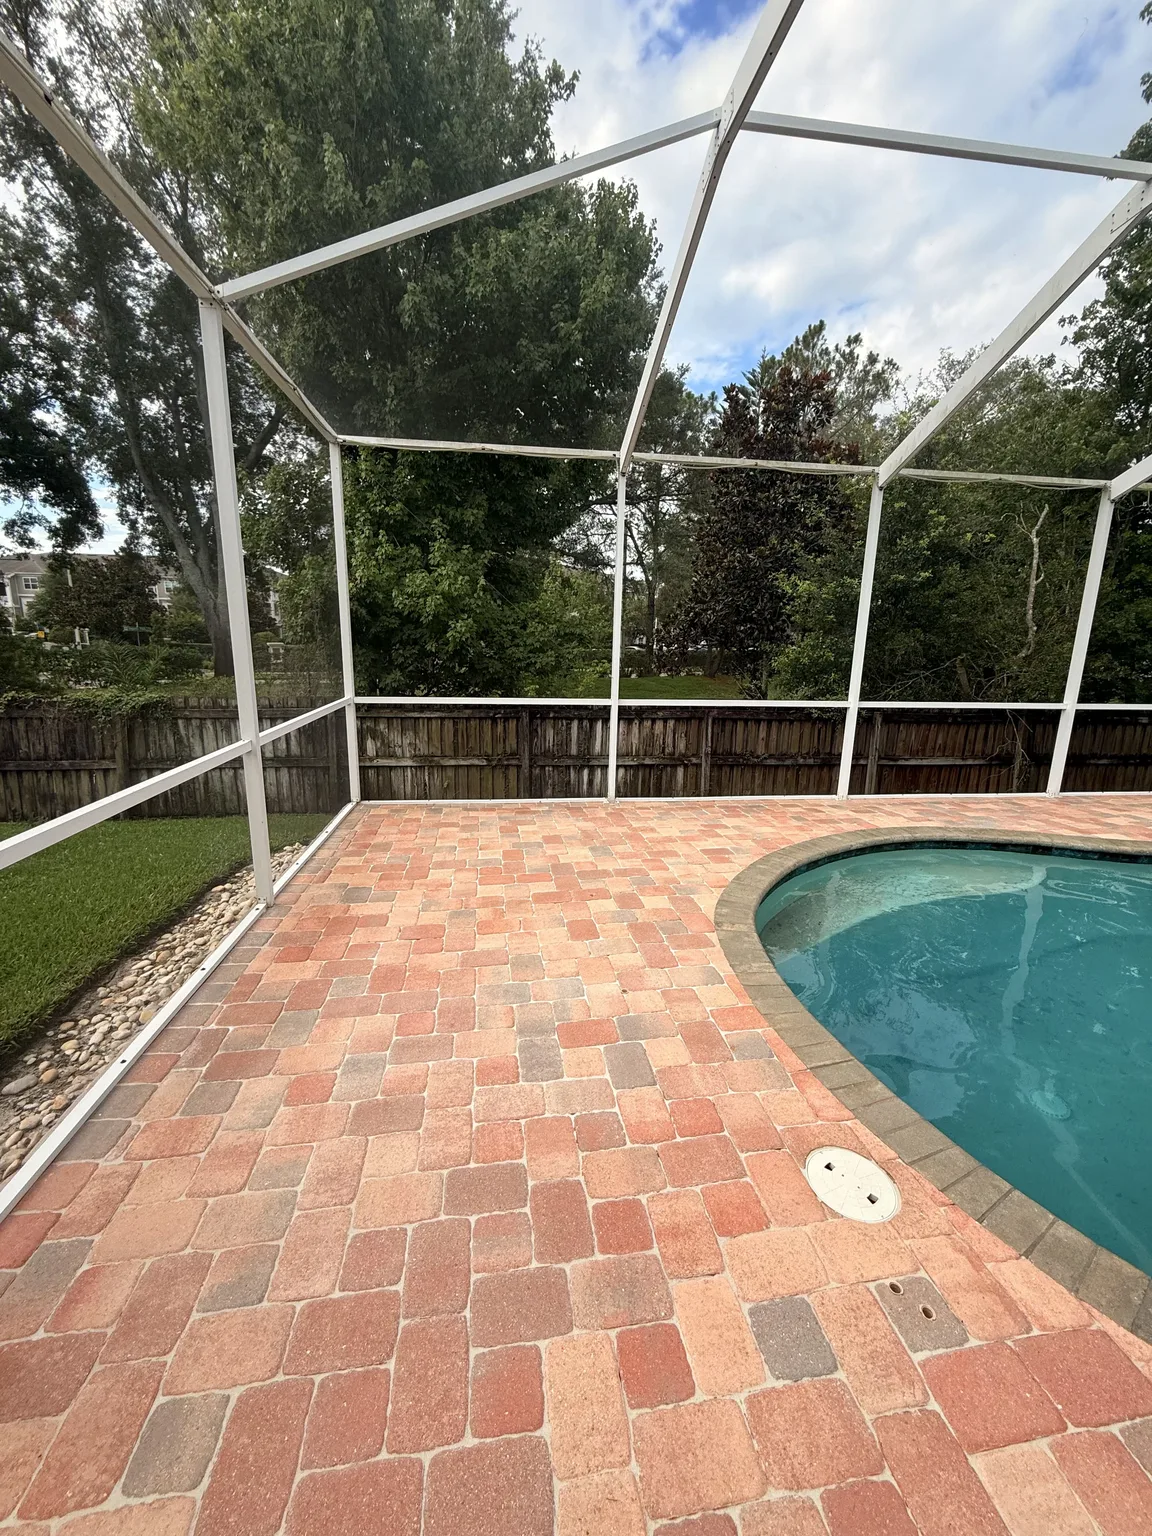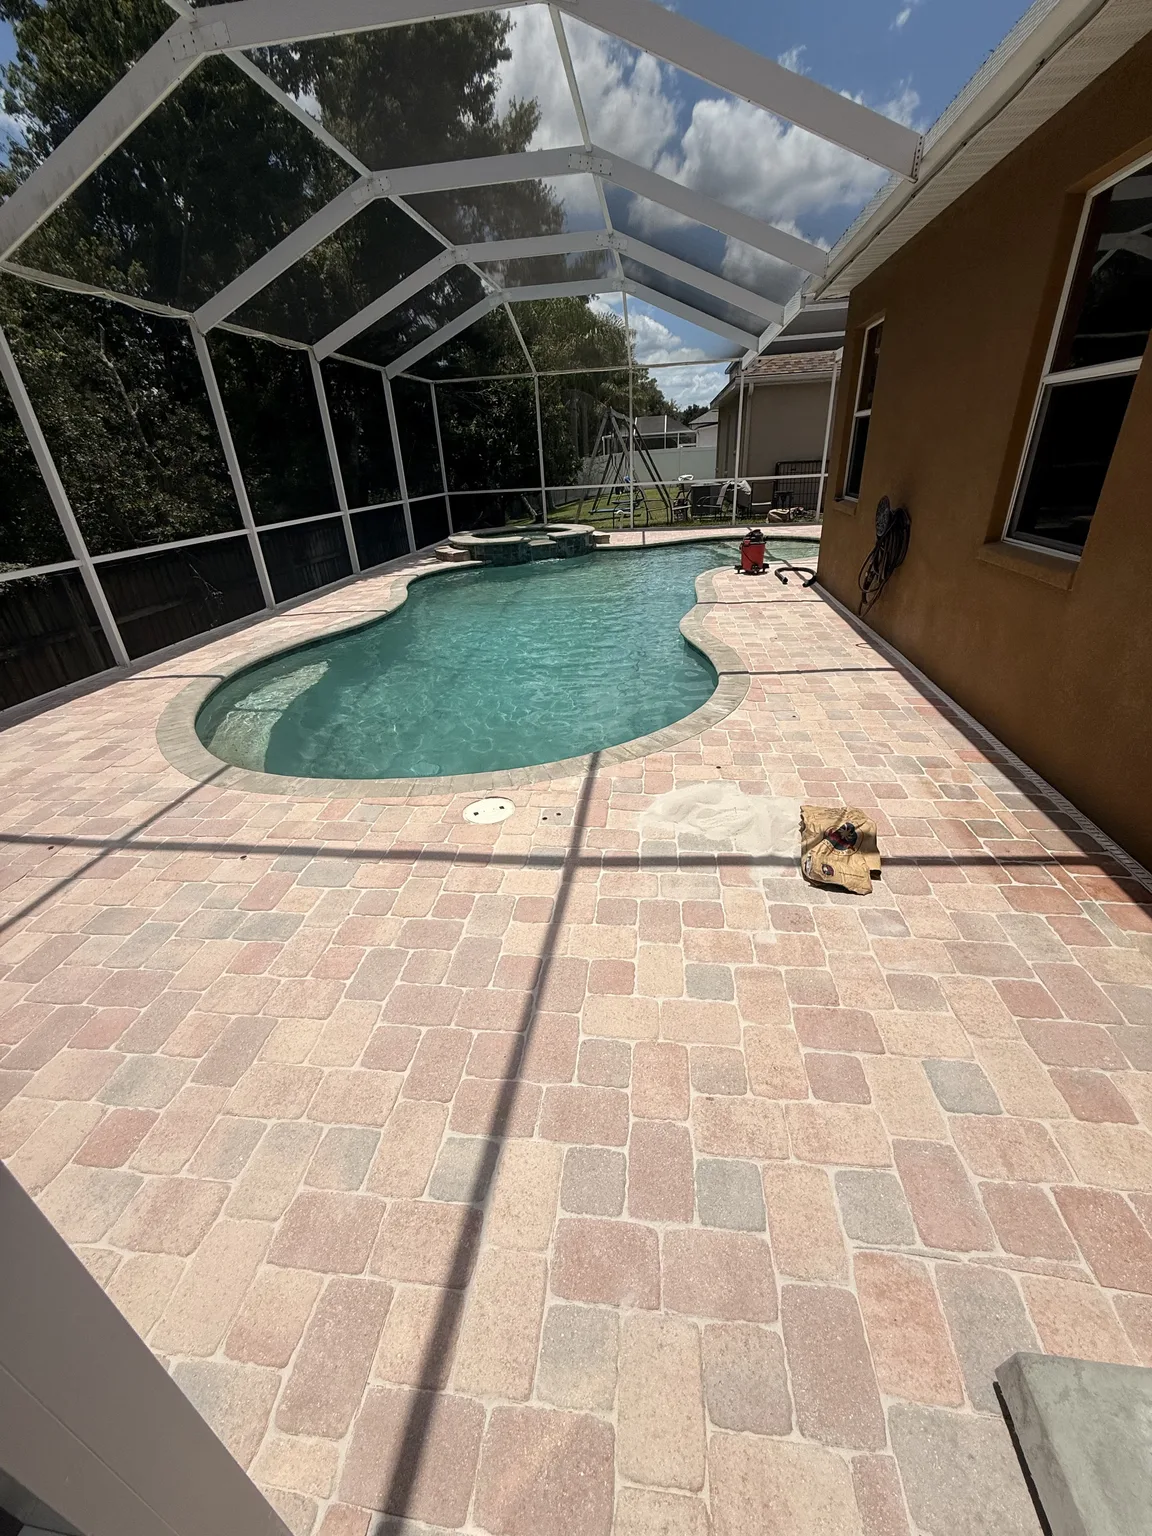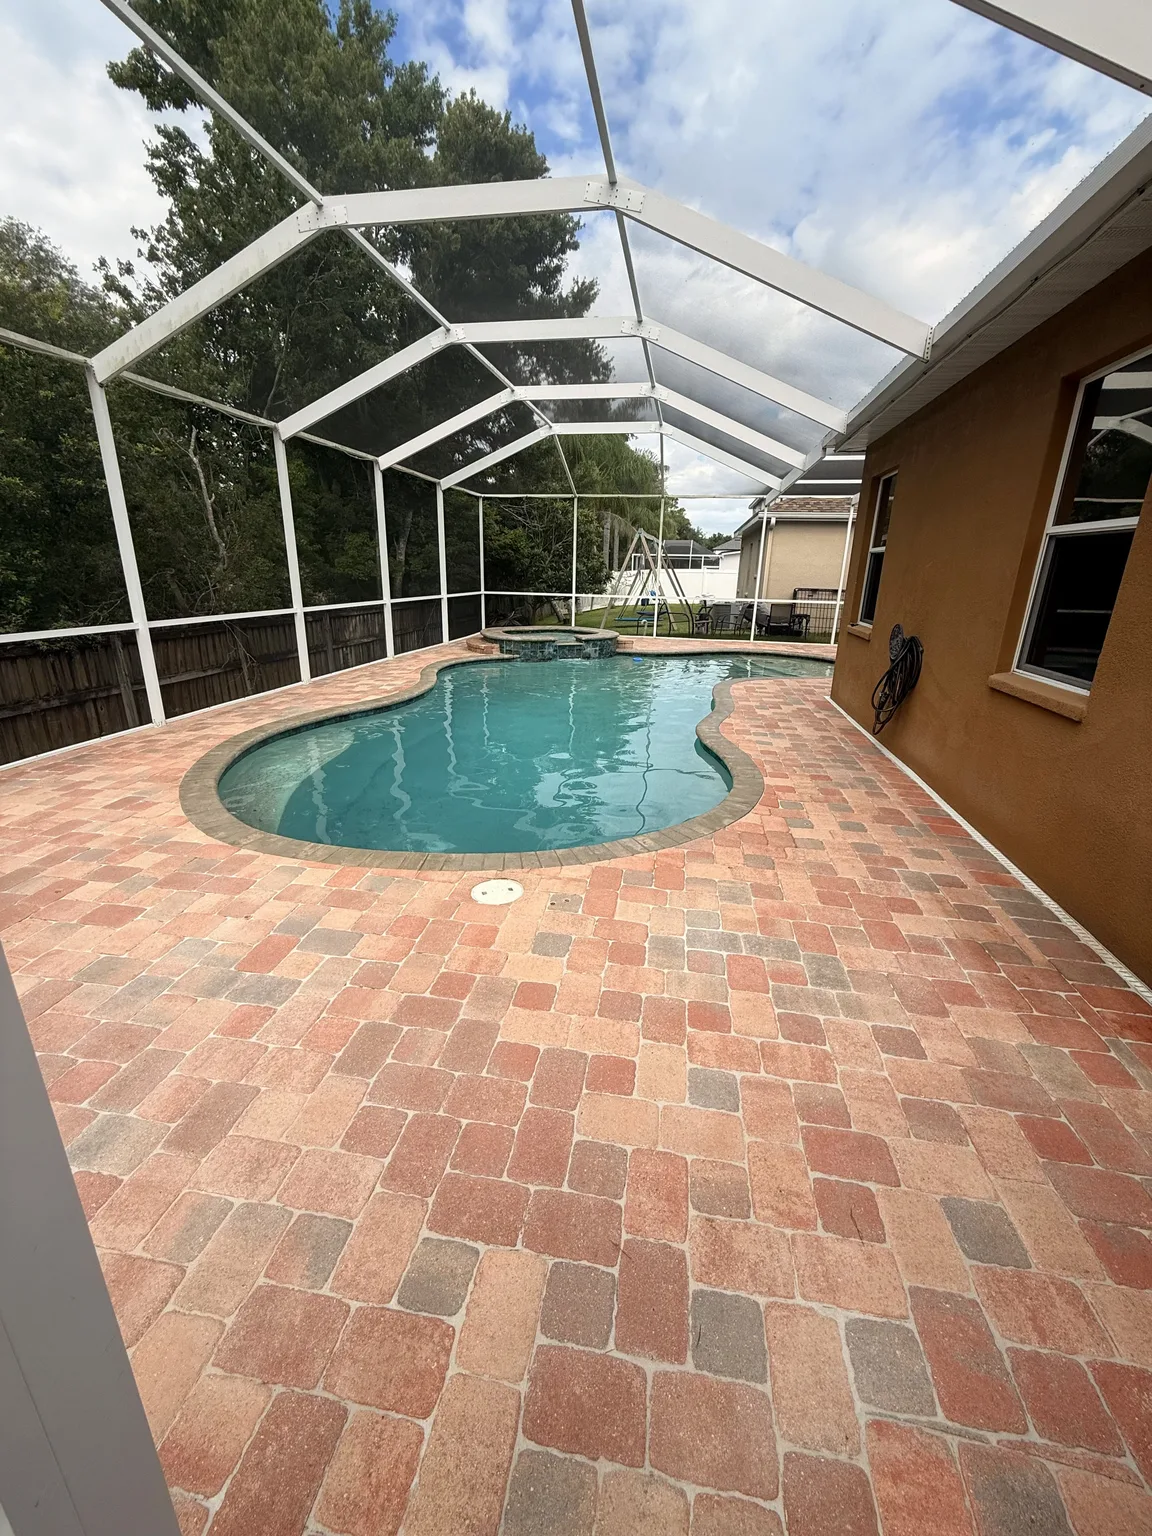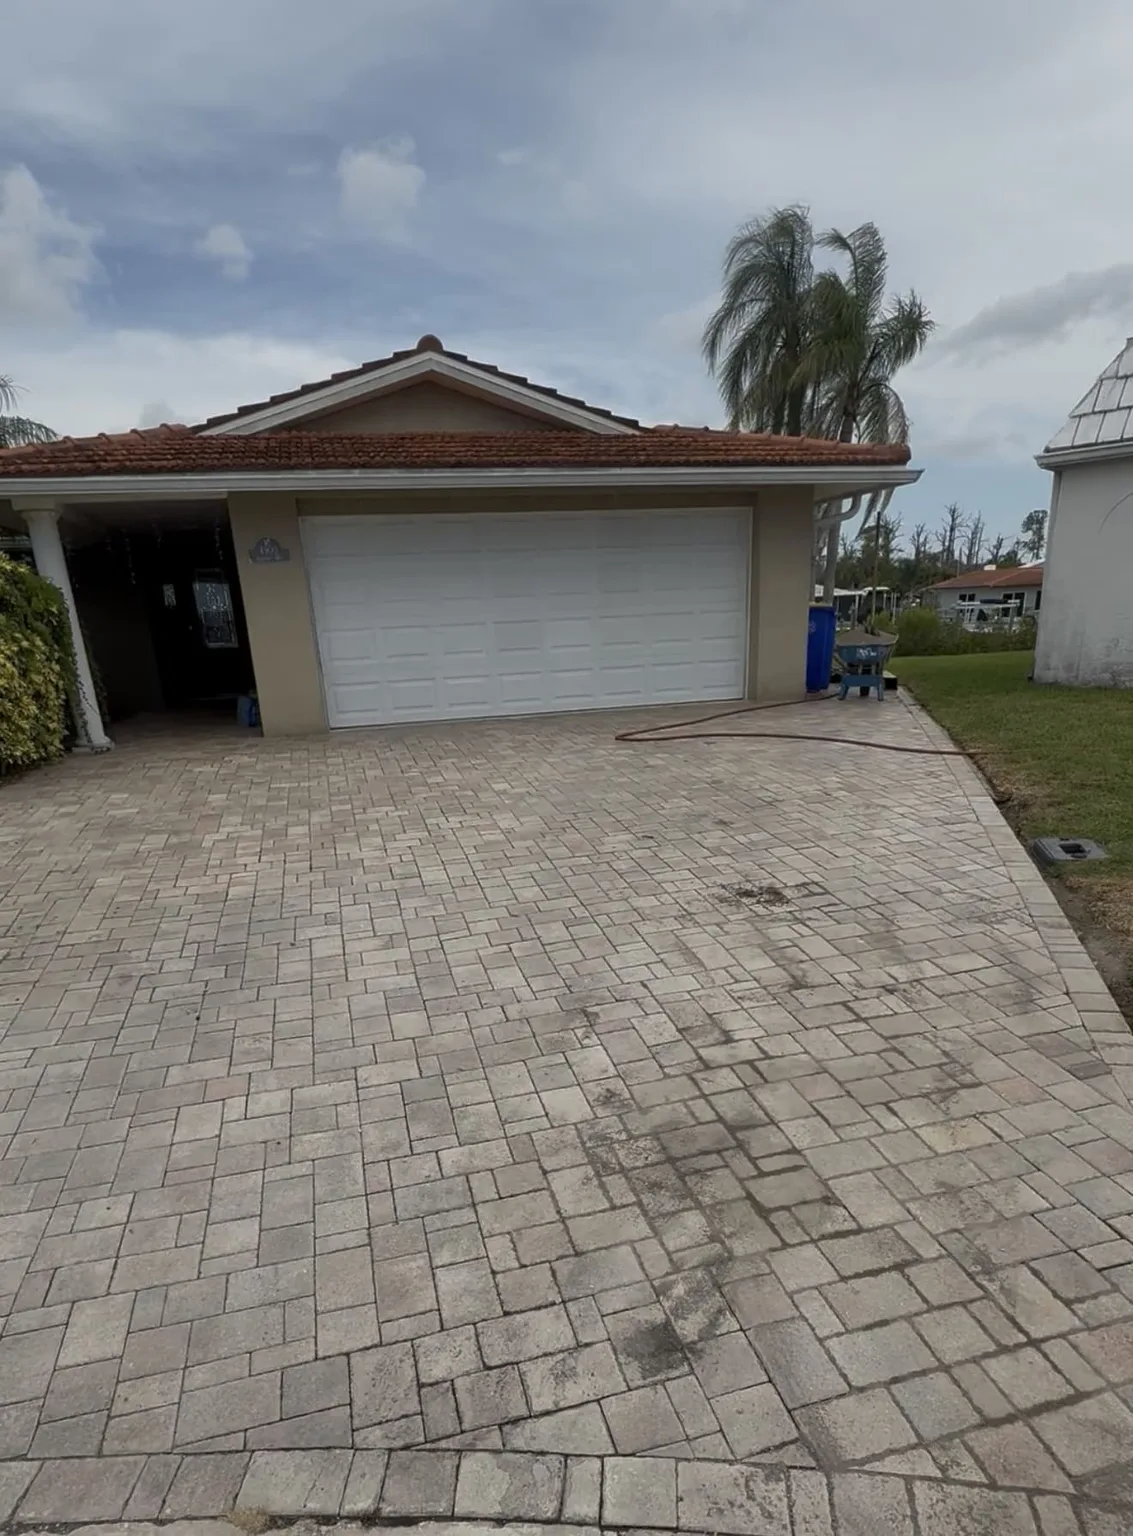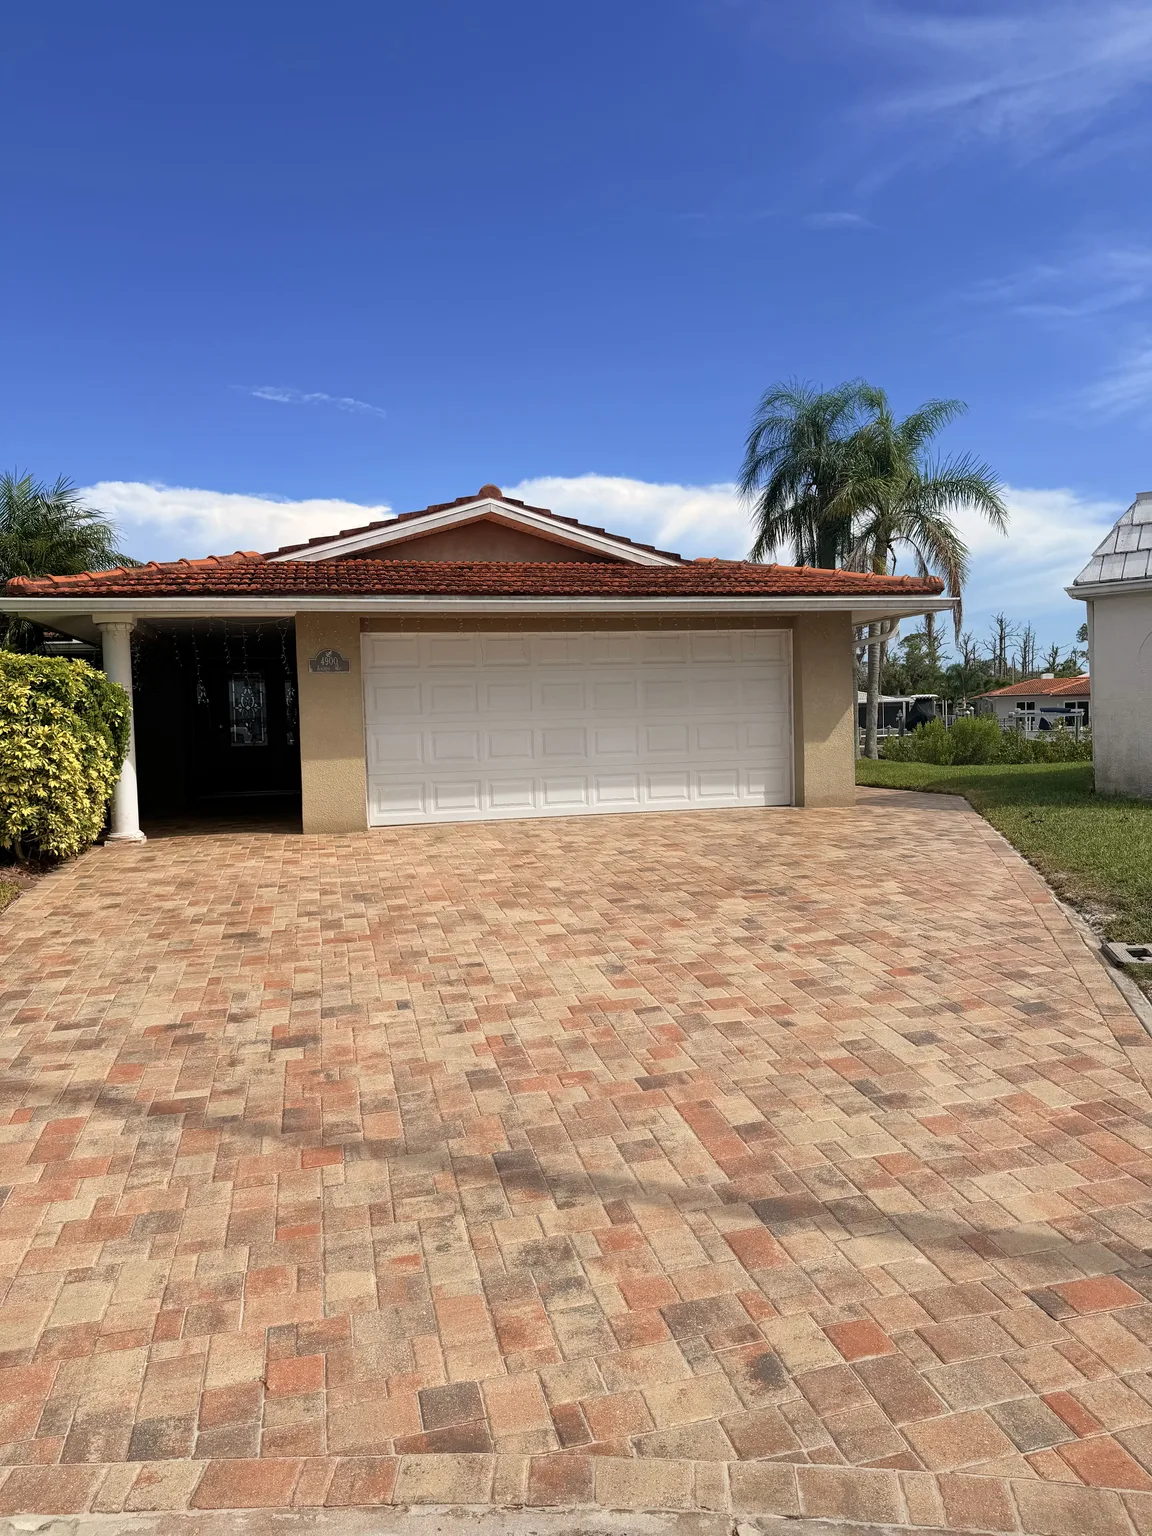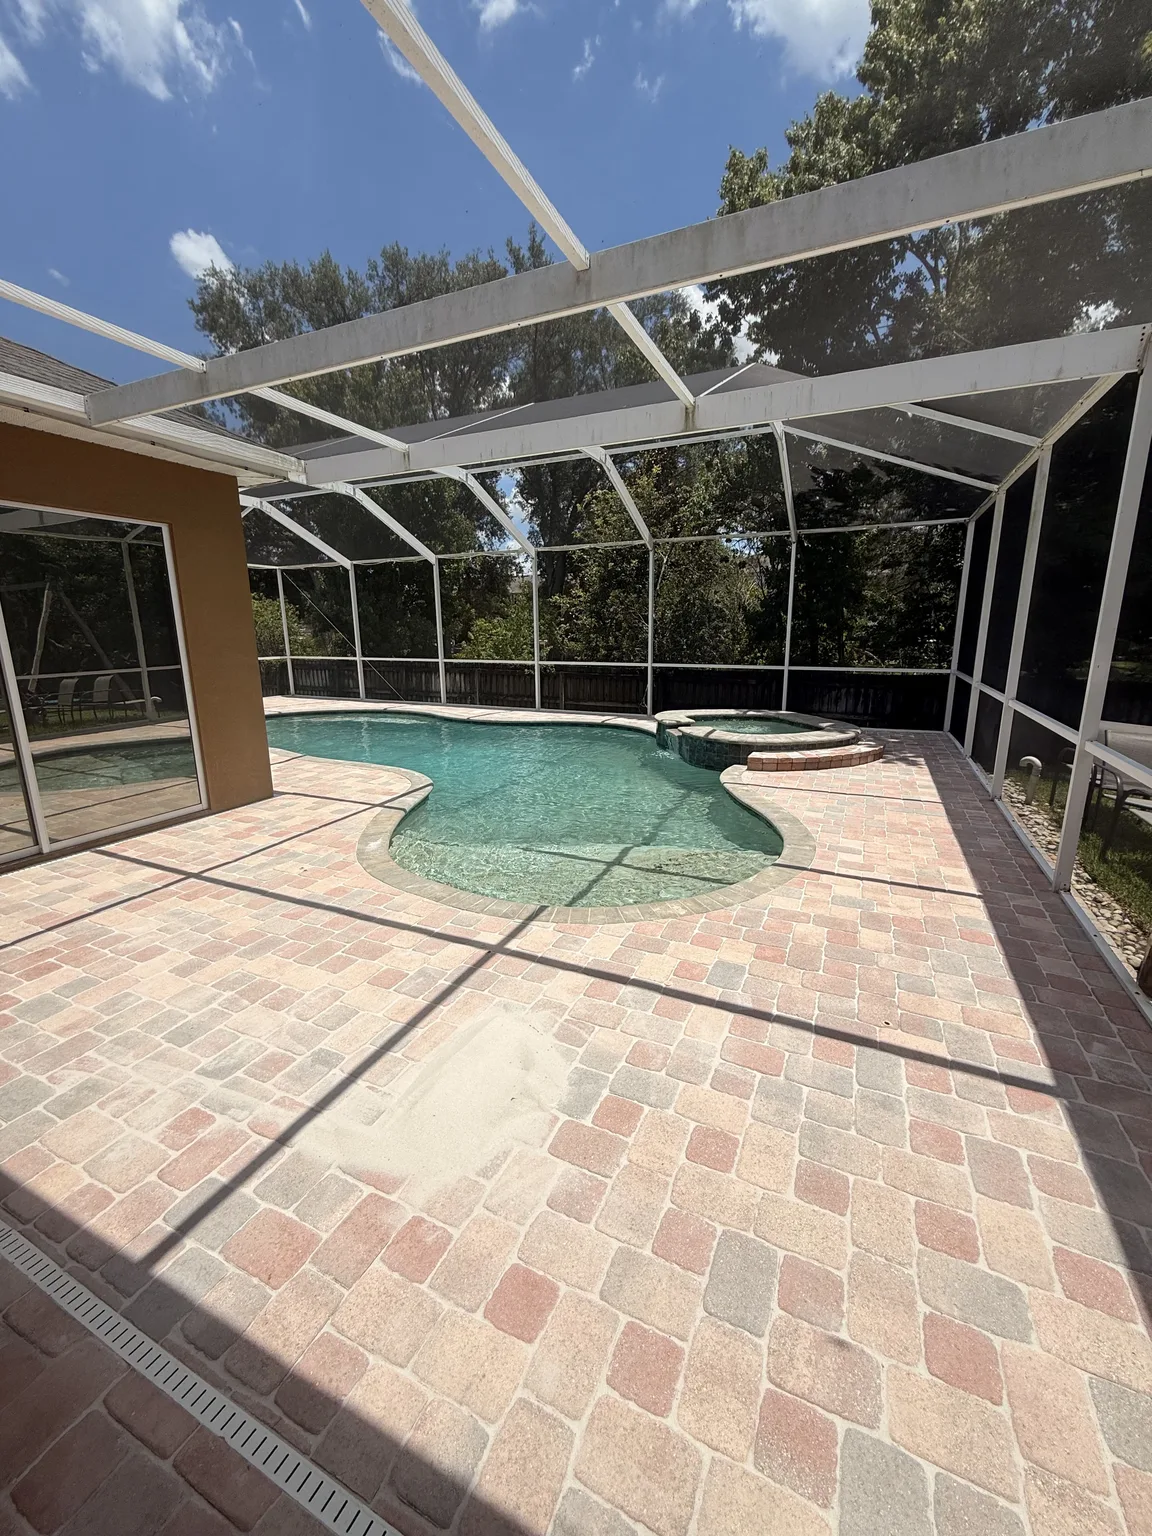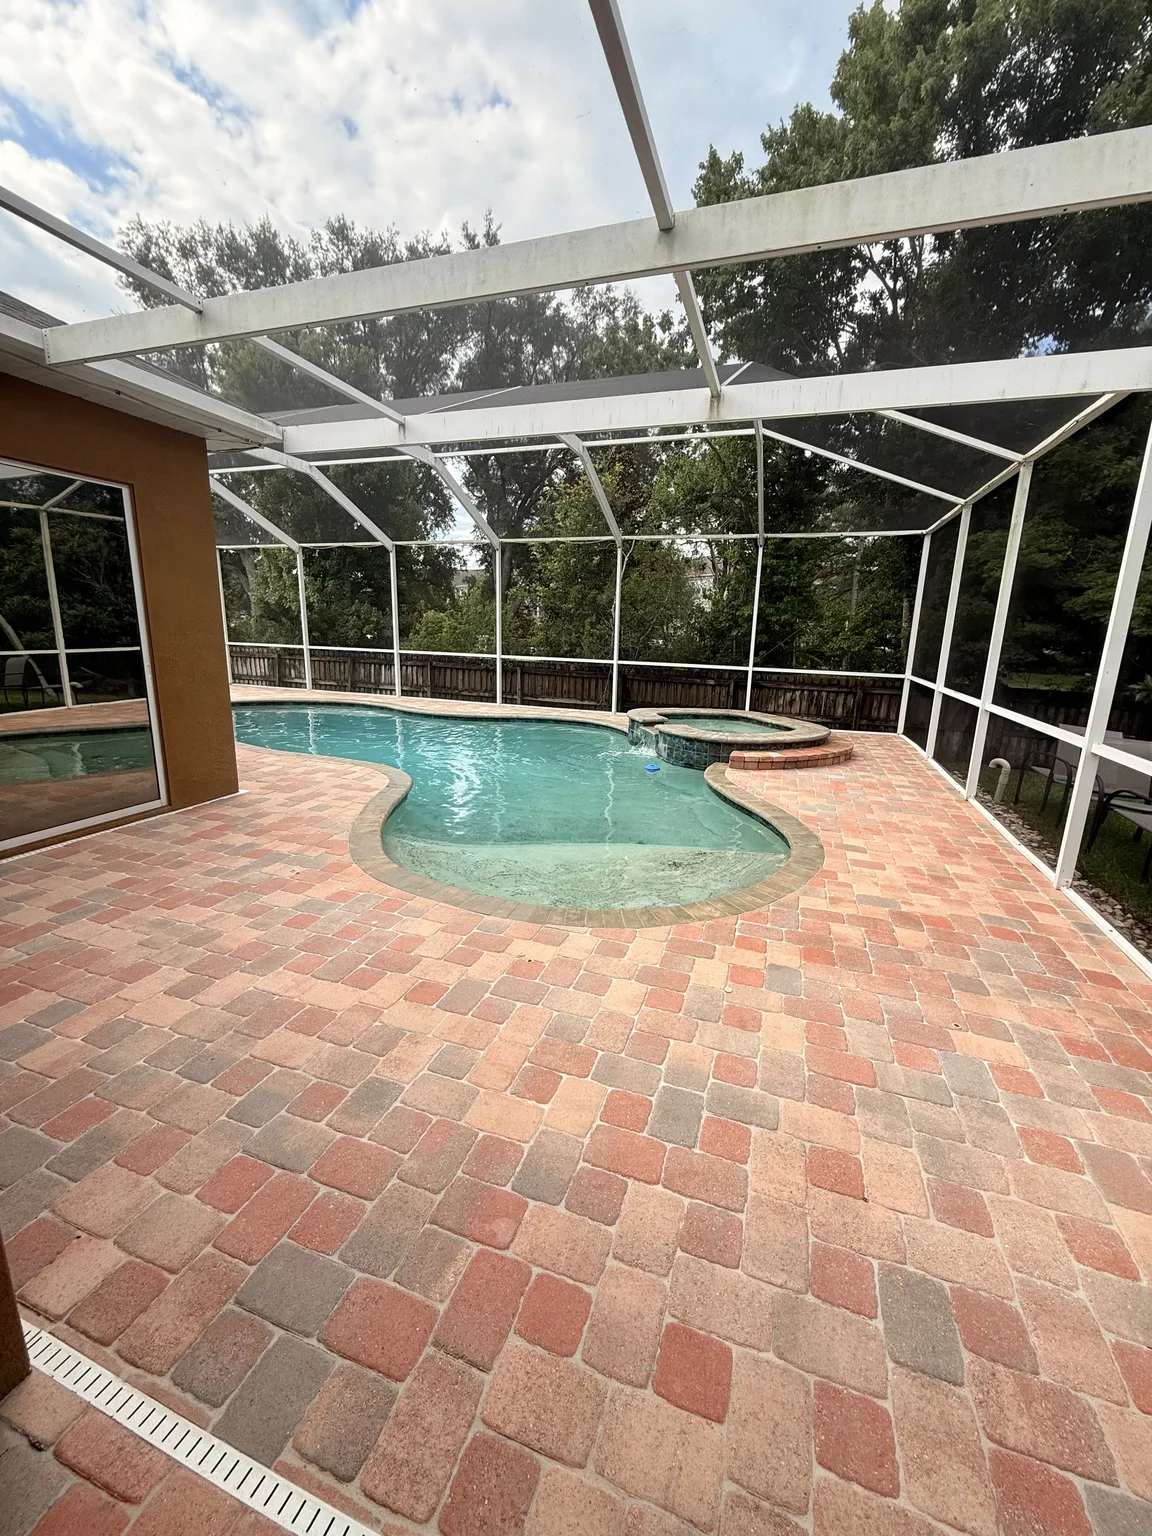
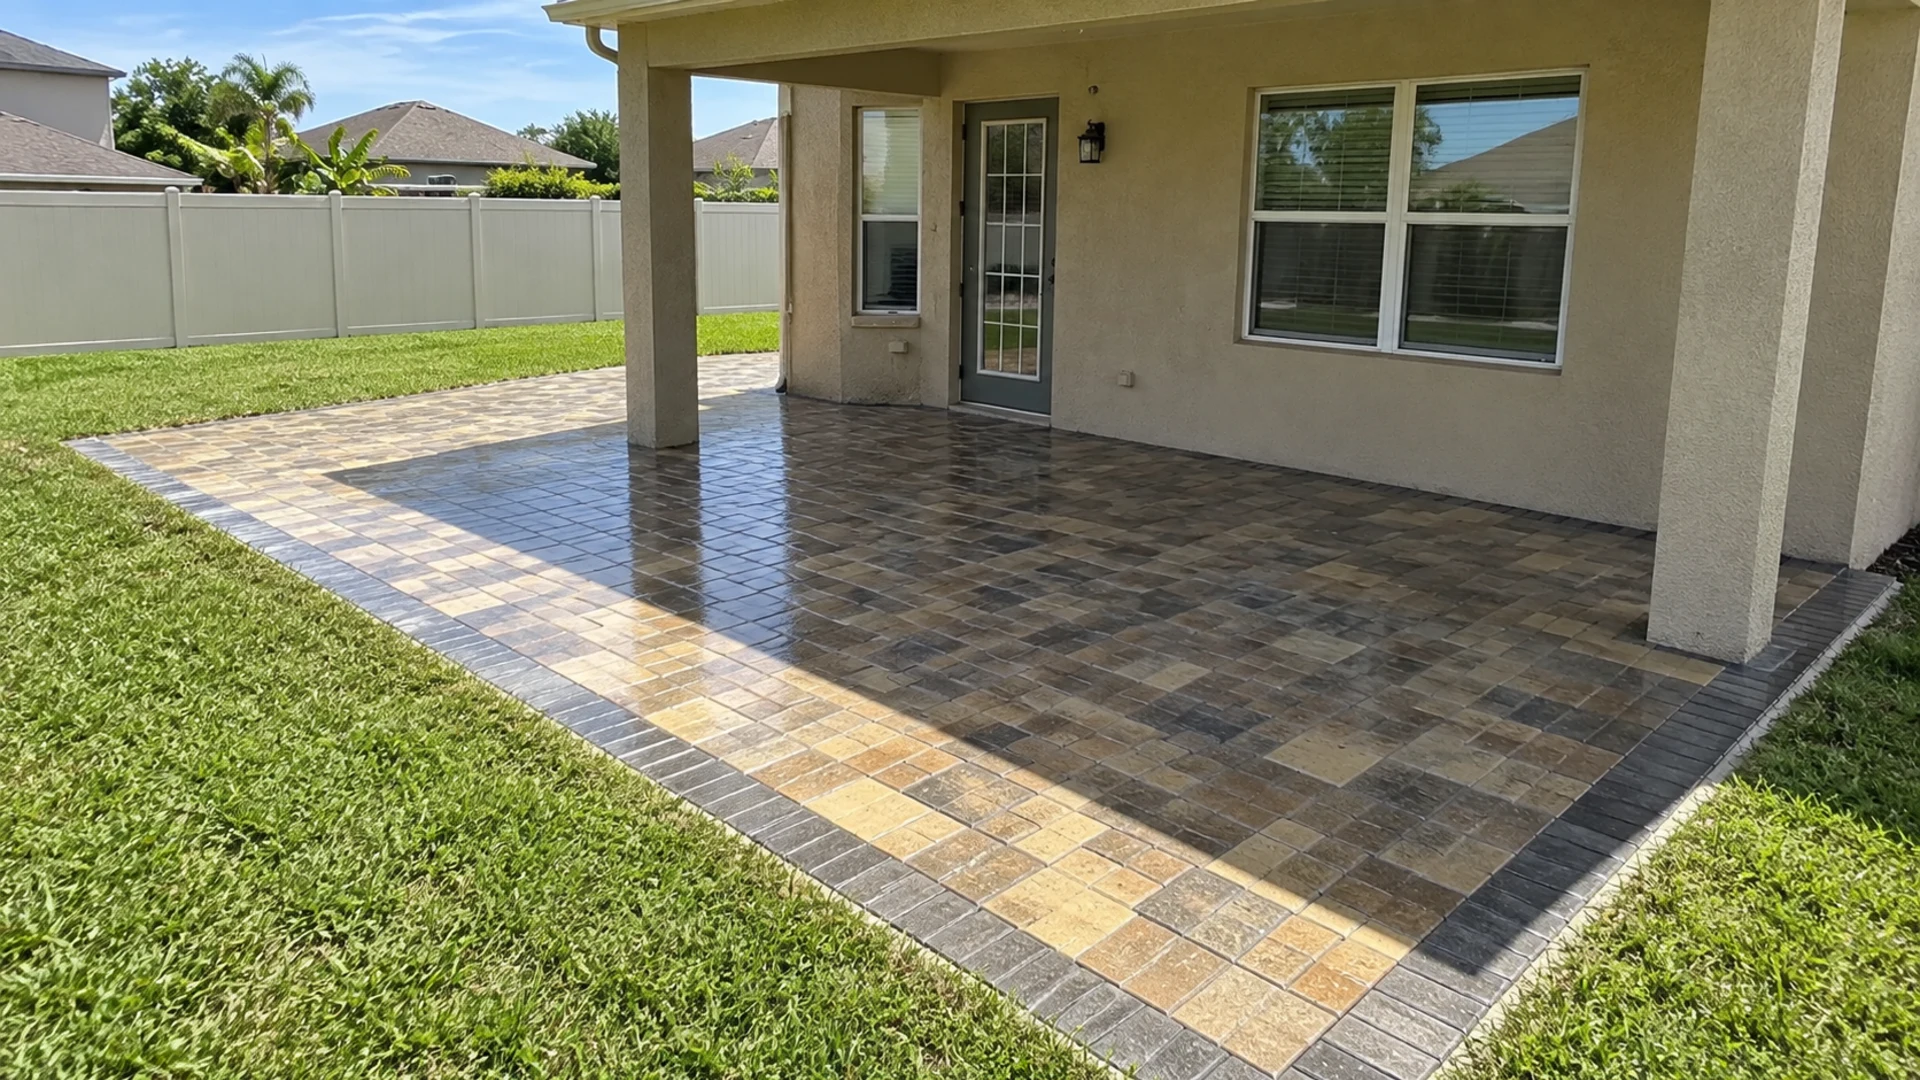
Paver joint sand erosion is worth investigating when it forms a pattern, not merely when a few grains disappear from the surface. Joints naturally weather and can look a little lower after rain, sweeping, or ordinary use. The concern rises when joints become distinctly empty, channels repeat in the same places, pavers begin to move, or fresh sand keeps vanishing after each storm. Tampa Bay homeowners can make better repair decisions by mapping where the loss occurs and what water, traffic, and edges are doing nearby.
Start with the pattern, not the bag of replacement sand
Joint material has a surface role and a joint-filling role. Minor surface loss can leave the top of a joint slightly recessed while the pavers remain aligned, firm underfoot, and evenly supported. That appearance alone does not establish a failure. A localized patch after a heavy cleaning or a single hard rain may simply call for observation and sensible maintenance.
Deeper, repeated loss tells a different story. Look for joints that open noticeably below the paver edges, narrow channels that follow a slope, empty material along a border, or low areas that collect water. Notice whether the pavers rock, separate, or spread. These signs do not identify one universal cause, but they help distinguish a surface condition from a water-path, edge-restraint, settlement, or movement question that deserves a broader review.
What normal surface loss usually looks like
Normal-looking loss is generally light, scattered, and stable. The joints may be a little lower at their top edge but still appear filled down the joint. The paver field stays flat, borders remain in place, and the condition does not march across the surface after each weather event. A broom, leaf blower used too closely, or routine foot traffic can disturb fine material at the top without changing the way the paved surface performs.
Use comparison points rather than judging one joint in isolation. Check an area under cover against an exposed area, the center of the field against its edge, and a quiet corner against the route used by vehicles or patio furniture. Take a few dated photos from the same distance. If the appearance remains consistent through normal weather and use, a limited maintenance response may be reasonable. If the photos show progression, they provide useful evidence for deciding whether refilling alone would only mask the issue.
Signs that paver joint sand erosion needs a closer look
- Joint material is missing deep into the joint rather than only at the surface.
- A line of loss follows a downspout outlet, slope, drain approach, irrigation spray path, or driveway wheel track.
- The same zone needs refilling repeatedly after rain or cleaning.
- Pavers at a border spread outward, rotate, rock, or develop uneven gaps.
- Water ponds, carries debris across the surface, or exits at an edge with unusual force.
- A low area, broken edge, or separation appears alongside the loss.
None of those signs should be translated into an instant remote diagnosis. They are a reason to inspect the surrounding conditions. The relevant question is whether the joint loss is the visible result of something else: concentrated flow, a surface that no longer sheds water as intended, an edge that has lost support, traffic that is moving units, or a combination of factors. The repair scope should follow that answer.
Read water routes after rain and irrigation
Rain is useful evidence because it shows where water actually travels, not where a plan assumes it travels. After a normal storm, look for the first place water reaches the pavers, the path it takes across joints, and the place it leaves the paved area. A roof outlet, grade change, garden bed, or compacted edge can concentrate flow. Humidity and recurring Florida rain make it especially important to notice whether a damp or debris-filled track corresponds to the joints losing material.
Irrigation can create a quieter version of the same clue. A head aimed across a narrow band of pavers may repeatedly wash the same joints, while overspray at a border can keep adjacent soil and joints wet. Observe a regular cycle if it is safe to do so. The goal is not to blame irrigation automatically; it is to separate a one-time storm pattern from repeated water exposure that coincides with a specific location.
Drains deserve attention too. A drain that accepts water should not be assumed to explain every nearby low joint, nor should a visible grate prove that water has a clear route beneath the surface. Note whether water moves toward it, pauses around it, or bypasses it. A site assessment can then evaluate the surface, surrounding grade, and drainage components together without making unsupported claims about concealed conditions.
Cleaning practices can change the evidence
Pressure washing is not just a cleaning event; it can alter the top of a joint. A concentrated stream, close nozzle position, or repeated passes along the same direction can remove material more quickly than ordinary sweeping. If the loss became obvious immediately after cleaning, record where the work was concentrated and whether borders or low spots were affected. That history helps distinguish freshly disturbed surface material from loss that has been recurring through weather cycles.
Sweeping and blowing matter in smaller ways. Aggressive mechanical cleaning can pull loose material from already shallow joints, especially at irregular edges and transitions. Gentle, routine care is not a substitute for investigating recurring washout, but it avoids making the evidence harder to interpret. Before adding more material, remove loose debris and check whether the joints are dry enough and the surrounding pavers are stable enough for the planned maintenance approach.
Slope, joint width, and edges shape where loss appears
Water follows grade, and joint loss often makes that route easier to see. A shallow patio slope may behave well until runoff enters from a roof or adjacent lawn. A driveway can show loss near wheel paths because traffic and water both concentrate there. Wider joints hold more visible material and may look different from tighter joints even when neither is failing. The pattern must be considered in the context of the paver geometry and the path across the whole surface.
Edges are a useful diagnostic boundary. A stable paver field relies on its perimeter to remain contained. When the border is moving, separating, or washed out at a particular exit point, simply topping off joints in the middle may not address the condition. Likewise, an isolated joint near a transition to concrete, turf, a planter, or a drain can reveal that two surfaces are directing water or movement differently. Inspect the transition rather than treating every missing grain as the same maintenance task.
Why repeated refilling can conceal the real repair
Adding joint material can be appropriate after the cause is understood and the paved surface is otherwise stable. It becomes less useful when it is repeated on a predictable schedule because the same channel returns. In that situation, fresh material may make the patio or driveway look improved for a short time while water still enters at the same point, an edge continues to open, or pavers continue to shift. The visible joint is being addressed while the recurring condition remains.
A better repair conversation separates surface restoration from corrective work. Surface restoration concerns cleaning, preparation, and compatible joint refilling. Corrective work may require evaluating drainage direction, low areas, border restraint, transitions, or affected units. The required scope can be modest or more involved; it should not be assumed from a photograph or a single empty joint. The Concrete Masonry and Hardscapes Association offers general hardscape resources, while site-specific decisions should be based on the actual installation and observed conditions.
A practical monitoring routine
For a stable-looking surface, inspect before and after a substantial rain, after any pressure washing, and at intervals that match how the area is used. Use the same simple reference points: a drain, a border corner, a downspout location, or a particular row of pavers. Photos taken at the same angle are more useful than an impression that the area “seems worse.” Note whether the joint depth changed, whether debris traced a path, and whether any paver movement is new.
- Mark the affected zone and compare it with an unaffected zone.
- Record recent rain, irrigation adjustments, cleaning, and unusual traffic.
- Check slope direction, nearby outlets, drains, and borders.
- Test gently for movement; do not force loose units or probe below the surface.
- Decide whether the condition is light and stable, recurring, or accompanied by movement and water-path clues.
- Use that record when discussing the appropriate maintenance or repair scope.
Look at traffic and transitions, not only weather
Vehicle traffic can make a small condition visible faster. A driveway may show a different joint profile where tires slow, turn, or repeatedly cross a grade break. On a patio, chair legs, rolling grills, and frequently moved furniture can disturb a localized area, especially if the units beneath them are already beginning to move. This does not mean normal use is the culprit; it means usage patterns belong on the observation list alongside rain and cleaning history.
Changes at the boundary of the paved surface are equally informative. A paver field that meets turf, mulch, a pool coping, a concrete slab, or a vertical wall has a different condition at each transition. Soil or mulch washing onto the surface can suggest that water is arriving from the adjacent area. A clean channel exiting at a border can suggest that water is leaving there. Inspect both sides of the transition before deciding that the joint itself is the only work area.
Prepare useful information for a repair discussion
Clear observations reduce guesswork. Bring photos taken before and after a storm, a note of when the pavers were last cleaned, and a description of how the area is used. Point out any downspout changes, irrigation adjustments, new landscaping, or nearby work that happened before the pattern appeared. Those details do not replace an inspection, but they can help focus attention on the relevant portion of the installation instead of treating every joint across the property as equally affected.
It is also helpful to define the homeowner’s goal. A patio with light, even surface loss may need a maintenance-focused conversation. A driveway with recurring channels and changing edges may need the discussion to begin with drainage and stability. If appearance, footing comfort, weed control, or water behavior is the main concern, say so. A specific goal helps distinguish what should be monitored from what needs a corrective option evaluated.
Be cautious about drawing conclusions from color alone. Damp joints, shadows, surface dust, and the angle of the pavers can make one section look more open than another. Brush away loose debris, view the area in ordinary daylight, and compare several locations before recording a concern. The meaningful observation is a change in depth, width, alignment, or recurrence, particularly when it lines up with a water route or edge condition. A clear baseline makes later decisions less dependent on a single visual impression.
Timing matters after a weather event. Immediately after heavy rain, surface water and saturated adjacent soil can obscure the exact path of joint loss. Once the area is safe and has had time to drain, inspect for settled debris, exposed joint depth, and places where water appears to have entered or left the paver field. Compare that record with the next event rather than assuming one storm represents every condition. Repetition is more useful than a dramatic but isolated observation.
Choose scope based on the whole paved area
A good evaluation does not stop at the emptiest joint. It considers the larger field, its edges, transitions, traffic, and water routes. Homeowners planning maintenance can review Dr Pavers Design project and service information for context on outdoor hardscape work, then bring photos and a short observation record to the discussion. That makes it easier to distinguish a localized refresh from a condition that needs attention beyond the joint surface.
Joint sand should support a stable, well-observed surface, not hide a pattern that keeps returning. Watch how conditions change after rain, irrigation, cleaning, and regular use. If loss deepens, follows a repeatable route, or comes with shifting pavers or weakened edges, pause the refill cycle and assess the area as a system. Addressing the water path or movement question first gives maintenance a more durable purpose.
Finally, when you are ready to restore and maintain your pavers, review the services, see completed projects, read testimonials, and check the FAQ before requesting a free consultation through the contact page. Follow Dr Pavers Design on Instagram and Facebook, or review the company on Google. Open Google Maps, send a WhatsApp message, call +1 (656) 600-4015, send a text message, or email drpavers@outlook.com for a free consultation anywhere in Tampa Bay.