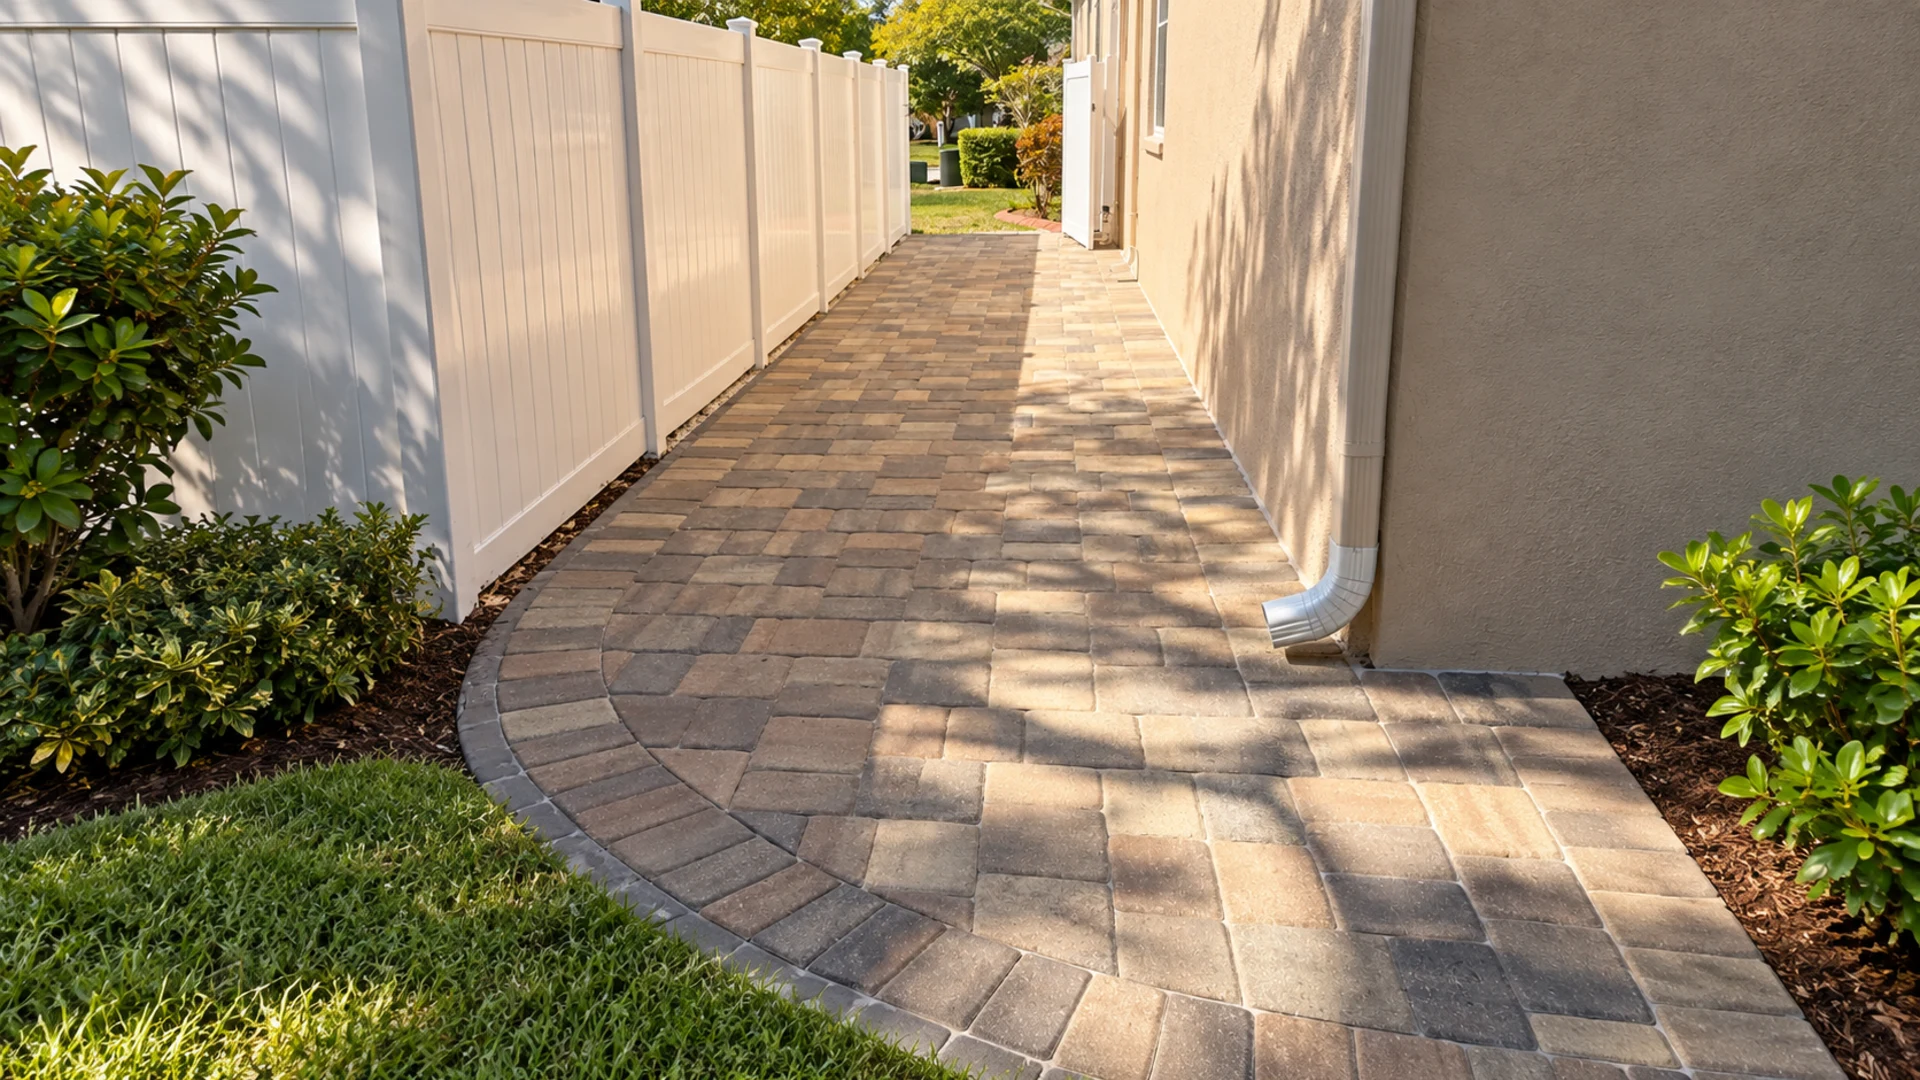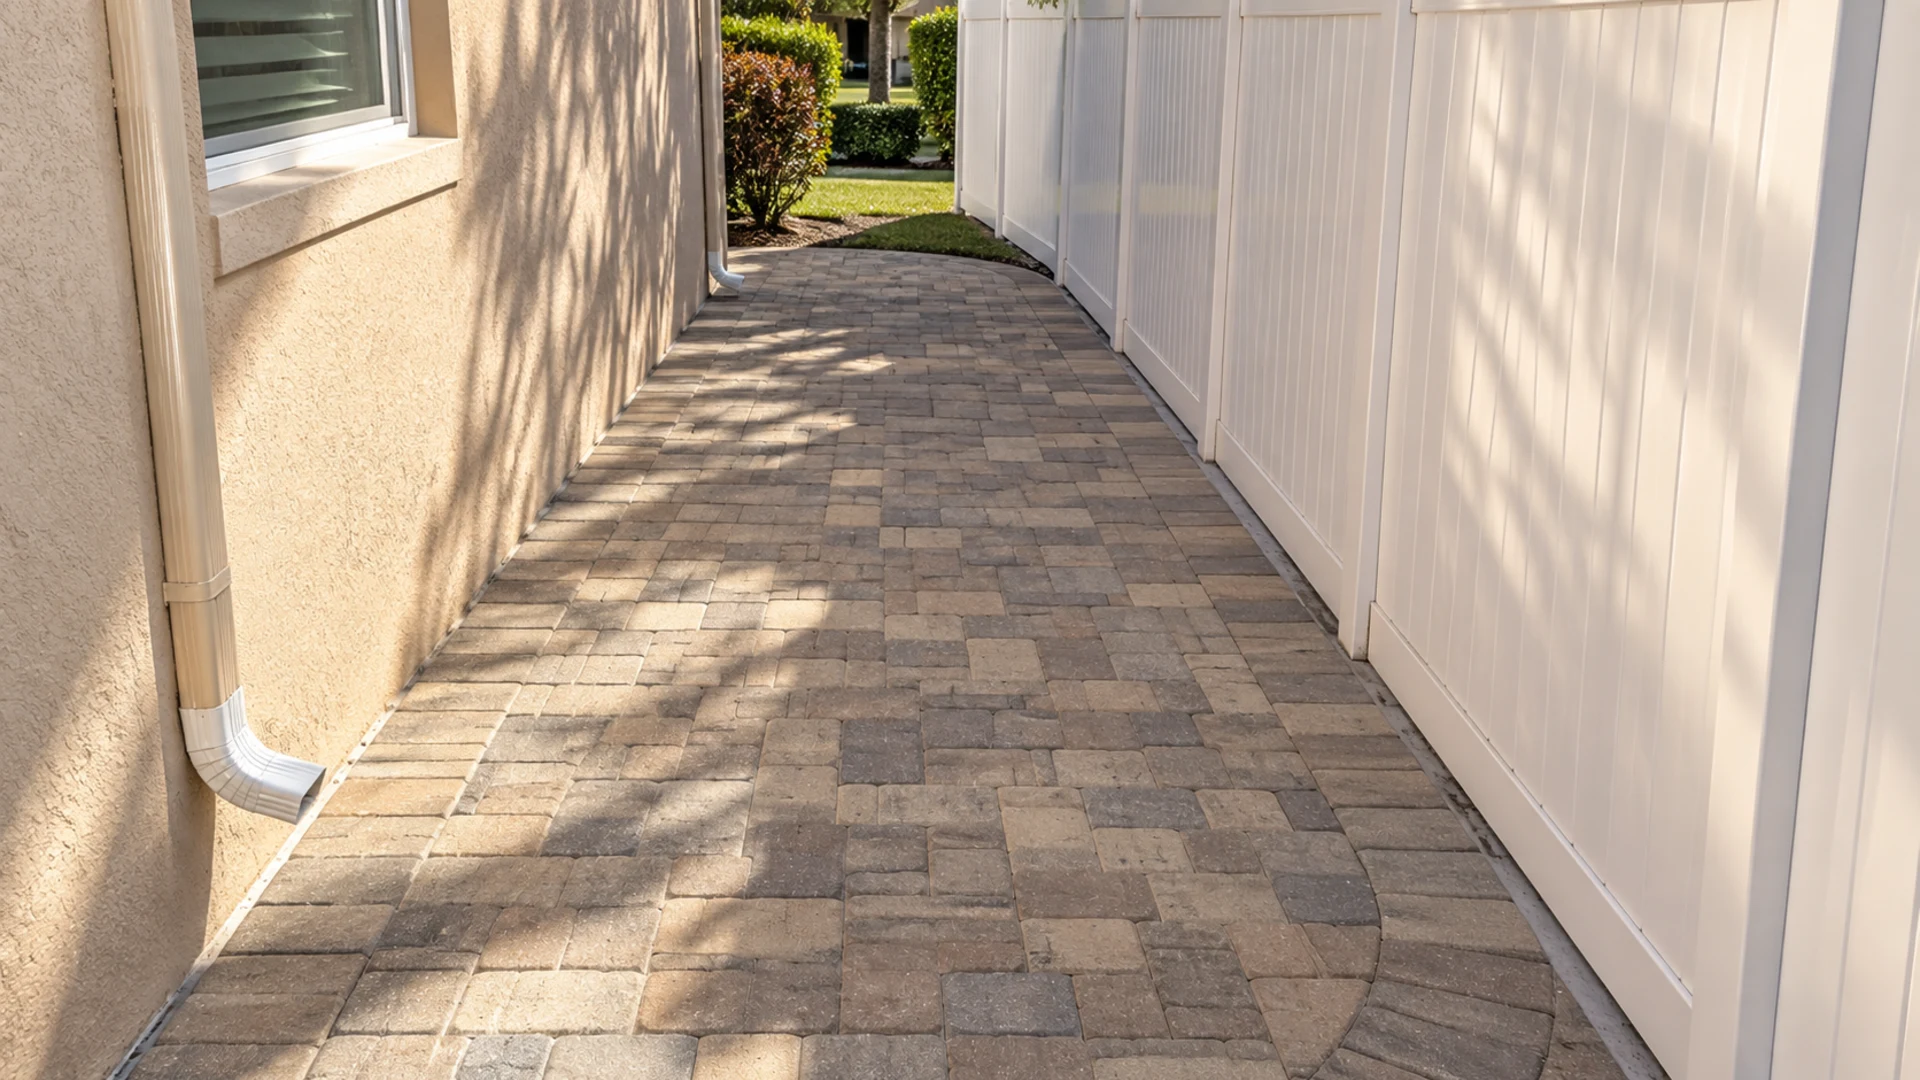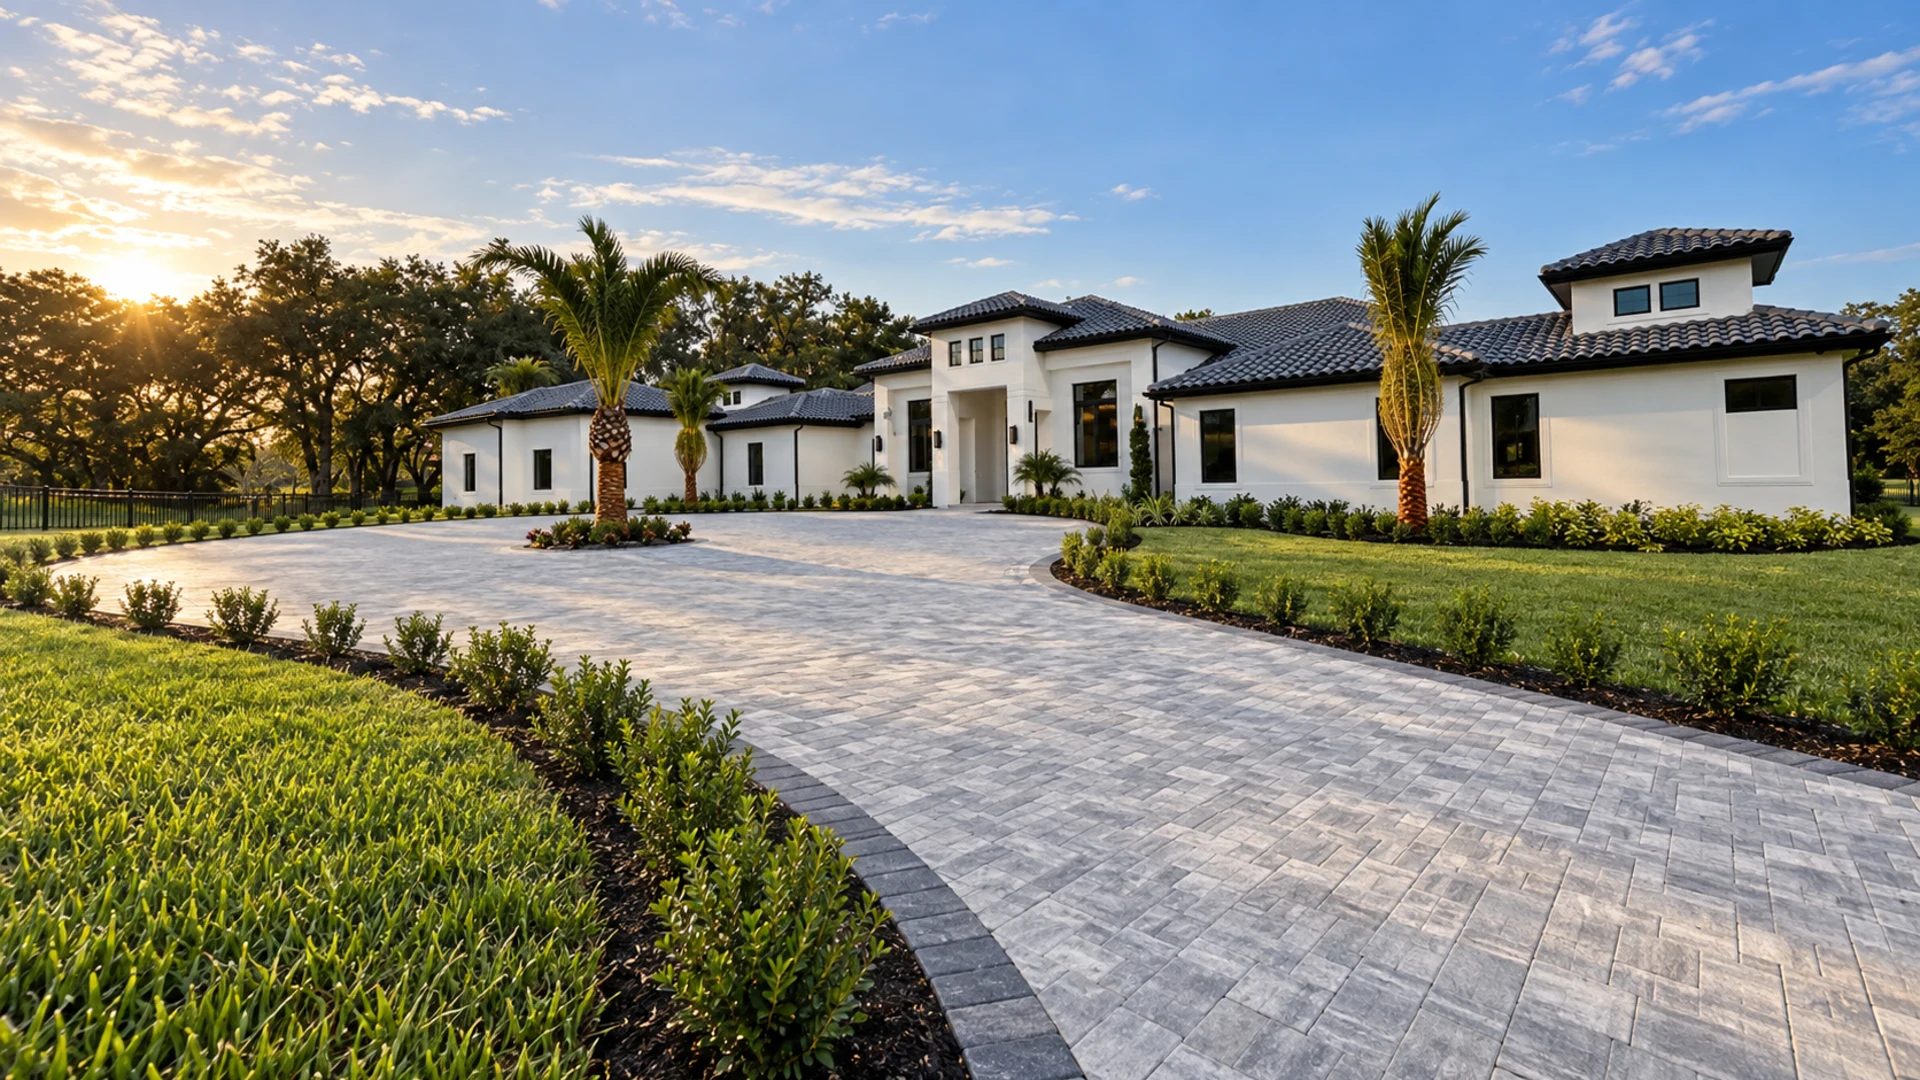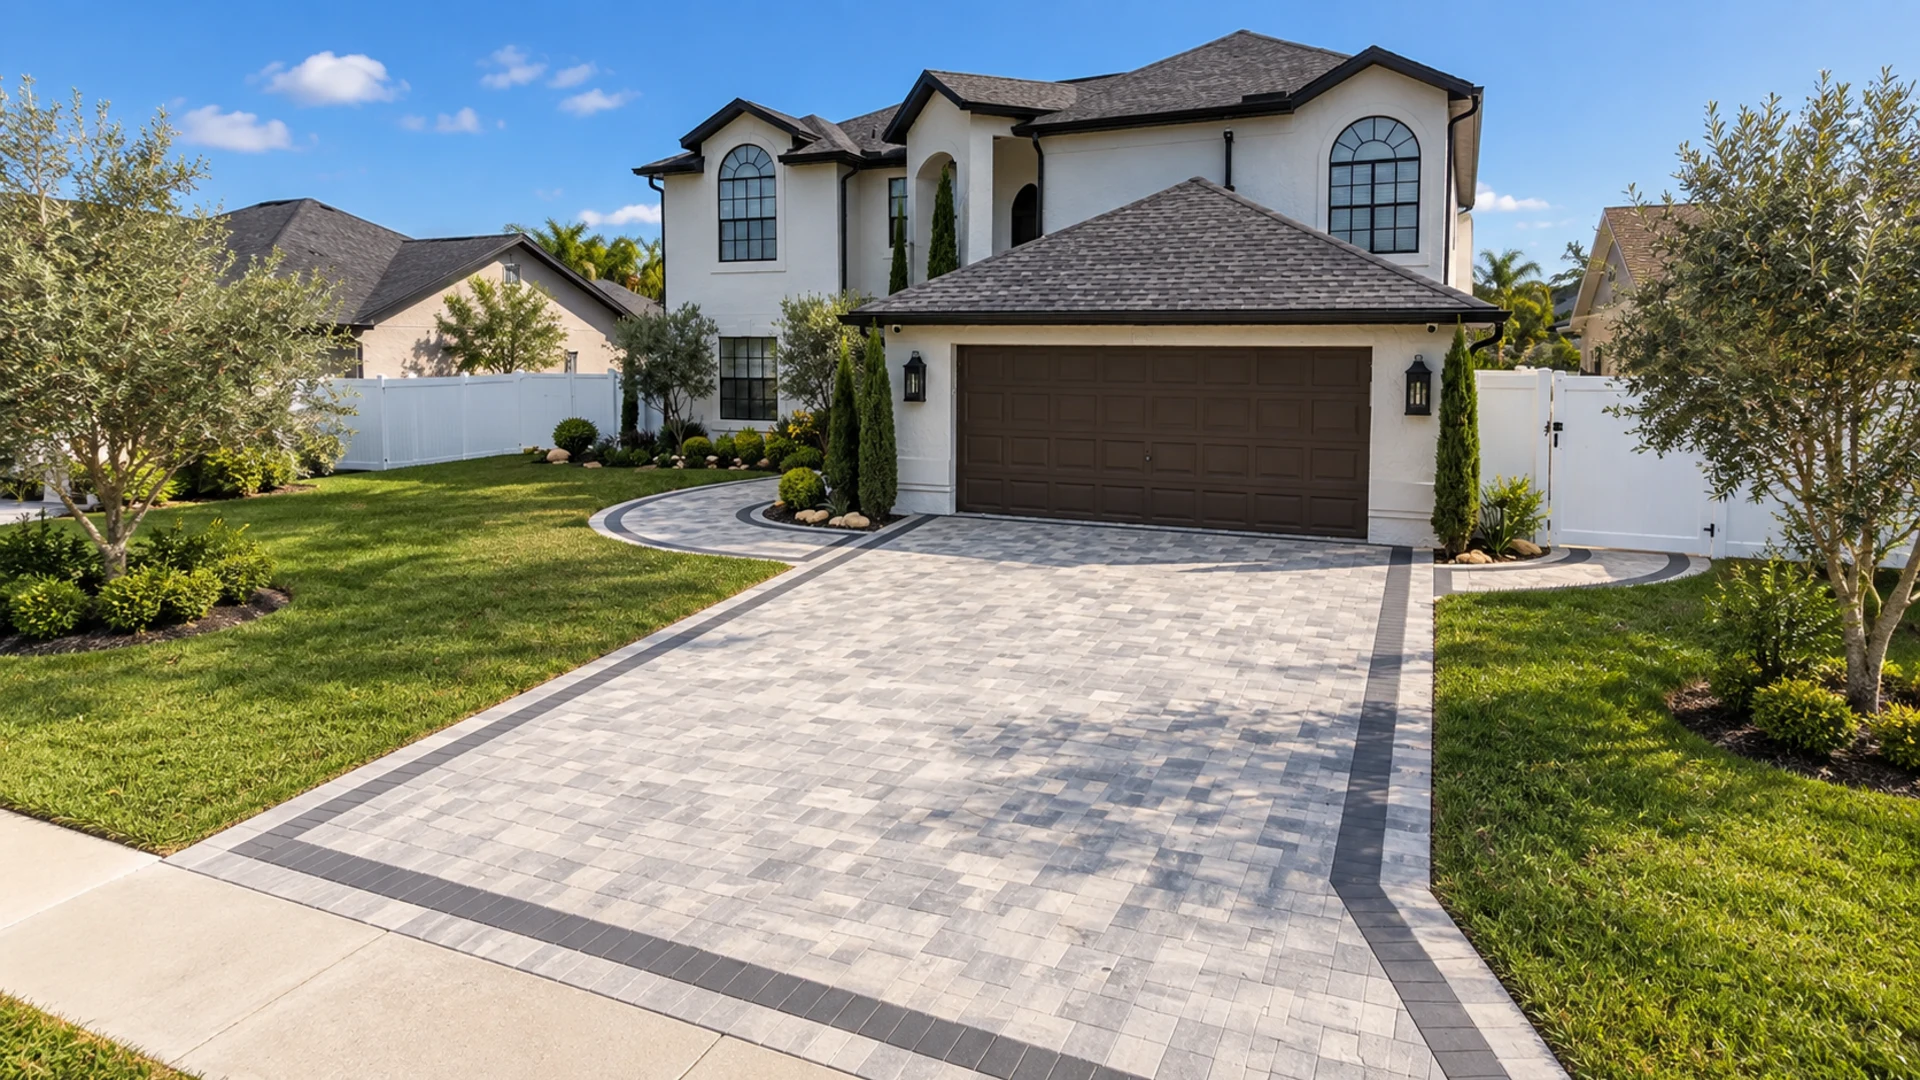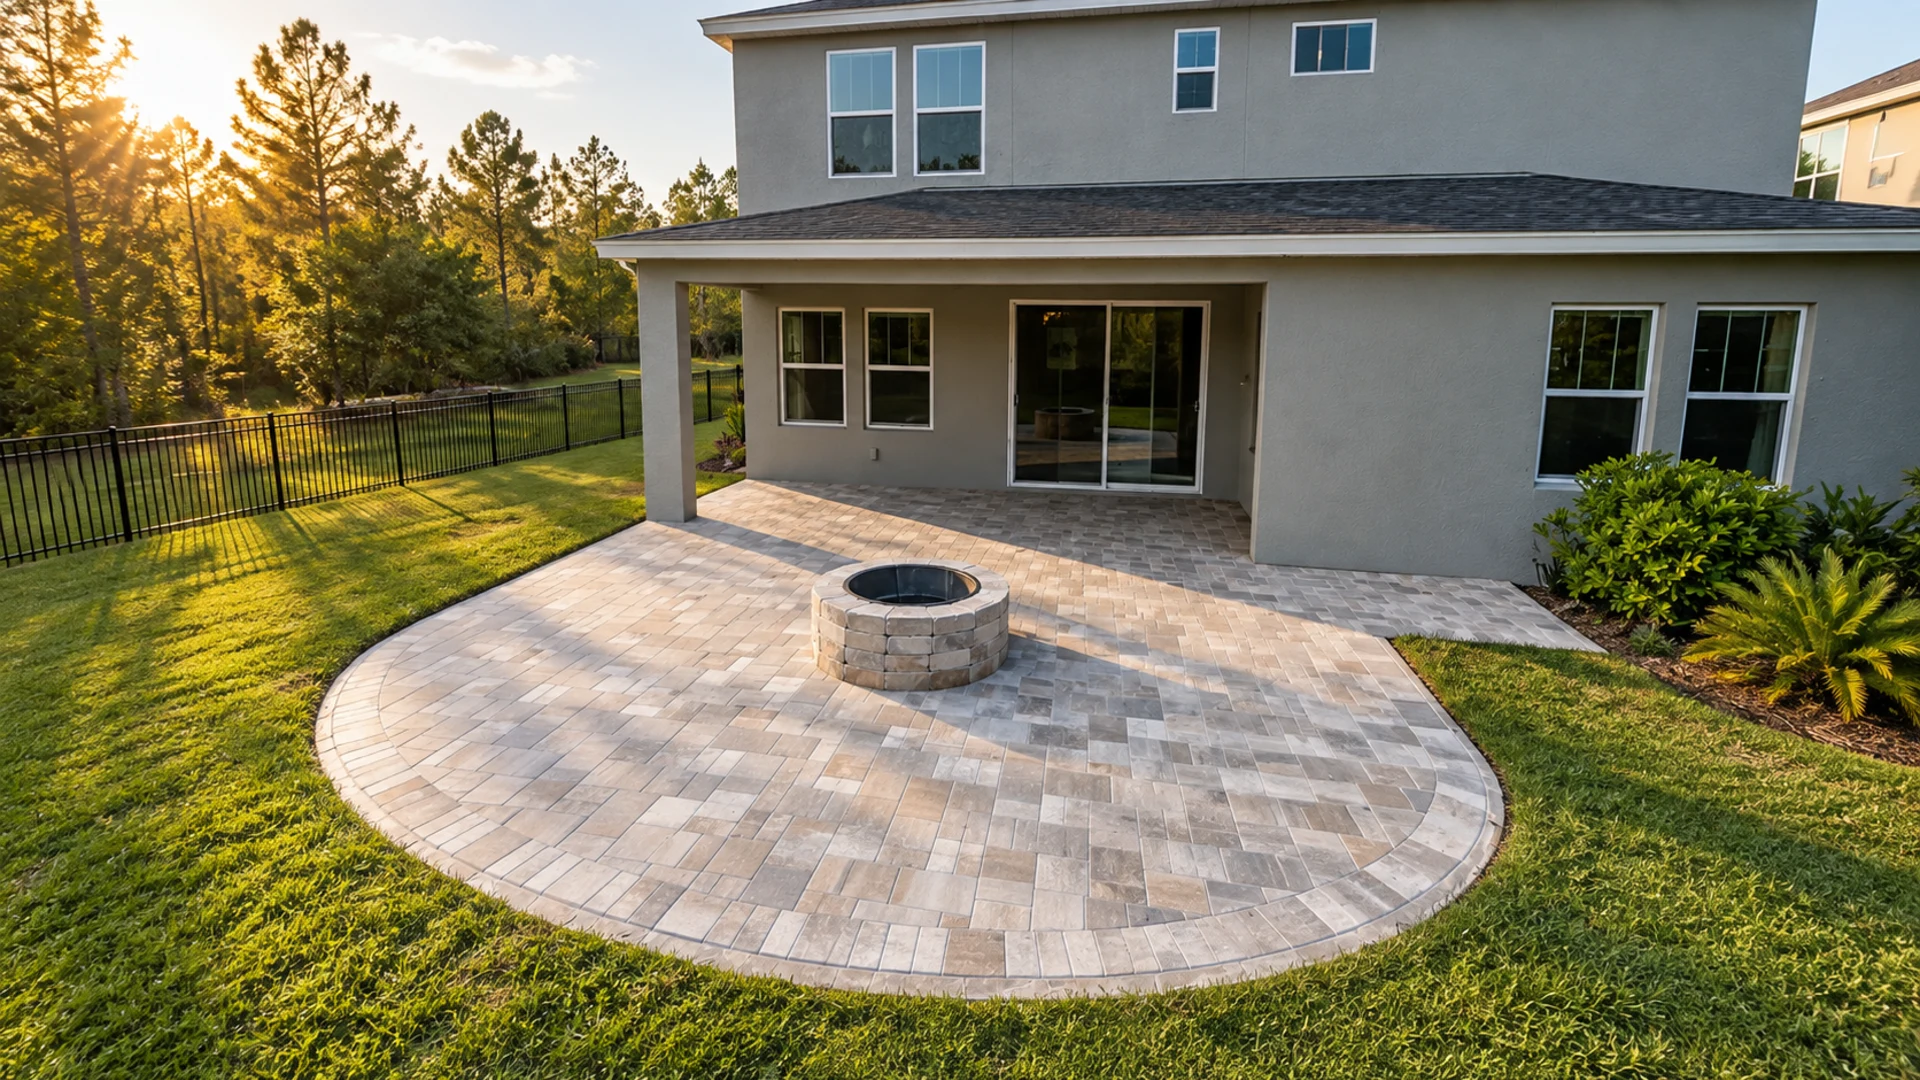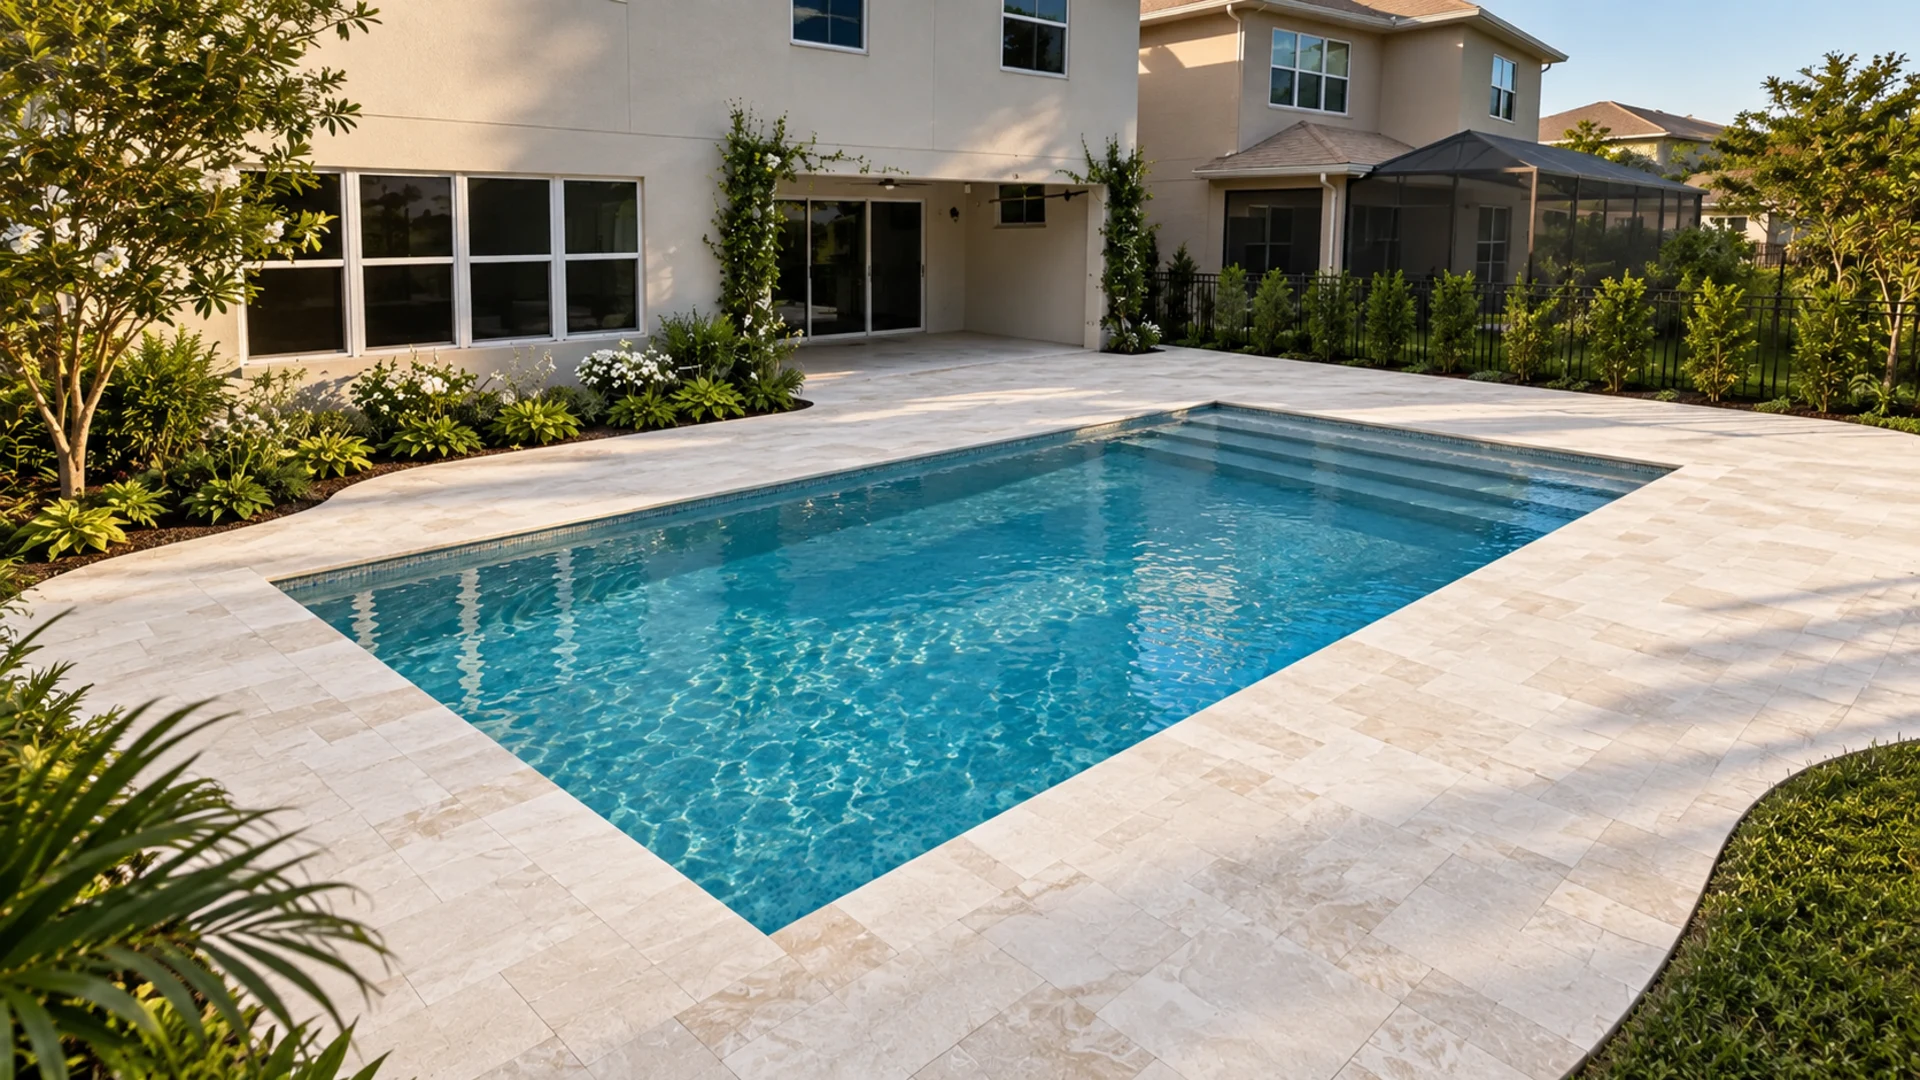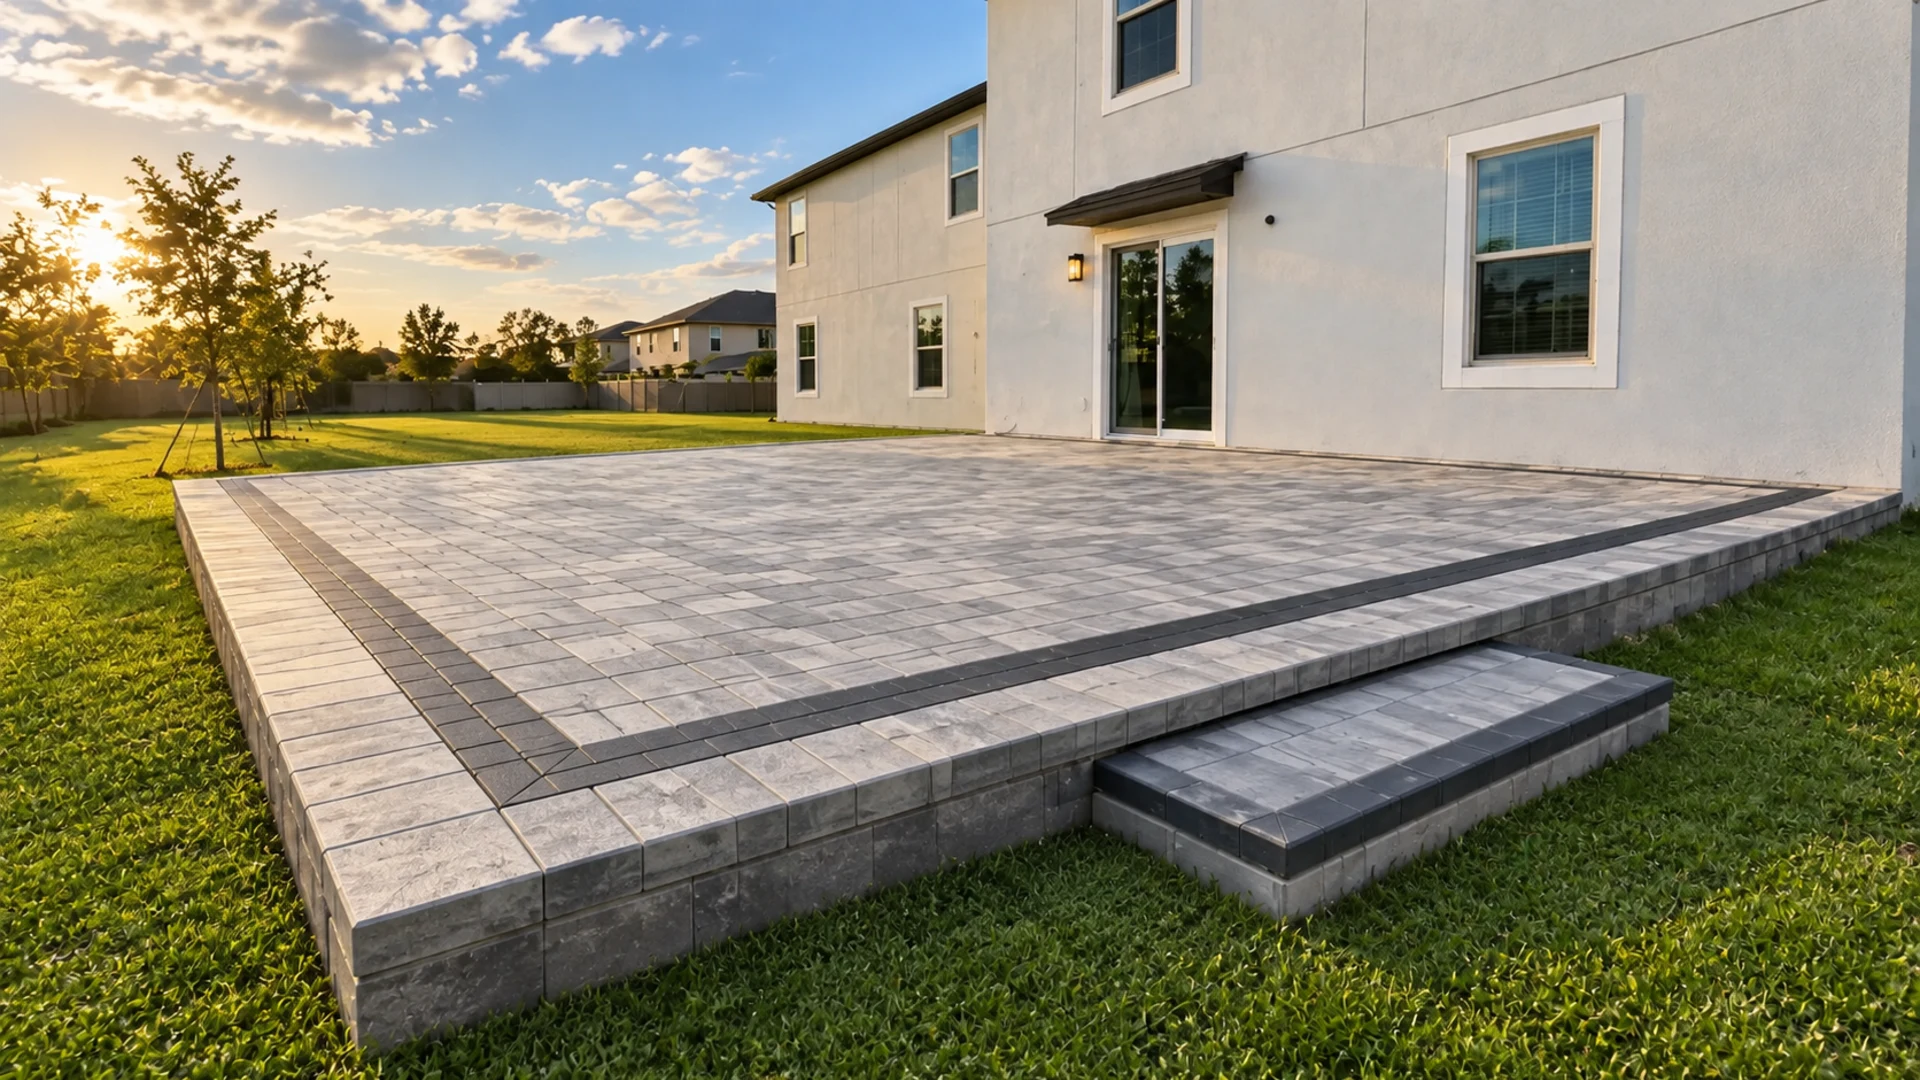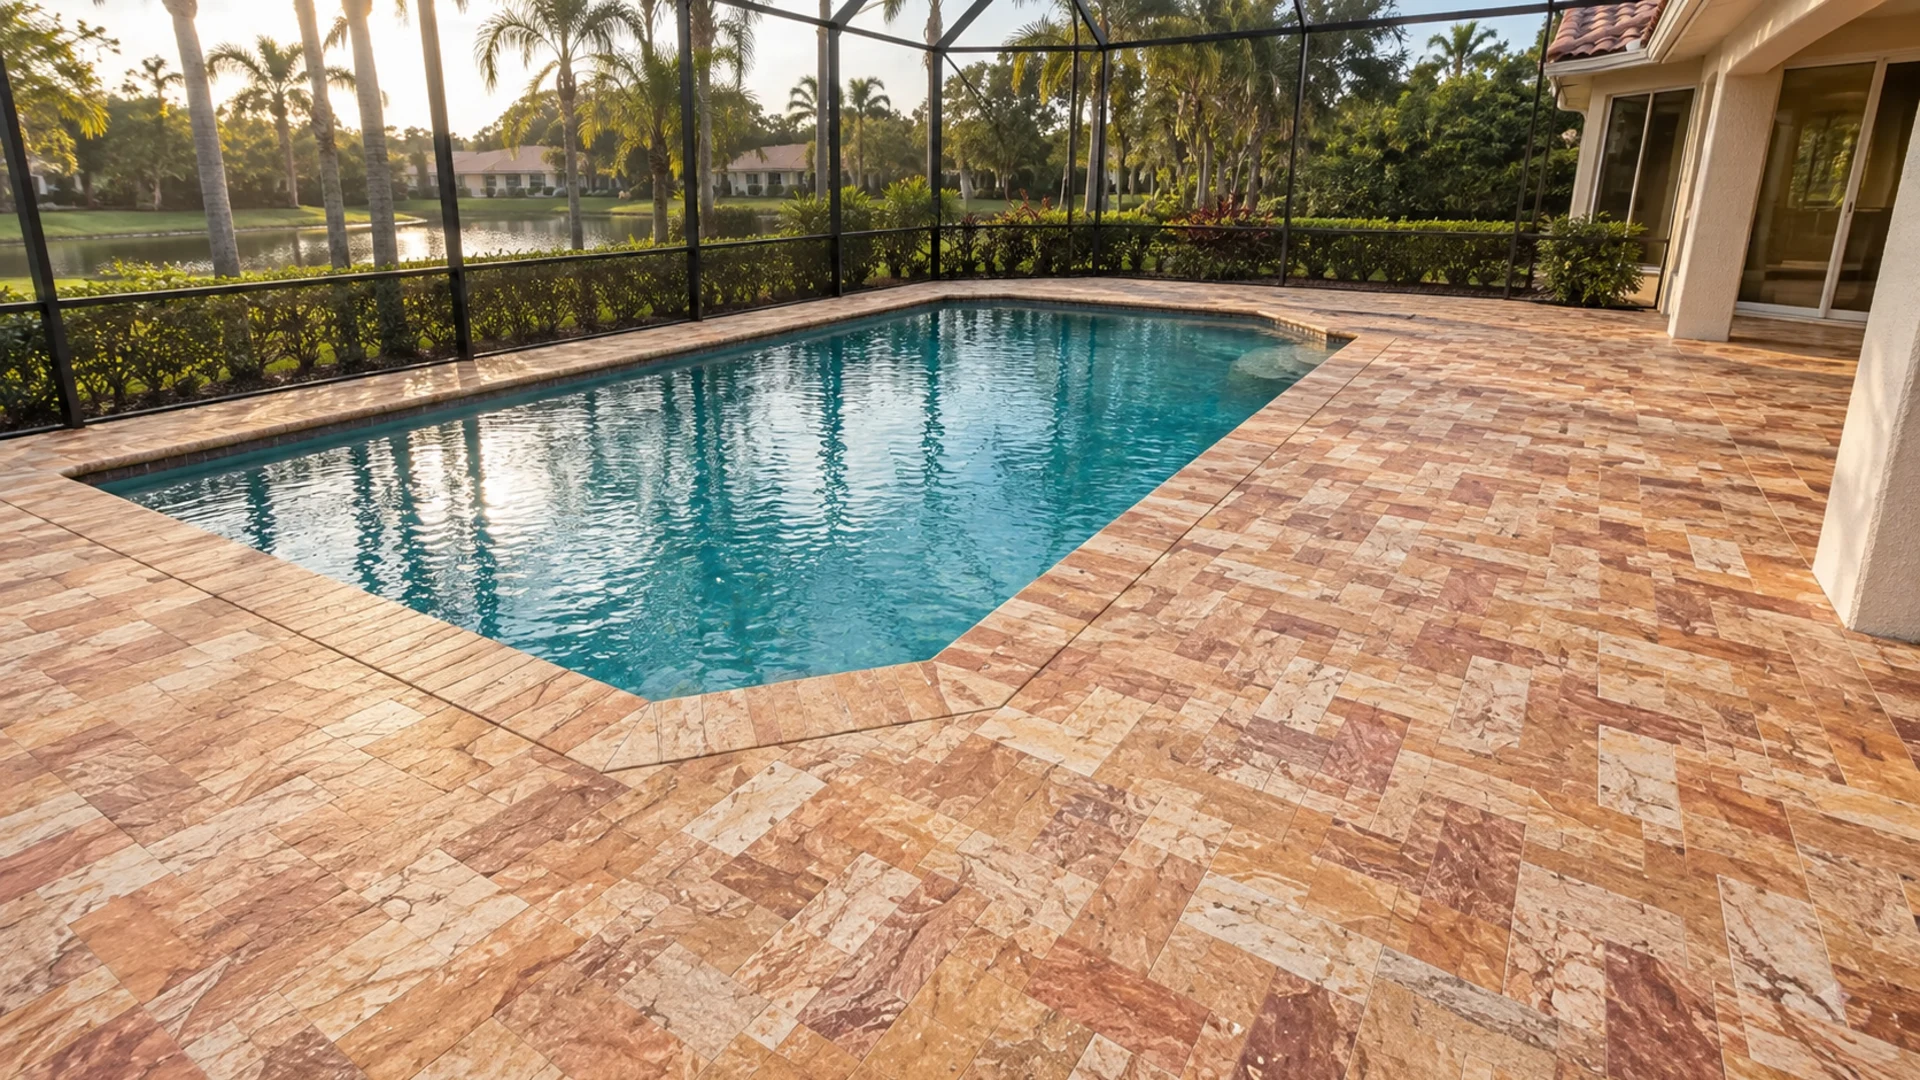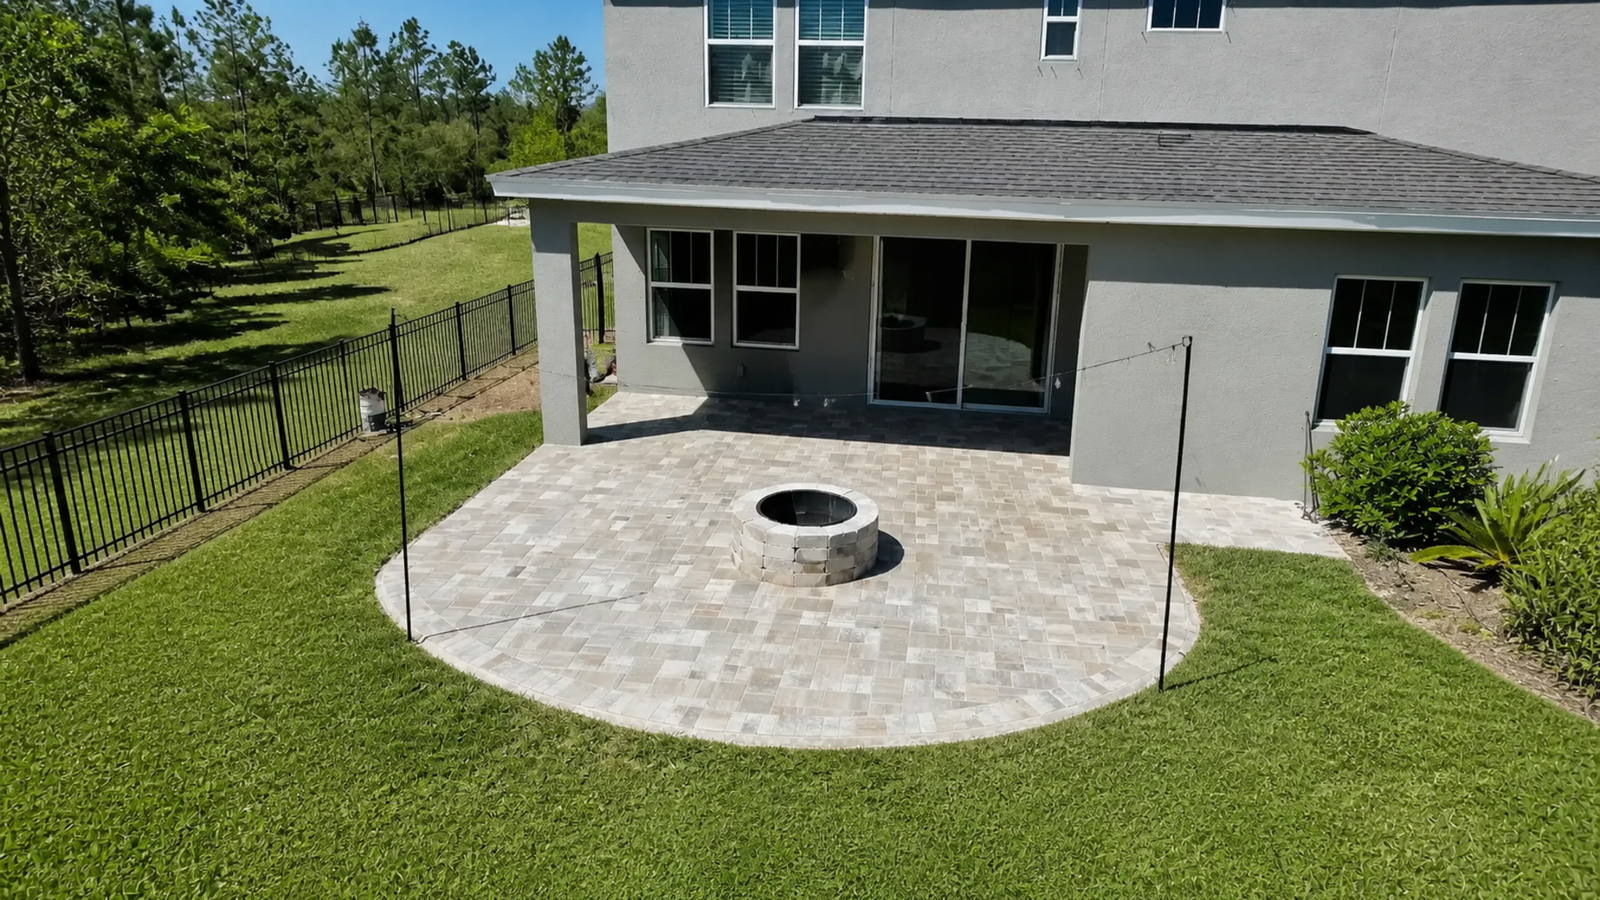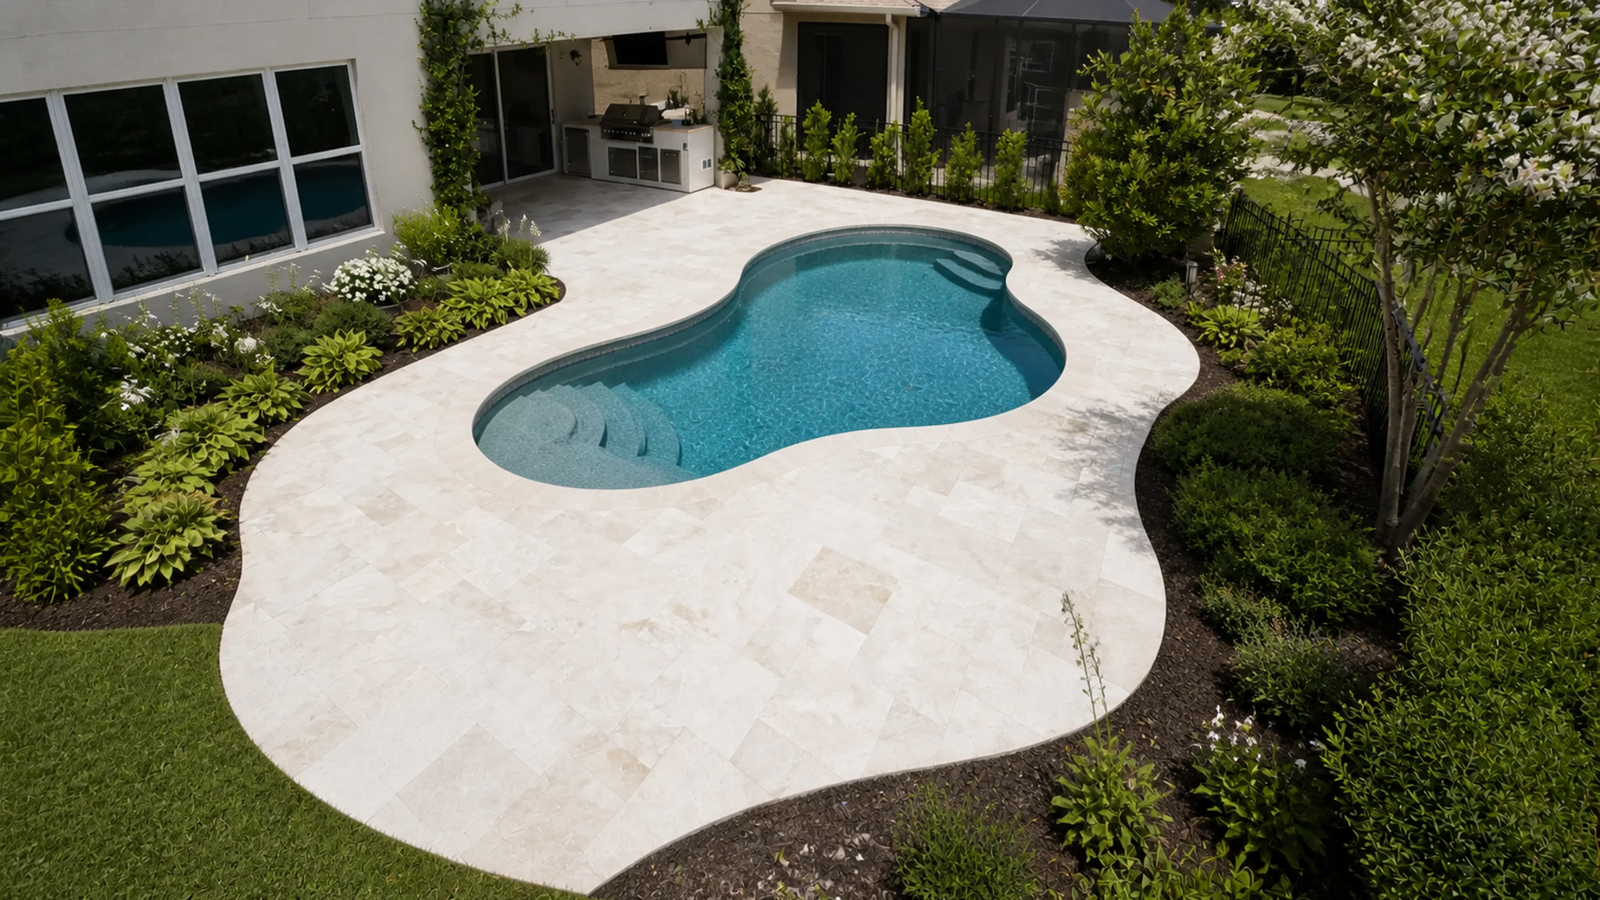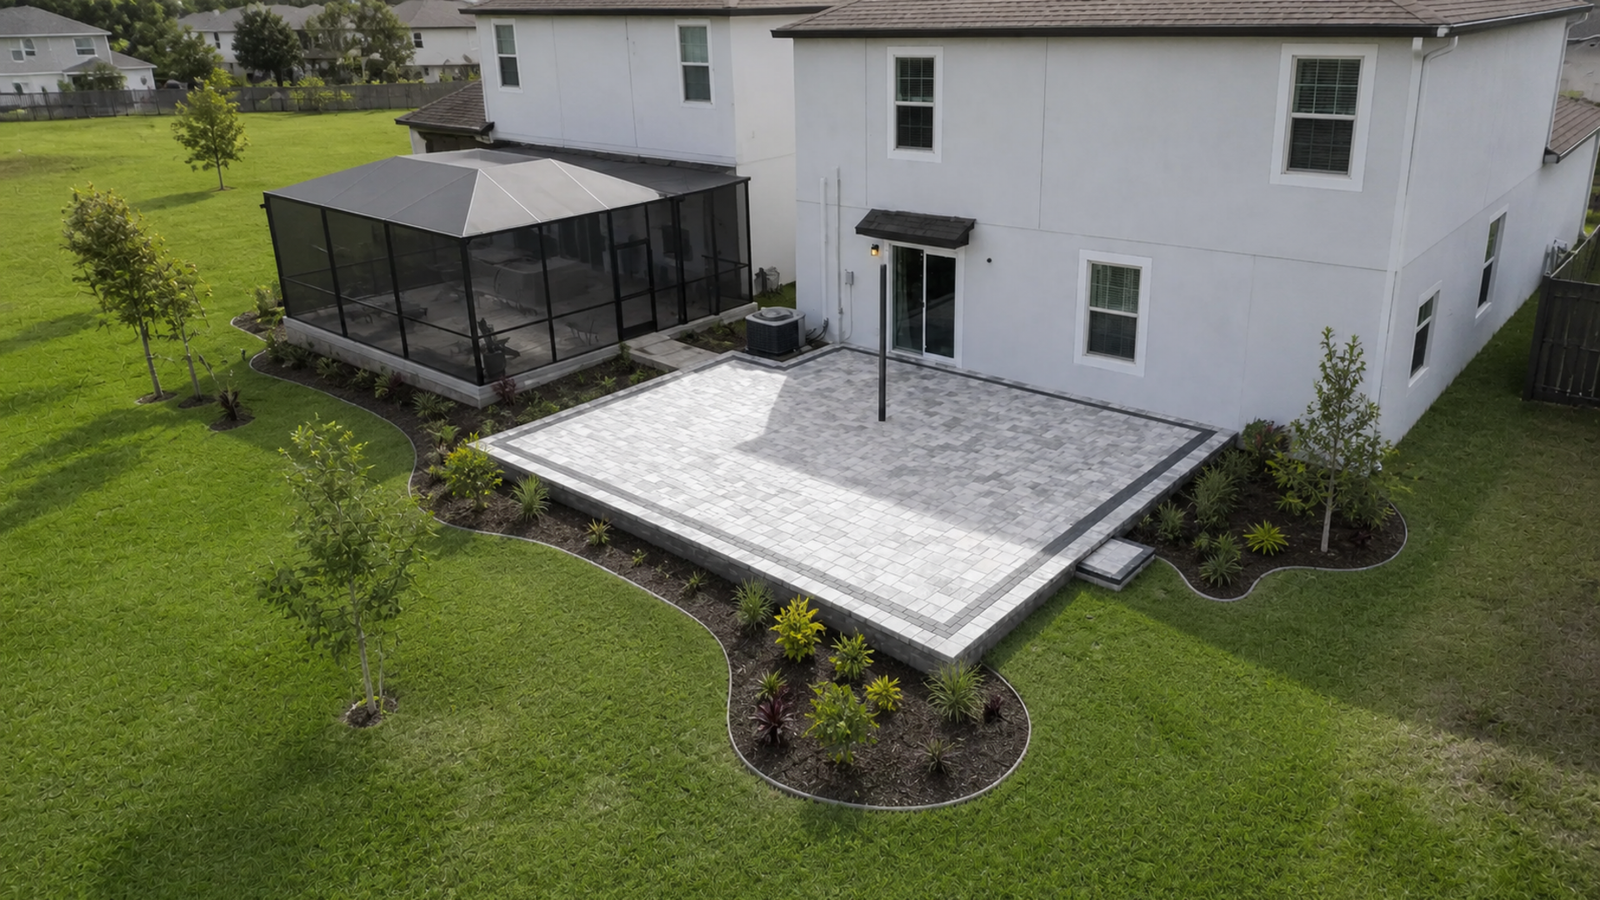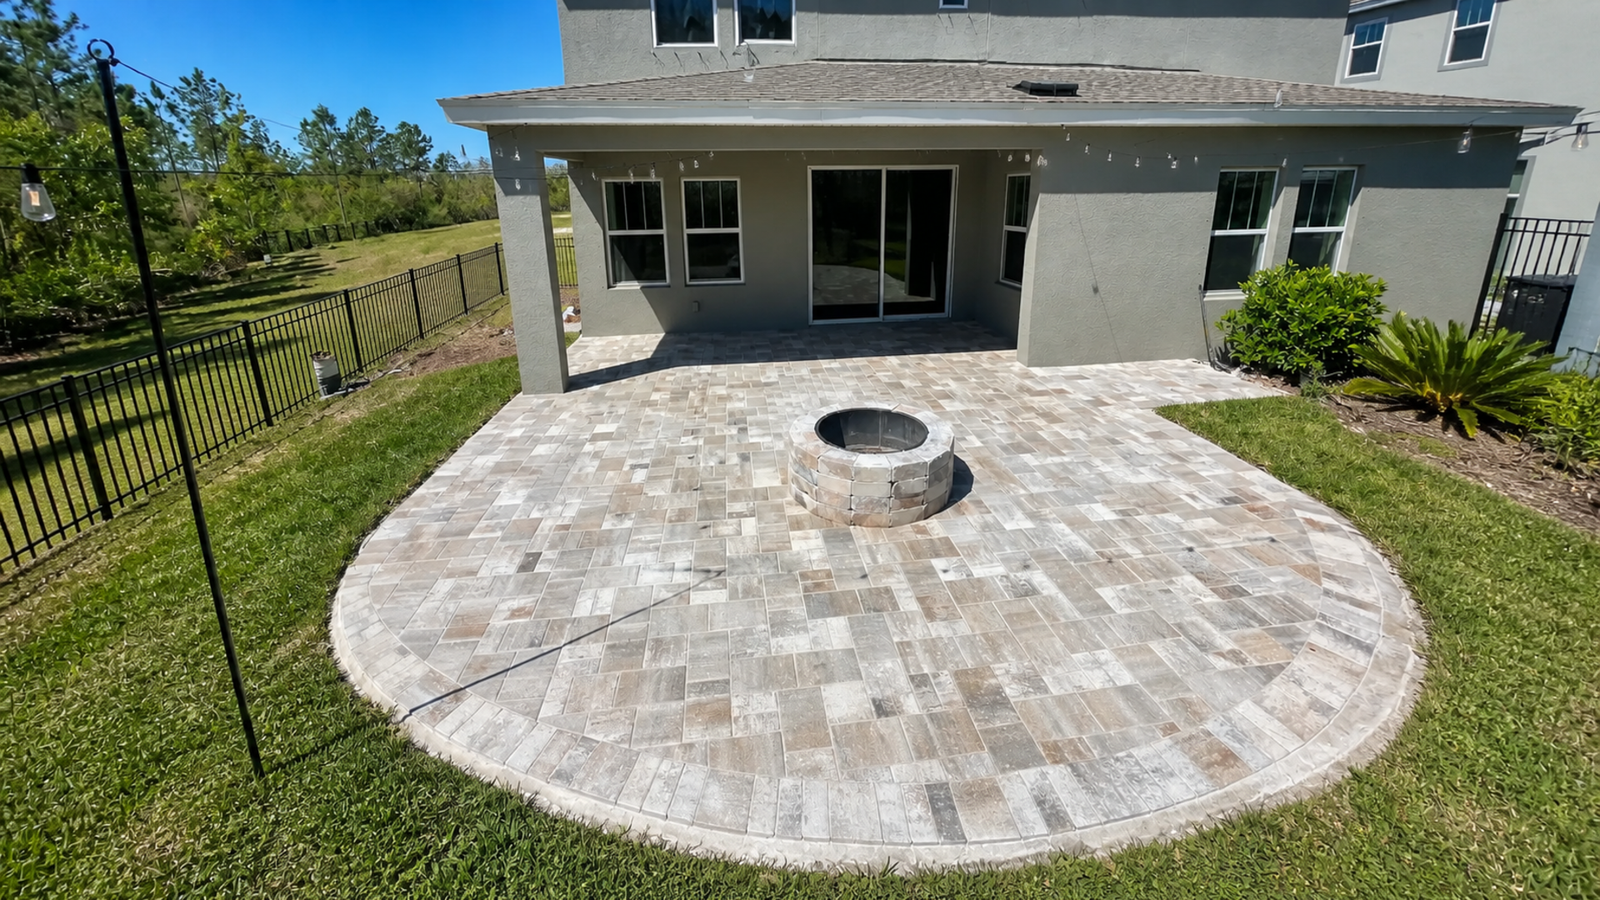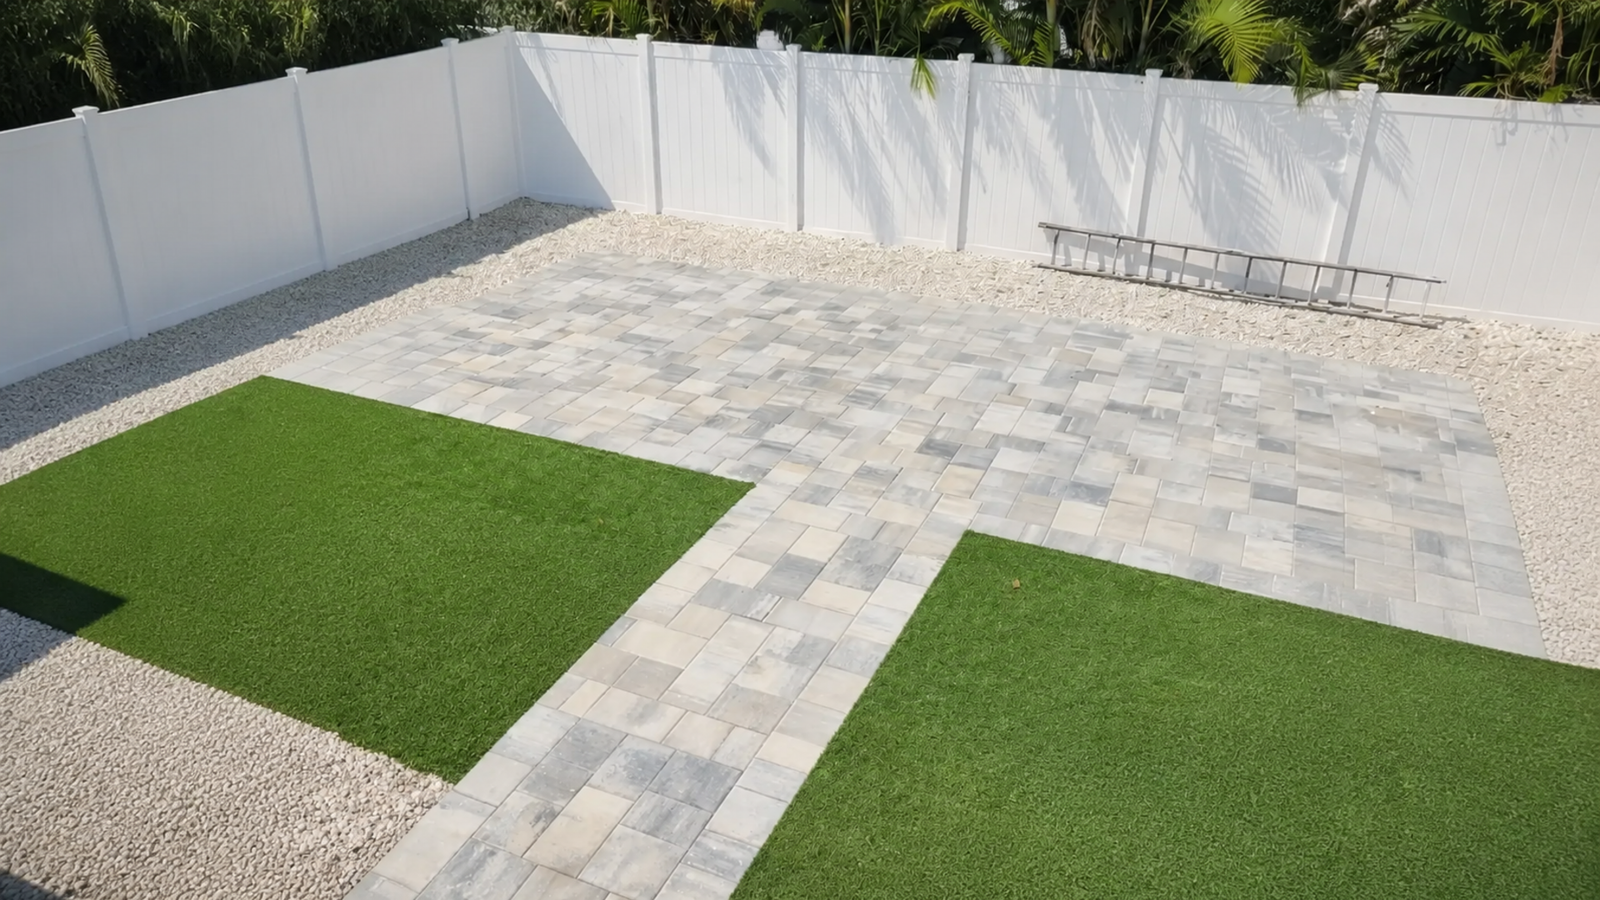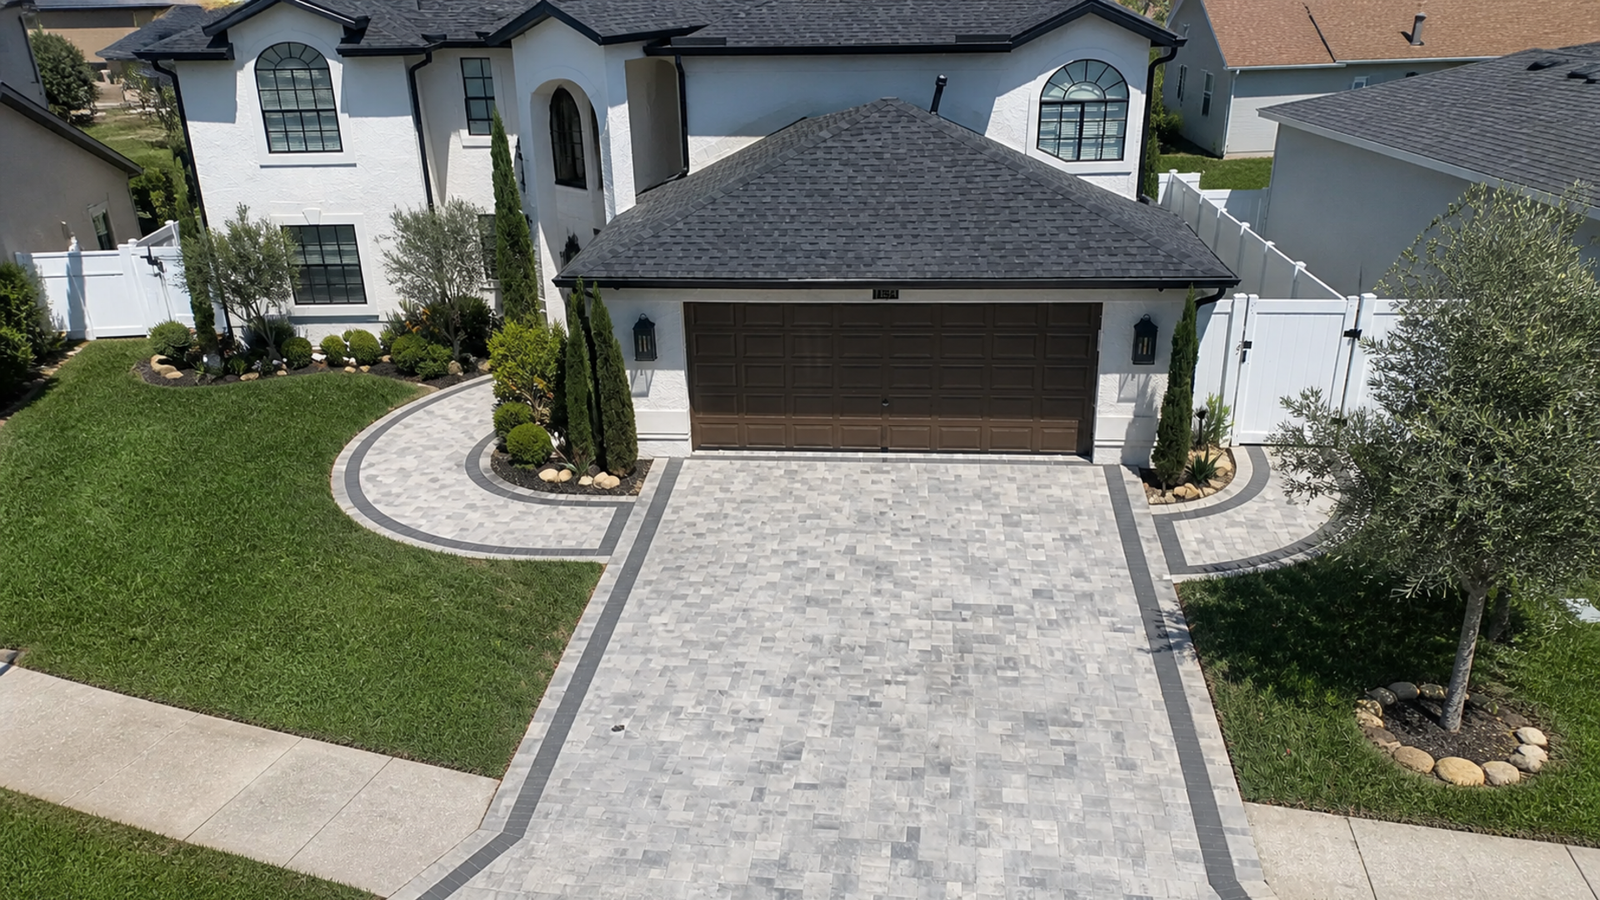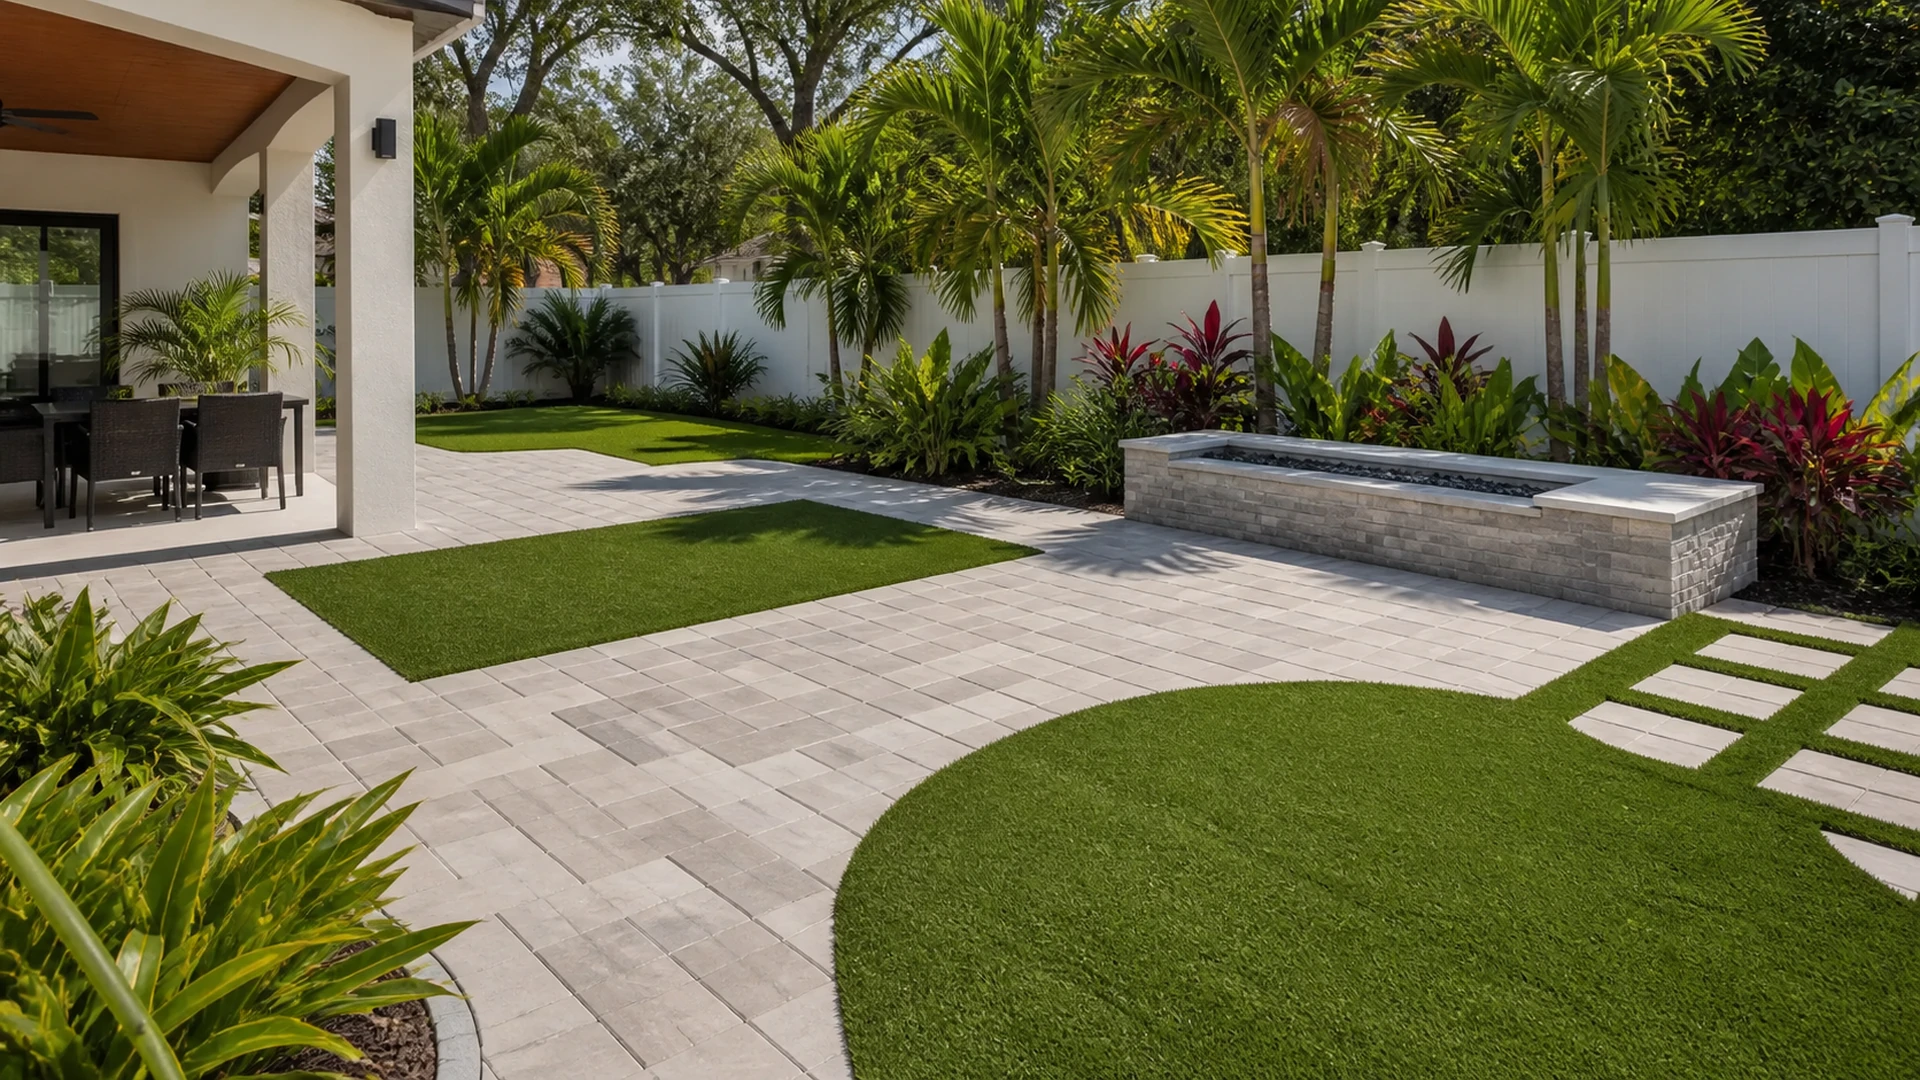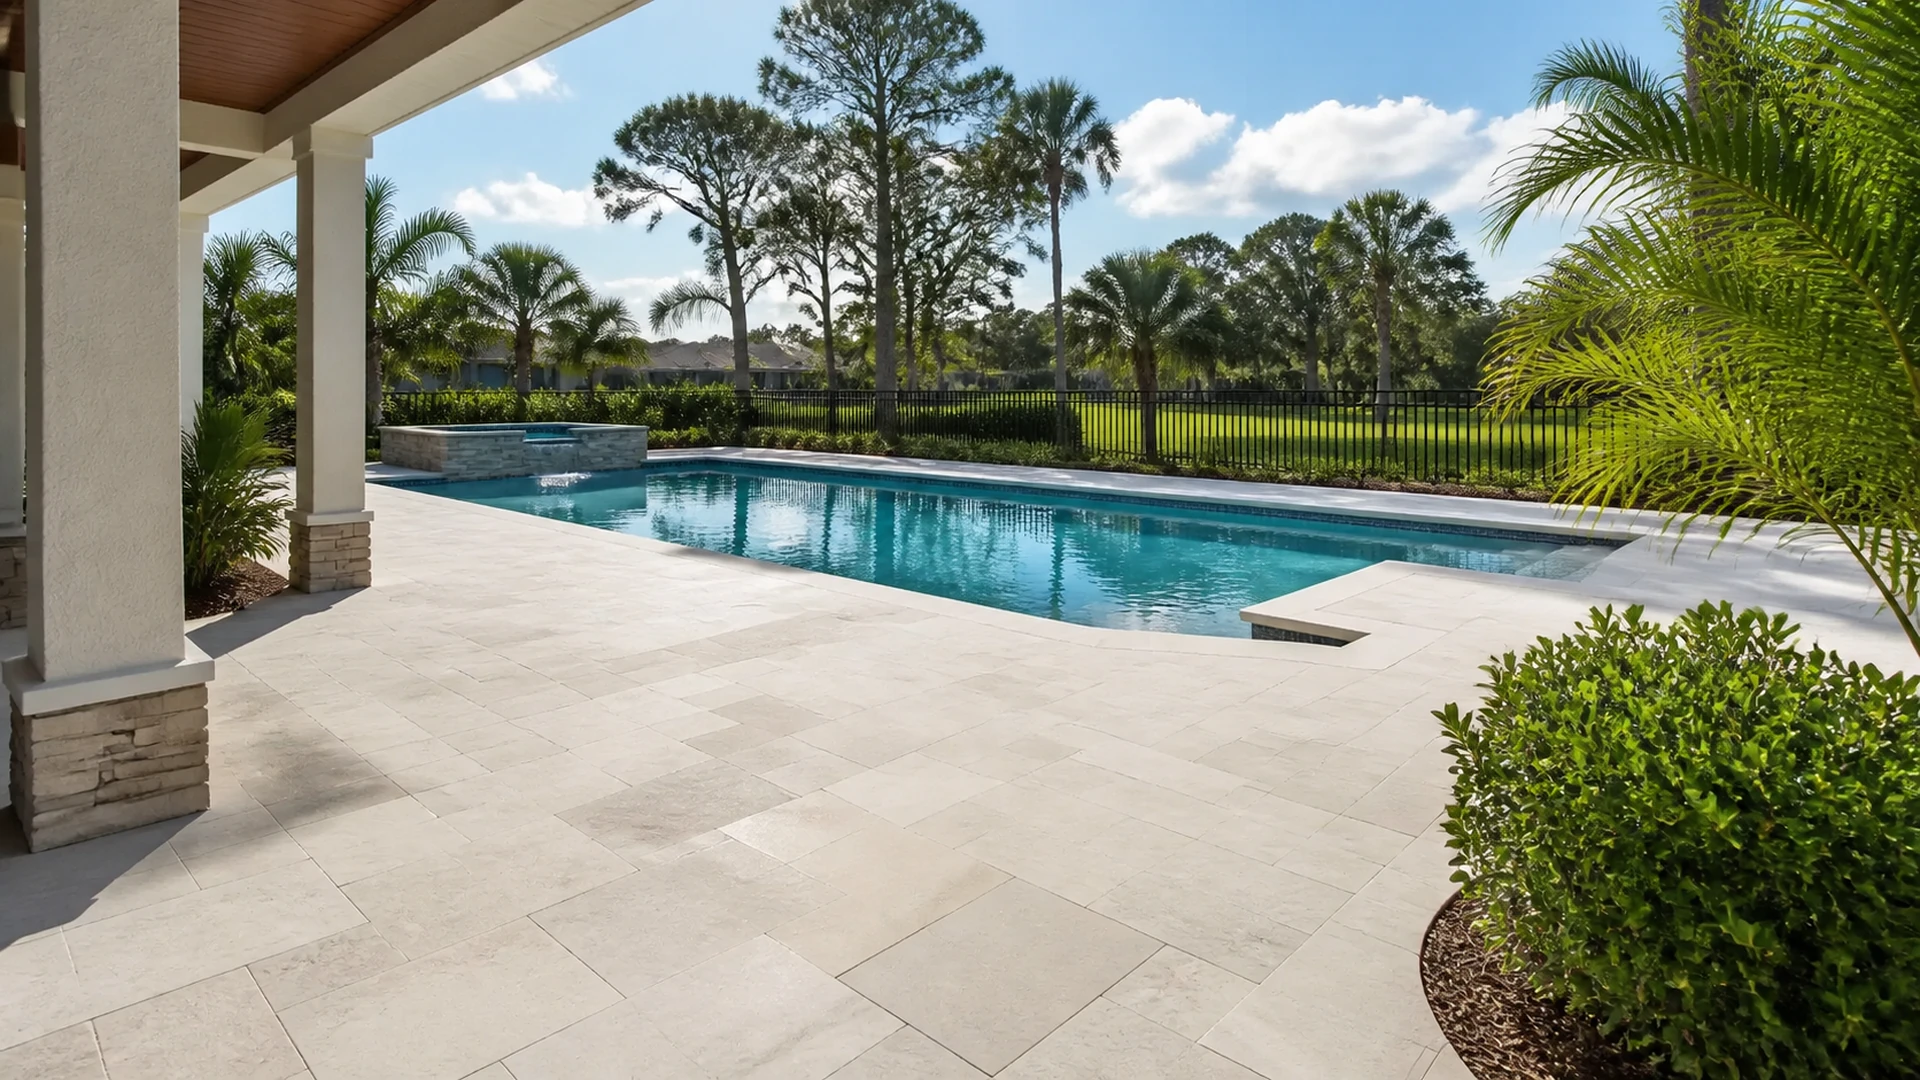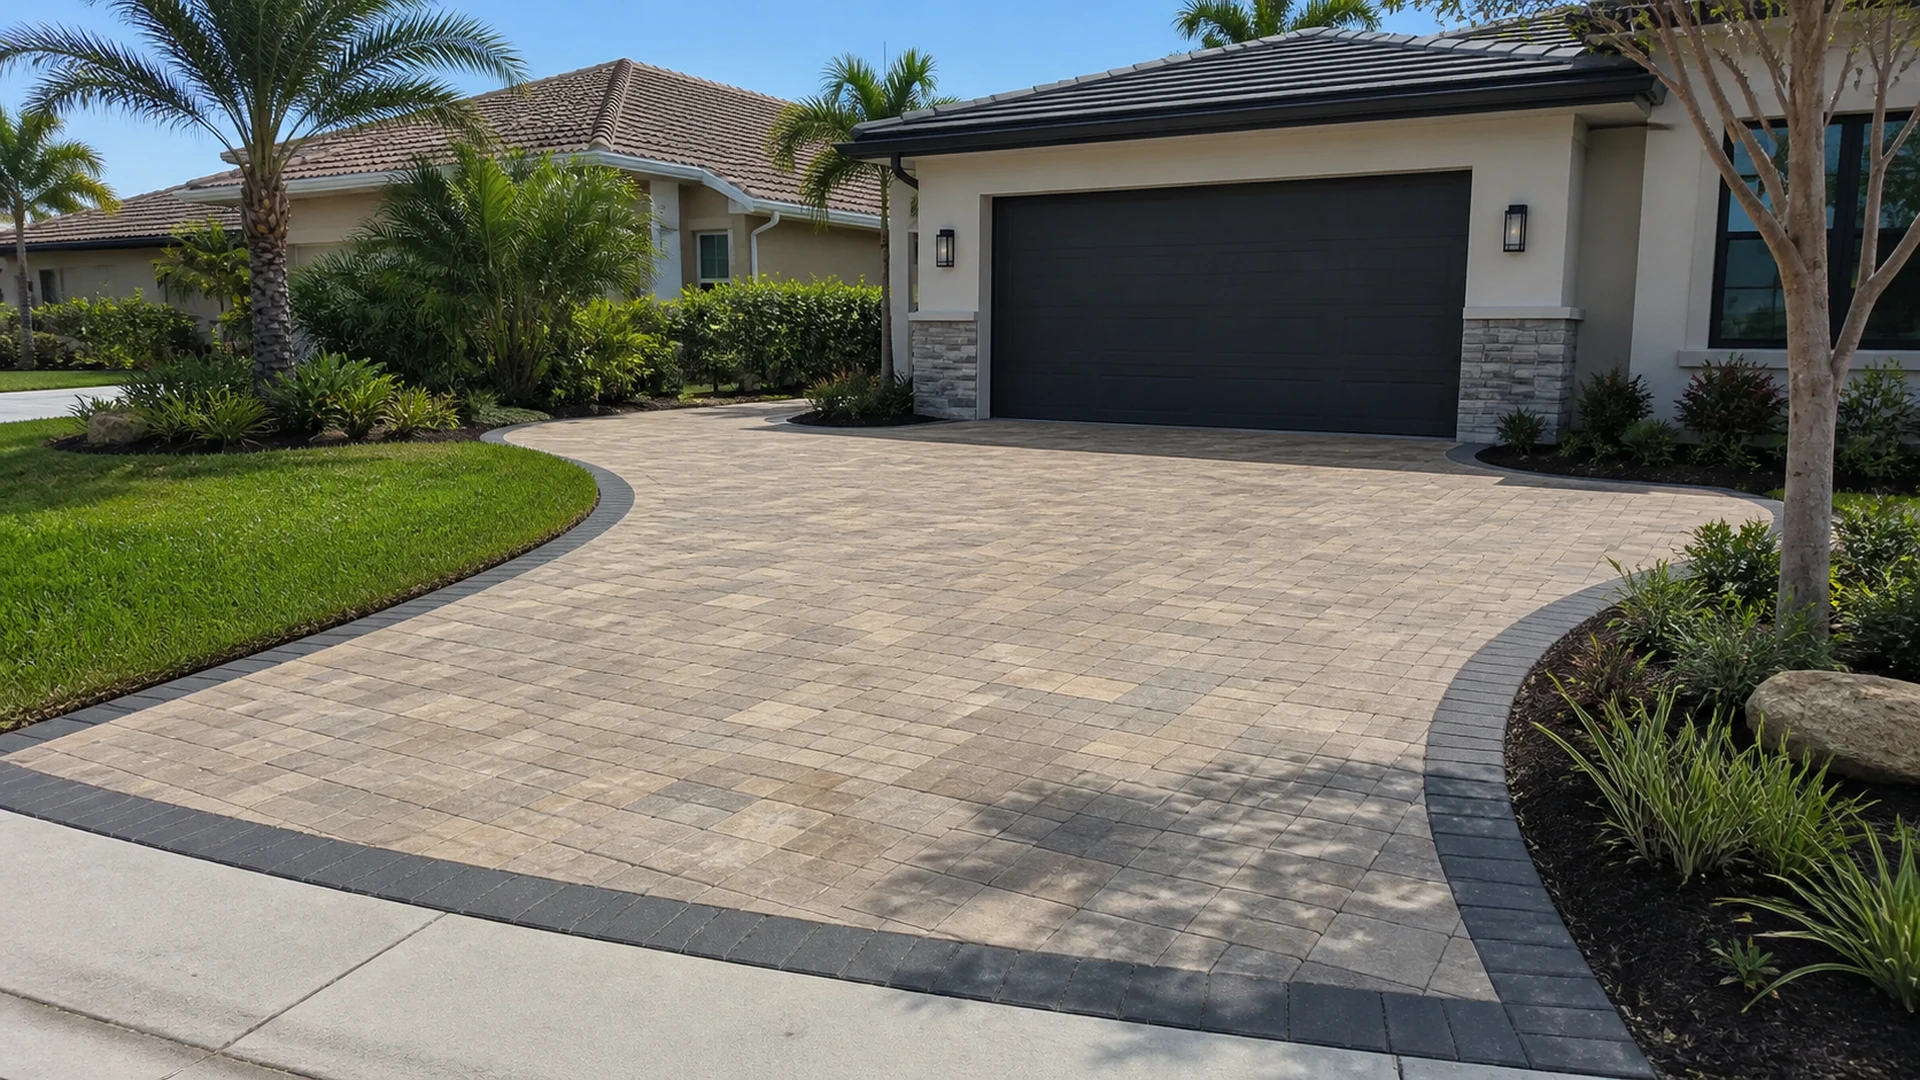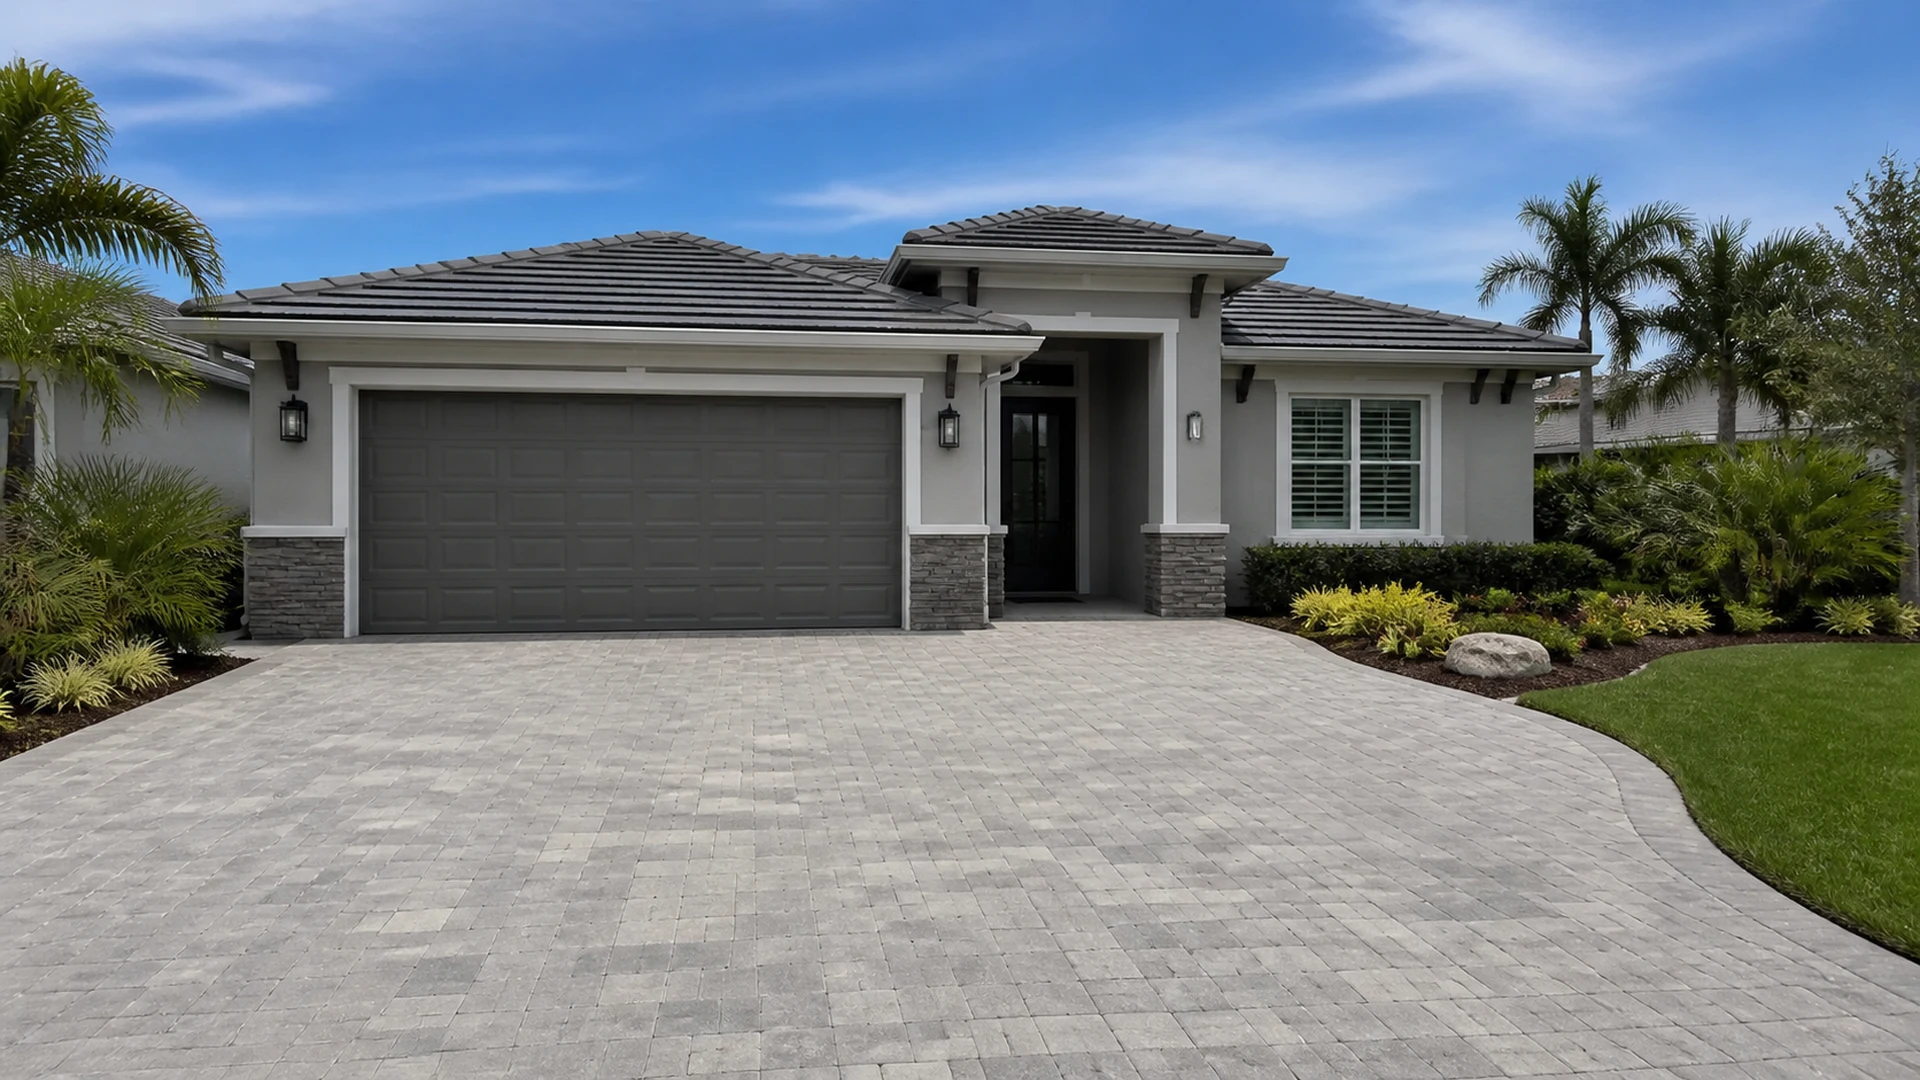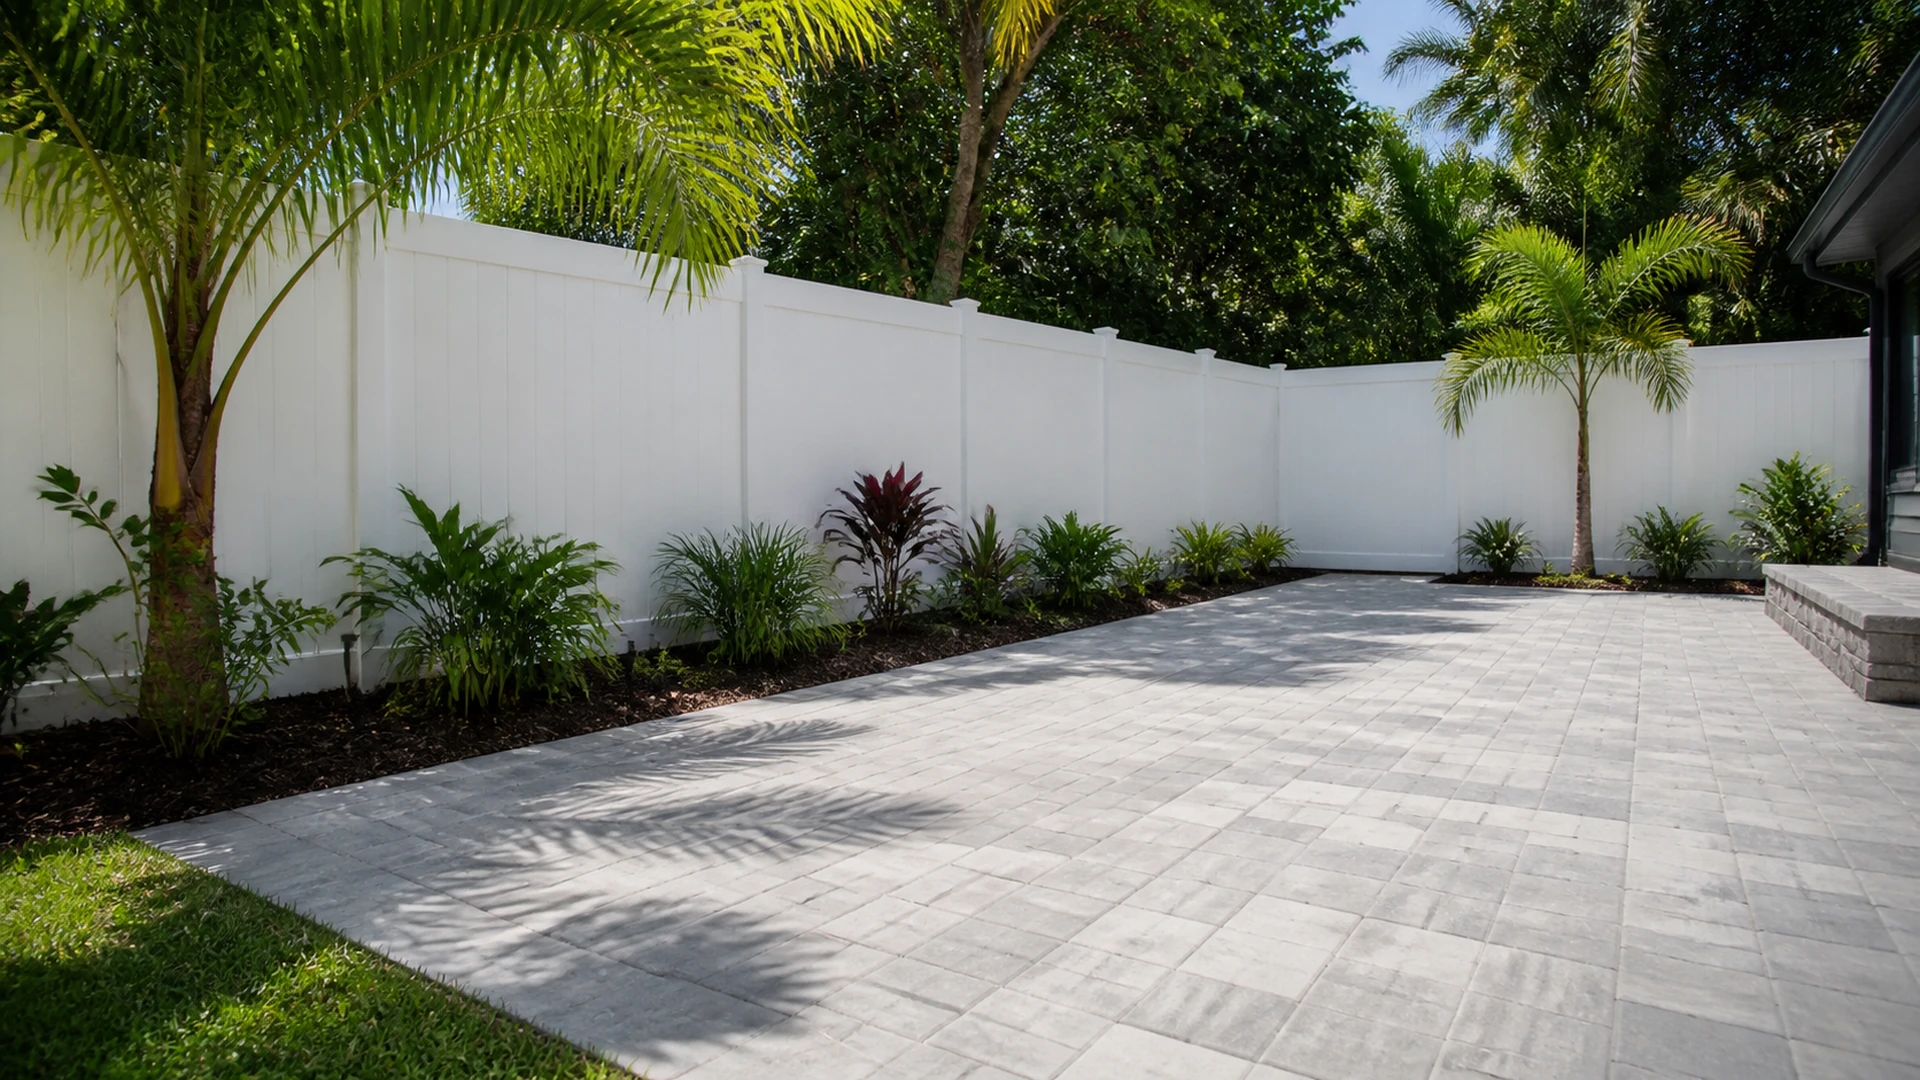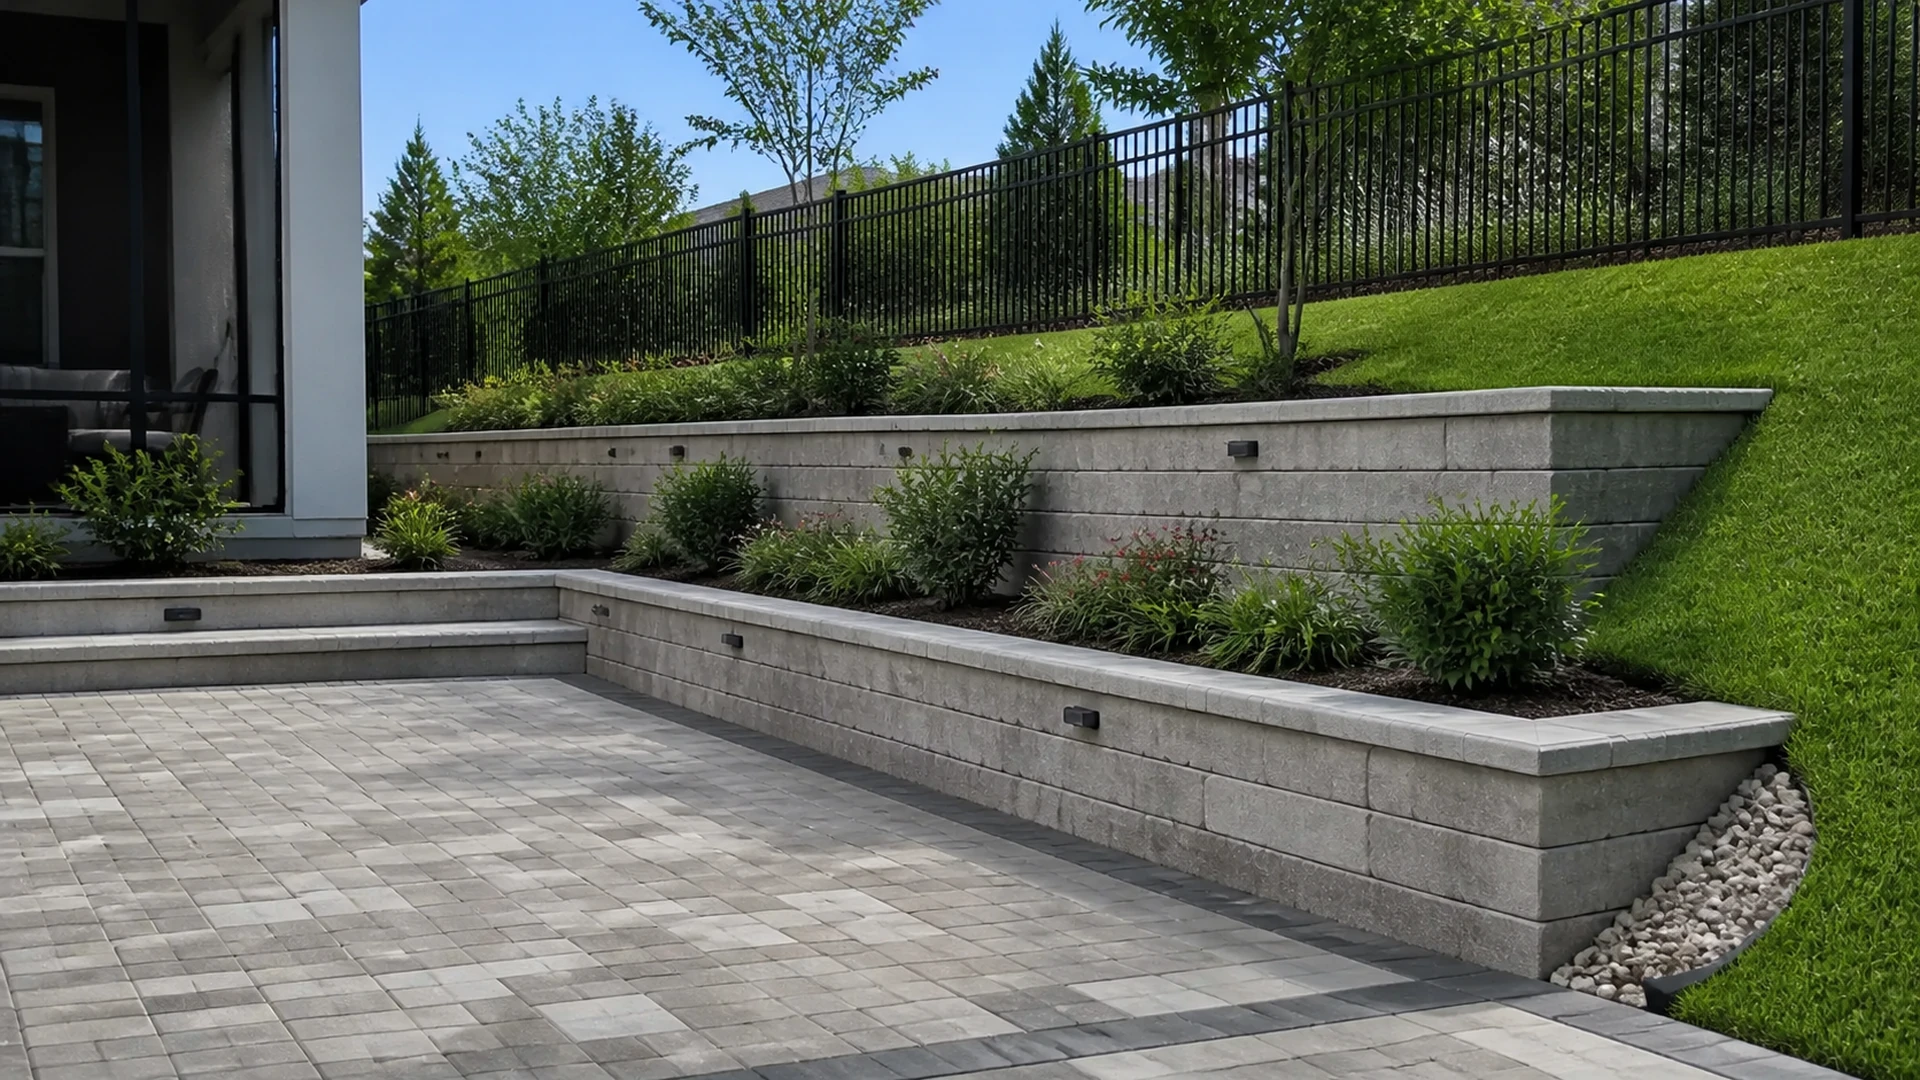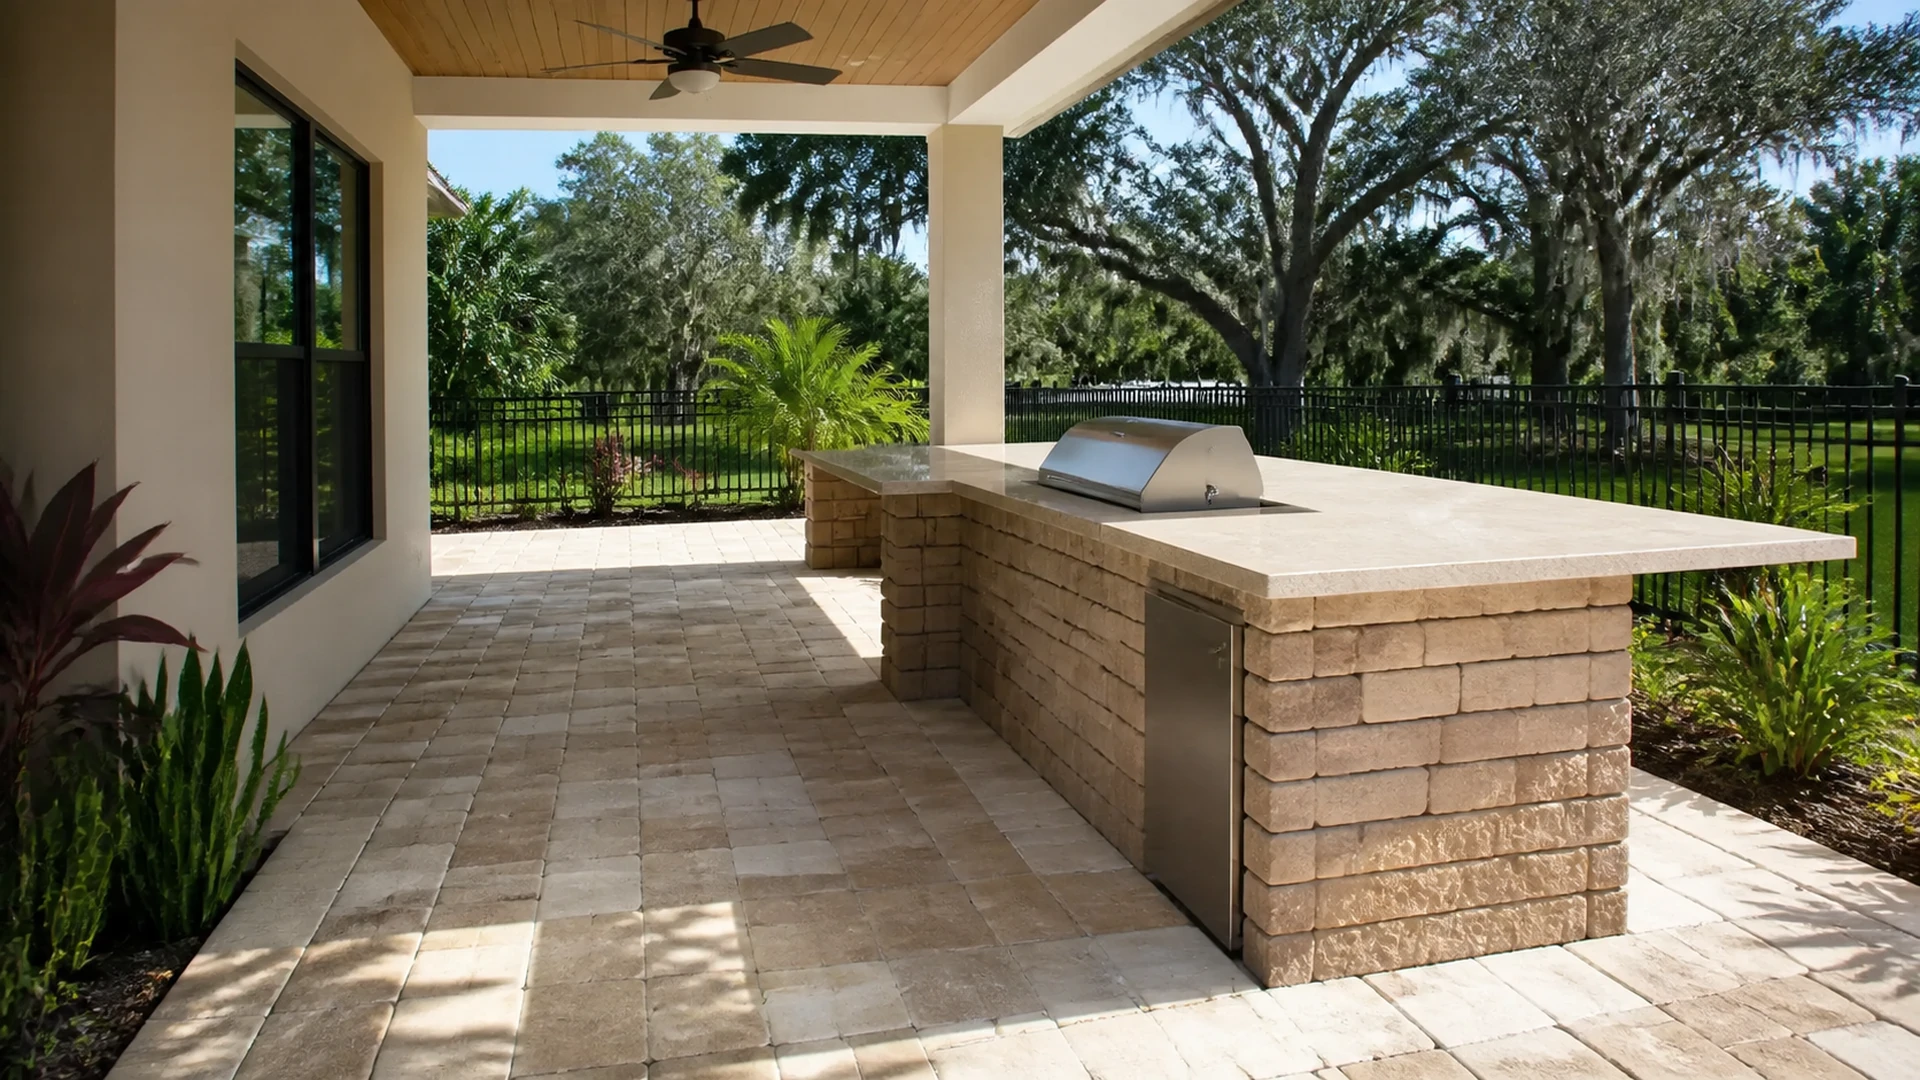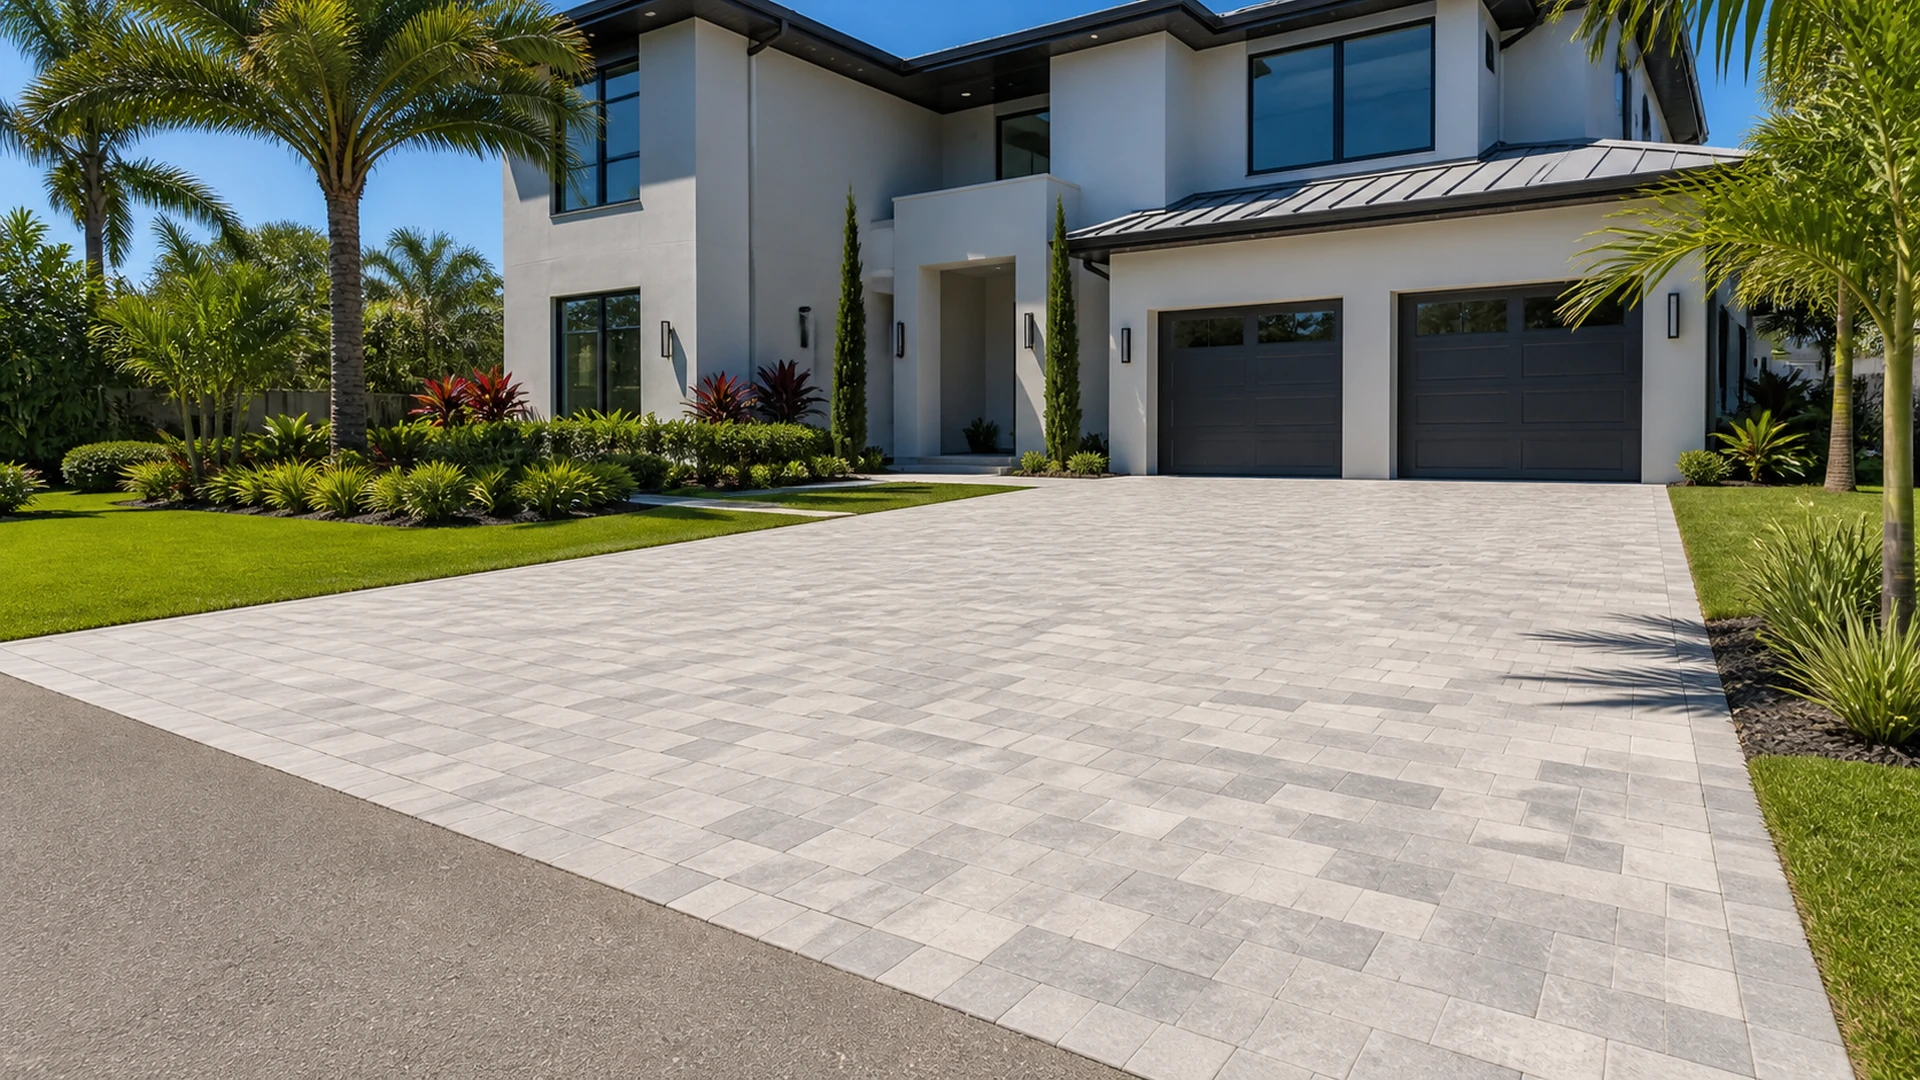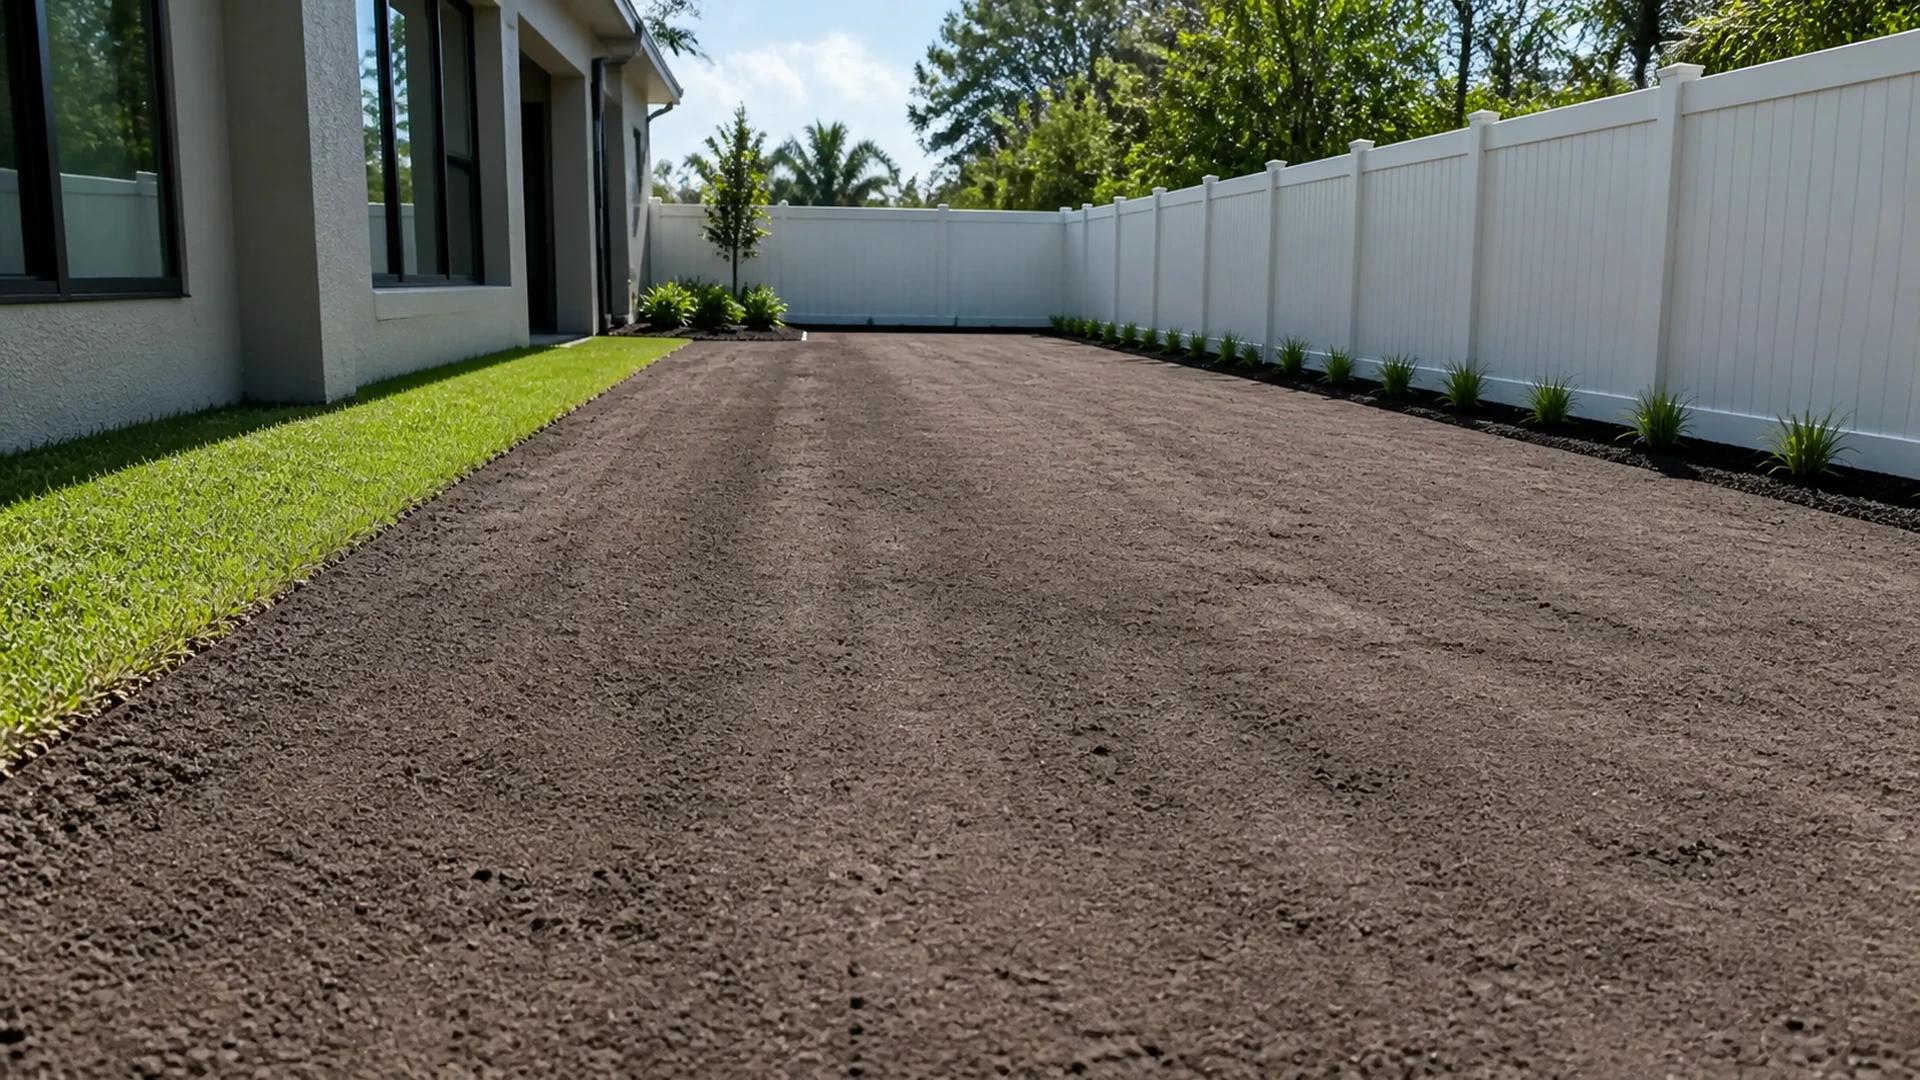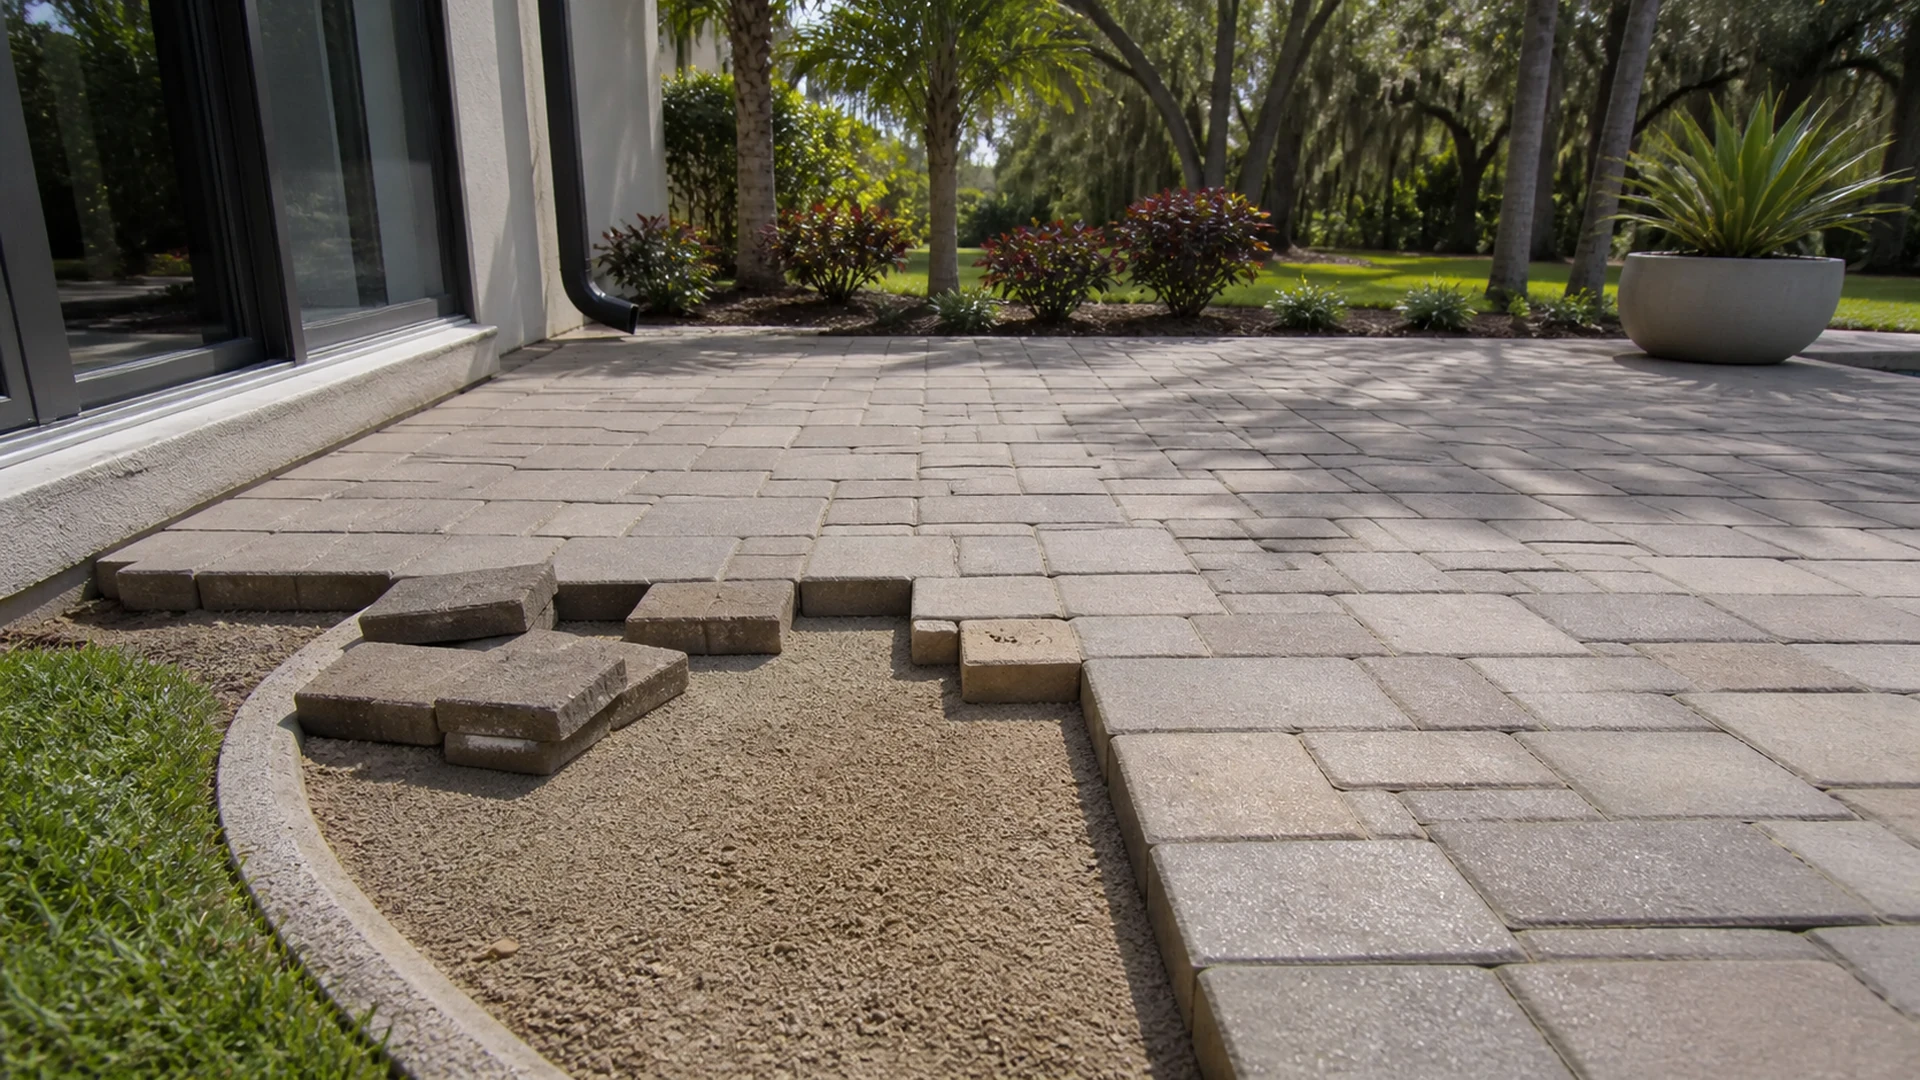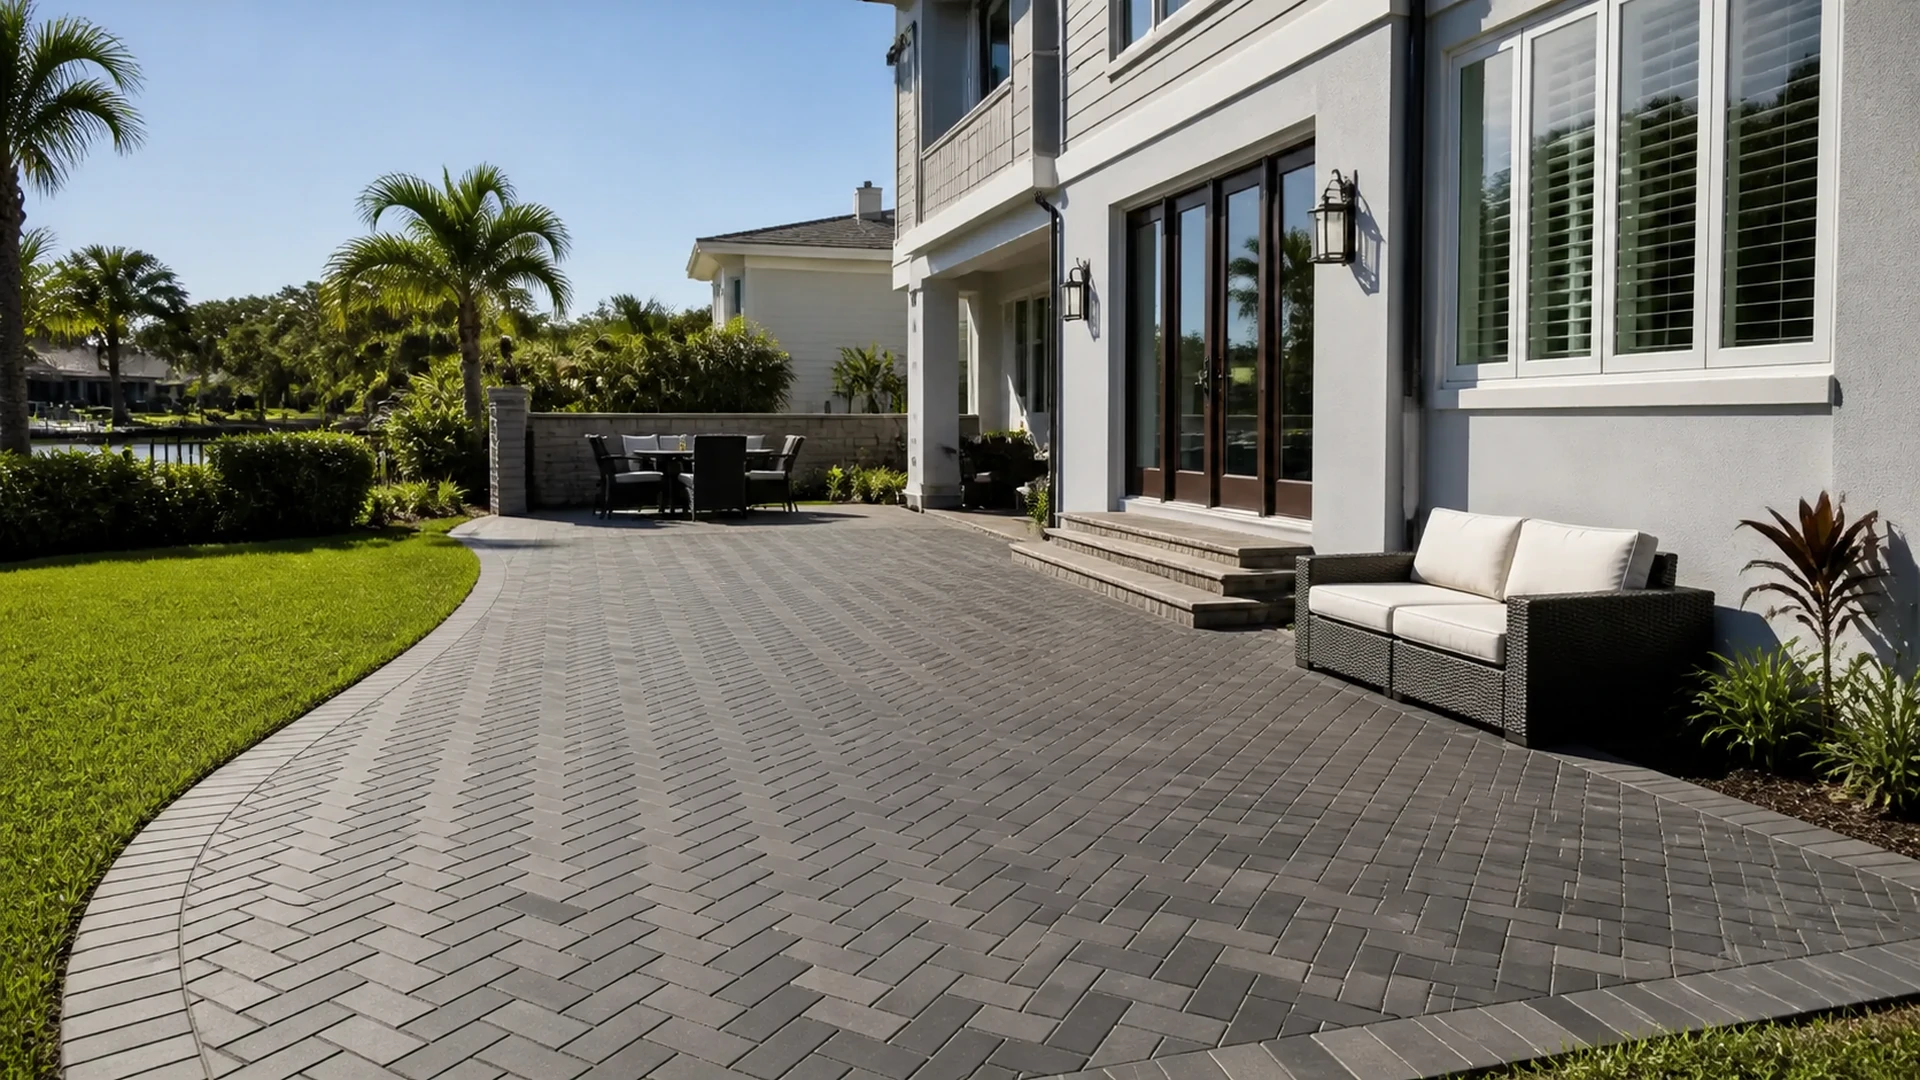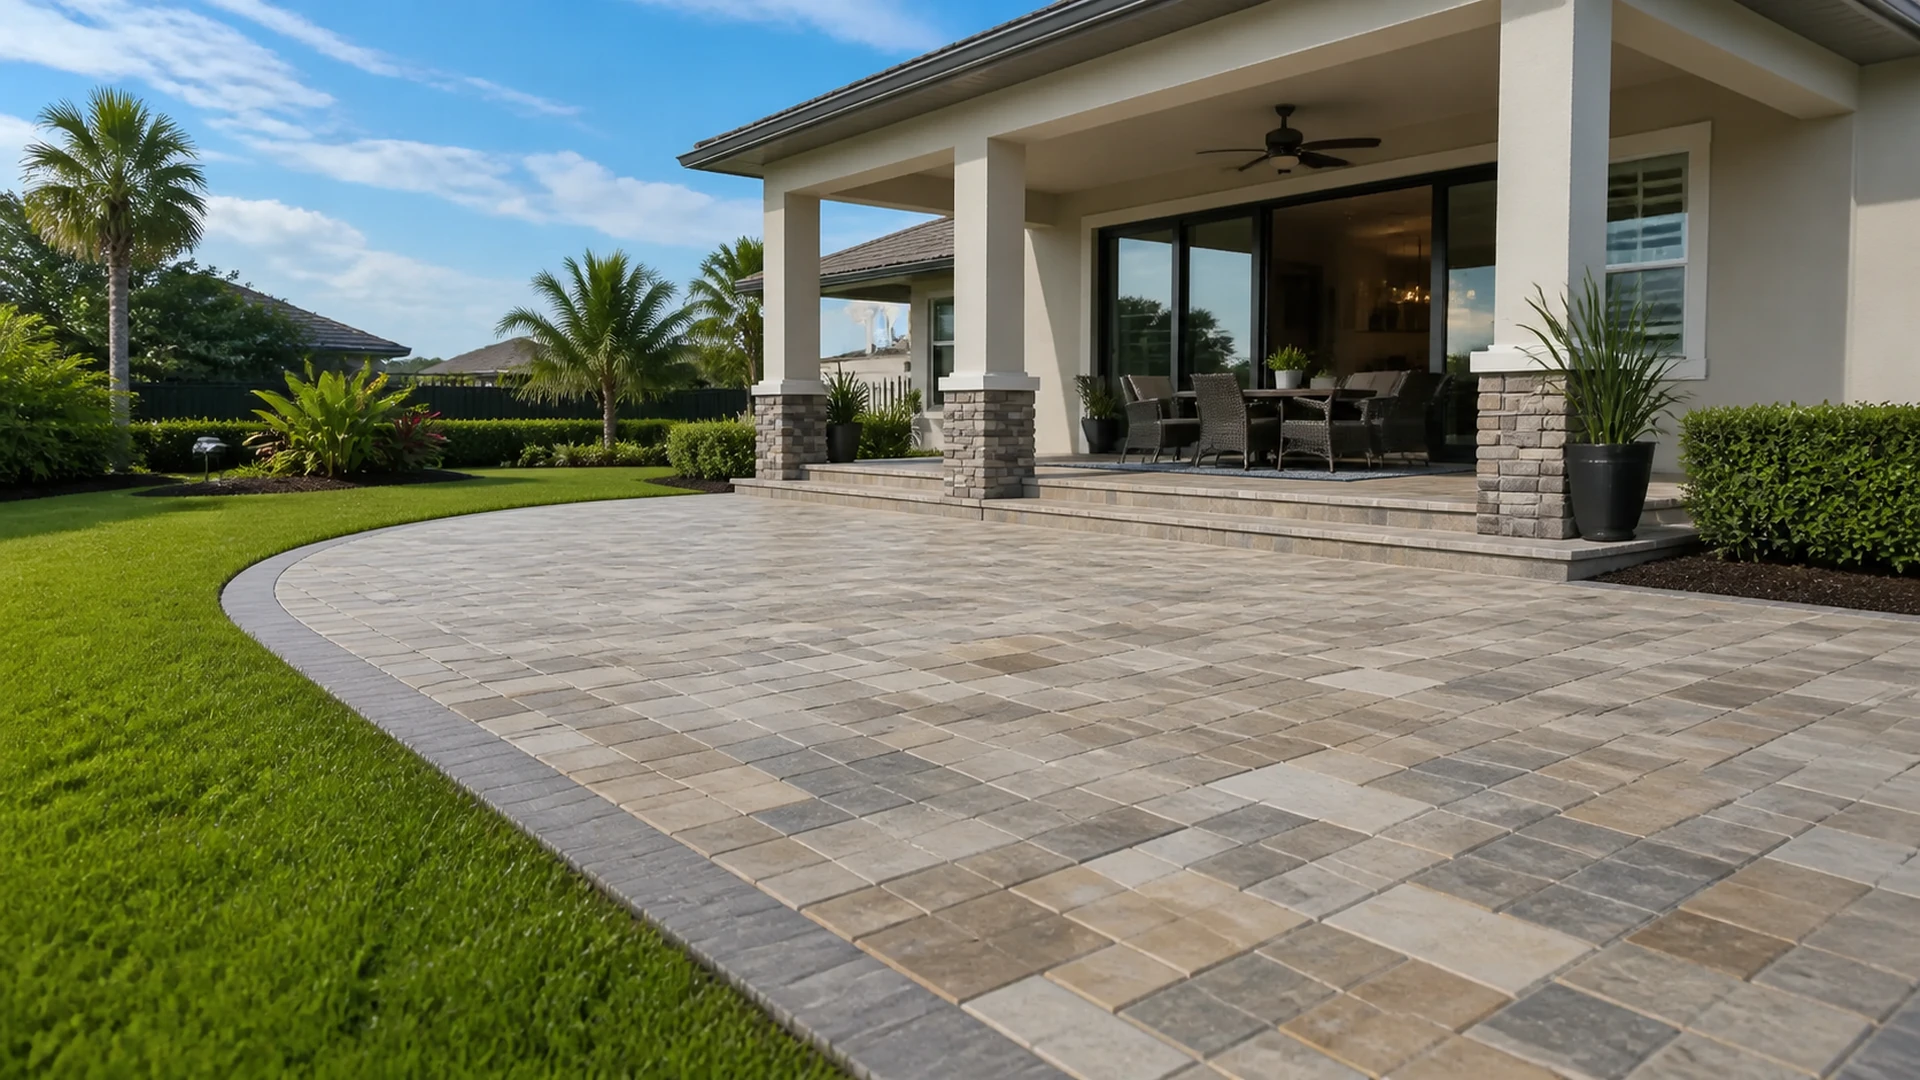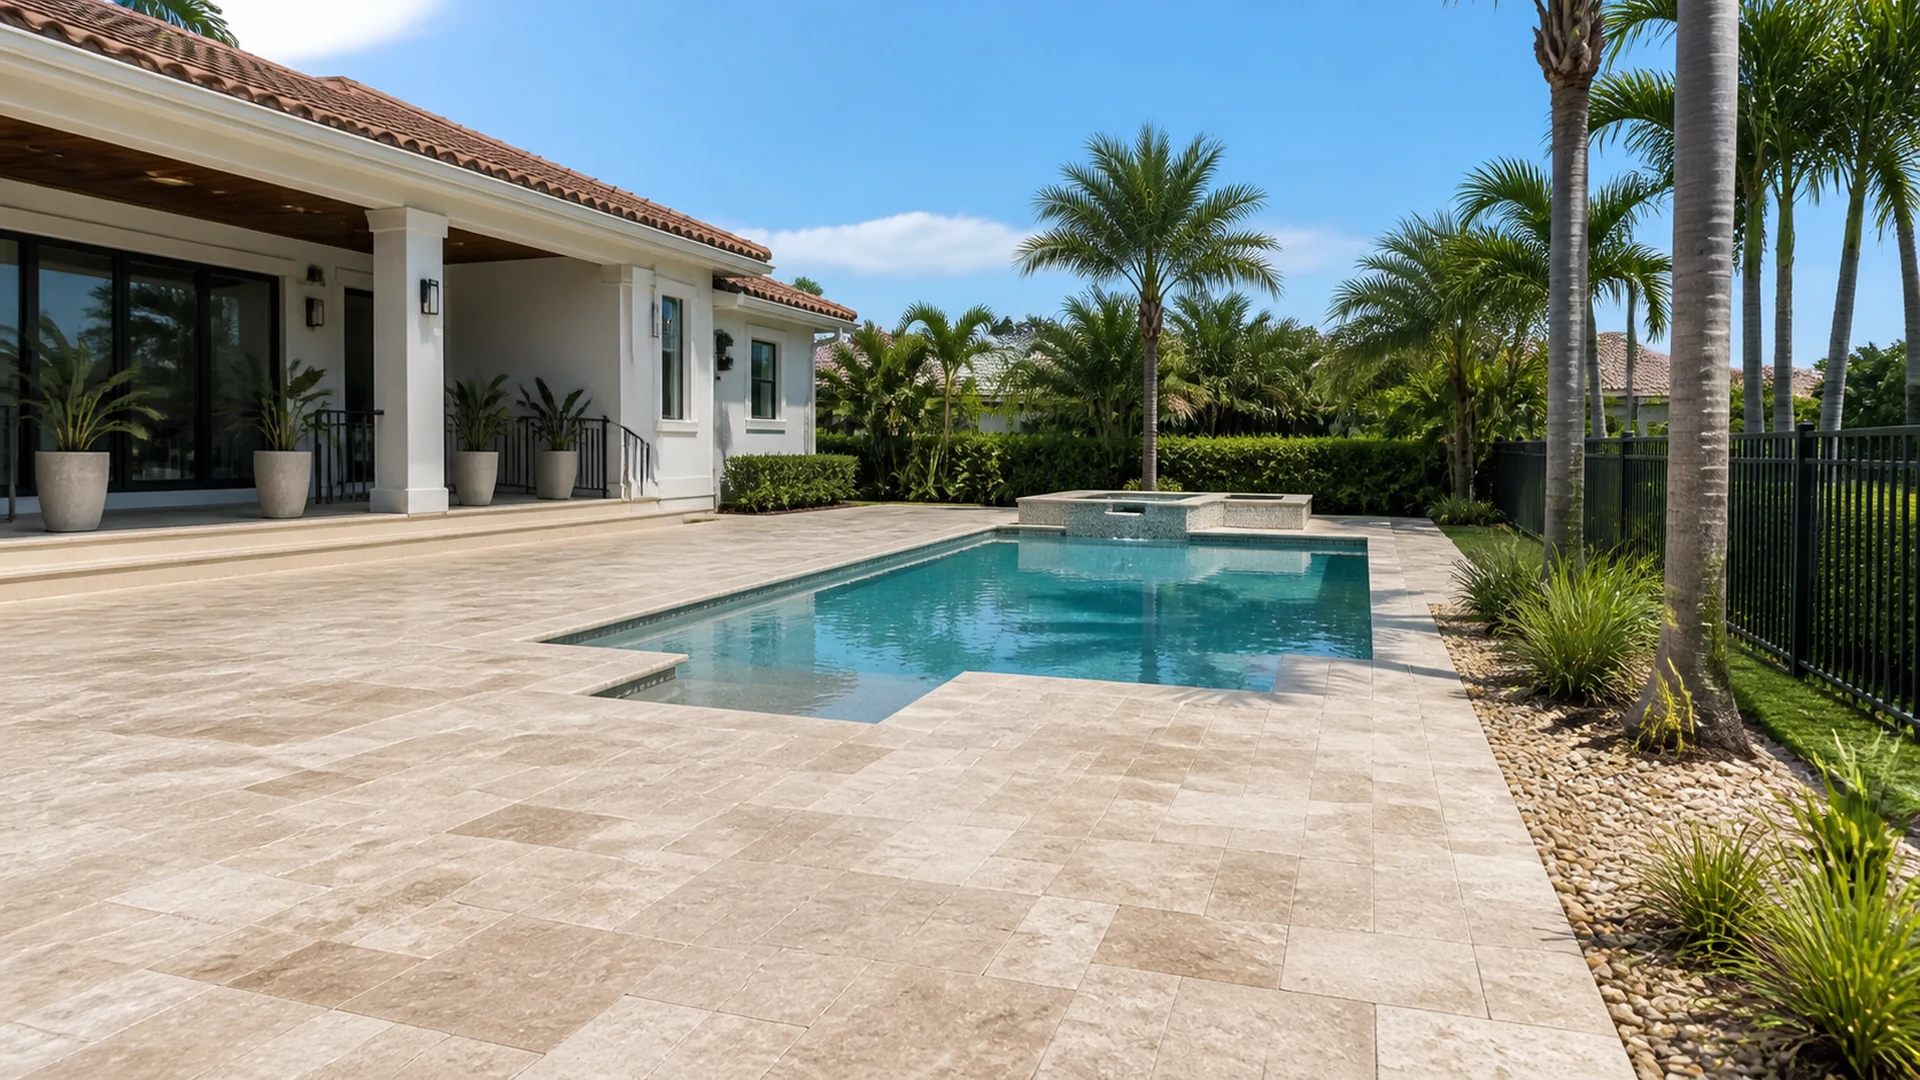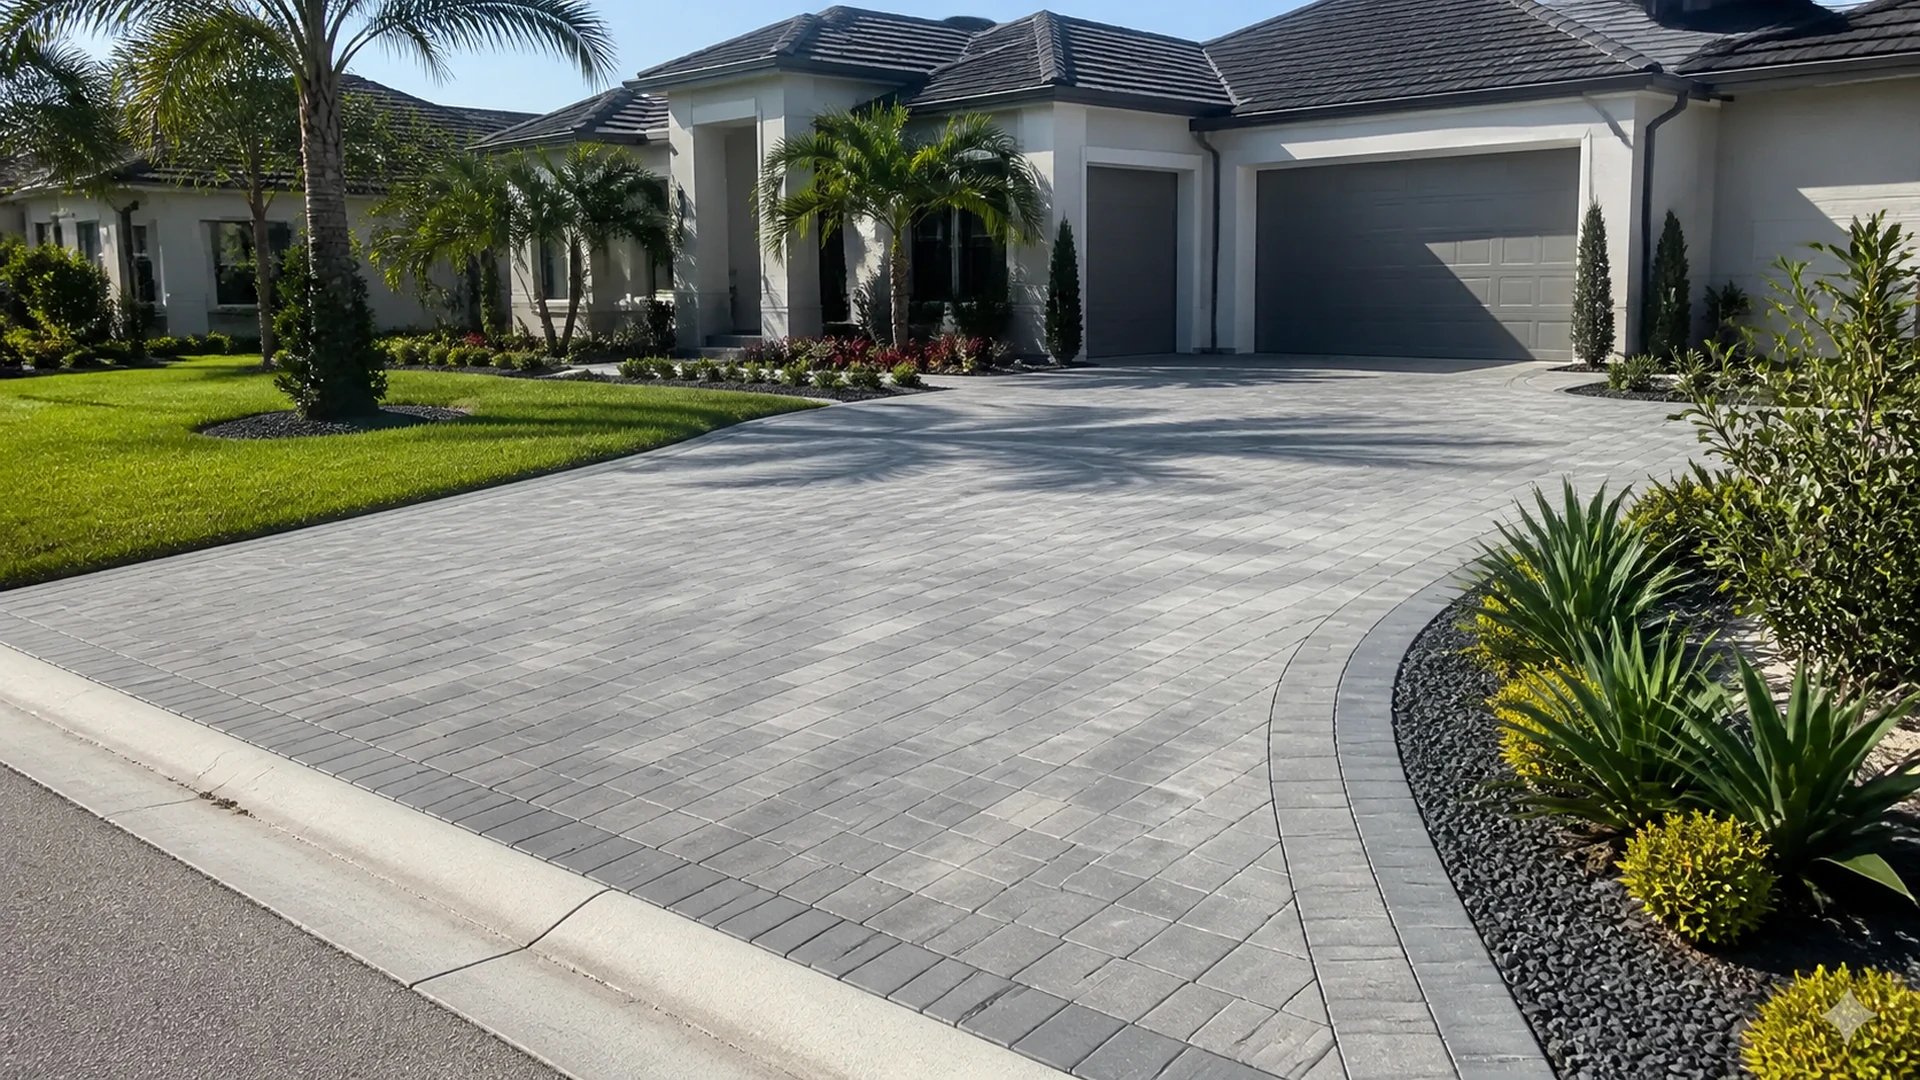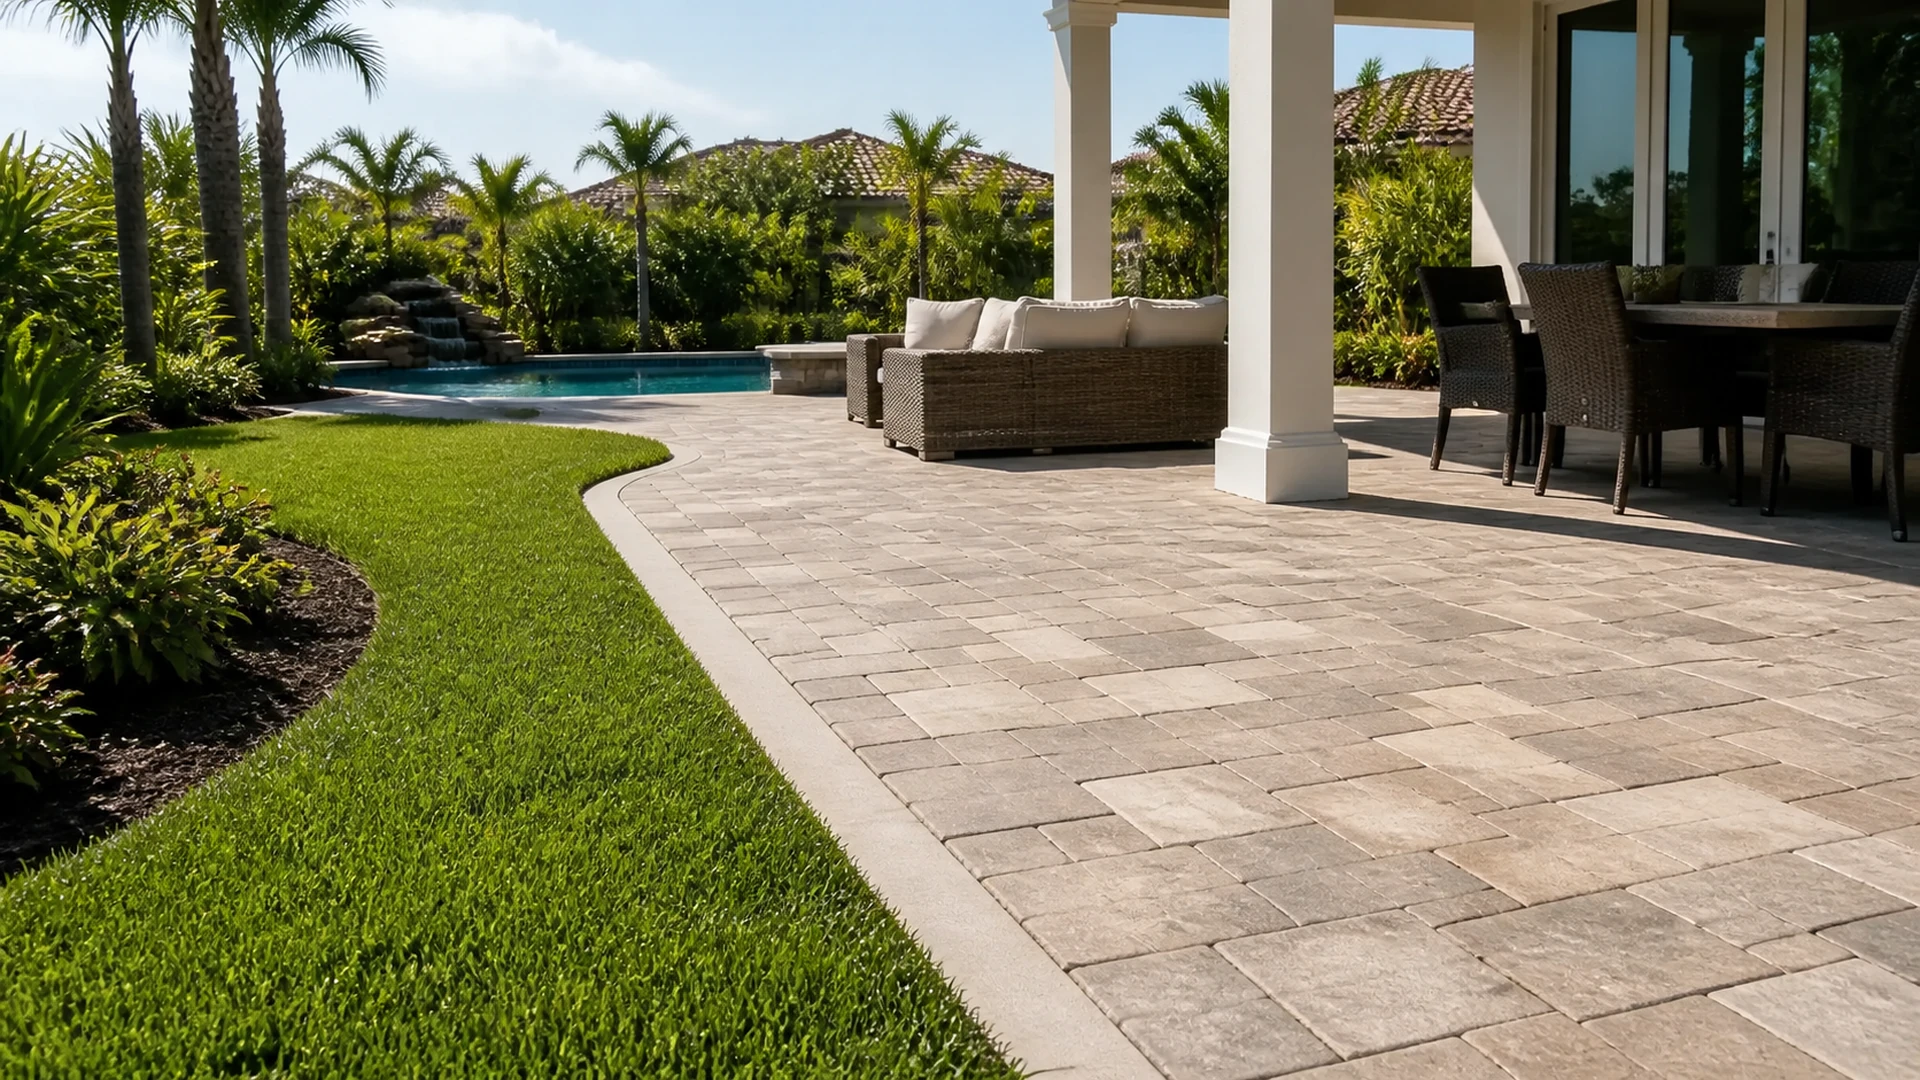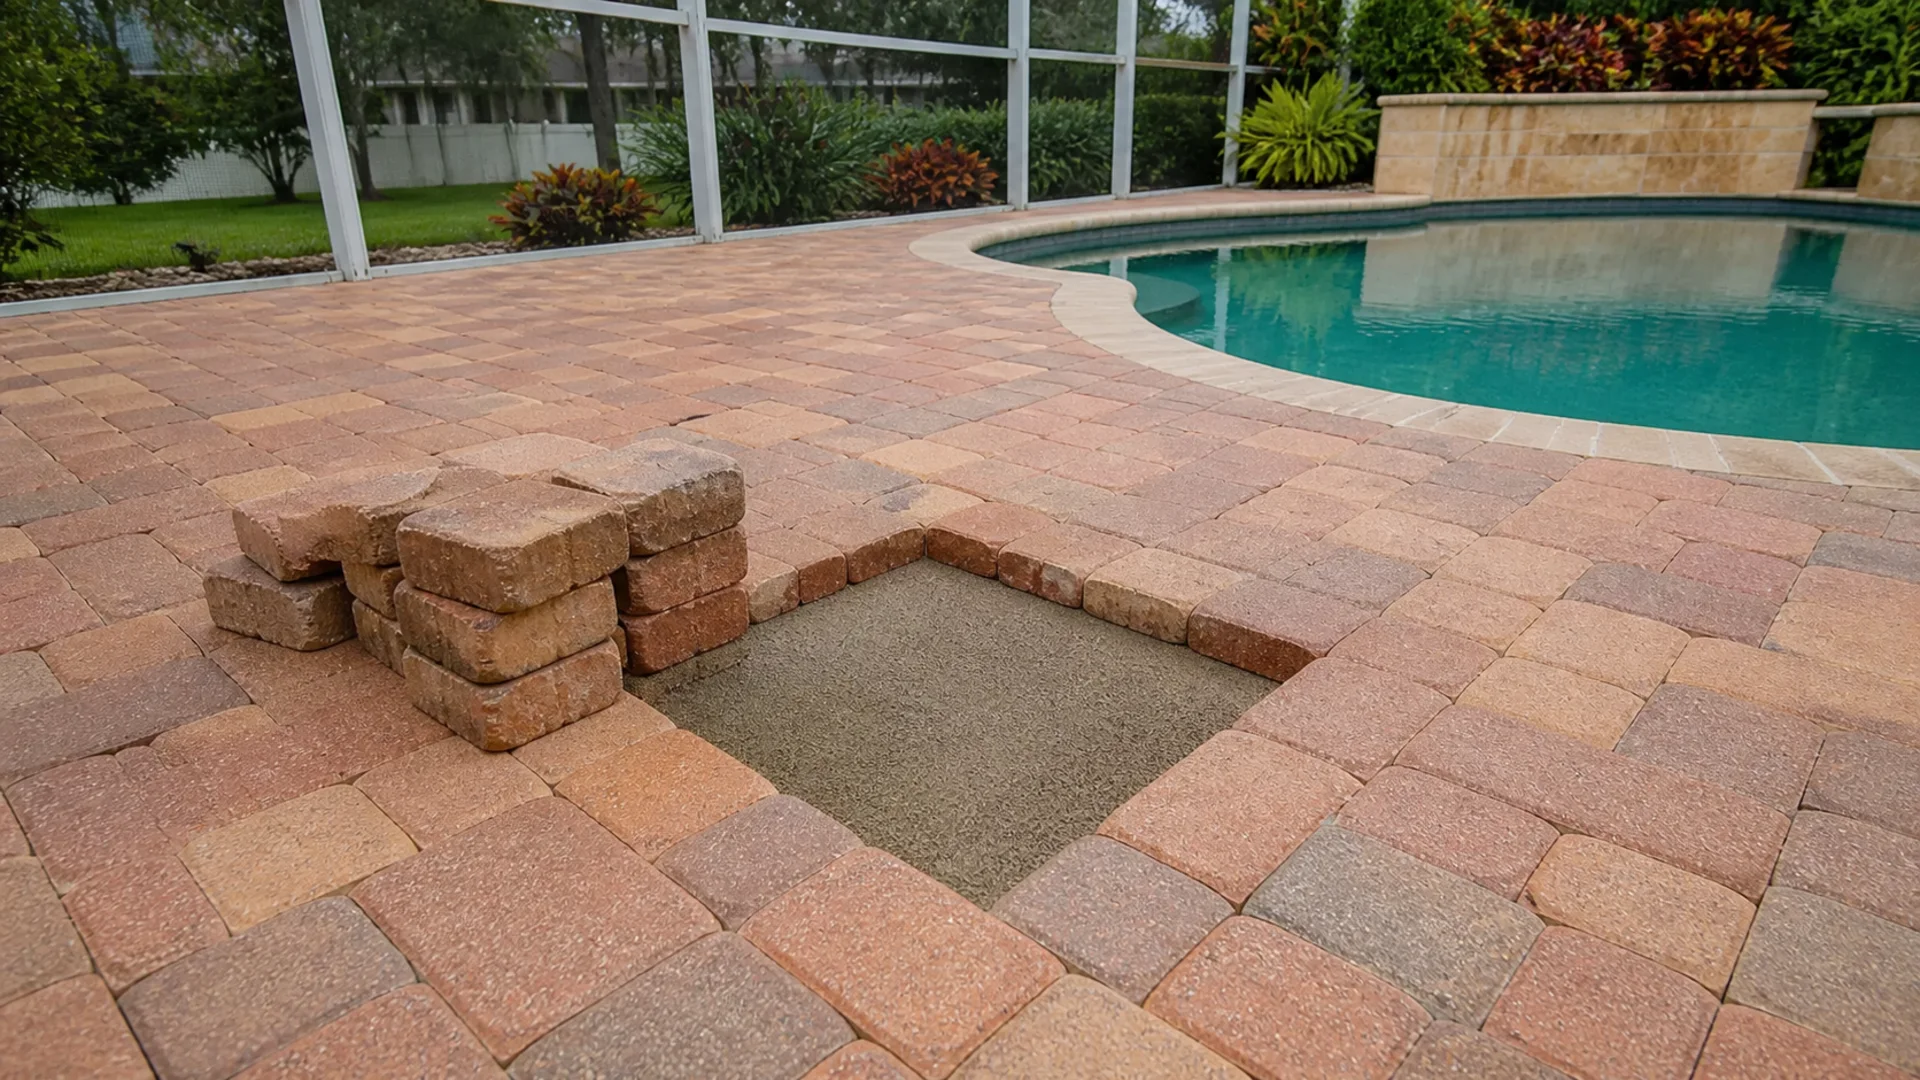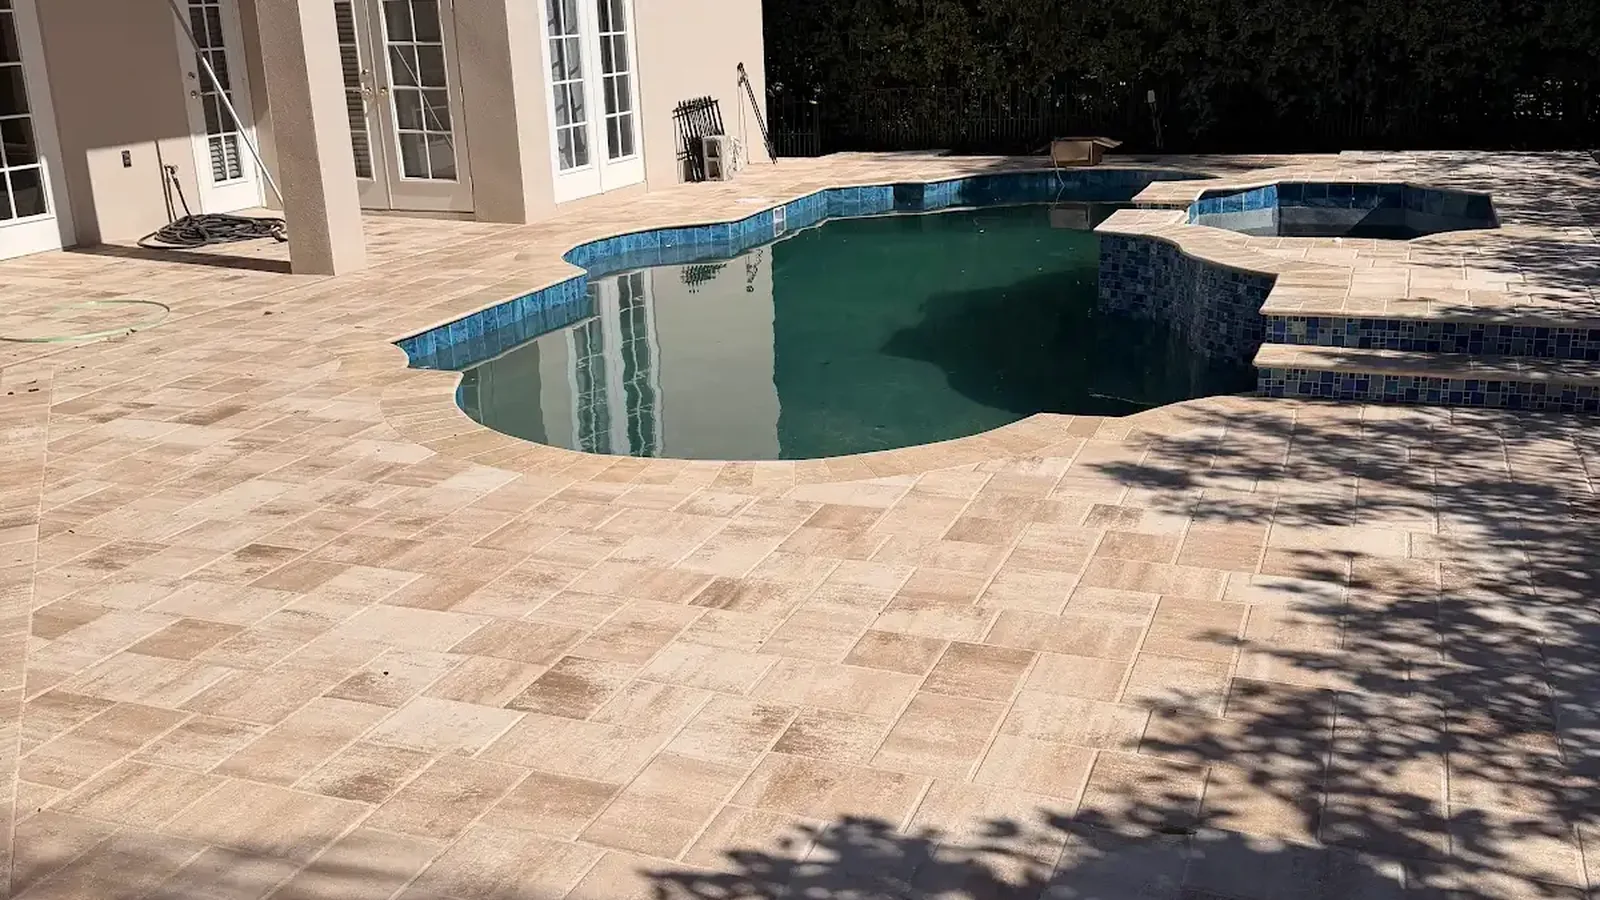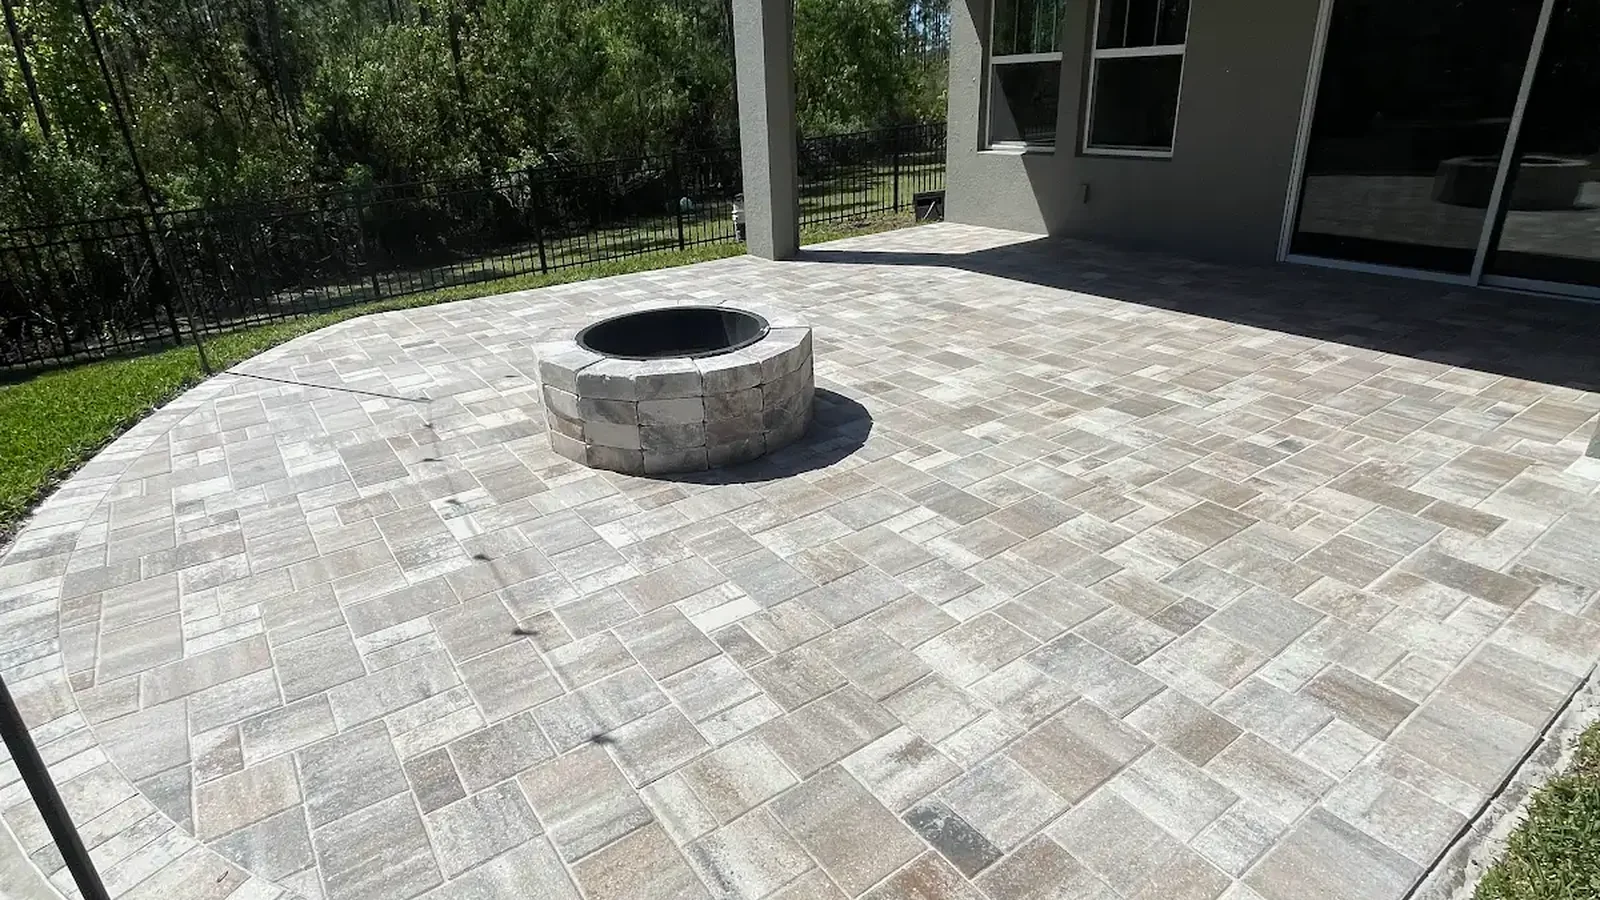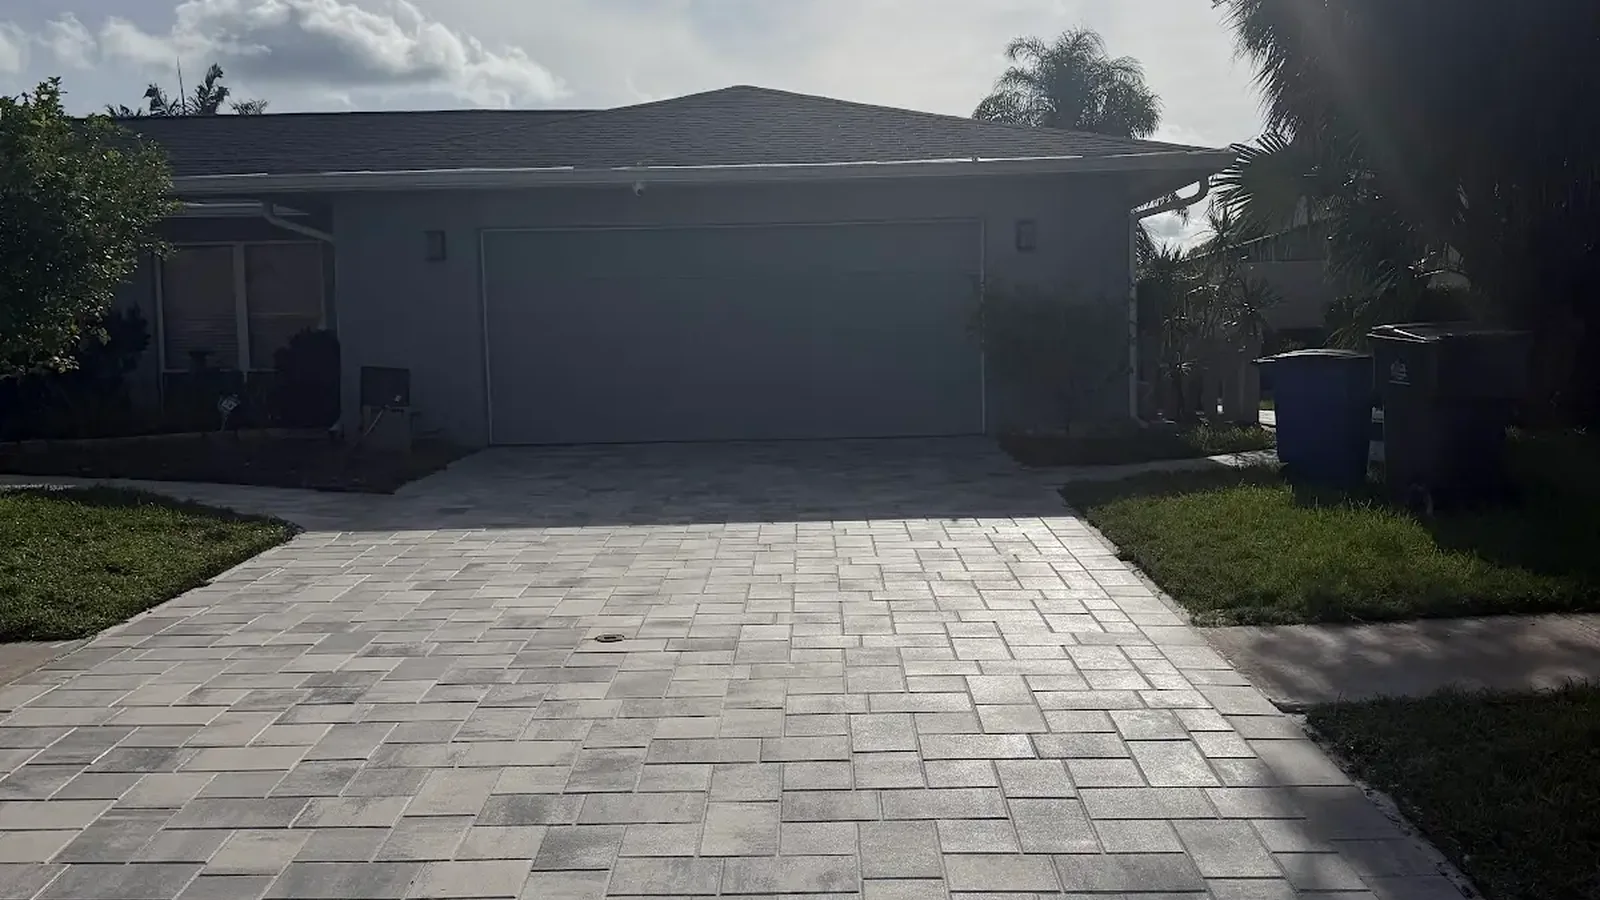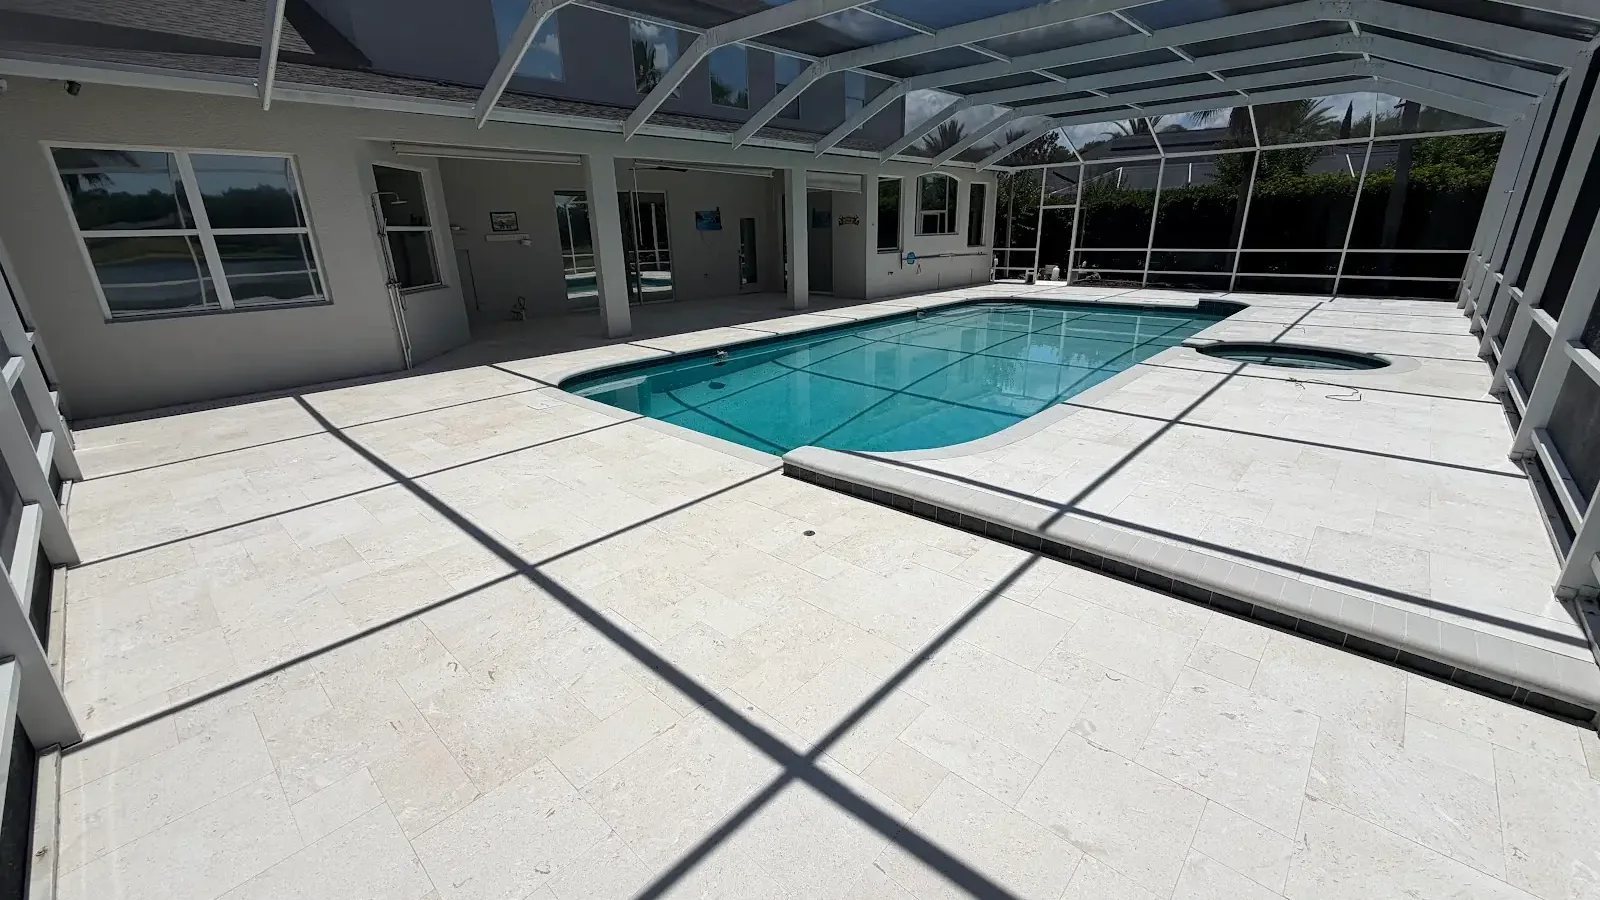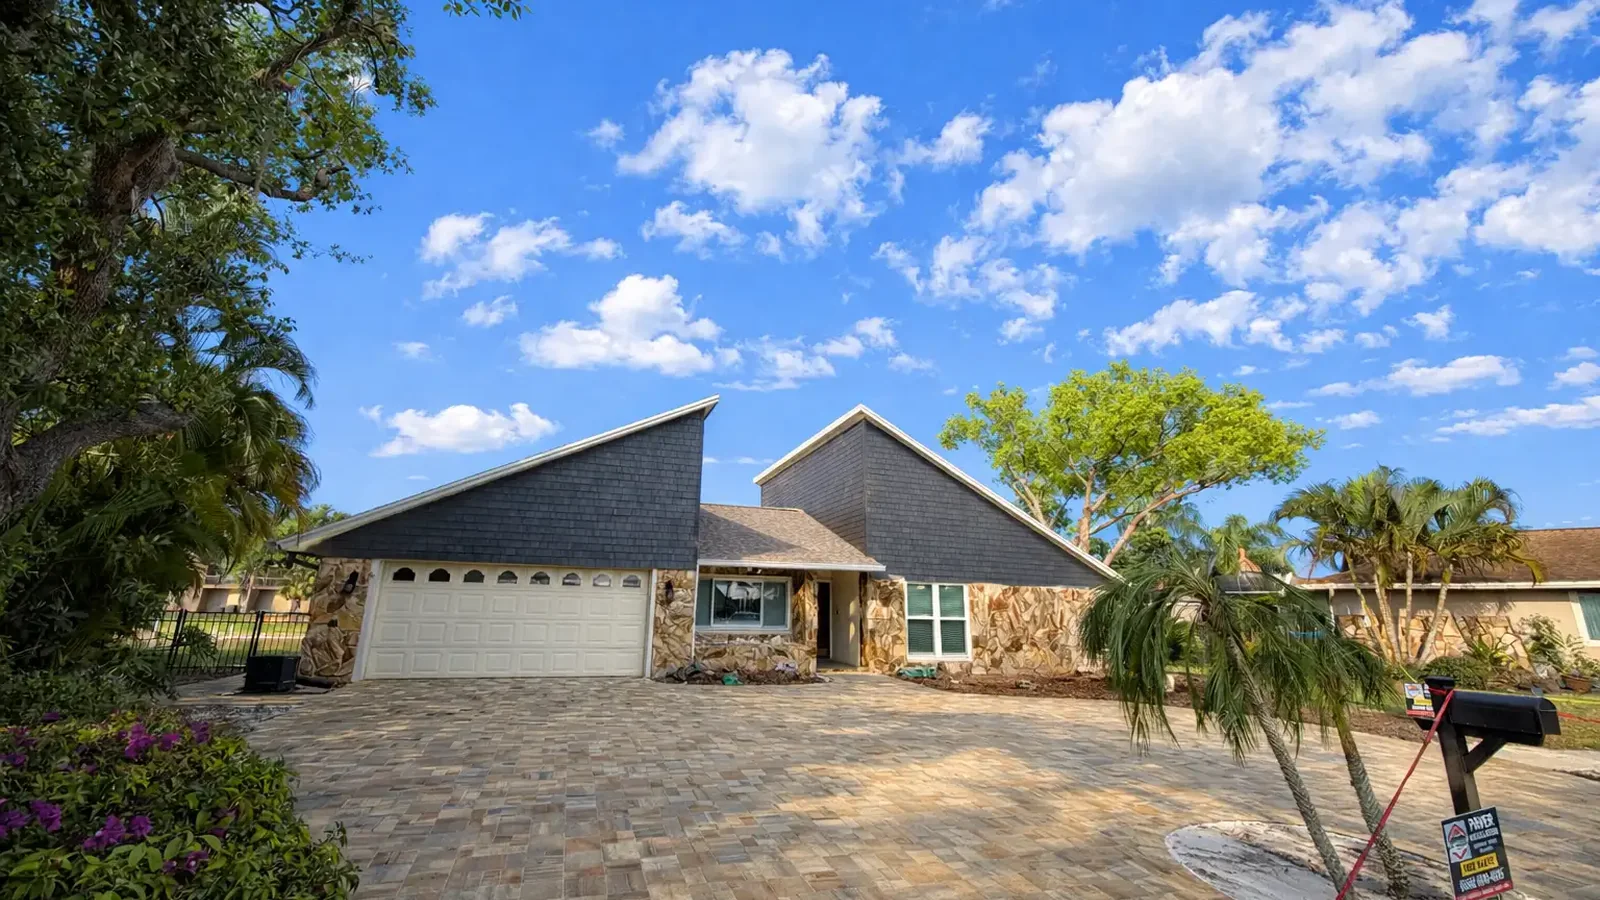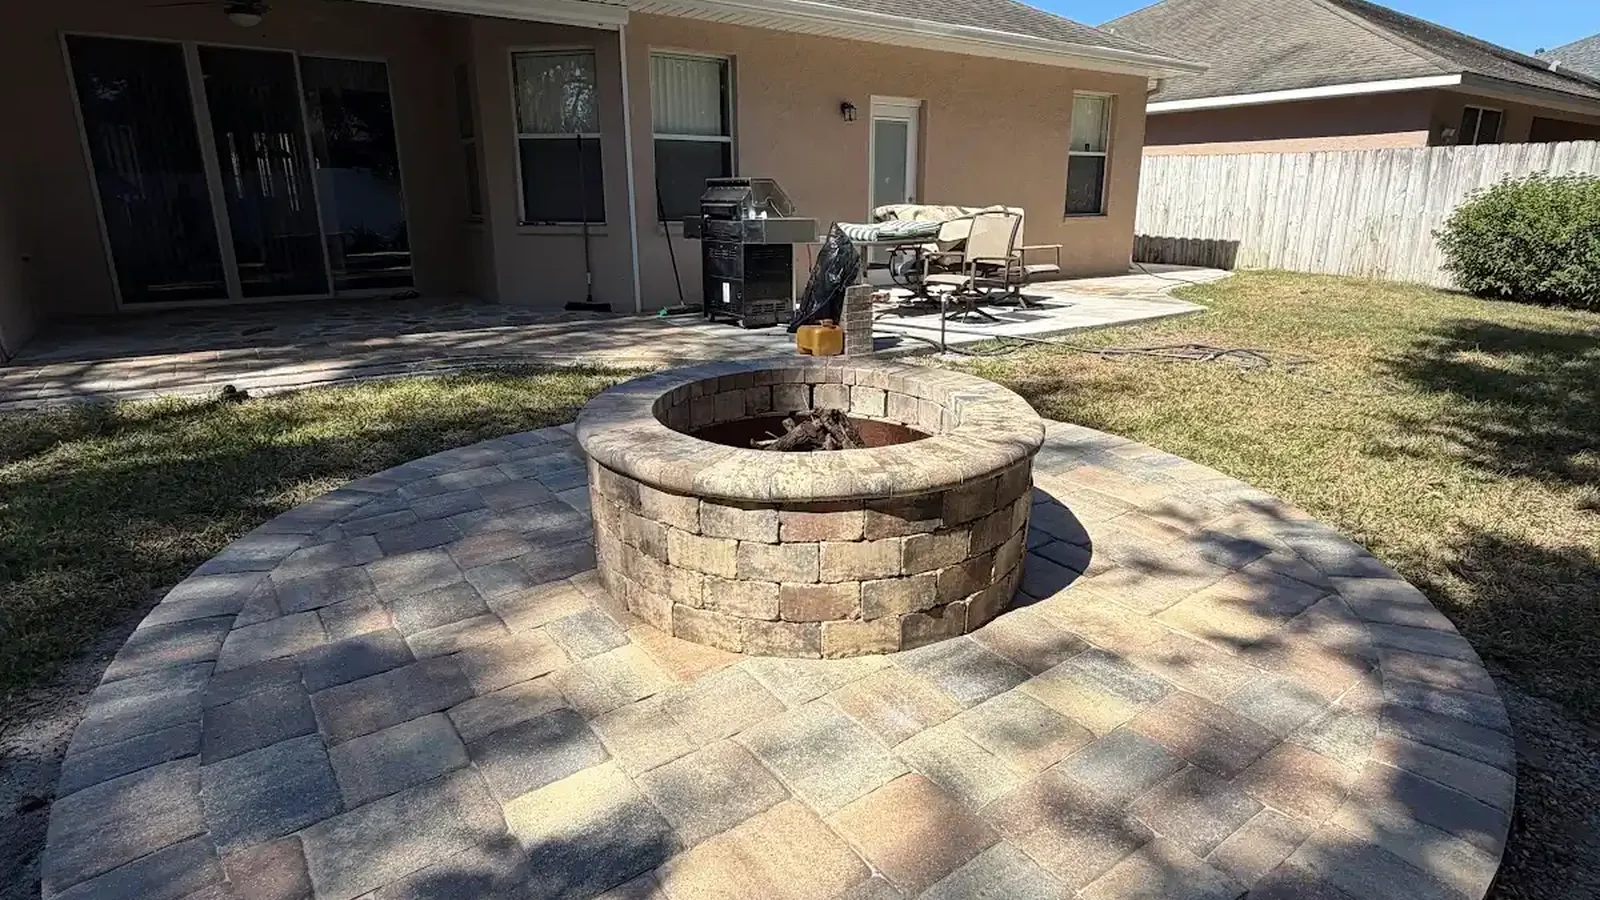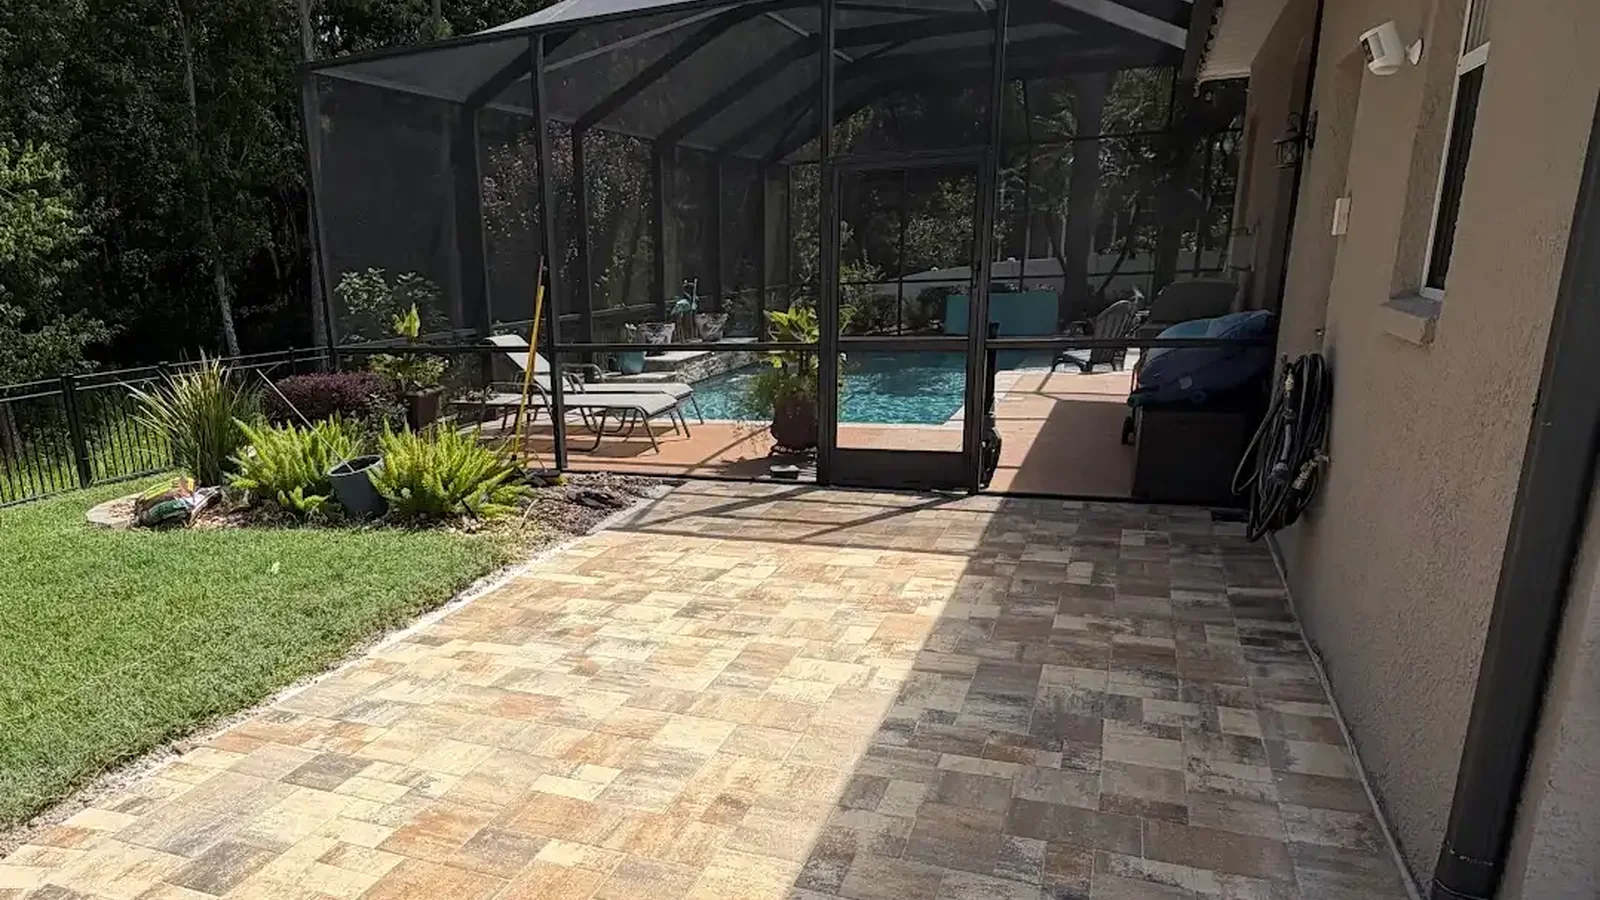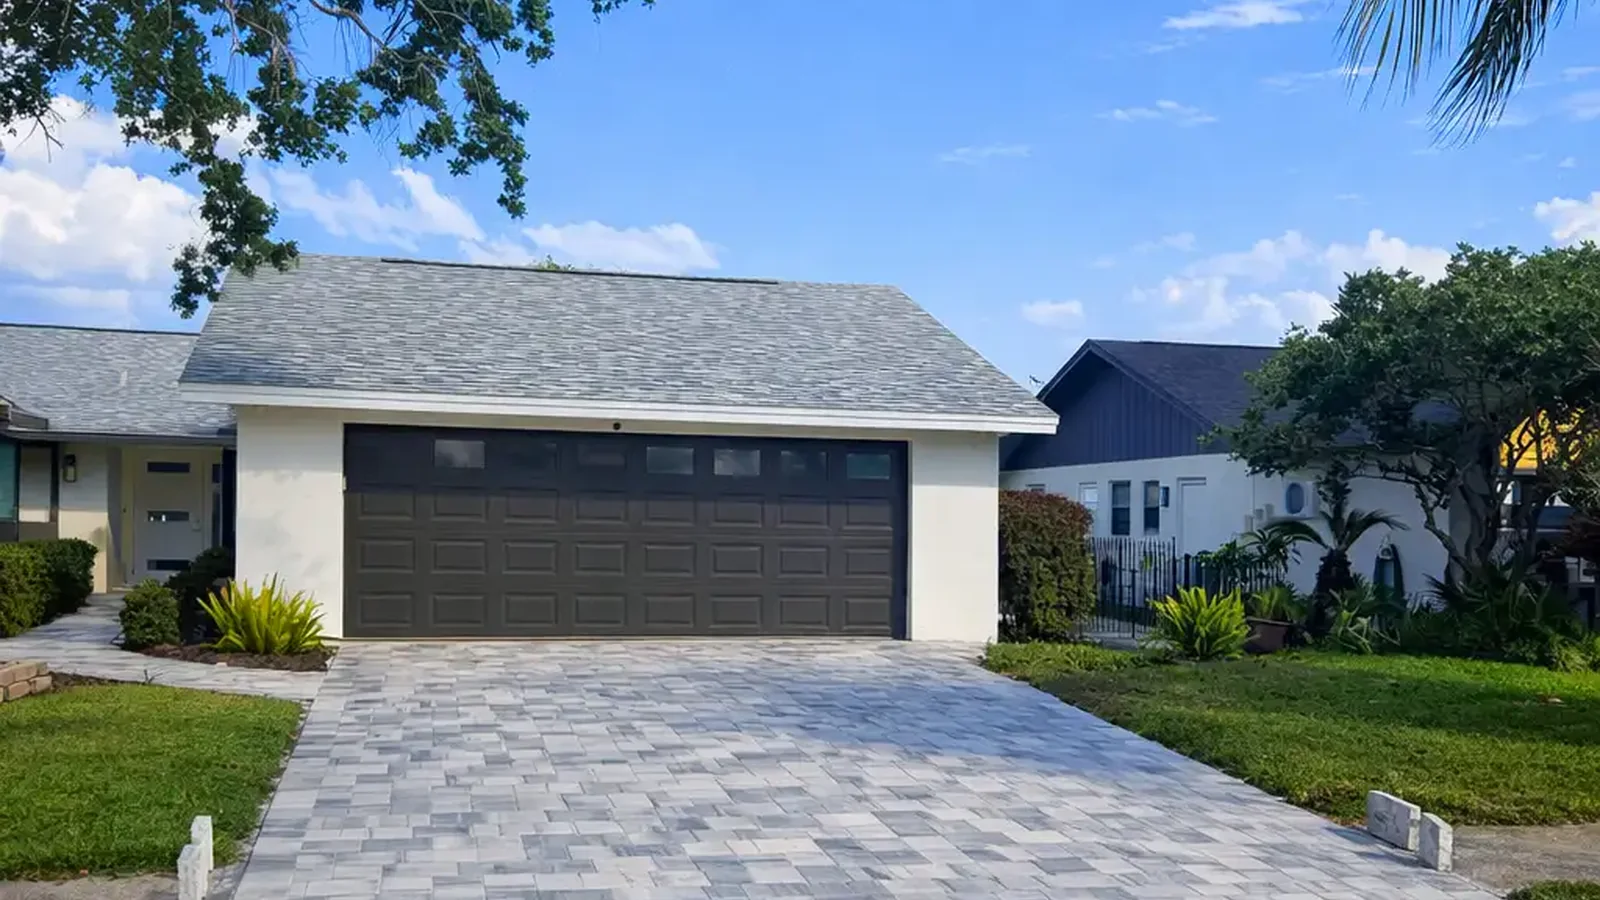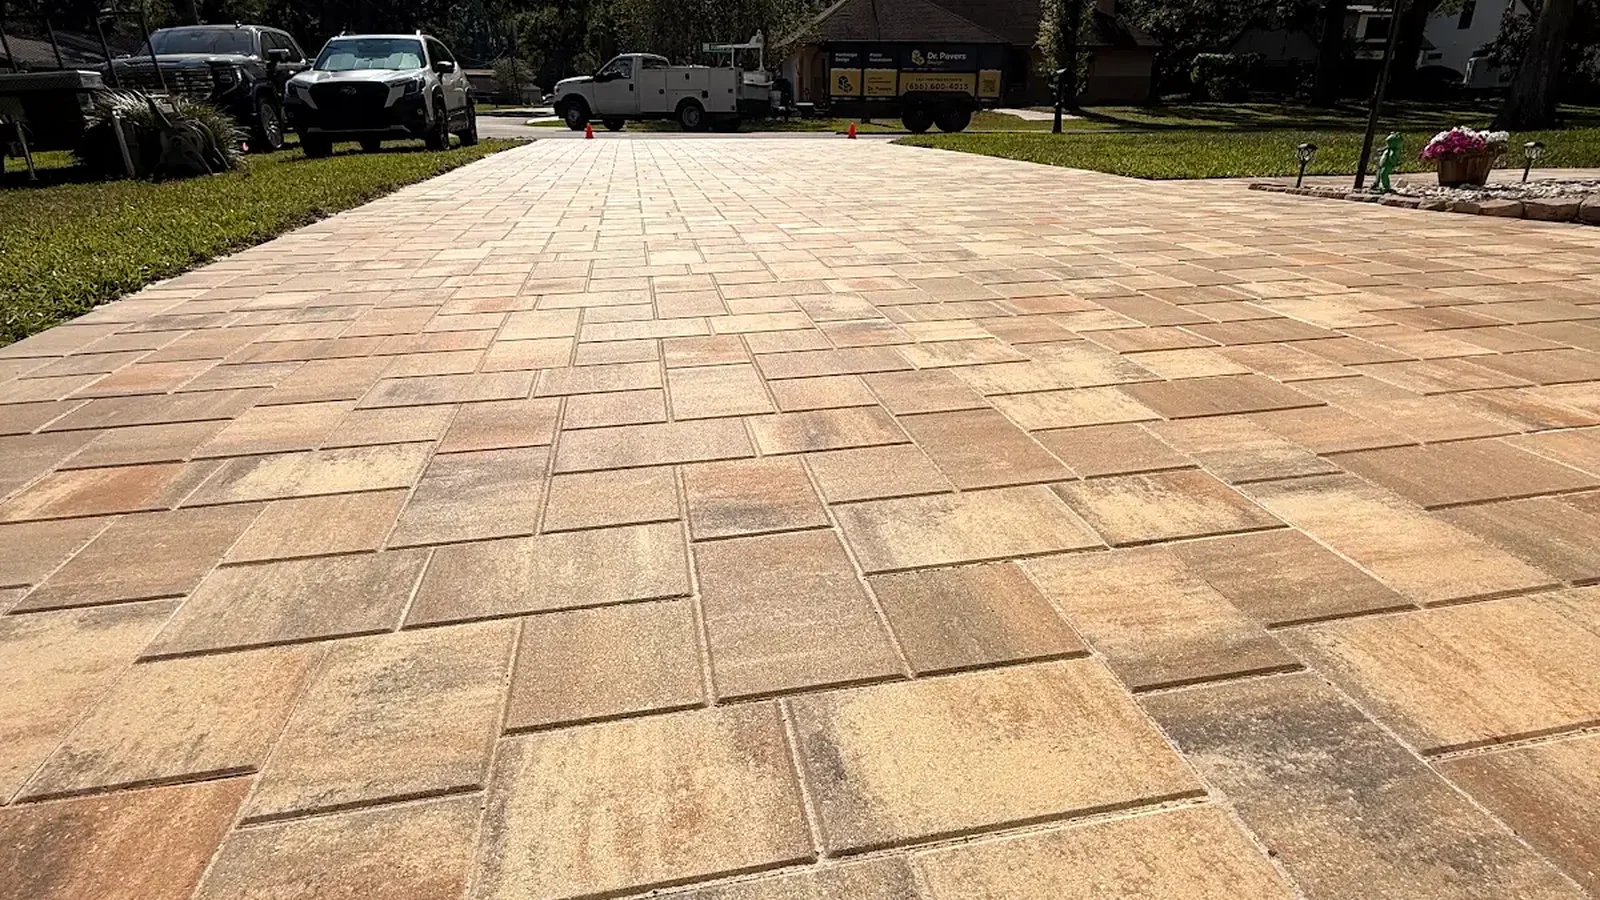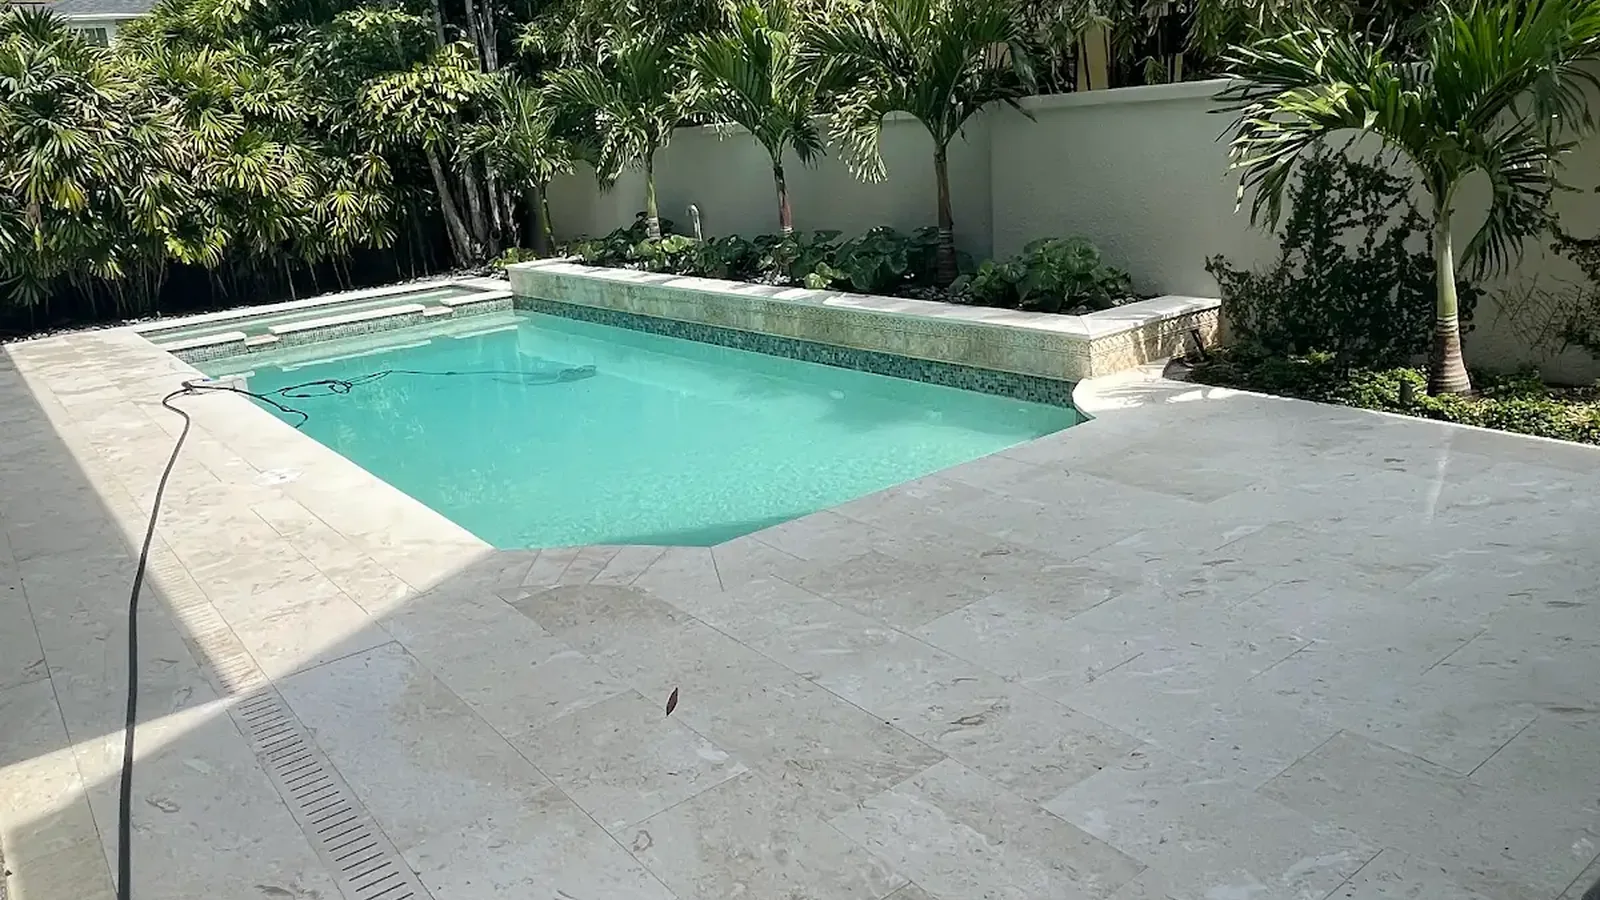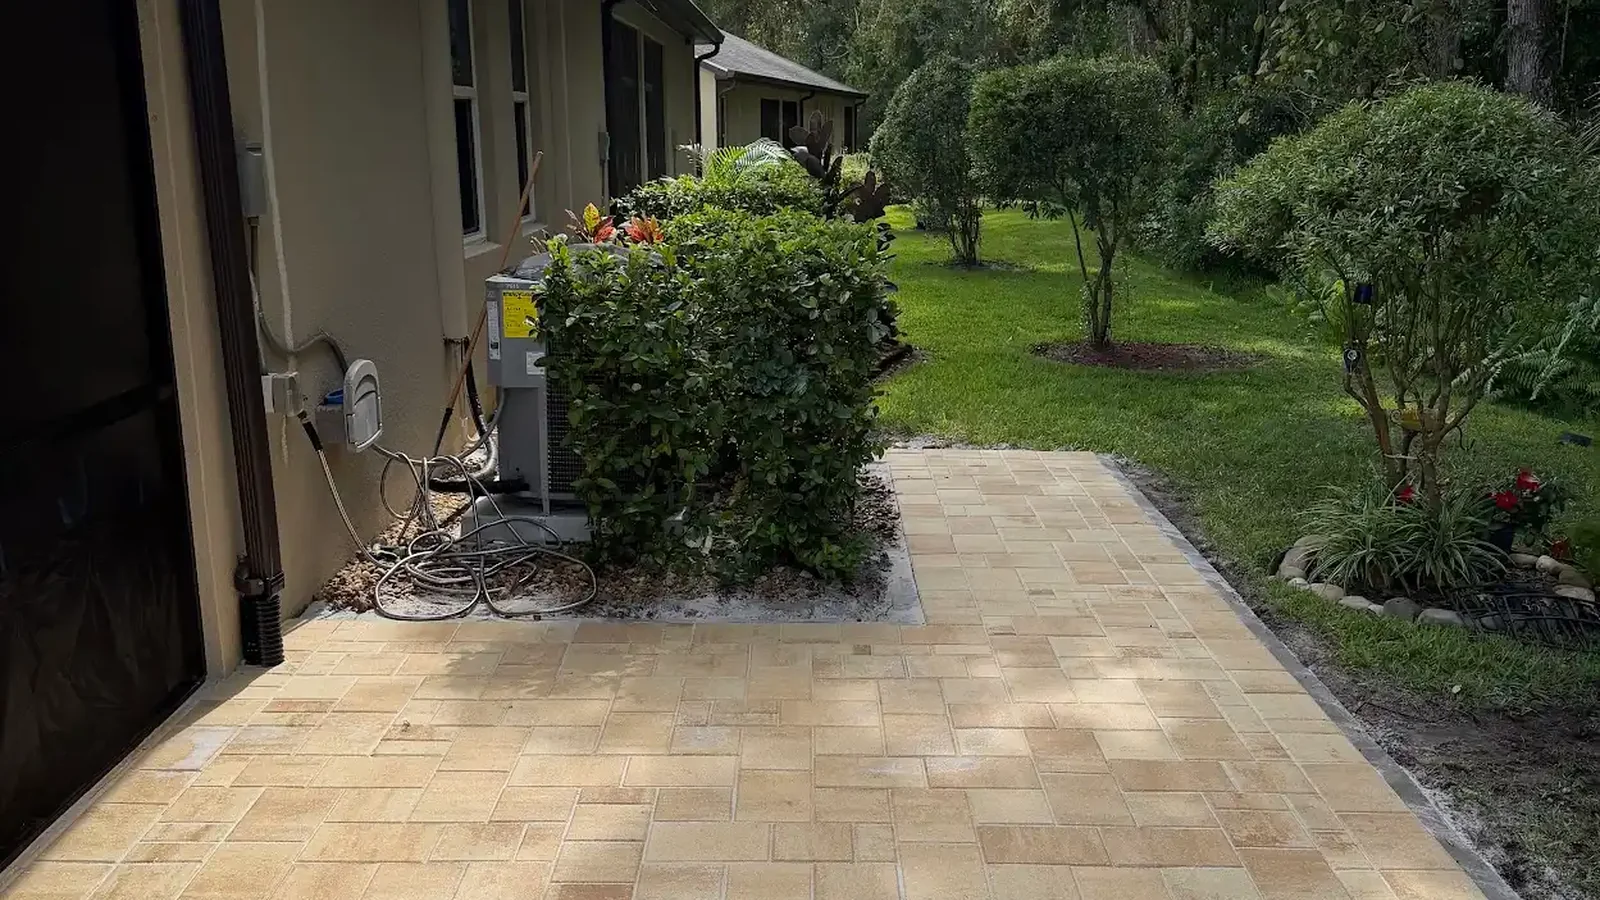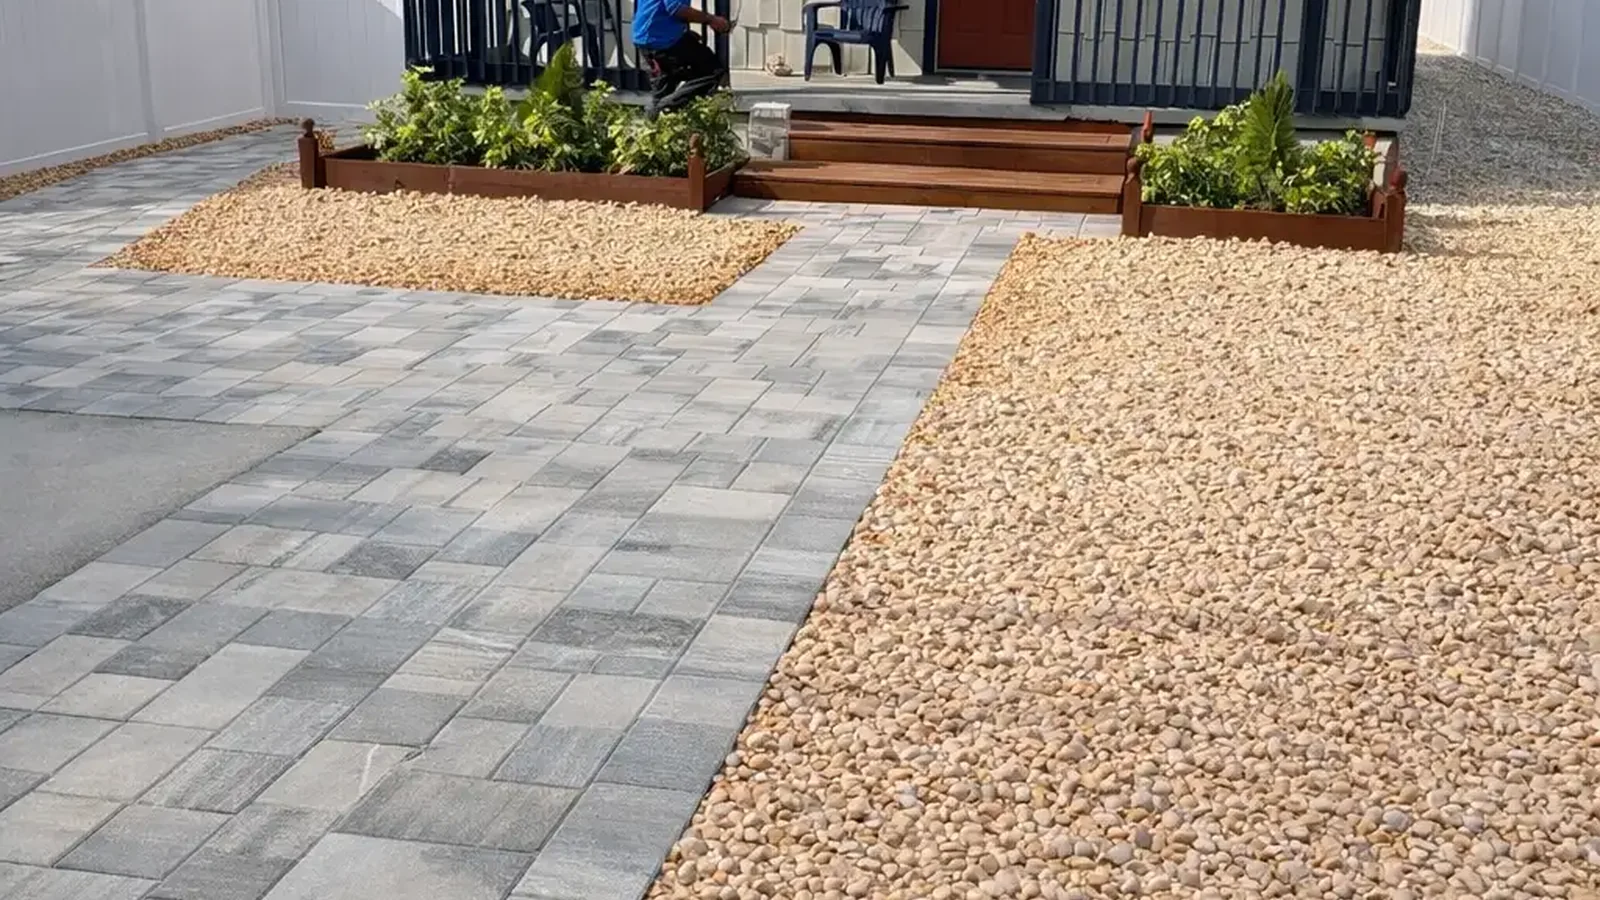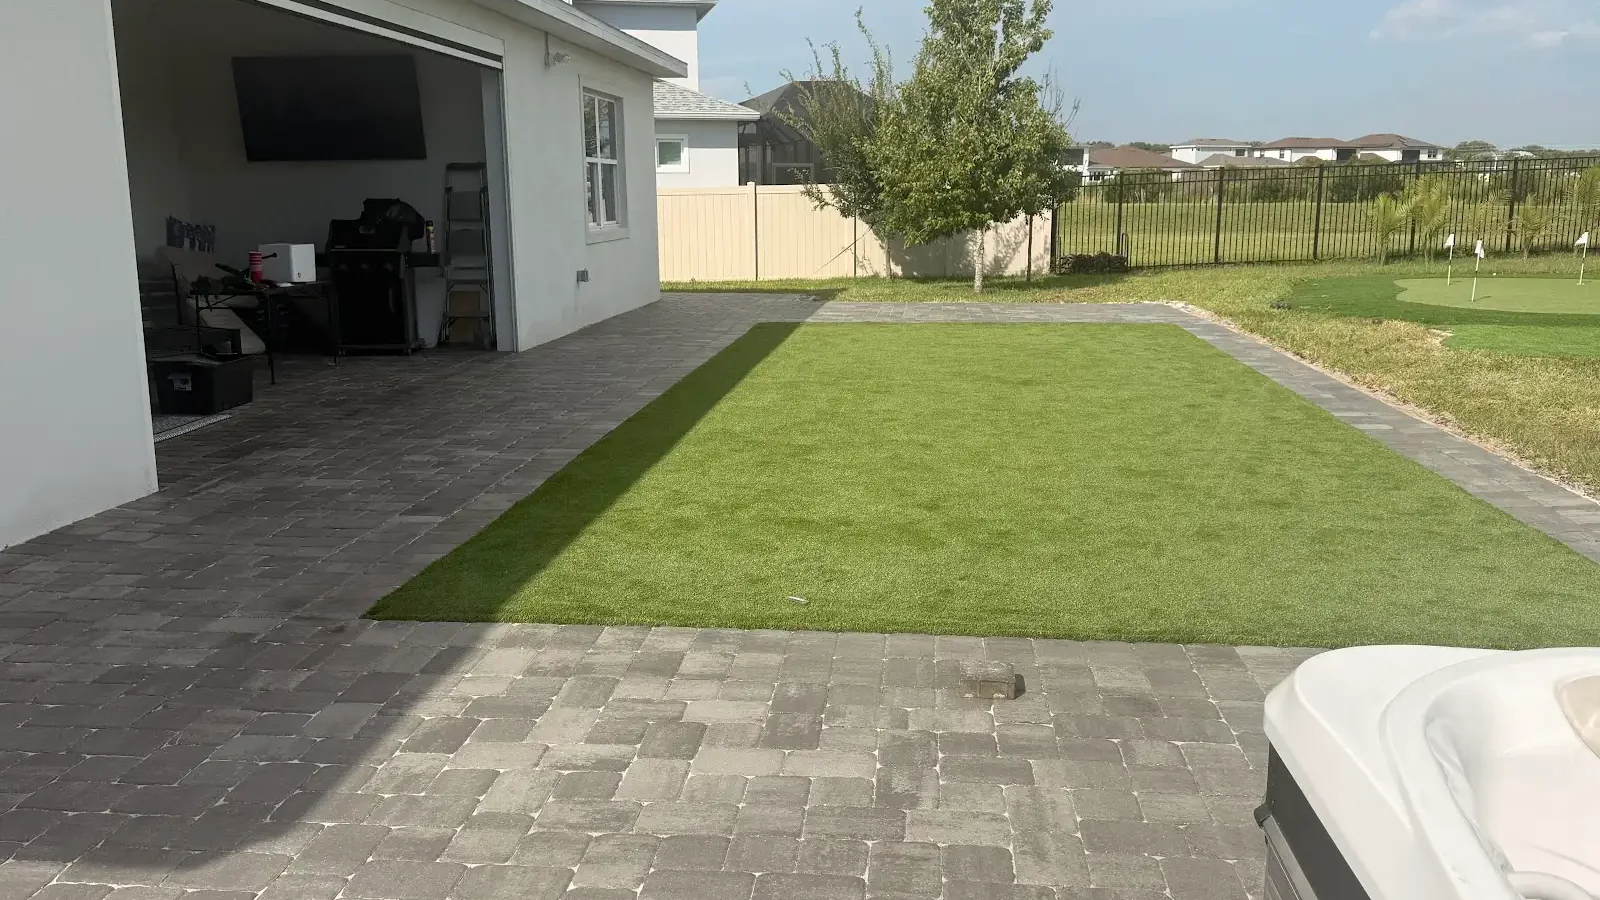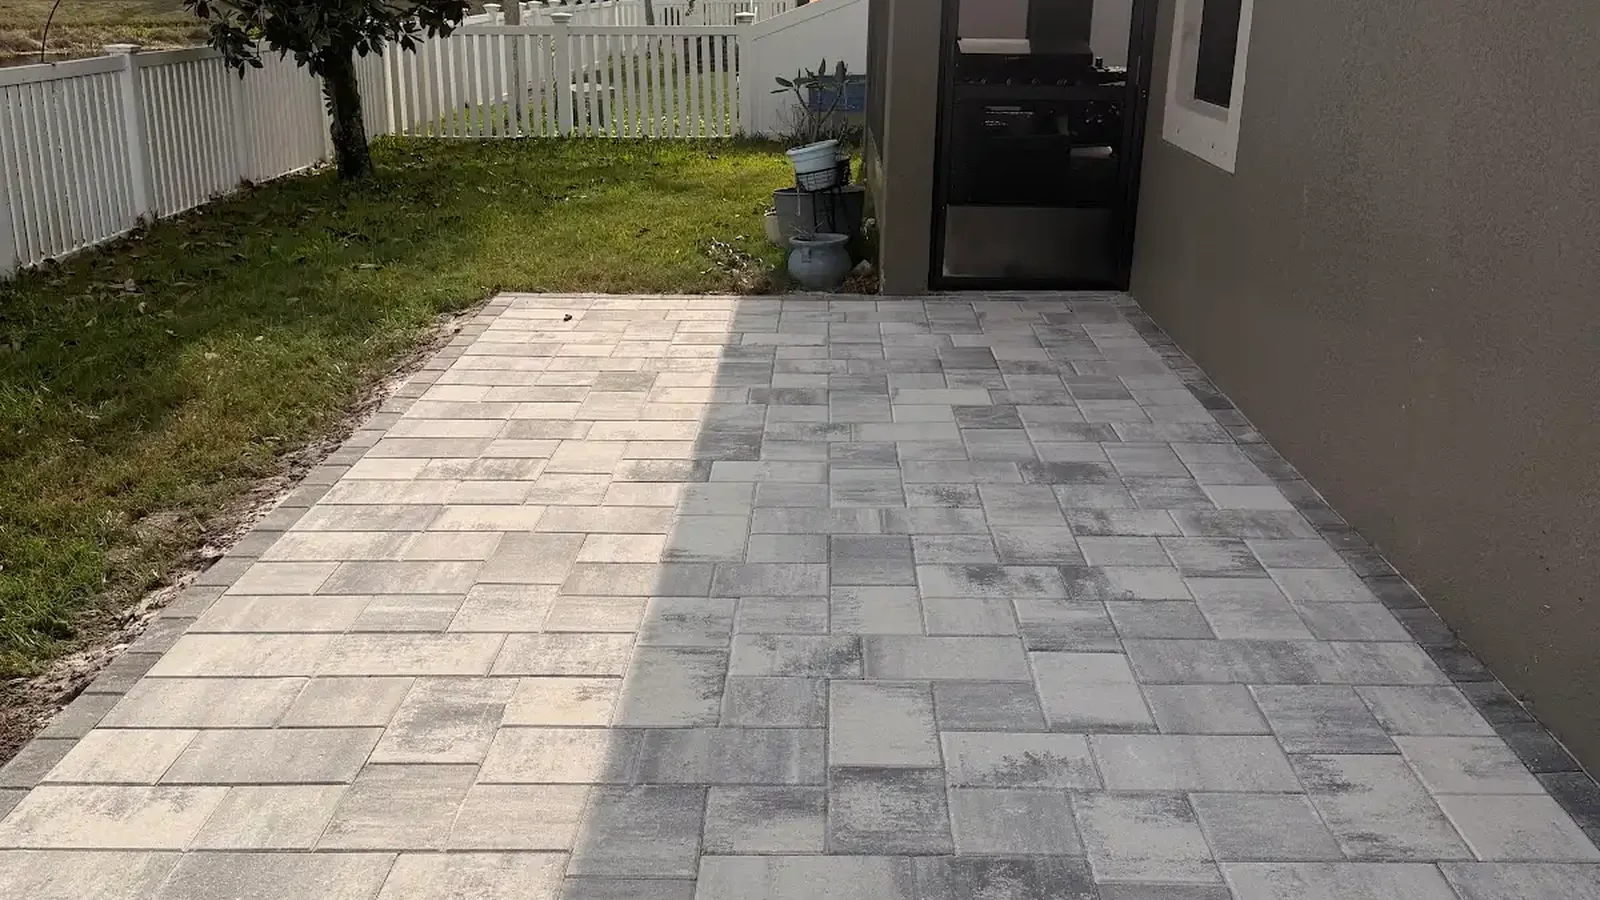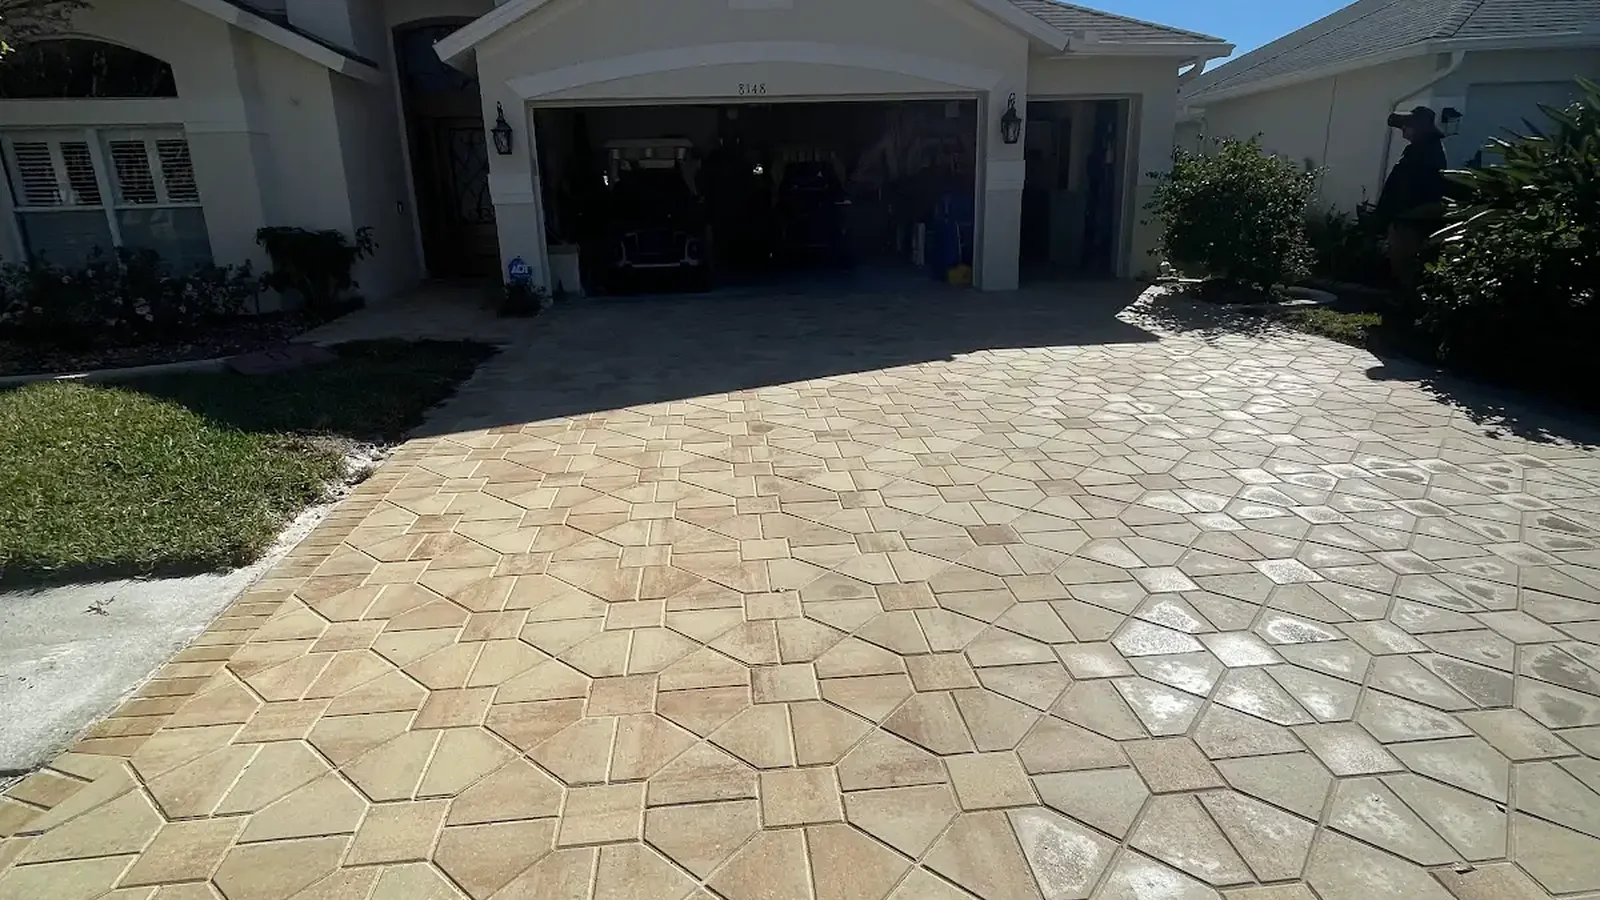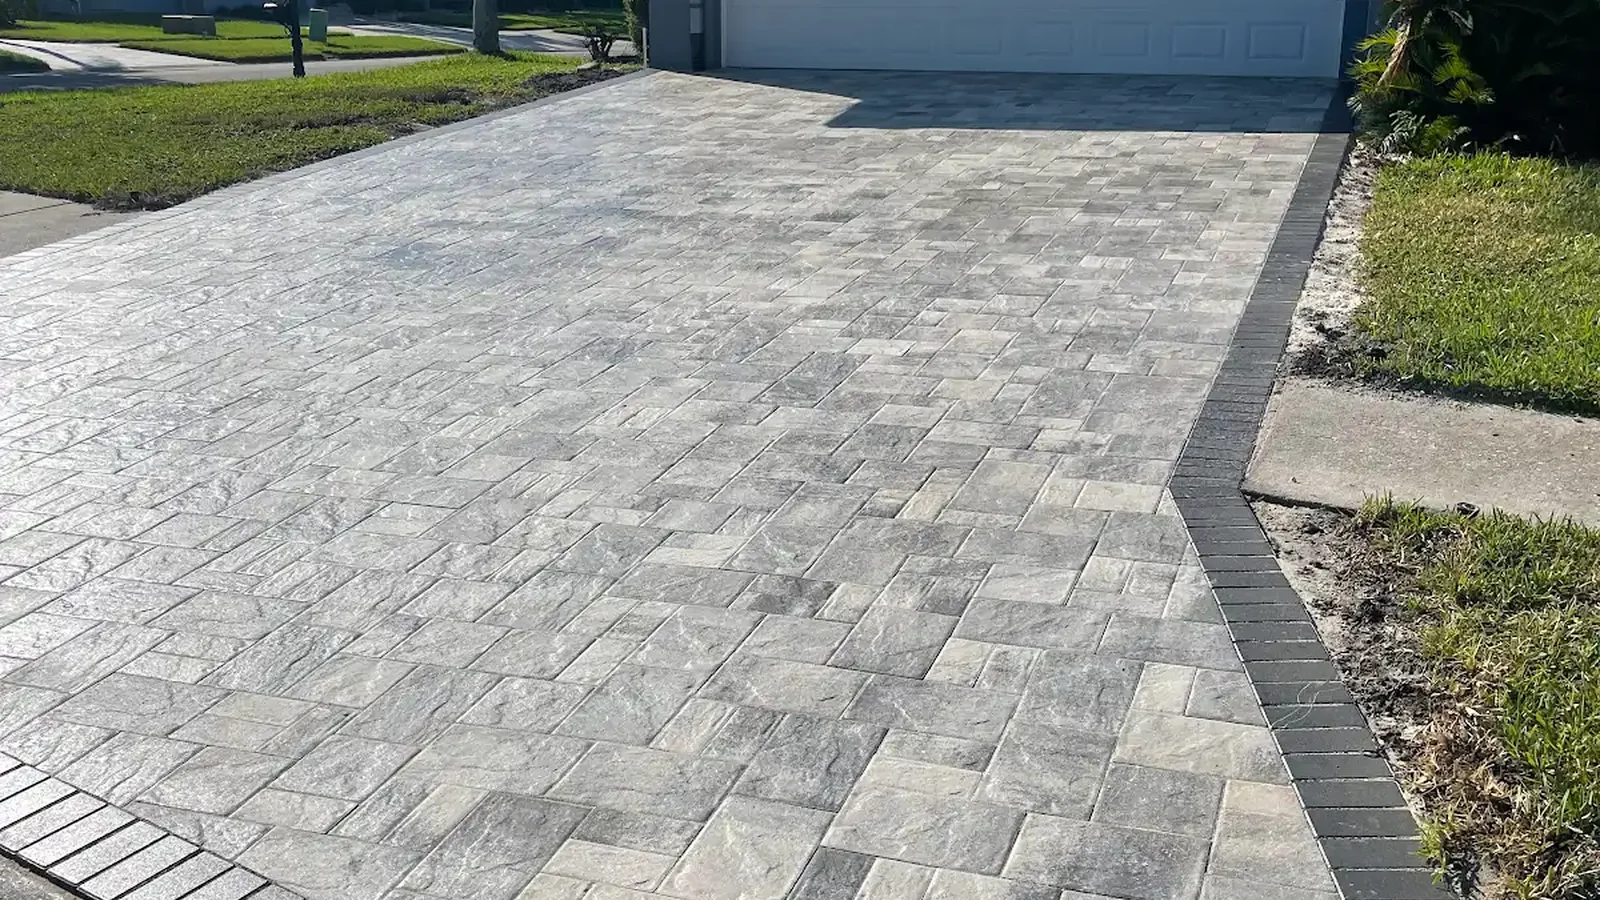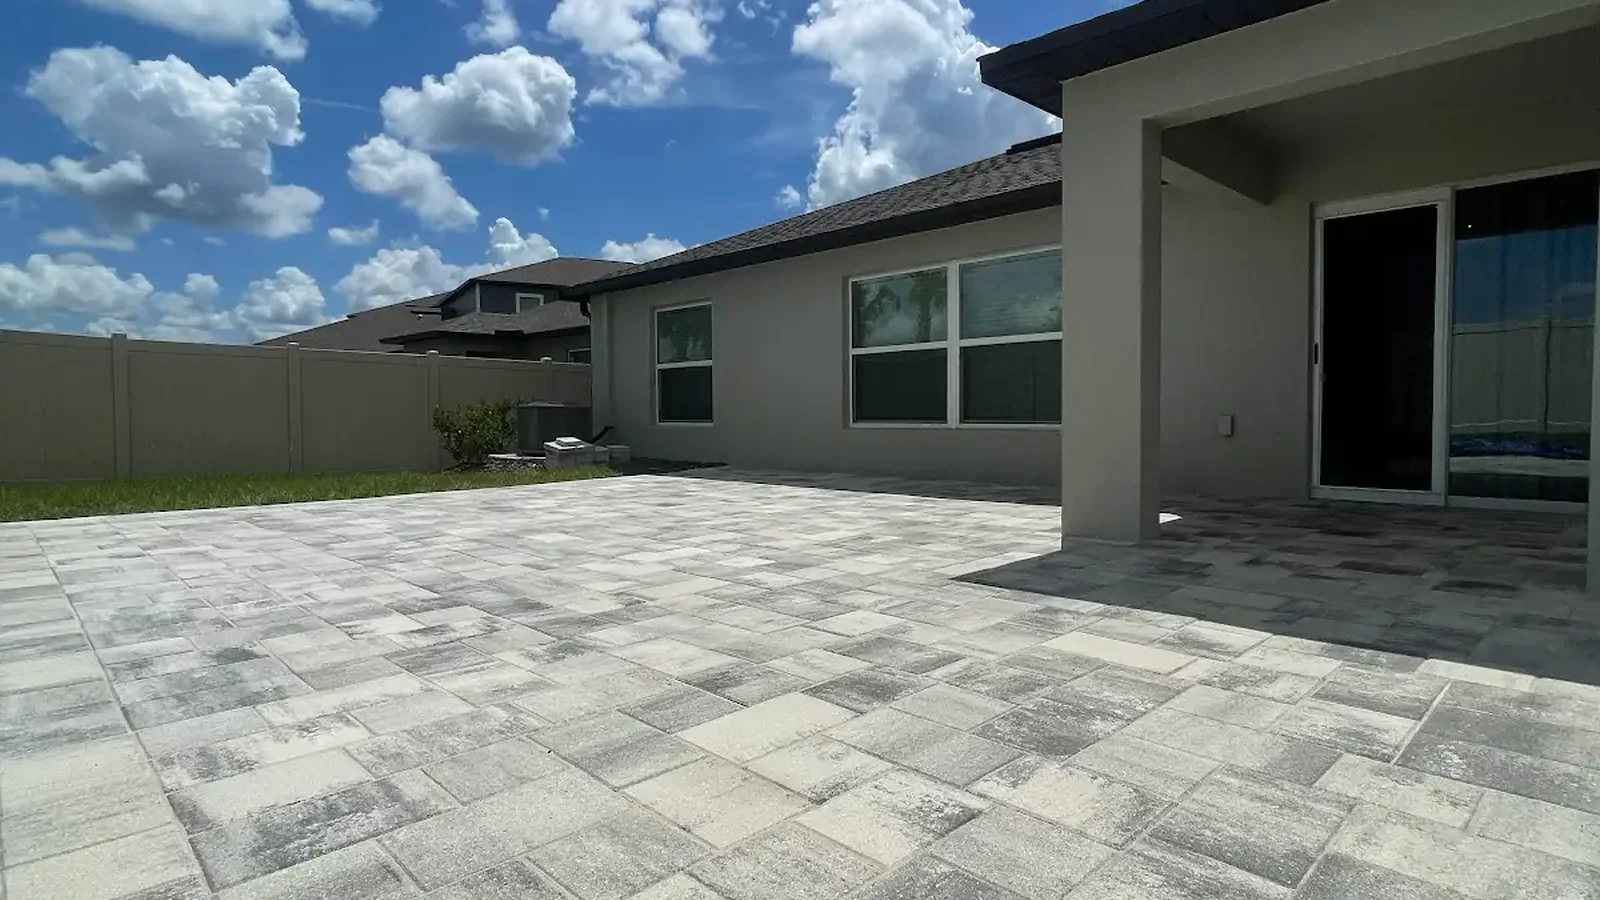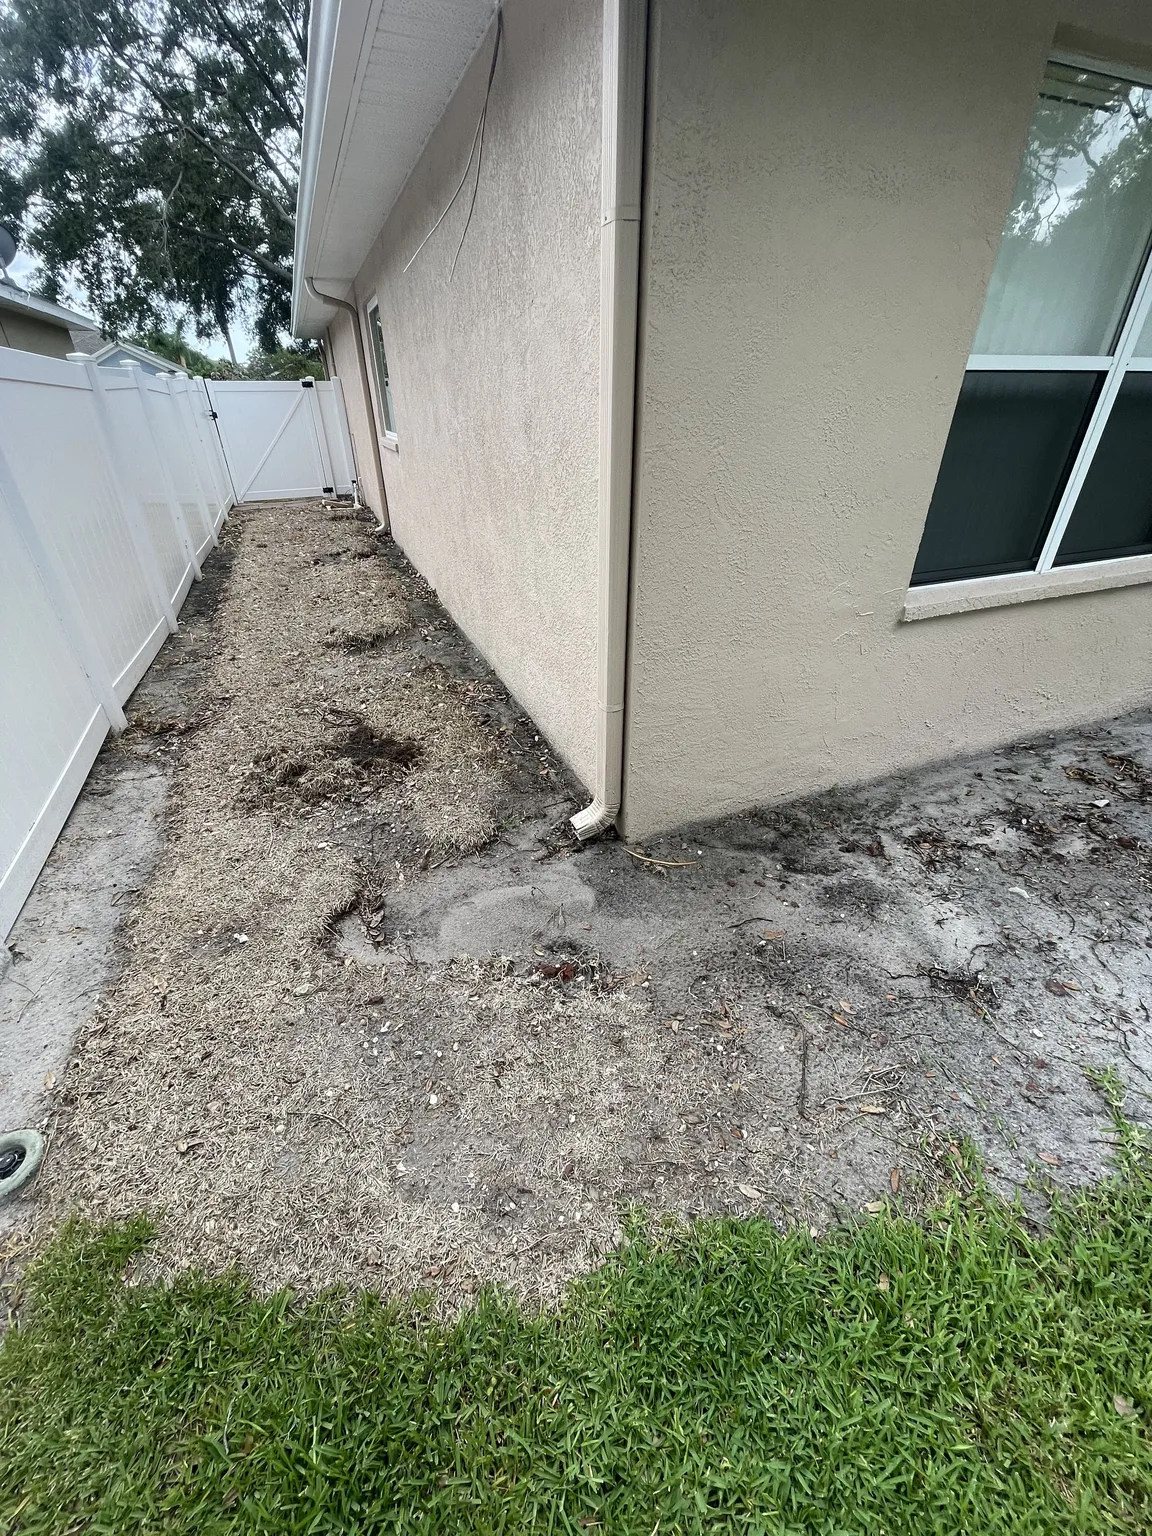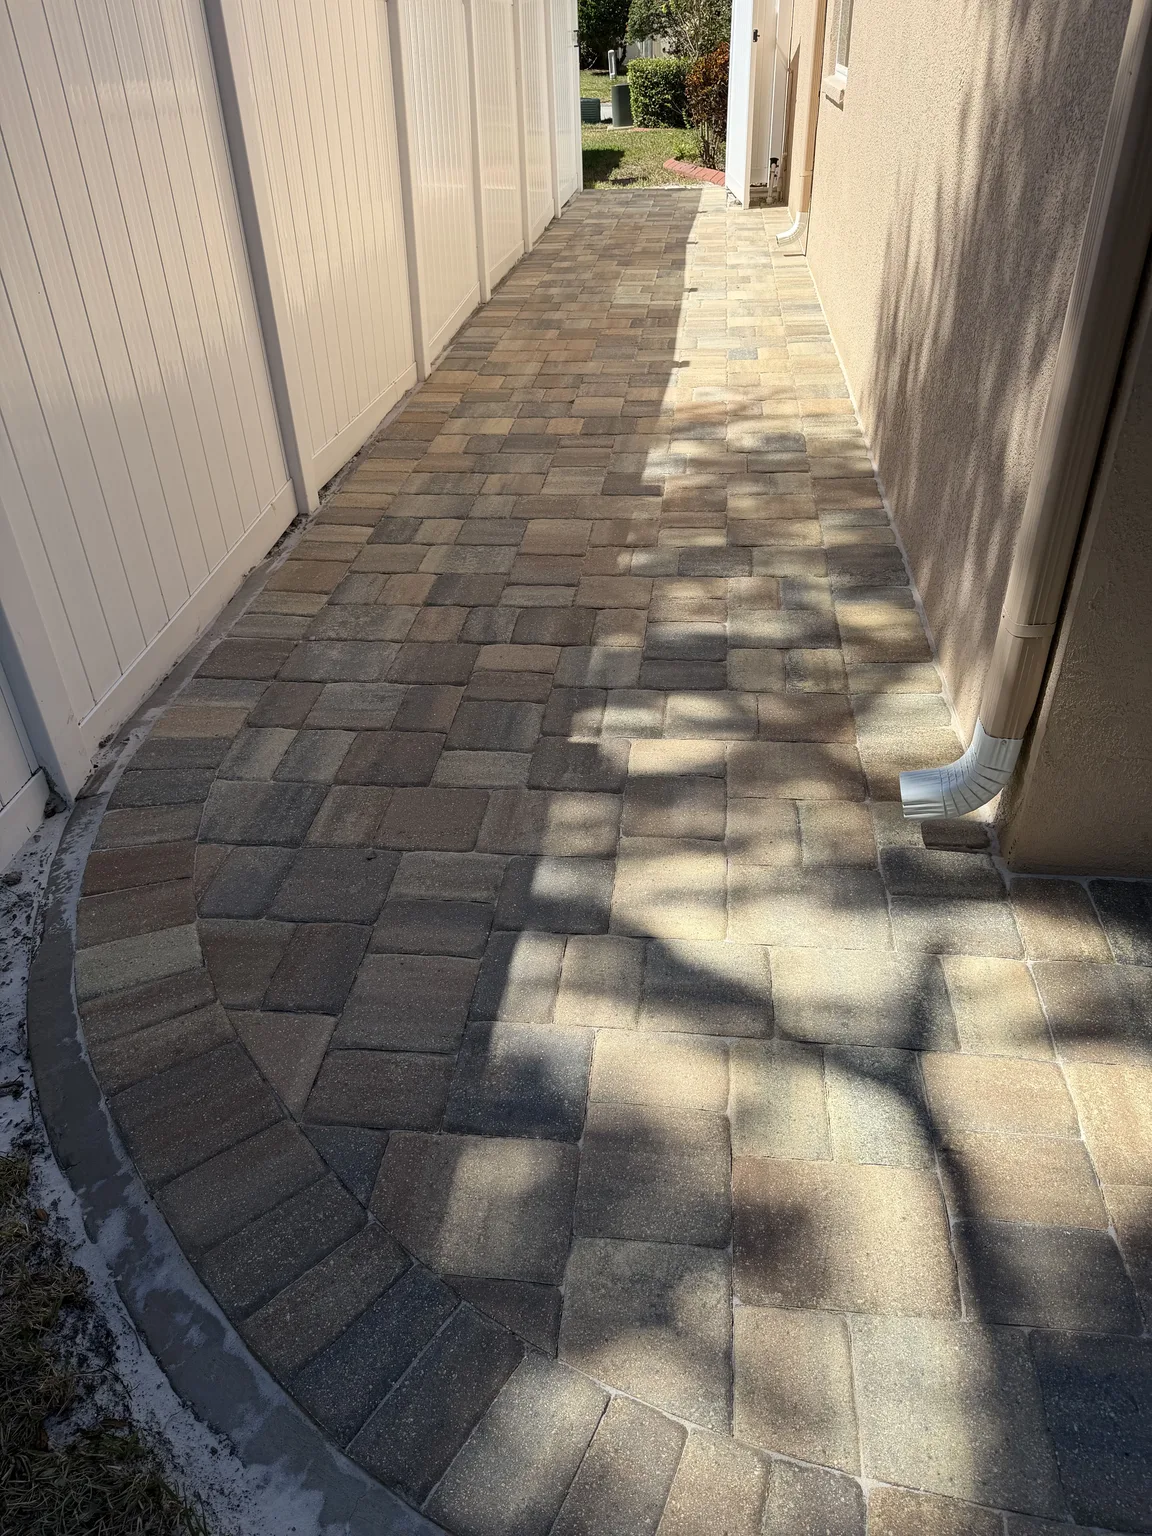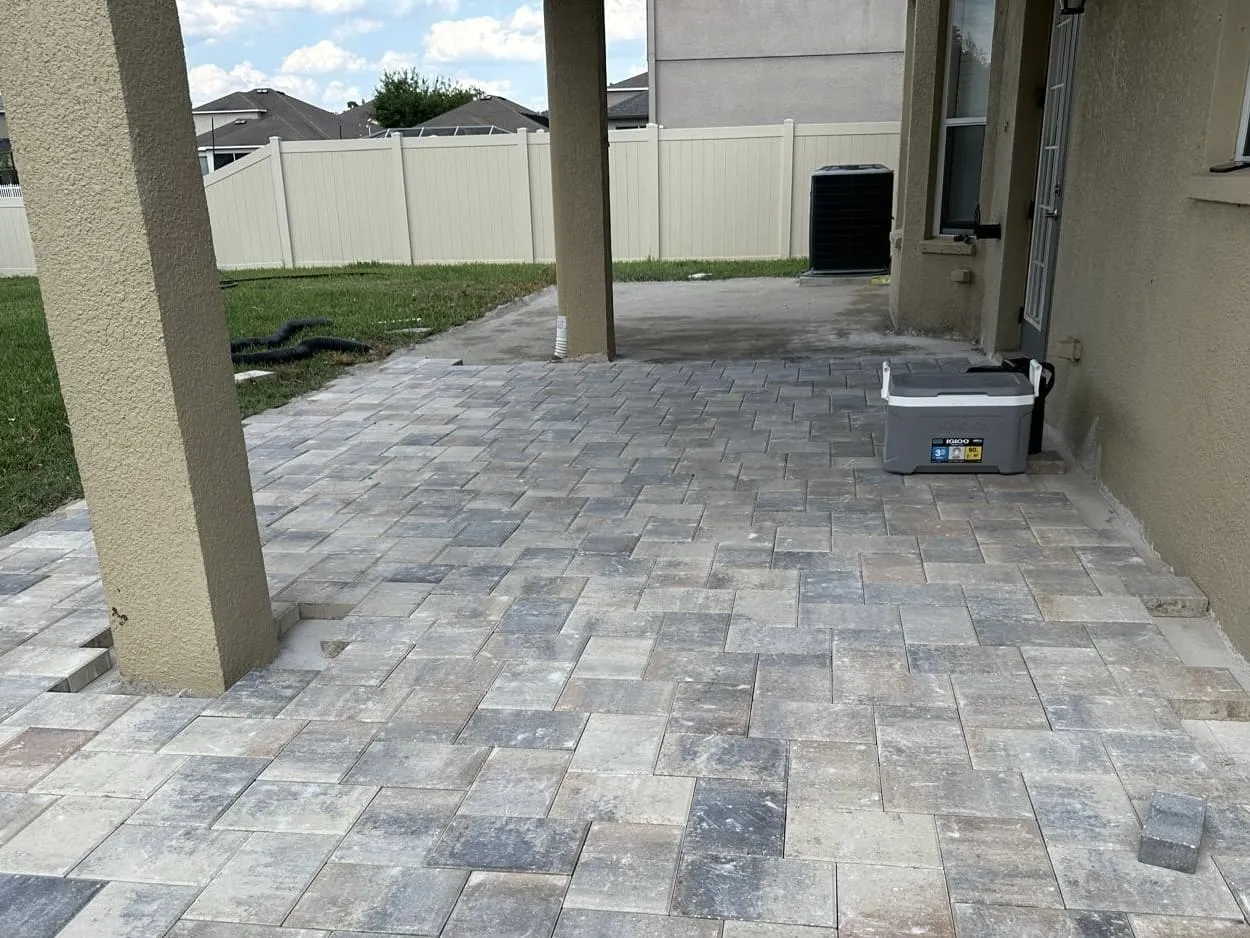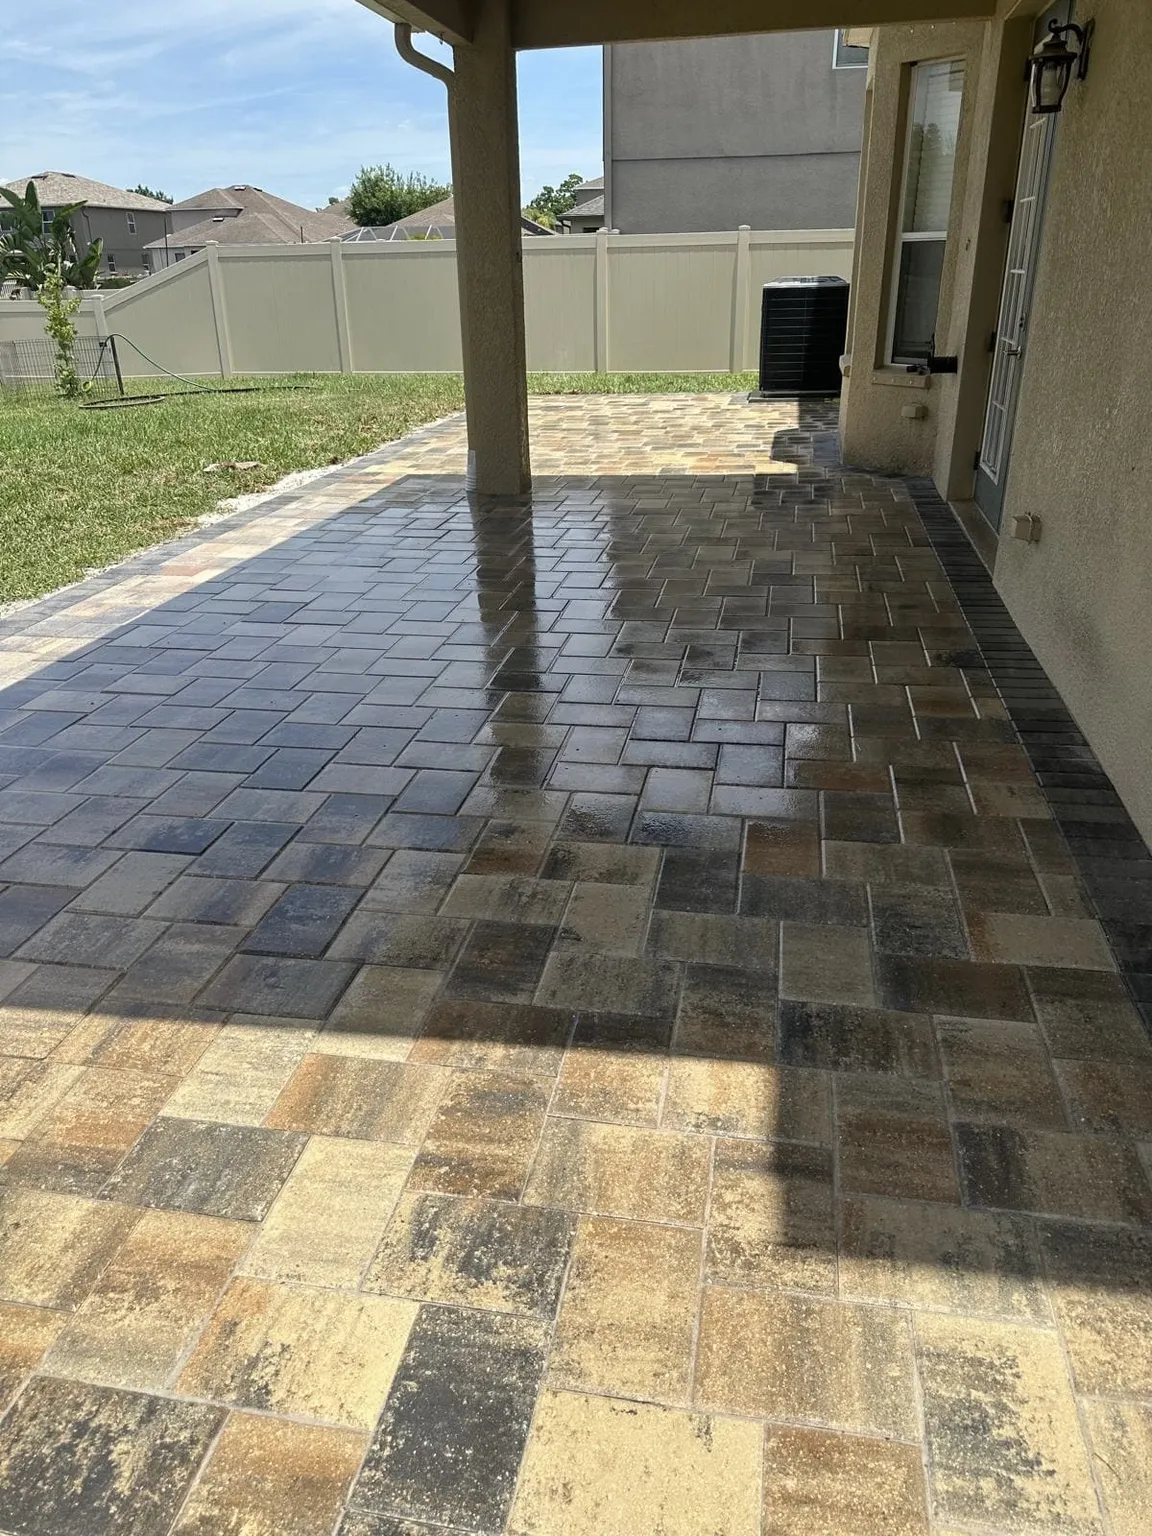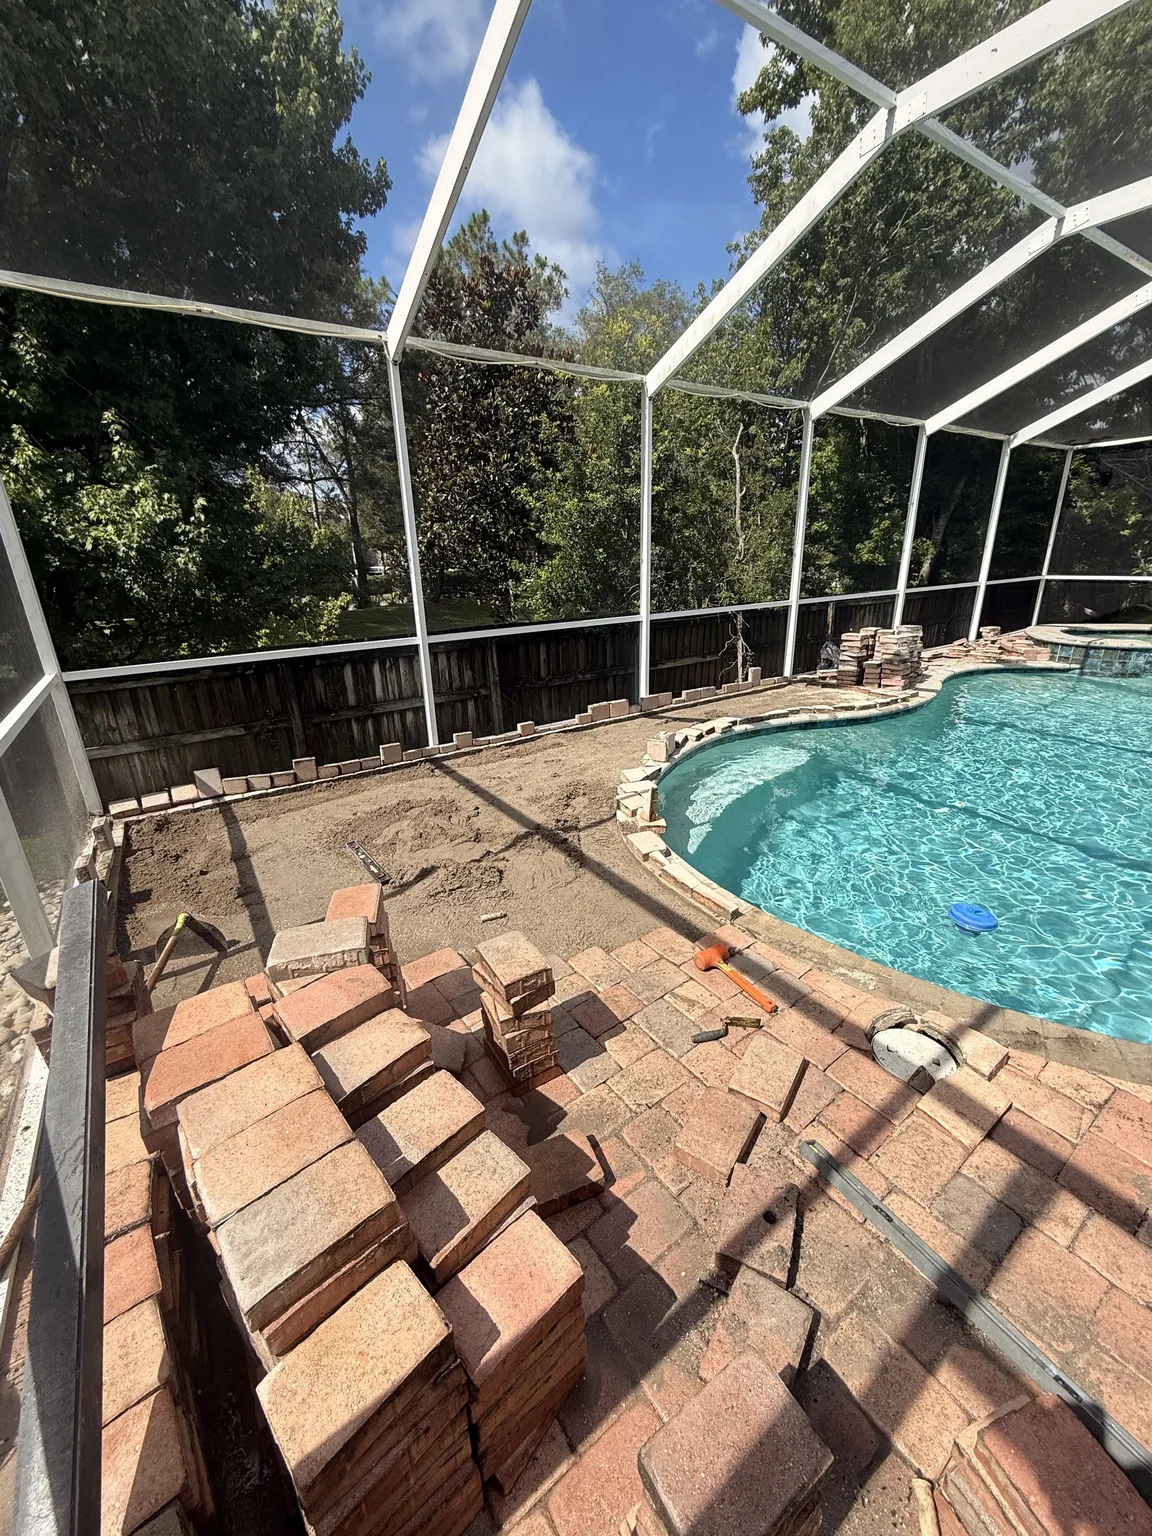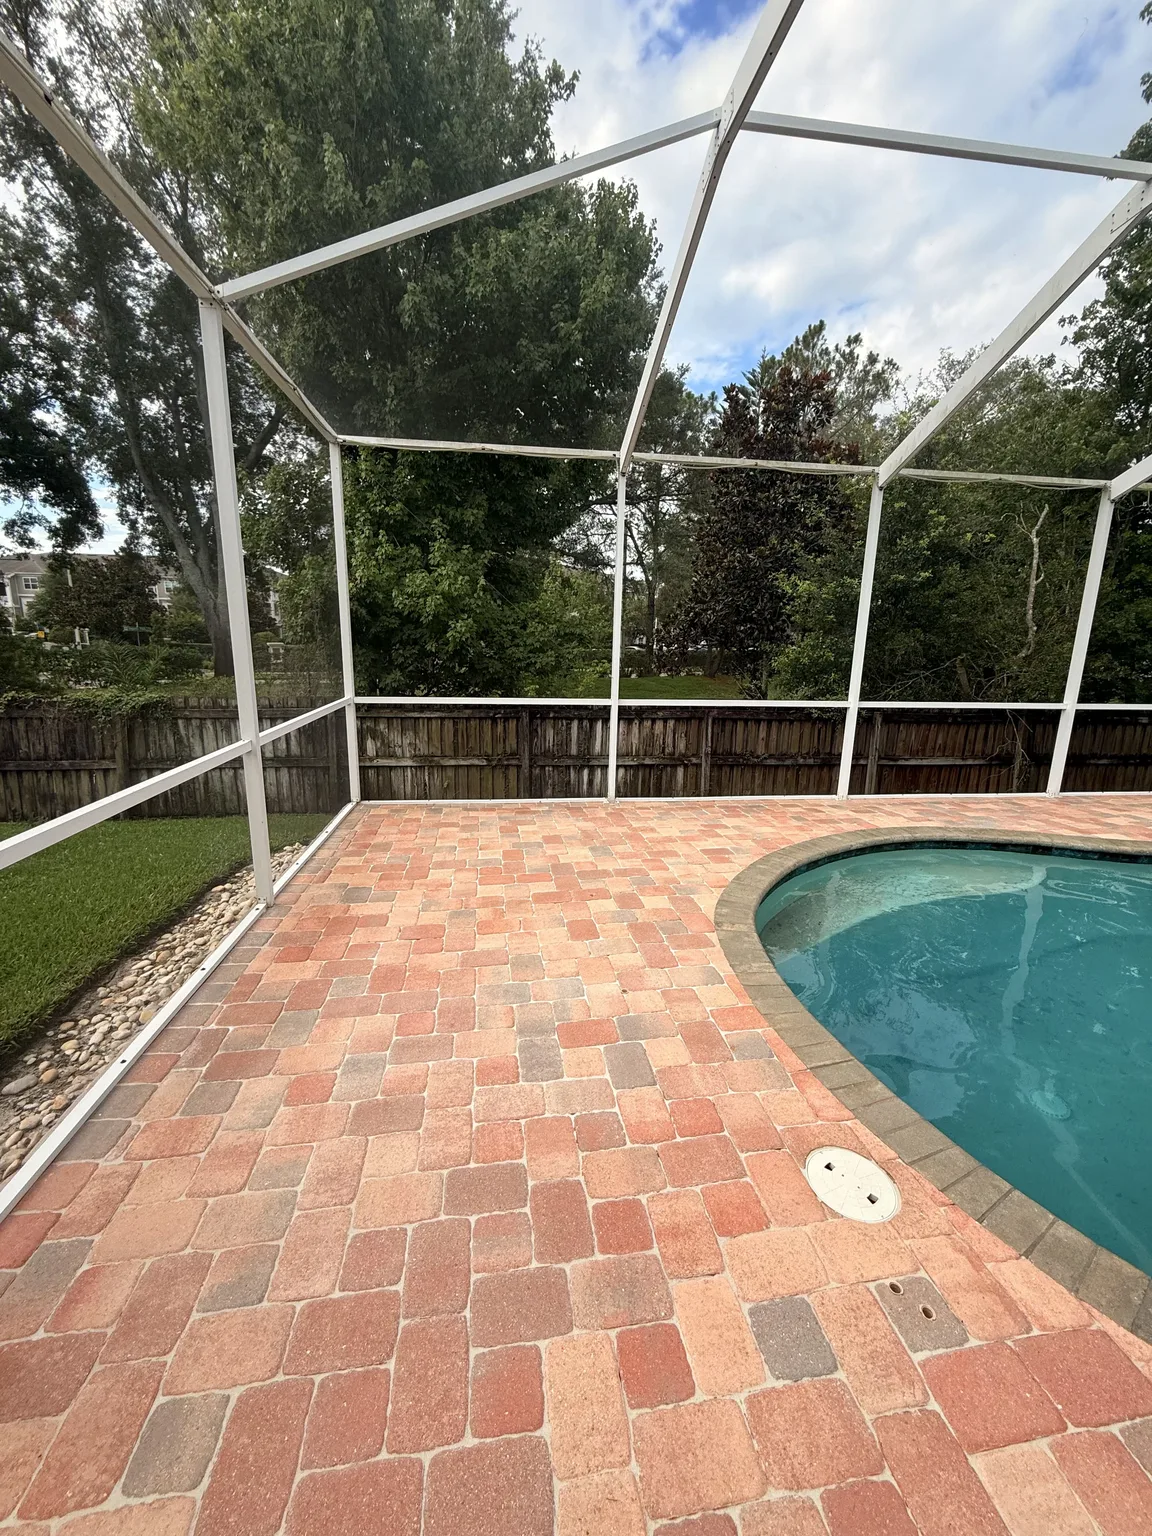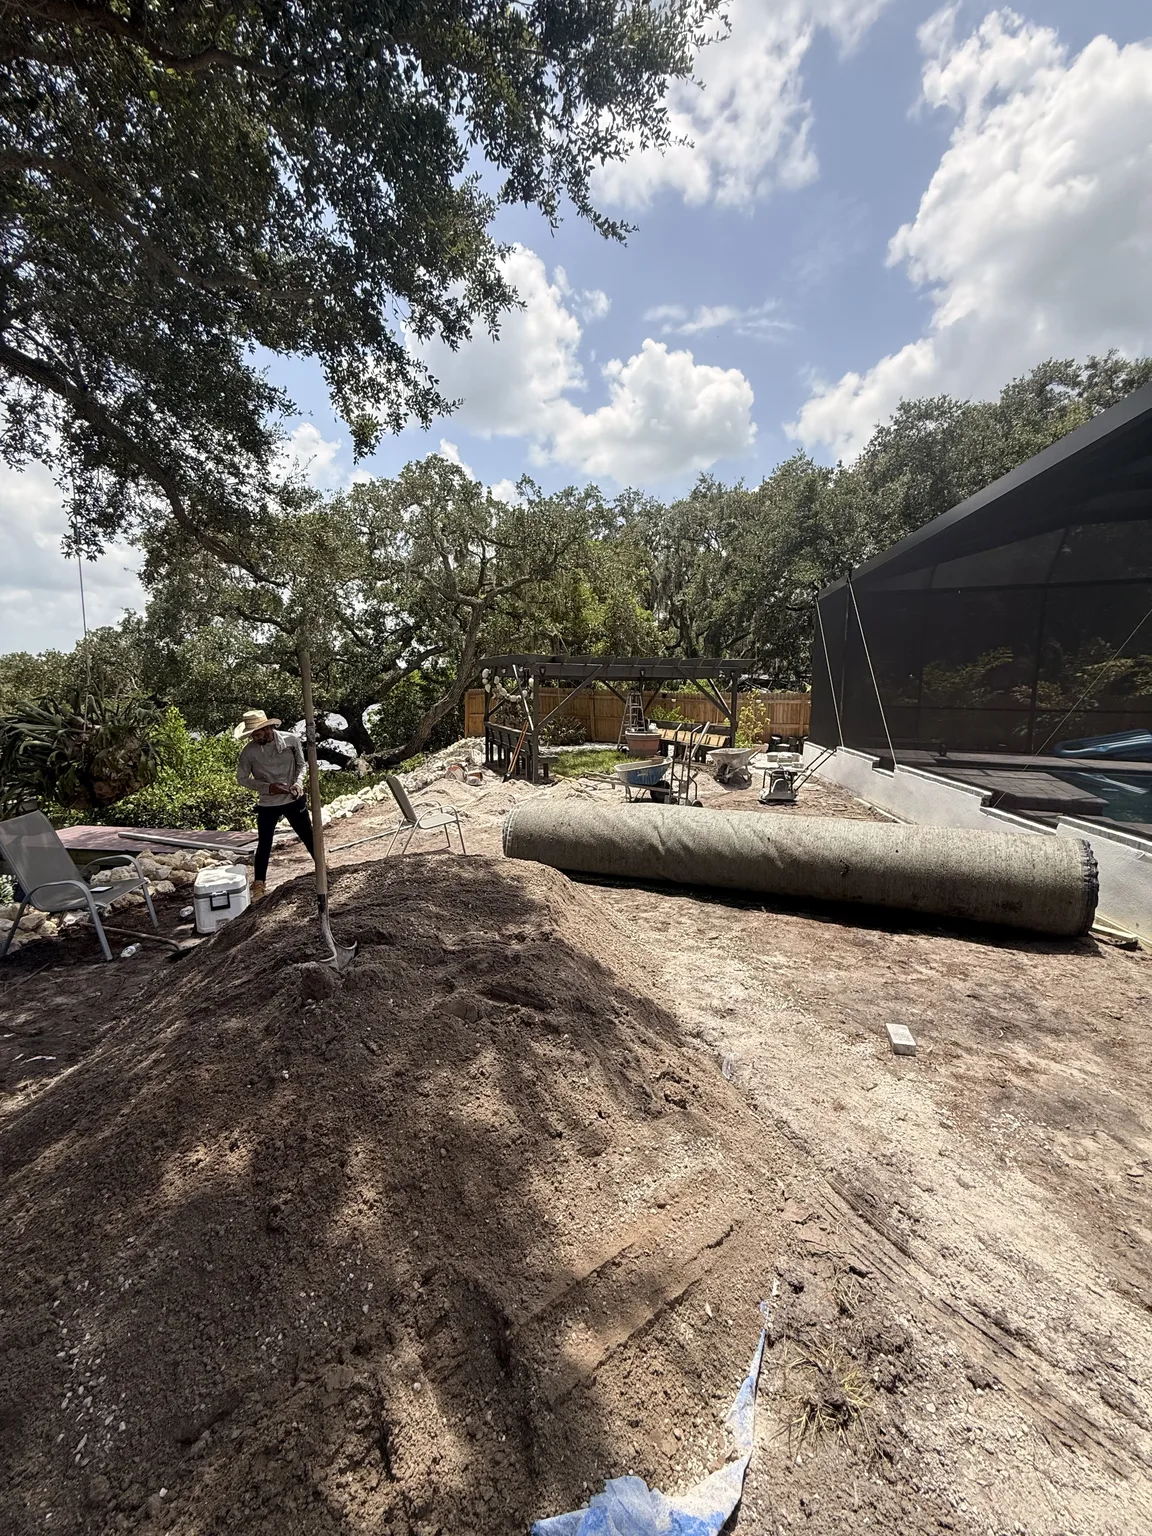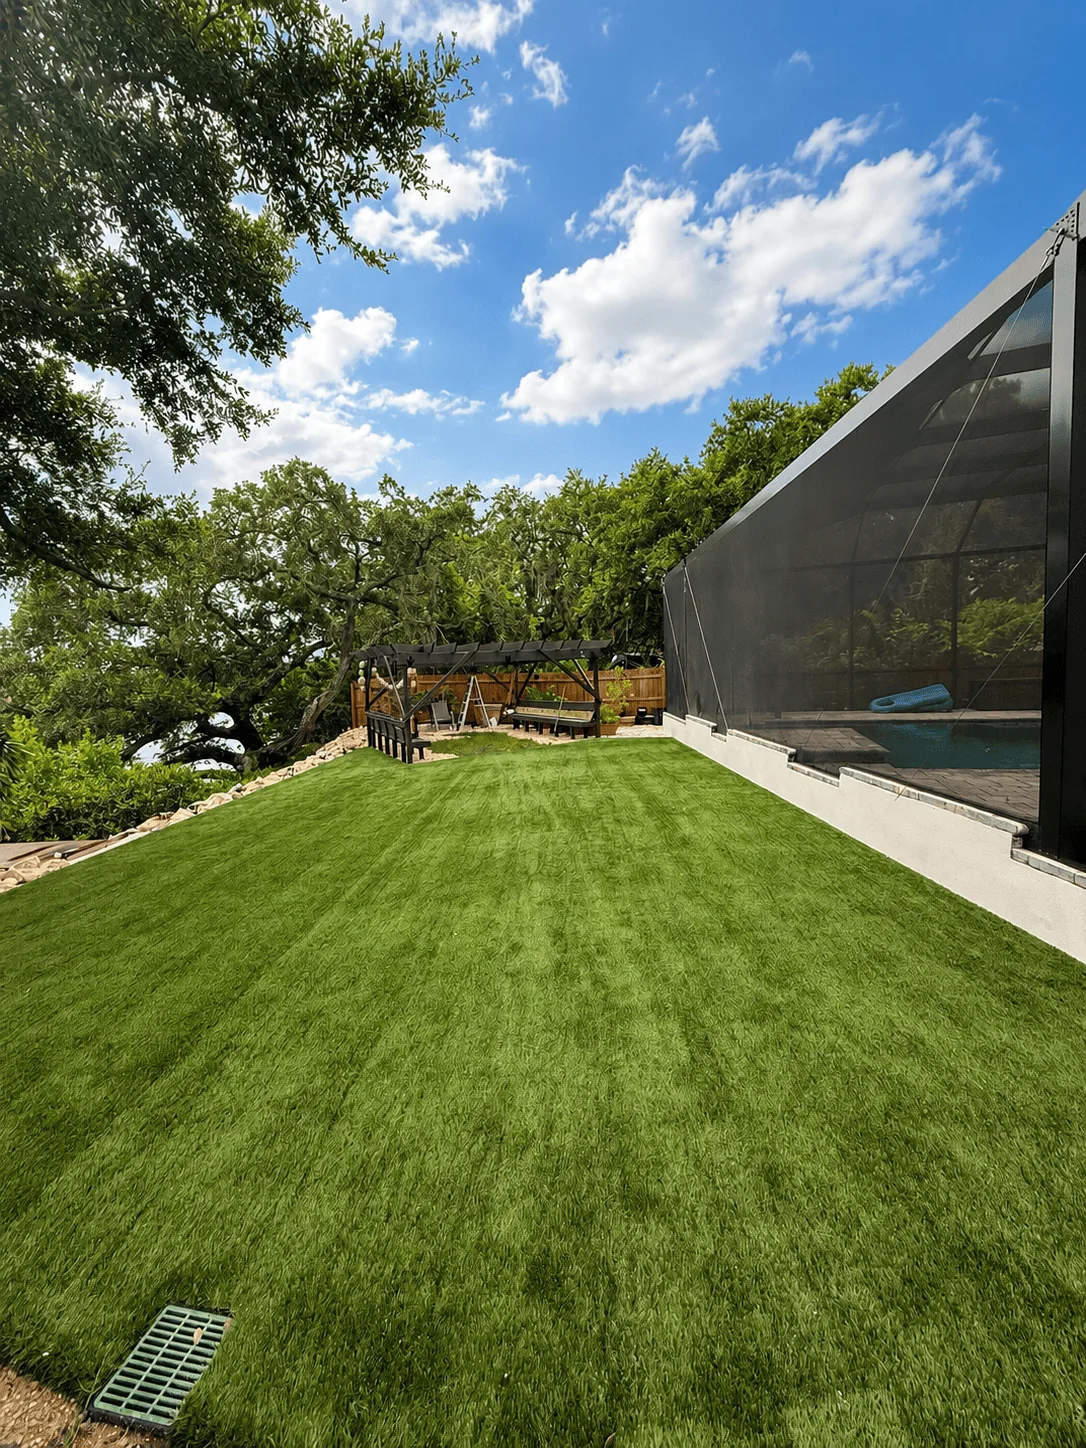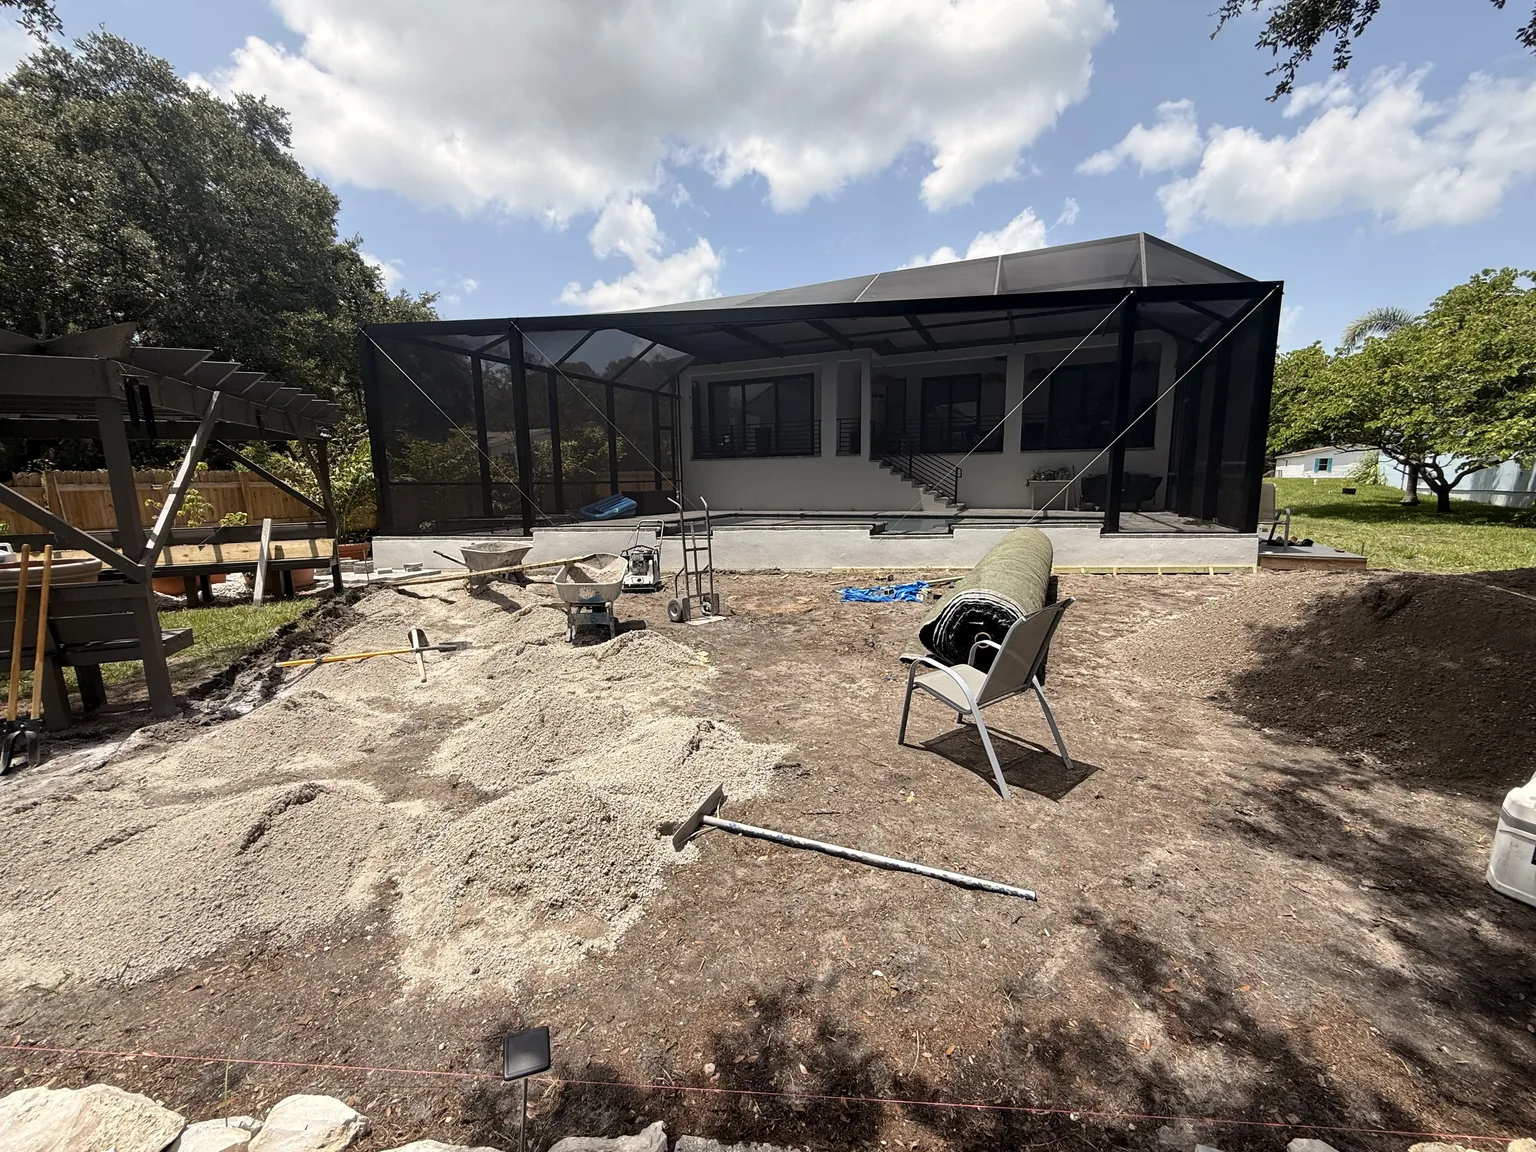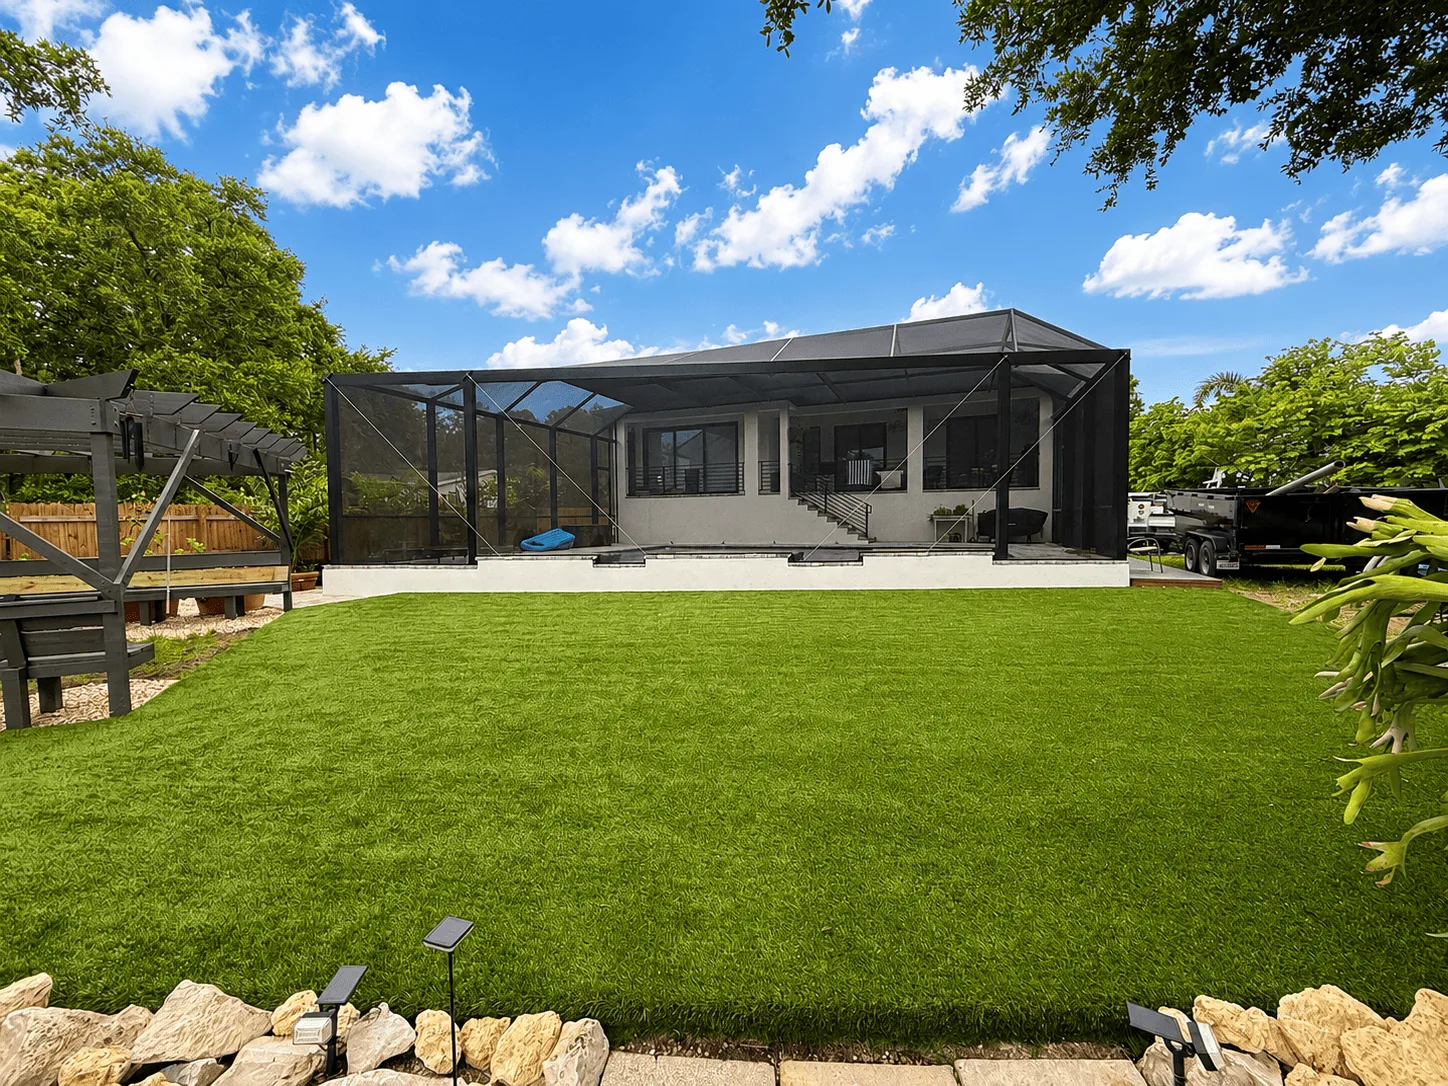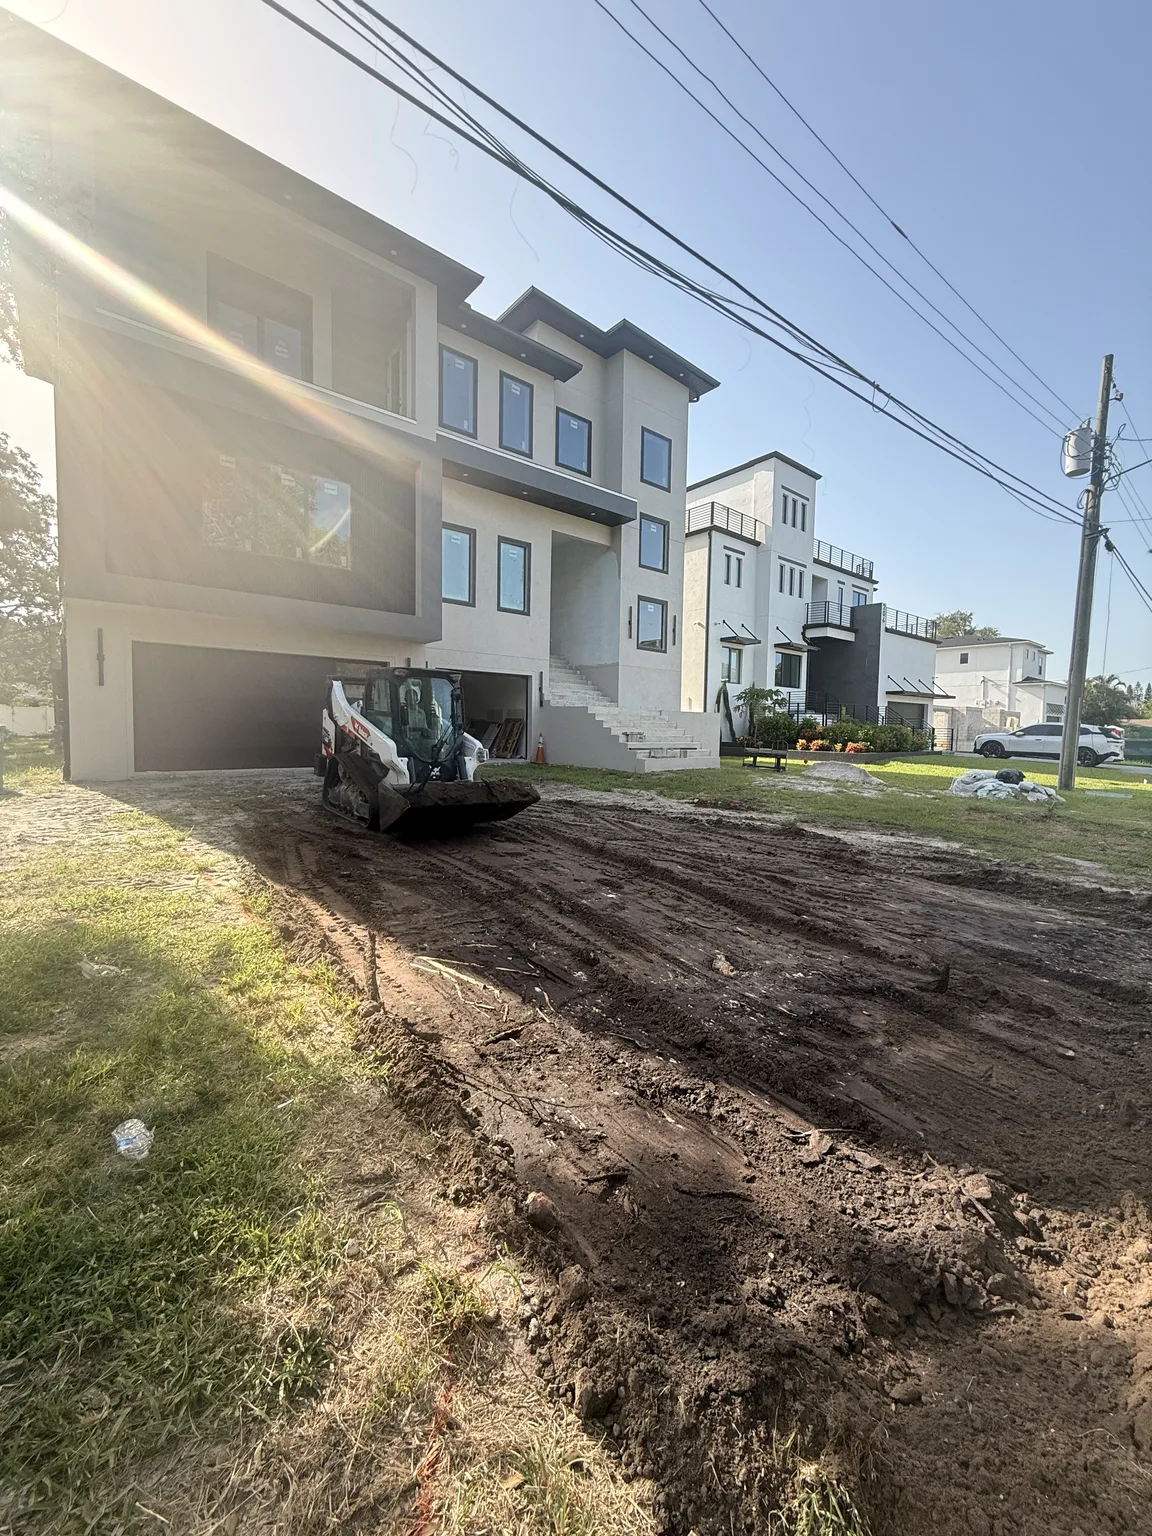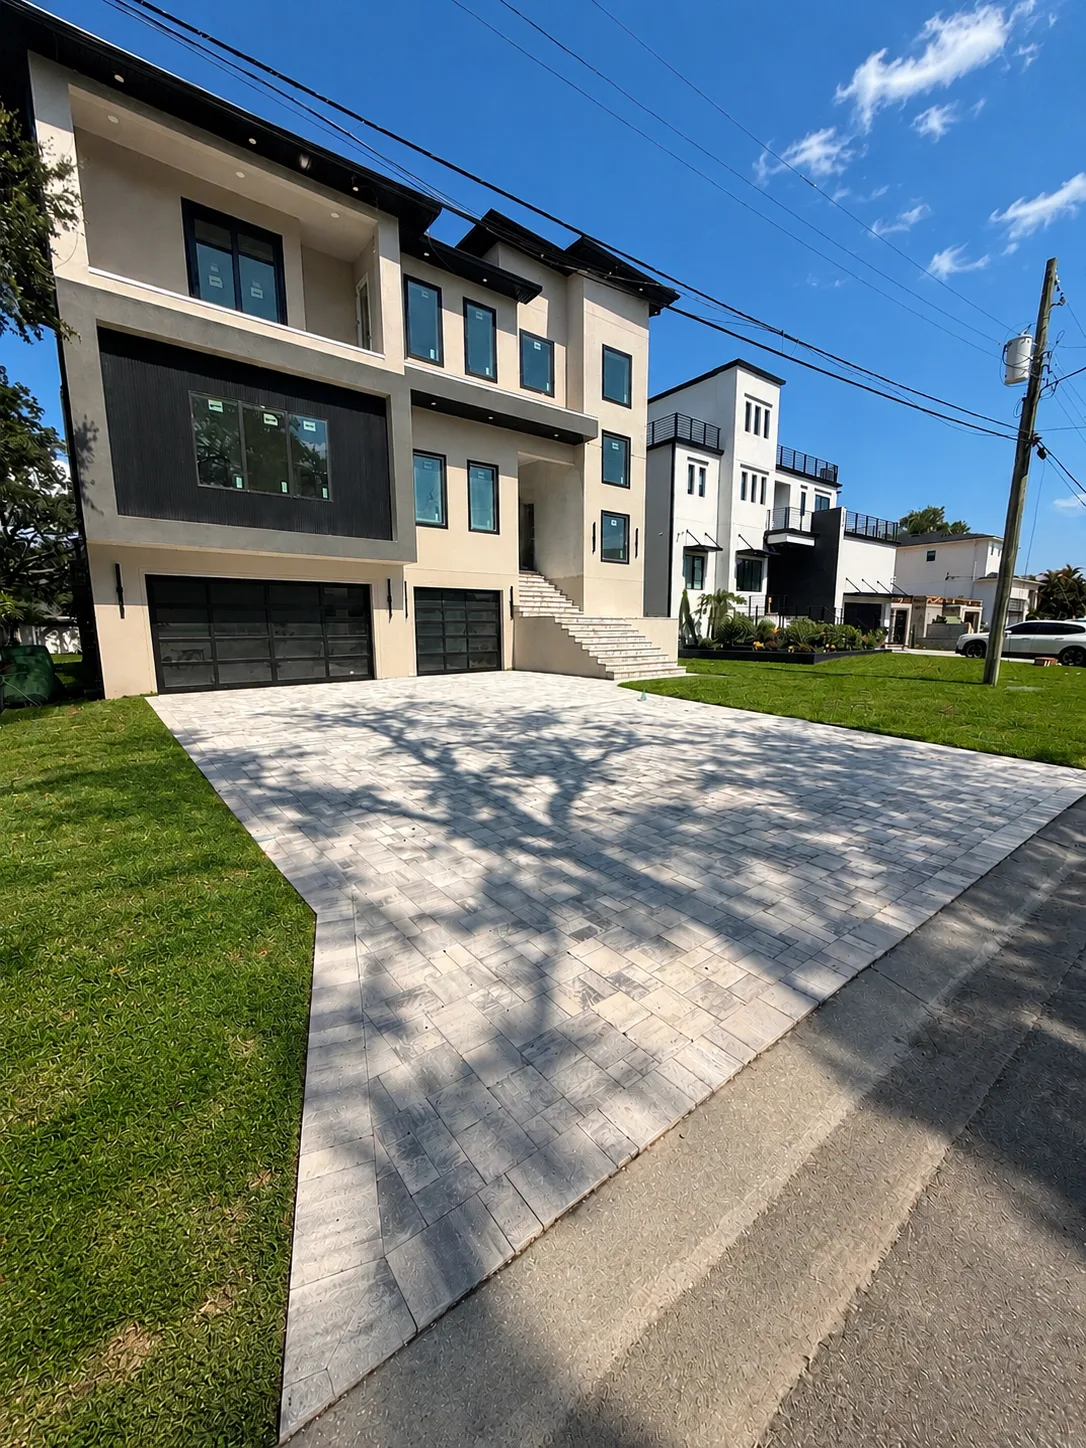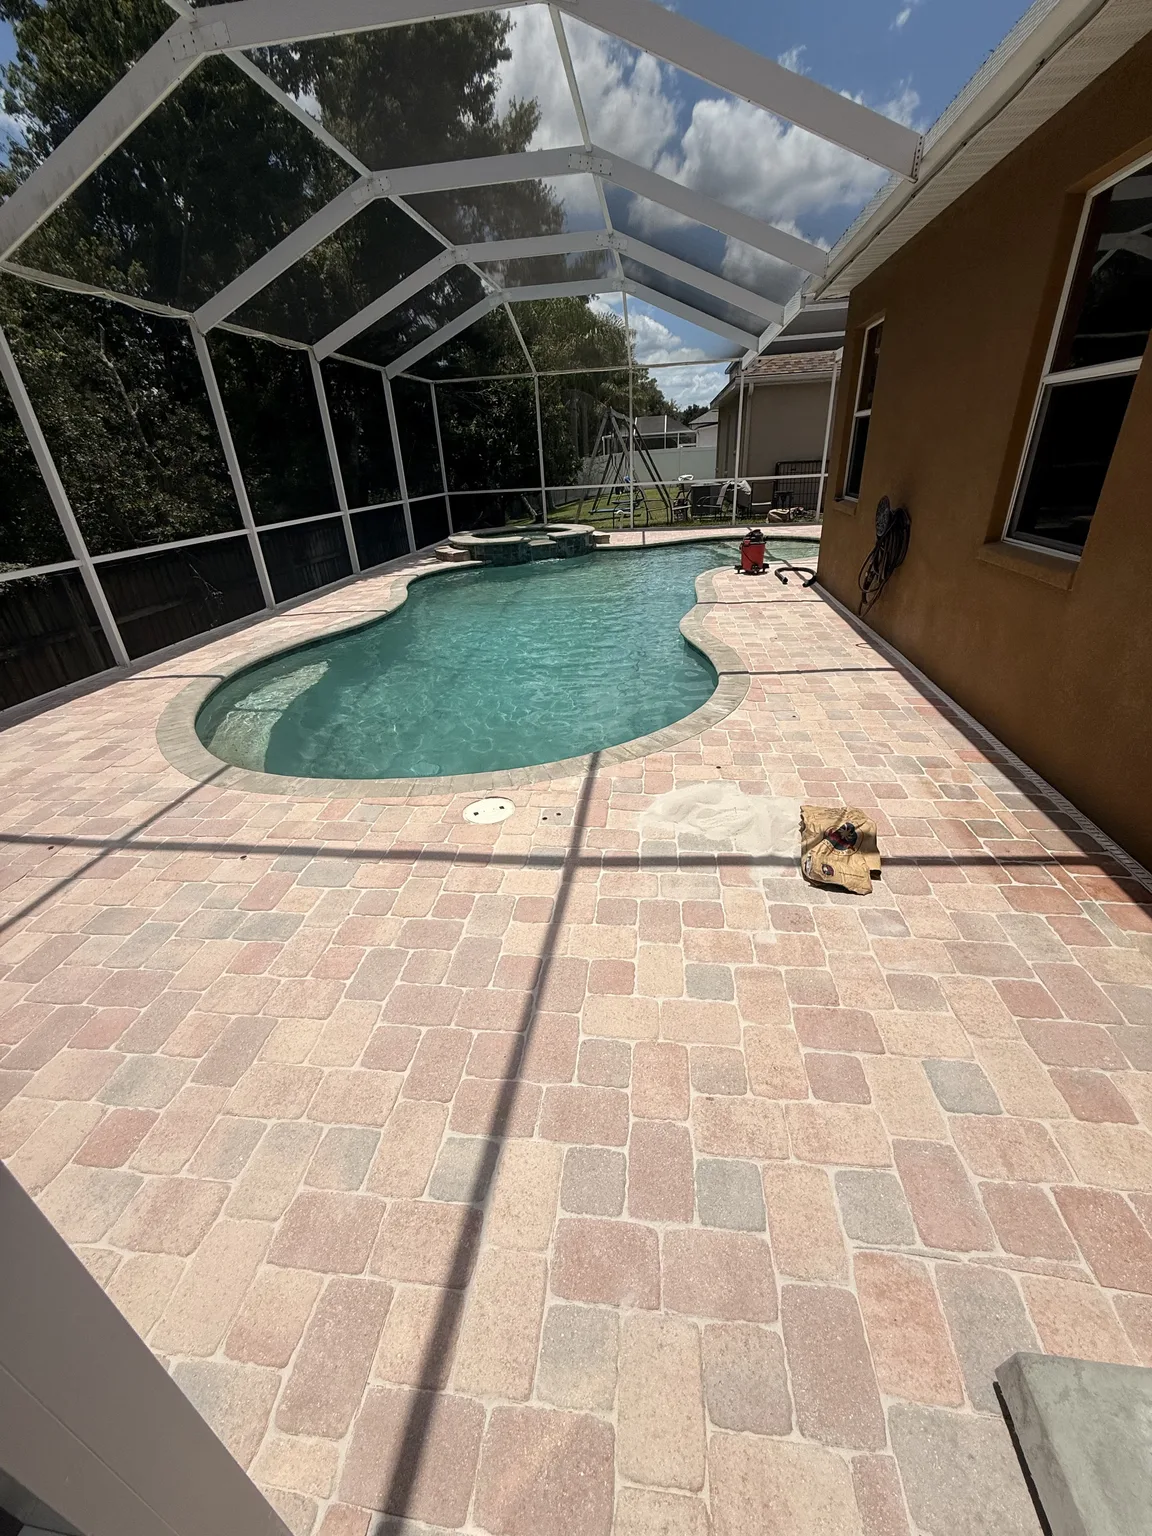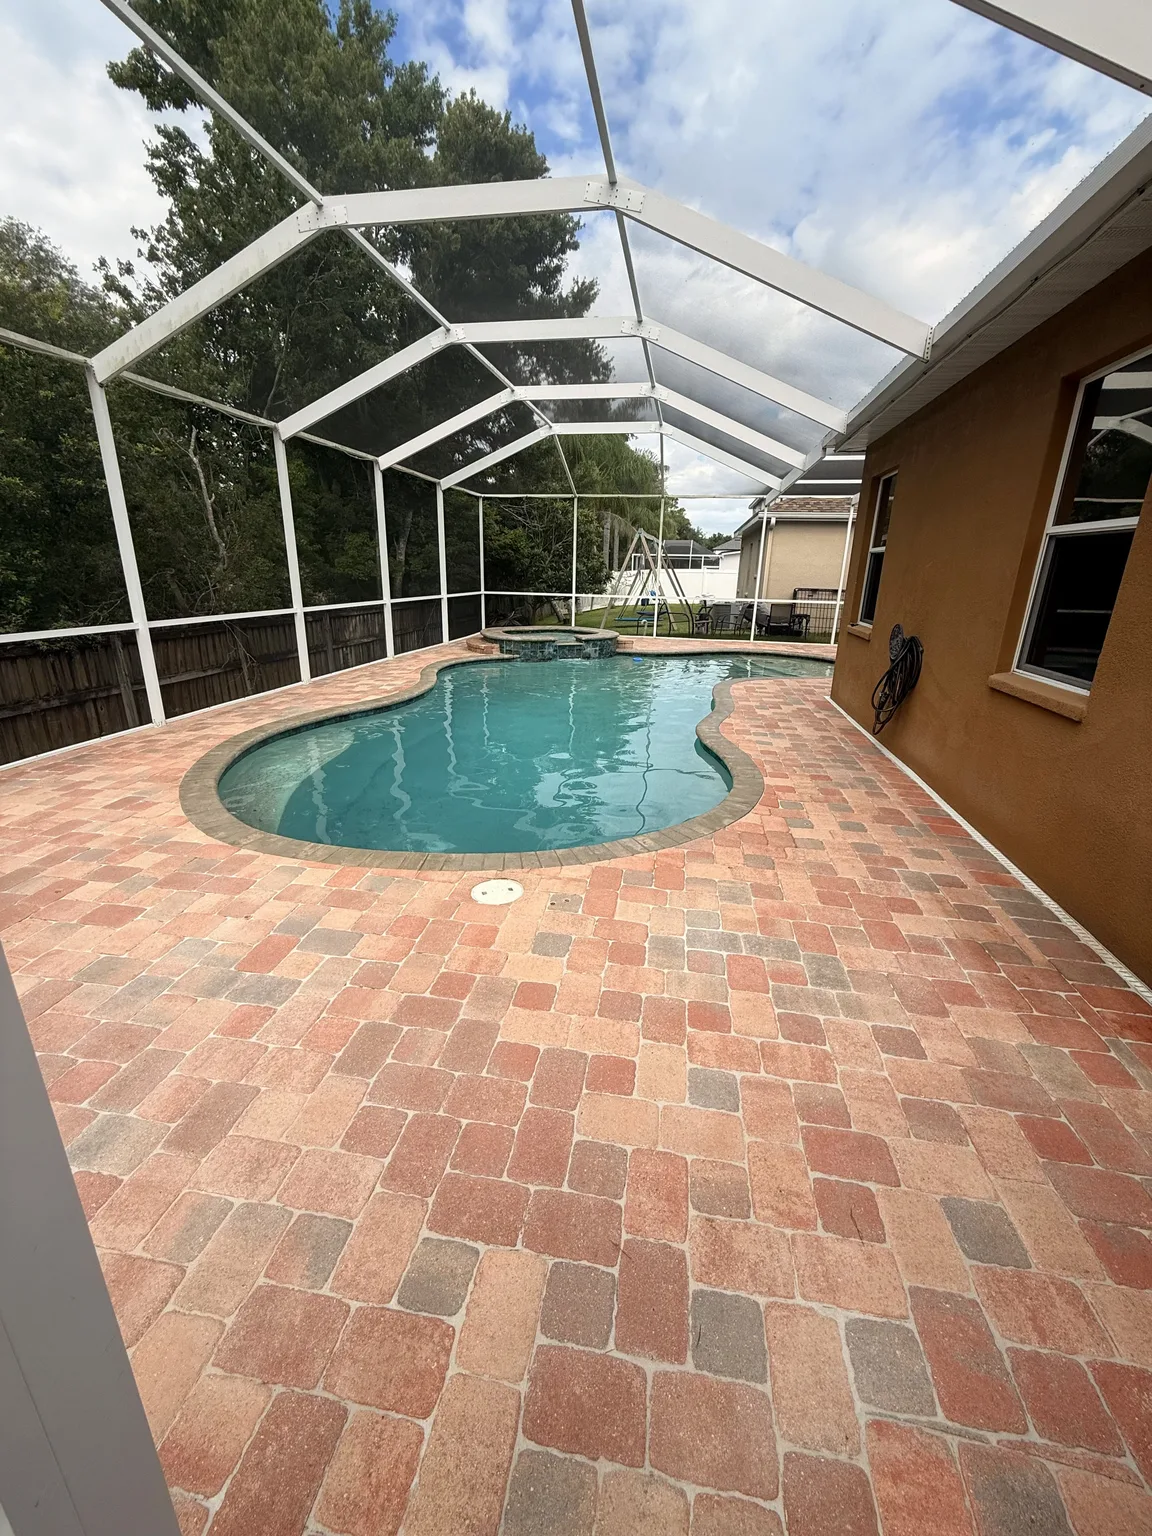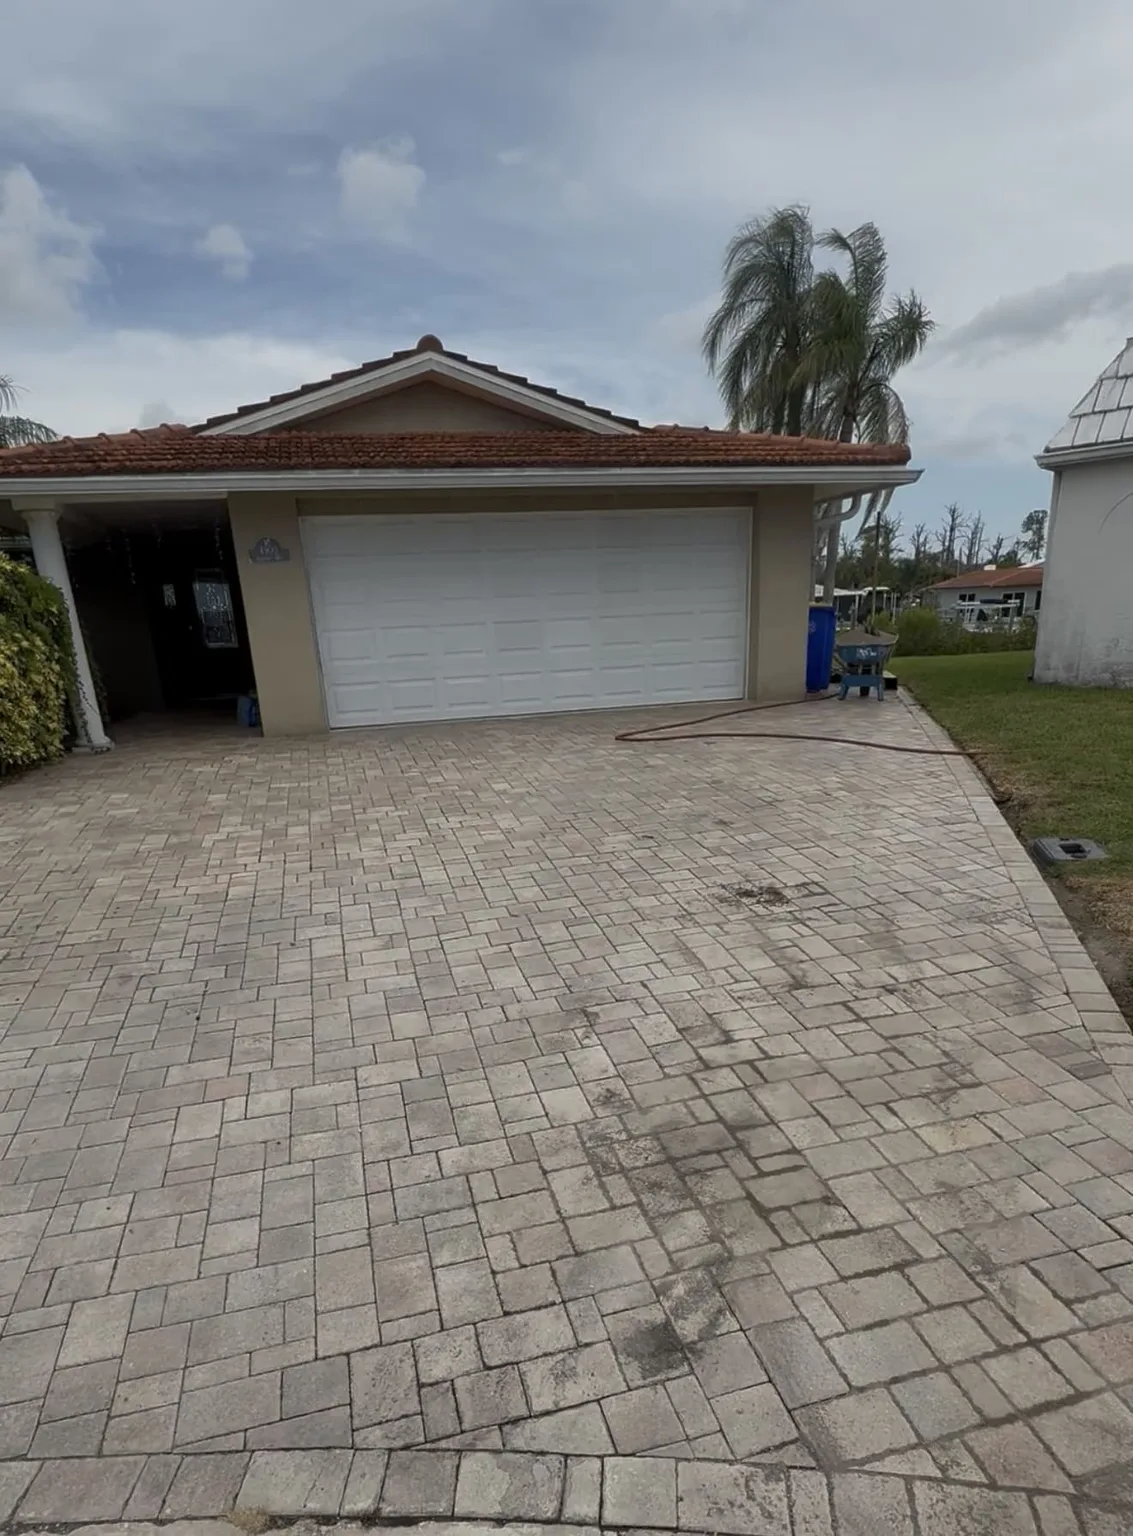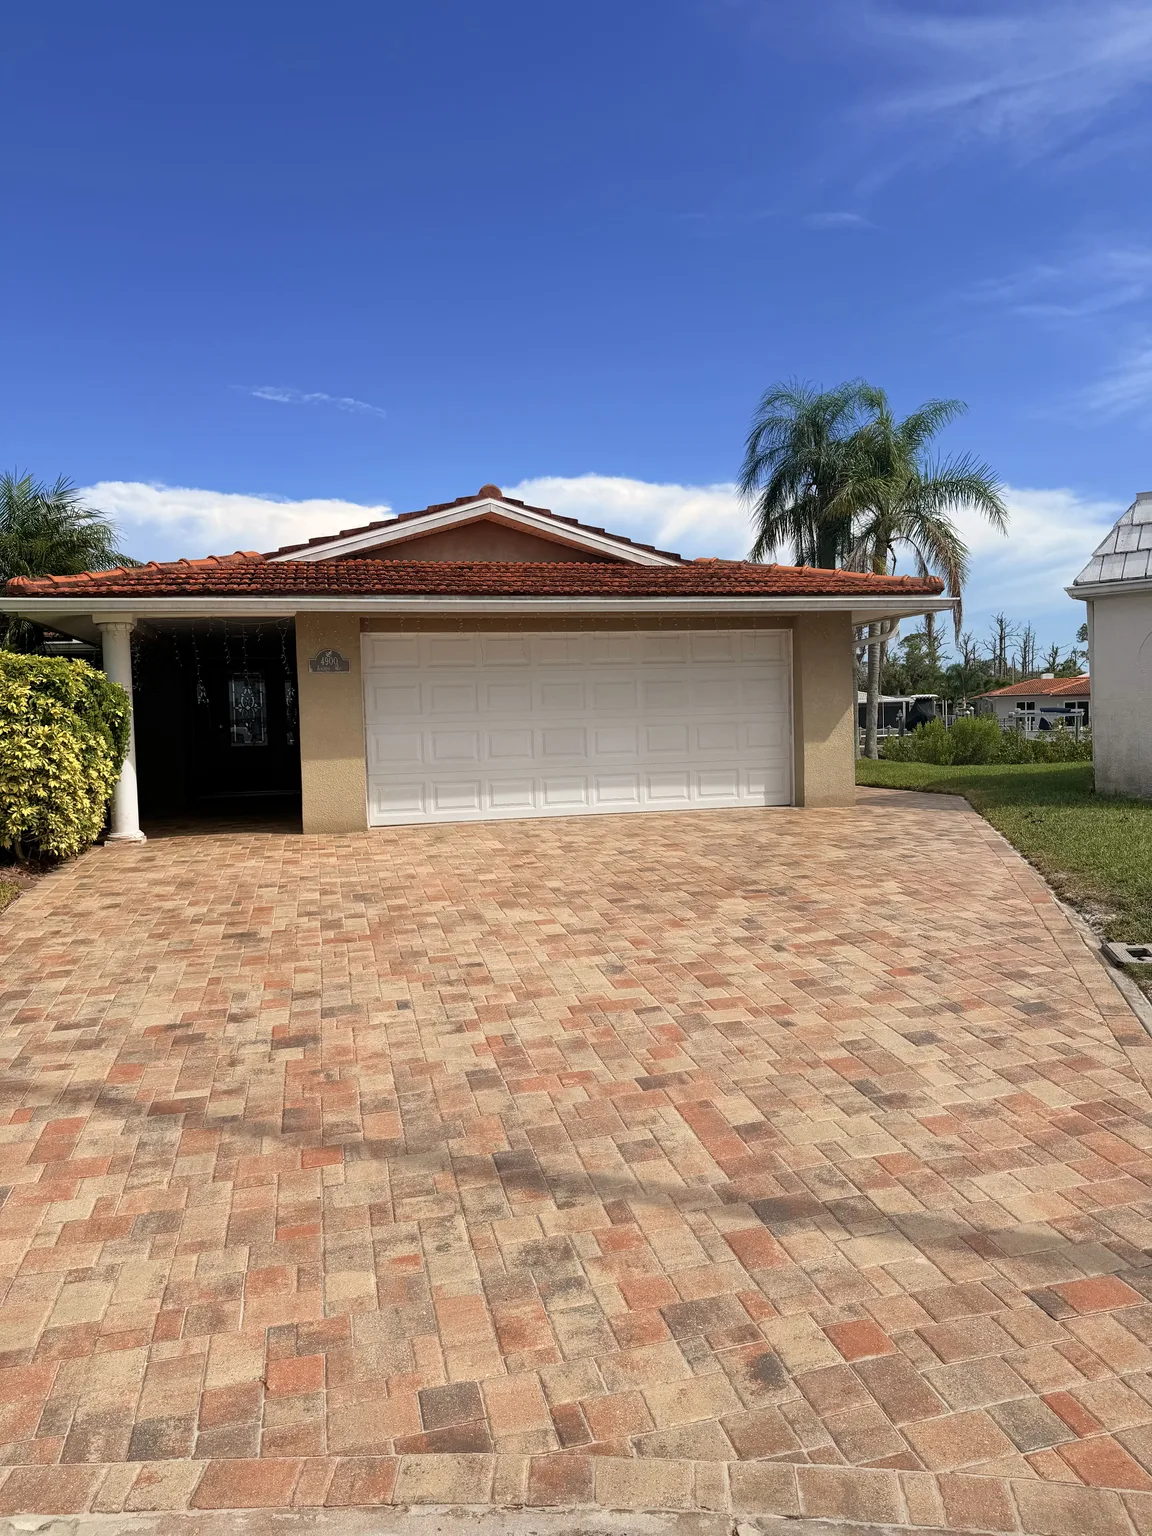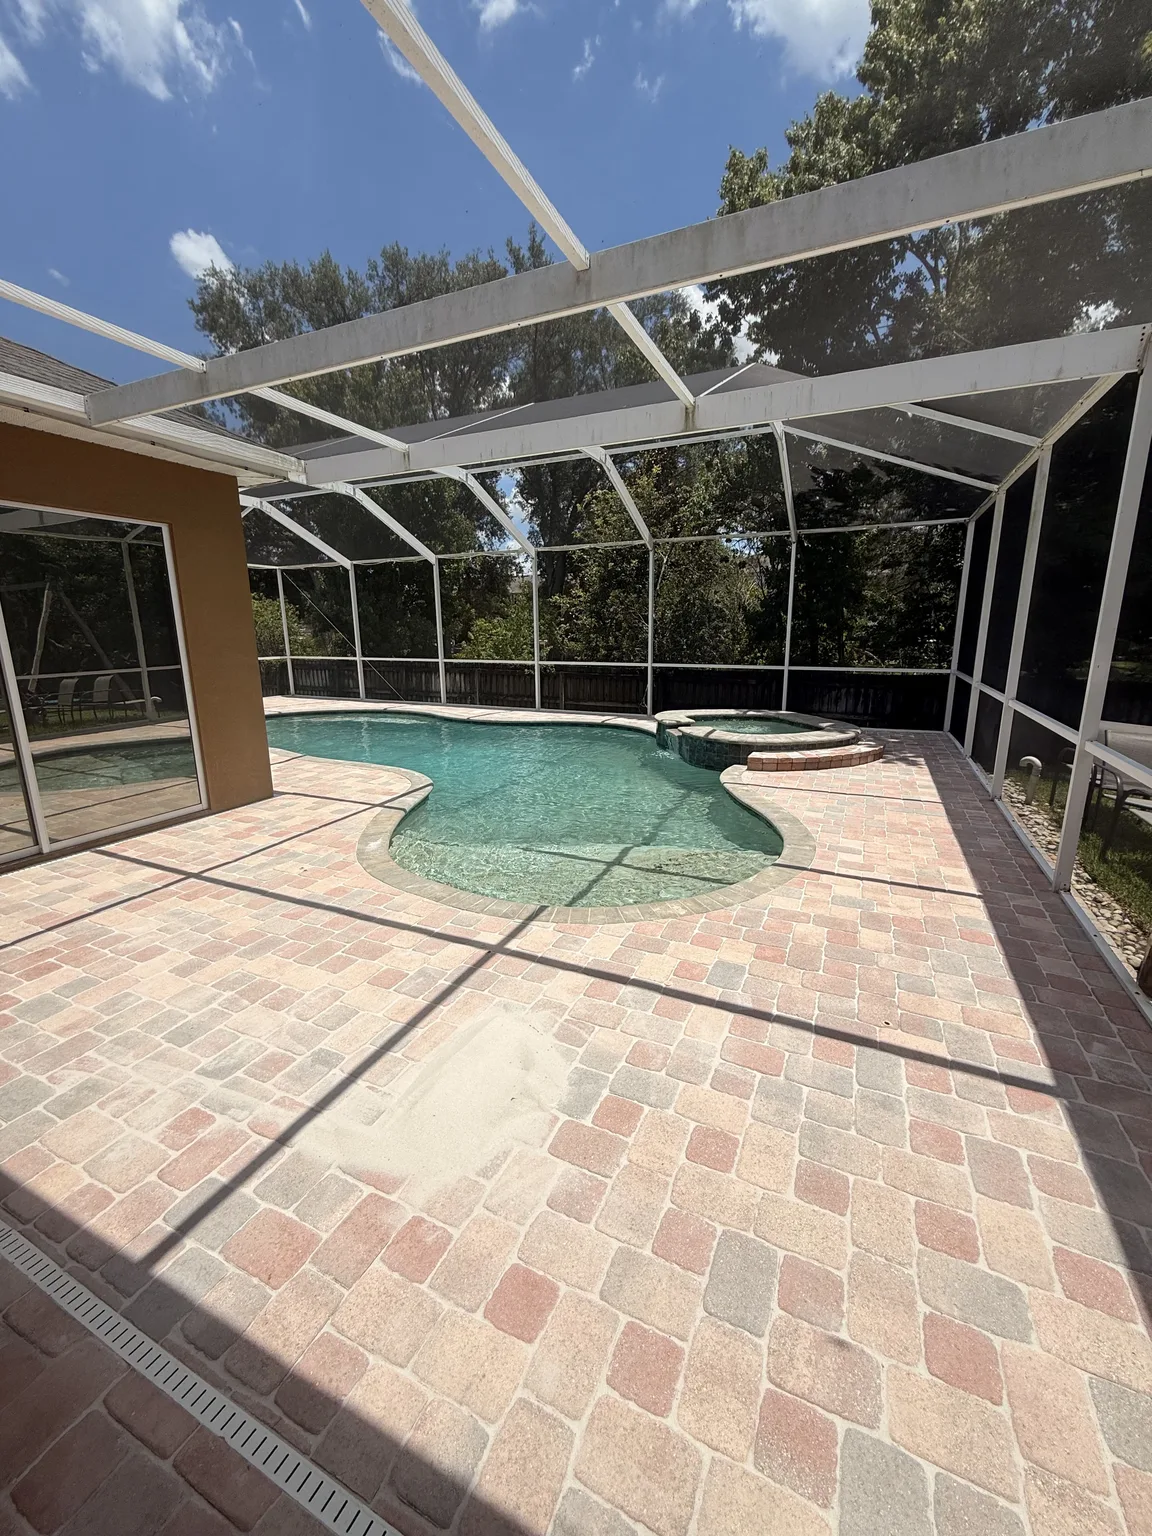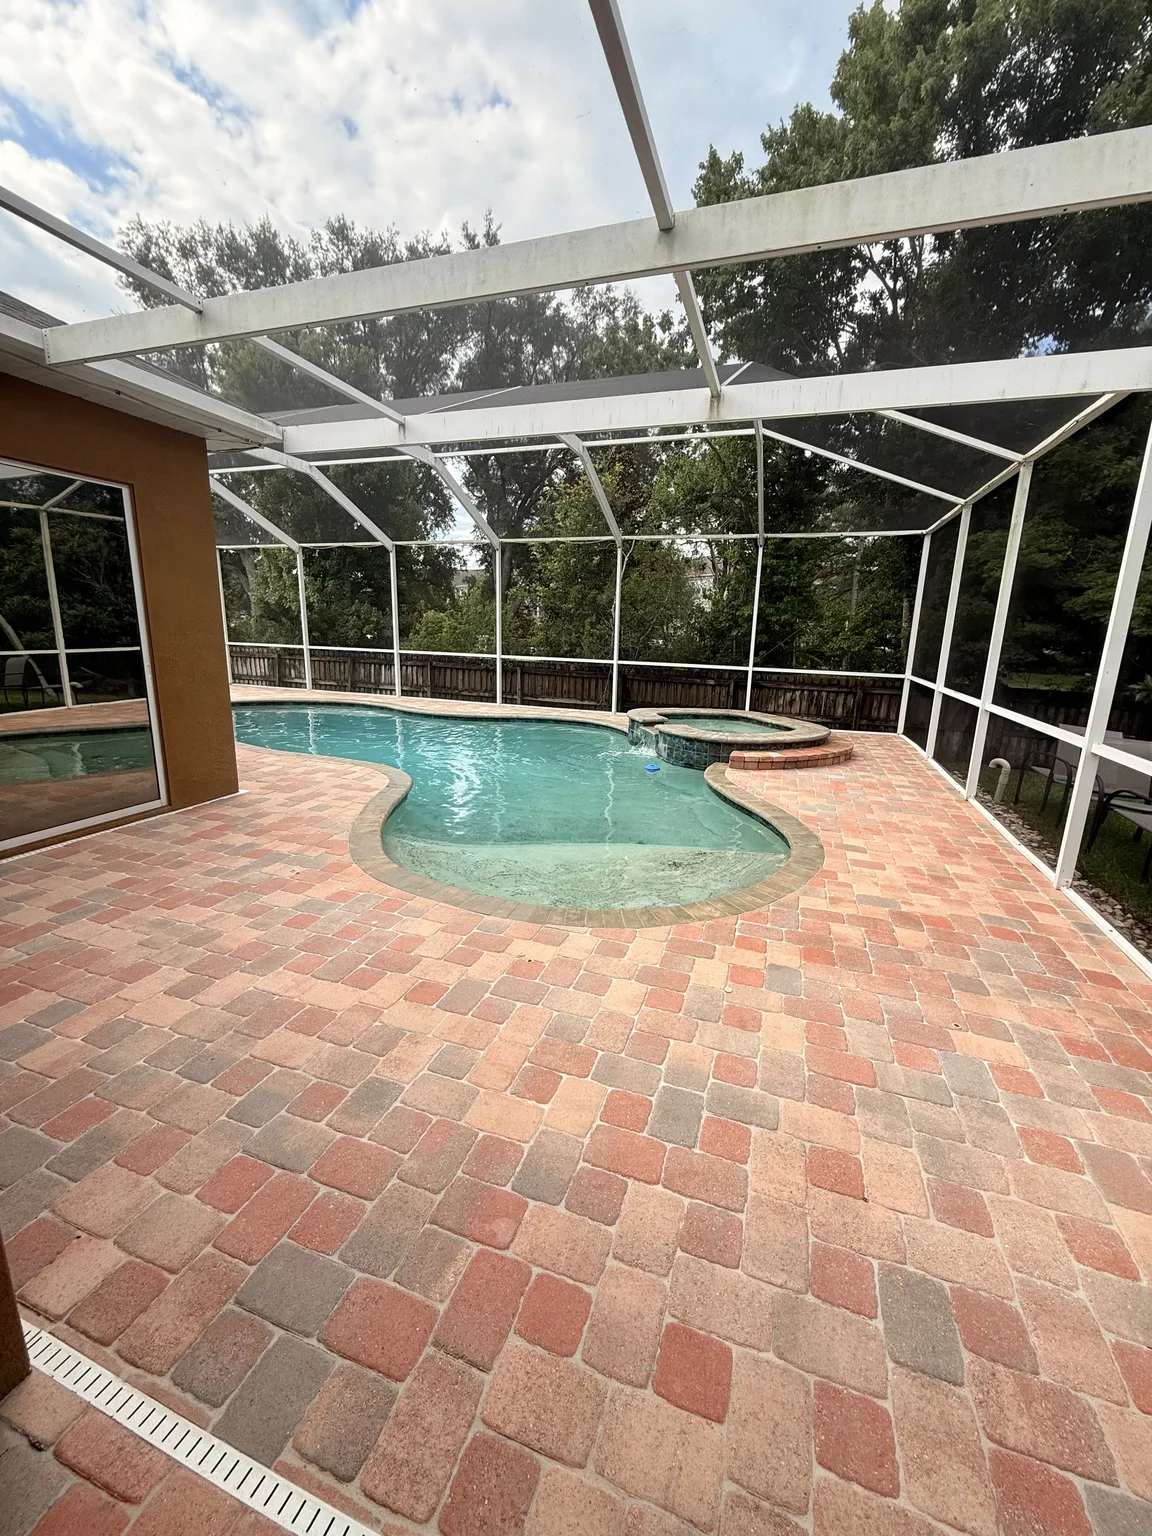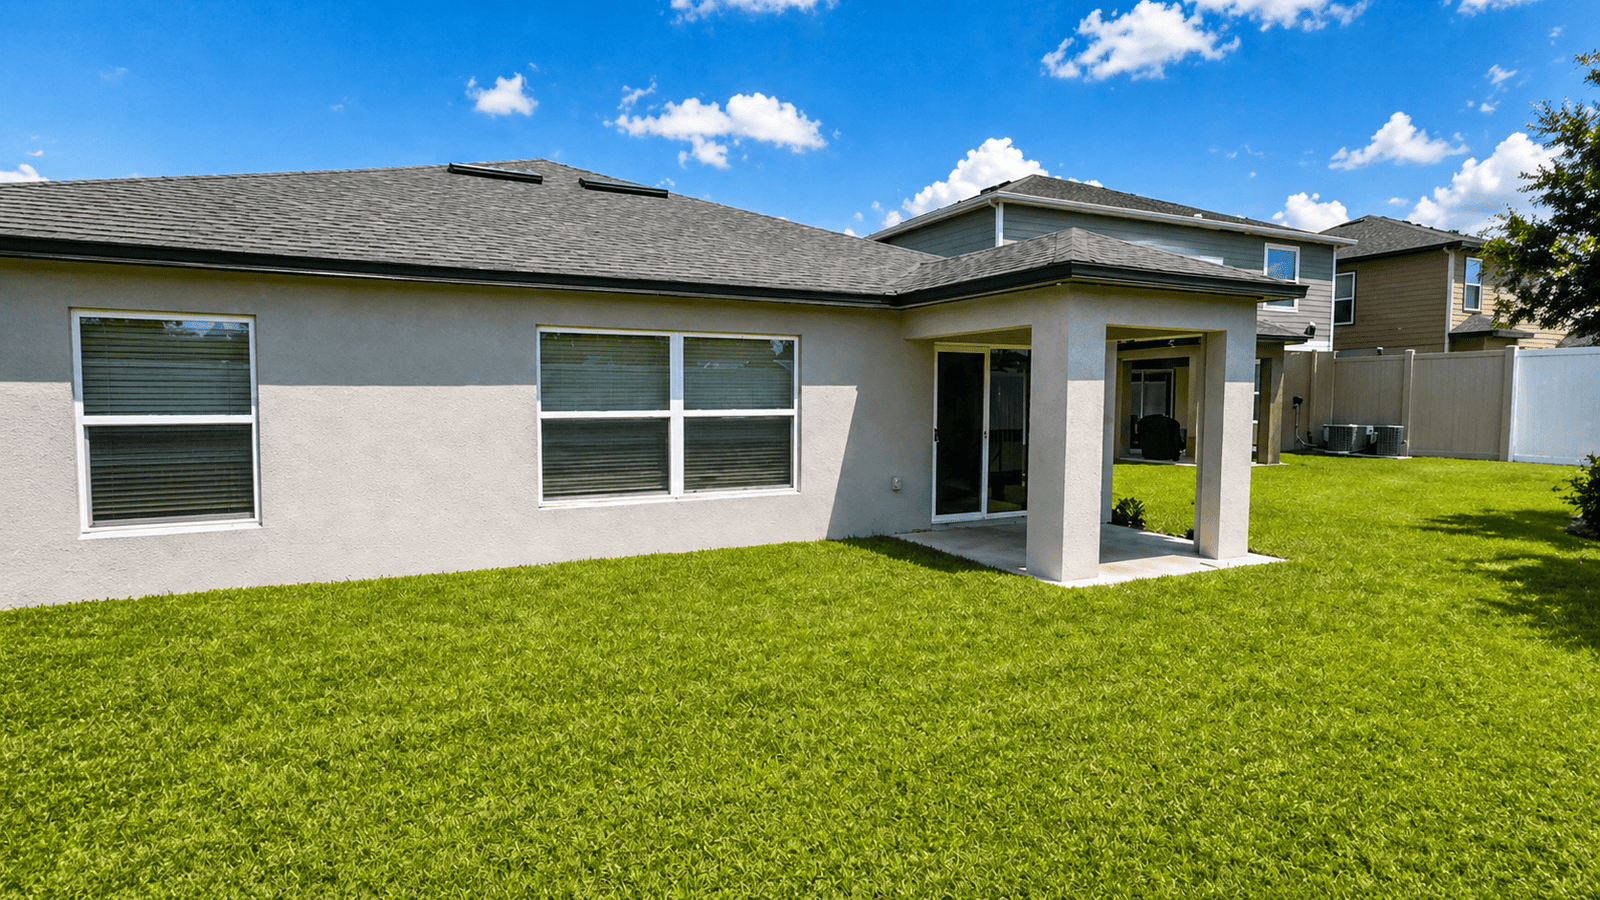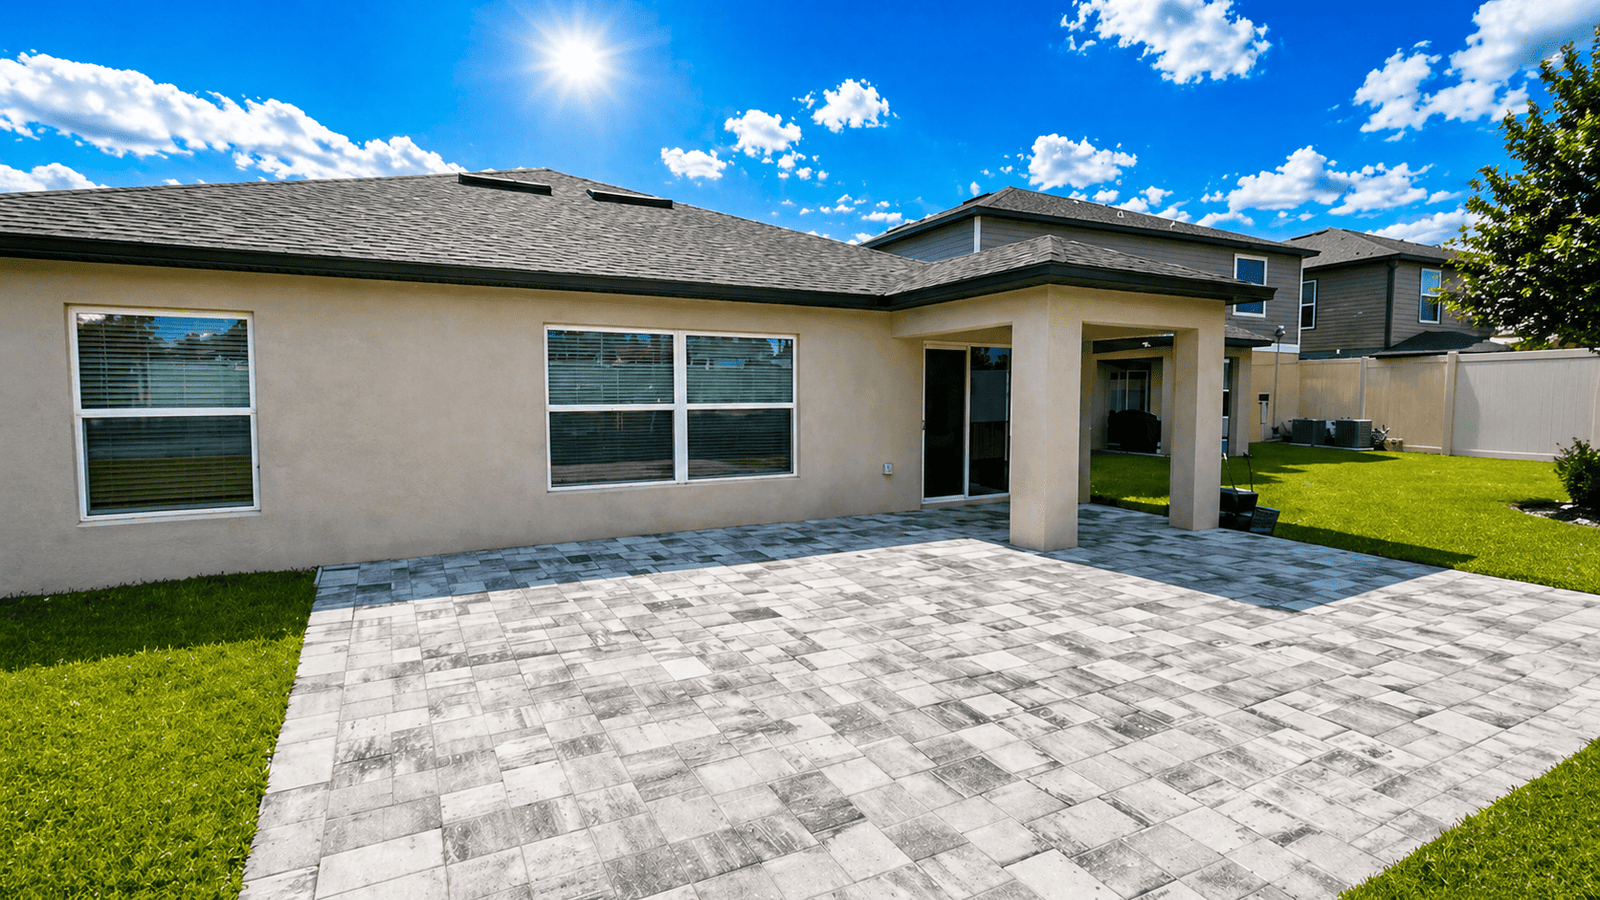
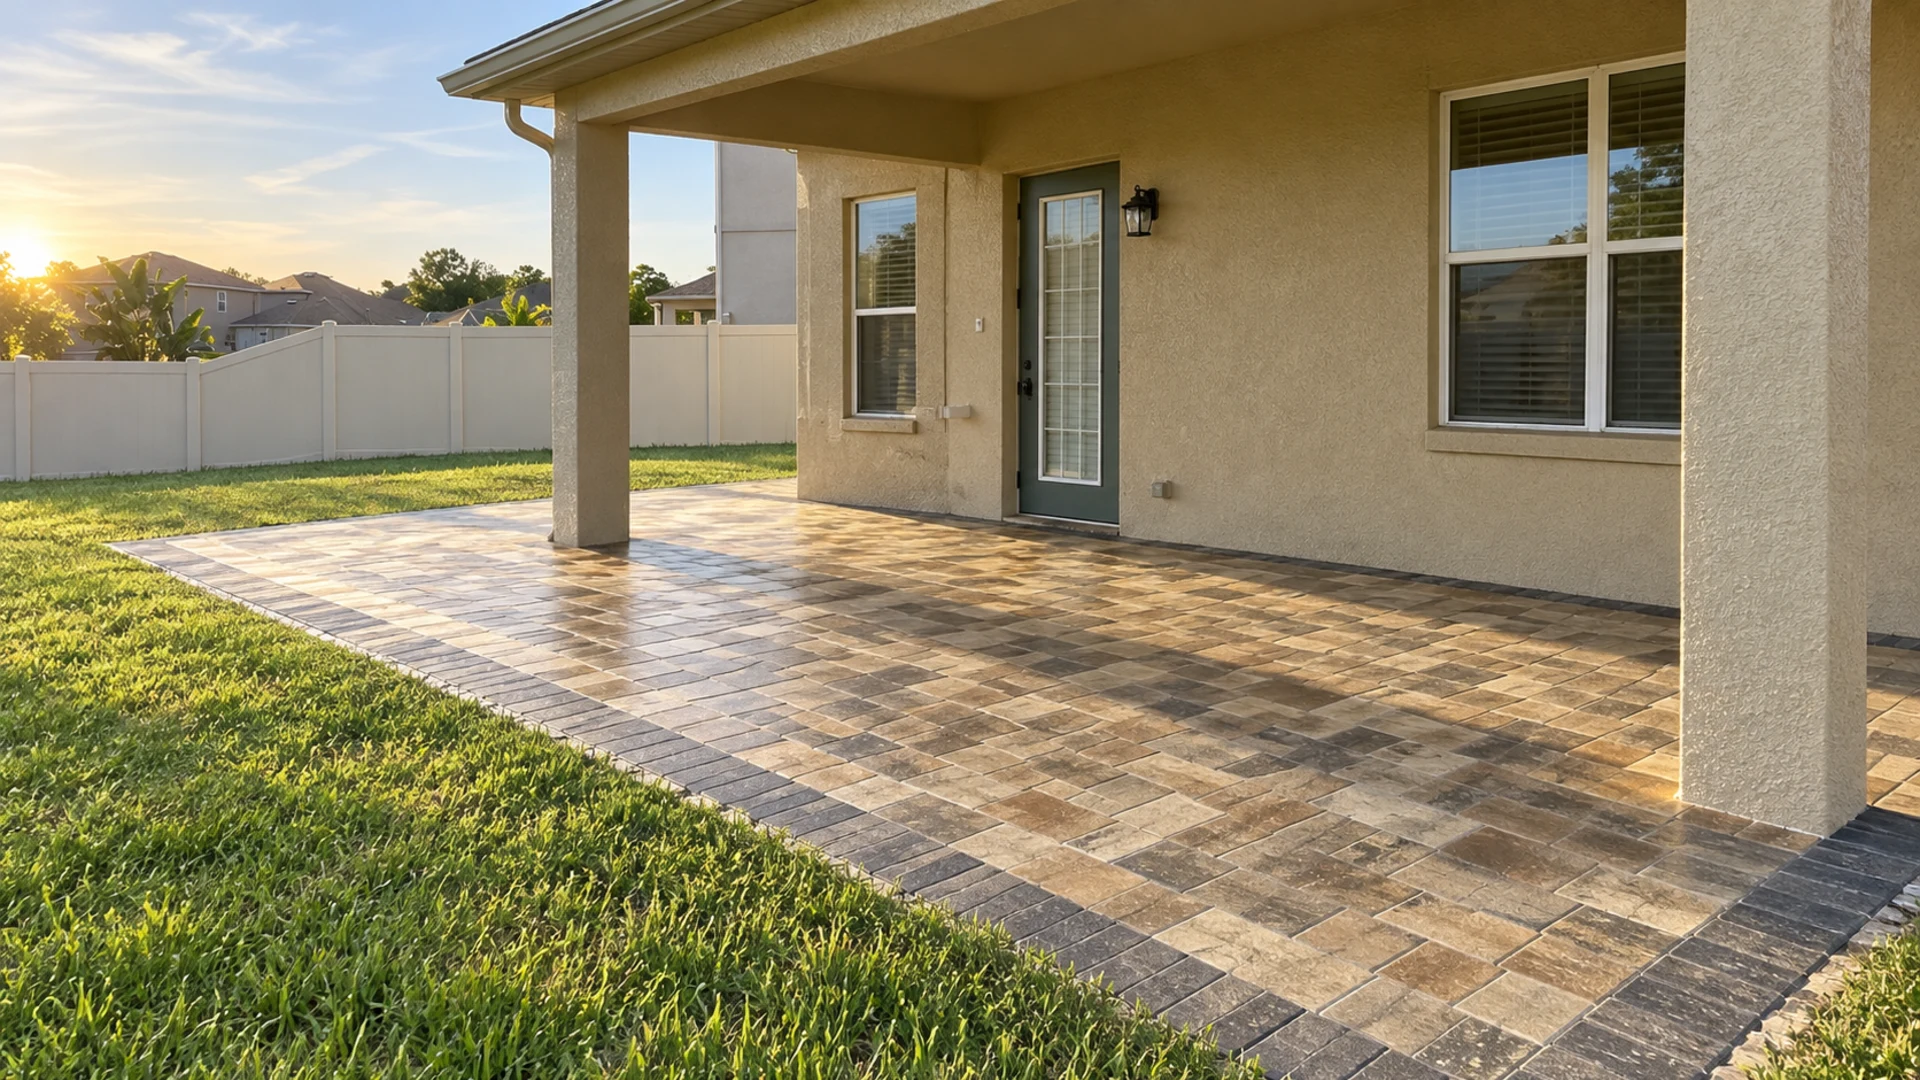
Covered patio pavers work best when the layout is planned from the obstacles outward, not when cuts are left to solve at the end. Columns, sliding doors, thresholds, downspouts, and furniture all compete for space beneath a roof. The result should feel intentional from the doorway to the patio edge: comfortable to walk across, practical to maintain, and coordinated with the exposed area beyond the cover.
Start with the routes people and water need to take
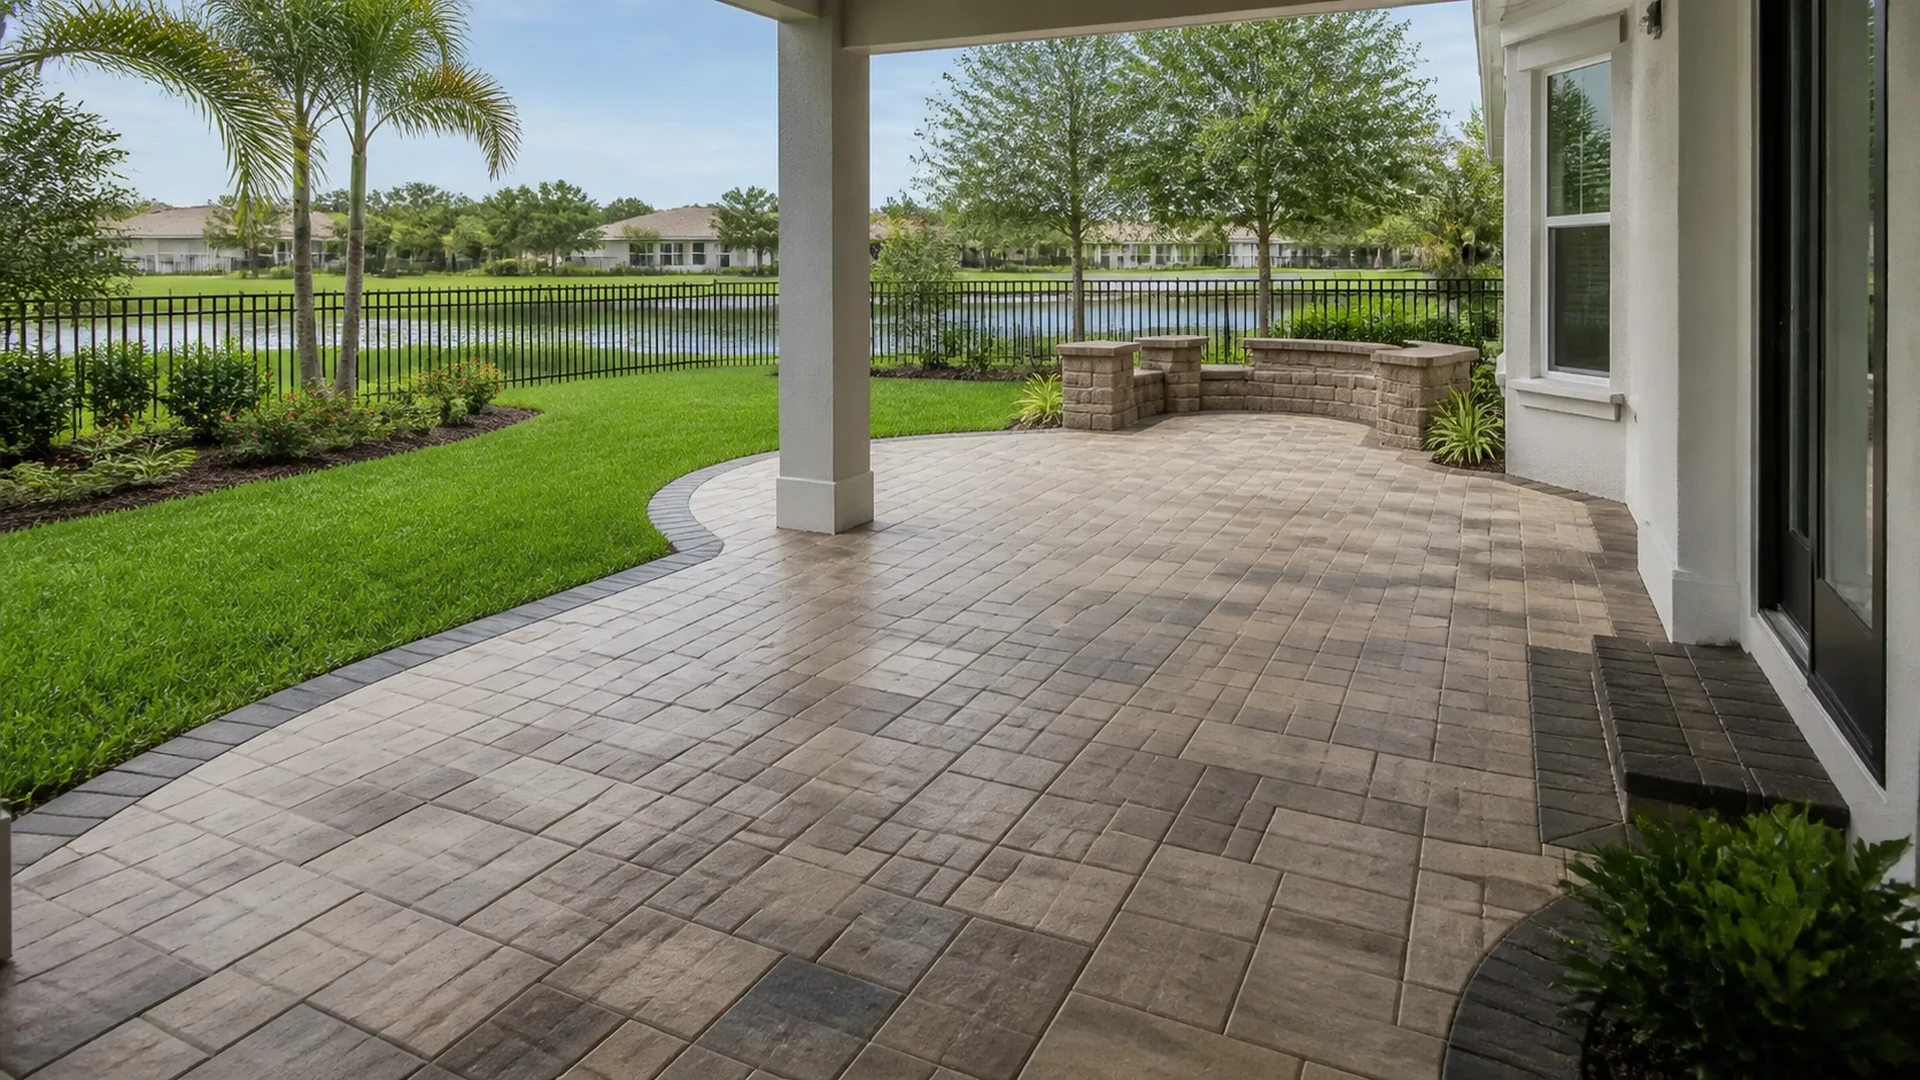
A patio is not simply a rectangle waiting for a pattern. First identify the daily paths: the opening of a slider, the route from the kitchen, the approach to a grill, and the clearance around seating. Then mark the permanent interruptions. A column base may be square while the room’s visual axis is set by a door. A downspout may land at the outside edge while a drain is located farther away. Those points determine the layout decisions that will matter long after individual pavers are selected.
Door operation is a non-negotiable part of this work. Swing doors need their actual arc considered, while sliders need a clean threshold and practical footing at the opening. Threshold heights, track details, and the relationship between the finished surface and adjacent construction need to be verified on site. A pleasing pattern is not a success if it creates an awkward step, interferes with a door, or directs water toward an opening.
Set control lines before choosing where cuts disappear
Control lines are reference lines that organize the field before it becomes a collection of individual cuts. Depending on the patio, a line may be centered on a slider, parallel to the home’s wall, aligned with a principal column face, or established from the most visible edge. There is no universal starting line. The right choice is the one that gives the important views a composed appearance while leaving workable pieces at walls and obstructions.
Lay out from more than one sightline. Stand at the doorway, then stand in the yard looking back under the roof. A pattern that looks centered from indoors can produce a narrow sliver at a column or a distracting restart where covered and open paving meet. Chalk lines, dry placement, measurements, and a simple mock-up can reveal those conflicts before installation commits the layout.
- Identify the visual center seen through the main door.
- Measure the usable space around every column base rather than assuming equal faces.
- Check the pattern at both sides of a slider and at the patio’s exposed edge.
- Locate drains, downspouts, cleanouts, and service covers before establishing a border.
- Review how the field will meet an existing deck, walk, screen enclosure, or landscape edge.
Why narrow slivers and pattern restarts deserve attention
A thin piece near a wall can be visually busy and may be less satisfying than a balanced adjustment spread across the field. The same principle applies around a column. If the pattern is forced to restart at every interruption, the patio can look fragmented even when each cut is clean. A layout review compares alternatives: shift the field, use a border treatment where appropriate, change the orientation, or place the unavoidable cut at a less prominent edge.
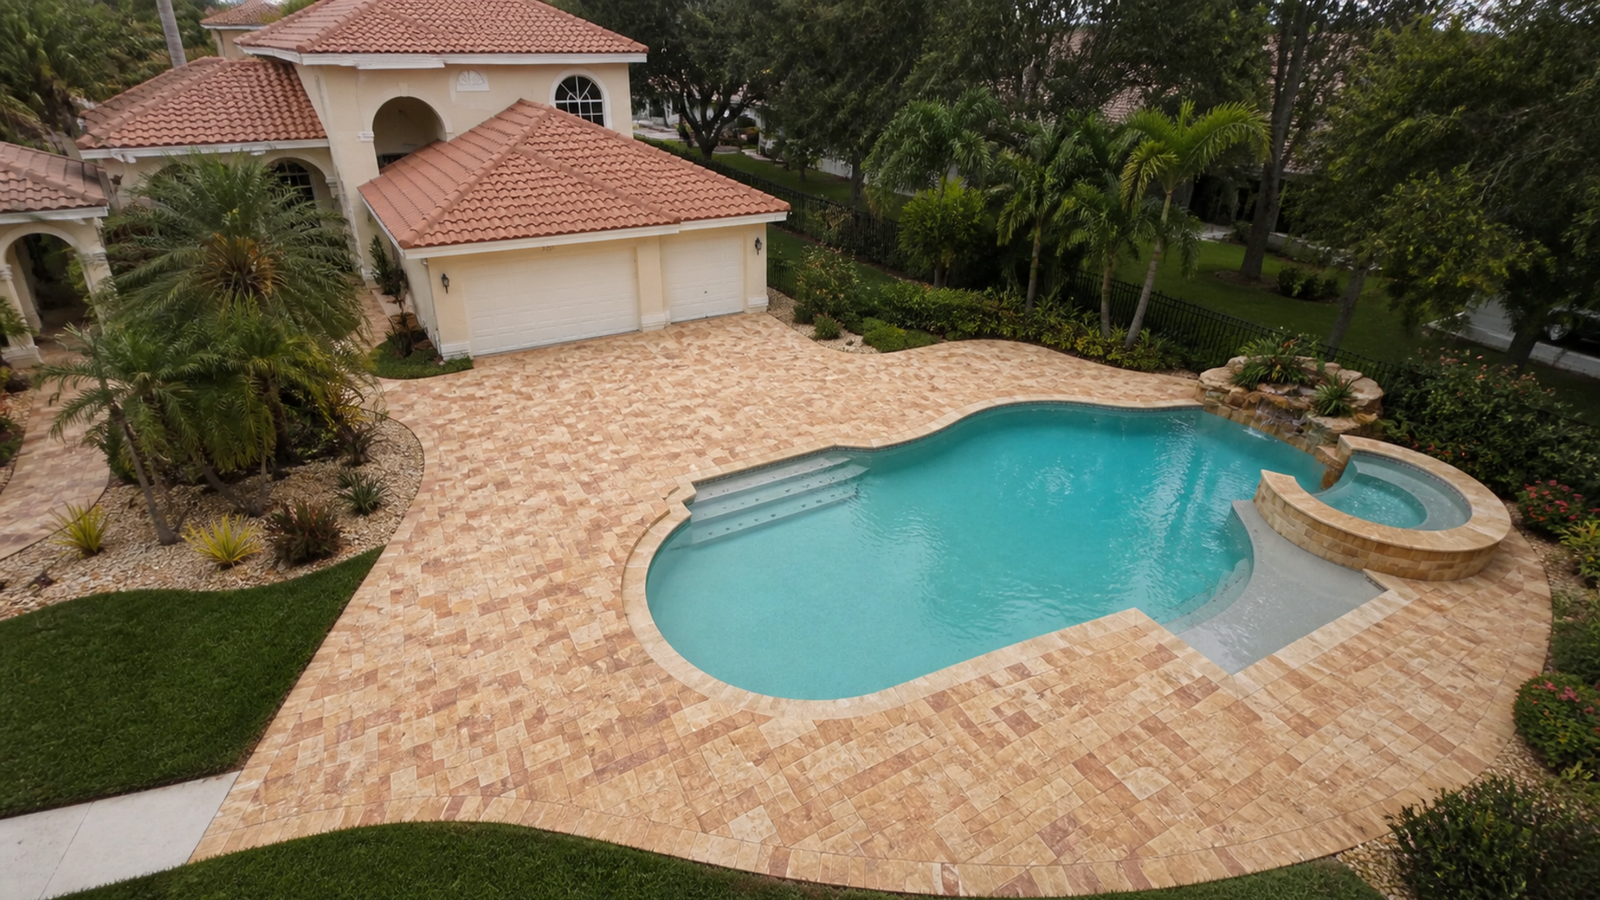
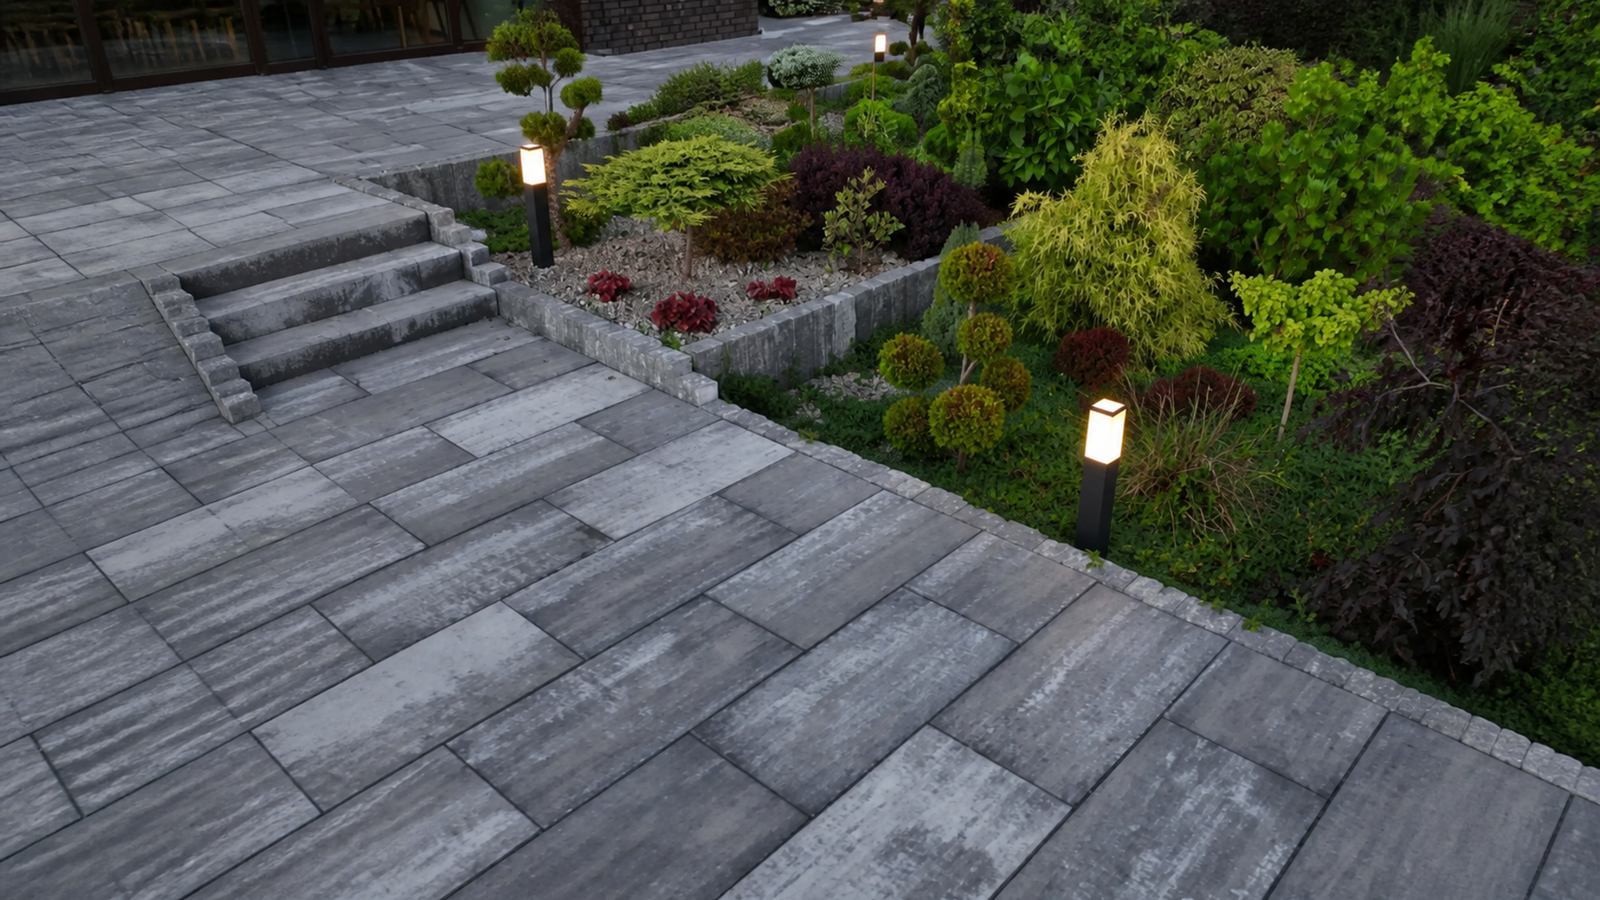
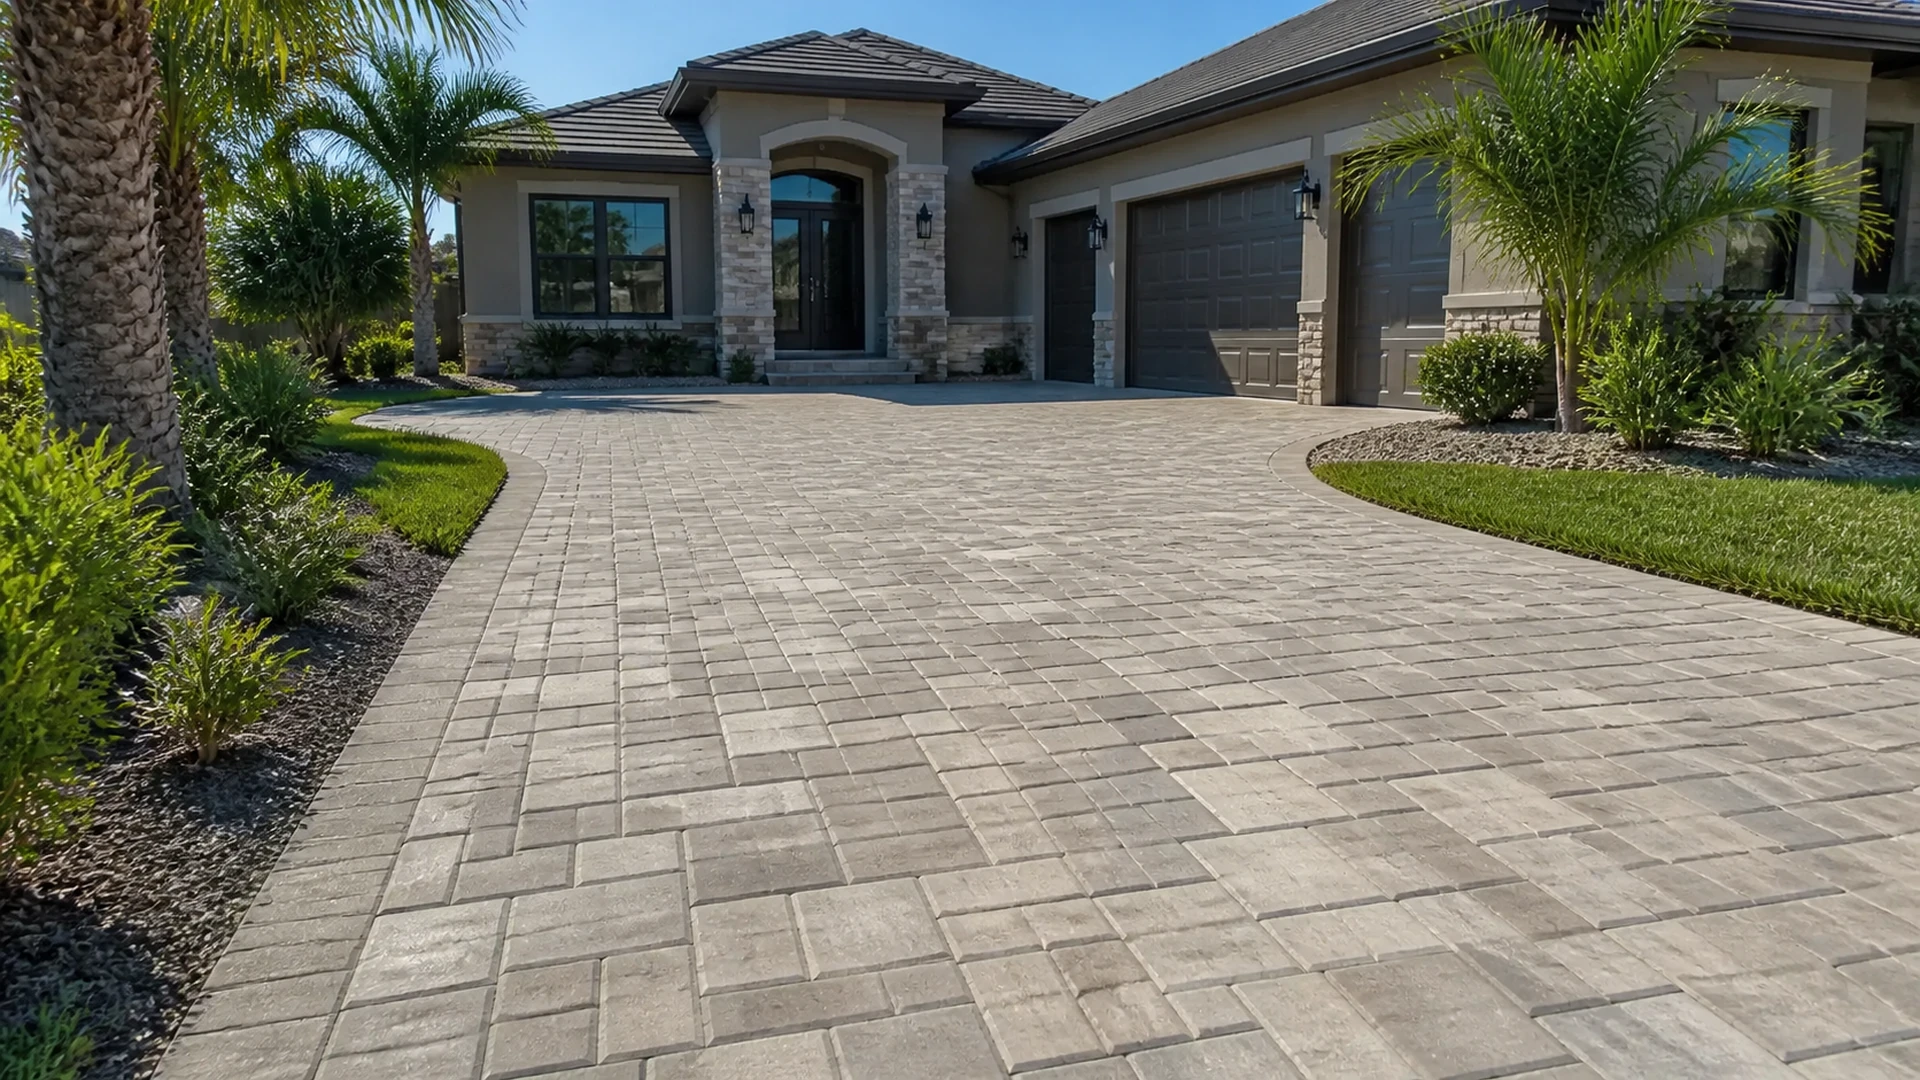
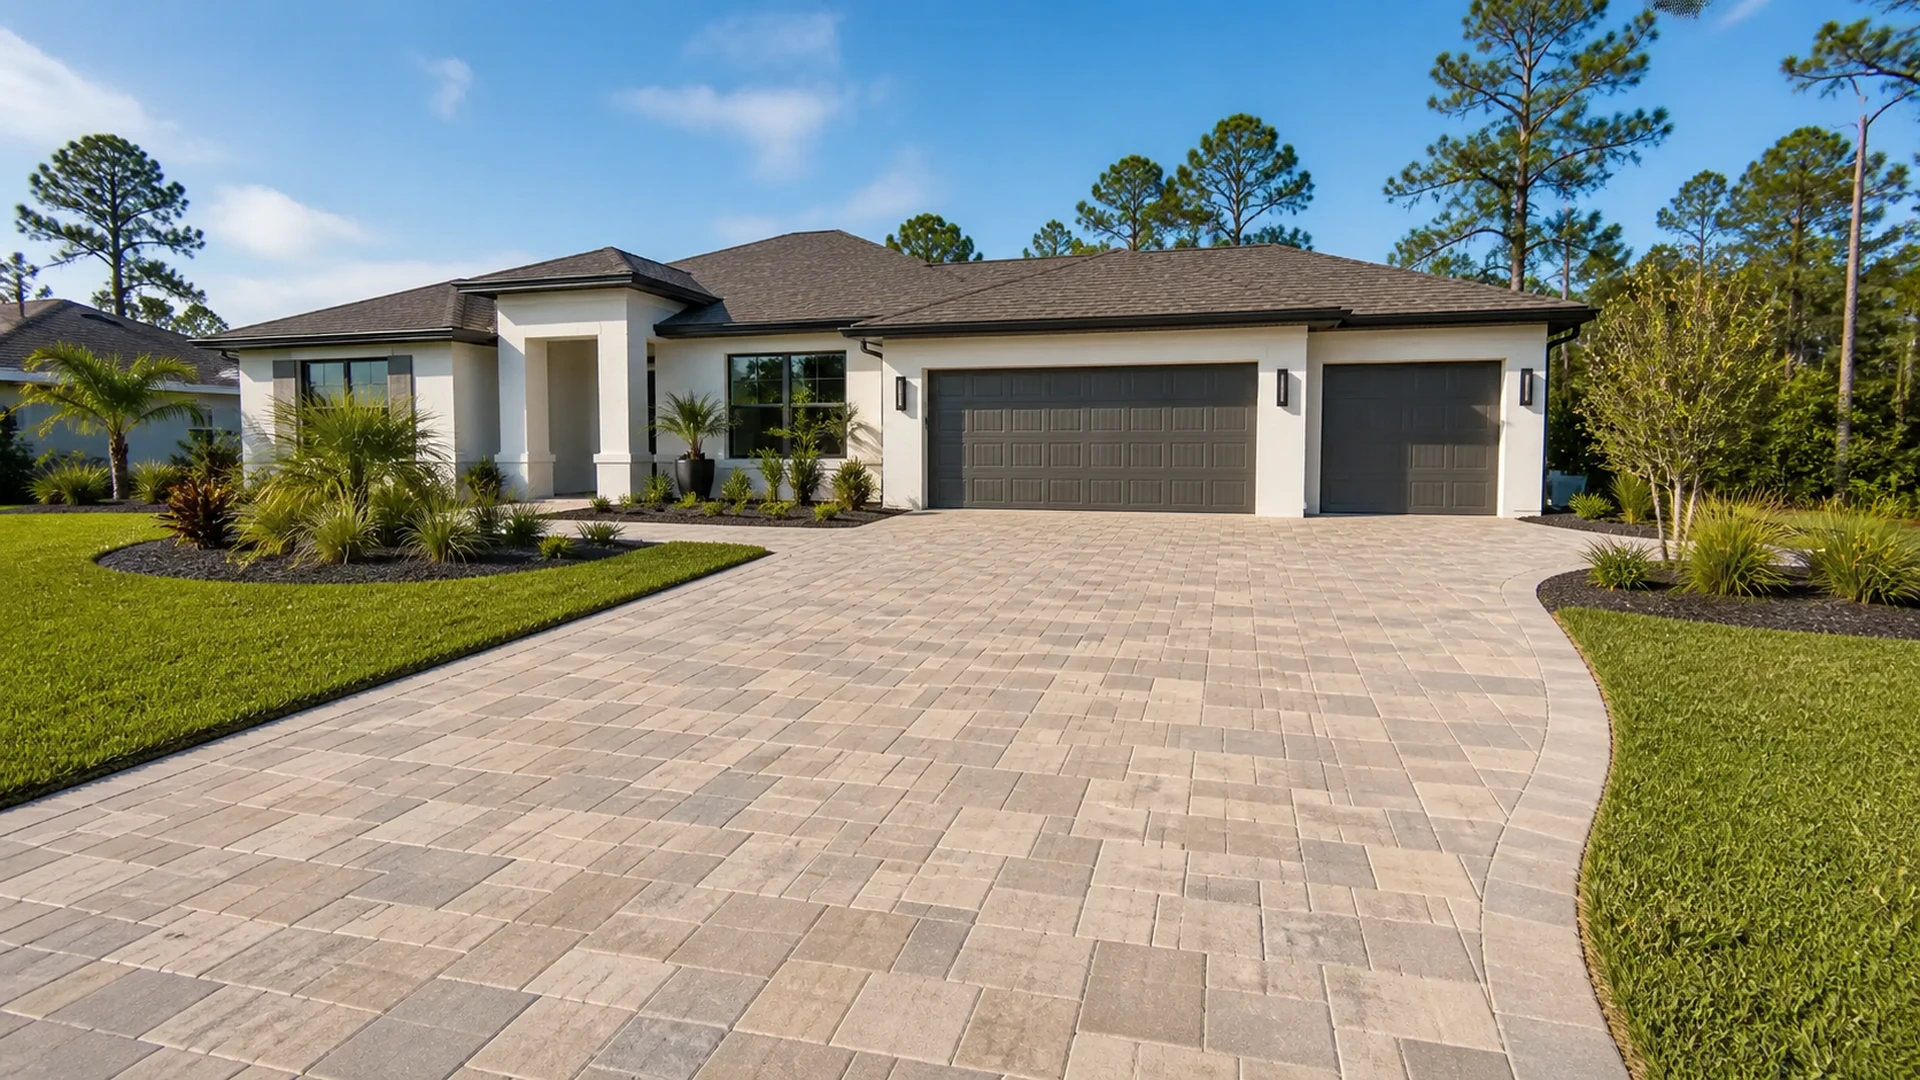
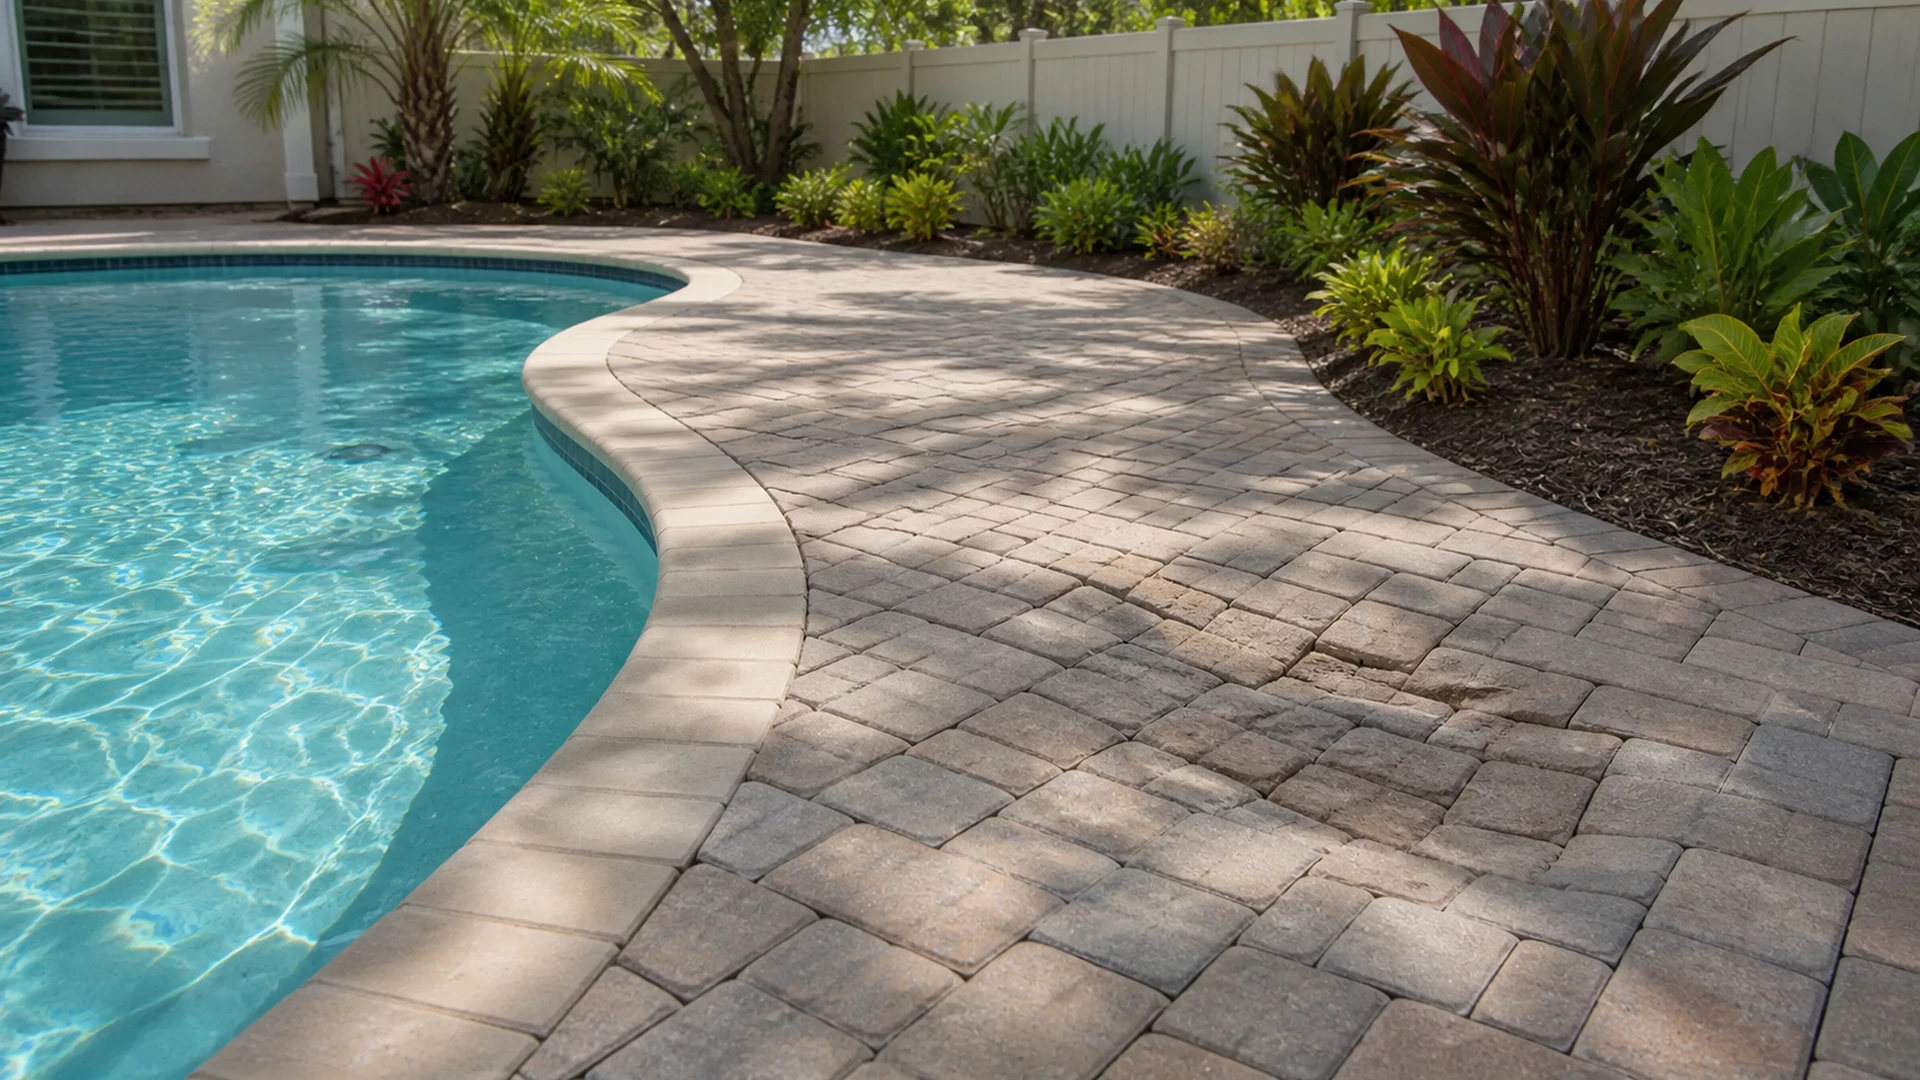
That does not mean every cut should be hidden. Columns create real geometry, and a careful cut around a base can be part of an honest, orderly layout. The goal is to avoid accidental-looking fragments and mismatched joints. The visible material family, geometry, color blend, finish, pattern, and border logic should be based on what is actually present and selected for the project. A photo alone is not a basis for naming a manufacturer or assuming a particular product specification.
Covered patio pavers need a cut plan, not improvisation
A cut plan records where full units will land, where pattern changes occur, and where shaped pieces will be needed. It is particularly valuable around columns that are not perfectly placed on a room axis, multi-panel sliders, or an edge that angles into the yard. Planning lets the team see whether a narrow cut will repeat in a highly visible band and whether the pattern can continue cleanly across the patio.
Mock-ups are useful because they turn a drawing decision into a walking decision. Place enough units to see the doorway, the nearest column, and the transition to the exposed section at the same time. Confirm that furniture can sit without covering an awkward joint pattern or blocking a service point. A layout can be revised before it is installed; after the field is complete, changes are more disruptive and should be evaluated according to the actual assembly.
Coordinate the covered area with the open patio
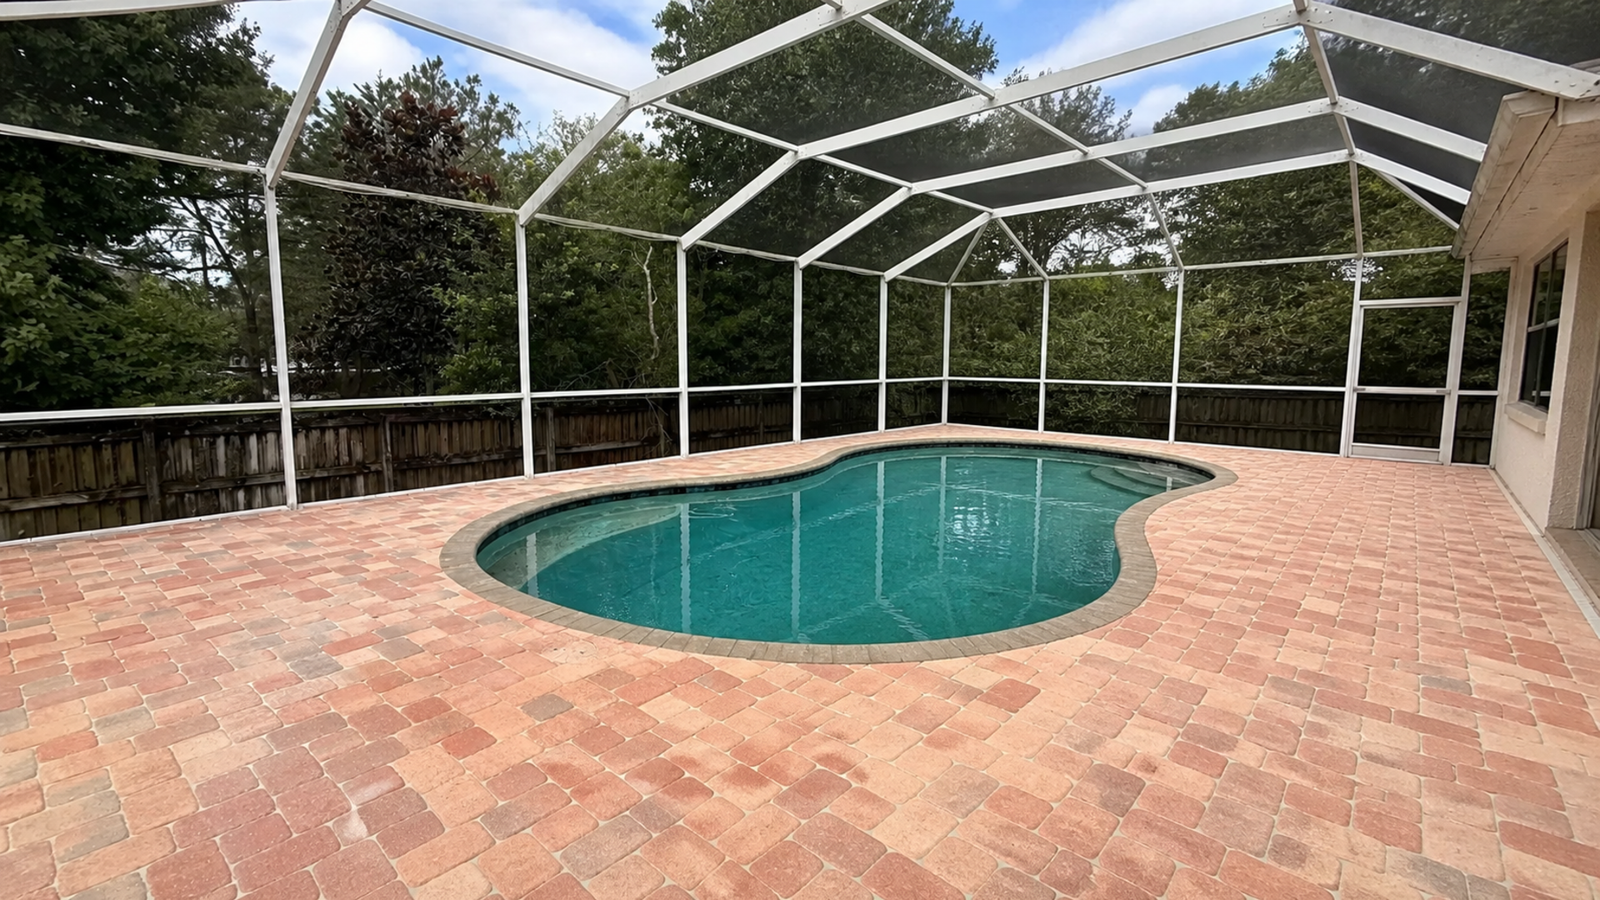
Roof cover changes how the patio receives water, but it does not remove drainage from the design. Rain can arrive at the roof edge, at downspout outlets, and on the exposed portion of the paving. The transition between shade and open sky is often where a layout needs extra thought because it is both visually prominent and exposed to different wetting patterns.
Observe where roof runoff is intended to go, where existing drains are located, and whether water can move away from doors without crossing a walking zone in an inconvenient path. Florida humidity and frequent rain make recurring moisture patterns worth discussing, especially near a threshold or the base of a column. The exact pitch, drainage behavior, and condition of connected surfaces must be confirmed in person. A contractor should not promise drainage performance based solely on a floor plan or a few images.
For broader home and landscape education, the University of Florida IFAS Extension provides Florida-oriented resources. For local examples and a starting point for discussing patio work, review Dr Pavers Design project and service information.
Leave room for maintenance and everyday outdoor living
Good patio planning makes service access ordinary rather than inconvenient. Downspout outlets, drains, cleanouts, hose connections, and screening details should not become inaccessible because the furniture plan or paving layout ignores them. Keep in mind how the patio will be used on a typical week, not only how it appears when empty. Dining chairs need room to move. A grill needs a sensible route. Planters and storage should not force people into a narrow passage at the slider.
Furniture can also change the perceived center of the room. In some spaces, the door should govern the main pattern line; in others, the covered seating area and its columns establish the strongest composition. Test the intended arrangement with approximate dimensions before treating a centerline as final. This practical step helps avoid a patio that is technically symmetrical but uncomfortable in use.
Questions to settle before installation begins
Confirm the finished patio limits, the door and threshold conditions, the columns that must remain accessible, and any elements that cannot be moved. Discuss which sightline matters most, where a border might be appropriate, and how the covered field should meet the exposed field. Review drainage paths after a rain when feasible, or identify the observations that still require a site visit. If an existing surface, wall, or drain has a condition that affects the work, it should be documented before a final layout is chosen.
The final plan should be understandable without relying on vague promises. It should show the intended pattern direction, likely control lines, major cut areas, transitions, and practical clearances. It may still need adjustment when actual dimensions and site conditions are verified, which is normal. The value of planning is not pretending every detail is known in advance; it is making the important decisions deliberately before the pavers reach the complicated edges.
Read columns as part of the room, not as isolated boxes
A column can become a strong visual anchor or a source of awkward interruptions. Examine its faces in relation to the house wall, the door opening, and the outer patio edge. A layout that aligns cleanly with one face may create poor pieces at another. This is why the design needs to be viewed from the actual room rather than reduced to a single measurement. The aim is a deliberate hierarchy: a primary line that reads clearly, with secondary cuts resolved calmly around the supports.
Where a column is part of a screened enclosure or roof support, access around it can matter as much as its appearance. Leave practical clearance for cleaning, inspection, and any details that need periodic attention. Do not allow the desire for a perfectly centered pattern to place a difficult cut or a hard-to-reach joint exactly where water, debris, or foot traffic will concentrate. The best-looking option is often the one that also makes ordinary maintenance uncomplicated.
Use the doorway as a real-world test
Before approving a layout, walk through the main door as a guest would. Look down at the immediate landing, then look outward across the patio. A pattern line that terminates at the threshold can feel more intentional than one that produces unrelated small pieces on both sides. Check the same view with the door in its normal open position. Outdoor rugs, chair legs, and a table should not be the only things making an otherwise awkward joint less noticeable.
Doorways also help establish priorities when the patio has competing axes. If the principal view is from the interior, alignment at that threshold may take precedence over symmetry at a less-visible perimeter. If the patio opens toward a pool or garden, the exterior view may deserve equal weight. A mock-up lets the homeowner and installer discuss that choice in plain terms before a pattern orientation becomes expensive to alter.
Plan the transition at the roof edge
The roof edge often marks a change in light, runoff, and how people use the surface. It can be a natural place for the paving field to continue without interruption, or a place where a border or directional change is appropriate. Neither choice is automatic. Review how that line intersects the columns, drains, and exposed patio perimeter. A feature that looks good in a plan may be distracting if it stops abruptly at a downspout or leaves a repeated narrow cut where people step out from shade.
Drainage details should be located before the transition is finalized, not discovered after the field has been set. Water behavior at this line depends on roof drainage, the surrounding grade, and the finished surfaces that are actually present. Confirming those conditions in person helps keep a layout discussion grounded in what the patio needs to do as well as how it should look.
A patio layout that feels resolved from every doorway
Balance the drawing with the actual site
A measured drawing is useful, but the finished decision belongs at the property. Existing walls may not be perfectly parallel, column faces may vary slightly, and a threshold can contain details that were not clear in an earlier measurement. Verification is not a failure of planning; it is the step that turns the plan into a responsible layout. Confirm the important control lines again before cuts are made, especially when the patio connects to older paving or a new outdoor feature.
Use that review to identify where visual compromise is acceptable. A small adjustment along a concealed wall may protect a cleaner line at the slider. A transition placed beyond the primary seating area may be less distracting than one aligned with a door. These are design judgments, not generic rules. The homeowner should understand which lines will be most prominent and why the cut plan favors them.
Material decisions should be verified with the project information available at the time of installation. Avoid assuming a color blend will match a photograph under a covered roof, where shade can change its appearance throughout the day. View appropriate samples in the patio’s actual light and alongside permanent features such as walls, trim, and columns. That simple comparison makes it easier to select a coherent look without inventing details from a reference image.
Columns and doors are not minor interruptions to work around at the last minute. They are the elements that give a covered patio its rhythm, circulation, and daily purpose. Establishing control lines, testing a mock-up, planning cuts, respecting door operation, and coordinating the covered-to-exposed transition produces a more coherent conversation about the space. An on-site evaluation can then address the actual dimensions, materials, drainage paths, and access needs that determine the right installation approach.
Finally, when you are ready to improve your patio and outdoor living area, review the services, see completed projects, read testimonials, and check the FAQ before requesting a free consultation through the contact page. Follow Dr Pavers Design on Instagram and Facebook, or review the company on Google. Open Google Maps, send a WhatsApp message, call +1 (656) 600-4015, send a text message, or email drpavers@outlook.com for a free consultation anywhere in Tampa Bay.