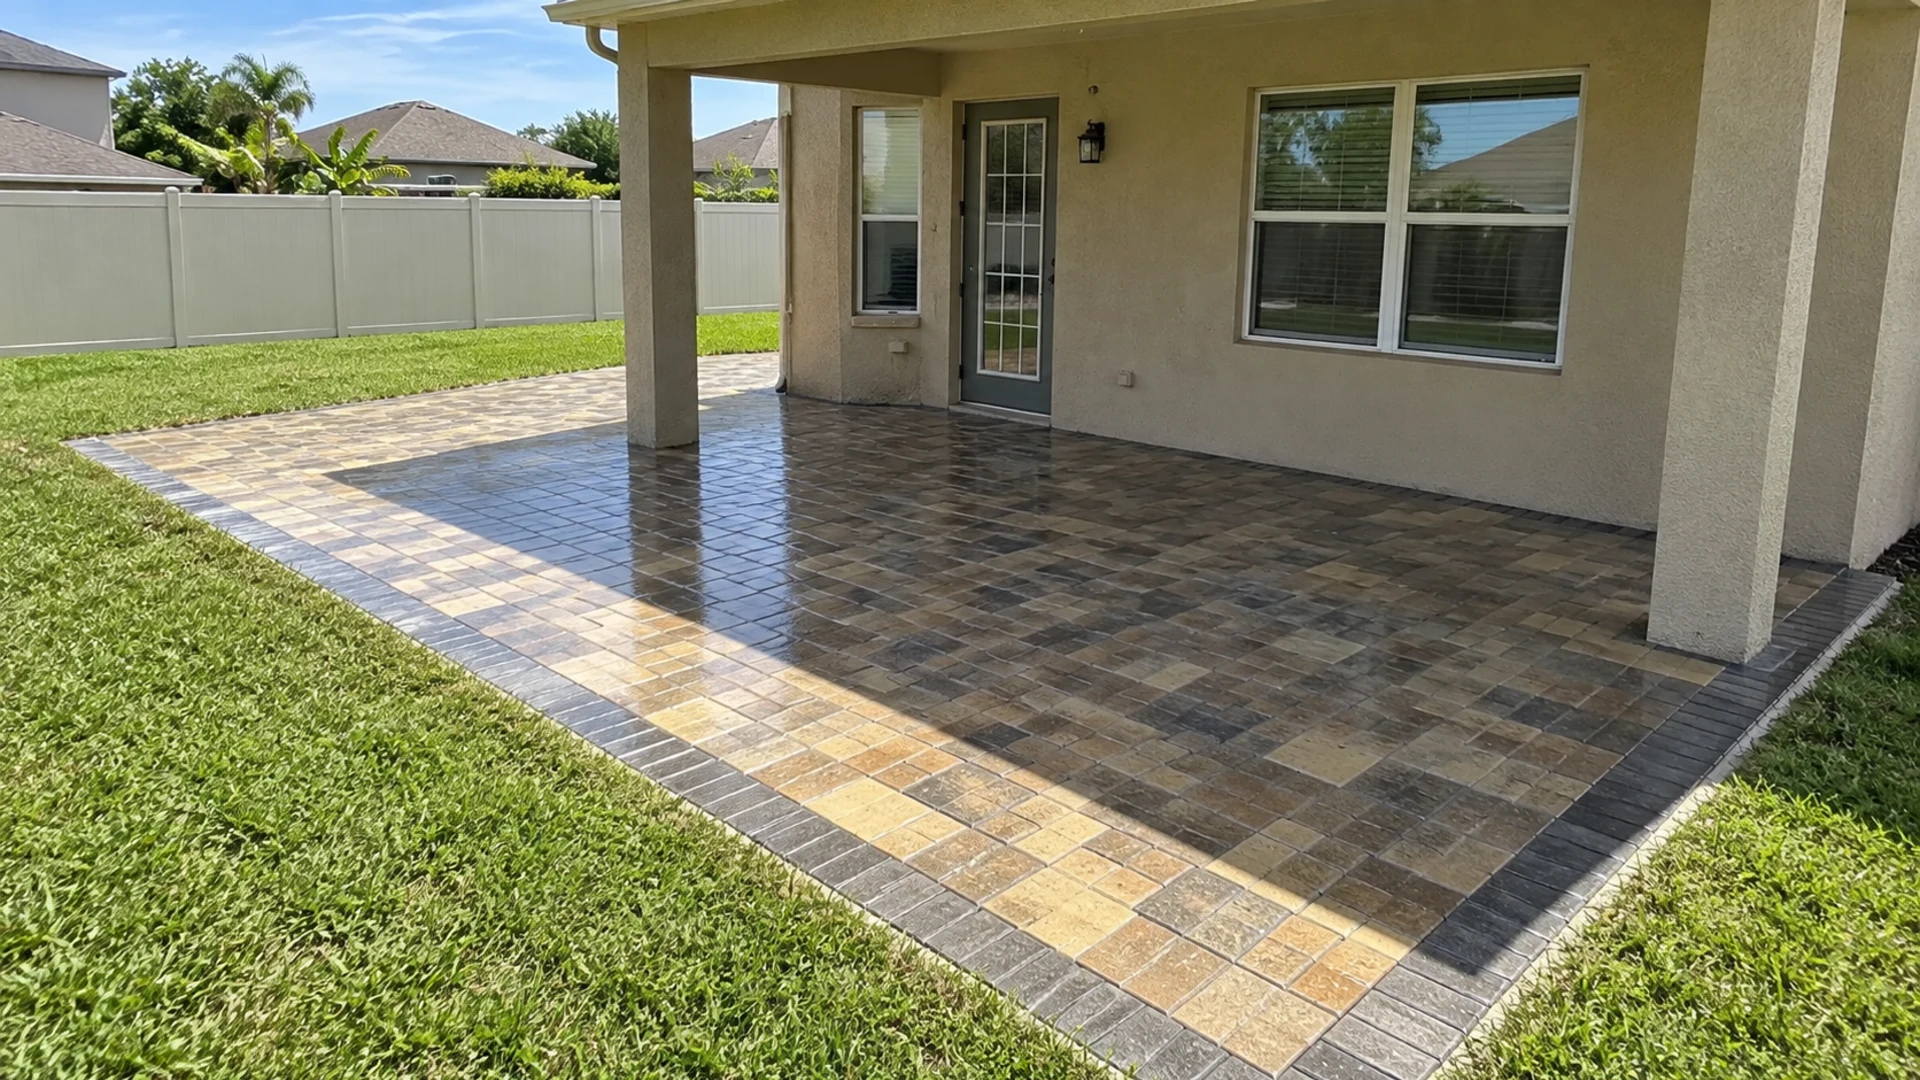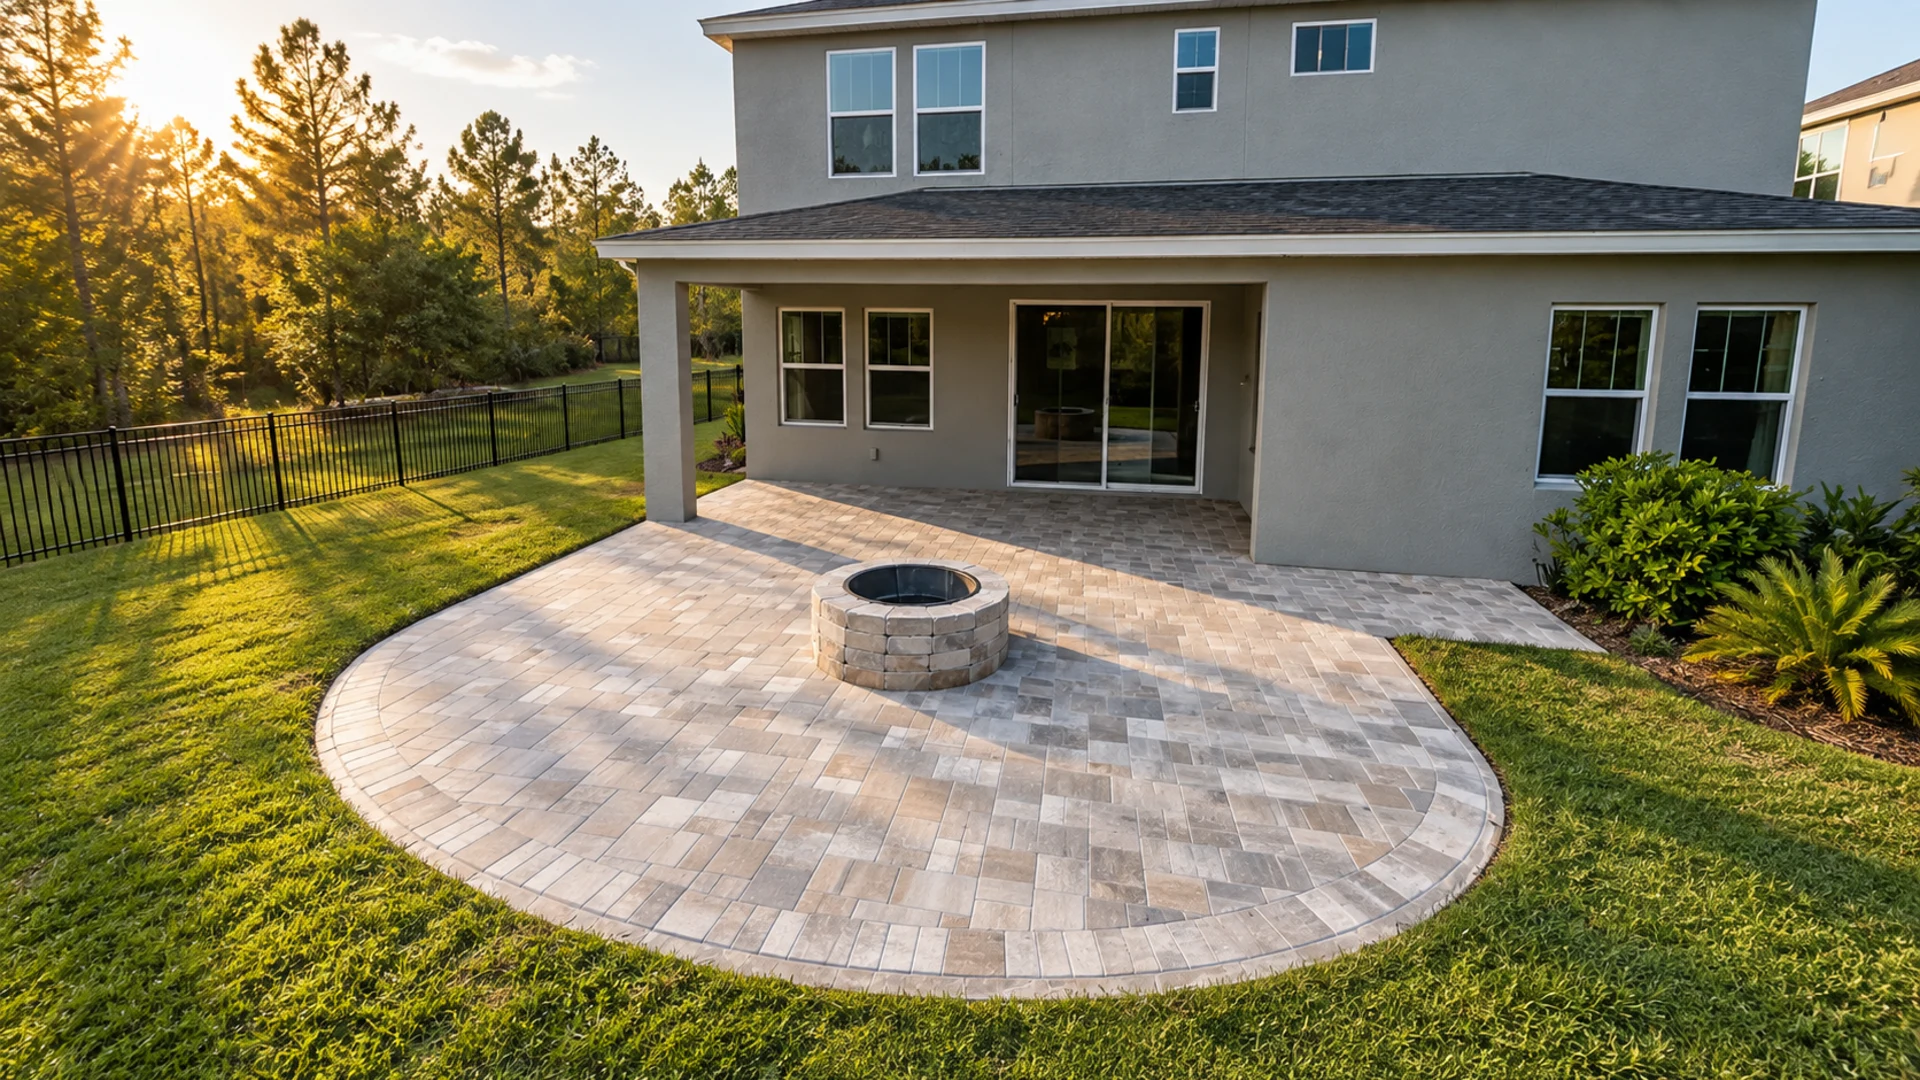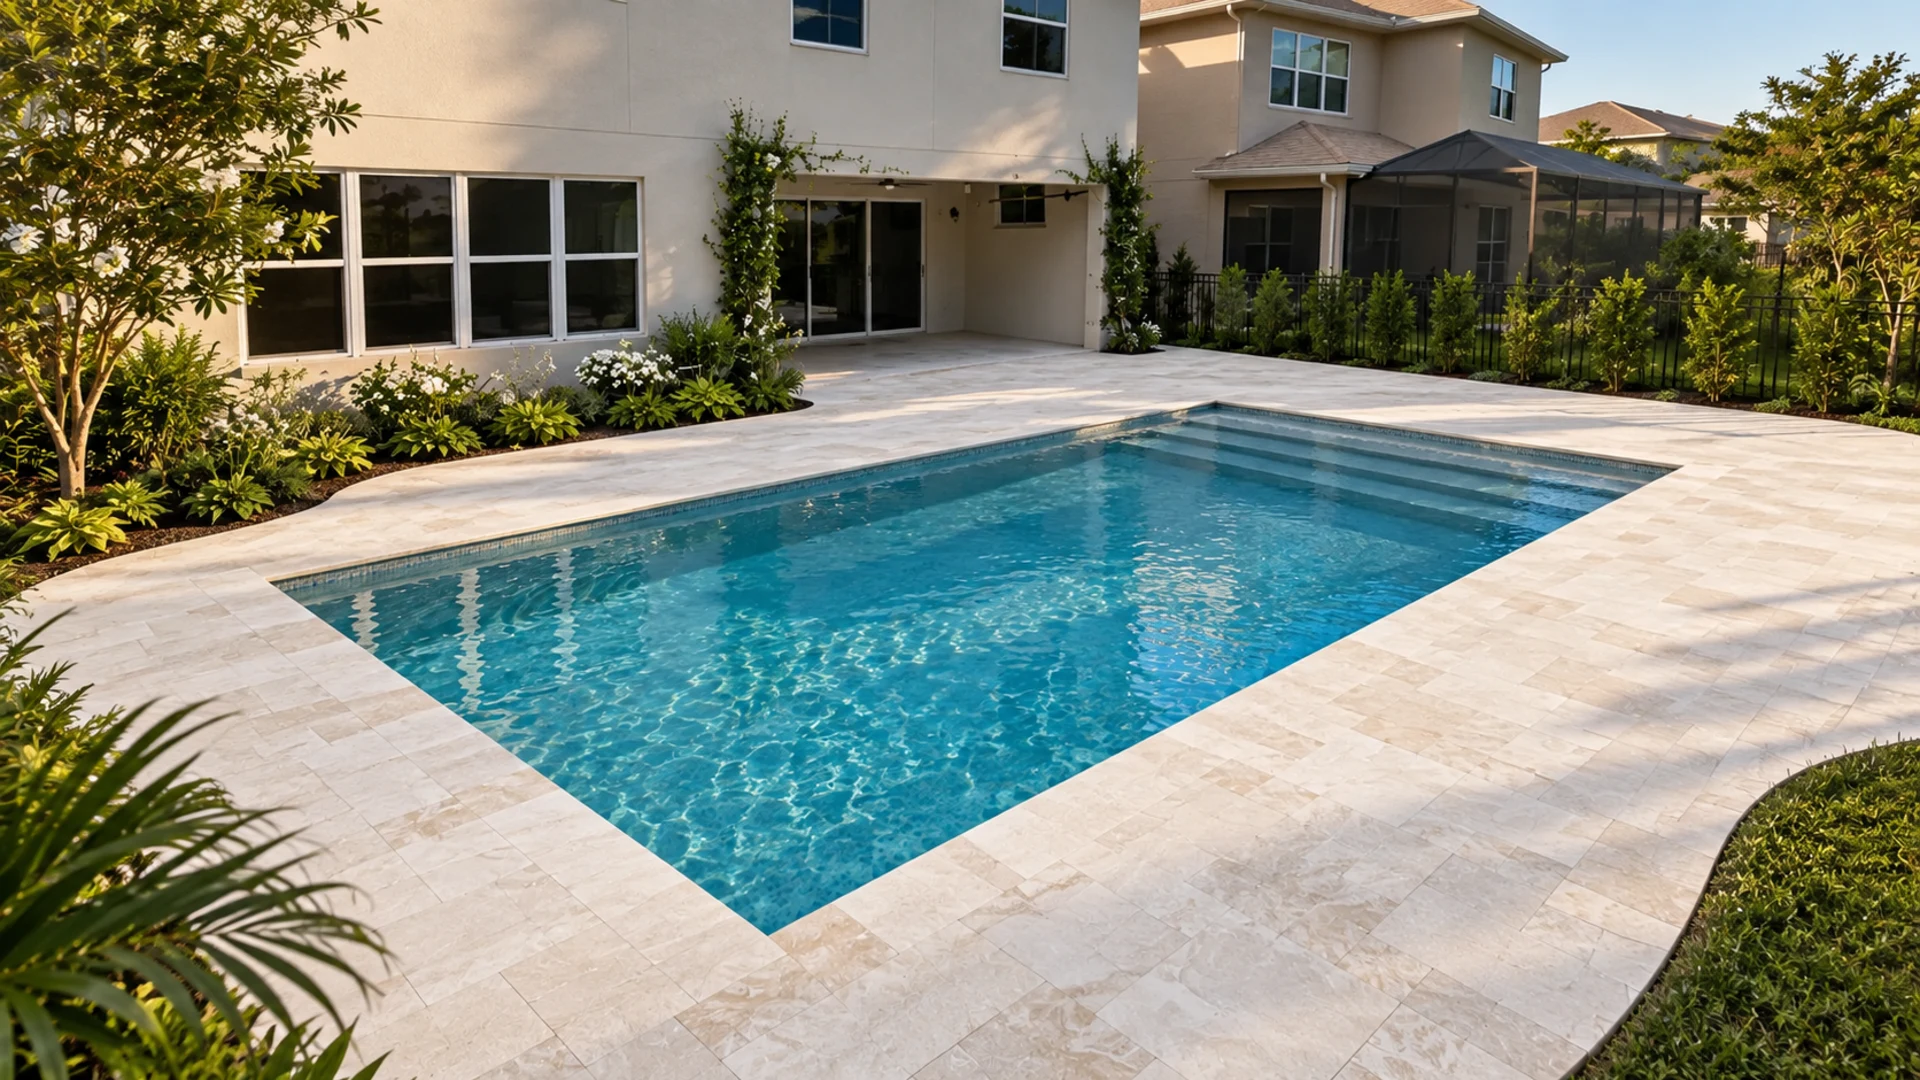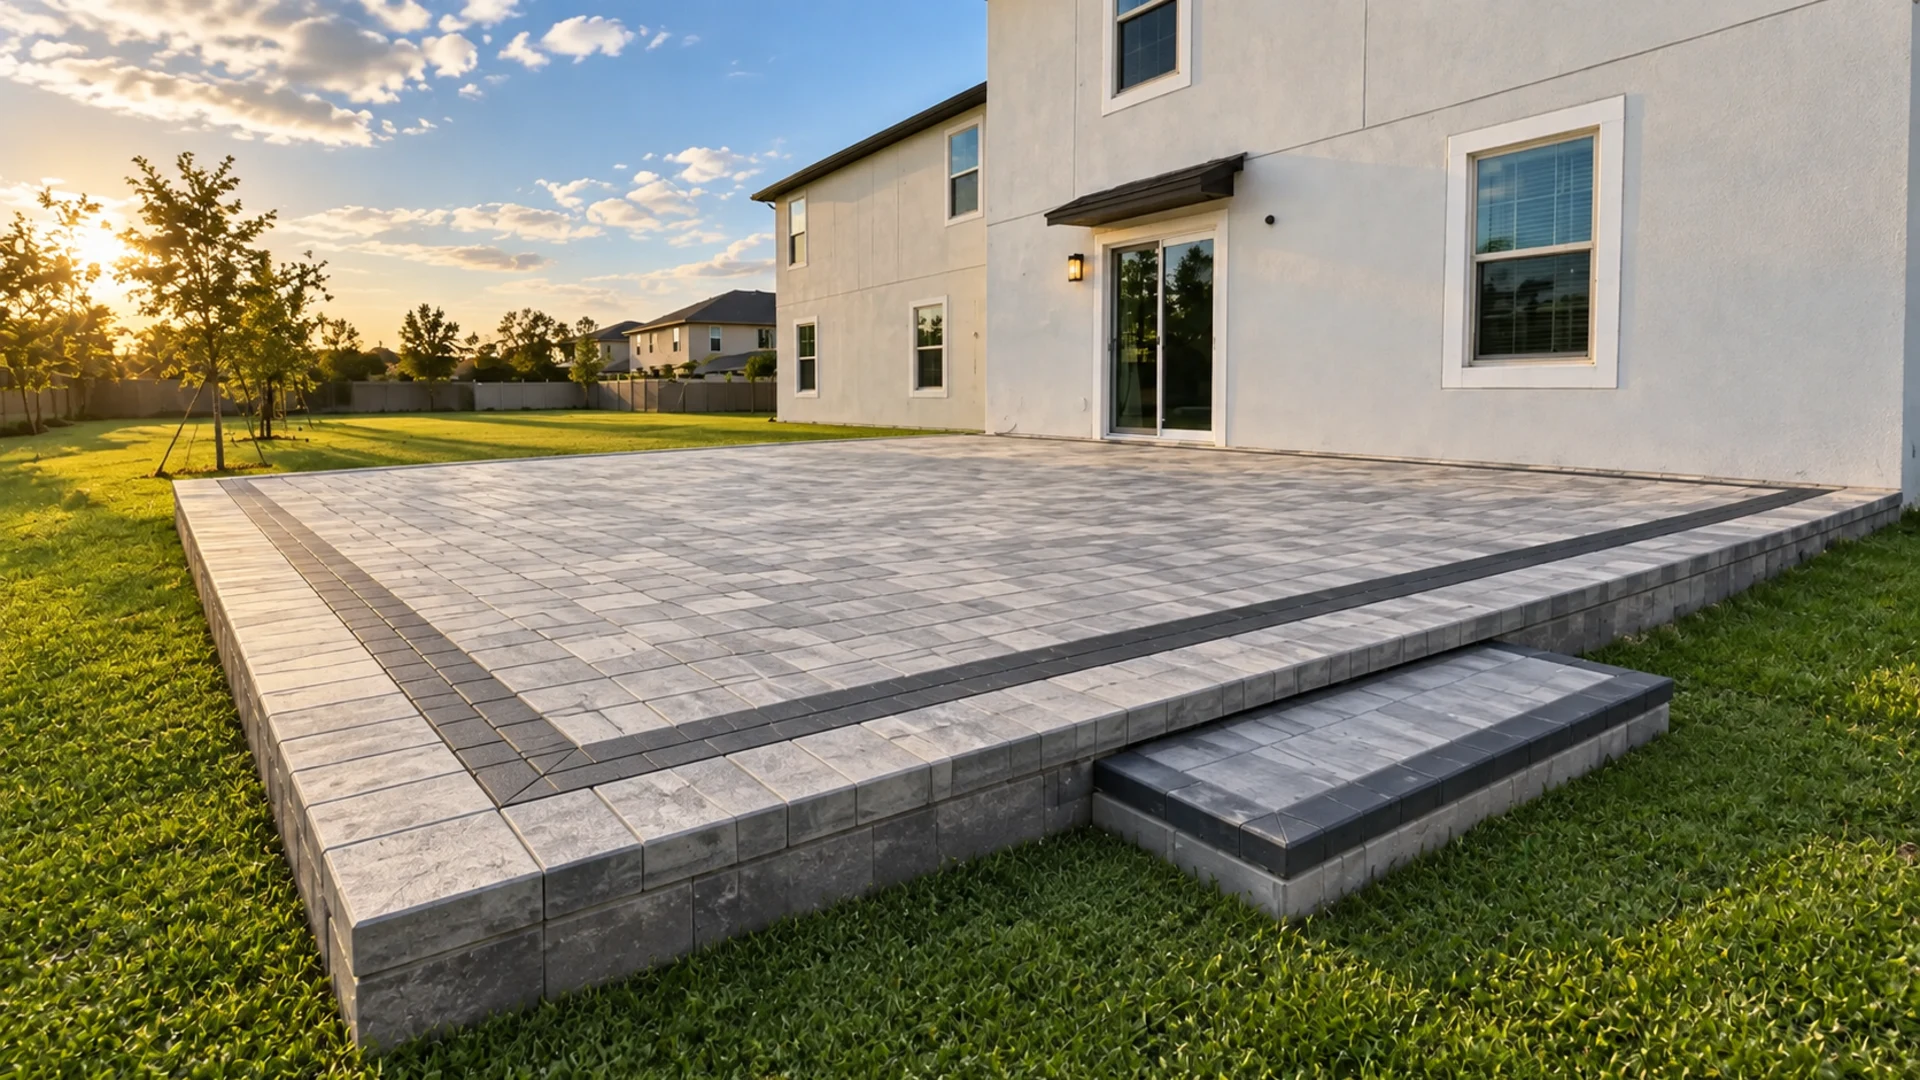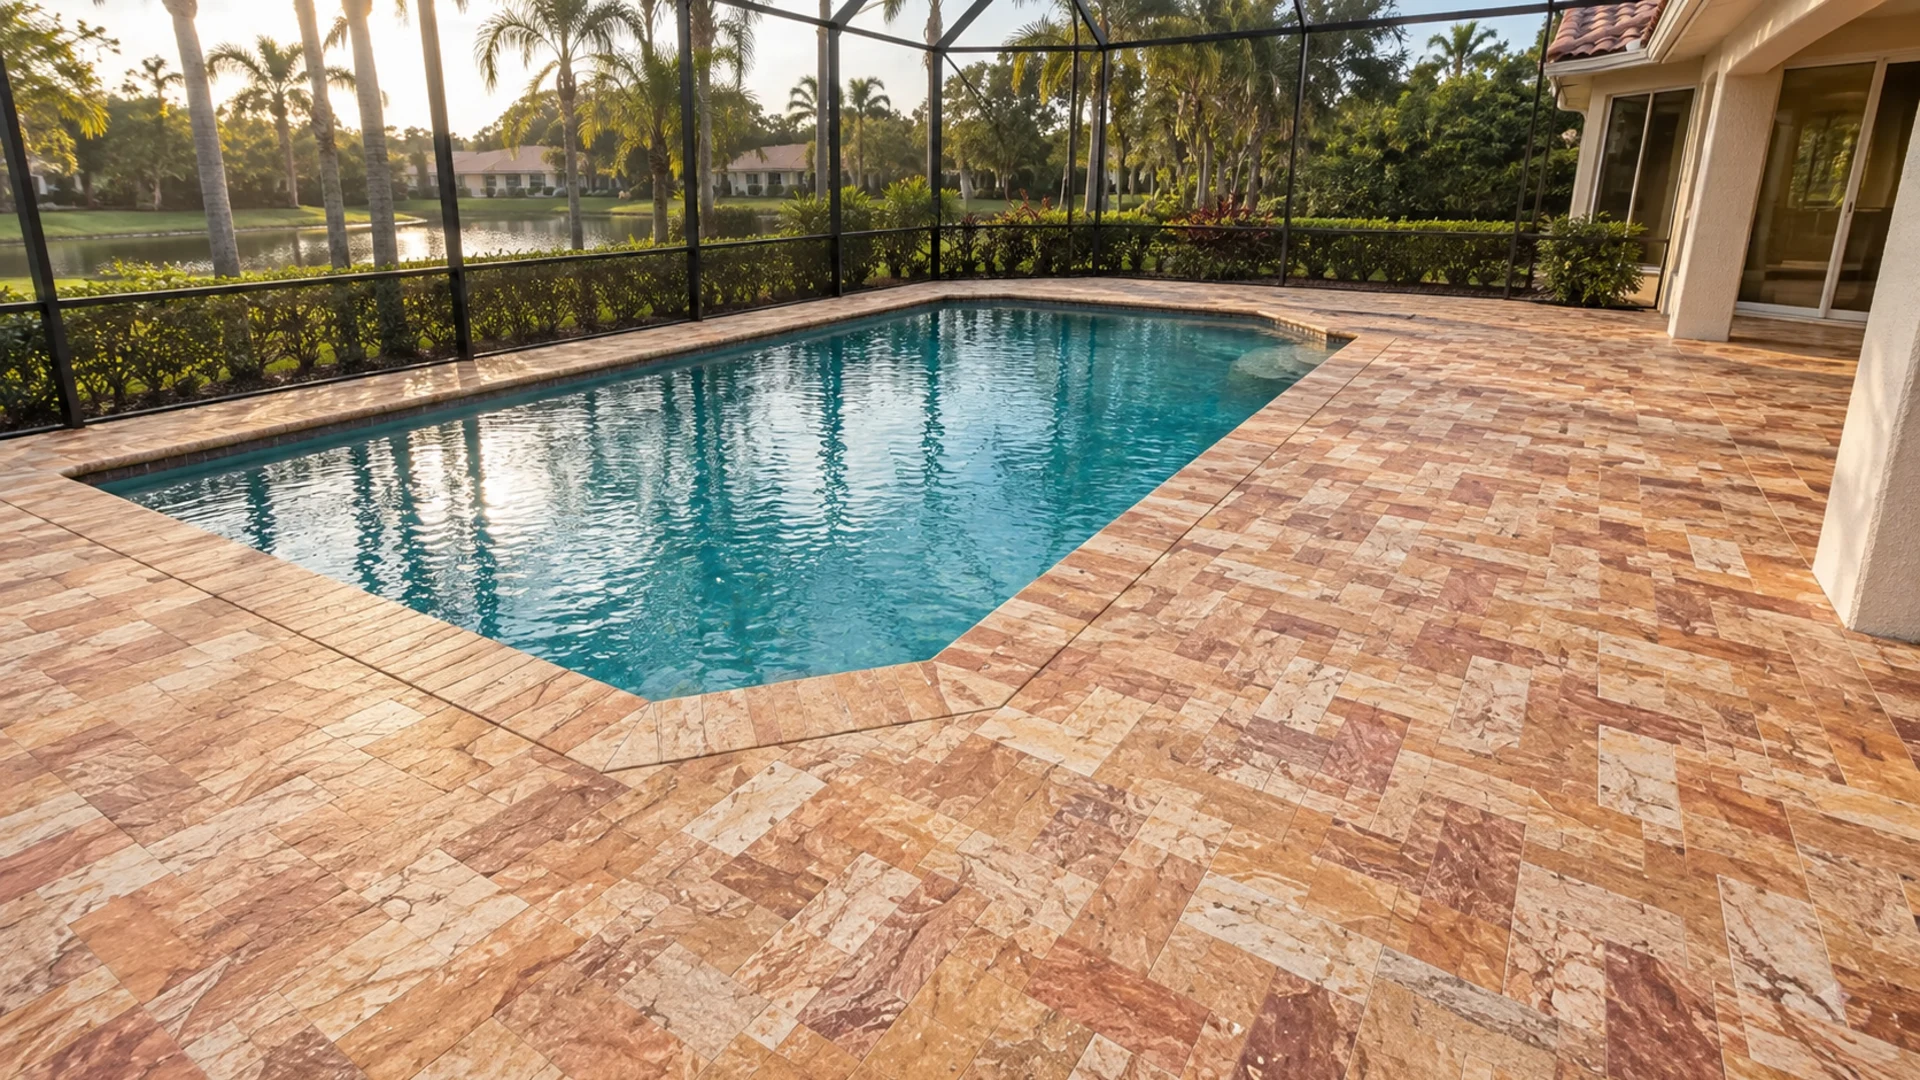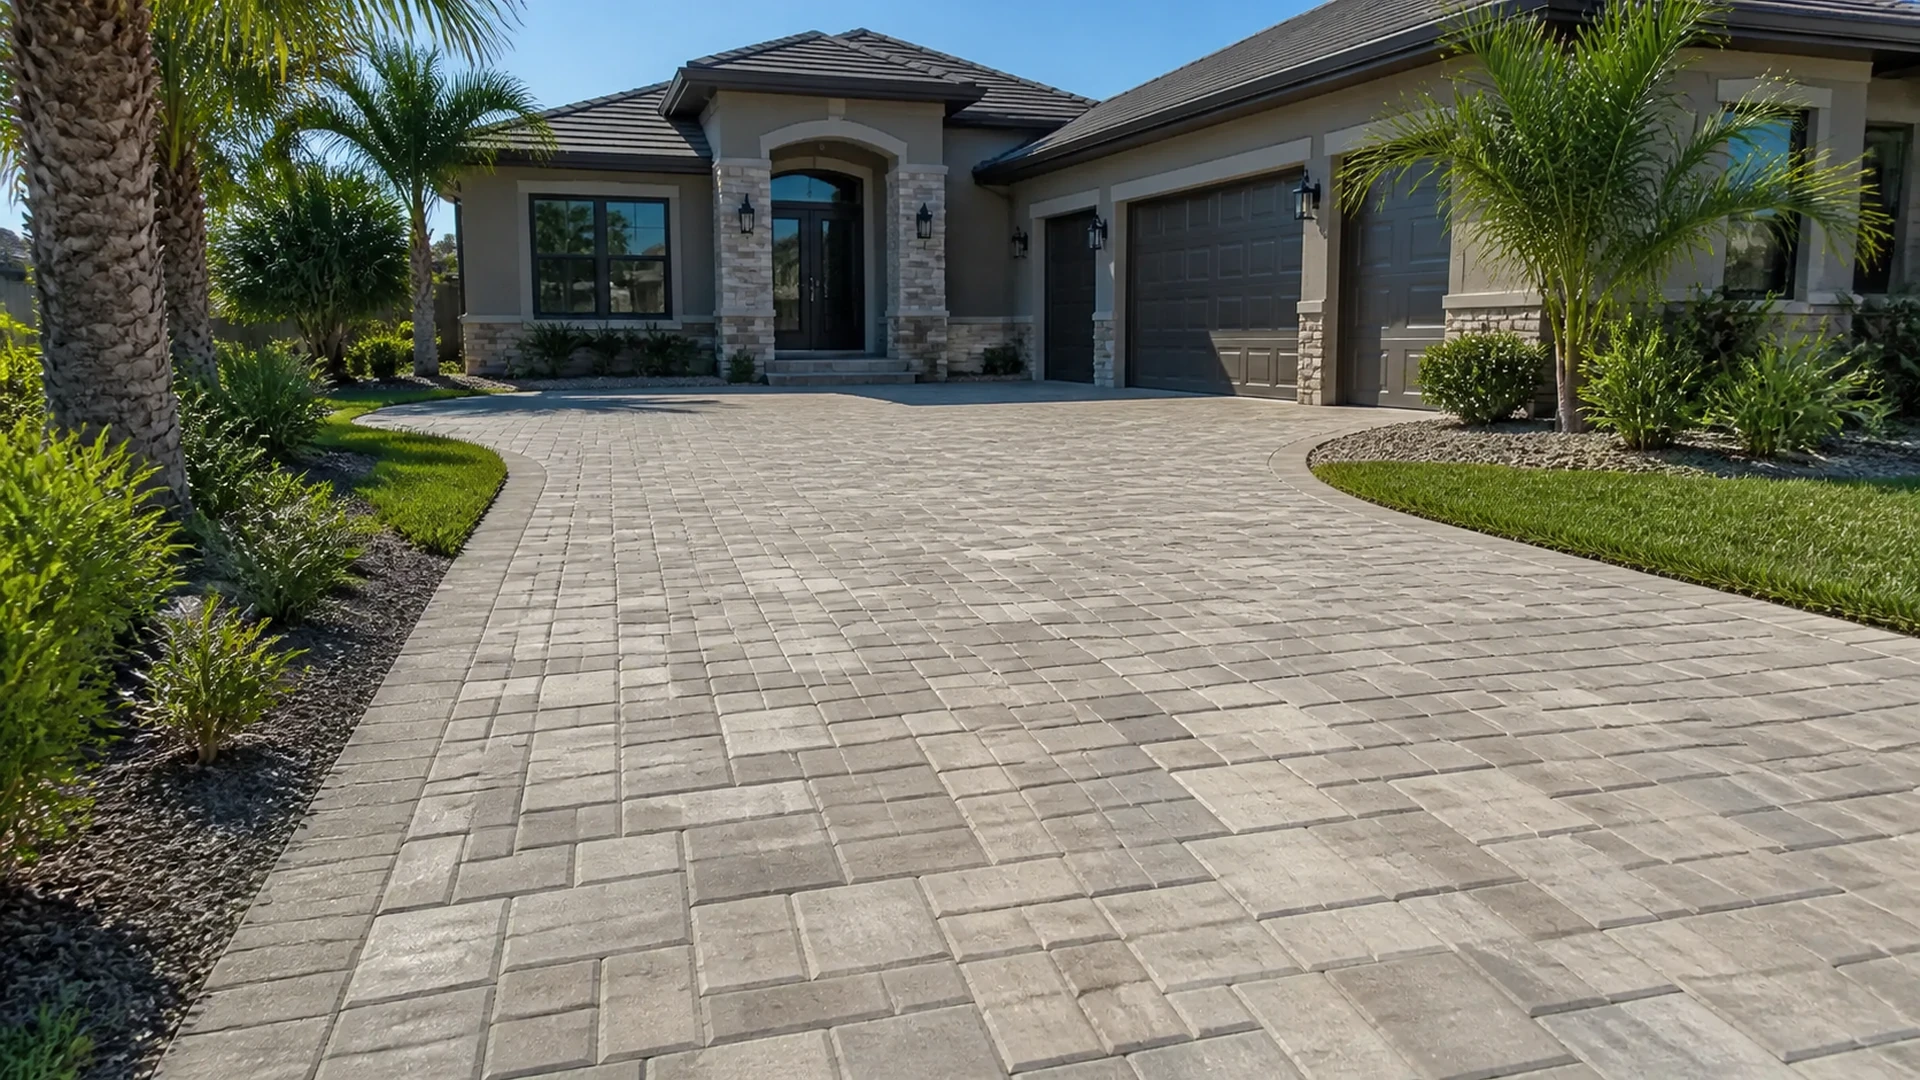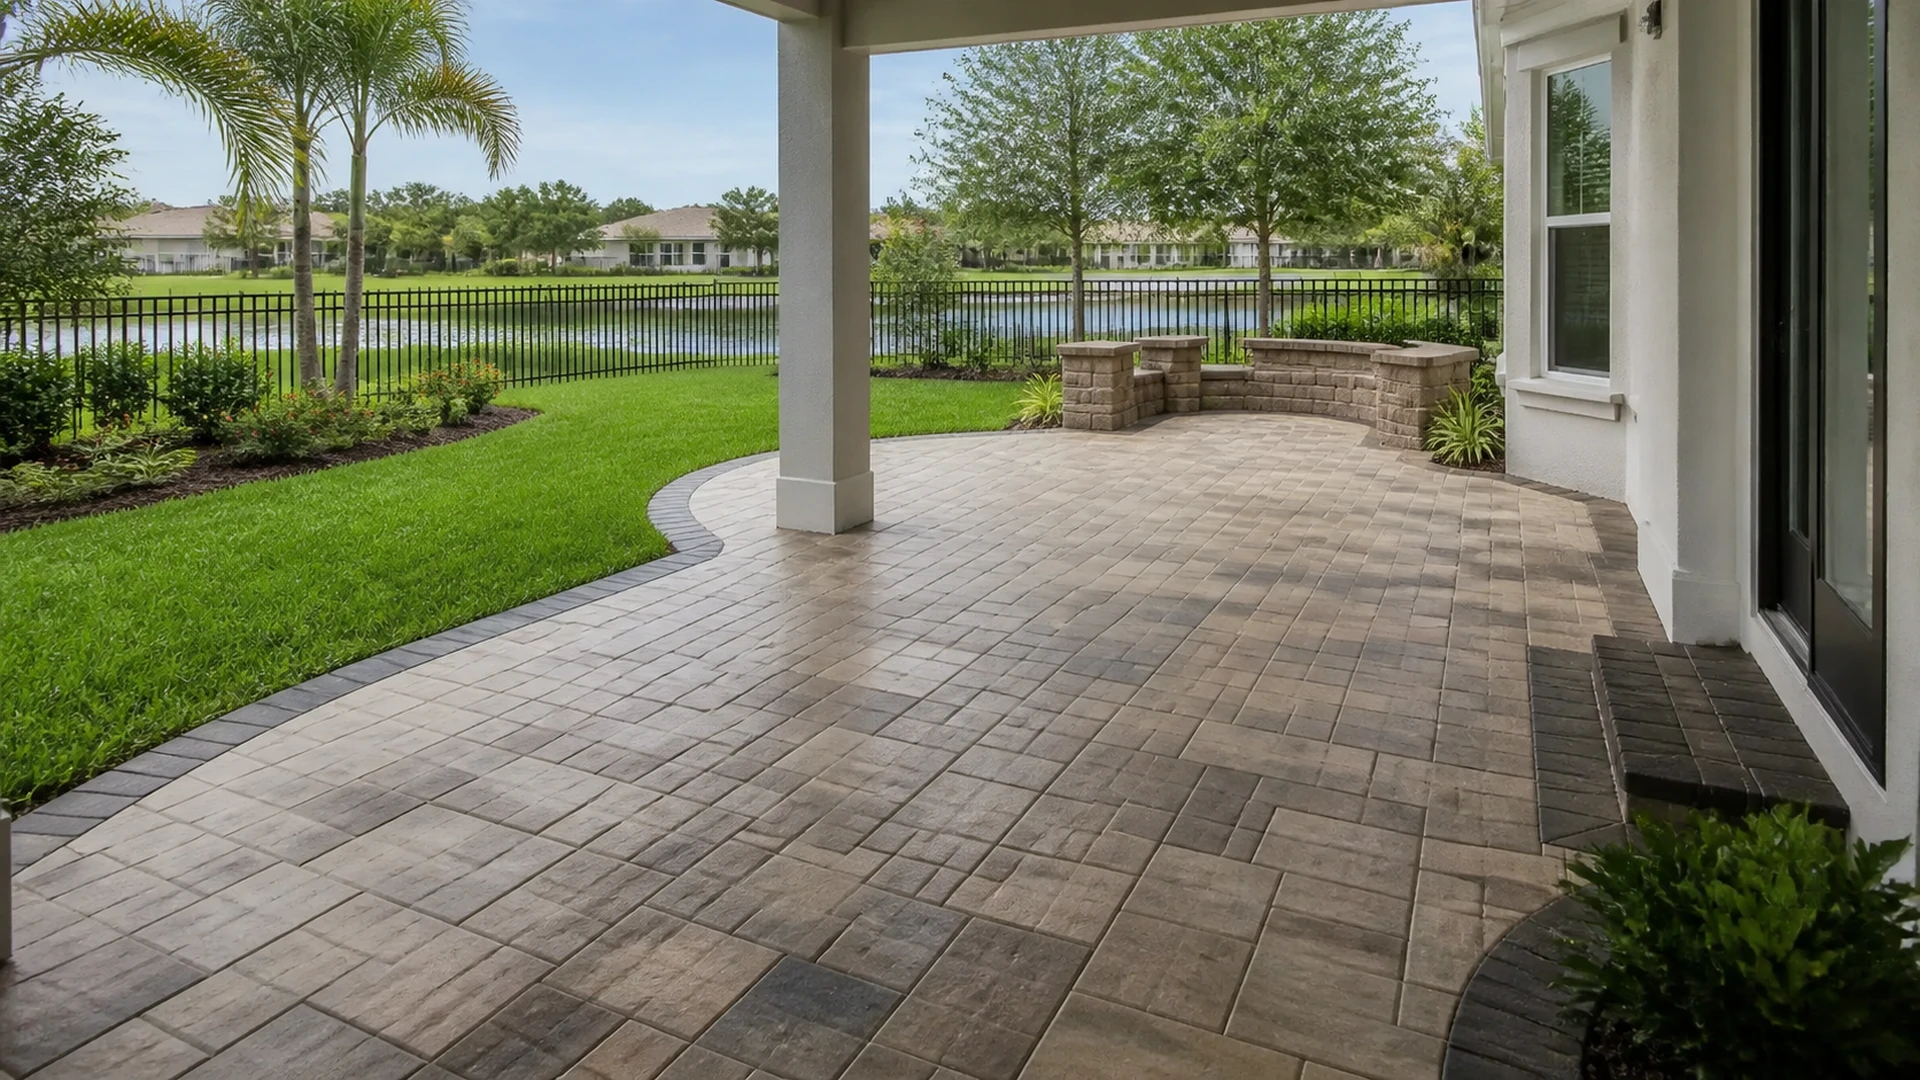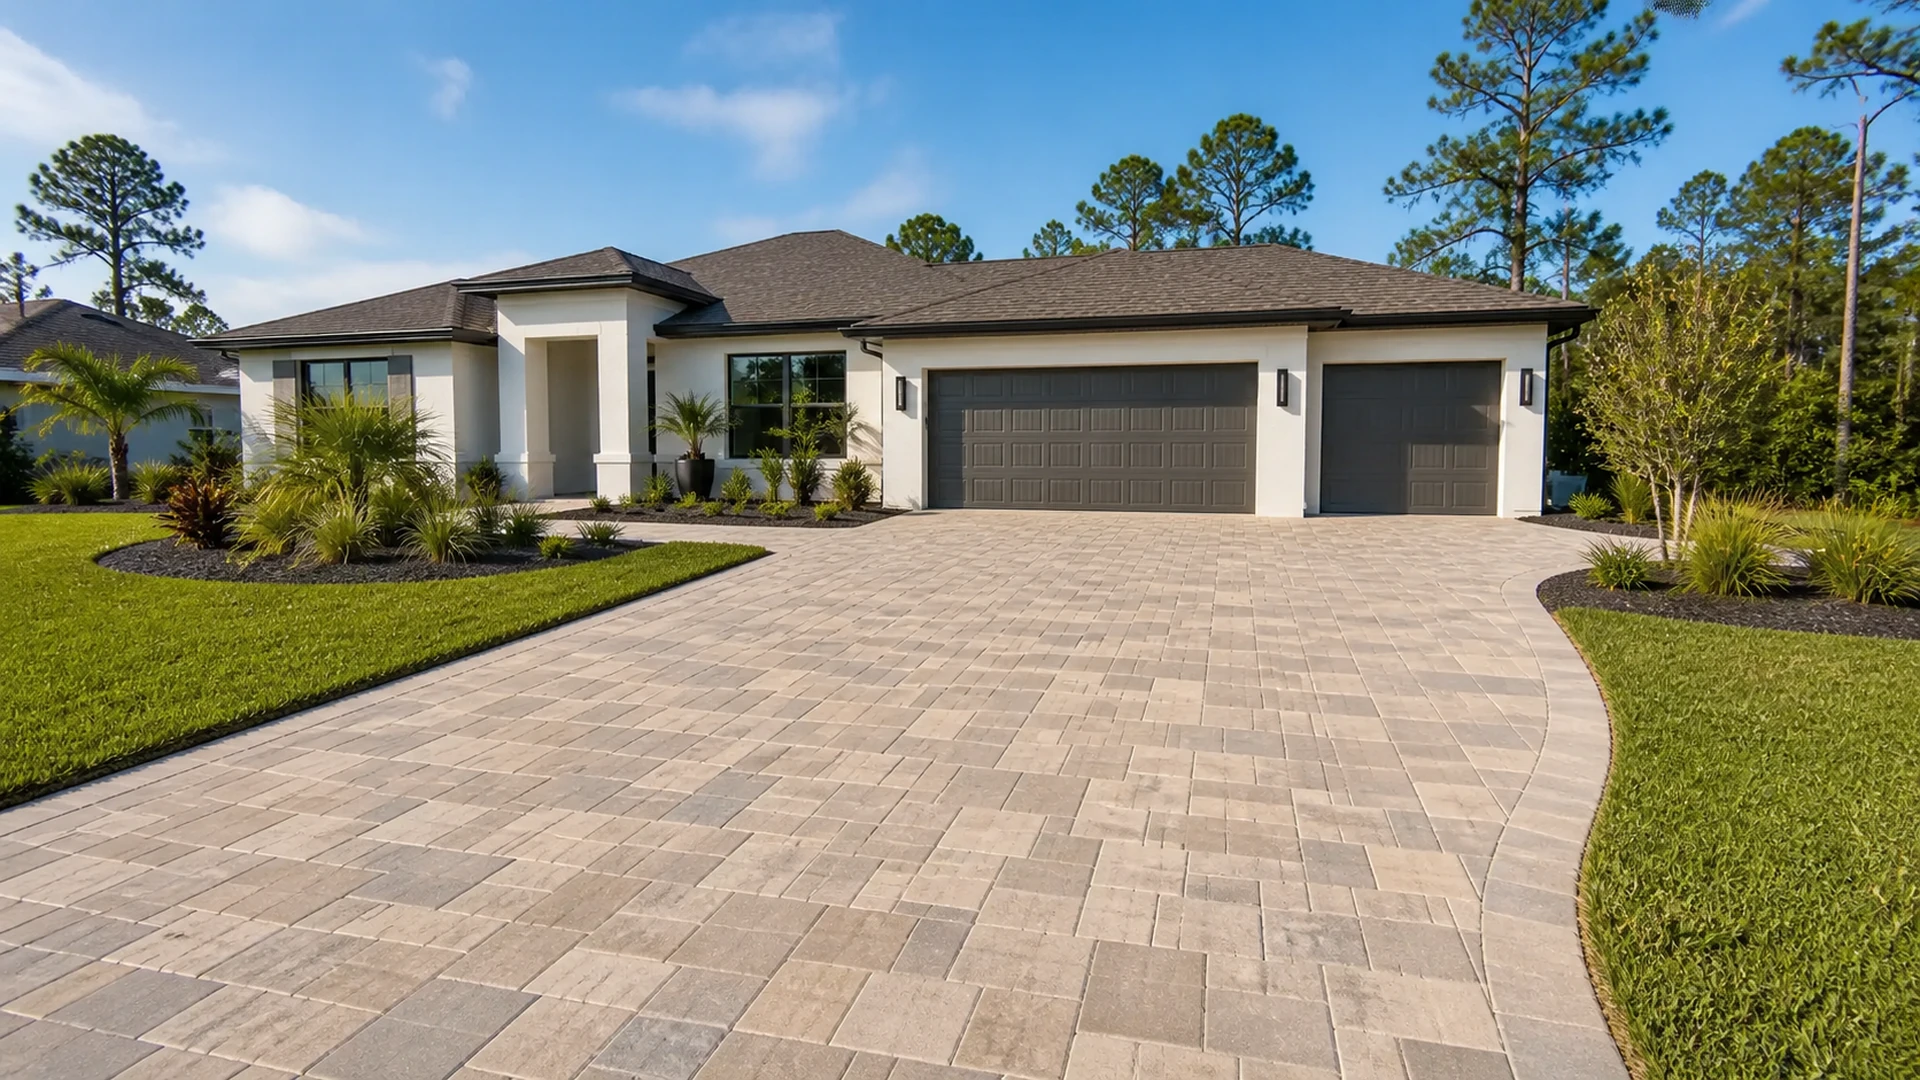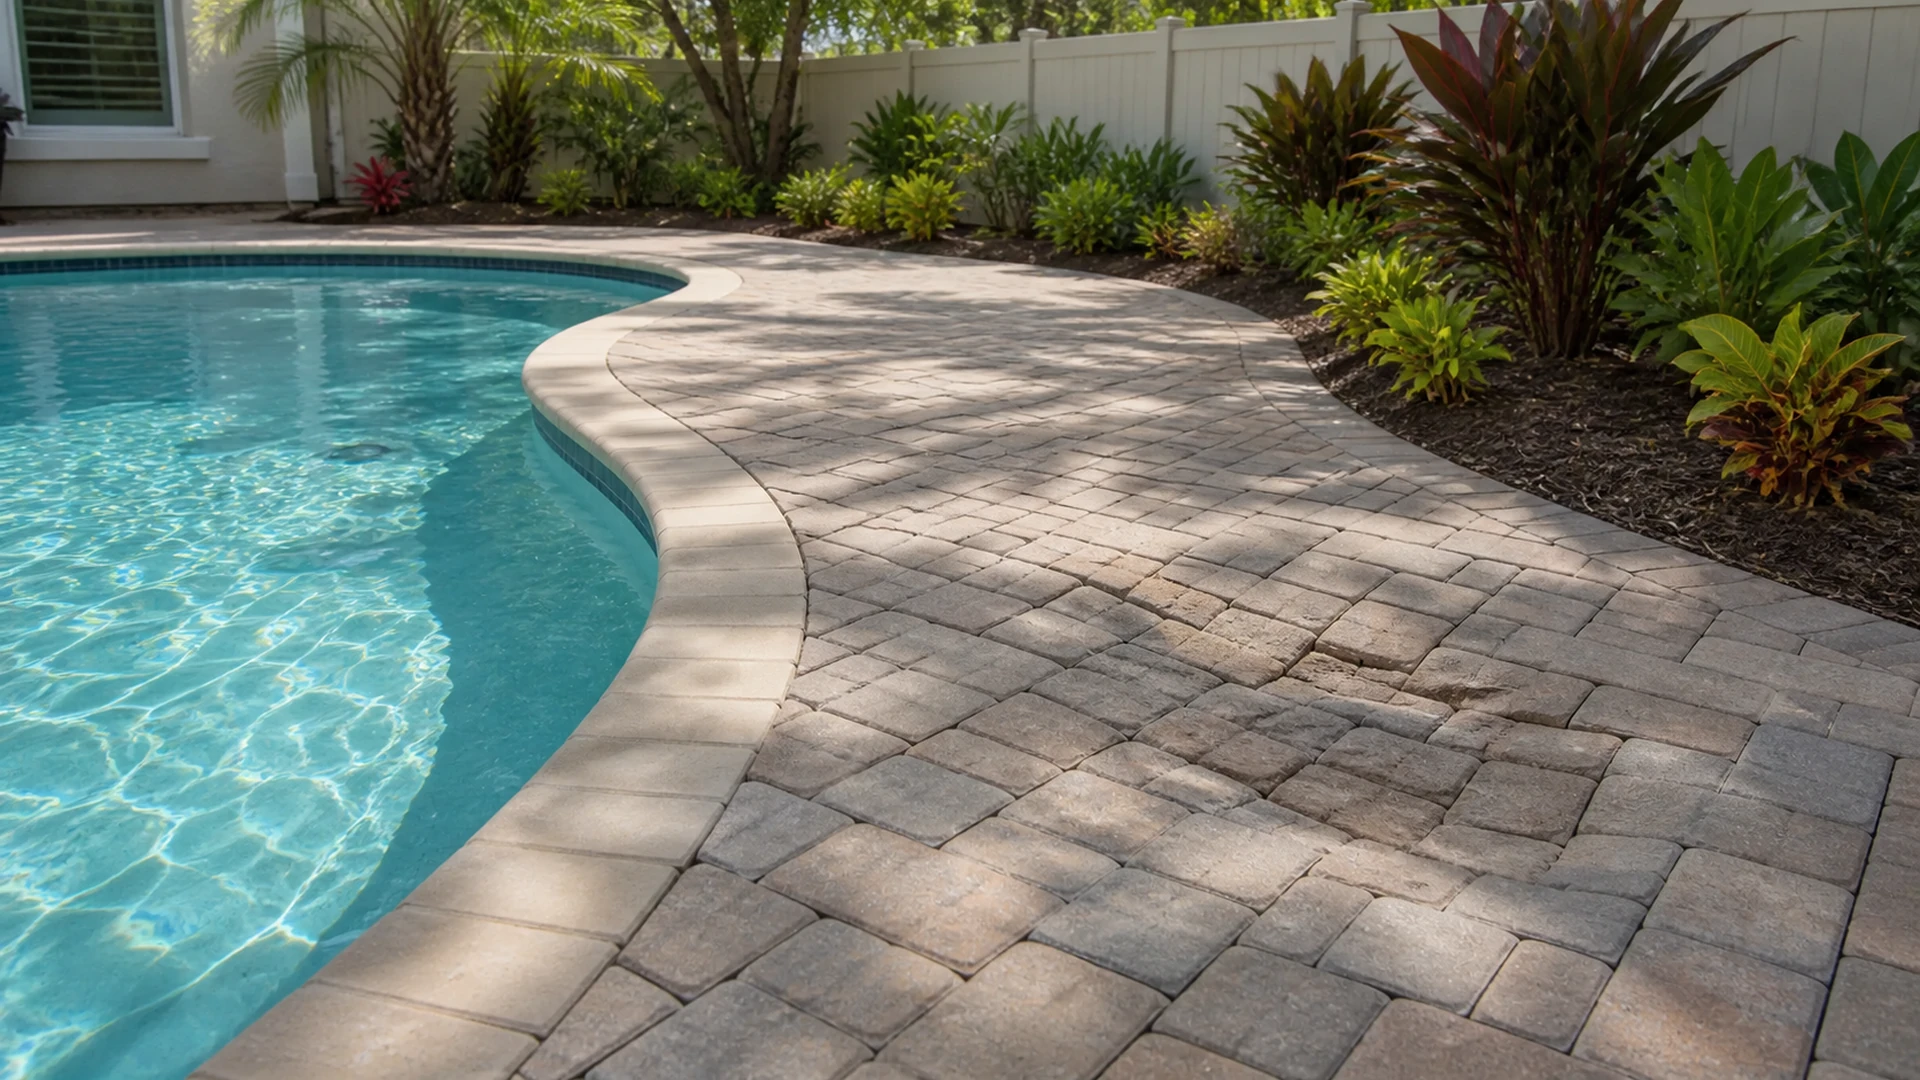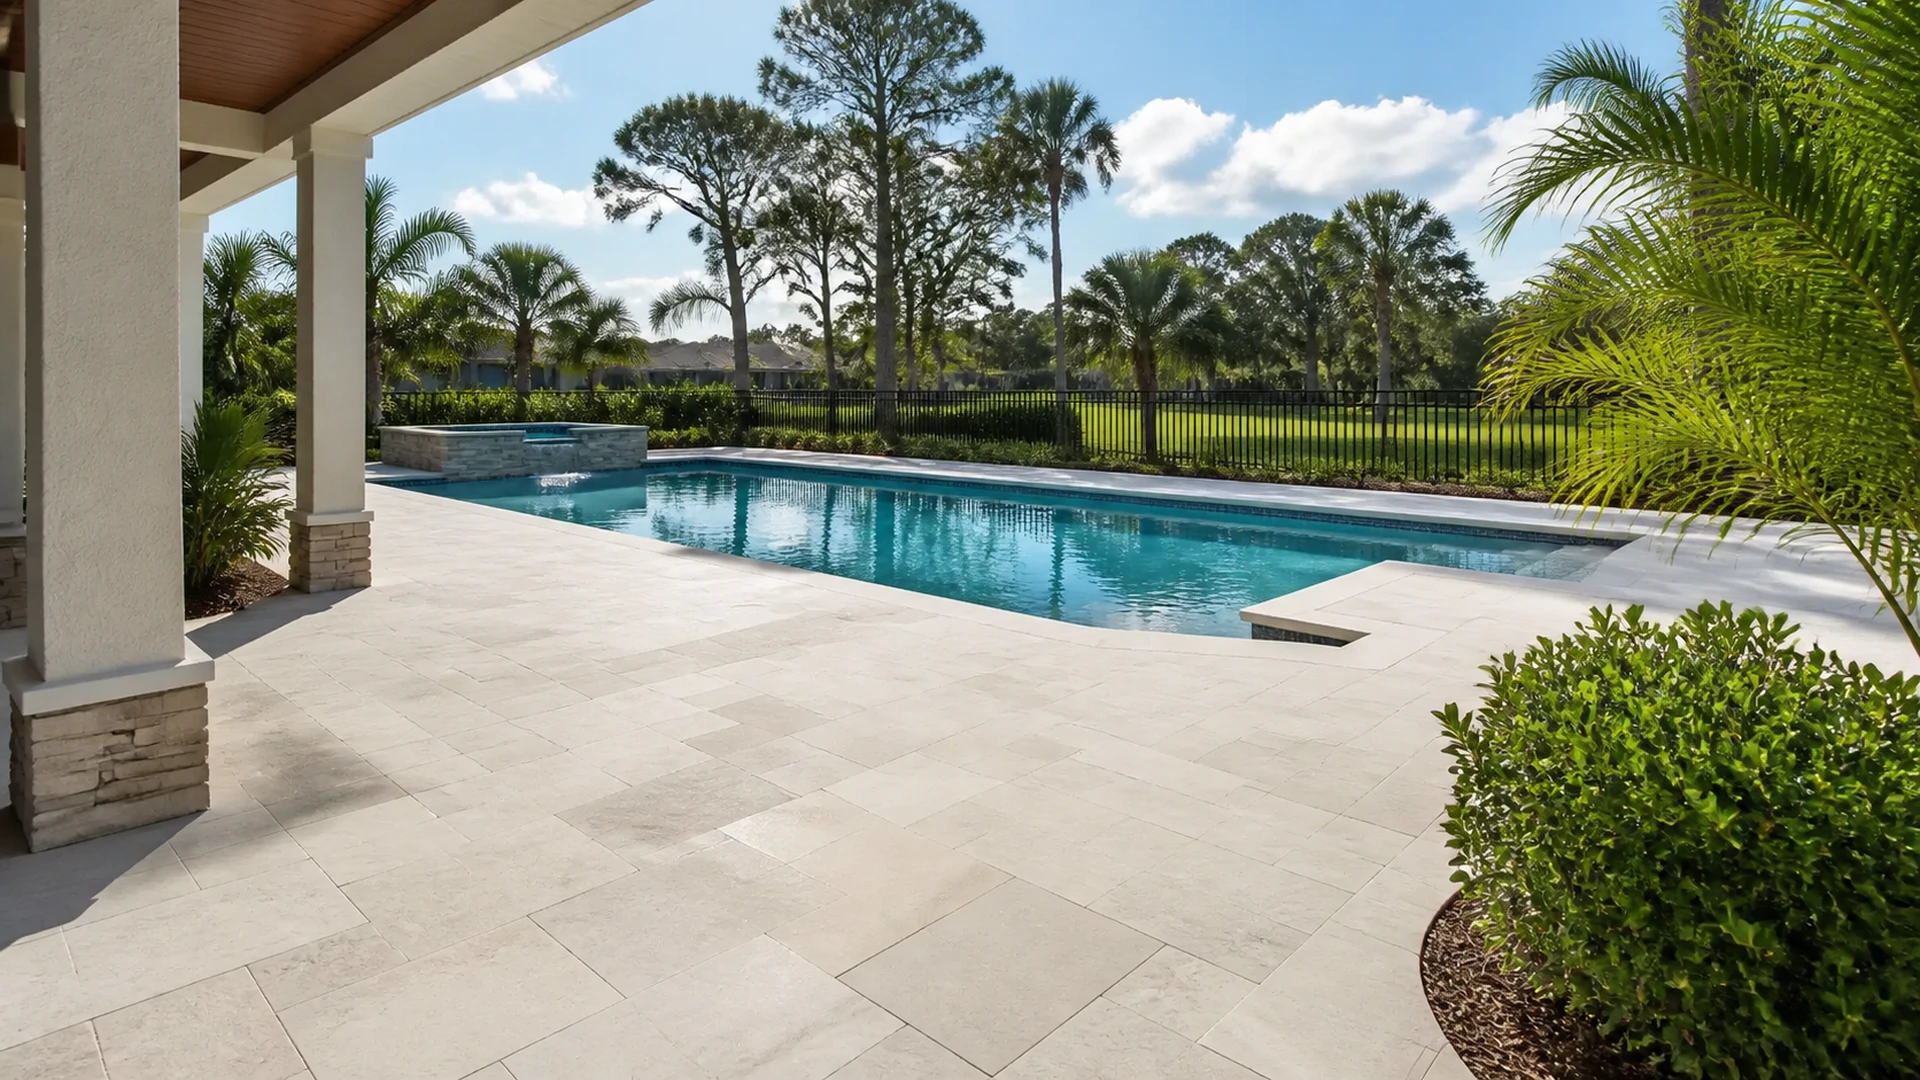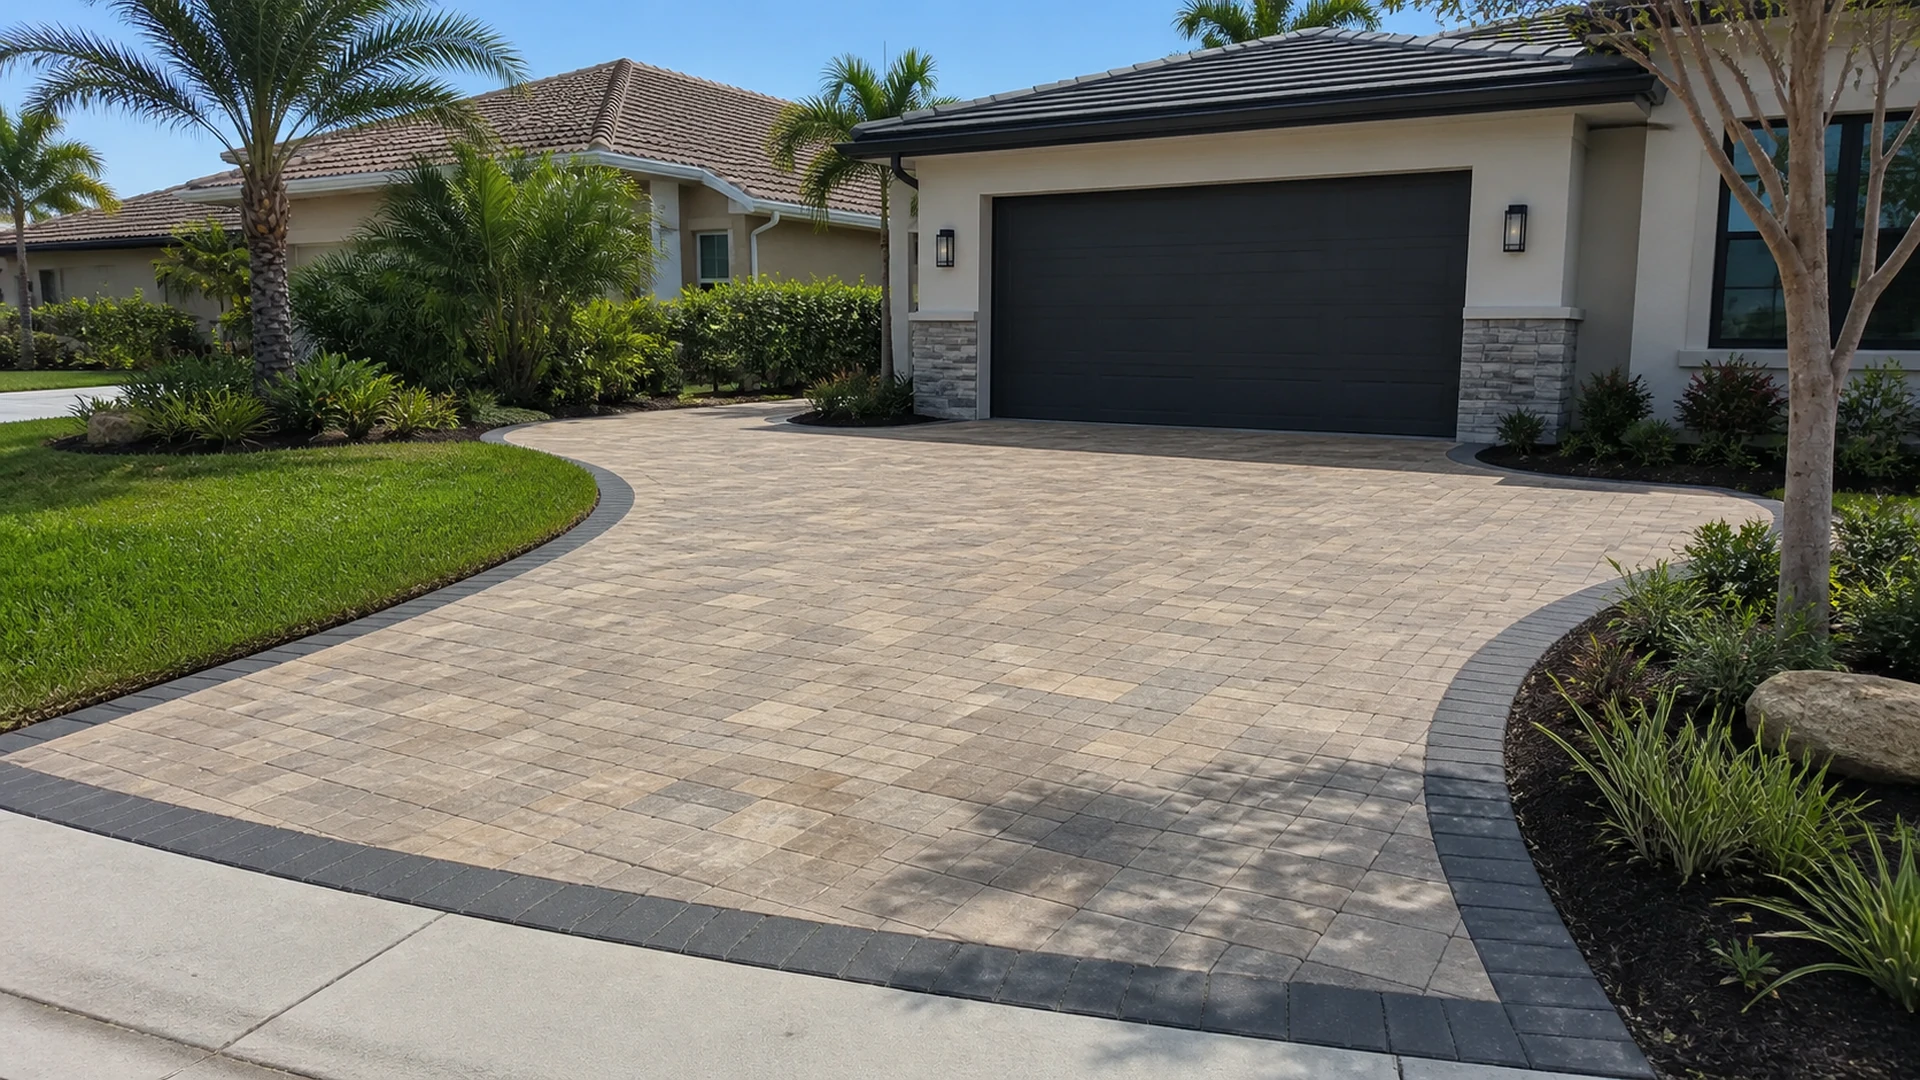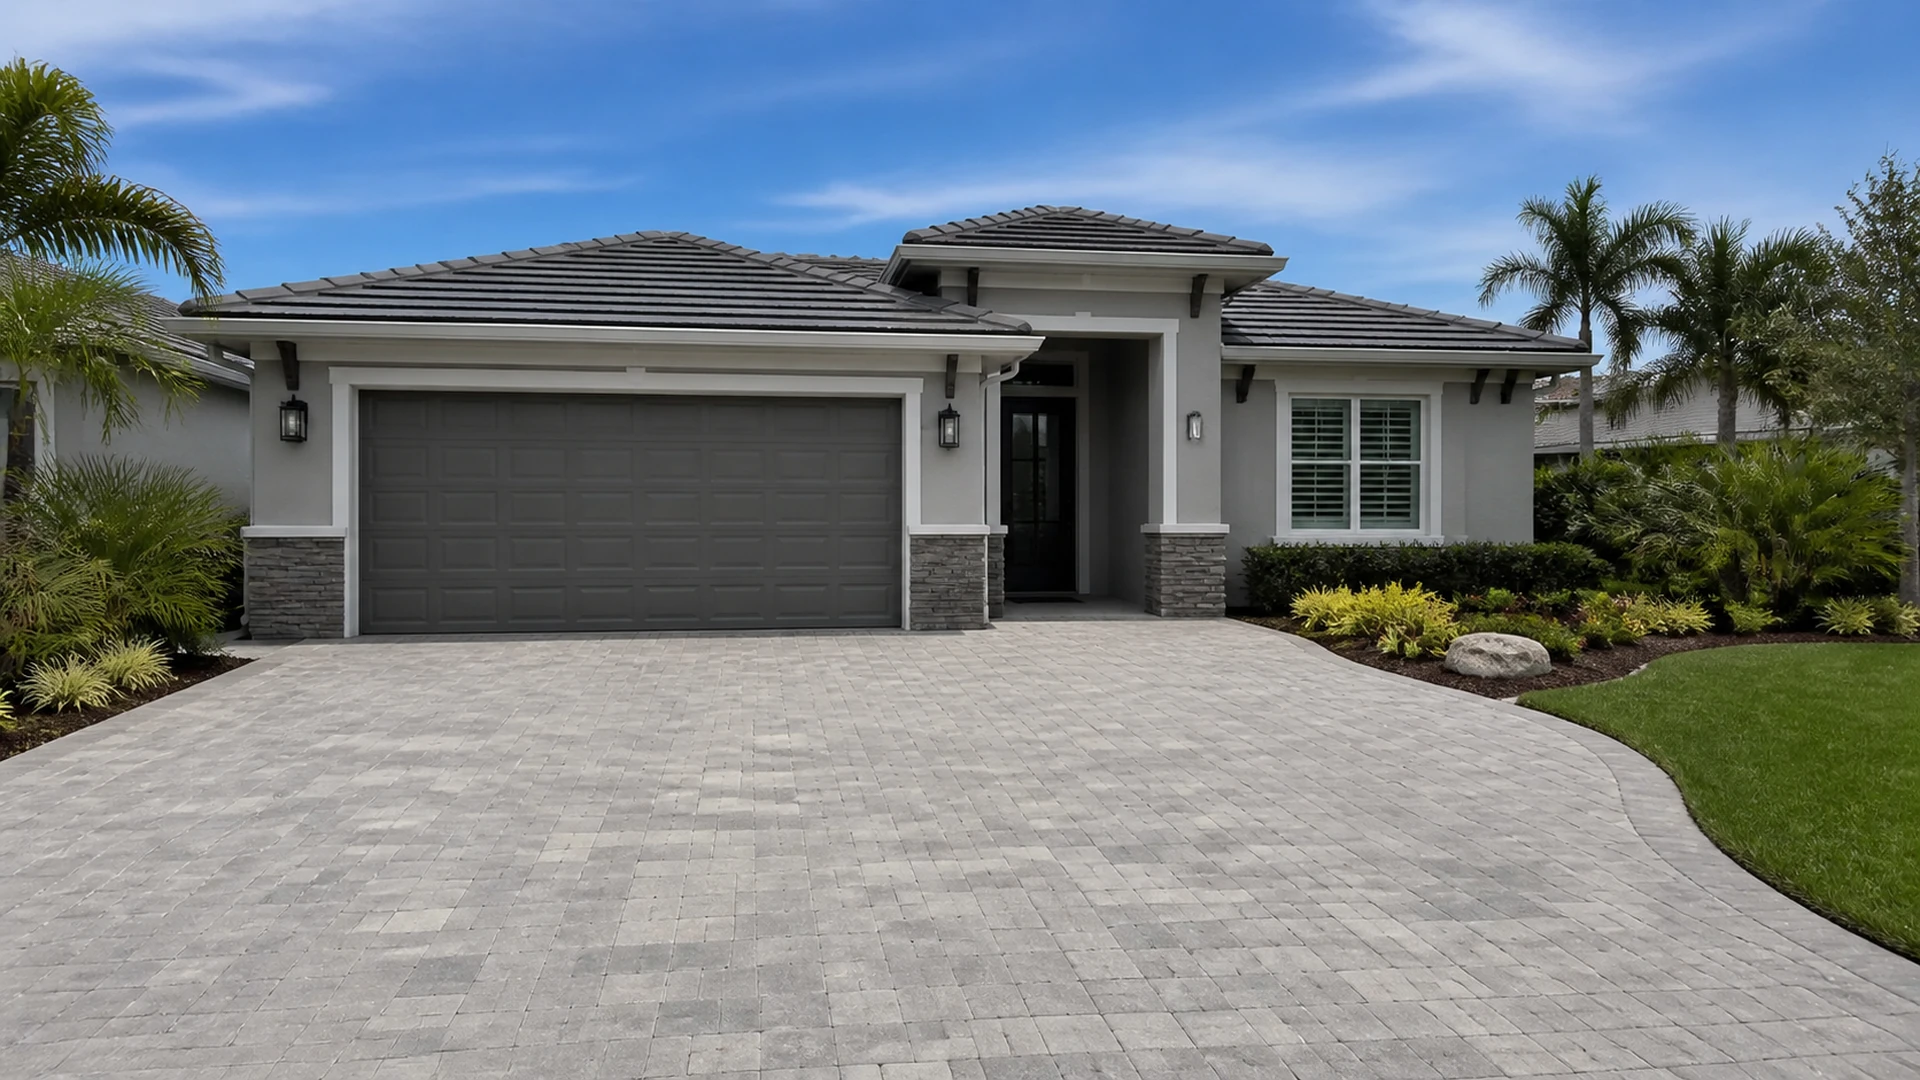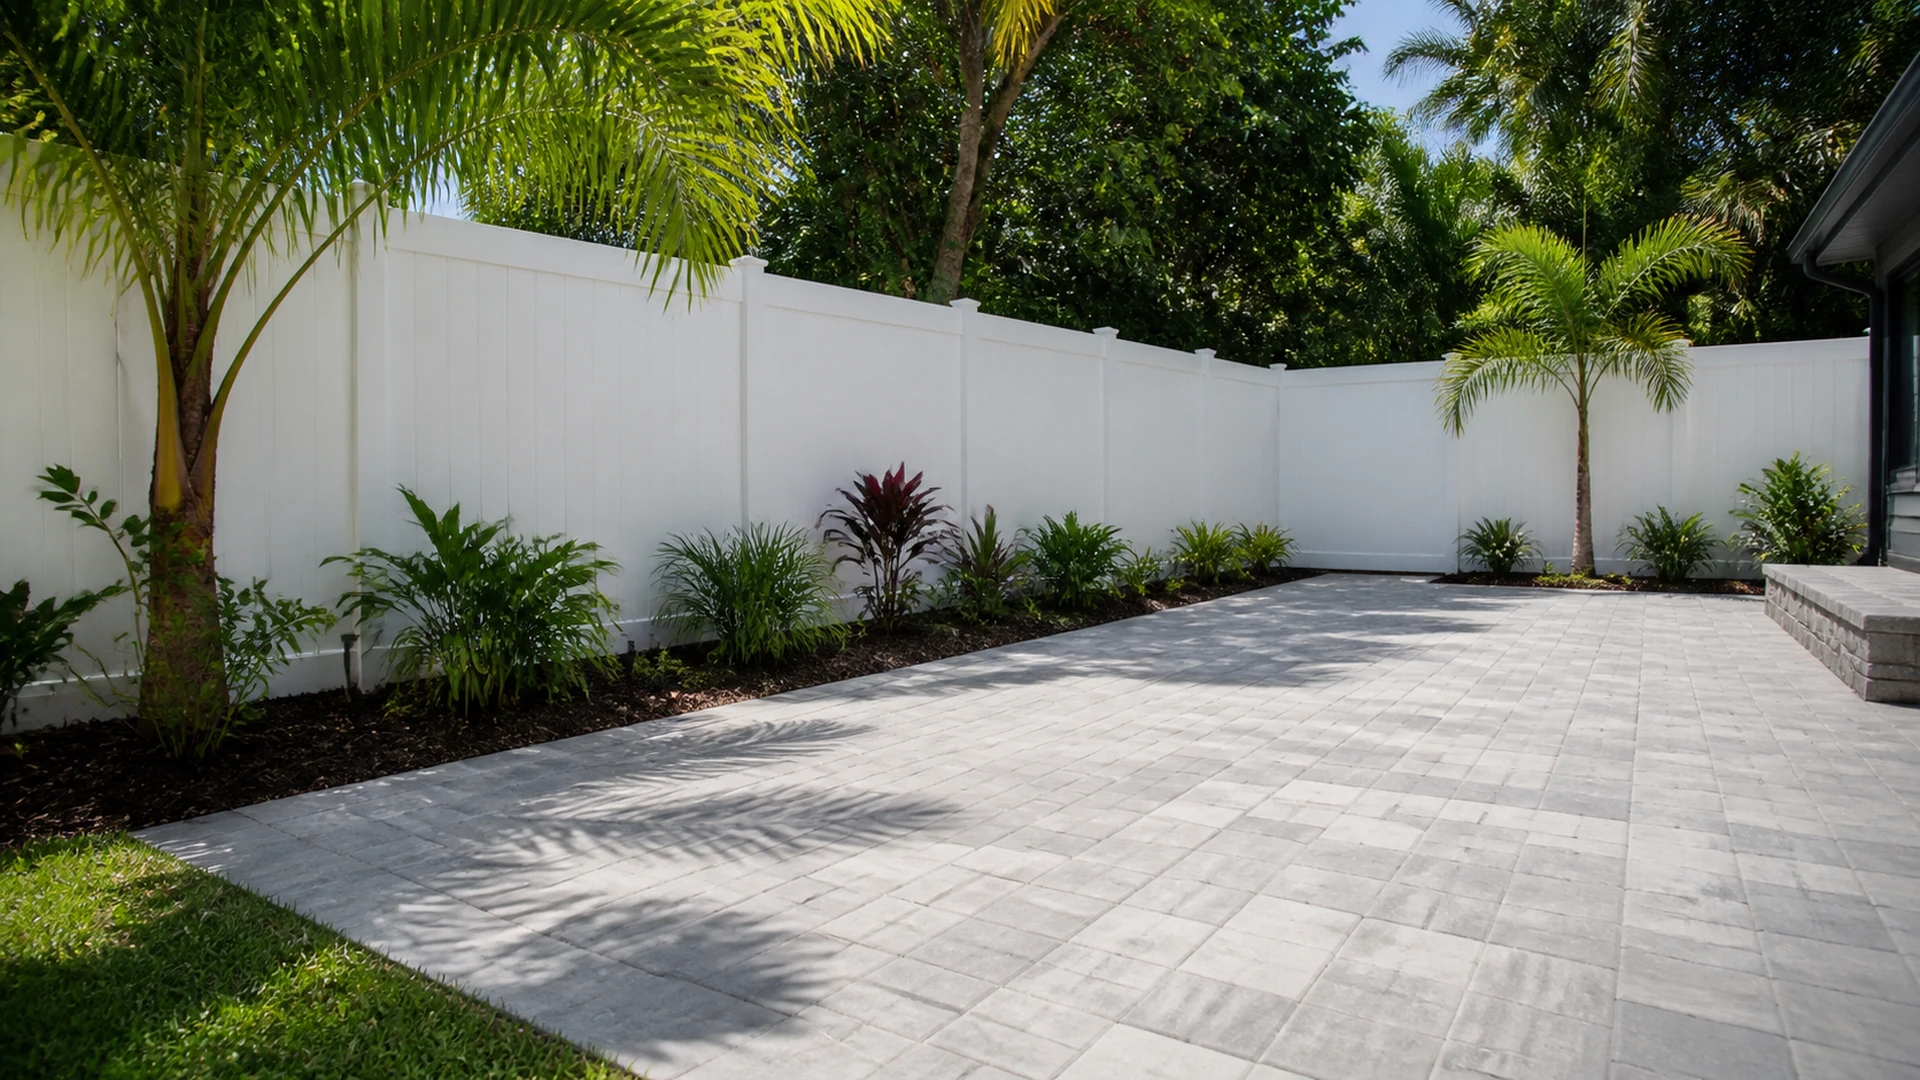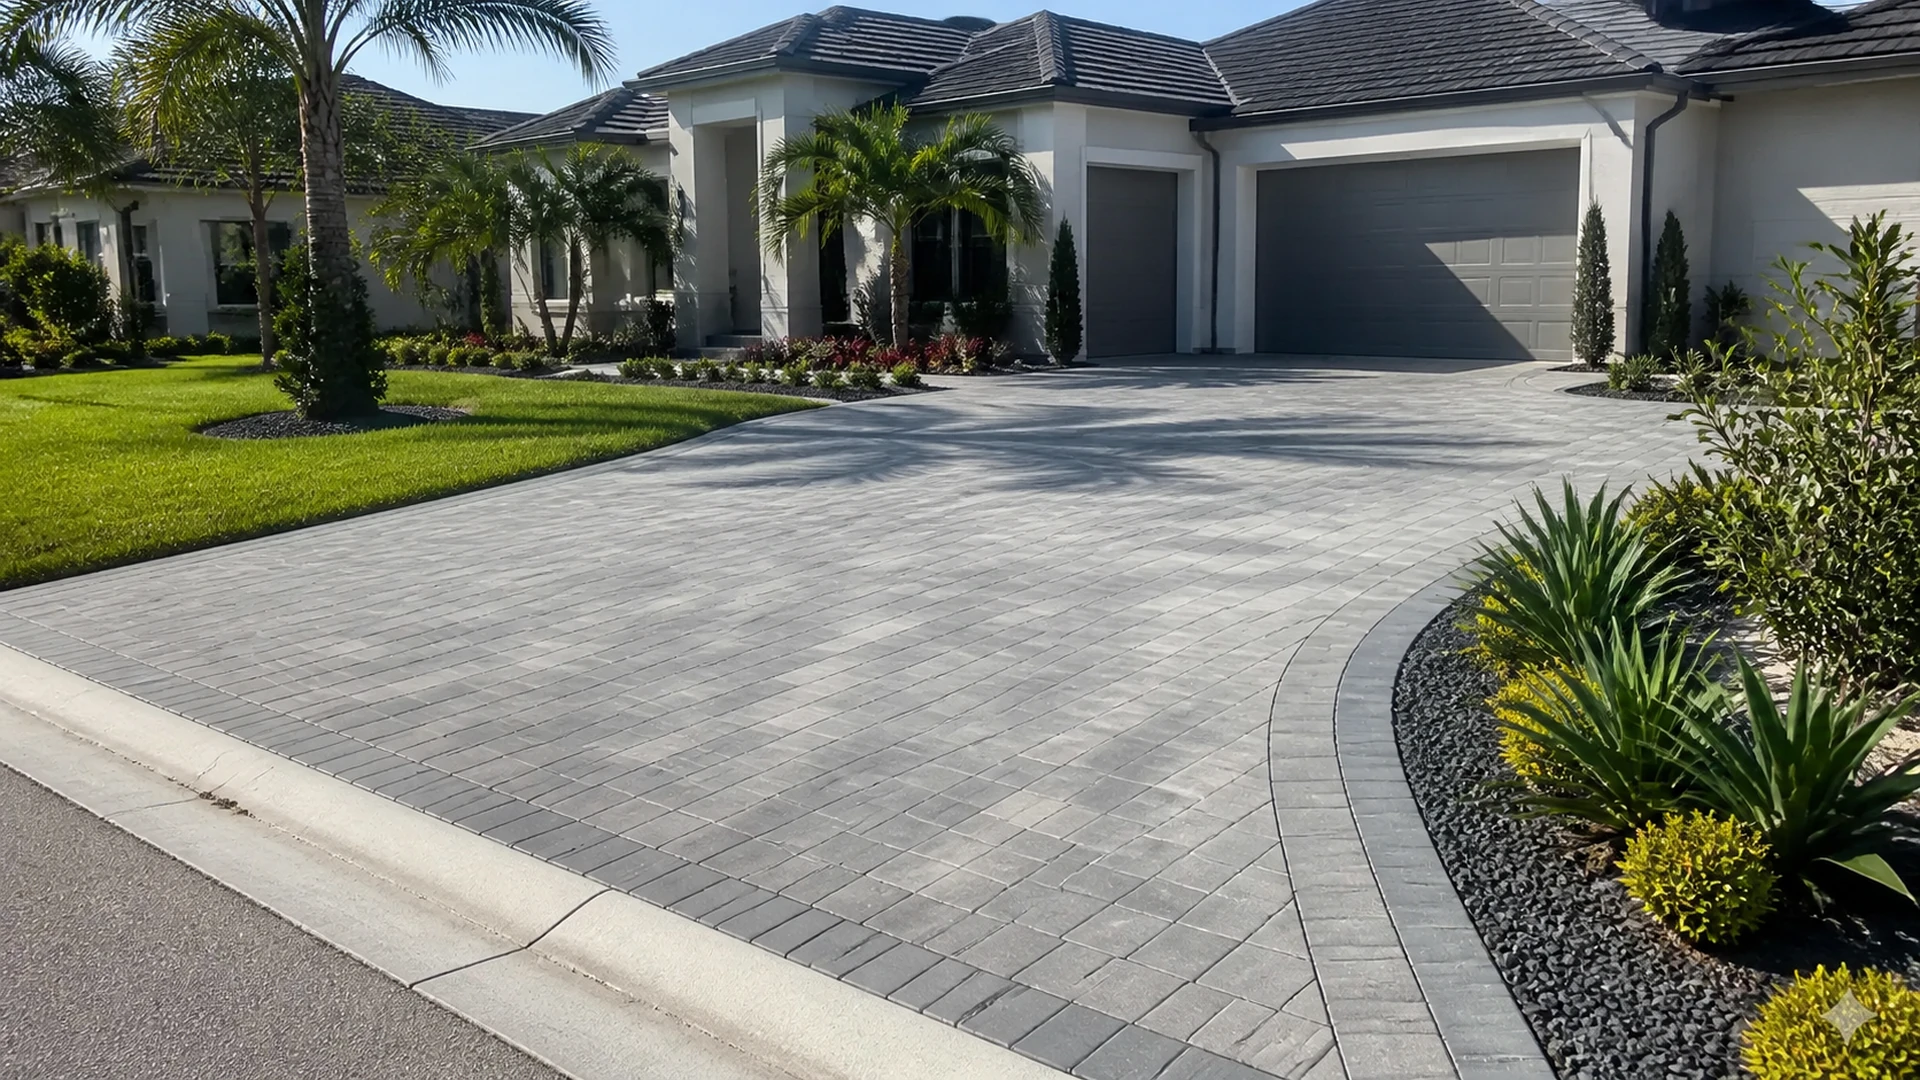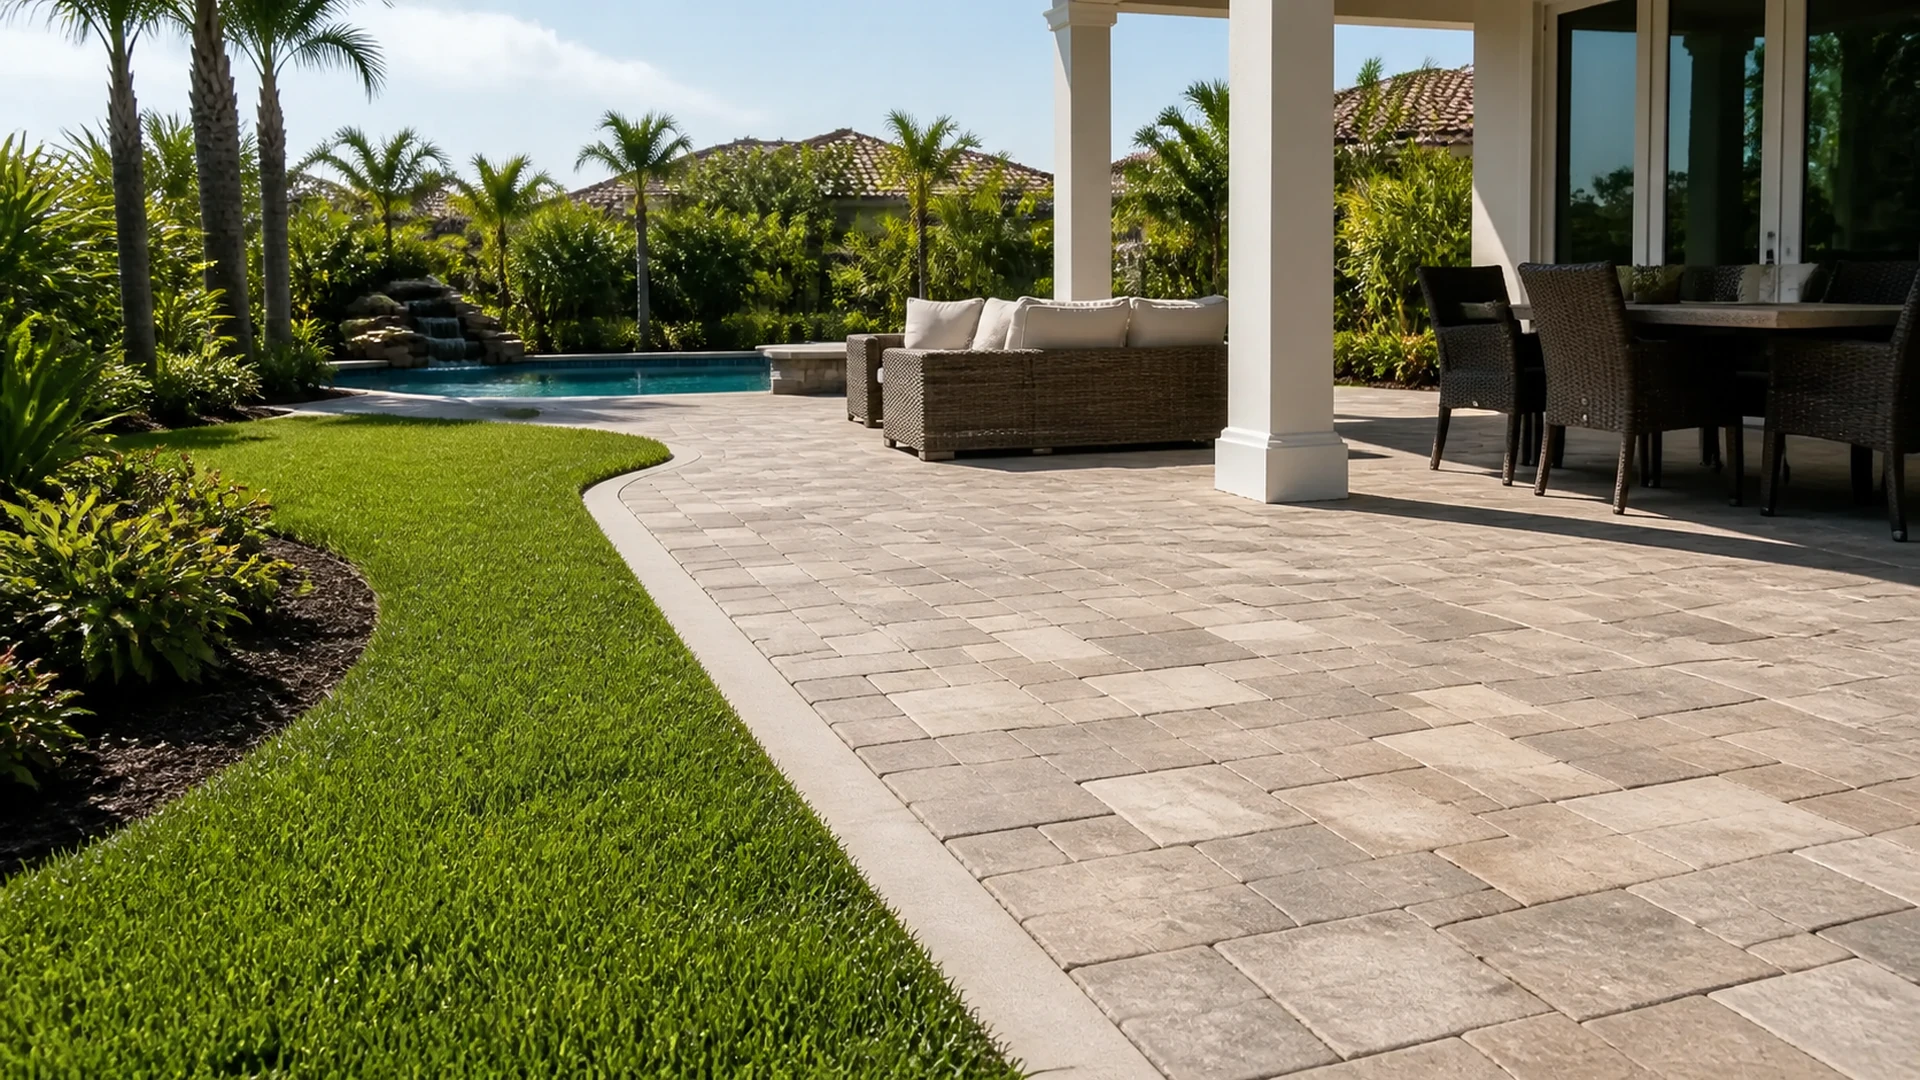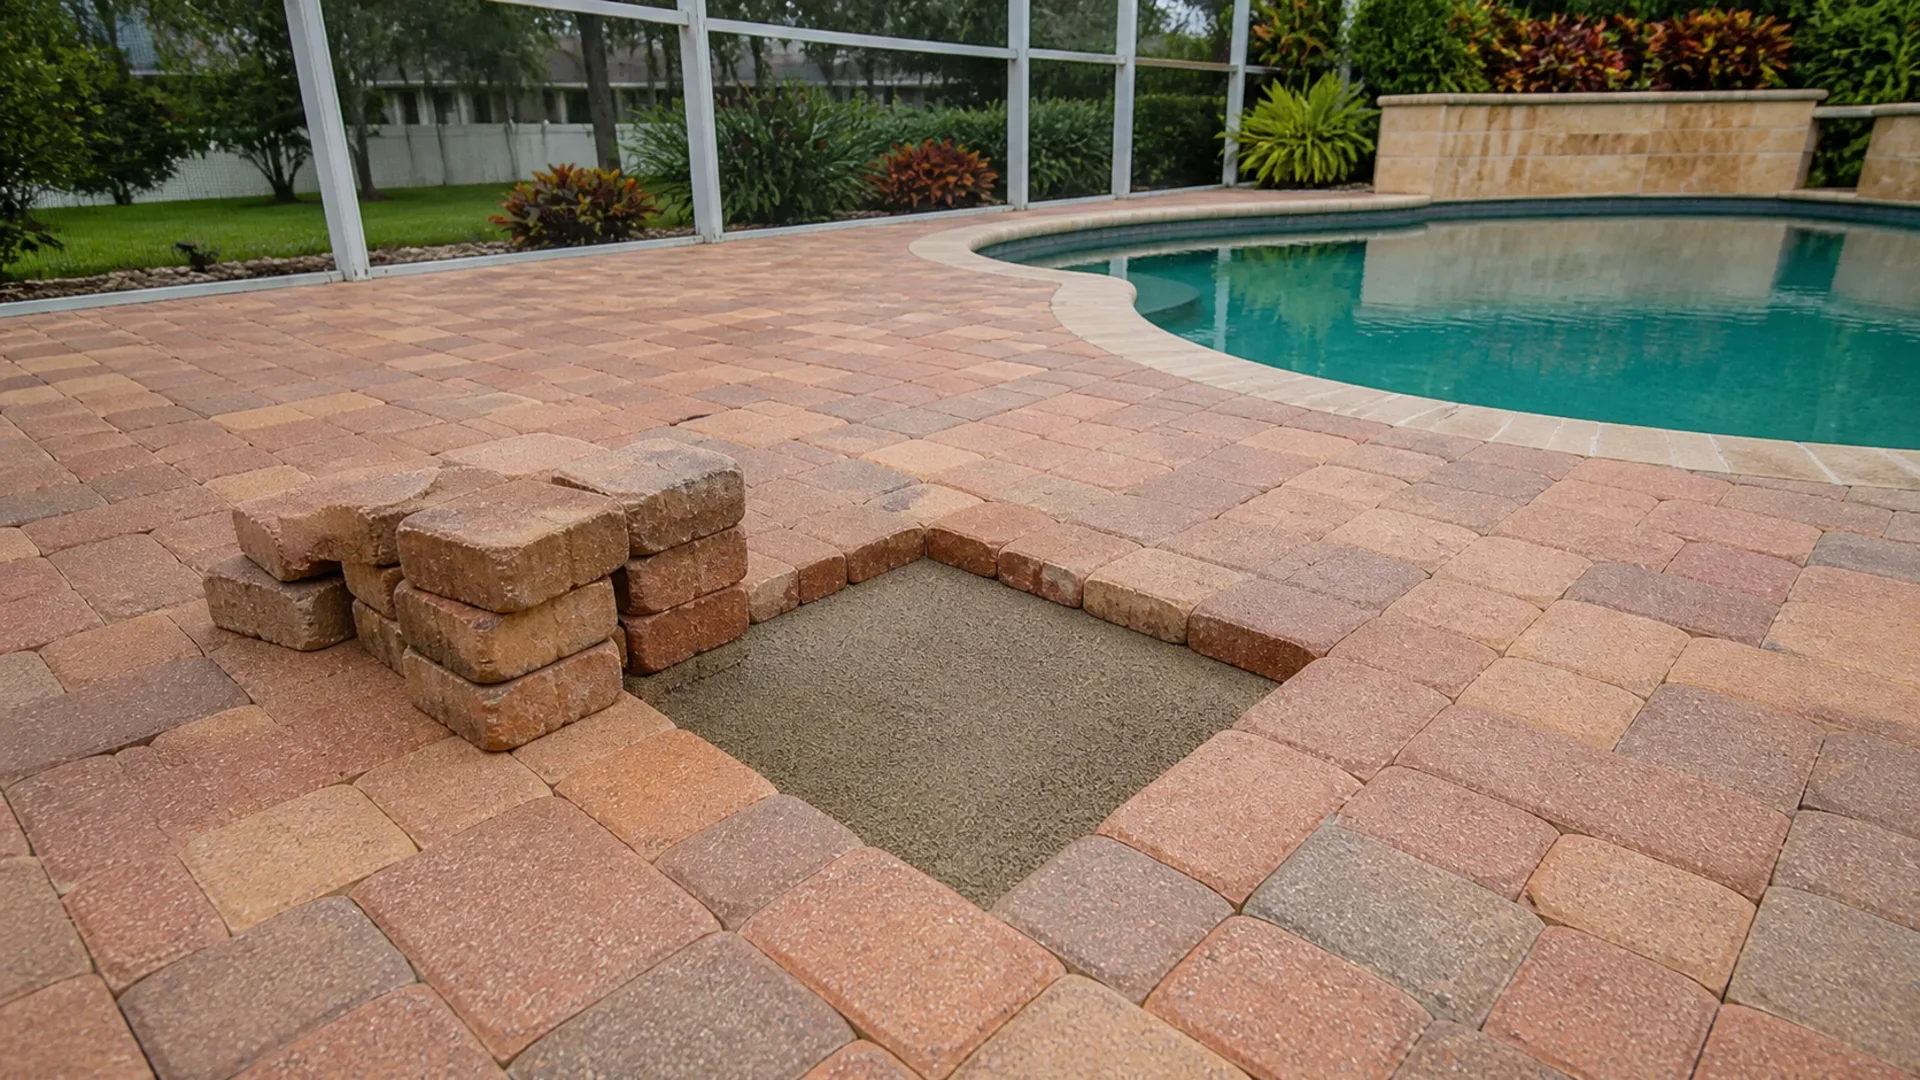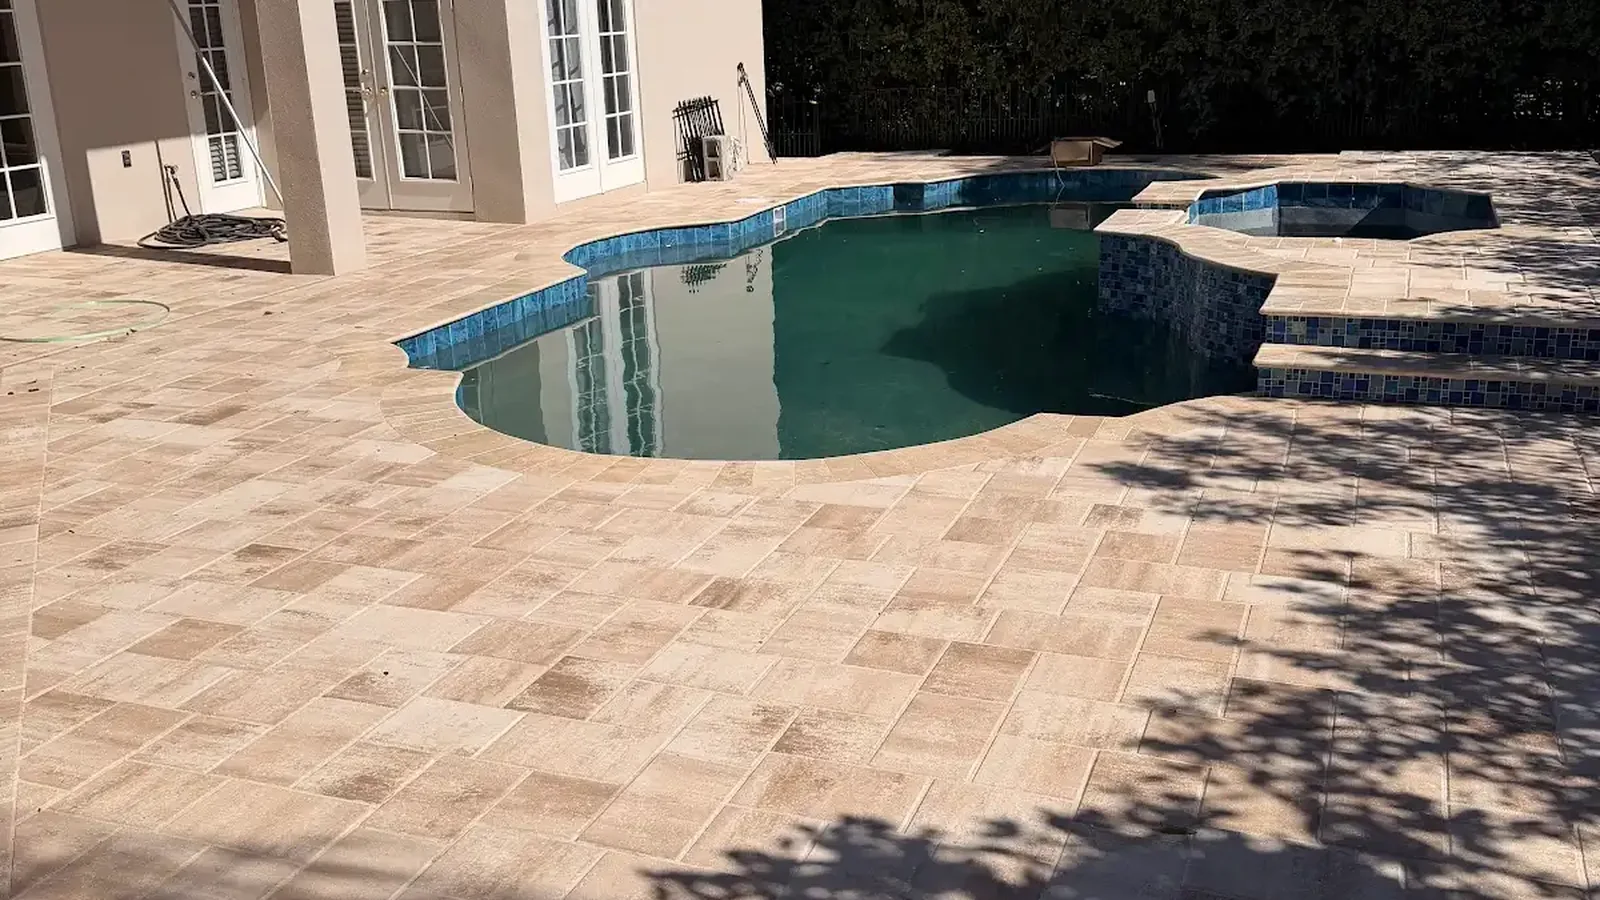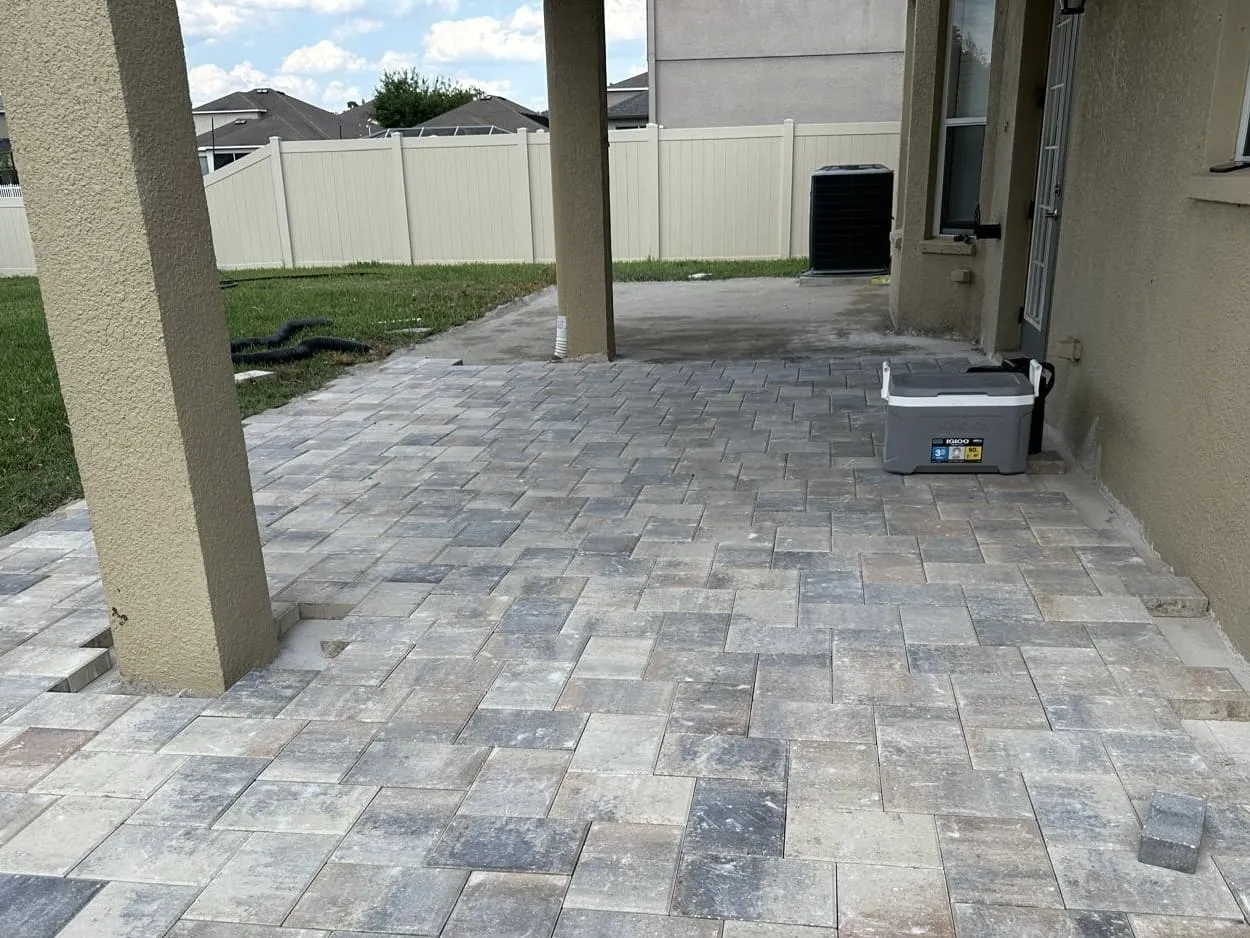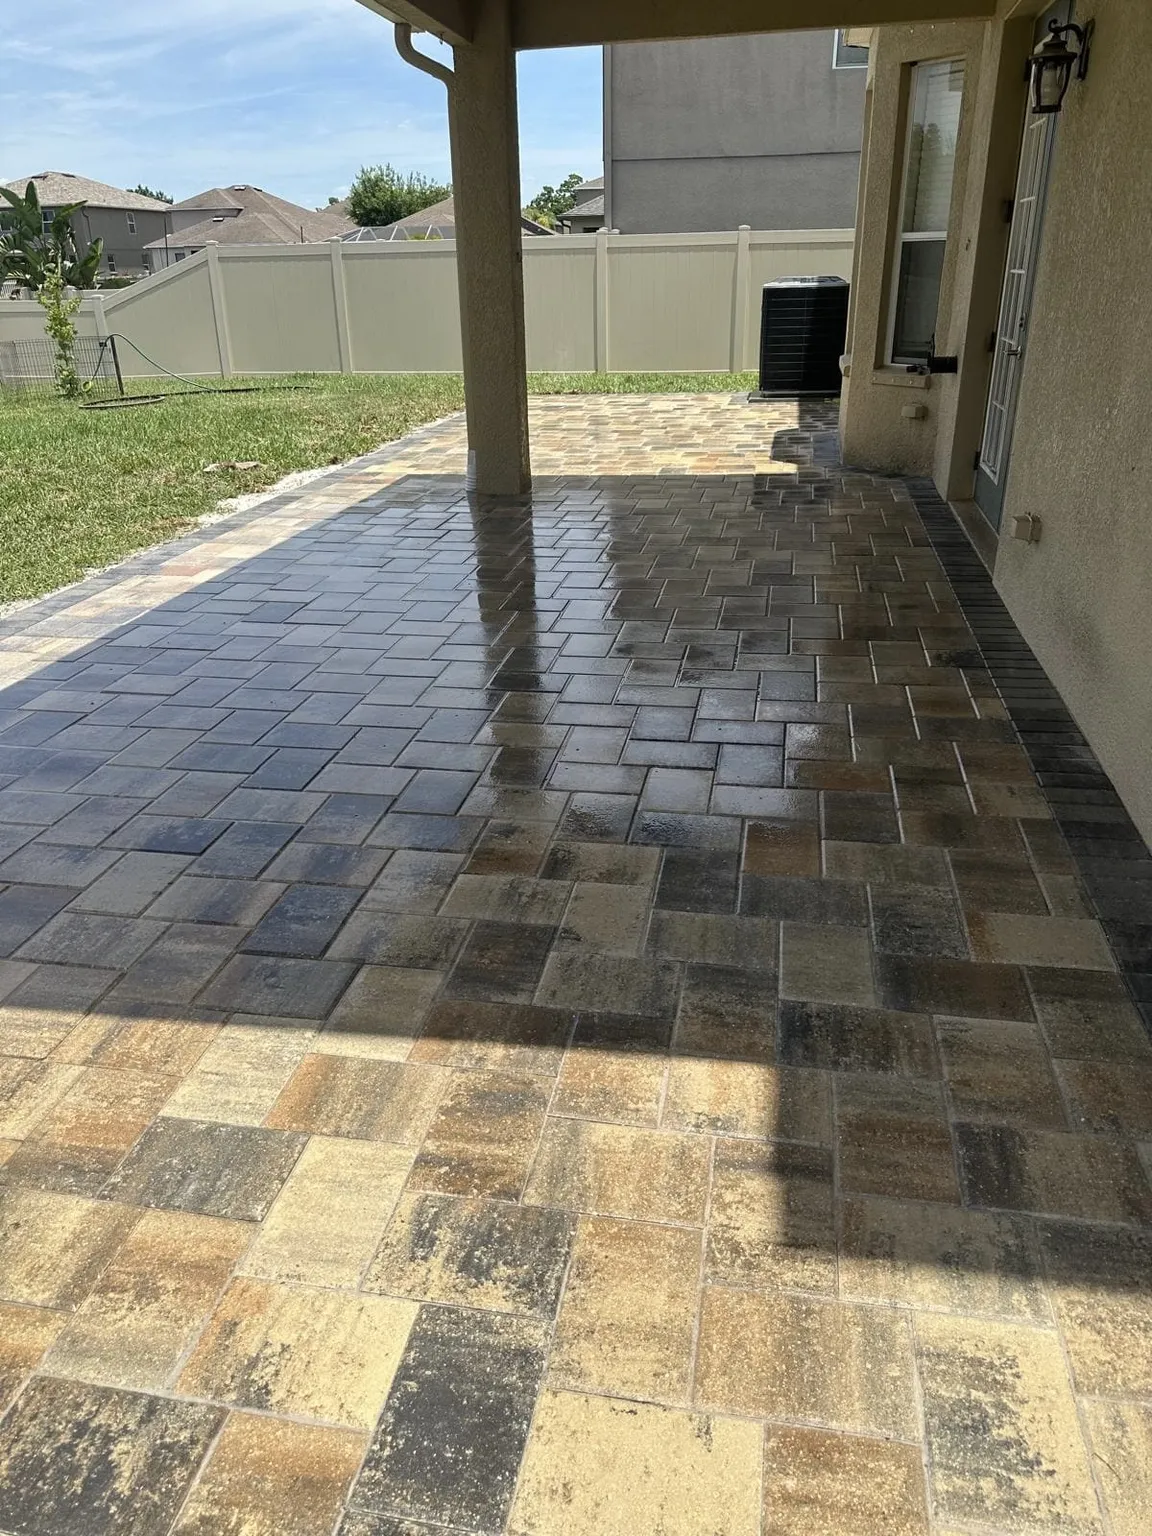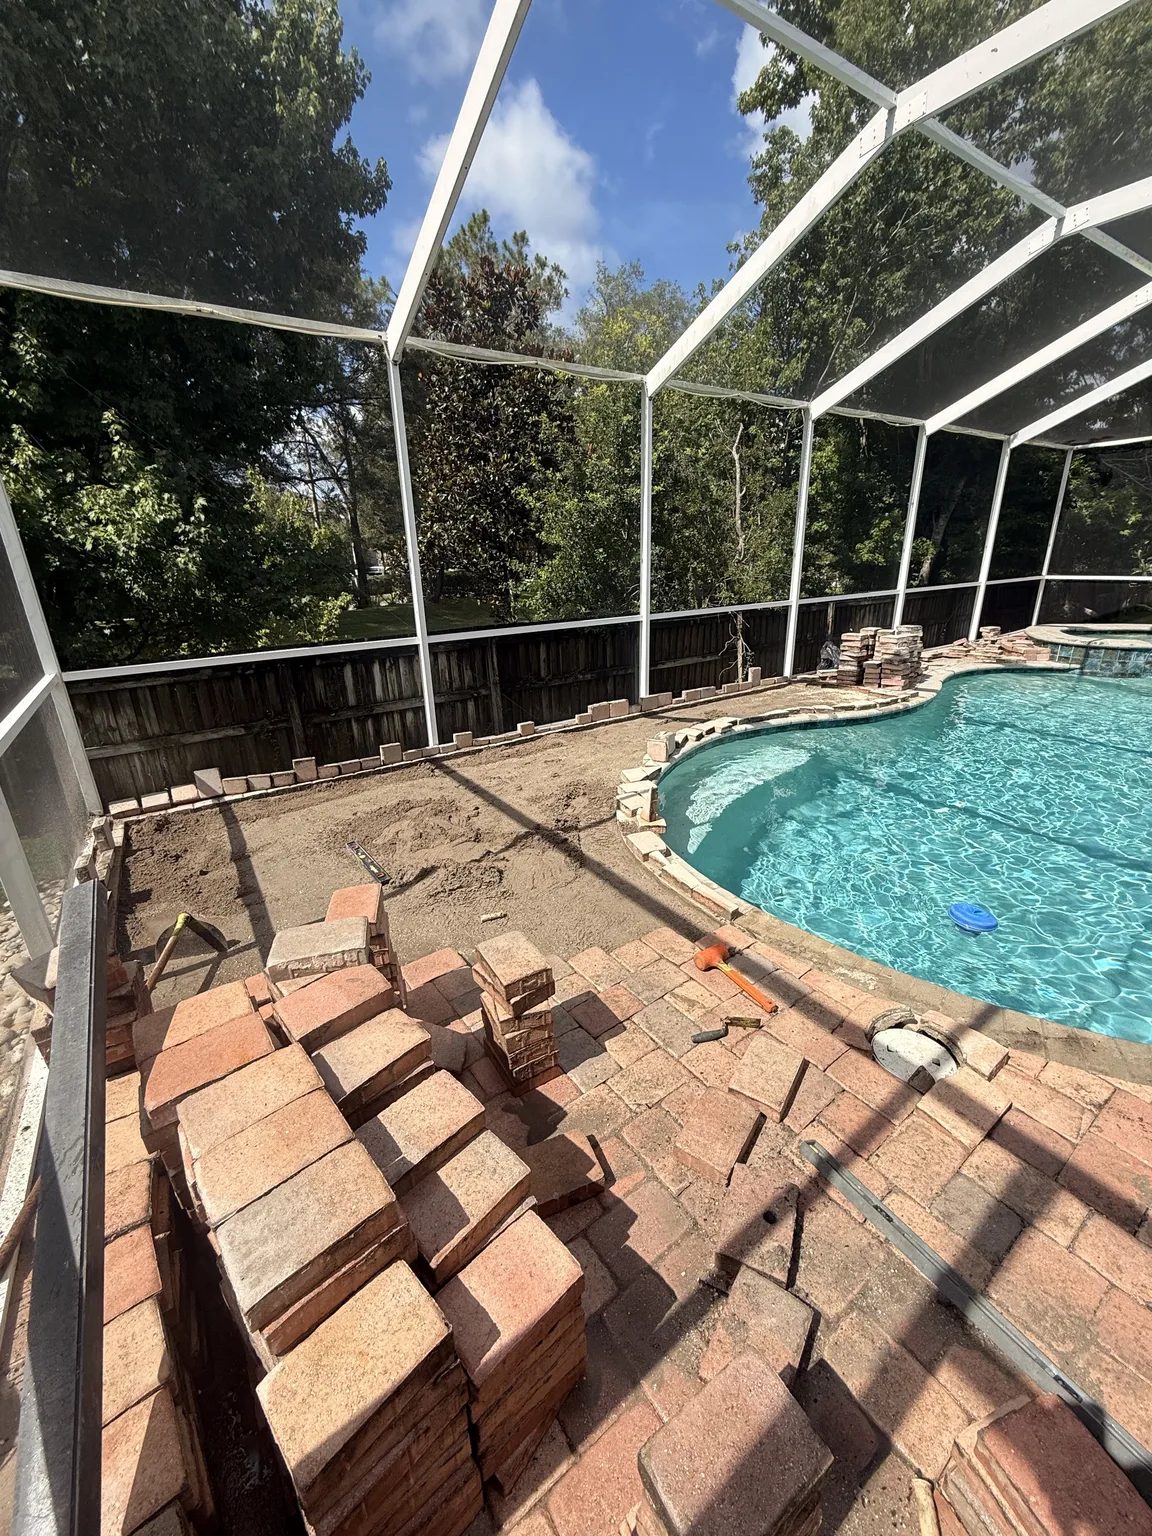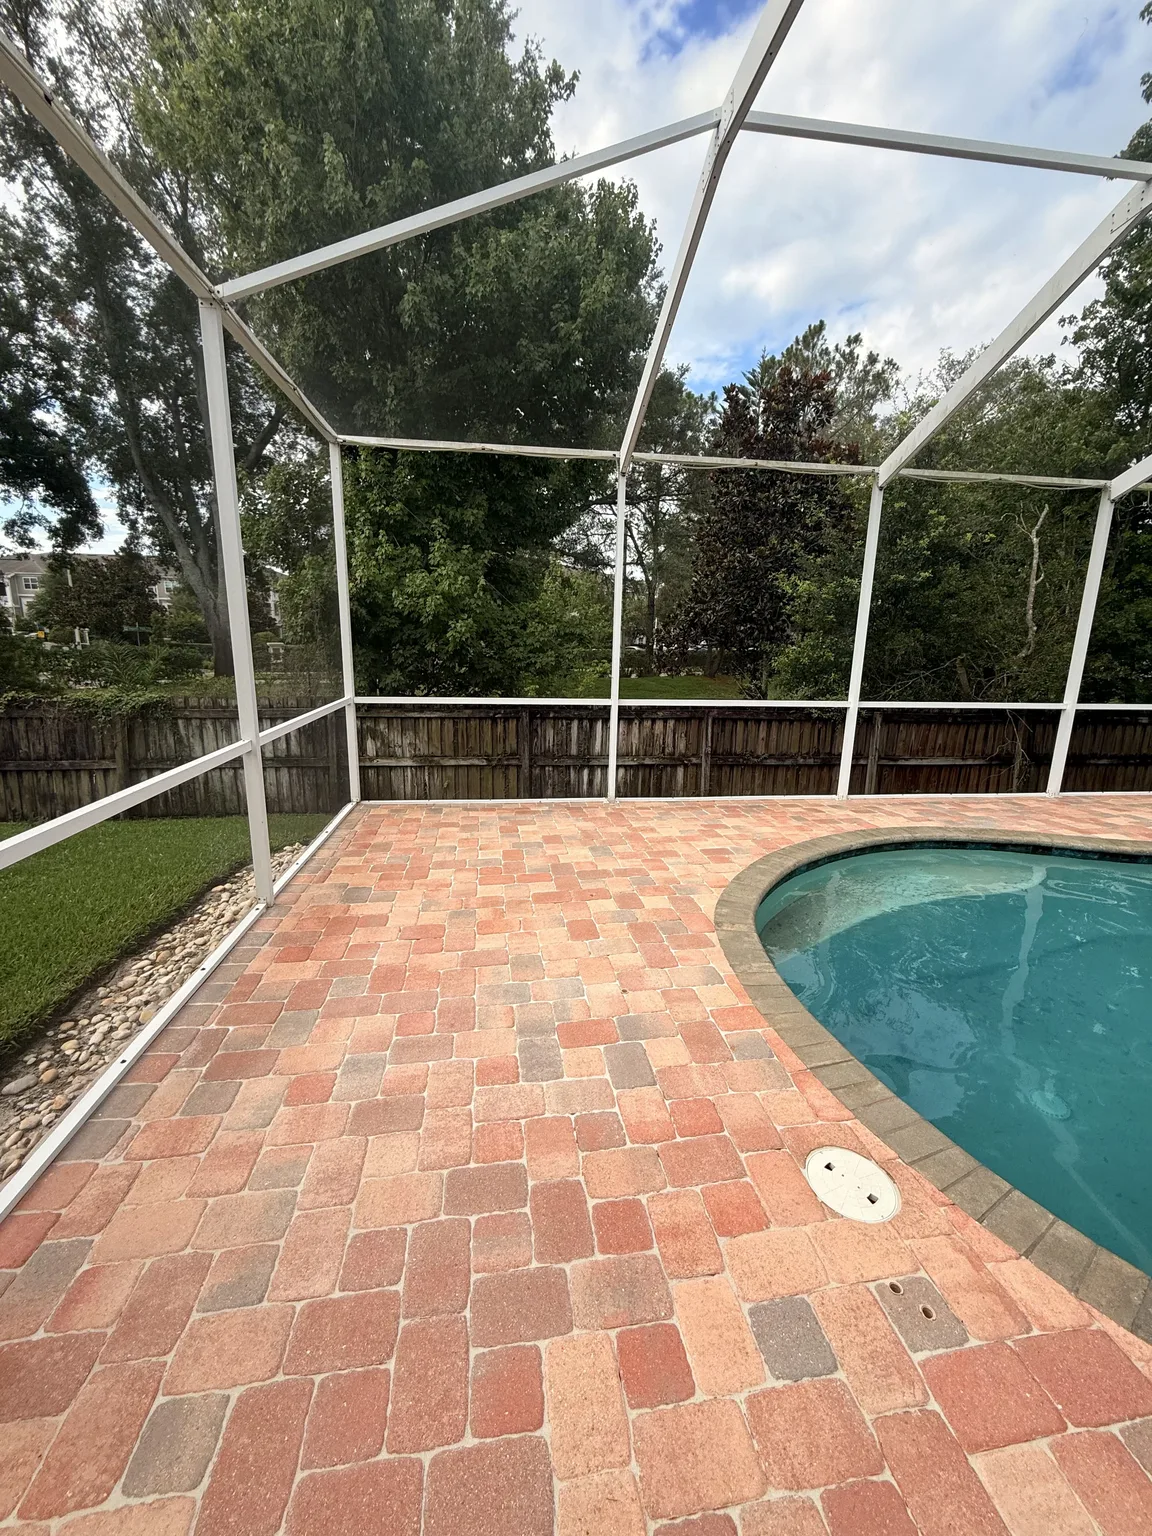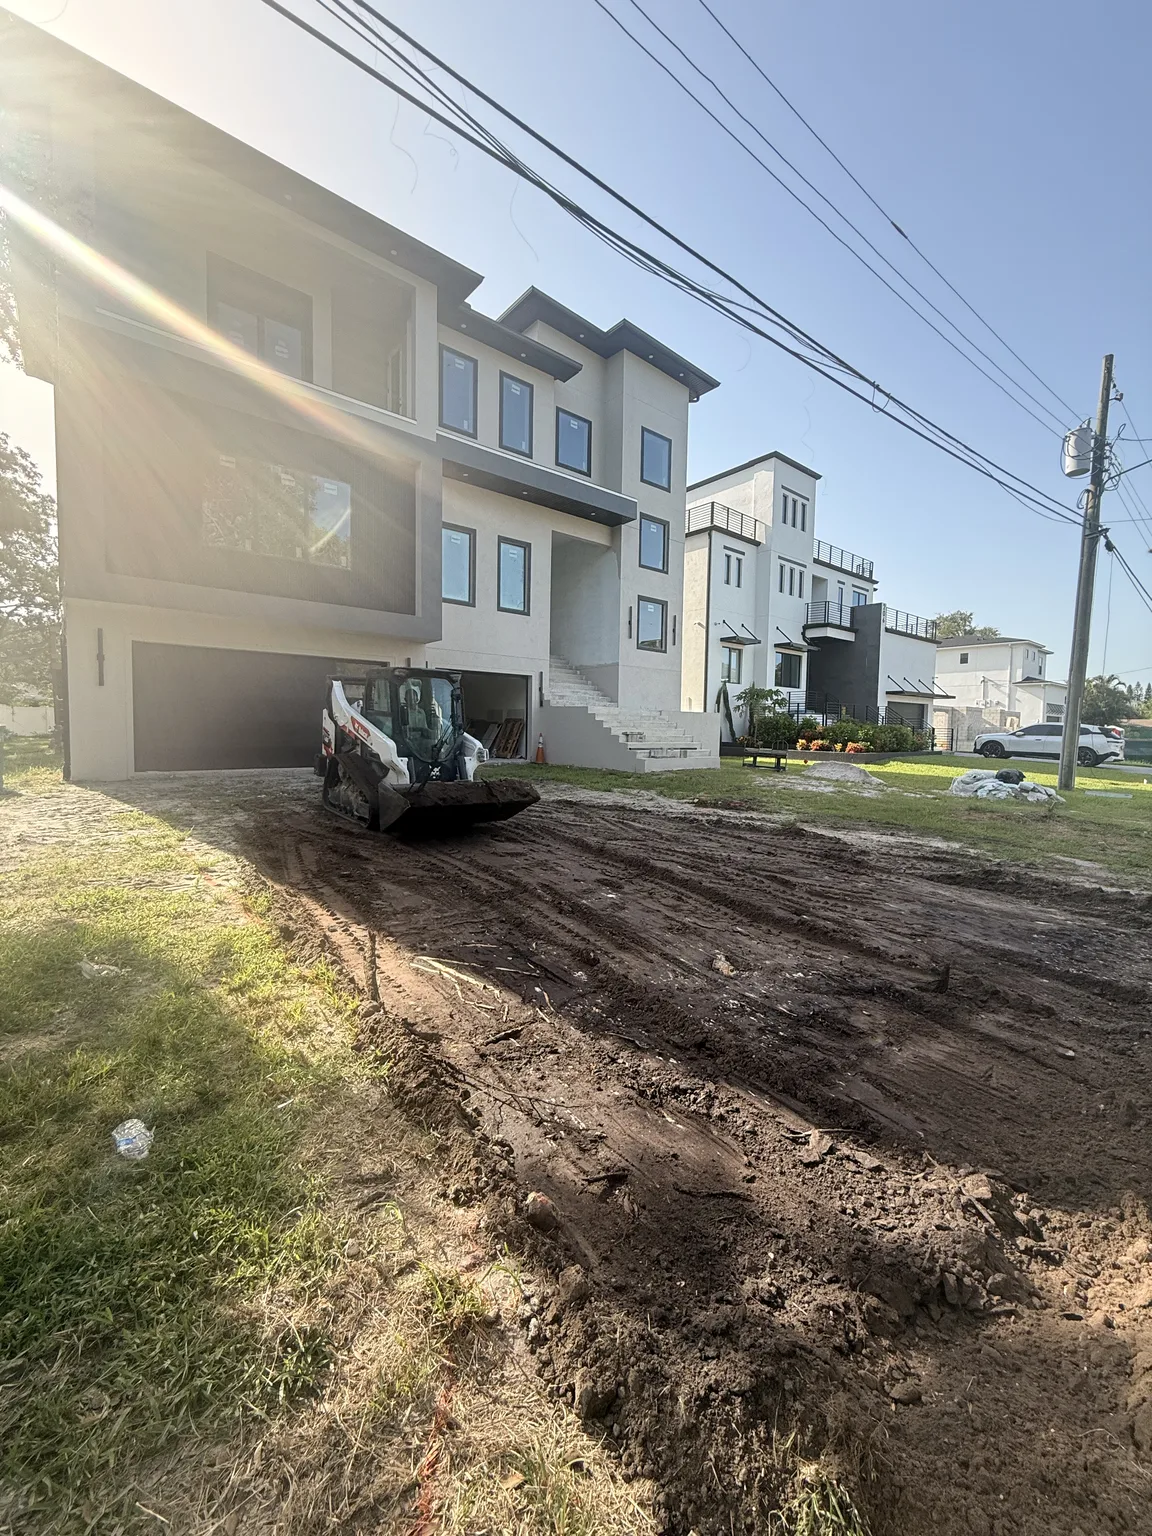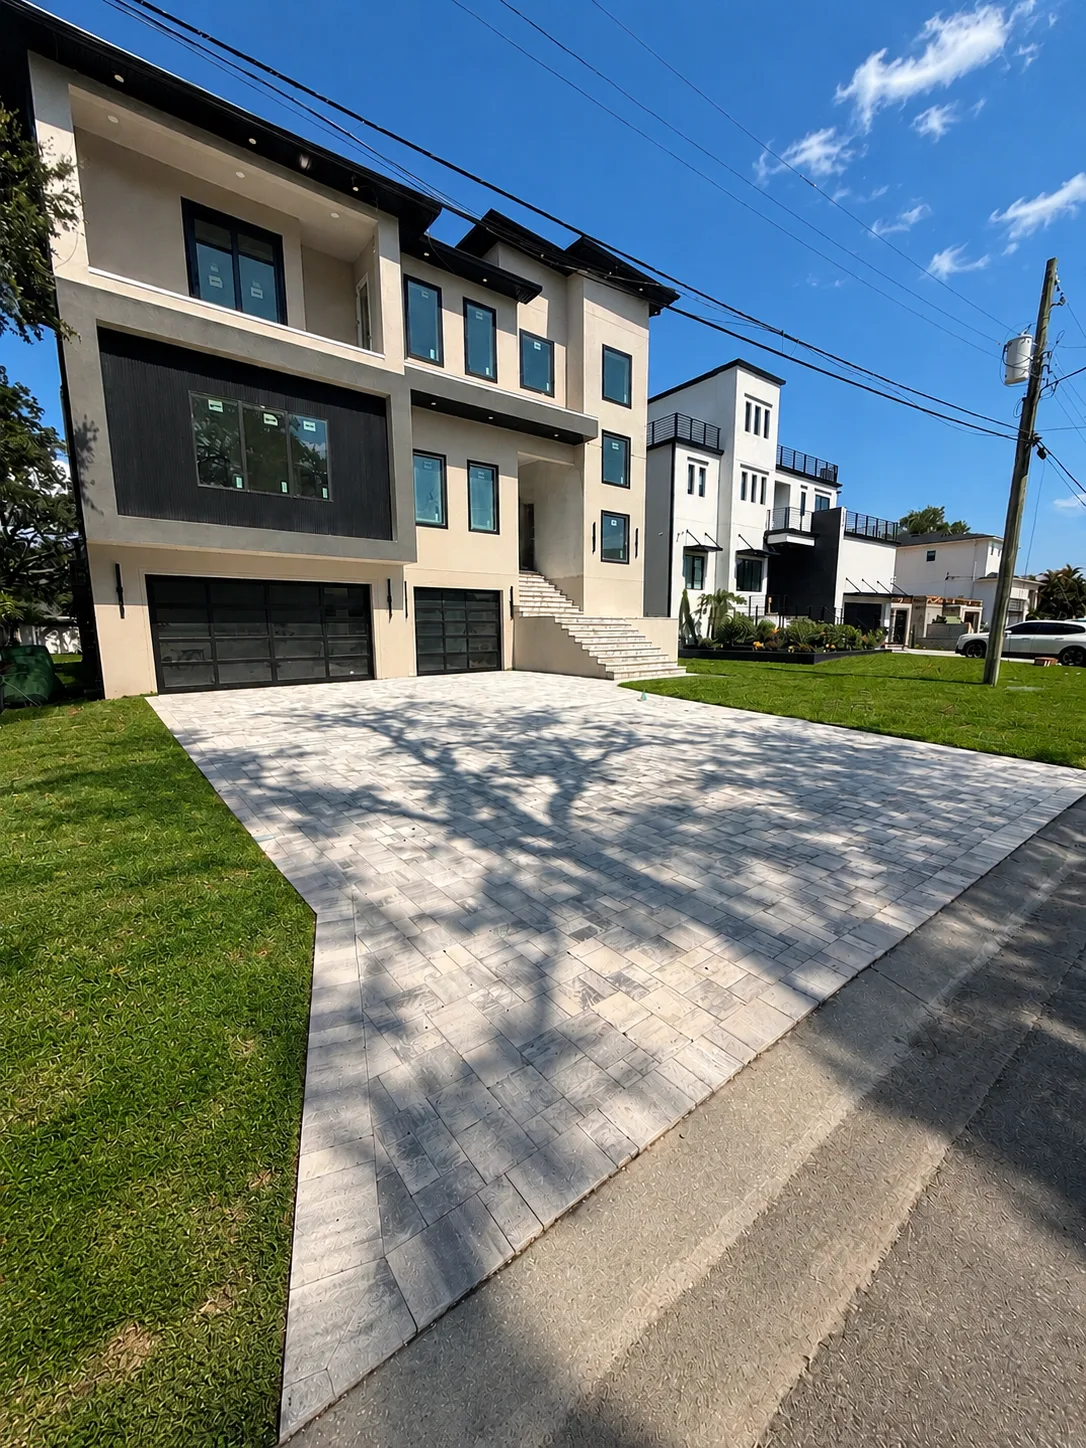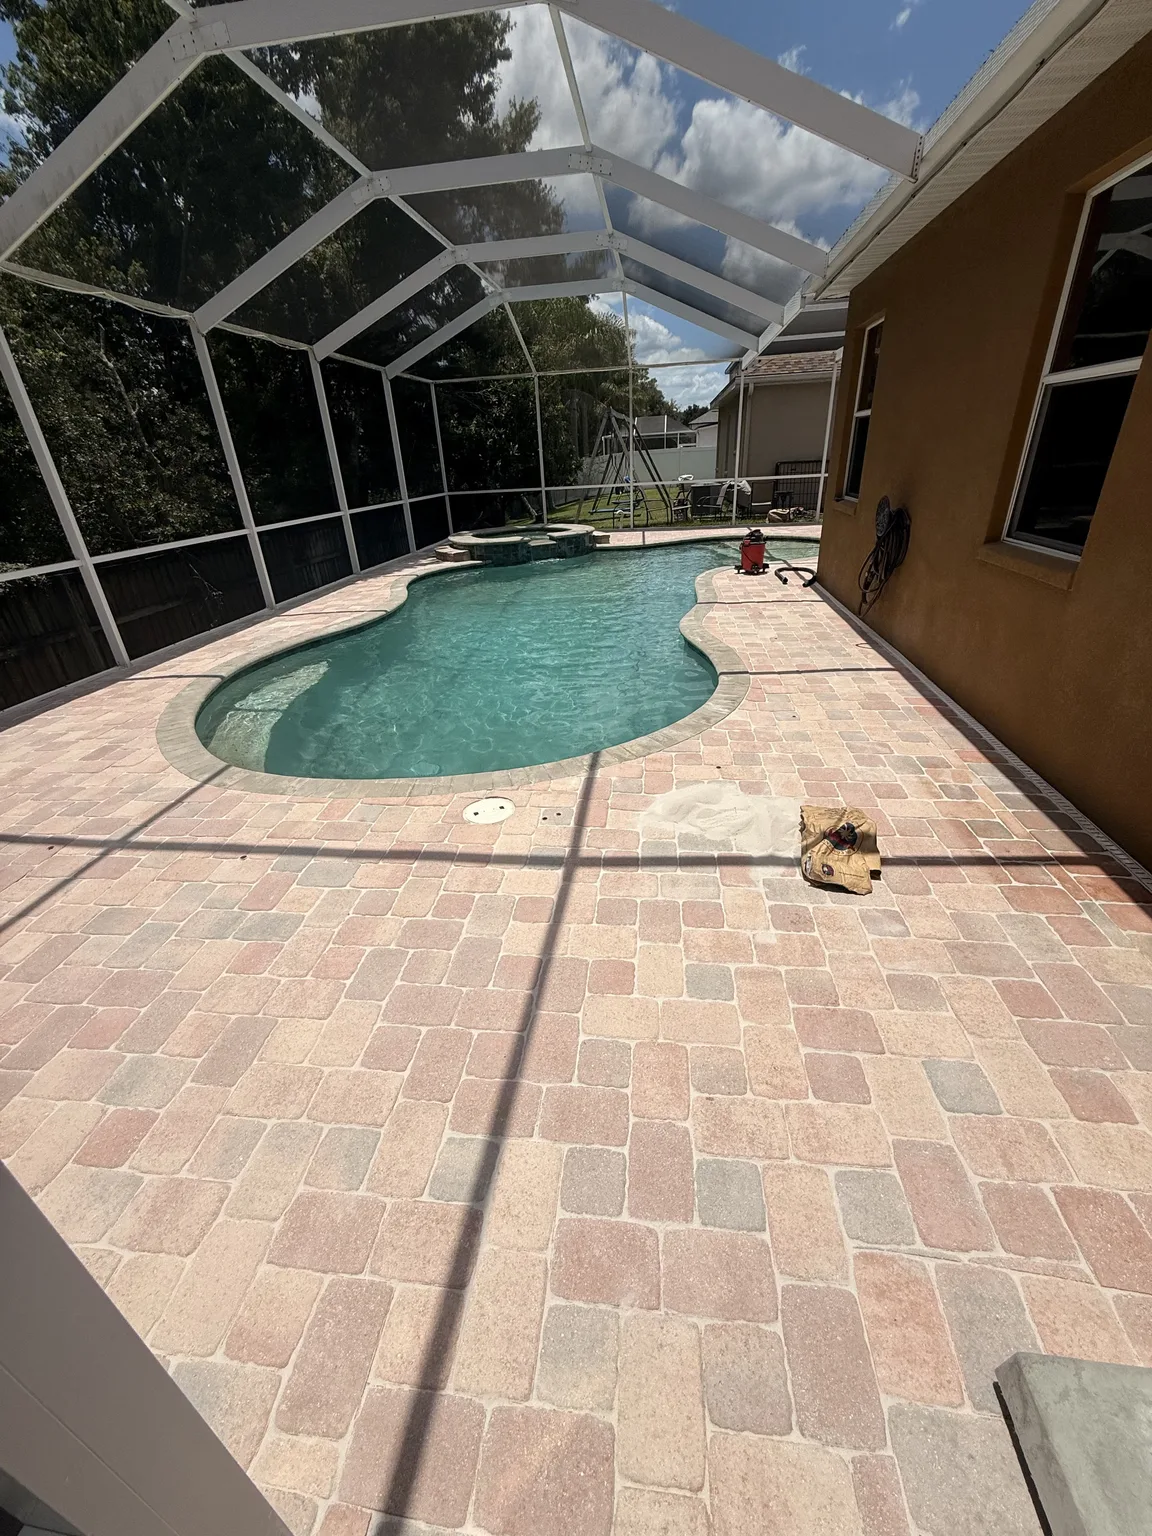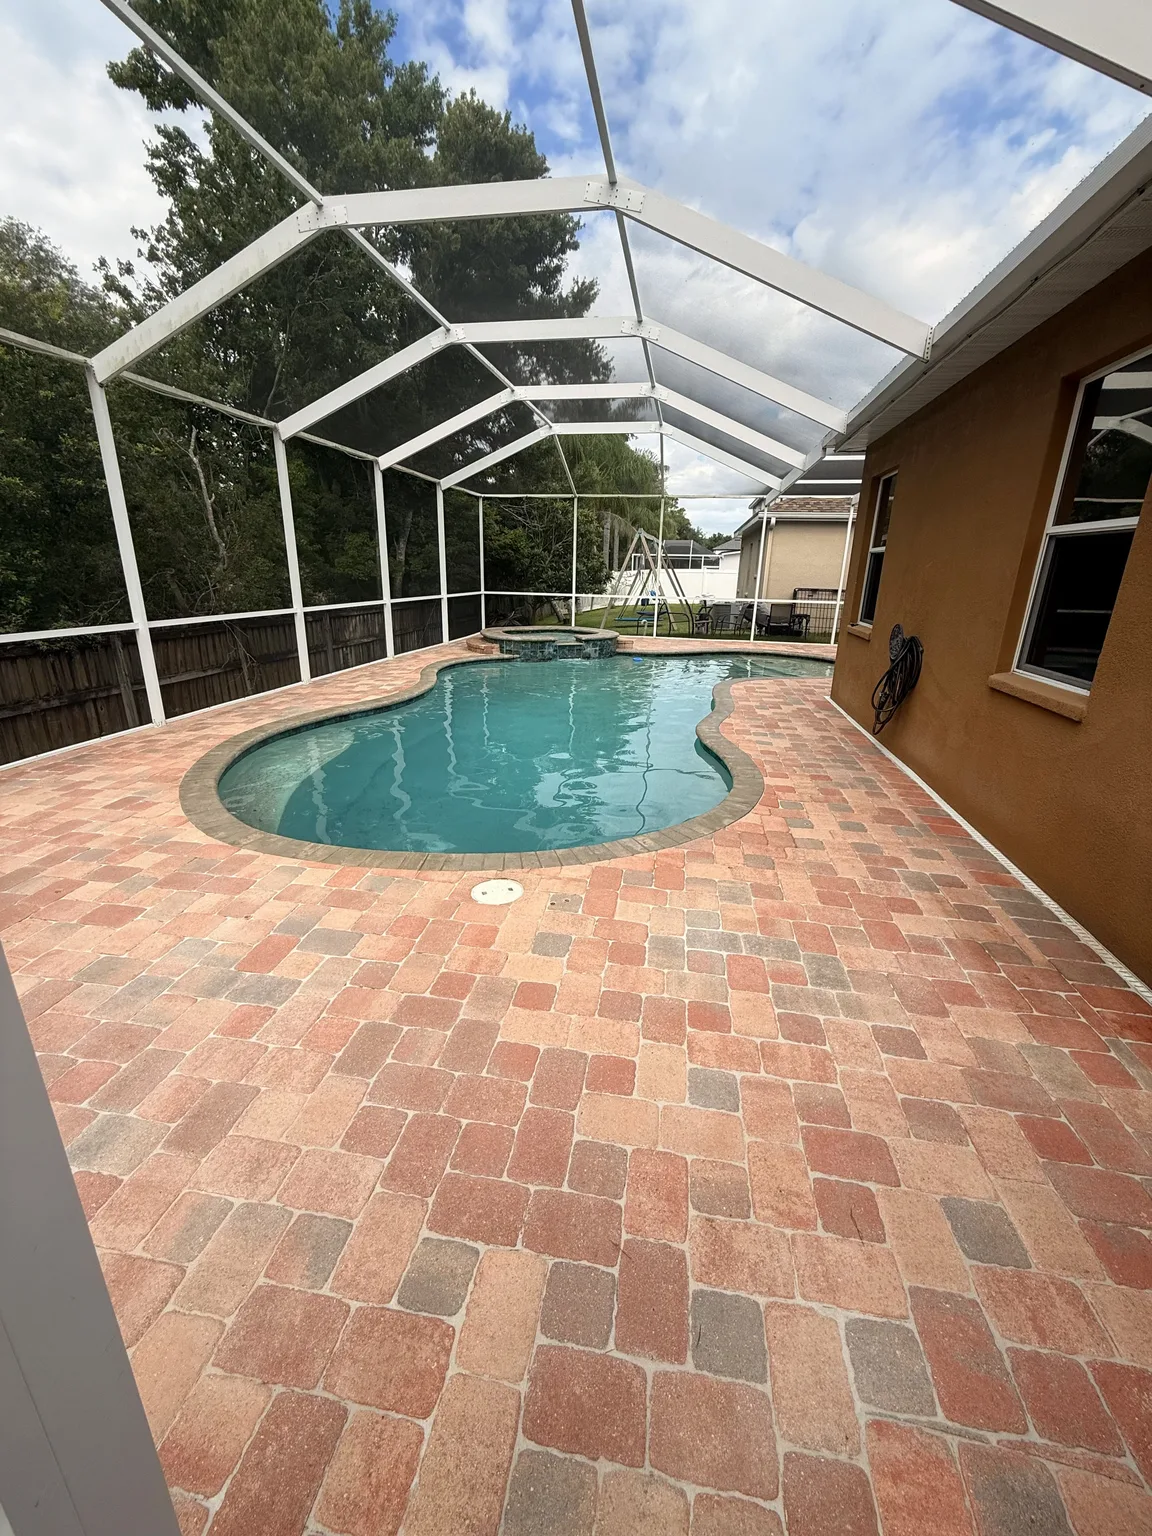
Pavers sinking in your driveway, pool deck, or patio can turn a beautiful hardscape into a tripping hazard and an eyesore. In Tampa Bay, the problem usually comes from what is under the pavers, not the pavers themselves. However, not every dip means you need a full replacement. When you separate isolated settlement from widespread base failure, you can often reuse your existing pavers and focus your budget where it matters most. This guide explains the main causes, how to diagnose them, and which repair options make sense for your home.
Why Are My Pavers Sinking? Quick Answer and Big Picture
Most pavers sinking issues come down to a weak or disturbed base, missing bedding sand, or water washing out support materials. Although the symptoms look similar on the surface, the underlying causes can be very different. Therefore, the first step is to decide if you are dealing with a small, isolated dip or a larger area that points to a base design problem.
When only a few bricks or a small section settles, the issue usually involves spot compaction, a utility trench, or localized erosion. In those cases, a targeted lift, base correction, and reset often restores the surface. However, when broad areas sink or wave, that often means the original base layer was too thin, poorly compacted, or built over unsuitable soil.
Edge restraint failures are another common reason for movement, because the pavers can spread sideways and lose support. Missing joint sand can also allow more water and debris into the system, which accelerates settlement over time. Because each factor interacts with the others, careful diagnosis before lifting any paver is vital.
In Tampa Bay communities like Riverview, Ruskin, and Palm Harbor, sandy soils and frequent storms add extra stress to driveways and pool decks. Even a well-built project can shift a little over many years. Therefore, the long-term goal is not perfection, but a stable surface that drains reasonably well, feels safe underfoot, and fits how you use the space.
How Interlocking Pavers Should Be Built in Tampa Bay
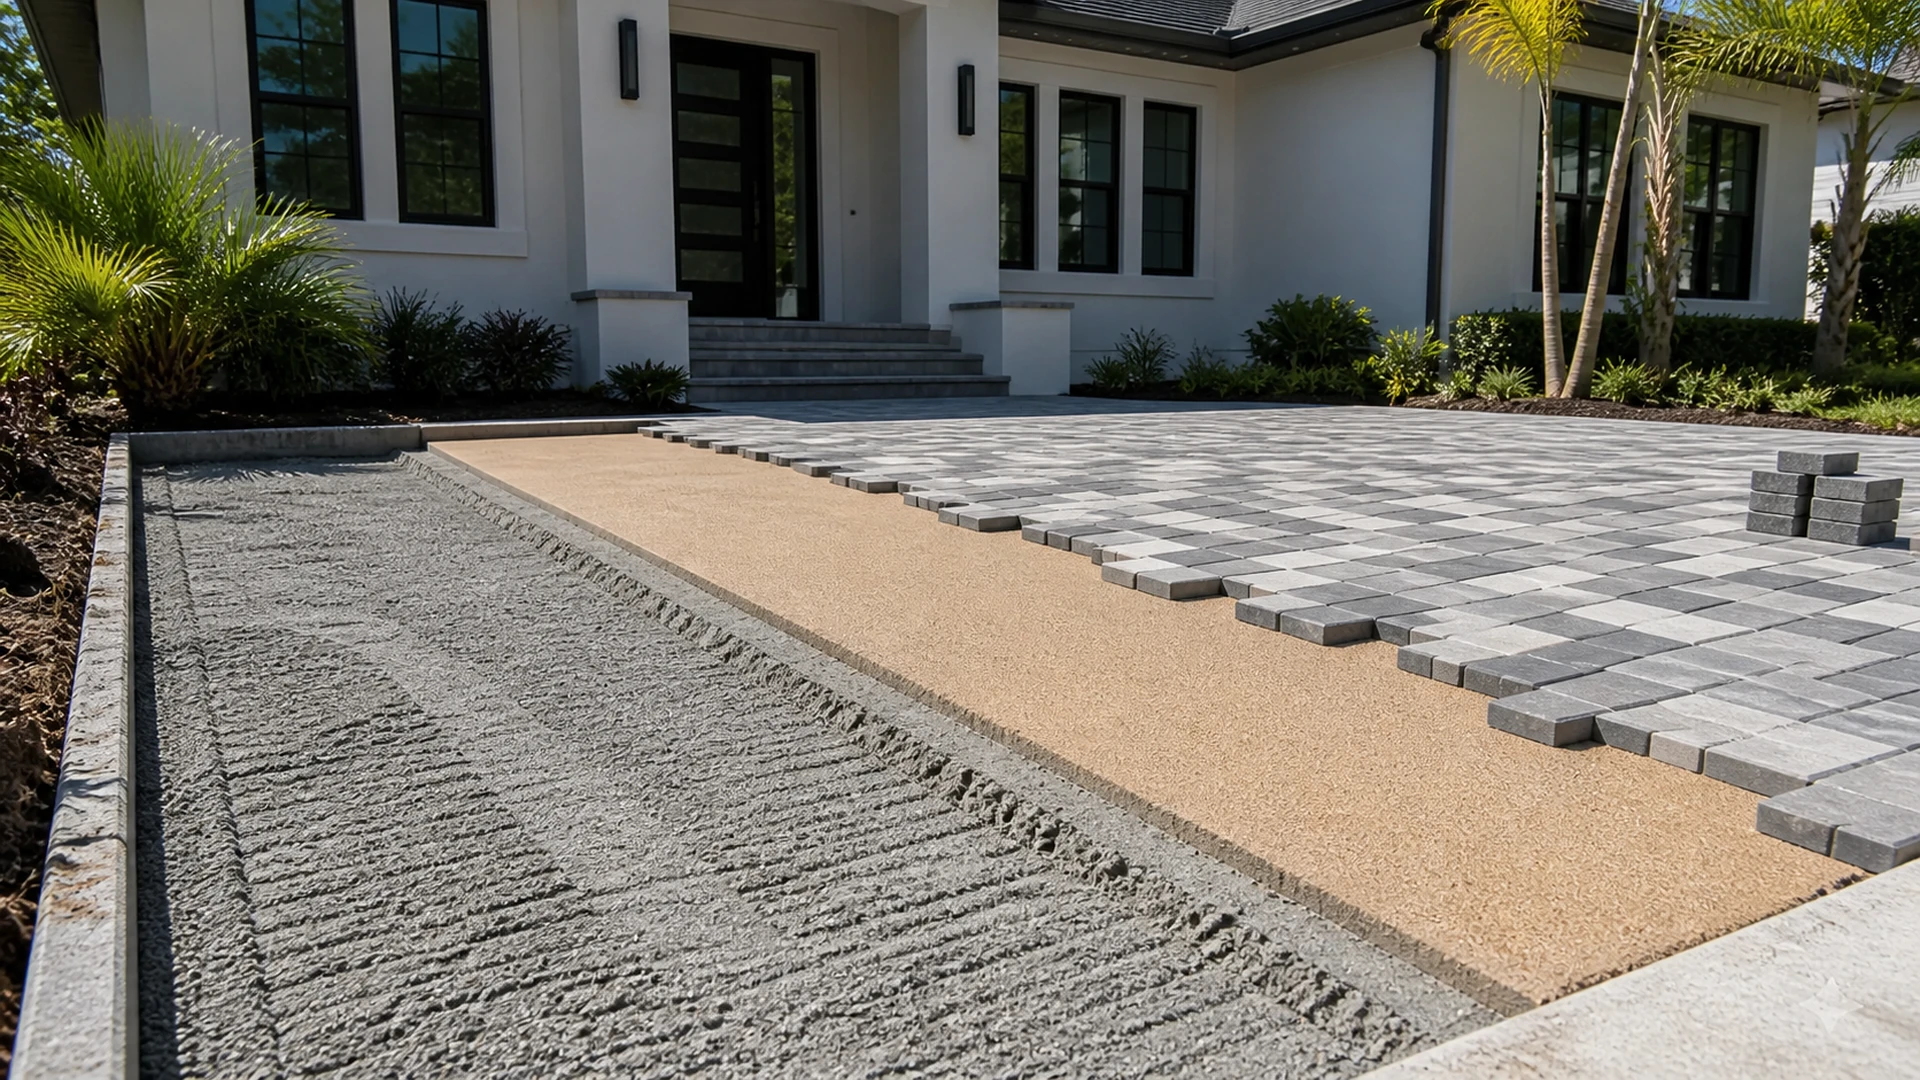
To understand pavers sinking, it helps to know how a typical interlocking system should look under the surface. First, the installer excavates to reach firm subgrade soil, then compacts that soil in layers. In our area, this often means working with native sand and fill, which need proper moisture and multiple passes with a compactor to stay dense.
Next, a base layer of compactable aggregate is placed and densified. For driveways and vehicle areas in Land O’ Lakes, Wesley Chapel, or Town ‘N’ Country, the base usually needs to be thicker than for a garden path. However, the exact depth, aggregate type, and compaction standard should be set by a qualified installer or designer who understands local soil and load conditions.
On top of the base sits a thin bedding sand layer that allows fine leveling. The pavers rest on this bedding, then get vibrated into place so they interlock. Finally, joint sand fills the gaps between pavers, and edge restraints hold everything together. When every layer is well built, the system can flex slightly with temperature and minor soil movement without noticeable settlement.
CMHA operation and maintenance guidance emphasizes understanding base conditions, bedding and joint sand, and edge restraints before lifting and resetting any units. You can read more from CMHA at this technical resource. While that information is written for contractors, it also helps homeowners appreciate why a quick cosmetic fix rarely works if the underlying structure is weak.
Common Causes of Isolated Settlement vs Broad Base Failure
Not all pavers sinking problems are equal, so it helps to separate isolated dips from widespread failure. When just a small area settles, it often points to one specific trigger. For example, a former tree root pocket, a patched utility trench, or a small spot that never compacted well can sink while the rest of the patio stays level.
Broad settlement, where an entire driveway bay or large pool deck section waves or sinks, usually points to base design limits. In those cases, the base may be too thin, may have been compacted in lifts that were too thick, or may sit on soft organic soil. Over time, traffic and moisture accent those weaknesses, and the whole area drops together.
Water movement is often a contributing factor, but rarely the only cause. Poor surface slope can let water sit against the pavers and bedding sand, which makes it easier for fine particles to migrate. Likewise, downspouts that discharge near the edge of a driveway in Greater Carrollwood or Thonotosassa can slowly soften a base on one side more than the other.
Load patterns matter as well. A narrow RV parking strip, repeated delivery truck traffic, or a heavy planter at the edge of a lanai can overstress a marginal base. When you combine higher loads with sandier soils and occasional erosion, you often see corner or tire-path settlement well before the rest of the field shows issues.
How to Inspect Sinking Pavers and Diagnose the Problem
Before anyone starts lifting bricks, a simple inspection can point you toward the most likely cause. First, stand back and look at the whole surface from several angles in good light. If the dips follow tire tracks, edges, or a long strip, that hints toward broader base or load issues. If the sunken spots look like isolated puddles, you may be dealing with localized settlement.
Next, check the edges carefully, because failed restraints often go hand in hand with pavers sinking. Look for edging that has tilted, broken, or pulled away from the field. Also note if the border course has spread outward, leaving gaps between those pavers and the main pattern. When edges move, the pavers lose lateral support and can drop or rotate.
Then, rake joint sand in a few areas, including stable and sunken sections. If the joints are deeply empty or packed with fine dirt, water can move in and out more freely. While you should not pry up pavers yourself without a plan, this simple check tells you a lot about overall maintenance and exposure.
- Note where water sits after rain and how long it remains.
- Watch for nearby downspouts, pool overflows, or low turf areas.
- Look for cracks or depressions in adjacent concrete, curbs, or slabs.
- Check for large trees or visible roots near the sunken area.
Finally, consider safety and complexity. If the surface includes a pool deck, a steep driveway, or steps, or if you suspect major soil movement, it is wise to involve a qualified contractor early. A professional can take your observations, compare them with CMHA-style best practices, and then decide if a localized repair makes sense or if a larger rebuild should be discussed.
Repair Options: Lifting, Rebuilding the Base, and Reusing Pavers
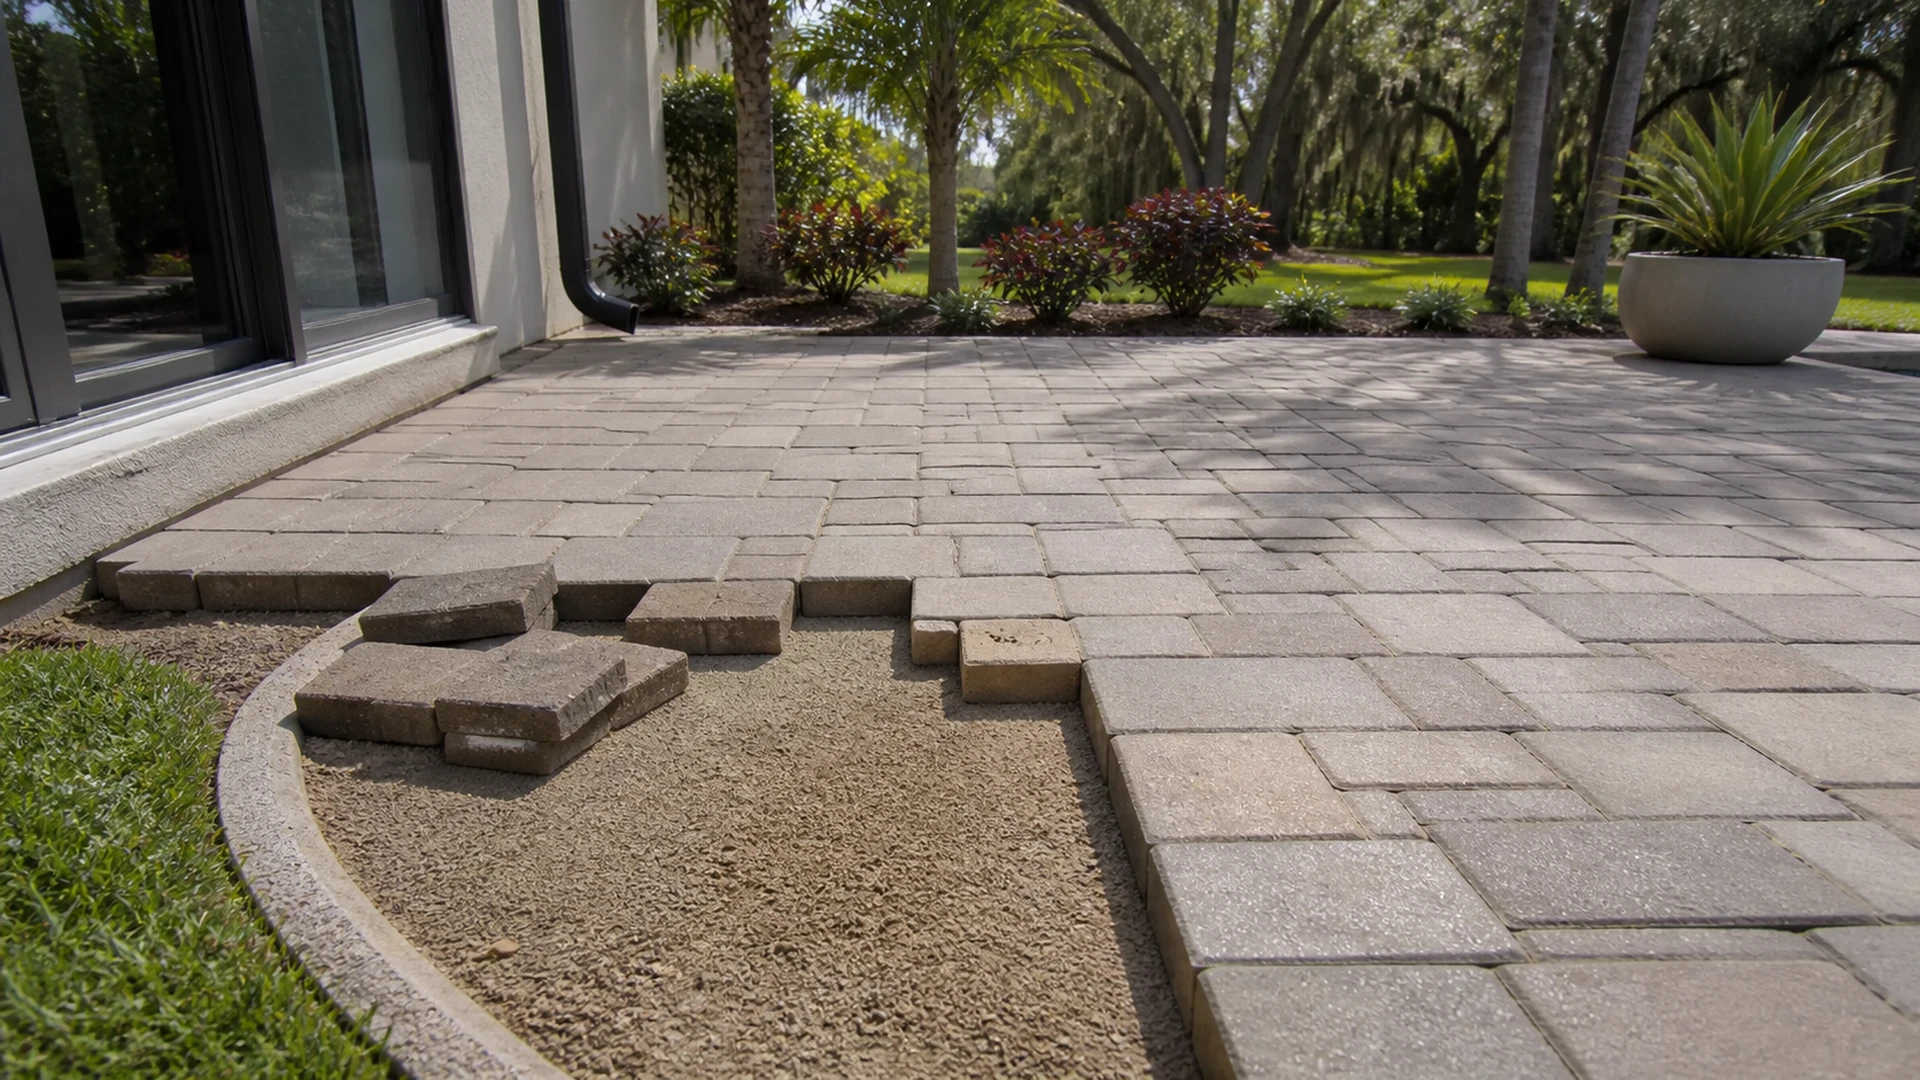
Once you understand why your surface is settling, you can match the repair approach to the problem. For isolated dips with a sound surrounding base, a focused lift-and-reset is often enough. In this method, the contractor carefully removes the affected pavers, checks the bedding and base, corrects compaction and elevation, then reinstalls the original units.
For broader settlement or heavily disturbed base layers, a deeper rebuild in that zone may be more effective. That can mean excavating several inches of base, re-compacting the subgrade, and installing a thicker or better-graded aggregate base before resetting pavers. In some older installations around Tampa Bay, this is also an opportunity to update border details or add proper edge restraints.
There are also situations where removal, salvage, and partial replacement of pavers become practical. If many units are cracked, stained, or worn, you may decide to combine repair with a design refresh. However, if the pattern or color is discontinued, saving as many intact units as possible helps with blending any new material.
| Condition | Typical Repair Approach | Main Tradeoff |
|---|---|---|
| Small, isolated dip | Lift area, correct bedding/base, reset existing pavers | Lower cost, but may not fix hidden widespread base issues |
| Large section sinking | Remove section, rebuild base, reinstall pavers | More disruptive, but better long-term stability |
| Worn or mismatched pavers | Mix repair with pattern or color update | Improved look, but requires design coordination |
Costs depend on access, size, pattern complexity, and how deep the base must be rebuilt, so a site visit is necessary for accurate pricing. If you are comparing bids, ask contractors whether they plan to reuse existing pavers, how they will handle compacting the base, and what they see as the main risk factors on your specific site. You can learn more about professional repair approaches on our paver repair Tampa Bay service page.
Florida-Specific Factors: Sand, Water, Roots, and Heavy Loads
Tampa Bay homeowners face a few extra challenges that can speed up pavers sinking if the base is marginal. Our sandy soils drain quickly but can shift when they dry out and re-wet. During heavy storms, water can move fine particles out from under bases, especially near edges and low spots. Over time, this repeated movement can create small voids that lead to settlement.
Tree roots are another common concern in neighborhoods like Seven Springs, Town ‘N’ Country, and Palm Harbor. Large roots can lift pavers, while decaying old roots can leave pockets where the base drops. Any work near mature trees should consider root health, so involving an arborist may be appropriate before major excavation.
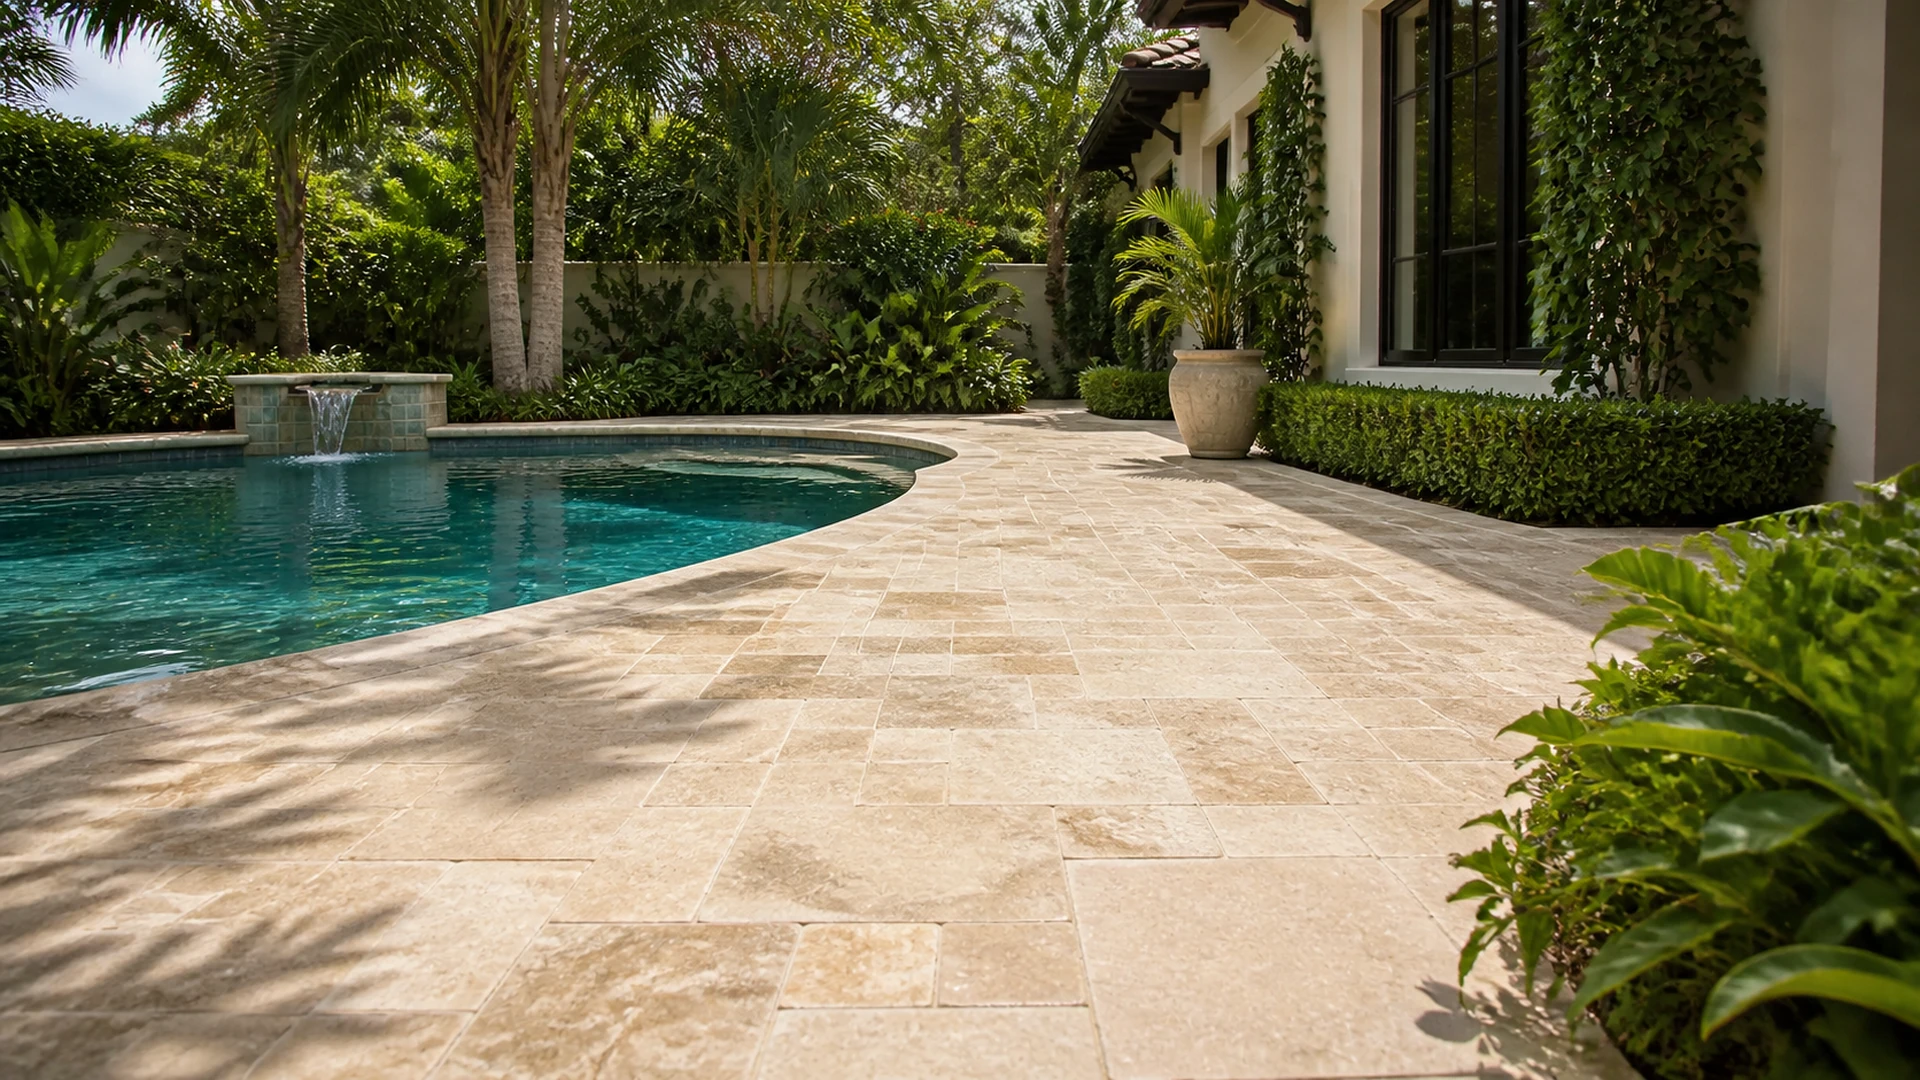
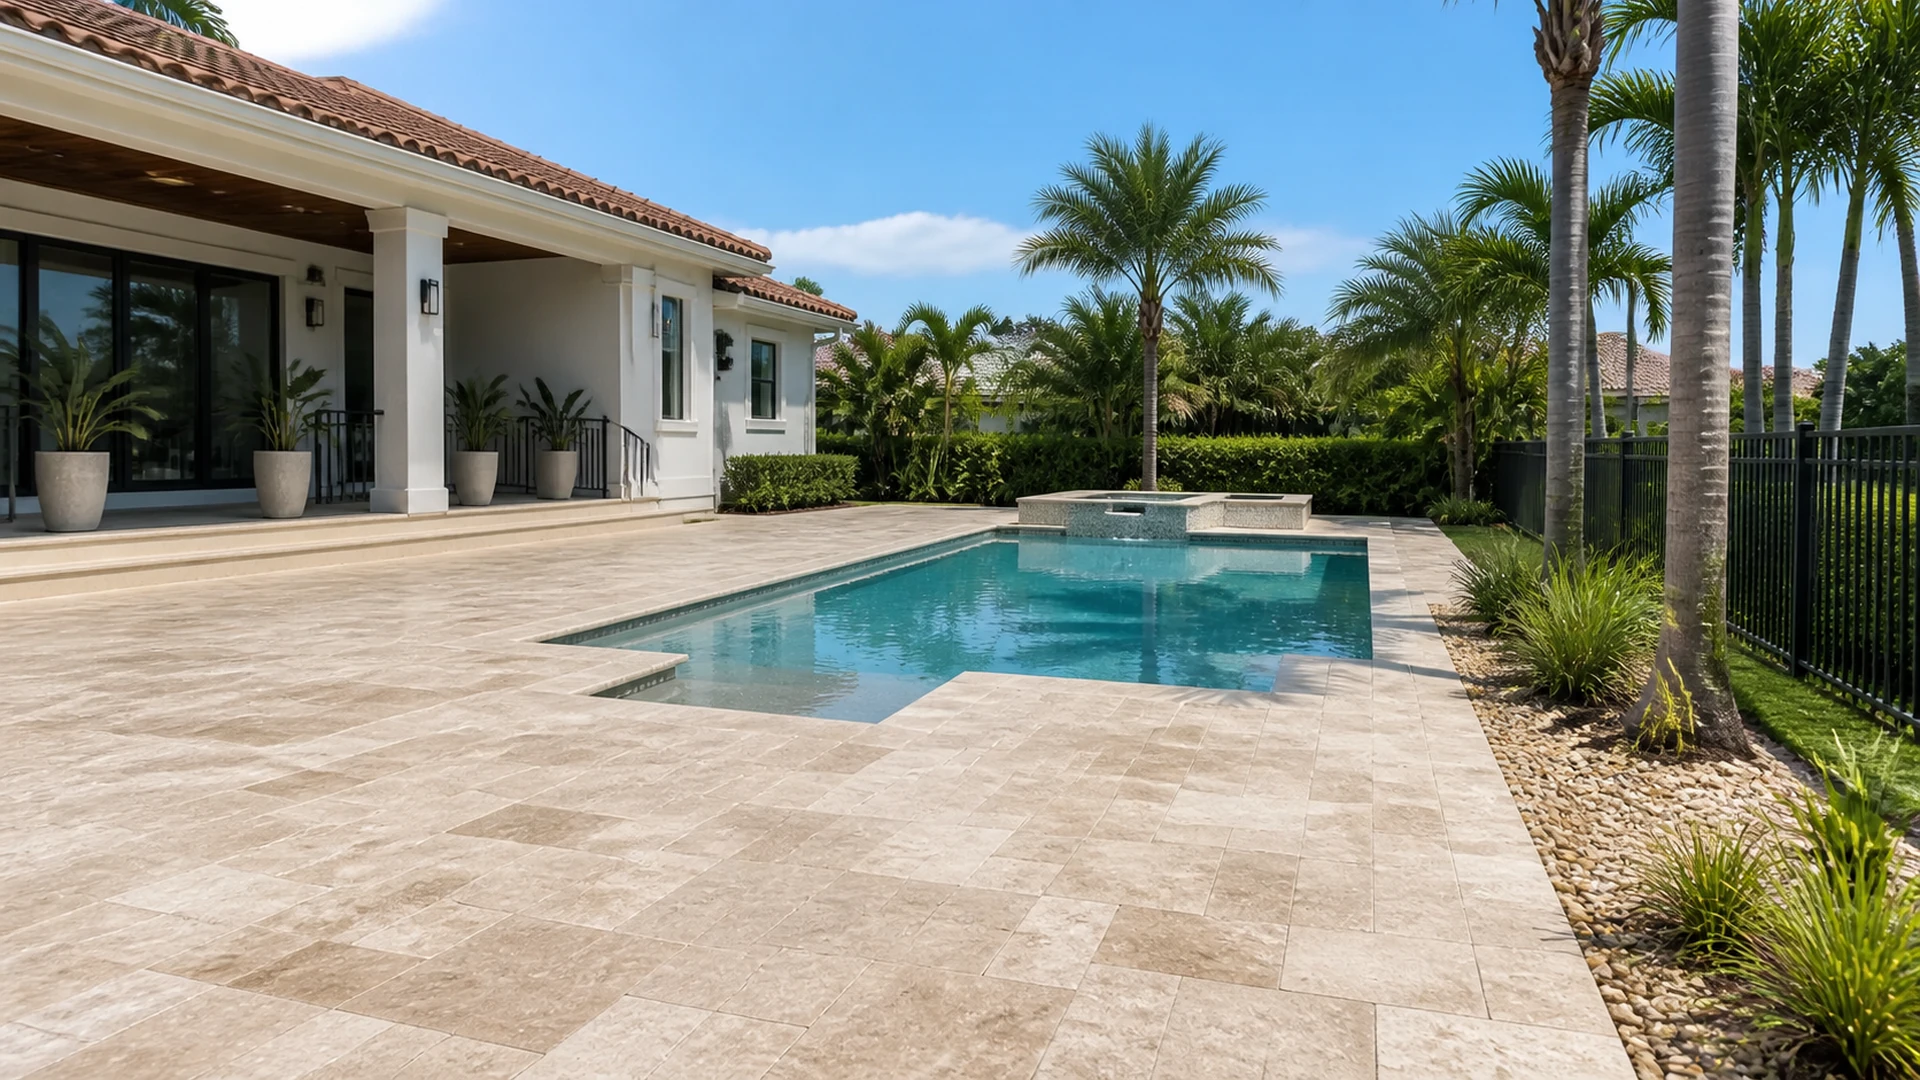
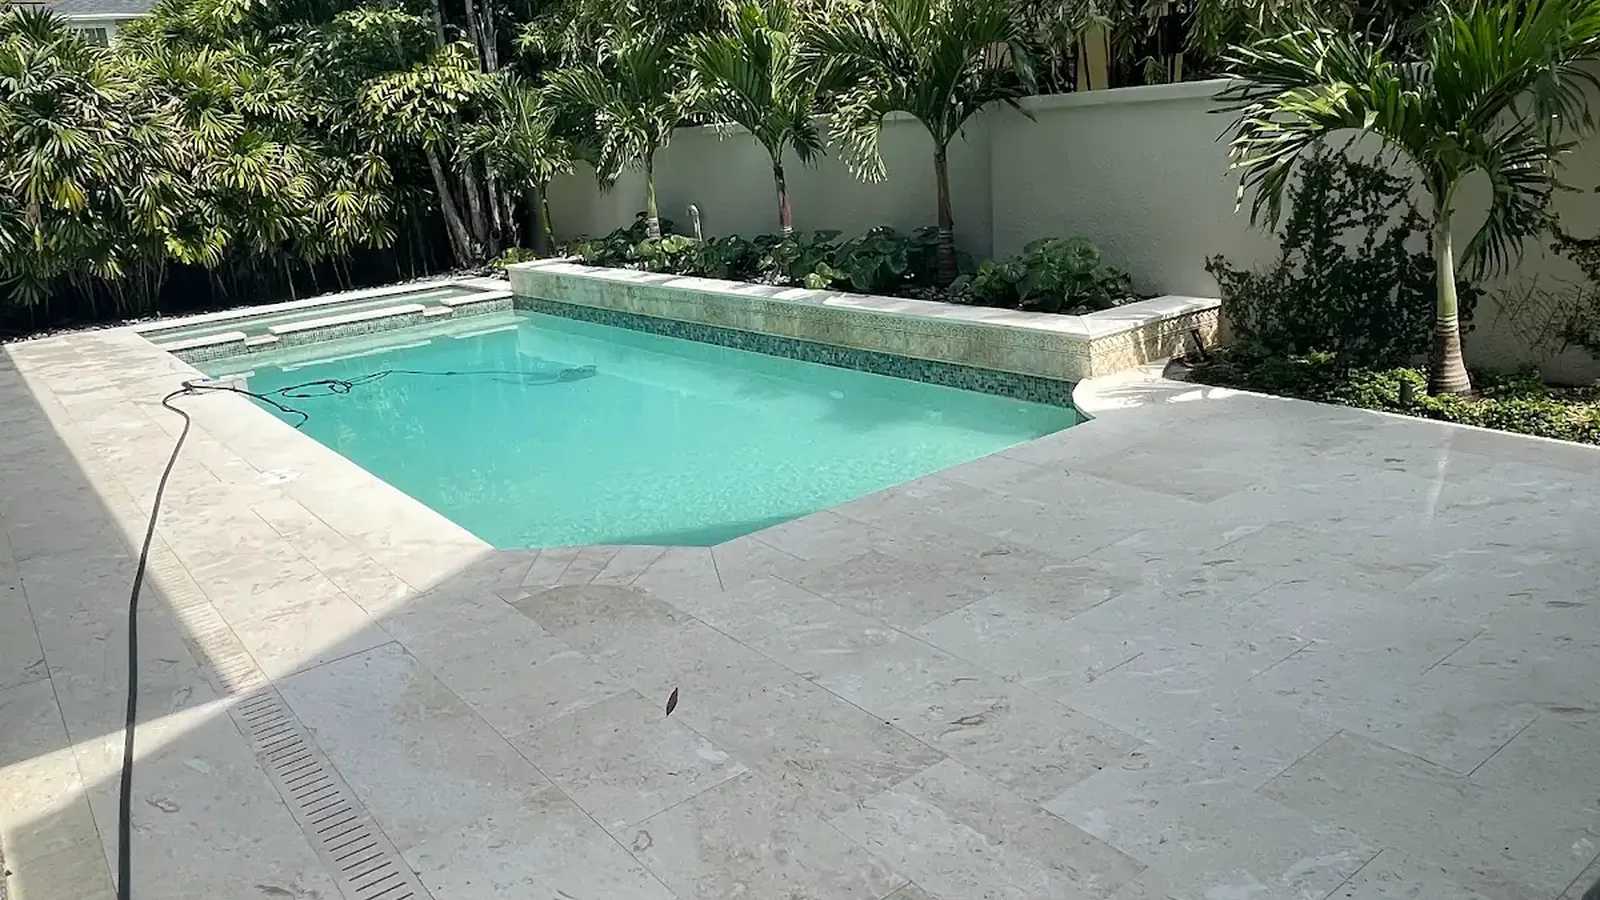
Pool decks and lanais also see unique moisture patterns from splashing, wash-downs, and sometimes saltwater. Although pavers handle wet conditions well, repeated saturation of the bedding and base can still weaken poorly compacted areas. Therefore, paying attention to slopes away from the pool and transitions to screen enclosures, drains, or turf is important during repair.
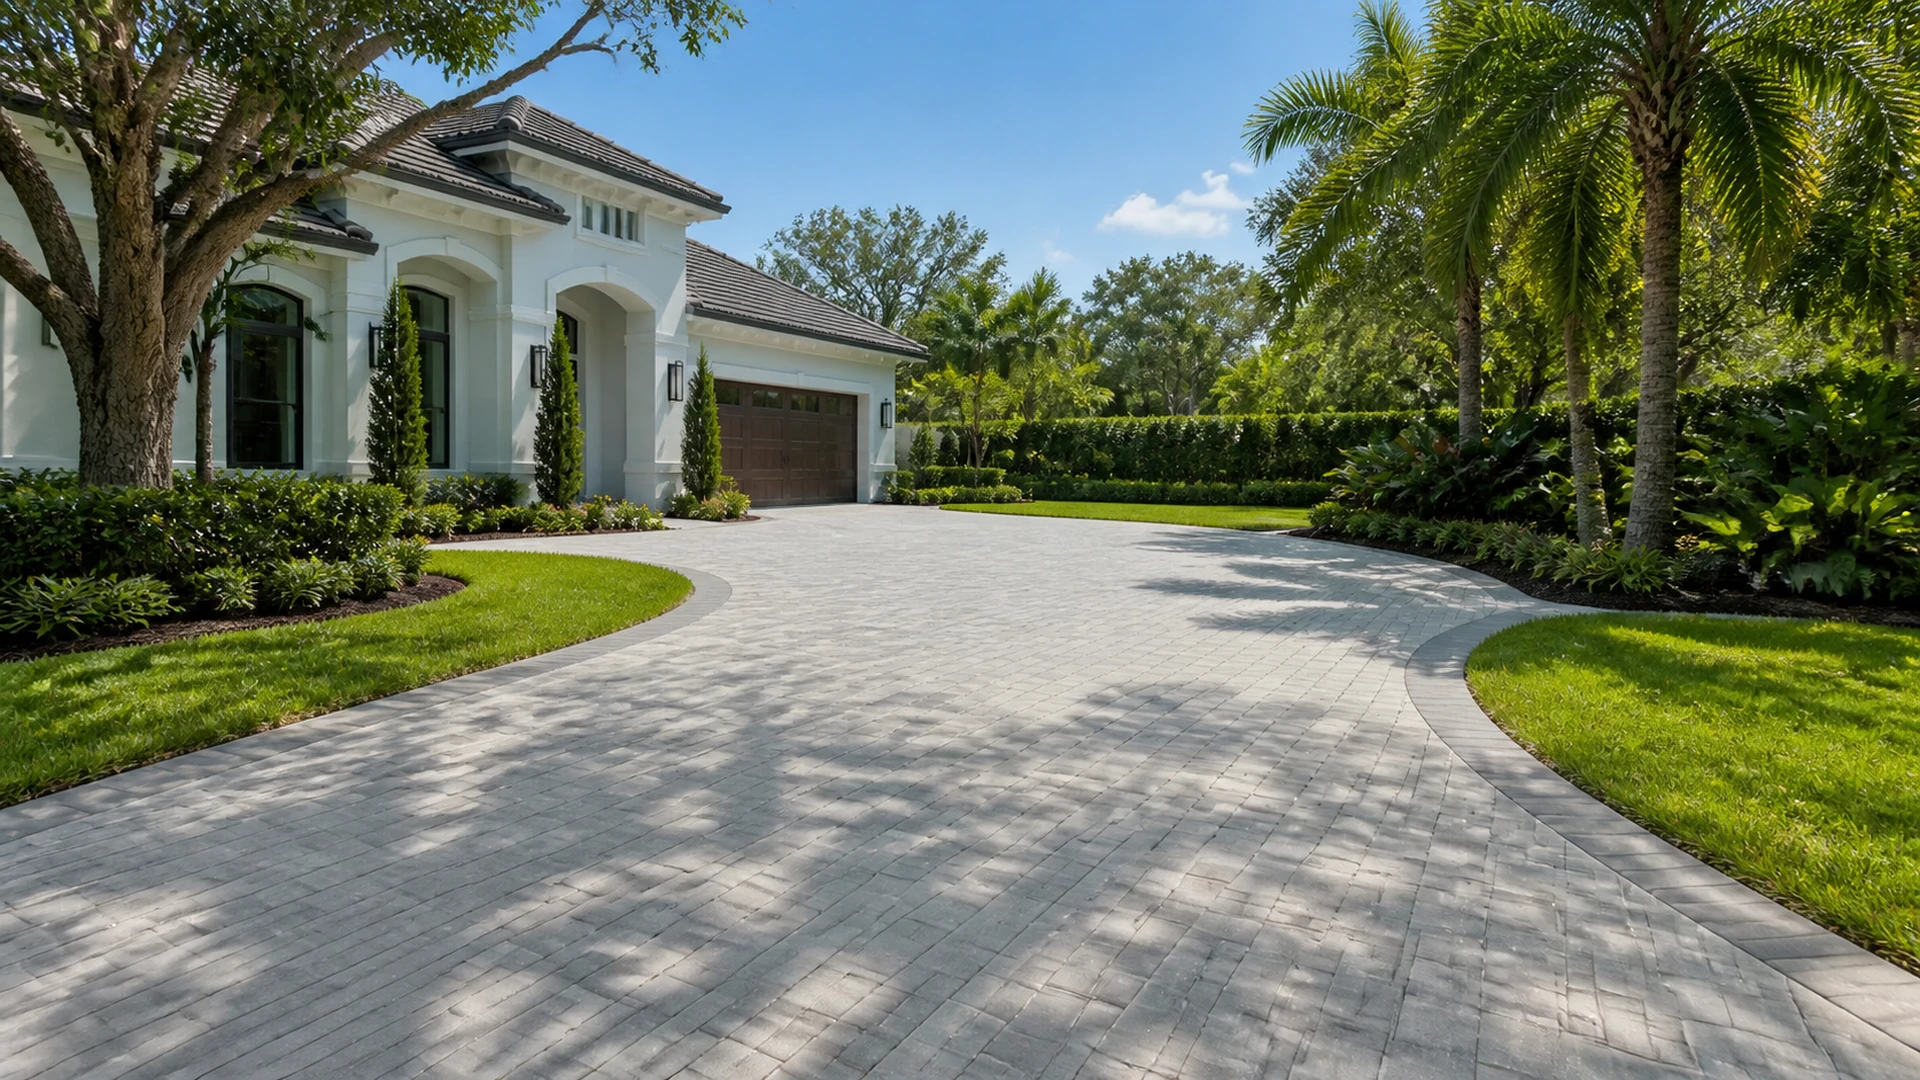
Finally, many Tampa Bay homes in Riverview, Ruskin, and Wesley Chapel use paver driveways for boat trailers, work trucks, or RV parking. These loads can be much higher than standard passenger vehicles. When you discuss repairs or upgrades, be sure to describe your typical and worst-case loads so the contractor can evaluate whether the base design still fits how you use the space.
Preventing Pavers Sinking After a Repair or New Installation
Once you invest in a repair, you naturally want the surface to stay stable as long as practical. The most important prevention step happens during the work itself: careful compaction of both subgrade and base in proper lifts. When each layer is dense and uniform, later moisture and temperature swings have less impact on settlement.
After the rebuild, correct slopes and thoughtful water paths help protect the base from erosion. This does not mean major regrading for every project, but even small adjustments can keep runoff moving across, instead of through, the paver system. In addition, well-placed downspout extensions or splash pads, coordinated as part of the hardscape layout, can reduce concentrated flow near edges.
Regular joint sand maintenance also plays a quiet but important role. When joints stay filled, they support interlock and limit how much water and debris reach the bedding layer. Many homeowners in Greater Carrollwood and Land O’ Lakes combine occasional cleaning with joint re-sanding and sealing, depending on the paver type and manufacturer guidance.
Finally, keeping heavy point loads in mind helps. Placing a very heavy planter, grill island, or storage shed on a small area can overstress even a well-built base. When possible, spread out heavy items or confirm that the base in that zone was designed for those loads. For more long-term upkeep tips, you can browse our paver repair & maintenance guides.
When Pavers Sinking Justifies Larger Replacement or Redesign
There is a point where repeatedly patching pavers sinking in the same area becomes less practical than a larger rebuild. If many sections across the driveway or patio have settled, that pattern suggests the original base or subgrade was not suitable. In those cases, lifting only the worst spots may provide short-term relief but not address the root cause.
Extensive cracking, chipping, or heavy surface wear on the pavers themselves can also be a tipping point. When a large percentage of units need replacement, a broader redesign can make better use of your budget. That might include new colors, borders, or layout changes to improve function, such as widening a parking area or adjusting walkways.
Sometimes nearby structures also influence the decision. If you plan a pool remodel, screen enclosure change, or room addition, coordinating paver replacement with that work can reduce disruption overall. However, any structural or permitting questions should go through the appropriate licensed professionals, such as general contractors, pool builders, or engineers, before you finalize the hardscape plan.
In Tampa Bay neighborhoods where access is tight or elevations are sensitive to flood or zoning rules, a careful site visit becomes even more important. A qualified paver contractor can walk you through what can reasonably be repaired, what should be rebuilt, and how to phase the work to match your budget and priorities without overpromising outcomes.
DIY vs Professional Help for Pavers Sinking Problems
Homeowners with the right tools and patience sometimes tackle small, isolated paver resets themselves. For a single step edge or a few sunken bricks on a walkway, this can be feasible. However, it still requires care when lifting pavers, managing bedding sand, and re-compacting the base to avoid creating a new low spot next to the repair.
When the area is larger, the pattern is complex, or the project includes a pool deck or steep driveway, professional help usually makes more sense. Contractors have plate compactors, screeds, and cutting tools that produce more consistent results. They can also spot subtle signs of base or subgrade issues that may not be obvious at first glance.
In any case, safety should guide your decision. If the pavers sinking has created trip hazards near entries, loose surfaces by the pool, or unstable steps, addressing those issues quickly is important. A contractor can help you prioritize urgent repairs while planning longer-term upgrades.
Finally, keep in mind that pricing depends on site access, demolition needs, disposal, and how deep the base must be rebuilt. A short conversation and site meeting are usually needed before anyone can give reliable numbers. During that visit, you can also ask to see photos of similar projects so you understand what level of disruption and finish to expect.
FAQs About Sinking Pavers in Tampa Bay
Why are my pavers sinking in just one corner of the patio?
When pavers sinking is limited to one corner, it often points to localized settlement rather than full base failure. Common triggers include old tree roots, a past utility trench, or a small pocket of uncompacted fill. In those cases, a focused lift, subgrade check, and base correction under that corner may be enough. However, an on-site look is still helpful to confirm that the rest of the system is stable.
Can I fix sinking pavers myself, or will I make it worse?
Many homeowners can reset a few sunken pavers on a simple path if they are comfortable with manual work. The key is to remove the pavers carefully, keep them clean, and then level and compact the bedding and base beneath before reinstalling them. However, it is easy to under-compact or mis-level small areas, which can lead to new dips or lips. For larger sections, vehicle areas, or pool decks, a professional typically achieves a more durable result.
Do sinking pavers always mean there is a serious water problem?
Not necessarily. Water almost always plays some role in settlement, but it is usually one factor among several. A thin or poorly compacted base, soft subgrade, or heavy loads can all cause pavers to drop even with reasonable water management. That said, if you see standing water, washouts, or repeated erosion lines near the sunken area, it is wise to mention those details during any inspection so the repair can address them where practical.
Is it better to replace the whole driveway if several sections are sinking?
It depends on how widespread the settlement is and what caused it. If only certain strips or corners are affected, a sectional rebuild of the base with reused pavers might be the most cost-effective choice. However, if dips, waves, and cracks appear across many areas, the original base design may not support your current use. In that scenario, a full replacement with updated base standards and layout can provide a more stable long-term result, but it should be weighed against your budget and plans for the property.
How long should a professionally repaired paver area stay level?
A well-executed repair on suitable subgrade and base can stay serviceable for many years, but no contractor can completely eliminate natural movement. Factors like soil type, groundwater, traffic loads, nearby trees, and maintenance habits all influence performance over time. In general, the closer the repair follows best practices for subgrade preparation, base thickness, compaction, and joint maintenance, the less noticeable settlement you should see. It is helpful to ask your contractor how they expect the surface to behave in your specific Tampa Bay location, given those site conditions.
If uneven pavers, dips, or trip edges are bothering you now, this is a good time to explore your options. You can review our recent projects, read homeowner feedback on our testimonials page, and check common questions on our FAQ. Then, when you are ready, browse our full services to see how repair, reinstatement, and redesign might fit your home and budget.
For a free, no-pressure consultation about pavers sinking or other hardscape concerns, you can call +1 (656) 600-4015, text the same number, email drpavers@outlook.com, or message us on WhatsApp. You are also welcome to connect on Instagram or Facebook, and you can see our location and reviews on Google Maps. However you reach out, we can walk your Tampa Bay property with you, discuss options on site, and help you decide which repair or upgrade approach feels right.