Retaining wall efflorescence is usually recognized as a pale, chalky deposit on the face of masonry units, caps, or mortar-like surfaces, but its appearance does not answer the more important question: has the wall moved? A white residue can be a cosmetic moisture-and-mineral issue. A wall with open joints, a displaced cap, a growing bulge, or soil leaving from behind it calls for a different conversation. Start by separating what the surface shows from what the wall’s alignment and surroundings show.
For Tampa Bay homeowners, that distinction matters because rain, irrigation, humid drying cycles, and grade can all influence visible residue. None of those conditions should be used to diagnose a wall remotely. They are reasons to document the pattern carefully, avoid aggressive cleaning too soon, and decide whether cosmetic care can wait until the water context is understood.
What retaining wall efflorescence looks like
Efflorescence commonly appears as a white or off-white powdery film, streak, or crust. It may show up along the lower courses, beneath caps, at joints, or in isolated areas where water repeatedly travels through or across the wall. It can look dramatic on darker units and nearly invisible on lighter ones. The location is useful information: a deposit below a downspout path suggests a different starting question than a deposit limited to the shaded side of a planter.
Do not assume every light mark is the same material. Dirt, fertilizer residue, paint overspray, algae treatment residue, and minerals from irrigation can resemble one another from a distance. The point of an initial inspection is description, not a confident label. Record color, texture, location, whether the mark brushes away easily, and whether it returns after rain or watering. A close photograph and a wider photograph of the entire wall work better together than either one alone.
The key comparison: appearance versus movement
A surface deposit can exist on a wall that remains aligned. Movement clues are physical changes in the assembly or in the soil around it. Look along the top line from several angles. Compare cap units with each other. Notice whether courses remain straight, whether joints have opened, and whether the wall face projects farther at one point than another. A single visual irregularity does not establish the cause, but several related changes deserve attention before any cosmetic work.
- More consistent with a cosmetic concern: residue is present, while courses, caps, joints, and nearby grade appear unchanged.
- Worth prompt evaluation: a new crack, separated joint, shifted cap, leaning or bulging section, or soil loss near the wall is visible.
- Important context: water collects behind the wall, irrigation repeatedly strikes it, a downspout discharges nearby, or a slope has recently changed.
This comparison is not a structural assessment. It is a way to avoid treating a visual symptom as if it were the whole story. If alignment changes or soil loss are visible, cleaning the face may make the wall look quieter while leaving the relevant condition unexamined. Document first, then arrange the appropriate review based on what is present.
How to inspect alignment without disturbing the wall
Use observation rather than force. Stand several feet back and look along the cap line from each end; a long perspective can make a change easier to notice than a face-on view. Then compare that impression with photographs taken from a stable reference point. Check whether a cap has separated from its neighbor, whether a course has a noticeably different setback, and whether a corner no longer meets cleanly. Do not pry at units, remove caps, or probe behind the wall to test a suspicion.
Some visual variation can reflect the original unit texture, lighting, or a curve in the intended layout. That is why comparisons should include undisturbed sections of the same wall. Look for a change over time or a localized condition that is different from the designed pattern. If the wall is partly hidden by shrubs, clear only loose debris that can be removed safely; do not cut away roots or excavate soil merely to improve the view.
Read the wall as a system, not as a facade
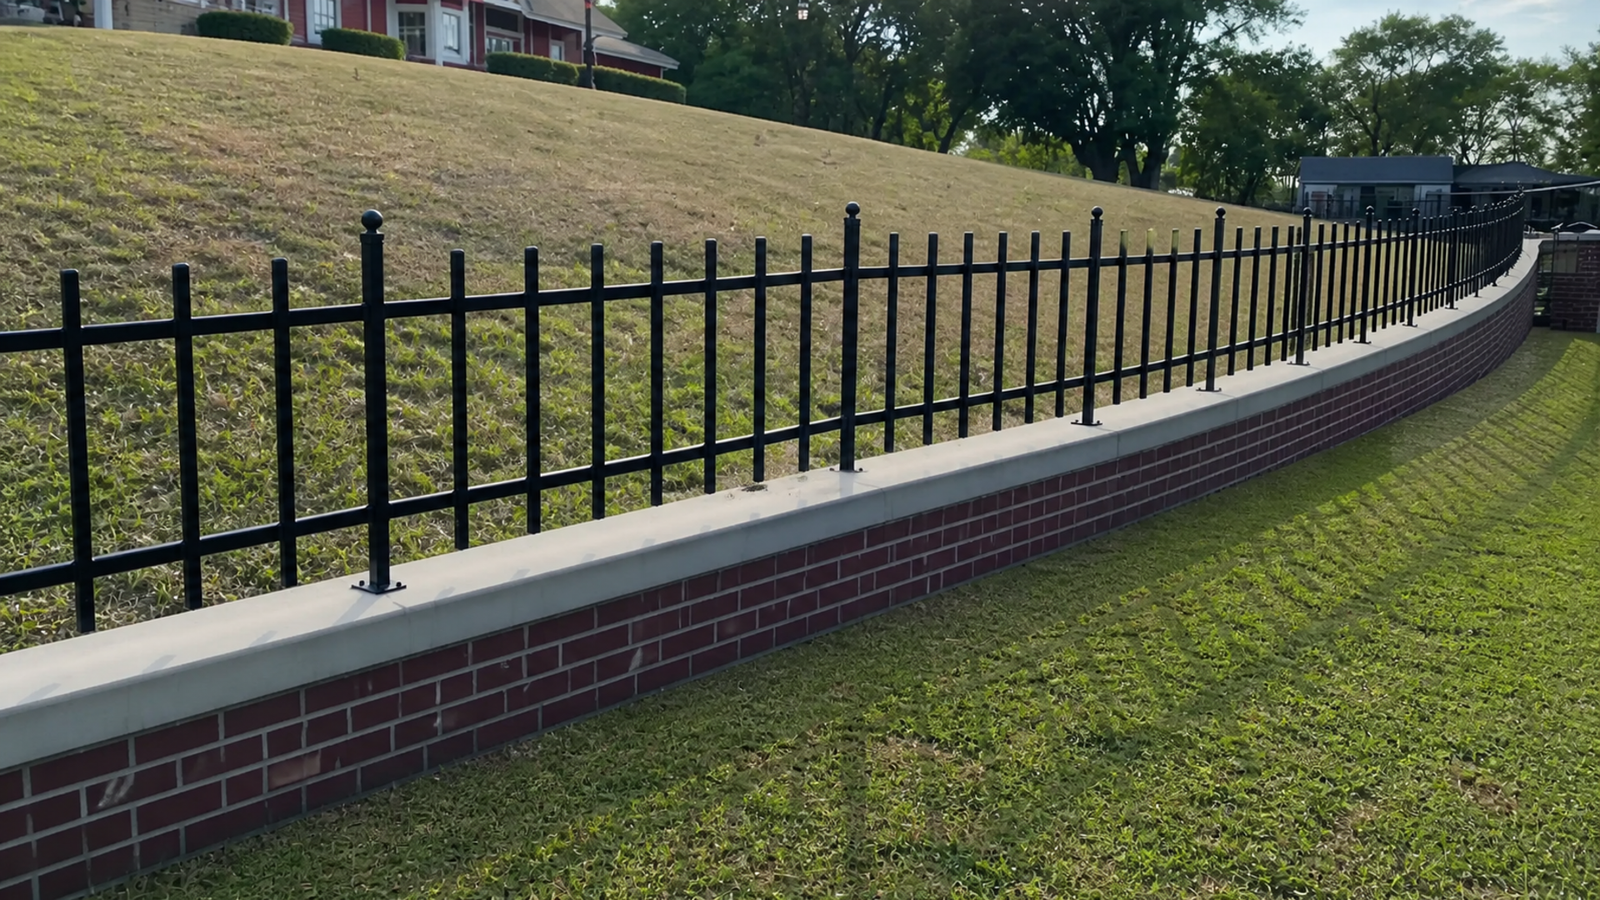
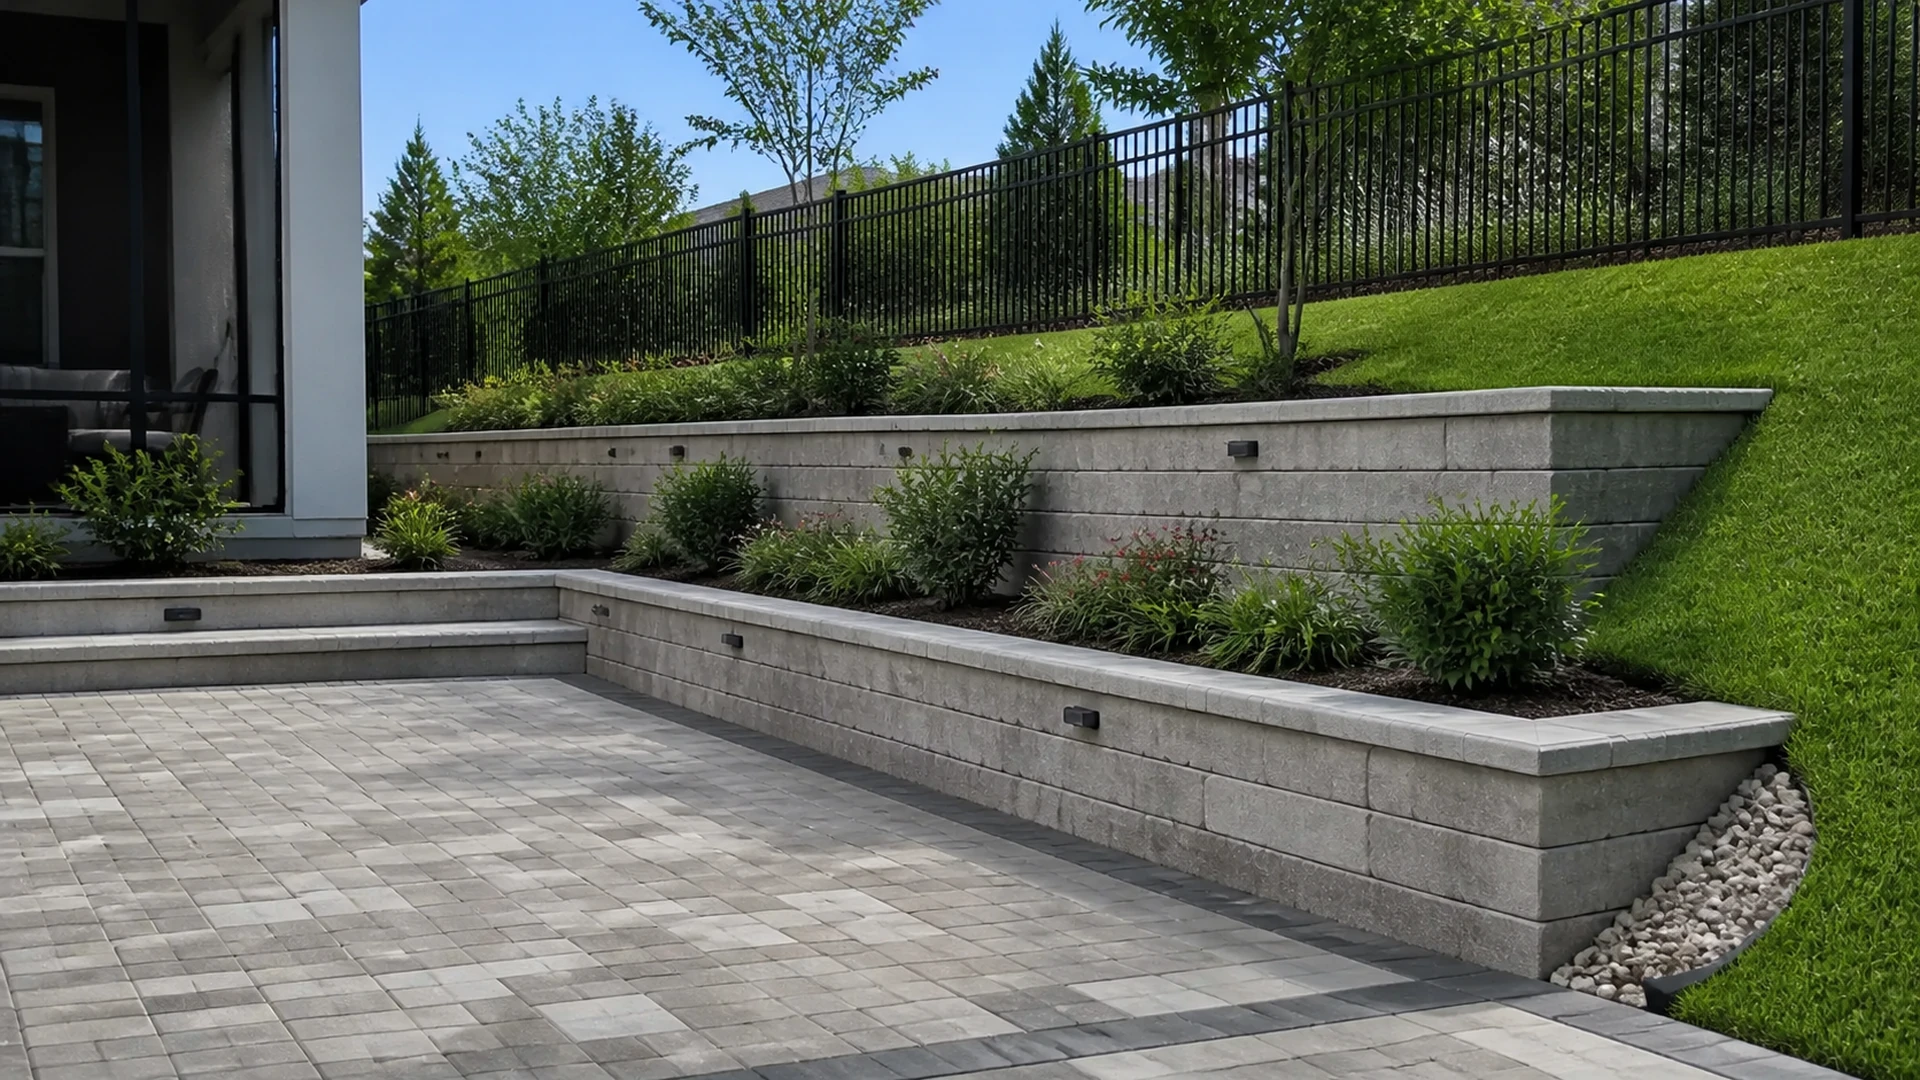
A retaining wall holds back a difference in grade, so its face is only one part of what homeowners should observe. Look above it for planted beds, lawn, paved areas, roof discharge, and irrigation zones. Look below it for washout, standing water, or a hardscape surface that directs water toward the wall. Note steps, corners, returns, and transitions to patios, driveways, or fences, because those locations often make changes easier to see.
Water can arrive from more than one direction. A rainstorm may wet the wall face while a higher planting bed retains moisture behind it. A sprinkler may wet the same small area every morning. A nearby patio may shed rain toward the wall’s base. The right next step depends on which water sources are visible, how the grade behaves, and whether the wall itself shows movement. It is not responsible to name a hidden drainage detail or prescribe a repair without that information.
Locations that deserve a closer look
Corner returns can reveal whether two wall runs are staying in the same relationship. Caps around steps may show displacement more clearly than a long straight run. The base of a wall can reveal eroded soil or persistent wetness, while the upper grade can show mulch migration, a low spot, or runoff entering behind the units. Where a wall meets a paver surface, examine the transition without assuming that a gap or stain has one simple explanation.
Make a useful record through wet and dry cycles
Photos become much more useful when they are taken from the same positions. Choose a wide view that includes the grade above and below the wall, then take medium views of corners, caps, and any deposit. Add close-ups with an everyday object for scale if that can be done without damaging the area. Repeat the images after a substantial rain and after the wall has had time to dry. The purpose is to observe change, not to manufacture proof.
Write down the timing as plainly as possible: residue appeared after several rainy days; the left corner remains wet after irrigation; the cap shifted after a storm; a crack was first noticed during landscaping. Include recent changes around the wall, such as a new planting bed, altered sprinkler head, added hardscape, or a regraded area. Even a short timeline helps distinguish a long-standing visual condition from a new pattern that needs prompt attention.
- Photograph the full wall before cleaning or moving furniture.
- Photograph each end, every corner, steps, caps, joints, and the grade above and below.
- Take comparable images after rain and after a dry interval.
- Note downspouts, irrigation heads, hose use, and areas where water pools or exits.
- Keep a dated note of visible changes instead of relying on a recollection months later.
Why acid and aggressive cleaning should wait
White residue can create understandable pressure to clean quickly, especially before guests arrive or a home is listed. Strong acidic or aggressive cleaning is not a sensible first response when the unit material, prior treatments, and moisture source are unknown. The method can affect the surface, nearby plants, adjacent metal, and surrounding hardscape. It can also remove the visual evidence that would help explain why a particular area keeps getting wet.
Begin with identification and context. Is the material a concrete masonry unit, natural stone, or another finish? Is the deposit recurring in one path? Are there signs of movement that should take priority? Once the wall is understood, a suitable care approach can be considered with the material and site conditions in mind. The Concrete Masonry and Hardscapes Association is a useful industry resource to consult alongside material-specific guidance, but broad information should not replace an assessment of the installed wall.
Pressure also needs context. A strong spray can drive loose material around, disturb joints, or carry runoff into landscaping. Even when a wall seems sound, test decisions should be conservative and follow guidance appropriate to the known material. Protect nearby plants and fixtures, and do not mix cleaners or assume that a method suitable for one surface is suitable for another. The aim is a clean wall that remains understandable, not a fast visual reset with an unknown consequence.
When cosmetic care may be a reasonable next step
Cosmetic care is more reasonable when the wall appears stable, the deposit is understood as a surface concern, and the water context has been reviewed. That does not mean the residue is guaranteed not to return. It means the cleaning decision is being made with a clearer view of the material, nearby landscape, weather exposure, and maintenance plan. Gentle, appropriate methods should be selected for the actual surface rather than copied from a generic online remedy.
Addressing a visible water source may matter as much as cleaning. Redirecting an irrigation head, keeping mulch from damming a drainage path, or watching a downspout outlet may be relevant depending on the site. Those actions should follow a property-specific review; they are examples of questions to ask, not directions for every wall. After care, retain one baseline photo so later changes can be compared fairly.
When movement needs to come first
Pause cosmetic work when the wall is leaning, bowing, cracking in a new way, opening at joints, losing soil, or showing displaced caps. Also pause when runoff is actively cutting a path behind or beneath the wall, or when a change near steps or adjacent pavement suggests that the relationship between surfaces is shifting. These signs do not identify the exact cause from a photograph, but they do make appearance a secondary concern.
A careful review can determine what is visible, what additional expertise may be needed, and whether a repair scope should address water, grade, wall components, or more than one condition. Avoid making the wall look freshly cleaned before that review if doing so hides a pattern you have been tracking. A few clear photos and a concise timeline can save time during the discussion.
Questions to bring to a wall evaluation
Homeowners get a better conversation when they ask focused questions. What parts of the wall appear unchanged, and what parts show visible movement? Where does water come from during rain and irrigation? Does the residue recur in the same location? What surrounding hardscape or planting conditions should be considered before cleaning? Which observations warrant structural review before appearance work? These questions keep the discussion grounded in the wall rather than a generic cleaning product.
A short pre-visit checklist
- Keep a dry-day and wet-day photo of the same affected area.
- Note the date of the first residue, crack, gap, cap change, or soil loss you observed.
- Identify recent changes to irrigation, roof runoff, planting, patios, or grade.
- Leave the affected area visible rather than covering it with mulch, pots, or temporary decor.
- Describe what has already been cleaned or applied, if anything, without guessing at product names.
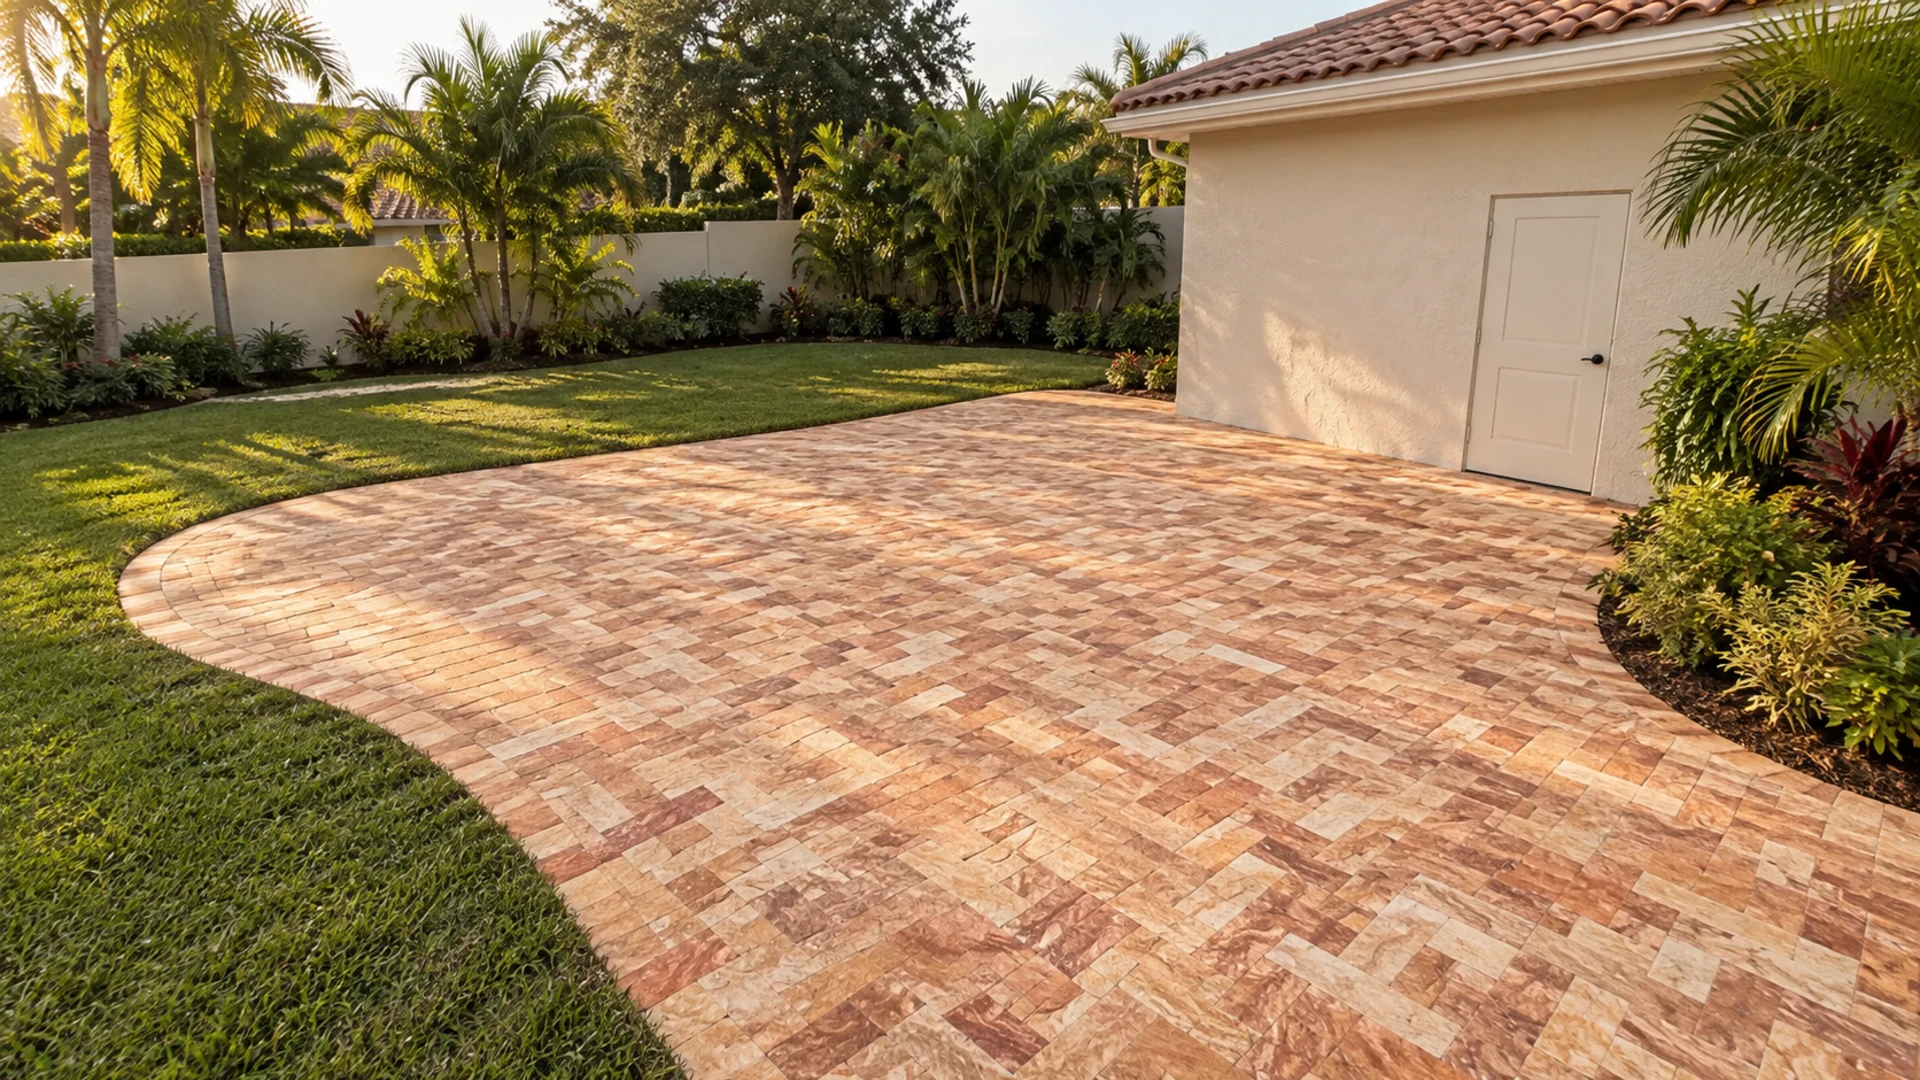
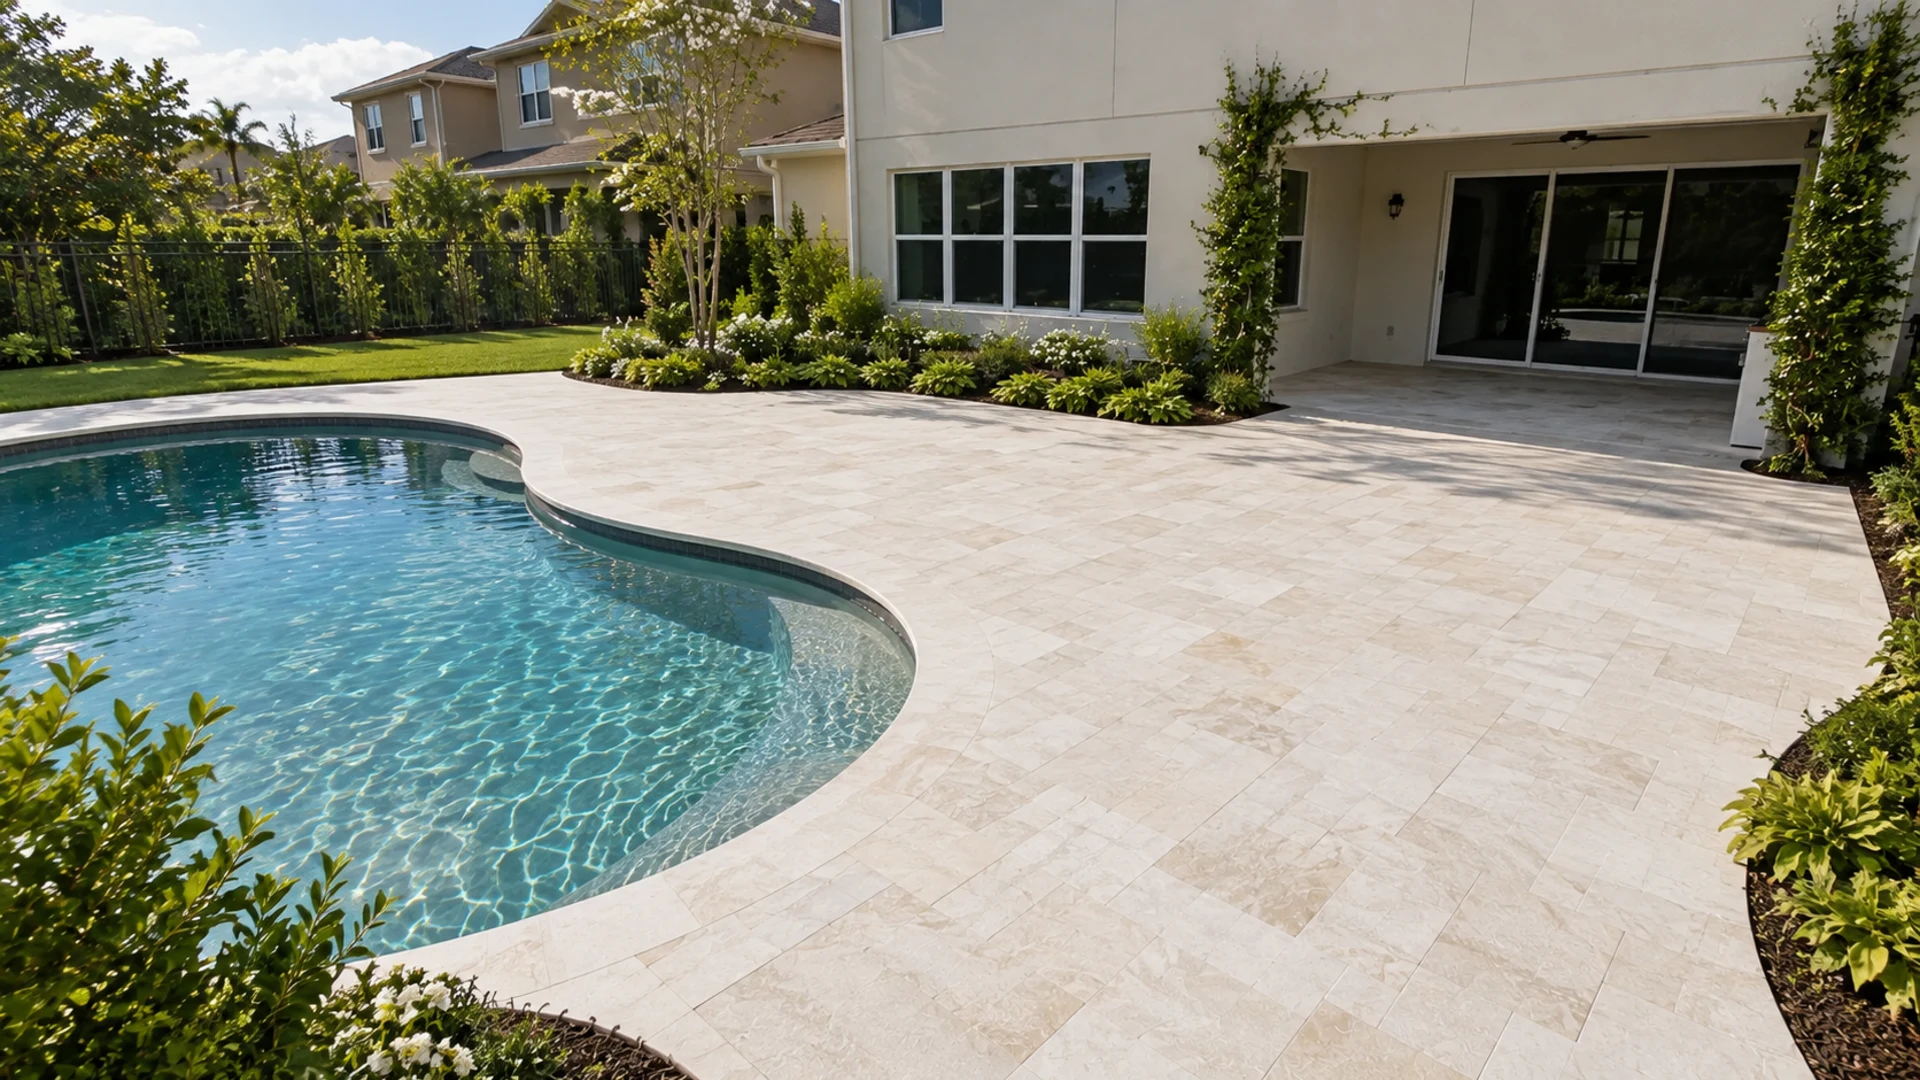
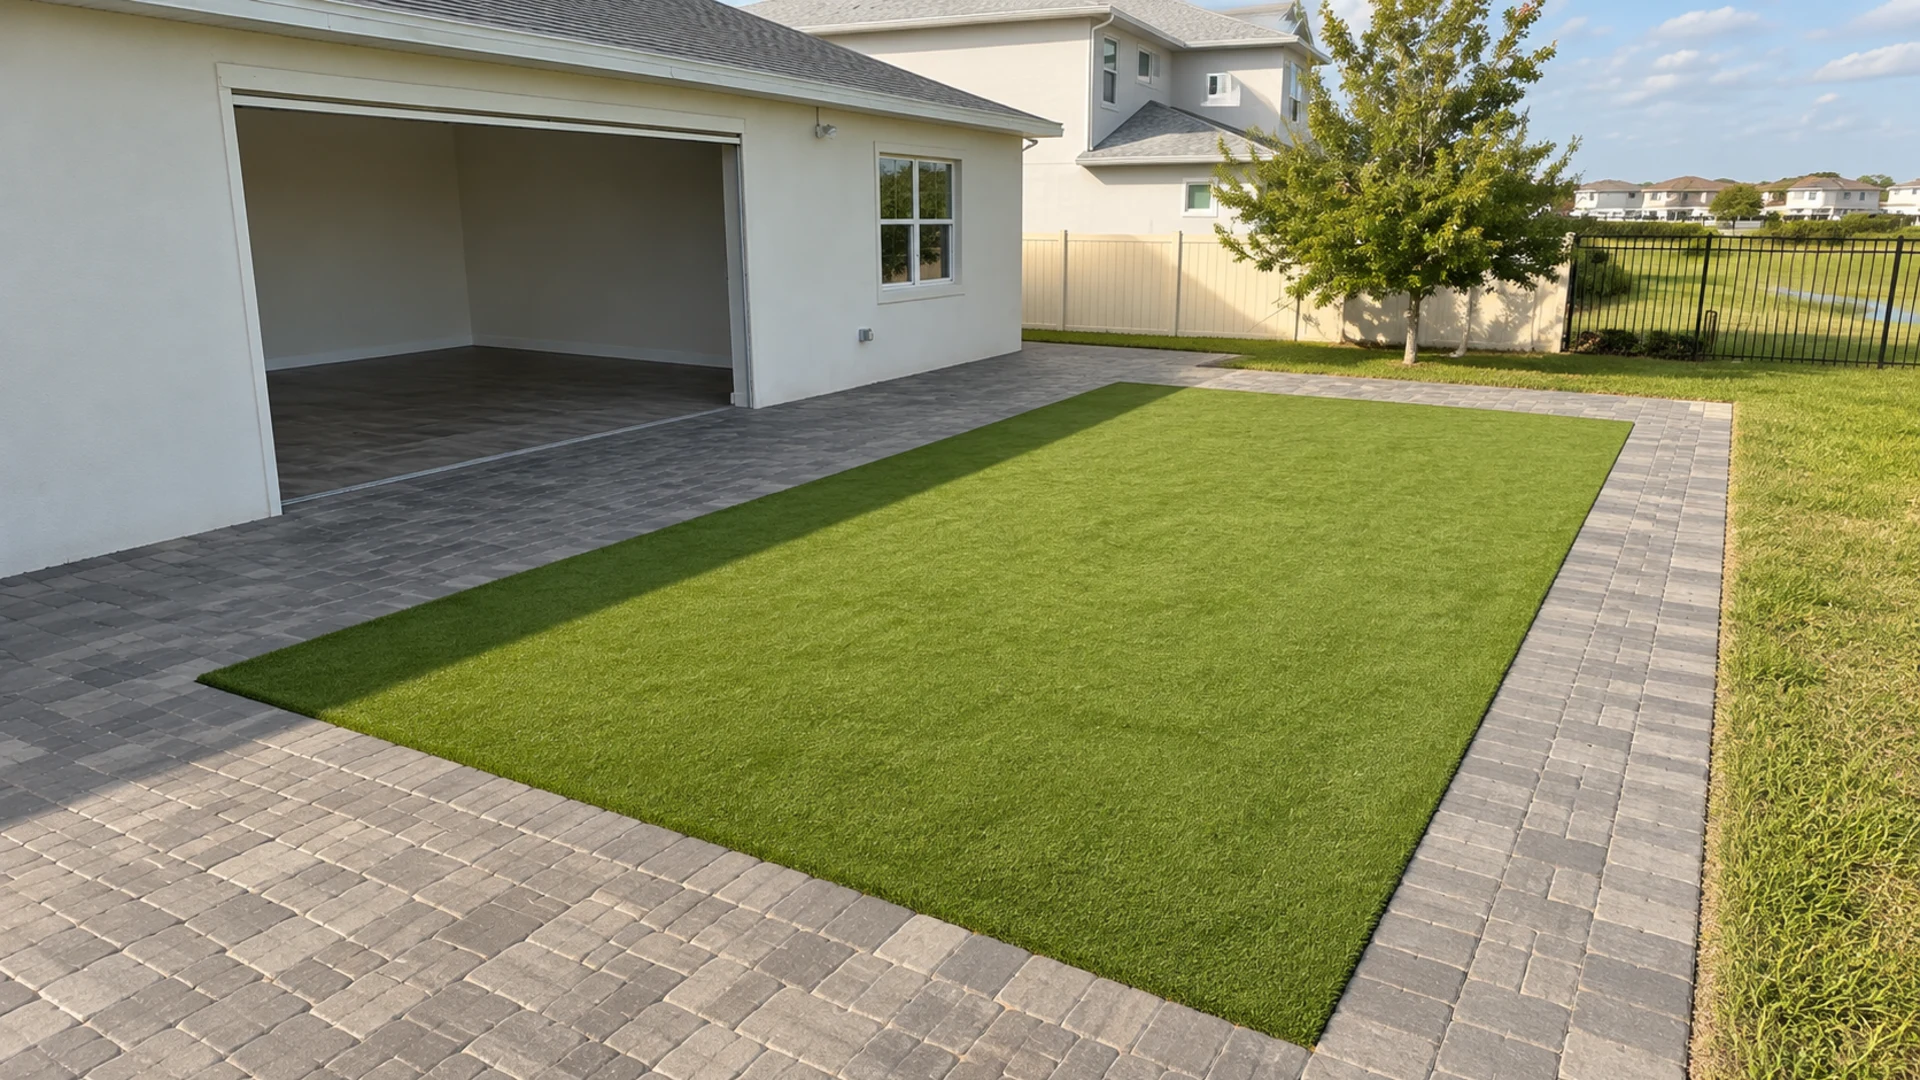
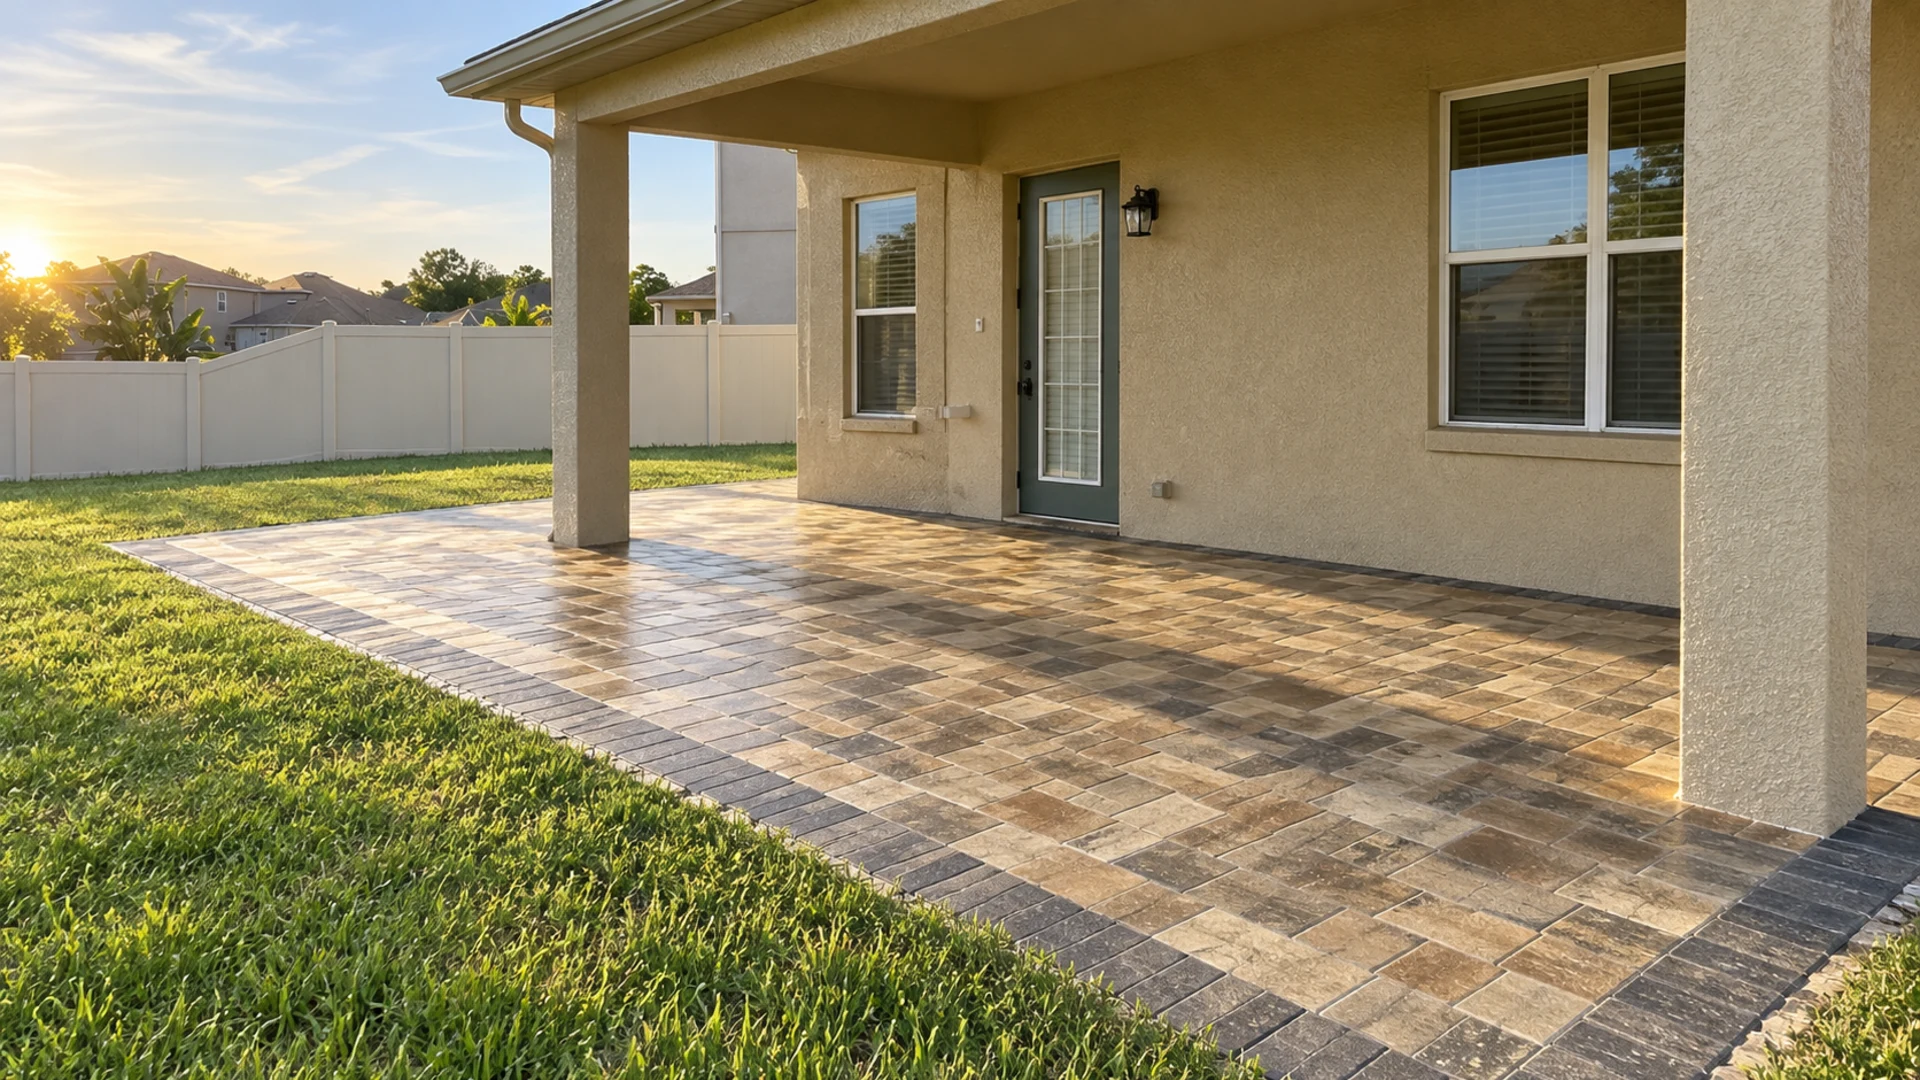
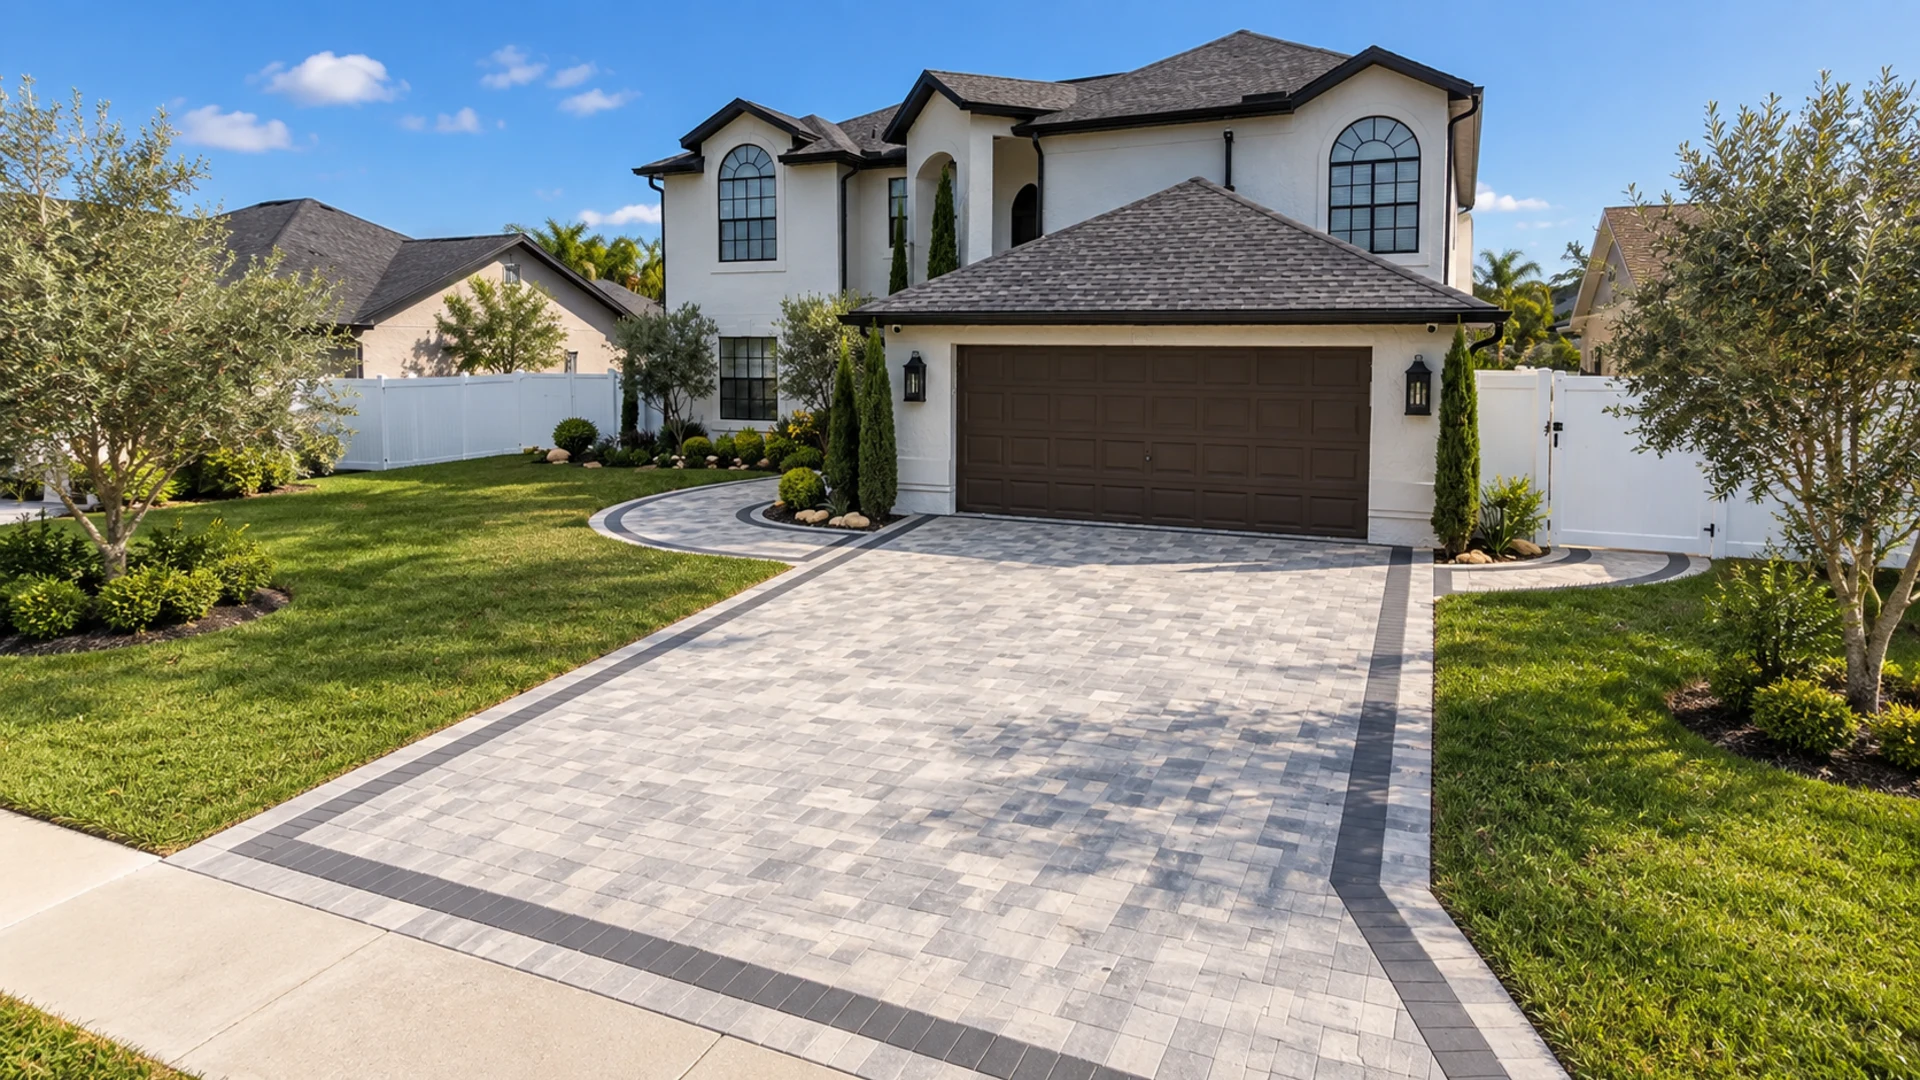
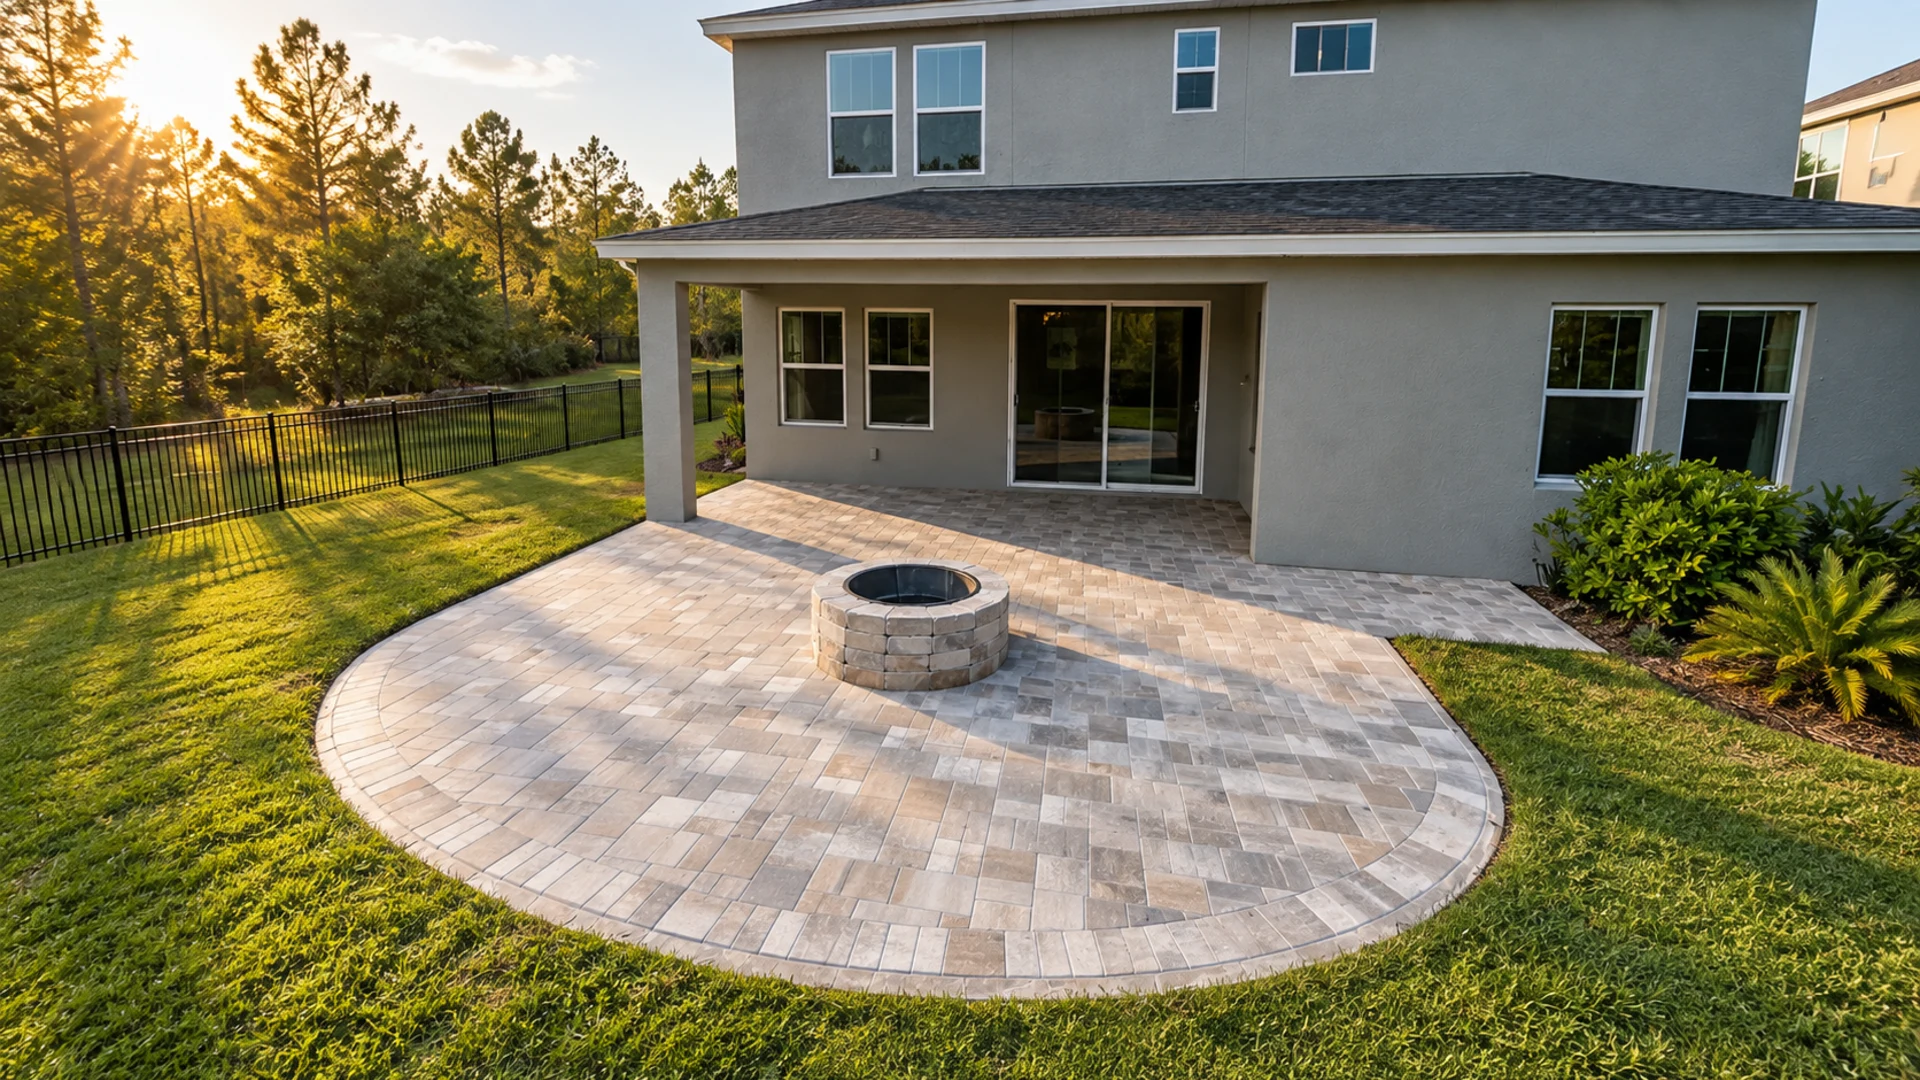
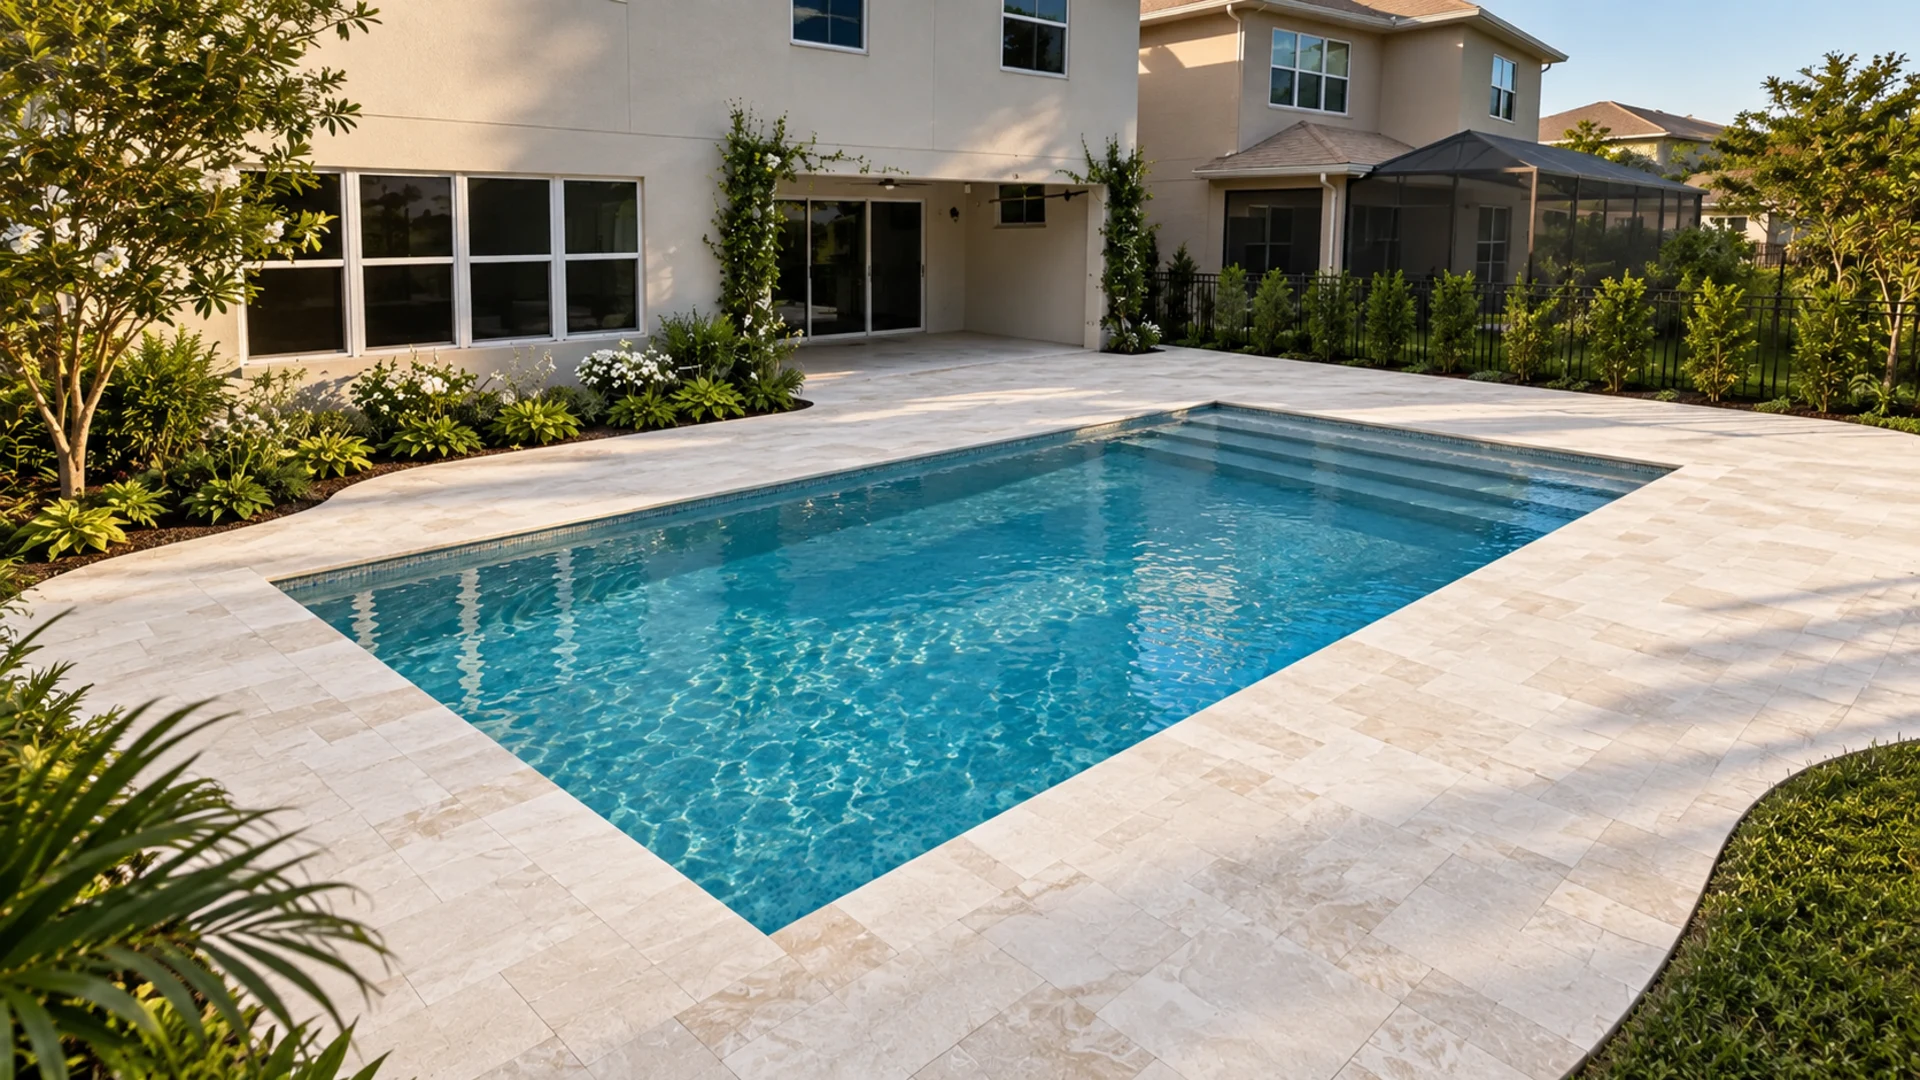
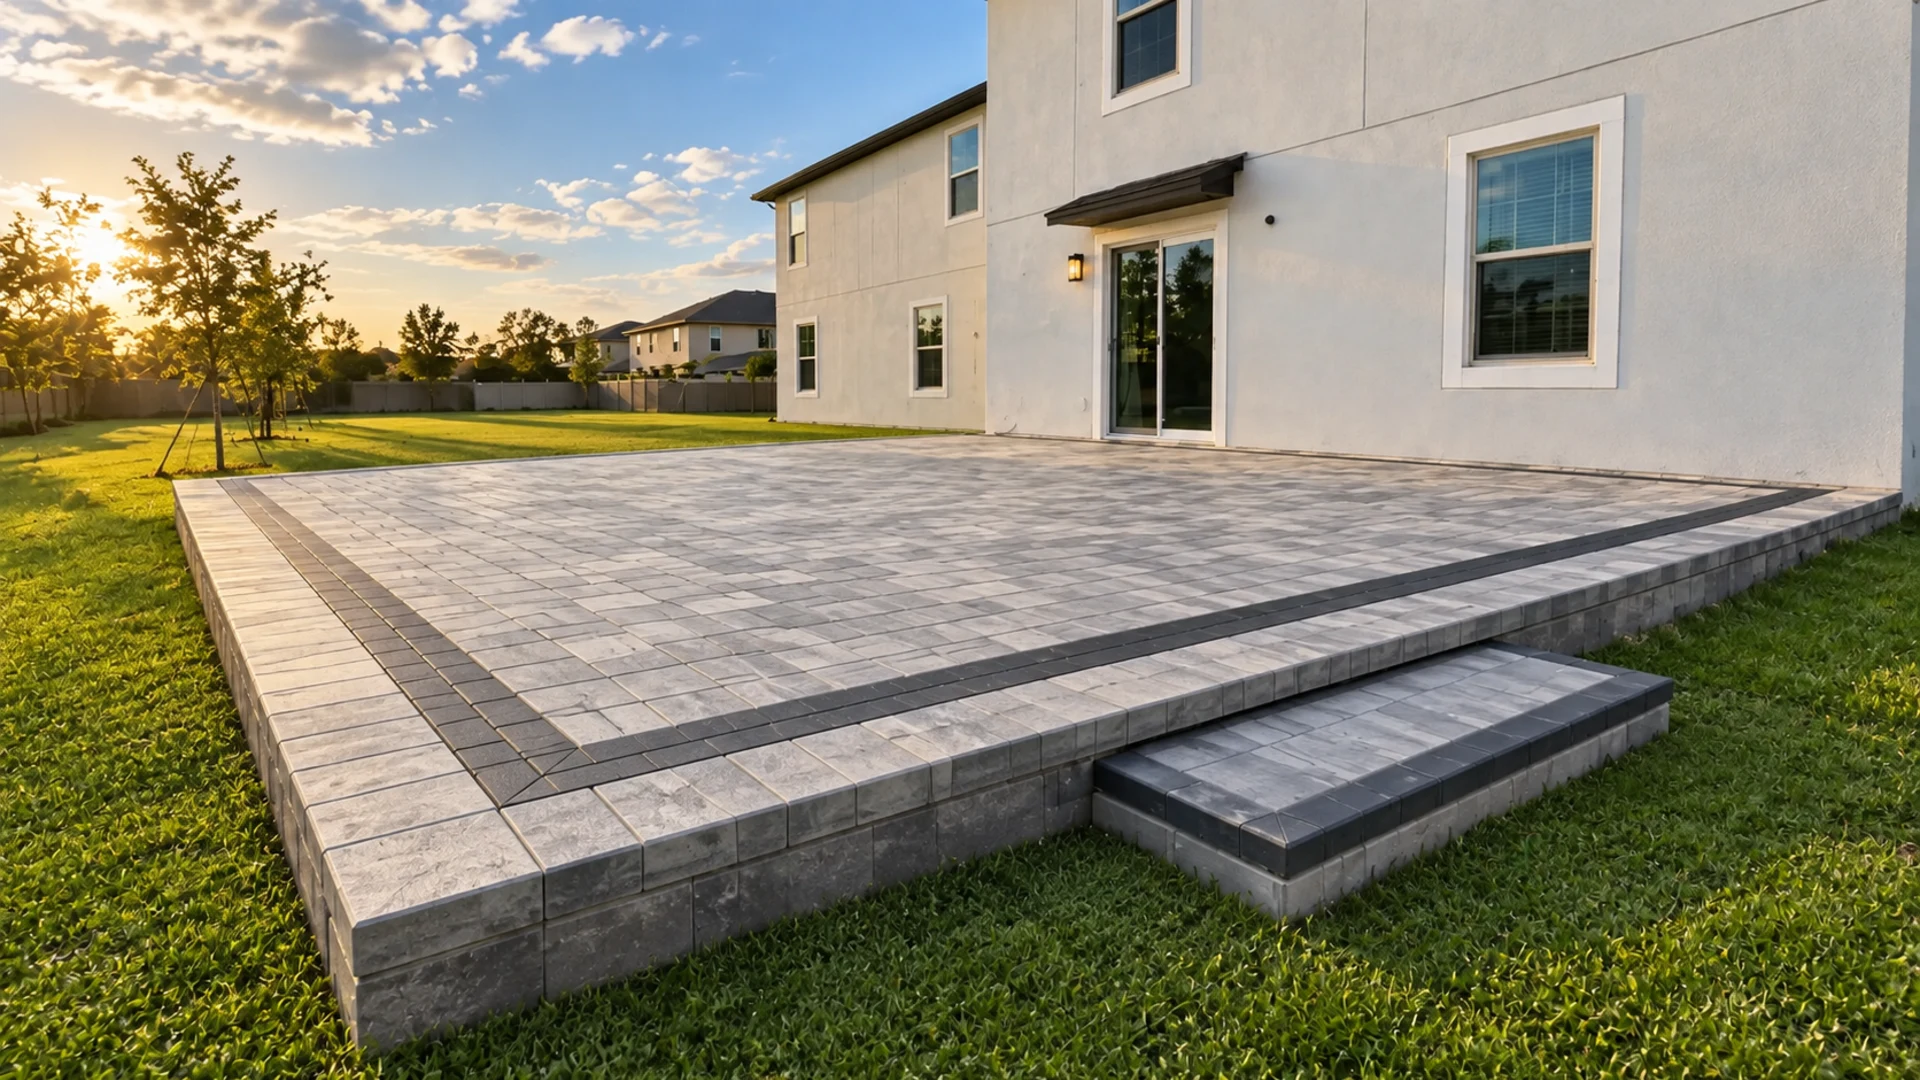
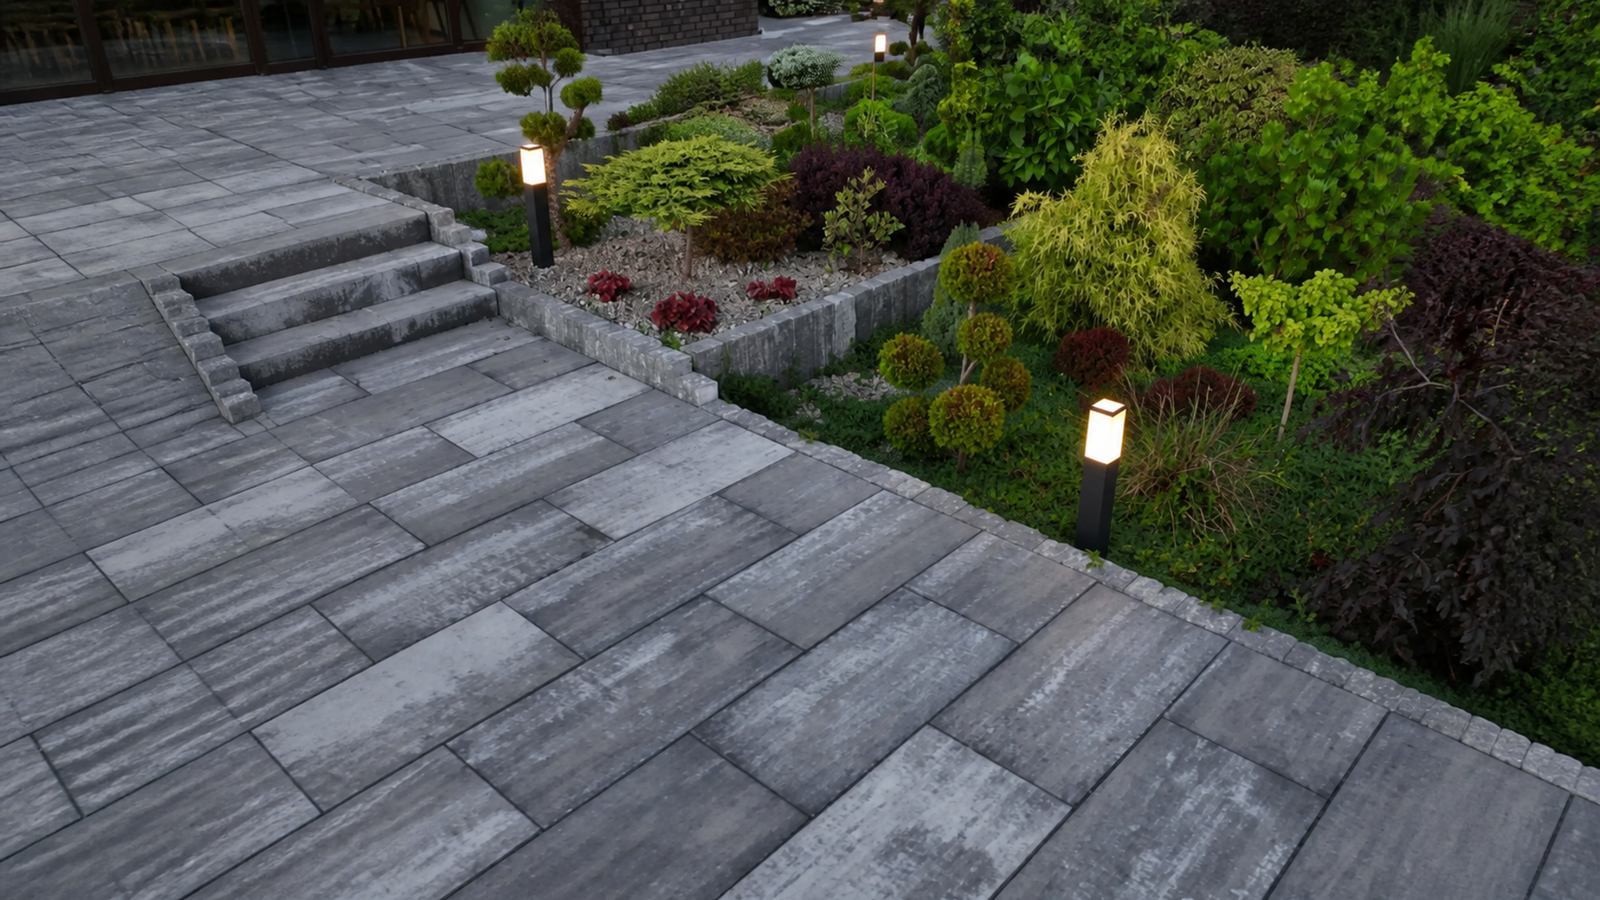
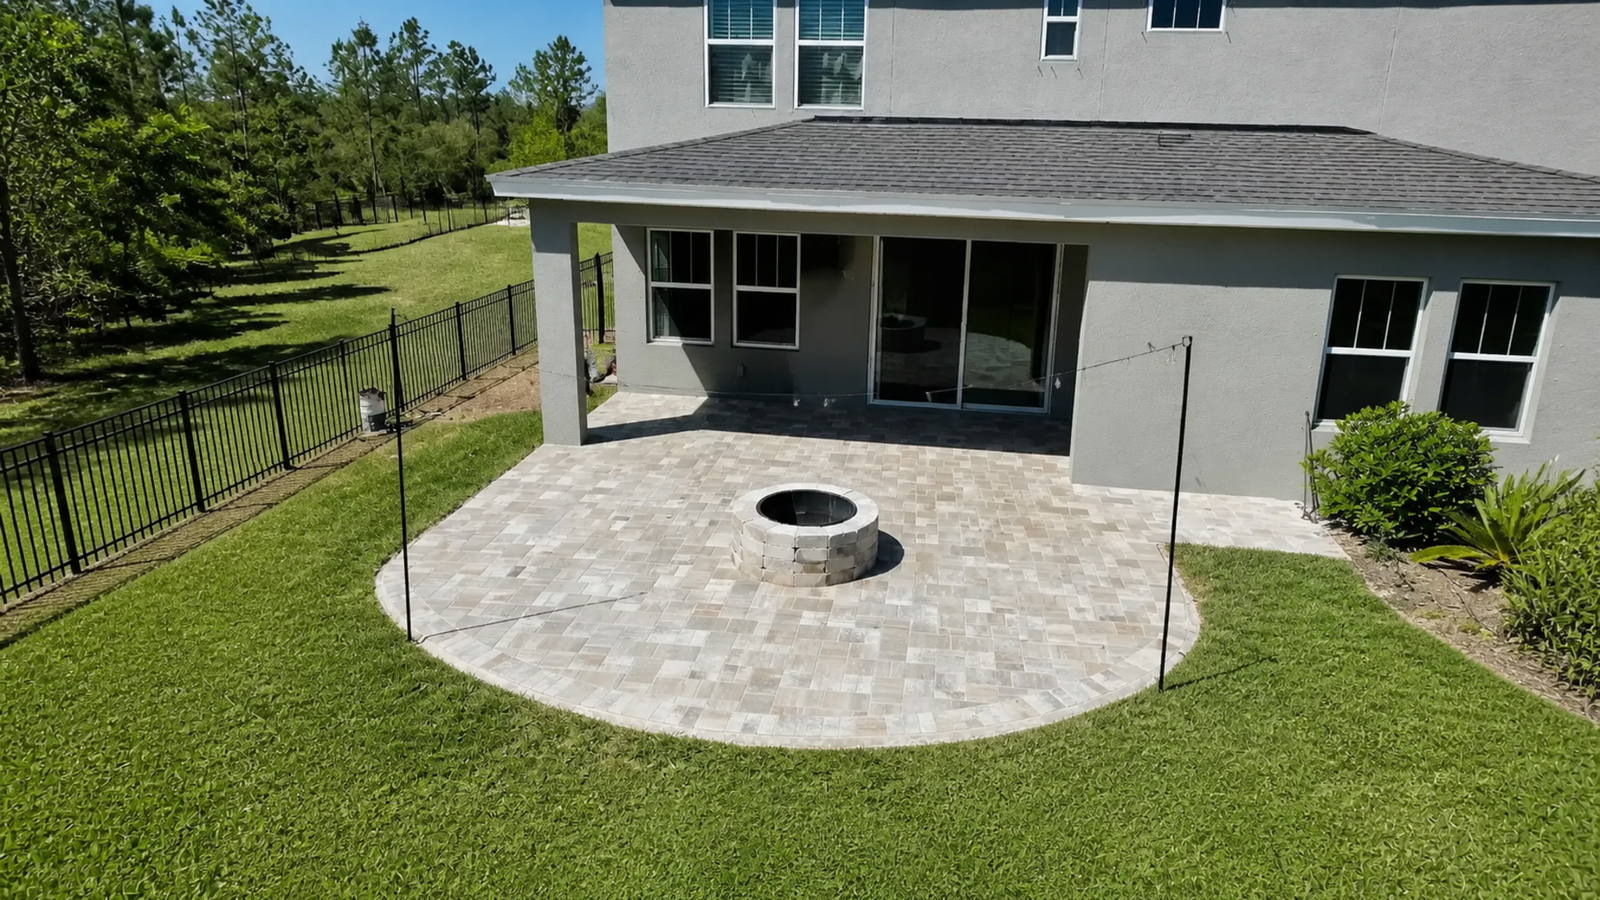
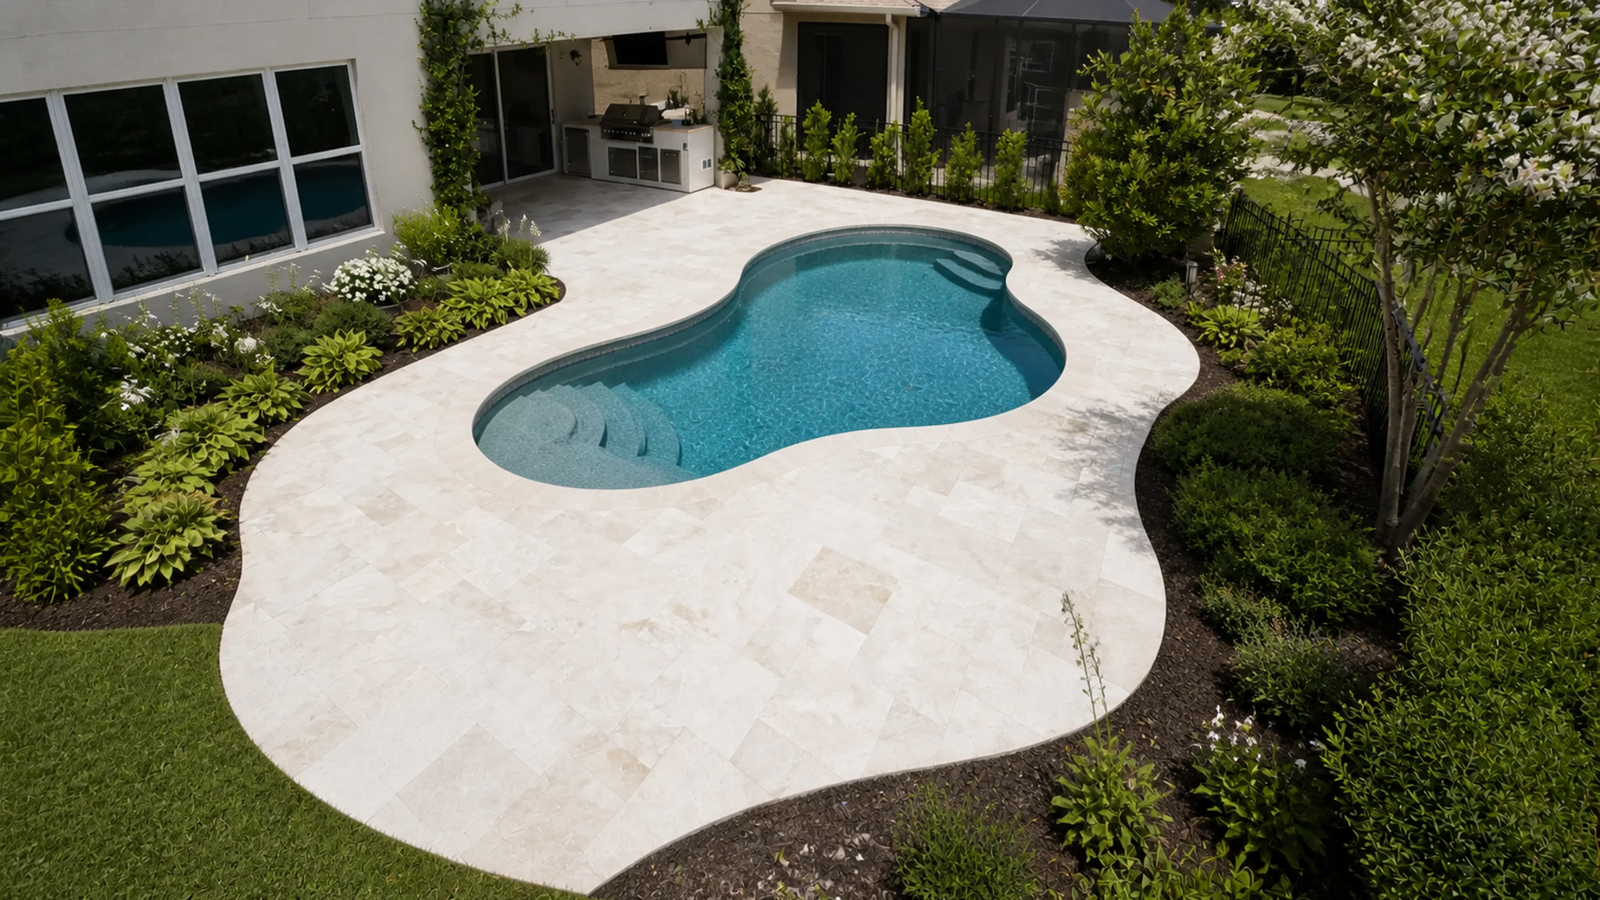
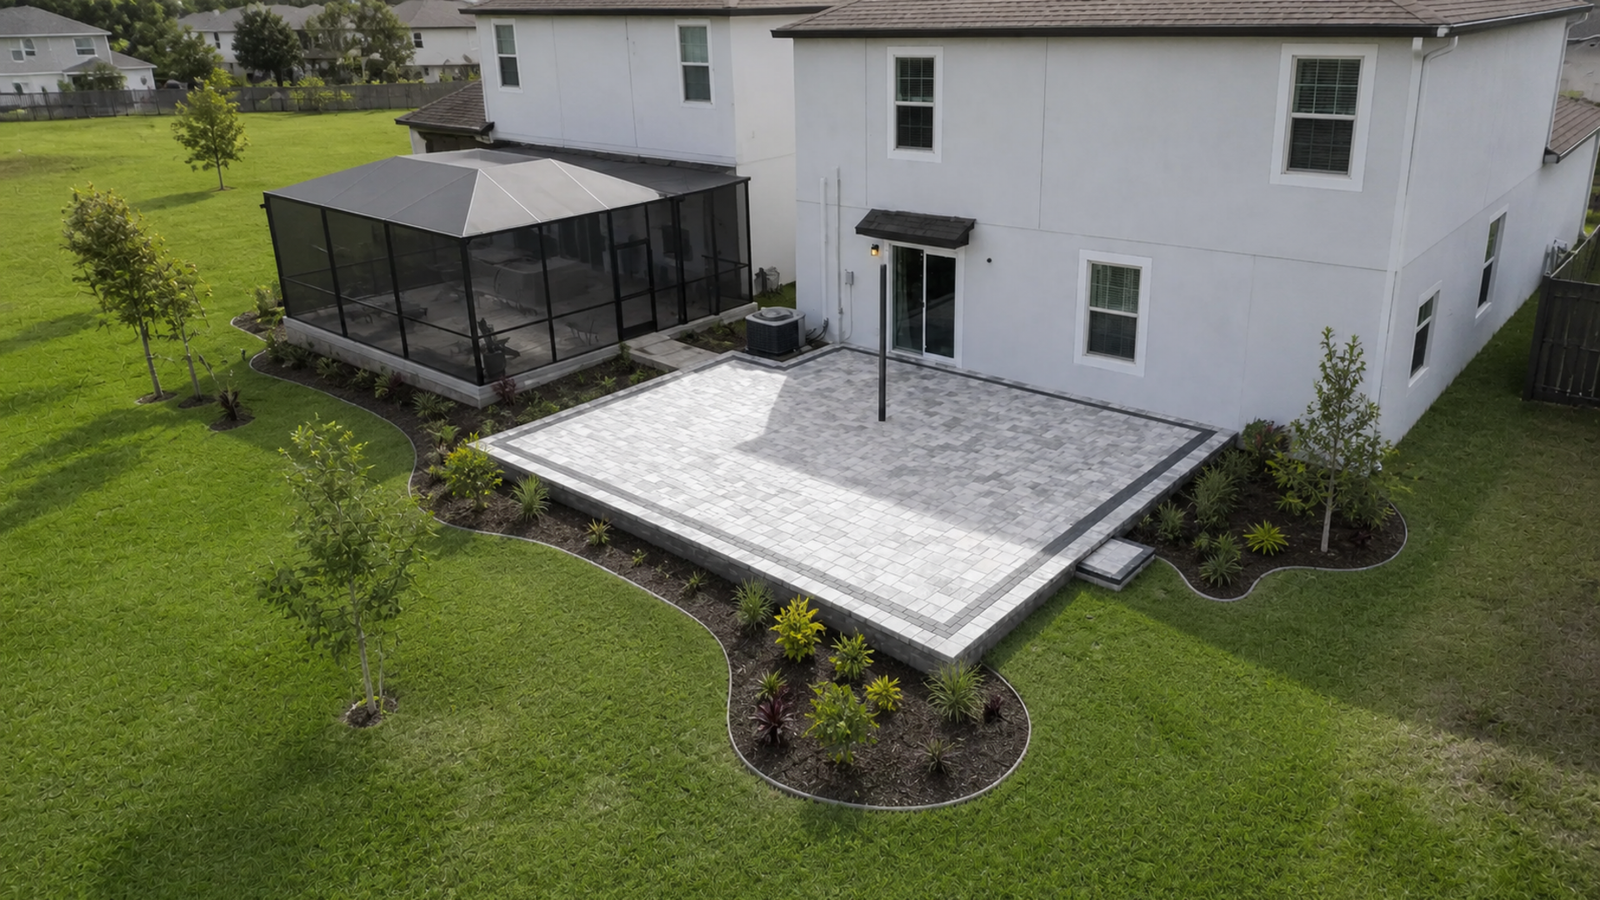
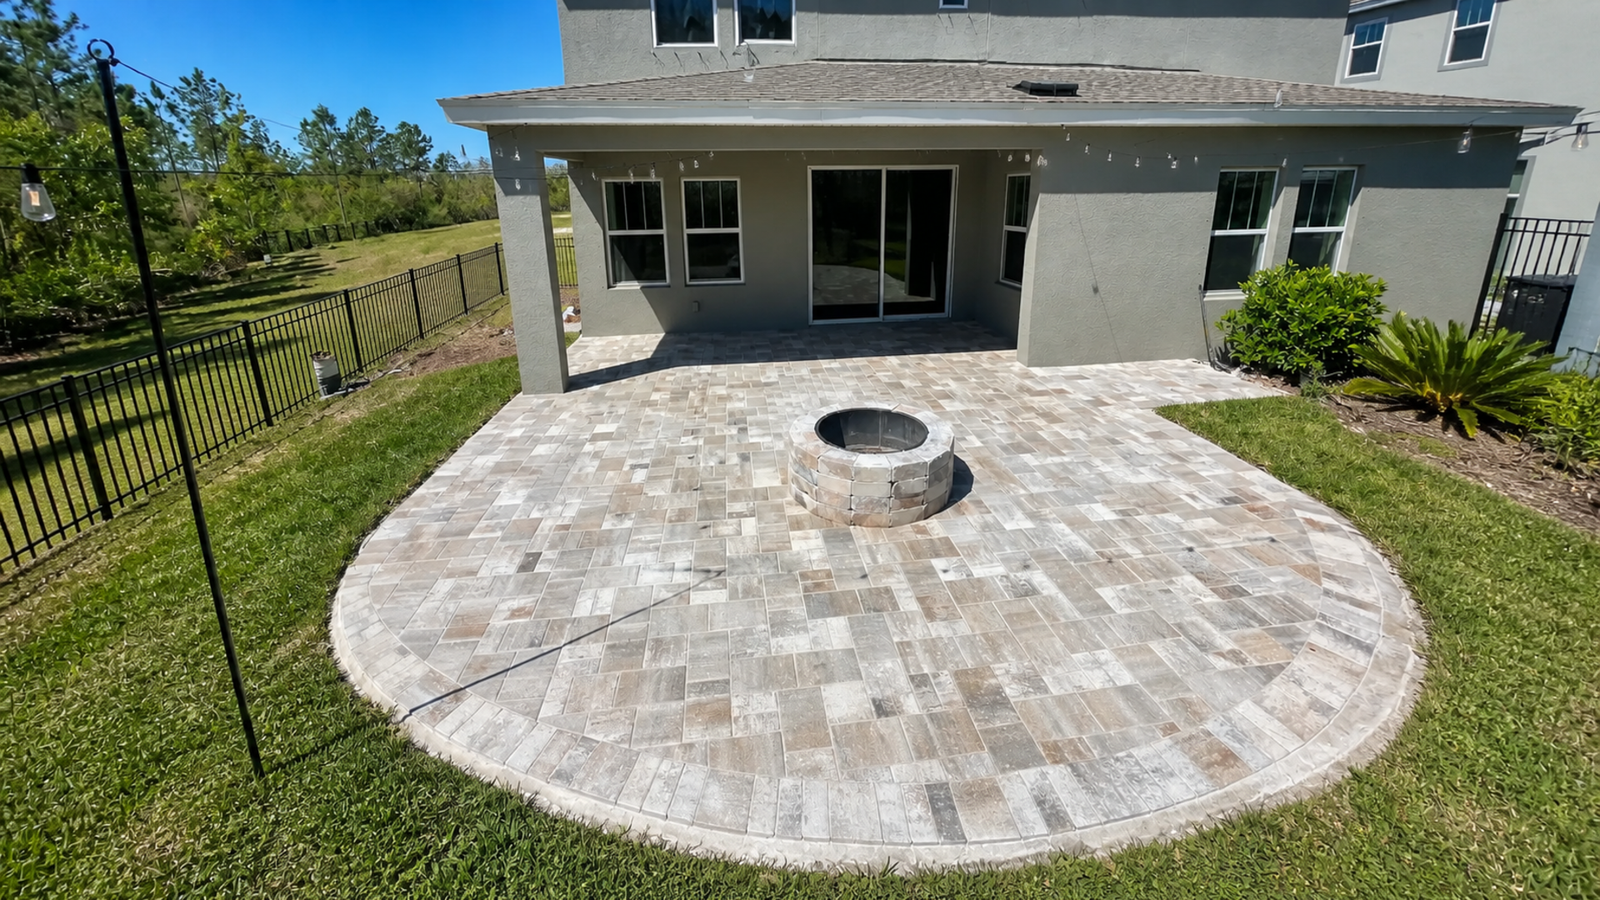
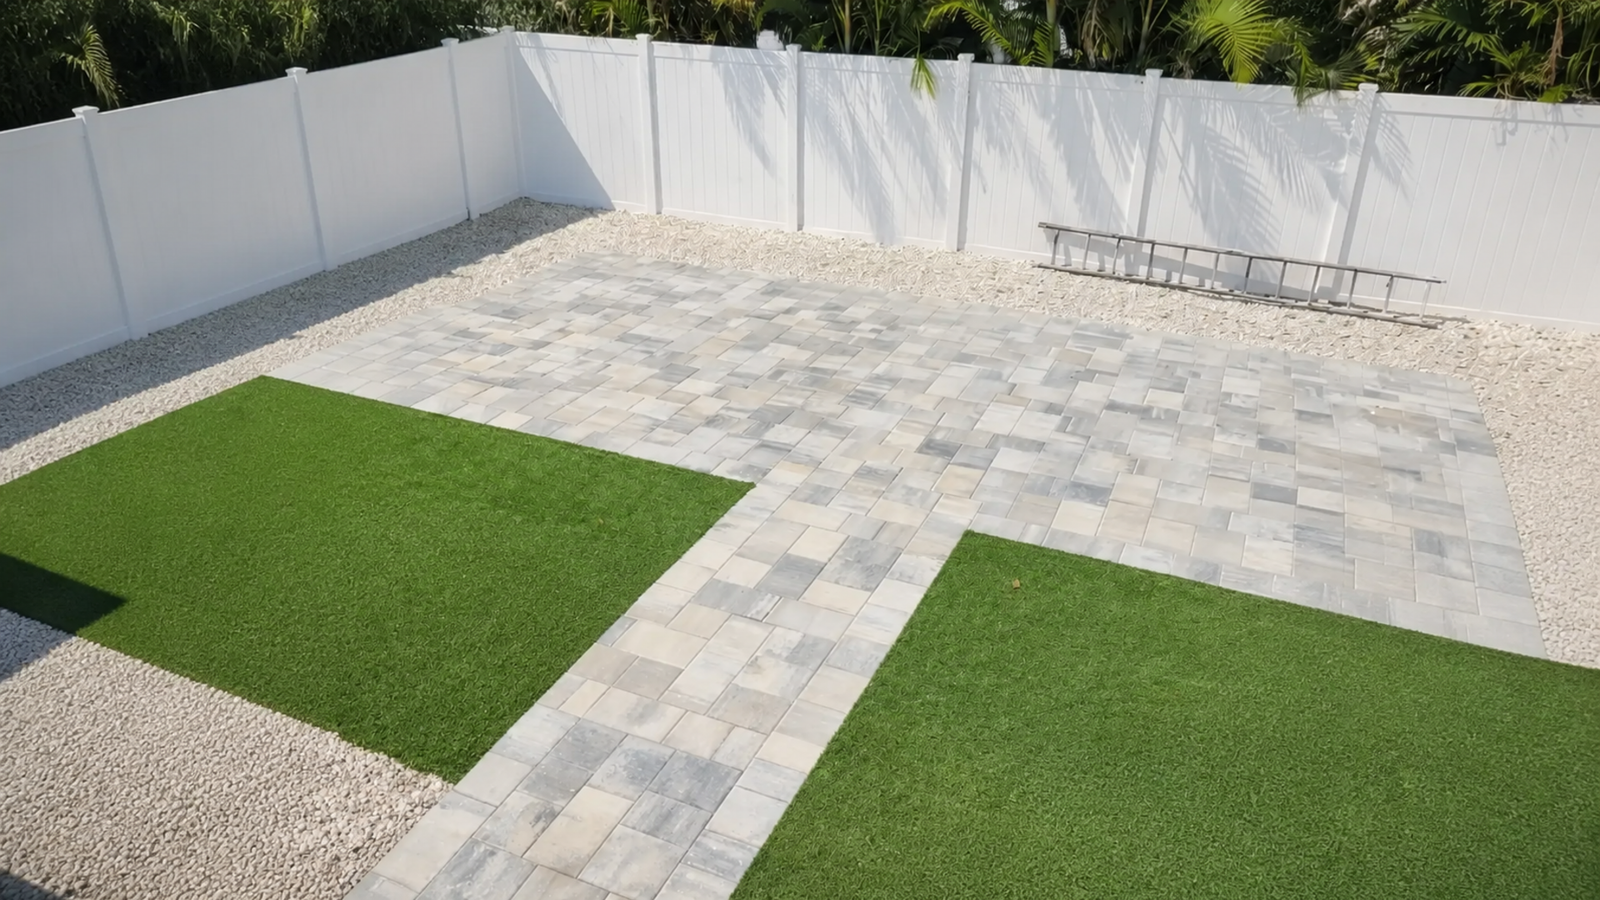
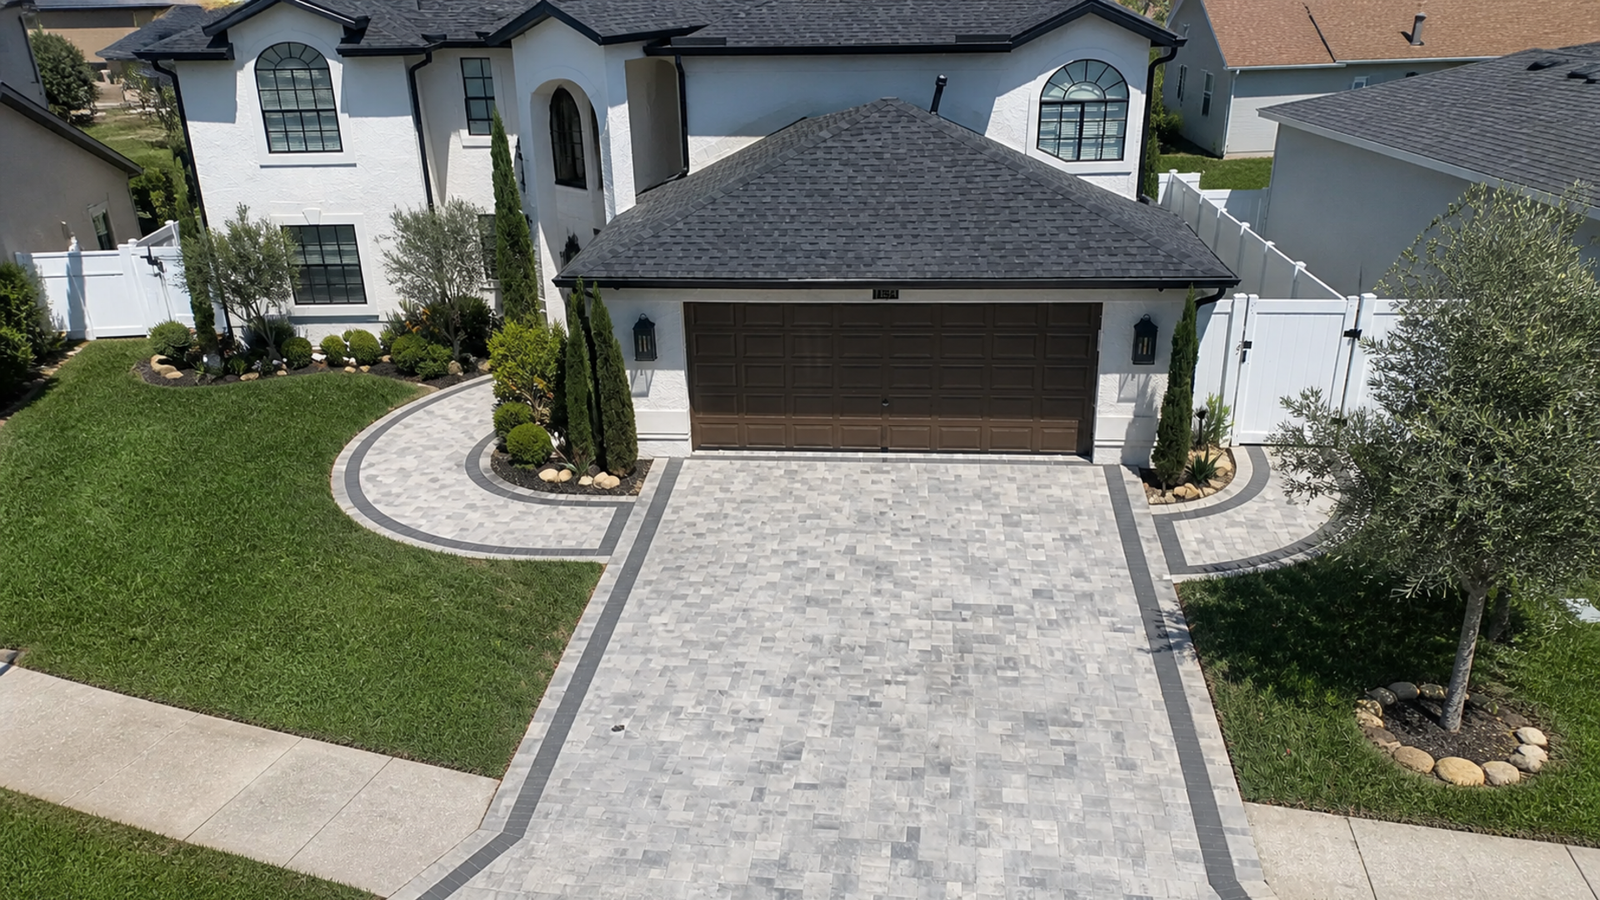
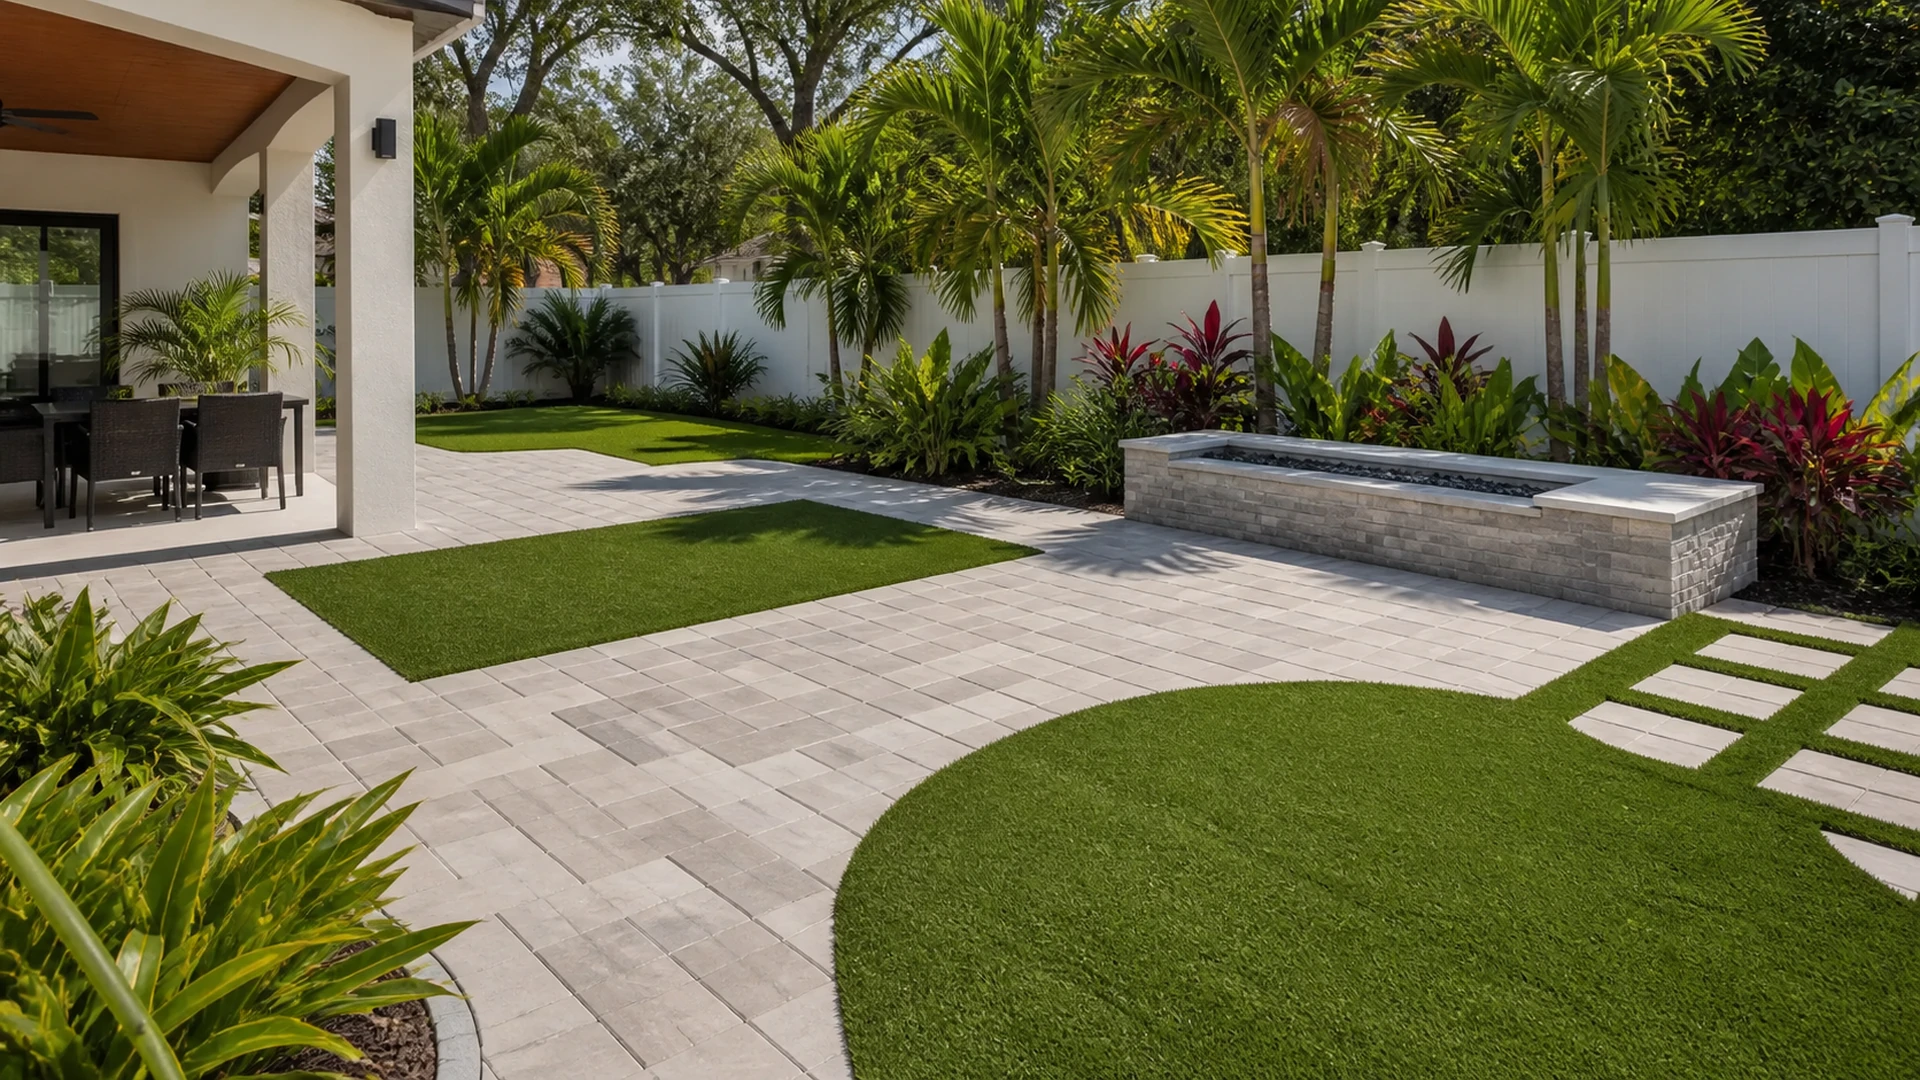
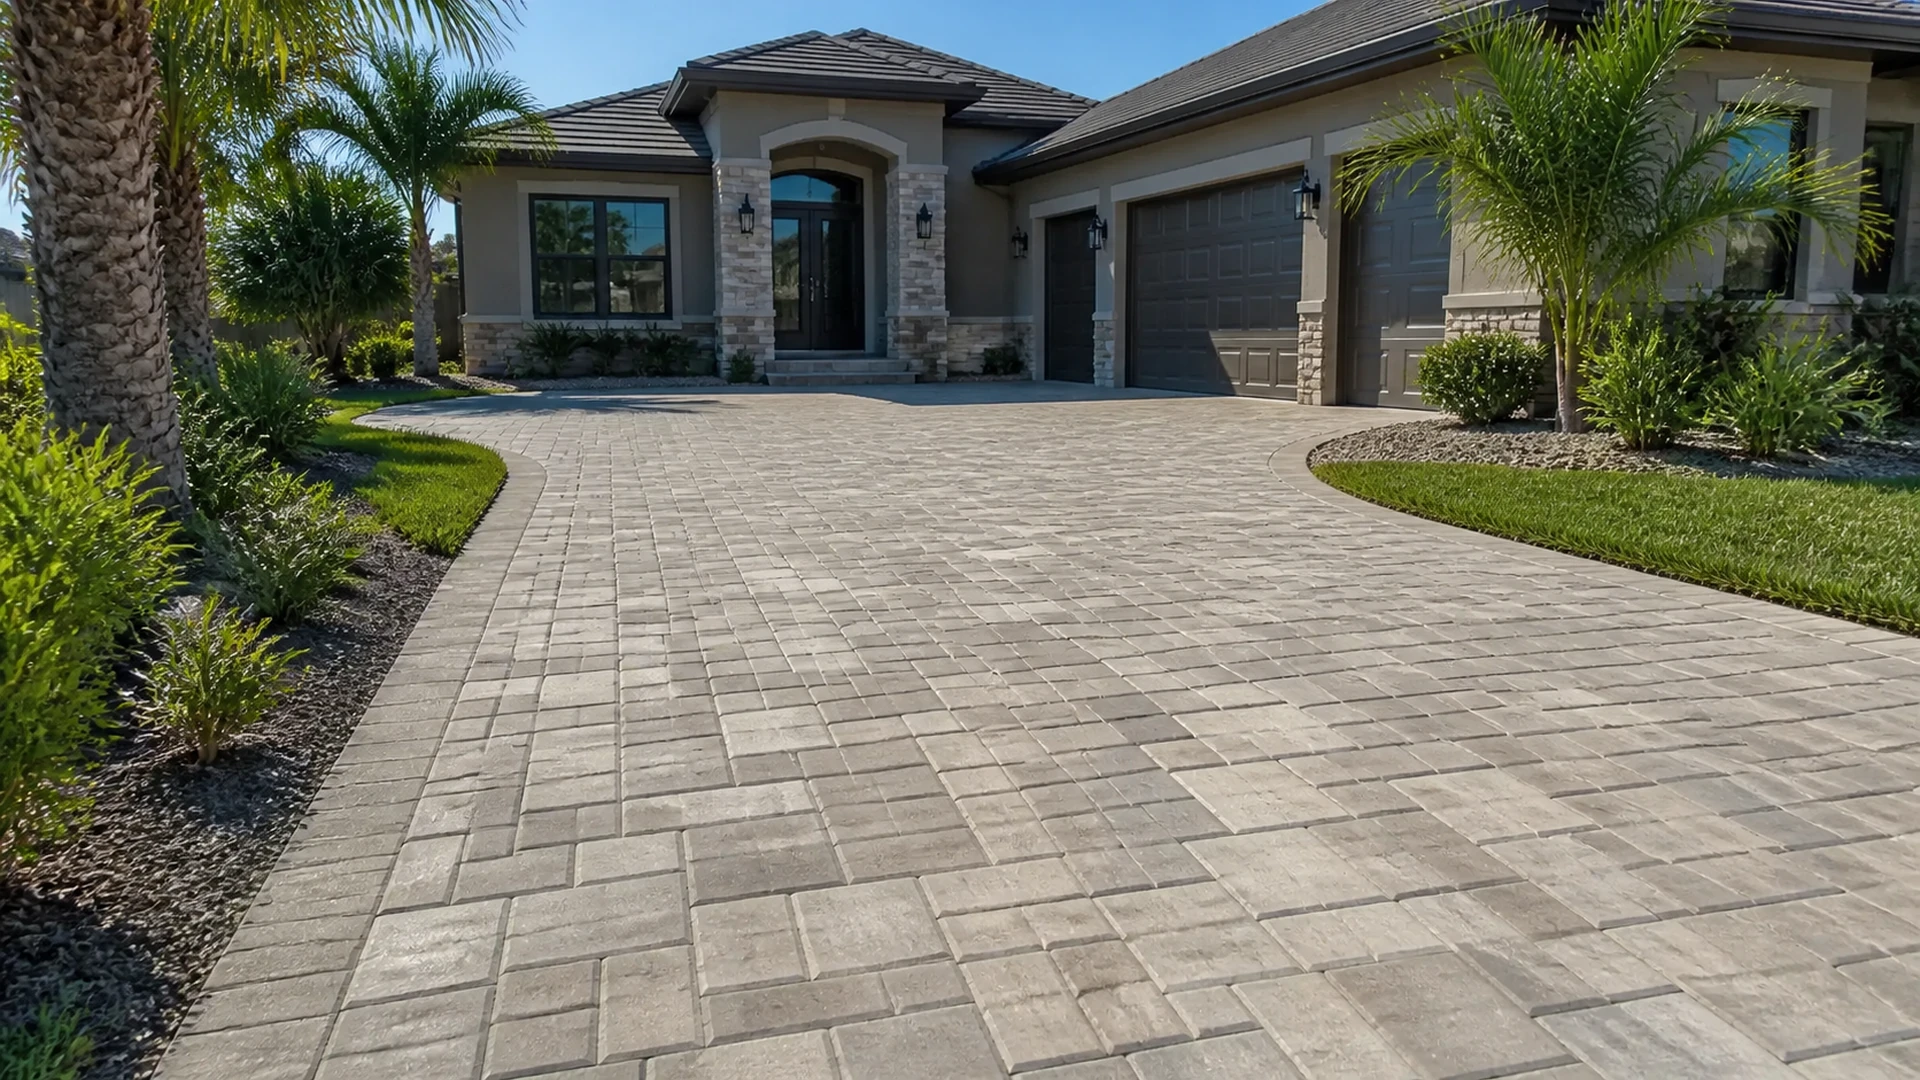
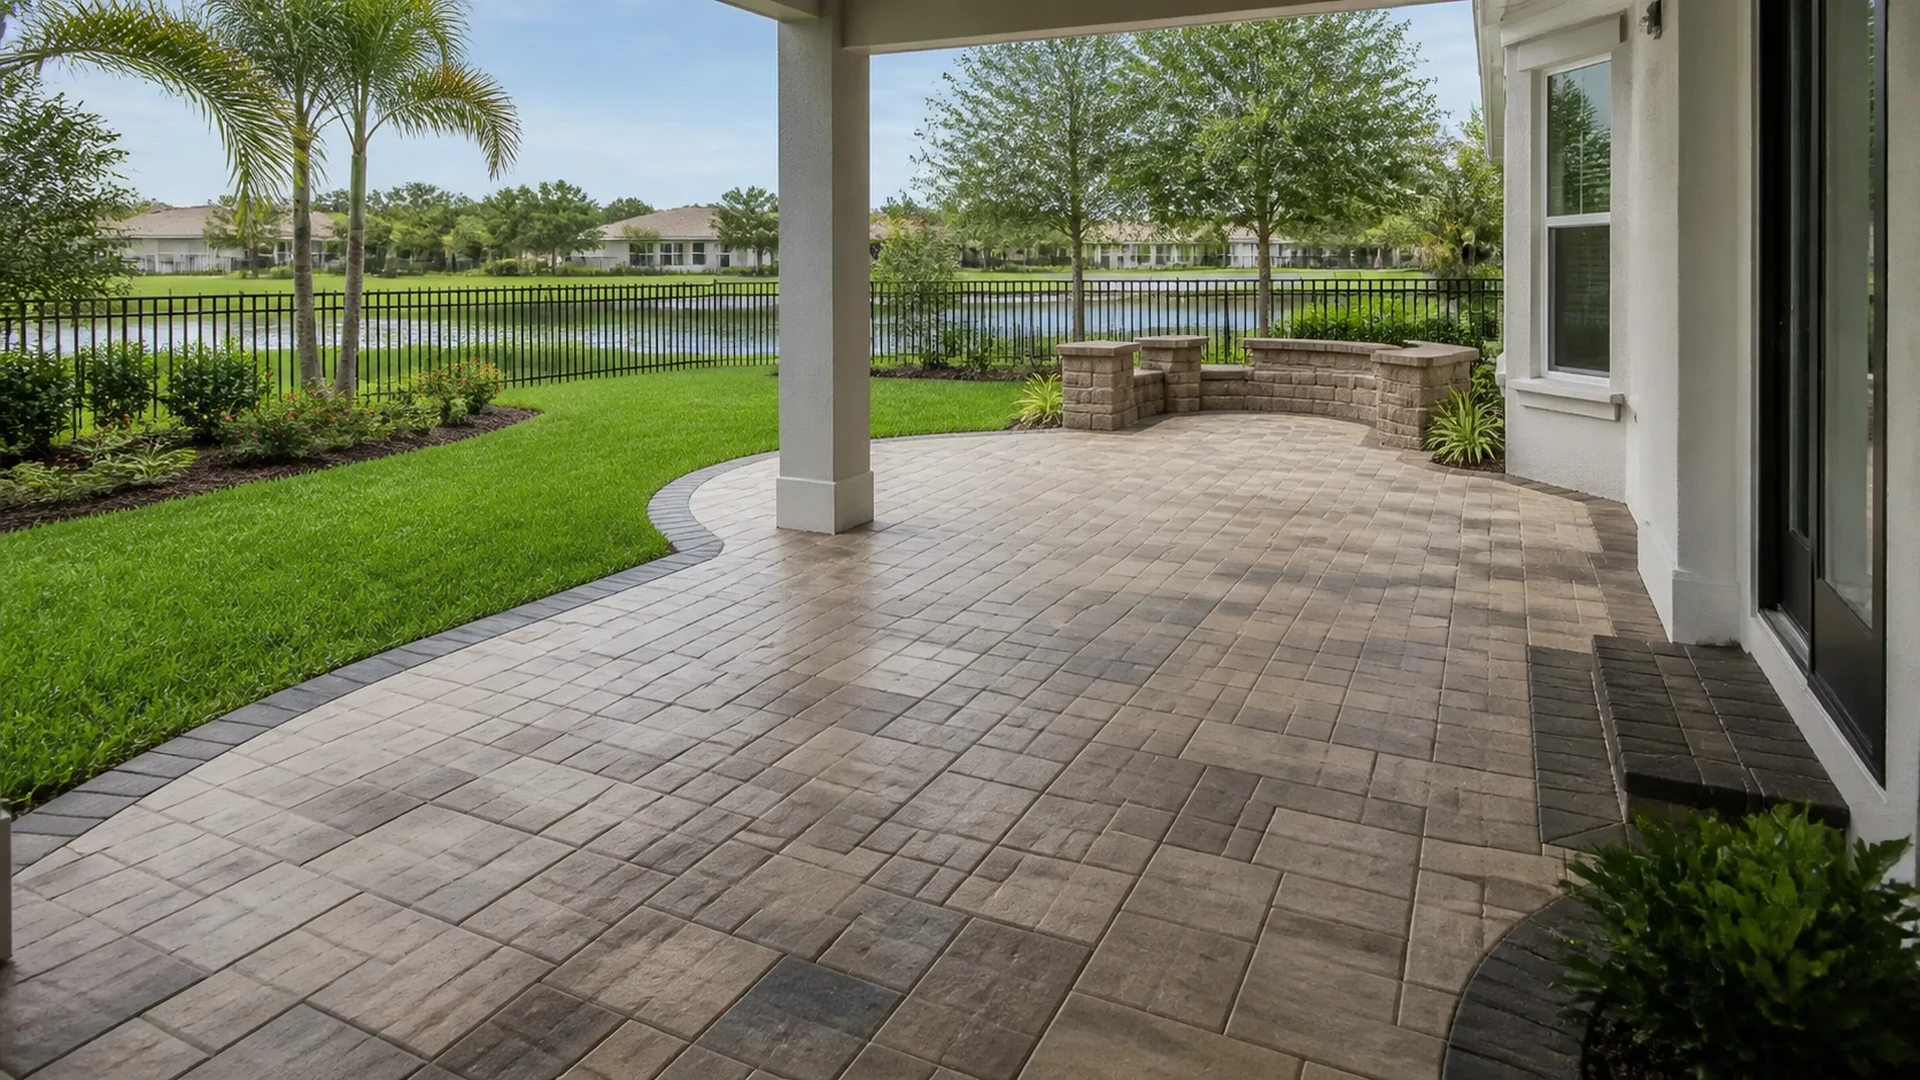
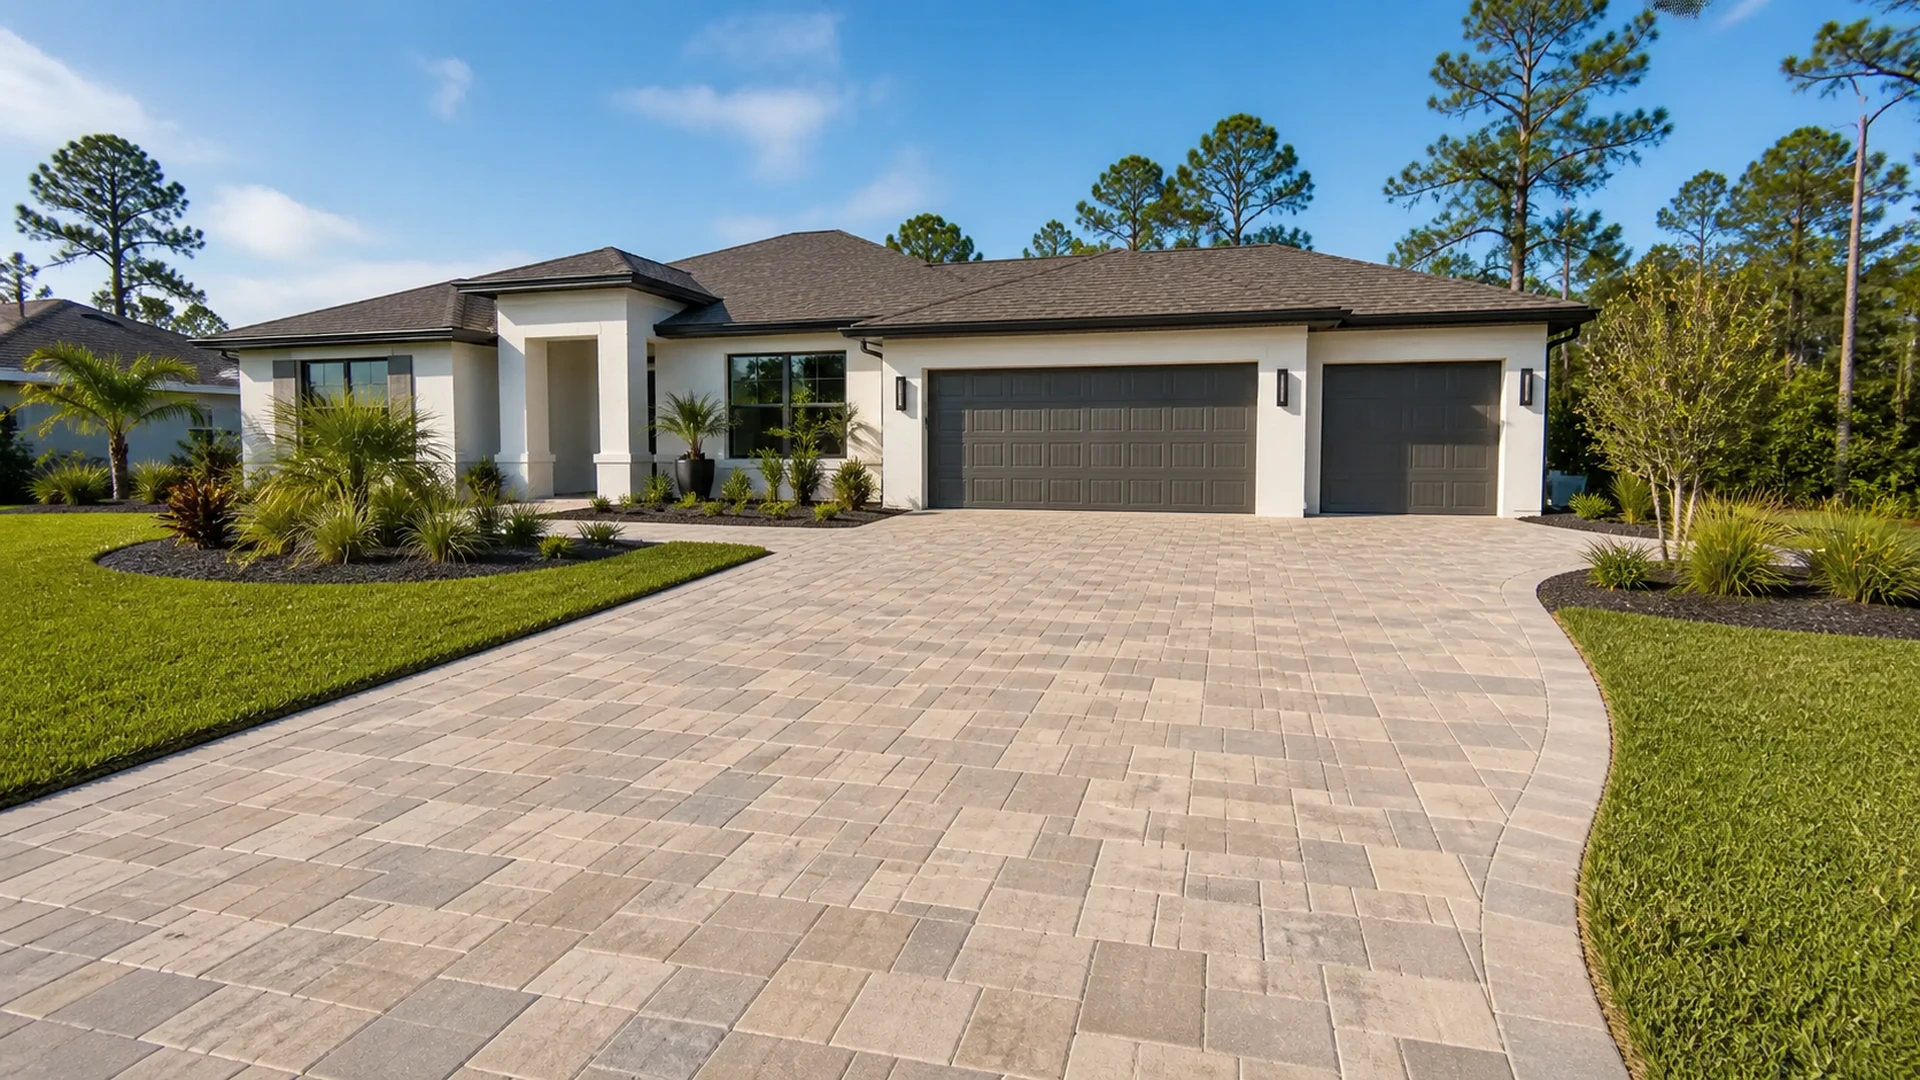
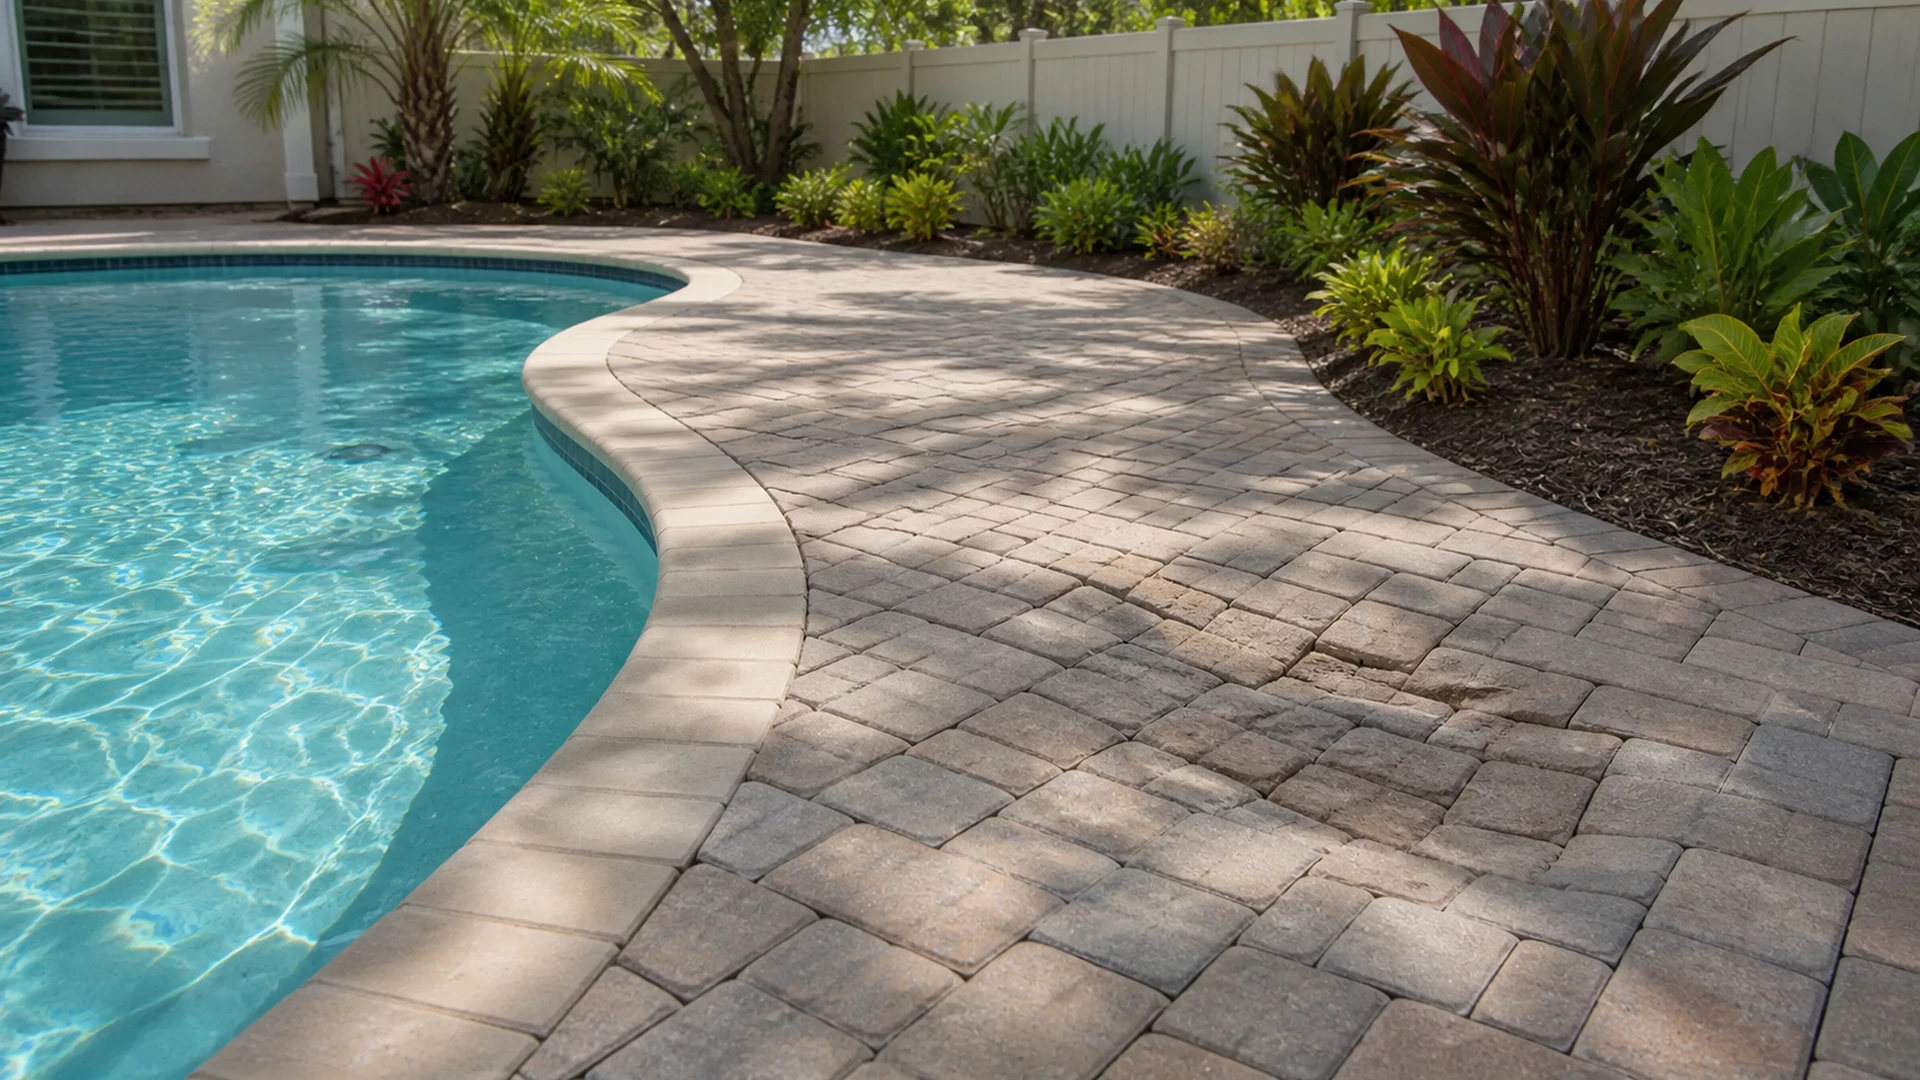
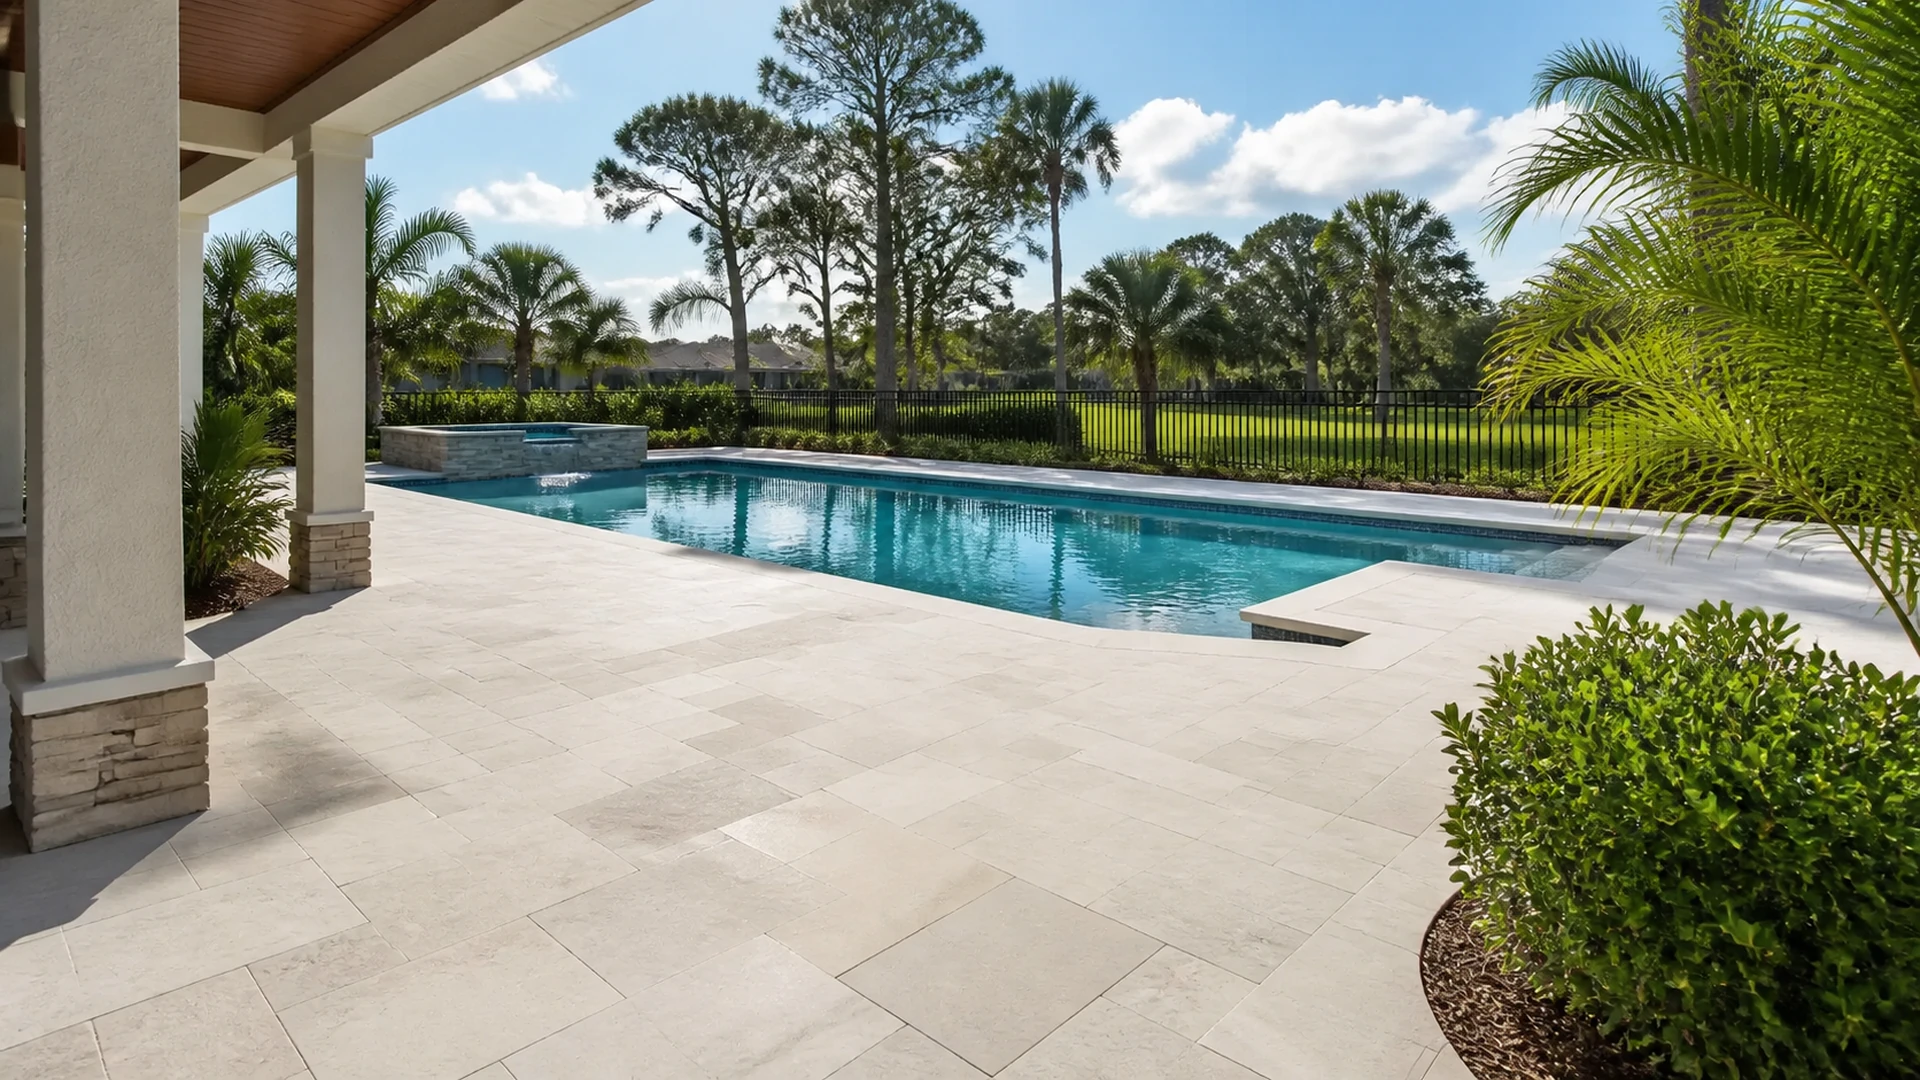
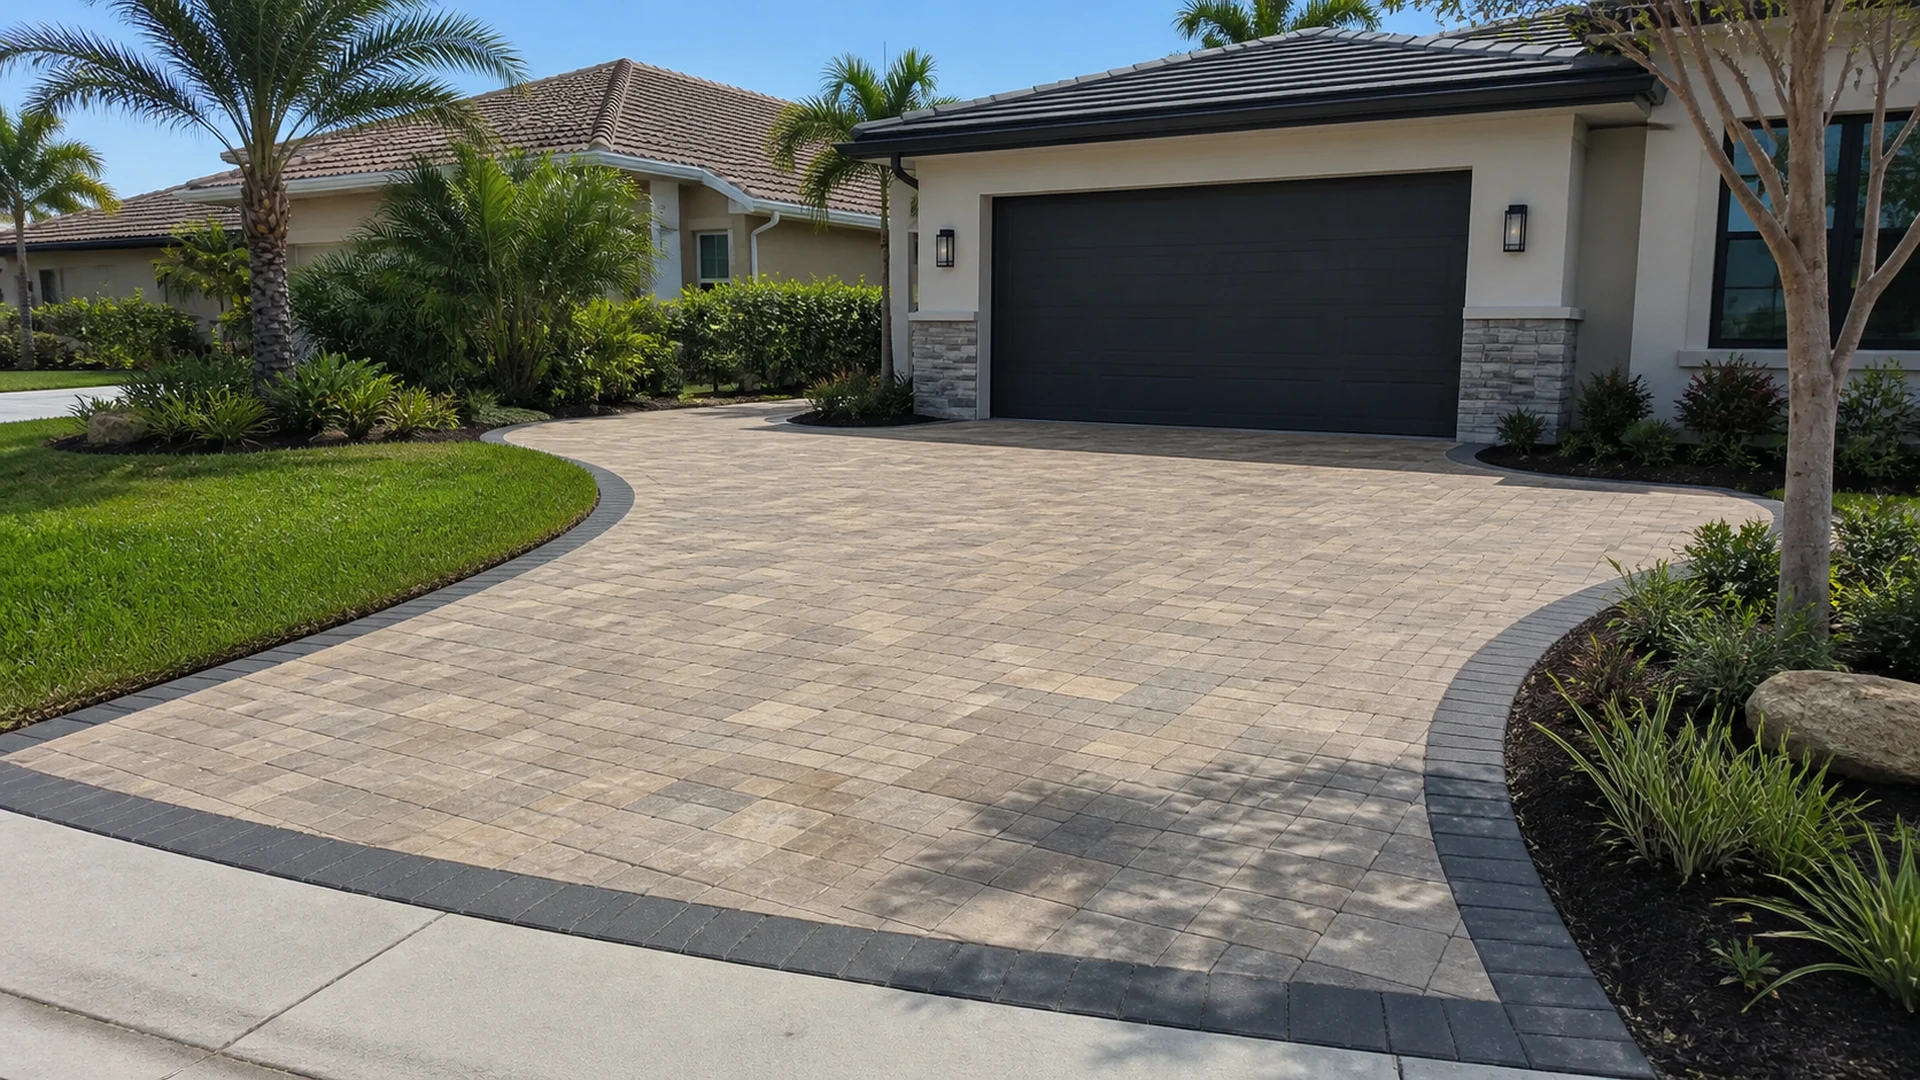
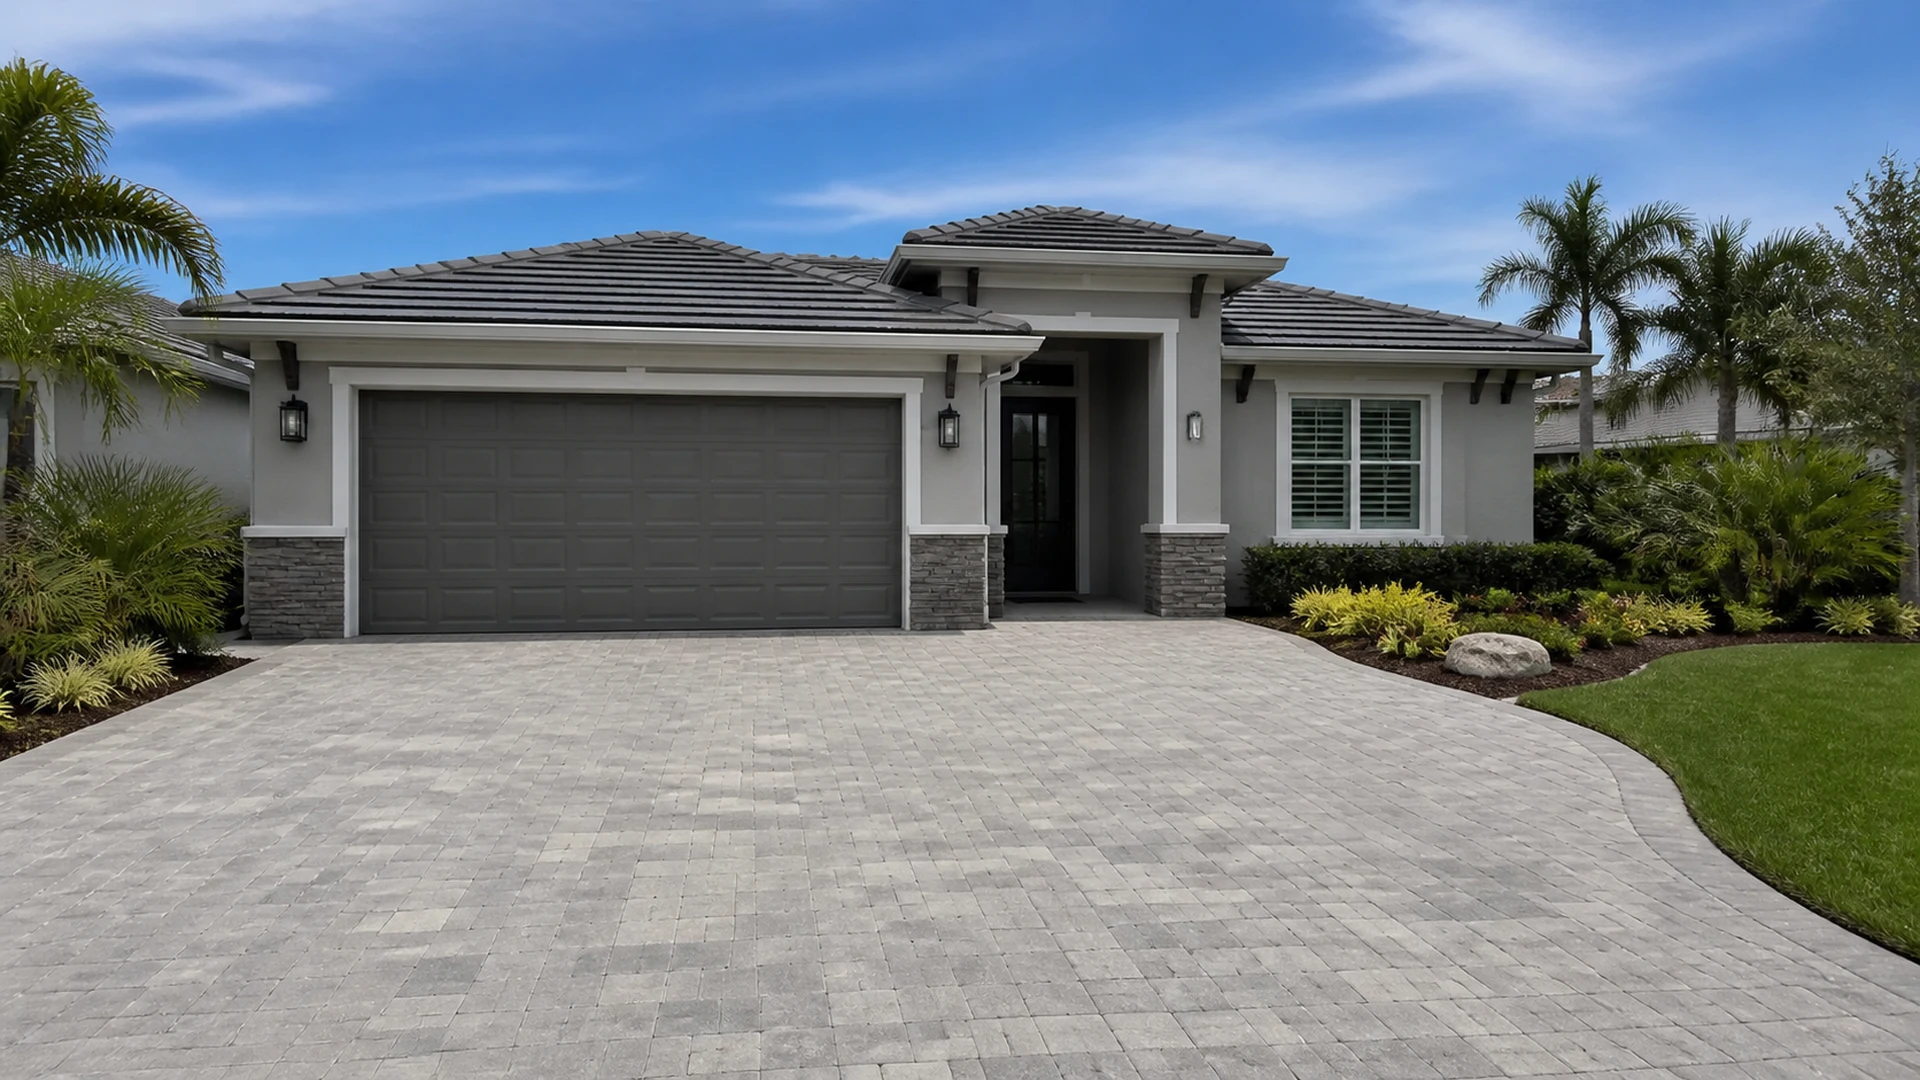
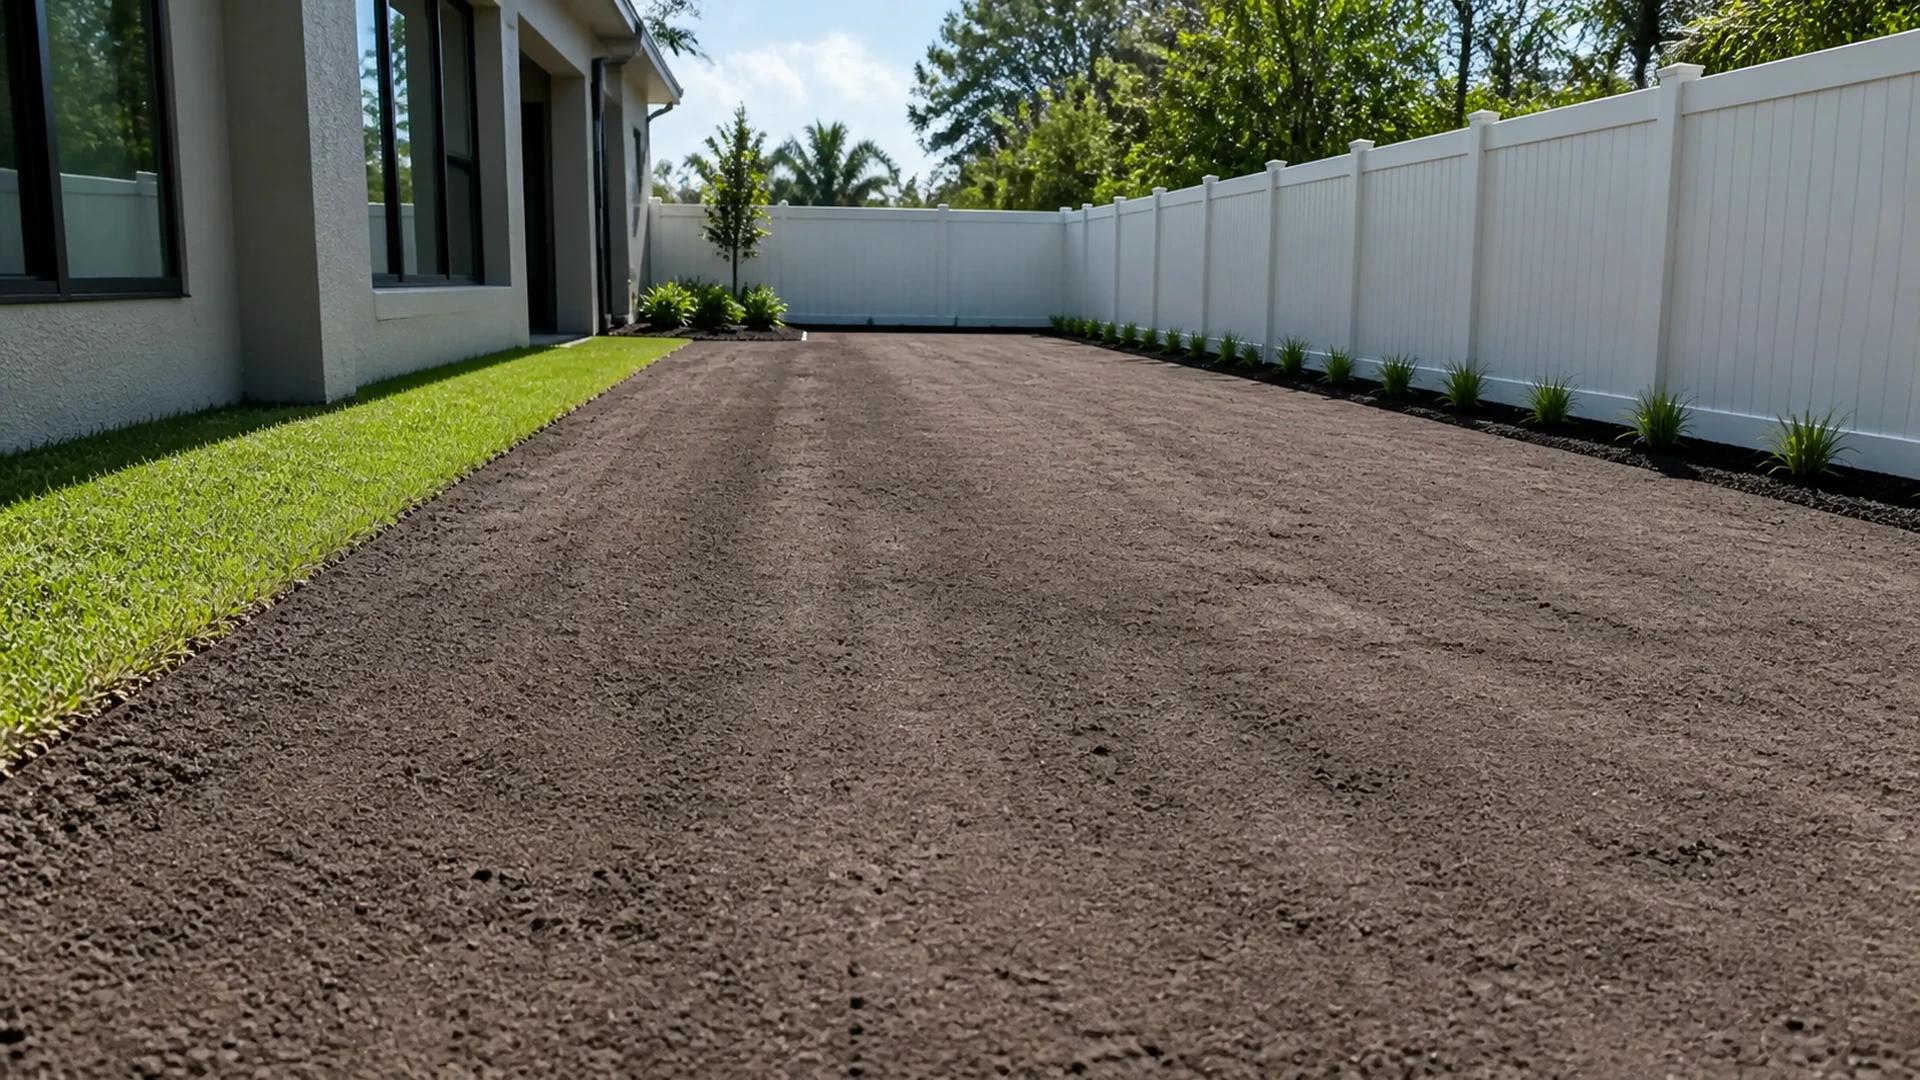
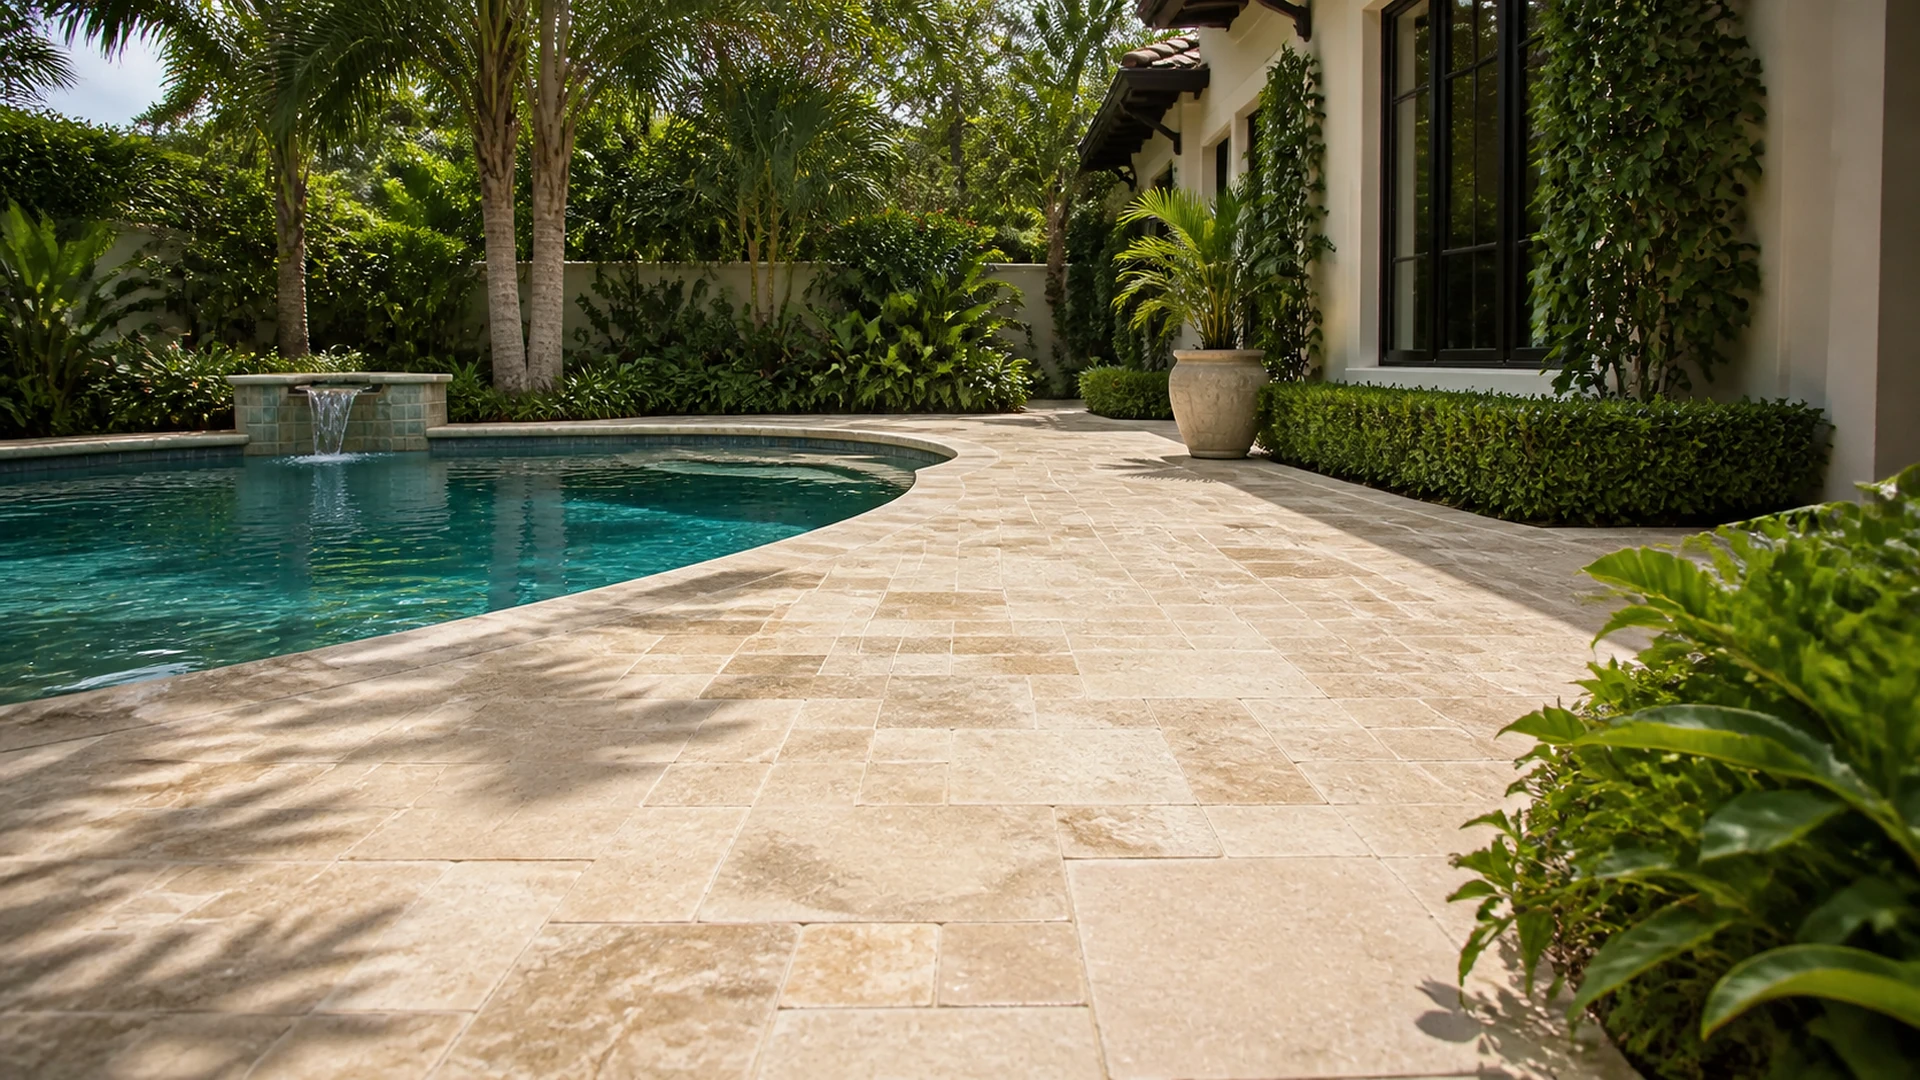
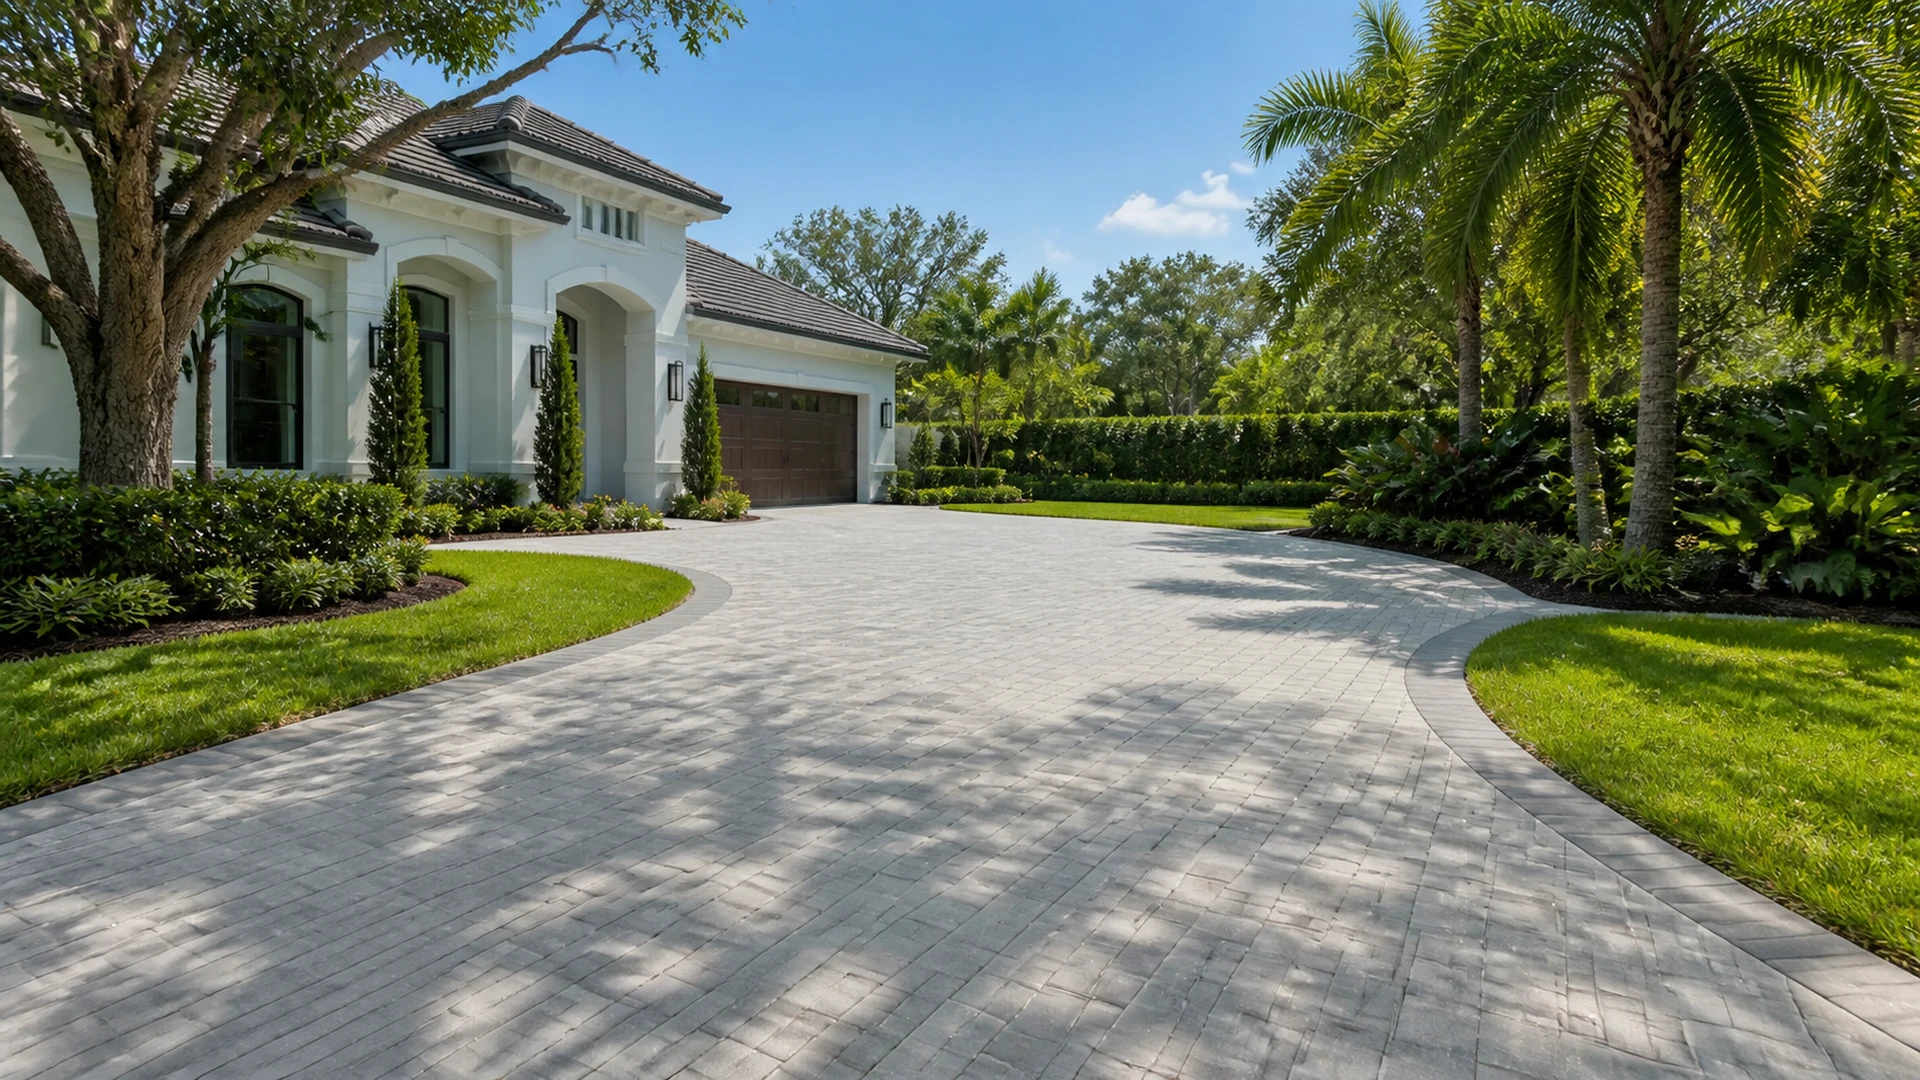
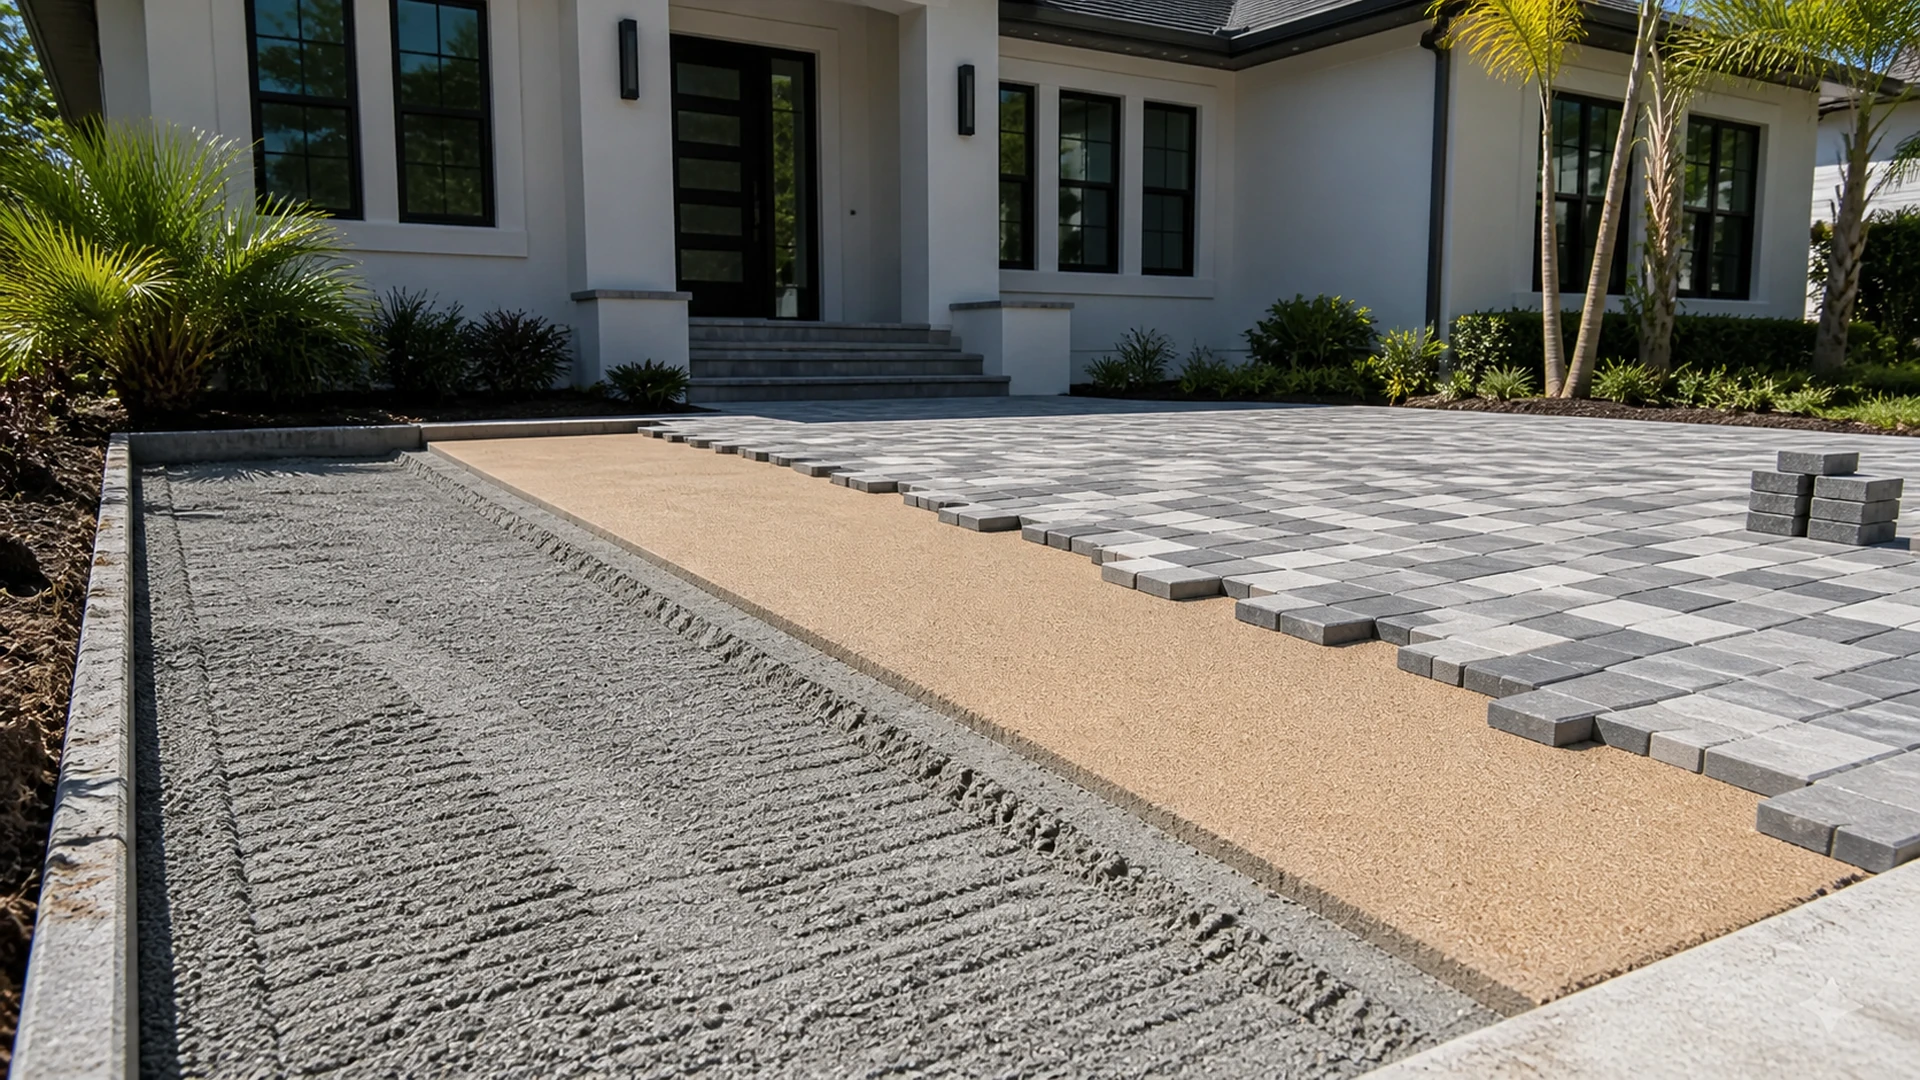
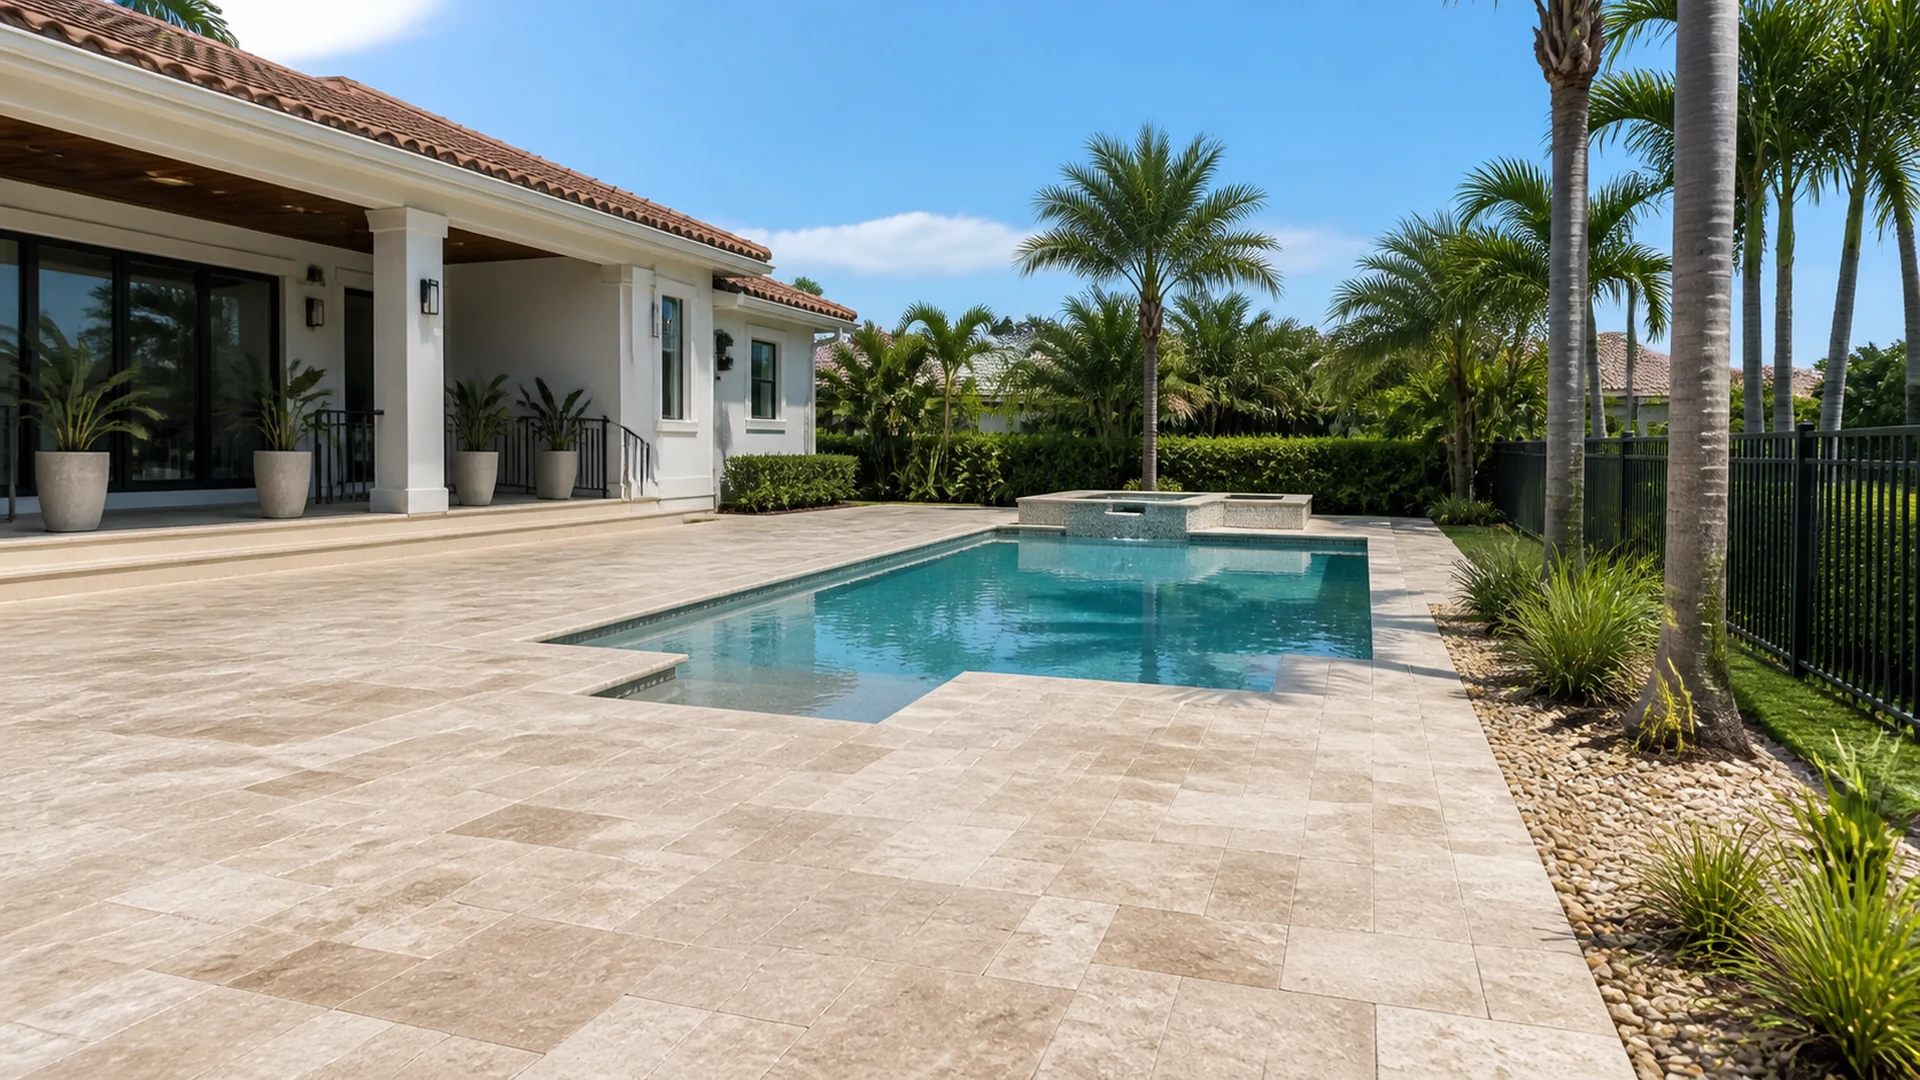
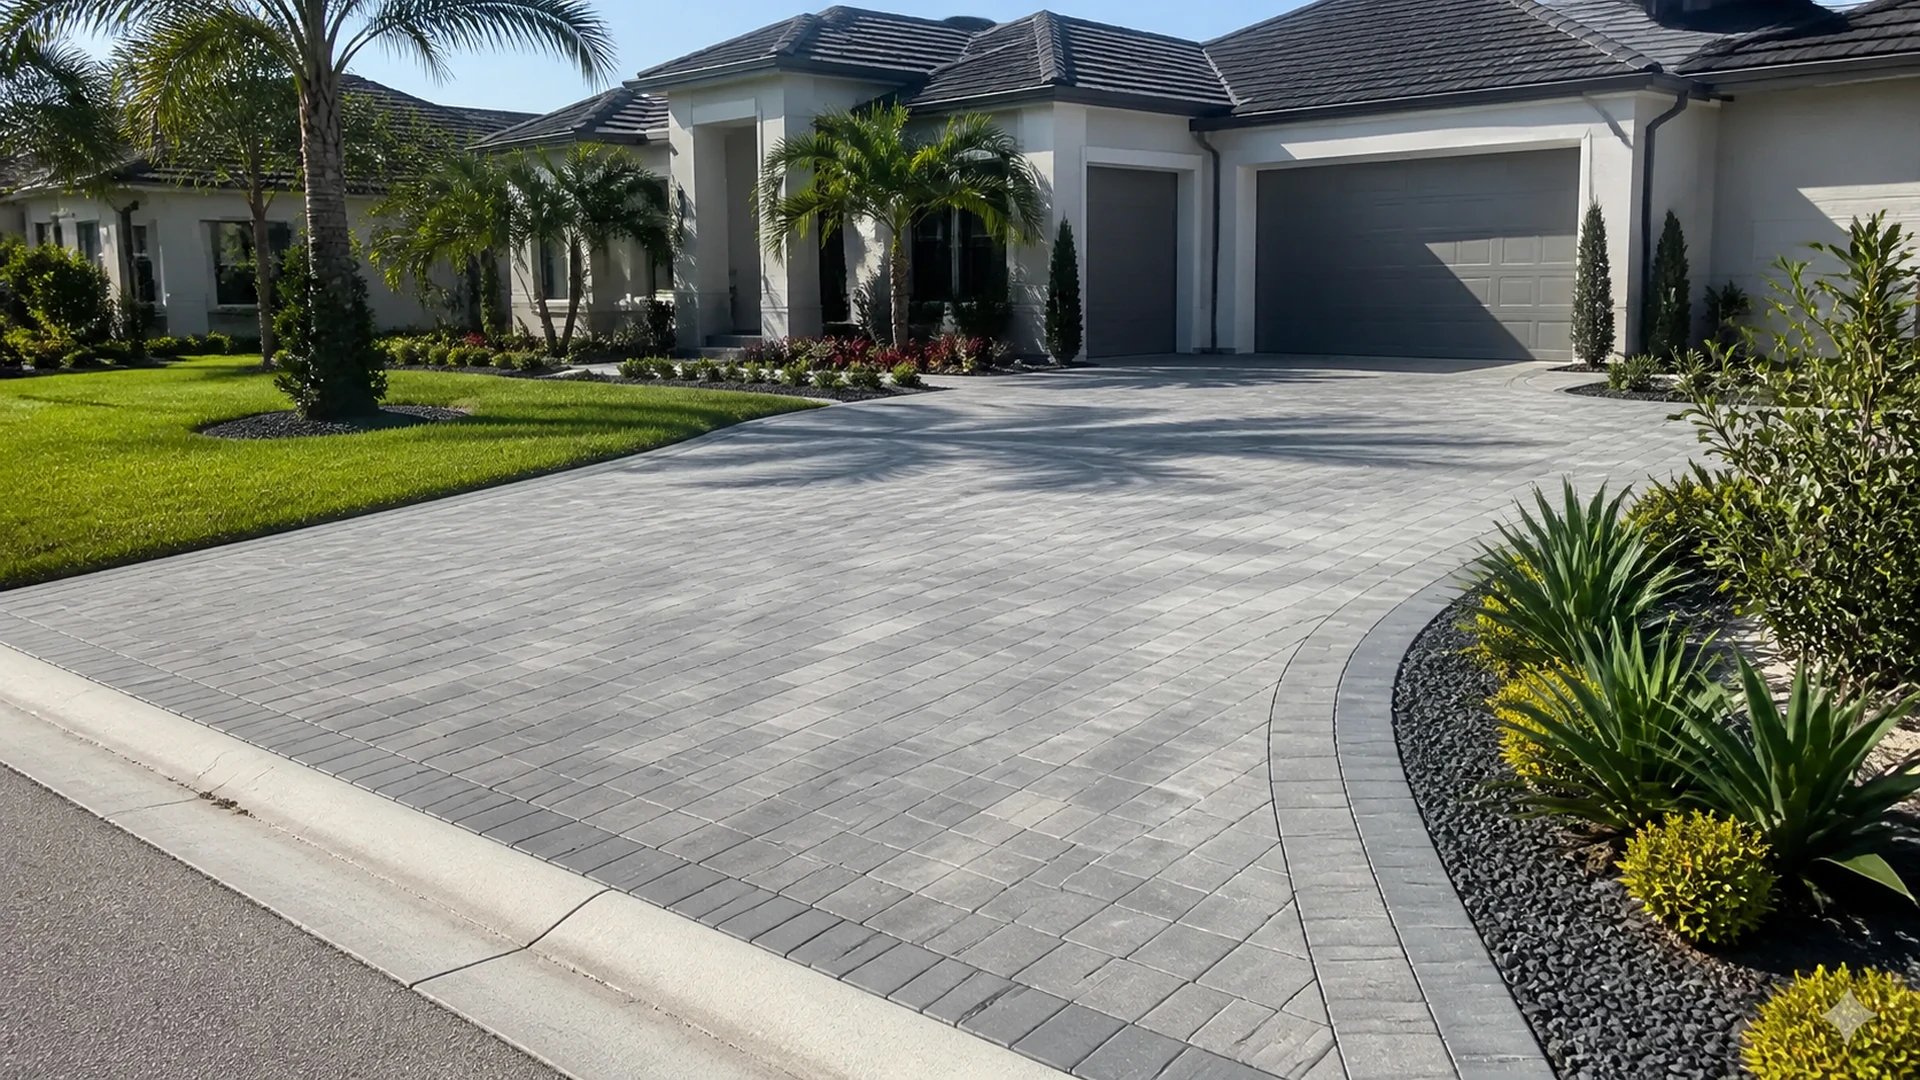
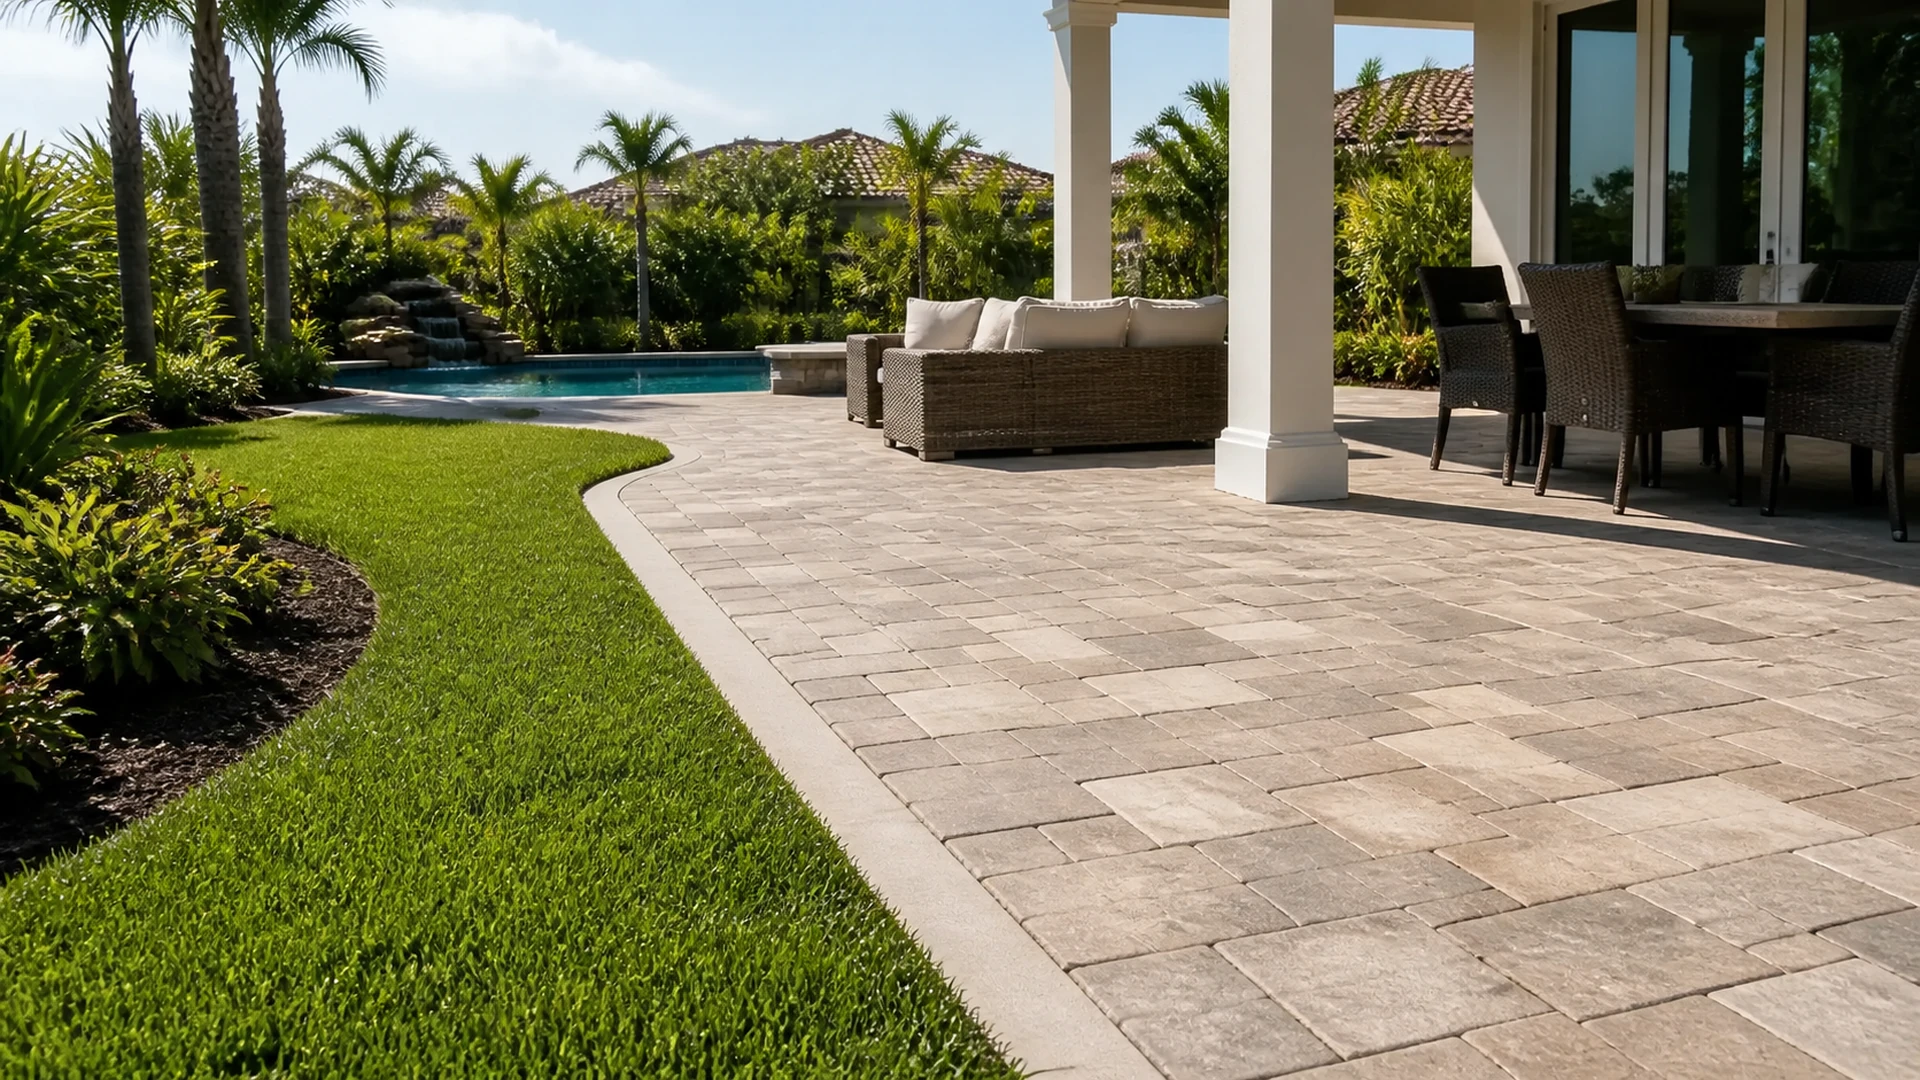
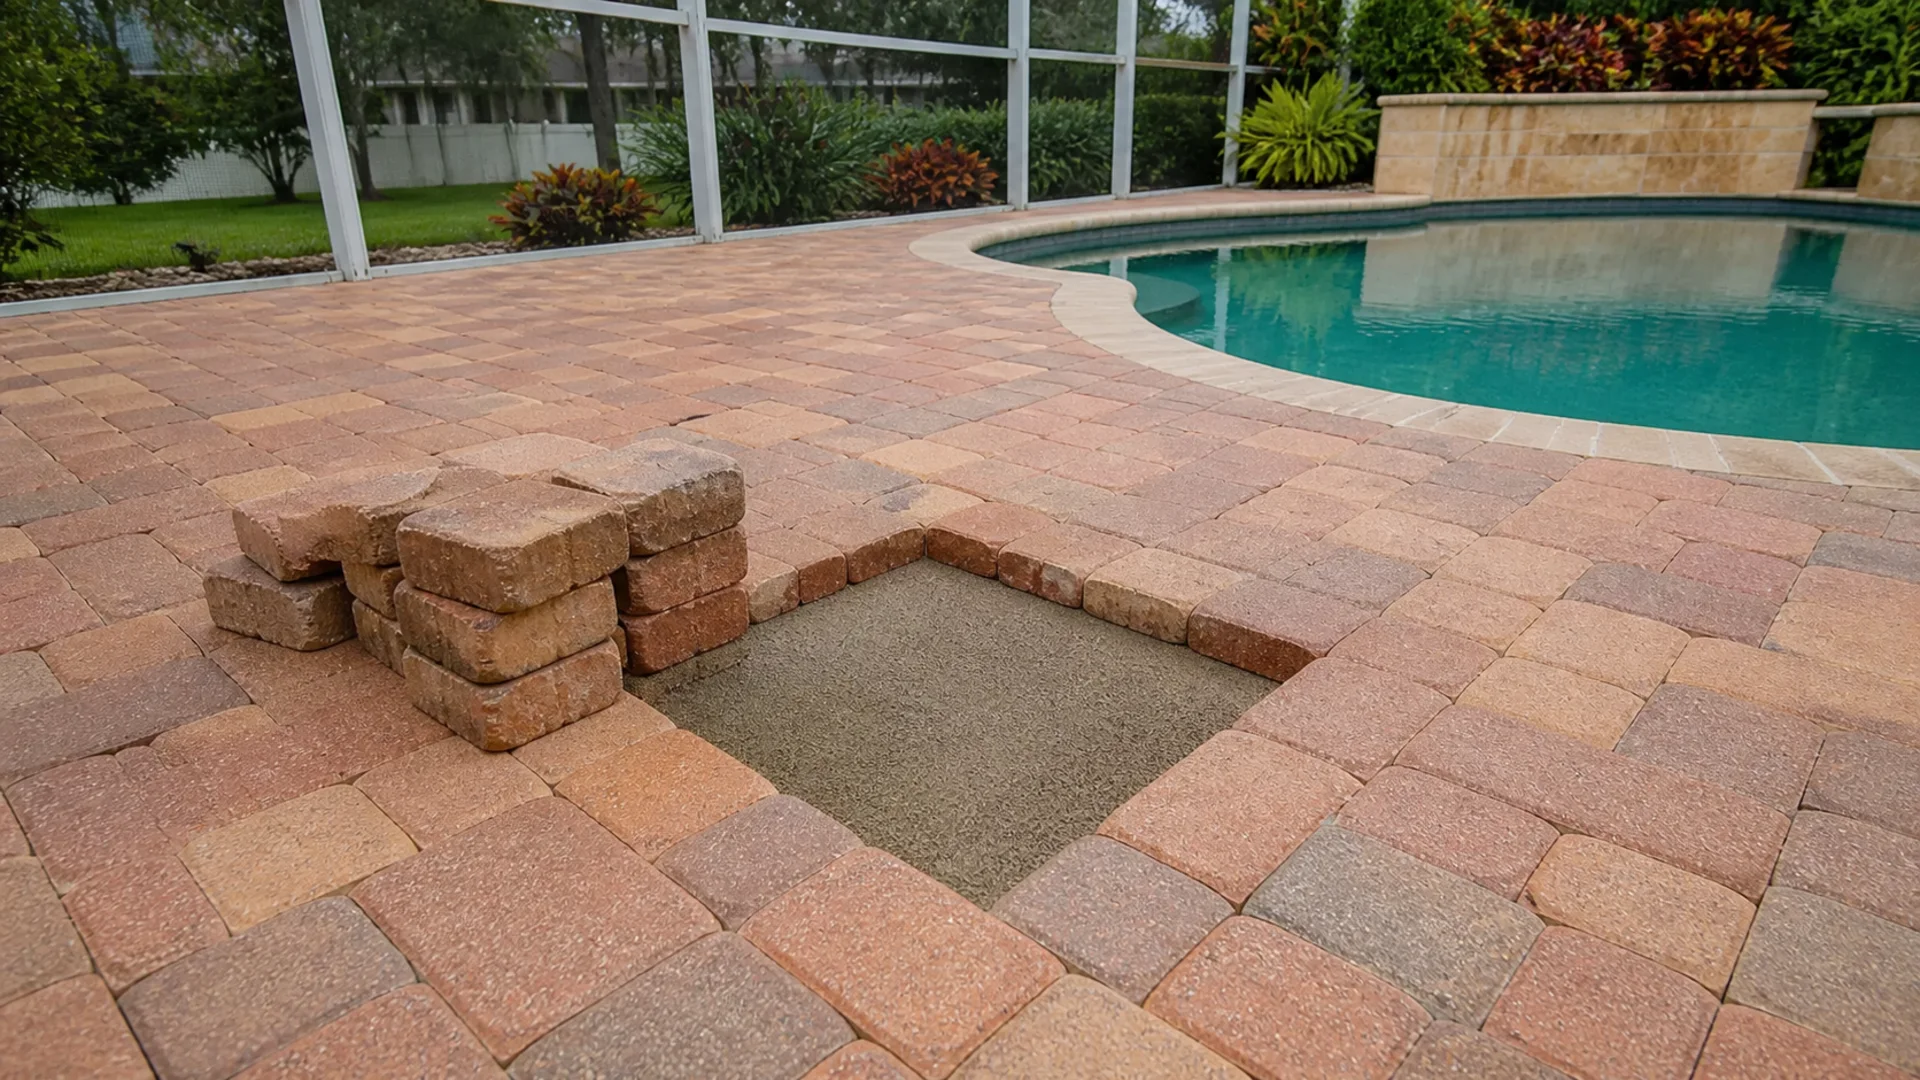
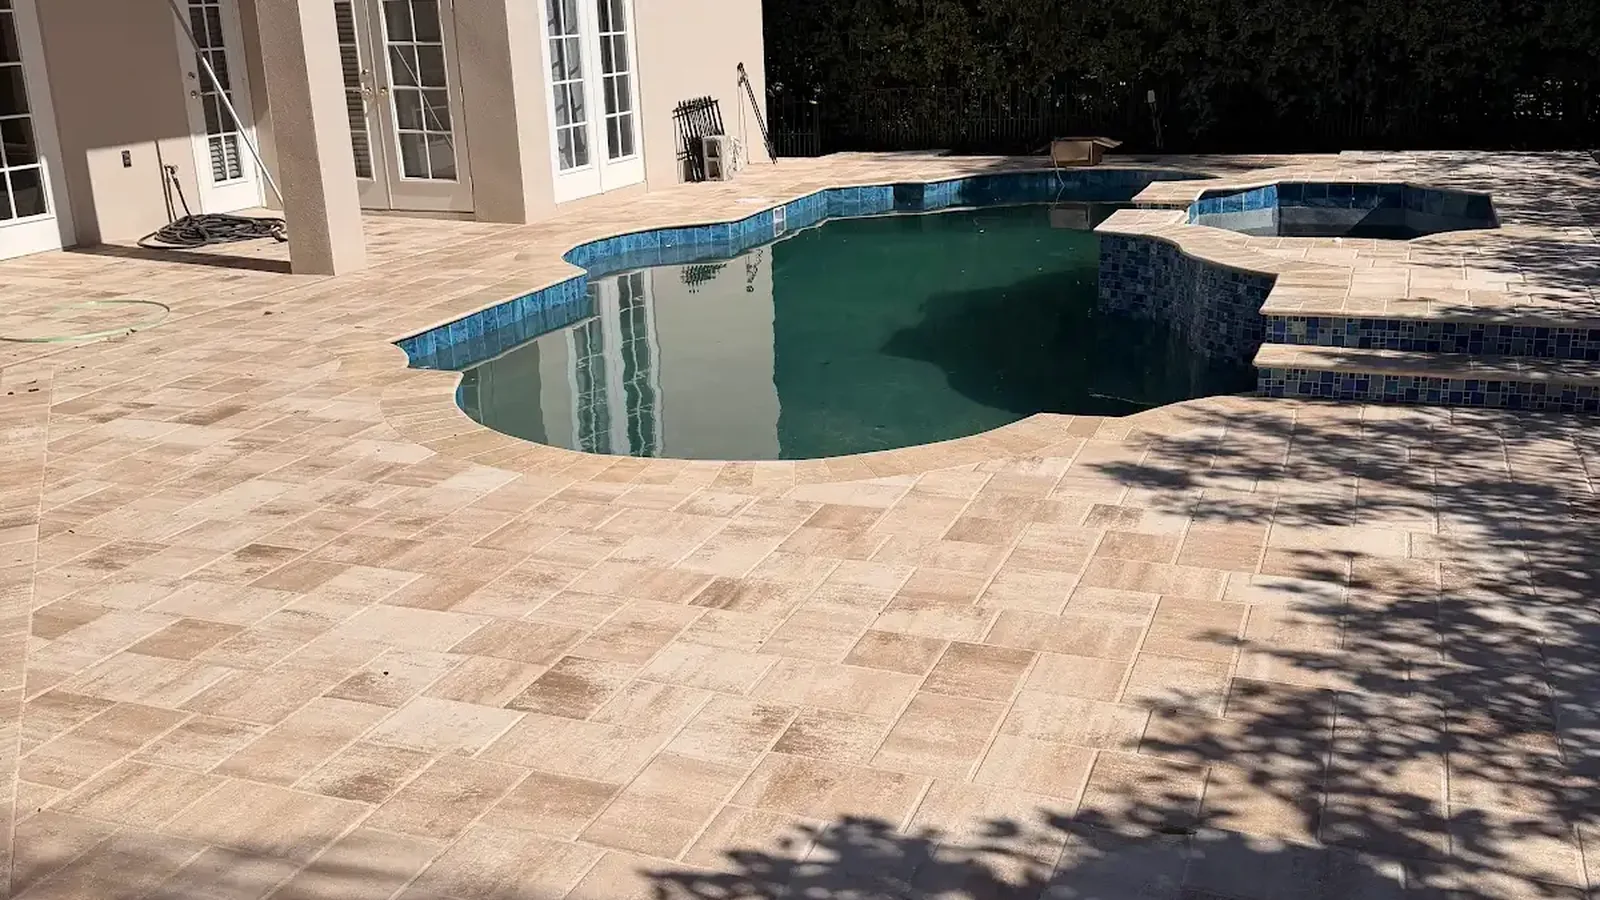
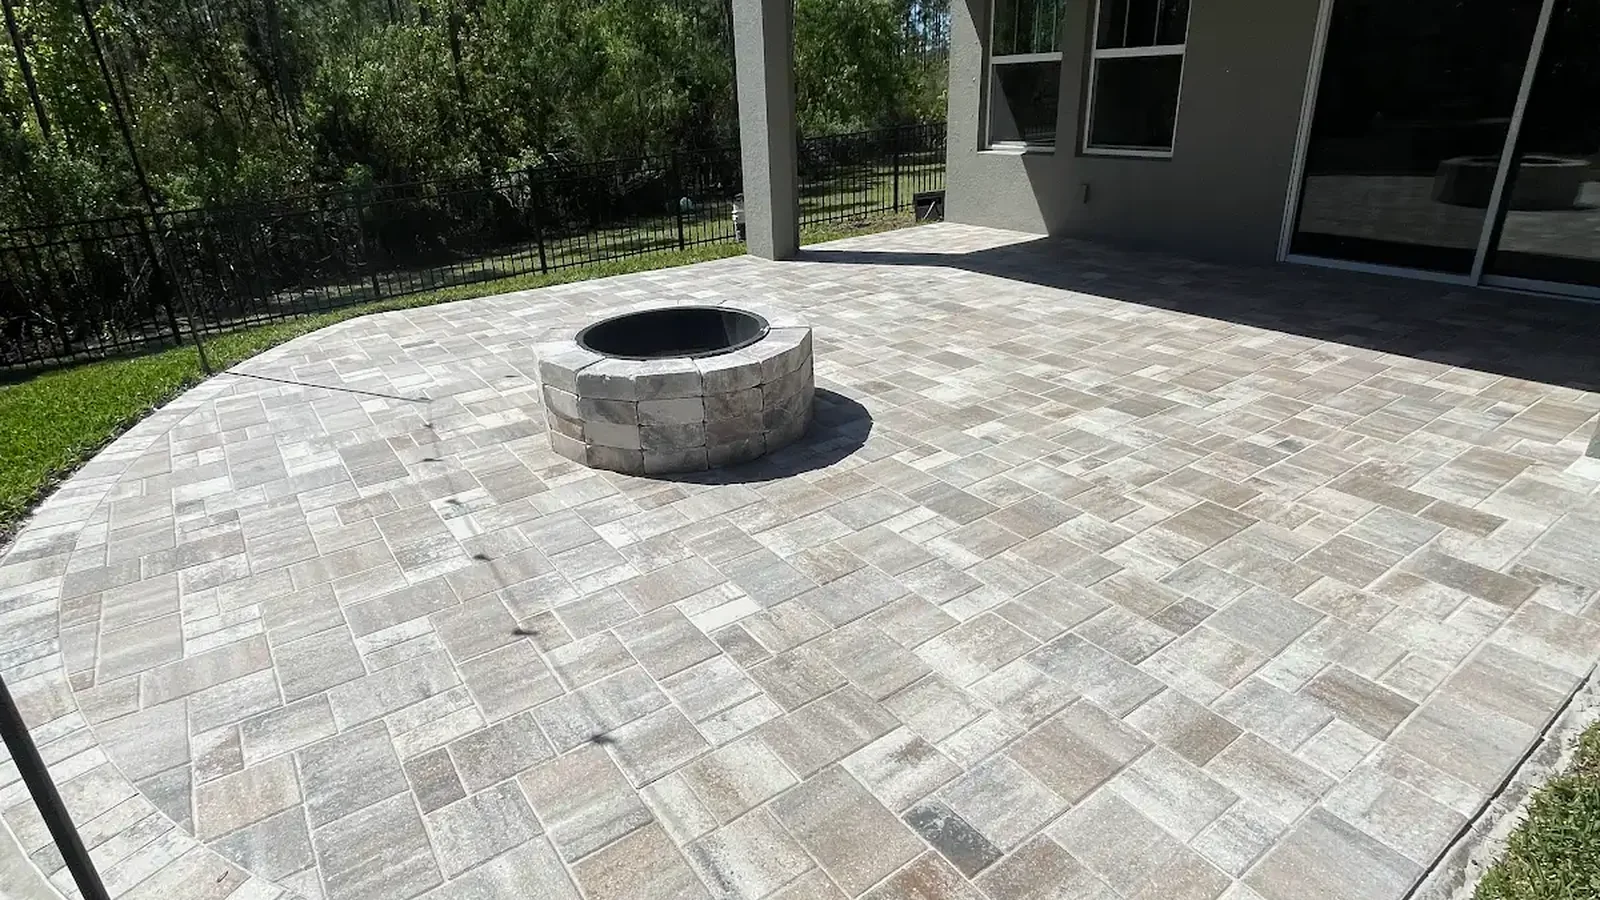
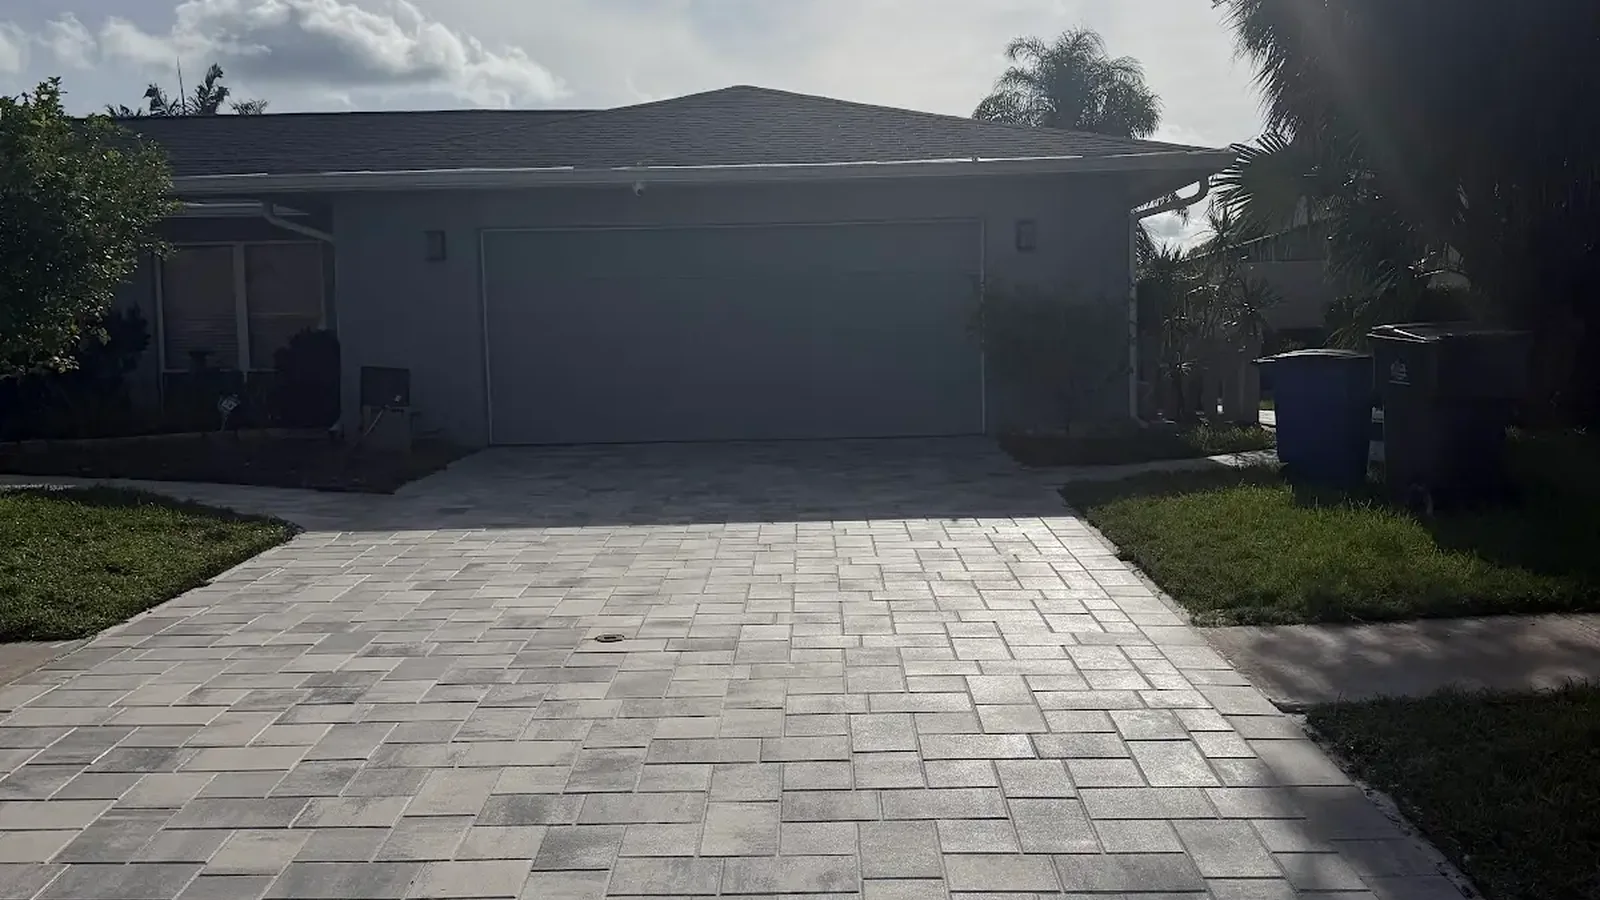
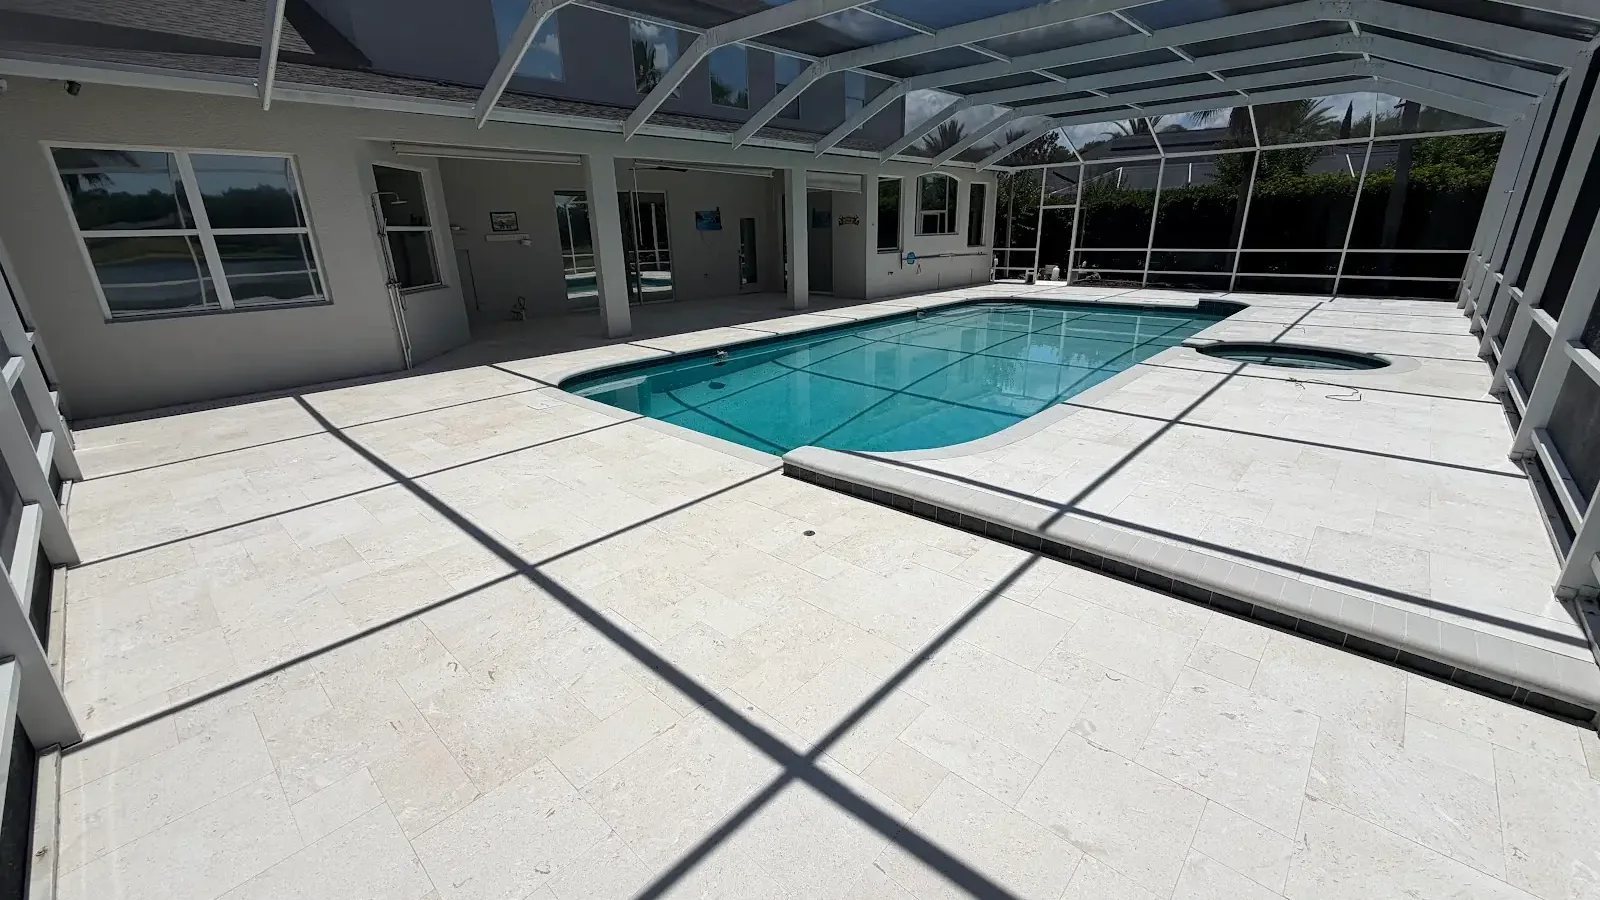
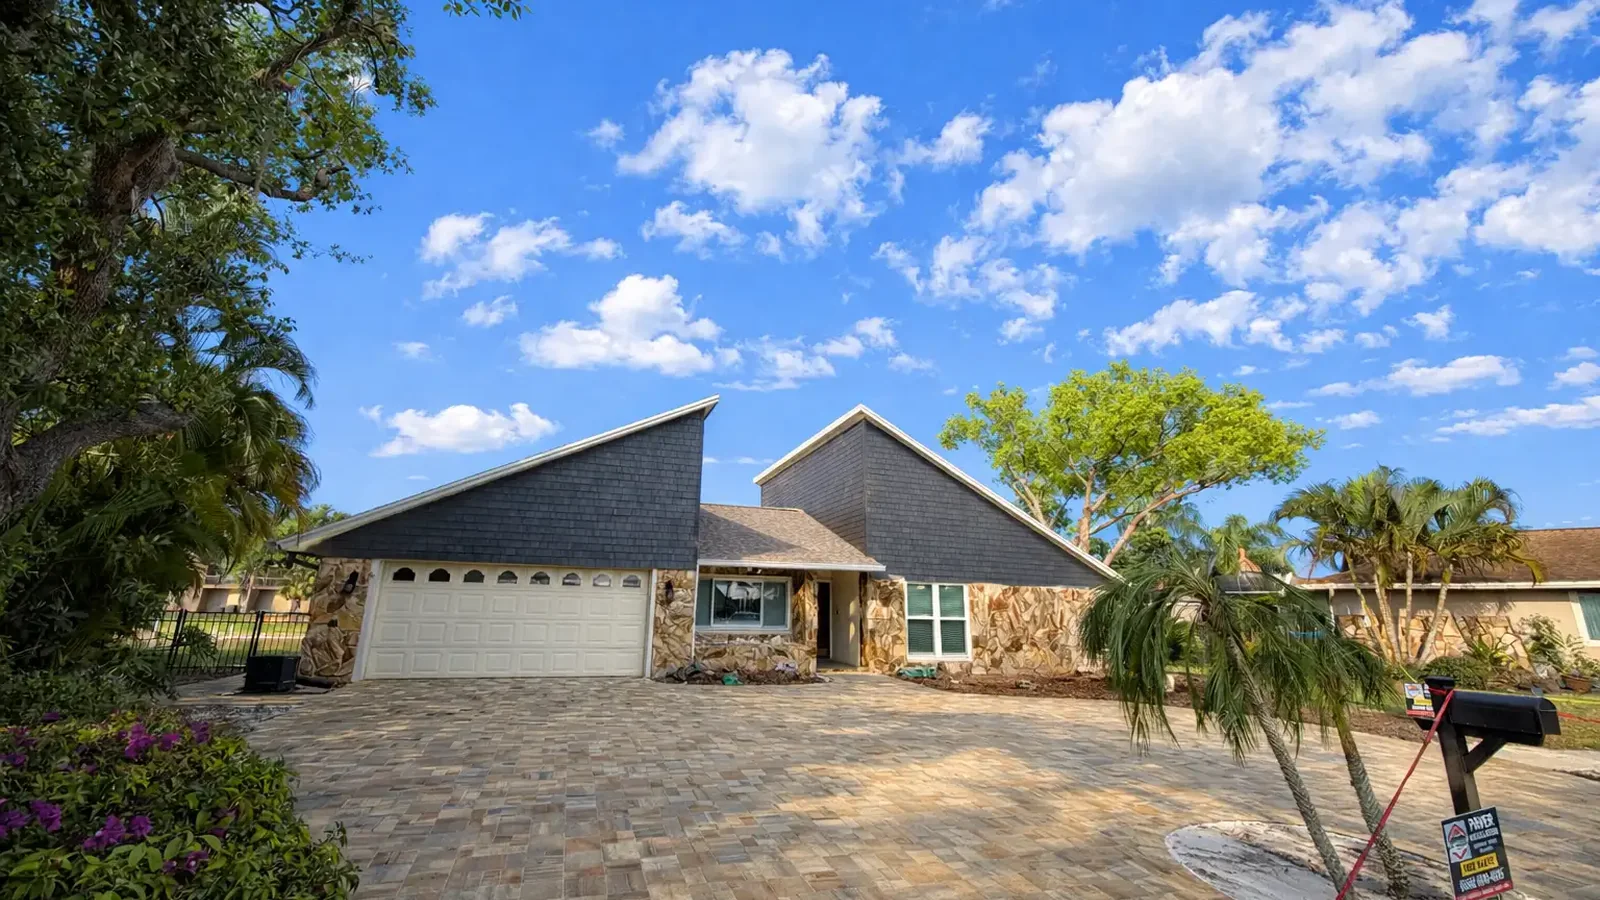
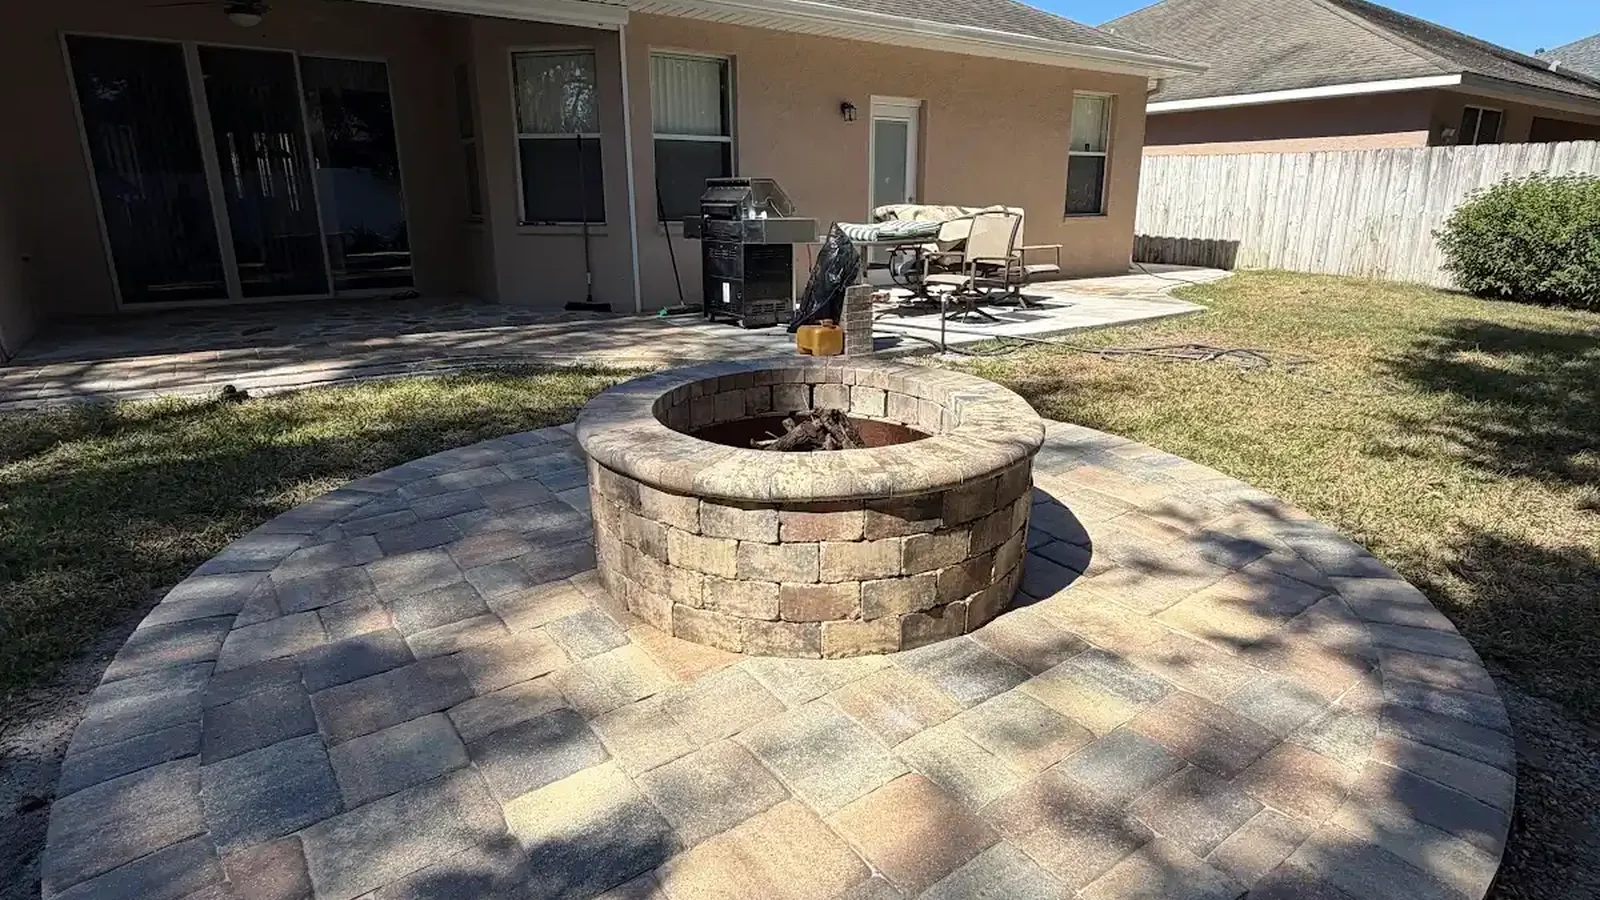
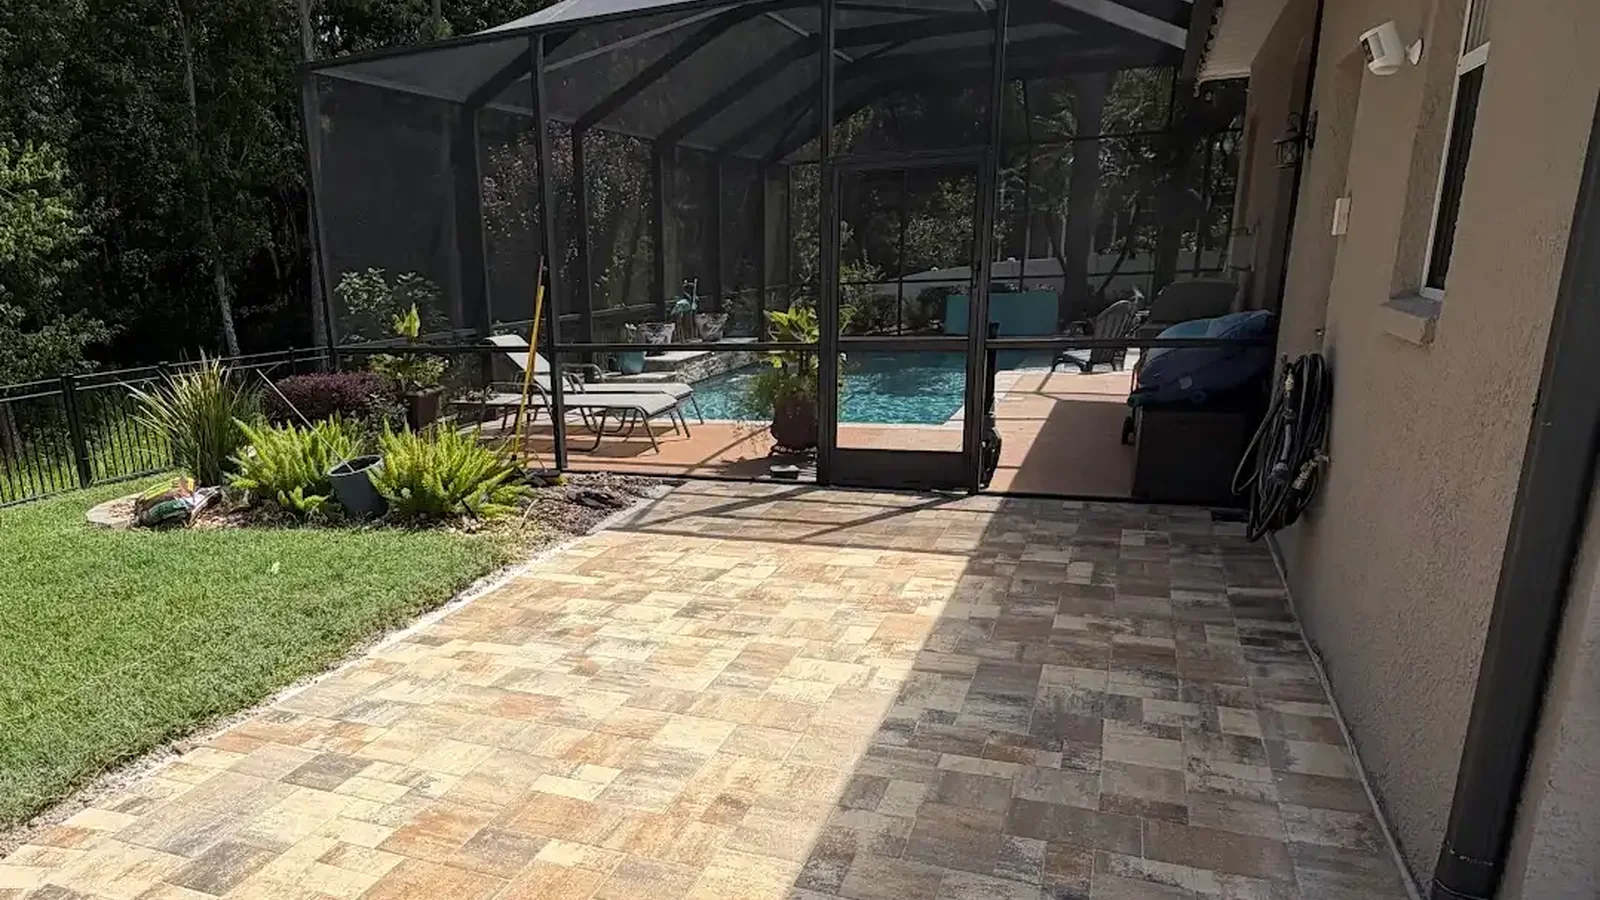
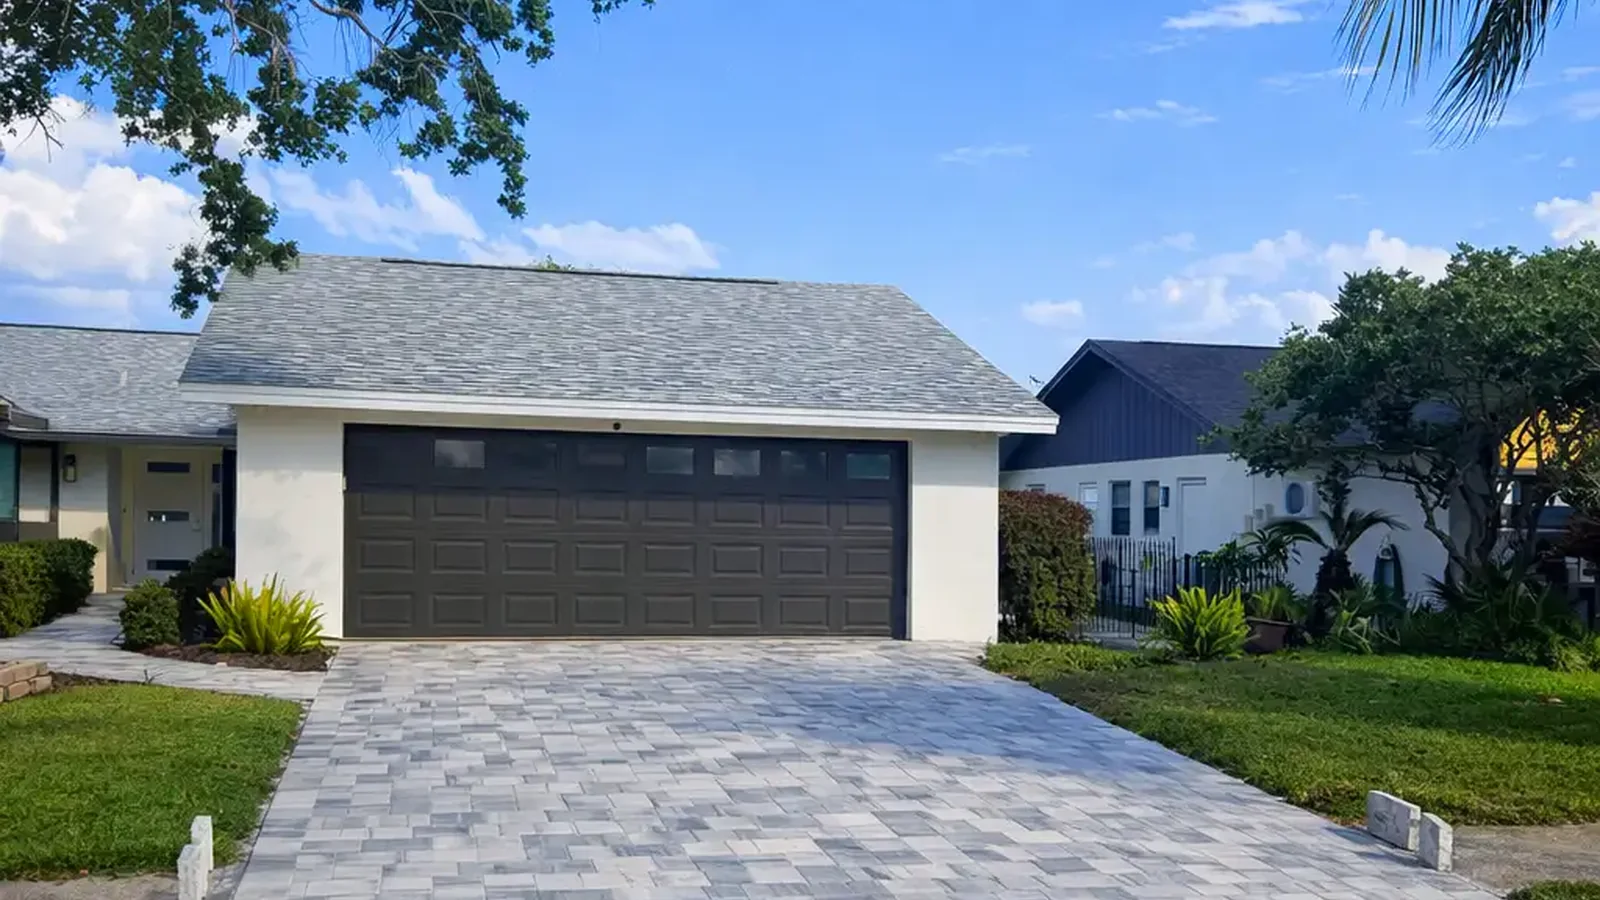
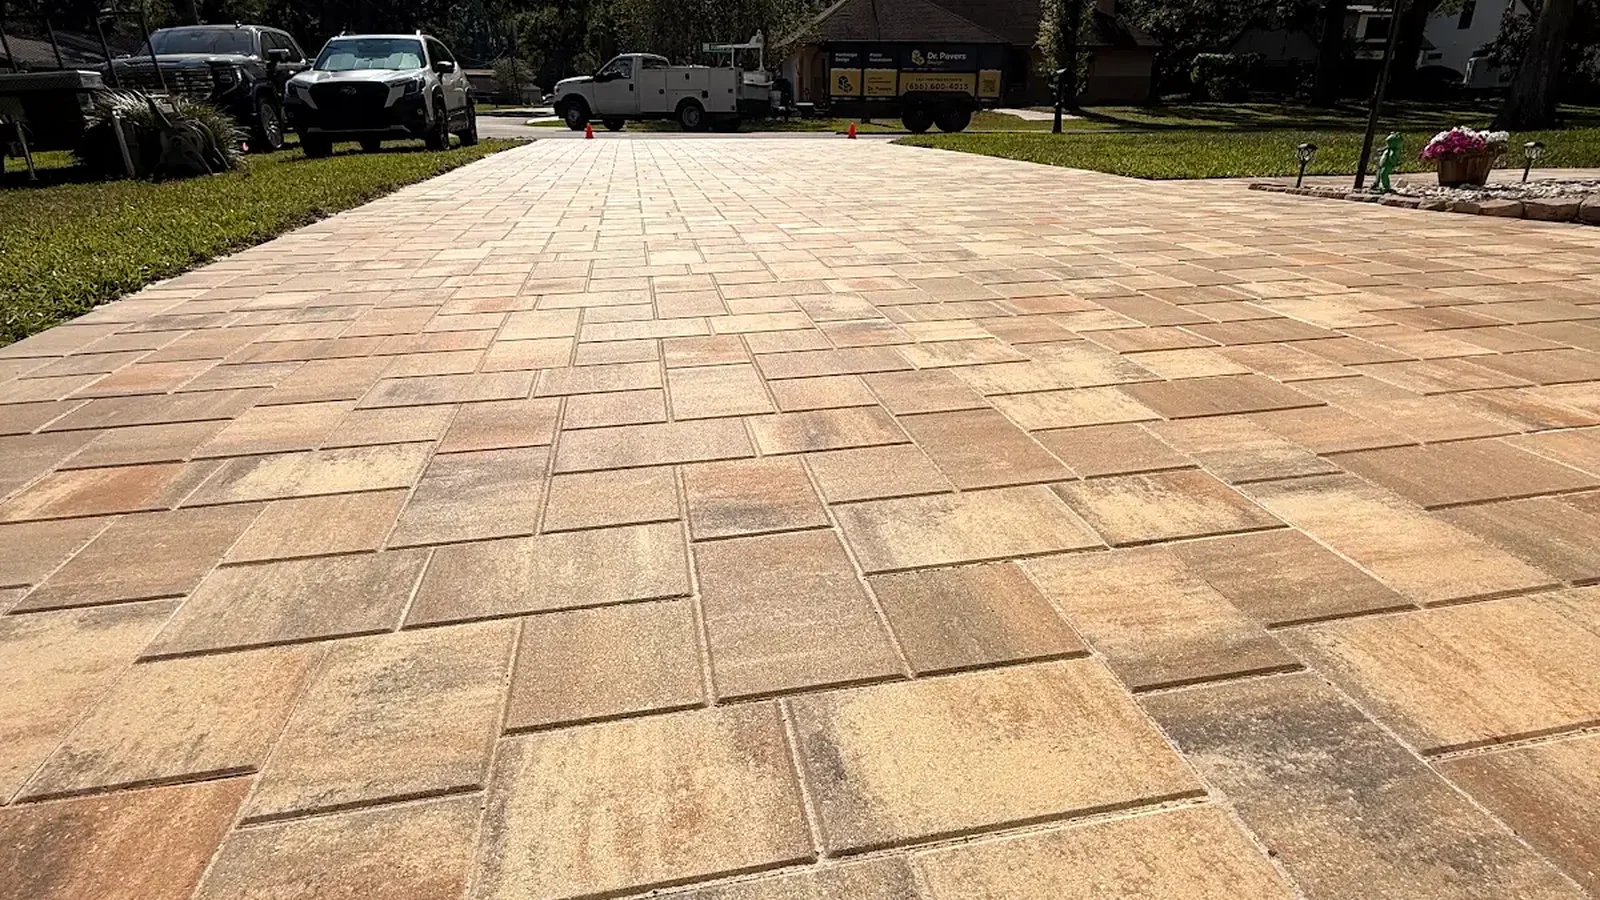
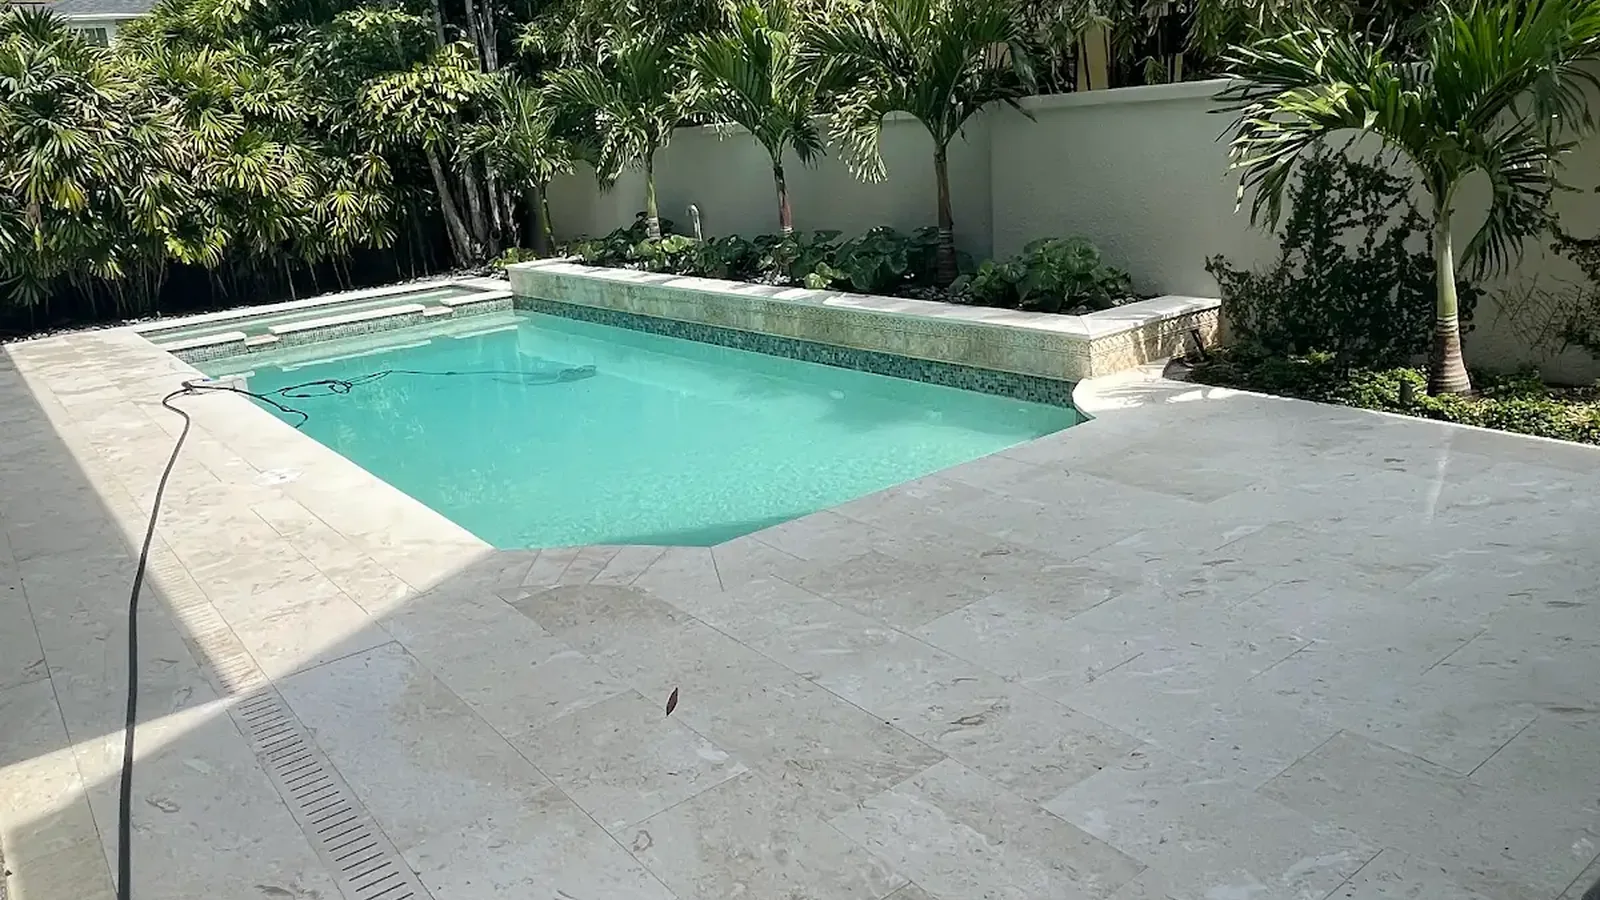
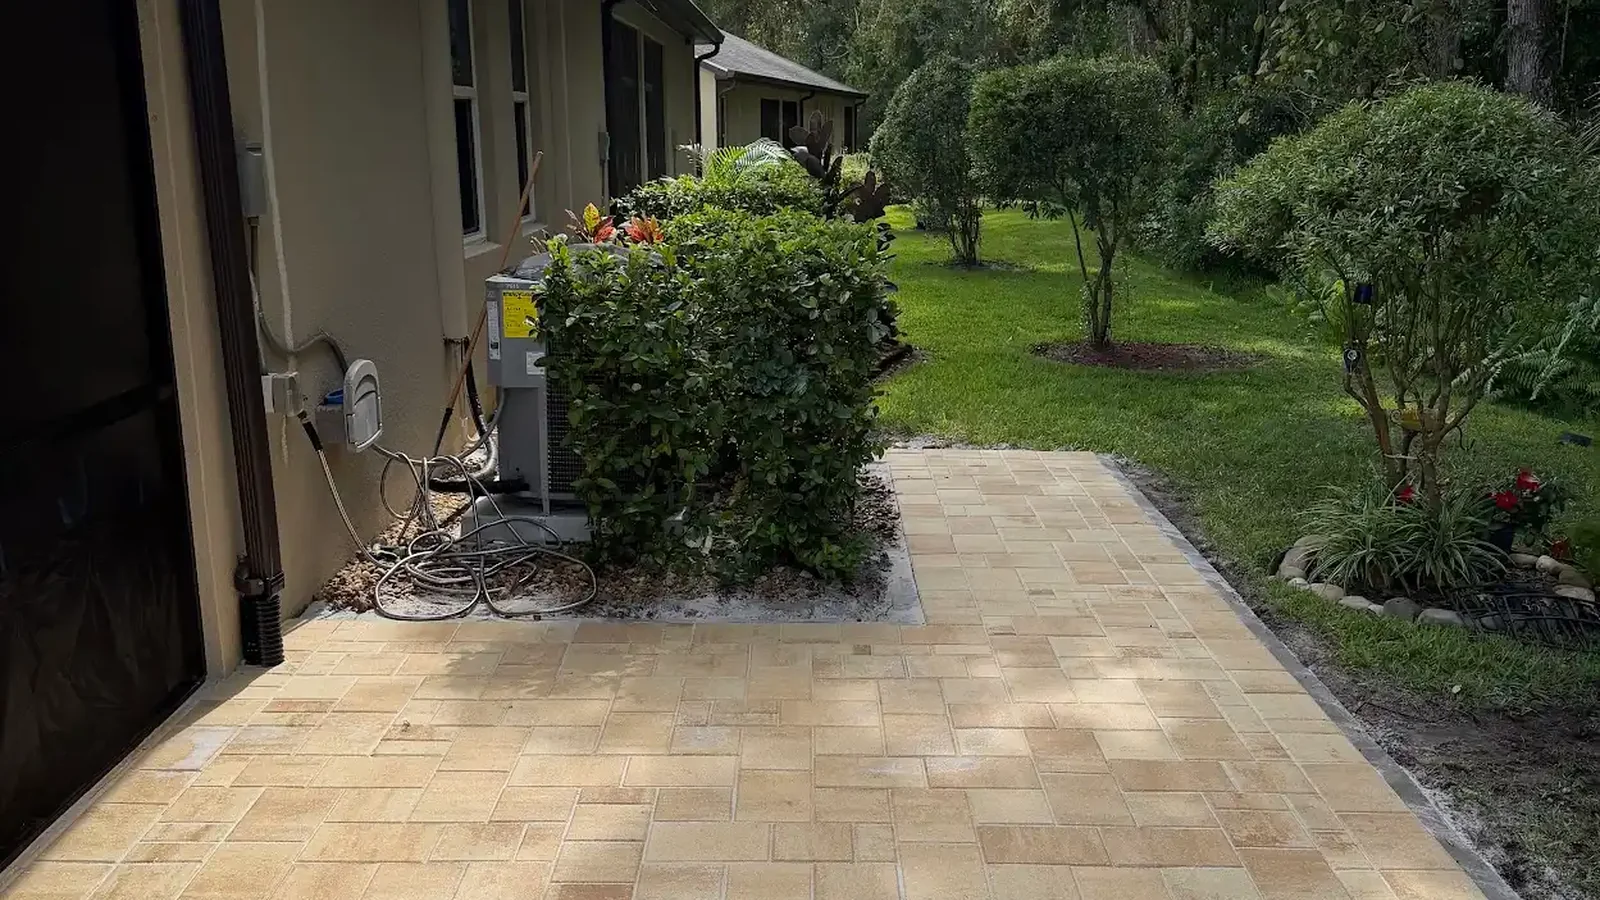
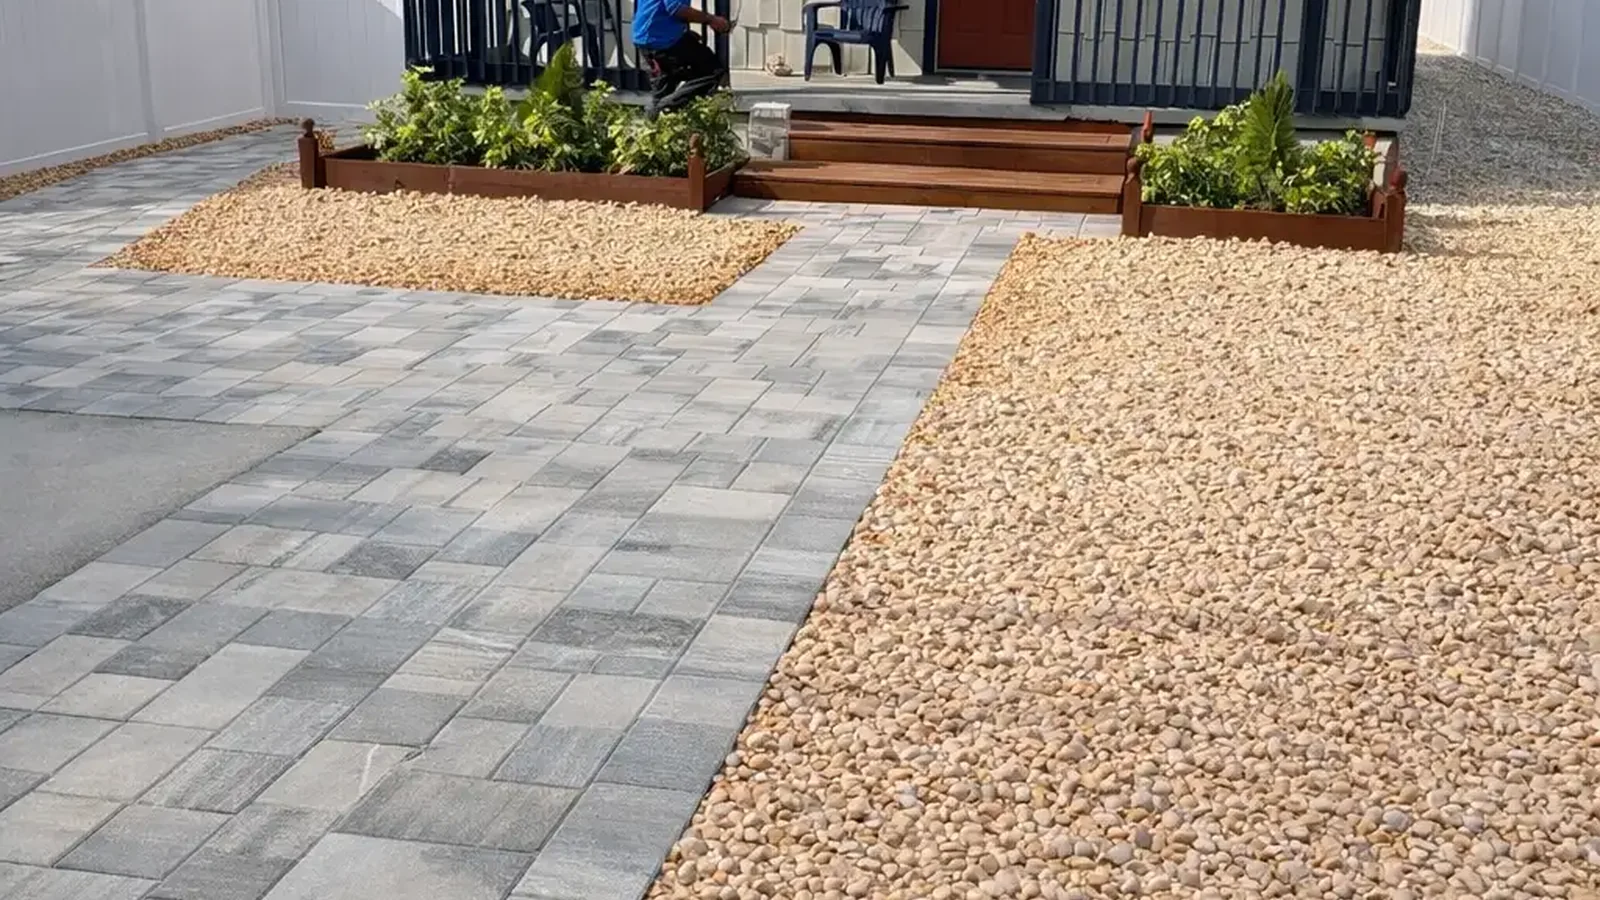
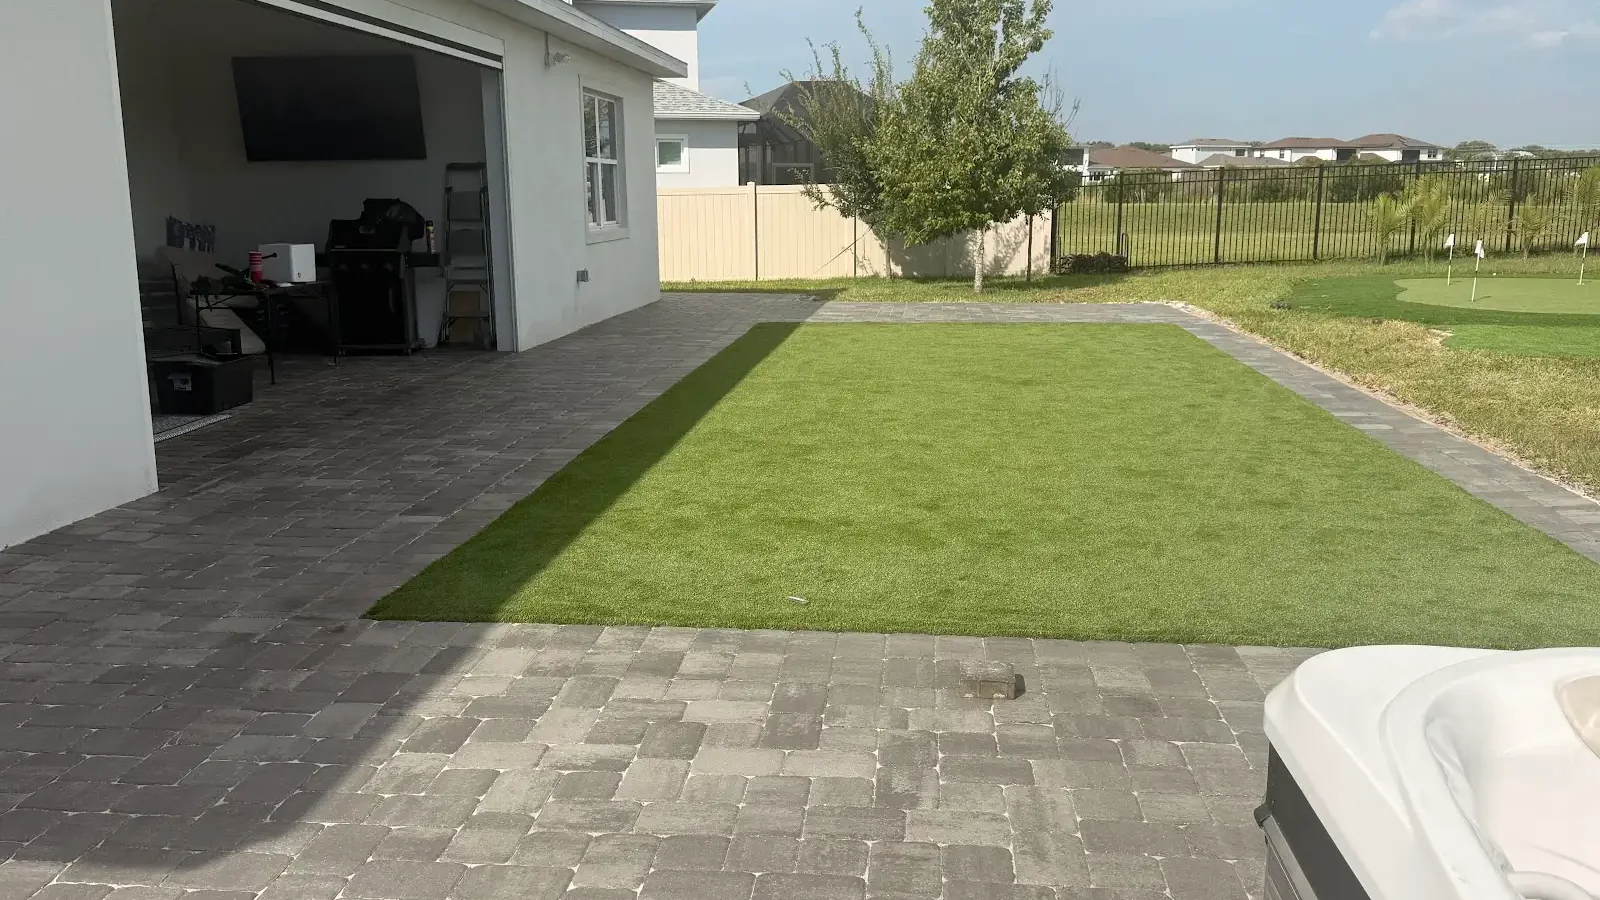
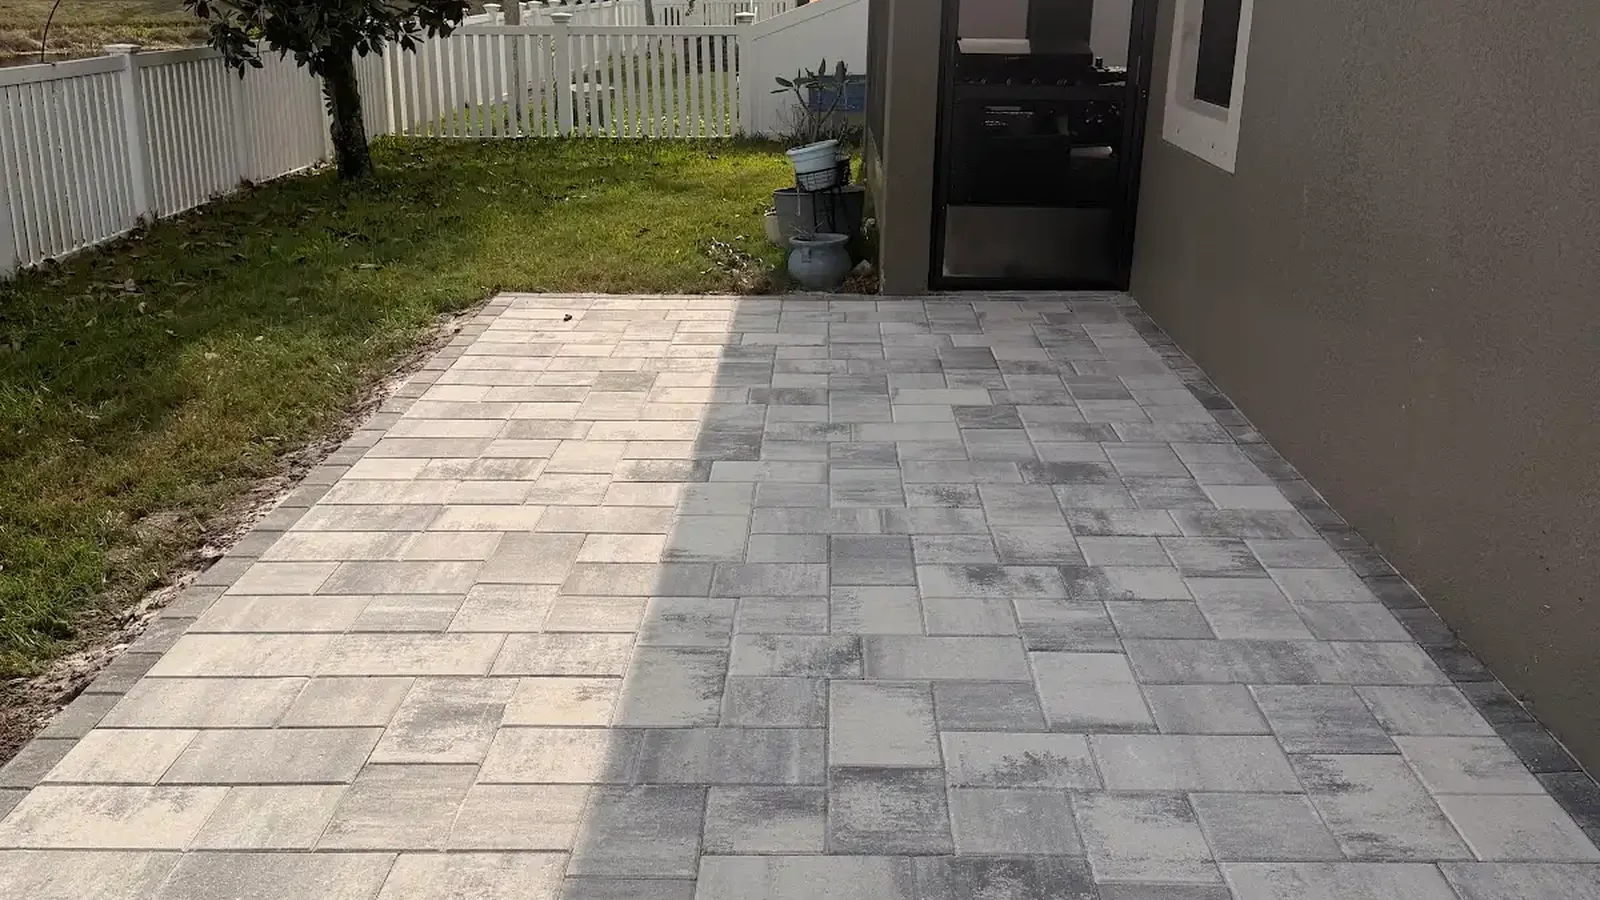
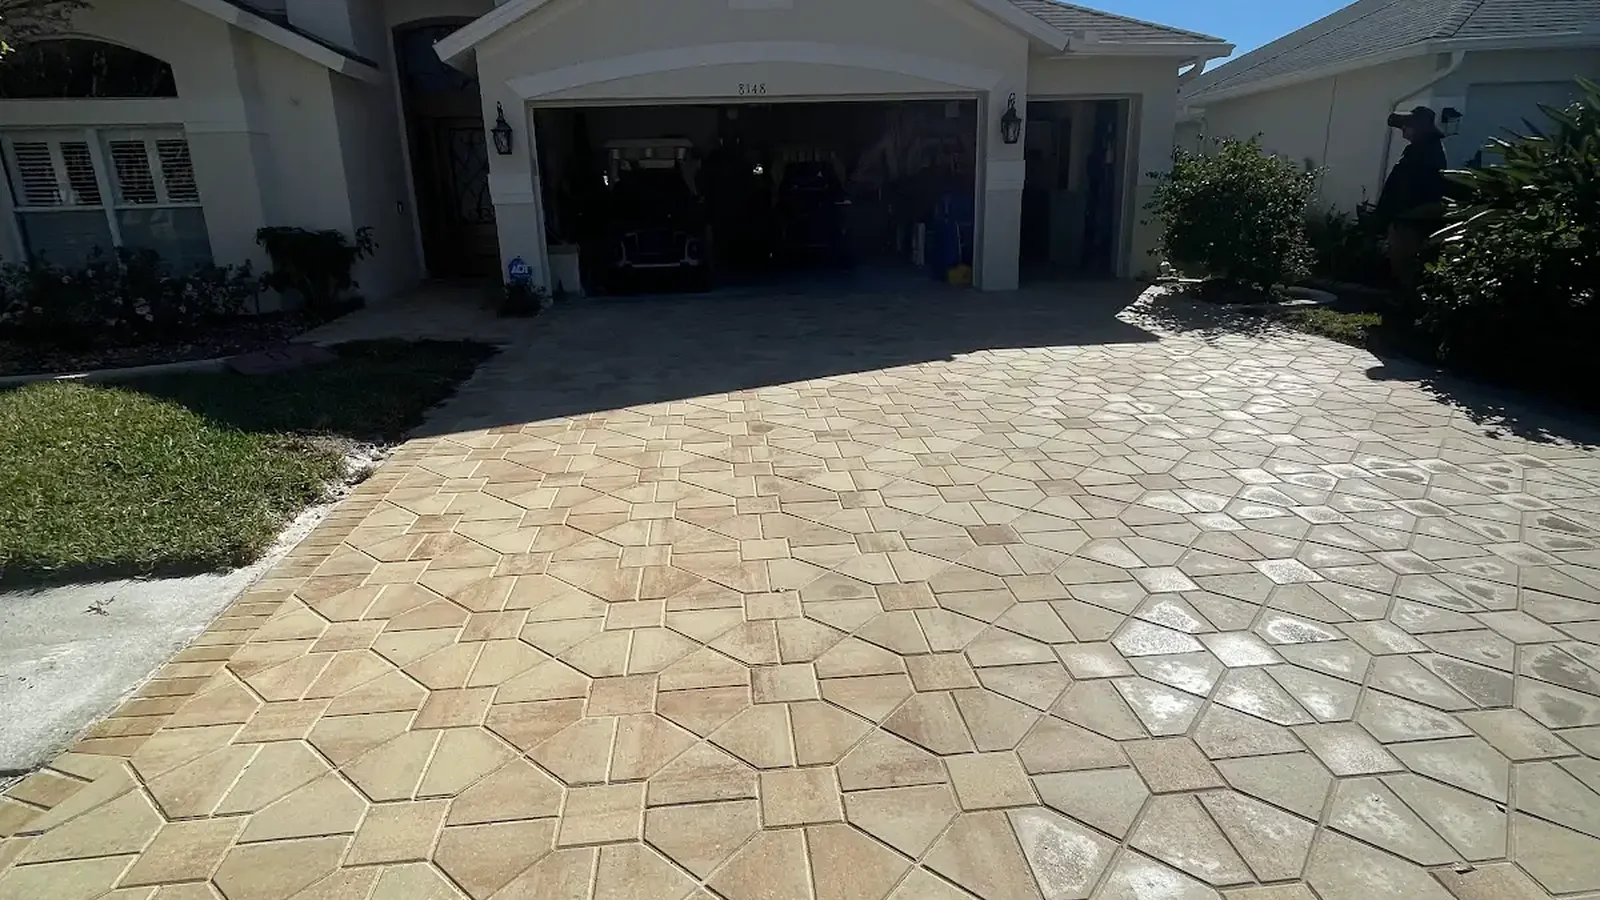
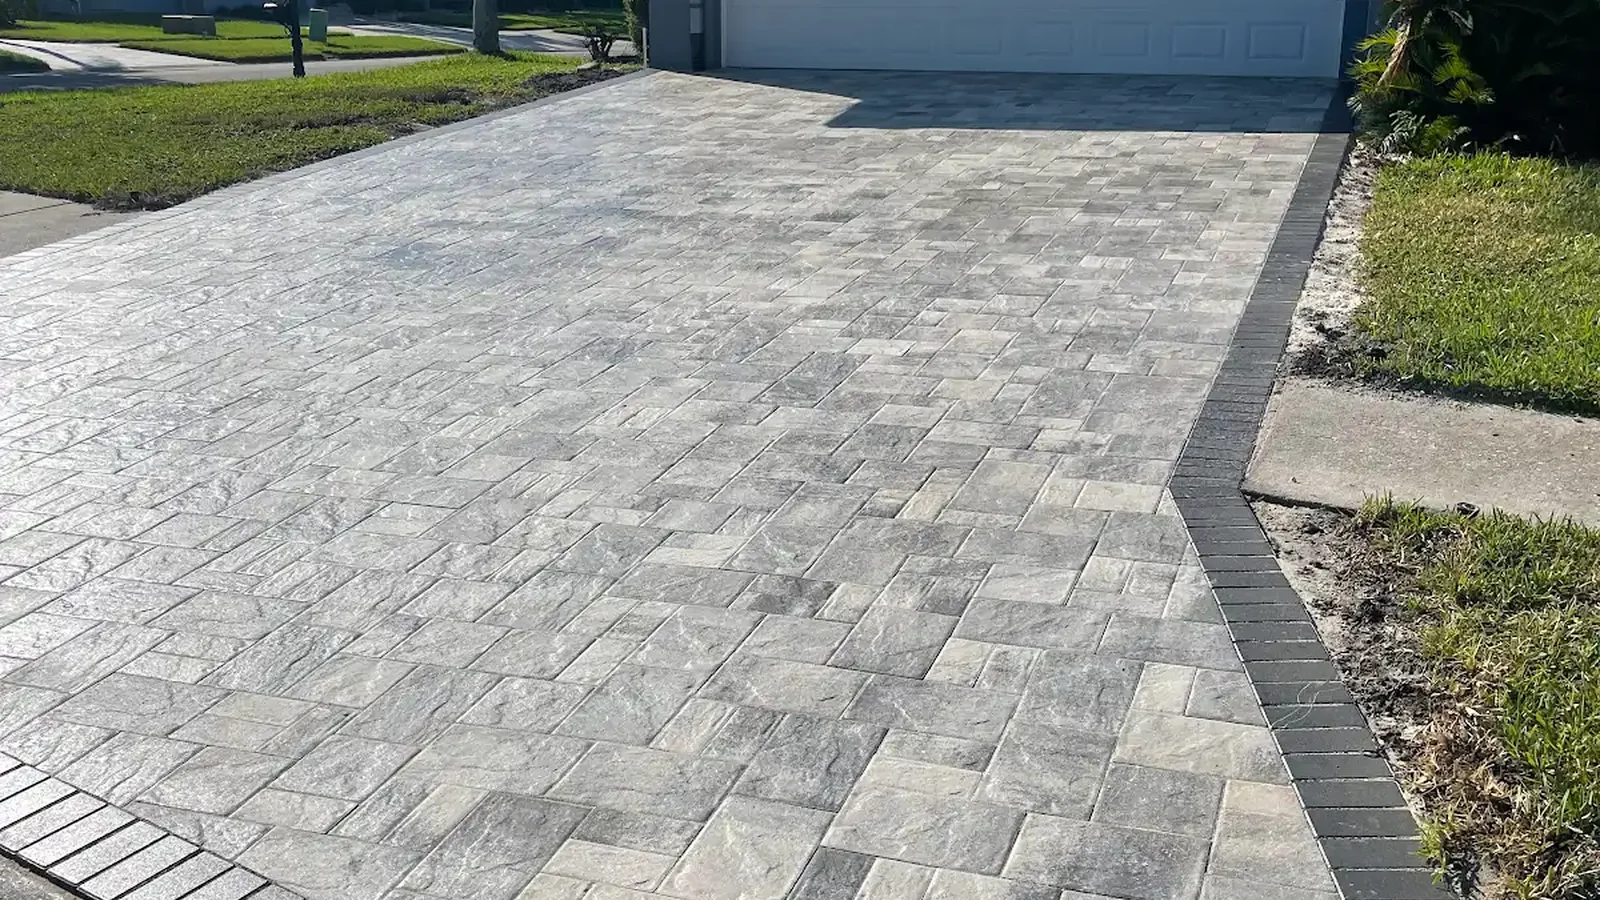
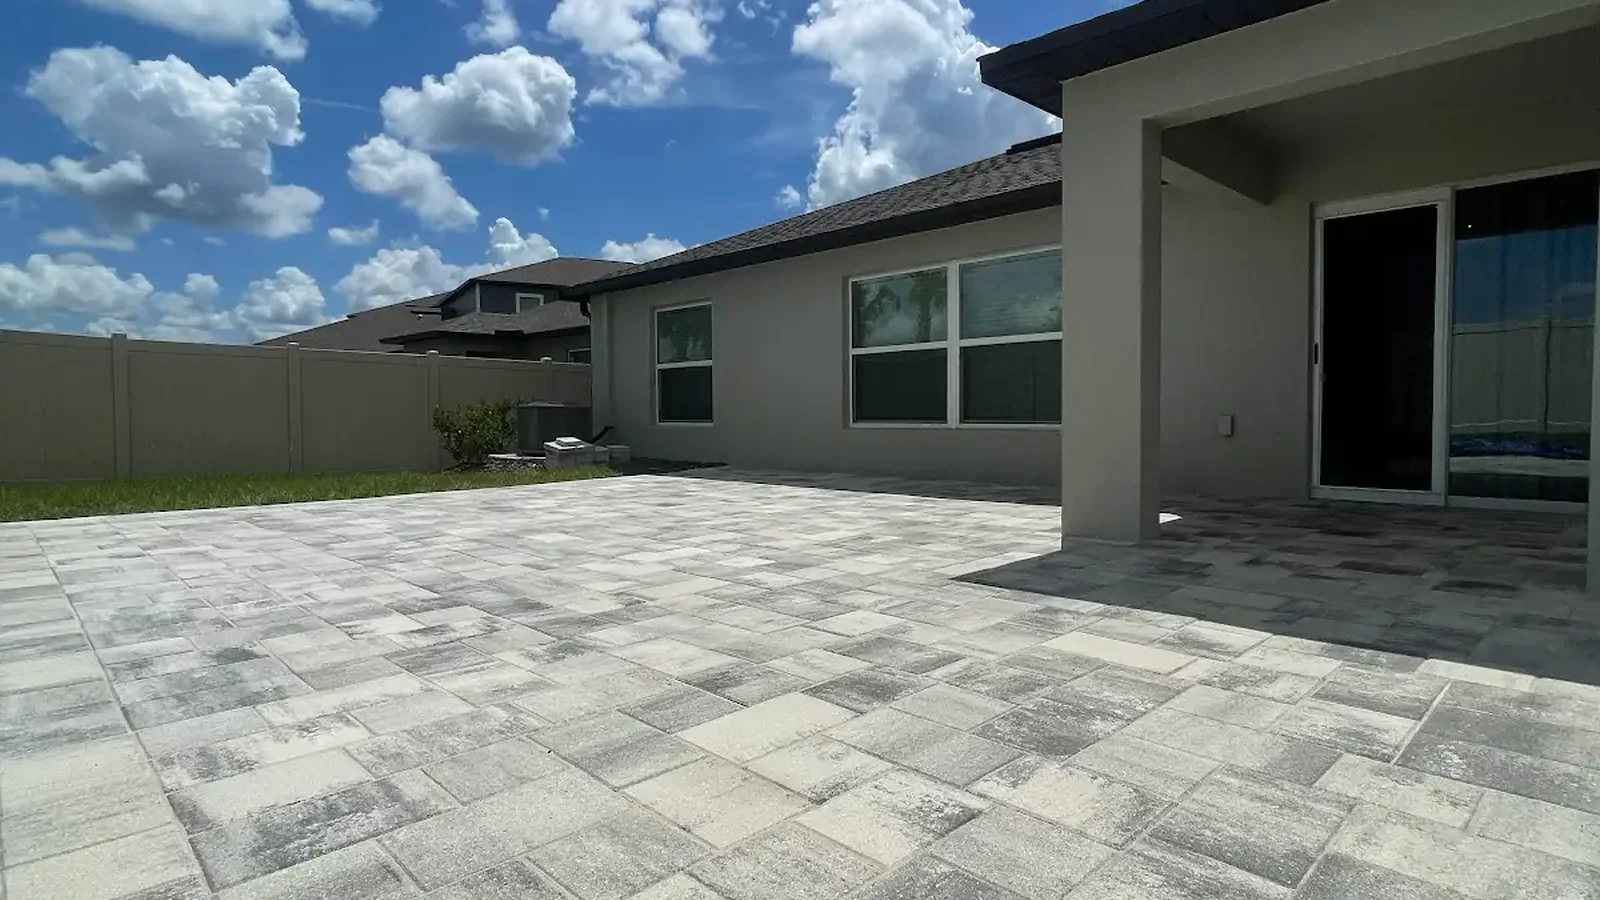
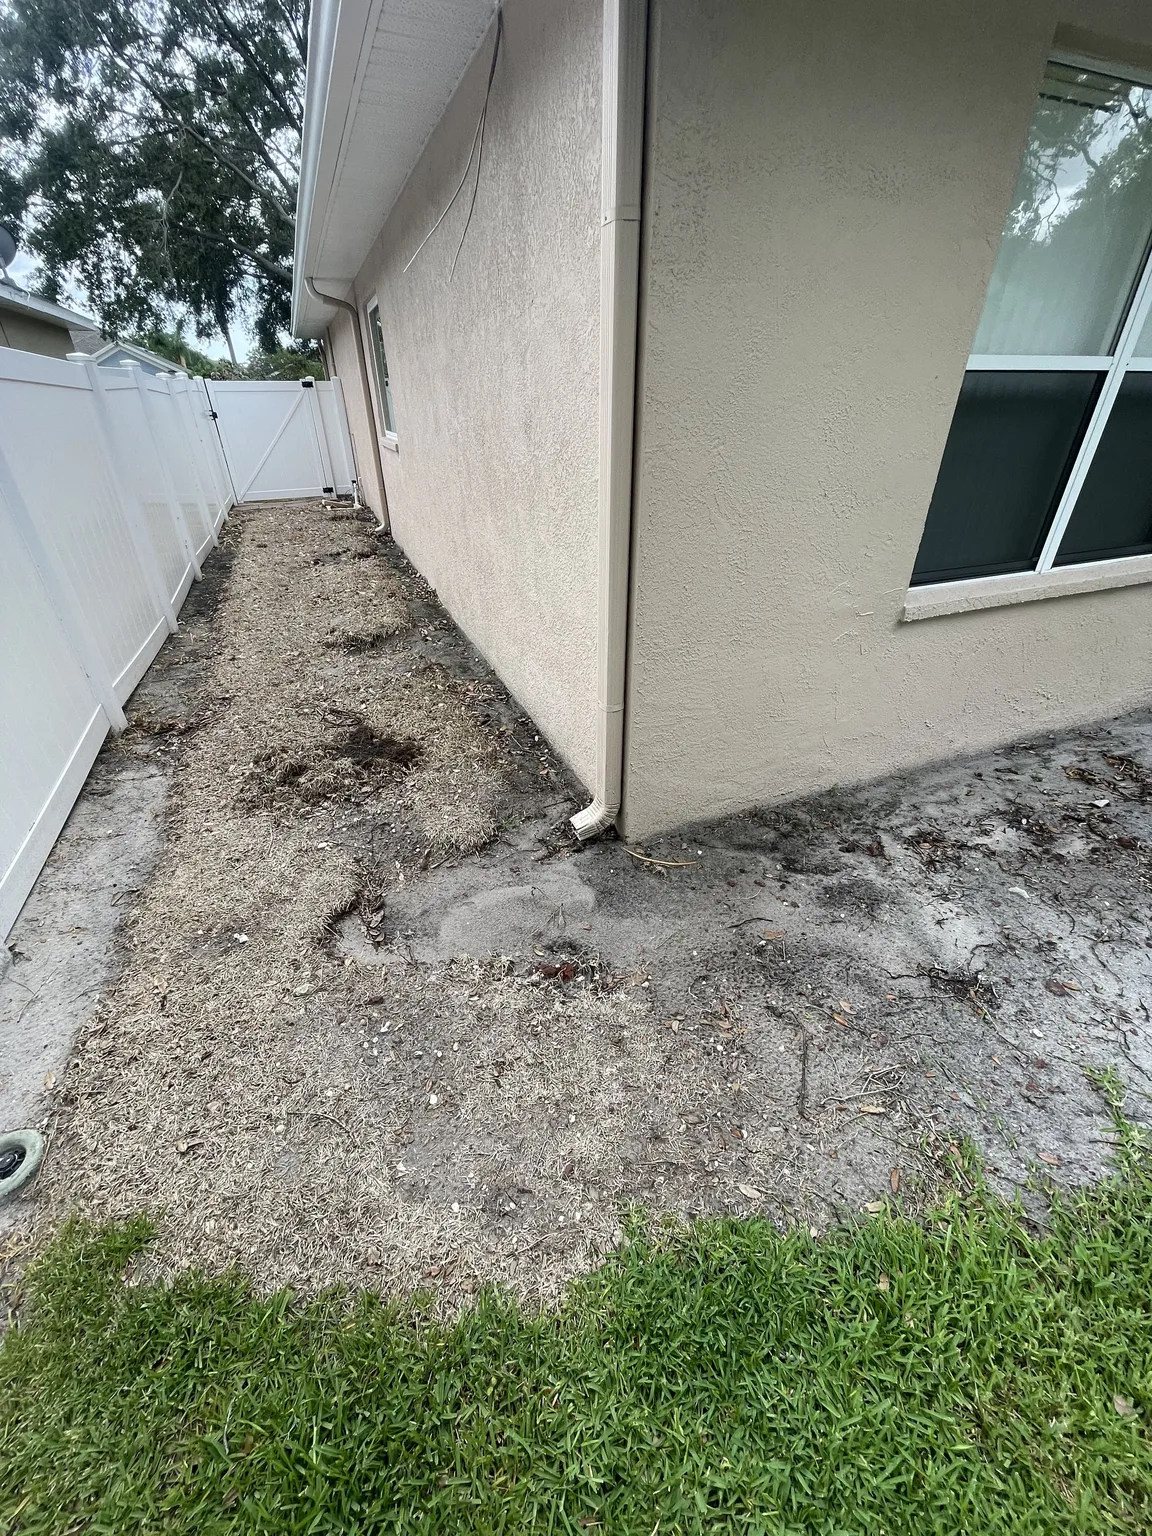
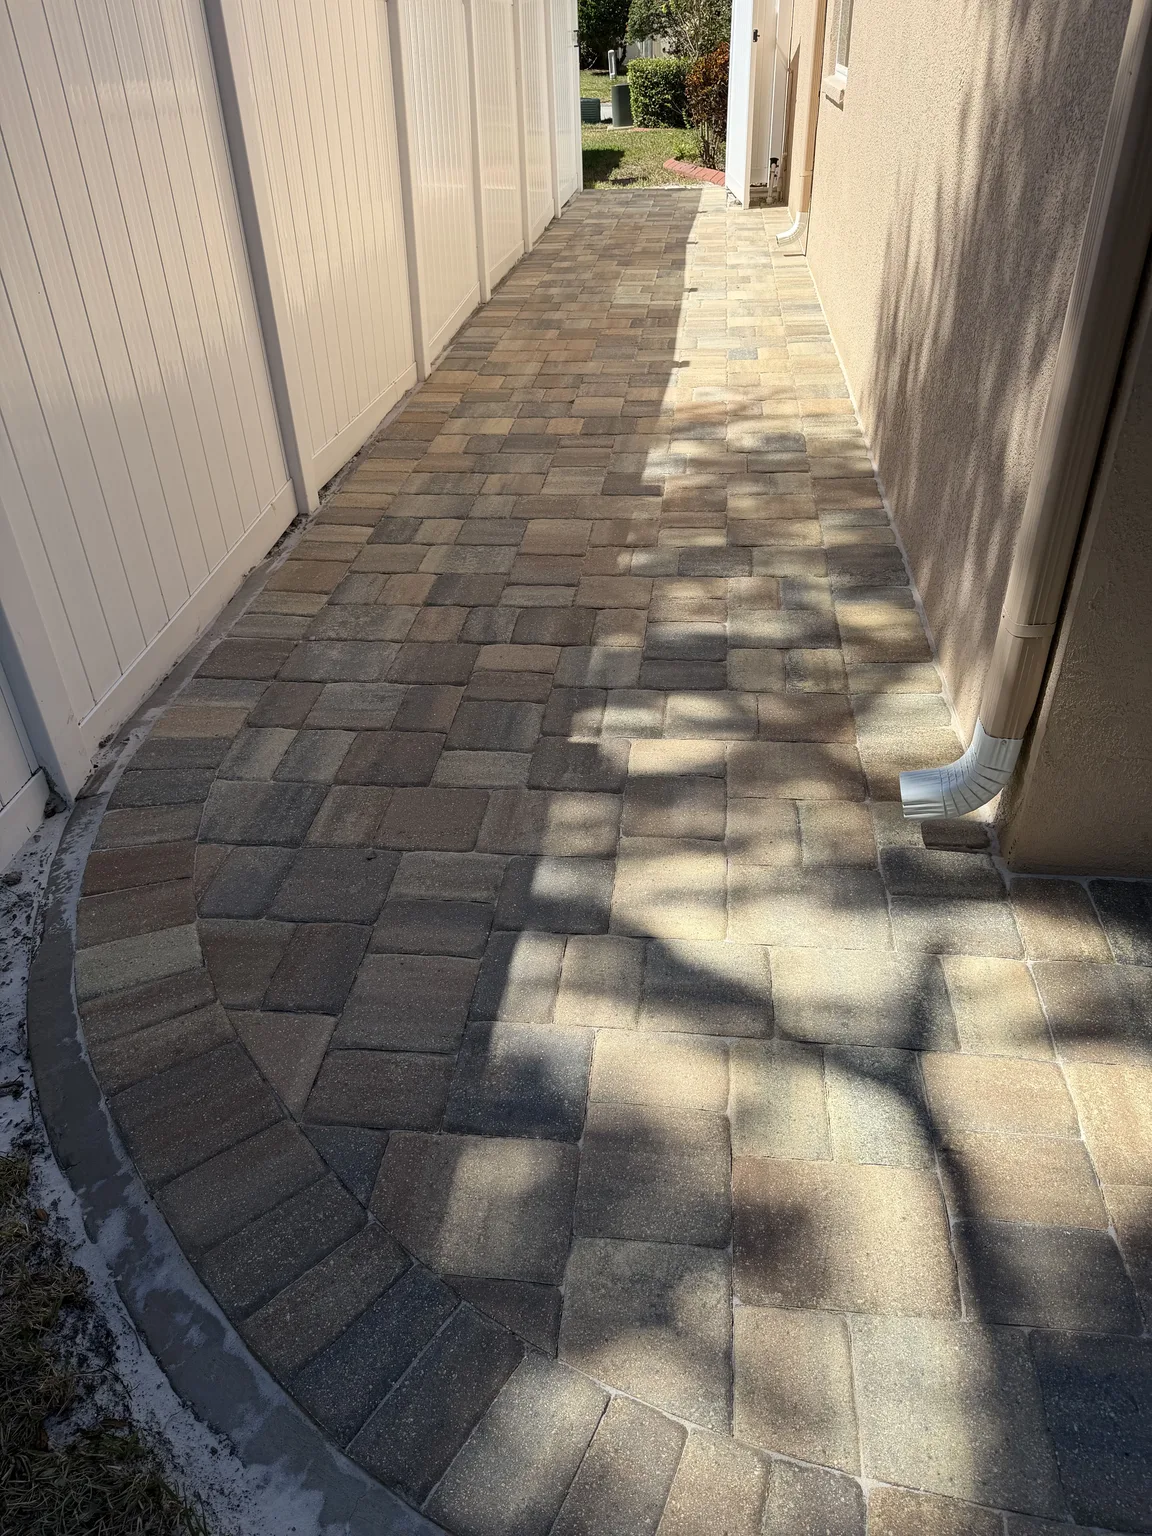
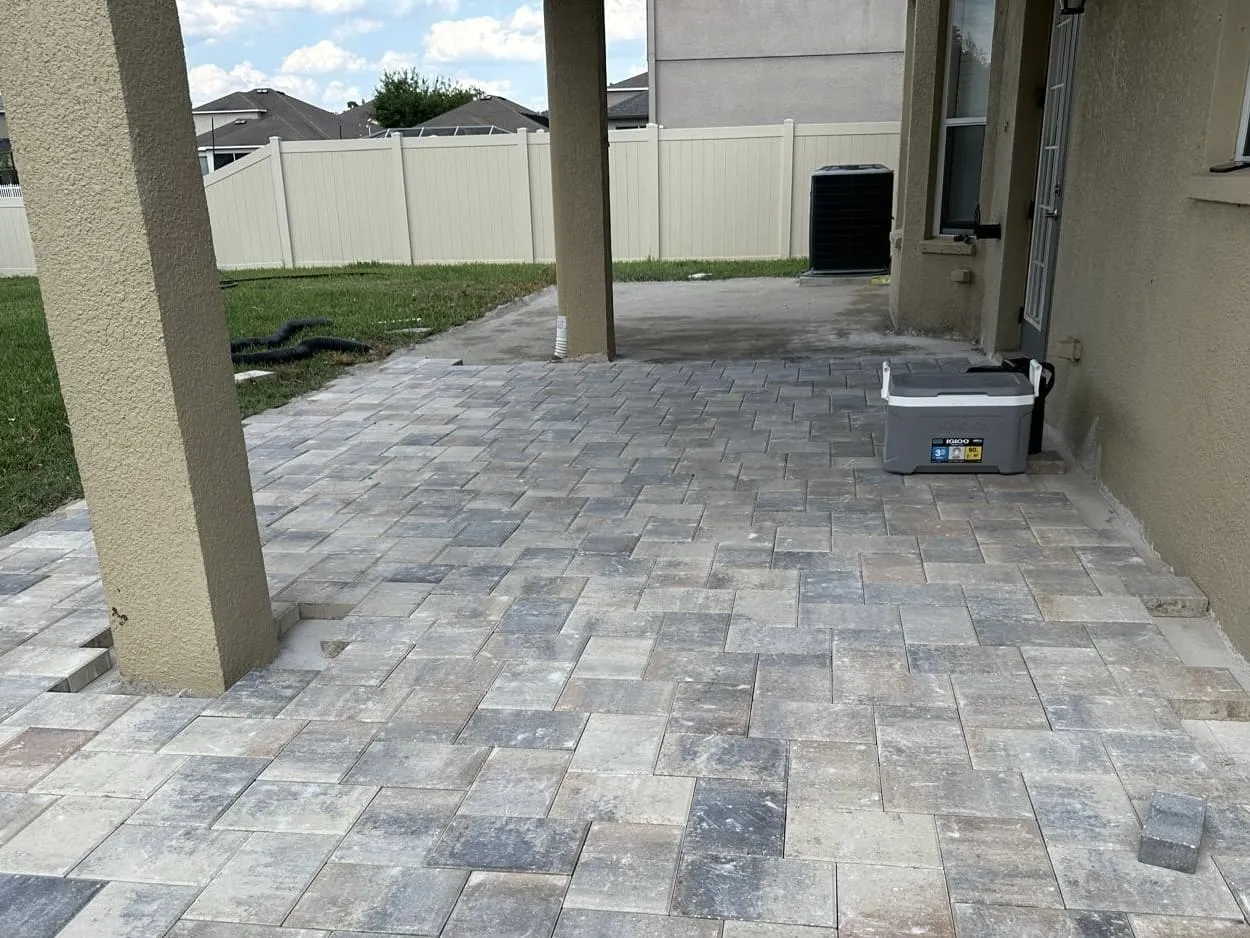
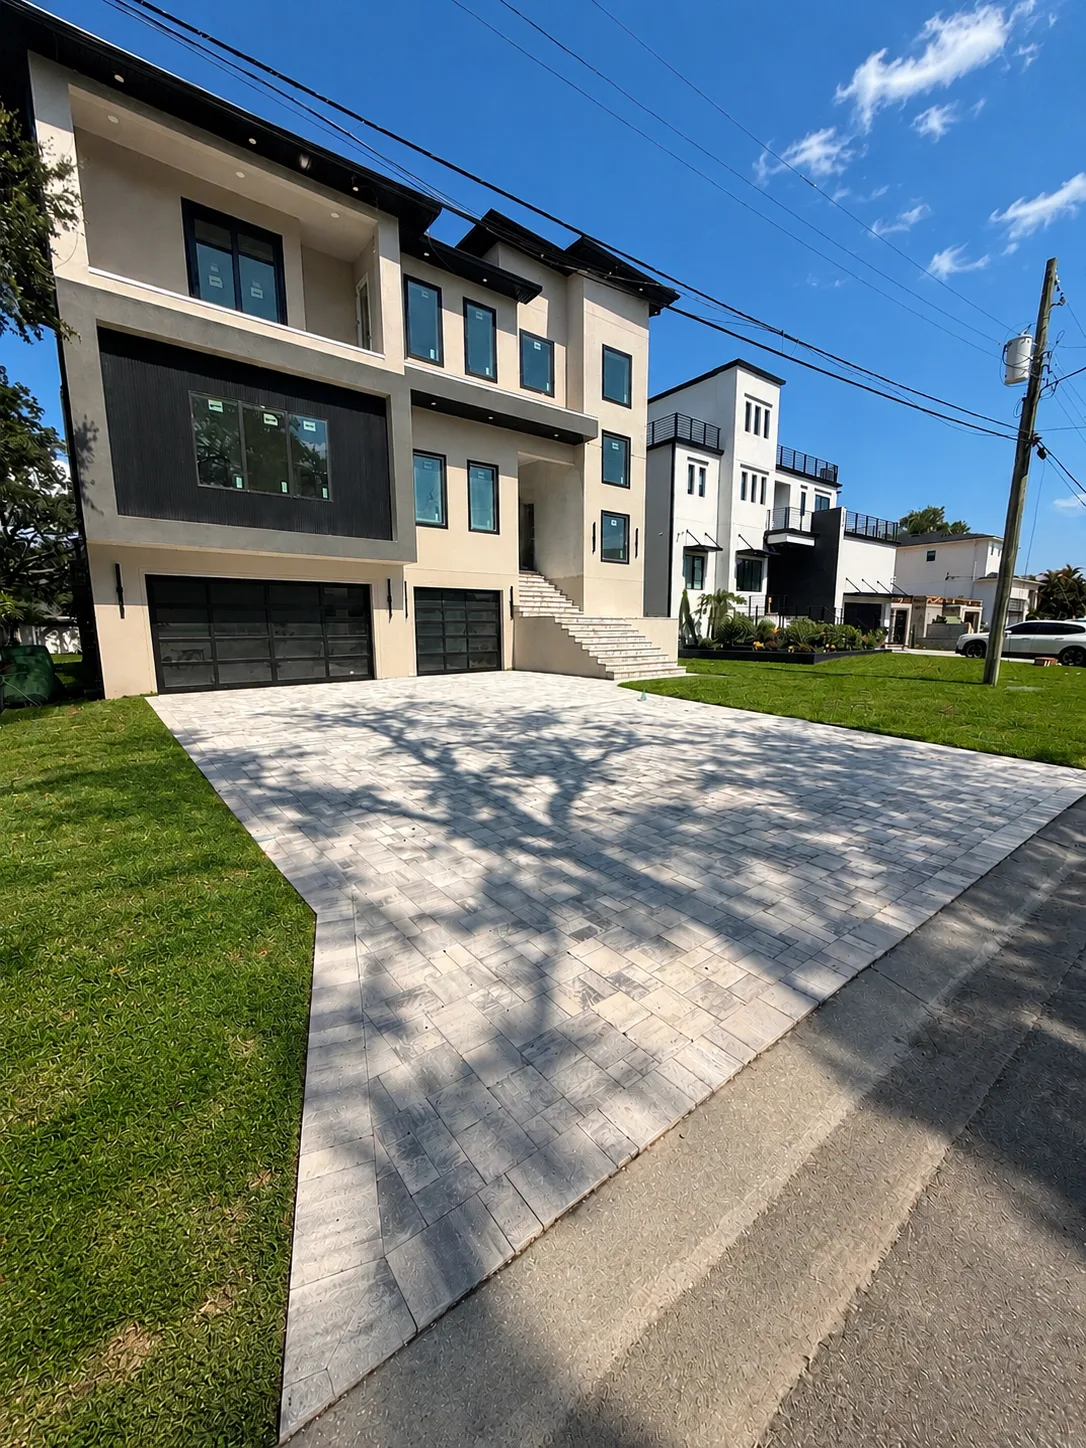
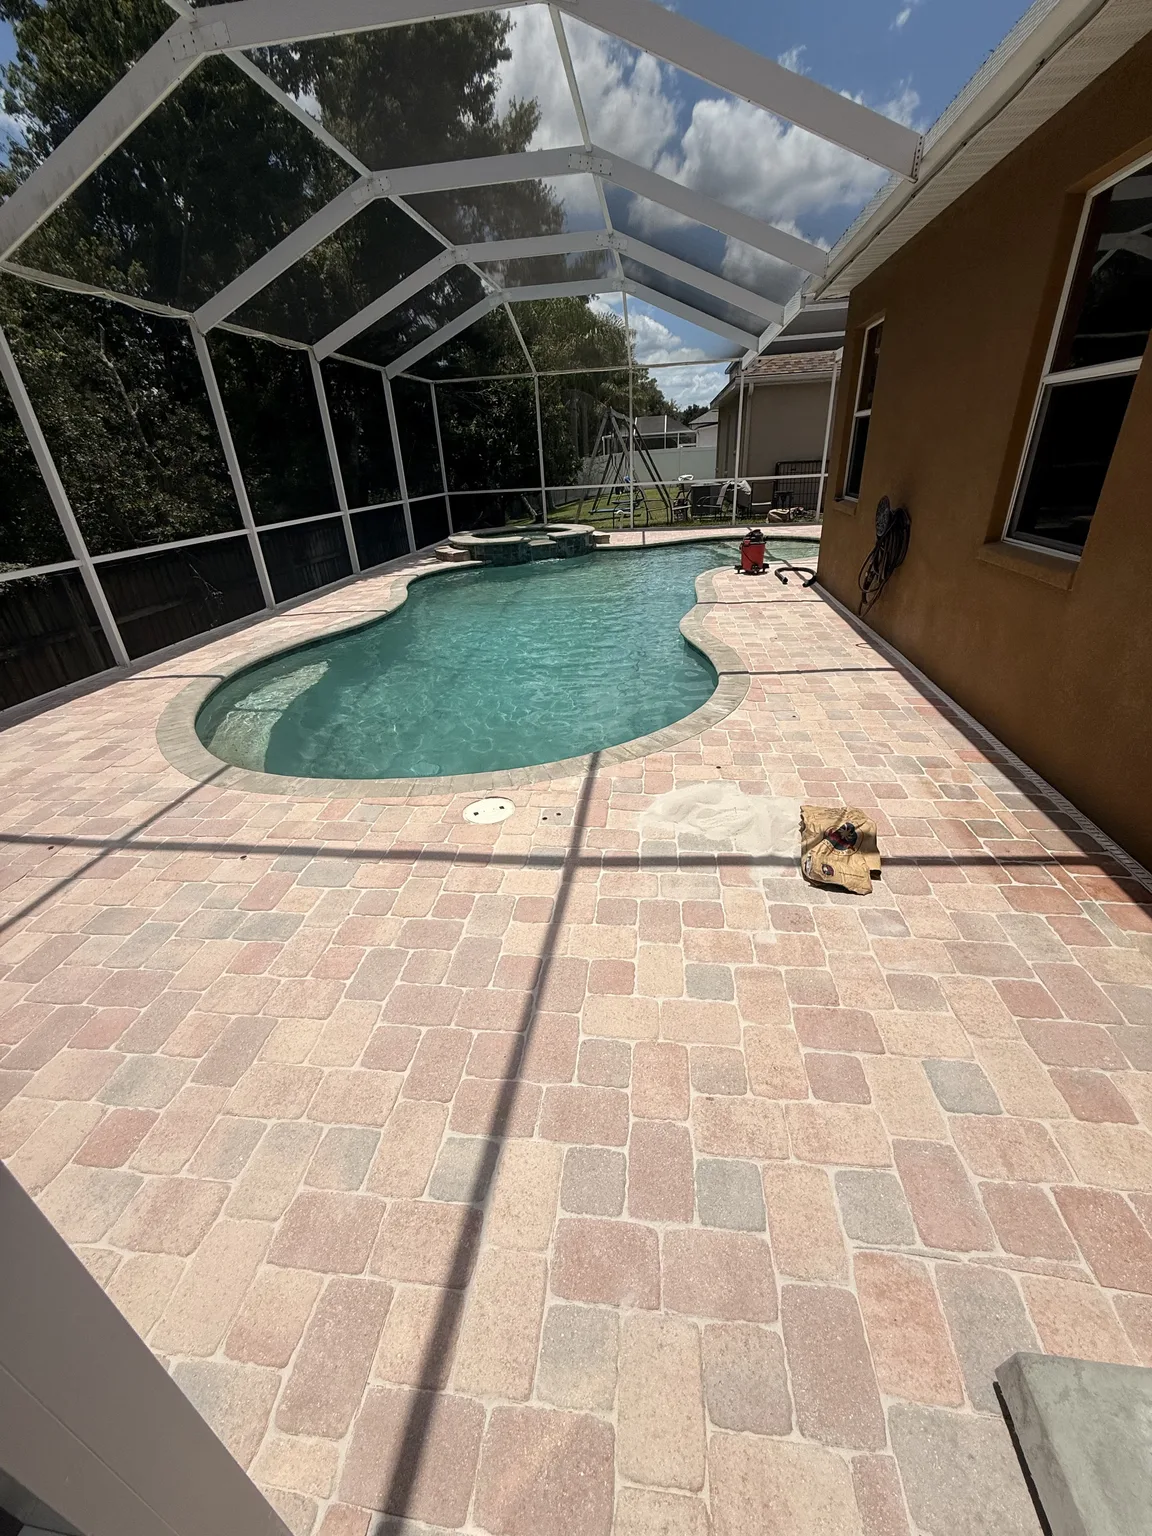
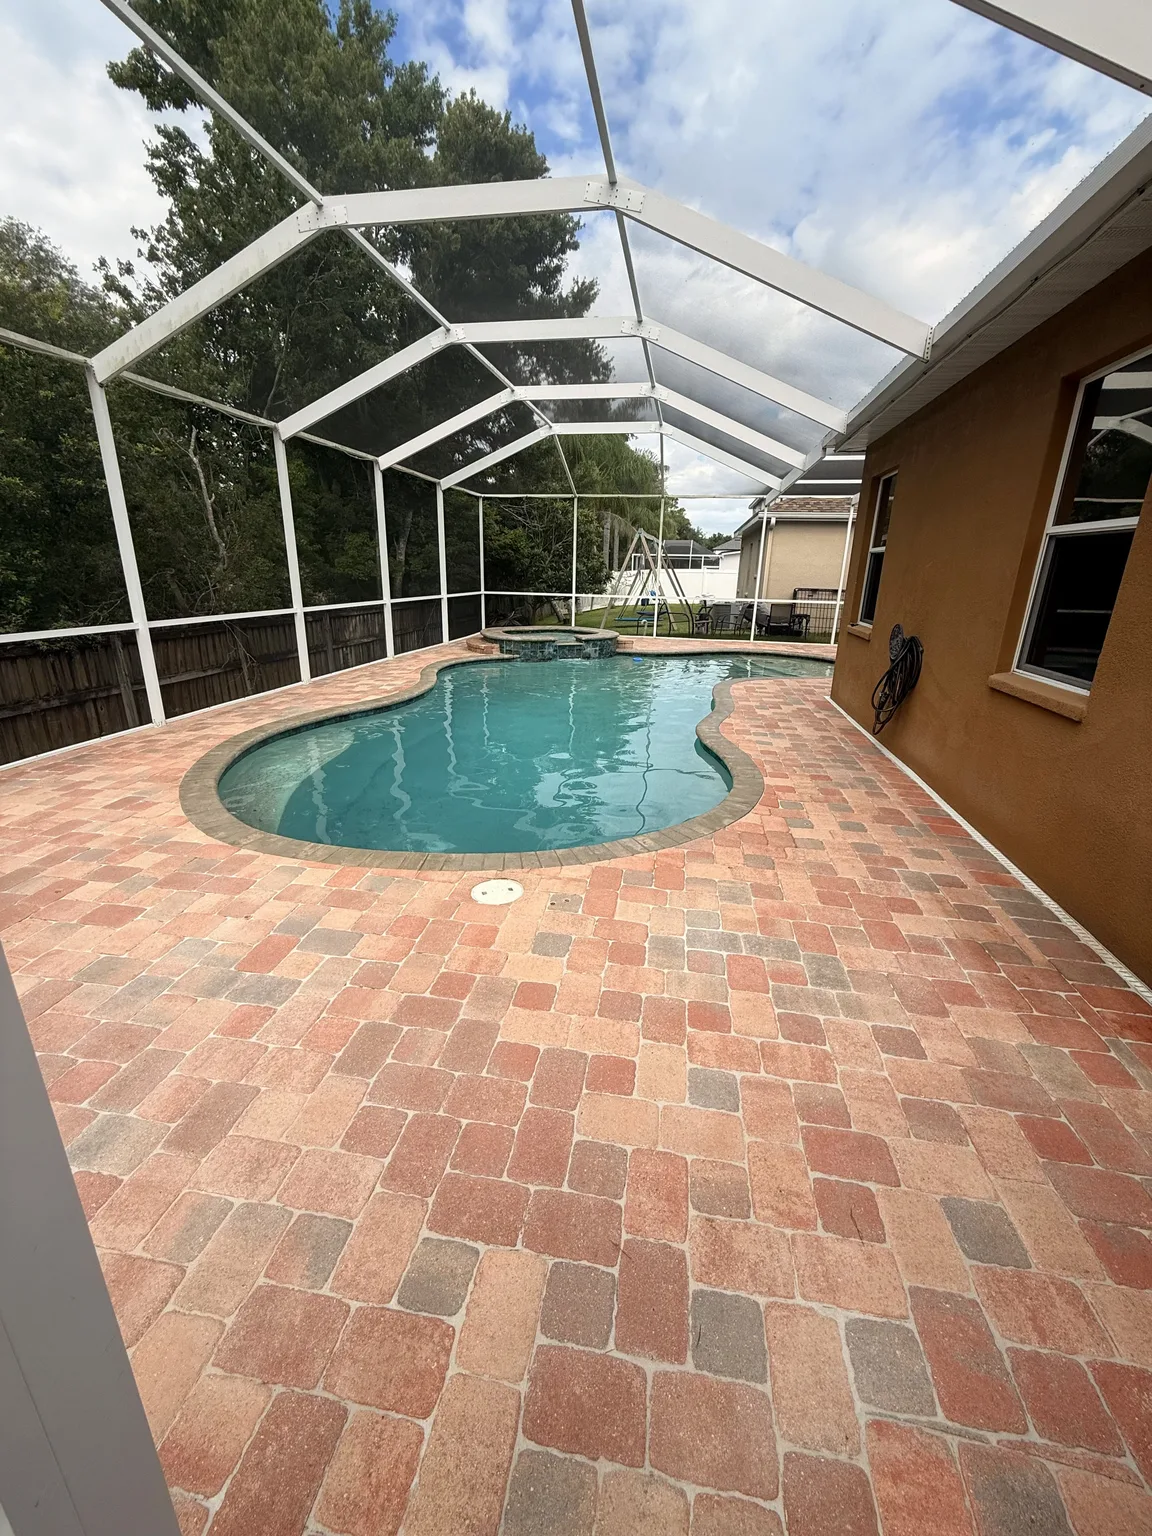
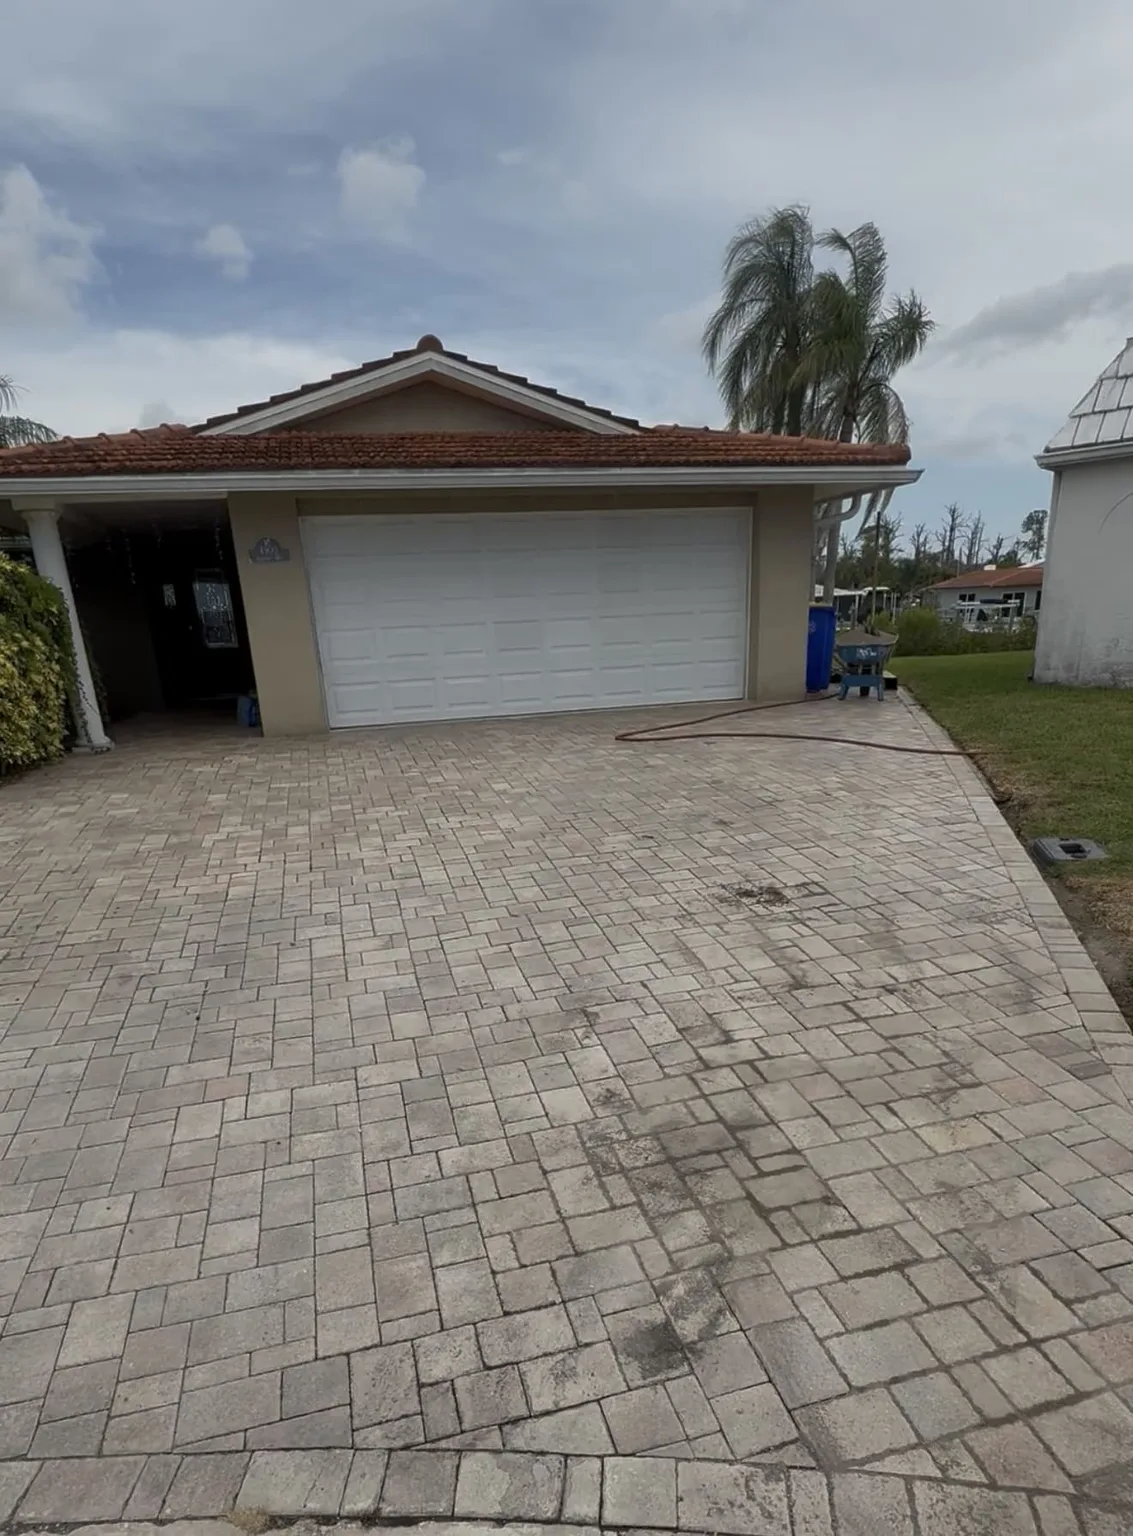
It can also help to bring context from nearby work. A patio addition, a changed lawn grade, a new garden bed, or a redirected downspout may be unrelated, or it may help explain the timing of a new moisture pattern. Photos of the broader outdoor area can be reviewed with the wall itself. For examples of outdoor masonry and hardscape work, explore Dr Pavers Design project and service information before arranging a conversation about your specific property.
A practical distinction that protects the next decision
Retaining wall efflorescence may be mostly an appearance issue, but the wall should earn that conclusion through observation. Look at the deposit, then look beyond it: alignment, caps, joints, soil, grade, water sources, and the condition of nearby steps or paving. A stable wall with a documented surface deposit can move toward appropriate care. A wall with visible change deserves attention to the change before its color is improved.
That order keeps cosmetic decisions from obscuring useful evidence and lets any later work respond to the property as it is. It is the difference between reacting to a white mark and making a sound decision about the outdoor structure behind it.
Finally, when you are ready to protect your property with a solid retaining wall, review the services, see completed projects, read testimonials, and check the FAQ before requesting a free consultation through the contact page. Follow Dr Pavers Design on Instagram and Facebook, or review the company on Google. Open Google Maps, send a WhatsApp message, call +1 (656) 600-4015, send a text message, or email drpavers@outlook.com for a free consultation anywhere in Tampa Bay.