
Fence gate clearance over a paver walkway has to work through the entire swing, not just when the latch first closes. A gate can look fine when installed and still scrape a high paver, bind at a threshold, collect debris at its path, or leave too little room for the person and equipment expected to use it. Planning the gate and hardscape as one small system avoids a common mistake: treating the pavers as a finished surface and the gate as an unrelated add-on.
For Tampa Bay properties, a practical review starts with the gate’s direction, hinge side, latch side, travel path, and the grade under every point of that travel. It also considers rain flow, leaf litter, irrigation, and the way the path is actually used. The needed clearance cannot be selected responsibly from a photograph or one dimension alone. It depends on the existing gate, fence layout, paver surface, adjacent transitions, and the people, pets, wheels, or tools that will pass through.
Fence gate clearance is a moving measurement
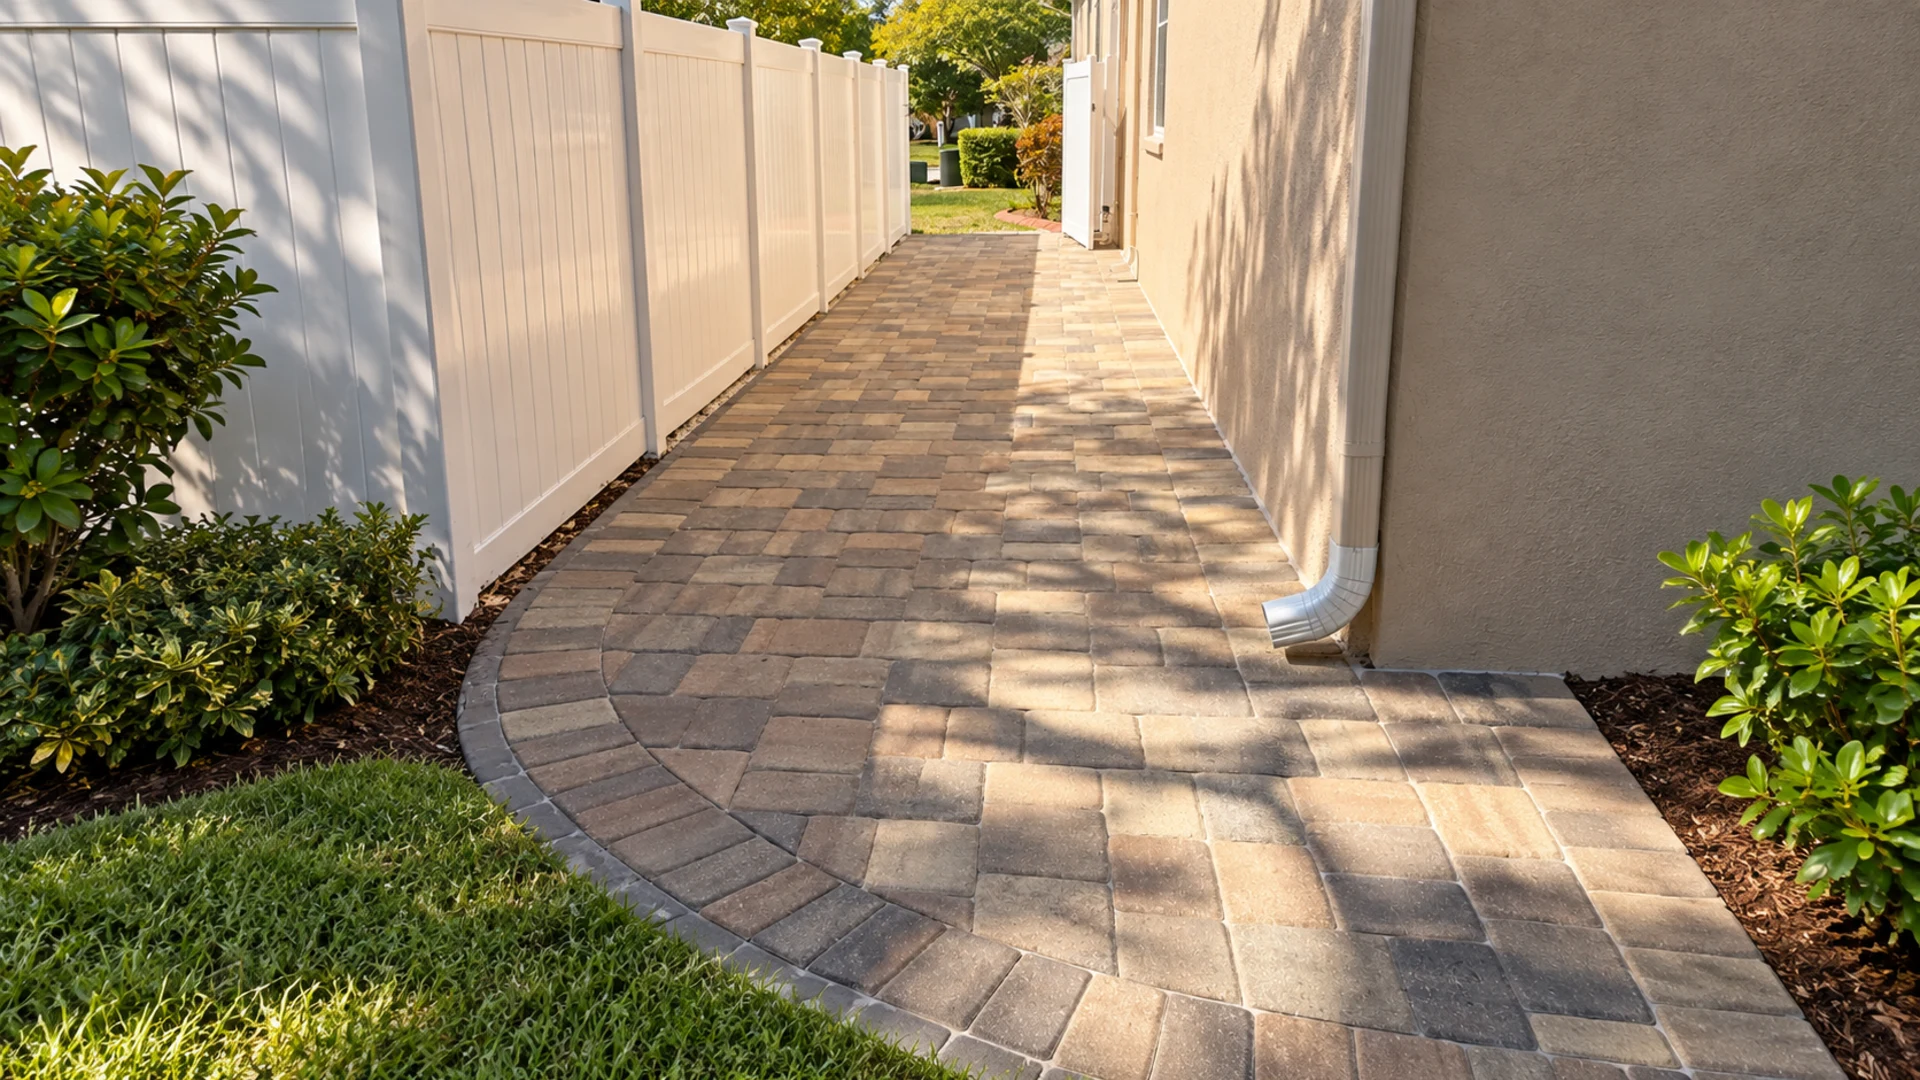
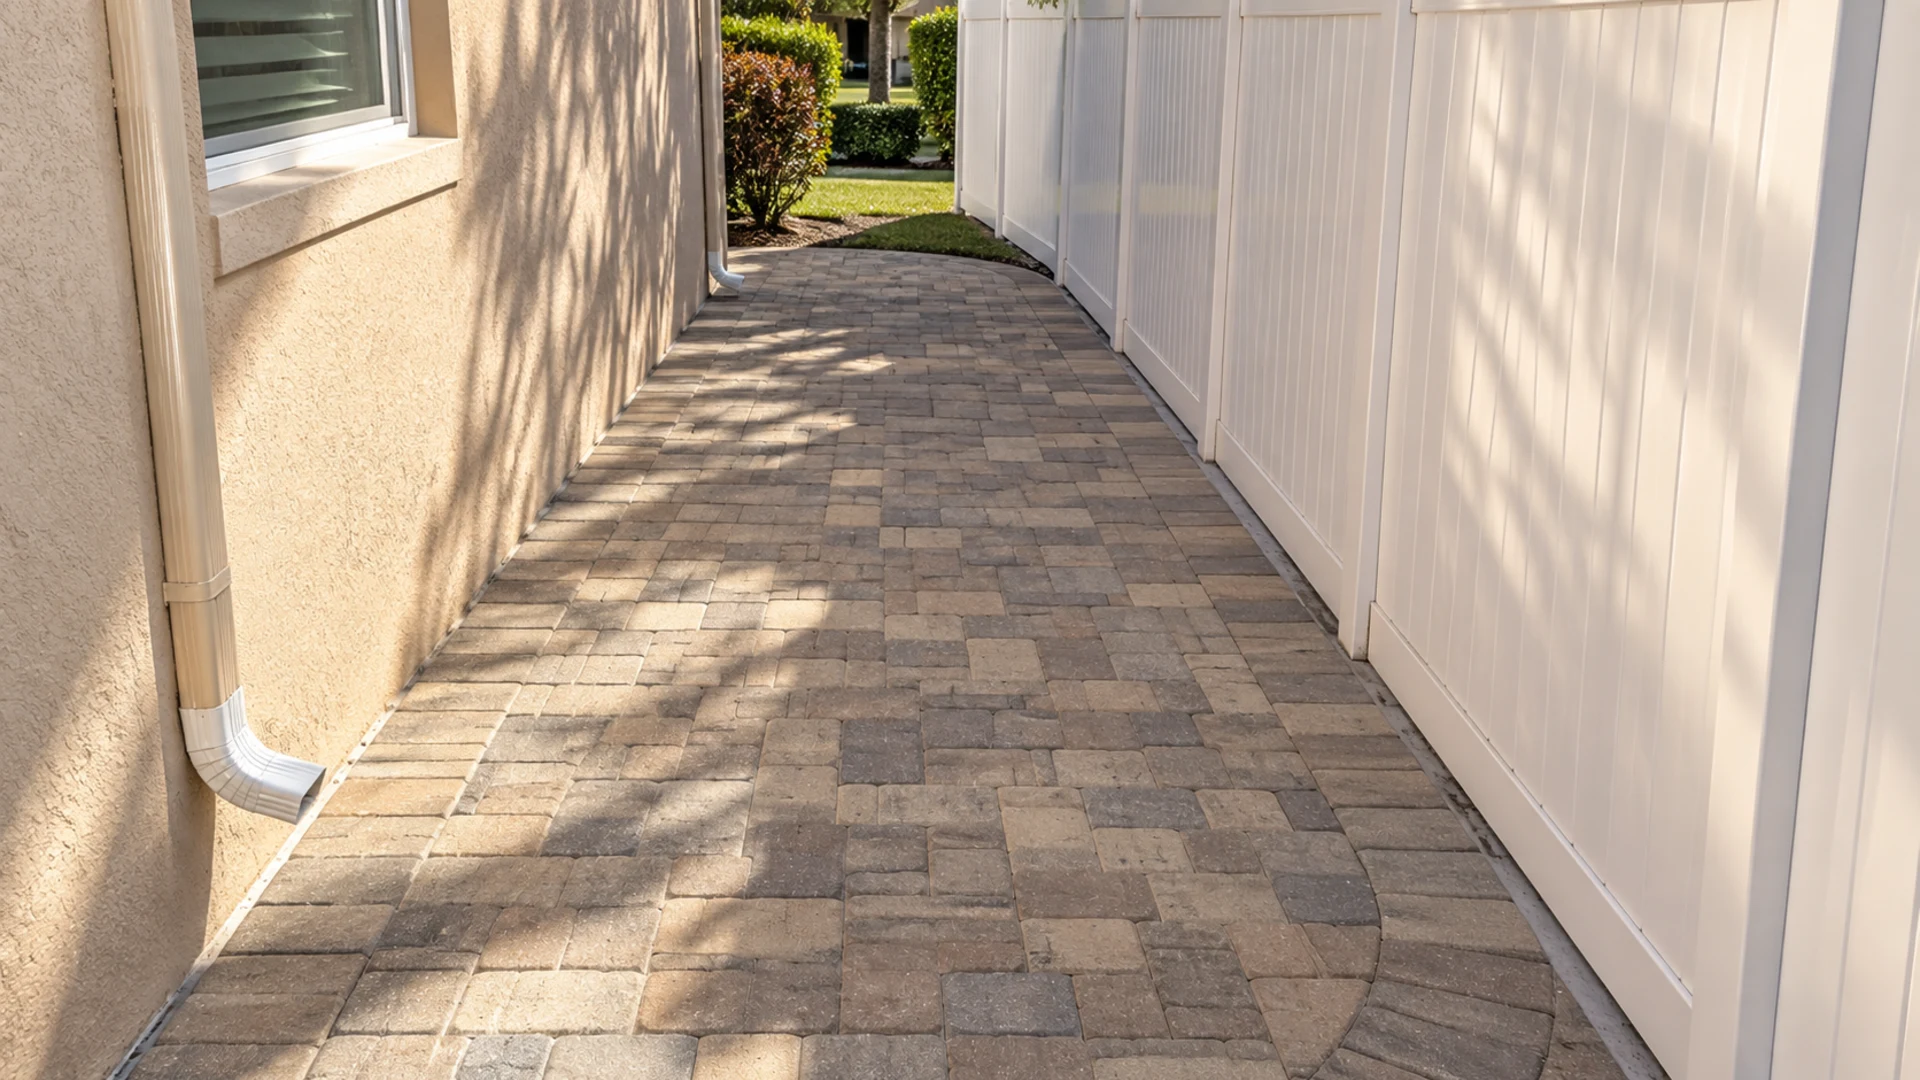
The latch edge is only one point on a swinging gate. As the gate travels, the bottom edge sweeps an arc over the walkway. That arc can pass closest to the paving somewhere between fully open and fully closed, especially where the walkway has a slight rise, a border, or a transition at the gate line. Checking clearance at the latch and calling the job finished misses the part of the path that may matter most.
With the area safe to operate, move the gate slowly through its full intended range and watch the bottom rail, corner hardware, latch, and any stop. Look from both sides. Mark the sweep with removable painter’s tape or a simple sketch rather than scratching the pavers. Note where the gate is closest to the surface and whether the gap changes abruptly. A gate that hesitates, drags, or needs to be lifted is describing a condition that should be understood before the surface is modified.
Measure the surface, not just the opening
Measure at several points along the swing path: near the hinge, near the latch, and at the apparent low-clearance area. Also record the width of the clear walking route beside the open gate. A single opening width does not tell whether a stroller, trash bin, mower, wheelchair, or service cart can move through without striking the gate or forcing someone onto planting beds. Where accessibility is important, the specific route and user needs should be evaluated rather than assumed from a standard-looking gate.
Take photos from ground level as well as standing height. Ground-level images reveal a threshold hump, raised paver edge, or sagging bottom rail more clearly than a straight-on photo. Include the hinges and post in the record, because the source of a changing gap may involve gate hardware or support rather than the paver field. The purpose is not to assign blame; it is to avoid correcting the wrong component.
Surface changes that affect a gate’s travel
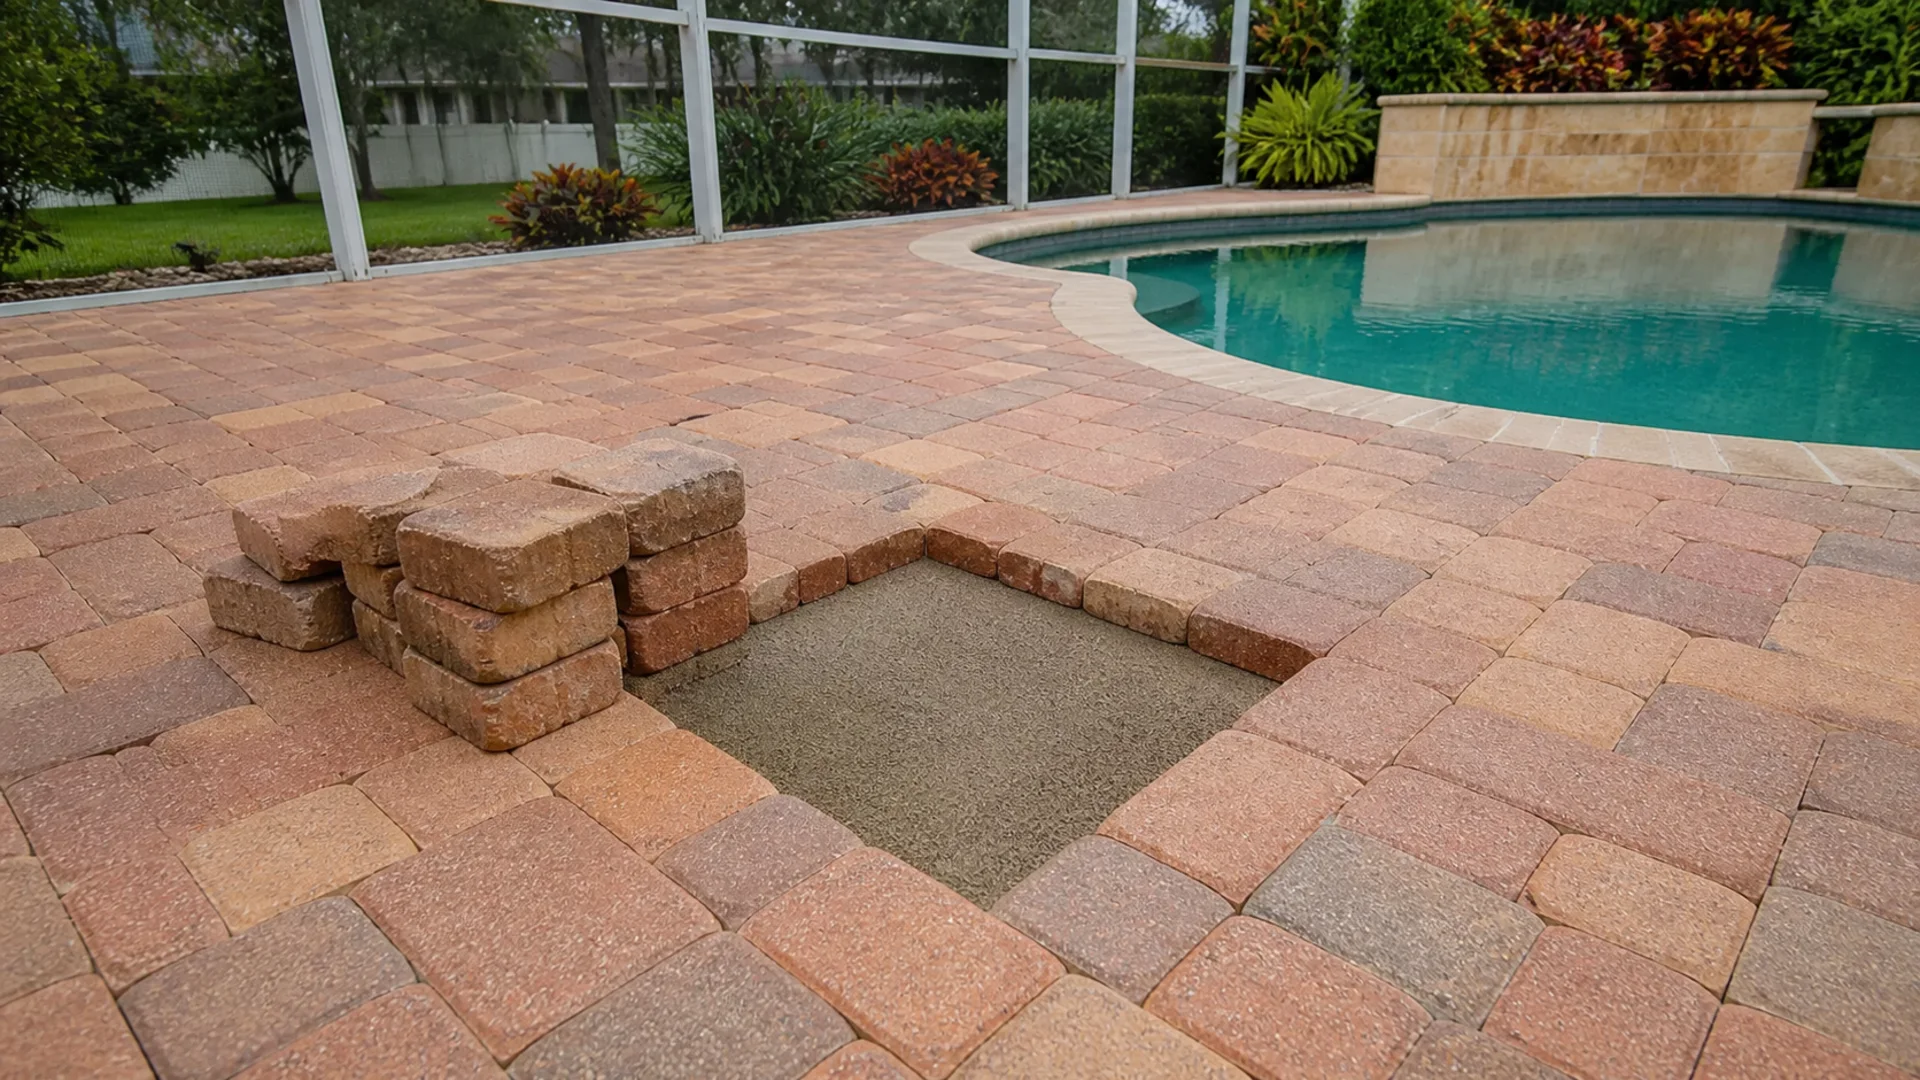
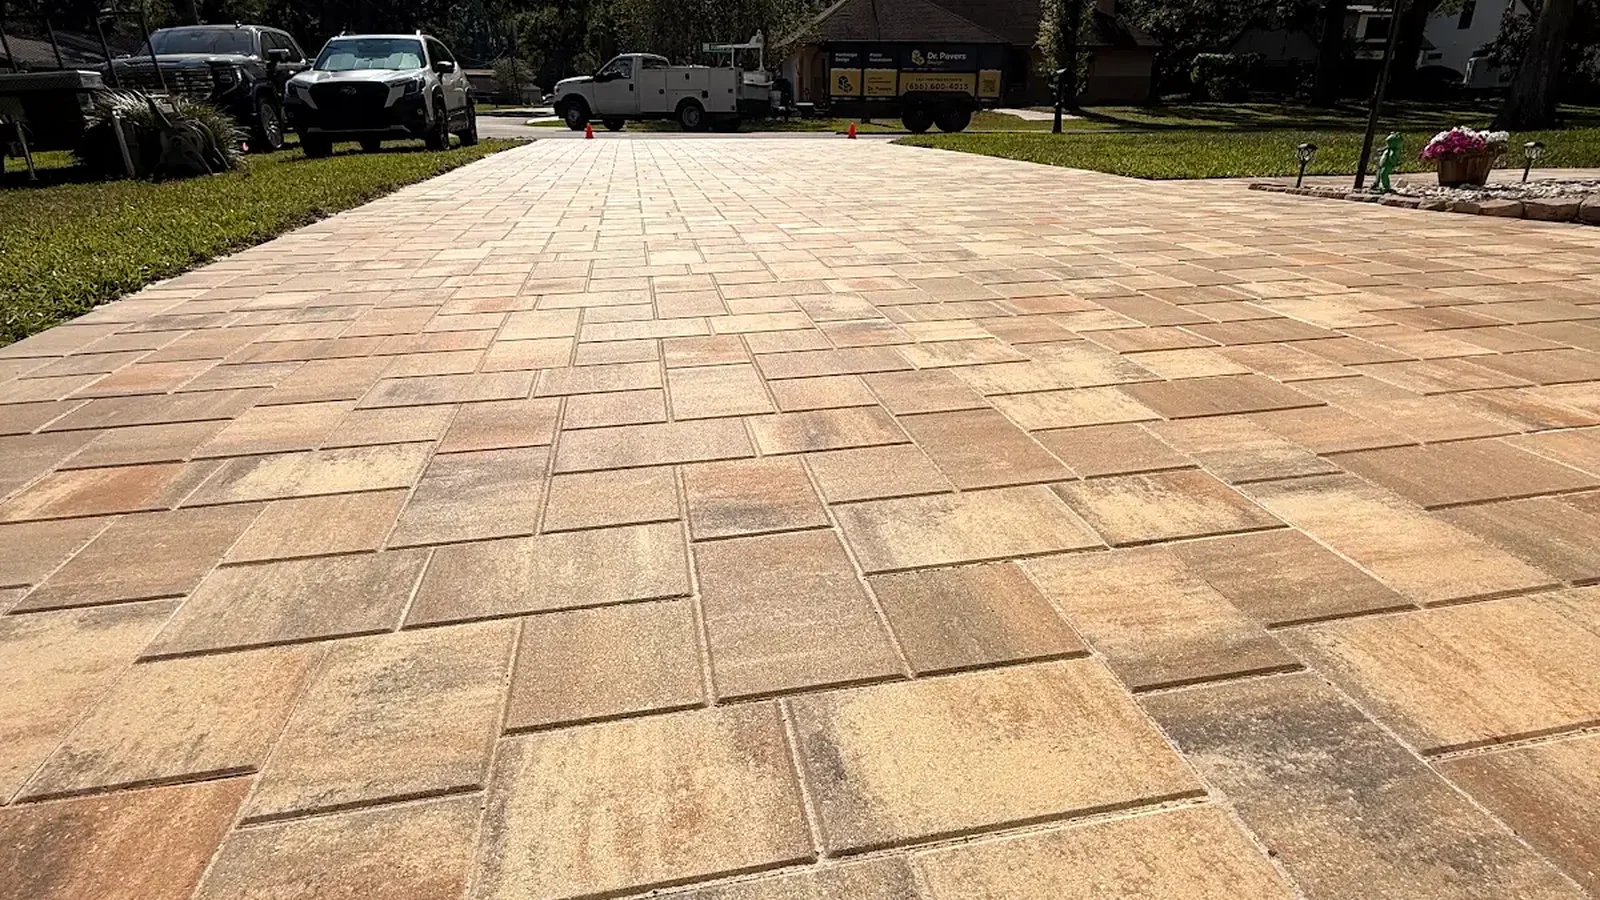
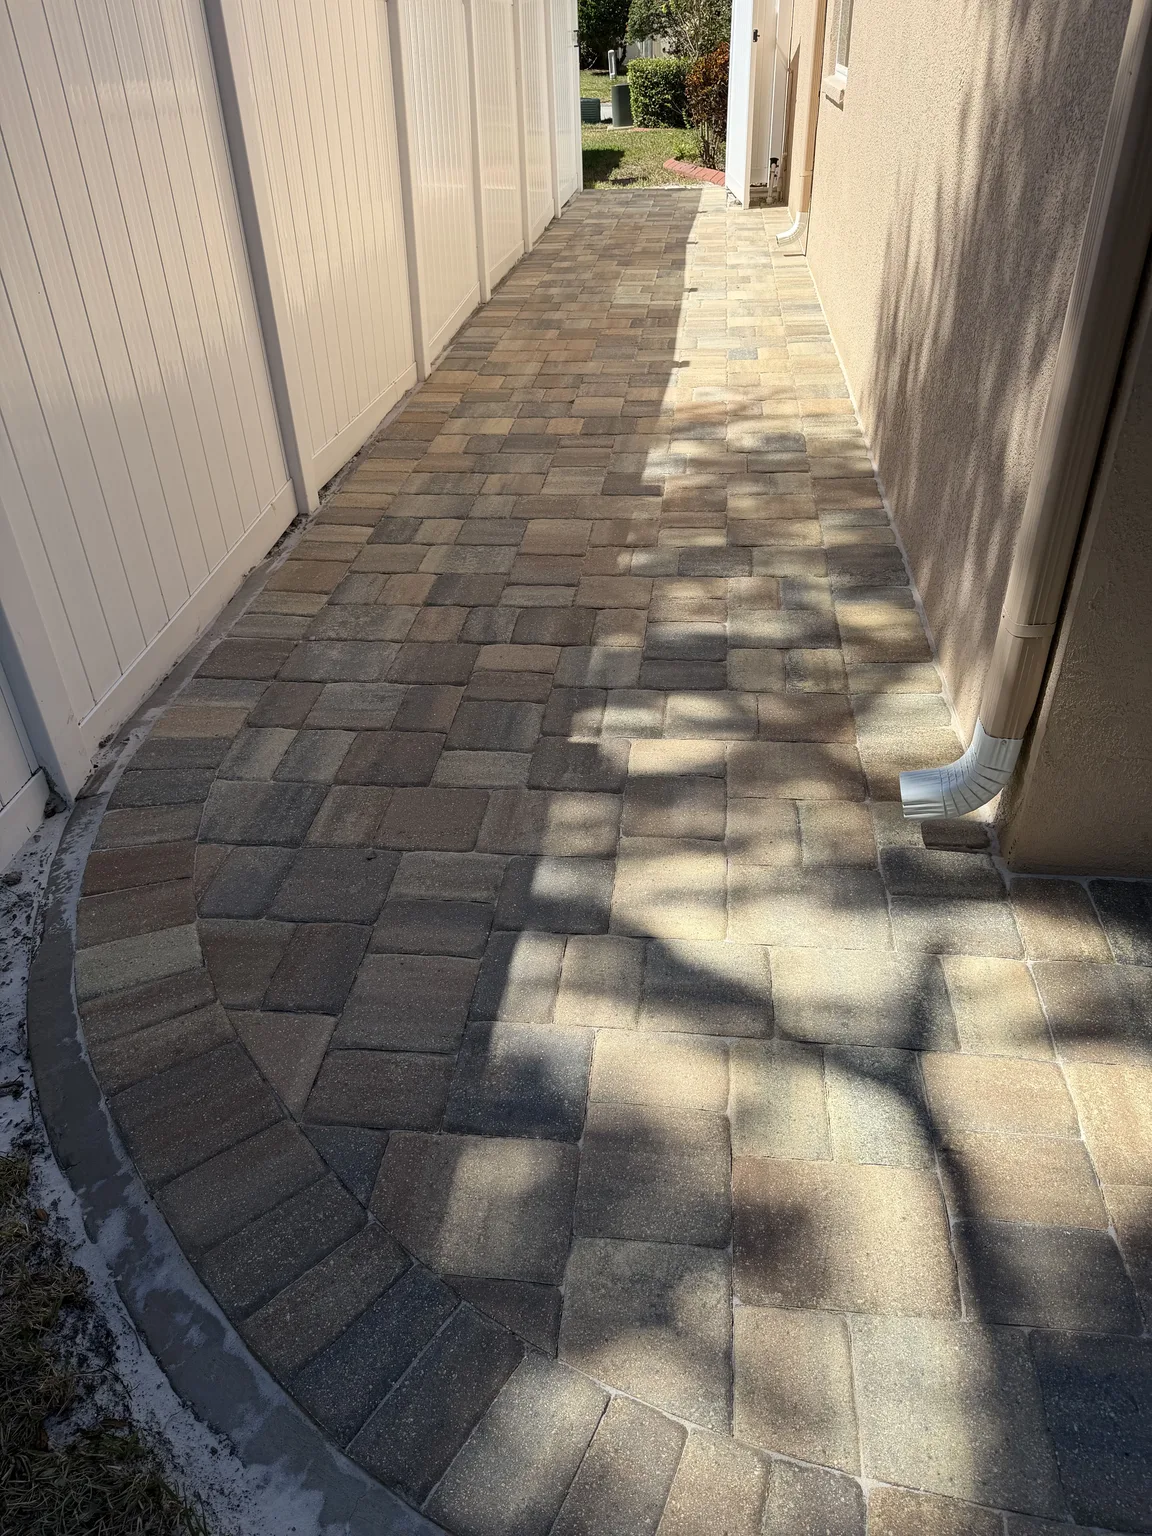
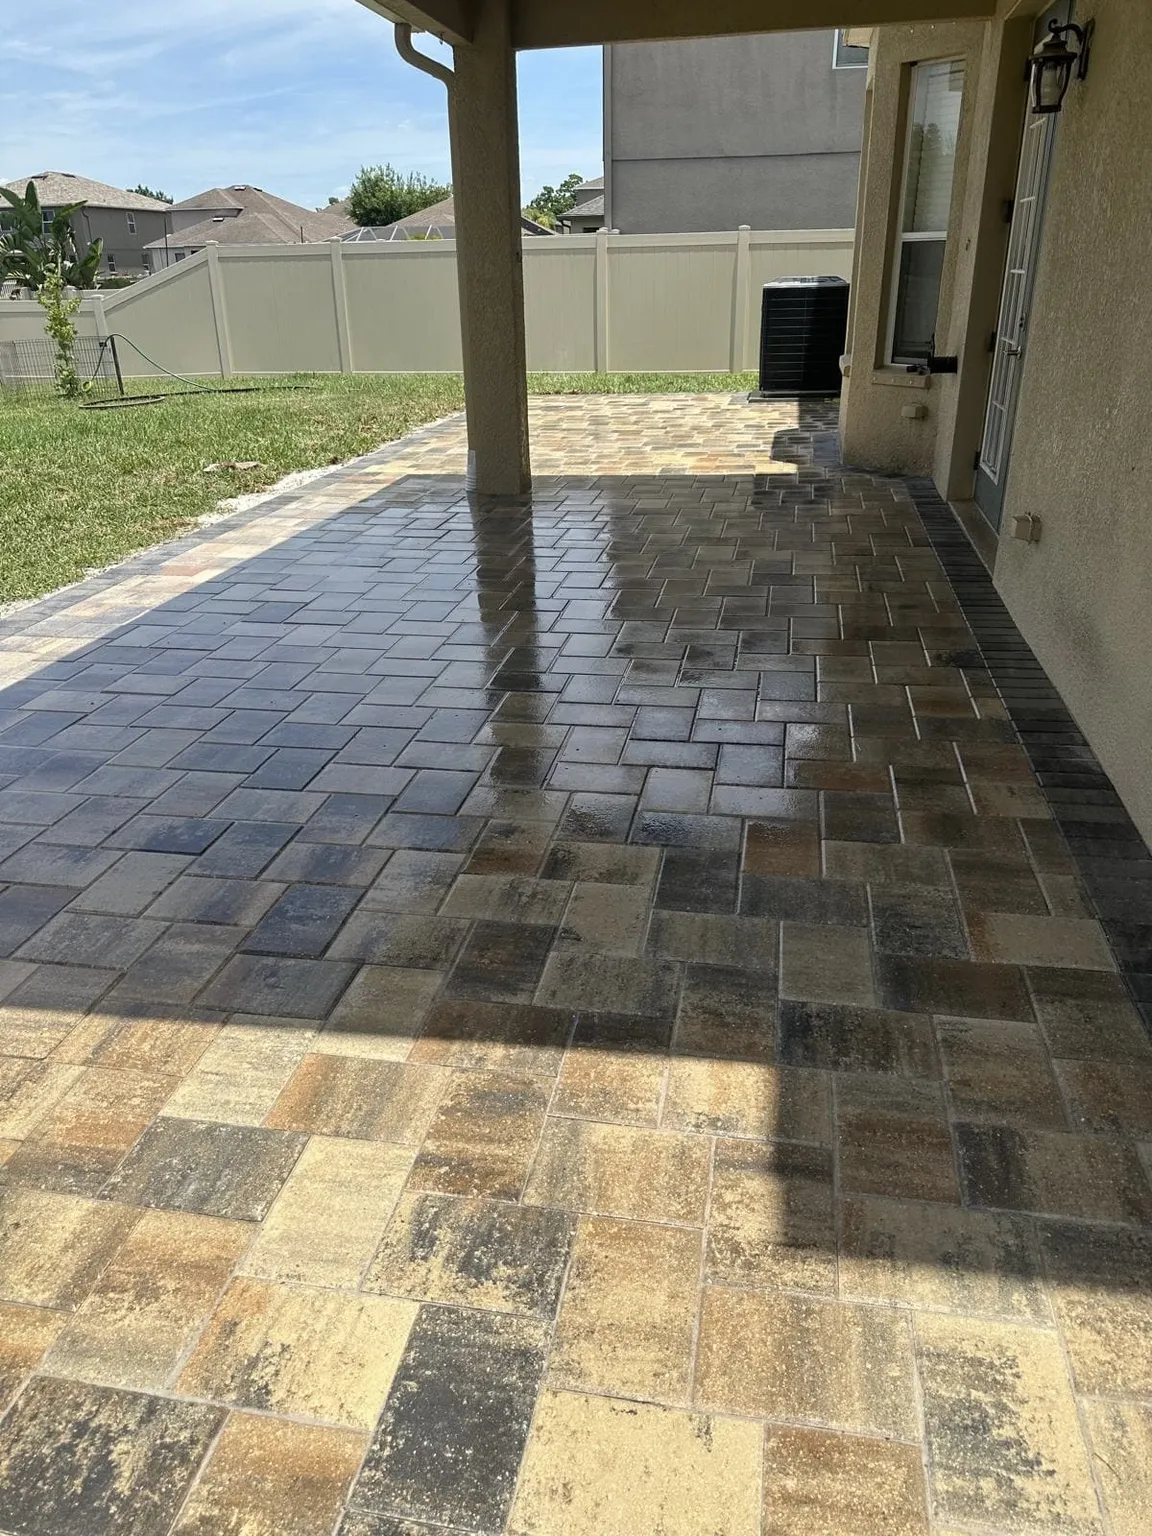
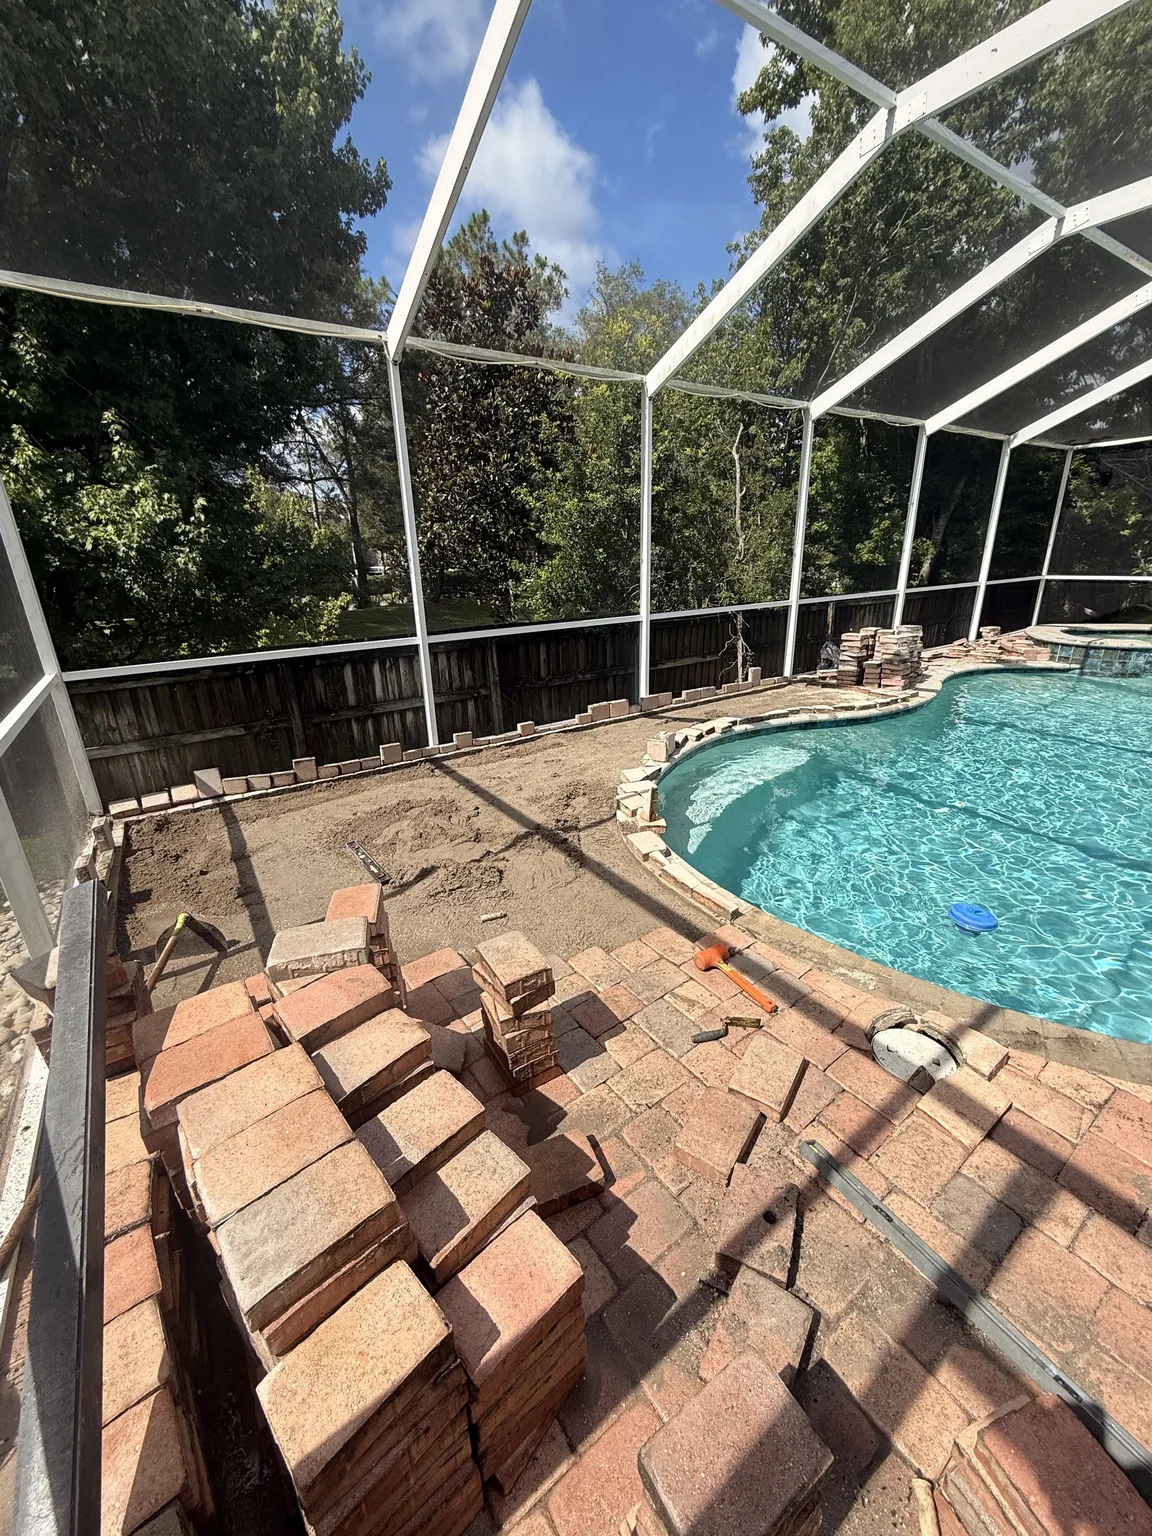
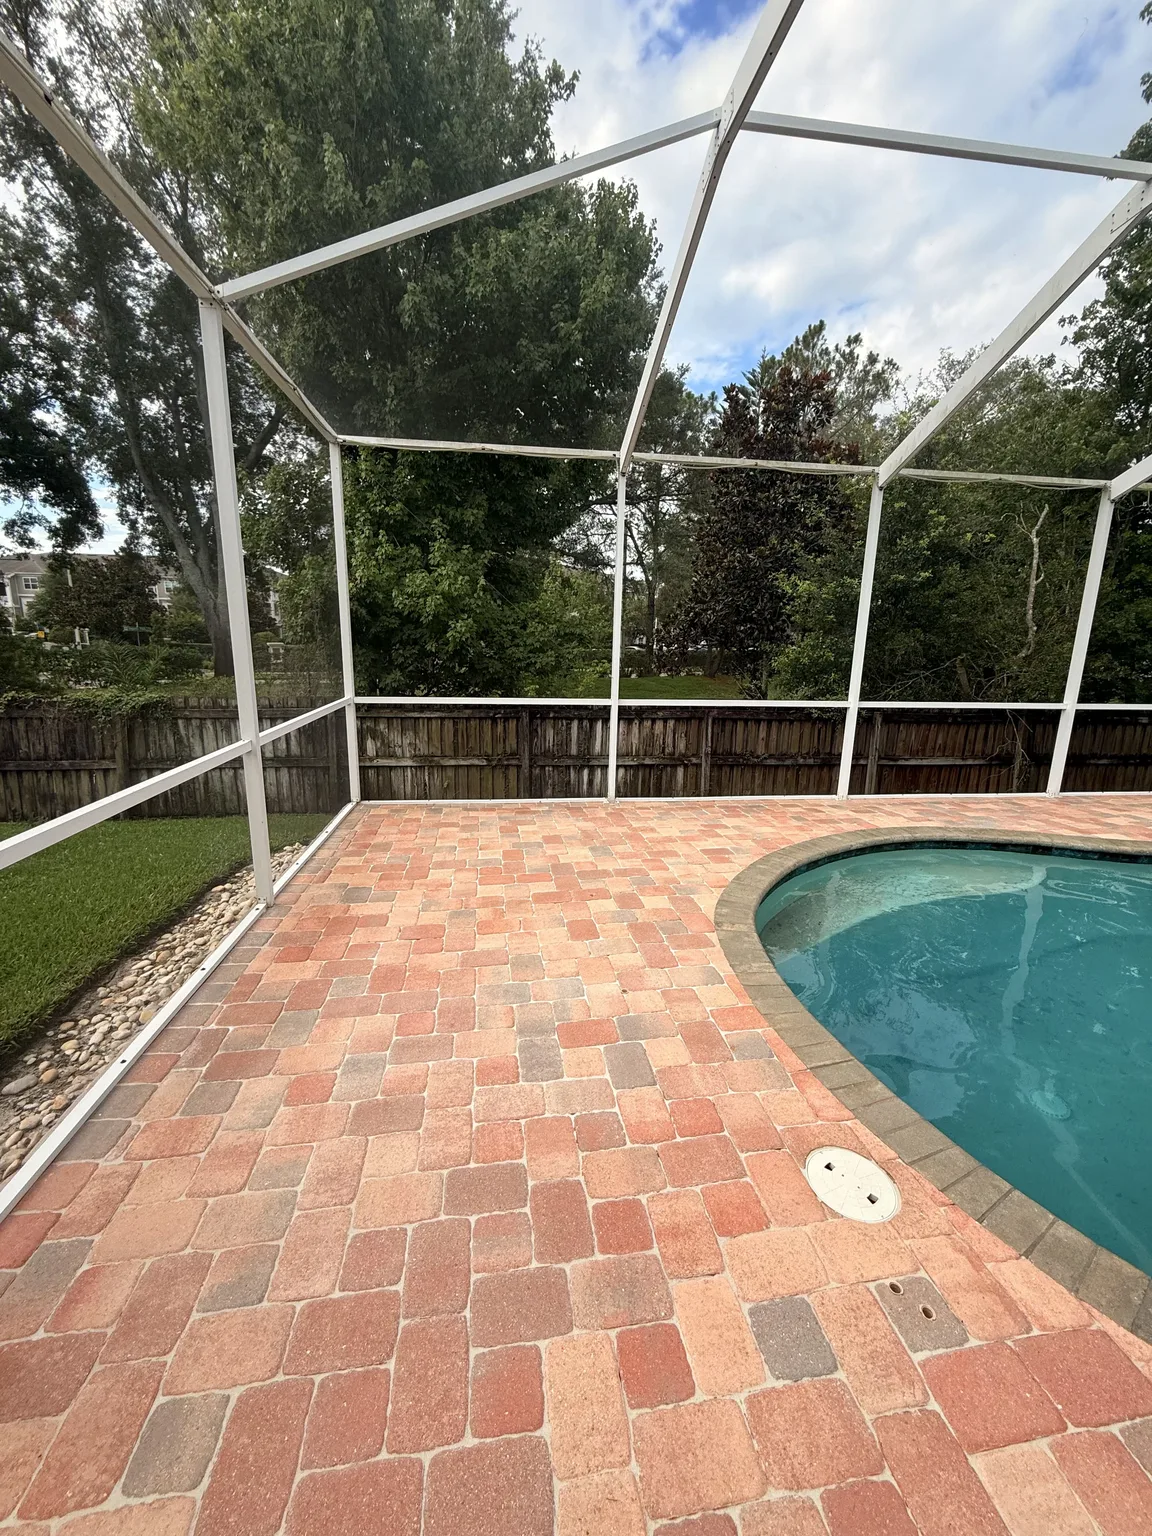
Pavers are individual units over a prepared base and bedding system, so their finished plane can be affected by settlement, edge movement, disturbed support, or changes at adjoining surfaces. At a gate, even a small localized high point can matter because the gate bottom crosses it repeatedly. A dip may be just as important if it traps water and debris at the line where the gate needs to close. The condition should be examined in context, not reduced to “the pavers moved.”
Pay special attention to a threshold made from a different material, such as concrete, a metal strip, or a strip of pavers set in a different direction. A change in texture or elevation can become a contact point. Borders are also worth noting: their joints and restraints may behave differently from the field pattern beside them. Record any cracked unit, loose edge, open joint, or newly uneven transition, but do not remove pavers to investigate unless the repair scope calls for it.
Hinges, stops, and double gates change the calculation
A gate may appear to have insufficient ground clearance when the real issue is a hinge that has loosened, a post that is no longer holding the same position, or hardware that limits the swing differently than intended. Look for rubbing marks, fasteners that have shifted, a latch that requires force, and a gate that does not rest consistently at its stop. These observations help separate gate operation from paving geometry without pretending to diagnose either from a distance.
Double gates deserve a separate test. Each leaf has its own swing and ground clearance, while the meeting point must allow the latch or drop rod to work as intended. A center stop, cane bolt location, or overlapping leaf can create a pinch point that is invisible when one leaf is tested alone. Open and close each leaf individually, then together, and note whether the meeting line changes as the surface rises or falls beneath it.
Do not overlook the open position. A gate that clears the walkway while closing can still obstruct the route when parked open, strike a fence section, or rest against a stop that changes its usable width. The best position is based on the actual daily movement through the yard, not only on how cleanly the gate aligns in a closed photo.
Plan around the users of the path
Write down what crosses the gate line. A pedestrian side gate needs room for a person carrying bags and a workable latch. A yard access gate may need to admit a mower, wheelbarrow, pool equipment, or service cart. A pet gate should close predictably and should not leave an opening created by an uneven surface. These are use requirements, not decorative details, and they should be identified before changing the gate height or rebuilding a paver transition.
- Pedestrians: check the clear route with the gate open and the latch reachable from the approach.
- Wheeled equipment: test the real width, turning room, and threshold rather than relying on nominal gate size.
- Pets: inspect the bottom gap across the full swing and the area at the latch side.
- Accessibility needs: evaluate the route, grades, maneuvering space, and hardware use for the person who needs it.
- Maintenance access: consider bins, landscape tools, and future service work that must pass through.
A wide gate is not automatically convenient if the swing consumes the only flat landing or forces a turn across an uneven paver pattern. Likewise, increasing the bottom gap can prevent scraping but create a concern for a pet or reveal an awkward visual break. A site-specific plan weighs clearance, access, drainage, and the intended fence function together.
Keep water and debris out of the decision’s blind spot
Gate lines collect what the yard sends toward them. In Florida rain, leaves, mulch, sand, and runoff can gather at a low point or against a bottom rail. That buildup can make a gate drag temporarily, hide a growing surface change, or direct water where it should not linger. Clear ordinary loose debris before observing operation, then note where it repeatedly returns. Repeated accumulation is a question about grade, landscape edging, and runoff paths, not proof of a single defect.
Check where the walkway sheds water on both sides of the gate. A surface that appears visually flat may still guide water toward the fence line. Irrigation can add a separate wetting pattern, and salt exposure can be relevant at coastal properties when choosing maintenance and material considerations. The right response depends on what the site actually shows. Avoid filling a low point or cutting a gate solely to solve a wet-day symptom before the water path has been reviewed.
Coordinate the work in the right order
Coordination is less about which contractor arrives first and more about establishing the final gate geometry before work covers the evidence. The fence scope should identify posts, hinges, swing direction, latch location, stops, double-gate hardware, and intended bottom clearance. The paver scope should identify the finished walking surface, borders, transitions, drainage direction, and any area likely to sit beneath the swing. Each side needs to know the other side’s finished condition.
When a new fence and walkway are planned together, confirm the gate layout before final paver elevations are established. When repairing an existing condition, document the current operation before lifting pavers, adjusting hinges, or trimming a gate. Temporary testing can clarify options, but the permanent work should be selected after the full swing, surface, and use requirements have been considered. That sequence reduces the risk of making one element look finished while leaving the other difficult to operate.
For a starting point on integrated outdoor work, review Dr Pavers Design project and service information. General landscape and property guidance is also available through the University of Florida IFAS Extension; local educational material does not replace an on-site review of a gate, walkway, or drainage condition.
A pre-work walkthrough checklist
Before any adjustment, walk the route in the same direction it is used every day. Open the gate fully, stop it where it normally rests, and close it without lifting or forcing it. Repeat after clearing loose debris. Note the closest point in the swing, the condition of the hinges and latch, and the relationship of the gate to the paver edges. Photos, a rough plan, and the actual equipment that needs to pass through are more useful than a vague statement that the gate “doesn’t have enough room.”
- What is the full swing path, including the open resting position?
- Where is clearance tightest, and is the surface high, uneven, wet, or debris-prone there?
- Does the gate latch and stop without force?
- What must pass through the opening now and in normal maintenance?
- Which final elevations, hardware settings, and drainage paths must the fence and paver teams coordinate?
Common questions about gates above pavers
Can a gate be trimmed to solve scraping?
Trimming may be considered in some circumstances, but it is not a universal answer. The source of contact, gate construction, hardware condition, drainage, pet needs, and finished surface all need to be understood first.
Should pavers be lower at the gate?
A localized surface change can affect walking comfort, water movement, and the look of the transition. Whether it is appropriate depends on the full grade and gate operation, not on clearance at a single point.
Why did a gate begin dragging after heavy rain?
Rain can expose debris buildup, wet ground, runoff paths, or a condition that was already near the limit of clearance. The timing is useful to document, but it does not establish the cause without inspection.
Make the opening useful from the first step to the last
There is value in testing the opening at the time of day it is normally used. A gate that is easy to see and operate in bright daylight may feel different when a person is carrying pool supplies, walking a dog, or returning after rain. Lighting, the reach to the latch, and the footing at both approaches are practical details. They do not change the basic need for clearance, but they can expose a route that is technically open and still inconvenient or unsafe in ordinary use.
Keep future changes in mind as well. New landscaping, a different trash bin, a shed delivery, or a replacement gate can alter the demands at the same narrow crossing. That does not require overbuilding every access point. It does mean recording the constraints now, so a later change can be planned against the established paver elevations, drainage behavior, and swing path instead of discovered after installation.
A good gate crossing feels unremarkable because the swing clears the finished walkway, the latch works without a struggle, water has a considered path, and the opening serves the people and equipment that need it. Achieving that result starts with a full-swing check and a shared plan between fence and paver work. It is a small zone with several moving parts, so a careful walkthrough before work begins is more valuable than a last-minute adjustment after the hardscape is complete and the access route has become difficult, costly, and disruptive to change later on for everyone.
Finally, when you are ready to plan a fence around your outdoor space, review the services, see completed projects, read testimonials, and check the FAQ before requesting a free consultation through the contact page. Follow Dr Pavers Design on Instagram and Facebook, or review the company on Google. Open Google Maps, send a WhatsApp message, call +1 (656) 600-4015, send a text message, or email drpavers@outlook.com for a free consultation anywhere in Tampa Bay.