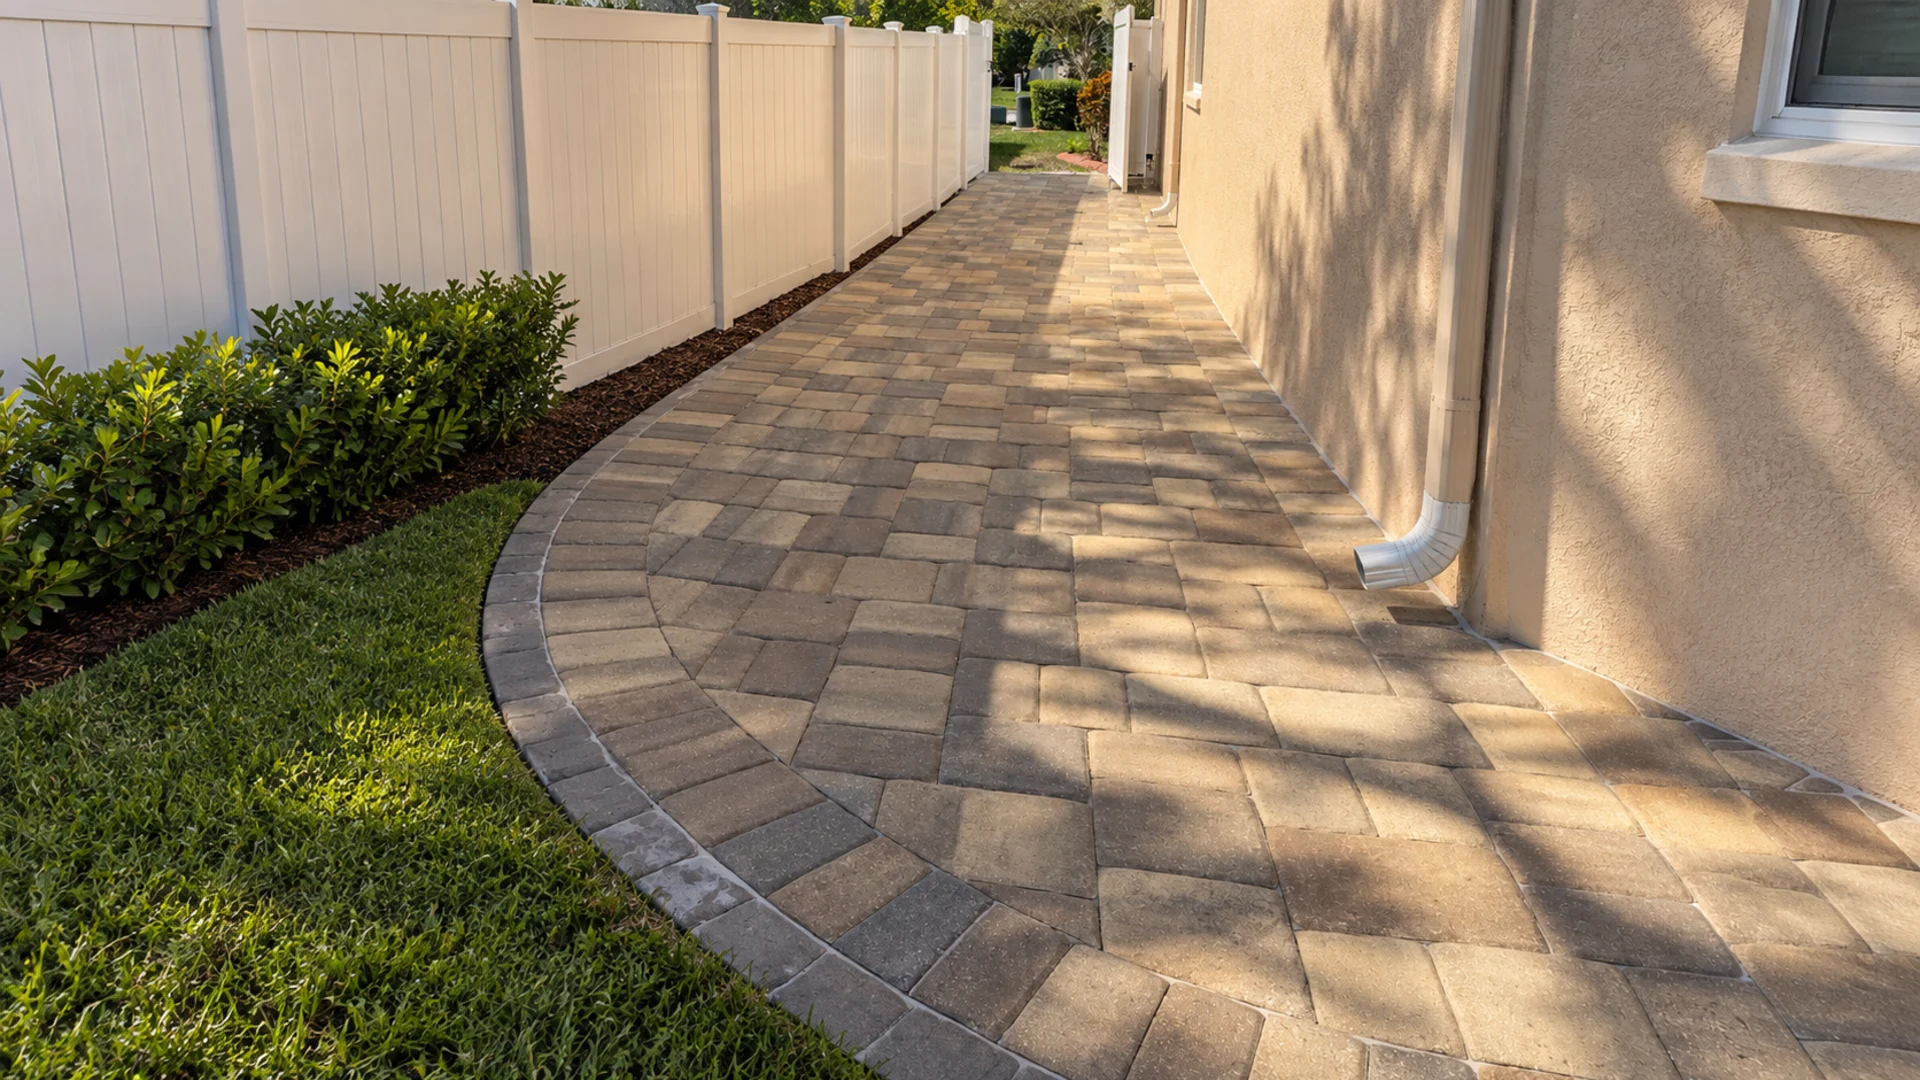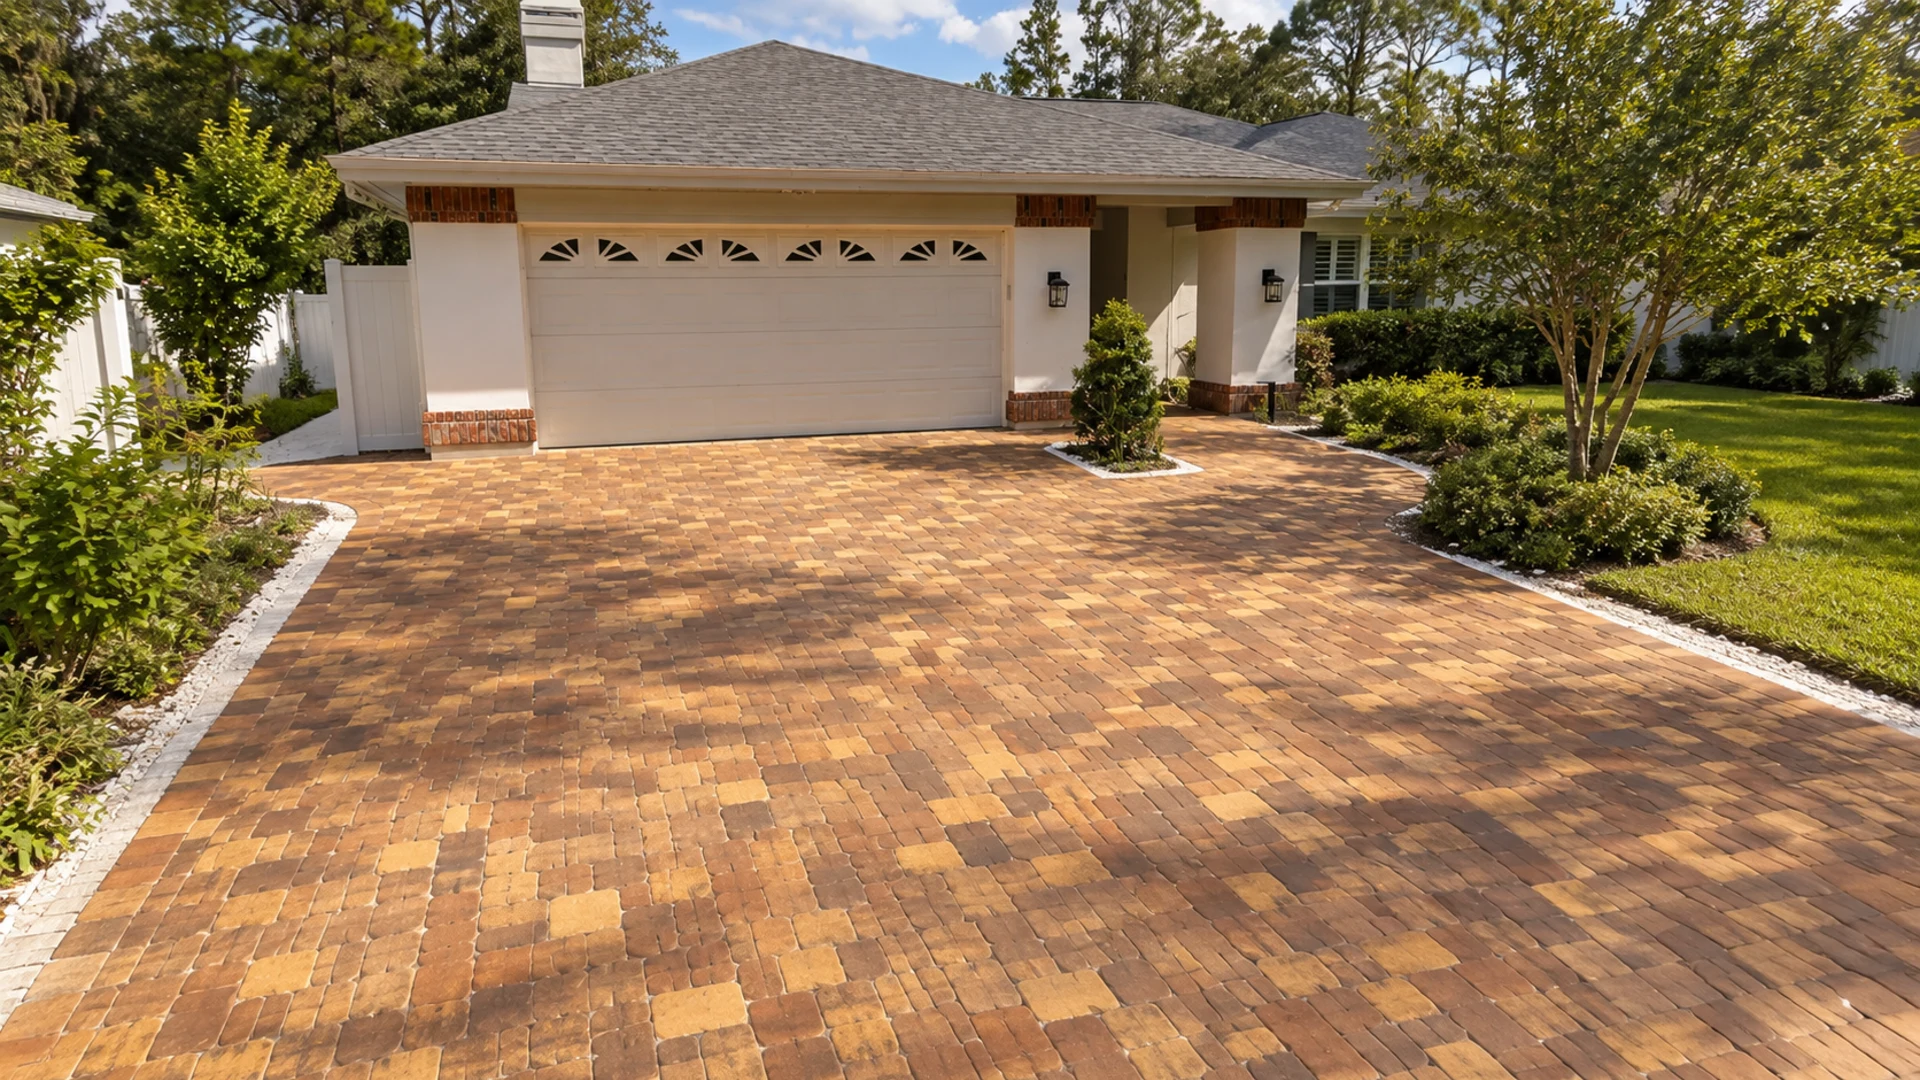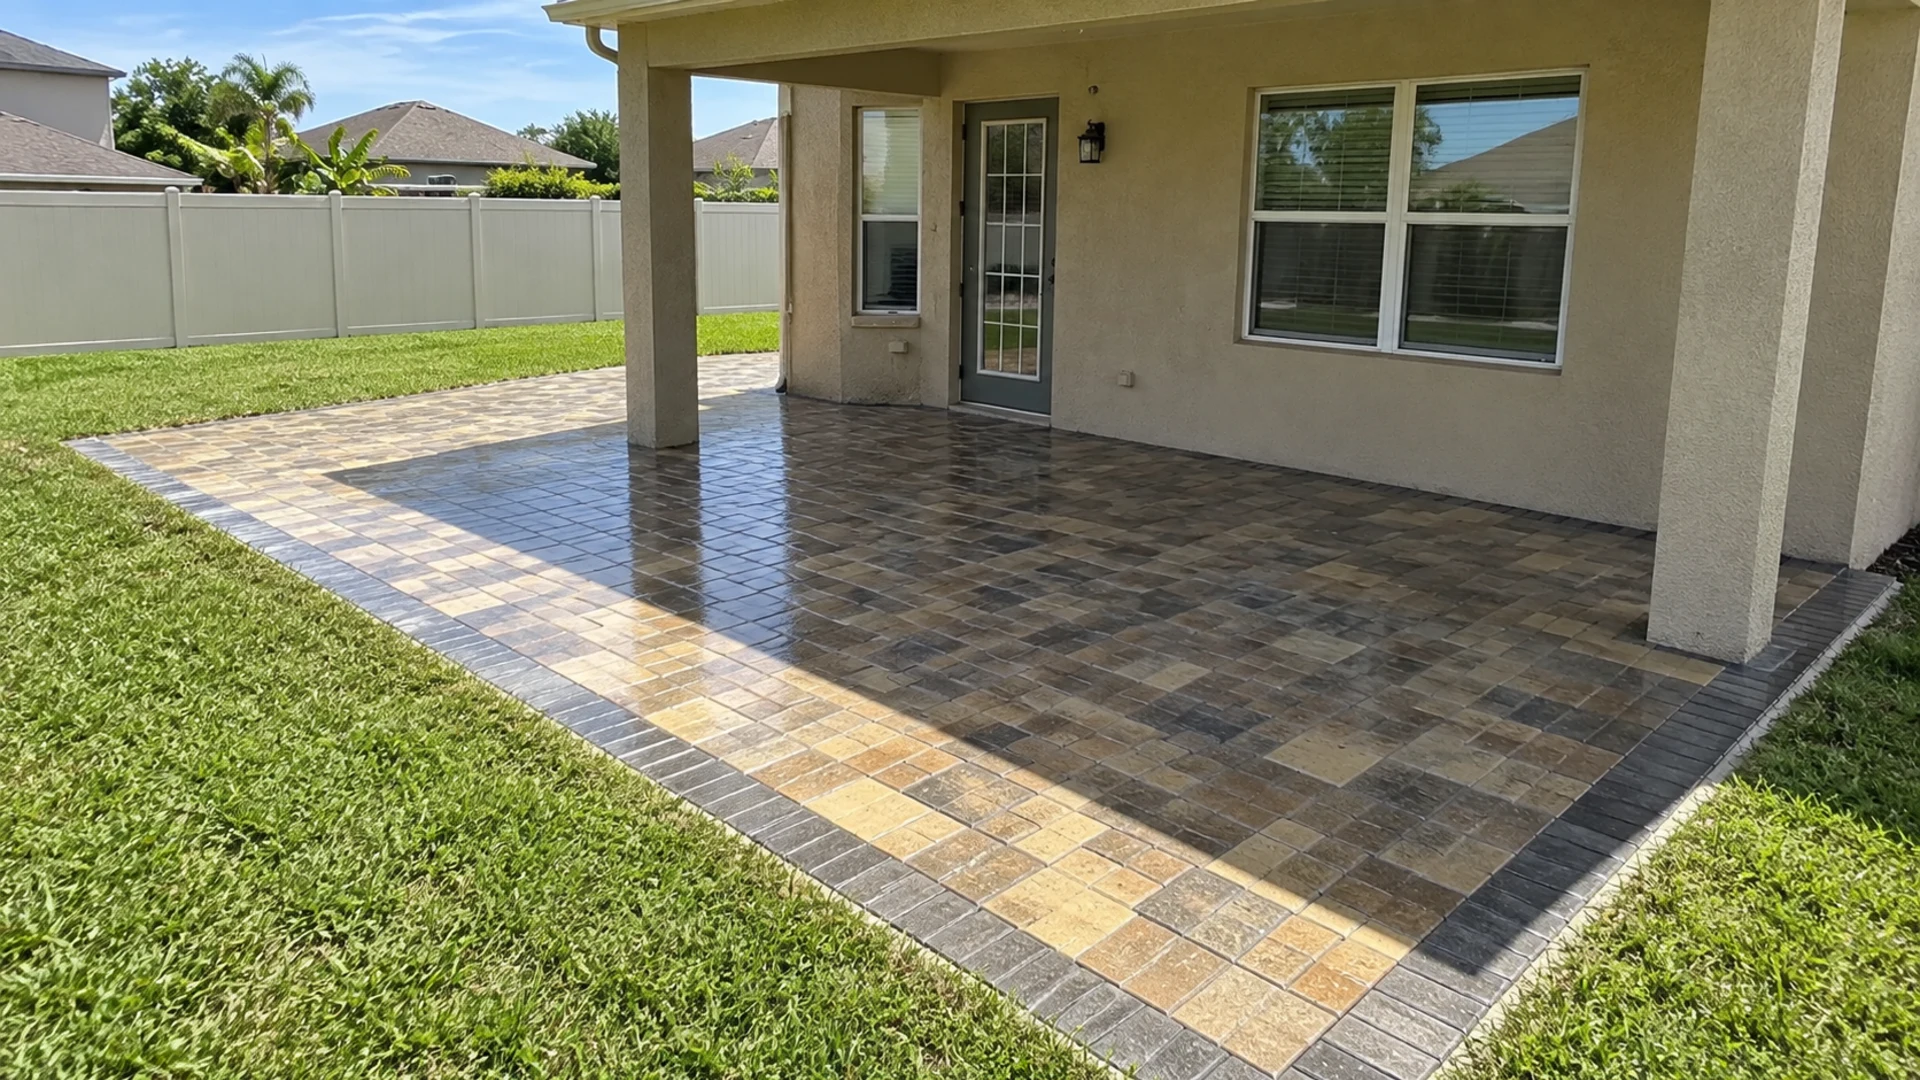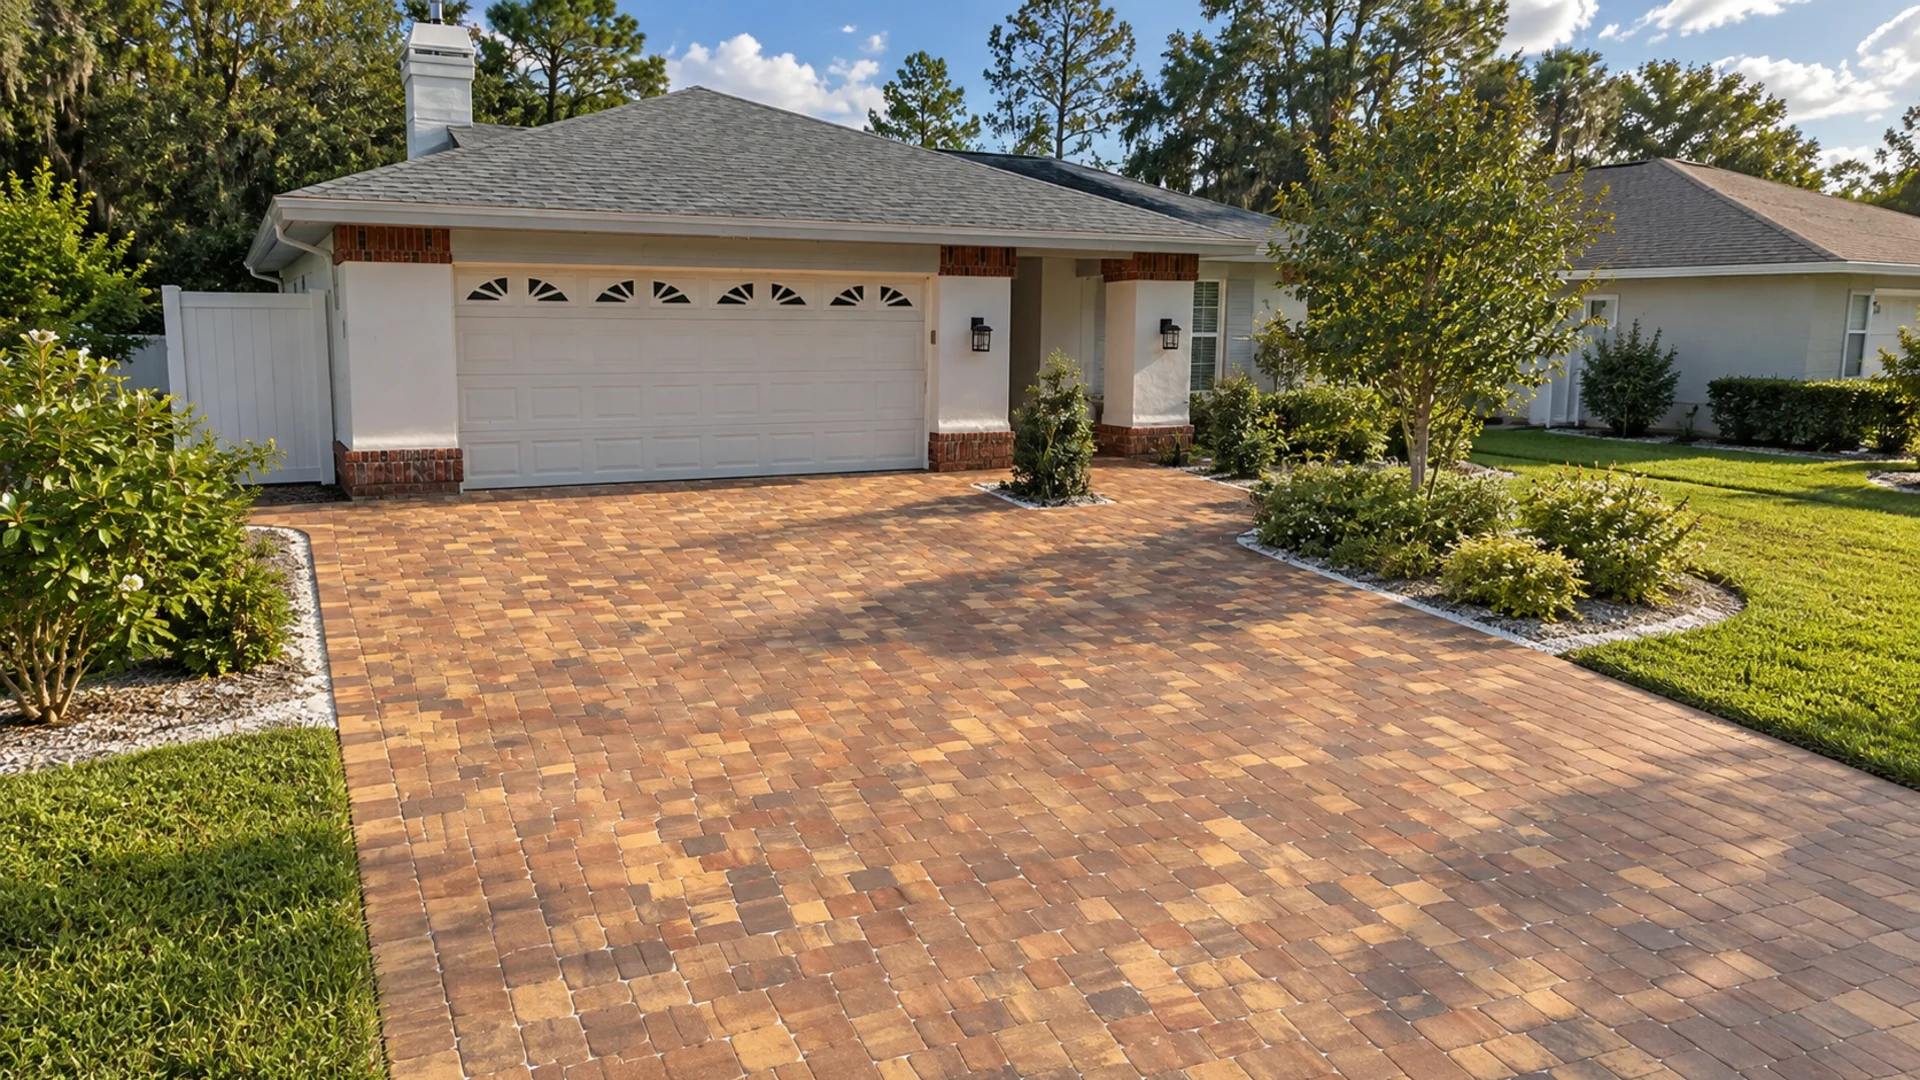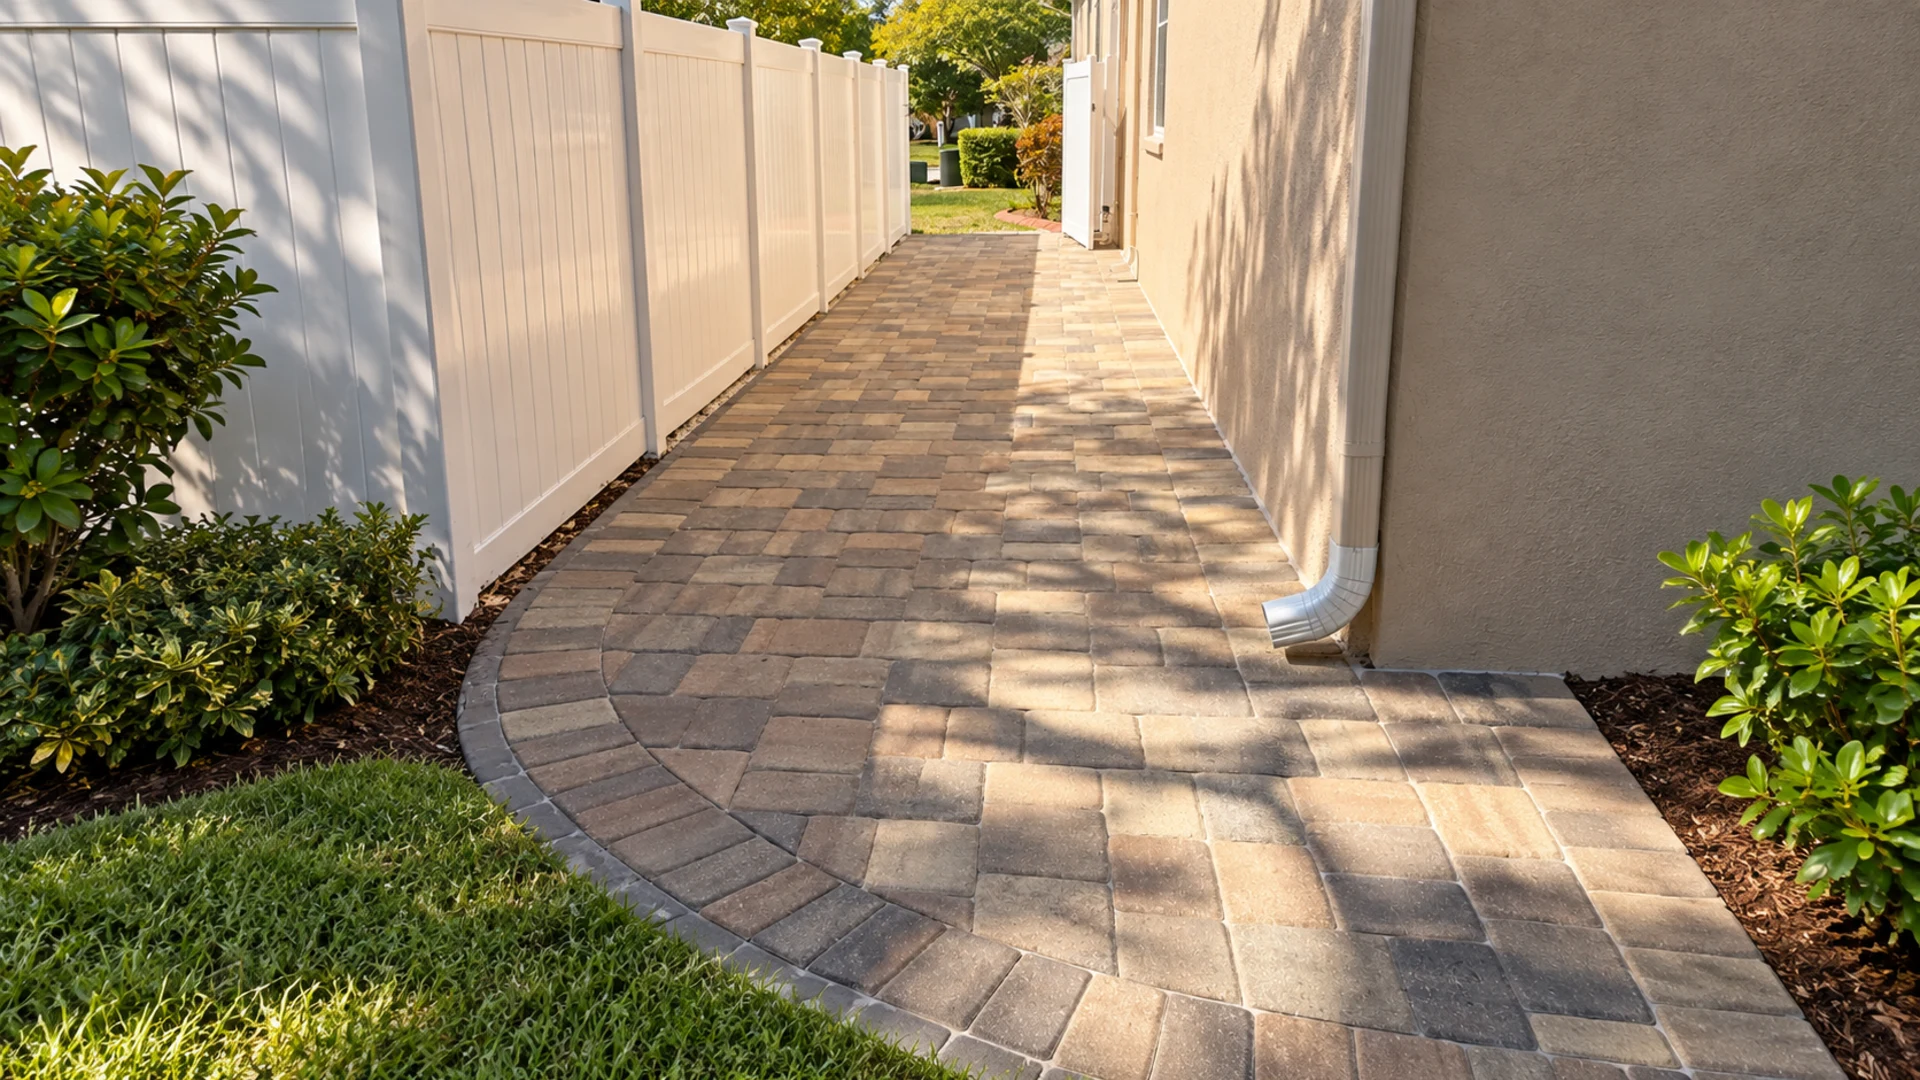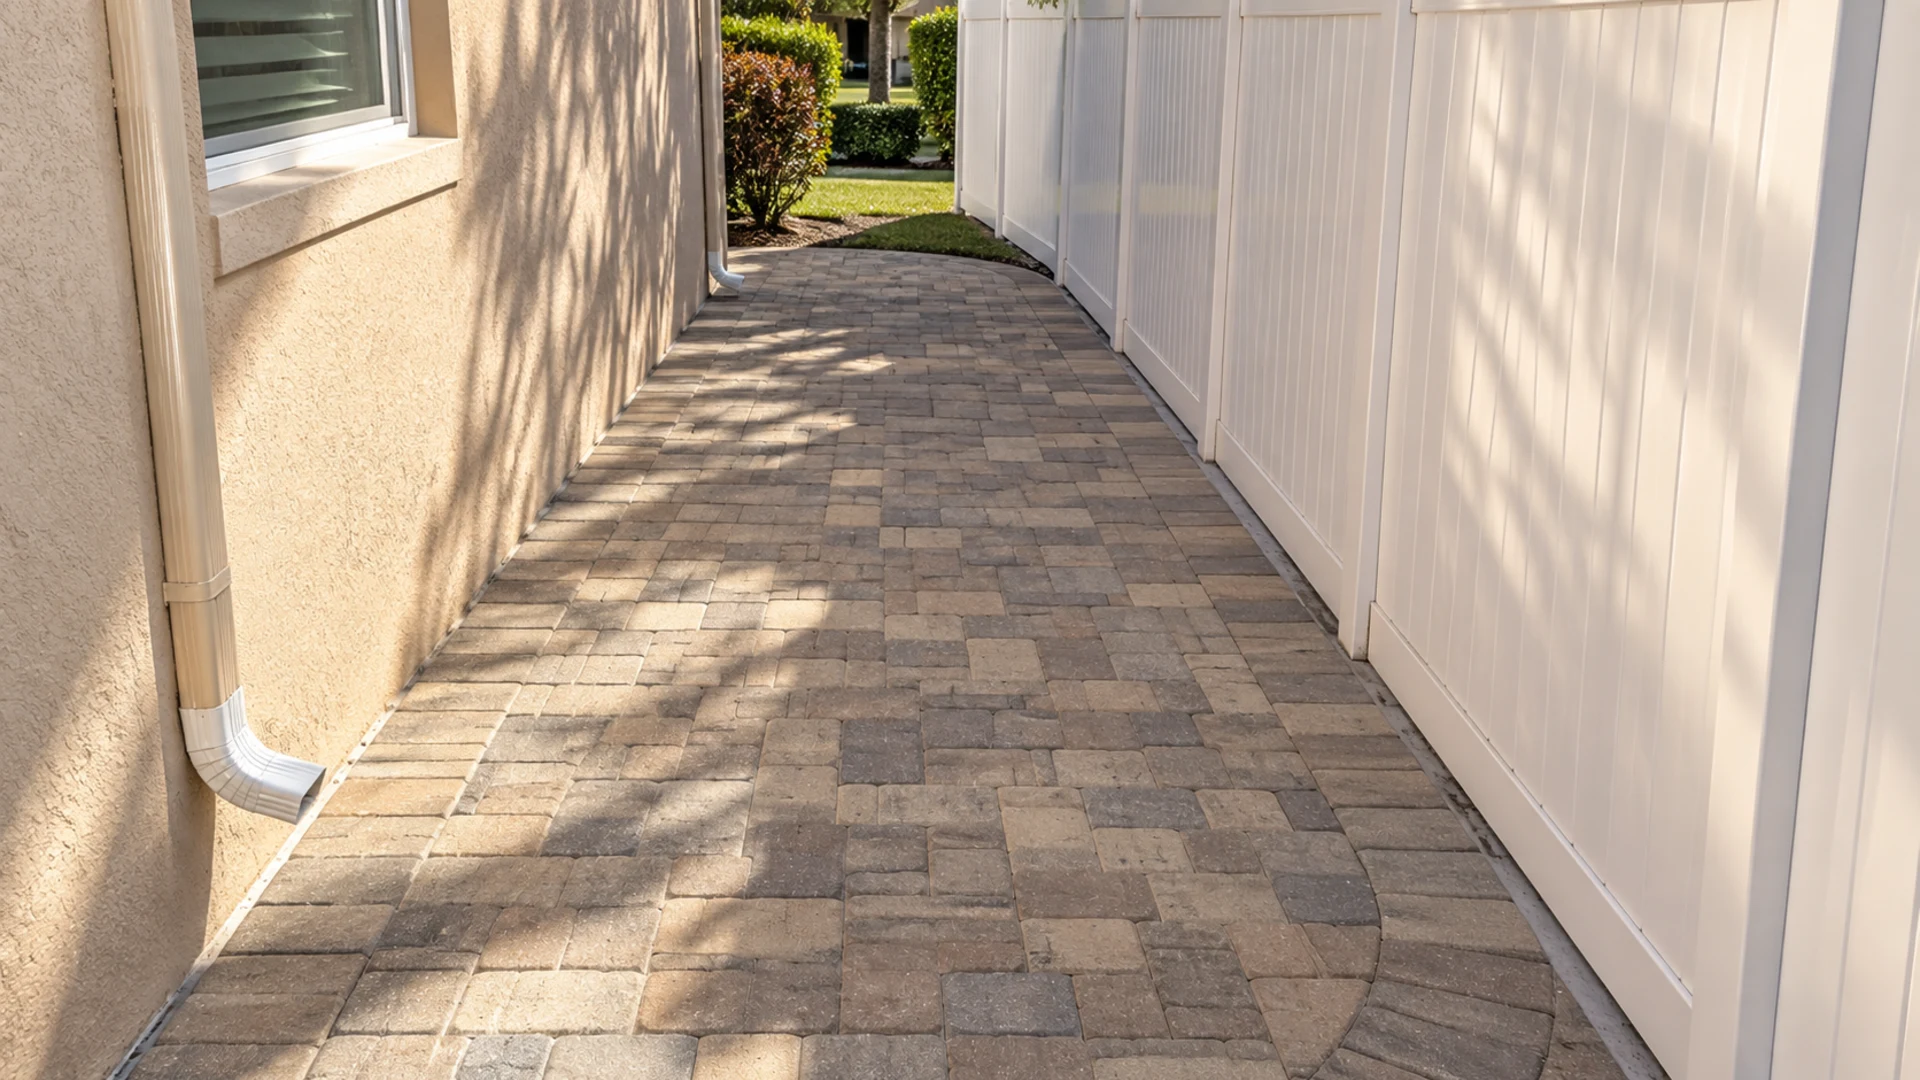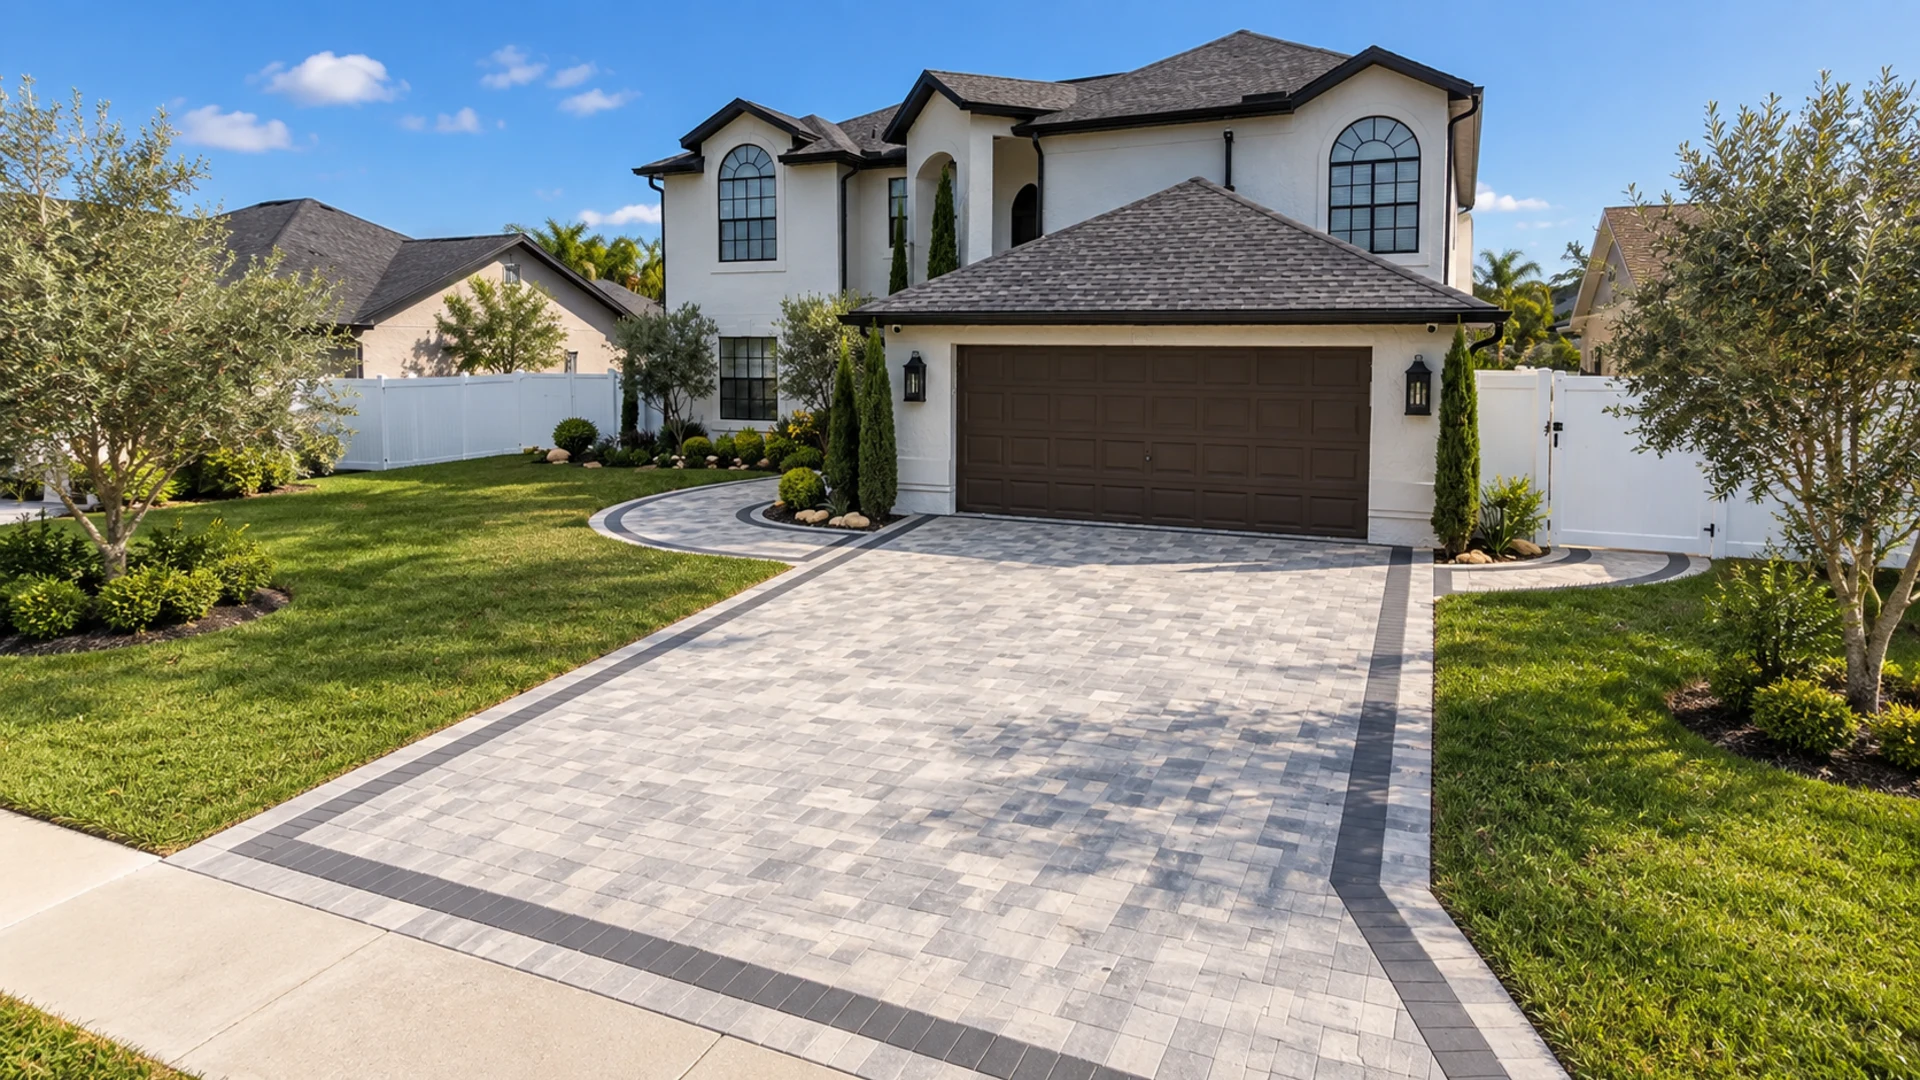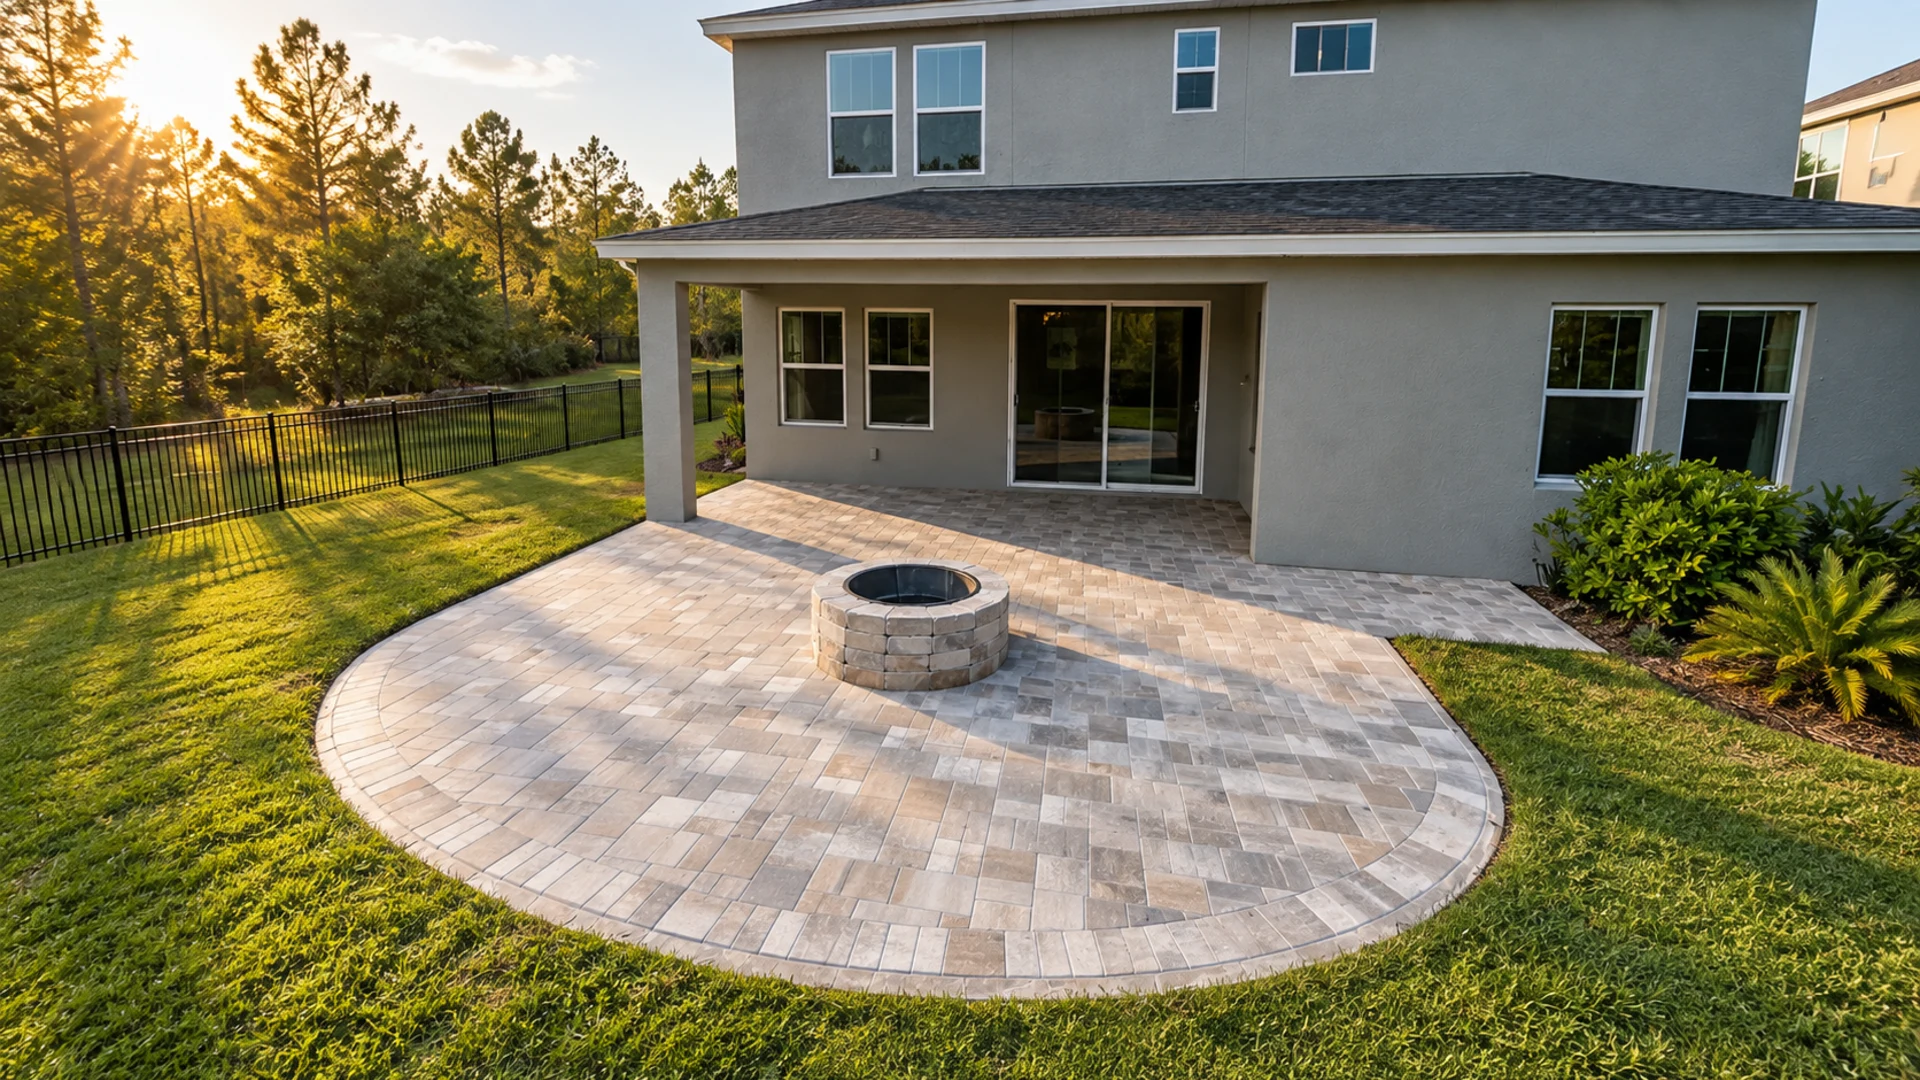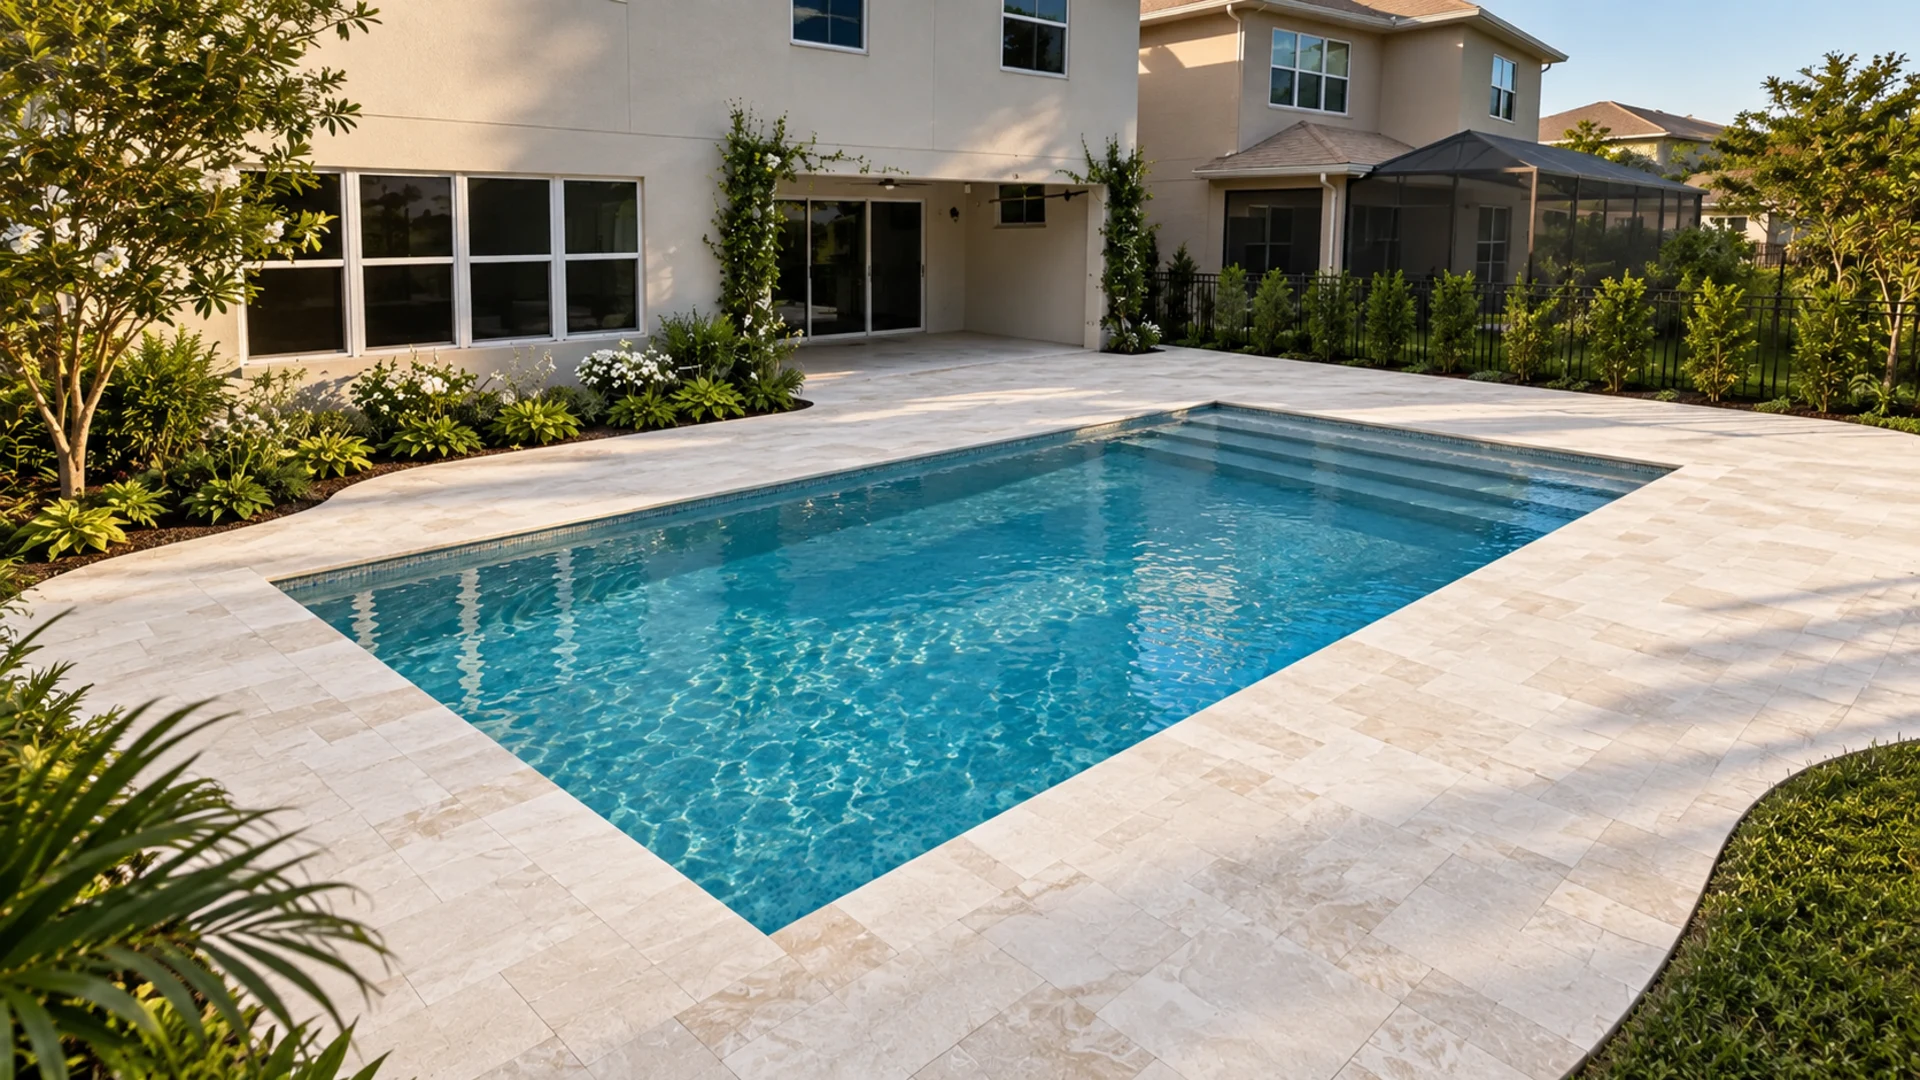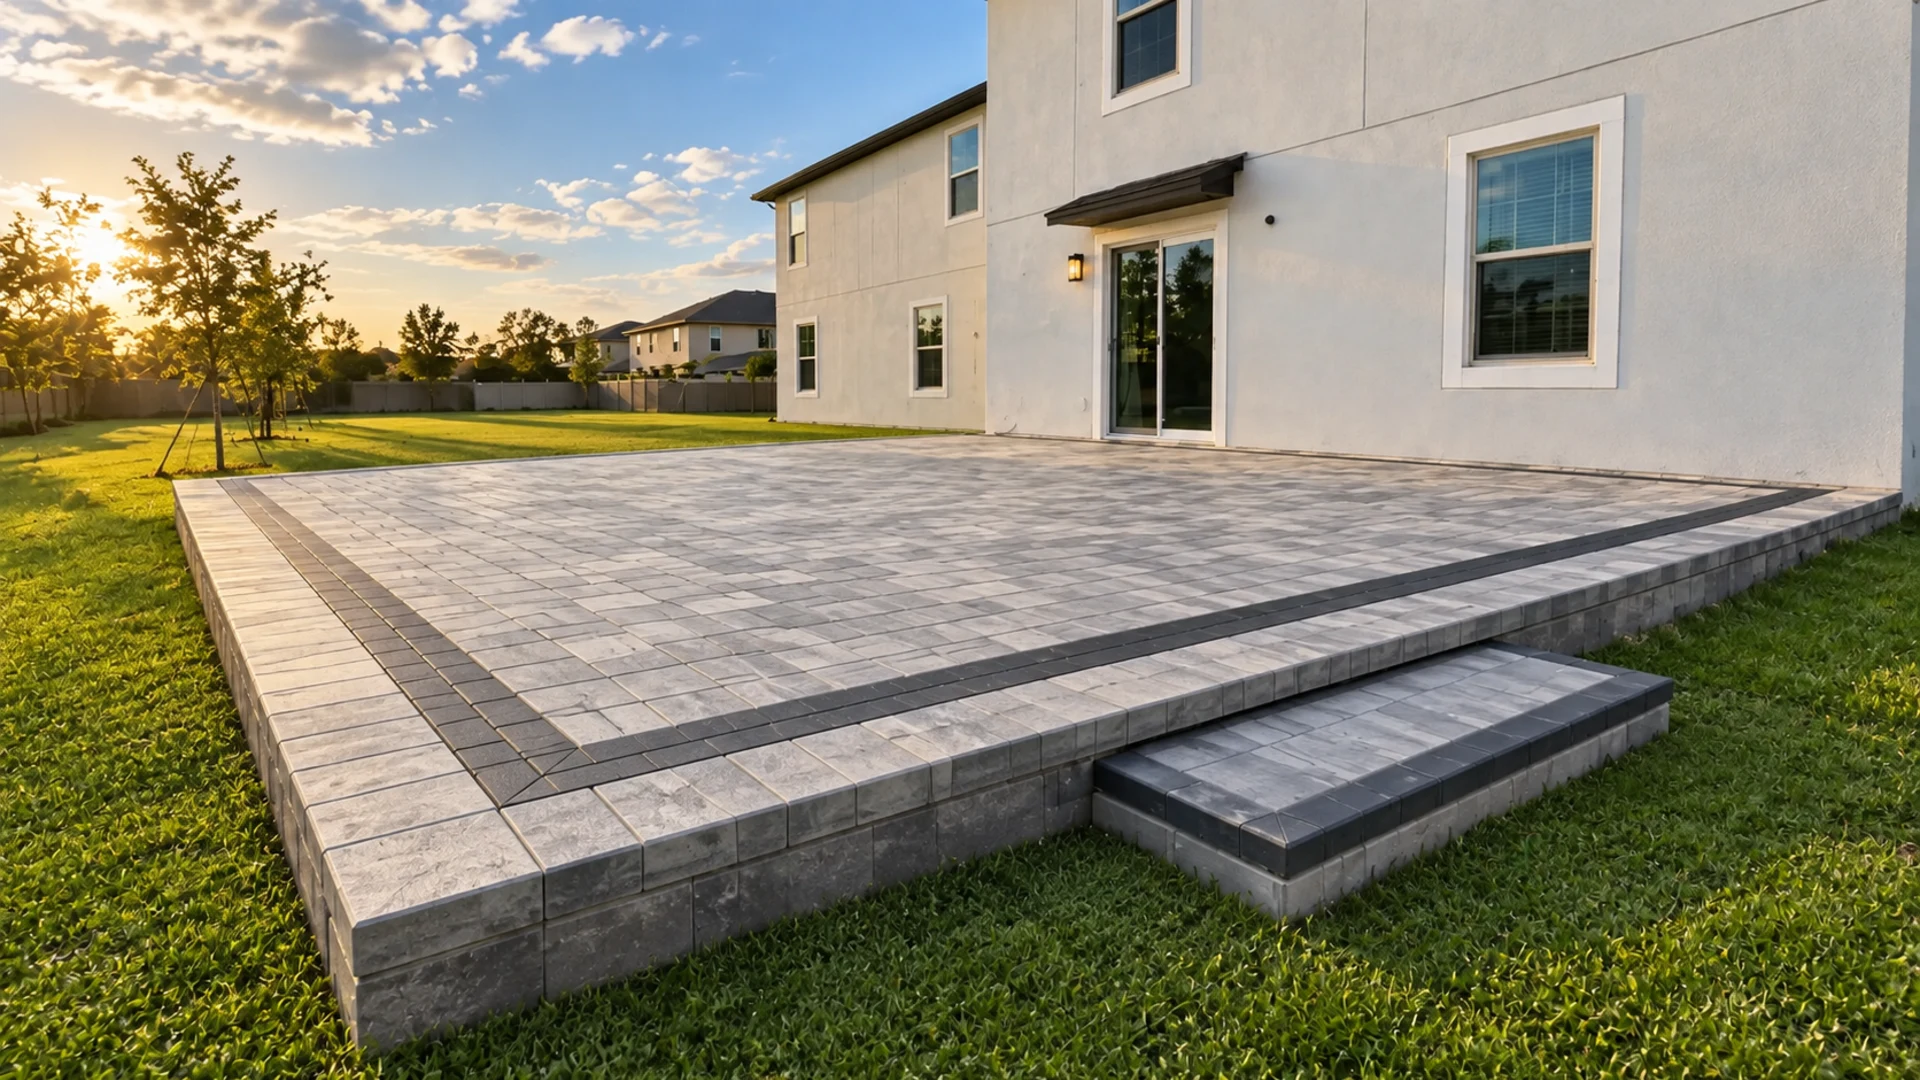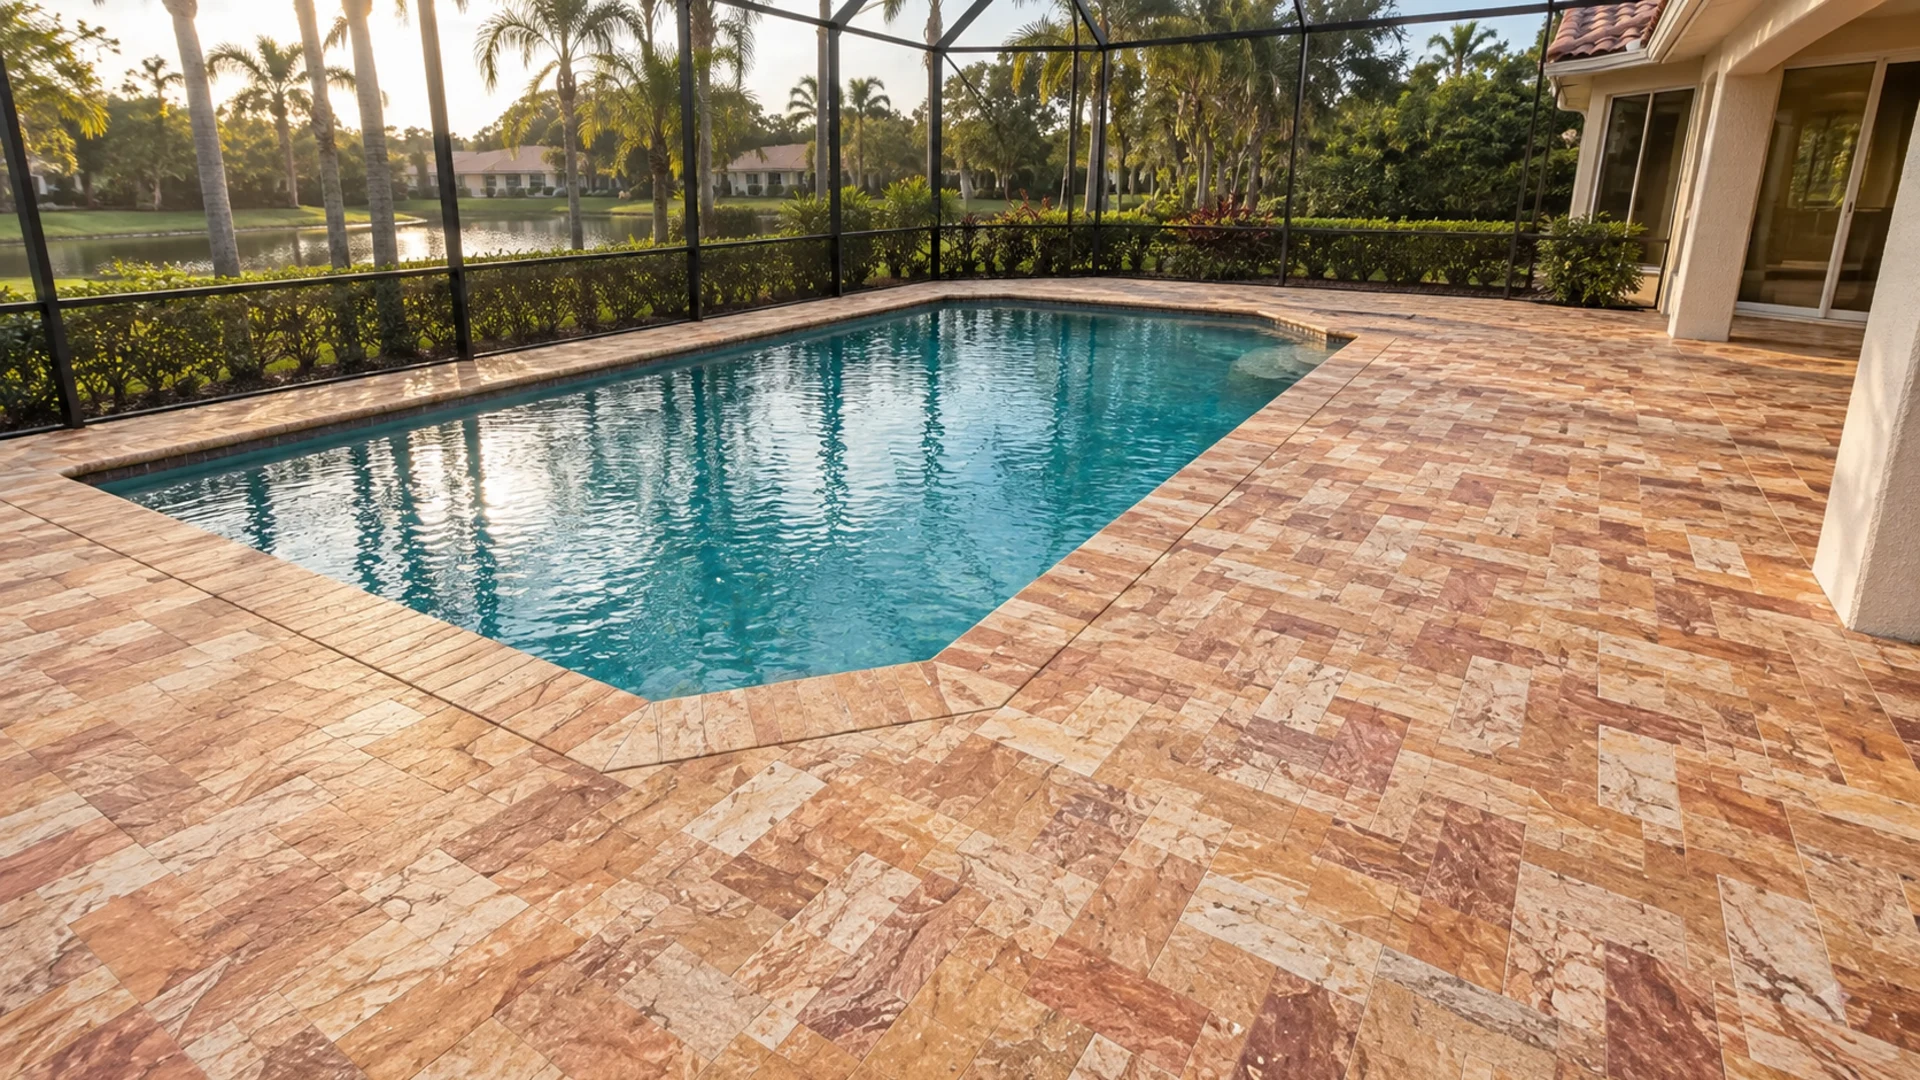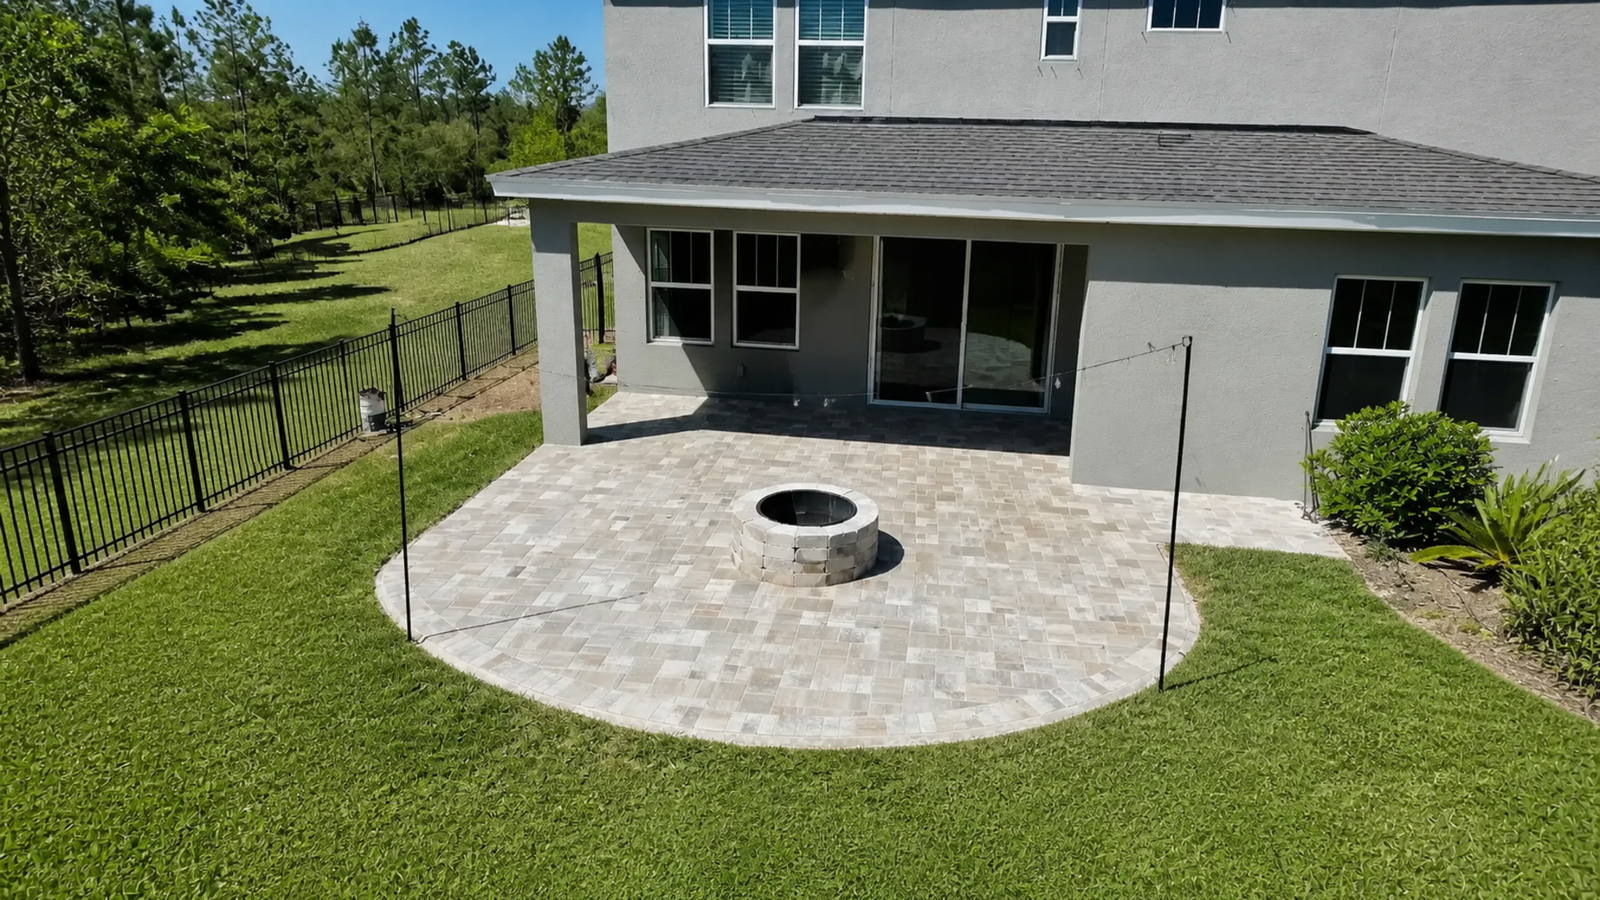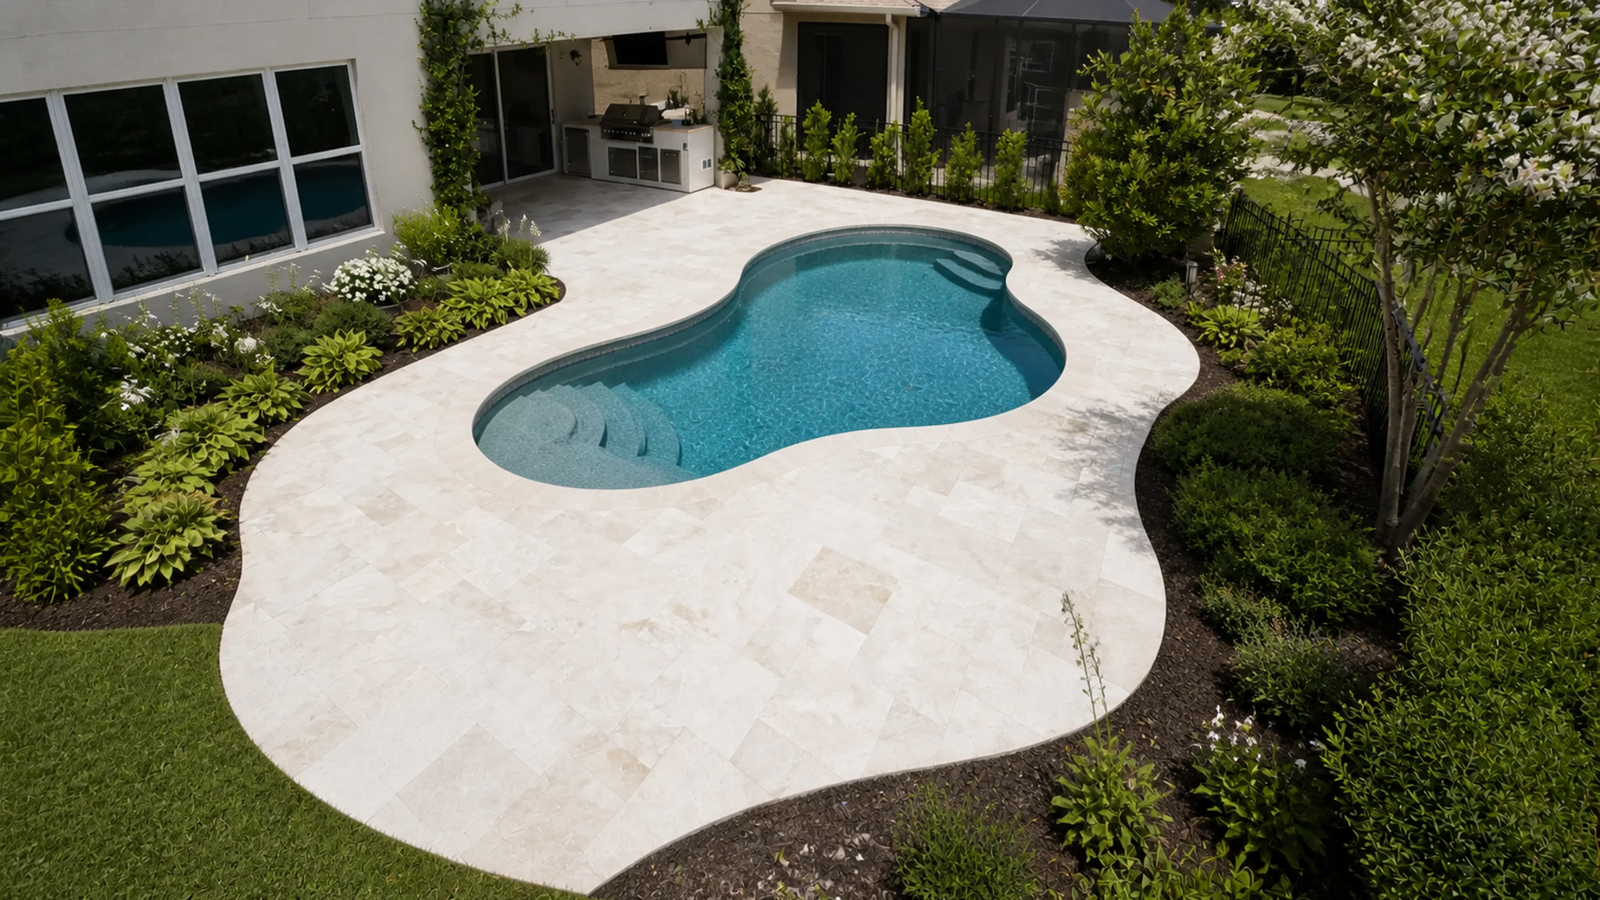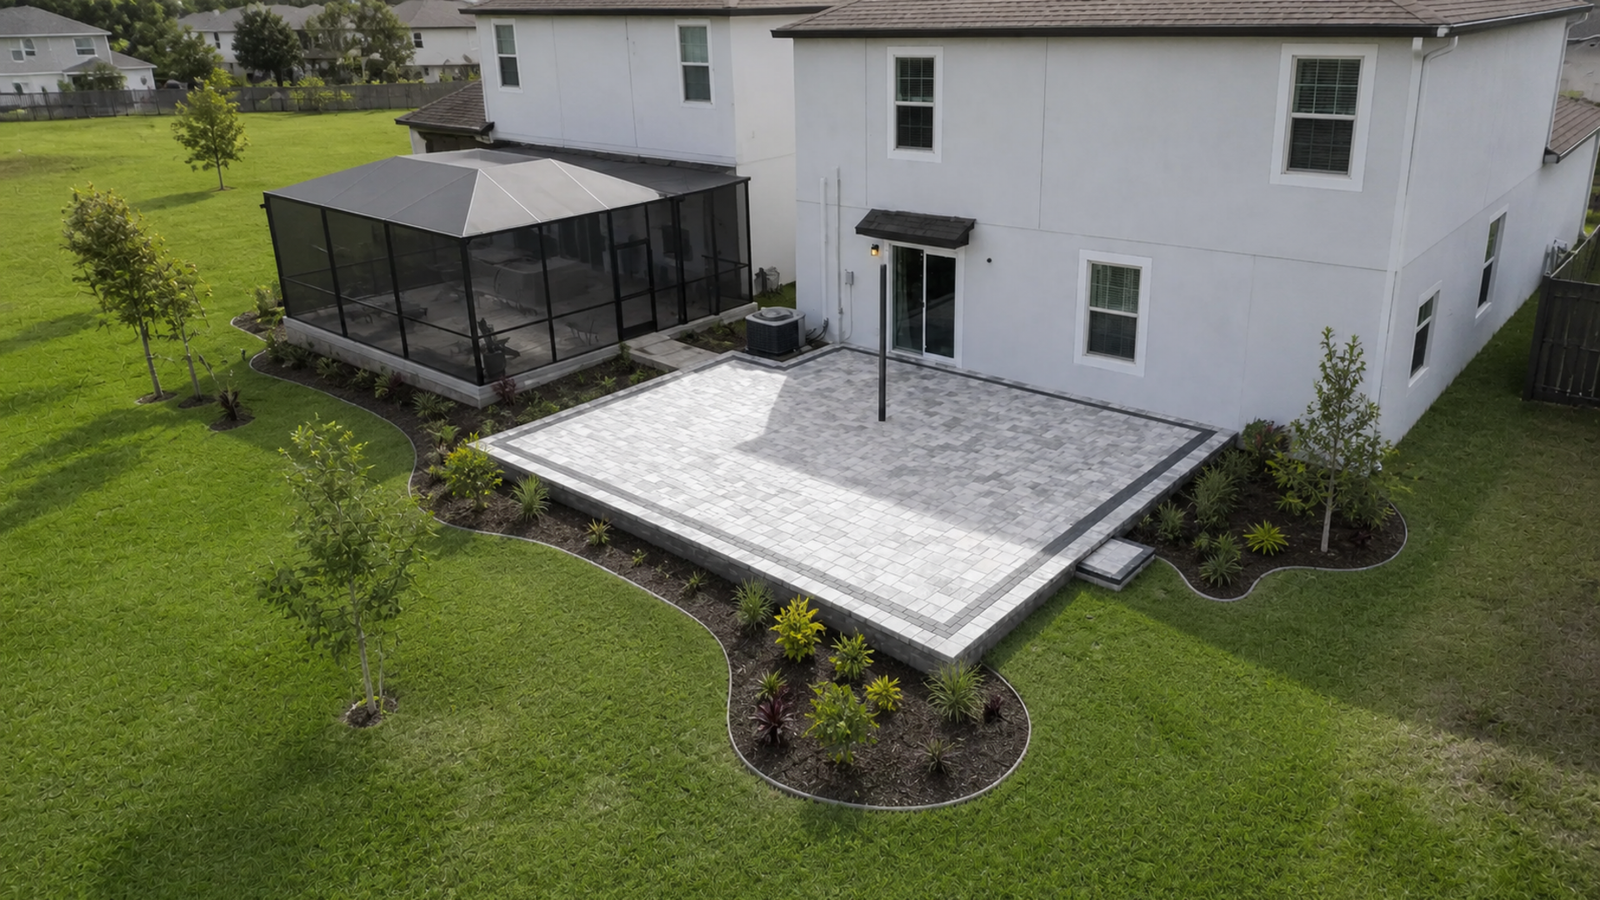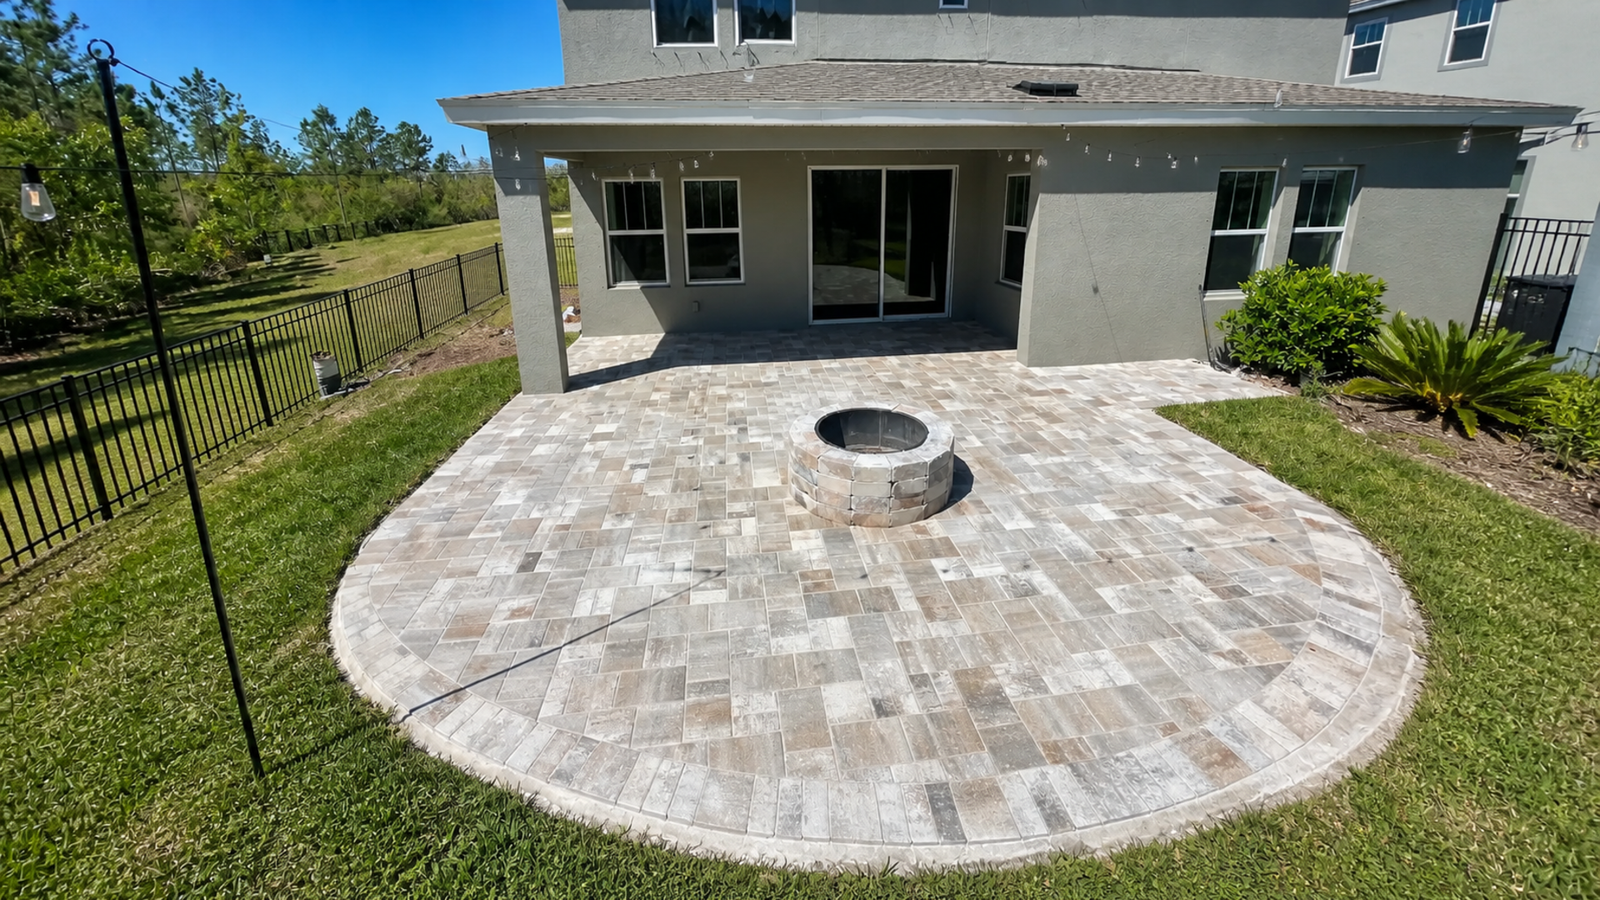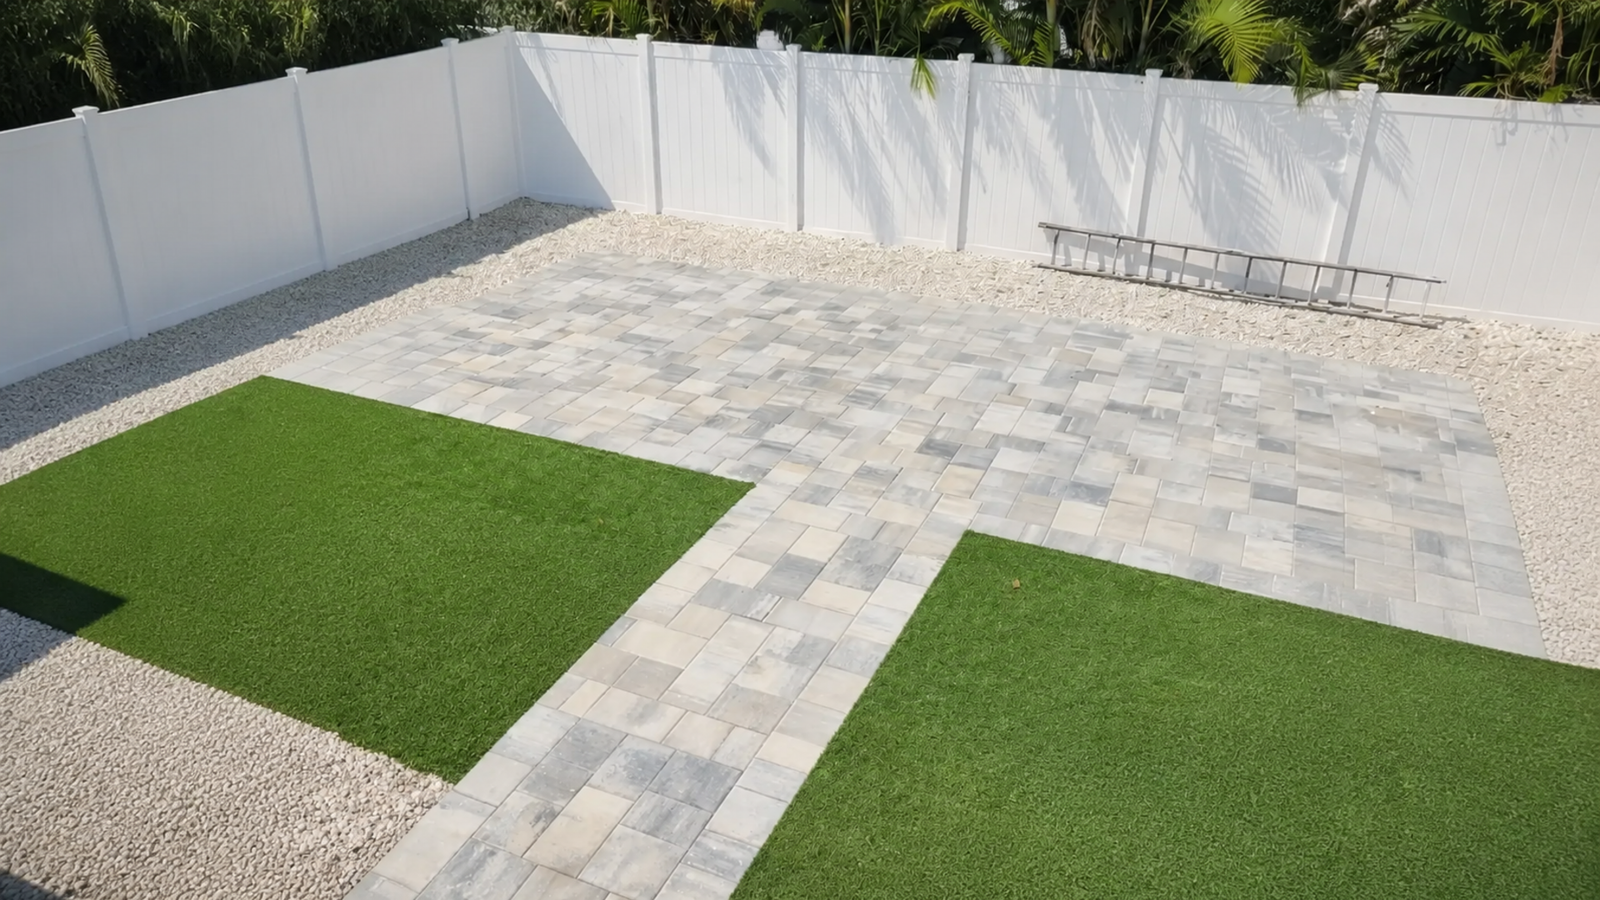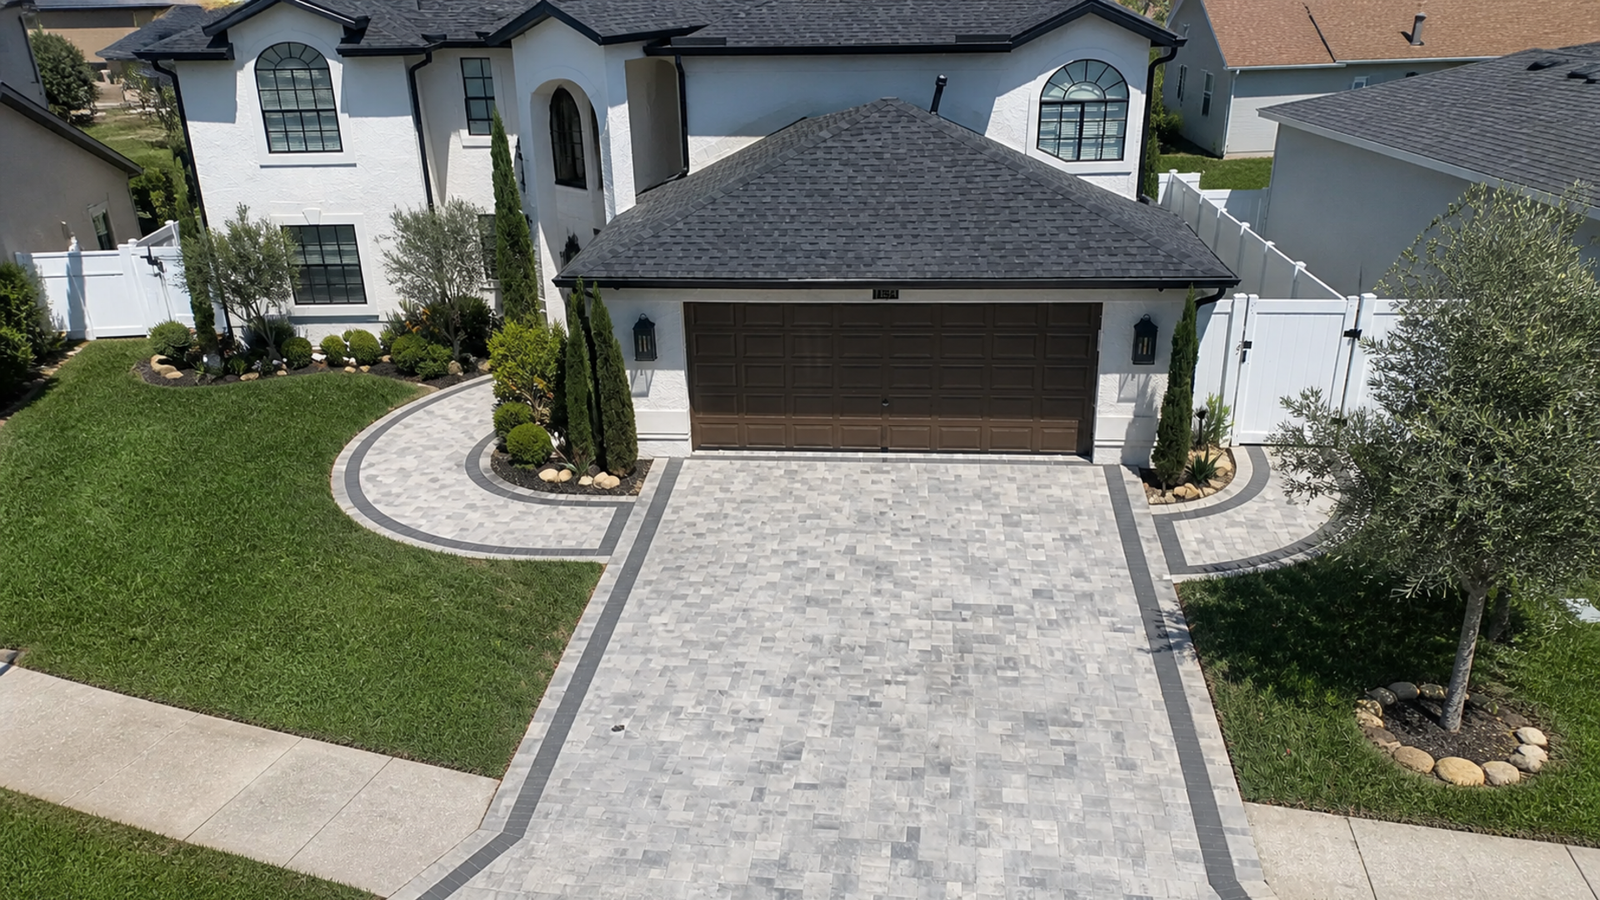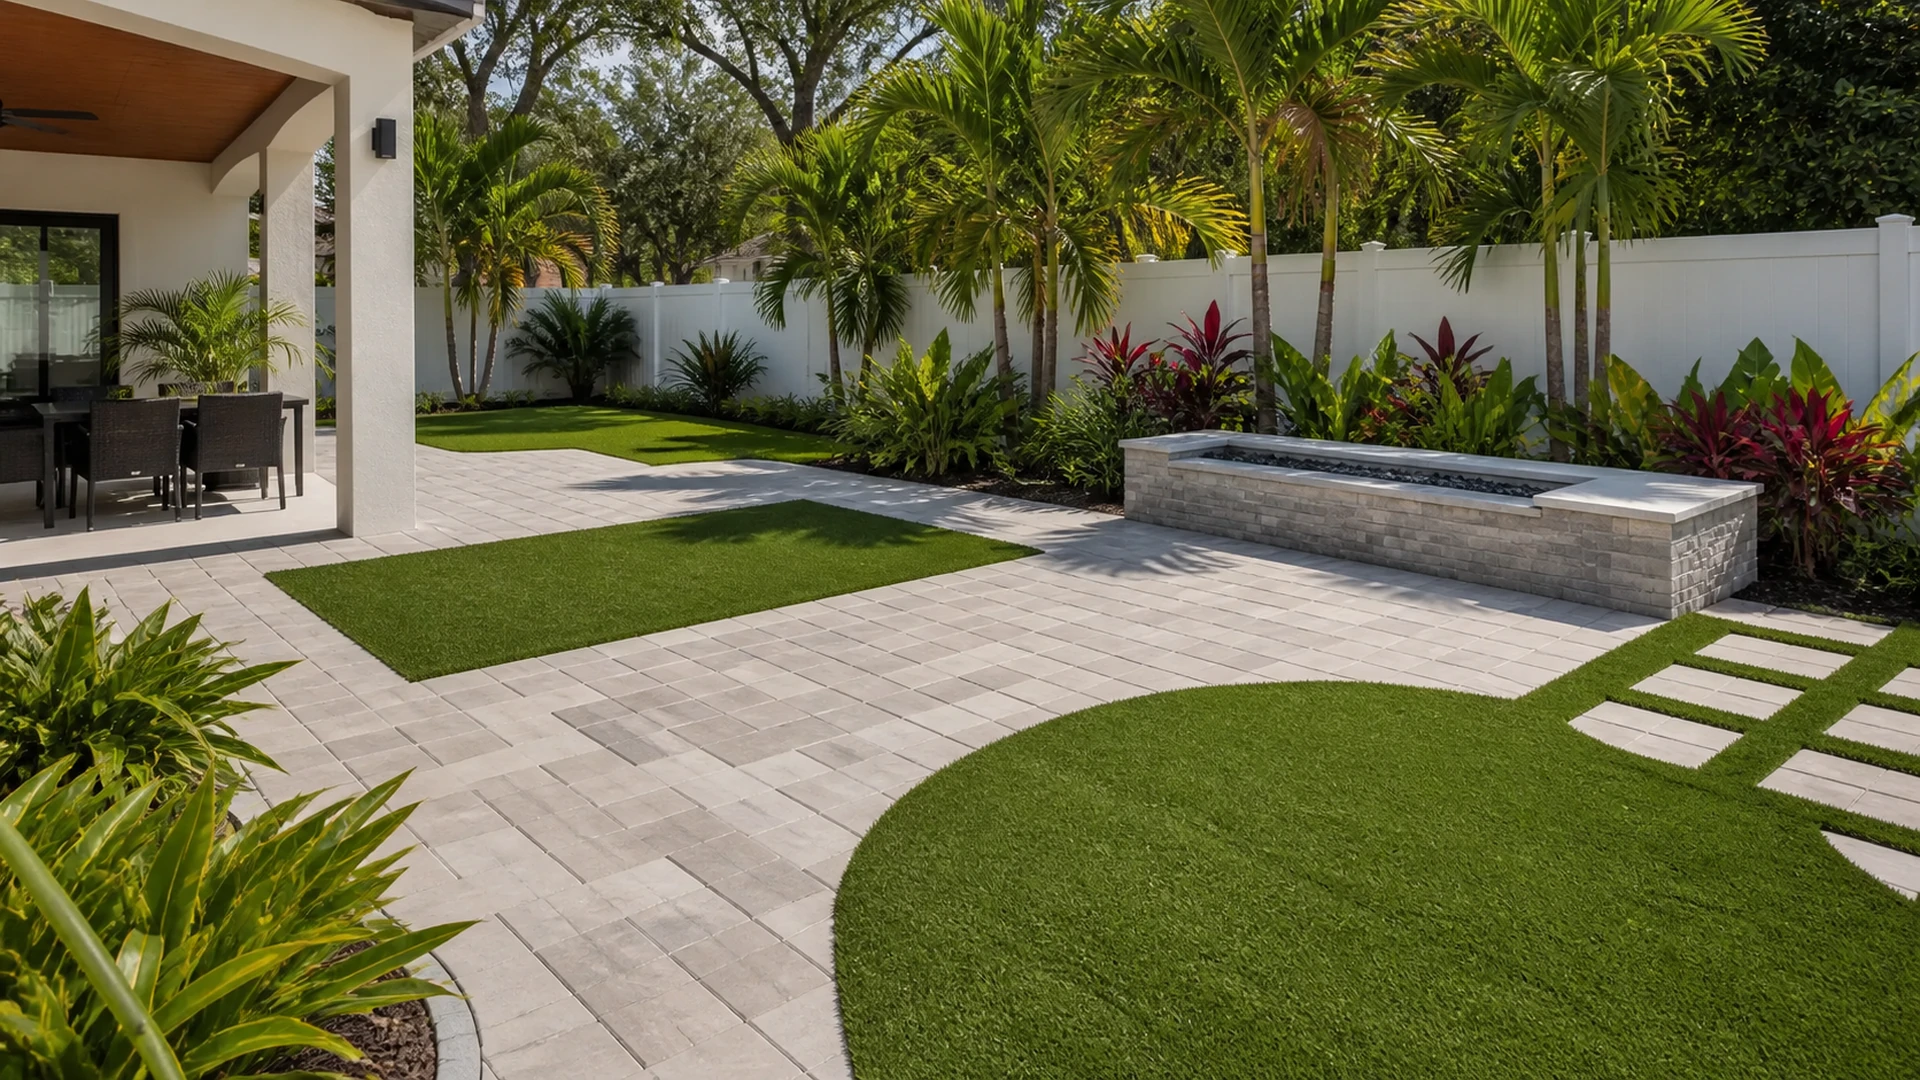

Patio utility fixtures need a place in the layout before a new paver surface reaches the house wall. A hose bib, cleanout, outdoor outlet, or equipment connection may look small beside the patio. However, each can affect how you use and maintain the finished space. Planning around them early helps avoid a beautiful surface that makes an ordinary service task awkward.
For a Tampa Bay homeowner, the useful starting point is an inventory of what already exists. Then explain how you expect to use the patio. The paver contractor can coordinate the surface, while qualified specialists handle questions about plumbing, electrical work, or other regulated systems. This article supports that coordination; it does not give instructions for moving a utility connection.
Identify every service point along the patio
First, walk the entire patio boundary and photograph each visible fixture. Include the wall, ground, and nearby route in every overview image. A close photograph of a faucet alone does not show whether a chair, raised bed, or step will block it. Therefore, keep both a wide view and a detail view in your planning file.
Use plain labels that match the contractor's sketch. For example, mark the hose bib near the kitchen door separately from the cleanout beside the side gate. Also, note any cover you cannot identify. Ask the appropriate professional to explain it rather than assuming it is an unused item that the patio may conceal.
Look beyond the obvious wall-mounted fittings. Irrigation components, drainage covers, lighting connections, and equipment access points may sit near ground level. However, do not remove covers or open equipment to investigate. The inventory should record visible information and questions for the professionals, not turn into an unsupervised inspection of utility systems.
Connect the patio layout to everyday tasks
Describe how you currently use each point. A hose bib may supply a garden hose, a pool service task, or routine rinsing. An outlet may serve occasional equipment. Consequently, the design should consider the activity around the fixture, not simply preserve a small empty space in front of it.
For example, show where you stand while connecting a hose and where the hose travels afterward. If that route crosses the main door or dining area, discuss a better arrangement before paving. The answer may involve furniture placement or storage rather than relocating plumbing. A simple layout change can address a practical conflict without expanding the technical work.
Also, identify who uses the fixture. A service worker may need access when household furniture is outside. A family member may need a route that differs from the one shown in a staged patio photograph. Bring those uses into the conversation so the proposed arrangement reflects normal life rather than an empty construction site.
Keep patio utility fixtures visible and identifiable
Ask the contractor to show how each fixture remains identifiable after the surface is complete. A decorative border should not make a service cover disappear into the composition. Likewise, a planter should not become the permanent hiding place for something a technician needs to reach. Therefore, include service access in the final layout review.
Visibility does not mean leaving the patio unfinished or unattractive. Instead, ask how the design can organize the area while respecting the actual function. The paver pattern, furniture layout, and planting plan may offer options. However, the appropriate specialist must review any proposal that changes the utility itself or its required access.
Record existing labels and identifying information where useful. Then ask which details belong in the handover file. Avoid publishing private account numbers or sensitive property information in a shared project album. Keep the records practical for your household and the contractors who need them.
Review patio utility fixtures on the drawing
Before installation, compare the fixture inventory with the proposed patio drawing. Ask the team to point to every service item on that plan. If one is missing, resolve the omission before work covers the area. This simple cross-check helps prevent a detail from disappearing between the estimate and the installation crew's instructions.
Use the drawing to discuss space for hands, tools, doors, covers, and routine movement. However, do not assign a universal clearance from an online article. The actual equipment, manufacturer, applicable requirements, and service task determine what the professionals need to preserve. Your role is to make sure the question receives an answer.
Discuss finished levels at the wall
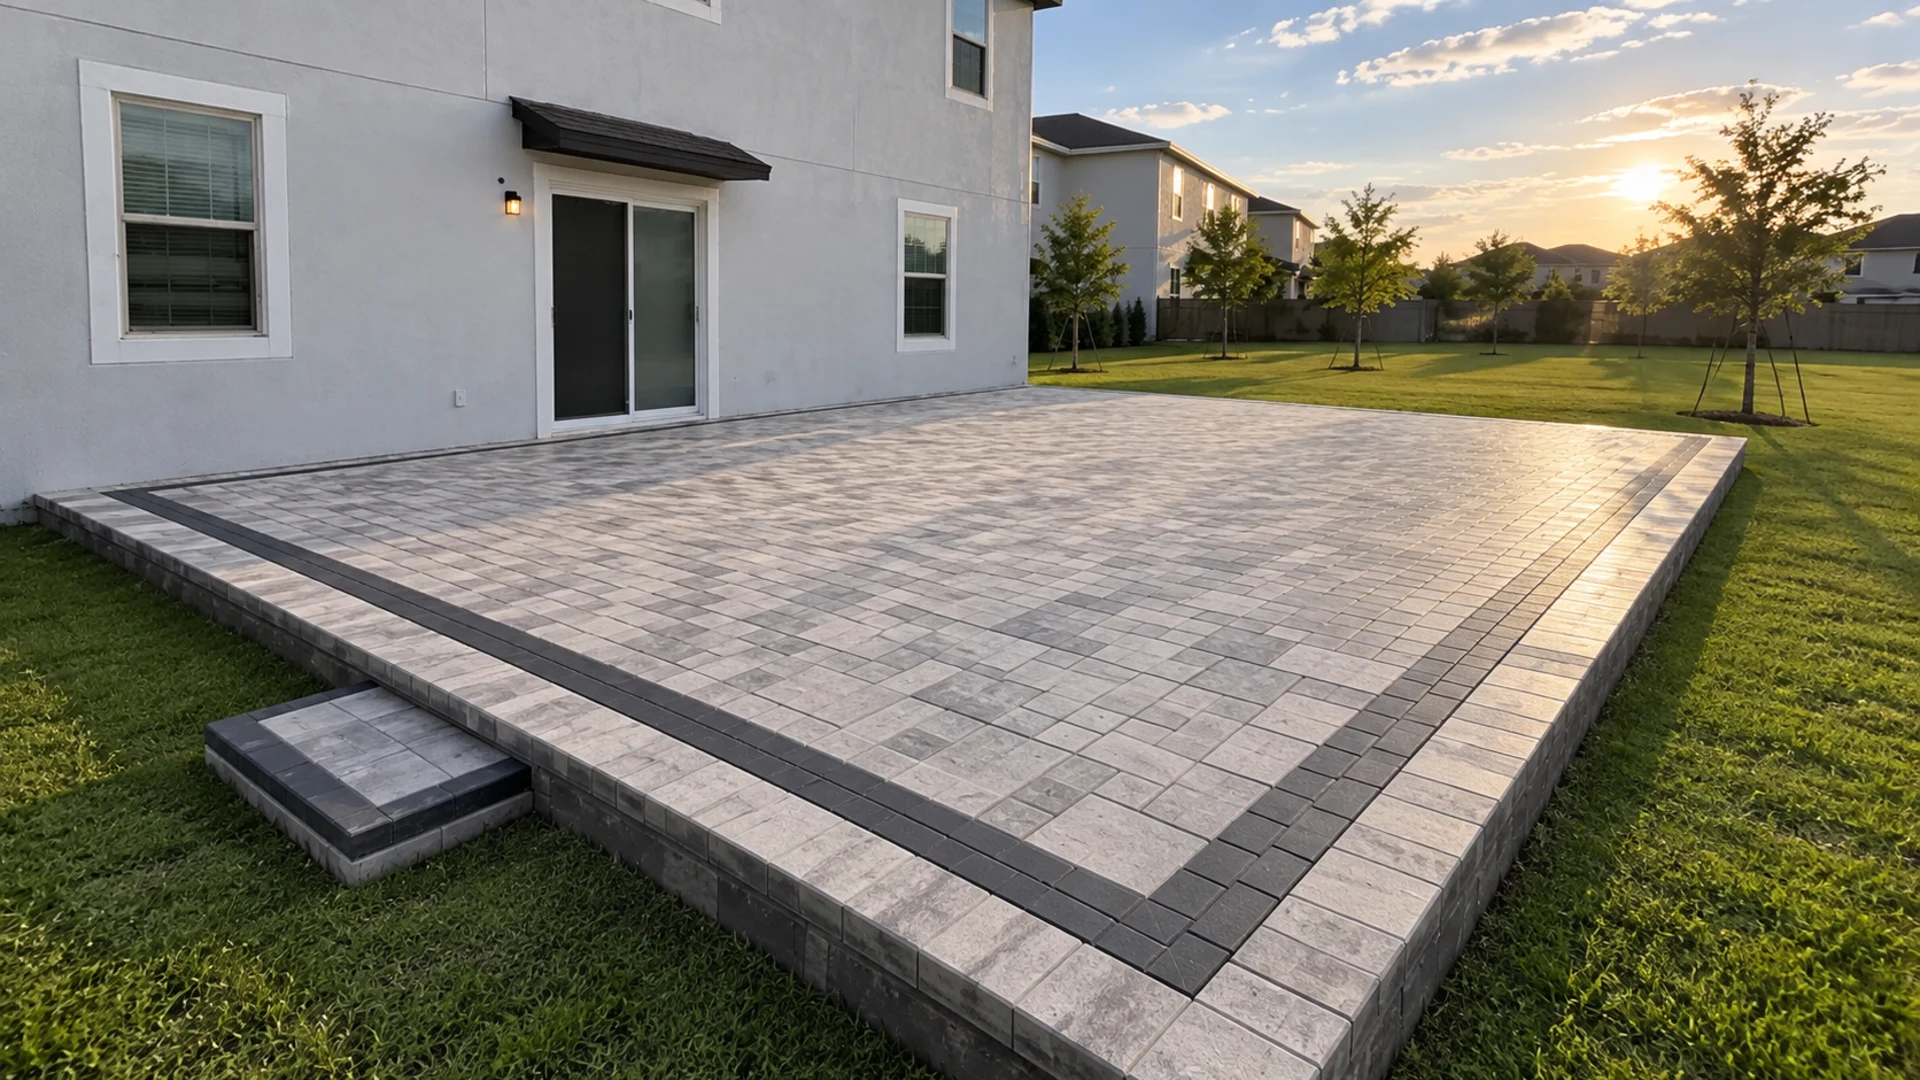
A patio surface meets existing doors, wall fixtures, and nearby ground. Therefore, ask the paver contractor how the proposed finished level relates to those features. An estimate that describes only a surface area may leave the most important interface unclear. Request a site explanation that you can connect to the actual wall and doorway.
Point out any existing low fixture, service cover, or area where water has collected. Photographs from ordinary conditions can help the team understand your observations. However, do not conclude that raising or lowering one area will solve the whole problem. The surface and drainage need a coordinated professional review.
If a fixture requires adjustment, separate that work from paving in the scope. Ask who performs it, who approves it, and when it must happen. Also, clarify what the paver team needs before returning. This sequence avoids a situation in which one trade finishes while another still needs to disturb the same area.
Plan hose storage and movement
An accessible hose bib can still create an inconvenient patio if hose storage has no place. First, identify where the hose will rest and how it reaches the garden. Then compare that route with doors, seating, steps, and service covers. A loose hose across the main path is a layout issue worth discussing early.
Ask about storage options without assuming that a wall can accept any reel or bracket. Mounting and plumbing questions belong with the appropriate professional. Meanwhile, the patio plan can reserve a practical area for the chosen arrangement. Keep that decision separate from the paver contractor's responsibility for the surface.
Also, consider what happens after use. Water, dirt, and a wet hose may affect how the area looks and functions. This does not establish a defect or prescribe a drainage solution. Instead, it gives the project team a real activity to consider while reviewing the finished levels and surrounding space.
Protect cleanouts and other service covers
Ask a qualified professional to identify any cover whose function is unclear. Then document how it remains accessible after paving. A cover that appears rarely used may still serve an important purpose. Therefore, avoid decisions based solely on how often the homeowner remembers opening it.
If a cover lies in the proposed paver field, discuss the interface before selecting the final pattern. The contractor should explain how the surface will meet it and how future service can occur. However, this article does not prescribe a particular frame, cover, or adjustment method. Those details depend on the actual installation.
Keep decorative objects away from the assumed service route during the layout review. For example, a heavy planter may fit neatly over an awkward-looking cover. Yet moving that planter for a service call may prove impractical. A more useful design acknowledges the access point and organizes the patio around it.
Coordinate excavation with utility information
New paving can involve ground disturbance around existing service points. Ask the excavating contractor how utility locating and private line information enter the work plan. Florida's Sunshine 811 guidance distinguishes member utility marking from the homeowner's responsibility for private facilities. A visible hose bib does not reveal the full route of the lines behind or below it.
Provide any reliable records you already have about irrigation, landscape lighting, or private connections. However, do not treat an old sketch as an exact underground map. The contractor needs to evaluate what additional information applies. Also, identify who handles questions when the proposed layout conflicts with a service point.
Do not move flags, paint over markings, or tell a crew that an area is clear based on appearance alone. Instead, ask the responsible contractor to explain the current locate status and work boundaries. Utility coordination is part of planning the job, even when the homeowner mainly cares about the patio's appearance.
Compare the quote's responsibilities
A coordinated proposal should distinguish the paver work from any utility adjustment. Ask what the quoted price includes and which tasks belong to another specialist. Also, clarify whether the estimate assumes existing fixtures will stay where they are. This makes later changes easier to understand and approve.
For example, one proposal may preserve a hose bib and organize the paving around it. Another may assume a plumber relocates it first. Those are different scopes, even if the patio area matches. Therefore, compare the assumptions before deciding that one estimate simply costs more for the same work.
Ask how the team handles an unexpected service item discovered during preparation. The answer should include a pause, explanation, and approval process appropriate to the situation. It should not rely on the crew quietly covering an unknown feature. Clear communication protects both the project schedule and your ability to understand the final result.
Review the finished patio with service tasks in mind
During the walkthrough, follow the original inventory. Find each fixture and confirm that its location matches the record. Then ask the appropriate person to demonstrate ordinary access where suitable. The review should show how the patio supports the intended tasks without turning into a homeowner test of plumbing or electrical systems.
Look at the route with furniture in its planned position. A patio may seem spacious before chairs, tables, and storage return. Therefore, compare the finished surface with the furniture sketch rather than approving access only in an empty area. Keep any unresolved conflict on a written list with a named next step.
Photograph the final arrangement from the same viewpoints used before construction. Also, save the final drawing and any approved changes. These records can help a future service provider find the right location. They also reduce the chance that later landscaping hides a fixture the project carefully preserved.
Use a furniture sketch to expose a small conflict
Consider a hypothetical dining area beside a hose bib. The faucet remains visible on the drawing, but a chair occupies the place where someone must stand to connect a hose. The problem only appears when the chair moves back from the table. Therefore, review both the stored furniture position and the position during normal use.
You might solve that conflict by moving the table, changing storage, or discussing a different patio arrangement. However, a plumbing relocation would introduce a separate professional scope. Compare those options openly before choosing one. The same exercise works for a service cover behind a planter or an outlet beside a storage cabinet. A modest sketch can reveal the activity around a fixture without pretending to establish technical clearances.
Also, ask the household member who normally handles that task to review the sketch. Their experience may reveal a simple movement the initial planning conversation missed.
Leave room for future maintenance
Tell the team about foreseeable maintenance, such as repainting a wall, servicing equipment, or replacing a hose reel. Those tasks may need temporary working space beyond everyday access. However, a patio cannot anticipate every possible future activity. Identify realistic needs and keep unusual future projects as separate planning questions.
Ask what information a later contractor should receive before working beside the pavers. Product details, finished photographs, and service-point locations can make that discussion more useful. Also, record who should assess any proposed change to the surface or utility. A clear handover supports future coordination without promising that no adjustment will ever be necessary.
Patio utility fixtures belong in the design conversation because they connect appearance with daily use and maintenance. For a patio proposal that considers those interfaces, start with Dr Pavers Design's patio installation information. Bring photographs, your fixture list, and the tasks you want the finished space to support.
For help turning these observations into a defined project, explore Dr Pavers Design's services, review completed projects, and bring your questions to the contact team. The FAQ and testimonials can also help you prepare for that conversation. Ask which parts of your request fall within the proposed service before approving work.
You can follow Instagram and Facebook for company updates, check Google reviews, or find the business on Google Maps. To discuss this topic, send your project details through WhatsApp, call +1 (656) 600-4015, or email drpavers@outlook.com. Contact Dr Pavers Design for a free consultation in Tampa Bay; scope, availability, and site conditions still need confirmation.