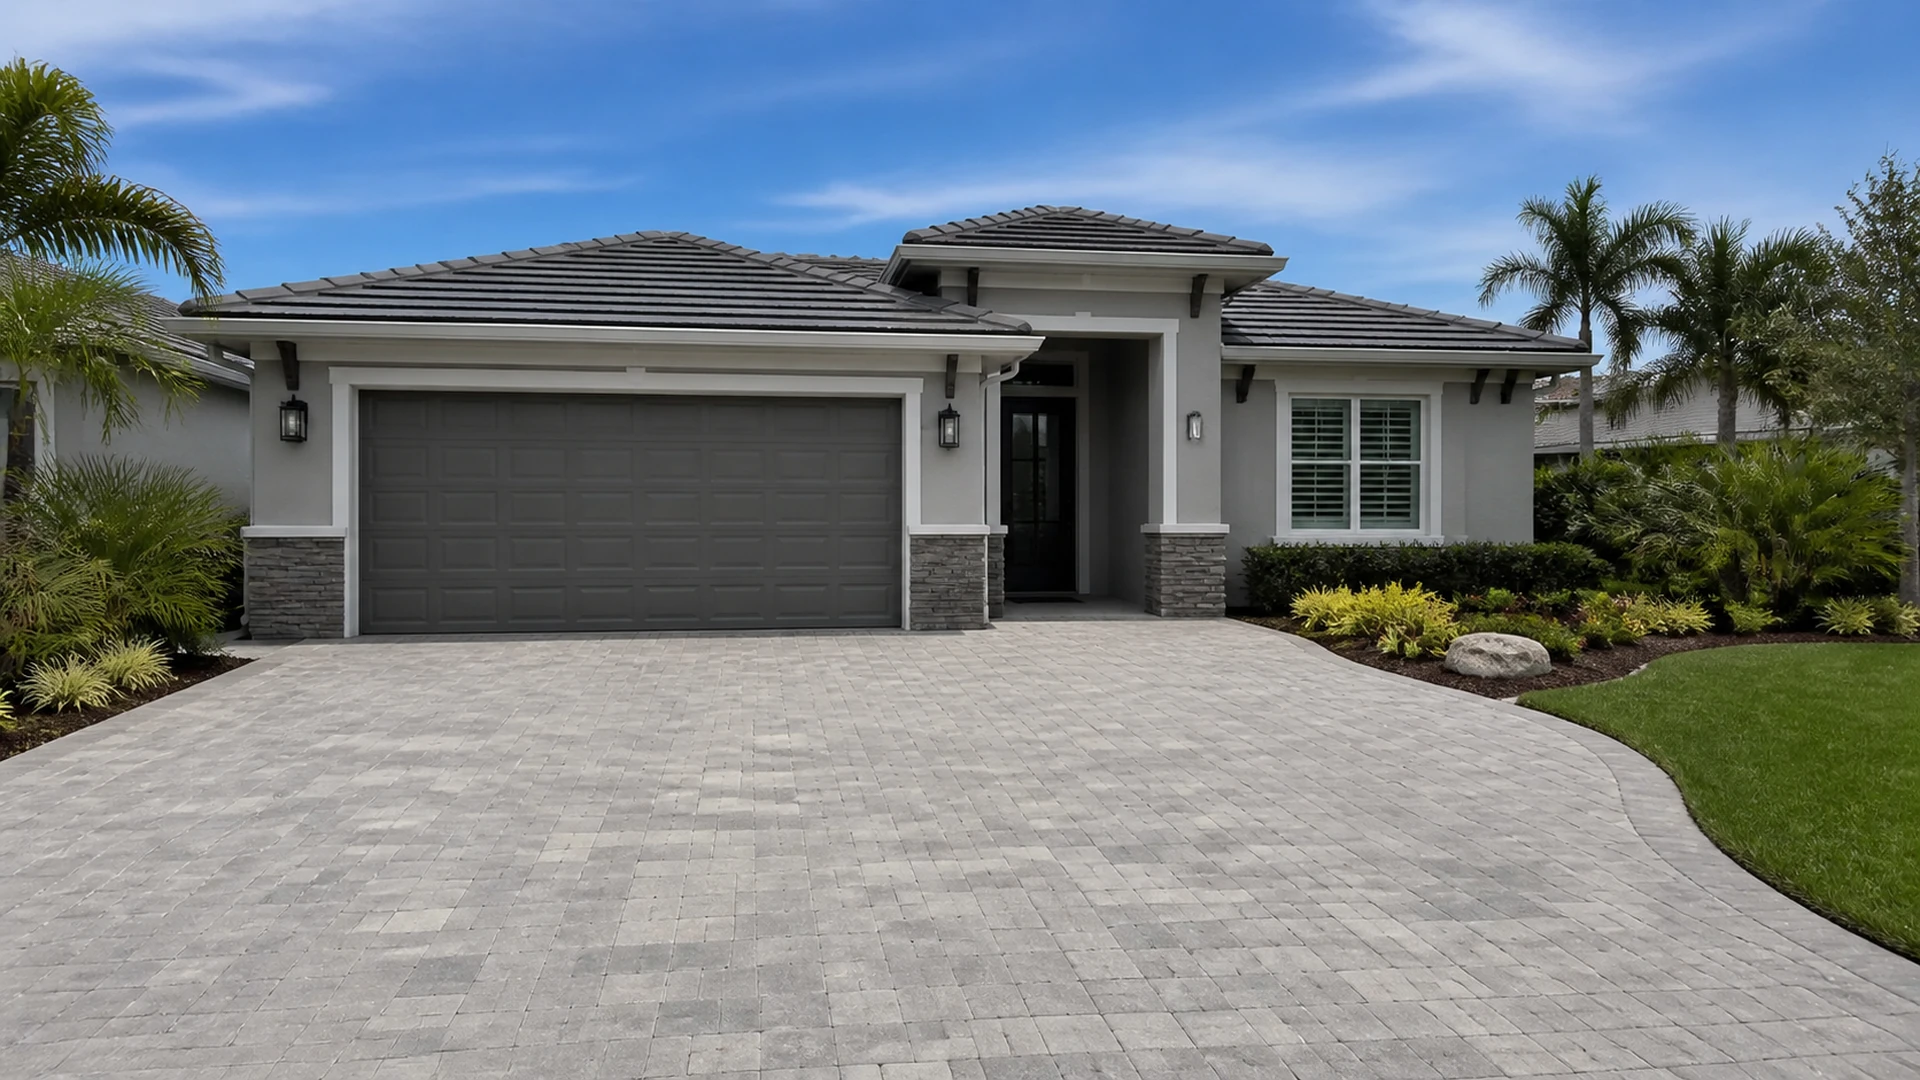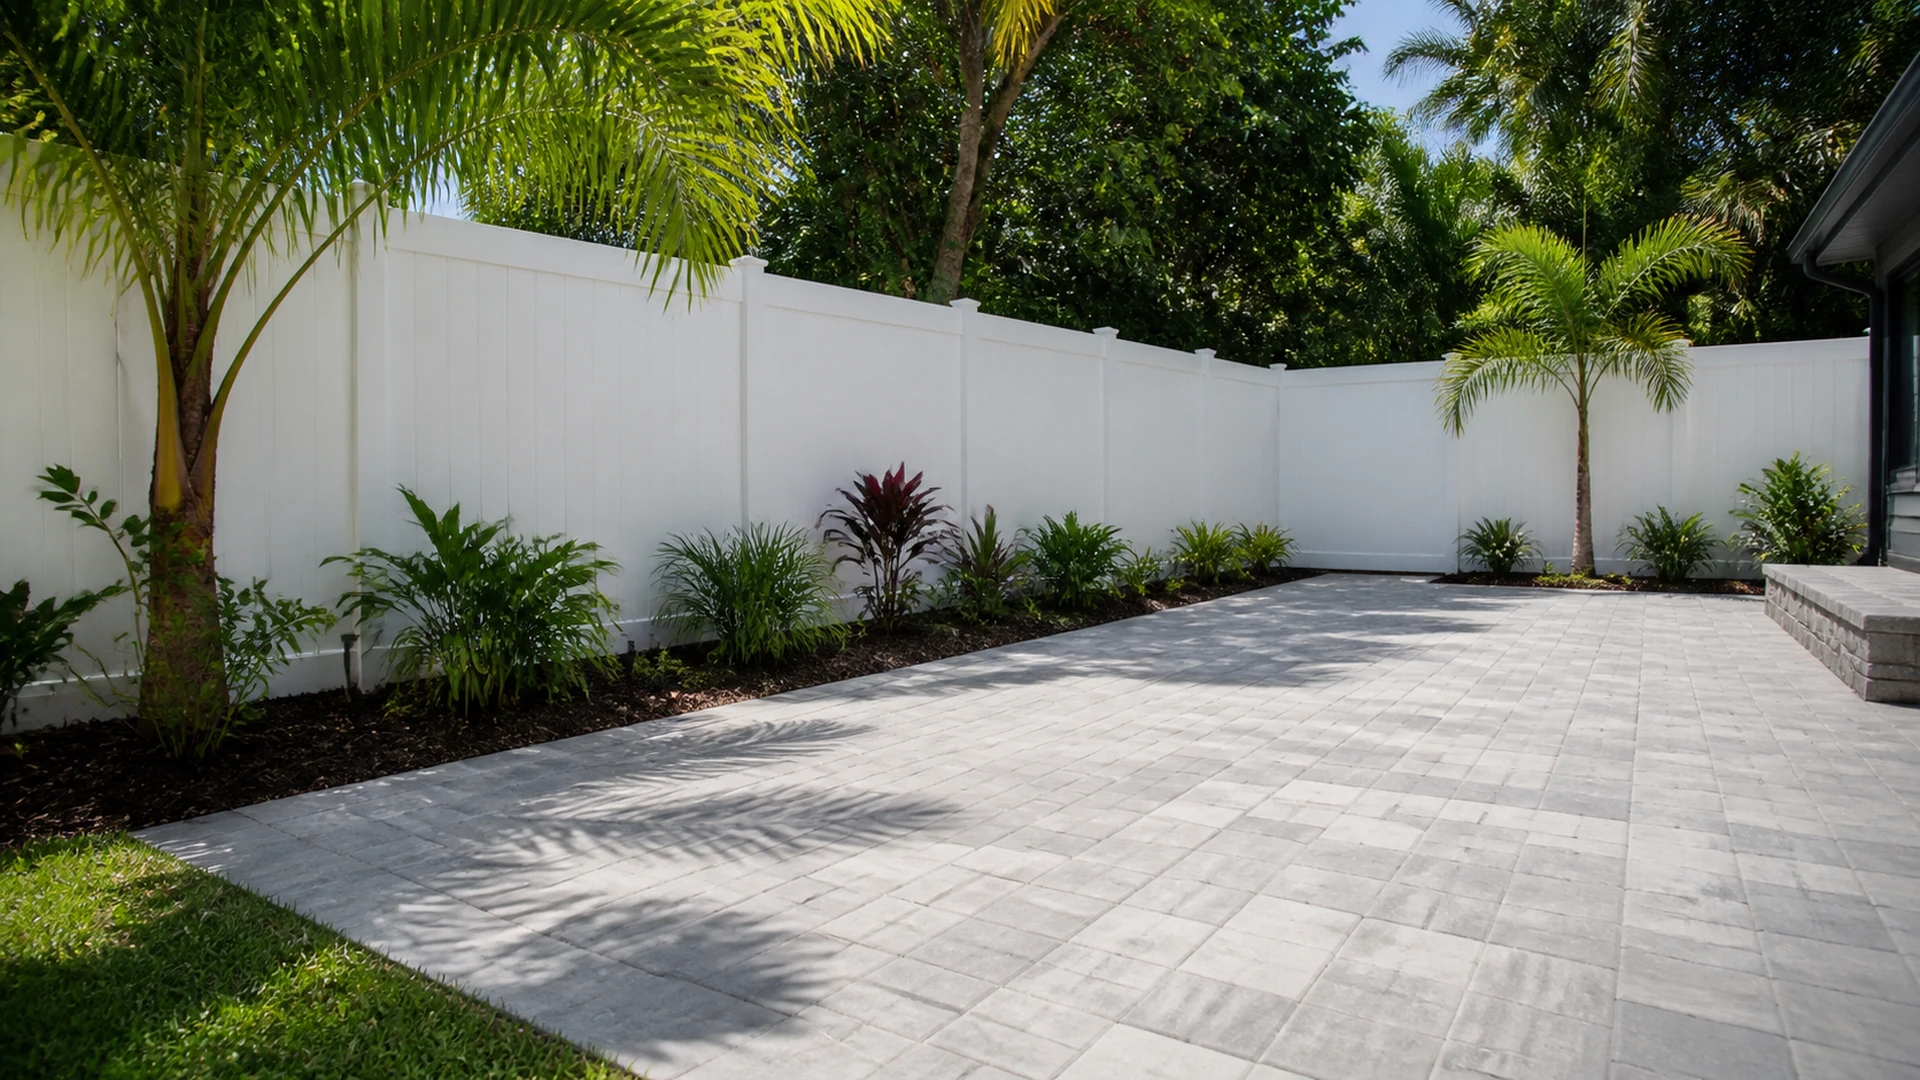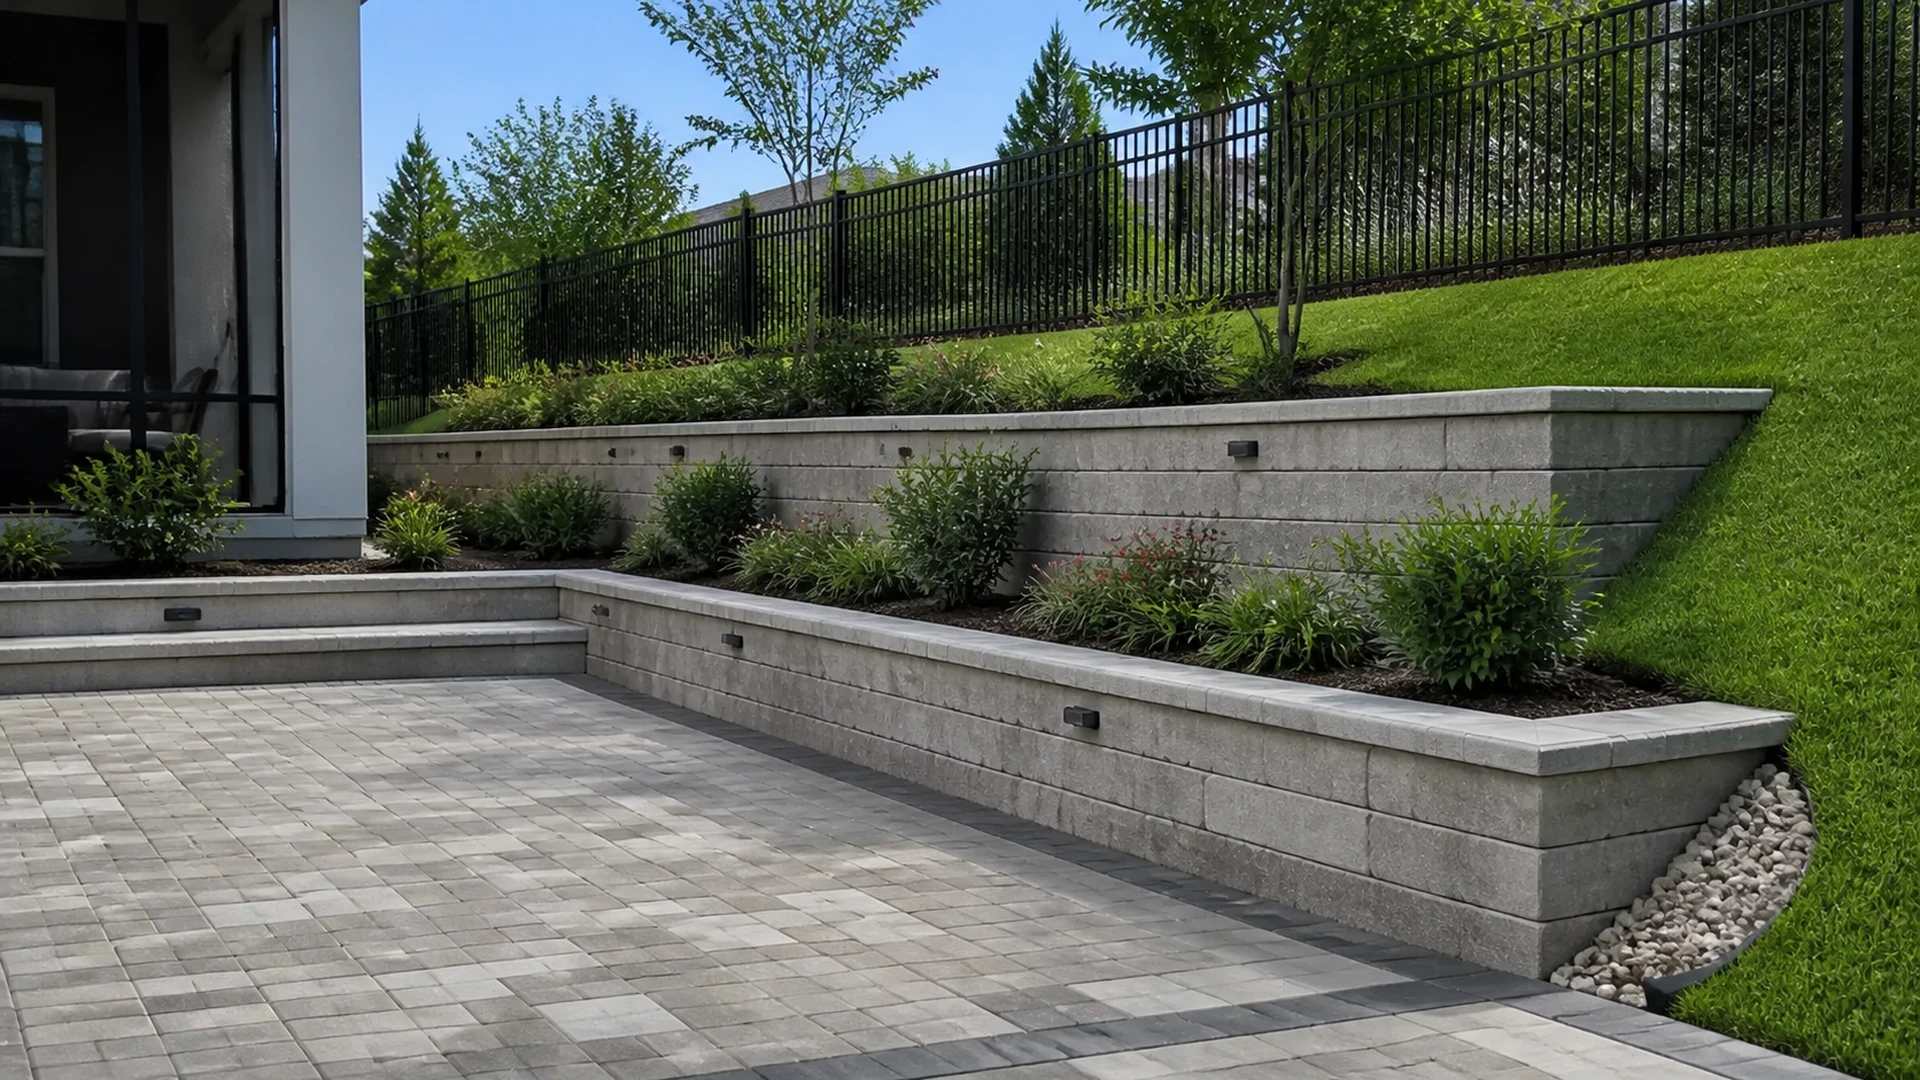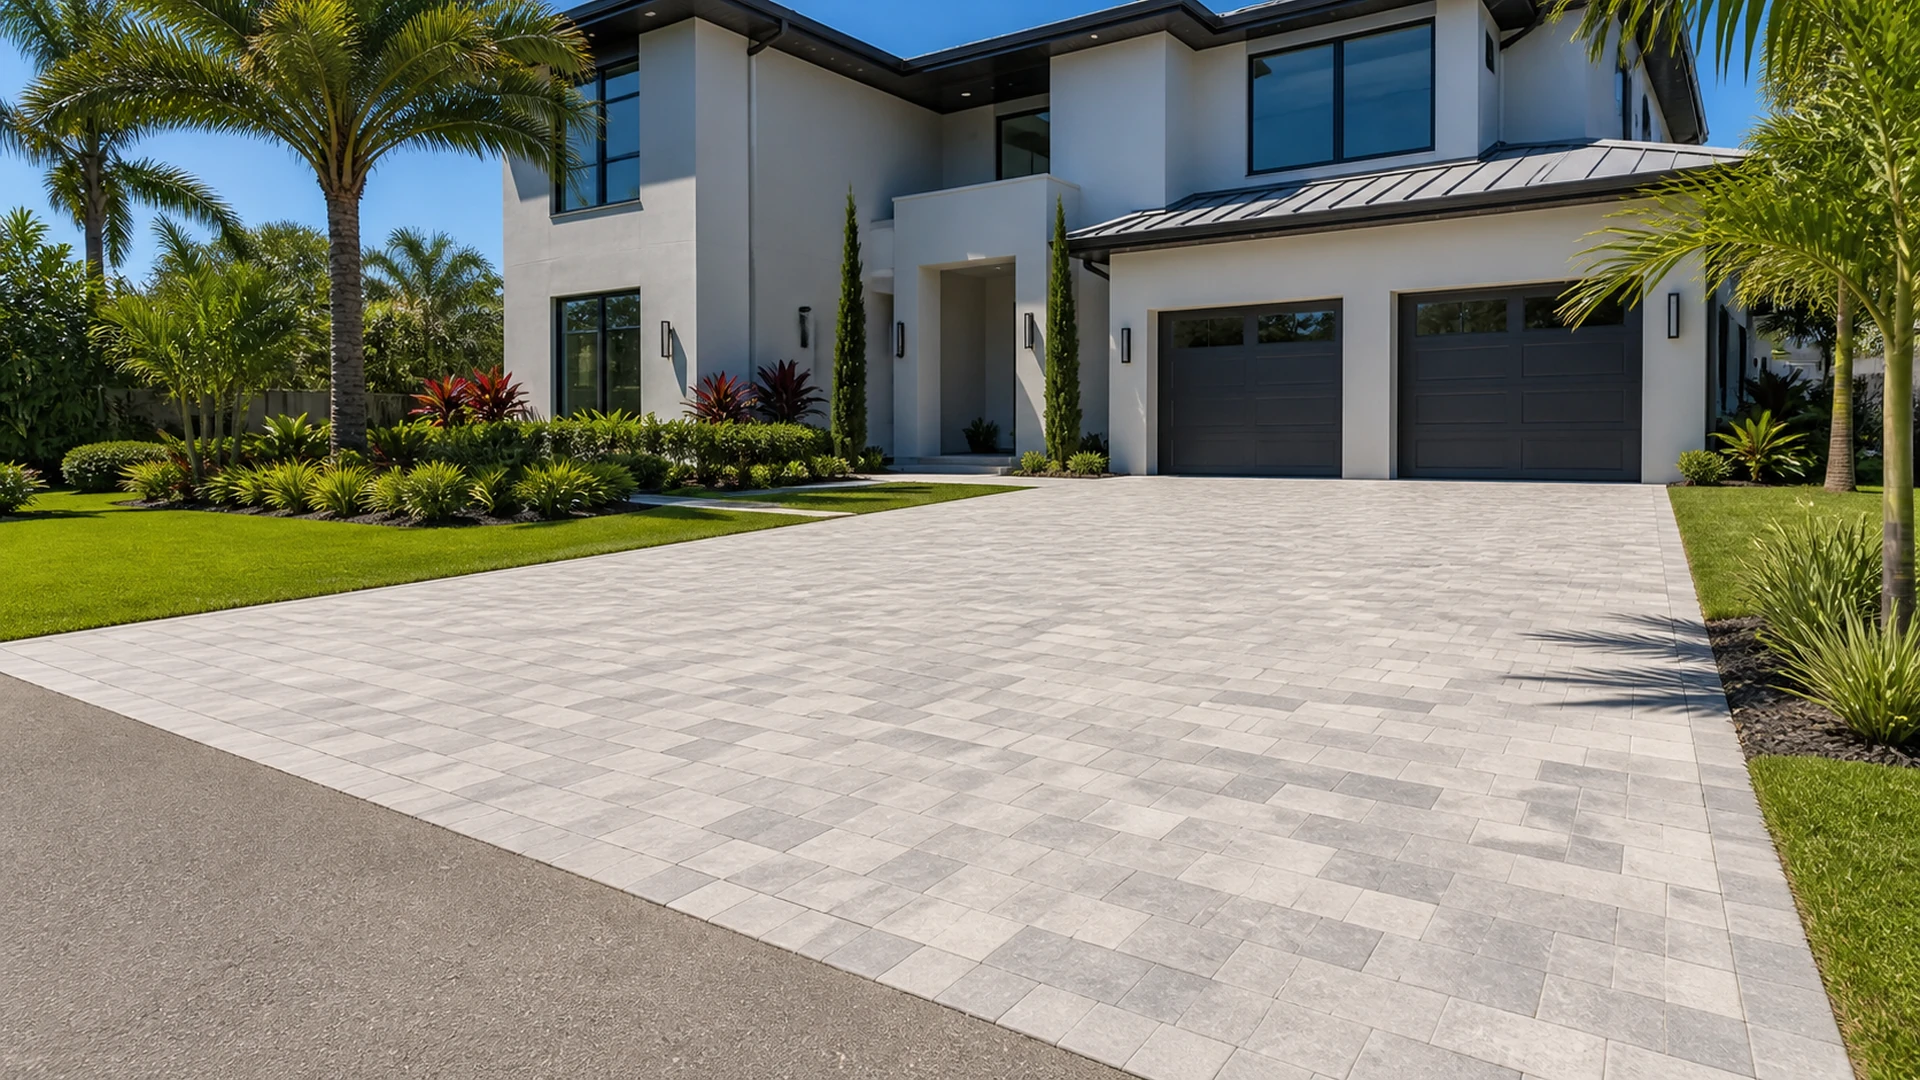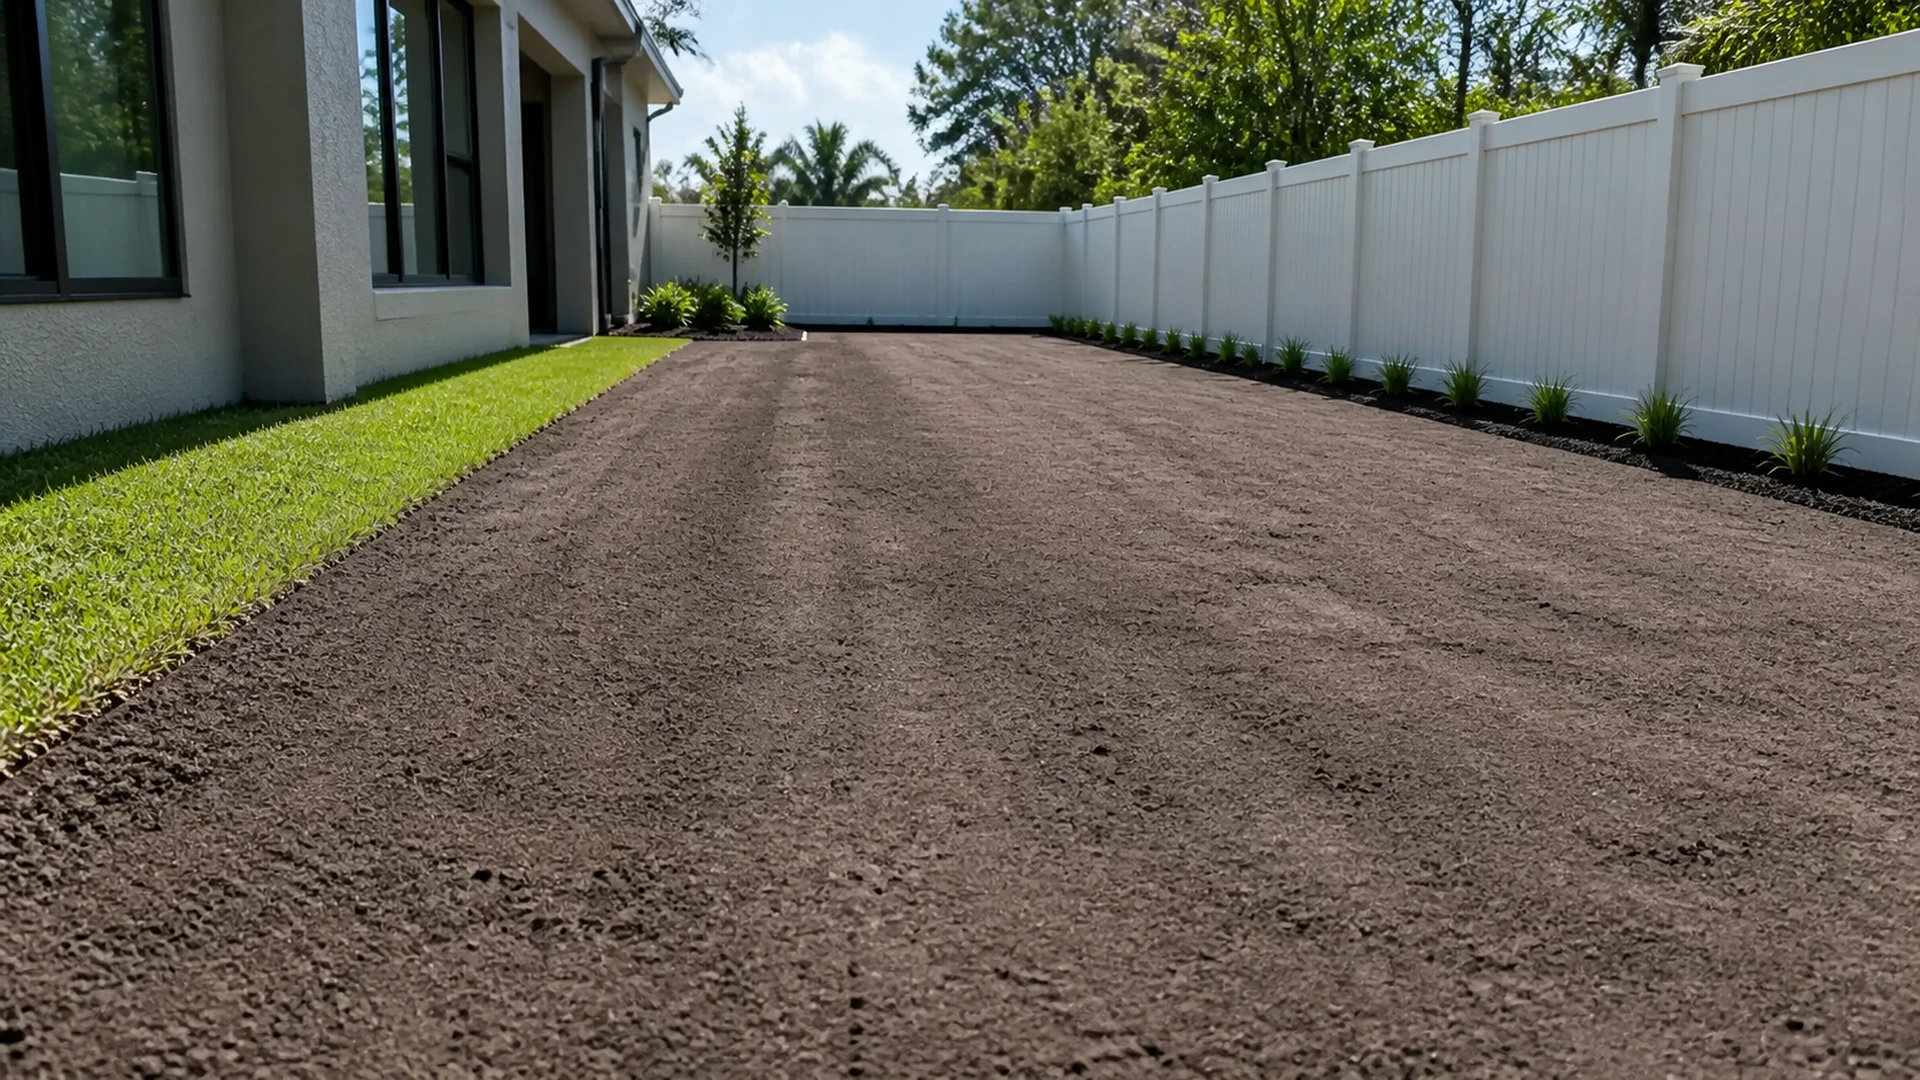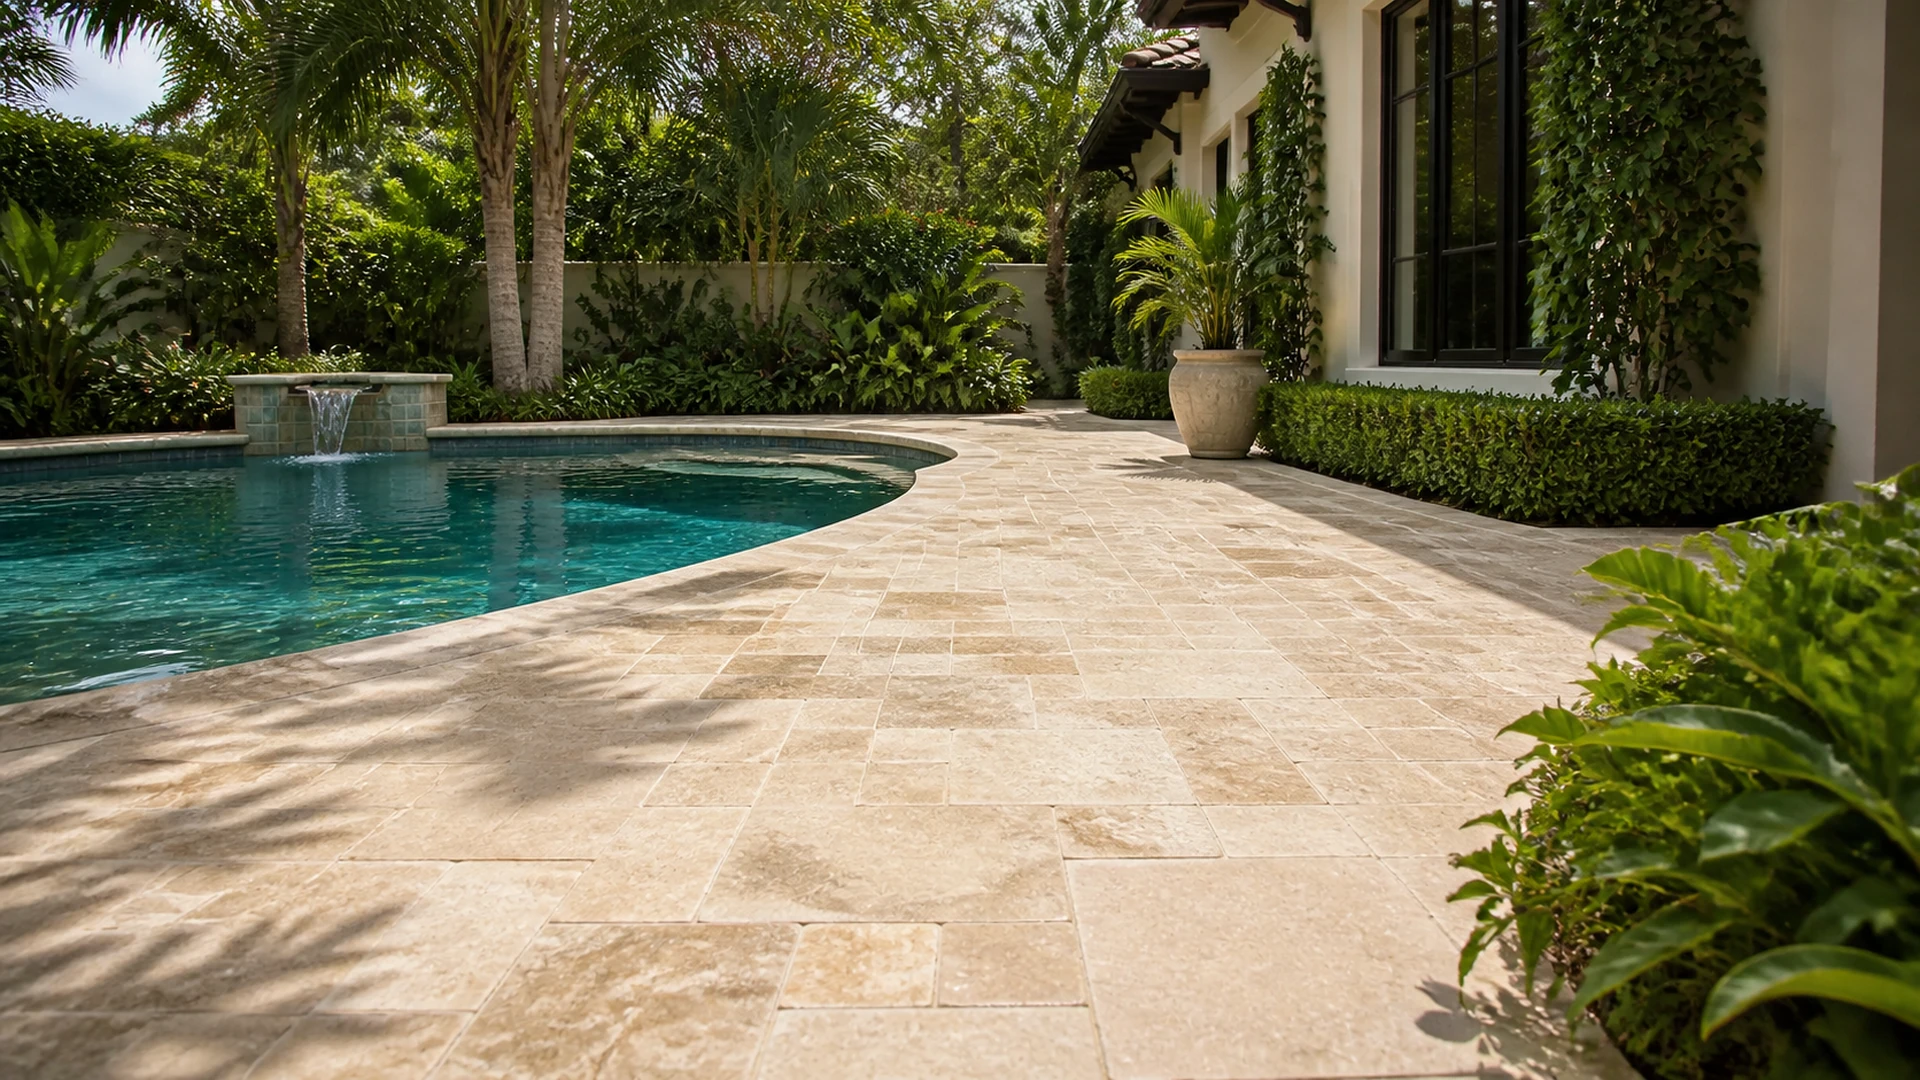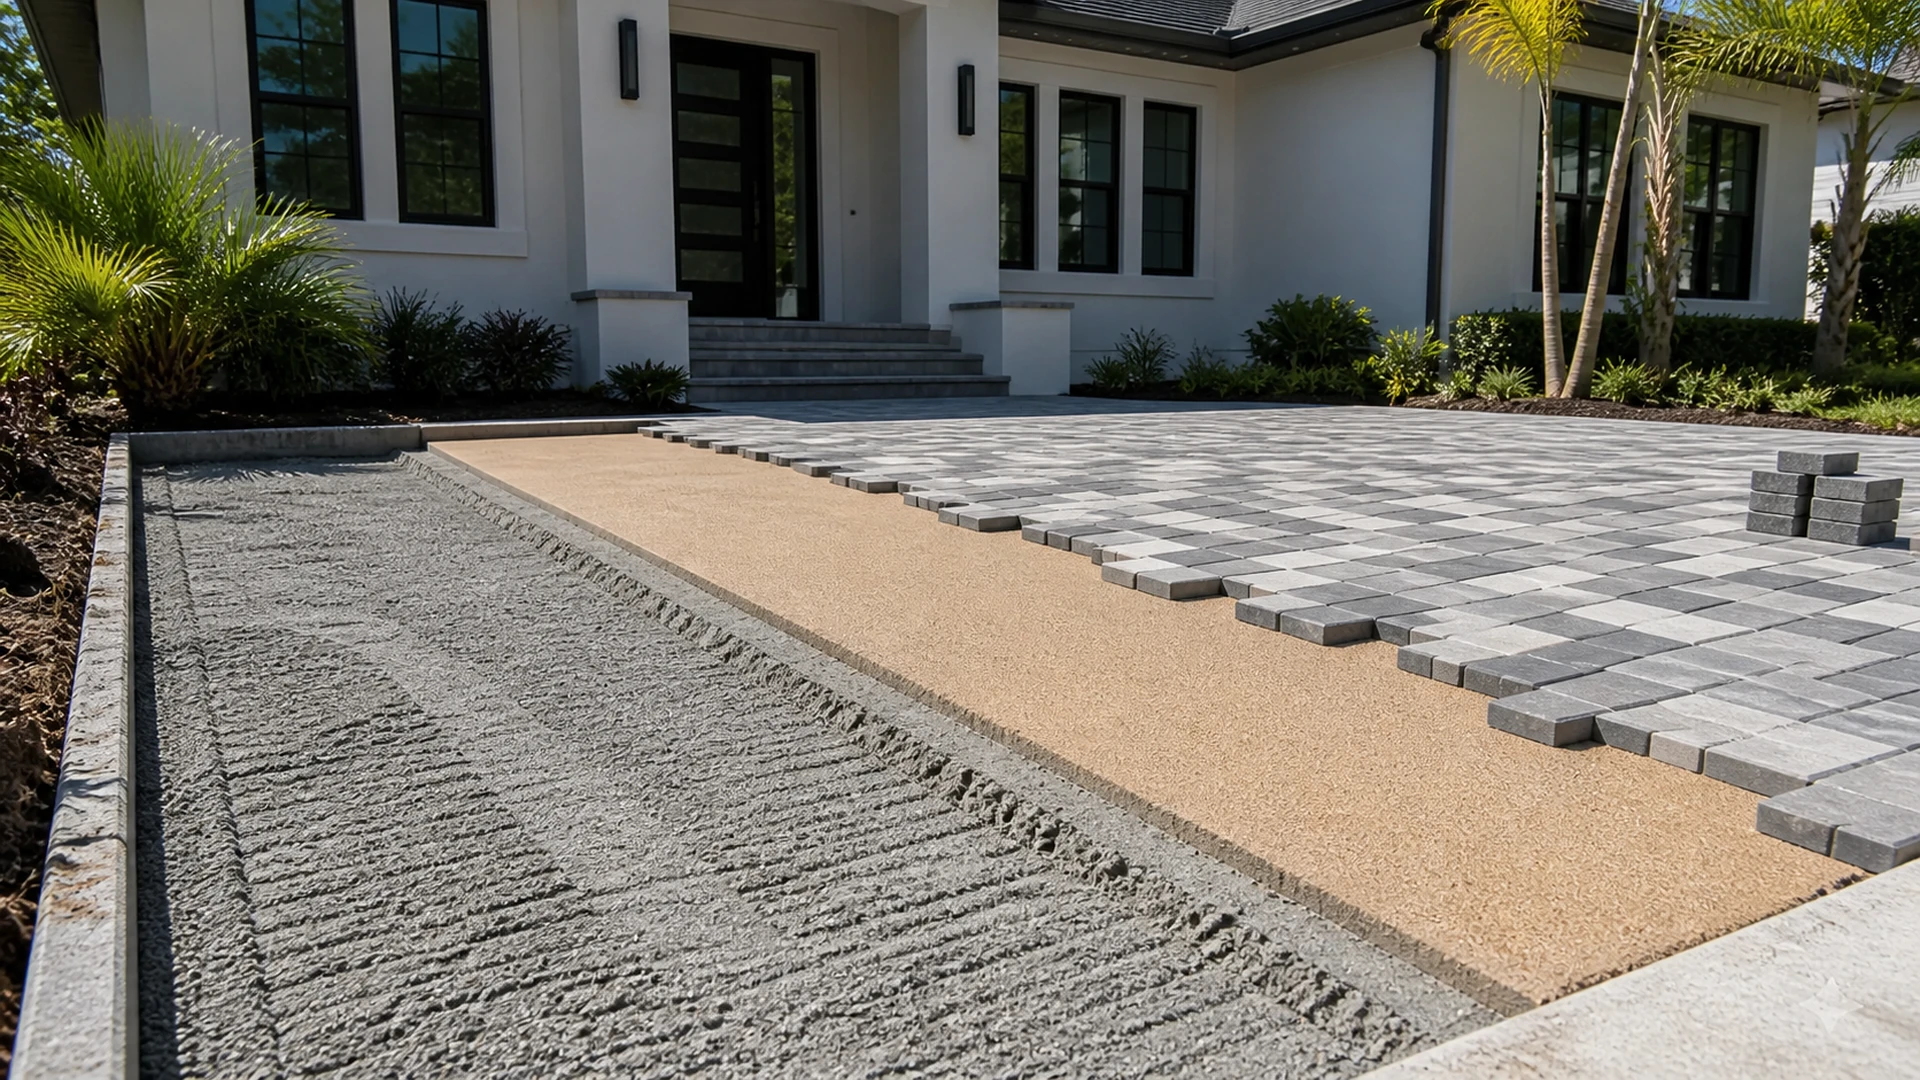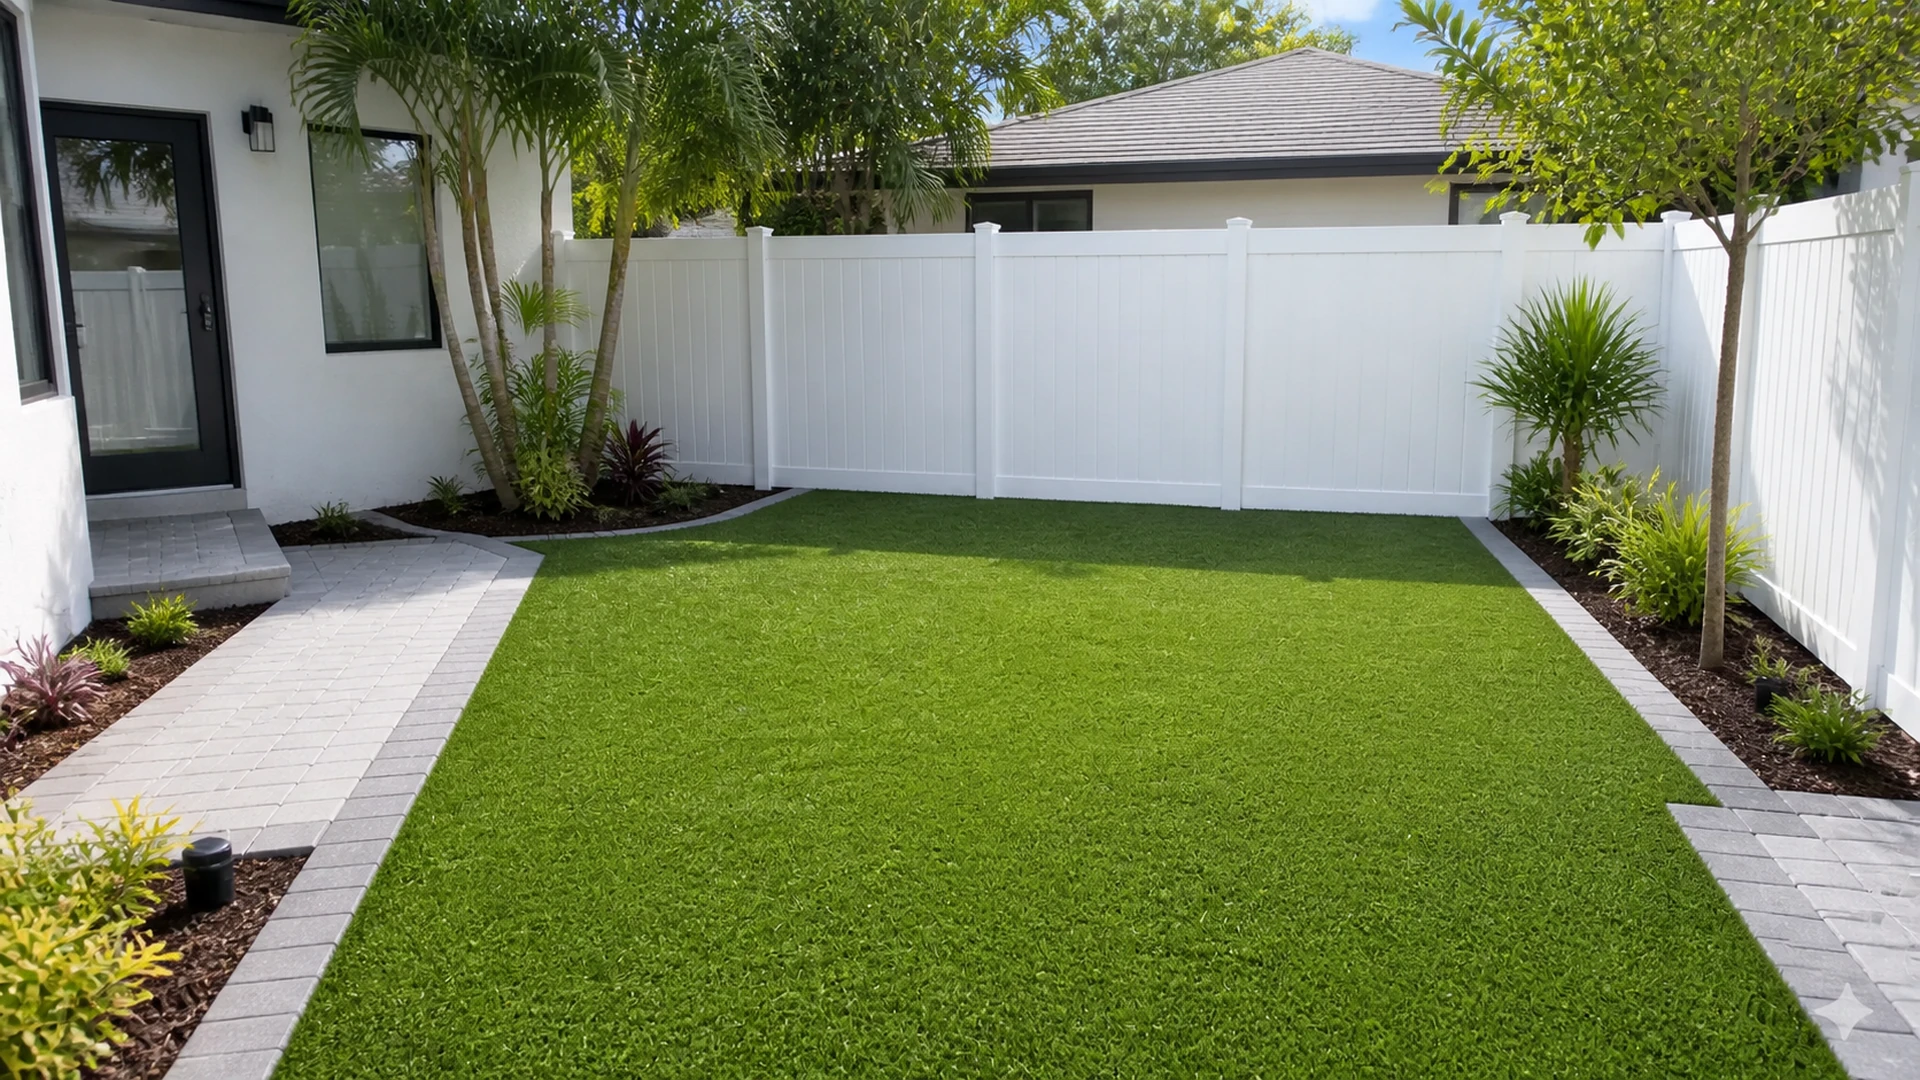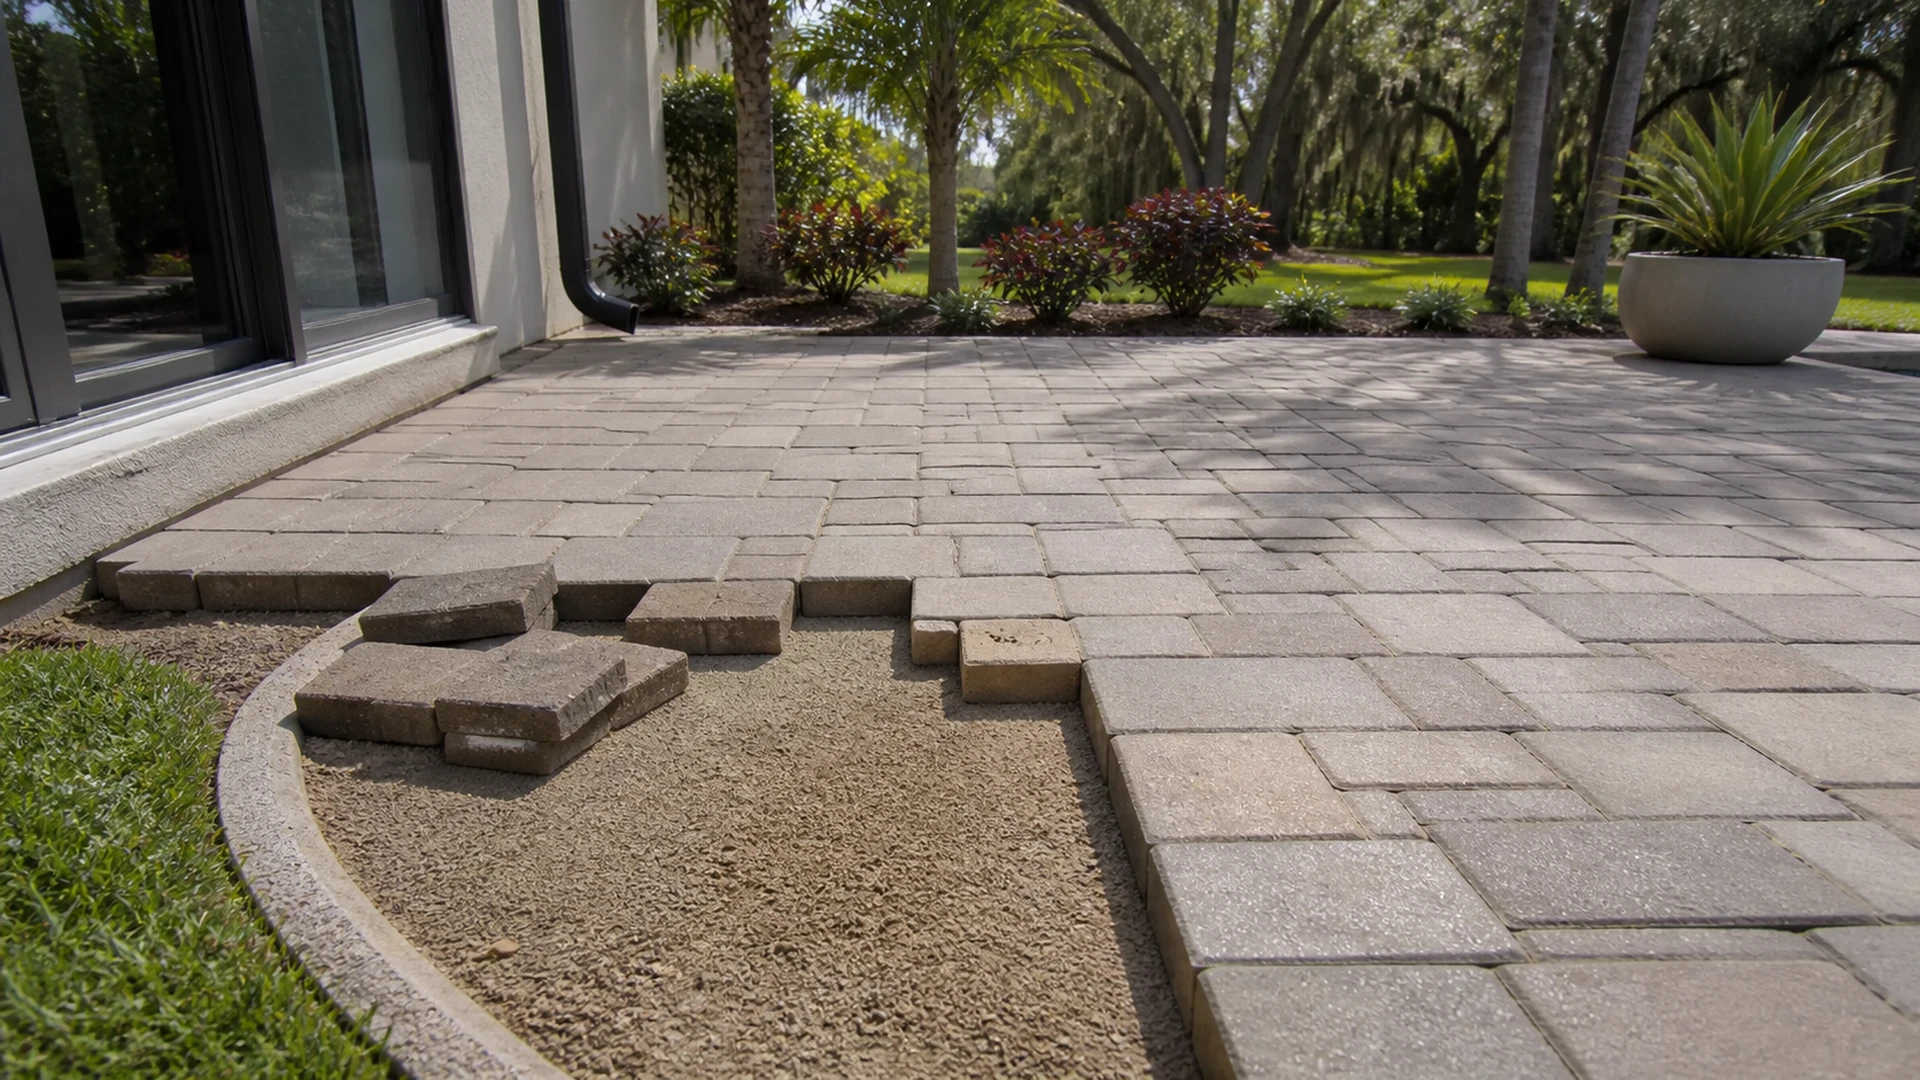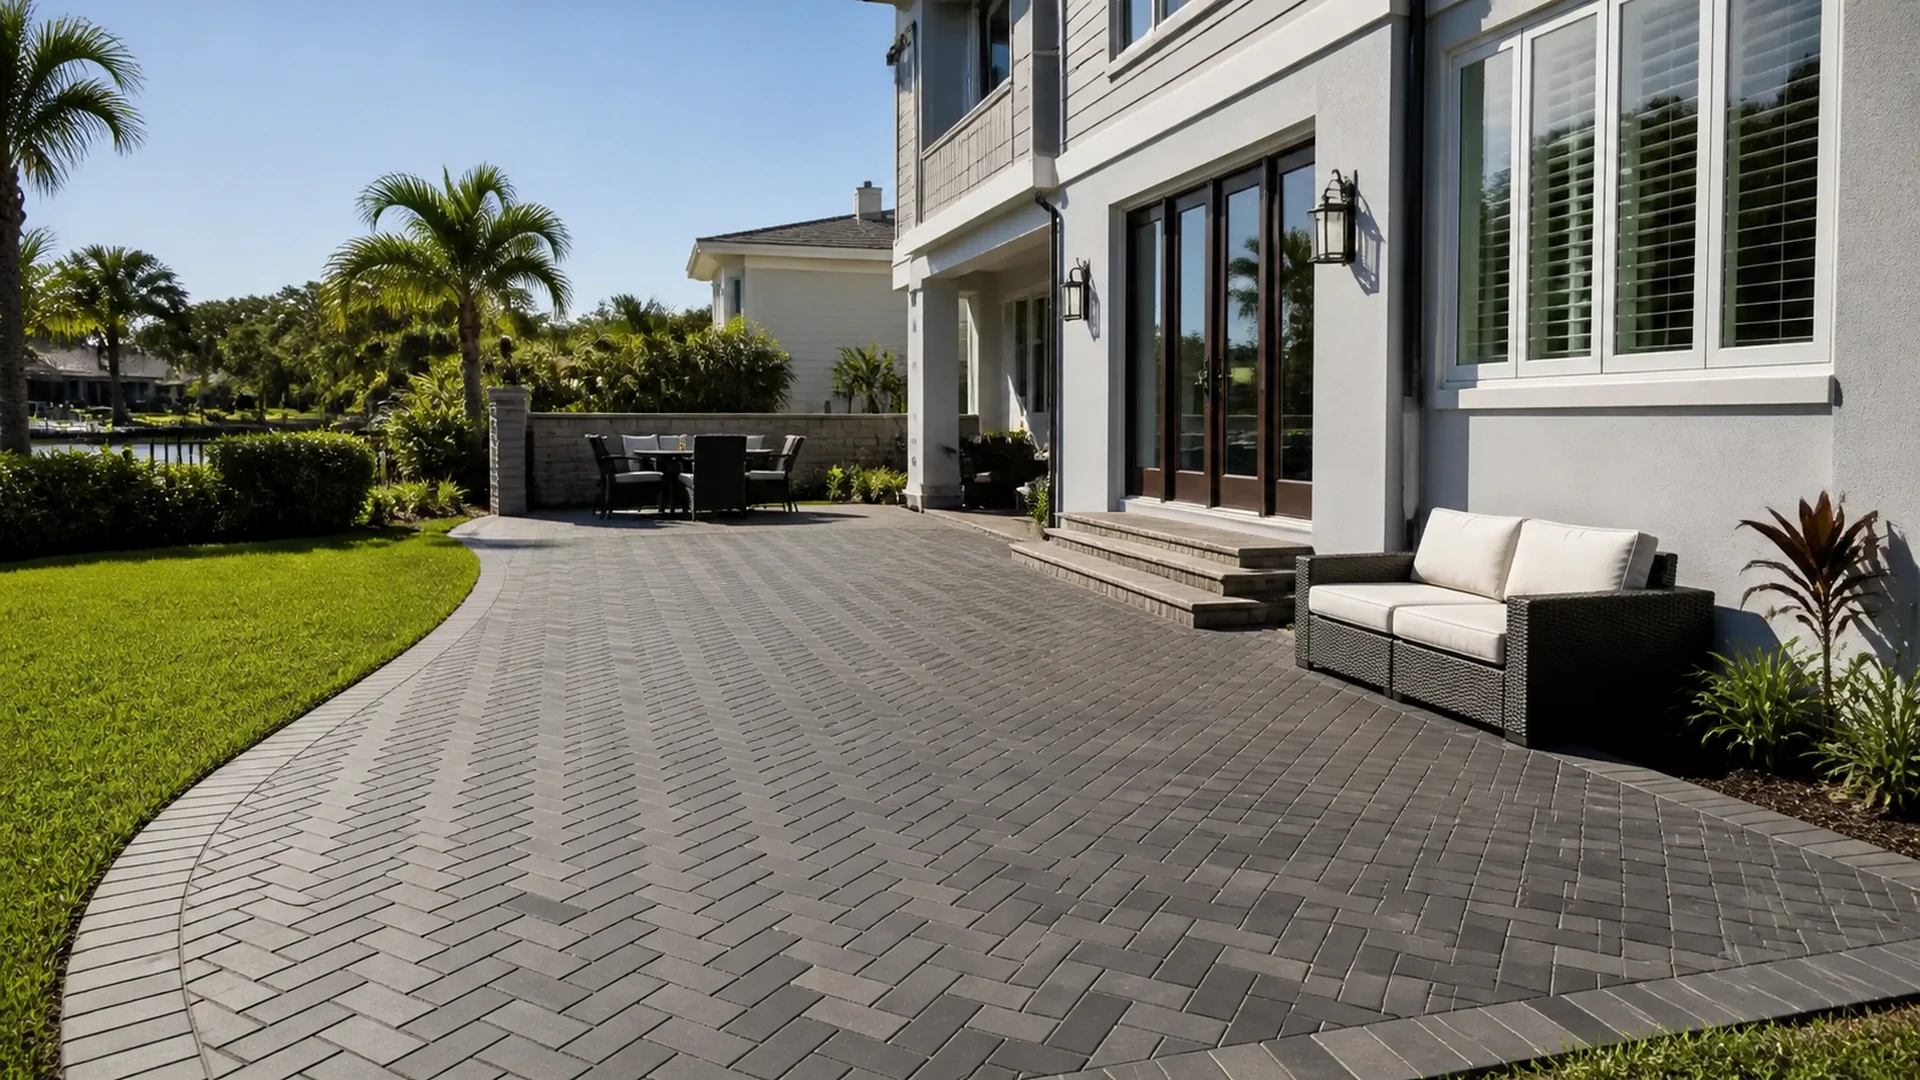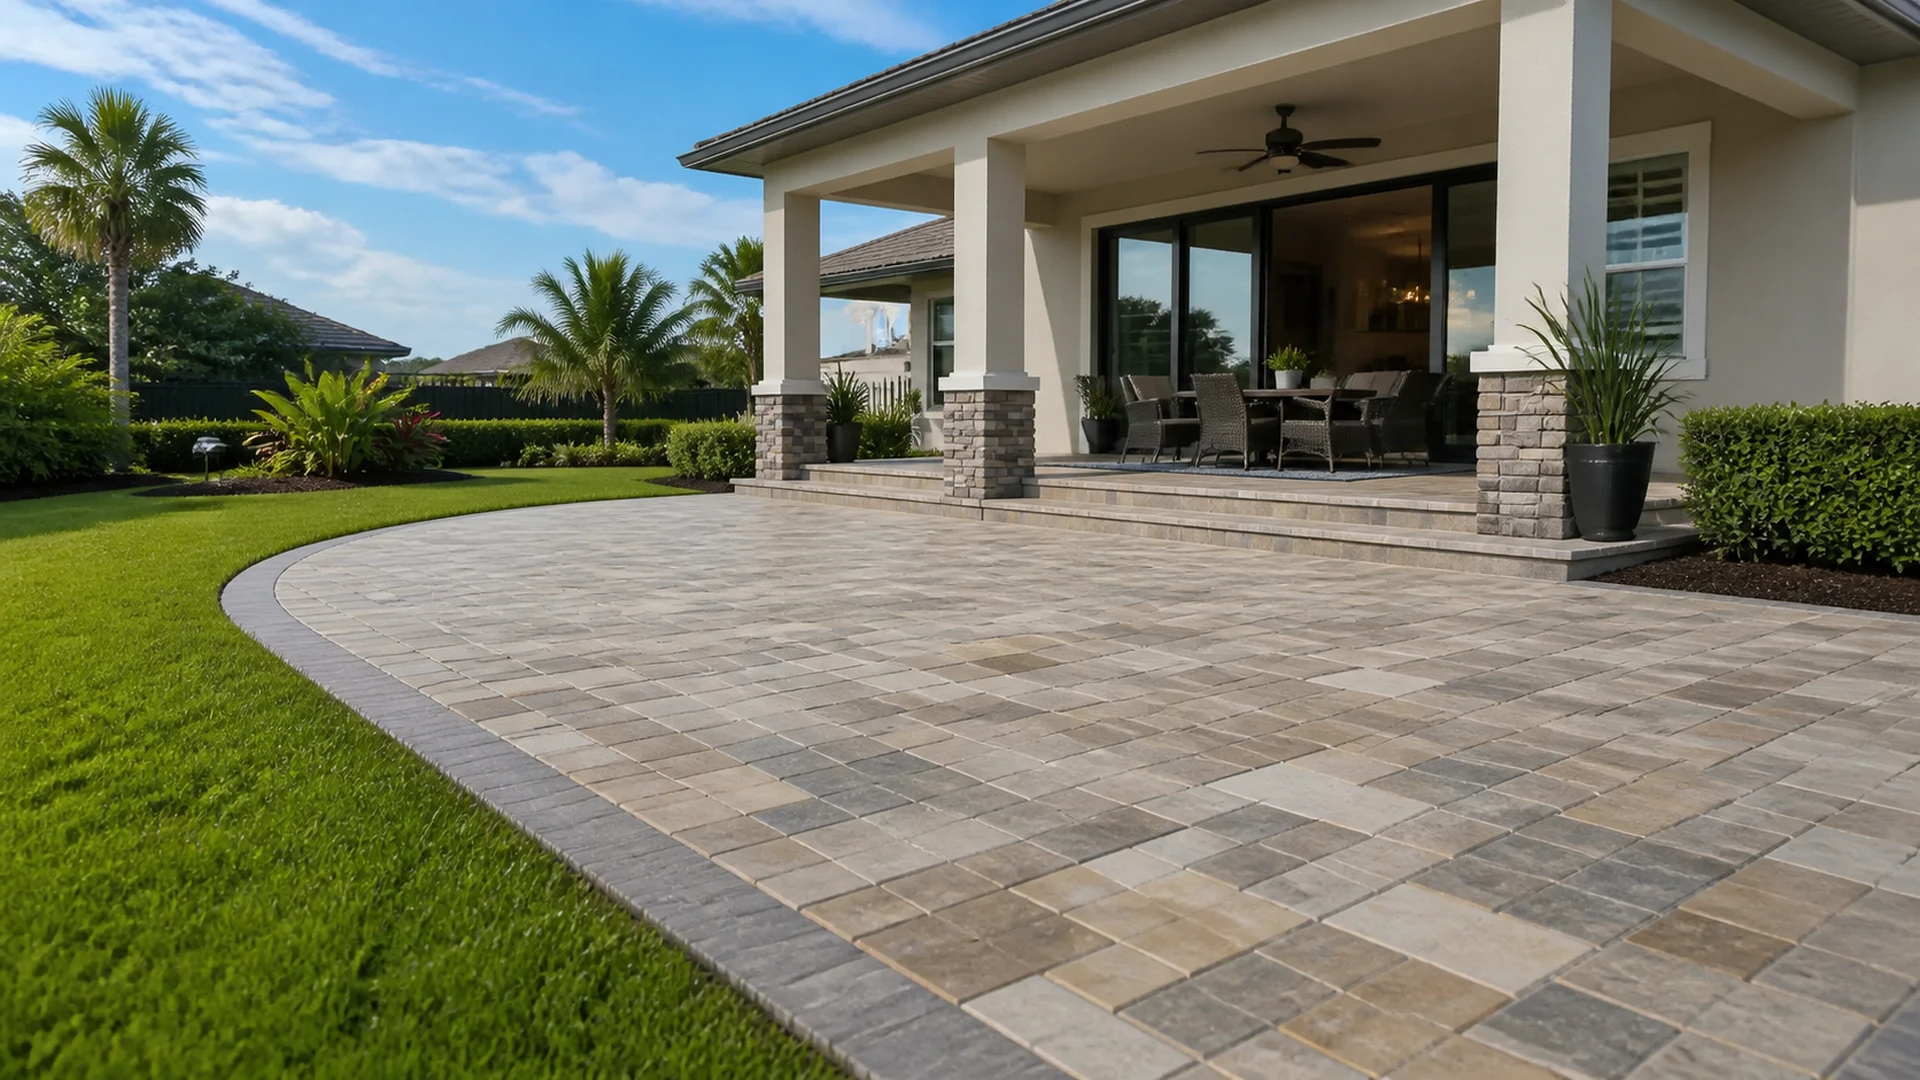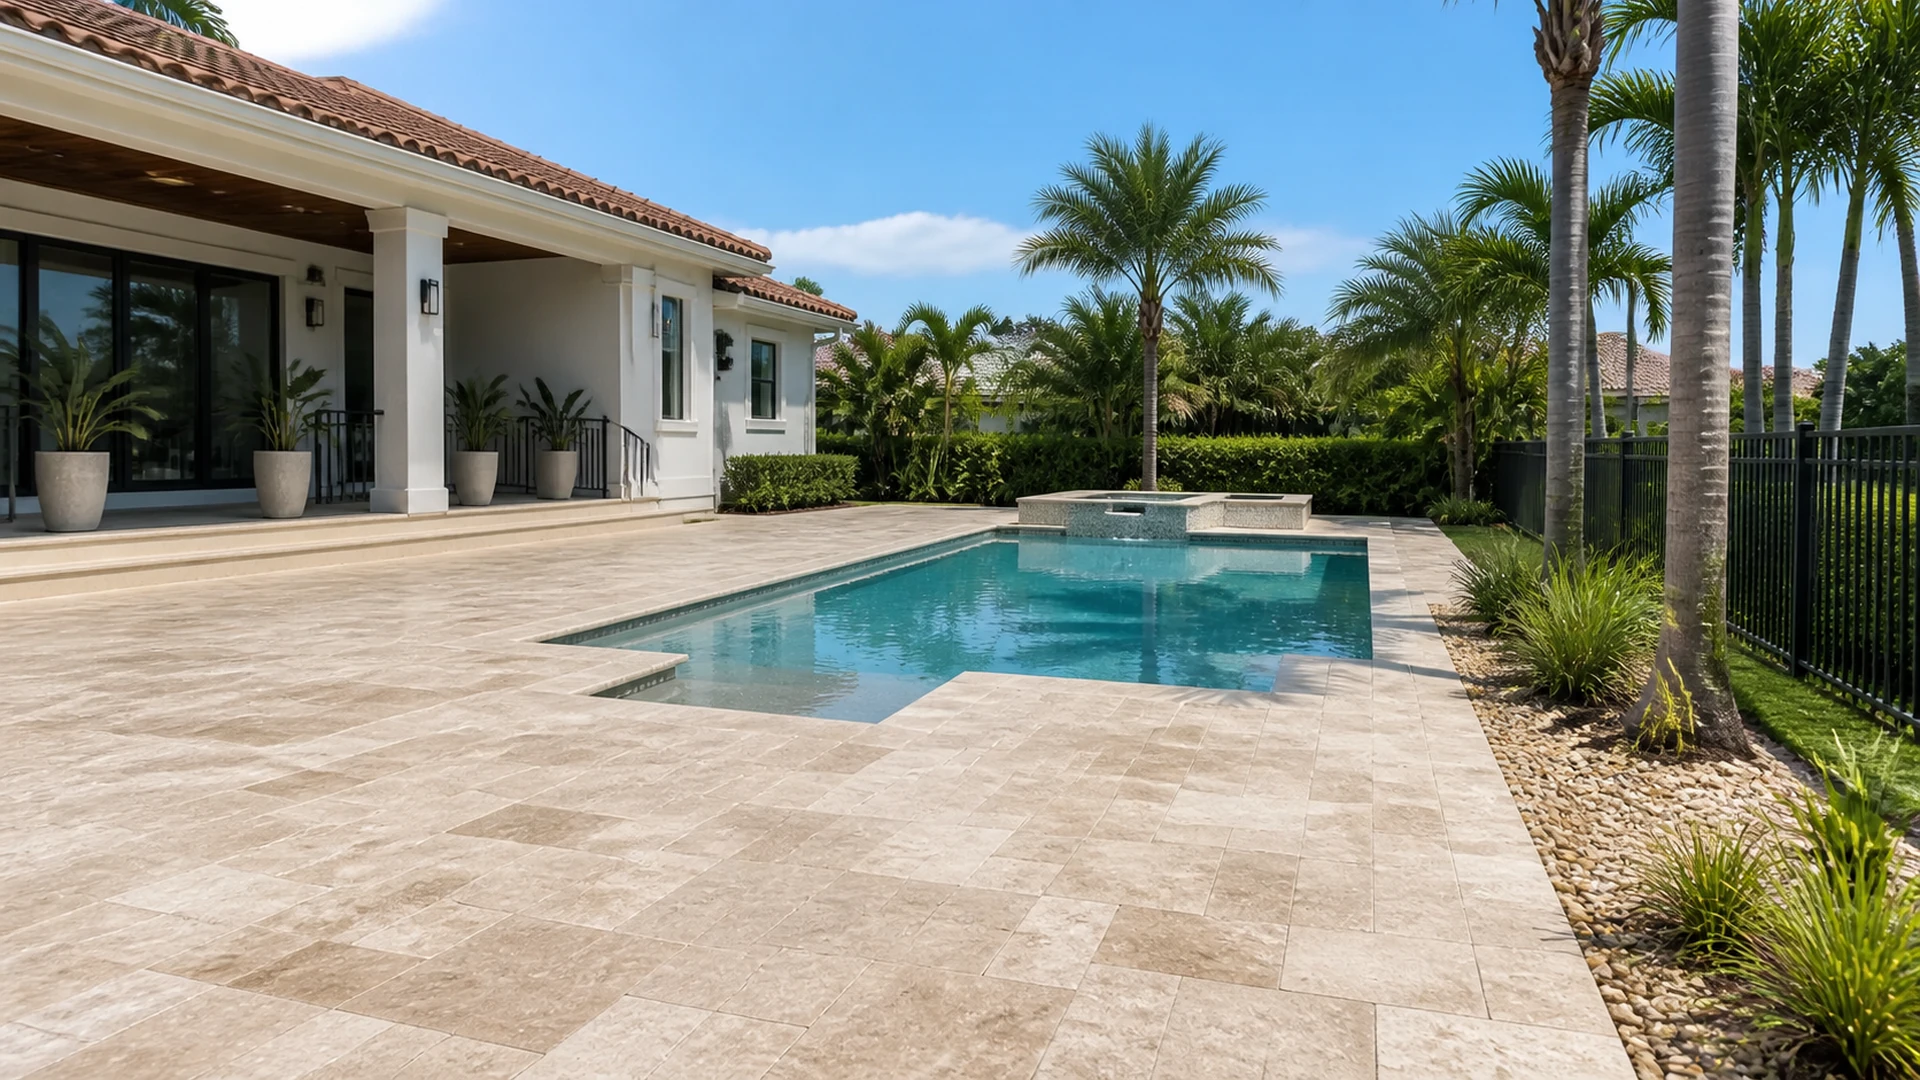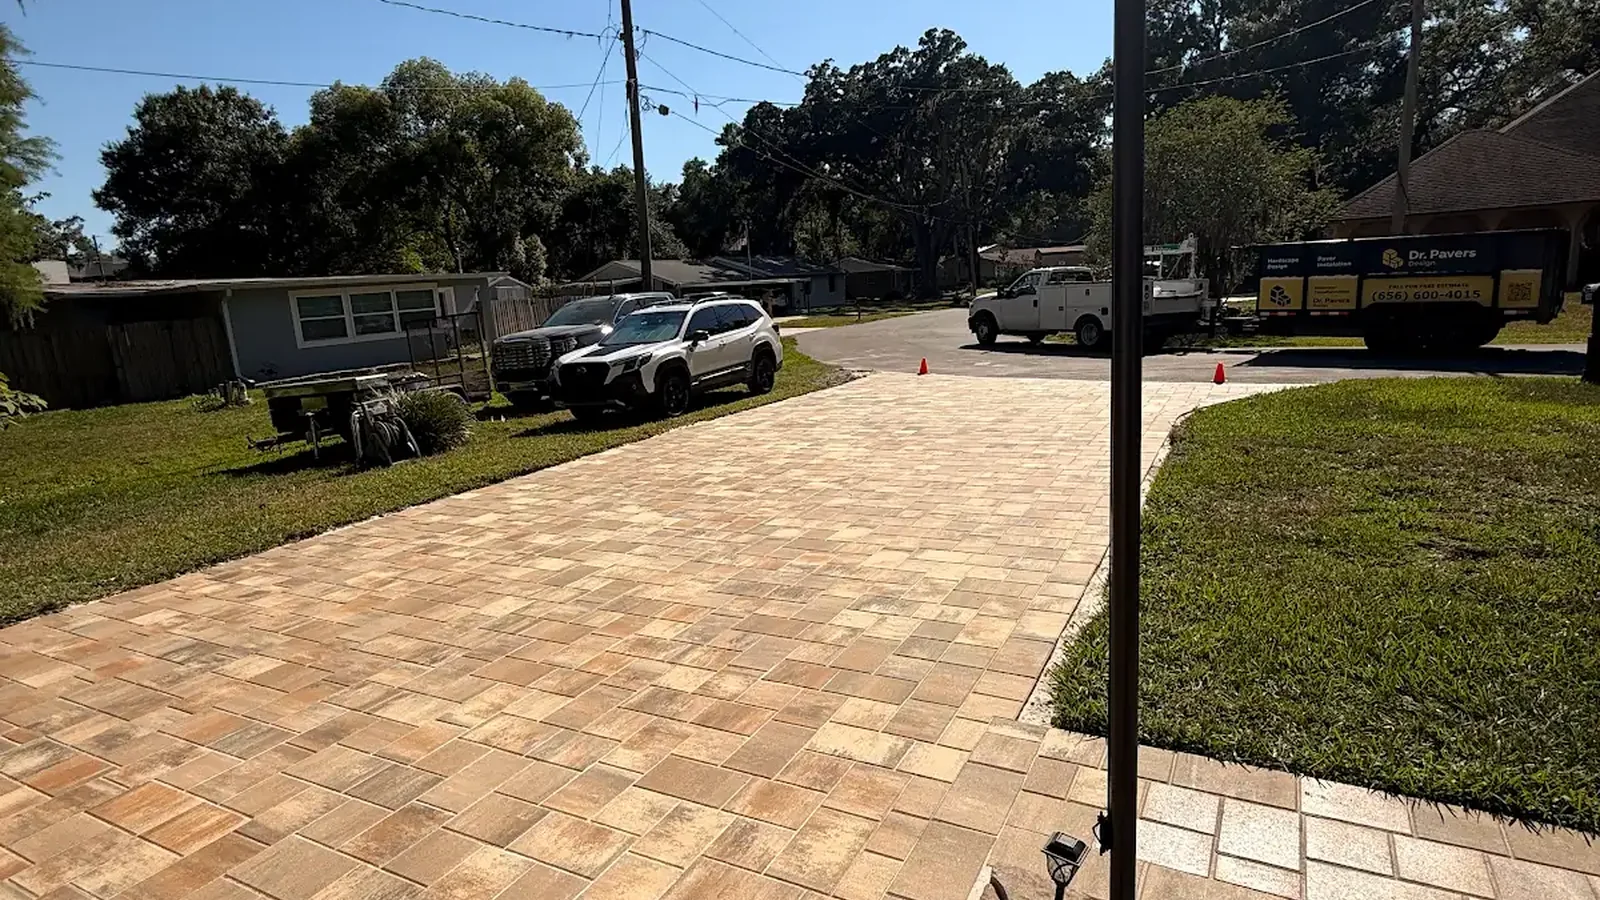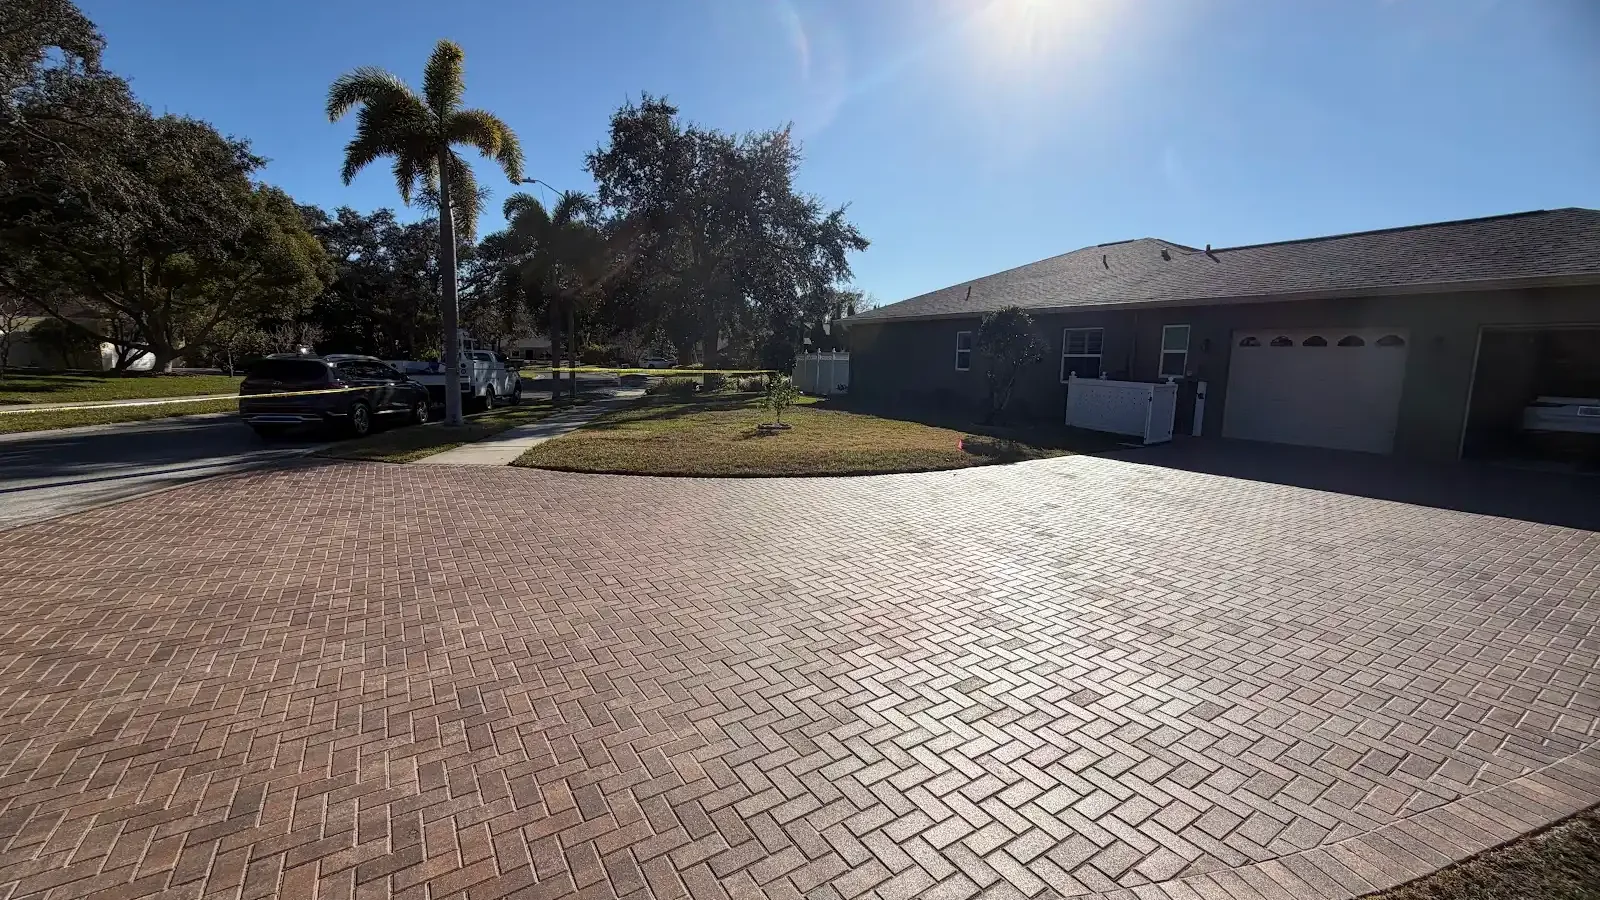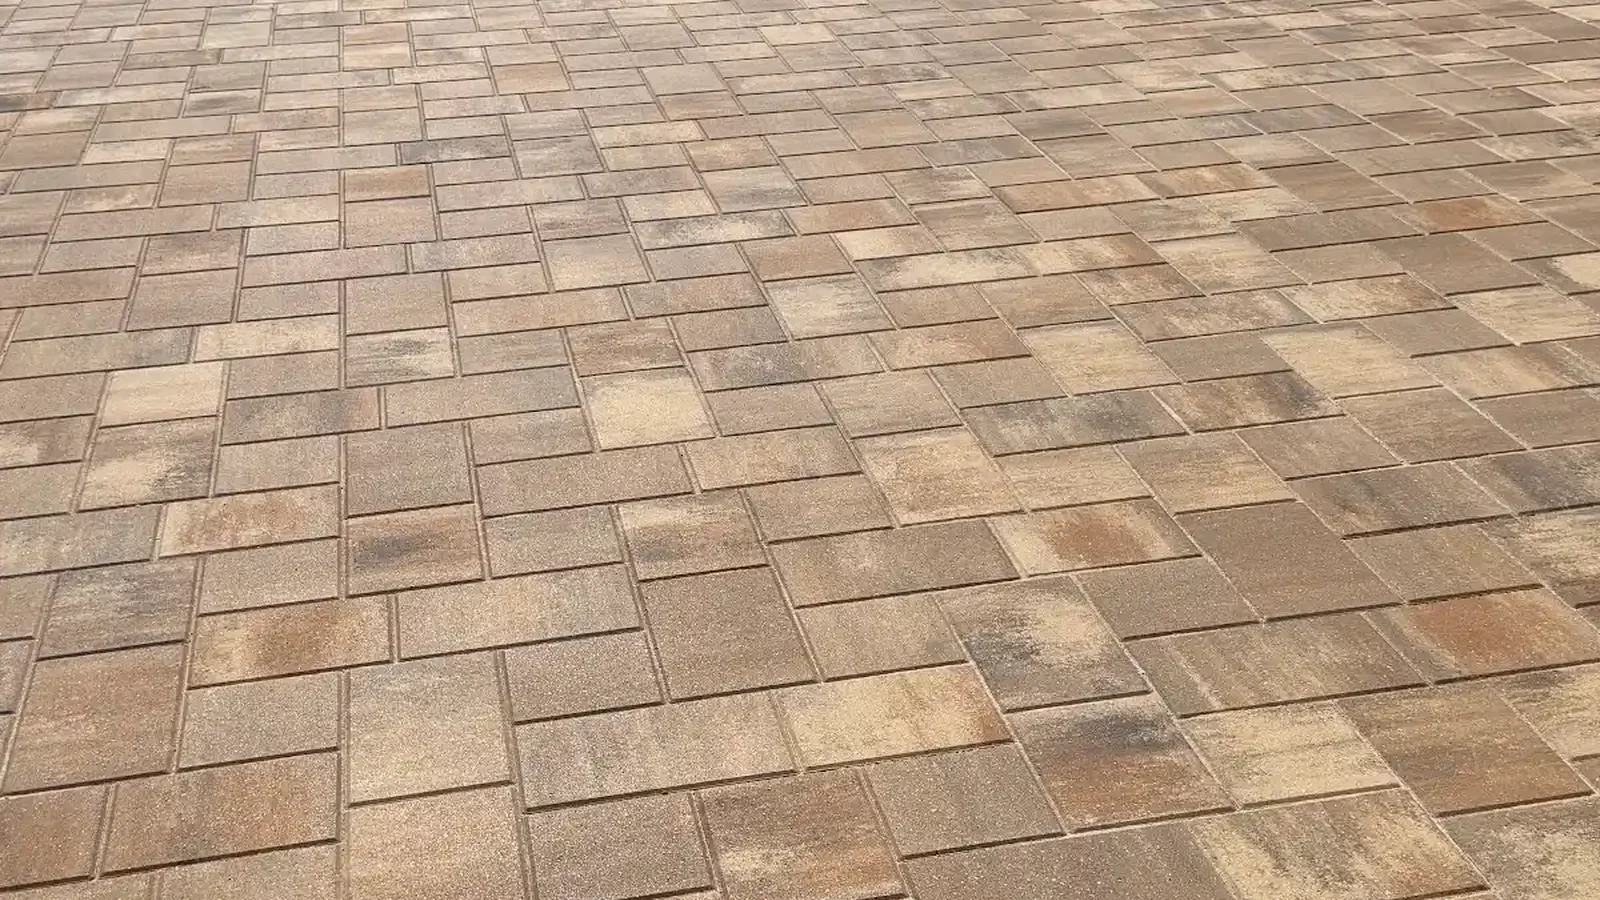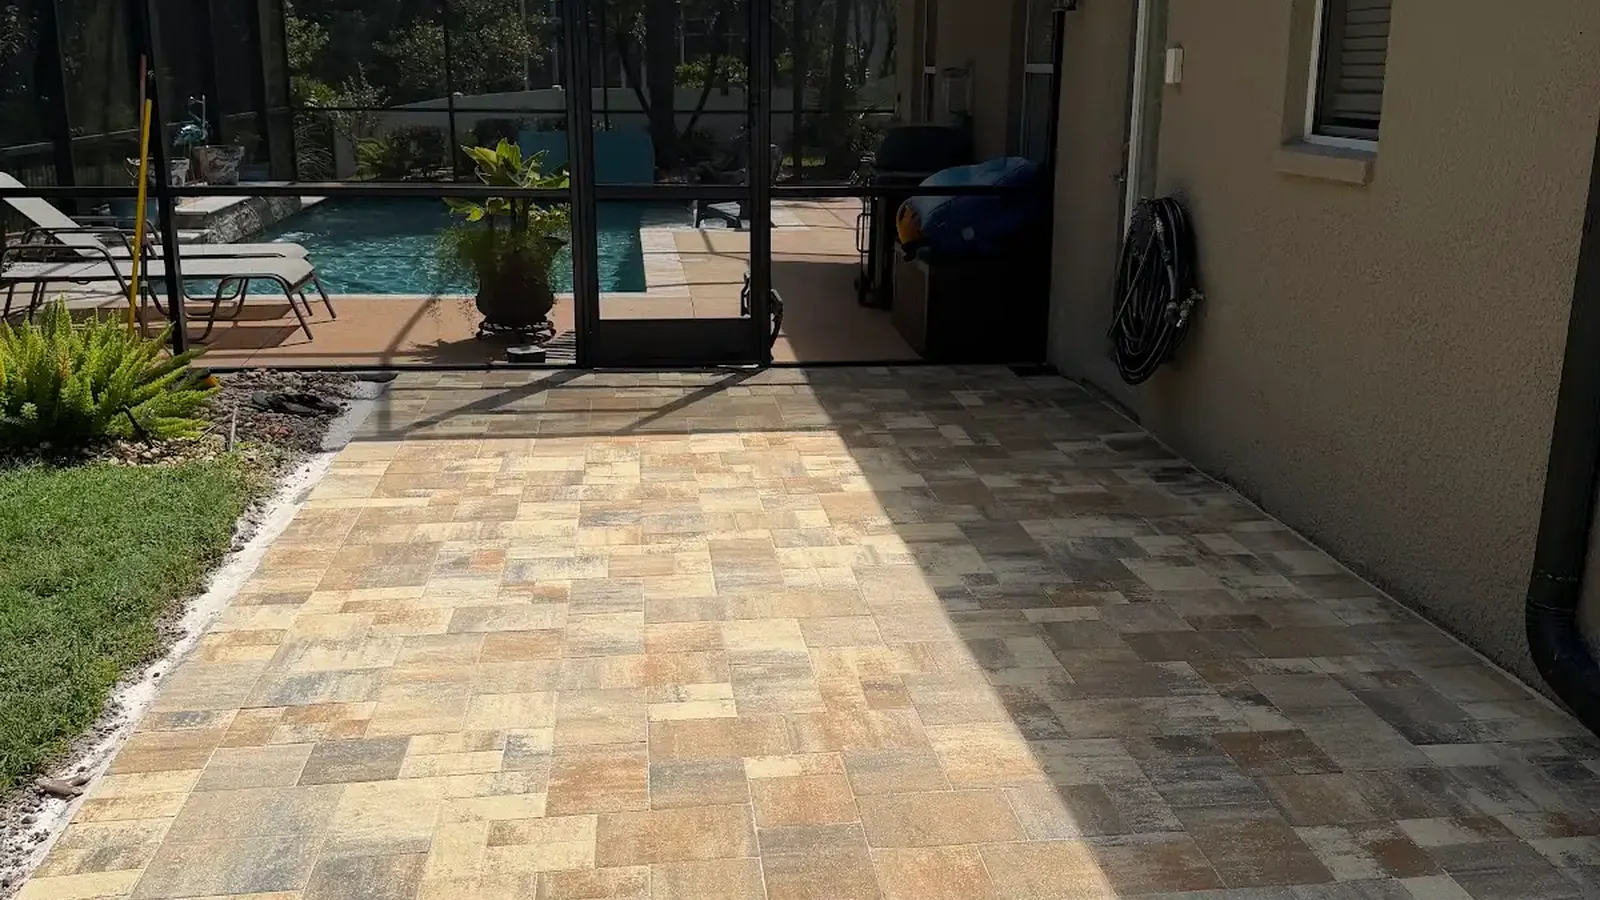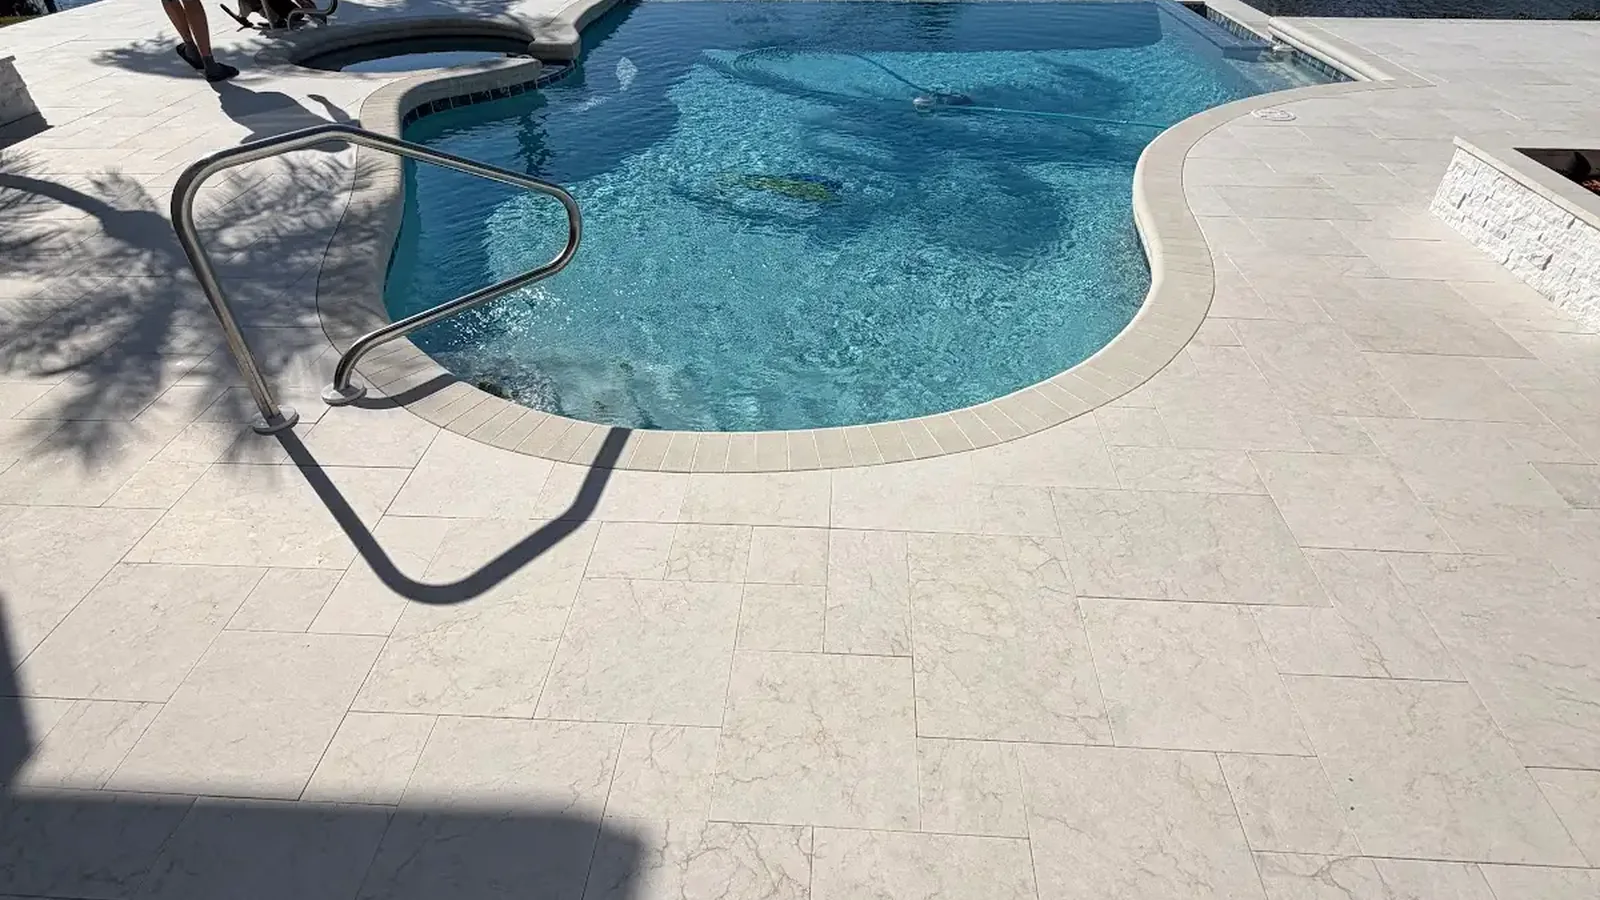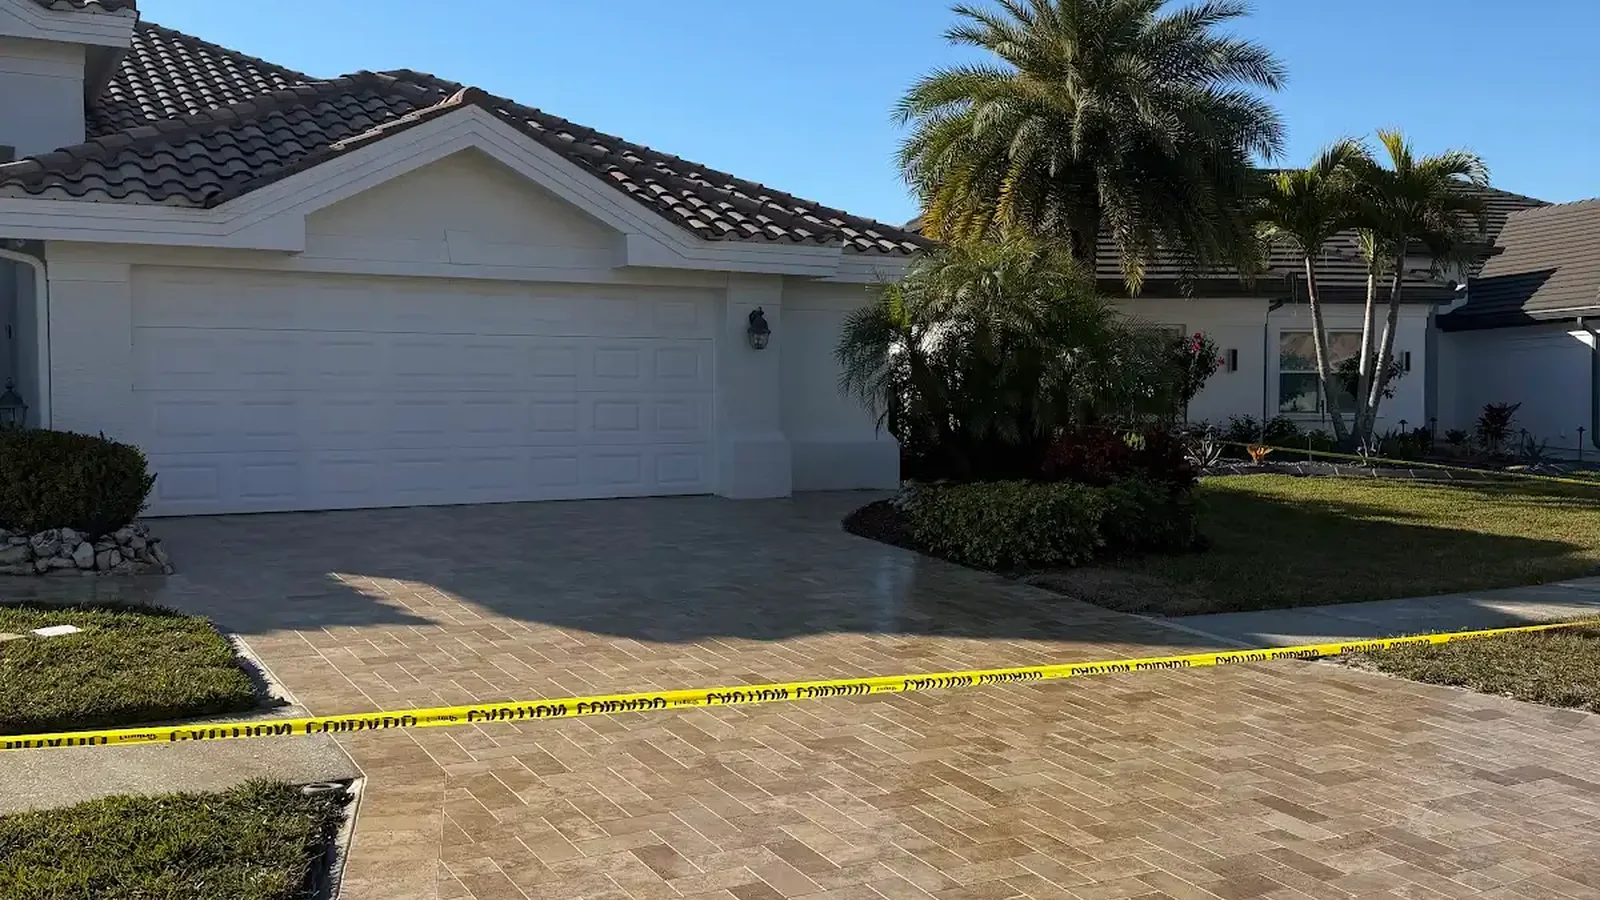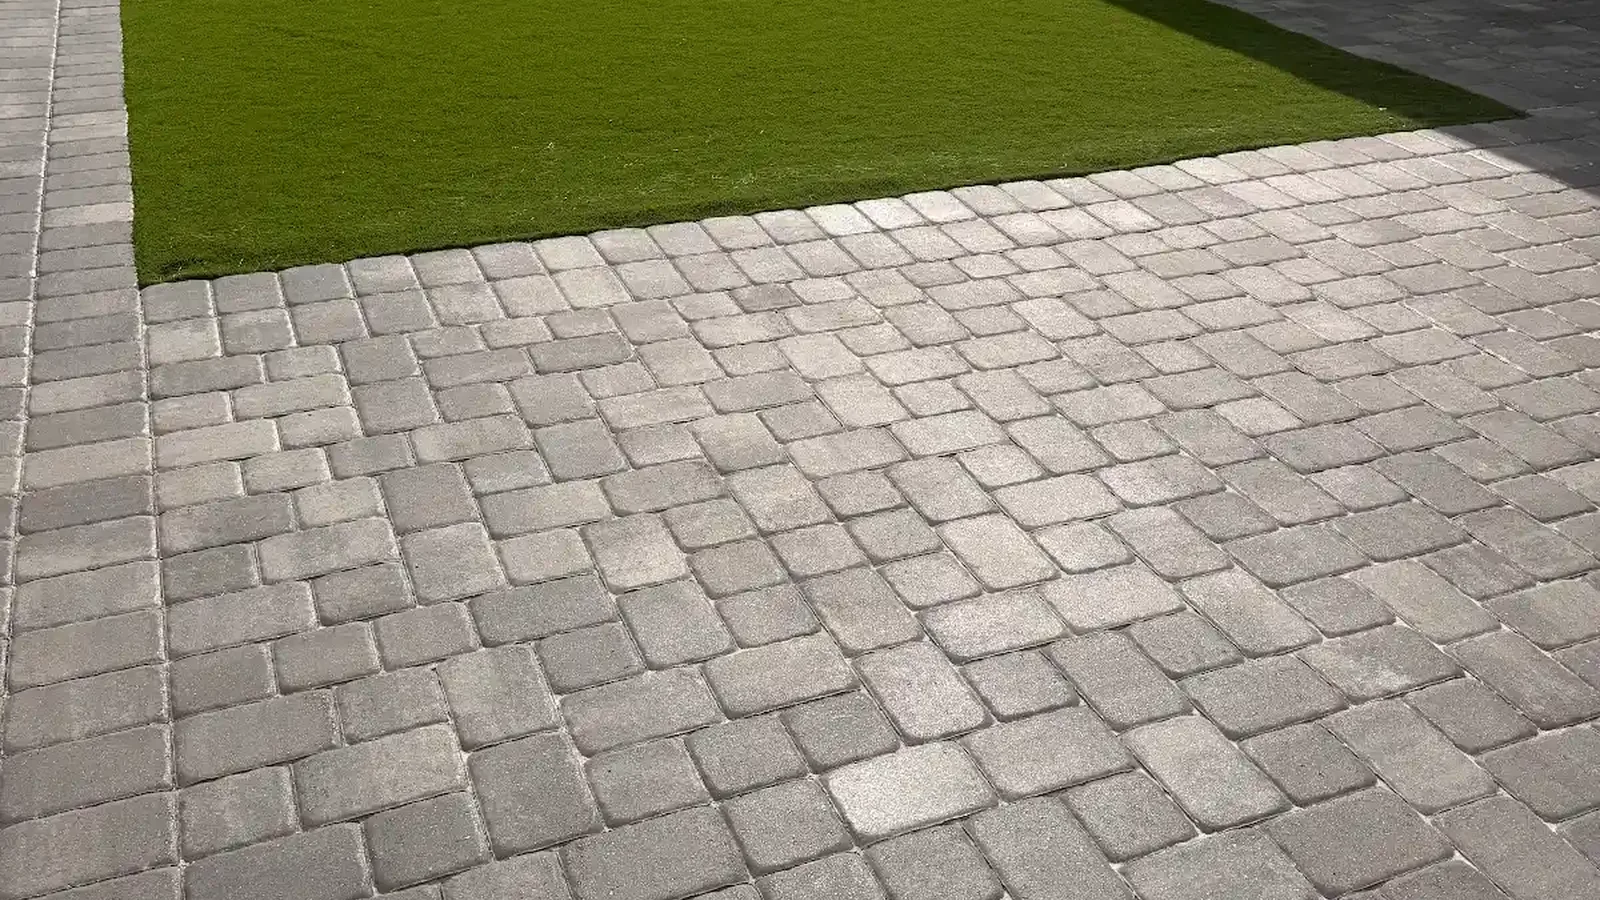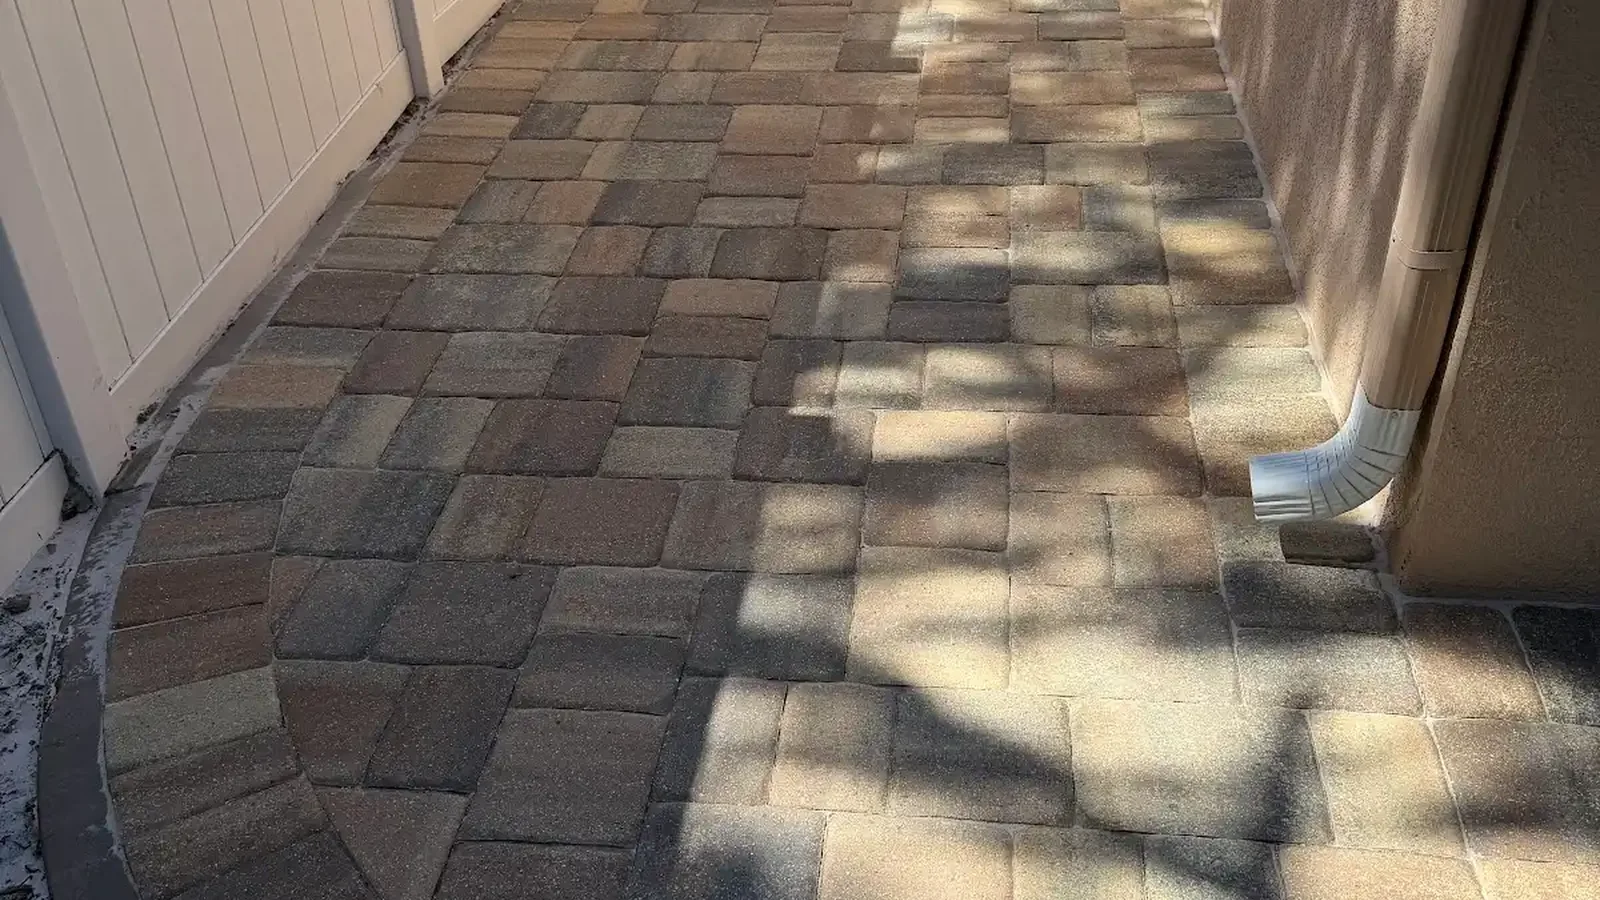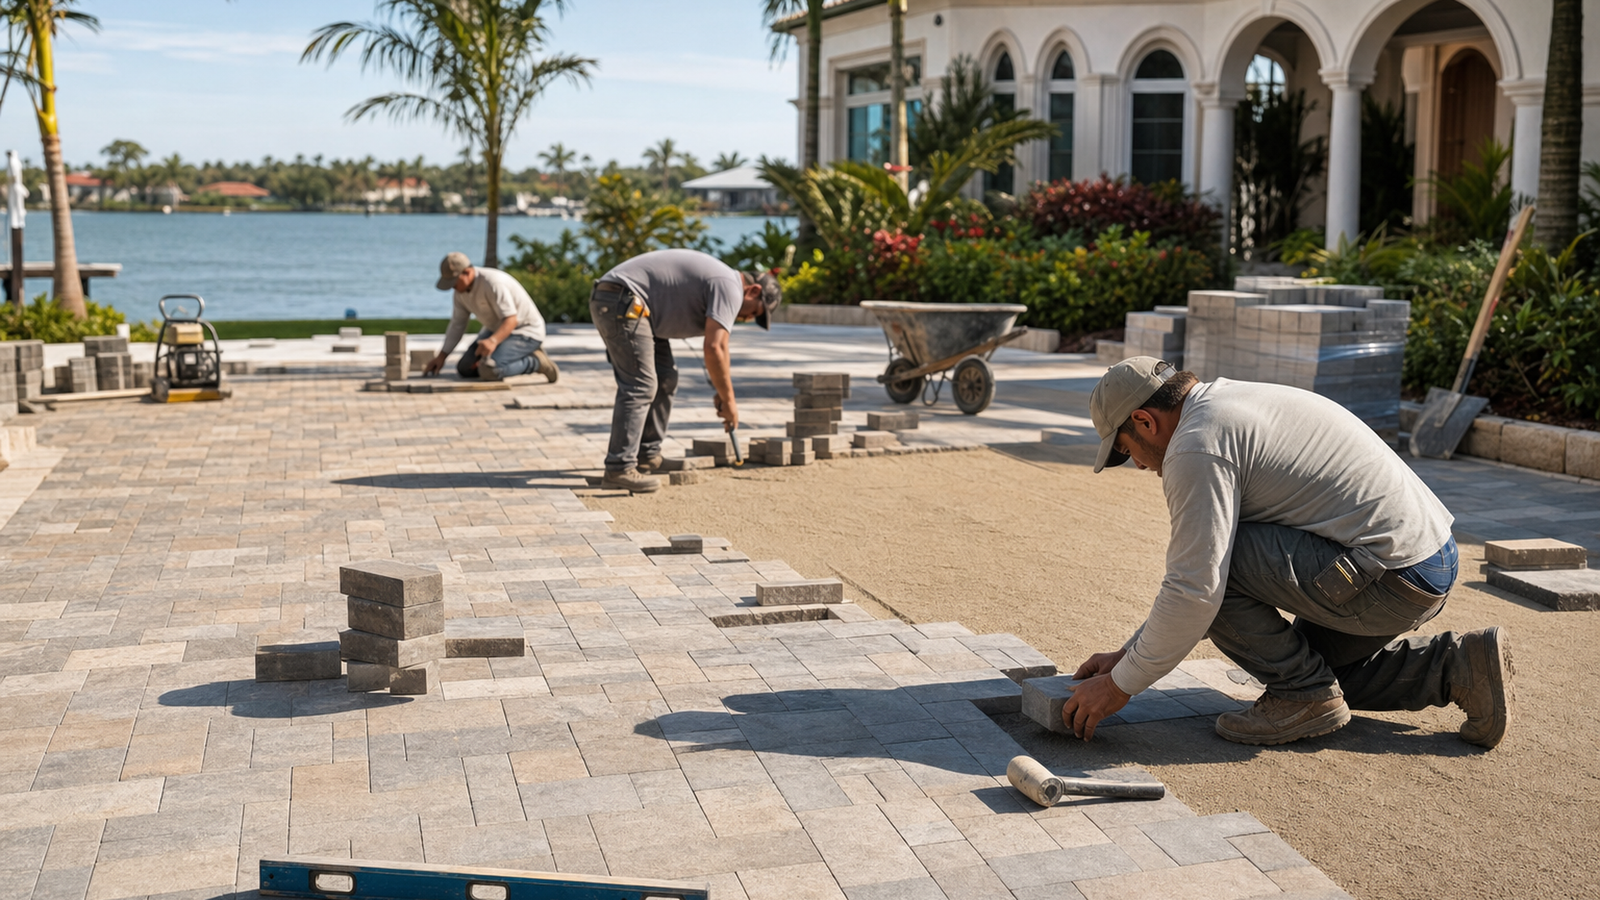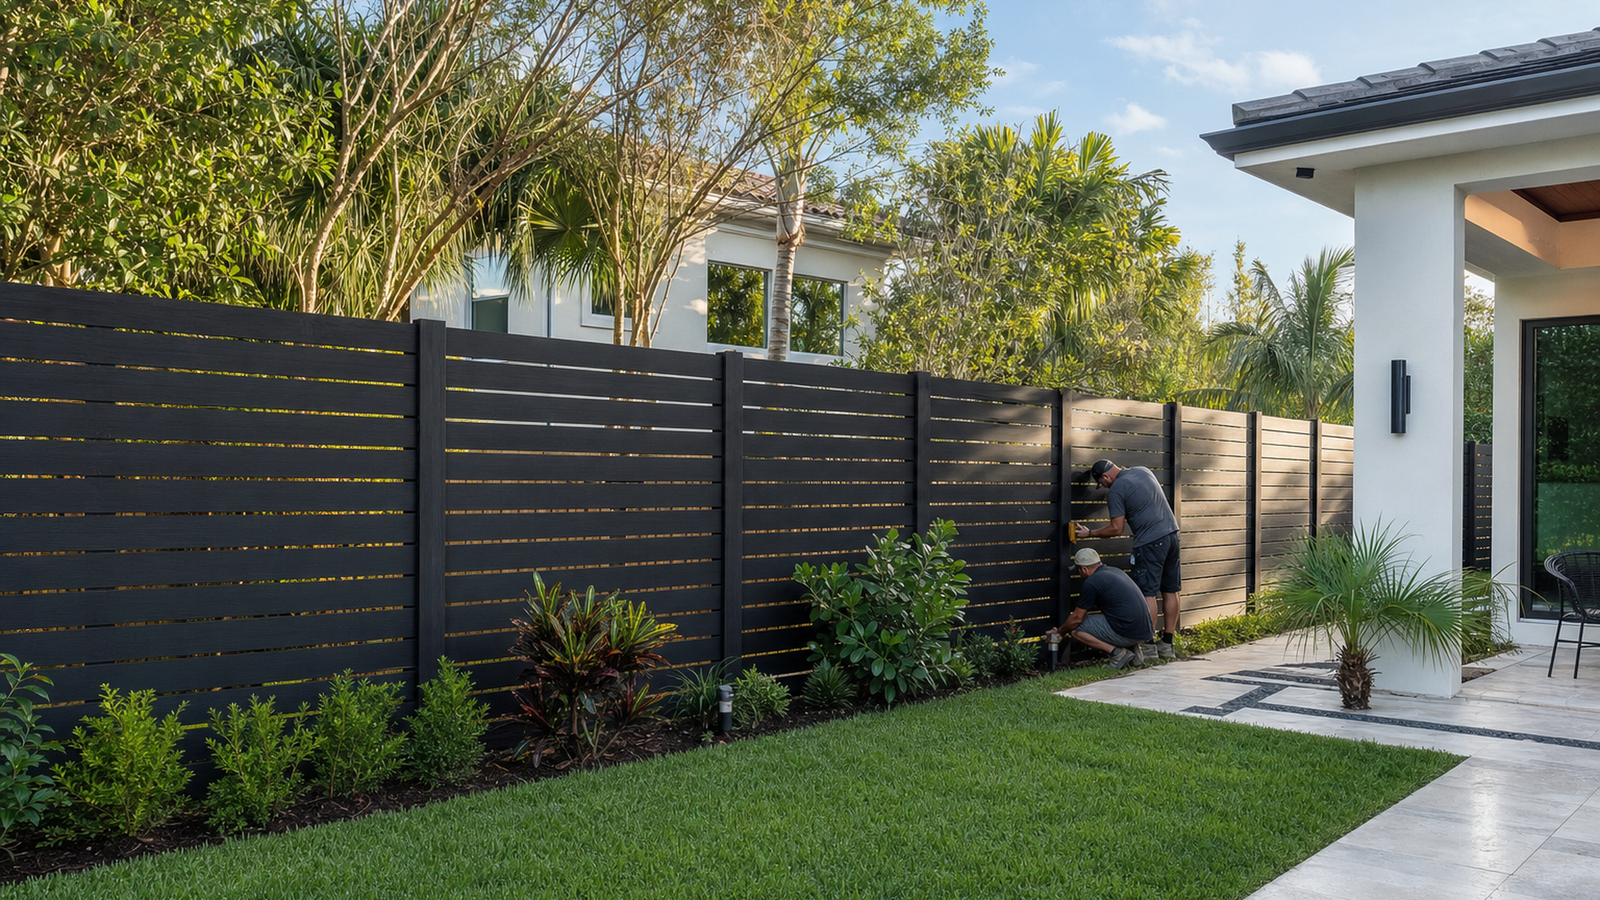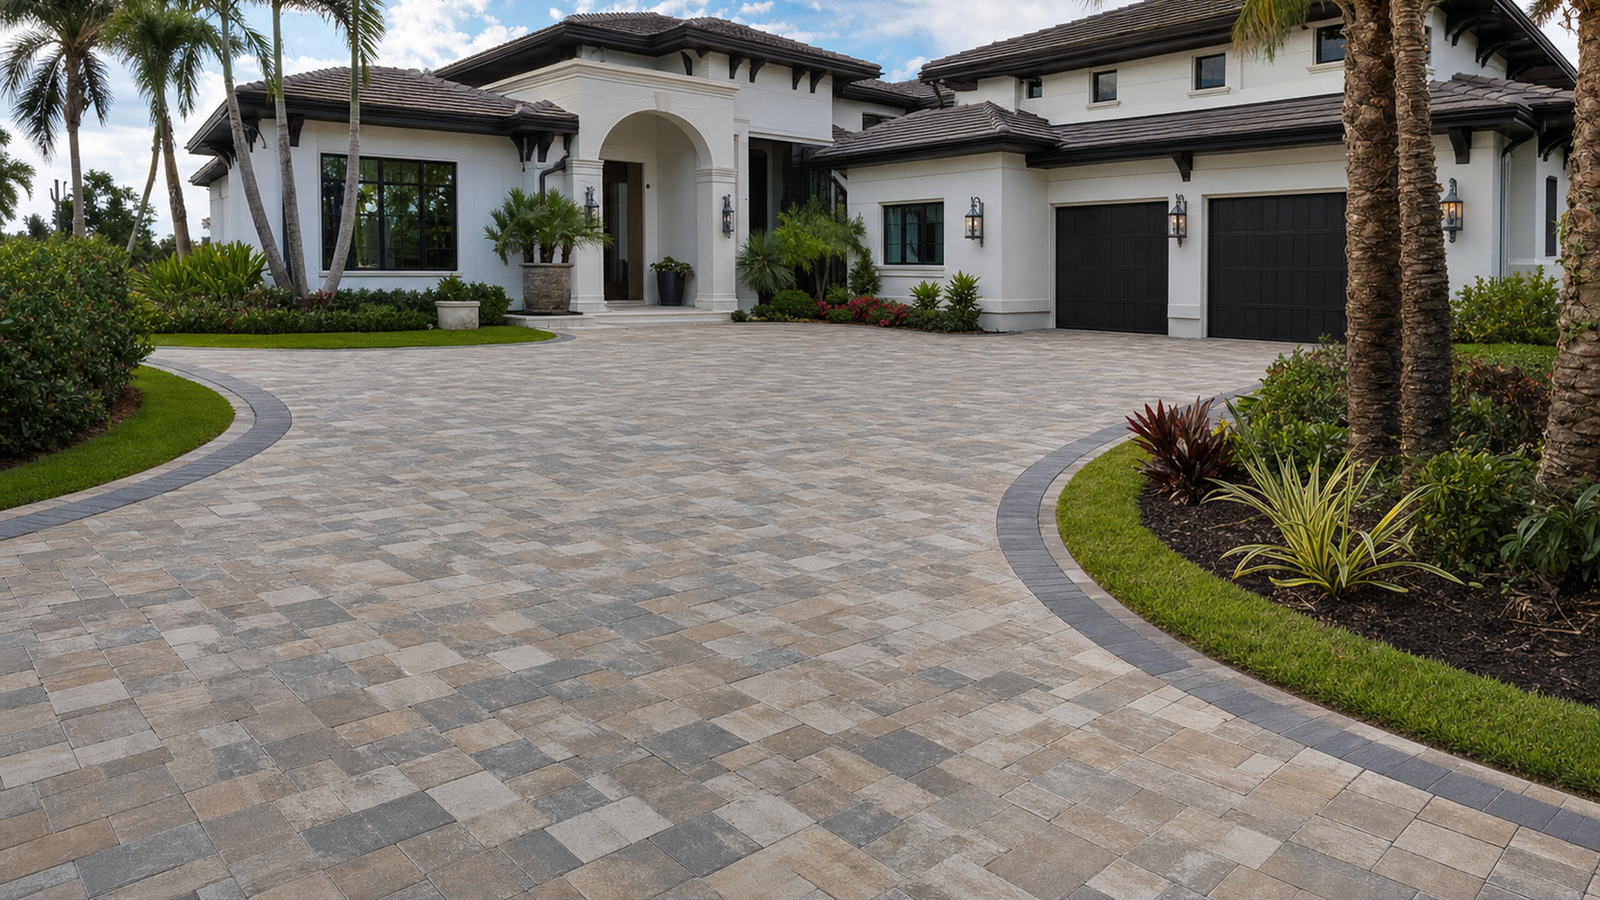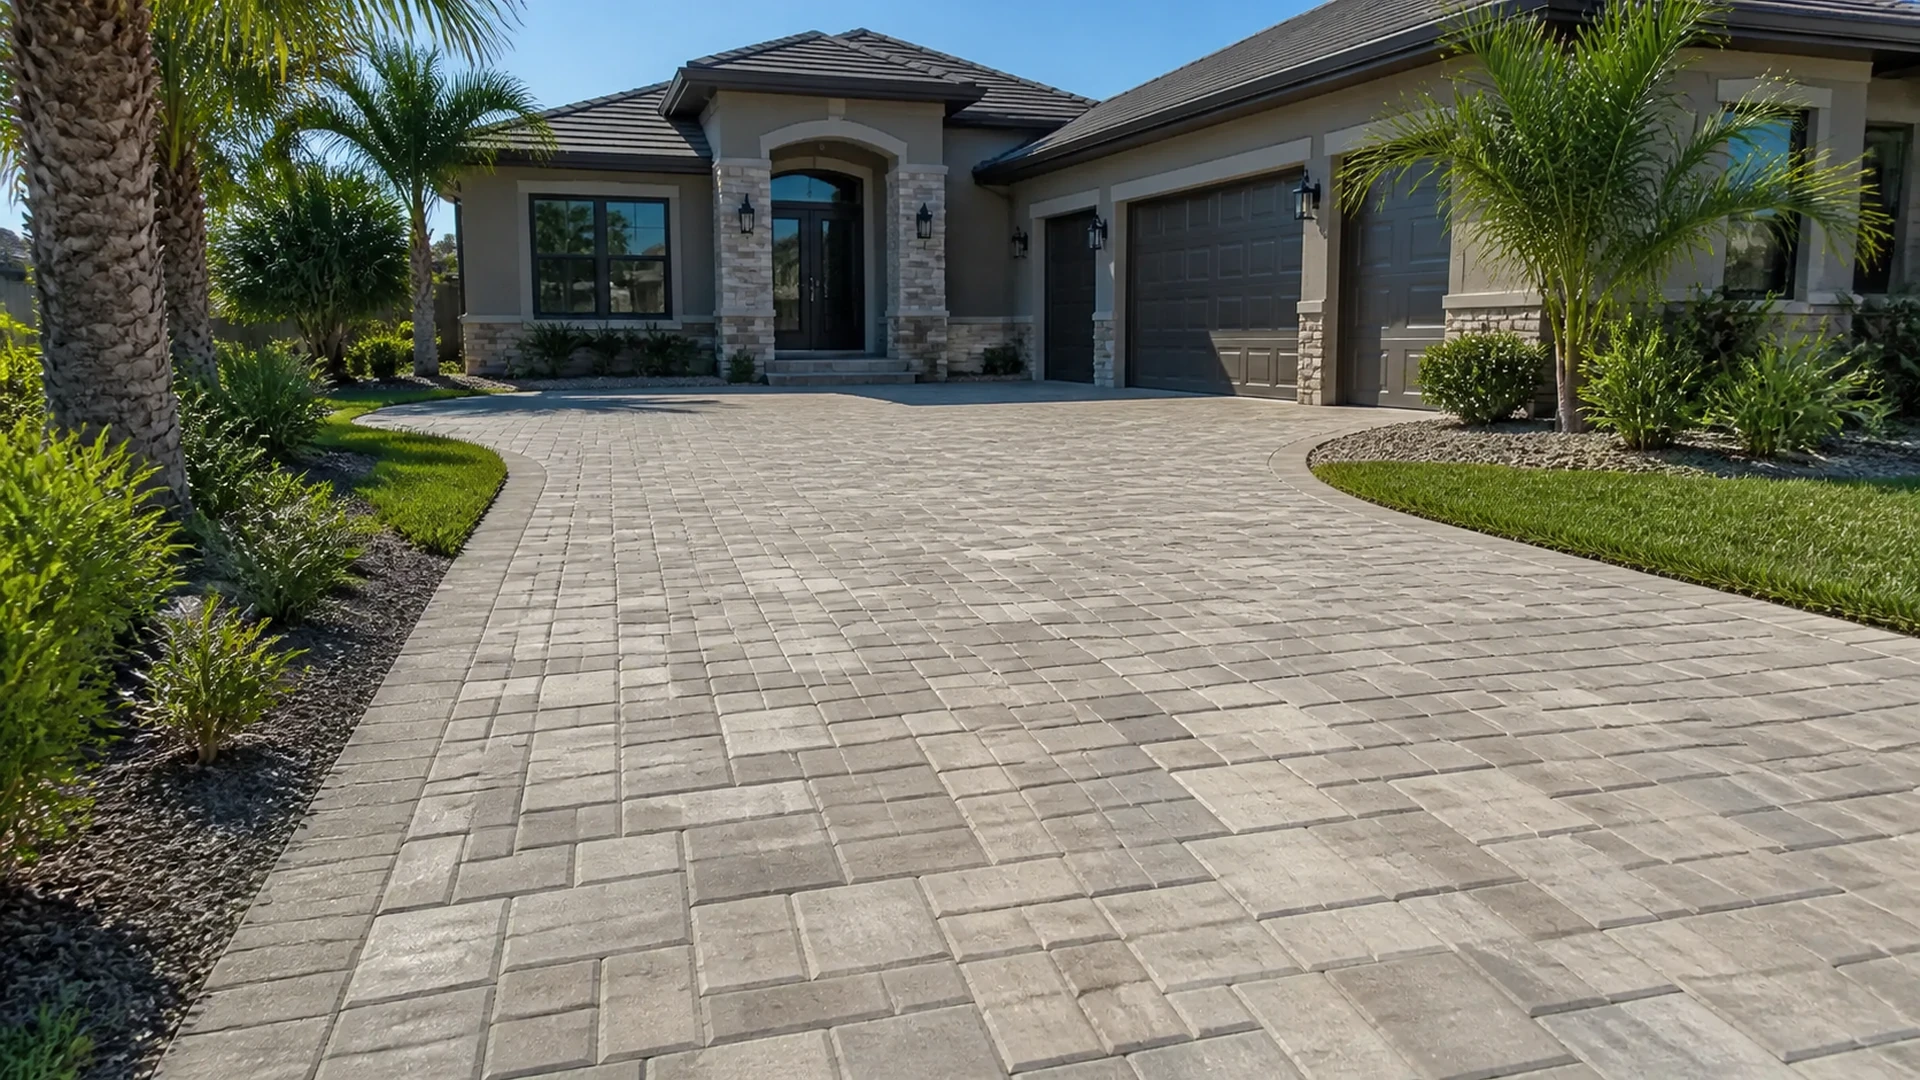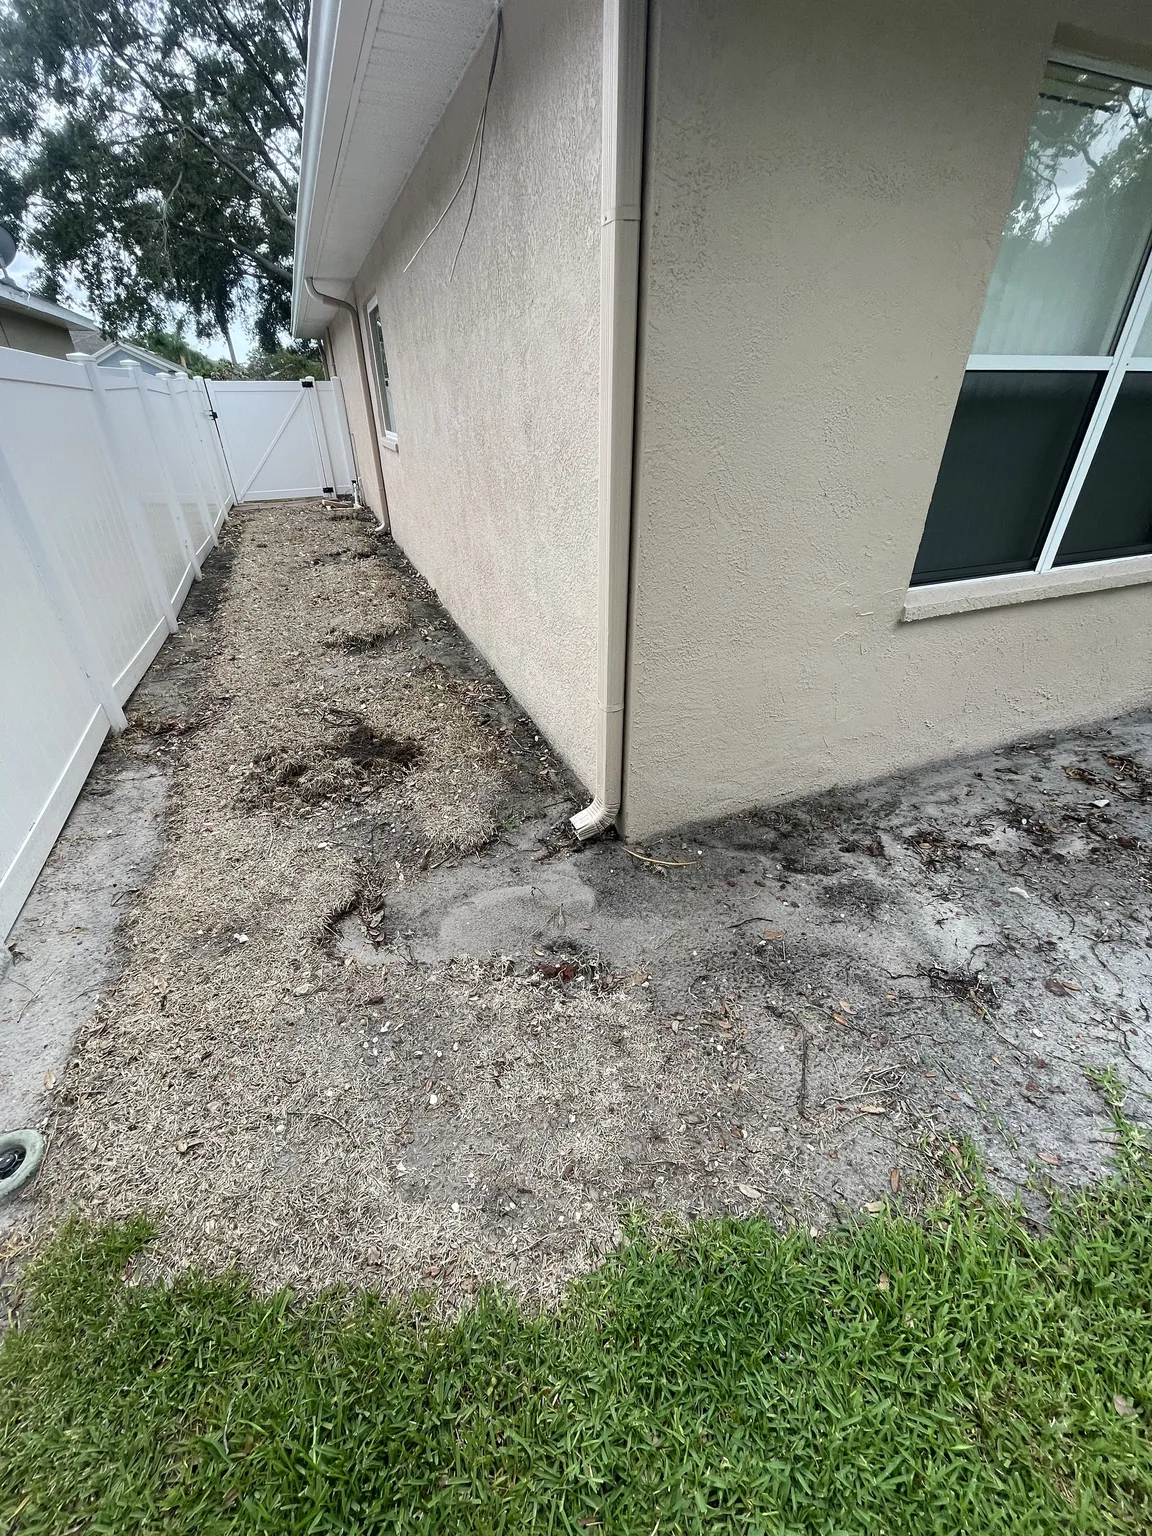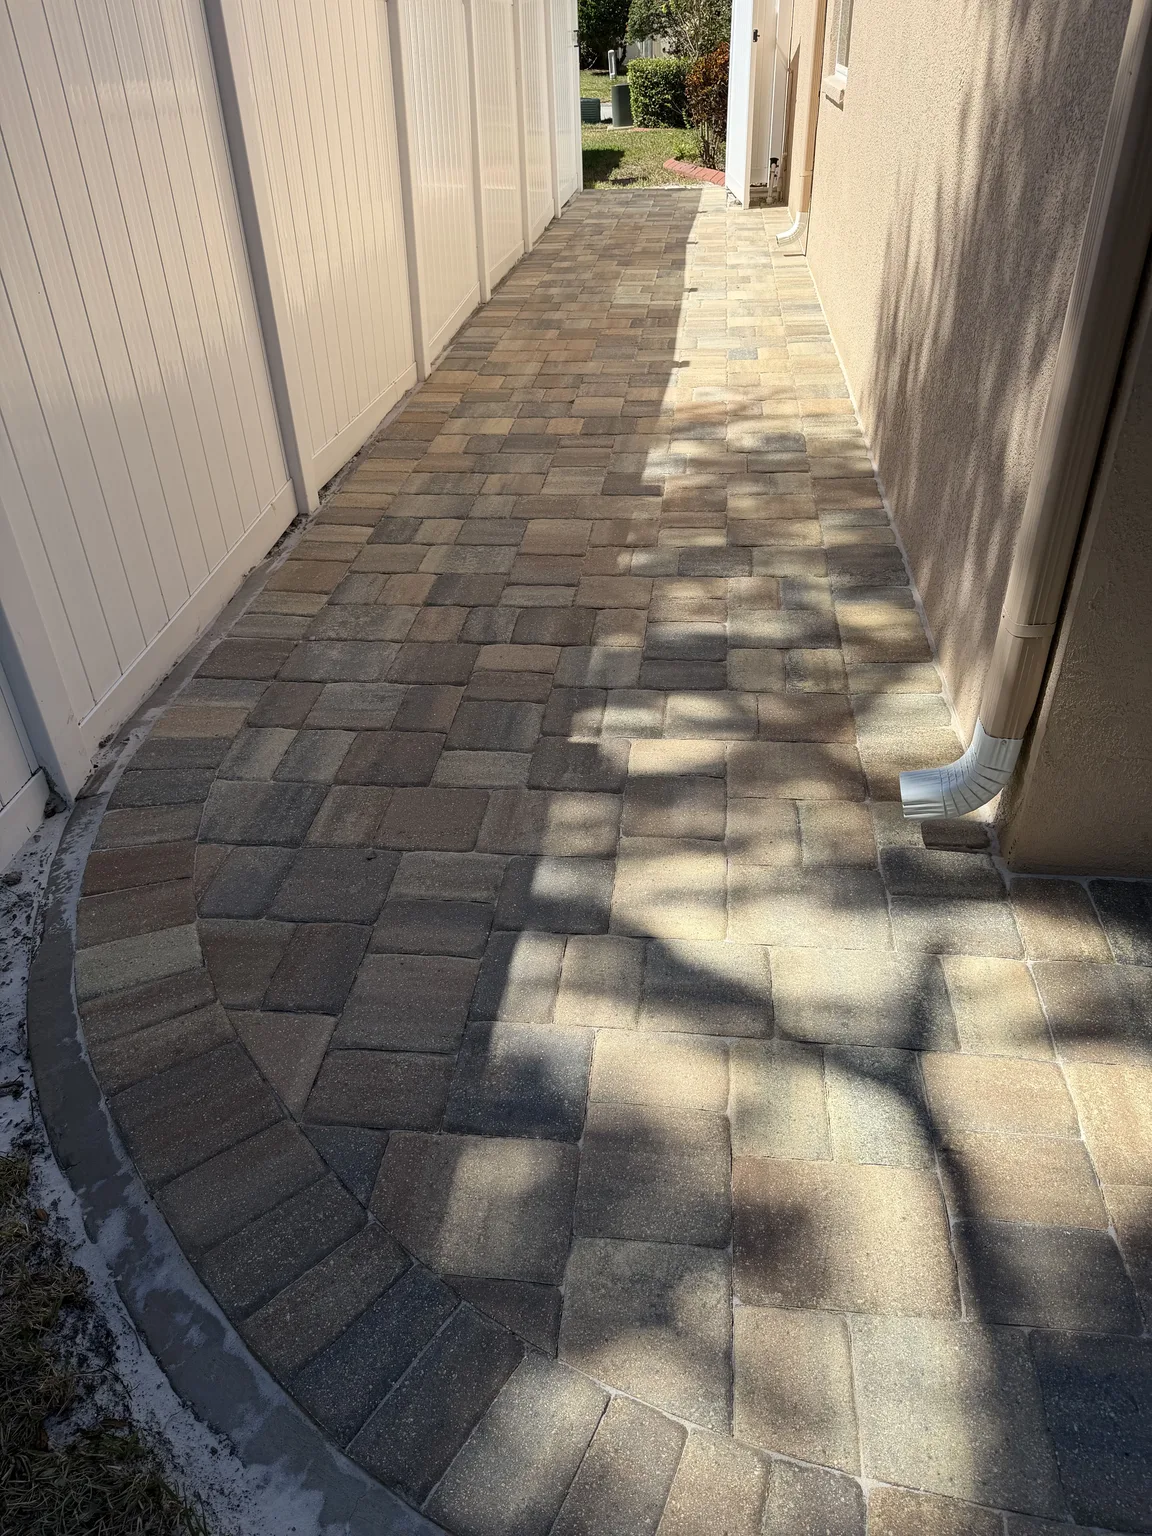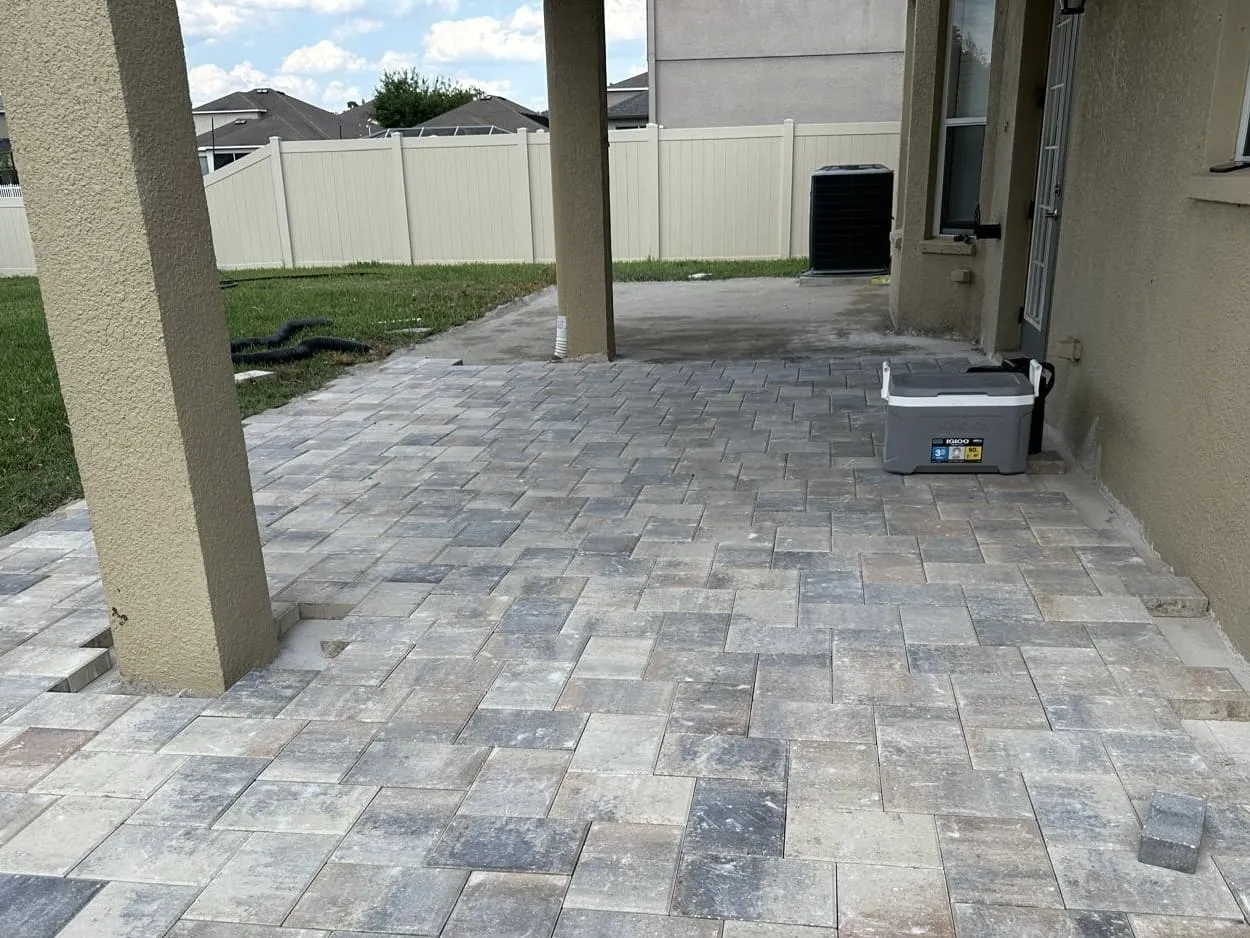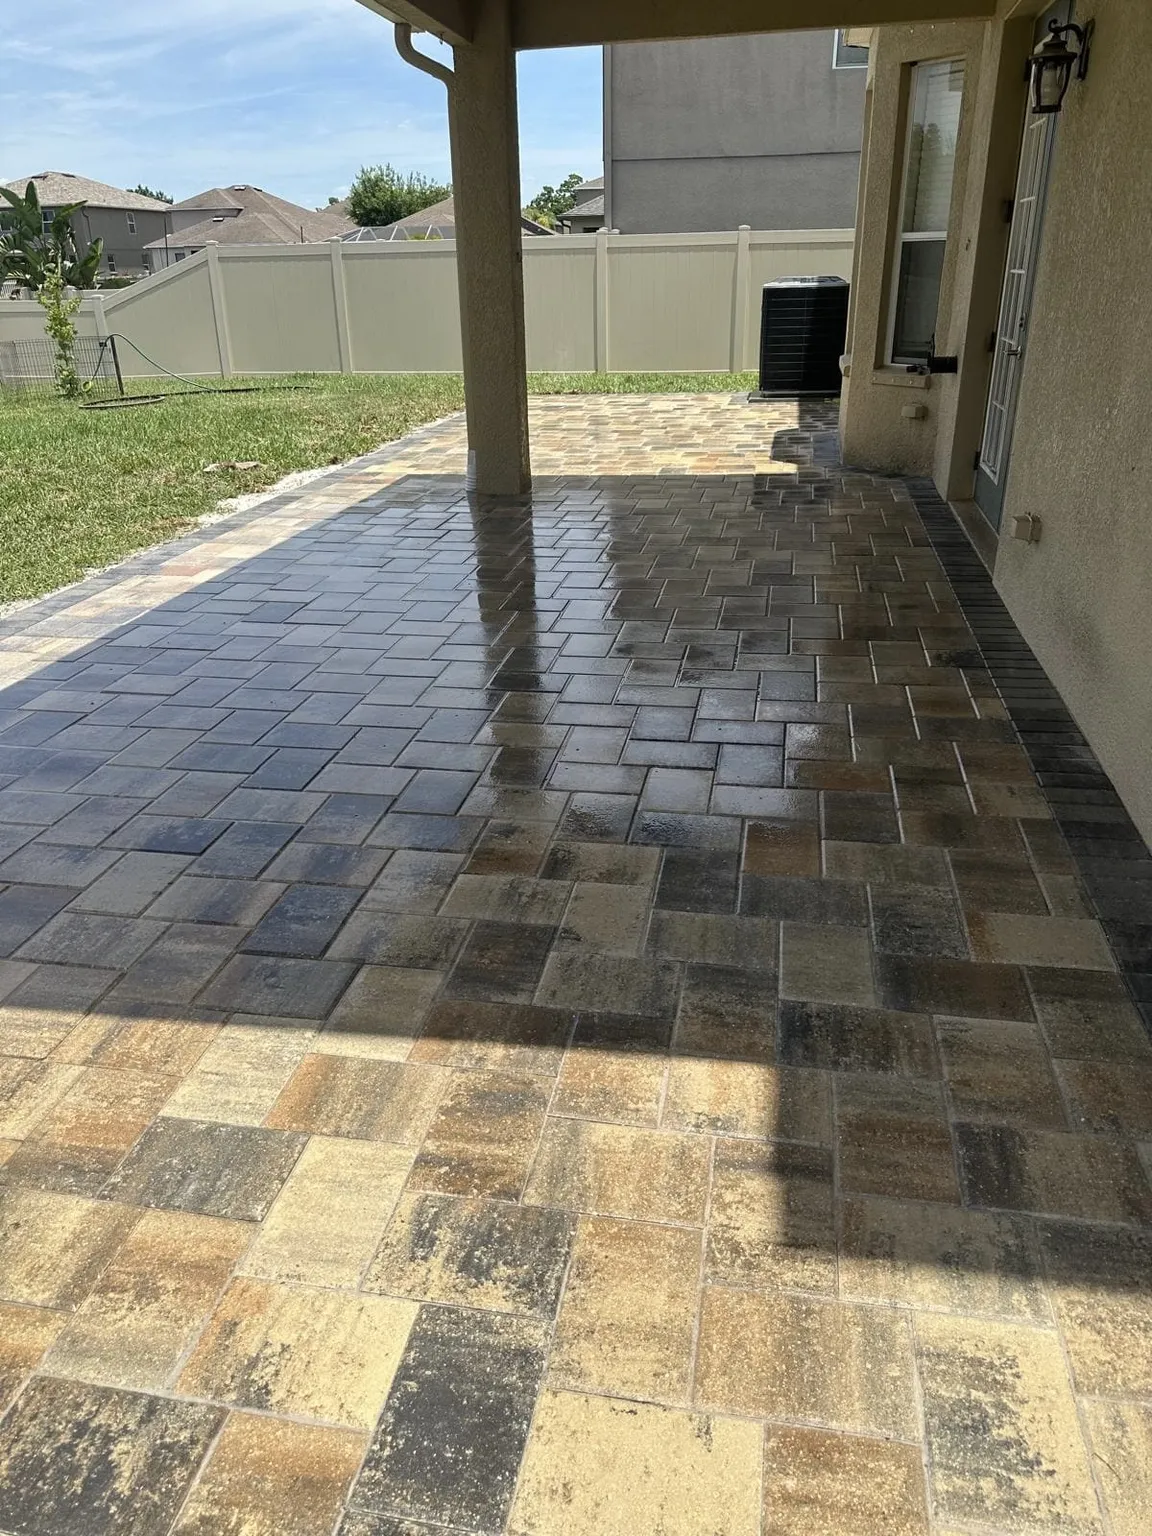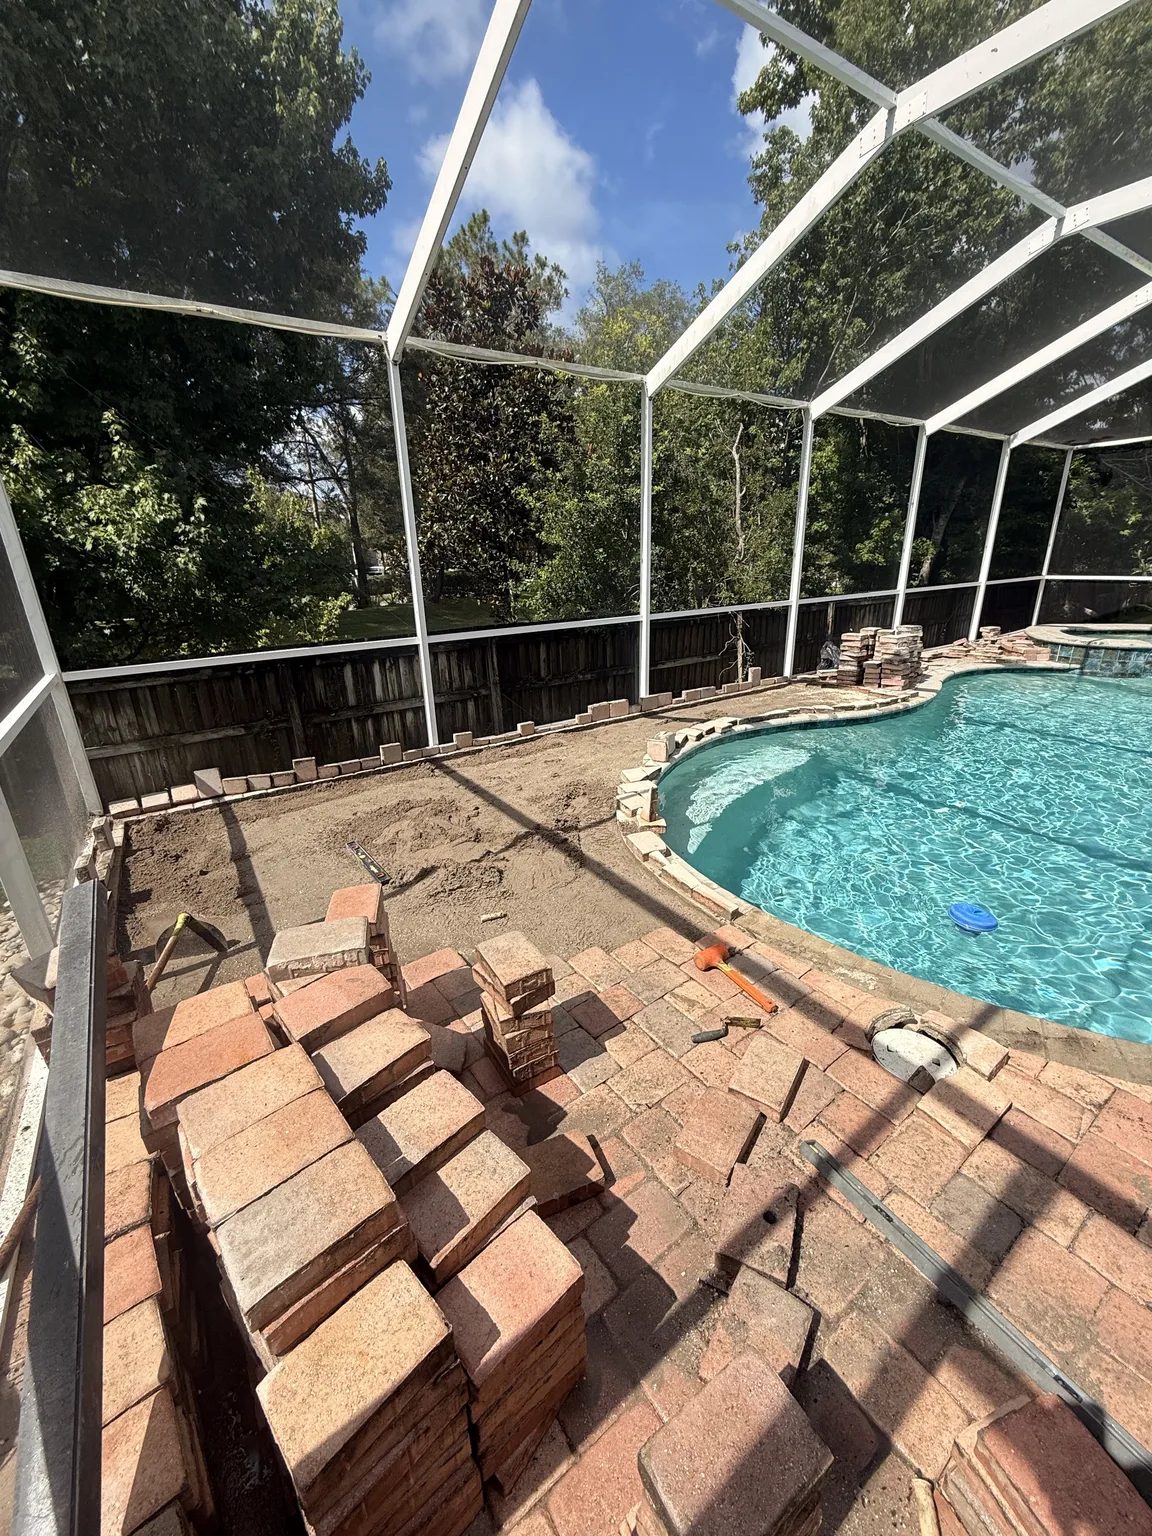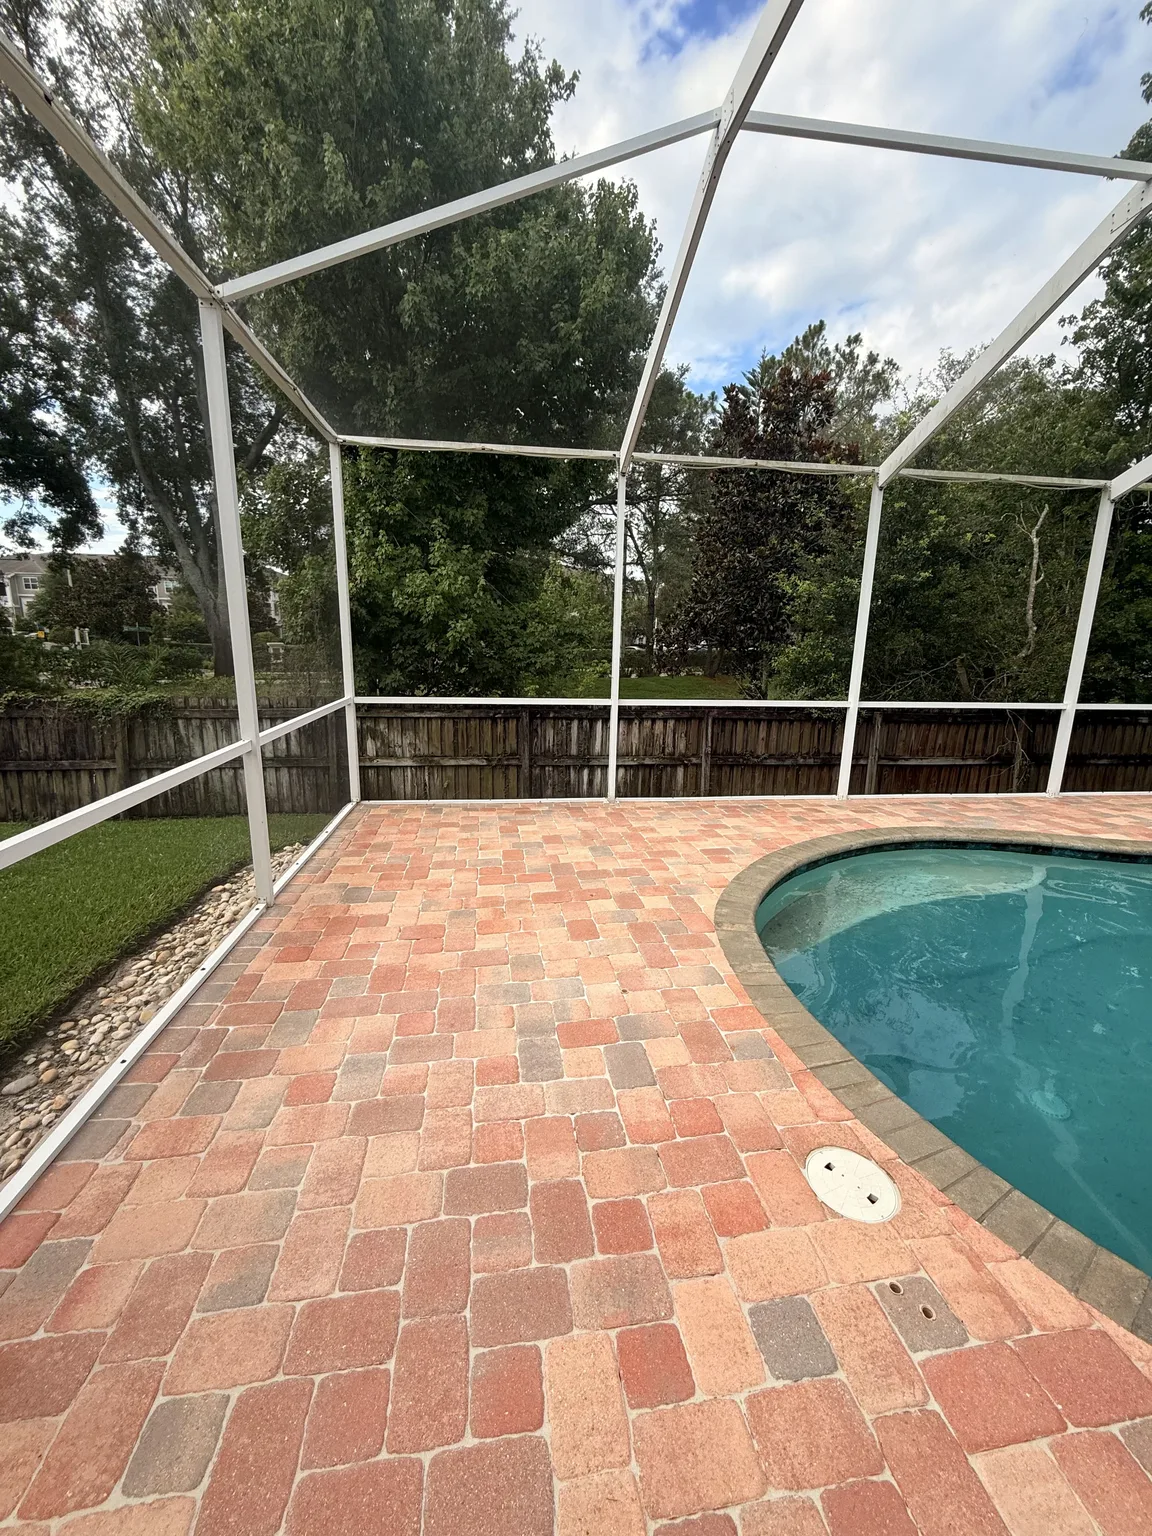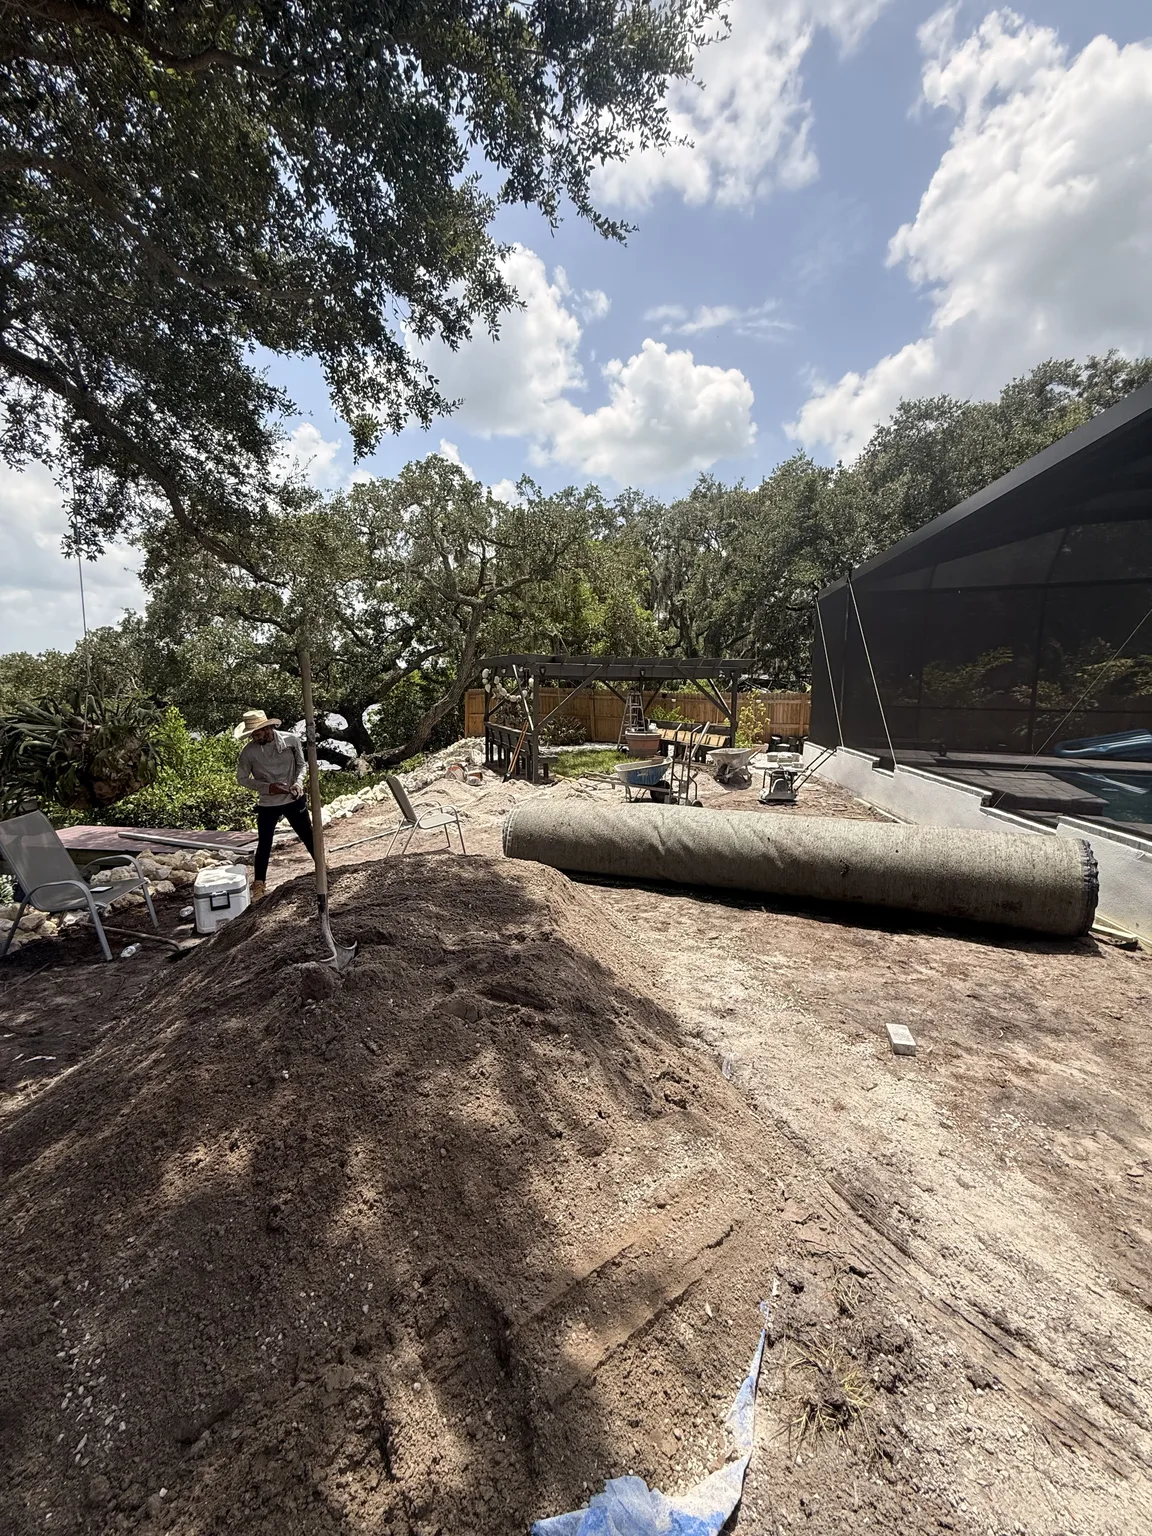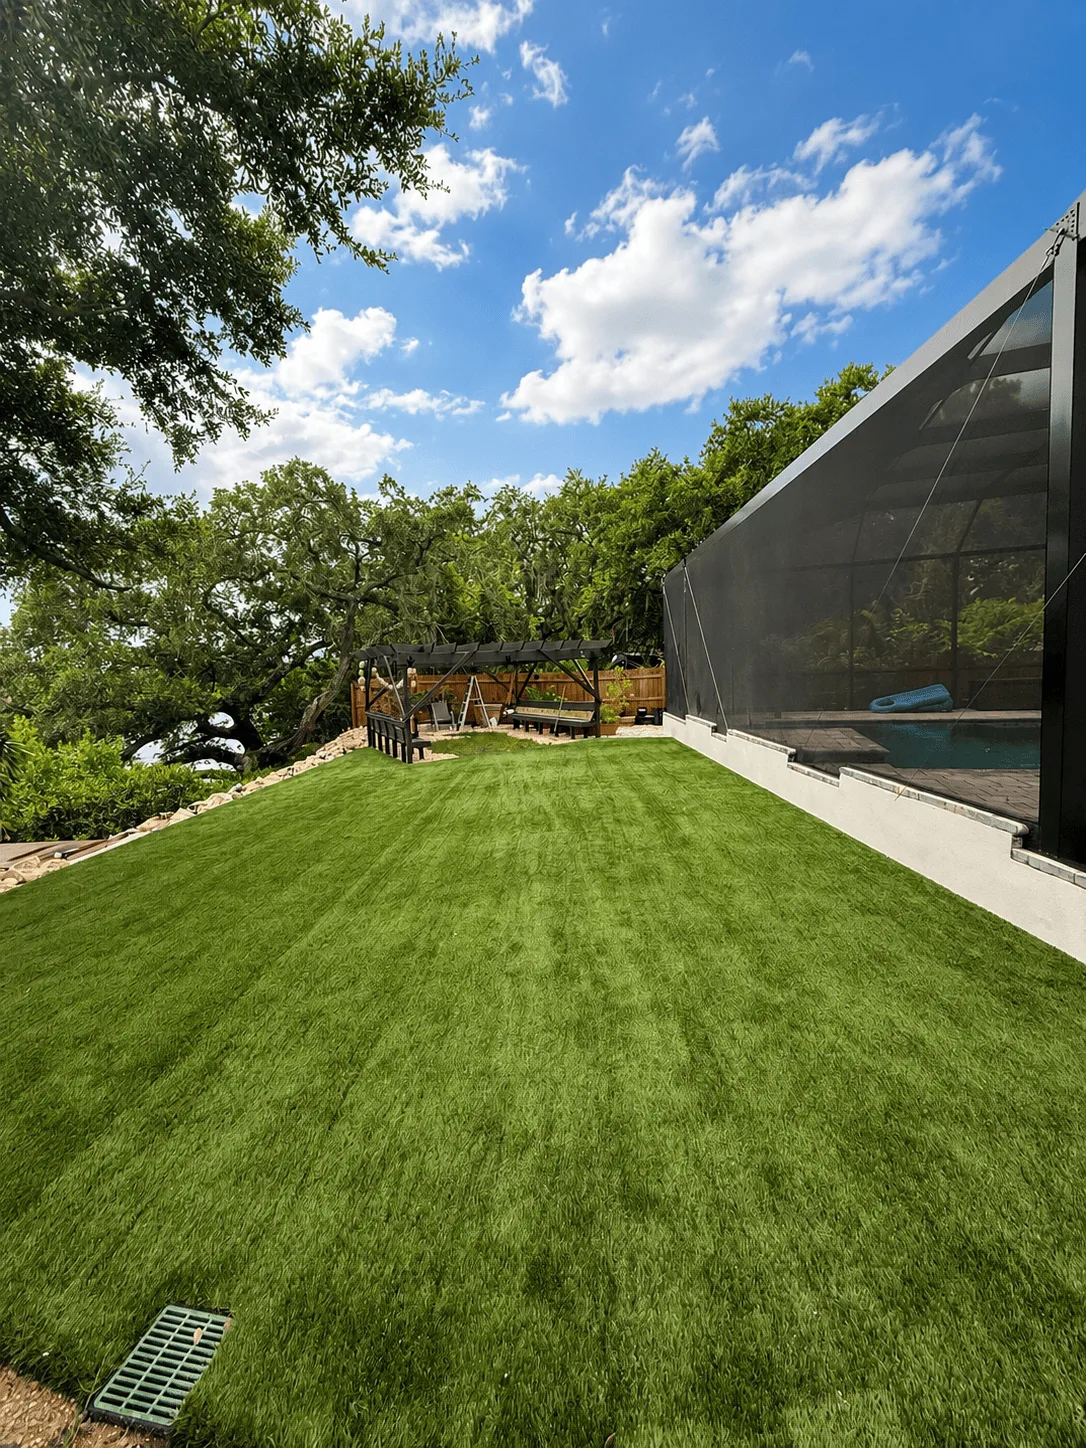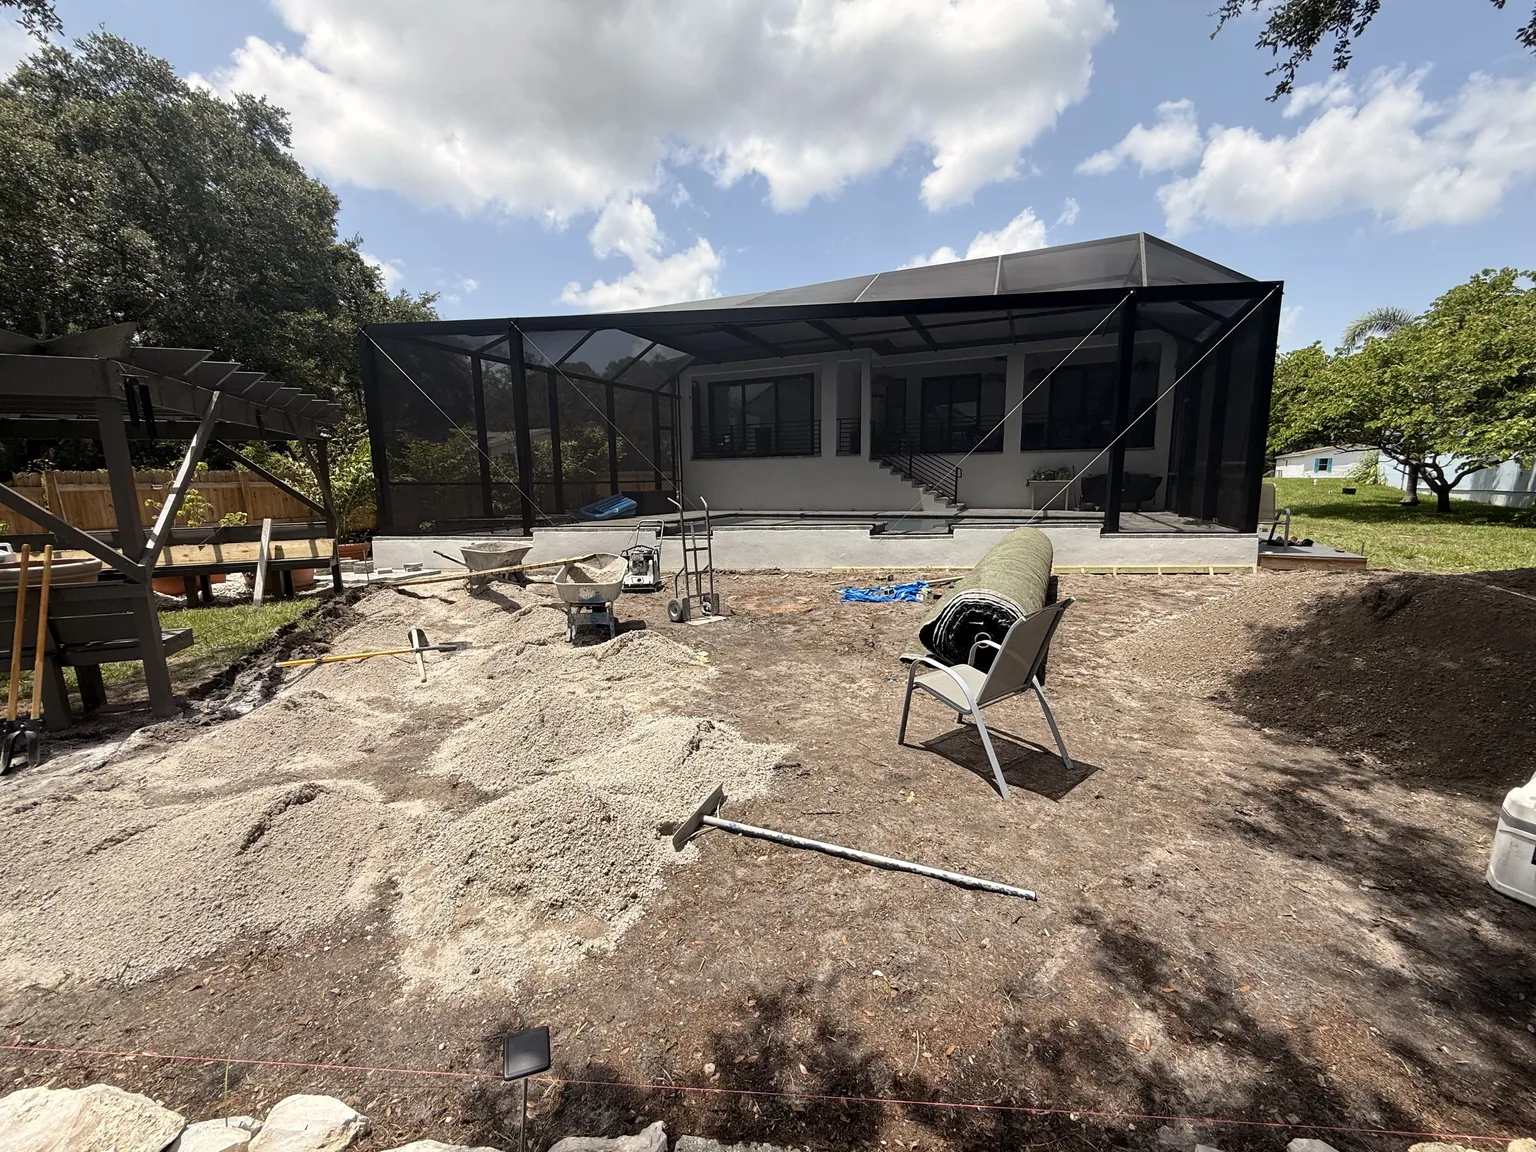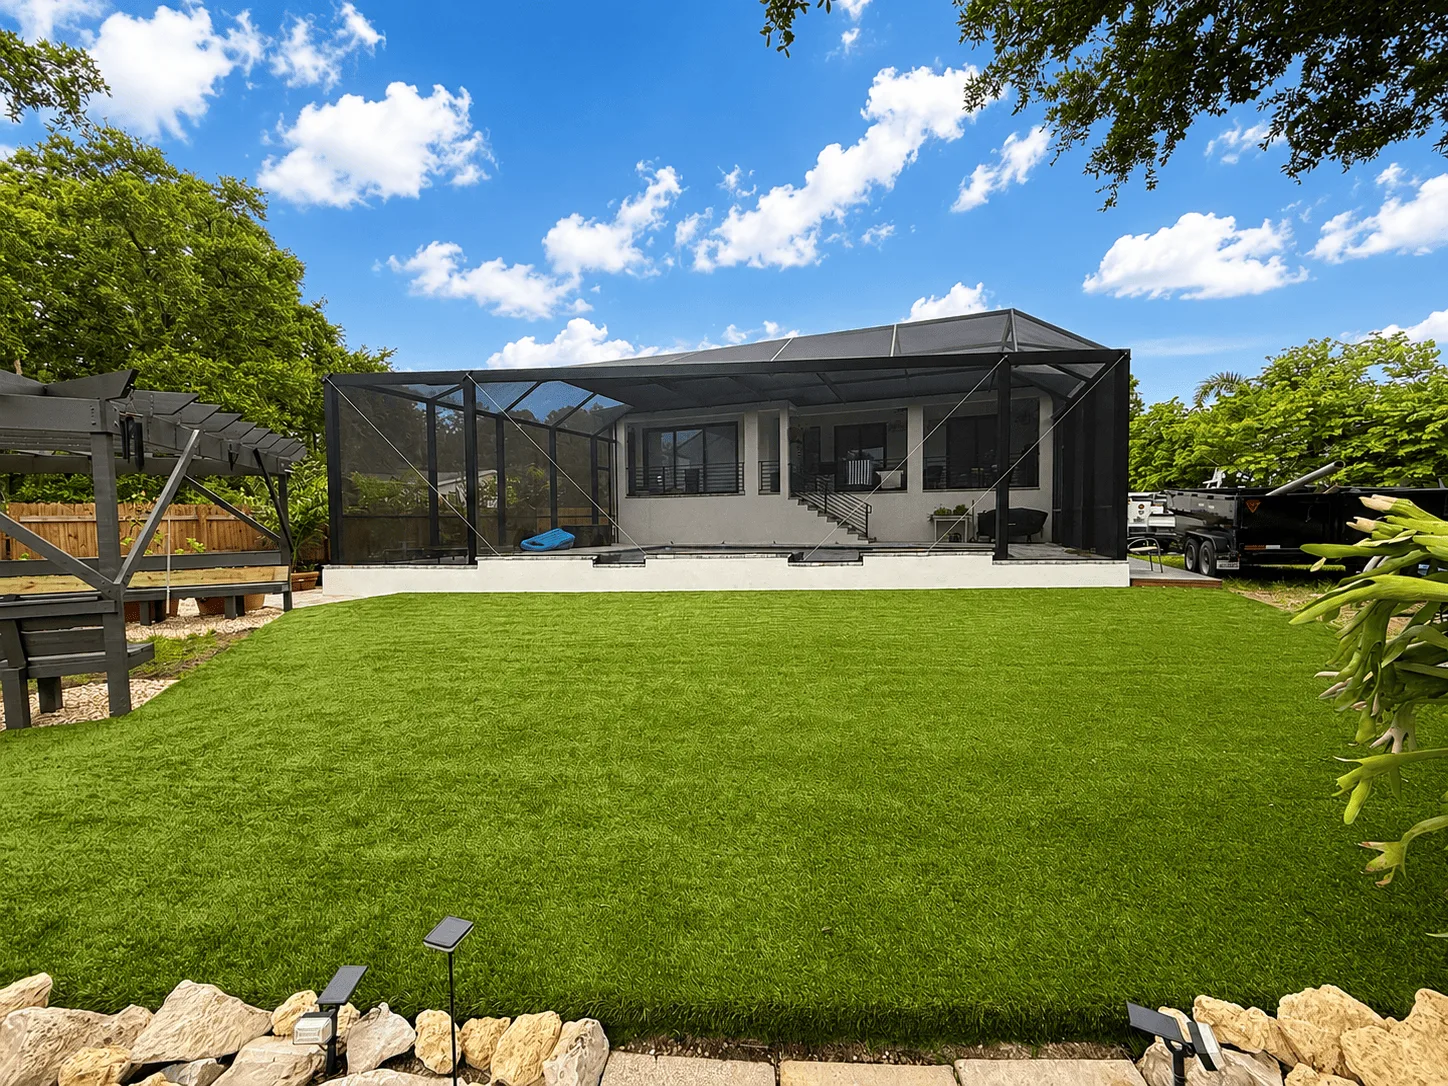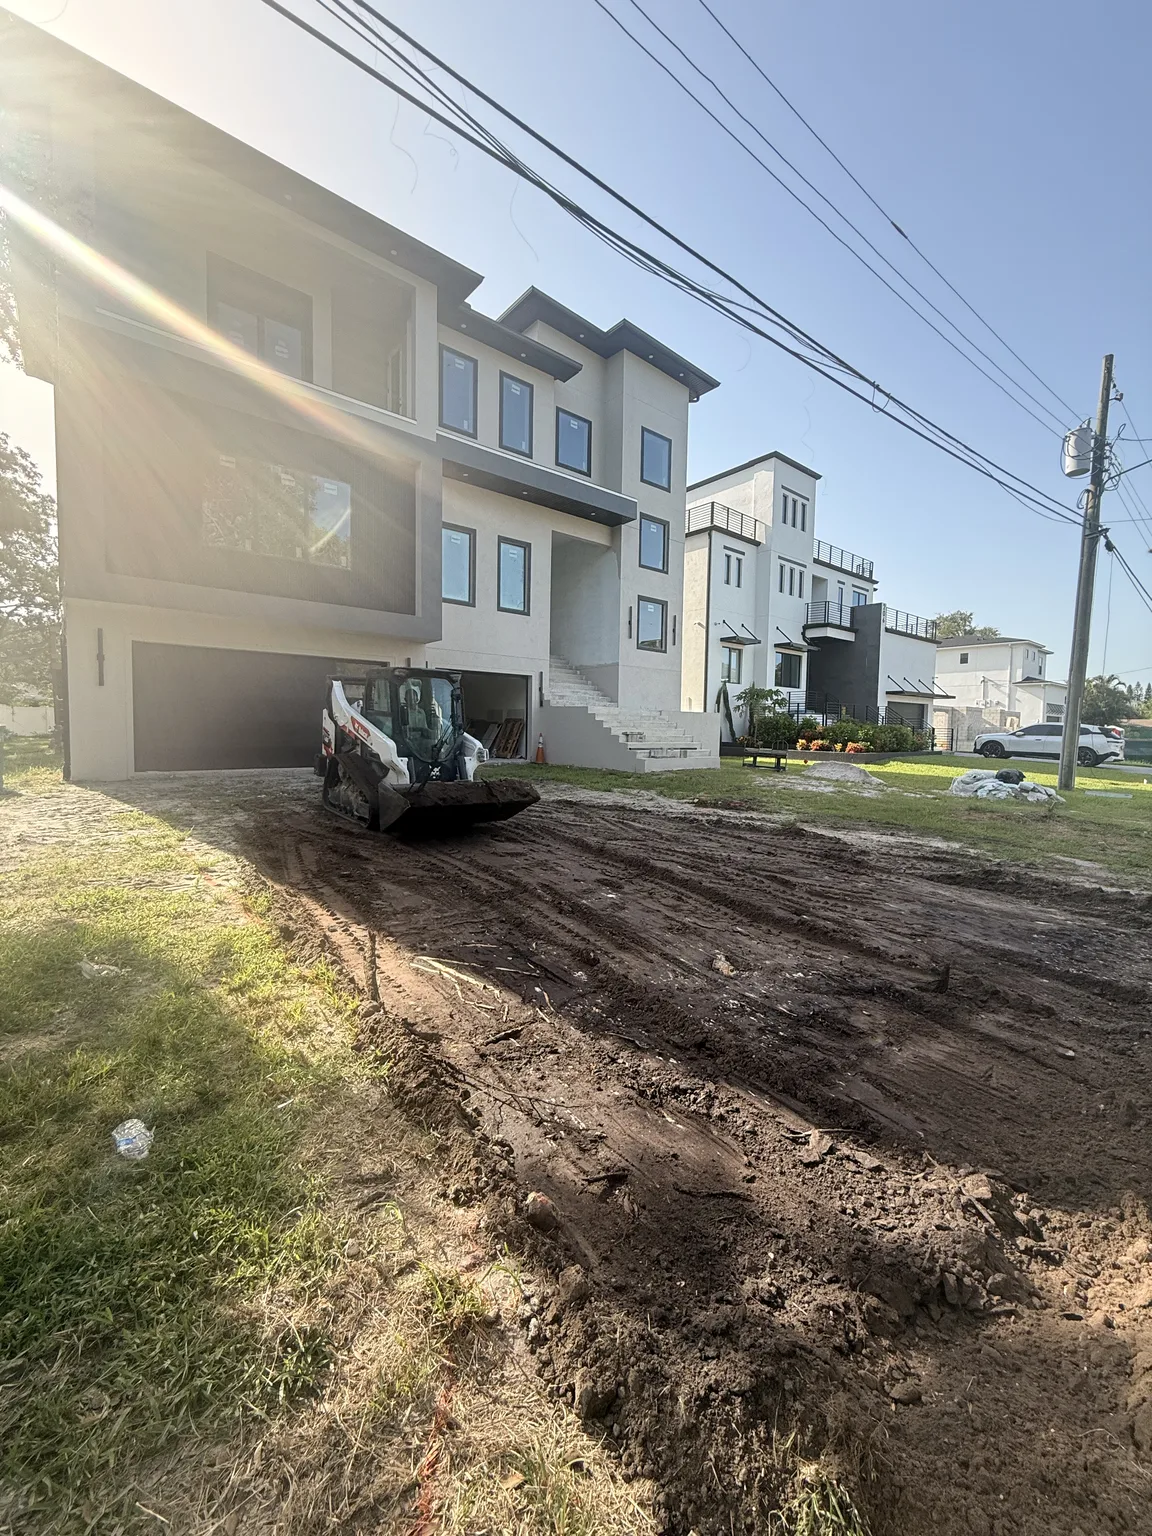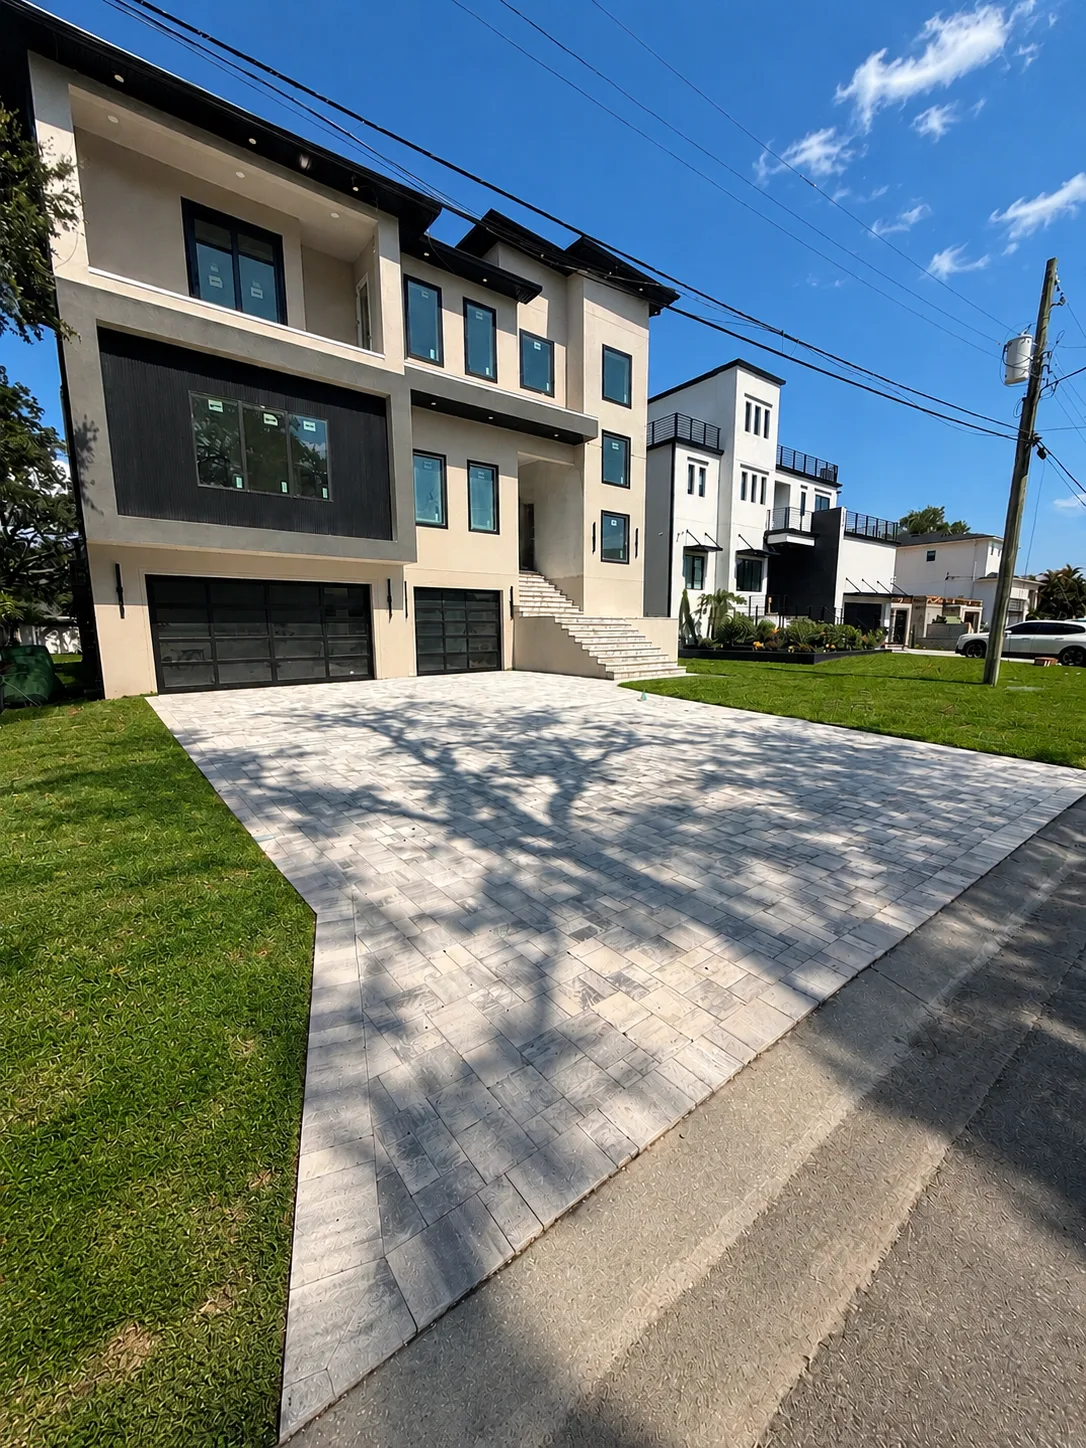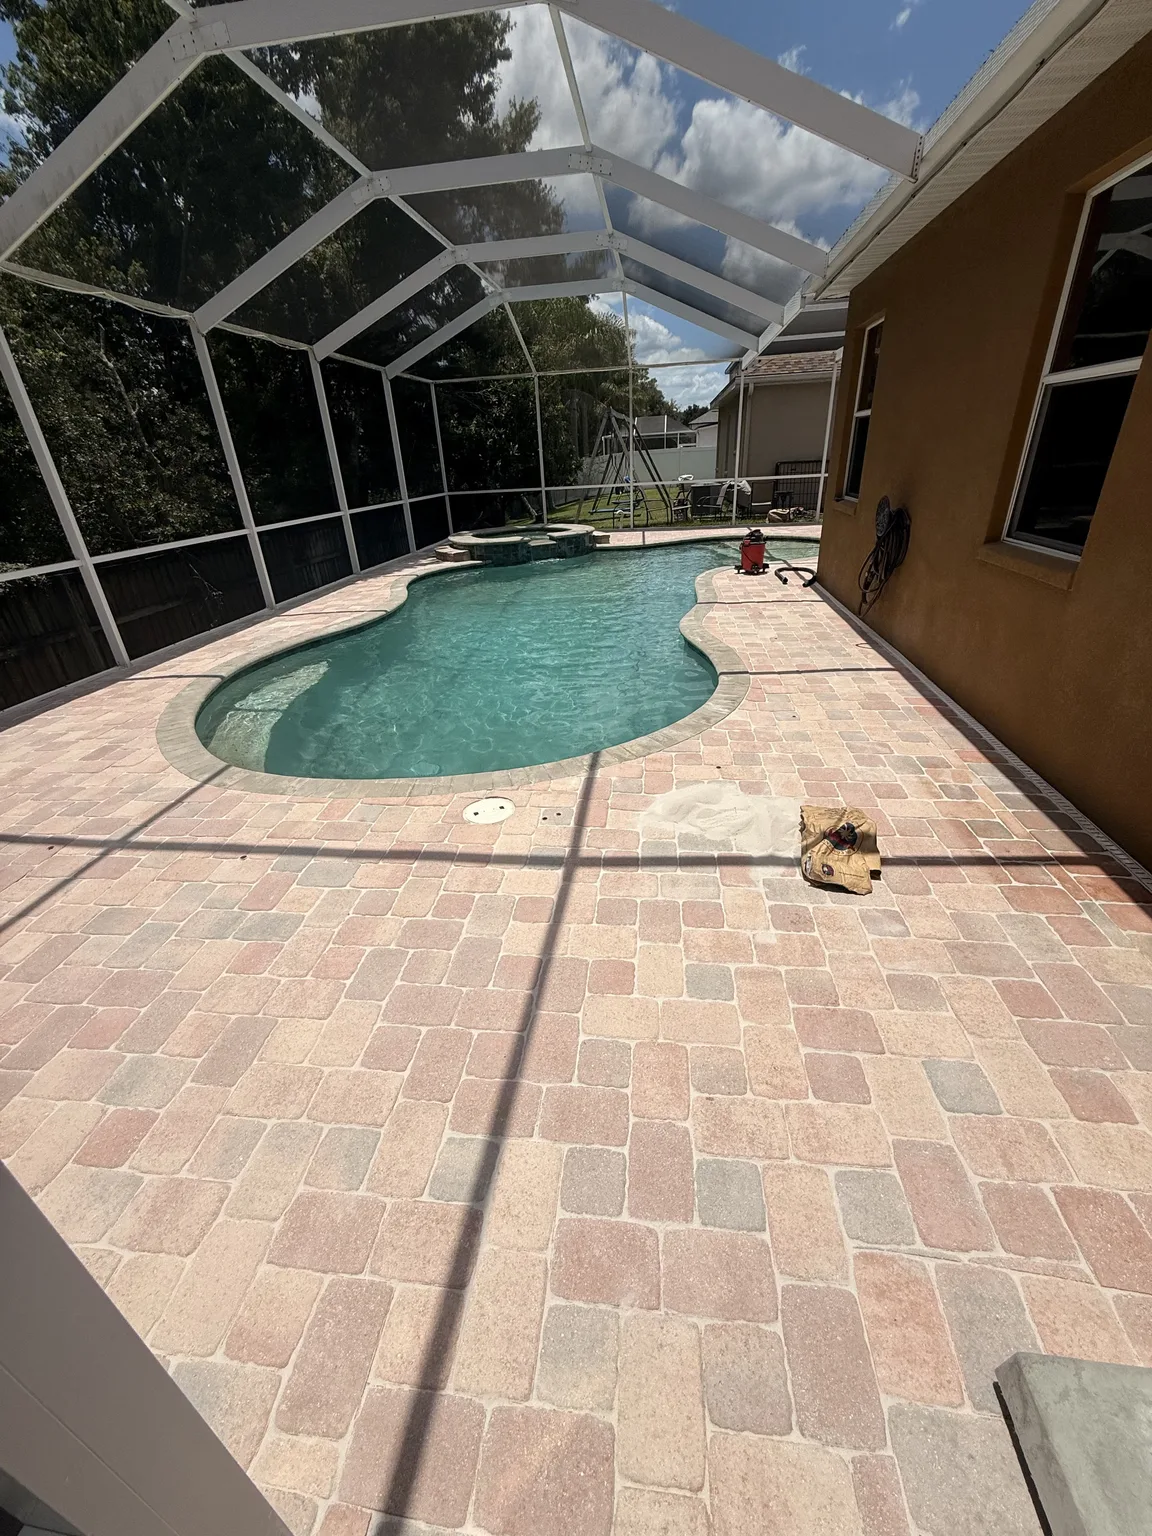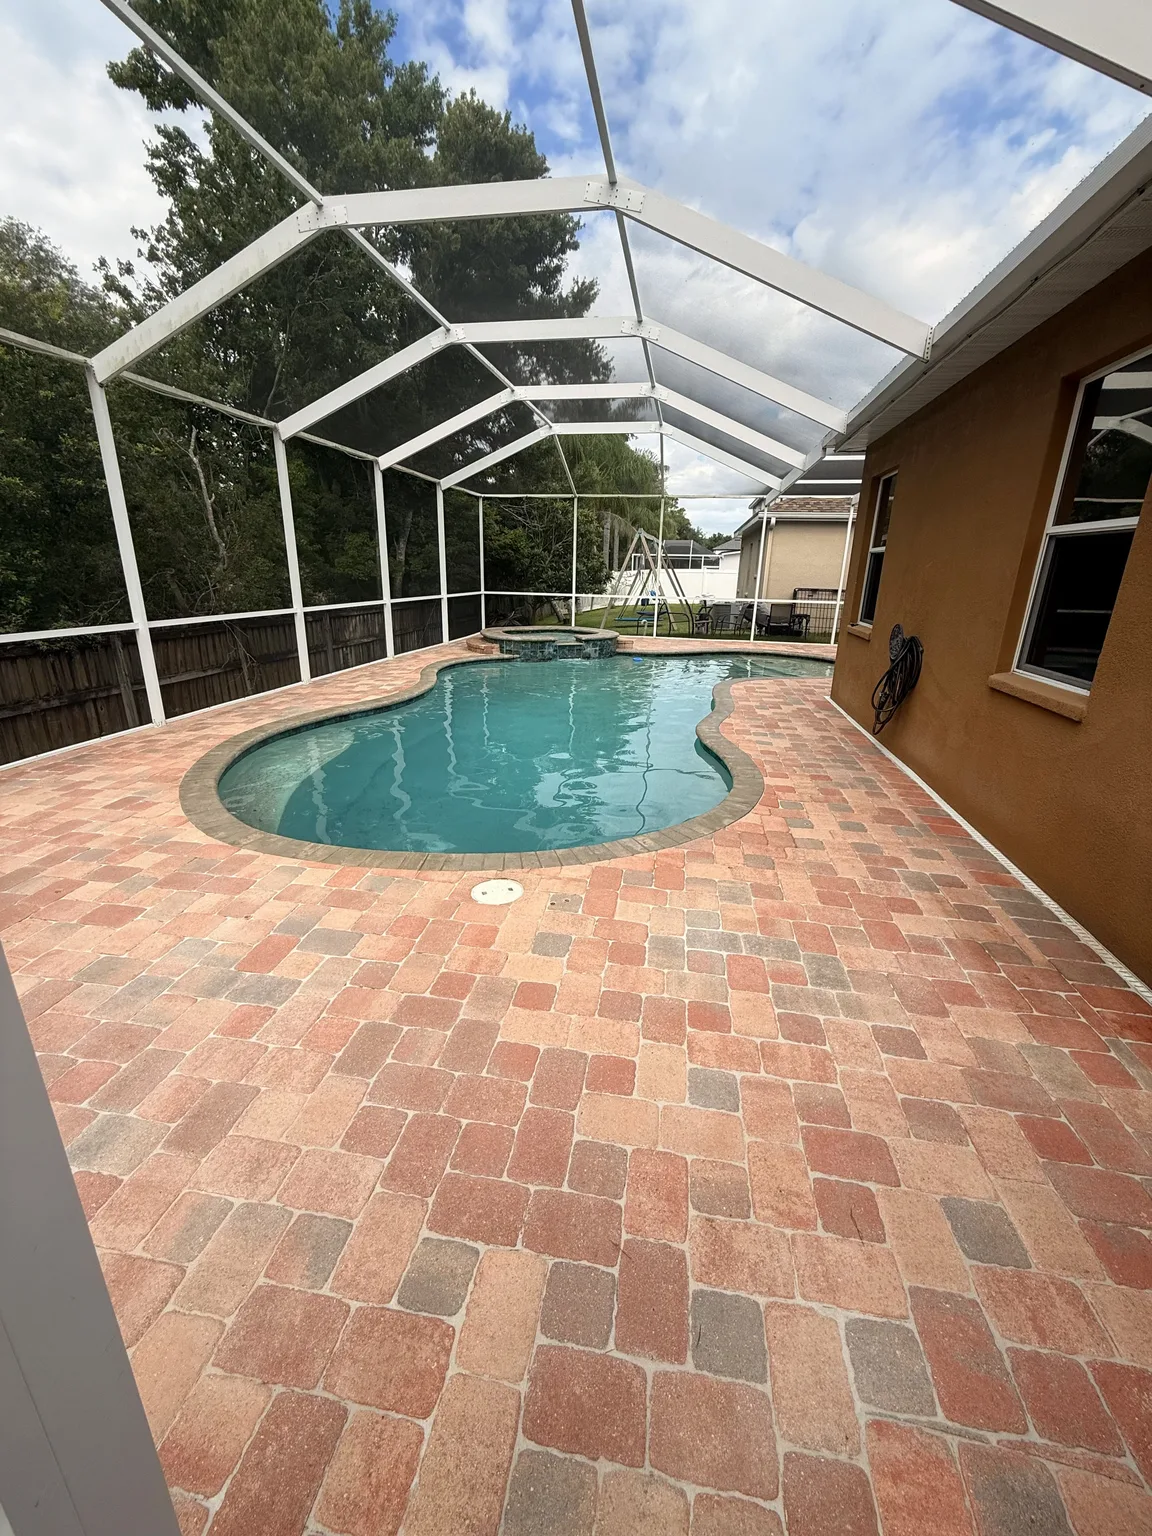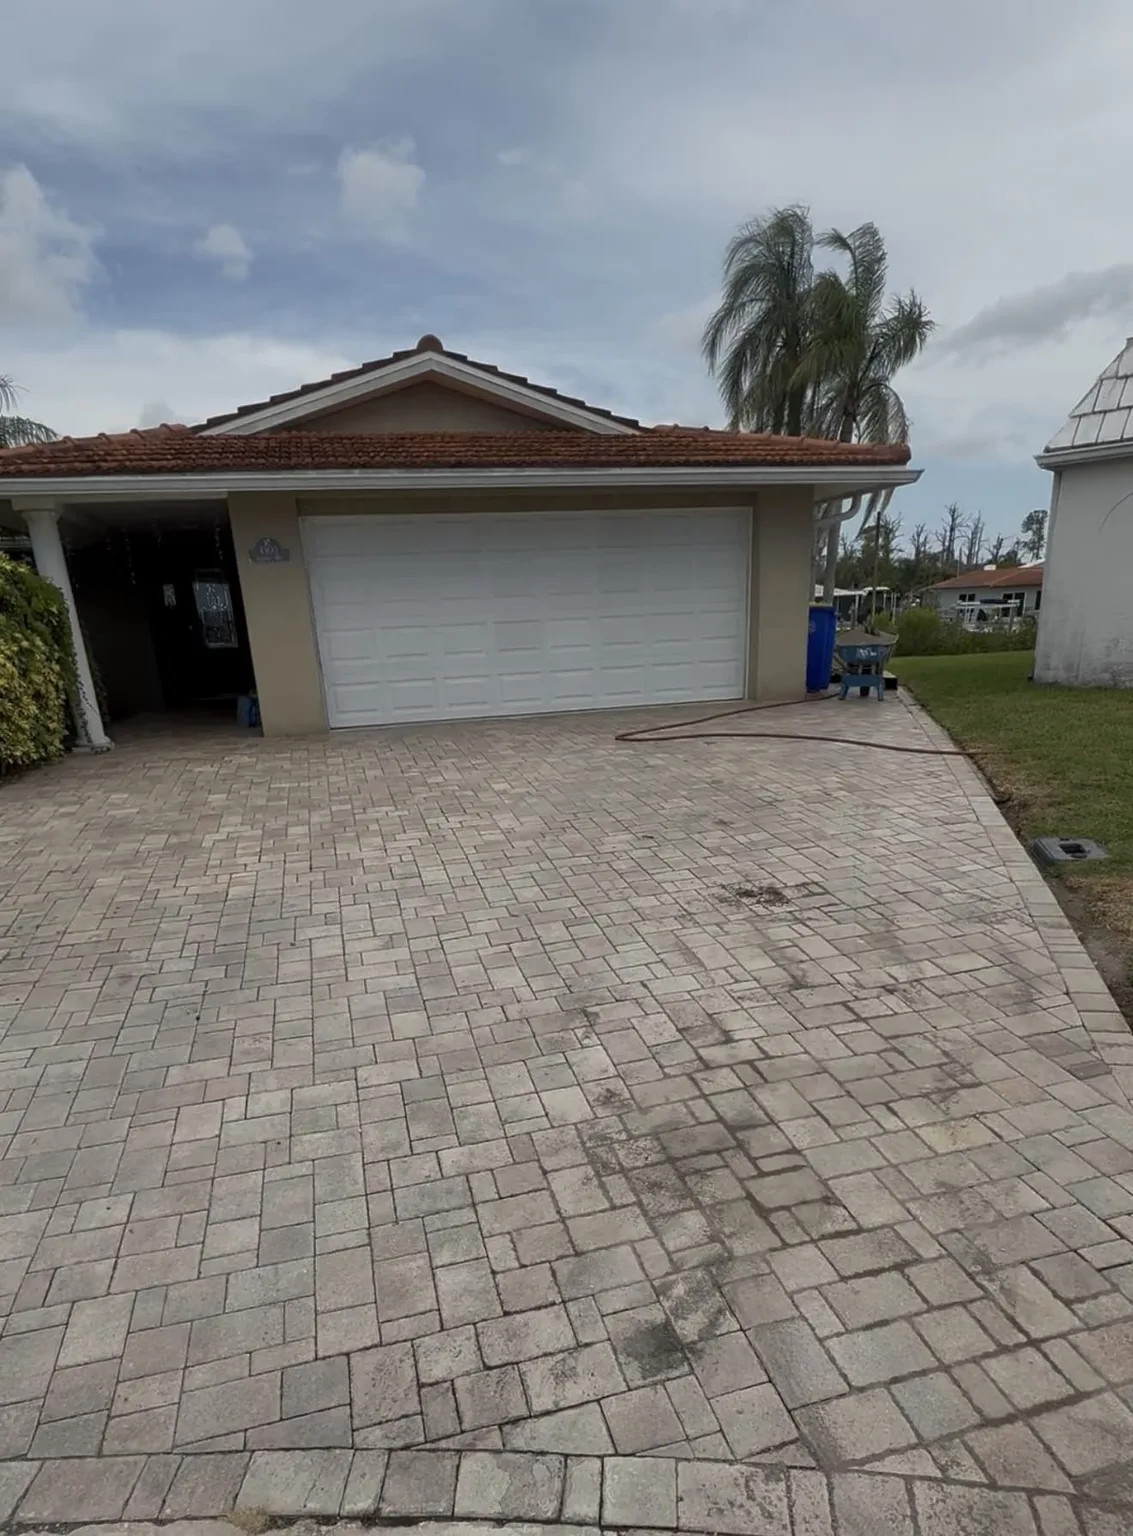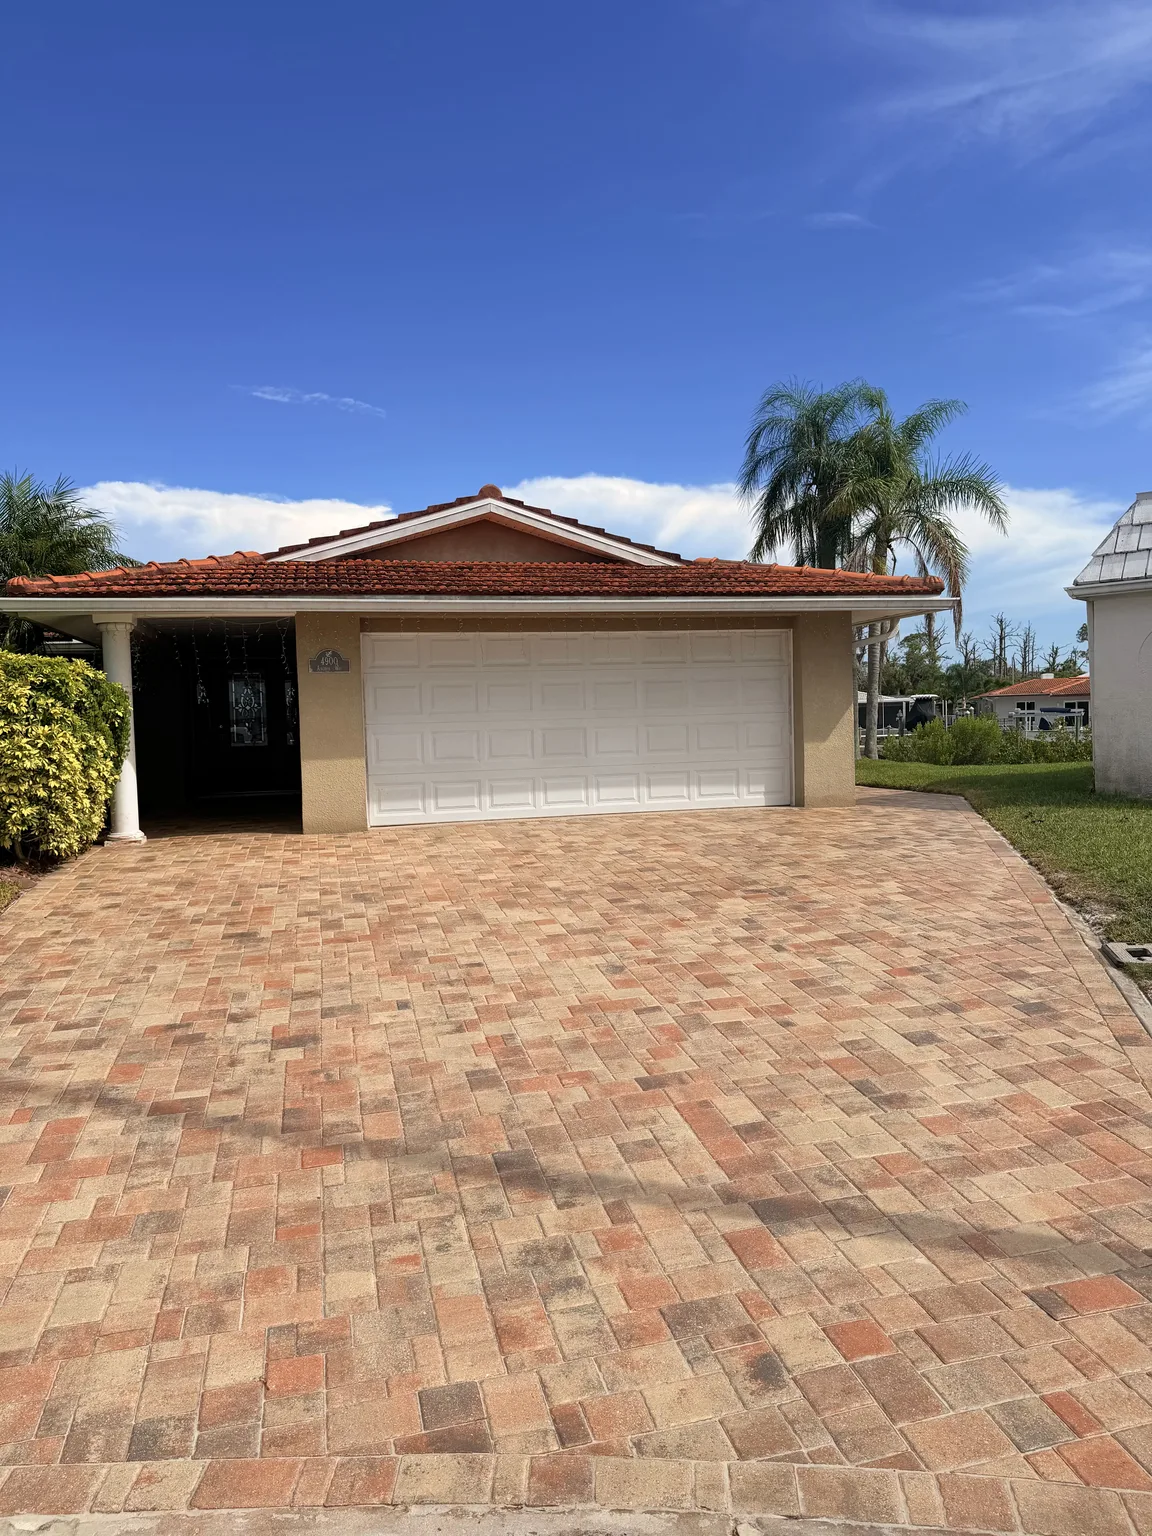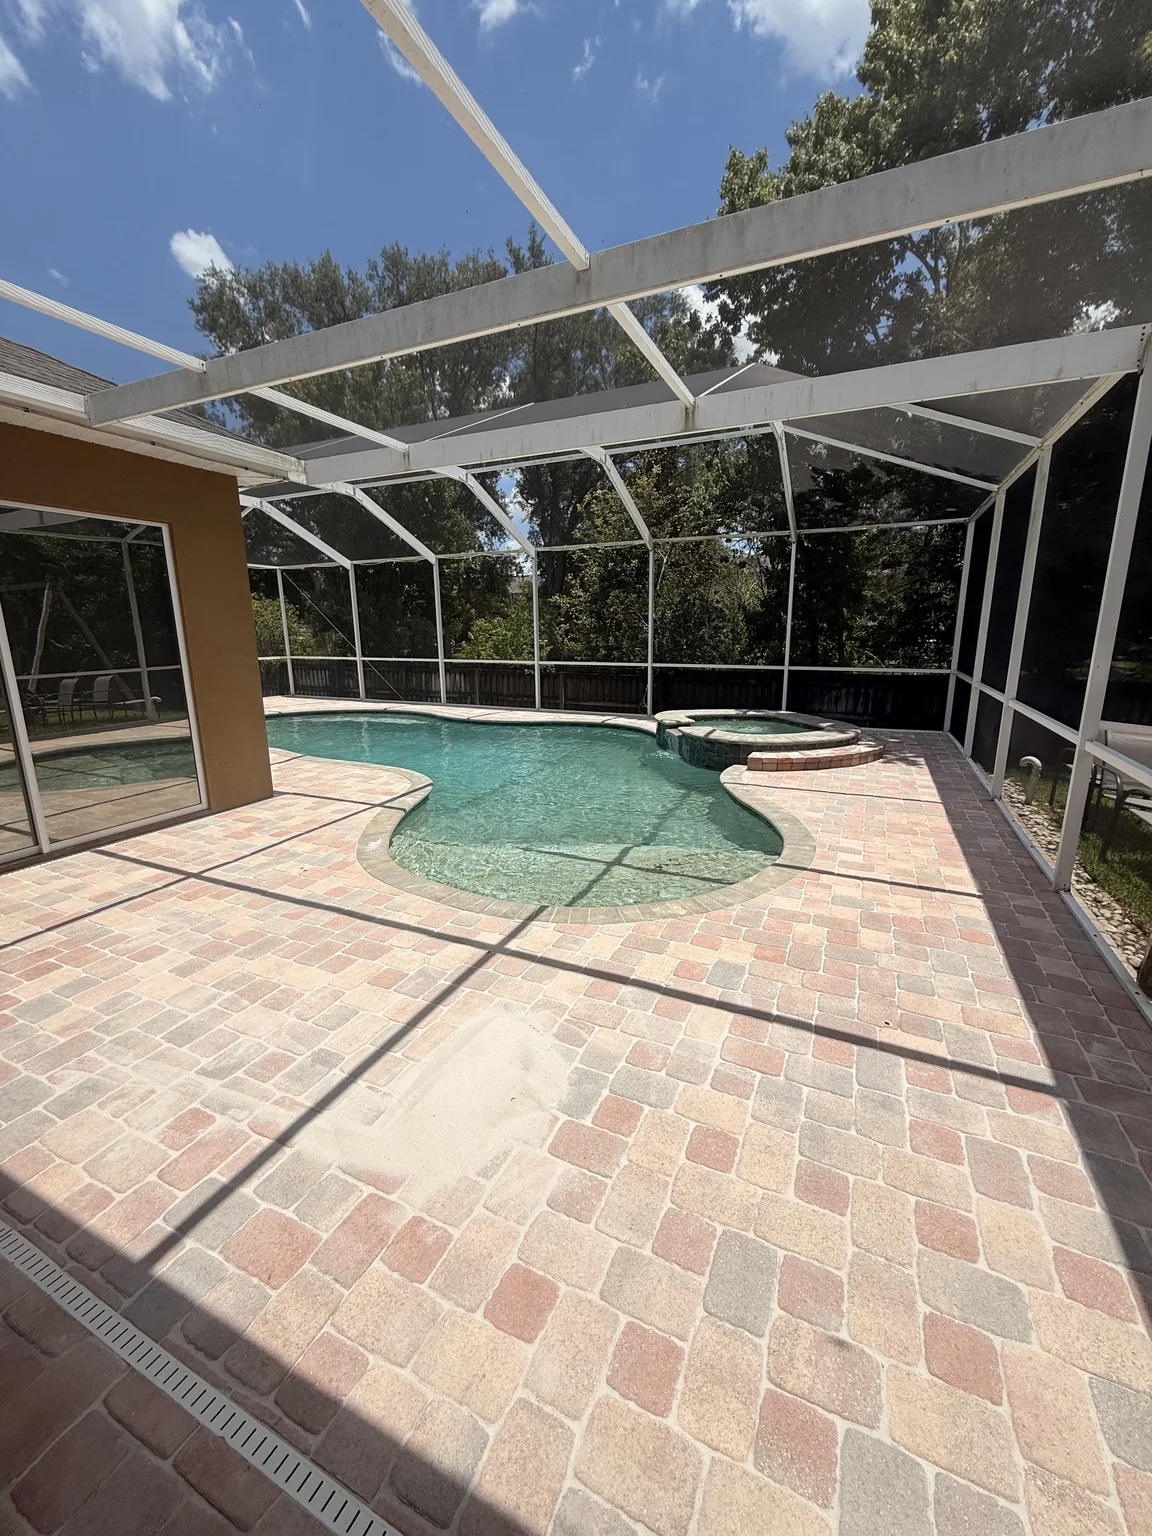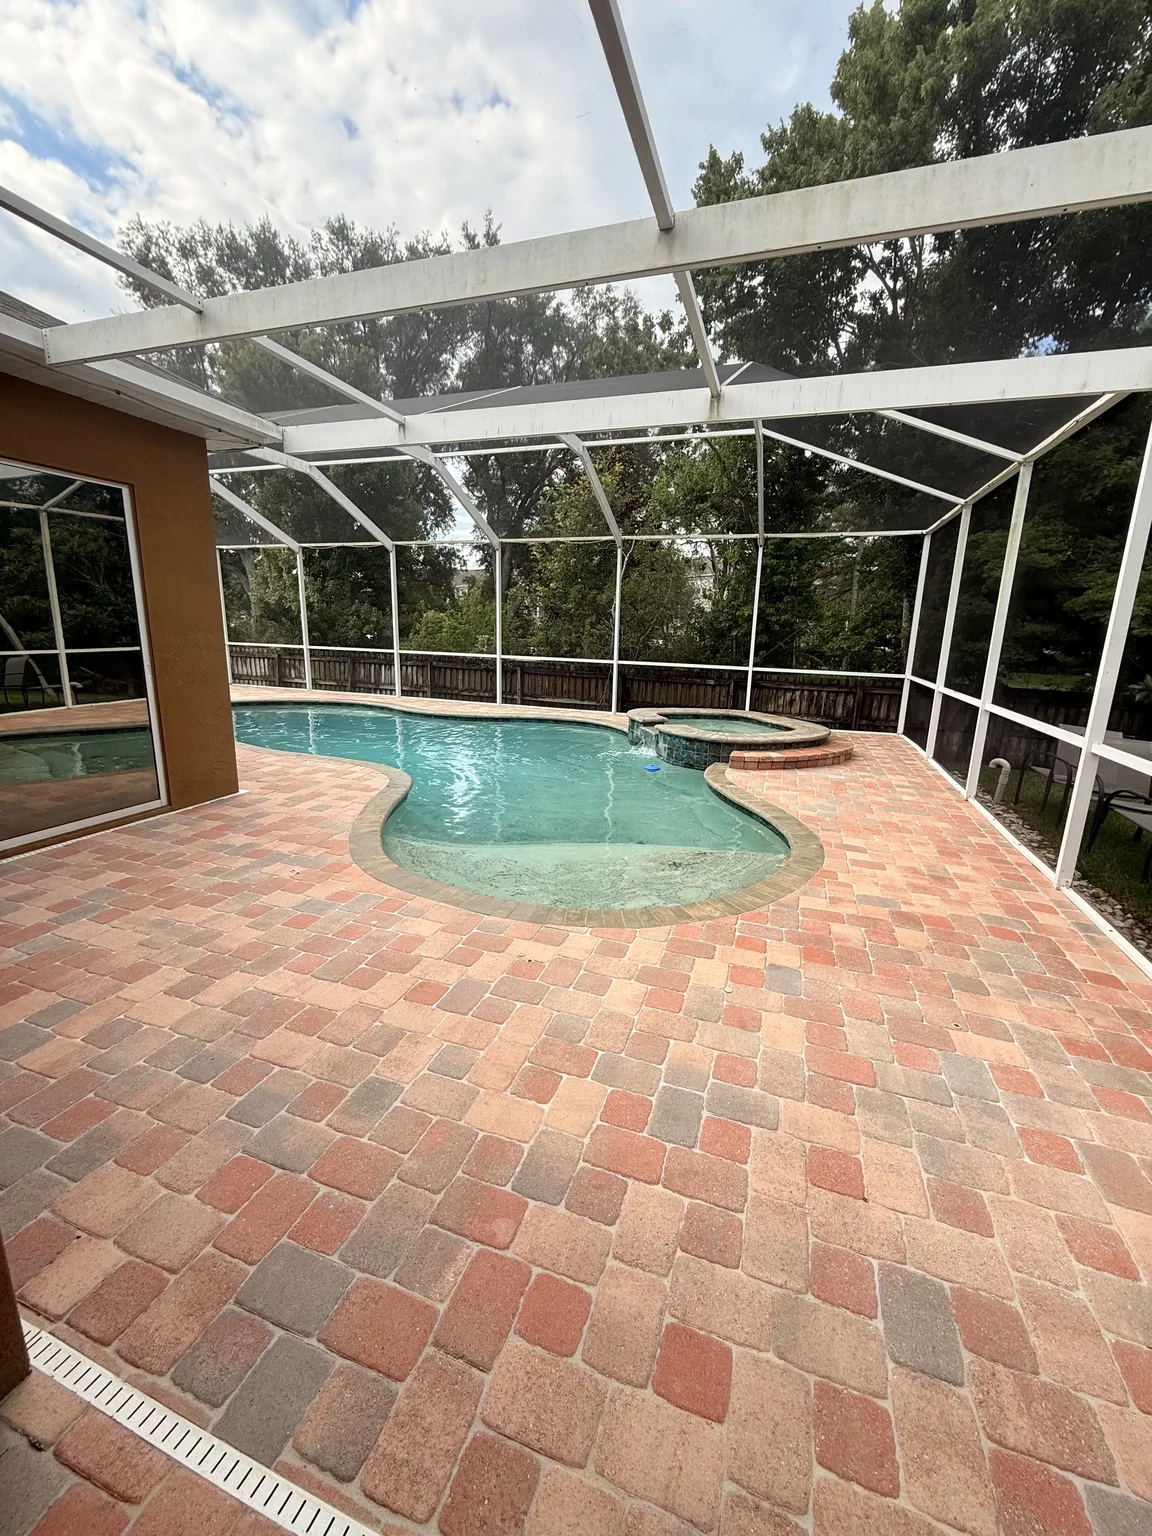

A concrete vs plastic edging choice determines how the outer pavers resist sideways movement. Although the restraint is mostly hidden, it helps the field remain aligned under normal use. The better option depends on the base, border geometry, traffic, soil, and future access. Therefore, material names alone cannot decide the detail.
In Tampa Bay, rain and sandy ground make complete edge planning especially useful. Water movement can expose weak borders, while vehicle turns can load driveway corners. Meanwhile, patios and walkways may need graceful curves or access for later landscaping. A concrete vs plastic edging comparison should begin with the actual perimeter, not a generic preference.
What an edge restraint does in a paver system
Pavers work together through their pattern, joints, bedding, base, and boundaries. Without firm support at the perimeter, units can creep outward. As a result, joints near the edge may widen and nearby pavers can rotate. The concrete vs plastic edging decision is therefore one part of a connected installation rather than a decorative afterthought.
Moreover, The restraint should hold the paver sides while staying compatible with the prepared base. In addition, it must follow the intended line without creating an unwanted visible strip. Fasteners, concrete placement, and transitions all affect performance. Even a suitable product can underperform when the surrounding base is loose or the edge is installed too low.
Instead, Finished landscaping can hide the restraint, but it should not replace structural support. For example, mulch and sod can shift or erode beside an unsupported field. Likewise, a narrow planting bed may receive frequent digging. Good concrete vs plastic edging planning considers what will happen beside the pavers after the installer leaves.
Read the perimeter before choosing a material
Similarly, Start by dividing the perimeter into straight runs, curves, fixed structures, and open landscape edges. Then, note locations where tires, mower wheels, or foot traffic may cross close to the border. Gates and downspouts deserve attention as well. This map makes concrete vs plastic edging easier to evaluate section by section.
Next, identify where future access may be valuable. Irrigation repairs, lighting changes, or landscape redesigns can require work beside the hardscape. However, possible access does not automatically favor one restraint. It simply becomes another factor that a contractor can balance against loading, geometry, and site exposure.
How concrete vs plastic edging differs on site
Concrete edge restraint is formed against the side of the outer pavers and supported by the base below. Consequently, placement quality depends on preparation, mix handling, shape, and protection while it cures. It can follow straight or curved lines when installed carefully. However, excess material should not interfere with the finished landscape or remain unnecessarily exposed.
Plastic restraint is a manufactured component secured with spikes into a suitable supporting layer. Therefore, its performance depends on the product, fastener layout, base condition, and installation height. Sections can be arranged around many borders and may be removed for planned access. Still, the exposed site and anticipated load must fit the selected system.
Neither label describes every available product or every installation method. In fact, component profiles and contractor practices vary. A concrete vs plastic edging discussion should therefore include the specific restraint and detail proposed for the project. Broad claims about one material always winning can hide important site differences.
Concrete vs plastic edging under close inspection
For concrete, look at base support, contact along the paver edge, and continuity through changes in direction. Meanwhile, the installer should protect the paver face from messy placement. The finished restraint should respect planned soil or sod elevations. These details matter more than whether the concrete is visible in a progress photo.
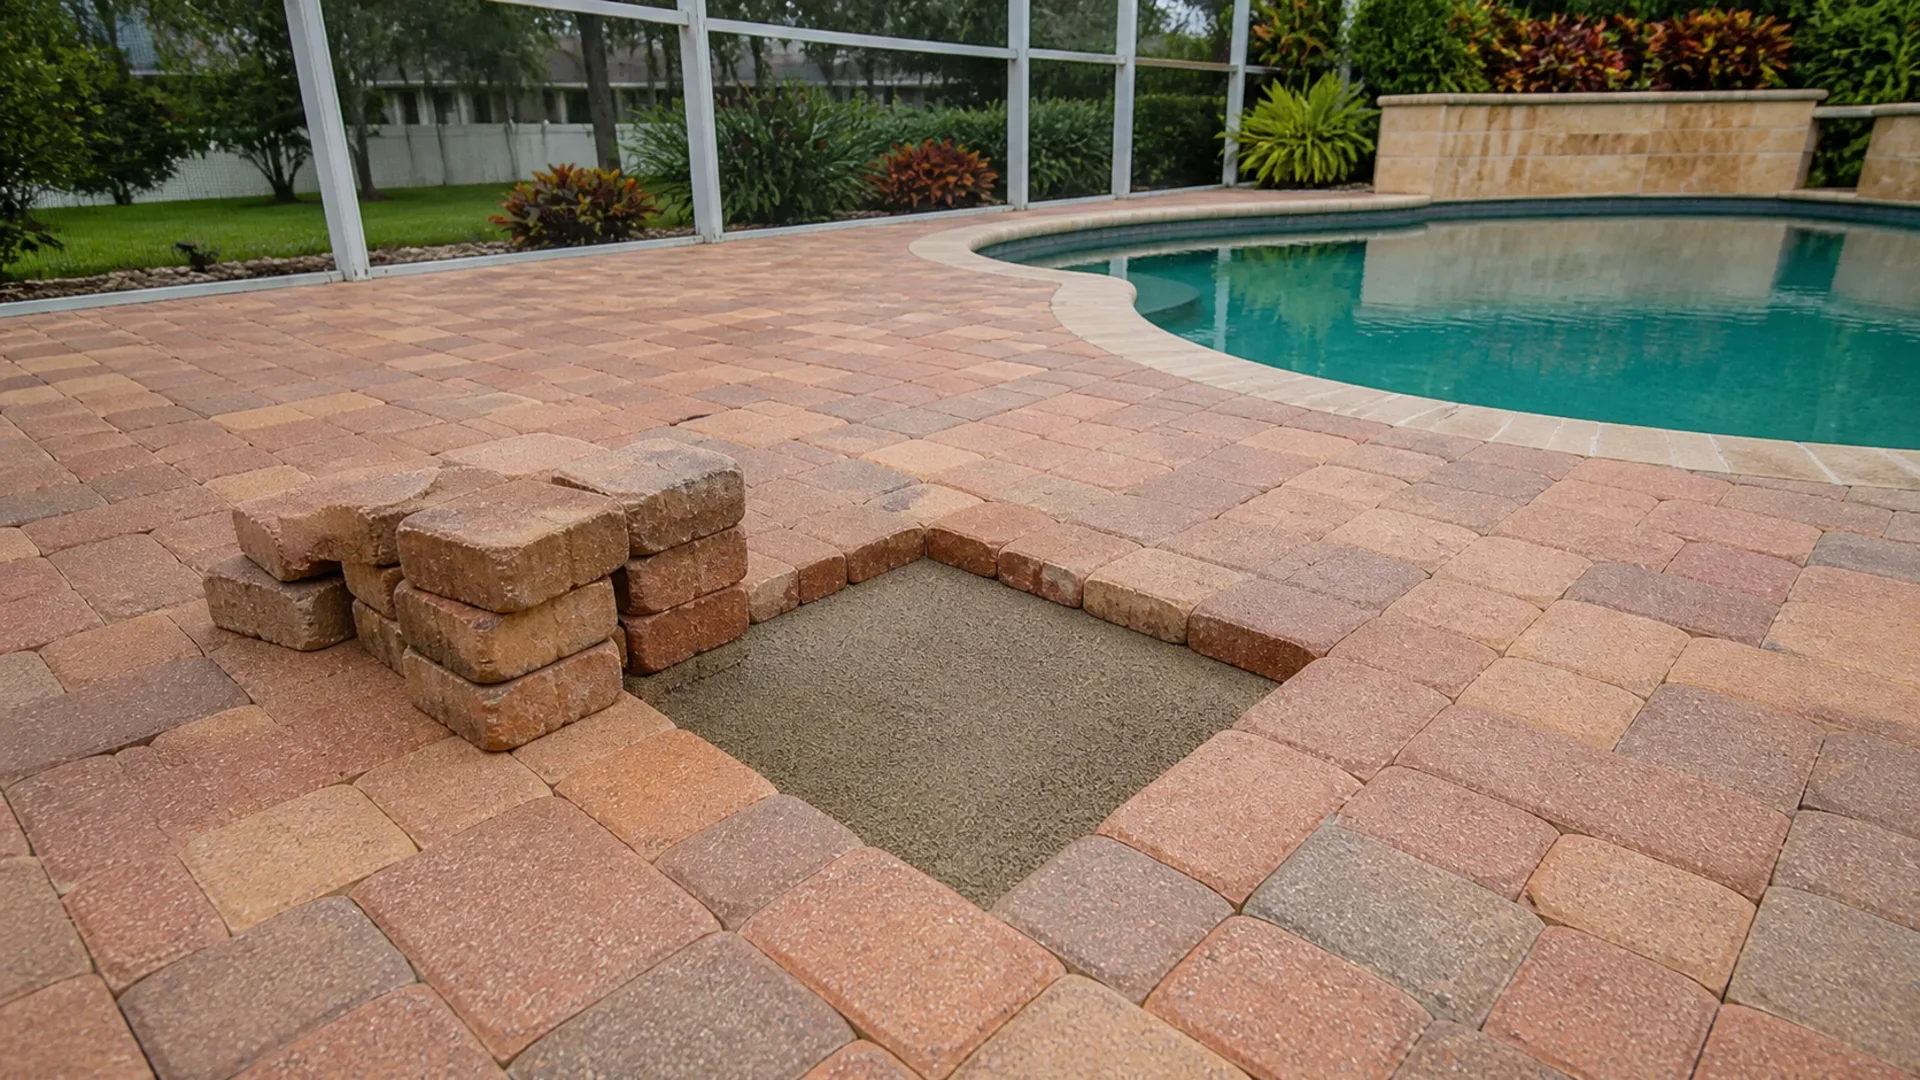
However, For plastic, inspect how sections connect, turn corners, and receive fasteners. In addition, confirm that the restraint sits where it can support the paver without becoming a trip point. Curves should appear smooth rather than segmented. A useful concrete vs plastic edging review focuses on contact and support throughout the run.
Compare straight driveways, curved patios, and narrow walks
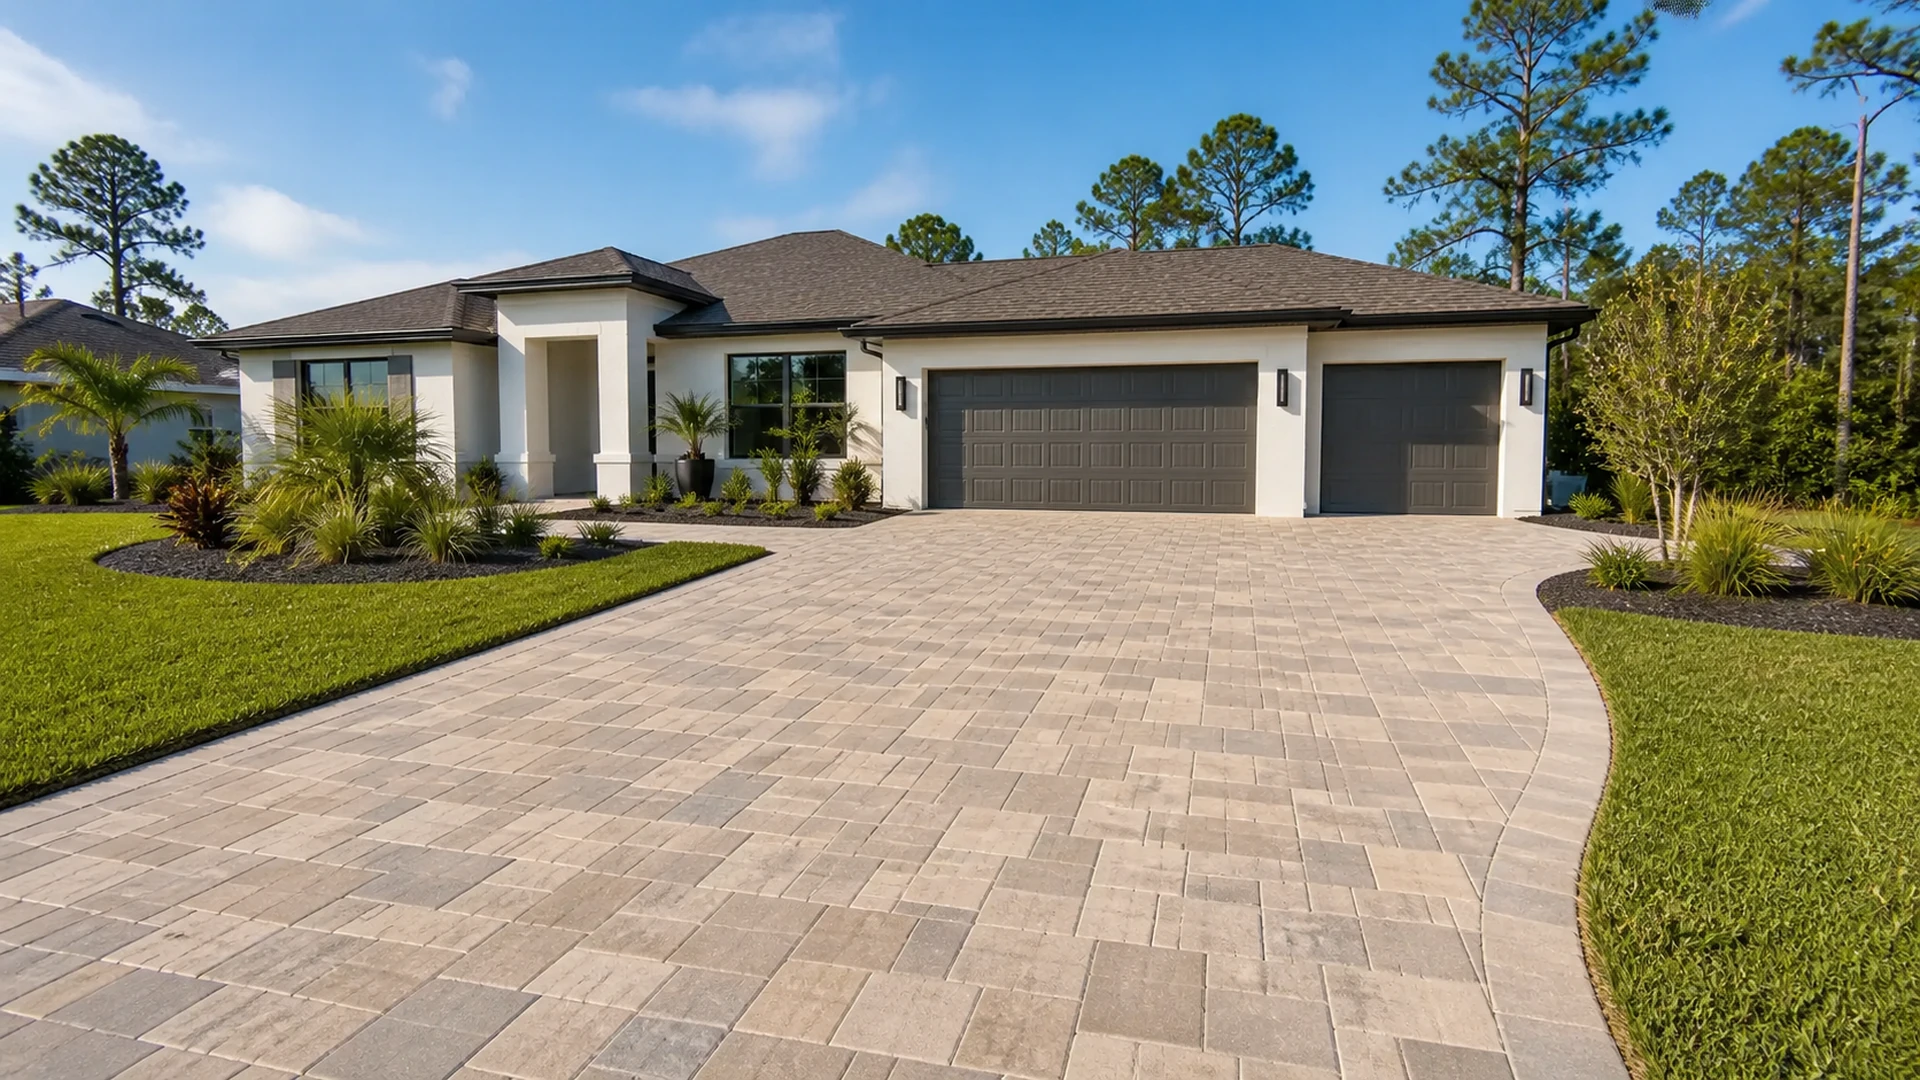
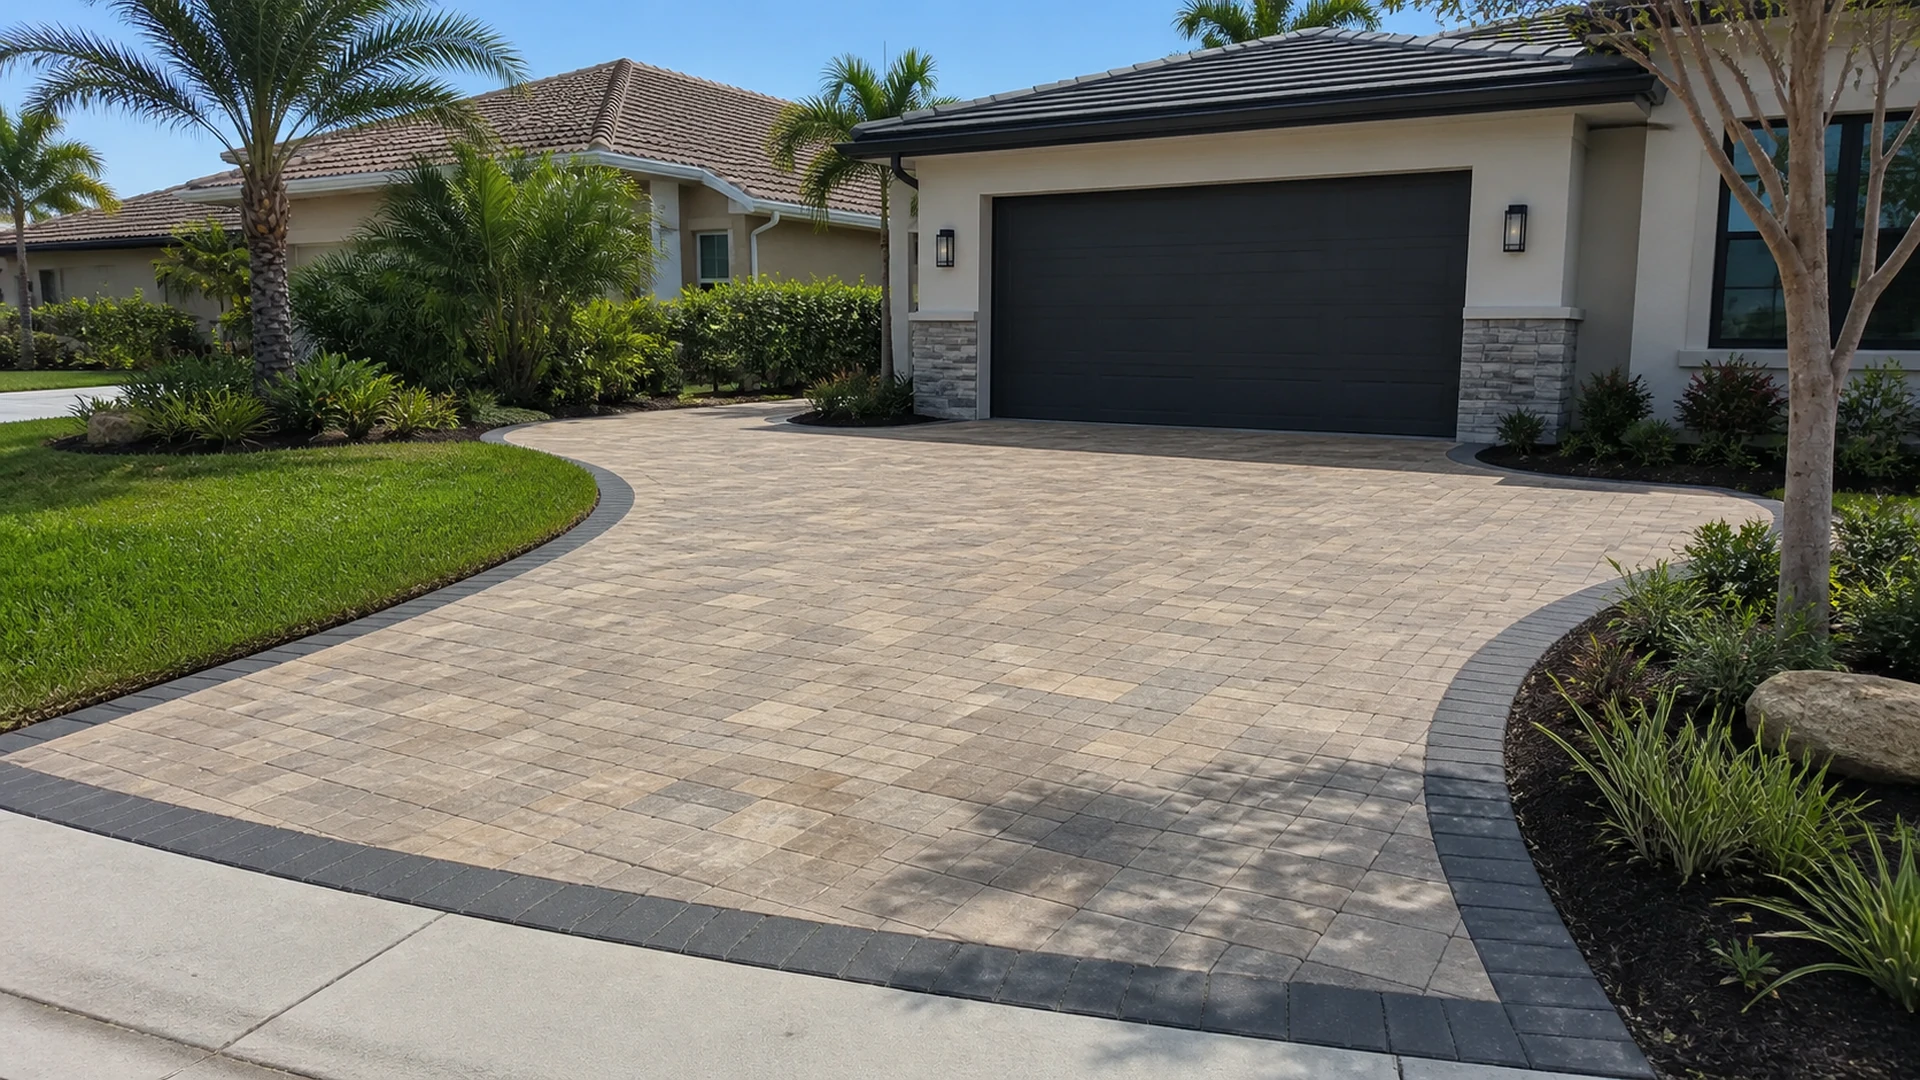
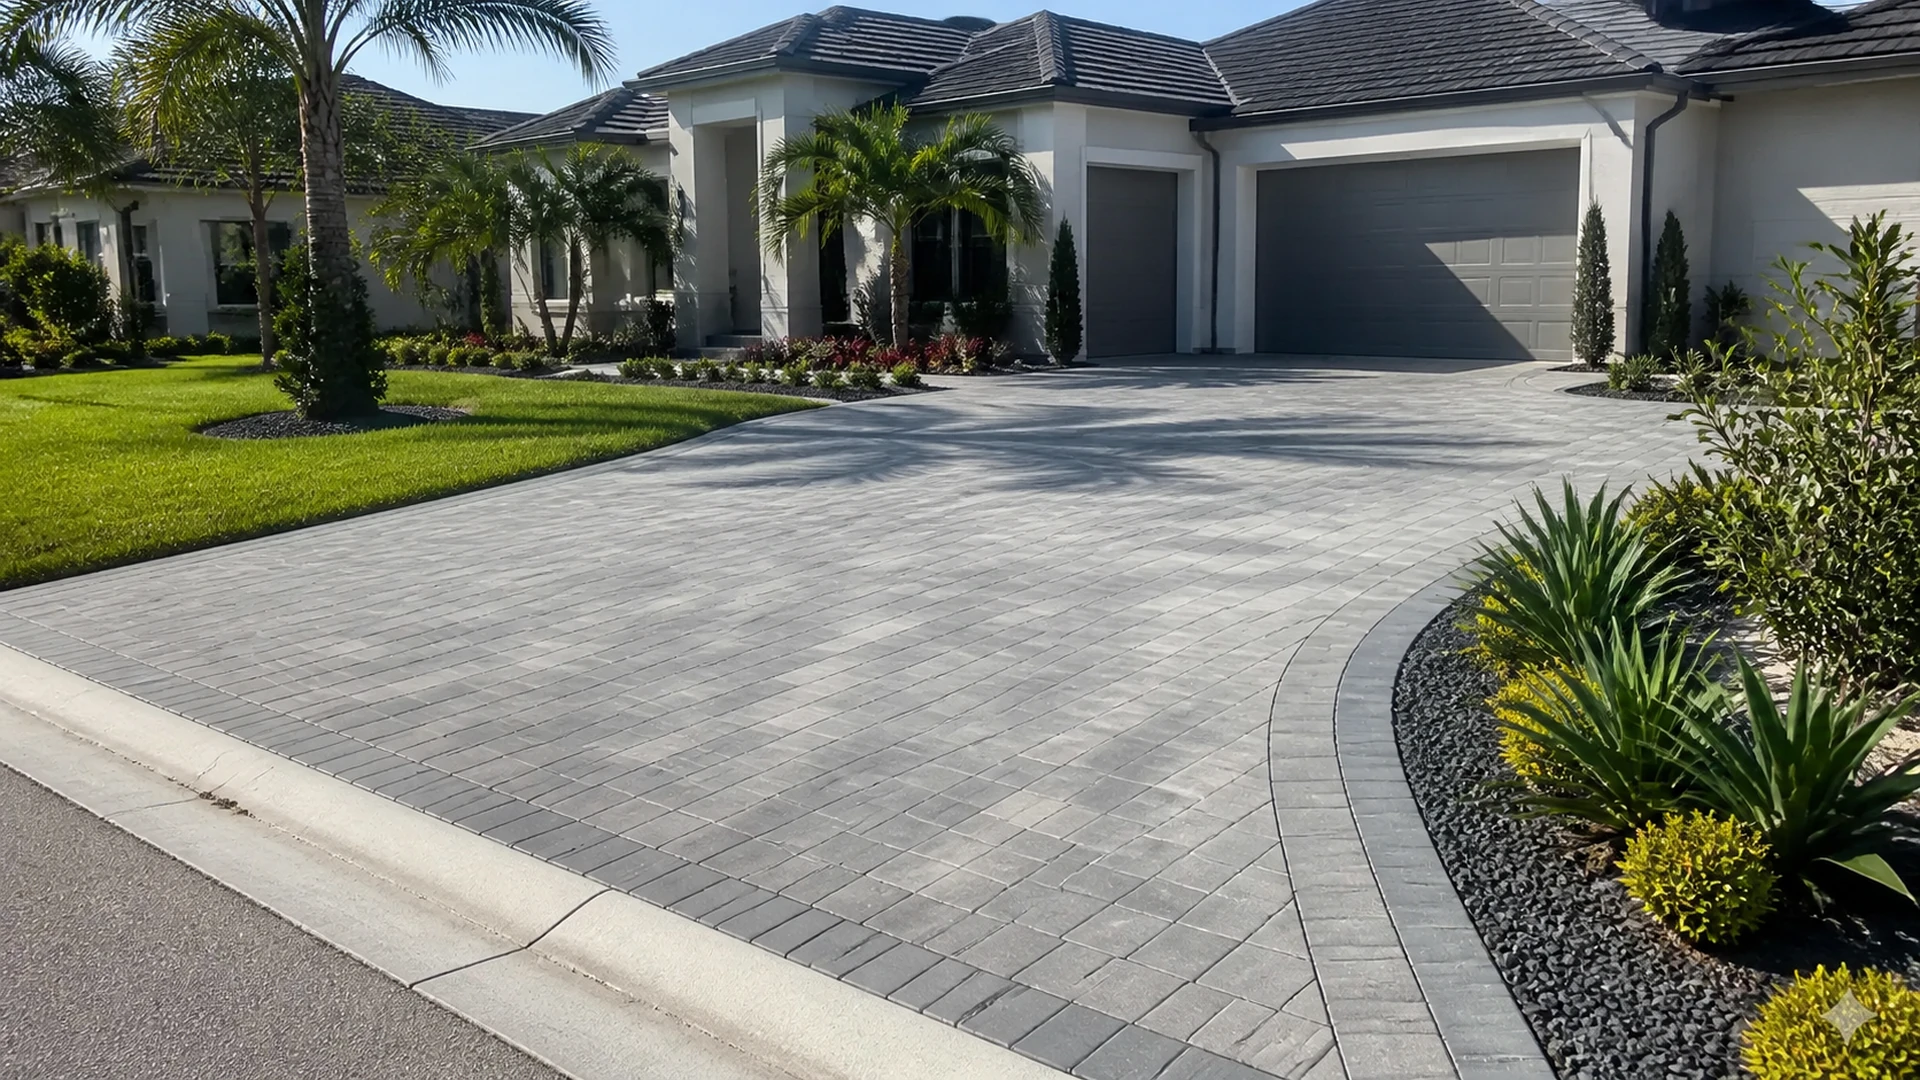
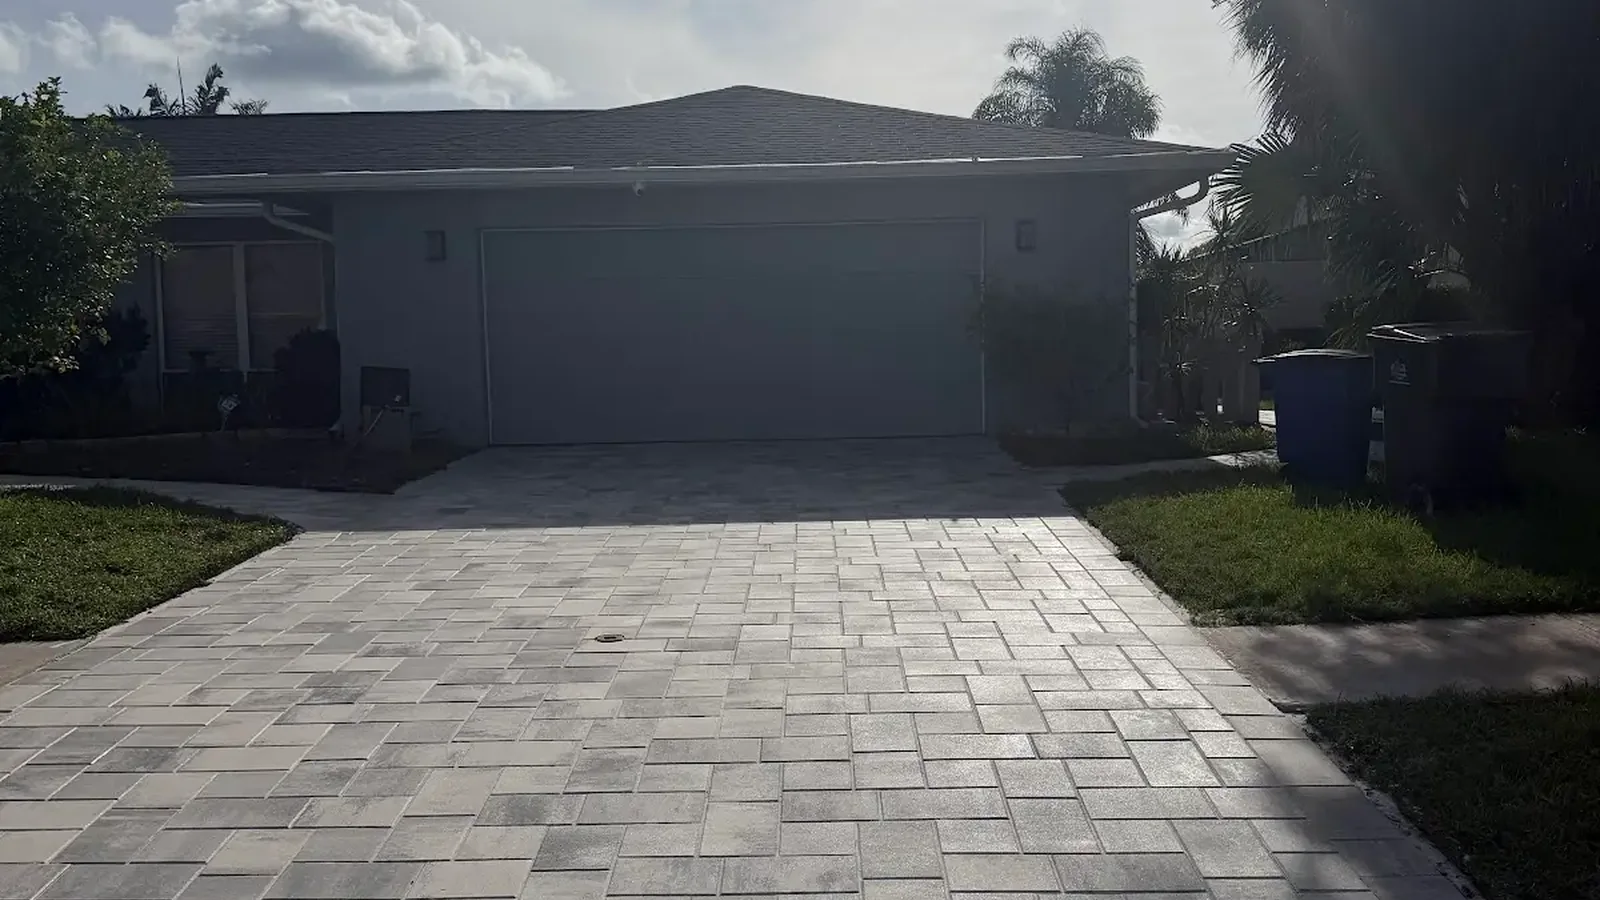
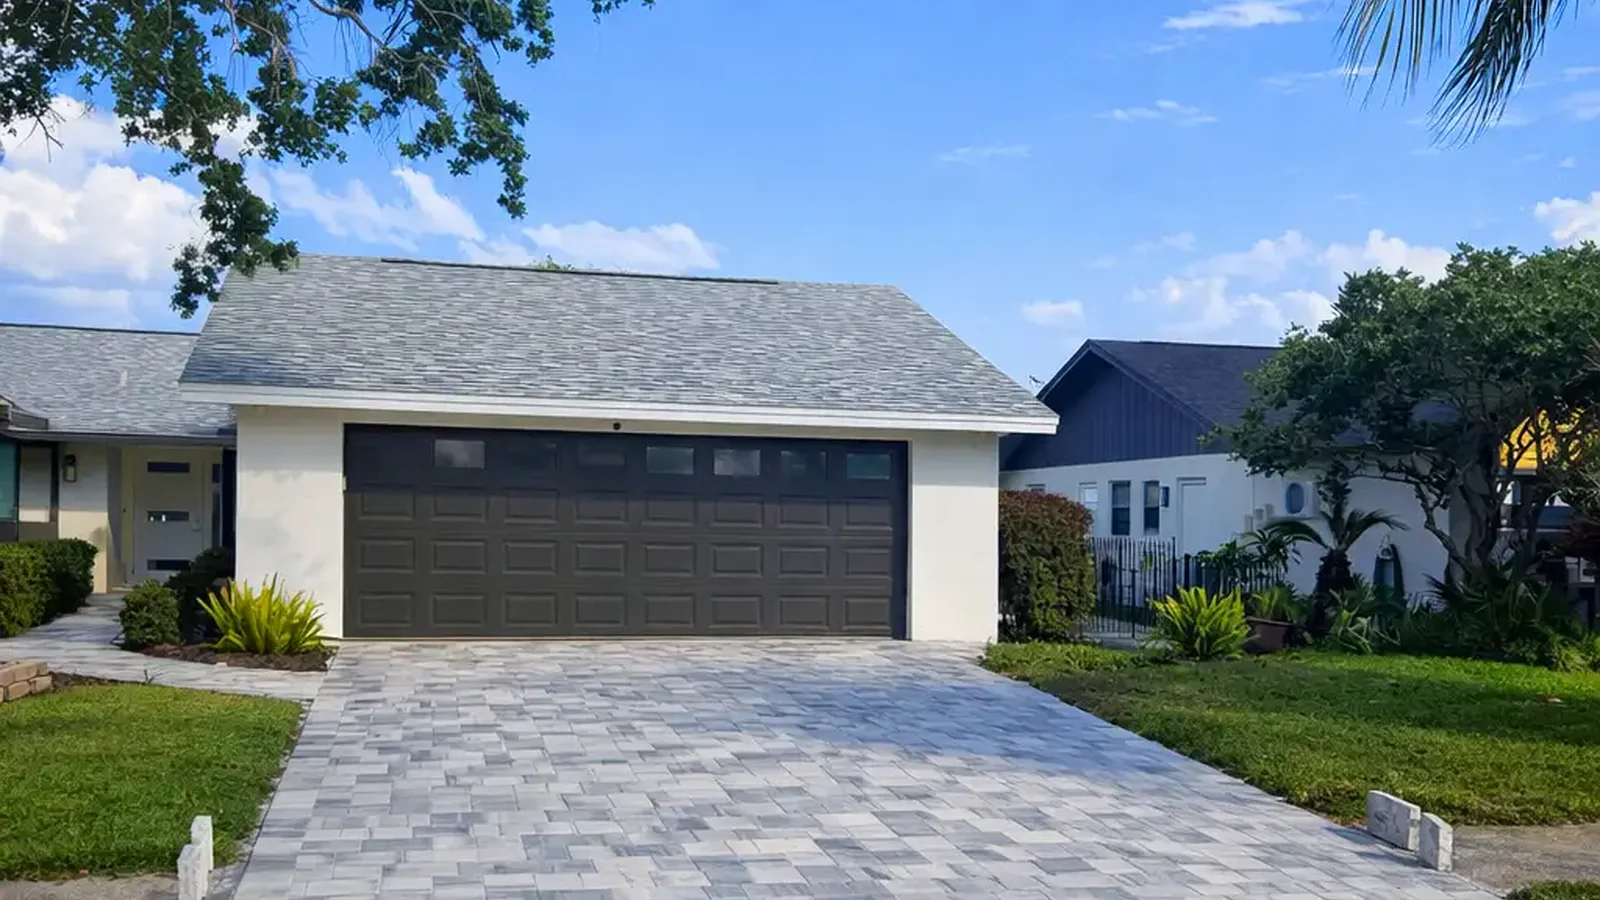
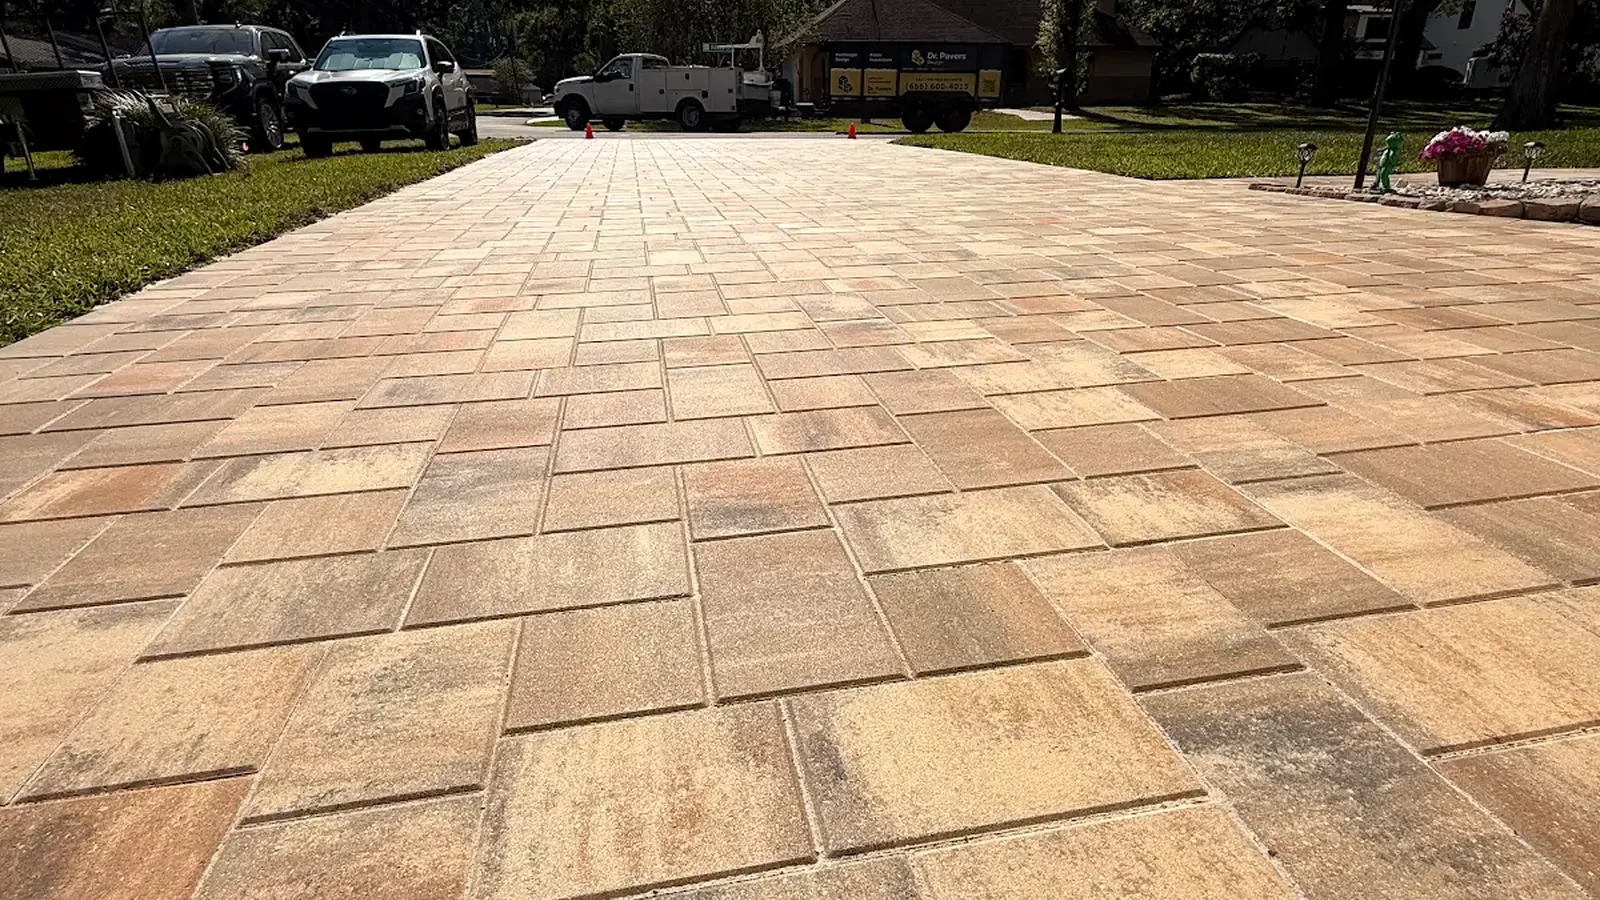
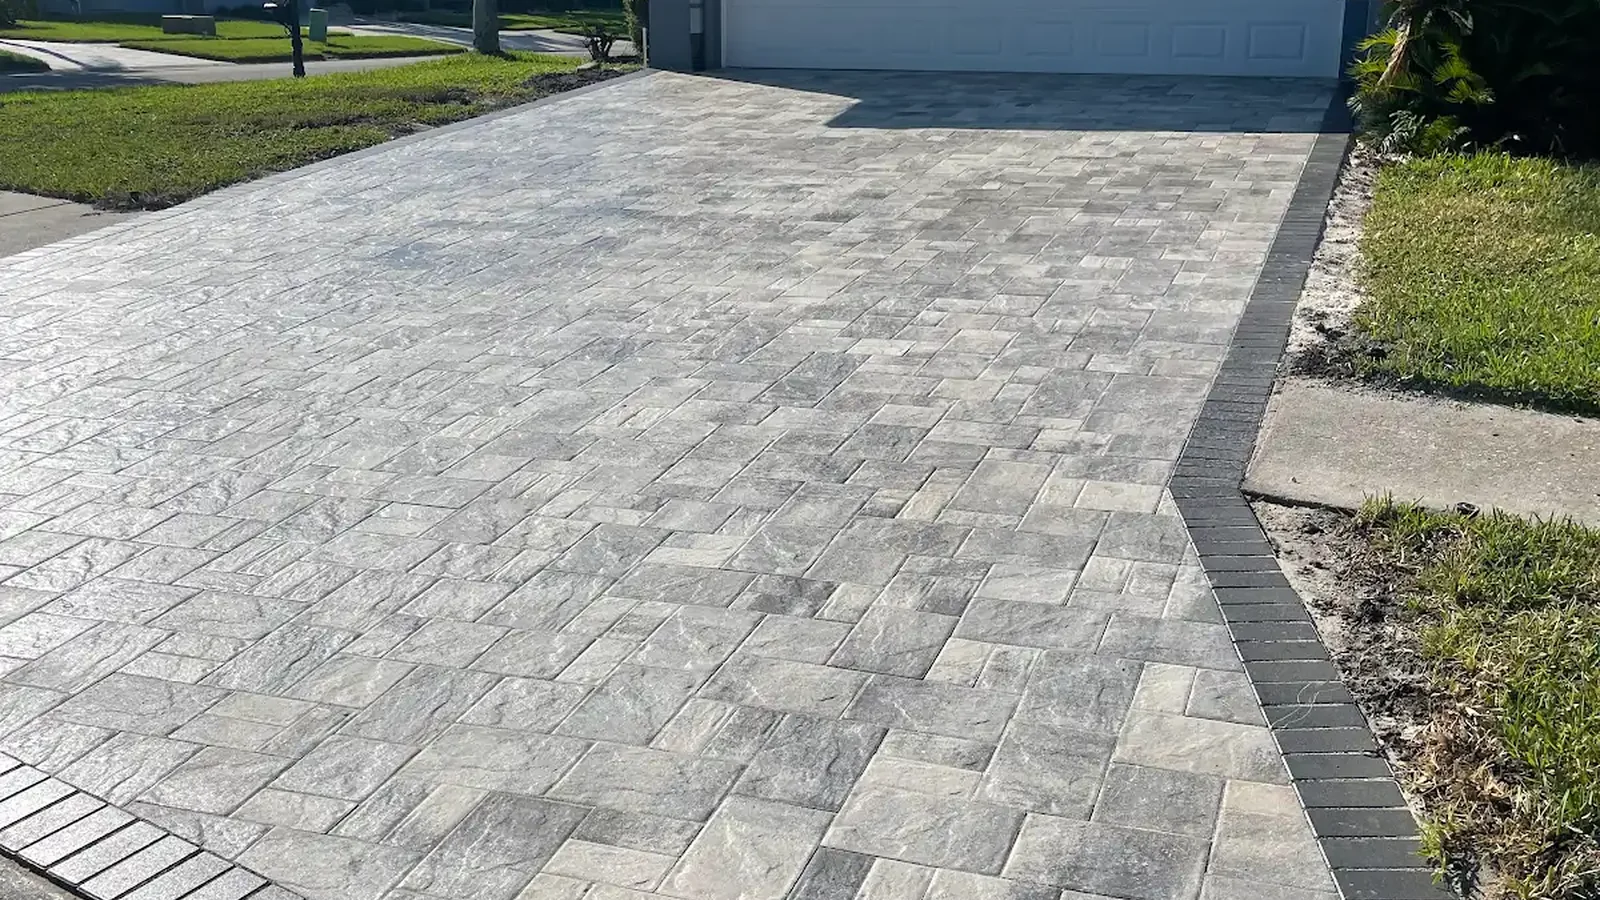
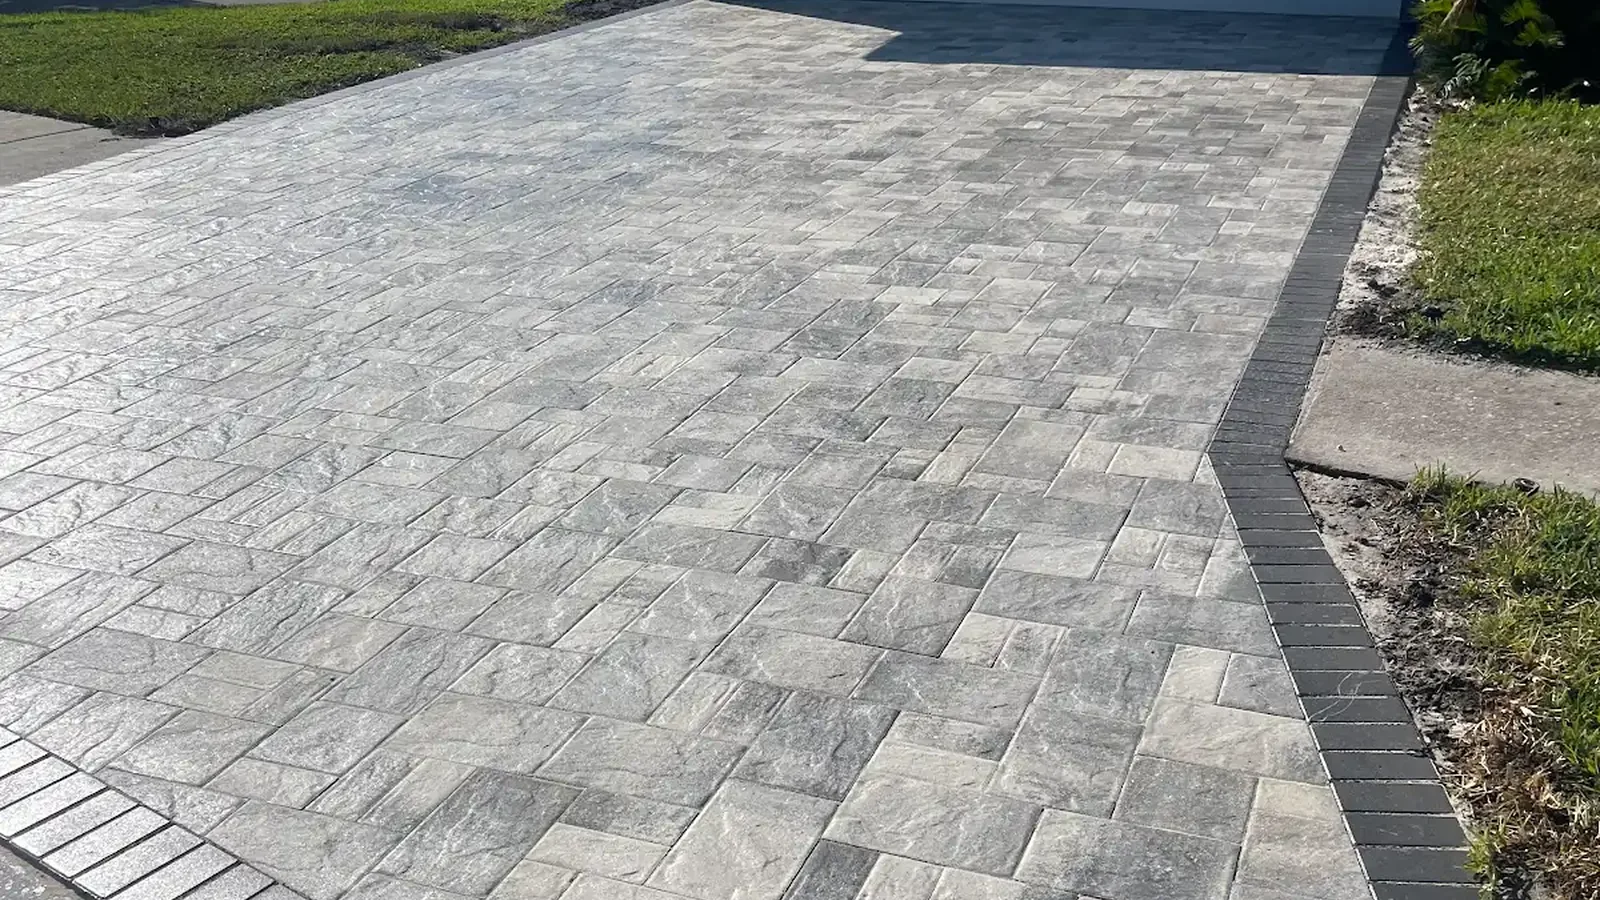
Therefore, A straight driveway edge has a simple shape but can receive meaningful lateral forces near turns. For that reason, the border detail must relate to vehicle movement and base width. The outer row pattern also affects how loads reach the restraint. Concrete vs plastic edging should be selected with that complete geometry in view.
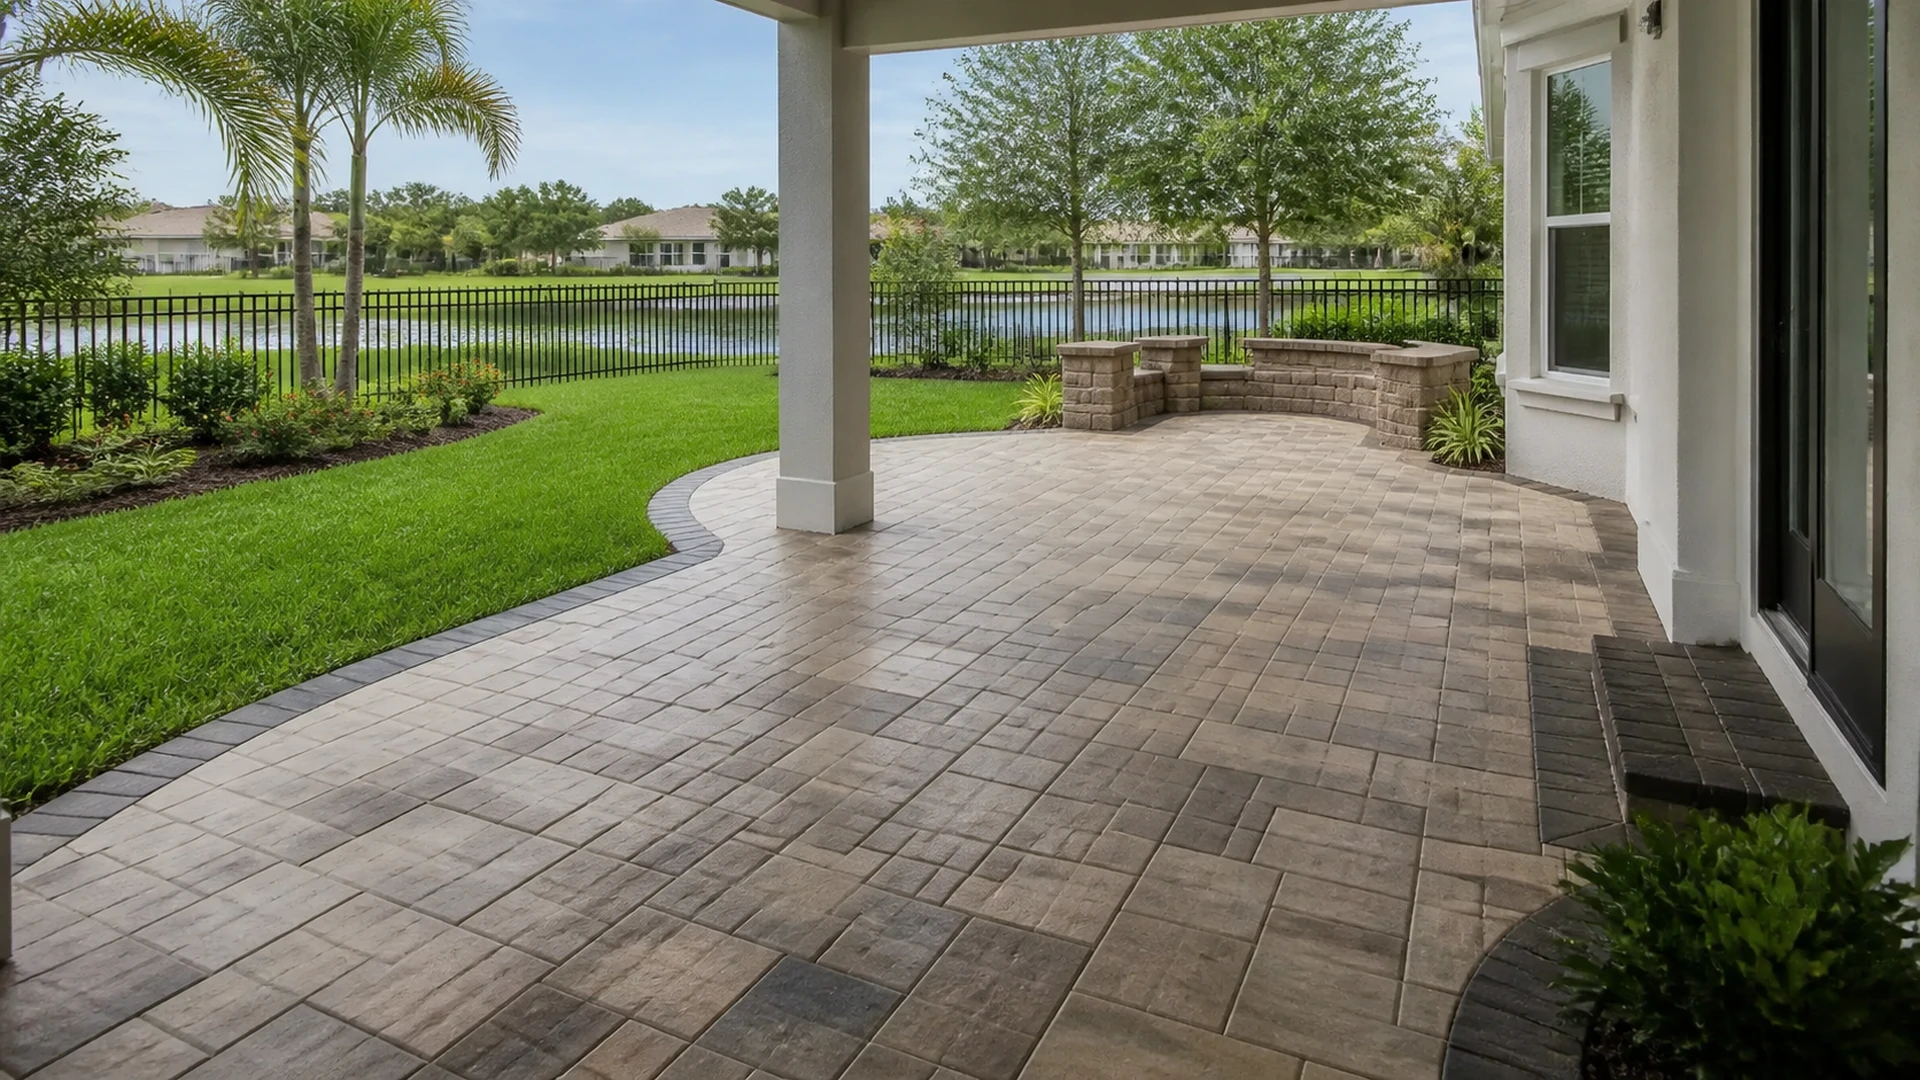
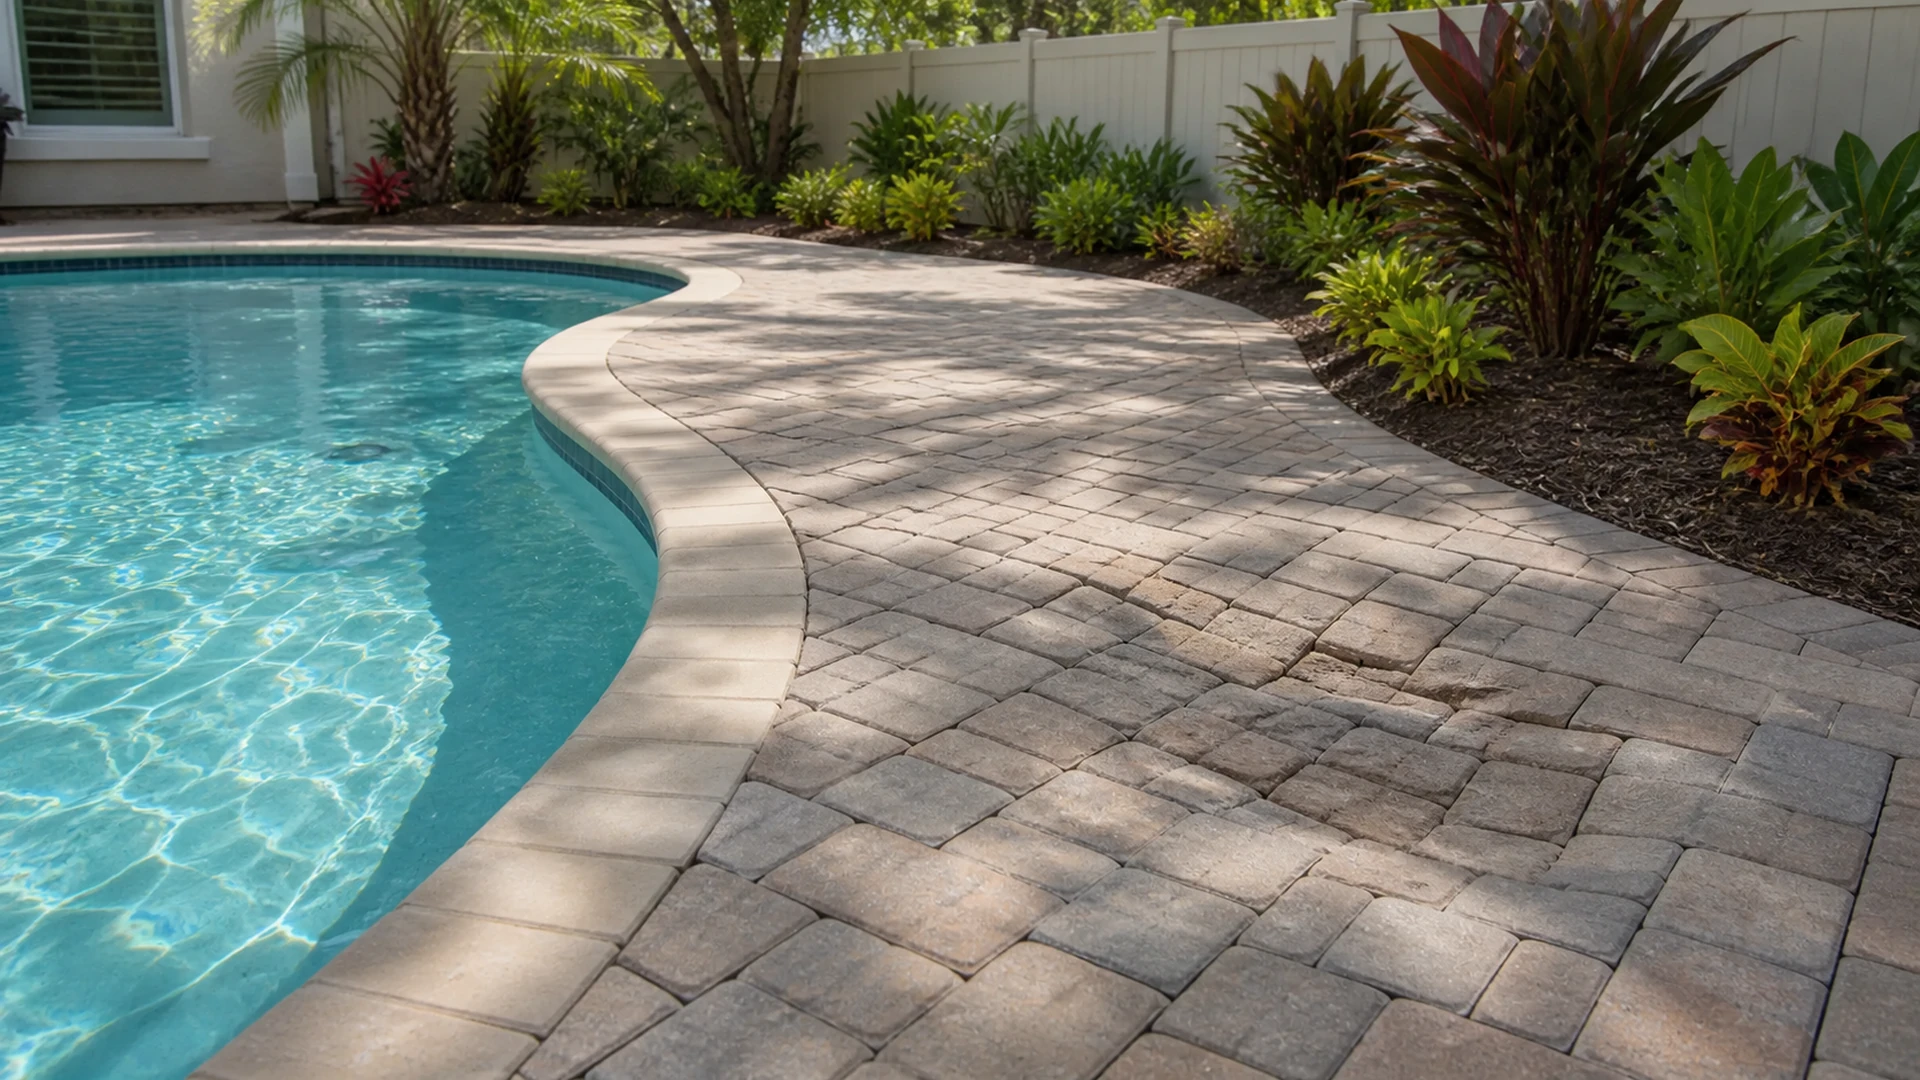
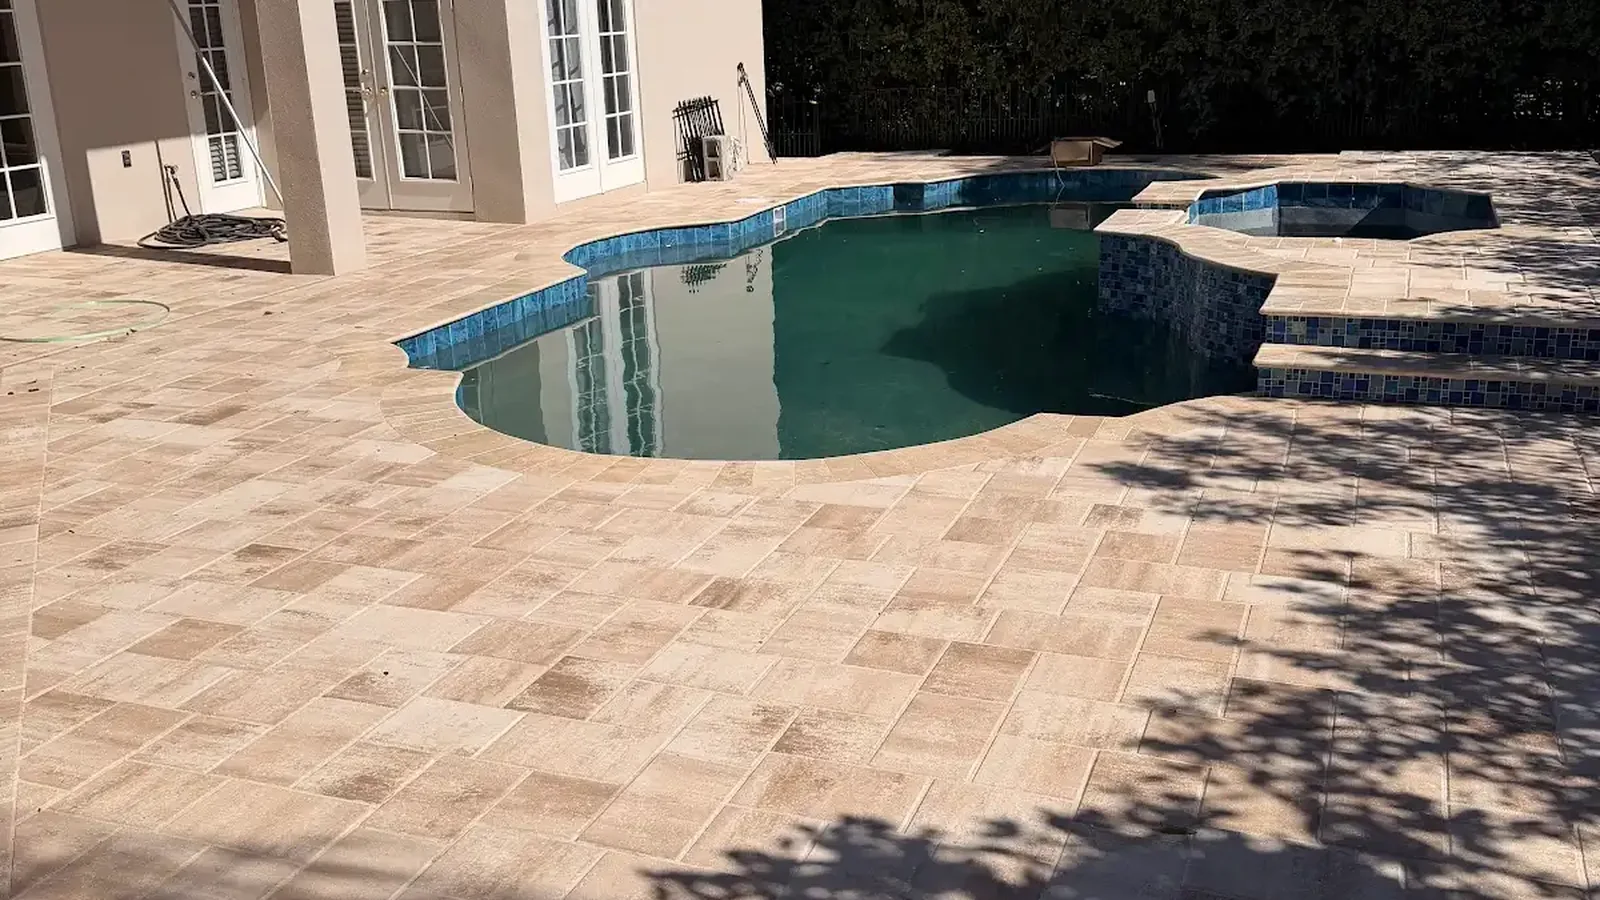
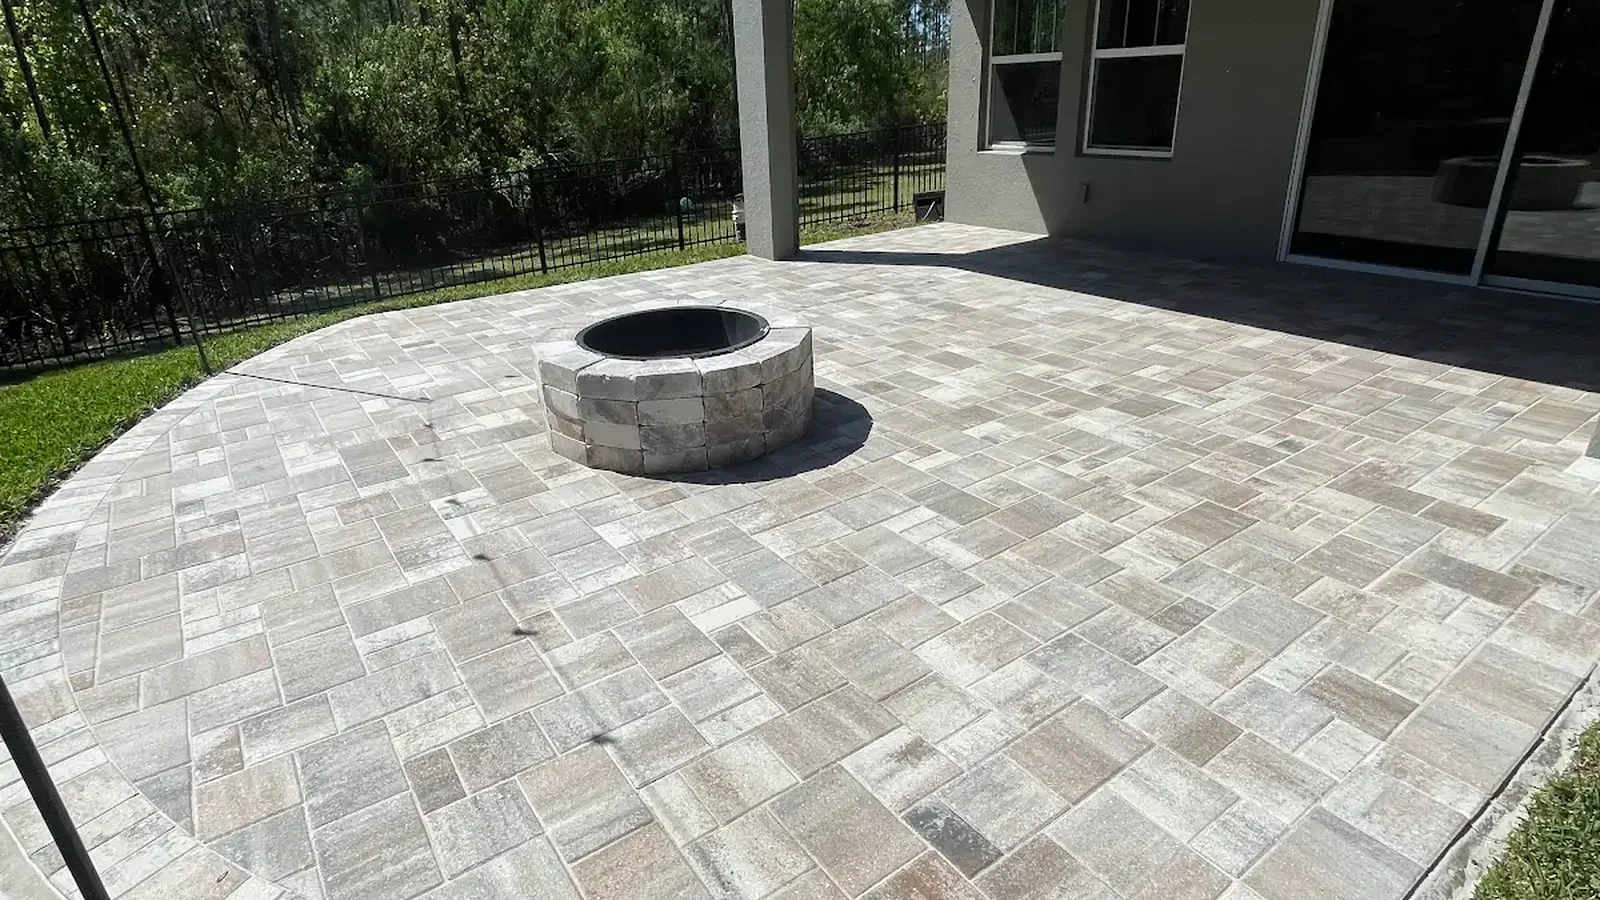
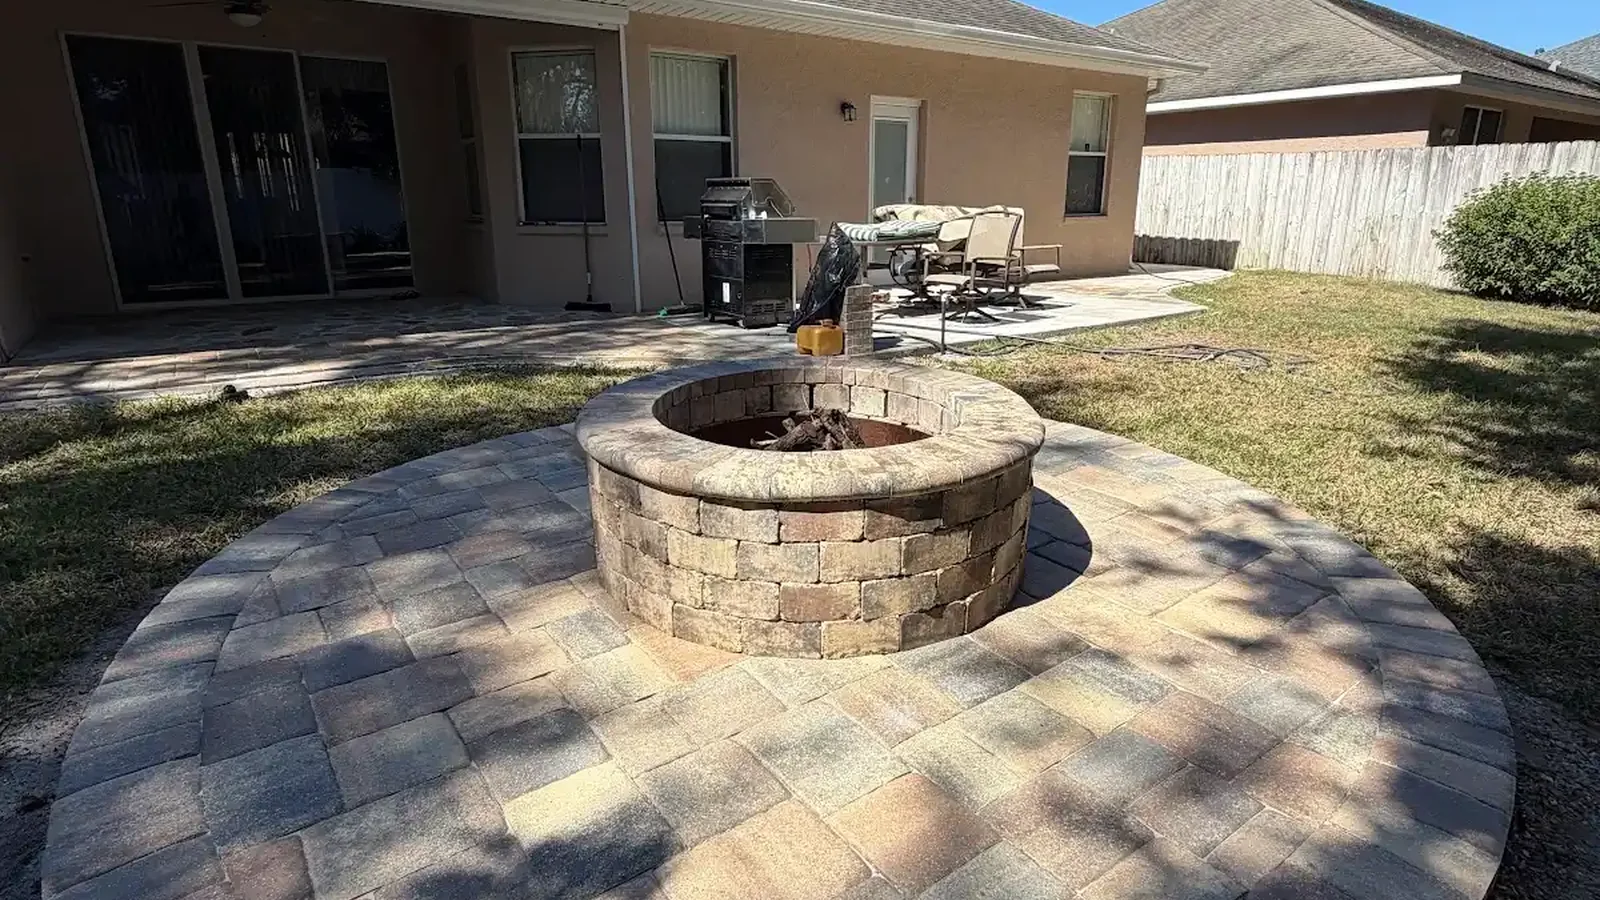
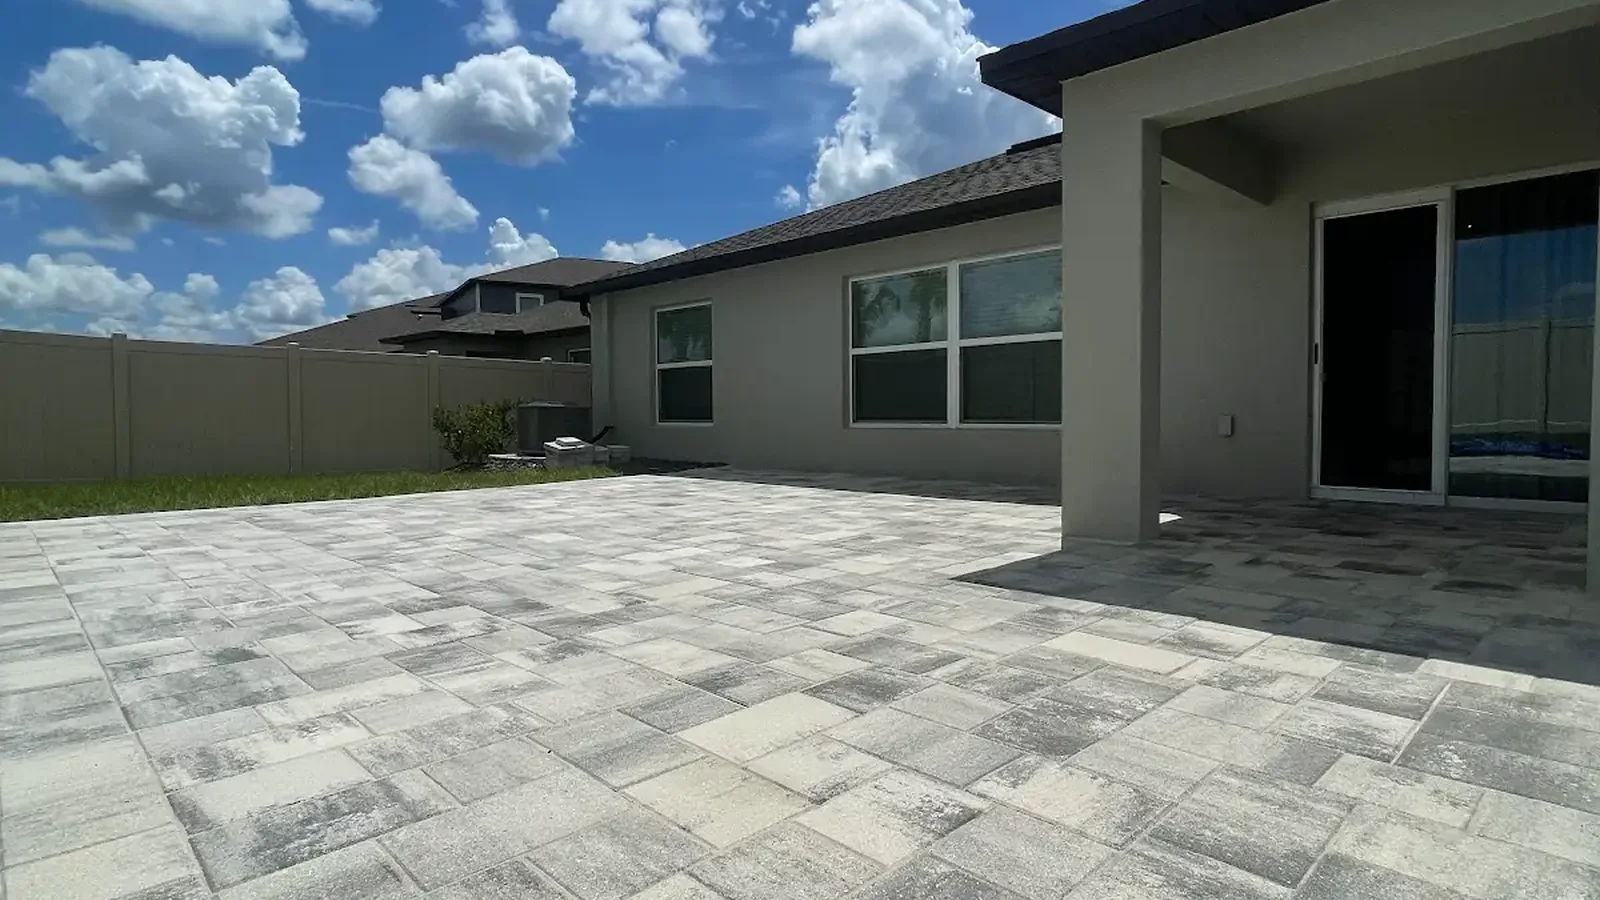
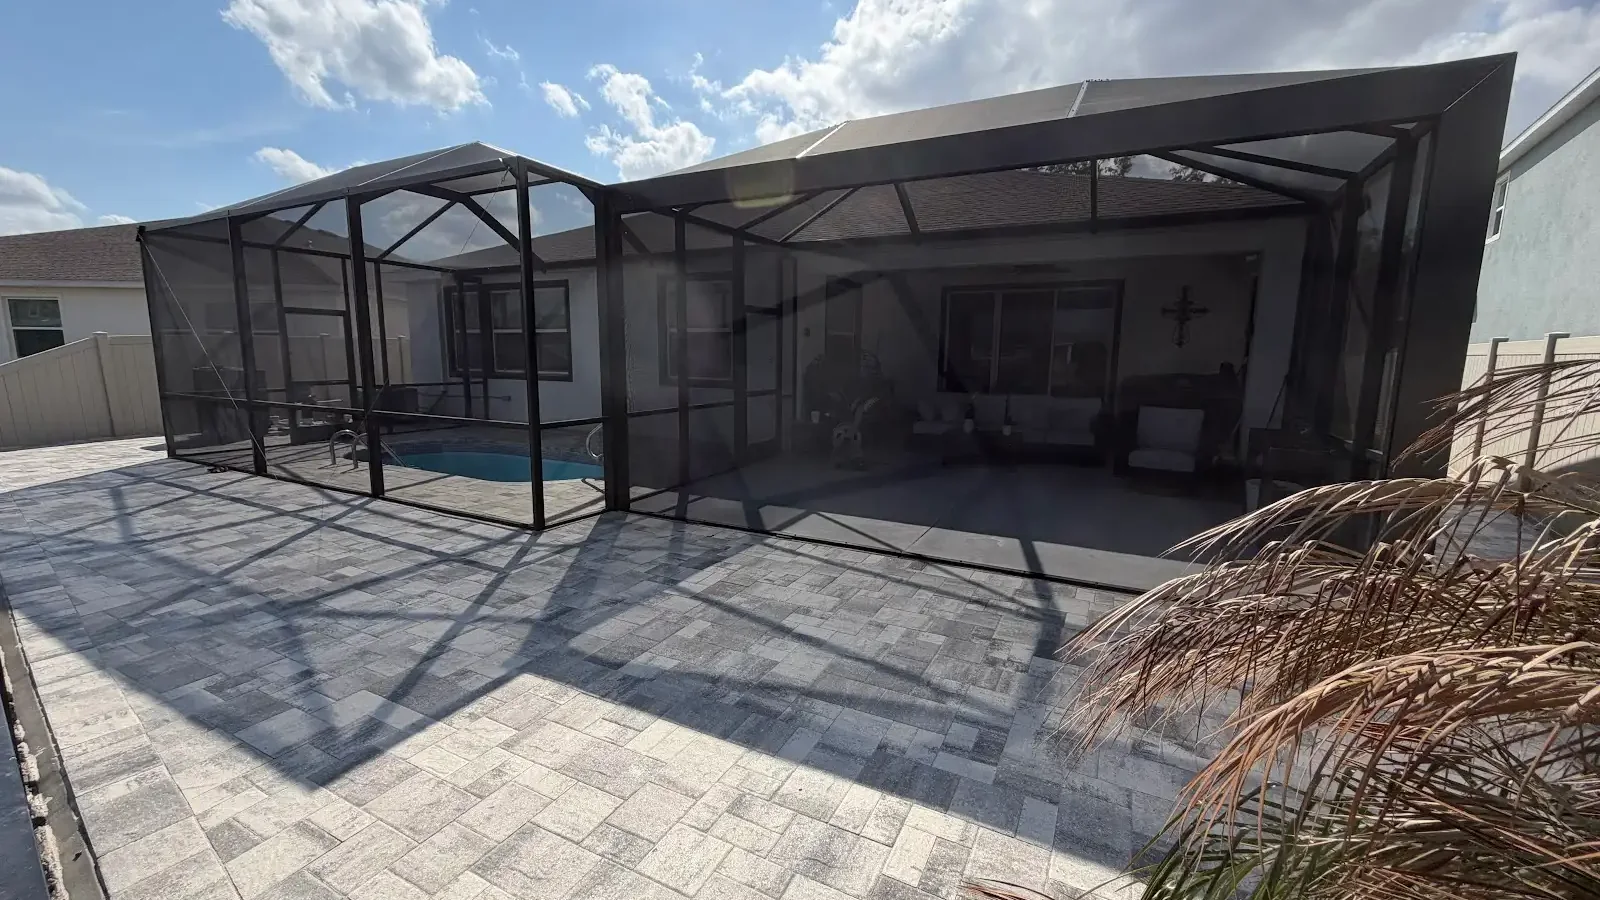
Curved patios create a different challenge because the border must remain smooth through changing radii. Meanwhile, small cuts at the edge need dependable support. Both restraint types can be shaped for many curves when the detail allows. The installer’s layout and workmanship therefore influence the result as much as the general material category.
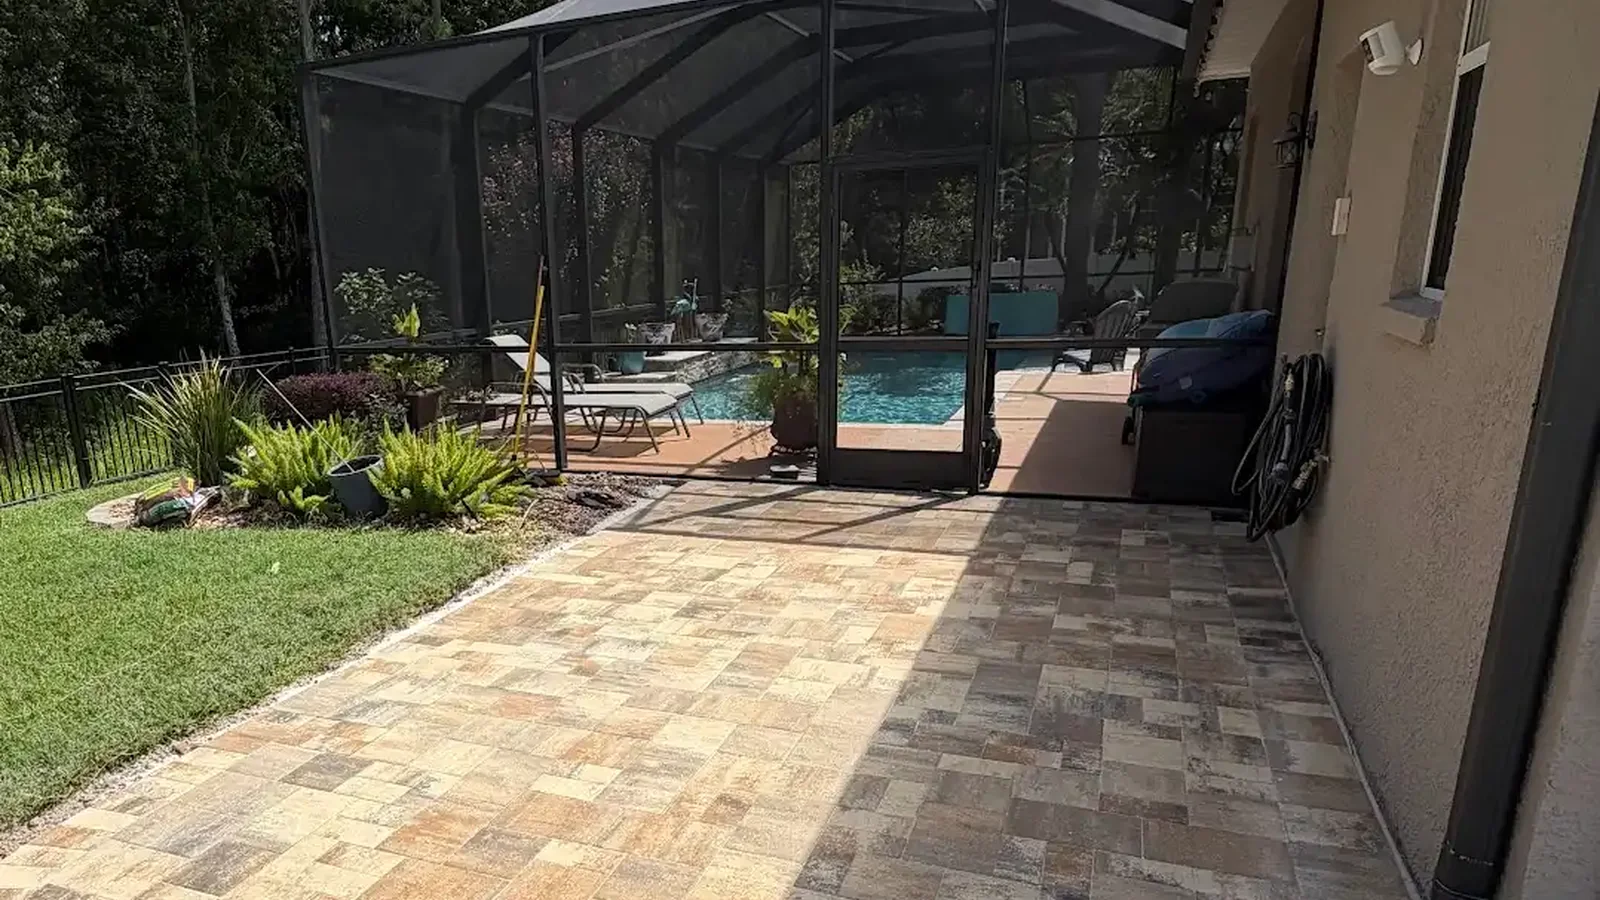
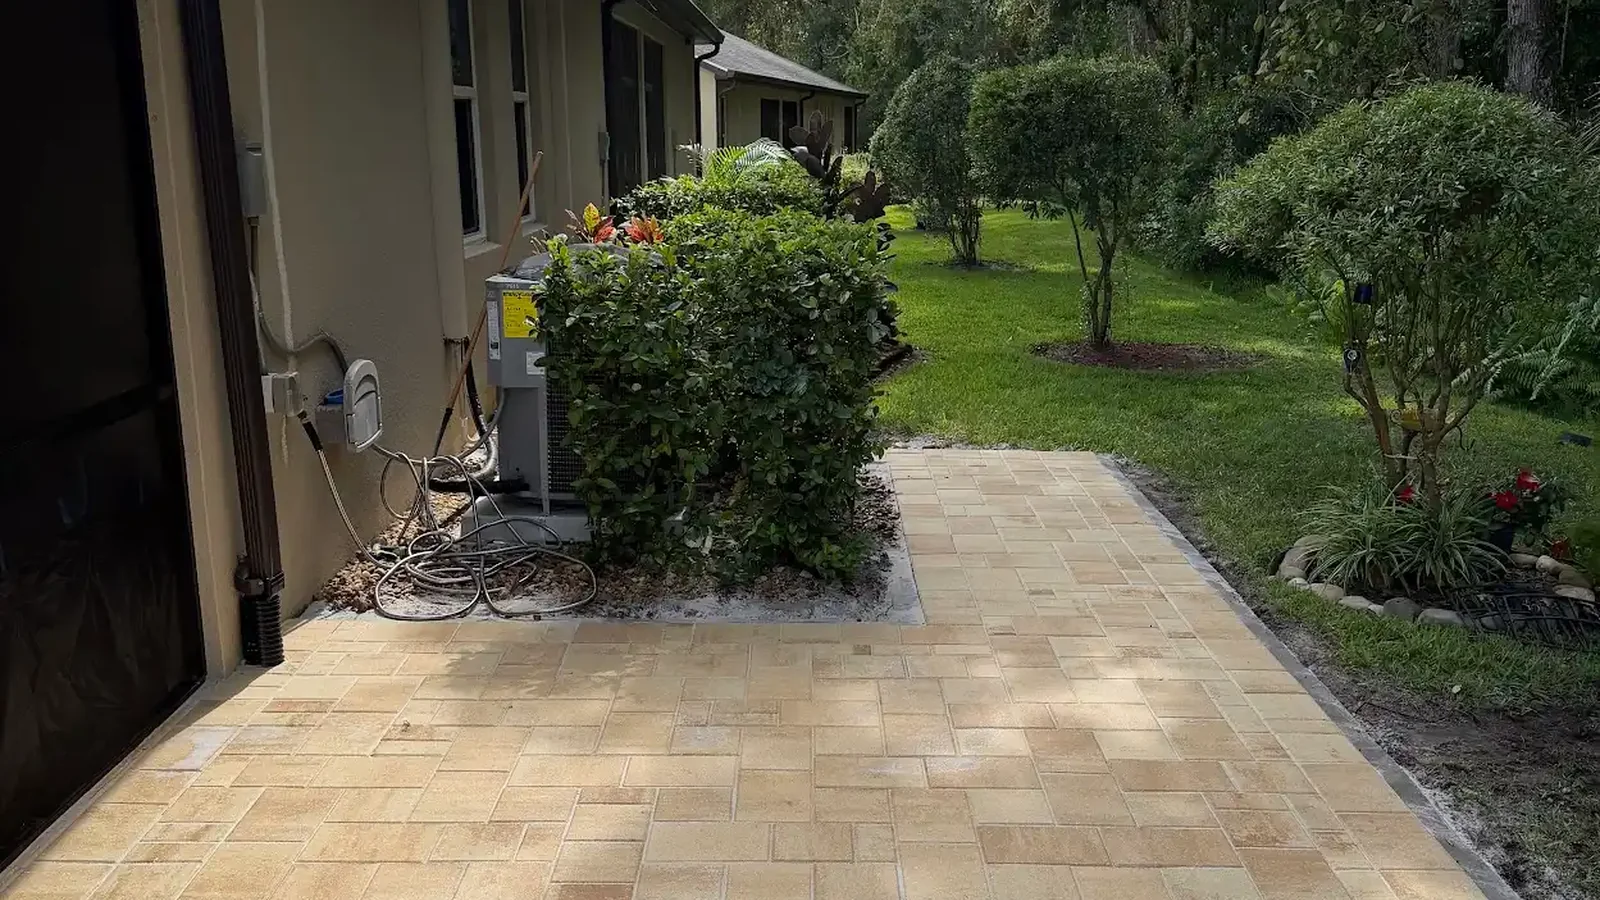
Consequently, Narrow walkways have two borders close together, so weakness on either side can affect the whole surface. In addition, adjacent planting often brings roots, irrigation, and garden tools near the restraint. A contractor may recommend different details along connected sections. That tailored approach can make more sense than forcing one concrete vs plastic edging answer around every boundary.
Treat fixed boundaries as separate conditions
A wall, curb, coping band, or step may already contain the pavers on one side. However, the transition still needs careful alignment and appropriate separation where required by the assembly. Fixed structures also establish elevations that cannot be ignored. Therefore, open-edge recommendations should not be copied automatically beside them.
Instead, At a driveway apron or gate, several conditions can meet within a short distance. For example, the surface may change direction while traffic crosses the border. The installer should explain how each restraint ends or transitions. This is where a concrete vs plastic edging sketch or marked site photo can clarify the proposal.
Account for water, soil, and neighboring landscape work
Edge restraint should not be expected to correct a weak base or solve runoff by itself. Instead, water should move across and away from the surface as the broader design intends. Concentrated discharge can erode exposed soil beside either restraint. Consequently, drainage paths and final landscape grades belong in the concrete vs plastic edging conversation.
Sandy soil near a new edge may need stabilization and careful finish grading. Meanwhile, fresh sod should meet the hardscape cleanly without burying the paver surface. Mulch should also remain controlled rather than washing across joints. These finishing details help preserve access for inspection and make early border movement easier to notice.
Landscape crews should know where the hidden restraint sits. Otherwise, edging tools, stakes, or shallow digging can damage the perimeter. A simple project photo can document its location before soil and plants return. Therefore, concrete vs plastic edging planning should include communication with anyone maintaining the adjacent bed.
Consider repairs and future changes before installation
Homeowners often update irrigation, low-voltage lighting, or planting after a patio is complete. Consequently, a known service route can prevent unnecessary disturbance. Plastic components may offer convenient removal in some situations, while concrete can also be opened and restored by a qualified crew. The practical difference depends on location, access, and the proposed detail.
Furthermore, Repairs should restore the edge, not merely reset loose pavers beside it. First, the crew must determine why the border moved. Then, base support and the restraint can be rebuilt together. A concrete vs plastic edging repair that ignores washed-out soil or repeated wheel loading may leave the same weakness in place.
Color changes and minor surface wear are also easier to manage when expectations are clear. However, edge restraint usually sits below the main viewing plane. Its primary role is support. Therefore, homeowners should weigh appearance without letting an unseen cosmetic preference override a sound perimeter design.
Ask how the edge can be inspected later
However, A finished border should remain stable as landscaping settles and normal maintenance begins. Still, early inspection can catch erosion, displaced soil, or accidental damage. Homeowners can look for widening joints and rotating edge units after heavy weather. Those clues do not diagnose the cause, but they support a timely contractor conversation.
Therefore, Project documentation can identify which concrete vs plastic edging detail was used in each area. In addition, photos taken before backfilling may help future crews avoid blind digging. Keep product information when it is provided. This modest record makes later repairs or additions easier to plan.
Use a decision framework instead of a universal rule
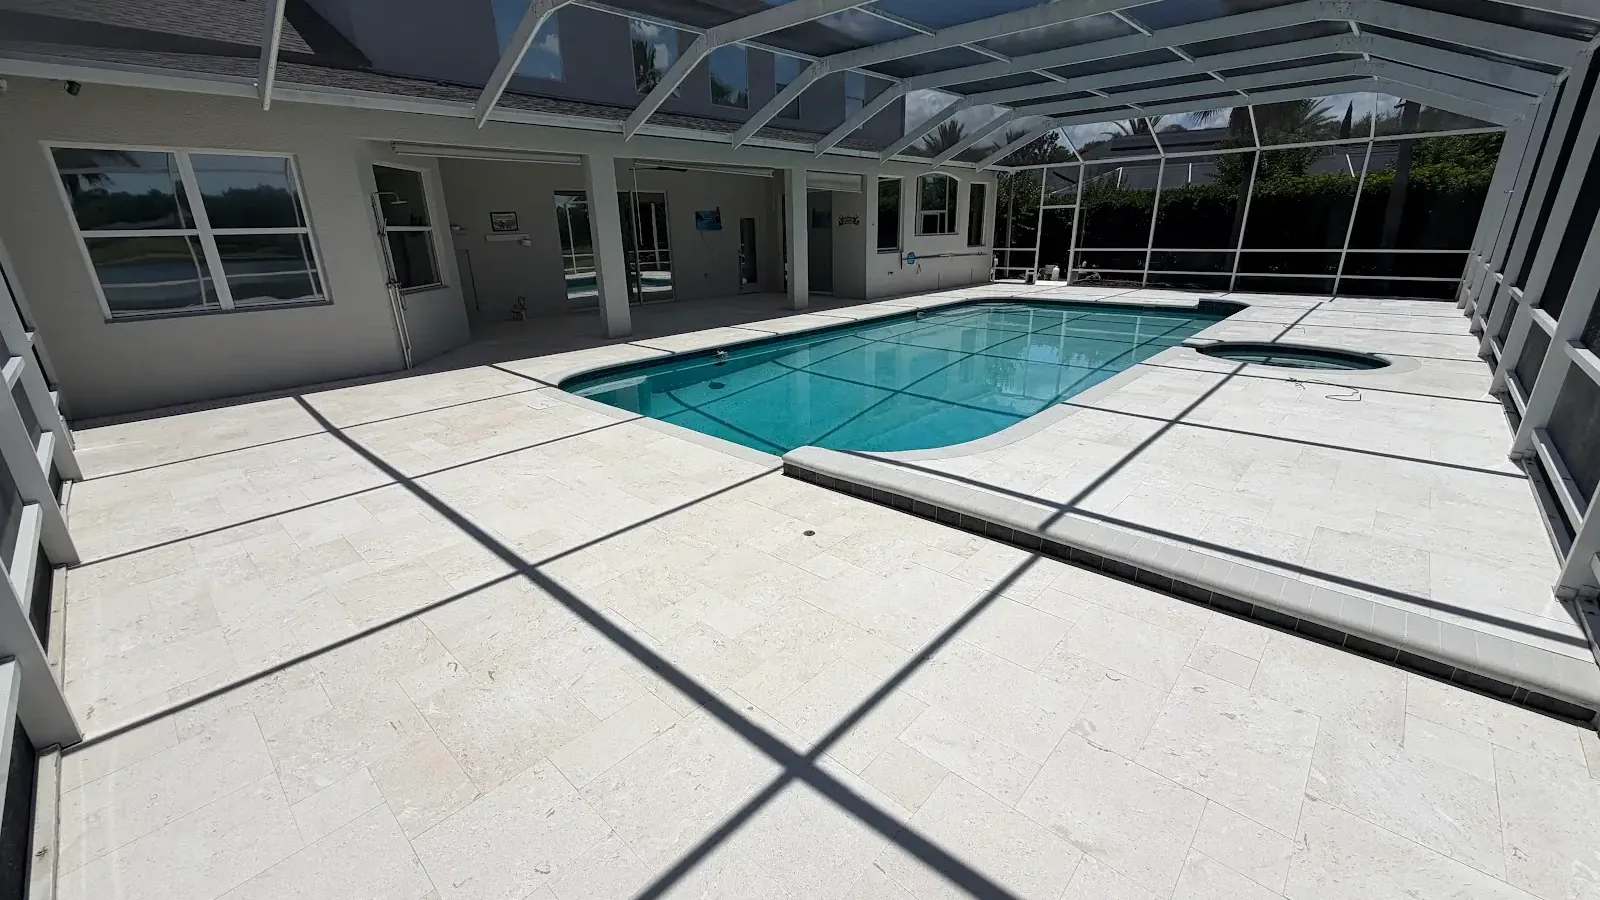
Meanwhile, Begin with use: driveway, patio, pool deck, walkway, or another outdoor surface. Next, record border shape, nearby grades, fixed structures, landscape activity, and access. Then, discuss the specific restraint and installation method. This sequence turns concrete vs plastic edging from an abstract debate into a project decision.
For each option, ask how the base extends beneath the restraint and how corners are handled. Also ask how the detail responds near gates, downspouts, and vehicle turns. A clear answer should describe site work, not just product features. Consequently, homeowners can compare proposals on preparation and execution.
Cost can be discussed only after the perimeter and scope are understood. For example, a long curved border with difficult access differs from a short open run. Removal, repair, and landscaping responsibilities can also affect a quote. A responsible concrete vs plastic edging comparison therefore avoids unsupported price shortcuts.
Evaluate the installer as carefully as the restraint
Ask the contractor to show where the proposed detail will be used and why. Meanwhile, request clarification if different sections need different restraints. Site-specific reasoning signals that the perimeter was actually reviewed. It also creates a shared reference if field conditions change during excavation.
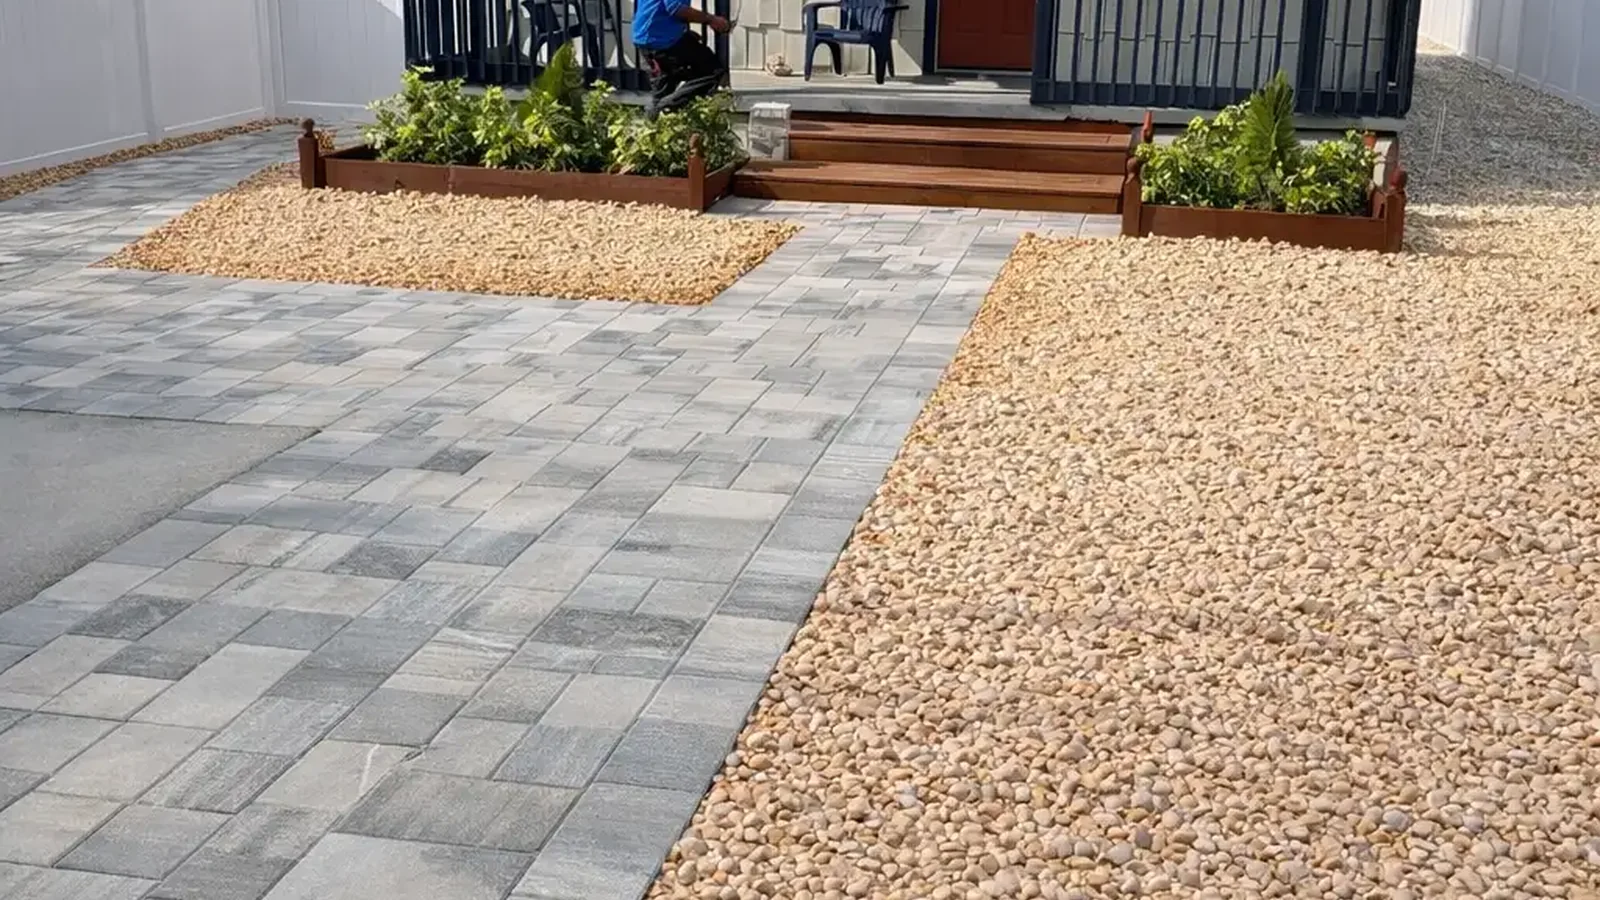
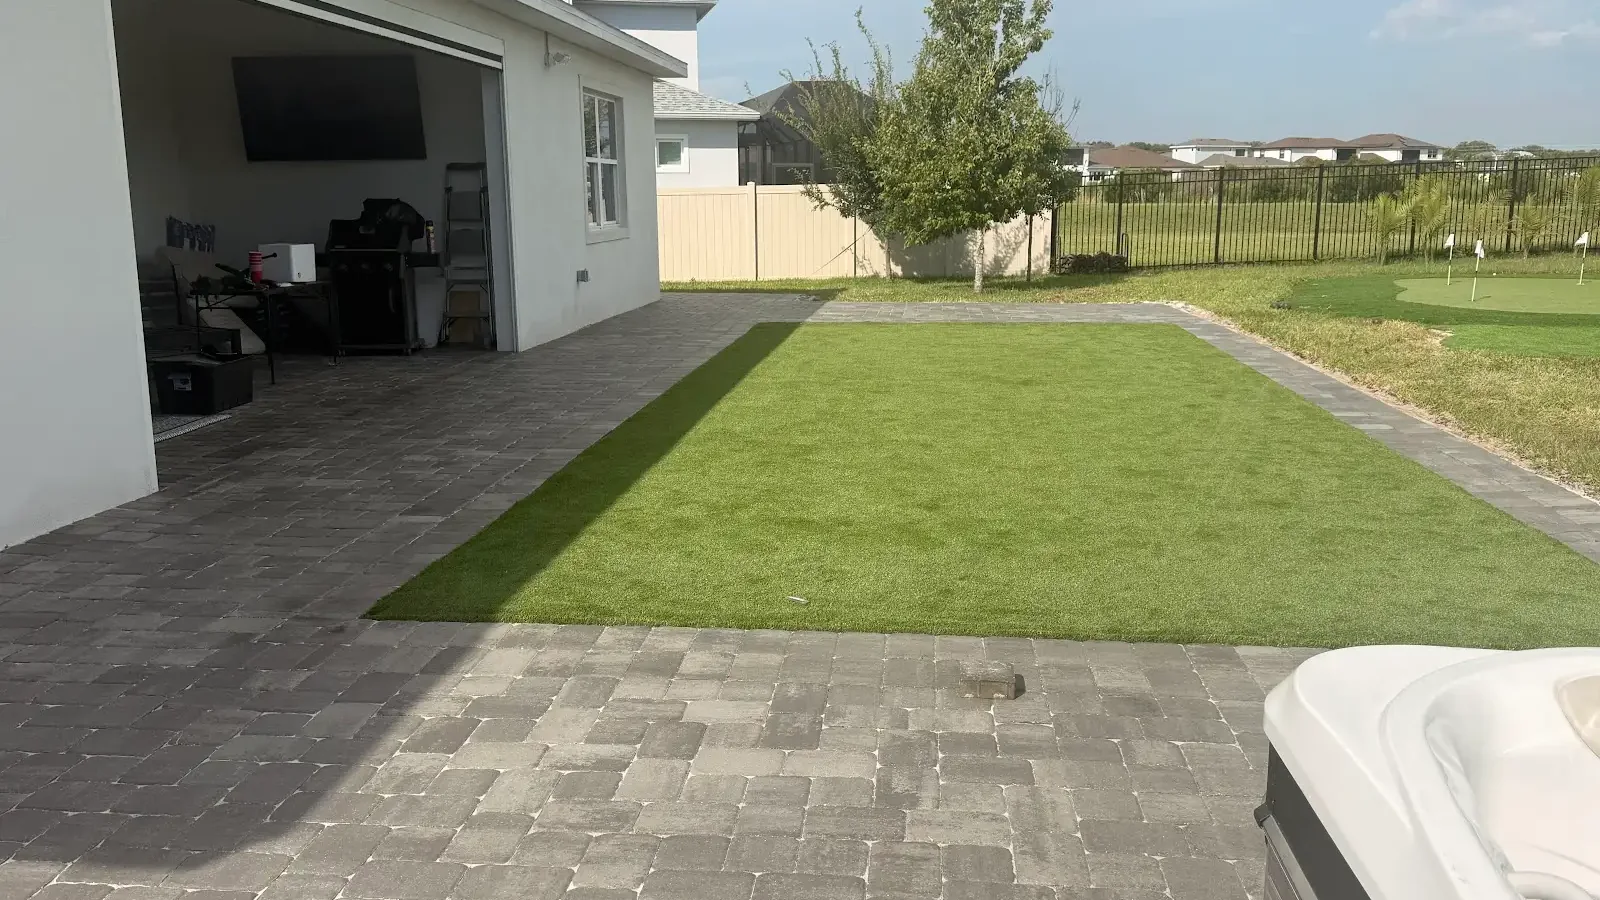
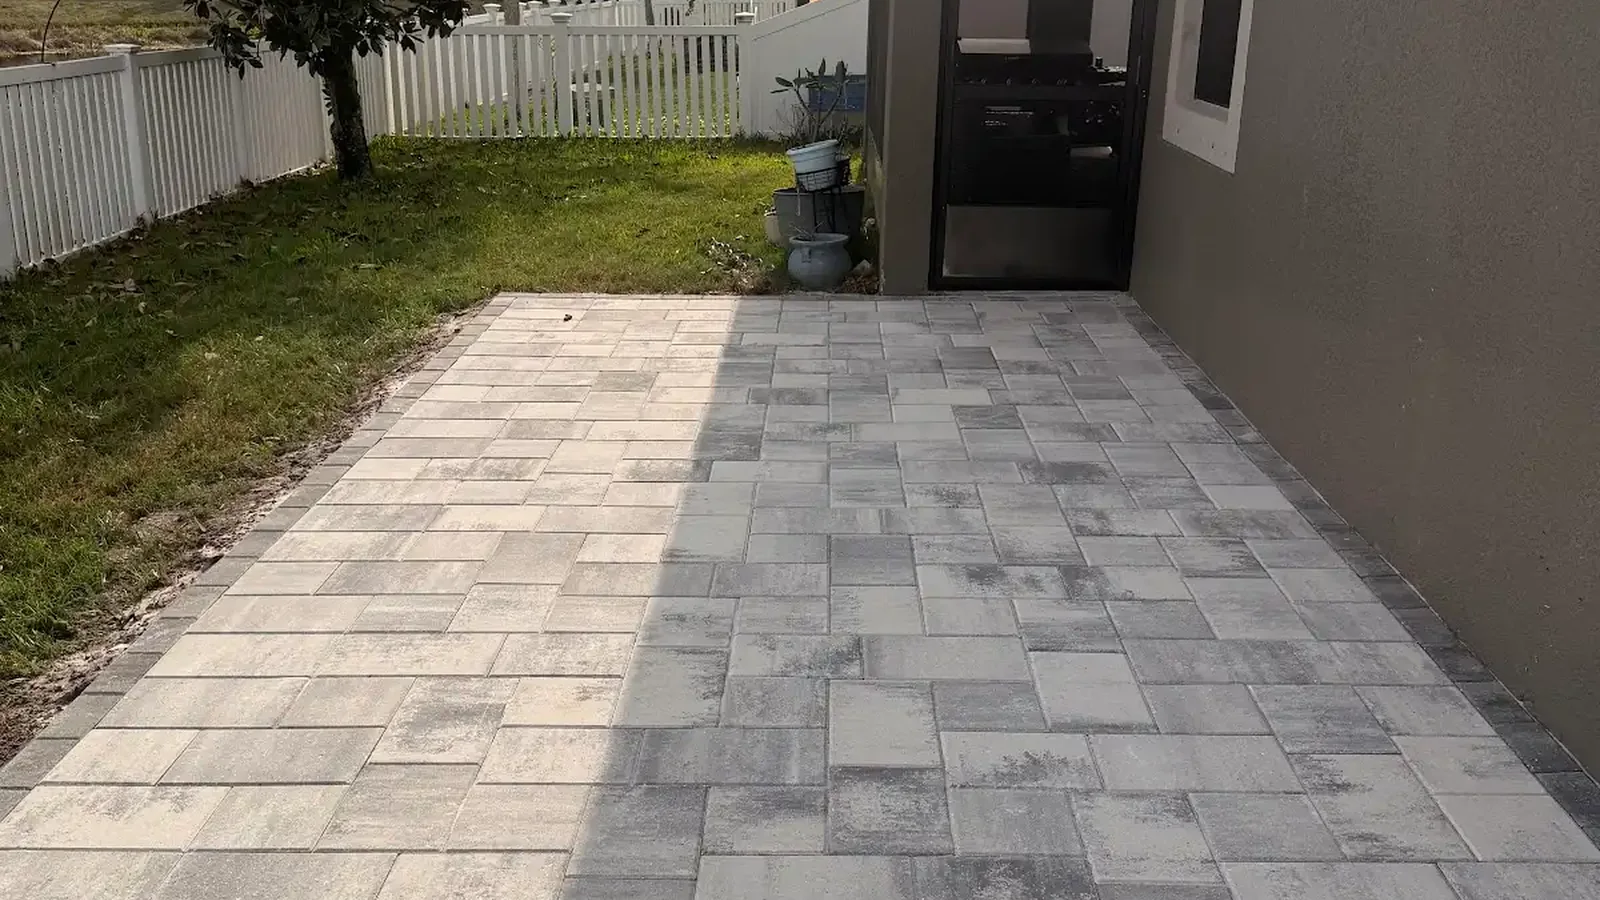
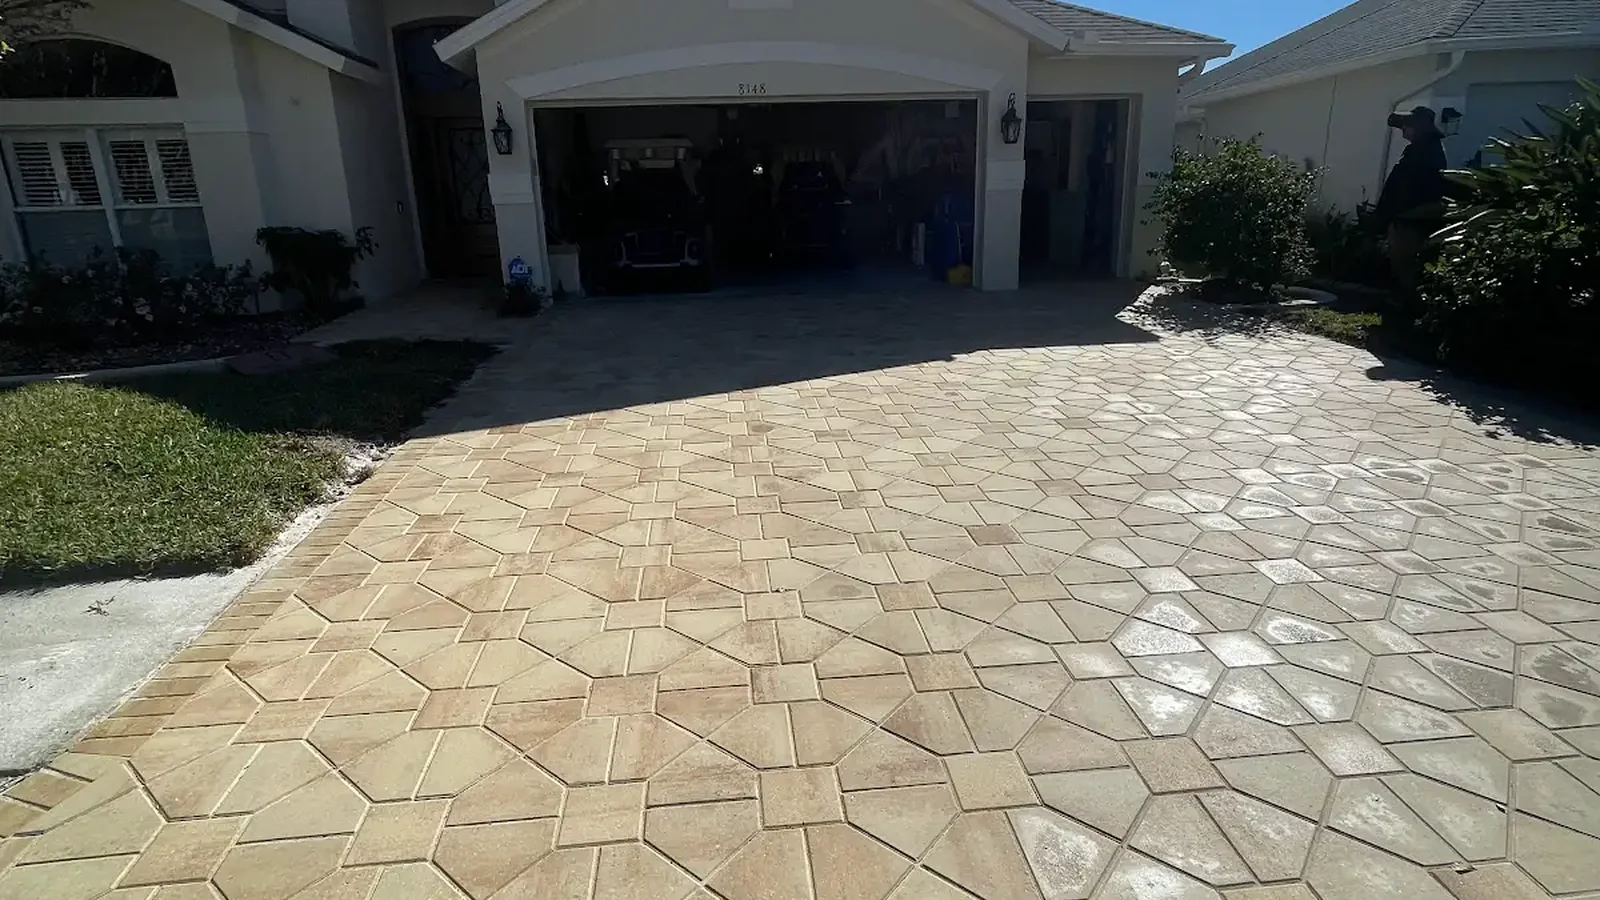
Relevant project images can reveal smooth curves, clean borders, and thoughtful transitions. However, finished photos may hide the restraint. Progress photos can therefore be equally useful when available. DR Pavers Design outlines its broader hardscape work on the services page, while the Concrete Masonry and Hardscapes Association offers industry education.
Finally, the proposal should connect edge work with base preparation, paver layout, and surrounding finishes. Separate line items are helpful only when their relationships remain clear. Therefore, concrete vs plastic edging should never become a substitute for discussing the whole installation. The most defensible choice is the one that fits the documented site and can be installed well.
Keep the perimeter visible in your maintenance routine
Nevertheless, After completion, keep soil and mulch from building over the outer paver edges. In addition, watch for erosion where roof or irrigation water reaches the landscape. Avoid driving stakes beside a hidden restraint without knowing its location. These habits support either material and make changes easier to spot.
Afterward, If an edge unit begins to shift, document the area before adding fill or making a patch. Then, note recent storms, landscape work, or unusual traffic. That context helps a contractor inspect the assembly efficiently. It also keeps the concrete vs plastic edging discussion grounded in observed conditions.
Compare bids against one perimeter plan
Furthermore, Two proposals are difficult to compare when they assume different edge lengths or site responsibilities. First, give each contractor the same marked perimeter and description of use. Ask them to identify any section they would treat differently. This common reference keeps concrete vs plastic edging recommendations tied to the same project.
Next, separate restraint work from neighboring landscape restoration in the discussion. One proposal may include soil finish and sod replacement, while another may stop at the paver edge. Therefore, clarify those boundaries before comparing totals. The distinction affects scope without proving that either restraint material is better.
Product descriptions should also connect to field details. For plastic, request the proposed component and fastening approach. For concrete, meanwhile, ask how placement will be supported and finished. A concrete vs plastic edging decision becomes clearer when each answer describes the same corners, curves, and traffic areas.
Keep changes traceable during contractor review
Allow contractors to flag concealed conditions that cannot be confirmed before excavation. However, ask how discoveries will be documented and discussed. A defined change process protects the homeowner and the crew. It also prevents an unknown base condition from turning into an unexplained material substitution.
Finally, compare communication, preparation, and cleanup alongside the named restraint. Edge performance relies on workmanship throughout the installation. Consequently, a cheaper-looking line item may not represent the same base or restoration scope. Use the perimeter plan to keep concrete vs plastic edging proposals specific, visible, and reasonably comparable.
Consequently, To turn your perimeter notes into a practical plan, visit contact and check the FAQ. Next, study the team’s projects, testimonials, and complete services overview. In addition, see current work on Instagram and Facebook. Then, locate DR Pavers Design through the map or consult its Google reviews. Finally, send site photos through WhatsApp, call, text, or email so the team can discuss concrete vs plastic edging at your property.