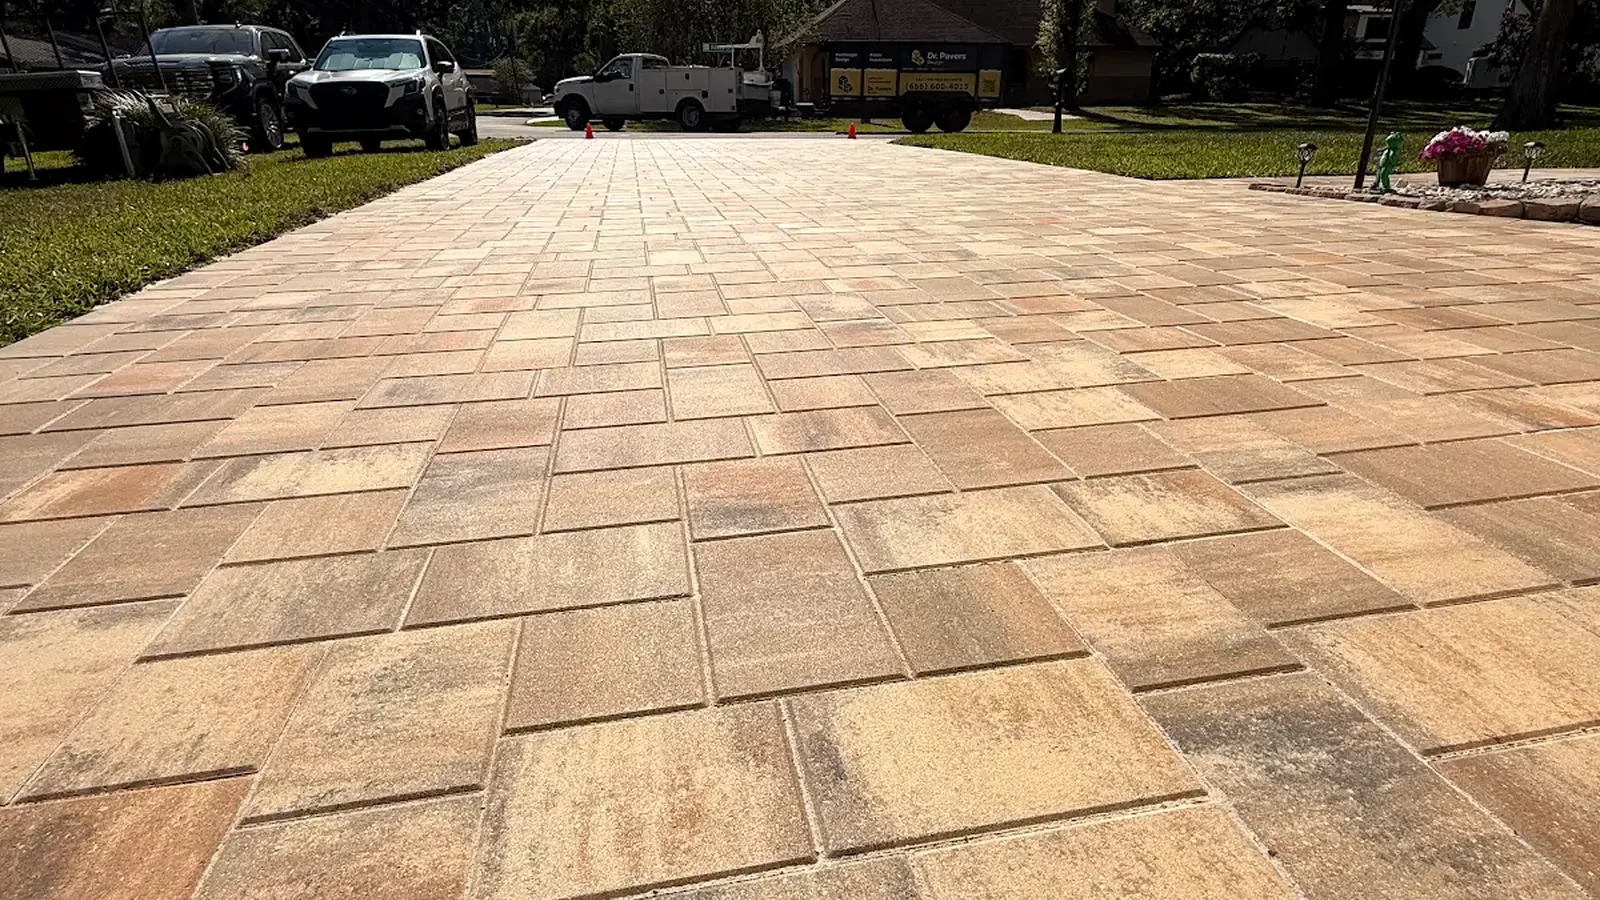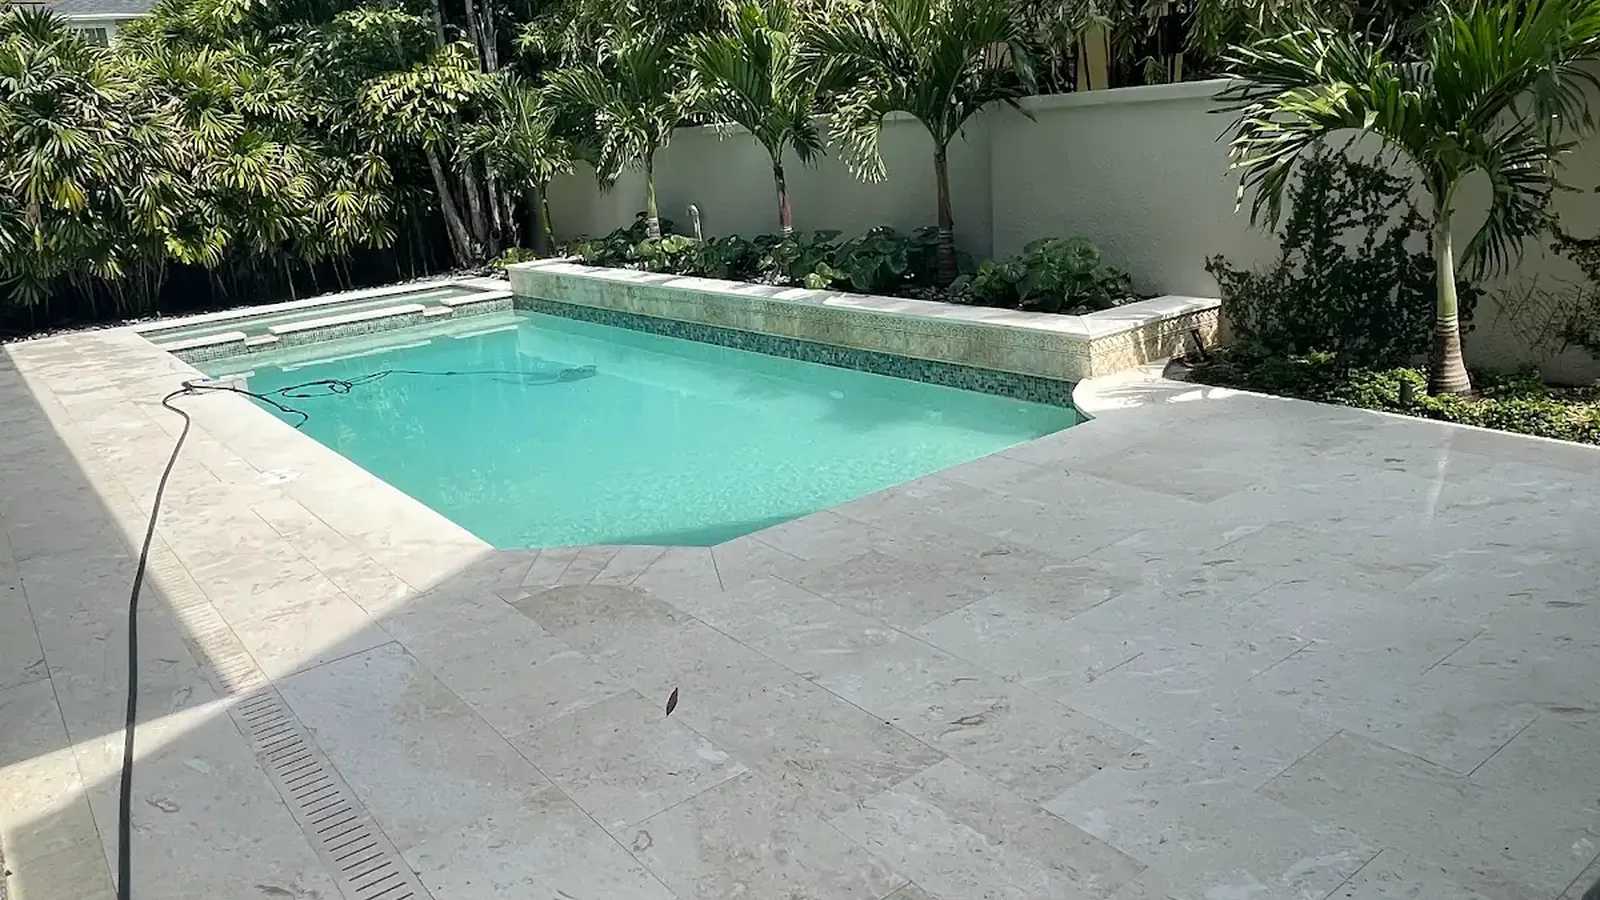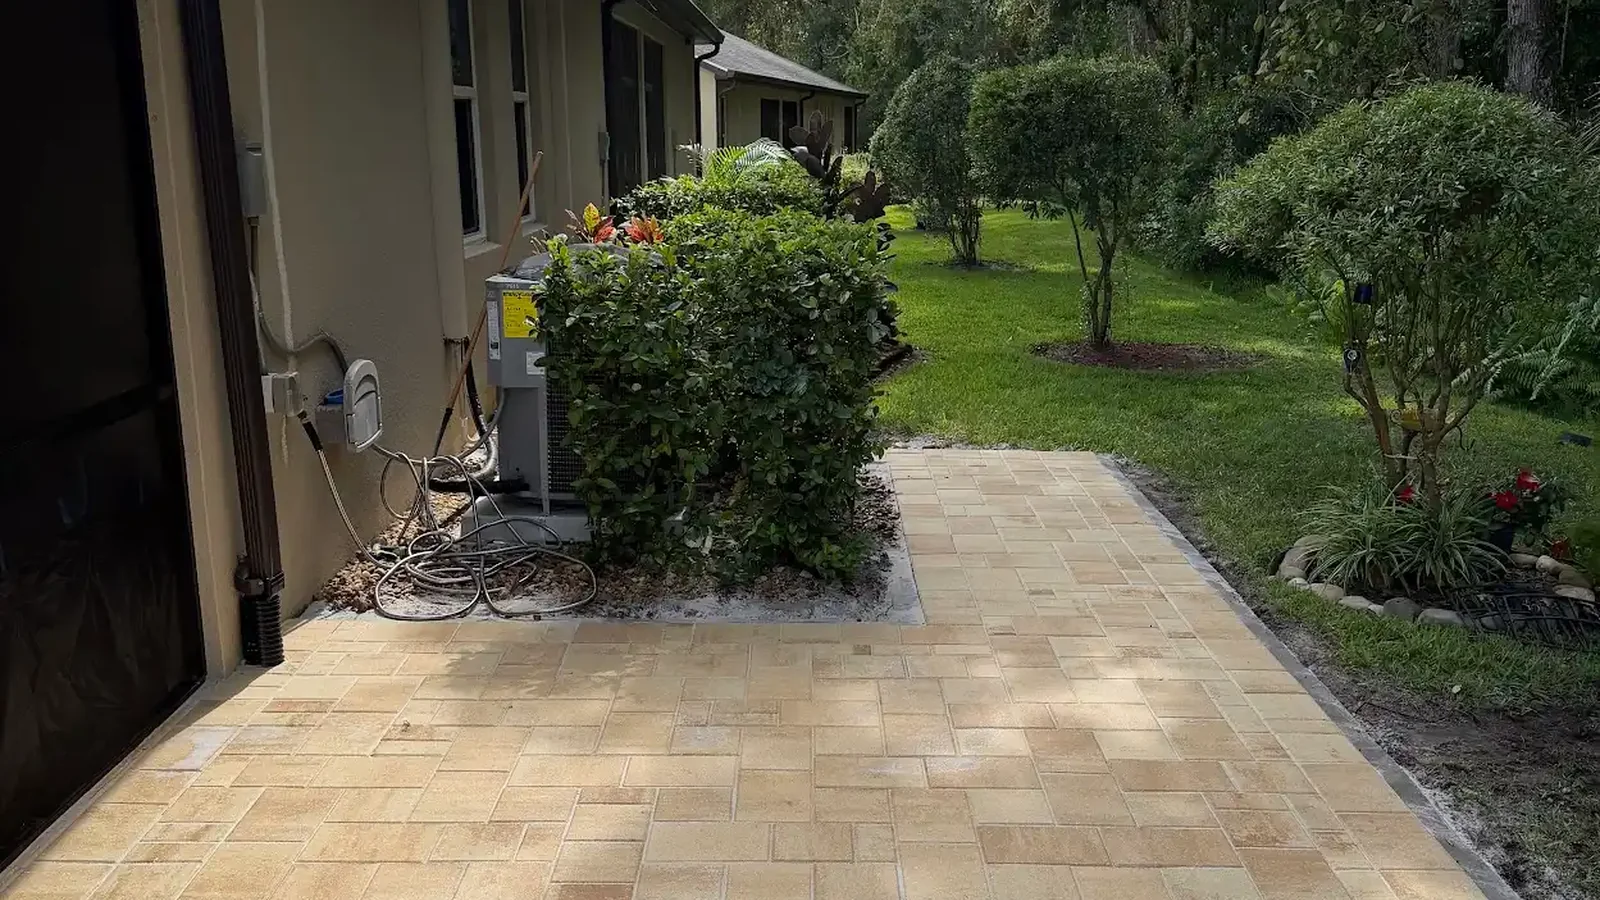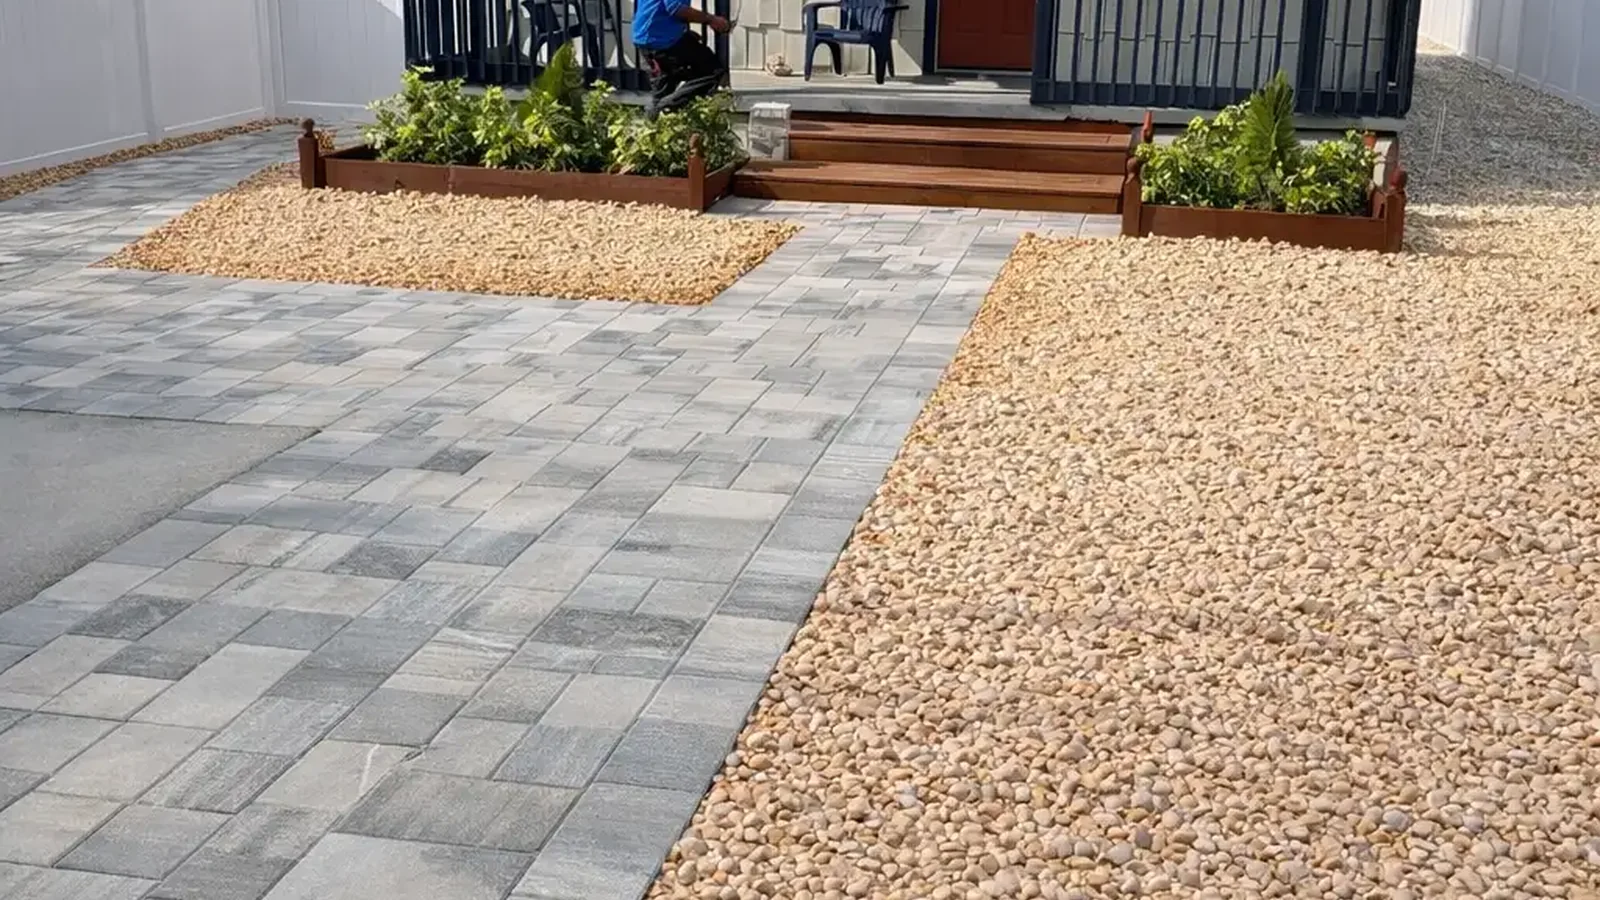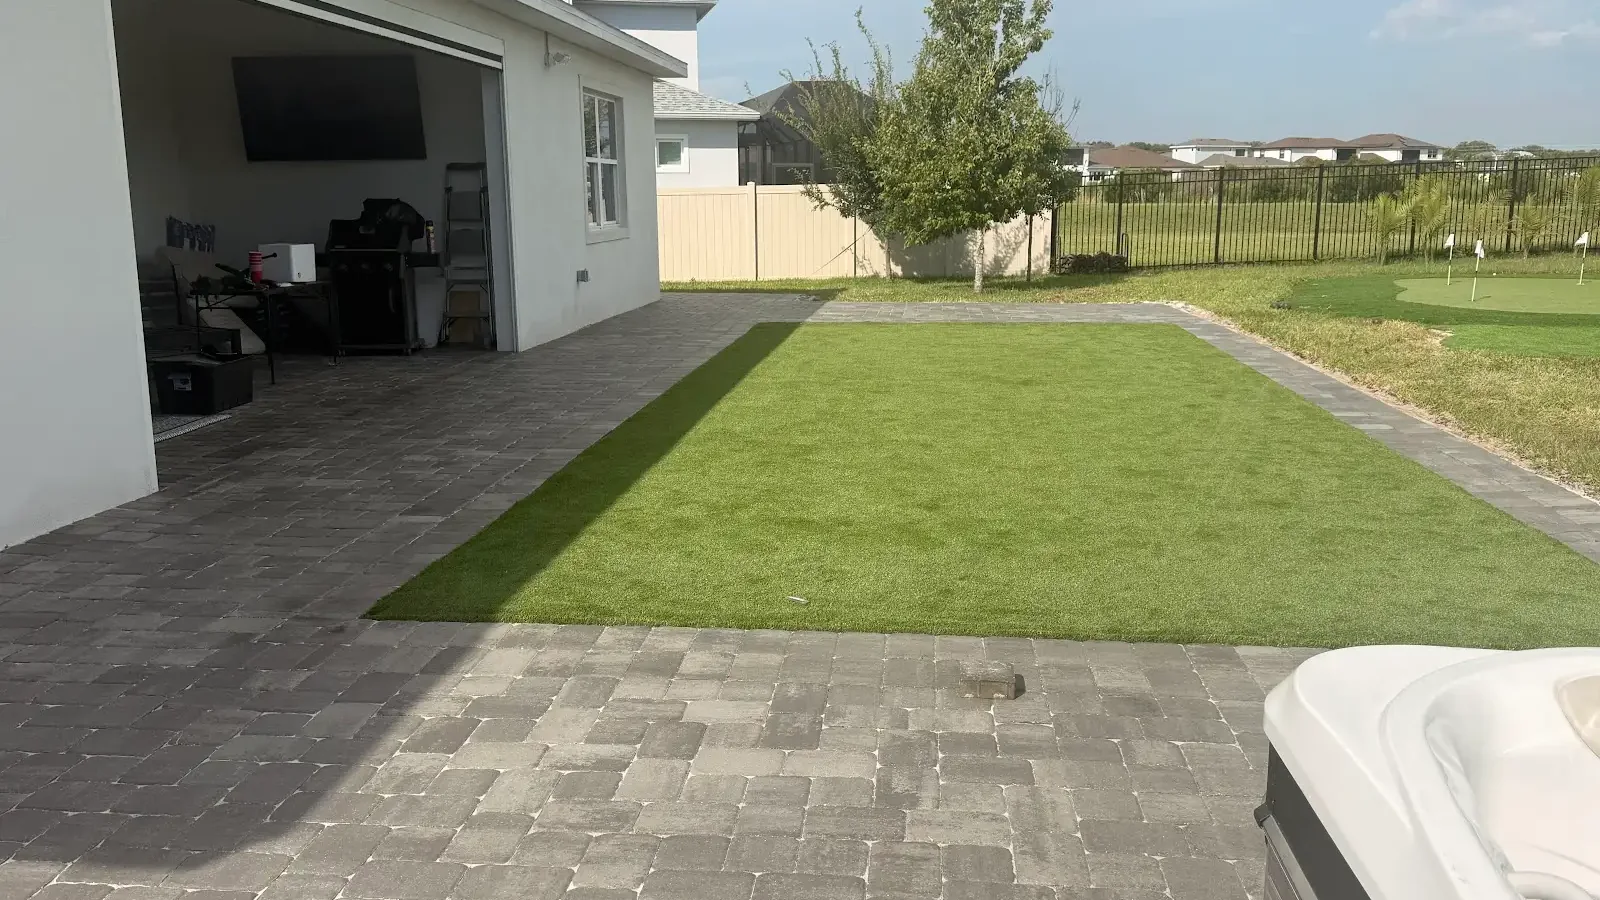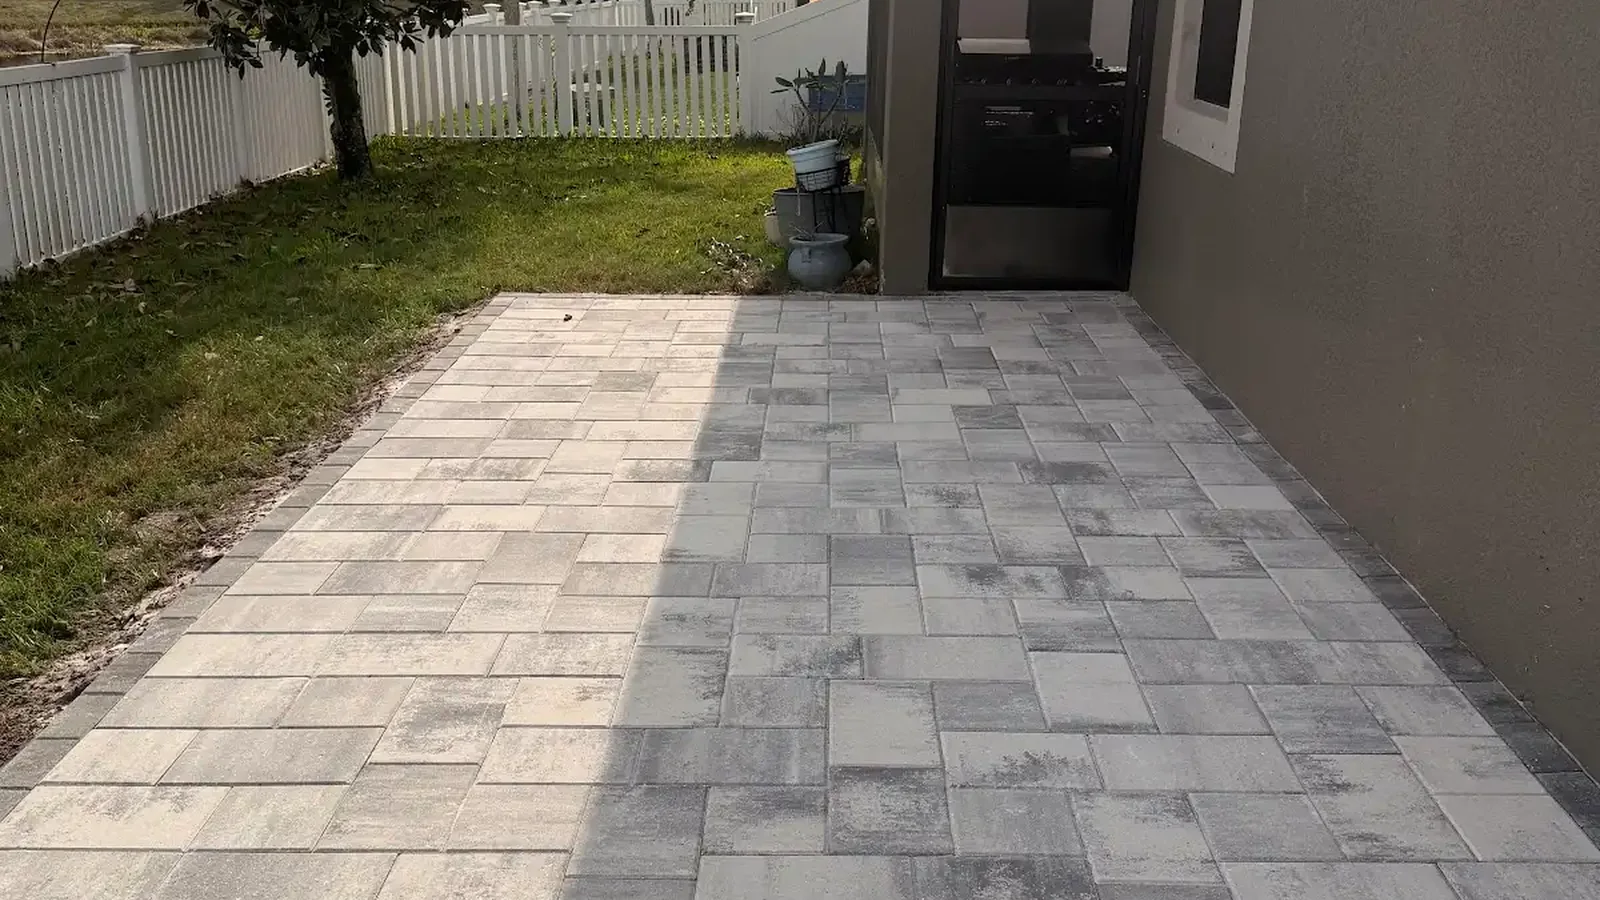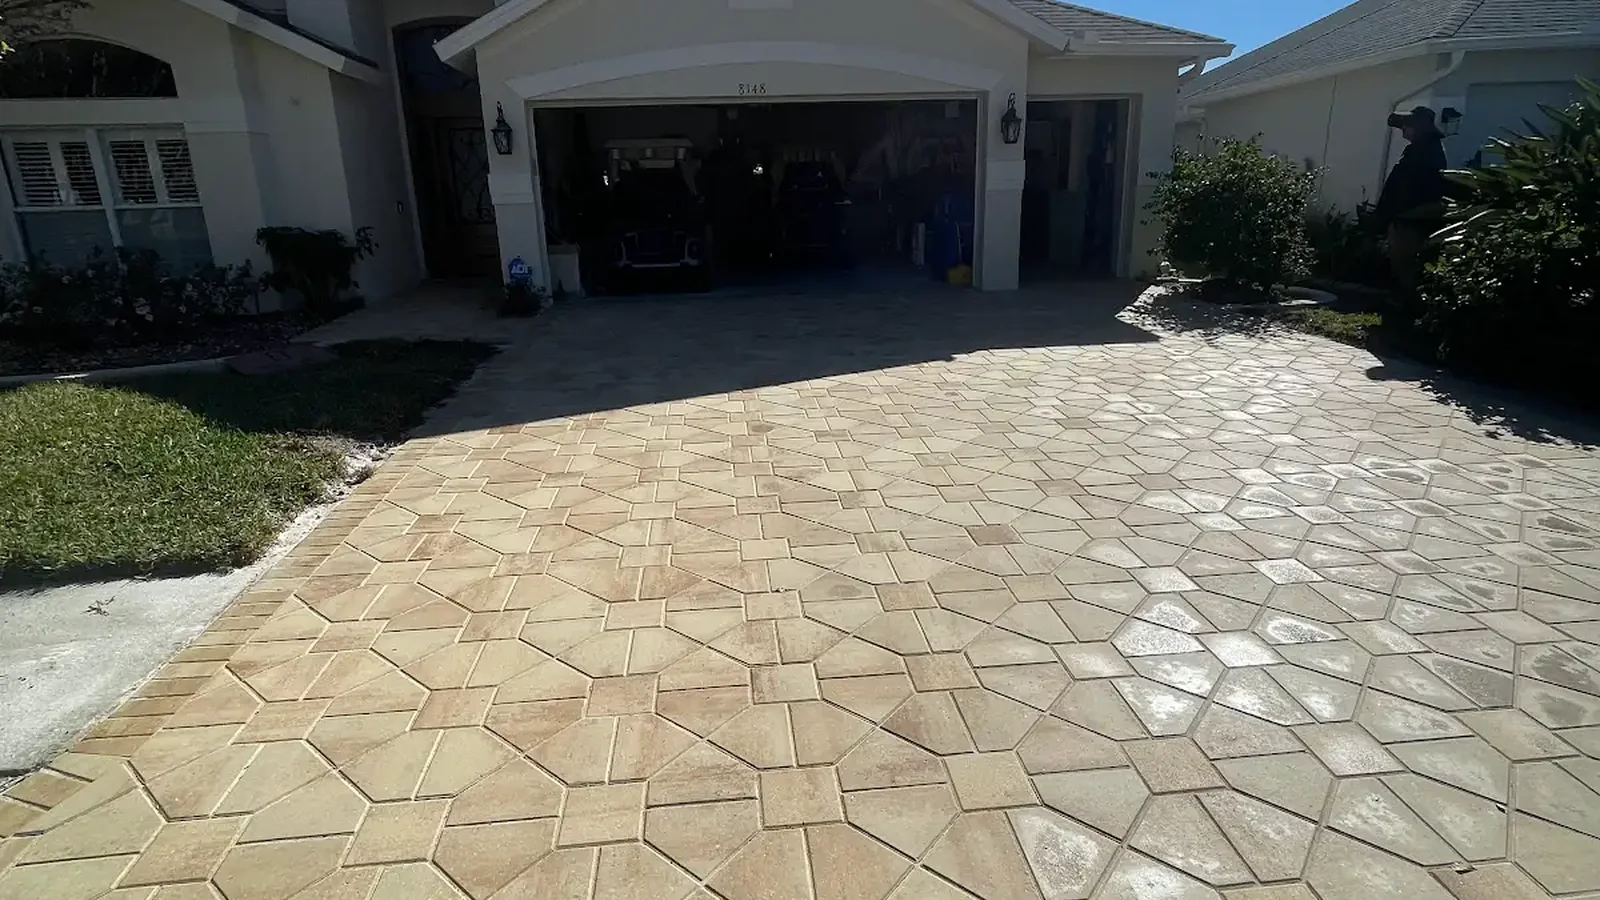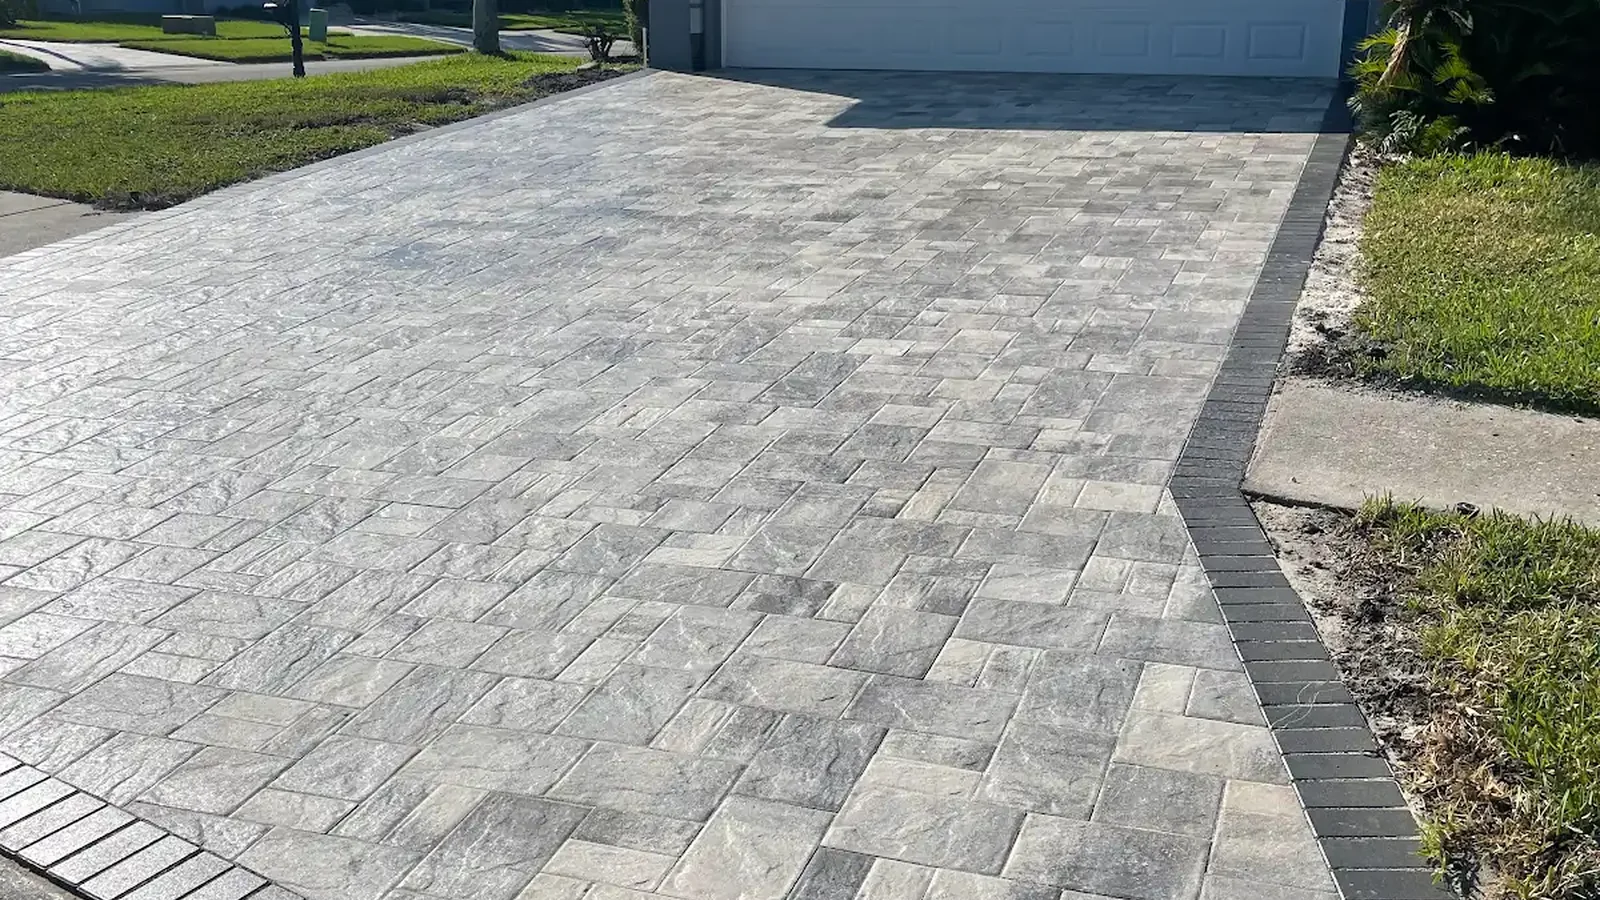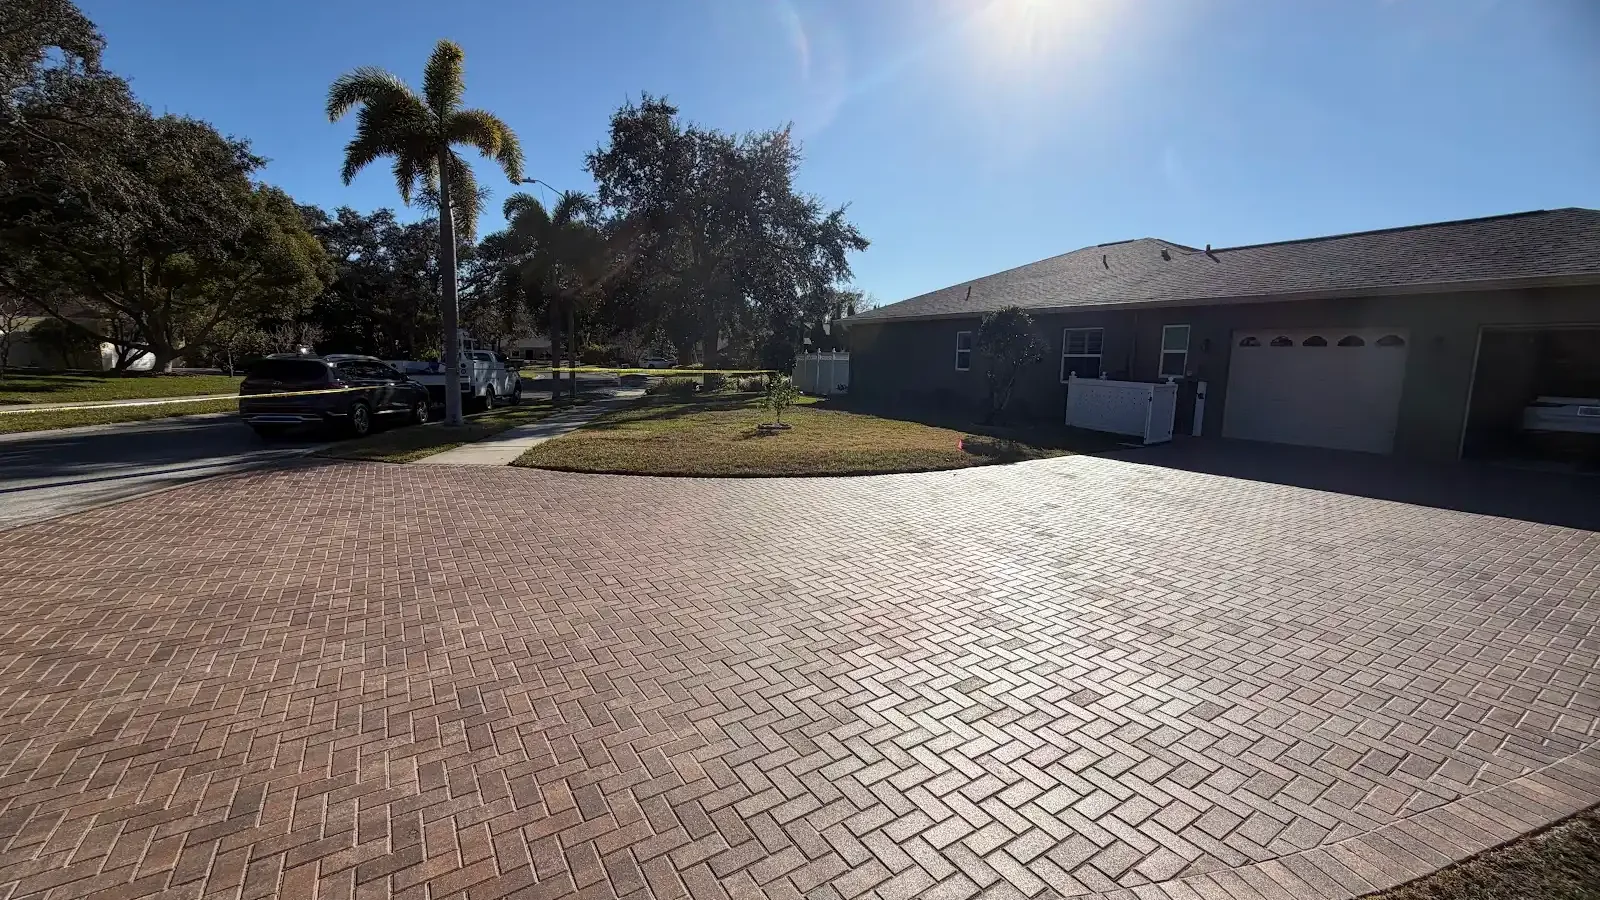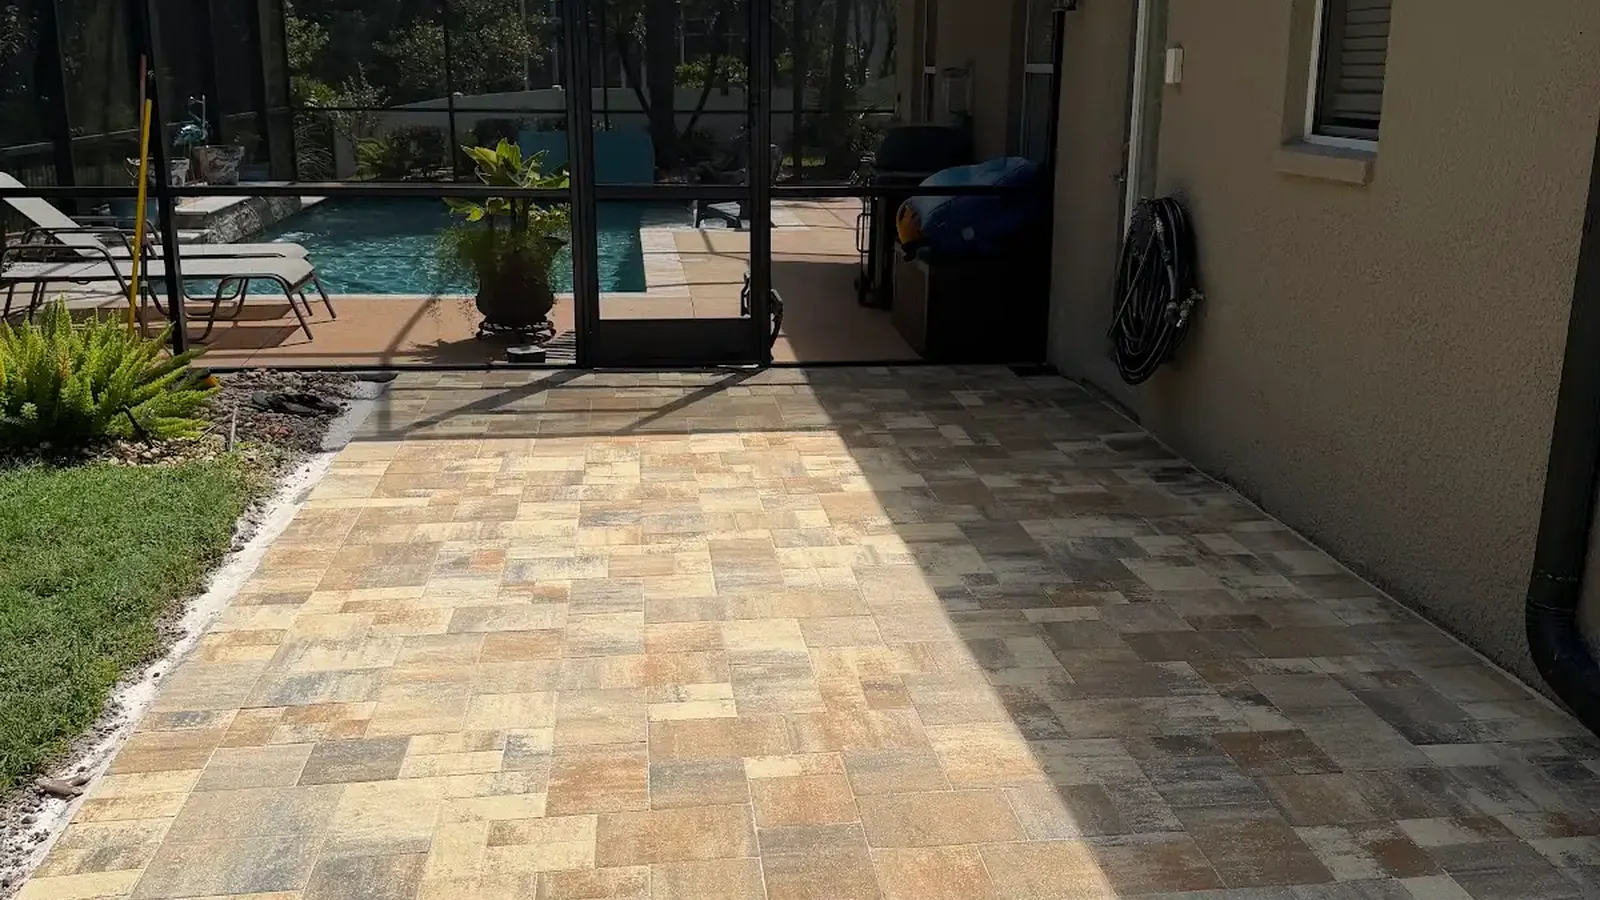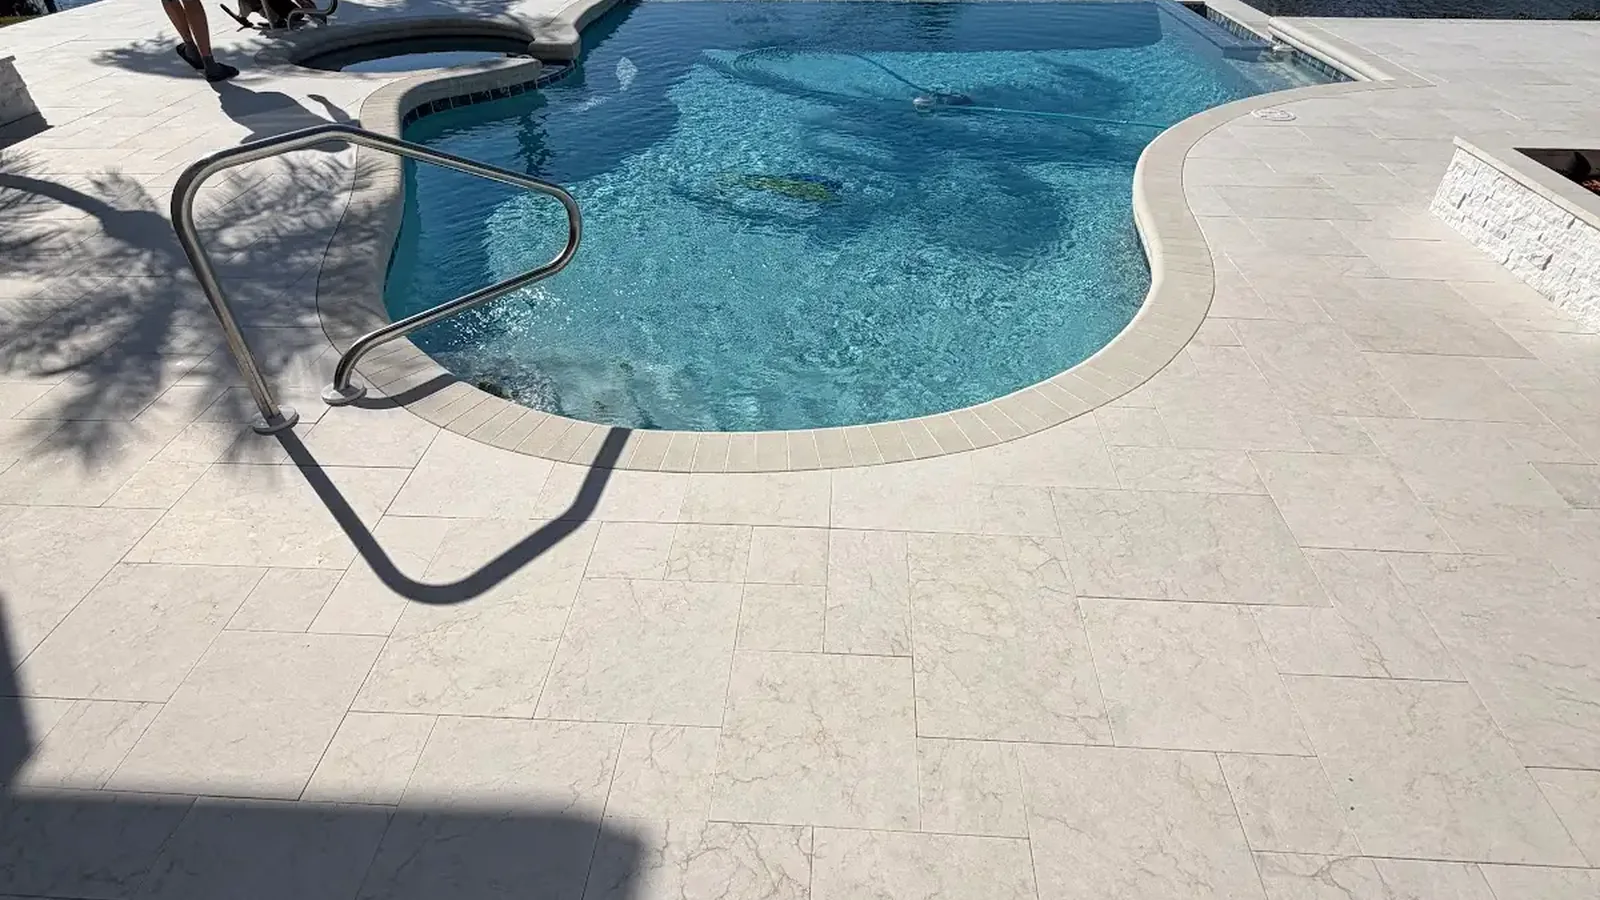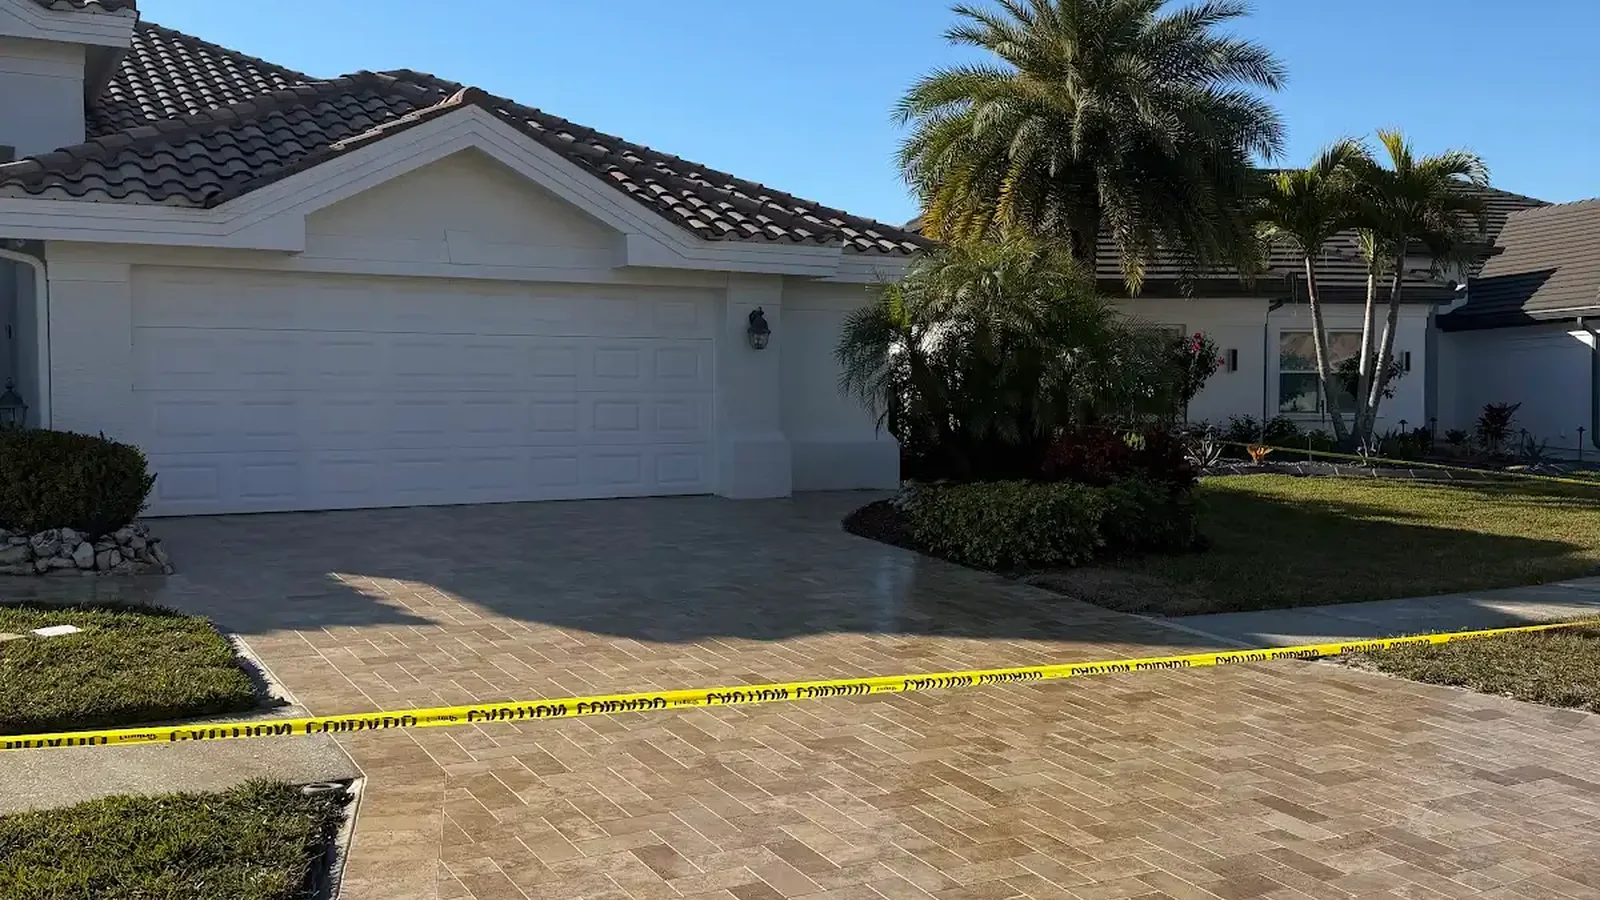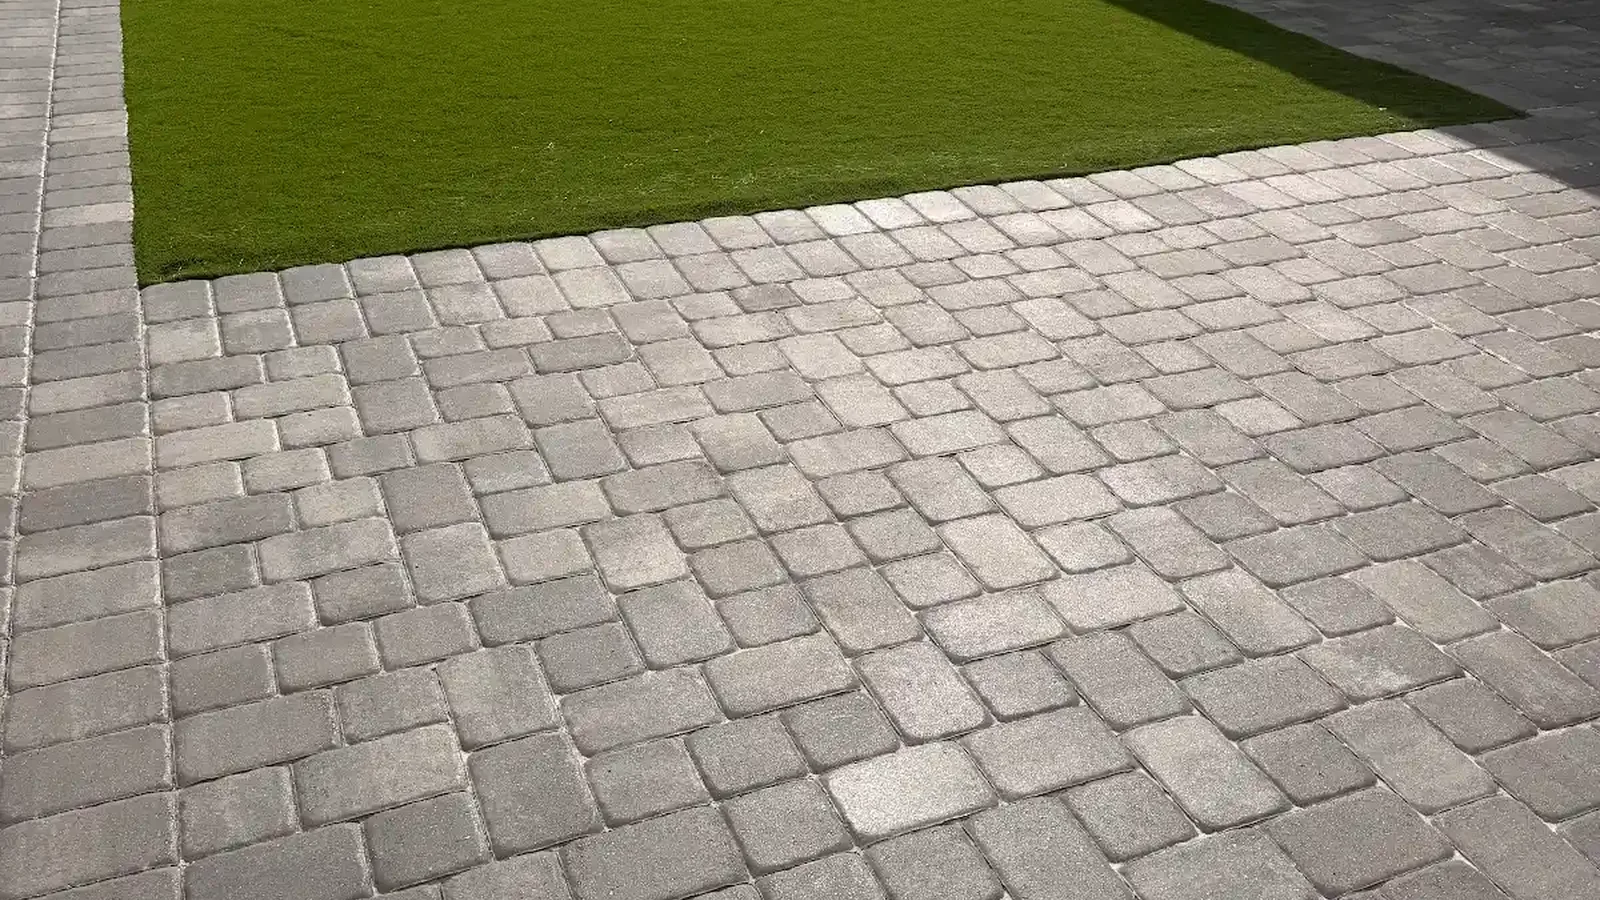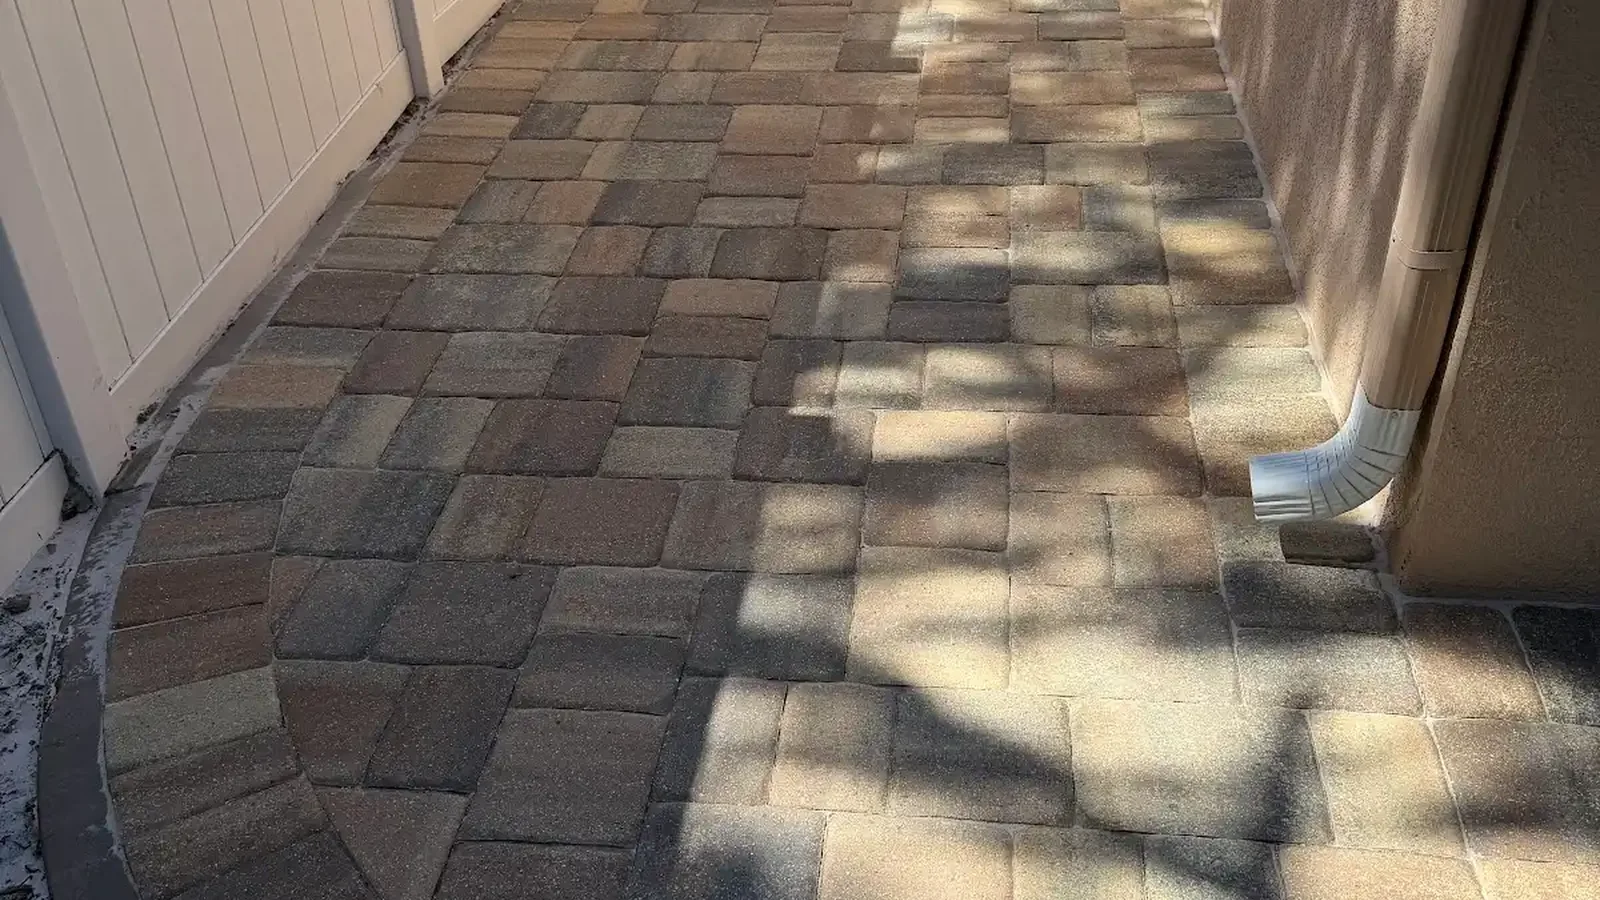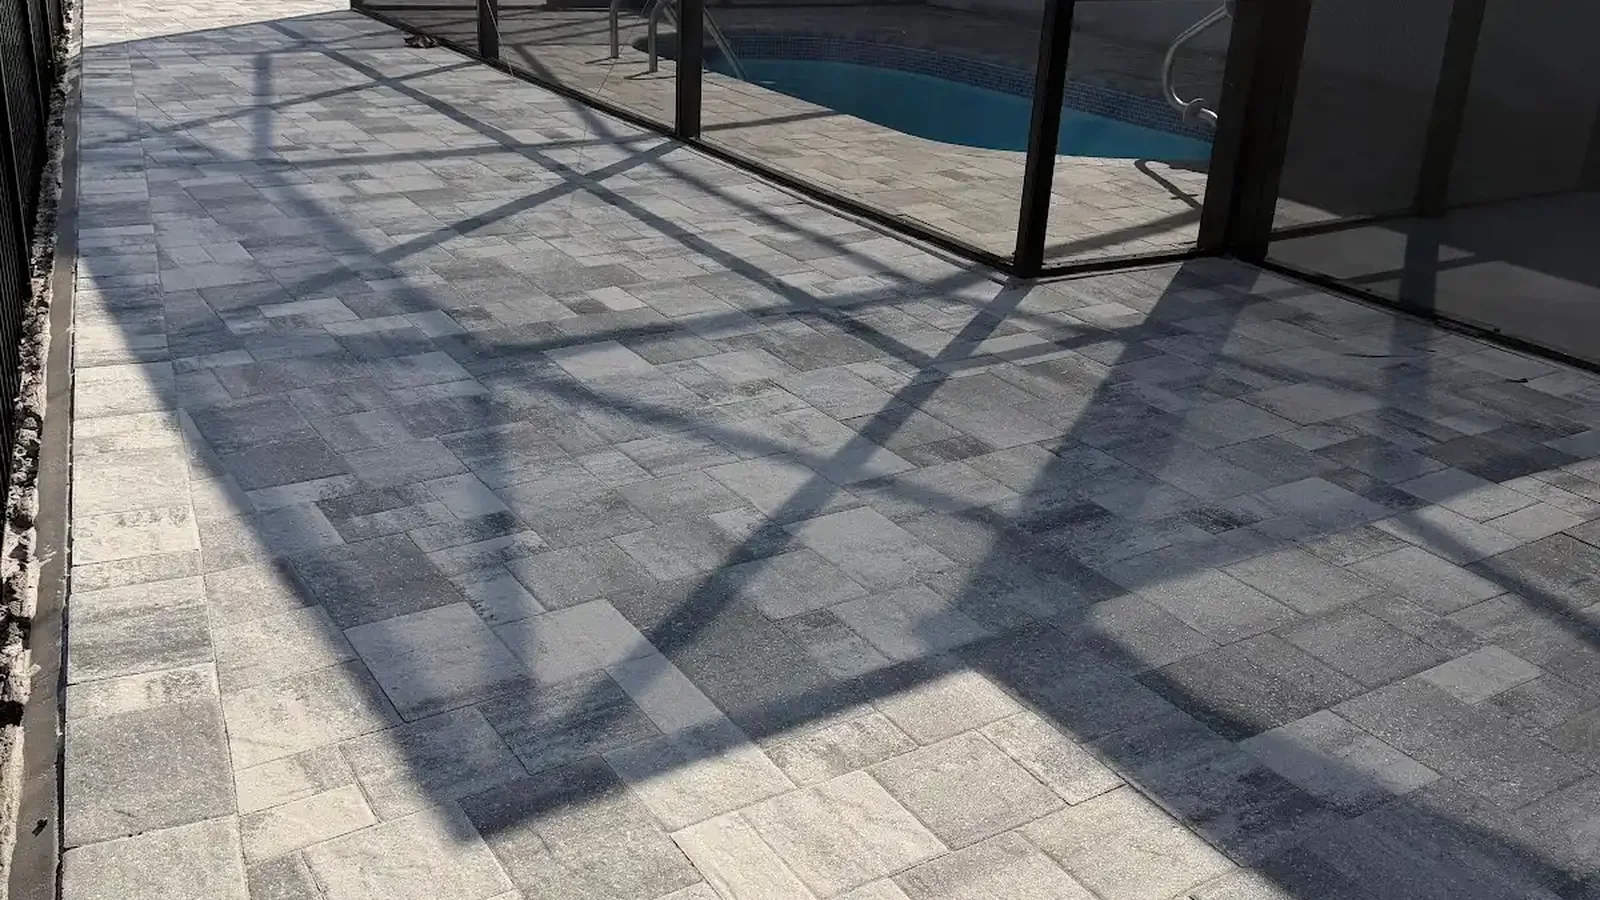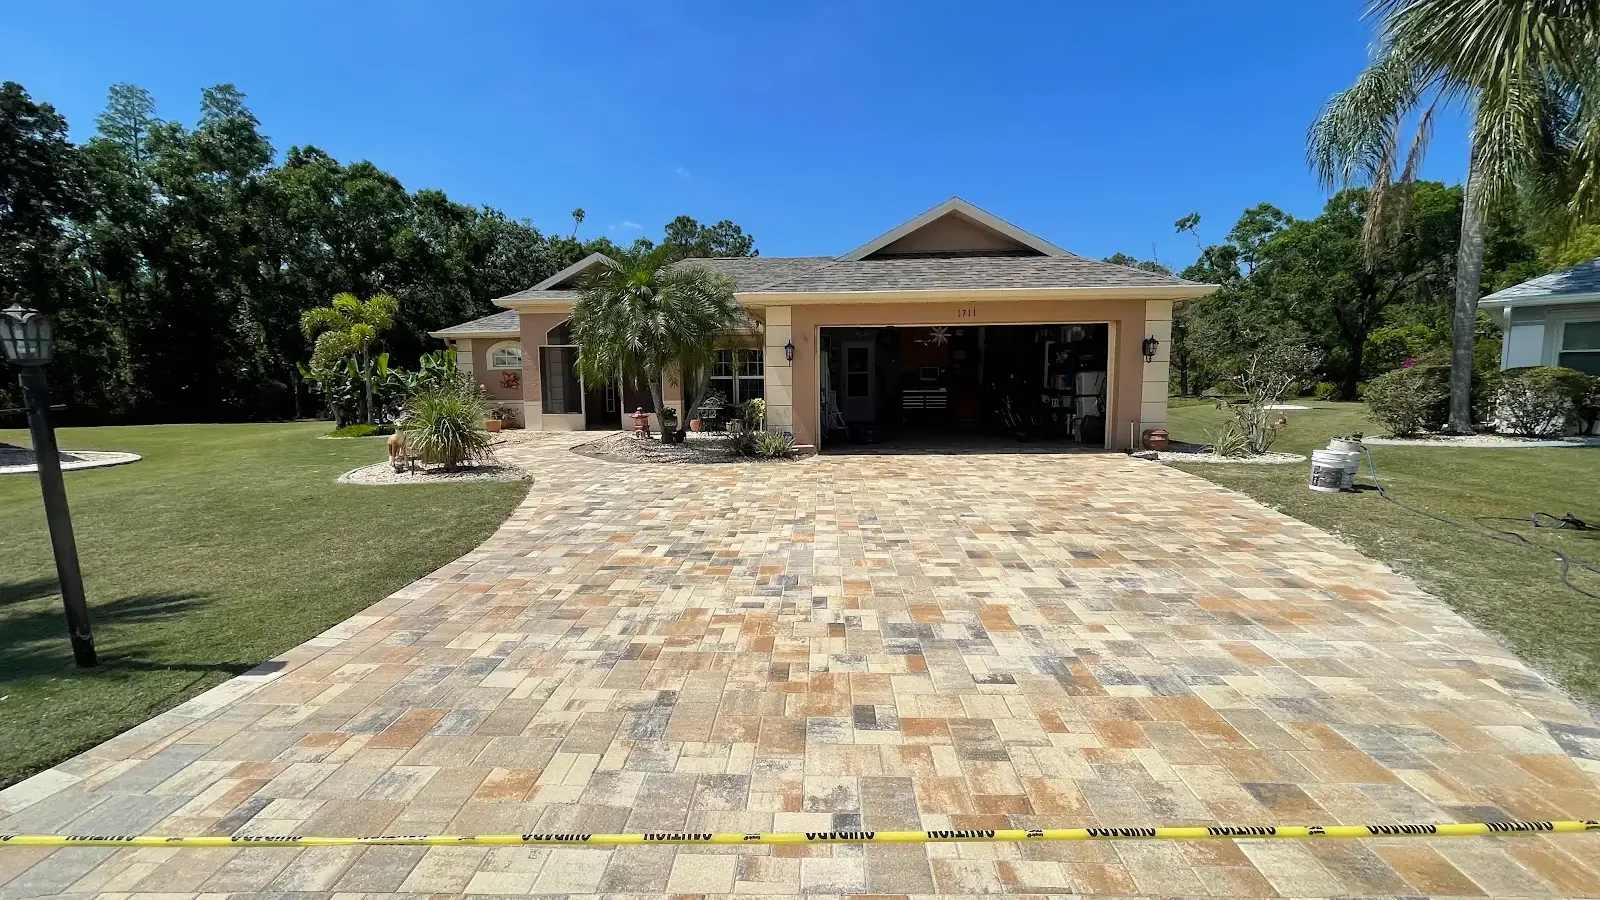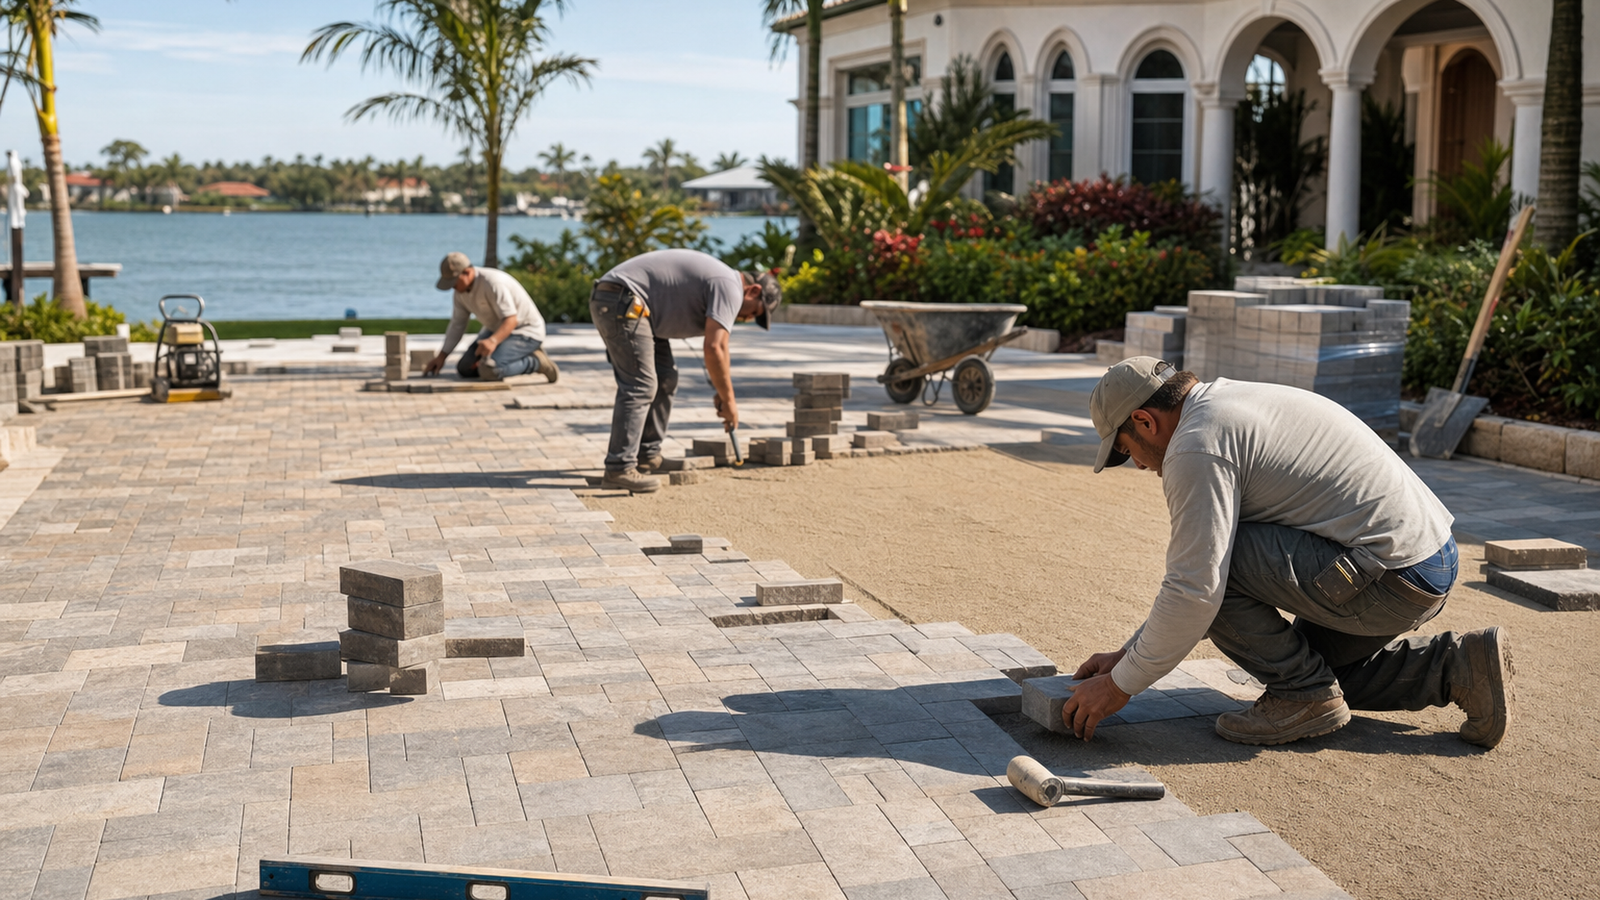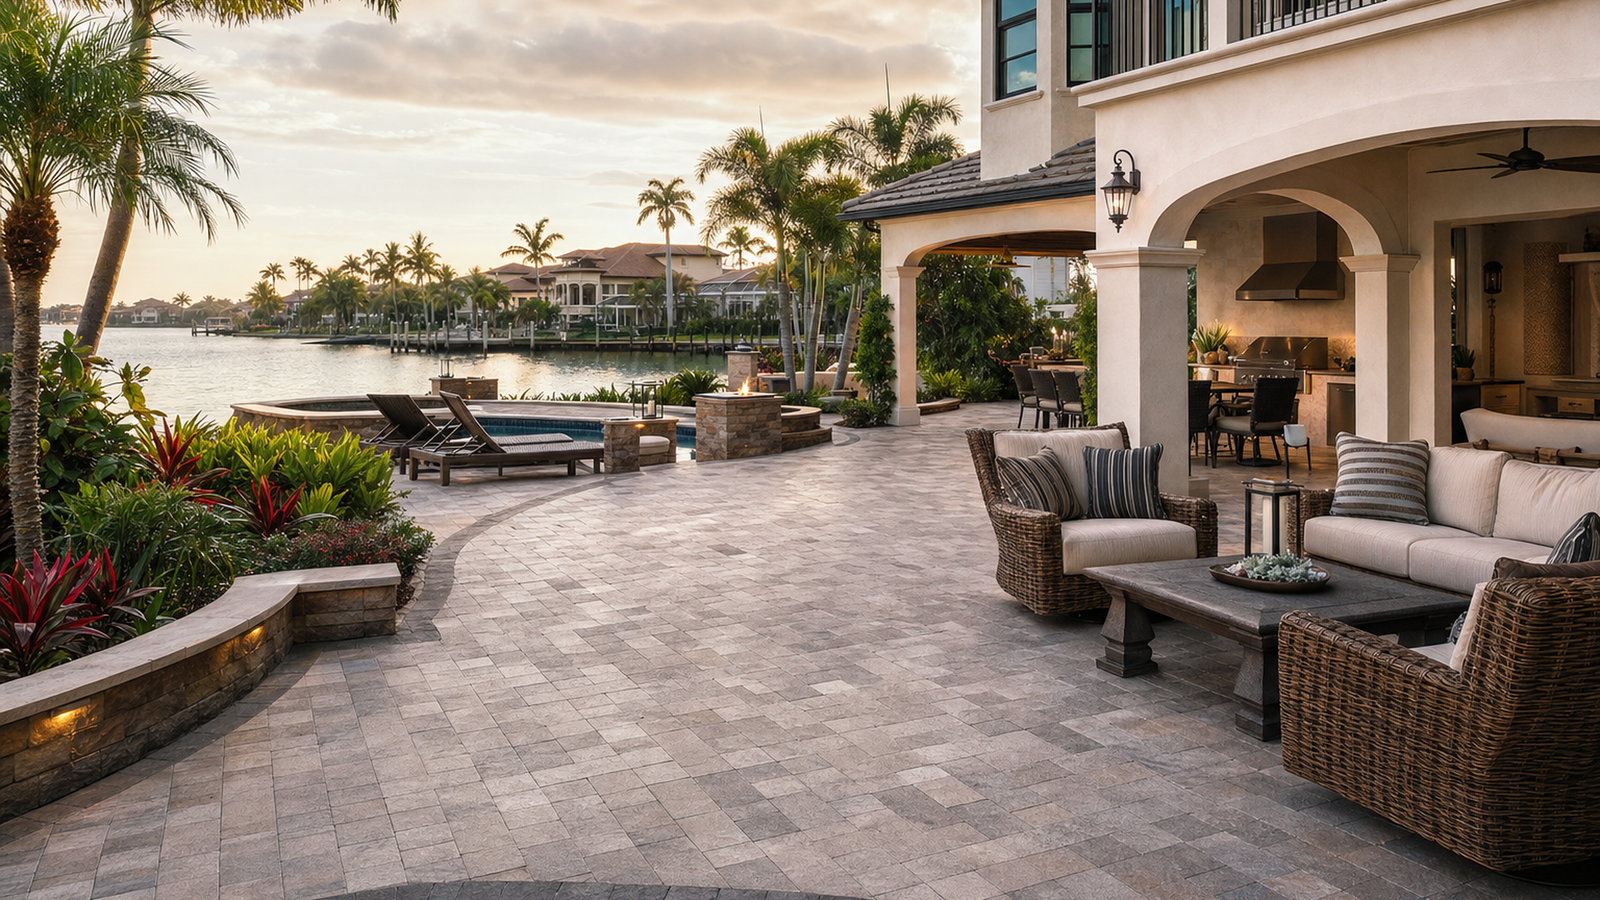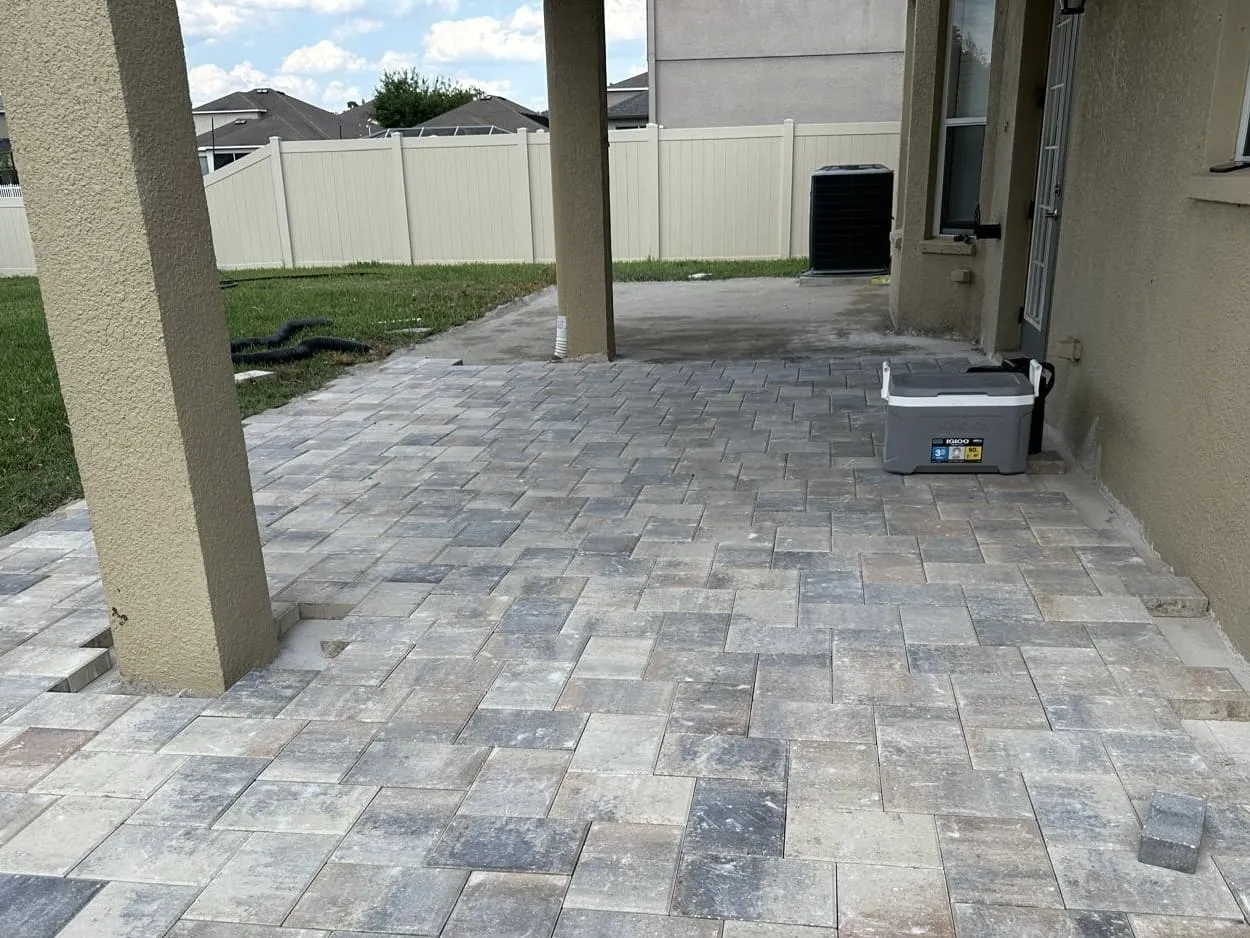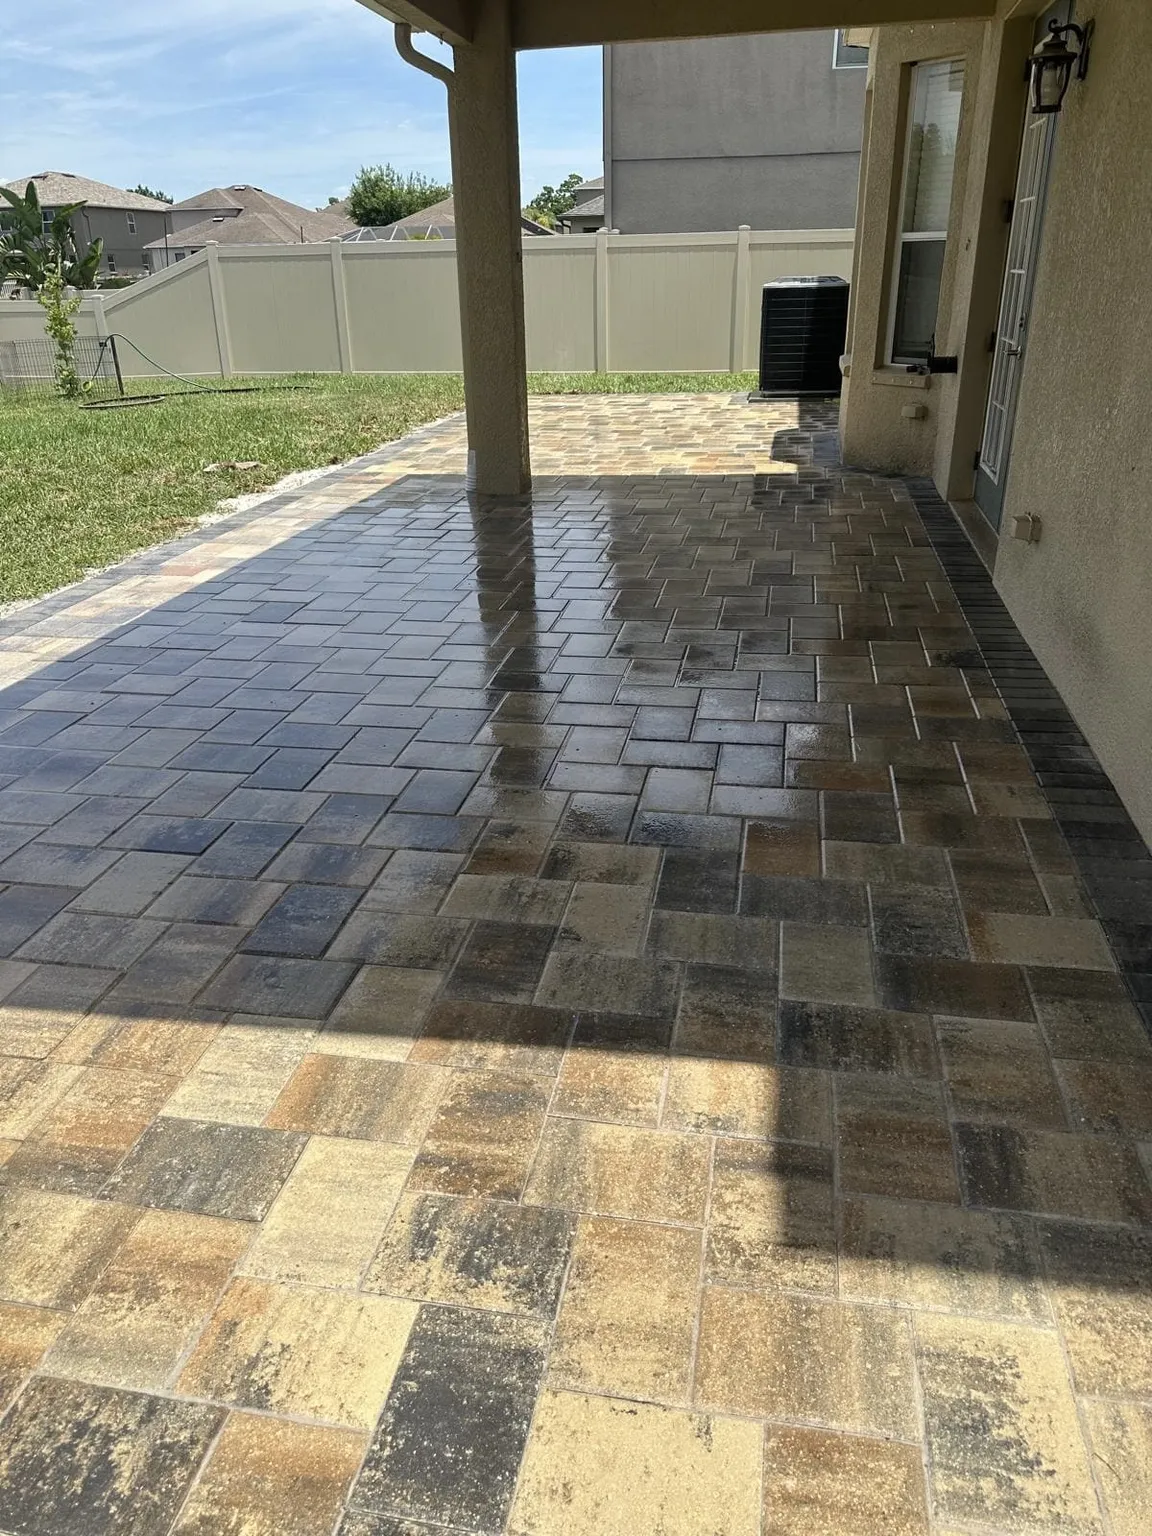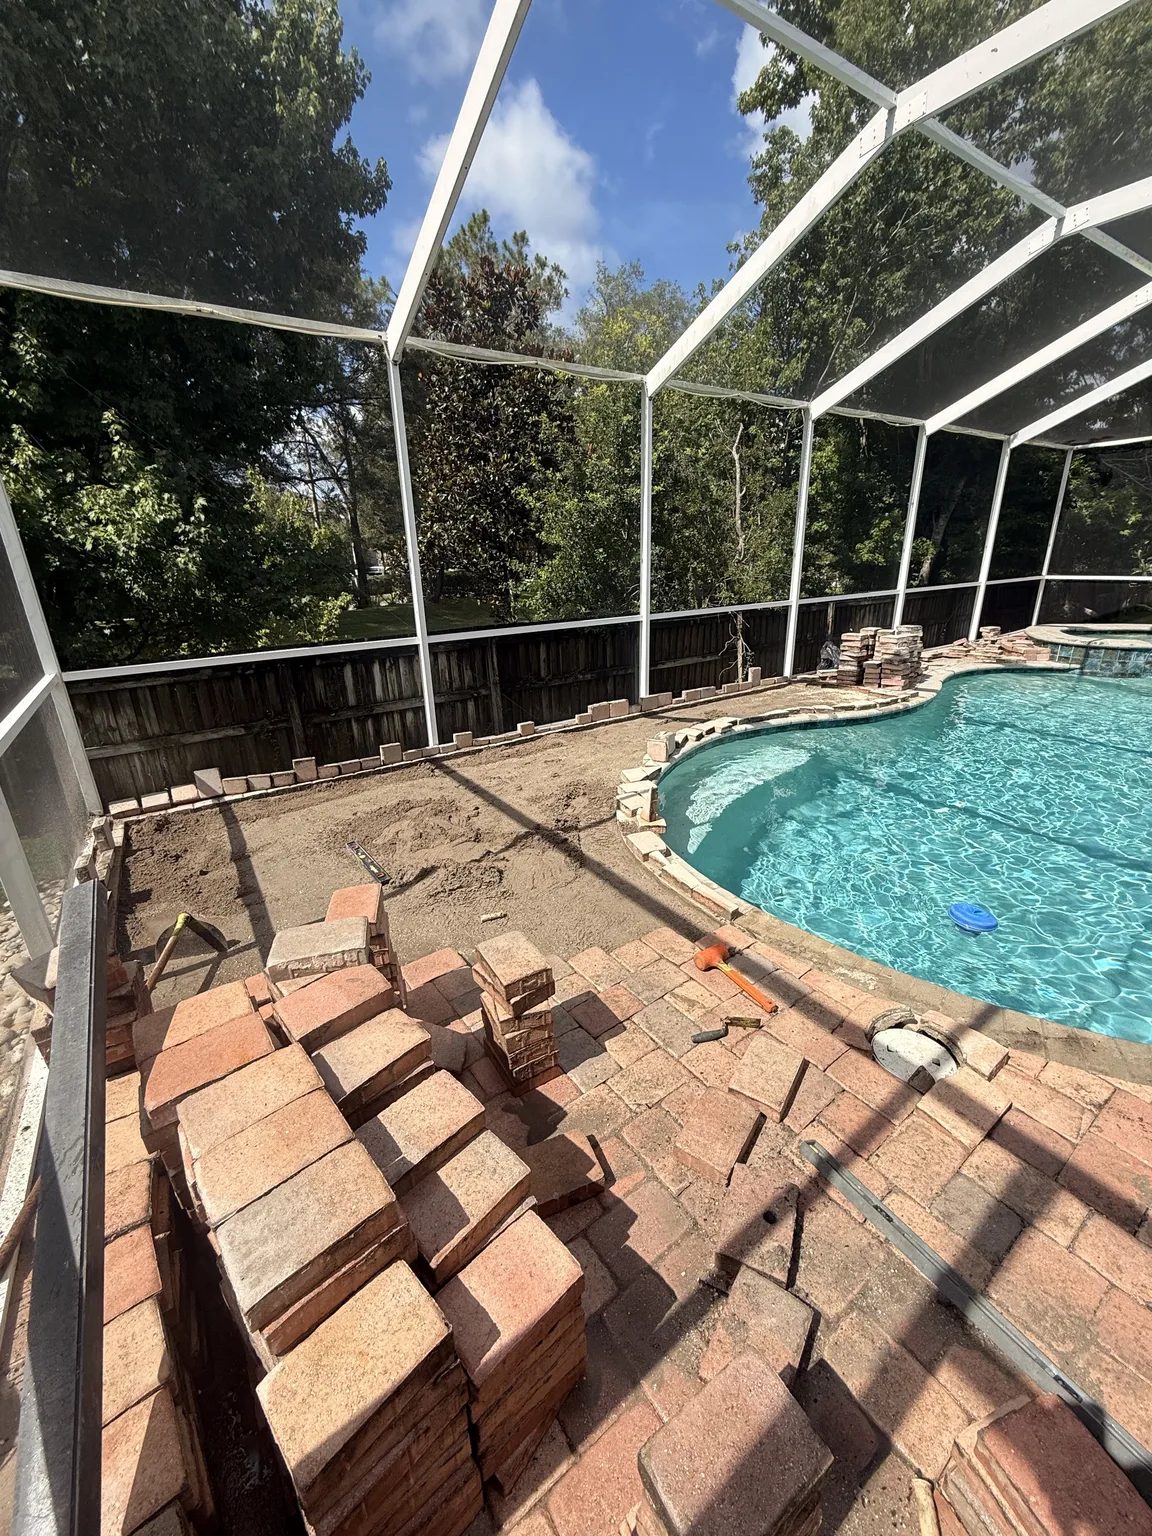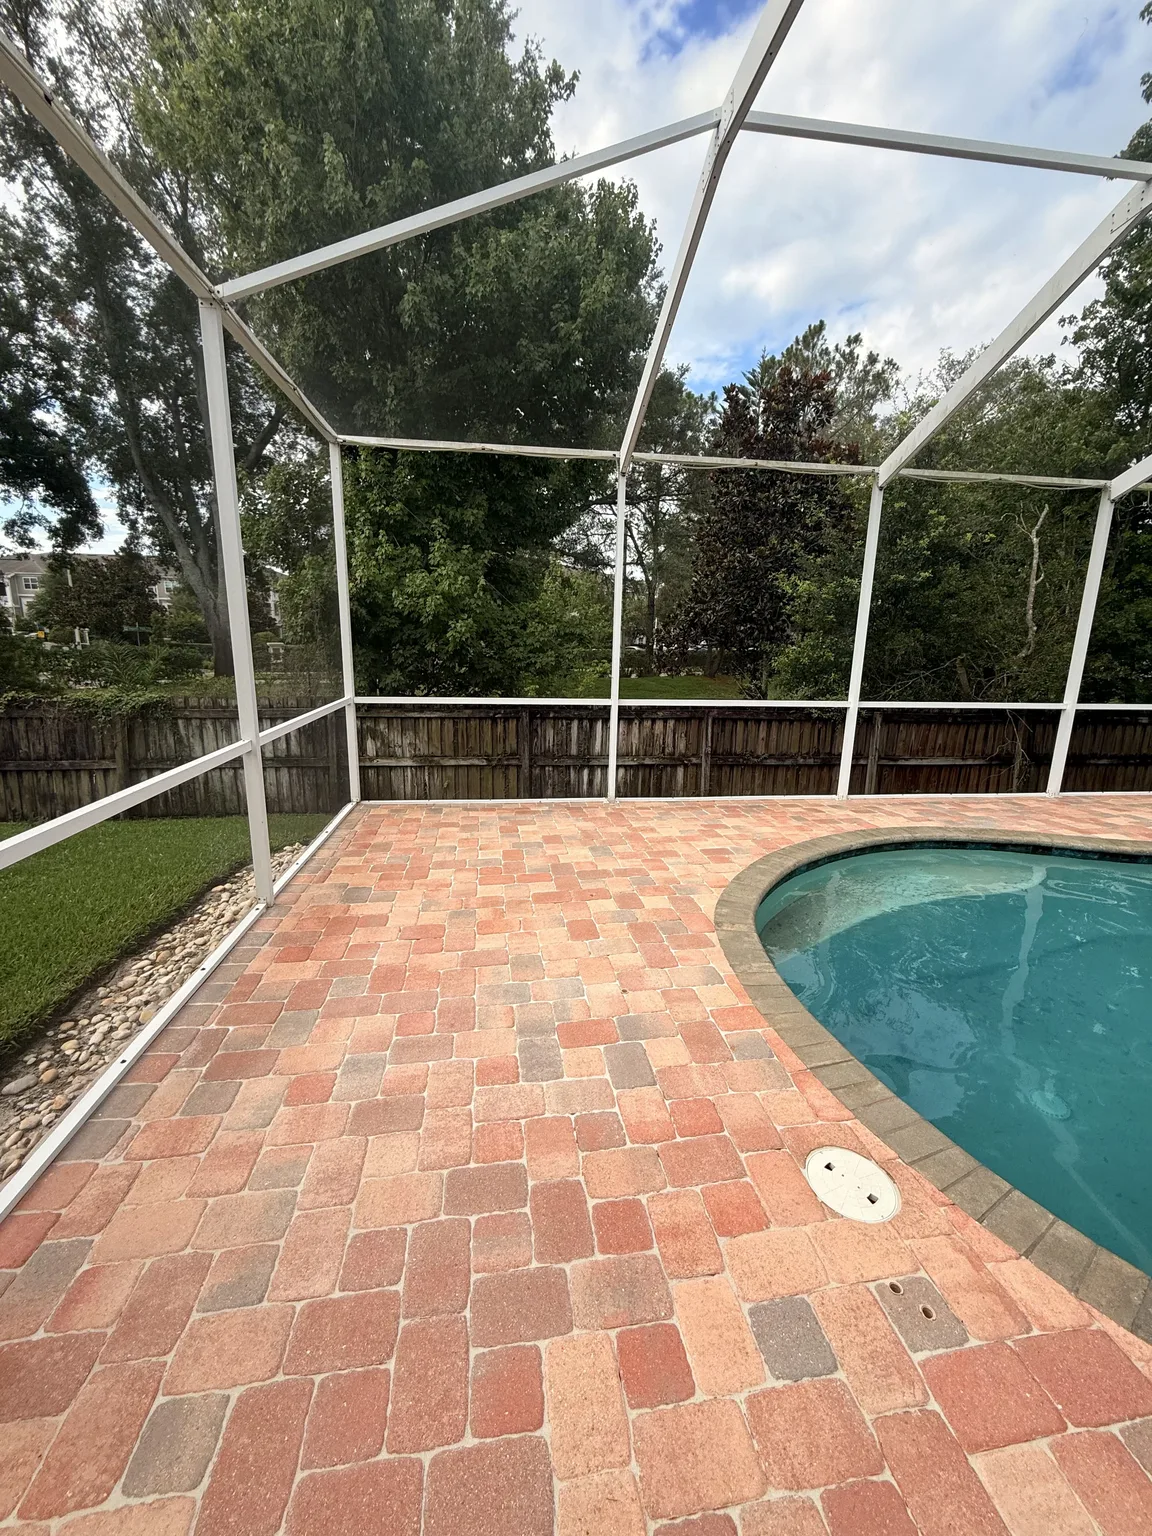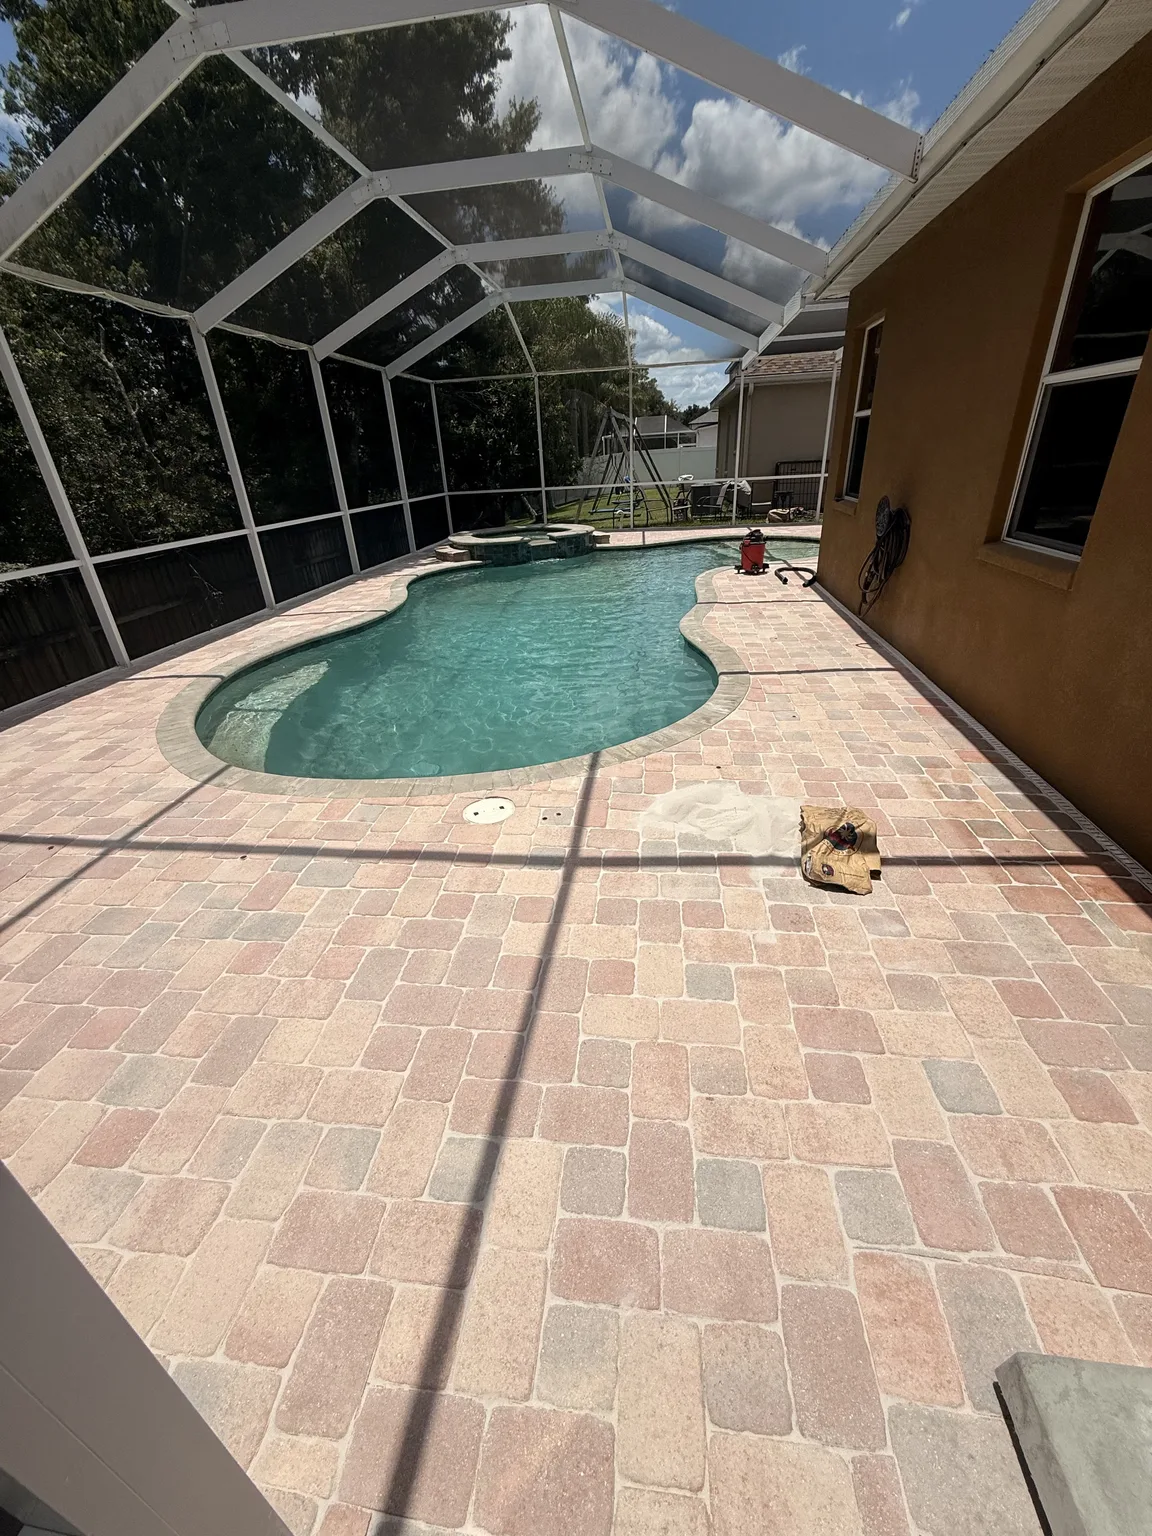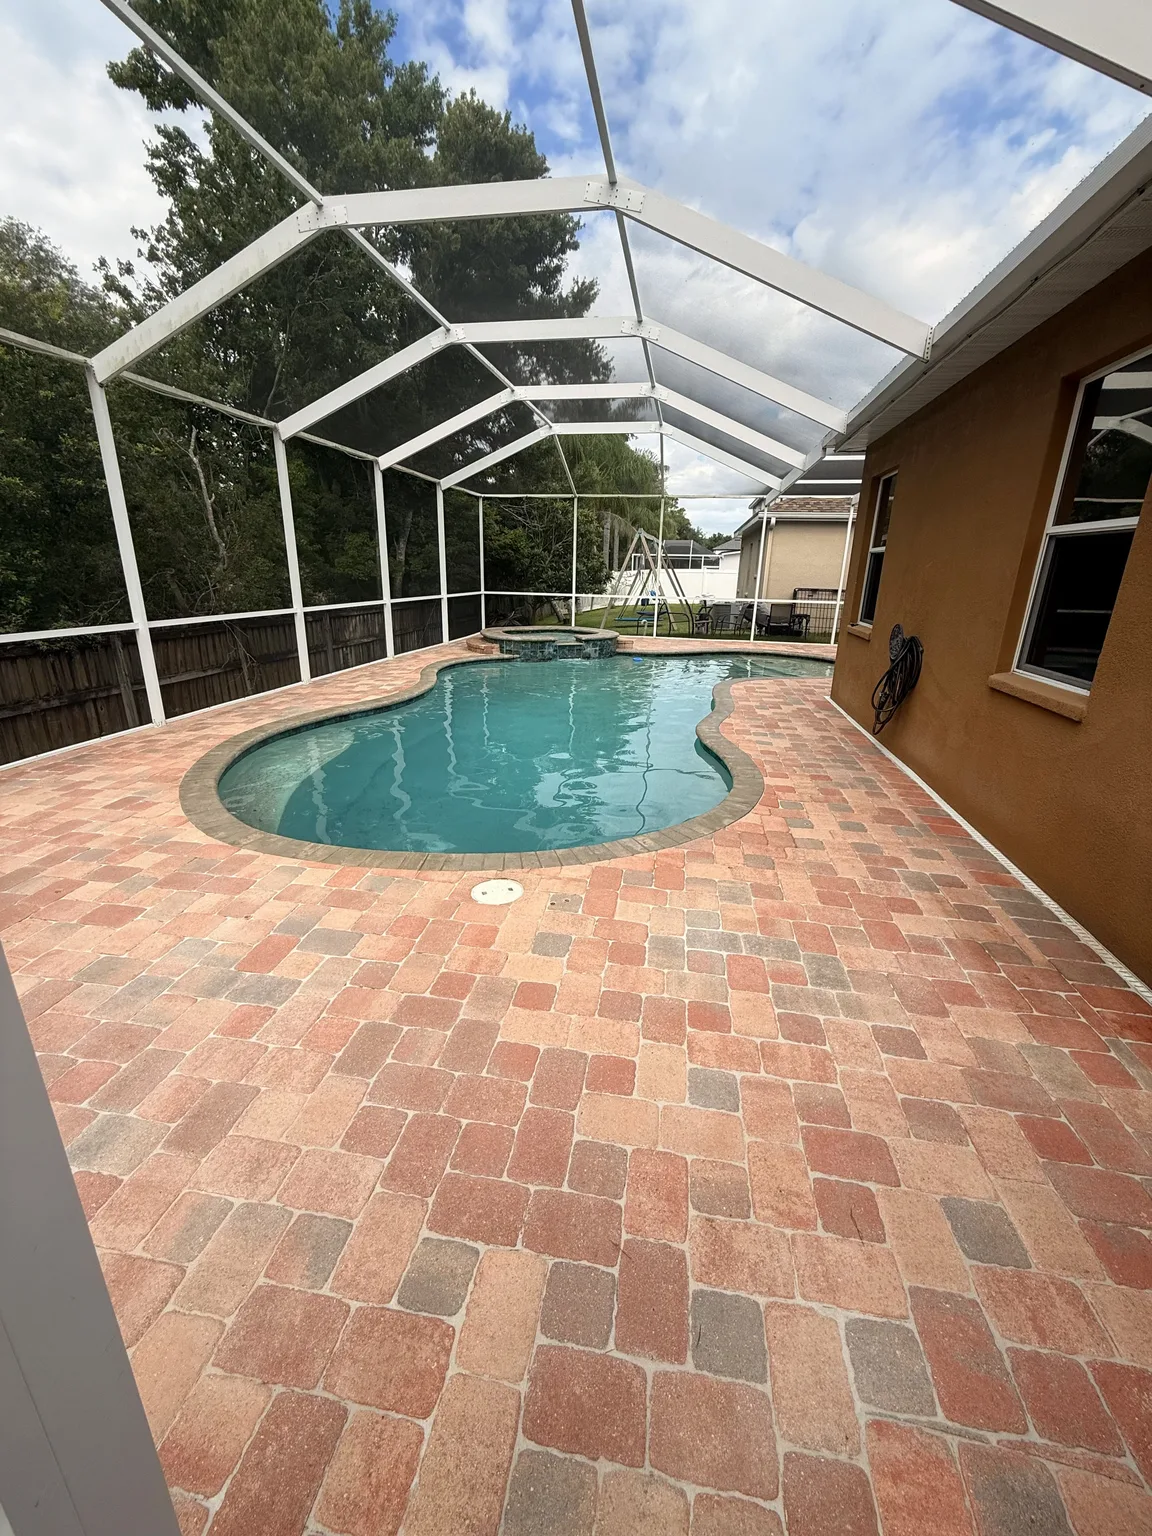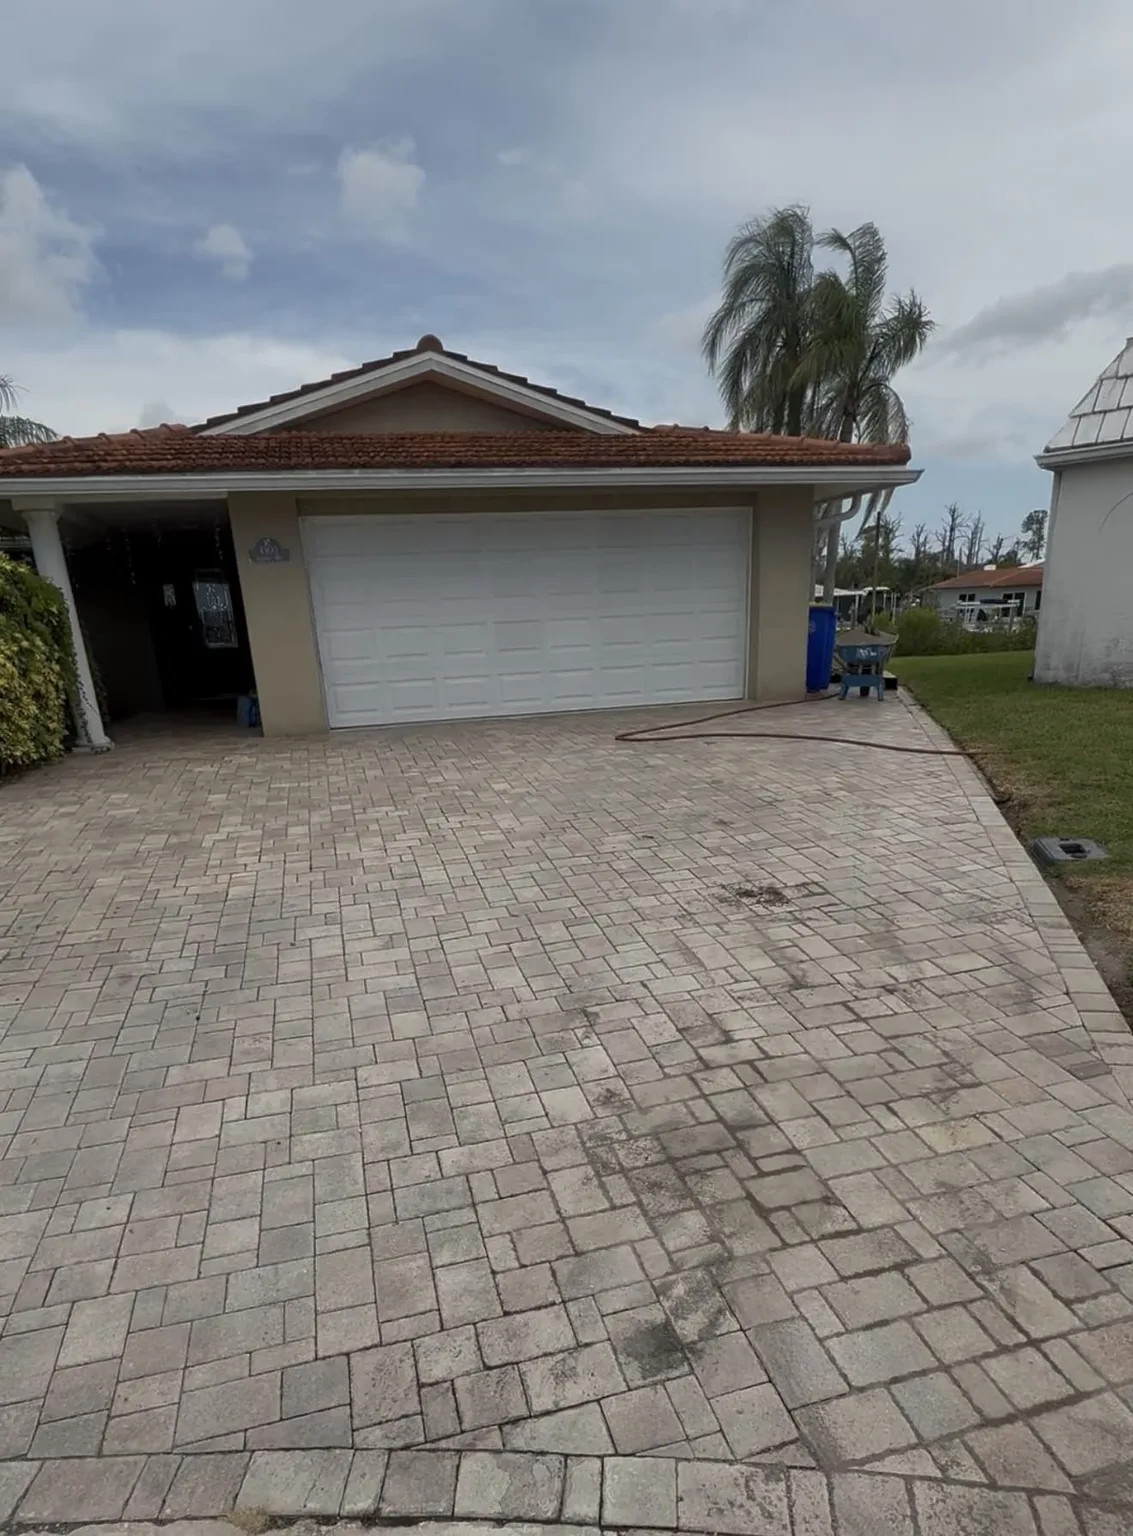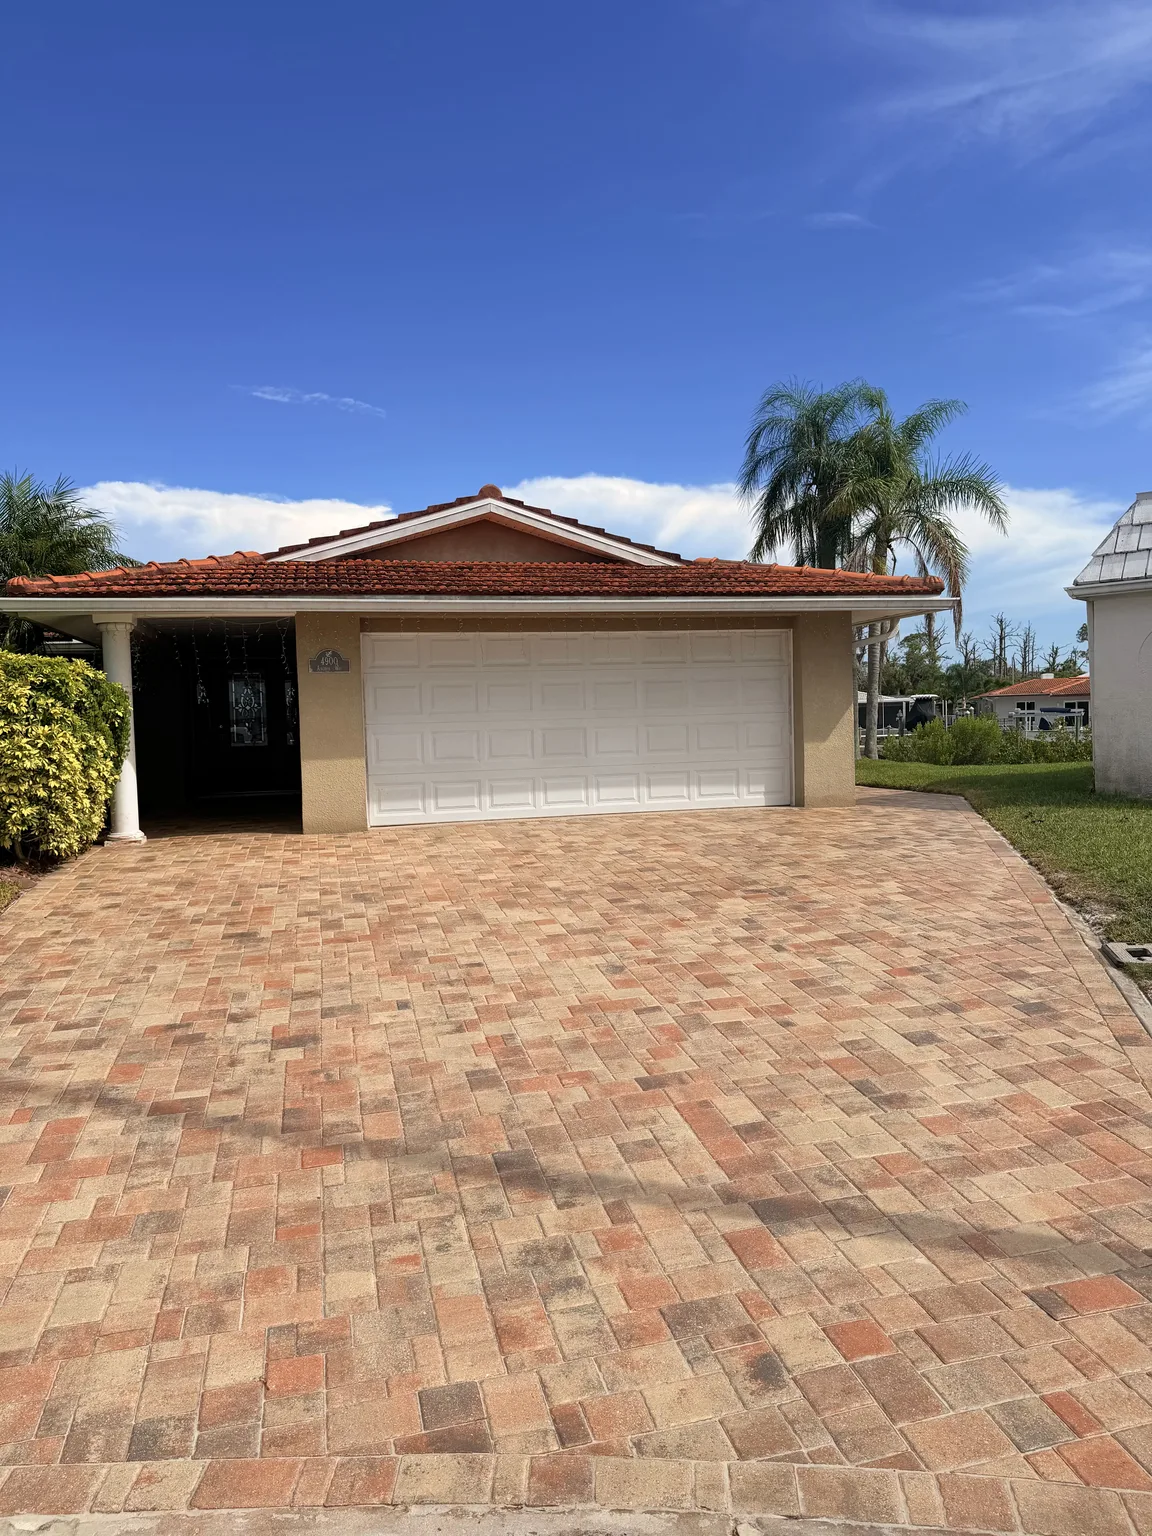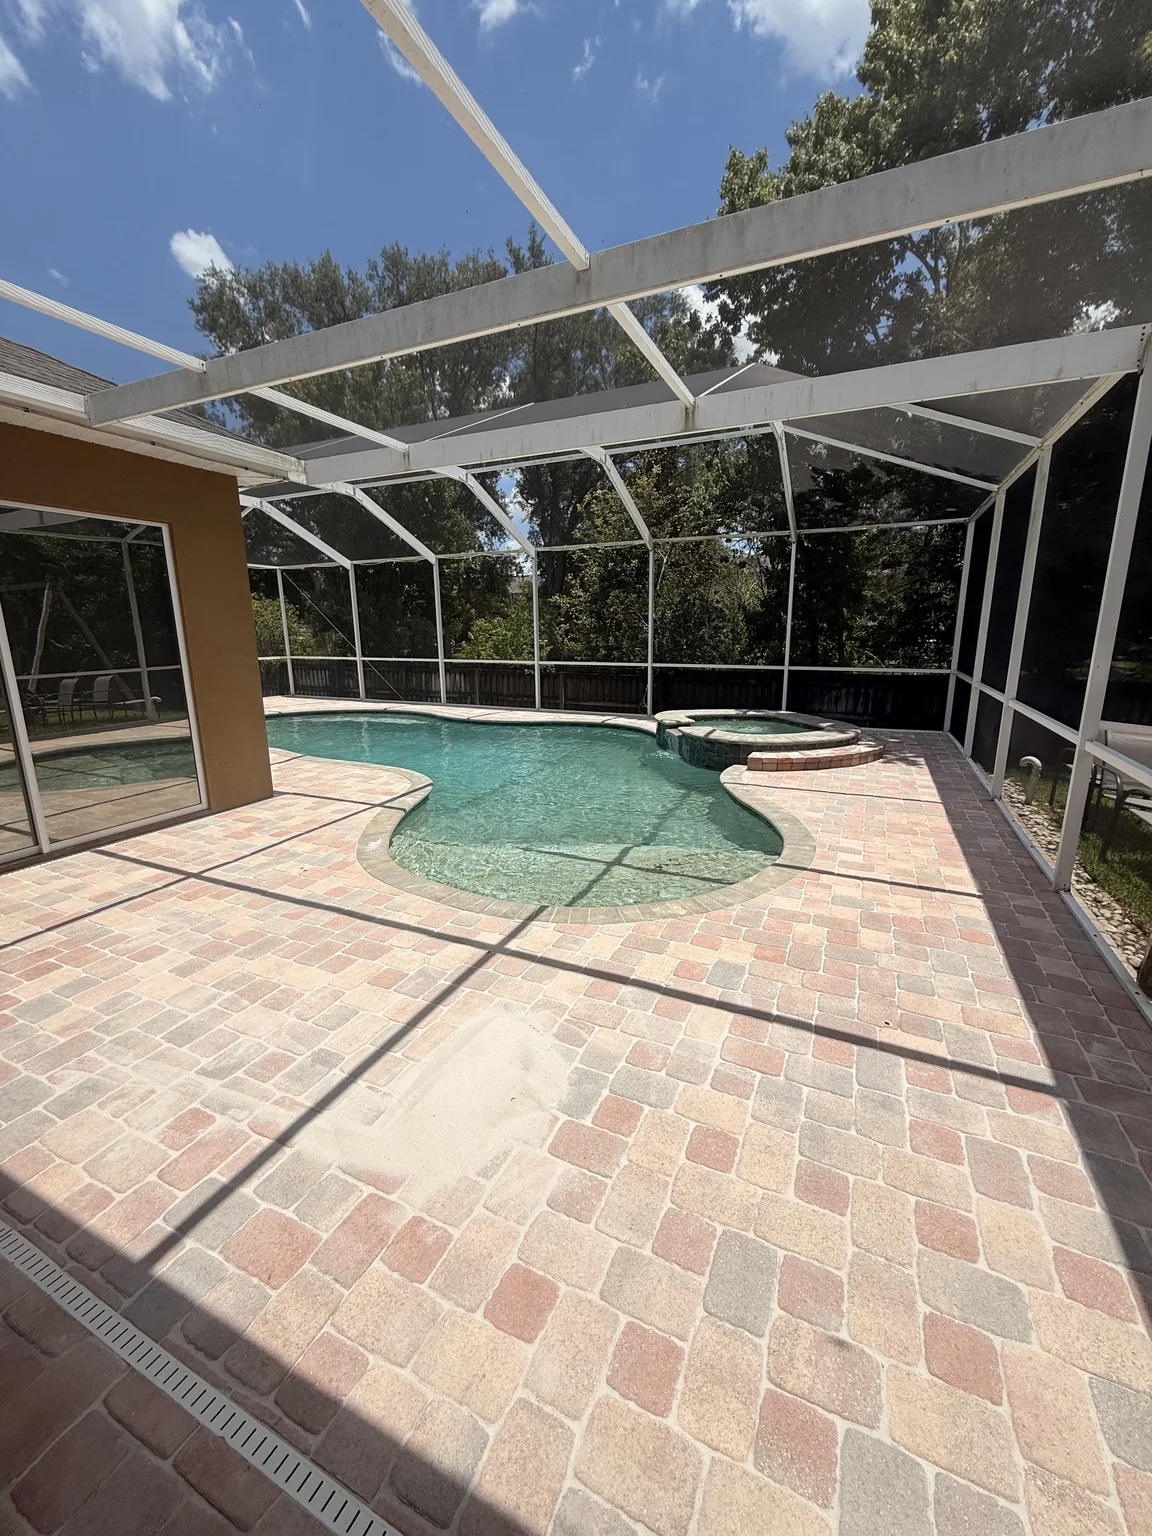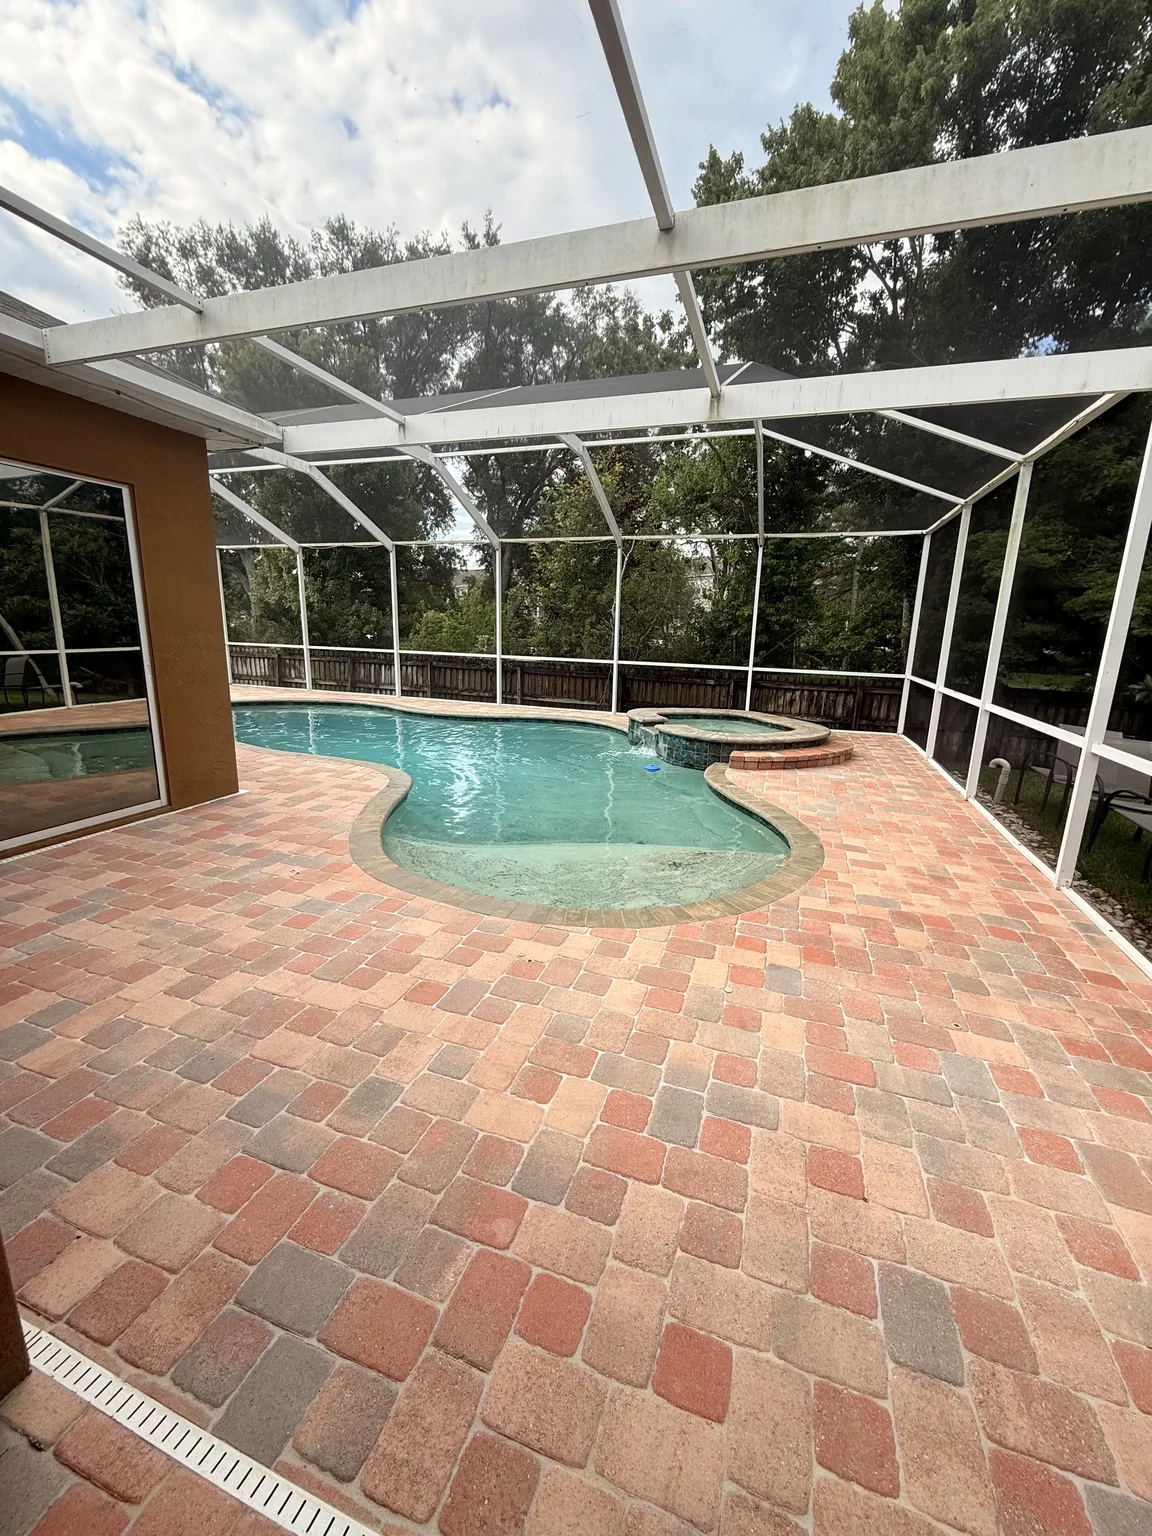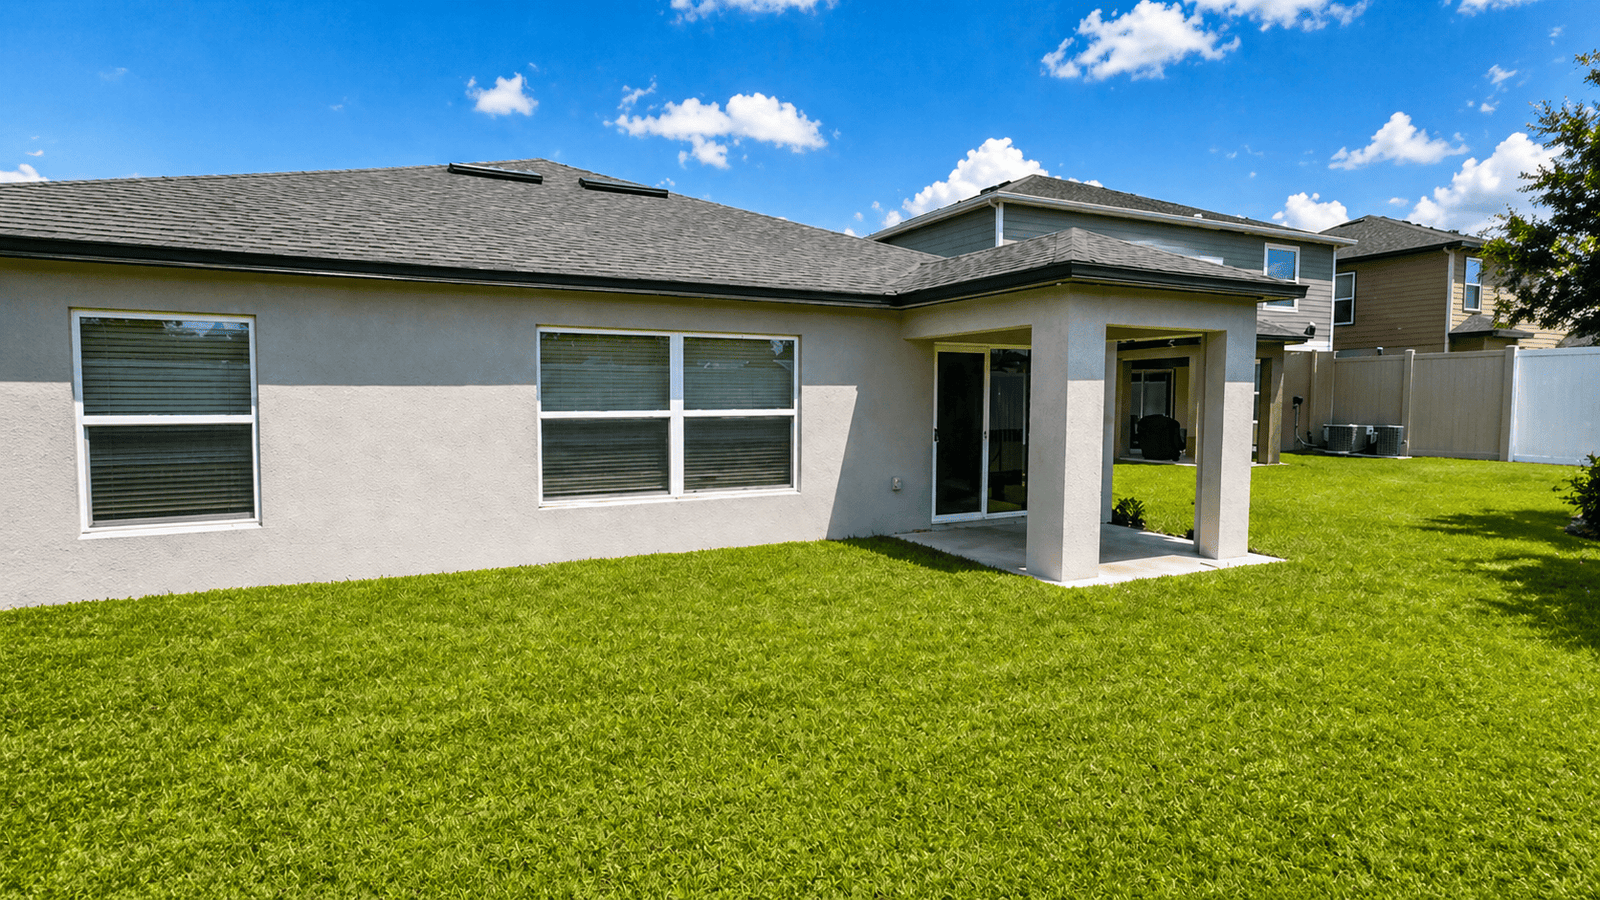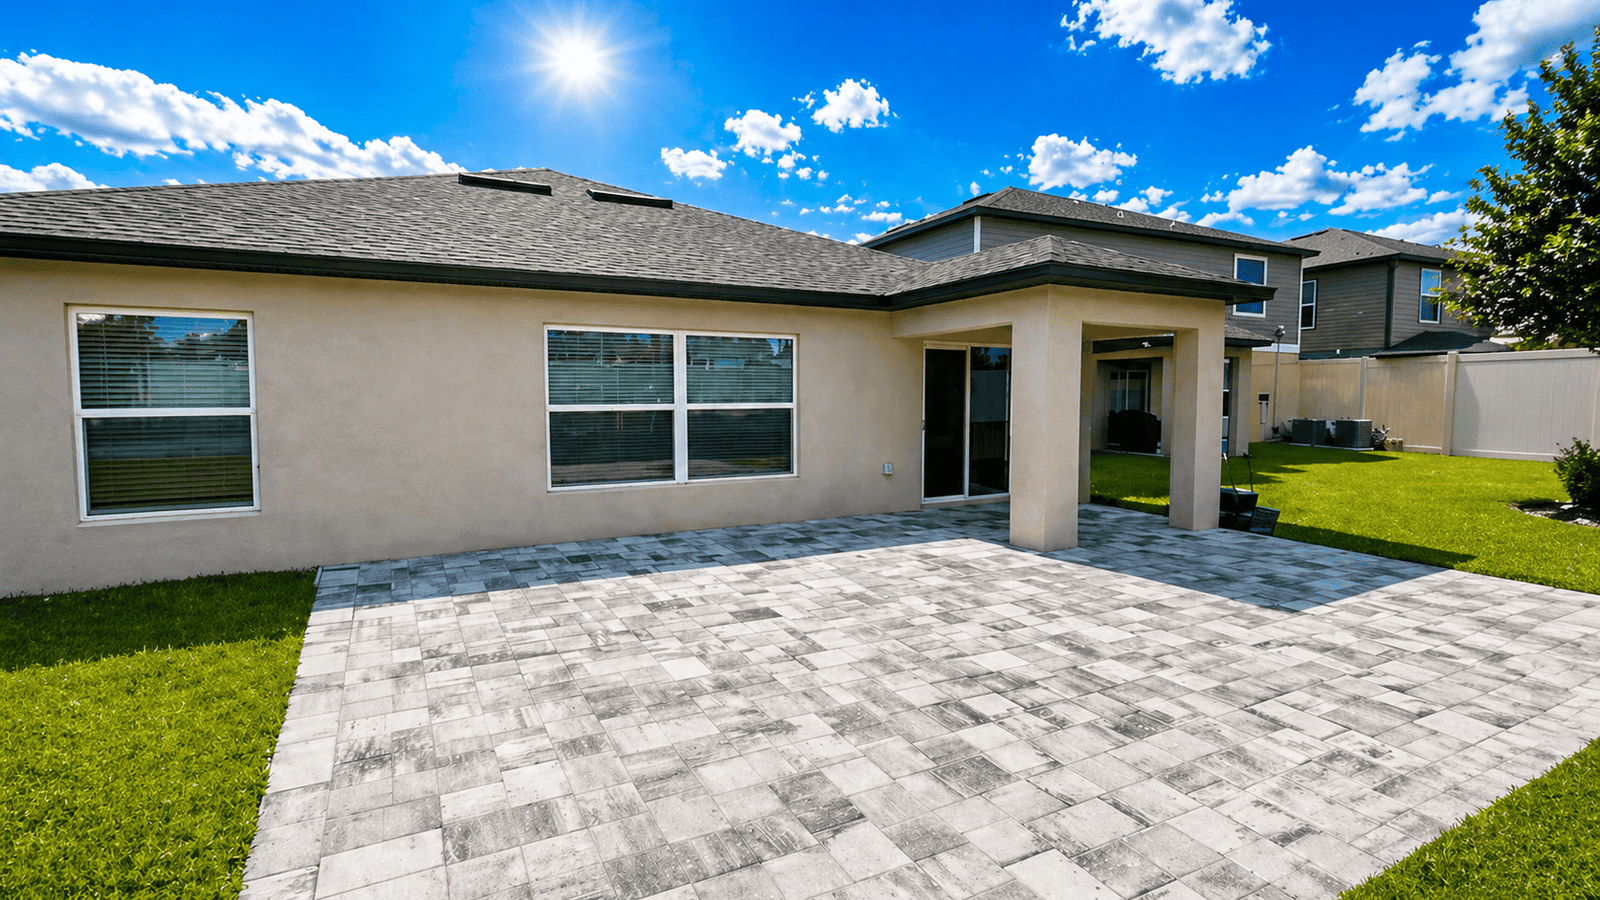
Polymeric sand failing between your pavers can make a good-looking patio, driveway, or pool deck start to look tired fast. In Tampa Bay and nearby areas like Riverview, Ruskin, and Wesley Chapel, heat, sudden downpours, and heavy use can expose weak joints in a hurry. However, most problems trace back to how the joints were designed, prepped, and installed rather than the weather alone. This guide walks through the main reasons polymeric sand breaks down, what to look for, and when it makes sense to remove, clean, and refill instead of trying another quick patch.
Why Is My Polymeric Sand Failing? Quick Causes and Fast Answers
The short answer: installation, moisture, and movement
When polymeric sand is failing, it usually points to three overlapping issues: joint design, water exposure, and paver movement. If the joints are too shallow, too wide, or not compacted, the sand cannot lock together as intended. If water hits it at the wrong time, or drains through the joints constantly, the polymers may not cure well or can slowly break down. Finally, if the pavers shift or flex because of base problems, even well-installed joints can crack and crumble over time.
Common visible signs of polymeric sand problems
Most homeowners first notice loose, dusty, or missing sand between pavers, especially near driveways, pool cages, and walkways. Sometimes you will see vertical cracks in the joints, hollow-sounding sections, or small ridges where sand has washed or blown out. You might also see weeds and ants taking advantage of gaps, or polymeric sand stuck like a haze on the paver faces. In many Tampa Bay yards, you will see trouble first along edges, low spots that hold water, or runout areas where rainwater concentrates.
Why quick top-ups often do not last
Adding a thin layer of new polymeric sand over old, weakened material rarely addresses the underlying cause. Old joint sand may still be unstable or contaminated with soil, moss, or efflorescence, so the new layer struggles to bond. If drainage, base settlement, or heavy pressure washing continue, the same symptoms tend to return. Therefore, many paver repair jobs around Land O’ Lakes, Town ‘N’ Country, and Palm Harbor end up needing a more thorough remove-clean-refill process for longer-lasting results.
Joint Depth, Width, and Compaction: The Structure Behind Strong Joints
Why joint depth and width matter so much
Polymeric sand joints work a lot like miniature concrete beams between each paver. When the joint is deep enough, the sand can interlock and resist traffic, rainfall, and thermal movement. But when the joint is too shallow, the upper layer has to do all the work and often chips away. Joints that are too wide can also be weak, because the sand behaves more like loose fill than a compacted, confined strip, especially on sloped driveways or at pool deck transitions.
Checking your joint geometry at home
You can use a thin screwdriver or feeler gauge to probe a few joints in different areas of your patio or driveway. Gently push straight down until you feel a change from hard, compacted material to softer base or bedding sand. If the compacted layer is only a fraction of the paver height, joint failure is more likely. Also, watch for irregular shapes or very wide joints around curves and borders in older installations in Thonotosassa and Seven Springs, where original cutting often left extra gaps.
How poor compaction leads to polymeric sand failing
Even with the correct depth and width, poorly compacted sand behaves like dry beach sand rather than a semi-rigid joint. During installation, contractors should sweep, vibrate, and sometimes re-sweep sand to pack it from the bottom up. If this step is rushed, the top crust cures, but air pockets remain below, which encourages cracking and settlement. Over time, vehicle loads and general foot traffic can crush these weak zones, which opens gaps for water, weeds, and ants.
- Joints less than roughly two-thirds the paver height tend to loosen faster.
- Very wide joints along curves are more likely to crack or wash out.
- Joints not compacted with a plate compactor over the surface often settle unevenly.
- Low or missing sand at the paver edges almost always points to weak compaction.
Water Problems: Overwatering, Under-Watering, and Florida Rain
Overwatering and under-watering during installation
Polymeric sand needs a controlled amount of water to activate the binding agents without flushing them away. If the installer floods the surface or uses a strong jet setting, the polymers can wash down below the joint. That often leaves a weak, sandy surface that erodes quickly. On the other hand, if they barely mist the surface, the sand may never fully harden, so it behaves like a regular joint sand and scatters under light sweeping or wind.
Rain before cure and standing water issues
Rain hitting the surface before the polymeric sand has cured is a frequent cause of joint failure in Tampa Bay’s wet season. Fresh joints can crust, pockmark, or even wash out in channels where runoff concentrates. Standing water in low spots or around pool deck drains can also keep joints damp for long periods, which slows curing and may weaken the bond. Because weather patterns are unpredictable, timing the work and monitoring the forecast is especially important here.
Runoff paths, slopes, and buried moisture sources
Besides direct rainfall, water moving under or across your pavers can slowly eat away at joints. Sloped driveways in areas like Greater Carrollwood and Ruskin often channel roof or gutter runoff along specific paths, which can erode joints and bedding sand over time. Irrigation overspray, leaking pool equipment, and downspouts that discharge near patios will keep some joints wetter than others. While minor adjustments to slope and runoff can help in a paver project, anything involving structural grading or plumbing should involve a qualified professional.
Surface Cleanliness, Dust, and Topping Over Old Joint Material
Why dust and residue left on pavers cause problems
During installation, polymeric sand dust left on the paver surface can mix with rinse water and stick as a light film. This haze not only looks bad, but it also traps dirt and makes later cleaning more difficult. According to guidance from CMHA, it is important to address stains and contaminants before large-scale cleaning or sealing. That same logic applies during joint work: the cleaner the paver surface before activation, the less likely you are to end up with permanent haze or blotchy results.
Contaminated or weak sand hiding under the surface
Over time, polymeric joints can collect organic debris, soil, and salts from irrigation or pool water. Even if the top looks intact, the lower portion may be softer or partially washed out. When you try to top it with new sand, the fresh layer has trouble bonding to this mixed core. As a result, the repair may fail again, especially once rain or pressure washing hits the surface. Therefore, understanding what is beneath the visible joint surface is key before deciding on a repair method.
Why topping over old material often disappoints
Topping over old joint material can seem attractive because it is faster and less disruptive than full removal. Yet, that shortcut often locks in moisture, salts, and weak sand that continue to move and break down. Any movement in the old layer will transfer to the new layer, leading to cracking or flaking. In many cases, especially on older patios in Palm Harbor or Town ‘N’ Country, a remove-clean-refill approach is more likely to provide a stable base for new polymeric sand.
Traffic, Ants, and Pressure Washing: Everyday Forces That Break Joints Down
Driveway loads, carts, and vibration
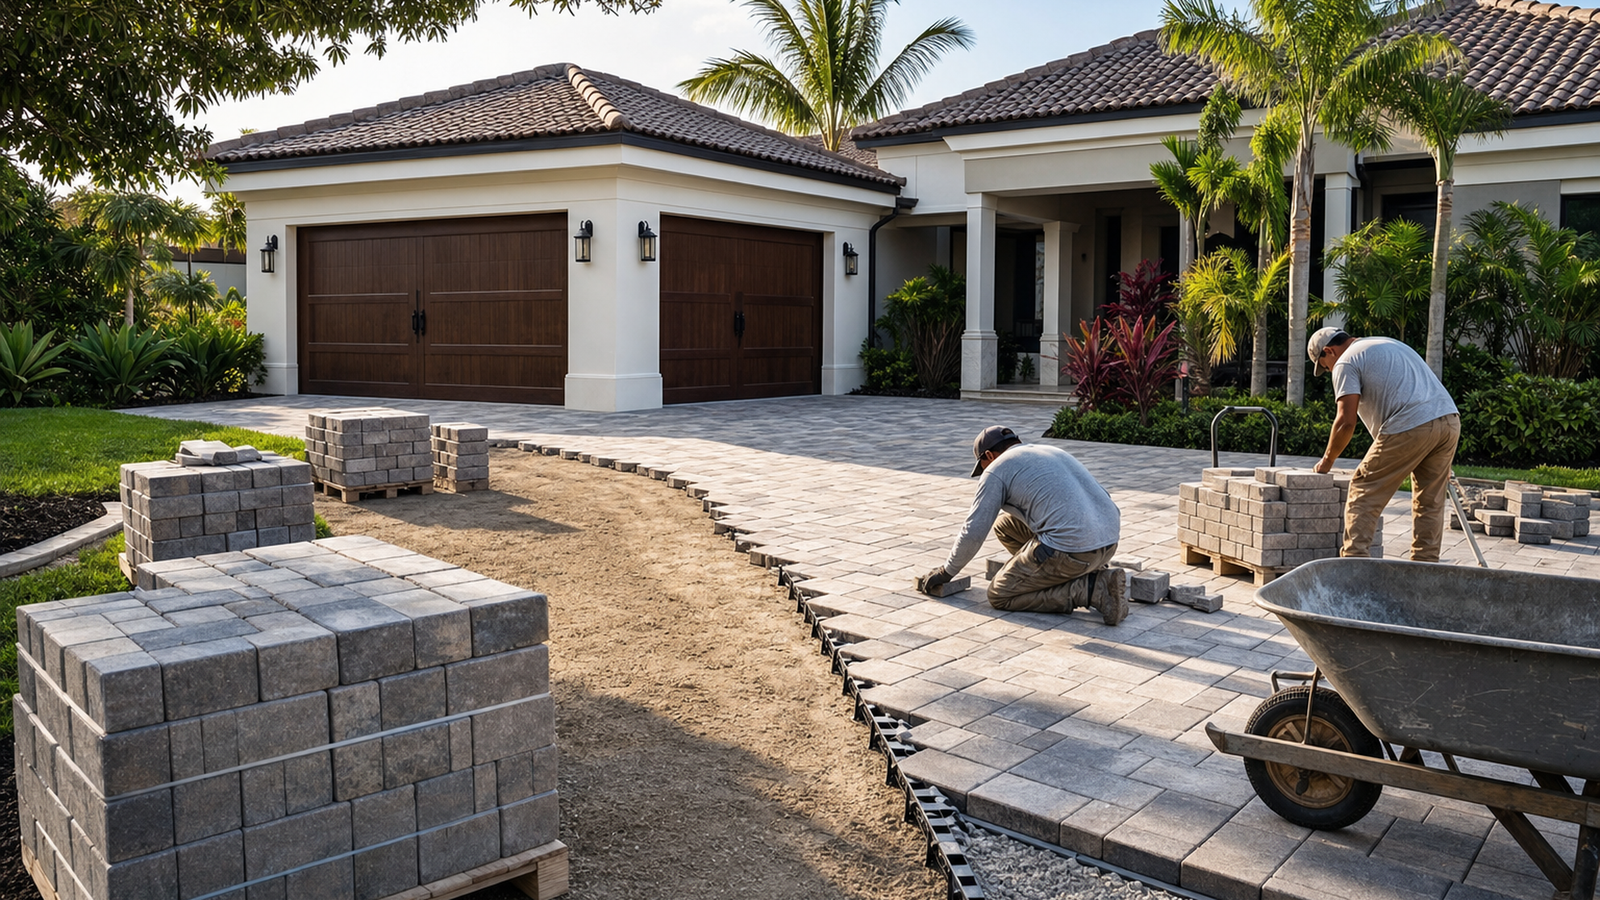
Driveways and vehicle access pads put greater stress on polymeric joints than pool decks or garden paths. Heavy vehicles that turn their wheels in place, trailers, and service trucks can all twist pavers and flex the sand. In addition, vibration from nearby roads or frequent cart traffic can accelerate wear in joints that were marginal to begin with. When you see failure patterns that follow tire paths or parking areas, traffic is usually a factor along with base and joint design.
Ants, weeds, and organic intrusion
Even well-installed polymeric sand is not always a complete barrier against ants or weed growth, especially in warm, humid climates. In Riverview, Ruskin, and other parts of Tampa Bay, ants can exploit tiny weaknesses or cracks, then tunnel through the joint and carry sand away. Windblown seeds and airborne soil can accumulate in surface textures and support shallow-rooted weeds. These intrusions widen existing gaps and make it easier for water to access the joint and bedding layers.
How pressure washing can help or hurt
Pressure washing is a powerful cleaning tool, but it can also accelerate polymeric sand failing when used aggressively. A narrow, high-pressure tip held close to the joints can gouge out sand and expose the edges of the pavers. Over time, repeated washing in this manner undermines otherwise sound joints and may damage the bedding sand below. A gentler setting, a wider fan tip, and careful technique along the joints usually provide a better balance between cleanliness and joint life.
How to Inspect Your Paver Joints and Decide on Remove-Clean-Refill
A simple walkthrough inspection checklist
Before deciding on any repair, walk your paver area slowly and look for patterns. Note where sand is completely missing, where cracks follow straight lines, and where pavers feel loose underfoot. Pay attention to low spots where water stands after rain or irrigation, as well as heavy-use paths from doors to parking or pool entries. This quick survey helps you separate isolated cosmetic issues from broader problems that may call for a more thorough remove-clean-refill approach.
When spot repairs make sense
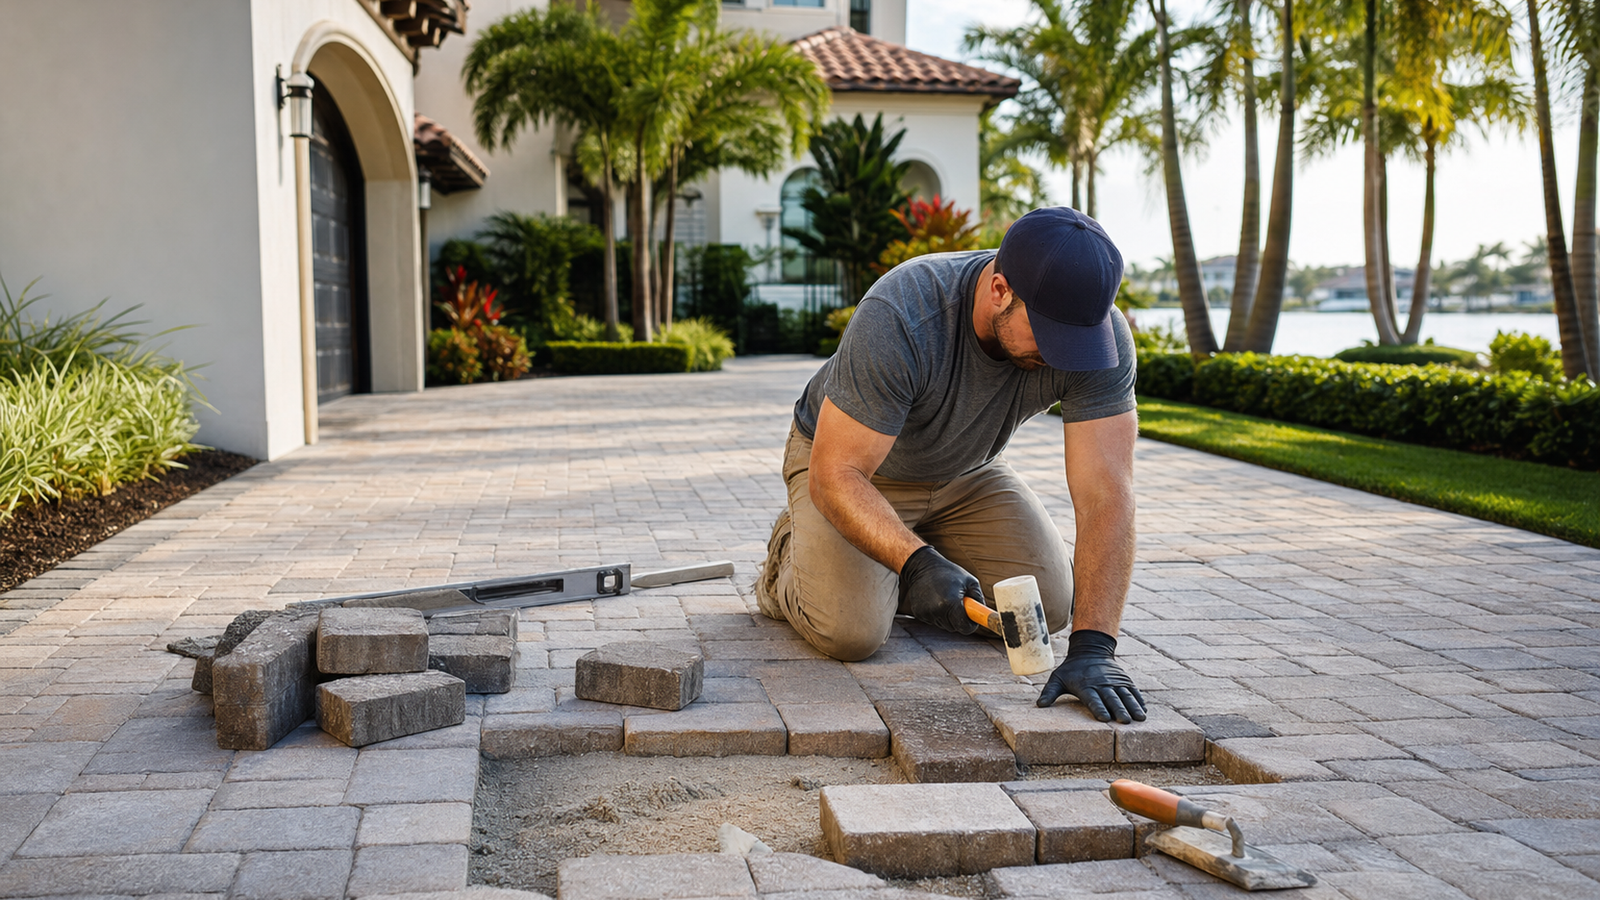
Spot repairs can be practical when the polymeric sand is failing only in a few, clearly defined locations. For example, you might have one low corner near a downspout or a couple of joints damaged by a planter or heavy grill. If the rest of the area shows firm, well-bonded joints with no movement, targeted removal and refilling may hold up reasonably well. However, you still want to understand what caused those local failures so the issue does not spread.
When a full remove-clean-refill is usually the better call
If joint issues are widespread, joints are too shallow everywhere, or pavers themselves wobble, a full reset of the joints often performs better. That process can involve removing failing sand, cleaning and rinsing the surface, allowing it to dry, then installing and activating new joint sand. Because every site is different, a contractor will usually recommend an approach after a close look at your pavers, base, and drainage patterns. A local paver specialist can also coordinate joint work with cleaning or sealing plans, as CMHA recommends project-specific decisions about sealing and joint stabilization.
| Condition | Spot Repair | Remove-Clean-Refill |
|---|---|---|
| Problems limited to a few joints | Often reasonable | Usually not necessary |
| Loose joints across large areas | Short-term at best | Typically more effective |
| Visible paver movement or rocking | Does not address base | May be combined with base repair |
| Heavy traffic driveways | May wear quickly | Better for longer-term stability |
| Planning to clean and seal soon | Risk of uneven appearance | Helps coordinate color and finish |
Repair Options and Tampa Bay Design Considerations
Choosing the right joint sand or stabilizer
Not all joint sands perform the same in Florida’s climate. Some polymeric sands are designed for narrower joints and residential foot traffic, while others are formulated for wider gaps or vehicle loads. You can also find jointing materials that emphasize flexibility over rigidity, which may help where there is minor movement. Because CMHA recommends using products made for concrete pavers, it makes sense to select a joint material compatible with your specific paver type, joint width, and expected use.
Coordinating joints with cleaning and sealing plans
Many homeowners in Tampa Bay choose to clean and seal their pavers as part of a refresh project. In that case, timing your joint repair is important so the surface is stable and clean before sealing. Treating stains in advance, rinsing properly, and allowing everything to dry helps reduce haze and blotching once a sealer goes down. Since CMHA emphasizes project-specific decisions about sealing and joint stabilization, you will want to review options and timing with your contractor before work begins.
Budget, access, and site-specific constraints
Costs for paver joint repair depend on access, square footage, joint condition, and whether any lifting or resetting is needed. Areas behind pool cages, around screen rooms, or along tight side yards can take longer to reach and work on. Meanwhile, driveways that carry regular vehicle traffic may need more robust prep than a light-use garden path. Because of these variables, any realistic budget discussion for your home in Greater Carrollwood, Land O’ Lakes, or nearby areas needs a site visit and a written estimate.
Local Climate, Moisture, and Design Choices in Tampa Bay
Heat, humidity, and daily rain cycles
Tampa Bay’s hot, humid climate and frequent summer storms influence how well joint material performs. High temperatures can speed up curing, but strong sun can also dry the surface too fast if water application is uneven. Humid nights and morning dew keep pavers damp, which can extend cure times and affect how sand hardens. Therefore, scheduling joint work during more stable weather windows and following product instructions closely is especially important in Riverview, Wesley Chapel, and similar areas.
Pool decks, screen enclosures, and salt exposure
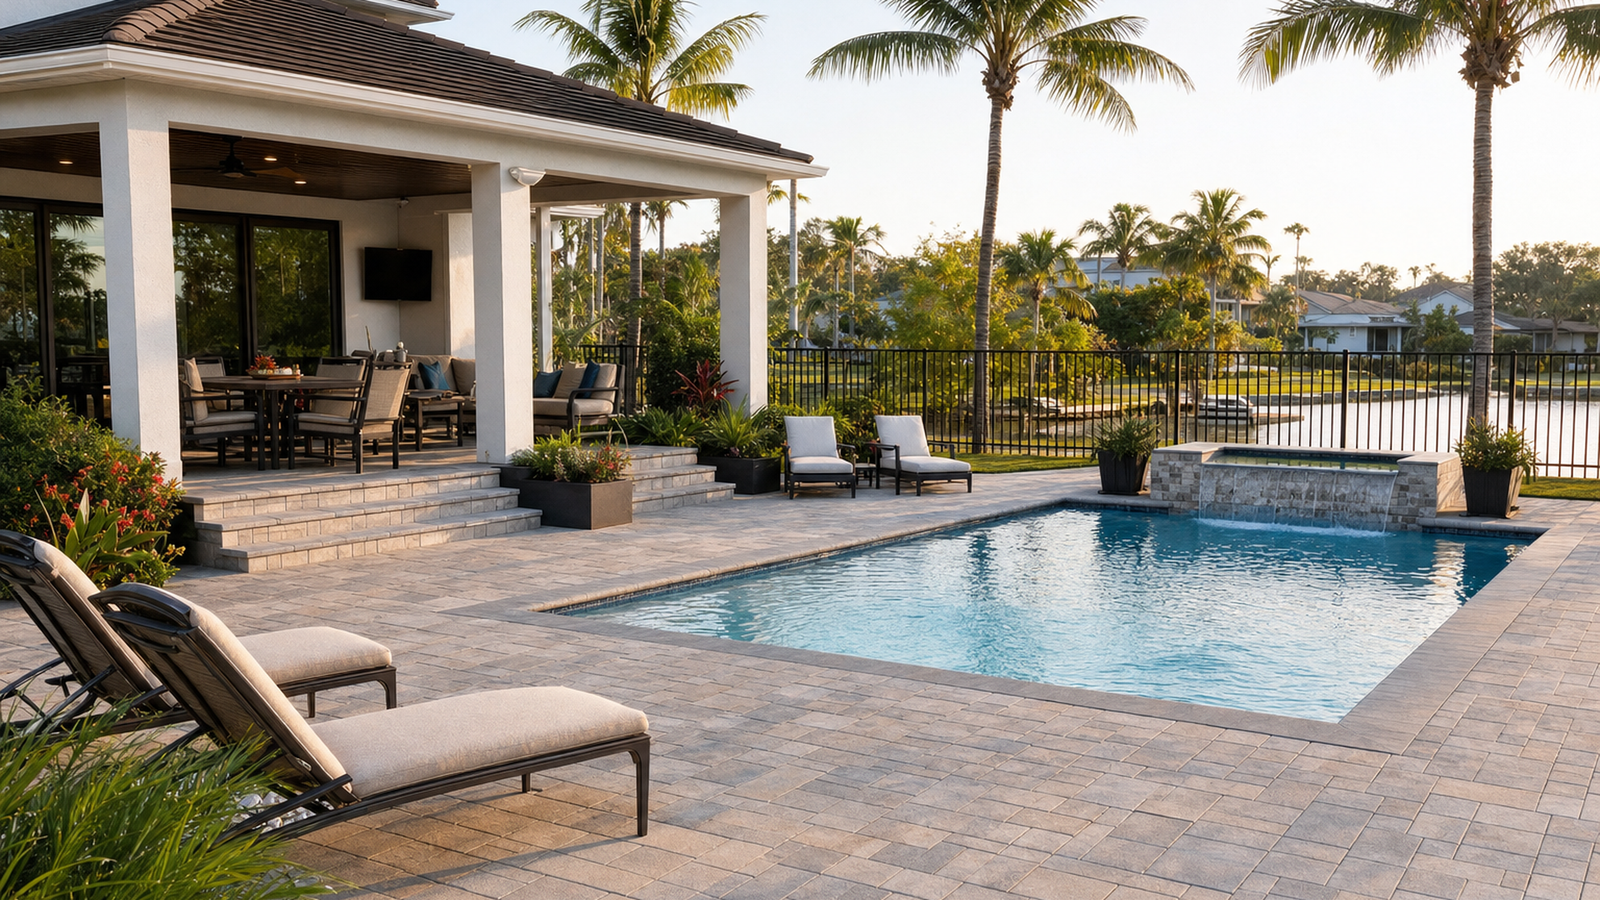
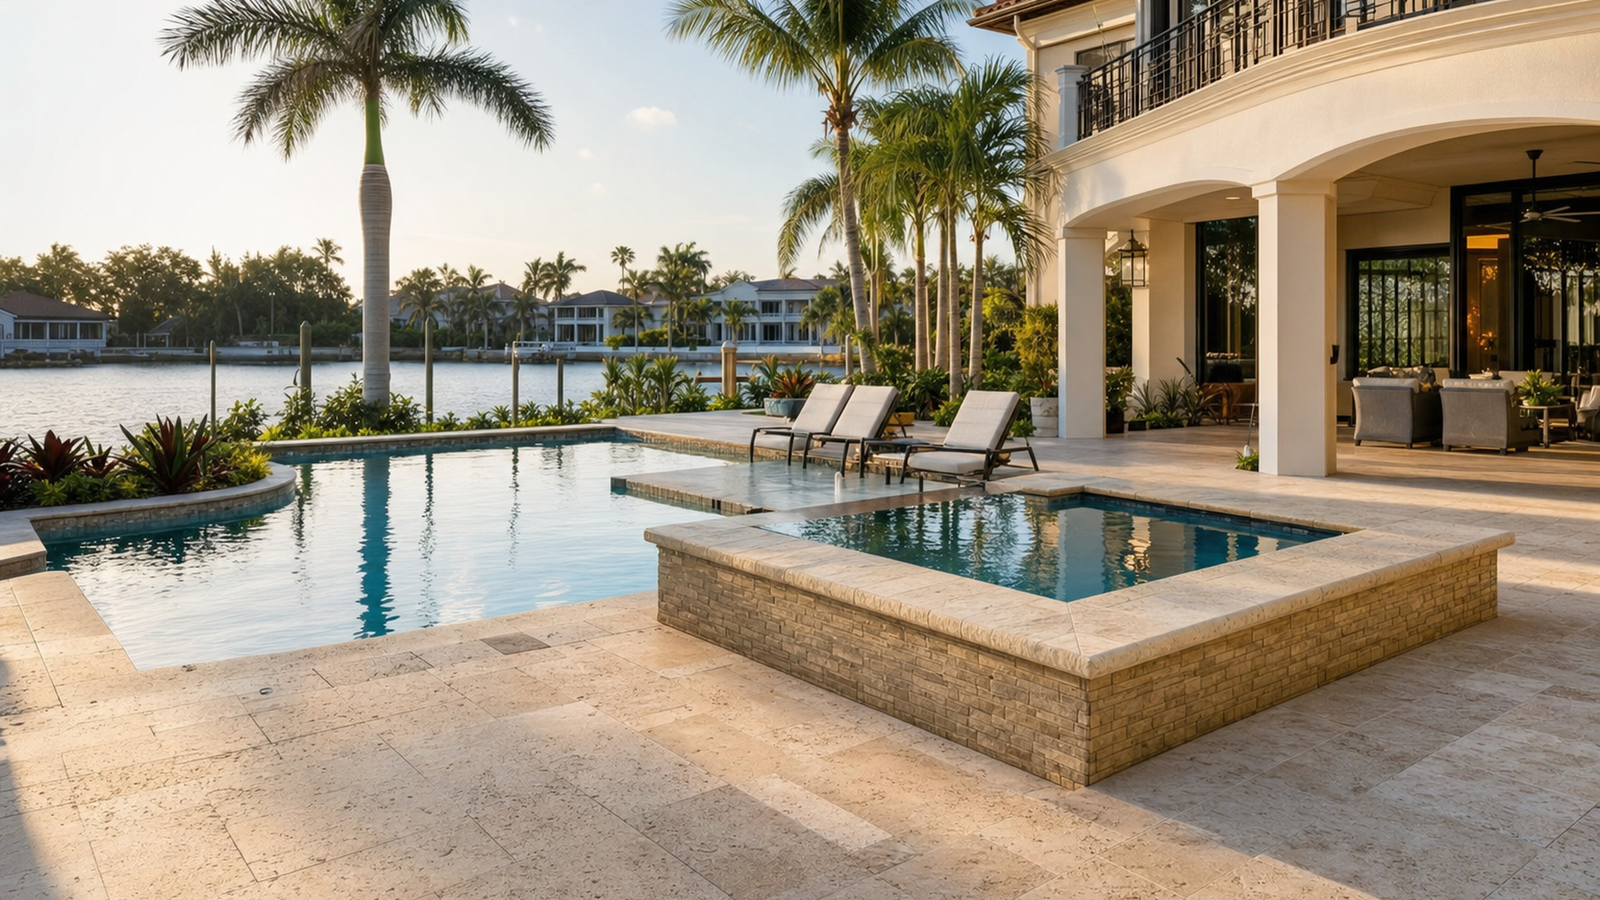
Pool decks present unique challenges for polymeric joints because of constant water exposure, chemical treatments, and frequent foot traffic. Splash-out, backwash, and wet feet all keep joints near the waterline damp, which may shorten the life of some products. In coastal and brackish areas, salt spray and salt-treated water can add another layer of stress. When you plan joint repairs around a pool, talk with your contractor about how the joint material and any future cleaning or sealing will perform in that specific environment.
Working with existing layouts and drainage paths
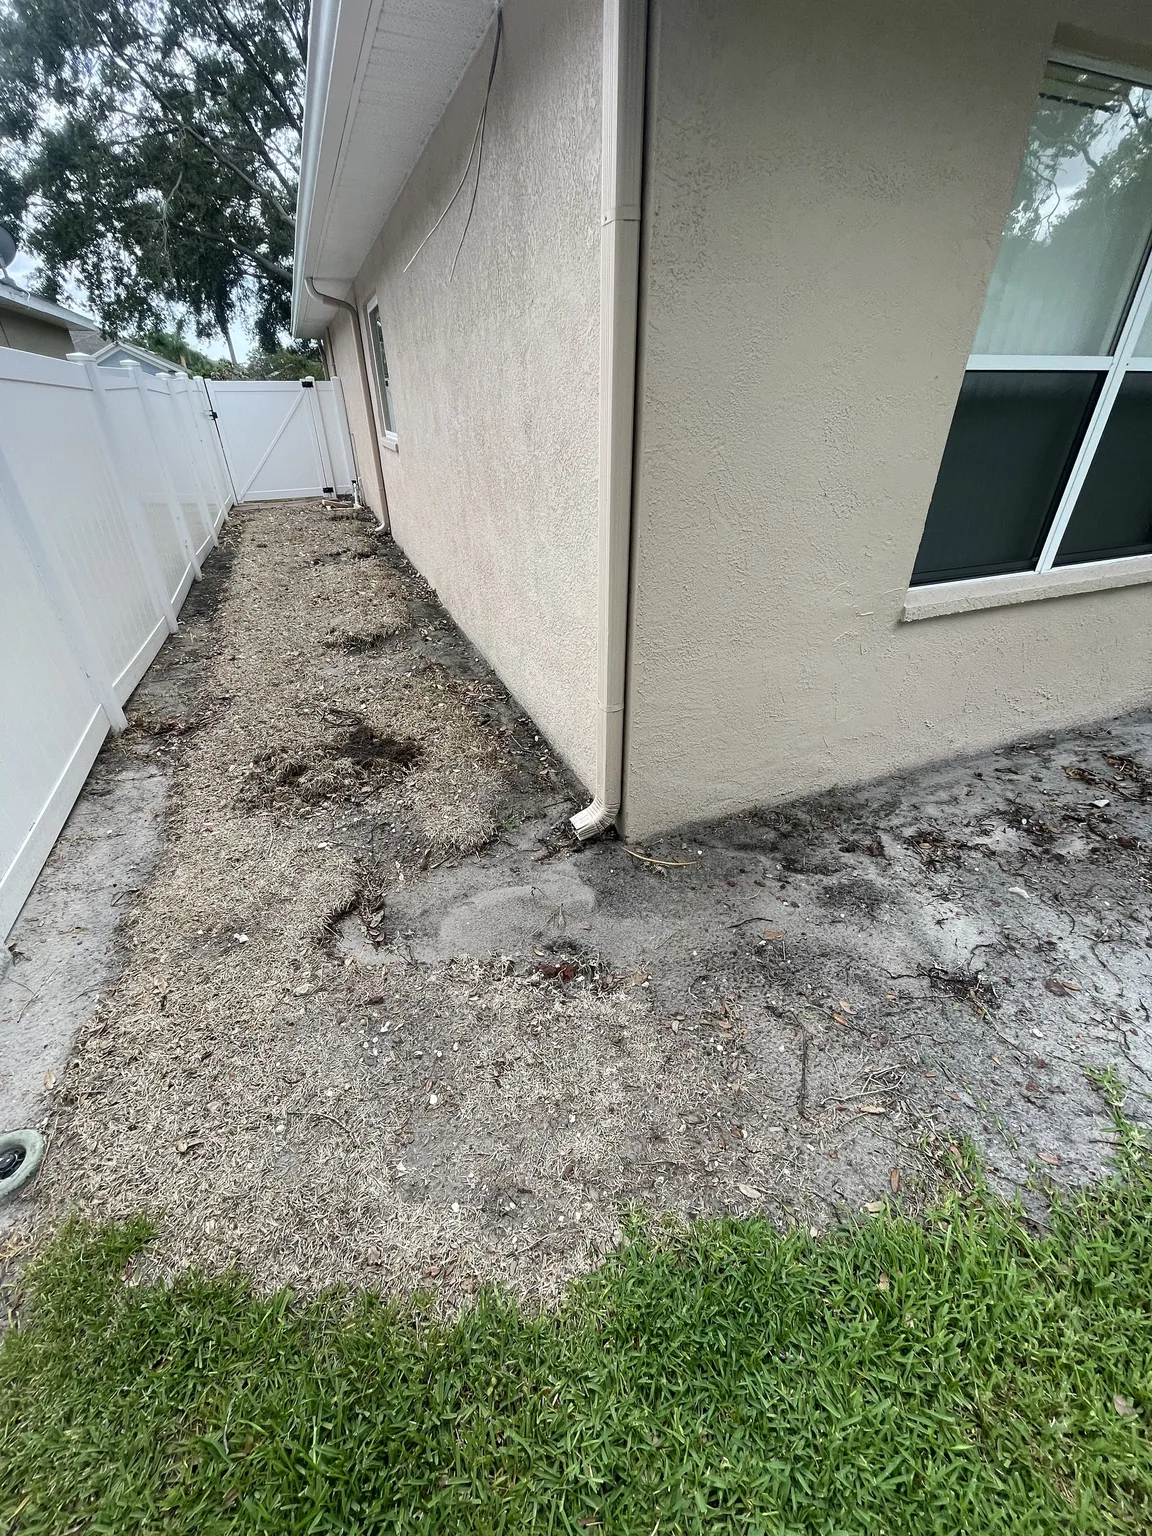
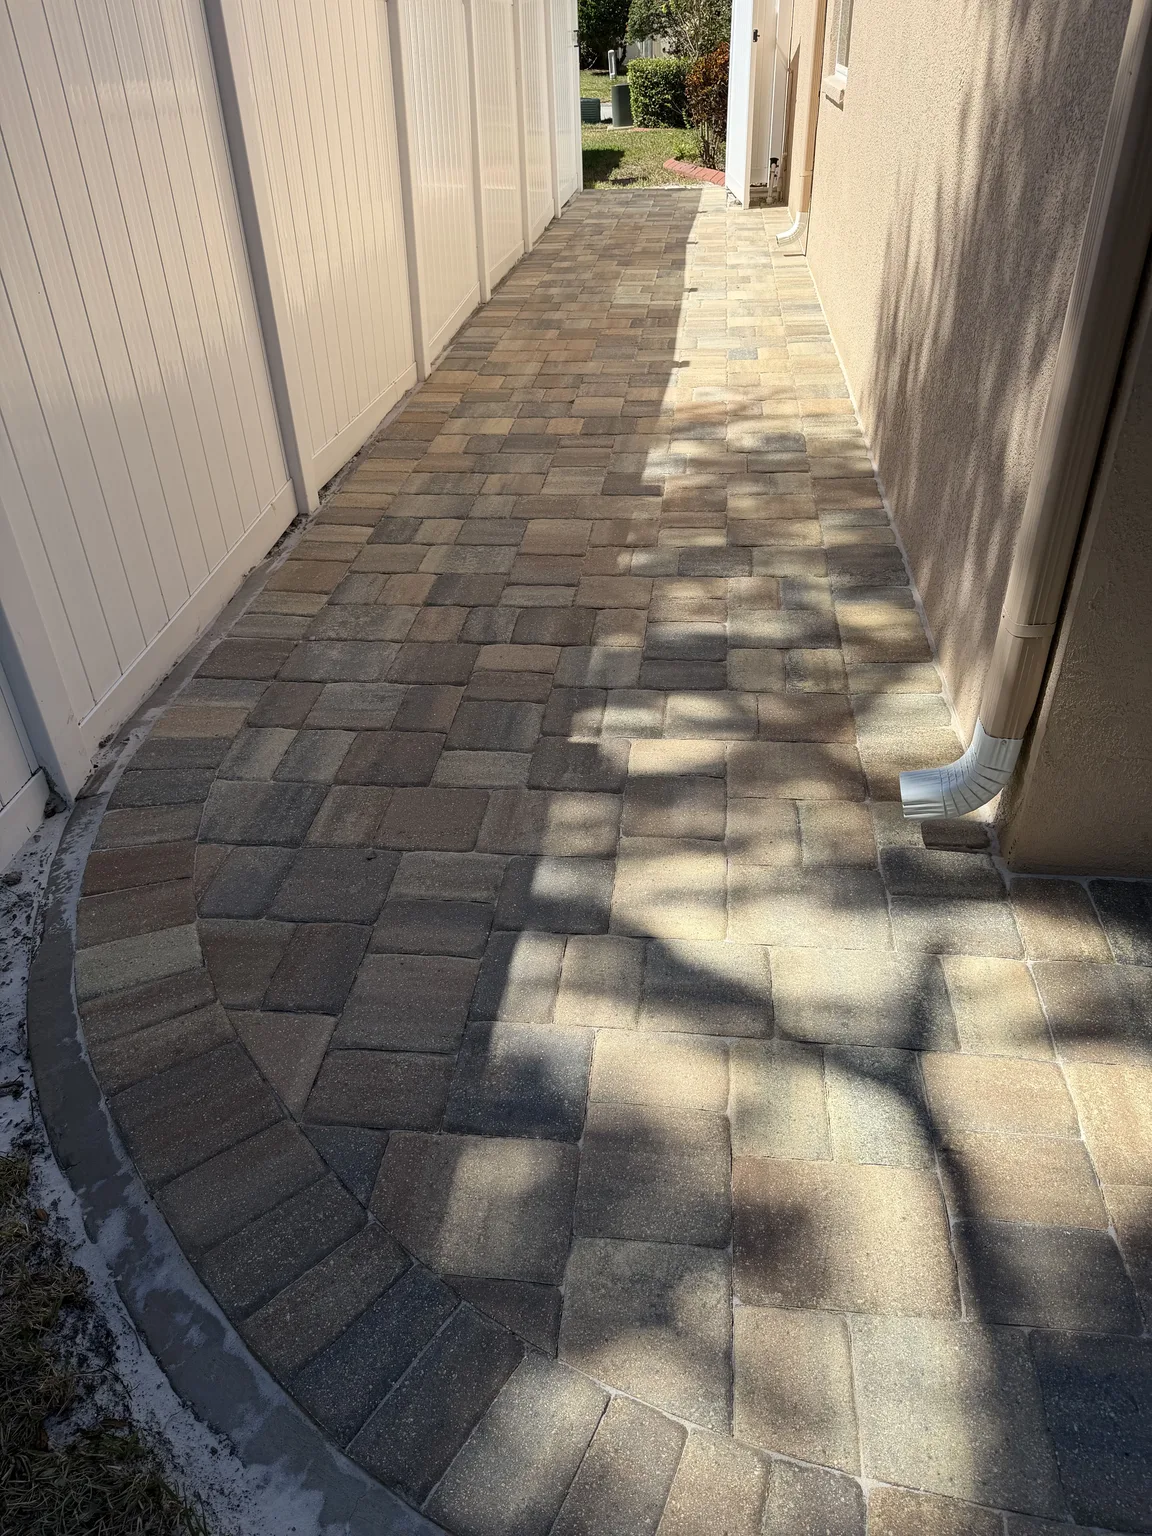
Older patios, walkways, and driveways in Town ‘N’ Country, Palm Harbor, and Seven Springs often have fixed slopes and drainage paths that are hard to change. While joint repairs can improve stability and appearance, they do not fix deeper grading or structural base issues. In some cases, modest adjustments such as resetting a few low pavers or redirecting downspout discharge can reduce joint stress. However, larger changes to elevation, structural supports, or stormwater management usually require guidance from a qualified professional experienced with those systems.
When Professional Assessment Makes Sense for Polymeric Sand Failing
Situations where a DIY approach may fall short
DIY joint repair can work for small areas with obvious, simple problems. Still, when you see widespread polymeric sand failing, loose pavers, cracks that follow structural lines, or persistent puddles, expert eyes are valuable. A professional can evaluate base conditions, expansion joints, and edge restraints that are easy to overlook. They can also help you avoid installing fresh polymeric sand over hidden issues that would cause another early failure.
What to expect during a paver repair consultation
During a site visit, a paver specialist will typically inspect joint depth, compaction, and paver movement across different sections. They may ask about the project’s age, past sealing or cleaning, and whether any heavy loads or changes in use have occurred. Next, they will usually discuss whether spot repairs, partial joint replacement, or full remove-clean-refill is the most practical option. Finally, they can explain how future cleaning, sealing, and everyday care can help extend the life of the repair.
Coordinating repair with other home improvement plans
Because joint work can involve dust, water, and temporary access limits, coordination with other projects matters. If you plan to repaint, do landscaping, or adjust irrigation around your pavers, timing everything together can reduce disruption. A local contractor familiar with Tampa Bay neighborhoods can help you sequence work to avoid overlapping trades blocking each other. They can also explain which steps must happen first so joint repairs are not damaged by later work.
FAQ: Polymeric Sand Failing on Tampa Bay Paver Projects
How can I tell if my polymeric sand is failing or just aging normally?
Normal aging shows as slight rounding or light surface wear without major gaps or paver movement. Polymeric sand failing usually includes cracking, hollow sounds, missing sections, or sand that blows out easily with light sweeping. If pavers rock when you step on them, or if ants and weeds appear in several locations, you likely have more than simple cosmetic aging. In that case, a closer inspection or professional review is worth considering.
Can I just add more polymeric sand on top of what is there now?
You can add more sand on top, but it may not last if the old material is loose, contaminated, or too shallow. The new sand often bonds mainly to itself and forms a thin crust over a weak core. Once water, traffic, or pressure washing hits, that crust can crack and peel away. For many Tampa Bay homeowners, removing the failing sand first leads to a more dependable repair.
Is pressure washing safe for pavers filled with polymeric sand?
Pressure washing can be safe if you use moderate pressure, a wide fan tip, and keep the nozzle at a sensible distance. However, very high pressure aimed directly into the joints can dislodge even well-cured polymeric sand. It can also disturb the bedding sand beneath, which makes pavers more likely to shift later. When in doubt, test a small, less-visible area first and adjust technique or hire a contractor experienced with paver cleaning.
How long should polymeric sand last in Florida conditions?
There is no single lifespan because performance depends on product choice, installation quality, traffic, and moisture exposure. In low-traffic areas with good joint depth and well-managed runoff, joints can stay solid for many years. On driveways with frequent heavy loads or in areas that stay wet, joints may show wear sooner. A professional can evaluate your specific site in Land O’ Lakes, Thonotosassa, or nearby areas and give realistic expectations based on what they see.
When should I call a professional for help with joint repairs?
Consider calling a professional if you see widespread joint failure, loose or settled pavers, or recurring problems after previous repairs. It also makes sense to get help when the area is large, carries vehicle traffic, or surrounds a pool or structural feature. A contractor who focuses on paver repair and maintenance can help you weigh spot repair versus full remove-clean-refill and discuss how to maintain the results. If you live in Tampa Bay or nearby communities, a local visit can clarify options before you commit to any plan.
If you are noticing failing joints on your patio, pool deck, or driveway, you do not have to guess alone. The team at Dr Pavers Design focuses on repair and maintenance, from detailed joint work to full refresh projects, and can walk you through options based on real-world projects like those in our project gallery and homeowner testimonials. You can review our core services and common questions in the company FAQ, then contact us for a no-pressure, on-site consultation and written estimate tailored to your property.
To talk through polymeric sand issues on your Tampa Bay hardscape, reach out in the way that is easiest for you: call +1 (656) 600-4015, text +1 (656) 600-4015, email drpavers@outlook.com, message us on WhatsApp, or connect via Instagram or Facebook. You can also explore more paver repair guidance at our Paver Repair & Maintenance Guides, learn about targeted repair options at Paver Repair Tampa Bay, or find our location on Google Maps before scheduling your free consultation.