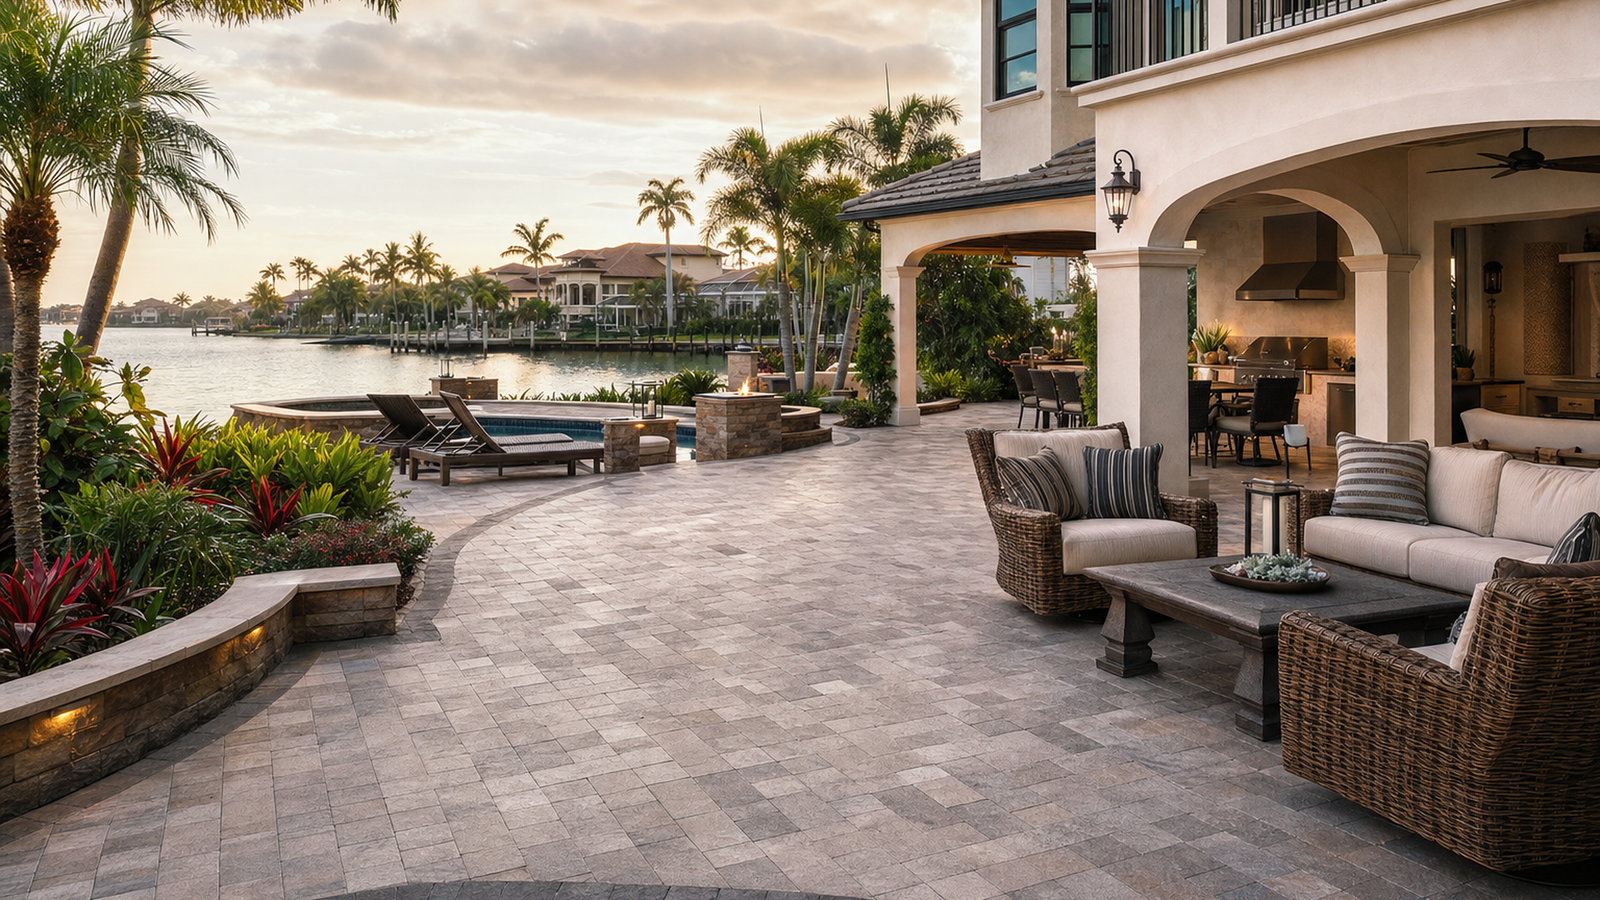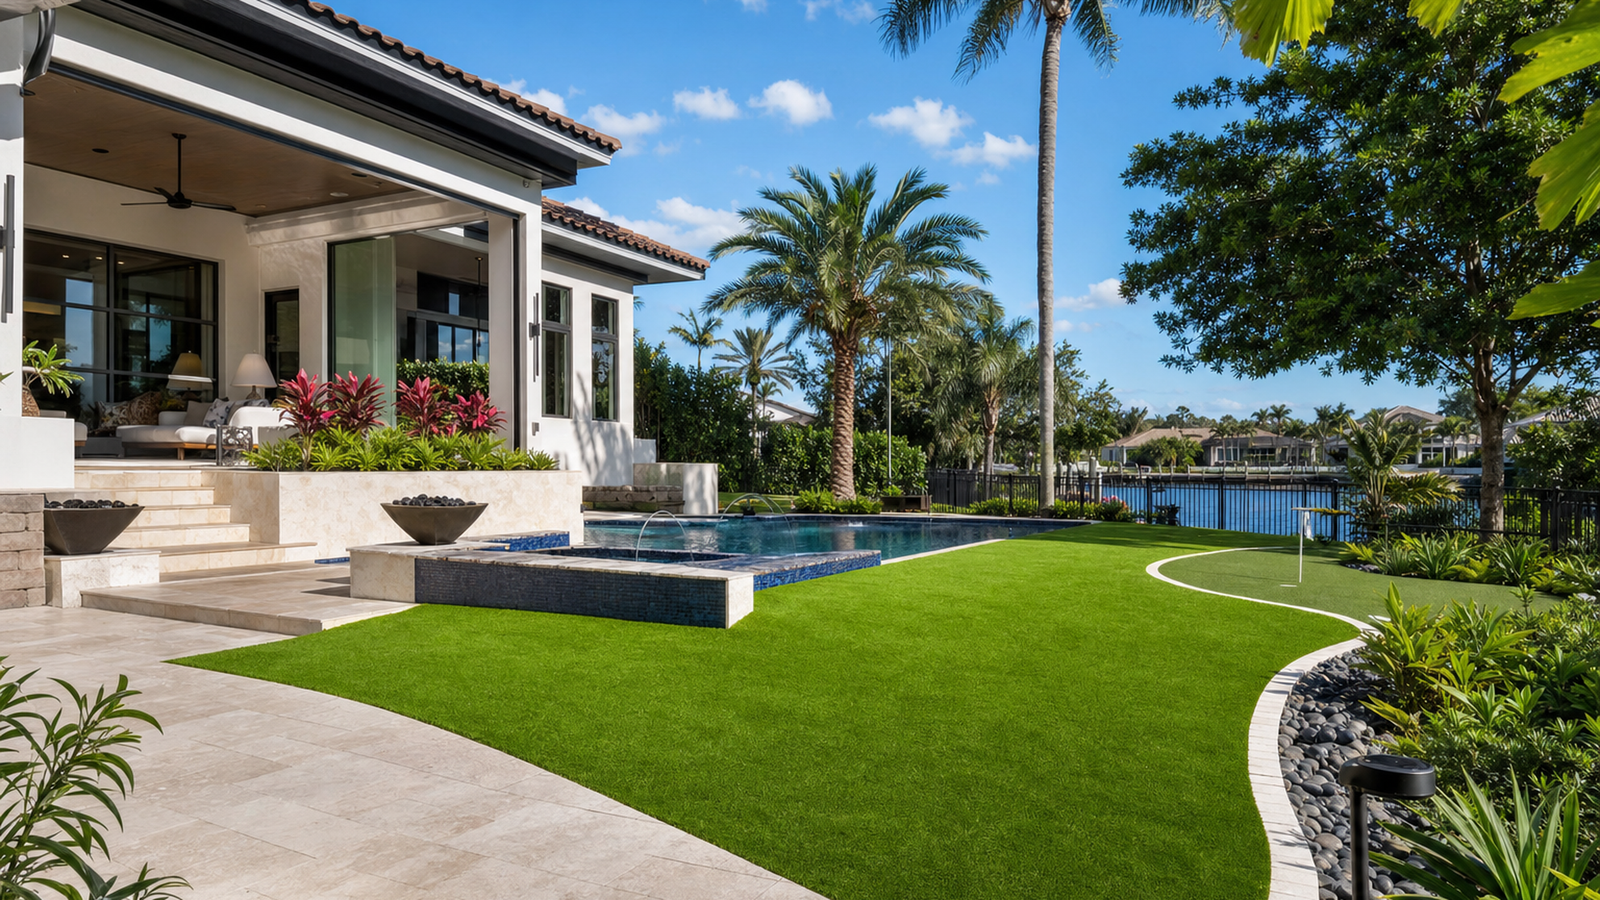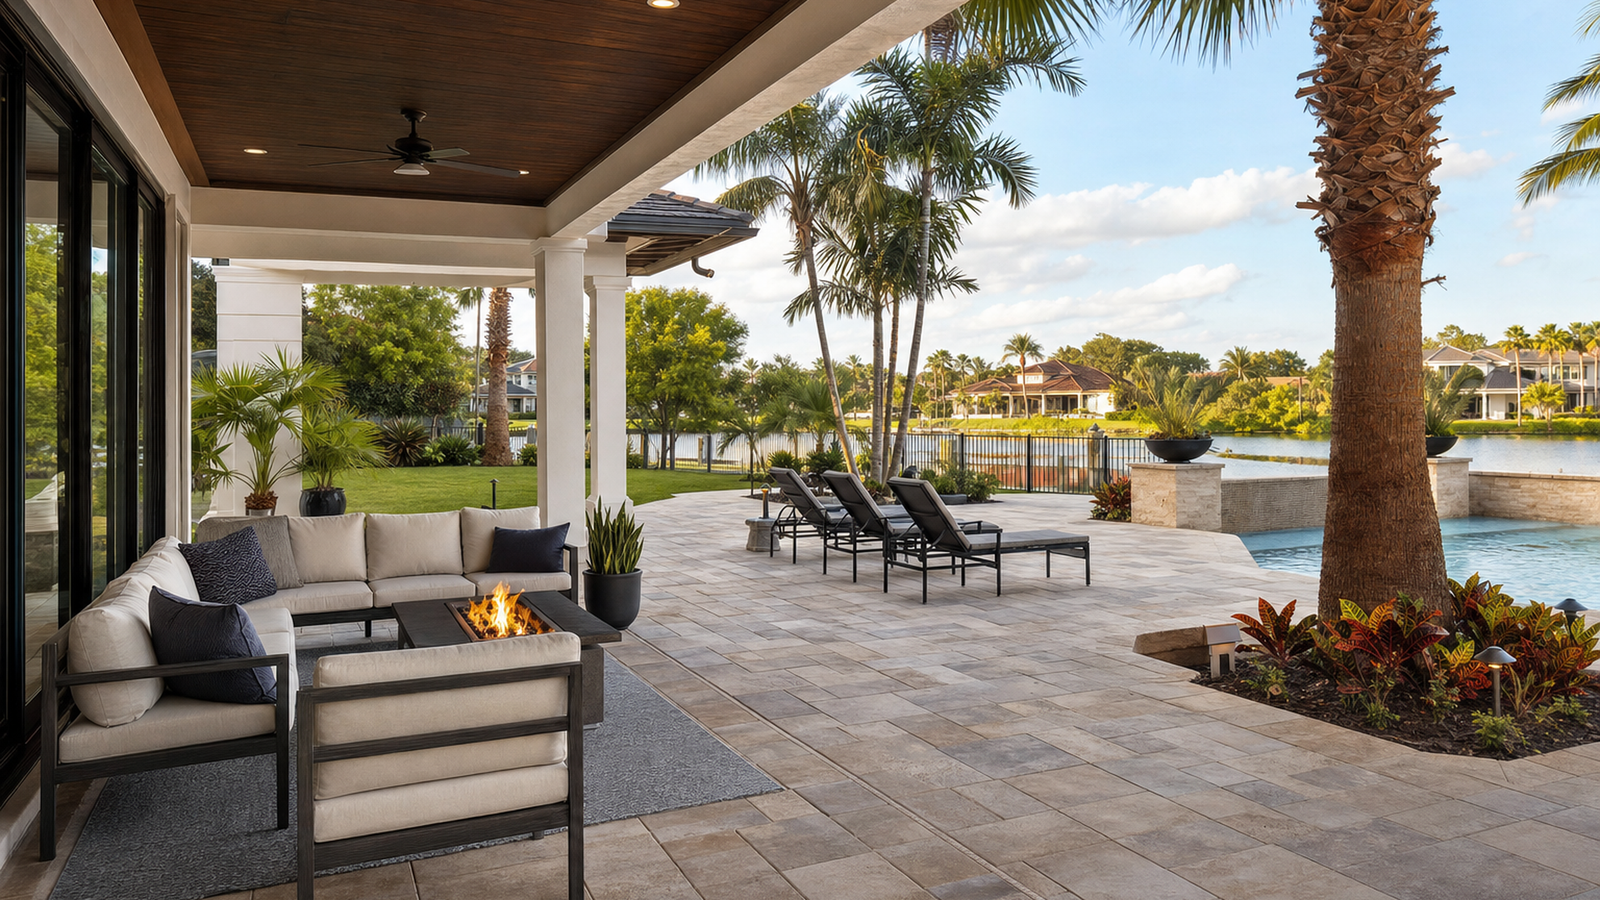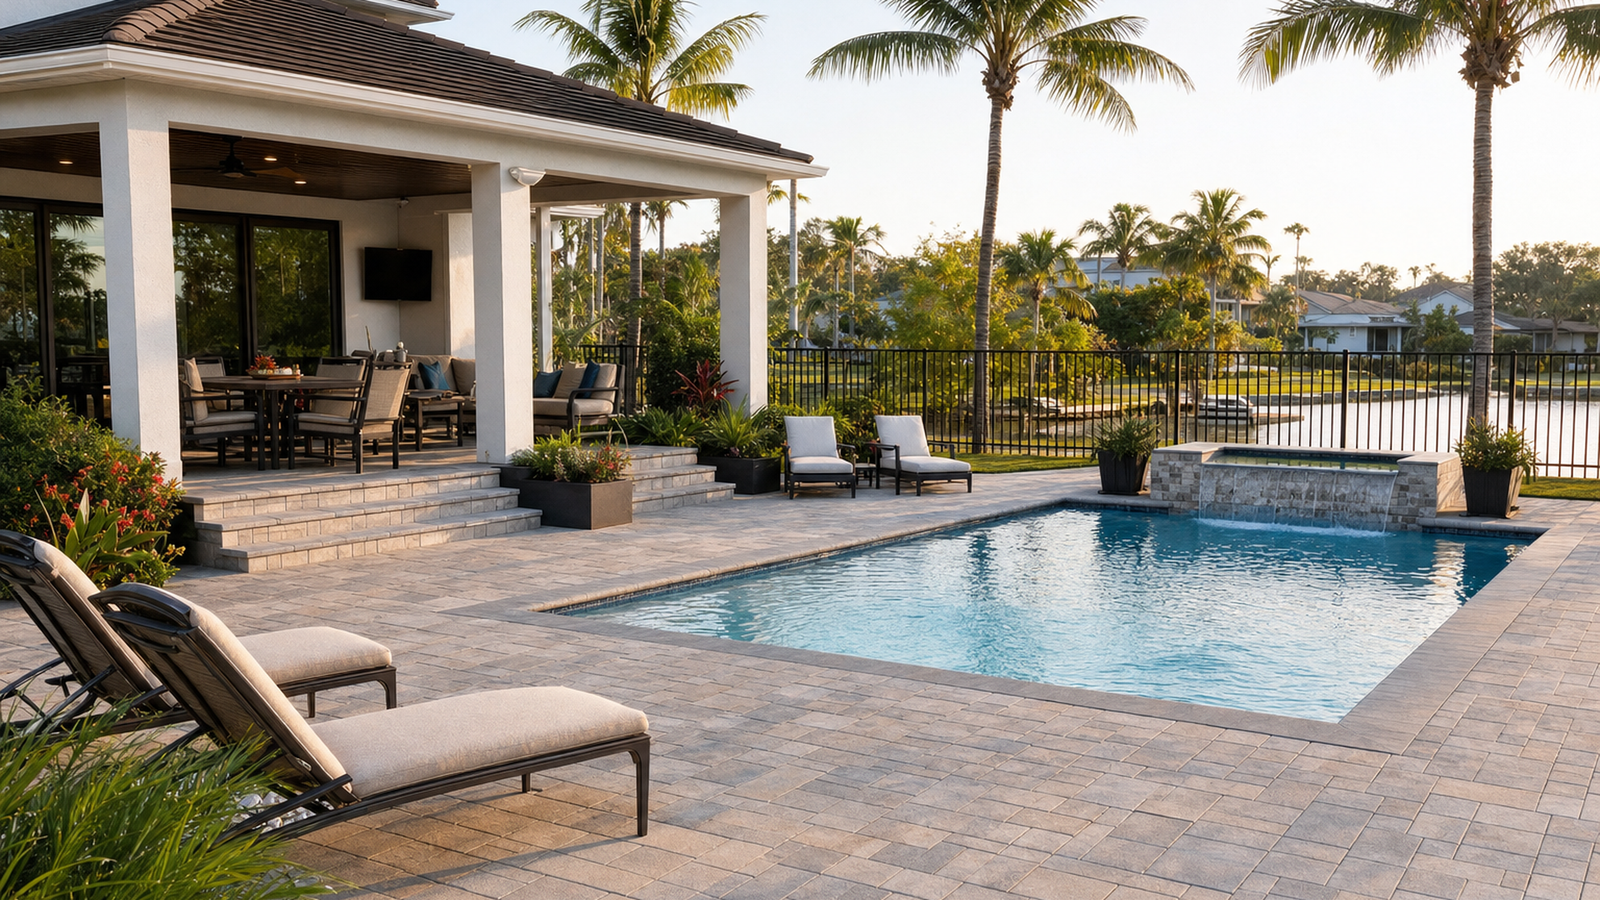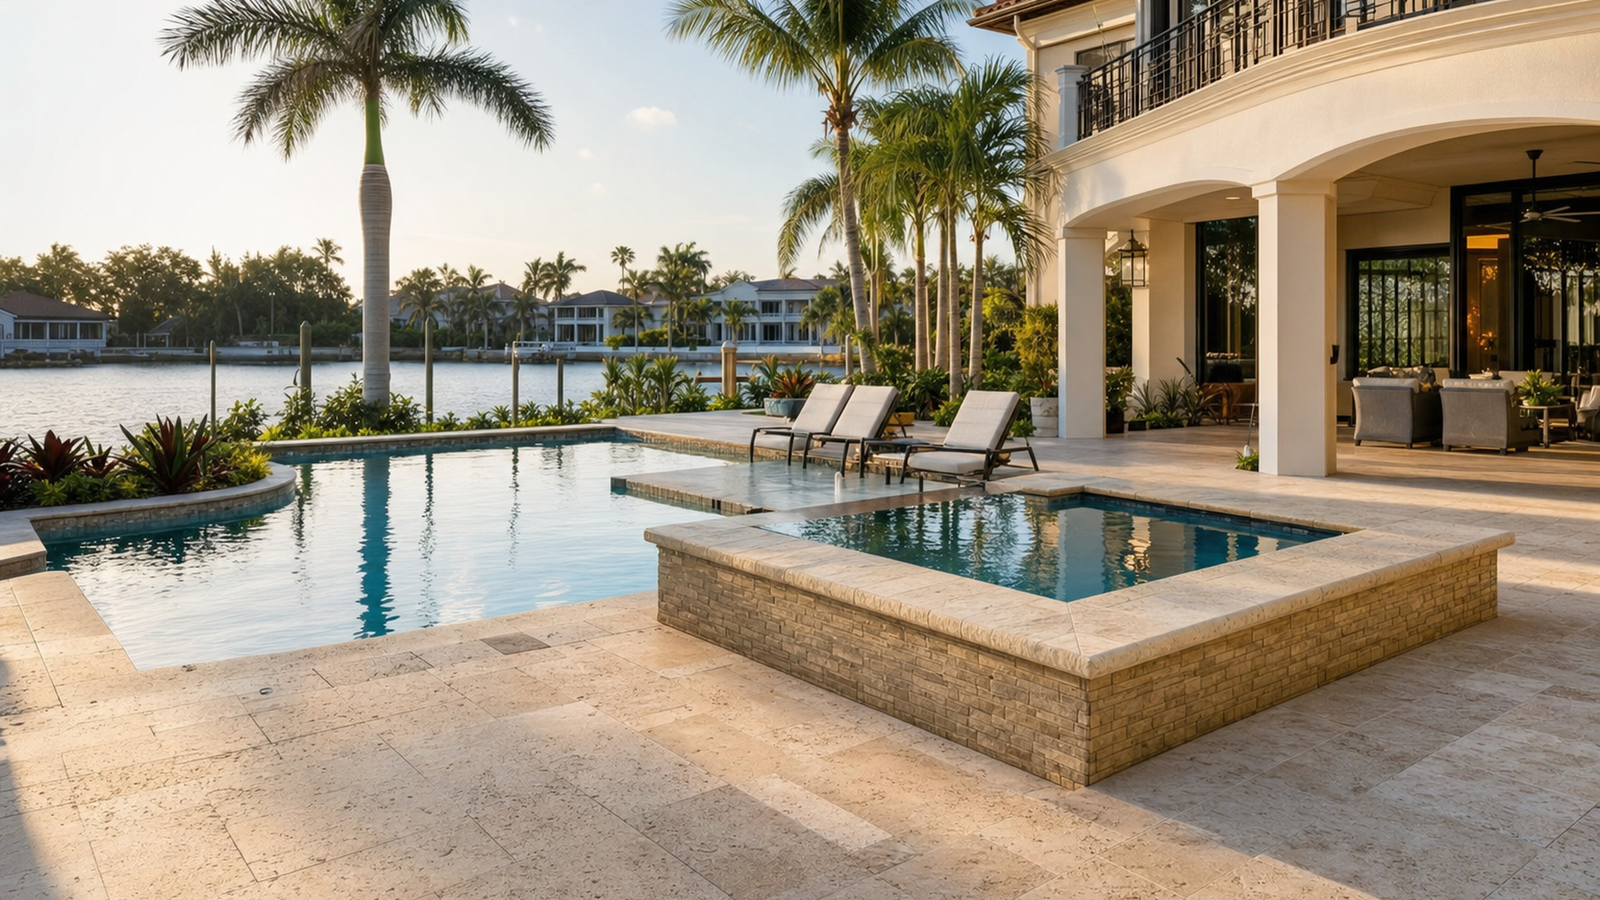
Paver installation Tampa Bay creates beautiful durable outdoor living spaces that last decades. In addition, proper installation techniques prevent settling, shifting, and premature failure. Therefore, homeowners across Tampa Bay, Riverview, Ruskin, Wesley Chapel, Greater Carrollwood, Thonotosassa, Land O’ Lakes, Town ‘N’ Country, Palm Harbor, and Seven Springs choose professional installation. Most importantly, however, quality paver installation Tampa Bay requires comprehensive base preparation, precise execution, and proven methods that ensure long-term performance.
Why Professional Paver Installation Tampa Bay Ensures Success
Professional installation delivers superior results compared to DIY attempts. First, experienced contractors understand Tampa Bay’s soil conditions and climate challenges. Furthermore, proper equipment ensures adequate compaction and grading. As a result, professionally installed pavers remain level and stable for decades. In addition, warranty protection provides peace of mind.
Understanding Tampa Bay Soil Conditions
Tampa Bay’s sandy soils require specific base preparation methods. Consequently, proper excavation depth and base thickness prevent settling. Moreover, professional installers adjust techniques for soil types. Therefore, local expertise ensures appropriate installation methods. Beyond that, understanding drainage patterns prevents water accumulation problems.
Meeting ICPI Installation Standards
Interlocking Concrete Pavement Institute standards ensure structural integrity. Furthermore, following proven specifications delivers lasting performance. Consequently, professional installers adhere to industry best practices. However, shortcuts compromise durability significantly. Therefore, standard compliance separates quality from inadequate work.
Proper Equipment Requirements
Plate compactors weighing 200+ pounds achieve proper base compaction. Moreover, professional-grade equipment ensures uniform density. Consequently, adequate compaction prevents settling and failure. However, rental equipment often proves inadequate. Therefore, professional equipment justifies expert installation costs.
Warranty and Quality Assurance
Professional contractors provide installation warranties typically. Furthermore, warranties protect against settling and defects. Consequently, warranty coverage provides valuable protection. However, DIY installations lack recourse for problems. Therefore, professional guarantees justify investment premiums.
Complete Paver Installation Process Tampa Bay
Successful installation follows systematic proven methods. Therefore, understanding complete processes ensures quality expectations. In addition, each step contributes to overall durability. As a result, skipping steps compromises long-term performance.
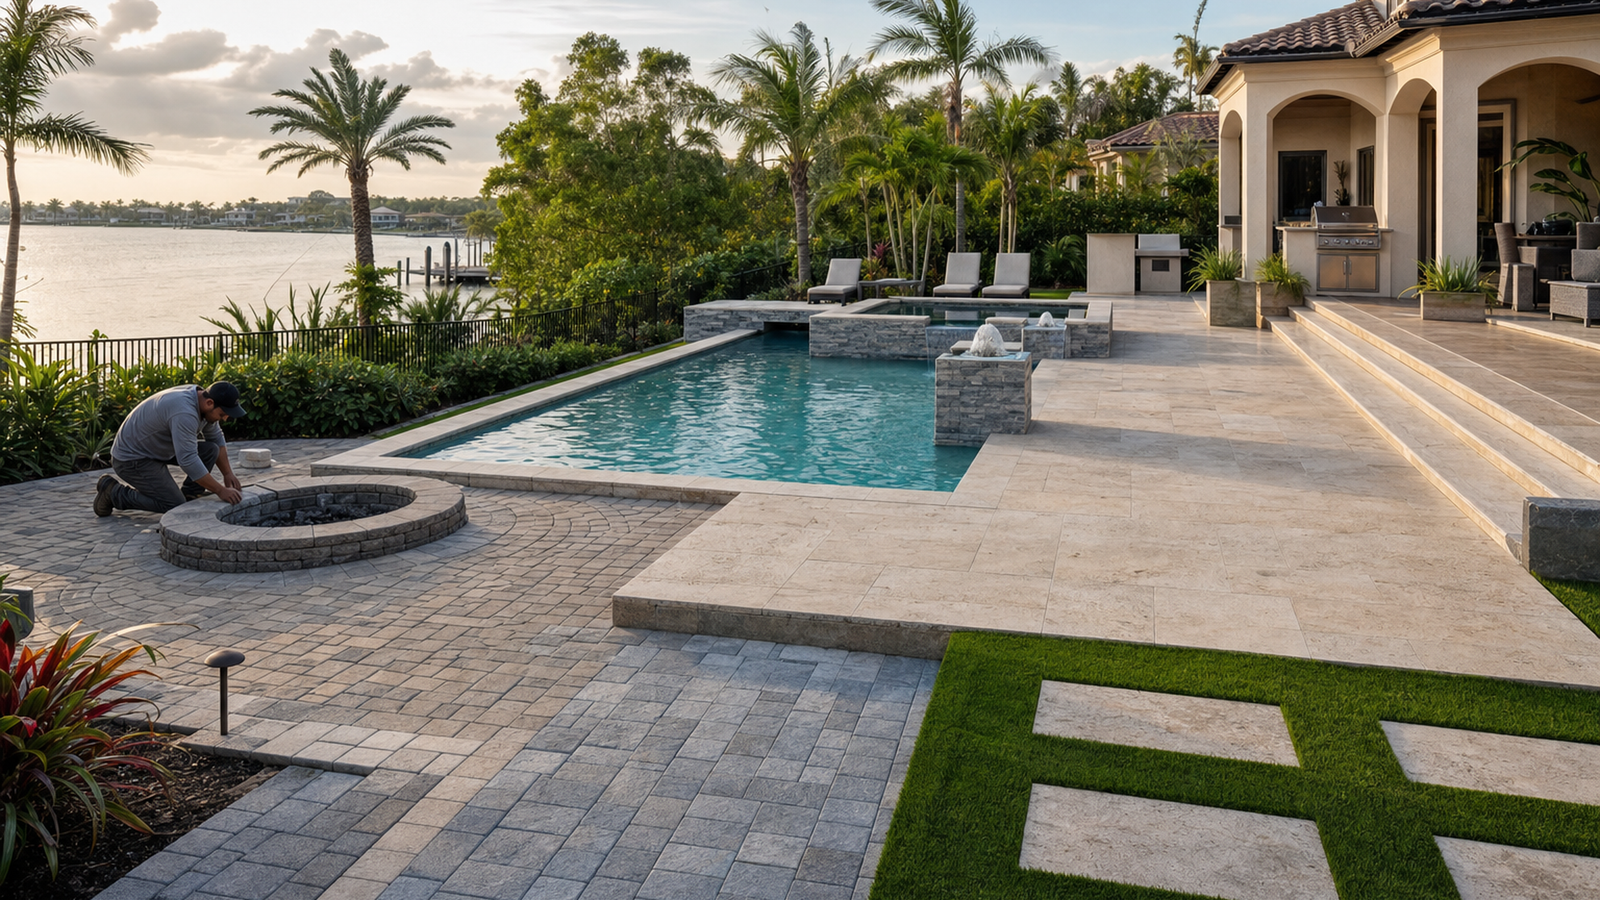
Step 1: Site Assessment and Planning
Professional assessment evaluates drainage, slopes, and existing conditions. First, marking utility locations prevents dangerous accidents. Furthermore, layout planning establishes paver orientation and patterns. Consequently, thorough planning prevents mid-project changes. However, addressing drainage issues early prevents future problems.
Step 2: Excavation and Grading
Excavation depth includes base, sand, and paver thickness. Moreover, Tampa Bay installations typically excavate 10–12 inches deep. Consequently, proper depth accommodates complete base system. However, maintaining consistent depth ensures uniform appearance. Therefore, laser levels guide excavation precision.
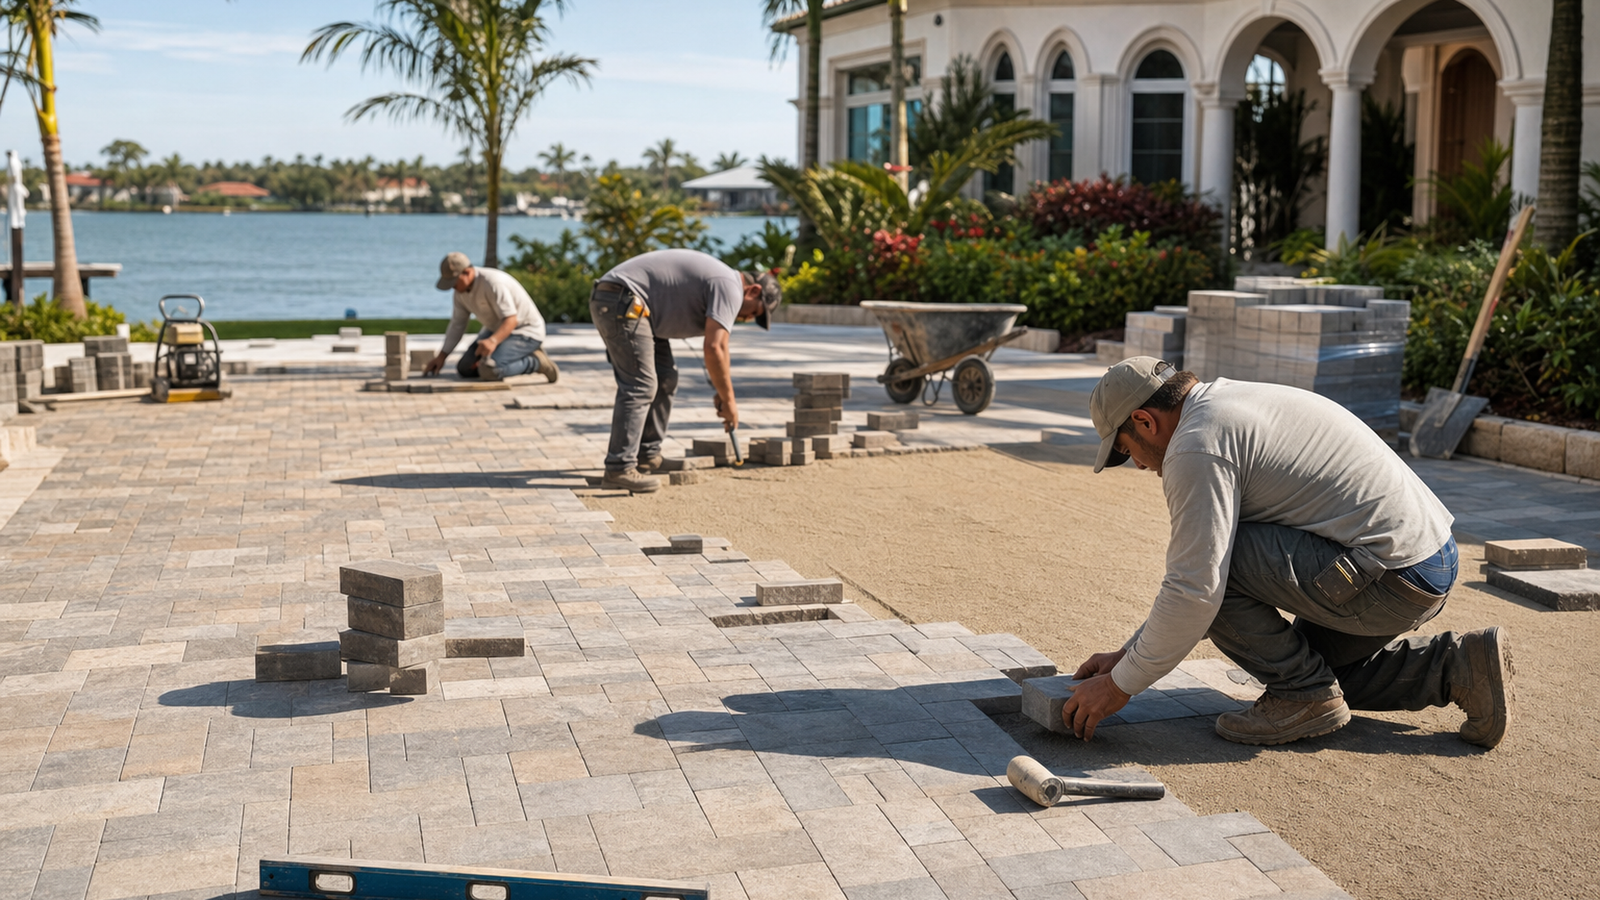
Step 3: Base Material Installation
Crushed limestone or granite provides optimal base material. Furthermore, base installs in 2–3 inch lifts for compaction. Consequently, each lift receives thorough compaction before adding more. However, final base thickness reaches 6–8 inches typically. Therefore, proper base construction prevents settling completely.
Step 4: Edge Restraint Installation
Plastic or aluminum edge restraints contain paver borders. Moreover, restraints prevent lateral movement and spreading. Consequently, edge restraints prove essential for stability. However, securing restraints with spikes ensures permanence. Therefore, proper edge installation maintains paver positions.
Step 5: Sand Bedding Layer
One inch of coarse concrete sand creates bedding layer. Furthermore, screeding sand to precise elevation ensures level pavers. Consequently, consistent sand depth prevents lippage. However, never compacting bedding sand maintains drainage. Therefore, leaving sand loose proves critical.
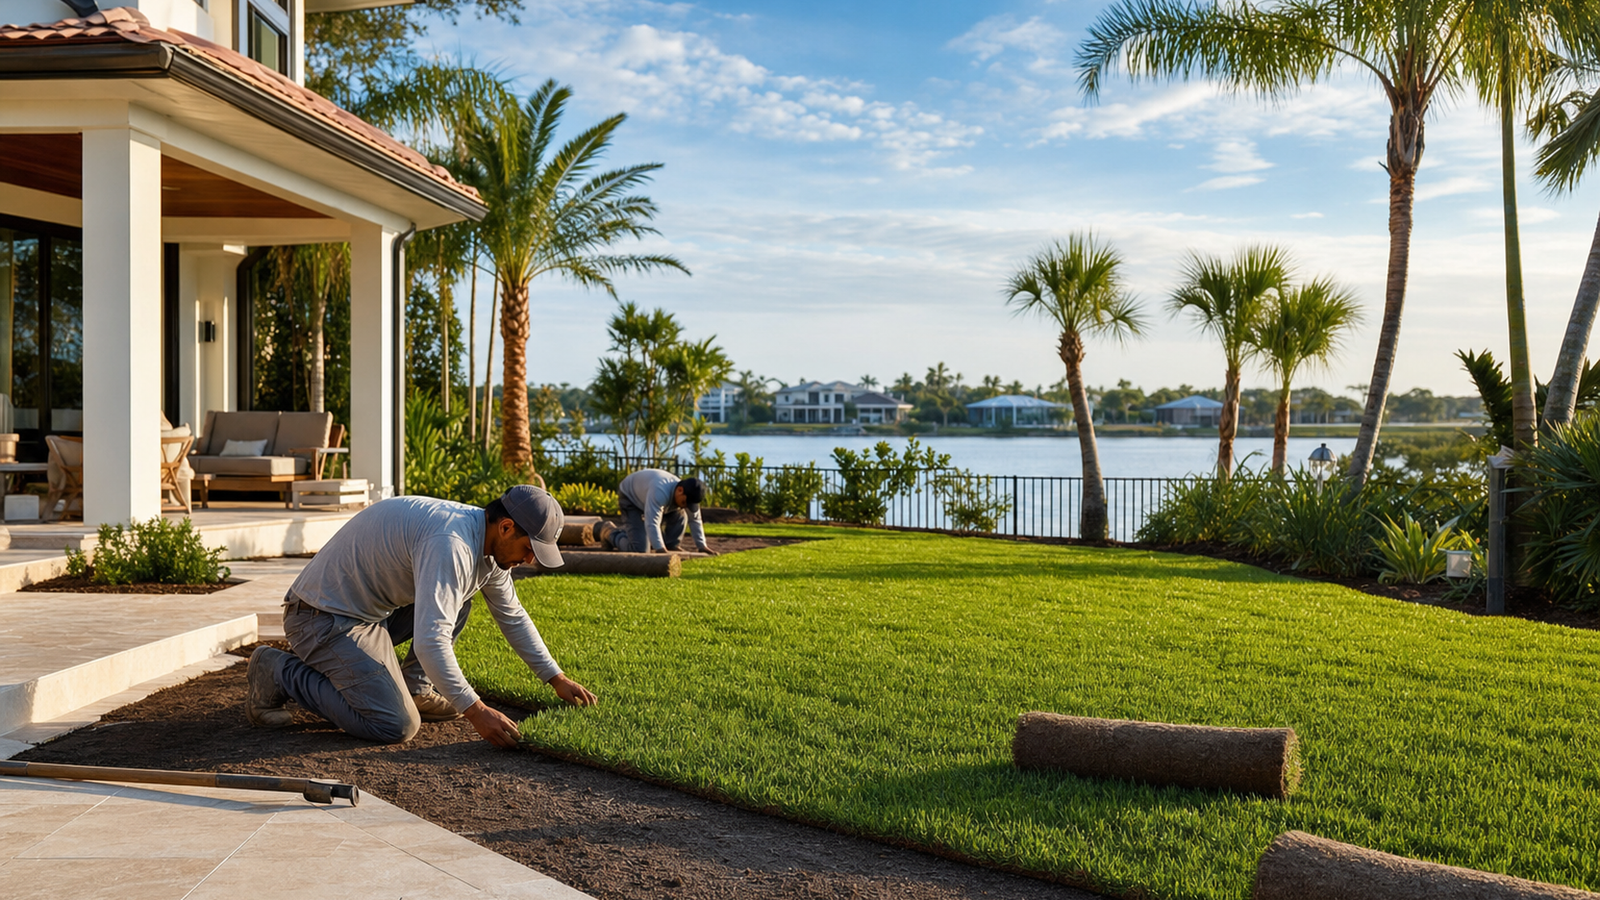
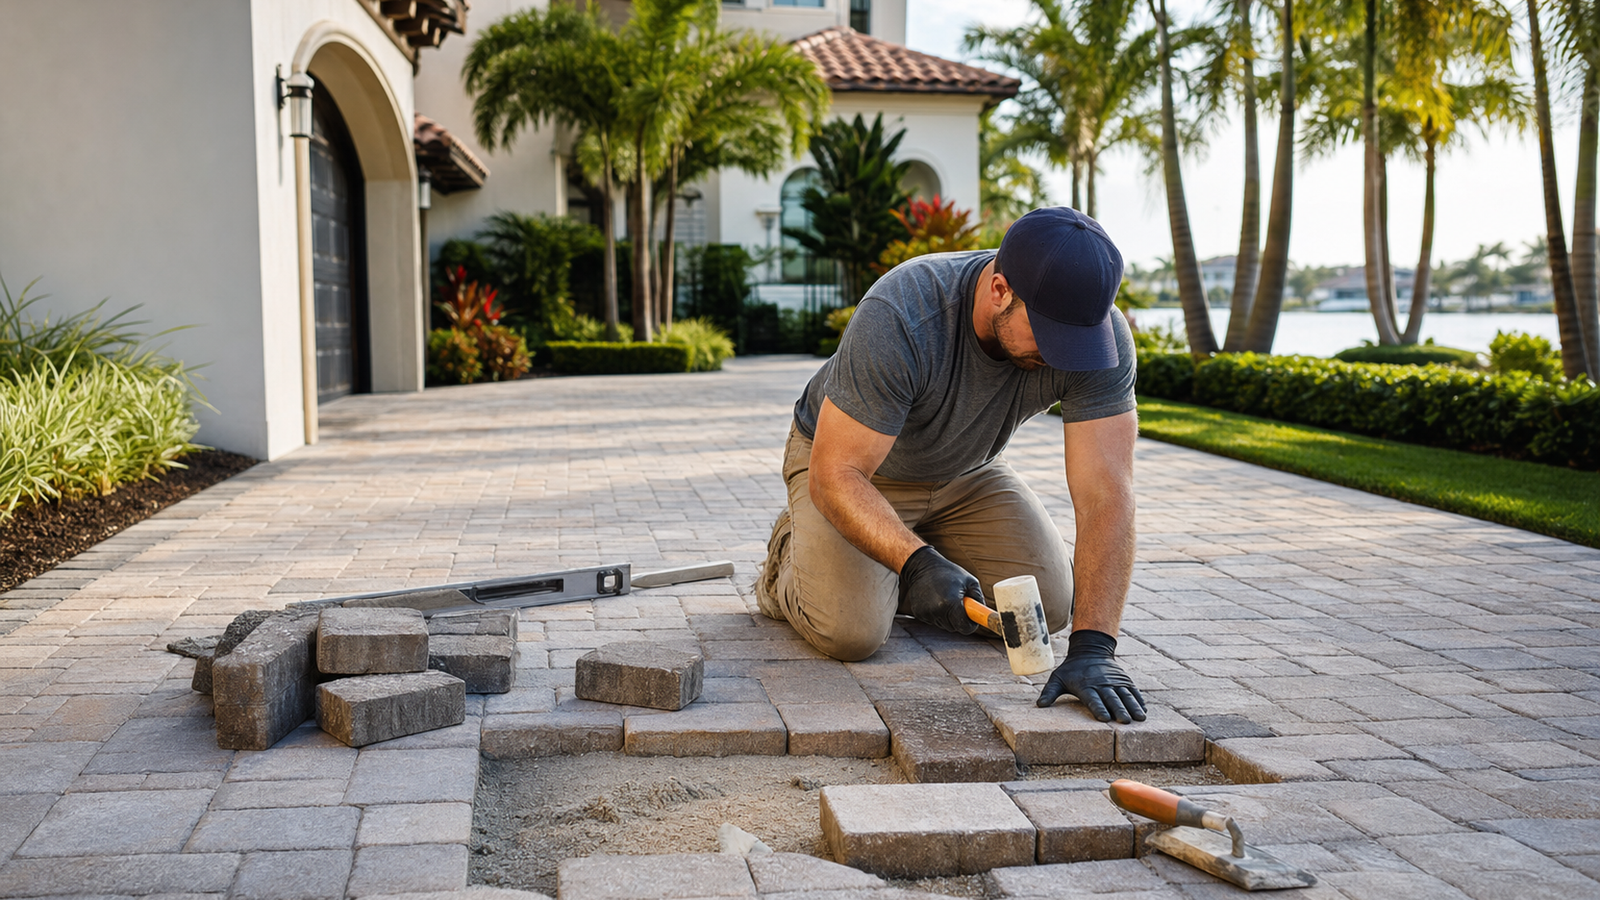
Step 6: Paver Placement
Pavers lay in designated pattern maintaining tight joints. Moreover, working from established edges toward open areas prevents errors. Consequently, maintaining consistent joint spacing ensures professional appearance. However, cutting edge pavers requires specialized equipment. Therefore, skilled cutting creates clean finished edges.
Step 7: Compaction and Joint Sand
Plate compaction settles pavers into bedding sand. Furthermore, polymeric sand fills joints and locks pavers together. Consequently, proper compaction and sanding complete installation. However, sweeping excess sand prevents residue. Therefore, final cleaning creates pristine appearance.
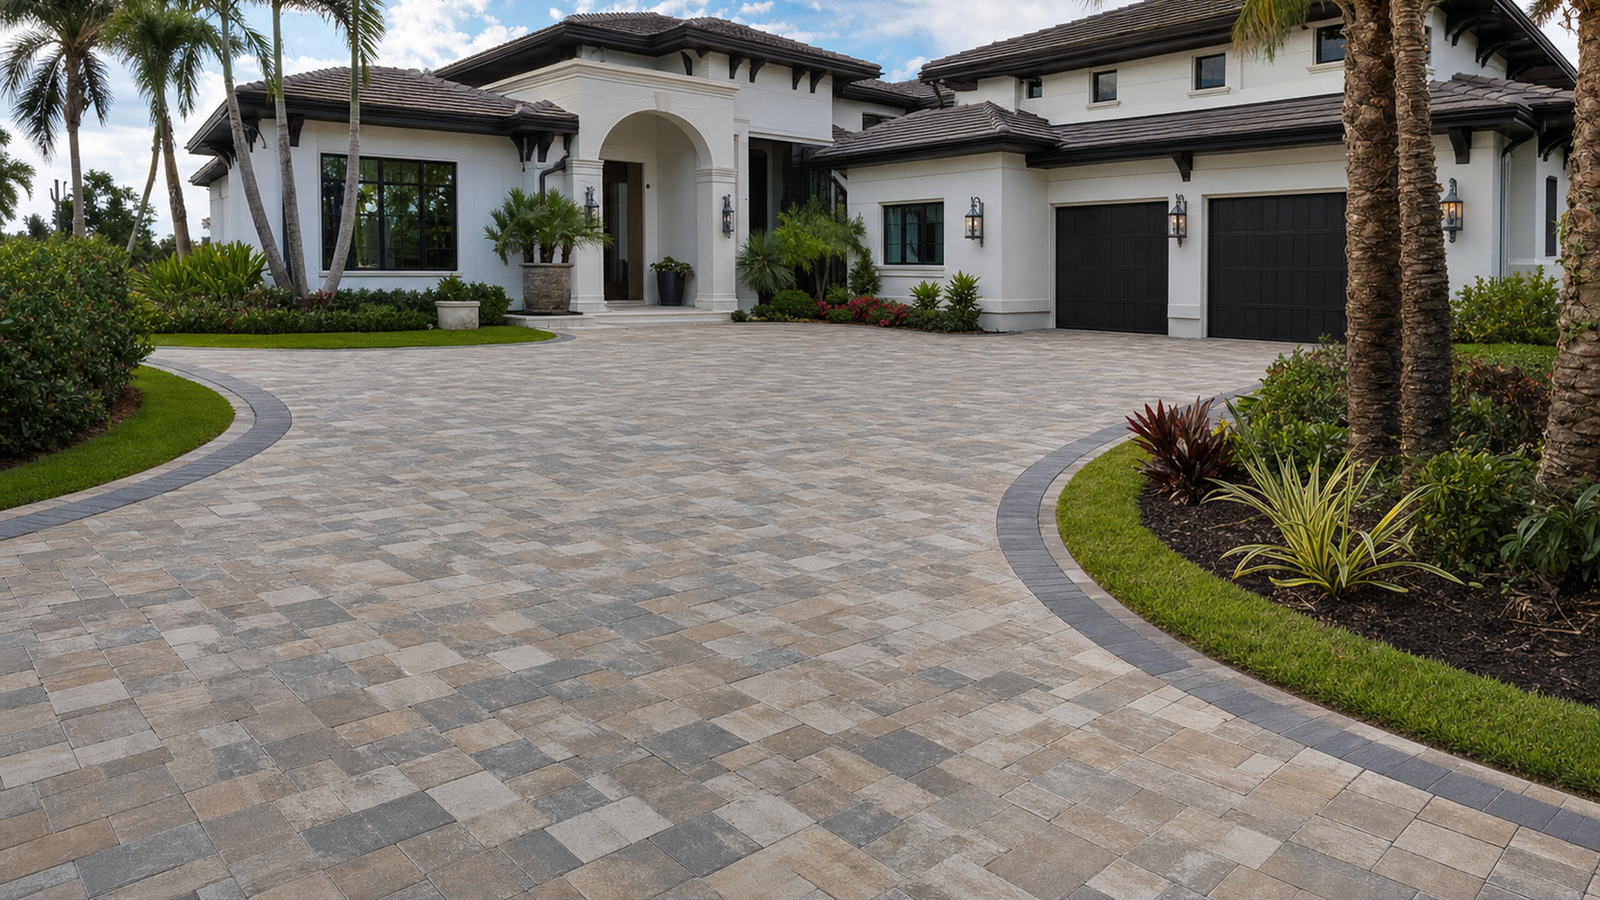
Paver Installation Tampa Bay: Cost Breakdown
Installation costs vary based on complexity, materials, and site conditions. Therefore, understanding cost components enables accurate budgeting. In addition, different paver types affect total expenses. As a result, material selection significantly influences pricing.
Material Costs by Paver Type
Paver material represents 30–40% of total project cost typically. First, concrete pavers offer excellent value. On the other hand, natural stone commands premium pricing. Therefore, material choice dramatically affects budgets.
- Concrete pavers: $3–$8 per square foot material only
- Clay brick pavers: $6–$12 per square foot material only
- Travertine pavers: $8–$15 per square foot material only
- Bluestone/flagstone: $15–$30 per square foot material only
Labor and Installation Costs
Professional installation labor costs $8–$15 per square foot typically. Furthermore, complex patterns increase labor expenses 20–30%. Consequently, total installed costs range $12–$30 per square foot. However, quality installation justifies professional pricing. Therefore, expert workmanship ensures decades of performance.
Base Preparation and Excavation
Base material costs $1.50–$3.00 per square foot installed. Moreover, difficult access increases excavation expenses. Furthermore, poor drainage requiring correction adds costs. Therefore, site conditions affect base expenses significantly. Beyond that, proper base investment prevents future repairs.
Additional Feature Costs
Borders and accents add $3–$8 per linear foot. Similarly, steps cost $150–$400 each installed. Furthermore, sealing adds $1.50–$2.50 per square foot. Therefore, custom features increase total investments. However, features enhance aesthetics and functionality significantly.
Base Preparation: Foundation of Quality Paver Installation
Proper base construction determines long-term paver performance. Therefore, base preparation deserves maximum attention. In addition, Tampa Bay conditions require specific approaches. As a result, local expertise proves invaluable.
Excavation Depth Requirements
Total excavation accommodates all installation layers. First, 6–8 inches for base material. Furthermore, 1 inch for bedding sand. Consequently, adding paver thickness determines total depth. However, driveways need 8–10 inch bases. Therefore, use determines excavation requirements.
Base Material Selection
Crushed angular stone provides superior compaction. Moreover, 3/4-inch minus limestone works excellently. Consequently, proper material choice ensures stability. However, rounded gravel compacts poorly. Therefore, angular crushed stone proves essential.
Compaction Standards
Each base lift requires 95% compaction minimum. Furthermore, multiple passes with plate compactor achieve density. Consequently, thorough compaction prevents settling completely. However, moisture content affects compaction effectiveness. Therefore, slightly damp base compacts optimally.
Slope and Drainage Integration
Base establishes final paver slope for drainage. Moreover, minimum 2% slope away from structures proves essential. Consequently, proper base grading prevents water accumulation. However, maintaining consistent slope requires precision. Therefore, laser levels ensure accurate grading.
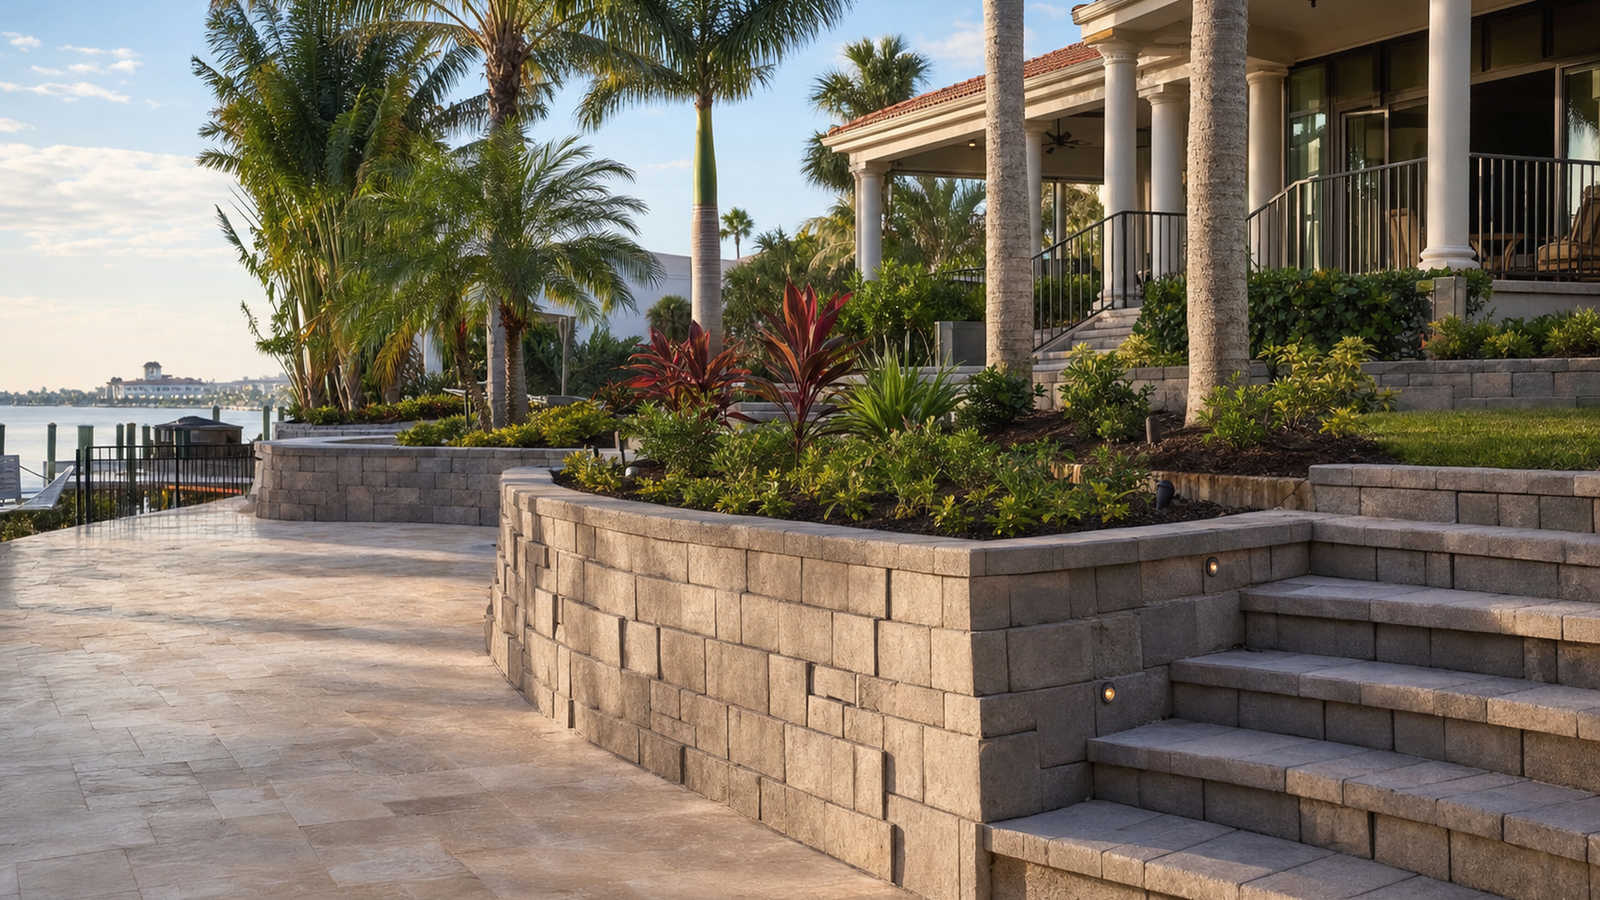
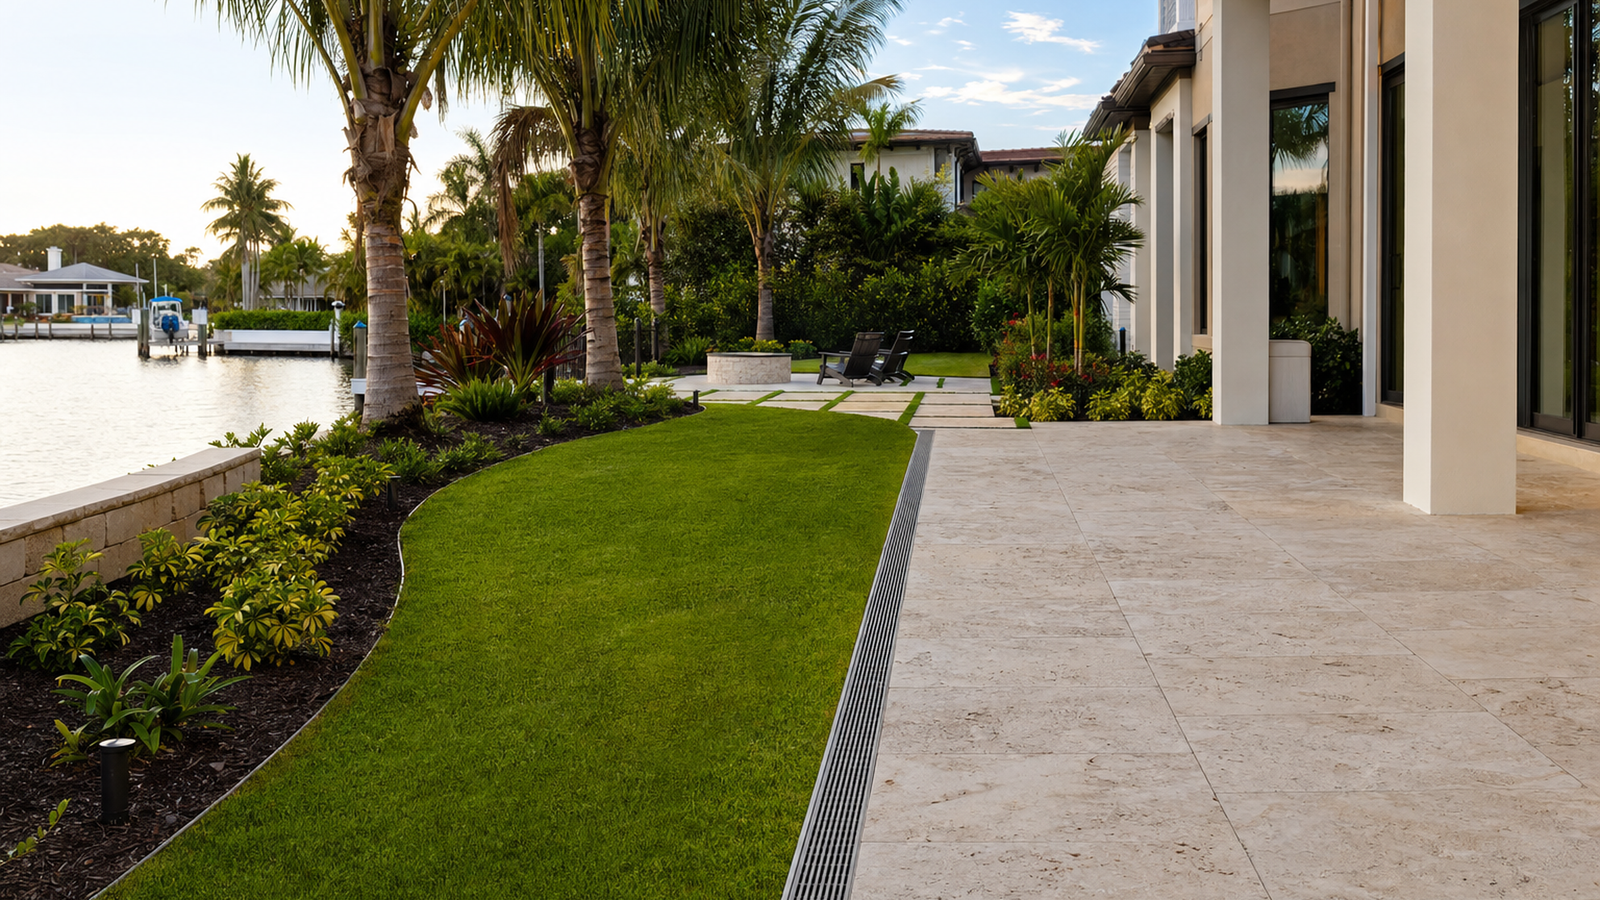
Edge Restraint Systems for Tampa Bay Installations
Edge restraints prevent lateral paver movement and spreading. Therefore, proper edge installation ensures long-term stability. In addition, different restraint types suit various applications. As a result, selecting appropriate restraints proves important.
Plastic Edge Restraint
Flexible plastic restraints suit curved and straight edges. Furthermore, plastic resists Tampa Bay humidity and temperature. Consequently, plastic edges deliver reliable performance. However, commercial applications may need stronger restraints. Therefore, plastic suits residential installations perfectly.
Aluminum Edge Restraint
Aluminum provides maximum strength and rigidity. Moreover, aluminum suits heavy traffic areas. Consequently, driveways benefit from aluminum restraints. However, aluminum costs more than plastic. Therefore, aluminum fits premium installation budgets.
Concrete Curbing
Poured concrete edges create permanent substantial borders. Furthermore, concrete curbs define boundaries clearly. Consequently, concrete works excellently for driveways. However, concrete installation requires additional labor. Therefore, concrete restraints increase project costs.
Installation and Securing Methods
Restraints secure with 10-inch spikes every 12–18 inches. Moreover, proper spike depth ensures anchoring. Consequently, secure restraints prevent movement. However, checking restraint alignment before securing proves important. Therefore, precise installation maintains straight edges.
Joint Sand and Paver Locking Systems
Joint sand locks pavers together and prevents movement. Therefore, selecting appropriate sand ensures stability. In addition, Tampa Bay’s rainfall demands water-resistant options. As a result, polymeric sand proves most effective.
Polymeric Sand Benefits
Polymeric sand hardens when activated with water. Furthermore, hardened sand resists washout during storms. Consequently, polymeric sand maintains joint integrity. However, proper installation prevents premature activation. Therefore, following manufacturer instructions ensures success.
Application Methods
Broadcasting sand across pavers fills joints evenly. Moreover, sweeping distributes sand into all joints. Consequently, multiple passes ensure complete filling. However, removing excess sand before activation prevents residue. Therefore, thorough sweeping creates clean results.
Activation and Curing
Misting water activates polymeric sand binding agents. Furthermore, gentle misting prevents sand displacement. Consequently, proper activation creates solid joints. However, curing requires 24–48 hours typically. Therefore, protecting installations during curing ensures success.
Maintenance and Reapplication
Polymeric sand lasts 5–10 years before needing replacement. Moreover, inspecting joints annually identifies problems early. Consequently, timely reapplication maintains stability. However, pressure washing removes old sand effectively. Therefore, periodic maintenance preserves paver performance.
Quality Control During Paver Installation Tampa Bay
Continuous quality checks throughout installation ensure excellence. Therefore, monitoring critical steps prevents problems. In addition, professional contractors implement systematic inspections. As a result, quality control delivers superior outcomes.
Base Compaction Testing
Checking base firmness prevents future settling. Furthermore, properly compacted base resists indentation. Consequently, walking on base confirms adequate compaction. However, professional density meters provide verification. Therefore, testing ensures quality base construction.
Level and Grade Verification
String lines and levels confirm proper slopes. Moreover, checking multiple locations ensures consistency. Consequently, verifying grades prevents drainage problems. However, correcting grades during installation costs less. Therefore, continuous monitoring proves beneficial.
Joint Spacing Consistency
Maintaining uniform joint width creates professional appearance. Furthermore, consistent spacing ensures proper sand filling. Consequently, monitoring spacing throughout prevents problems. However, spacer tabs on pavers maintain consistency. Therefore, quality pavers simplify installation.
Final Inspection Criteria
Completed installations should show no lippage between pavers. Moreover, edges should align straight and true. Furthermore, drainage should flow away from structures. Therefore, comprehensive inspection confirms quality. Beyond that, addressing issues immediately ensures satisfaction.
Homeowners planning complete outdoor renovations benefit from understanding how paver installation integrates with drainage systems, retaining walls, and landscape features. Paver installation guides provide additional technical insights into coordinating hardscape construction with comprehensive outdoor living projects that maximize beauty and functionality.
The Interlocking Concrete Pavement Institute establishes industry standards for paver installation and base construction. Their technical specifications ensure installations achieve maximum durability and performance. Visit ICPI’s official website for comprehensive installation manuals, technical bulletins, and certification programs for professional paver contractors.
Conclusion: Ensuring Long-Term Performance with Paver Installation Tampa Bay
Paver installation Tampa Bay requires comprehensive base preparation and professional execution for lasting results. In addition, following proven installation methods ensures decades of beautiful performance. Furthermore, quality materials combined with expert techniques create outdoor spaces that enhance property value. Therefore, professional installation represents wise investment. Most importantly, however, proper paver installation Tampa Bay delivers durable outdoor living areas that withstand Florida’s climate while remaining beautiful.
Proper base compaction prevents settling and maintains level surfaces perfectly. On the other hand, edge restraints contain pavers and prevent spreading. Consequently, systematic installation following industry standards ensures success. Nevertheless, professional equipment and expertise prove essential for quality results. Beyond that, expertly installed pavers provide maintenance-free beauty and functionality for outdoor entertaining, dining, and relaxation throughout Tampa Bay properties.
Ready for professional paver installation? 📞 Contact Dr Pavers Design at +1 (656) 600-4015 or email drpavers@outlook.com for a free consultation anywhere in Tampa Bay. Check out our completed paver installation projects, read customer testimonials, or browse our frequently asked questions to learn more about our process. Follow us on Instagram and Facebook for installation insights, or leave a review on Google. Prefer instant messaging? Text us at +1 (656) 600-4015 or message us on WhatsApp. Visit our services page to explore all our outdoor living solutions, and find us on Google Maps to see our location and service areas.